

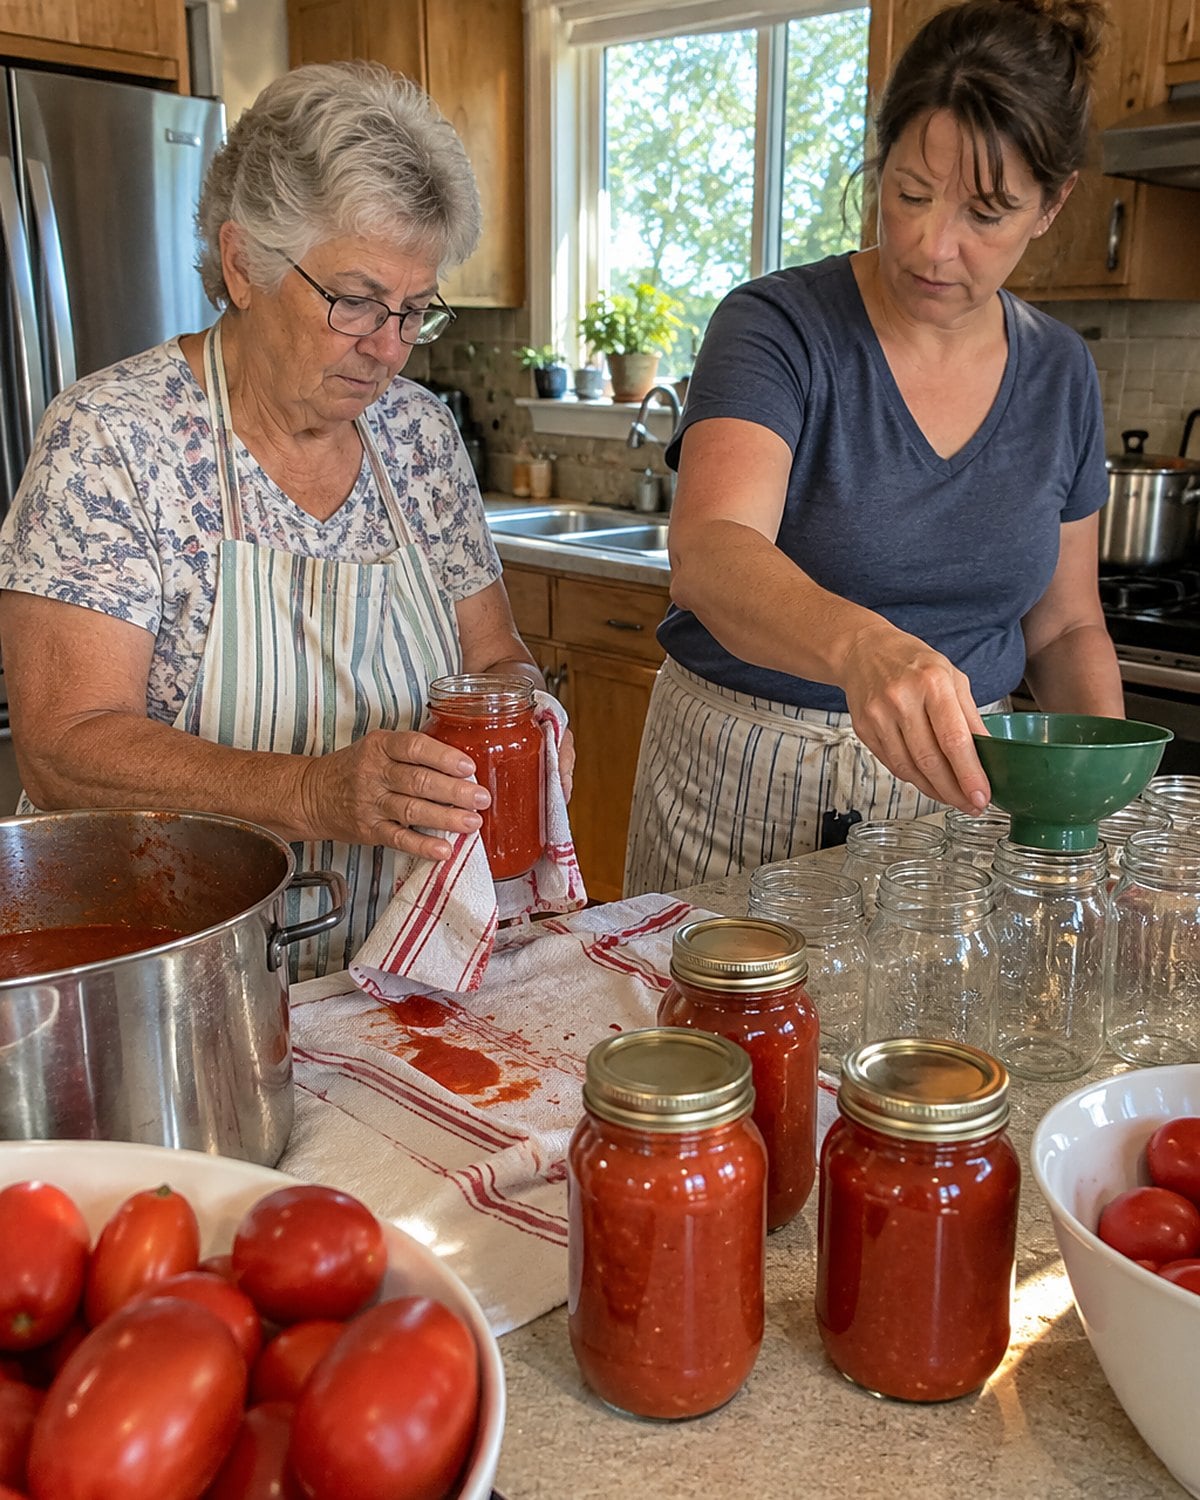
The oven door shuts with your hip because both hands are full. Somewhere behind you, a cabinet still holds the church cookbook with its broken spine. That book has a recipe for every dish on the table, each starting from scratch, and you know how to make them.
Knowing how isn't the same as wanting to spend the whole holiday doing it. You can keep the parts people remember: the browned edges, the familiar smell, the gravy passed twice. Let the less visible work happen in a freezer, a grocery kitchen, or someone else's hands.
#24 The bakery pie in your own dish
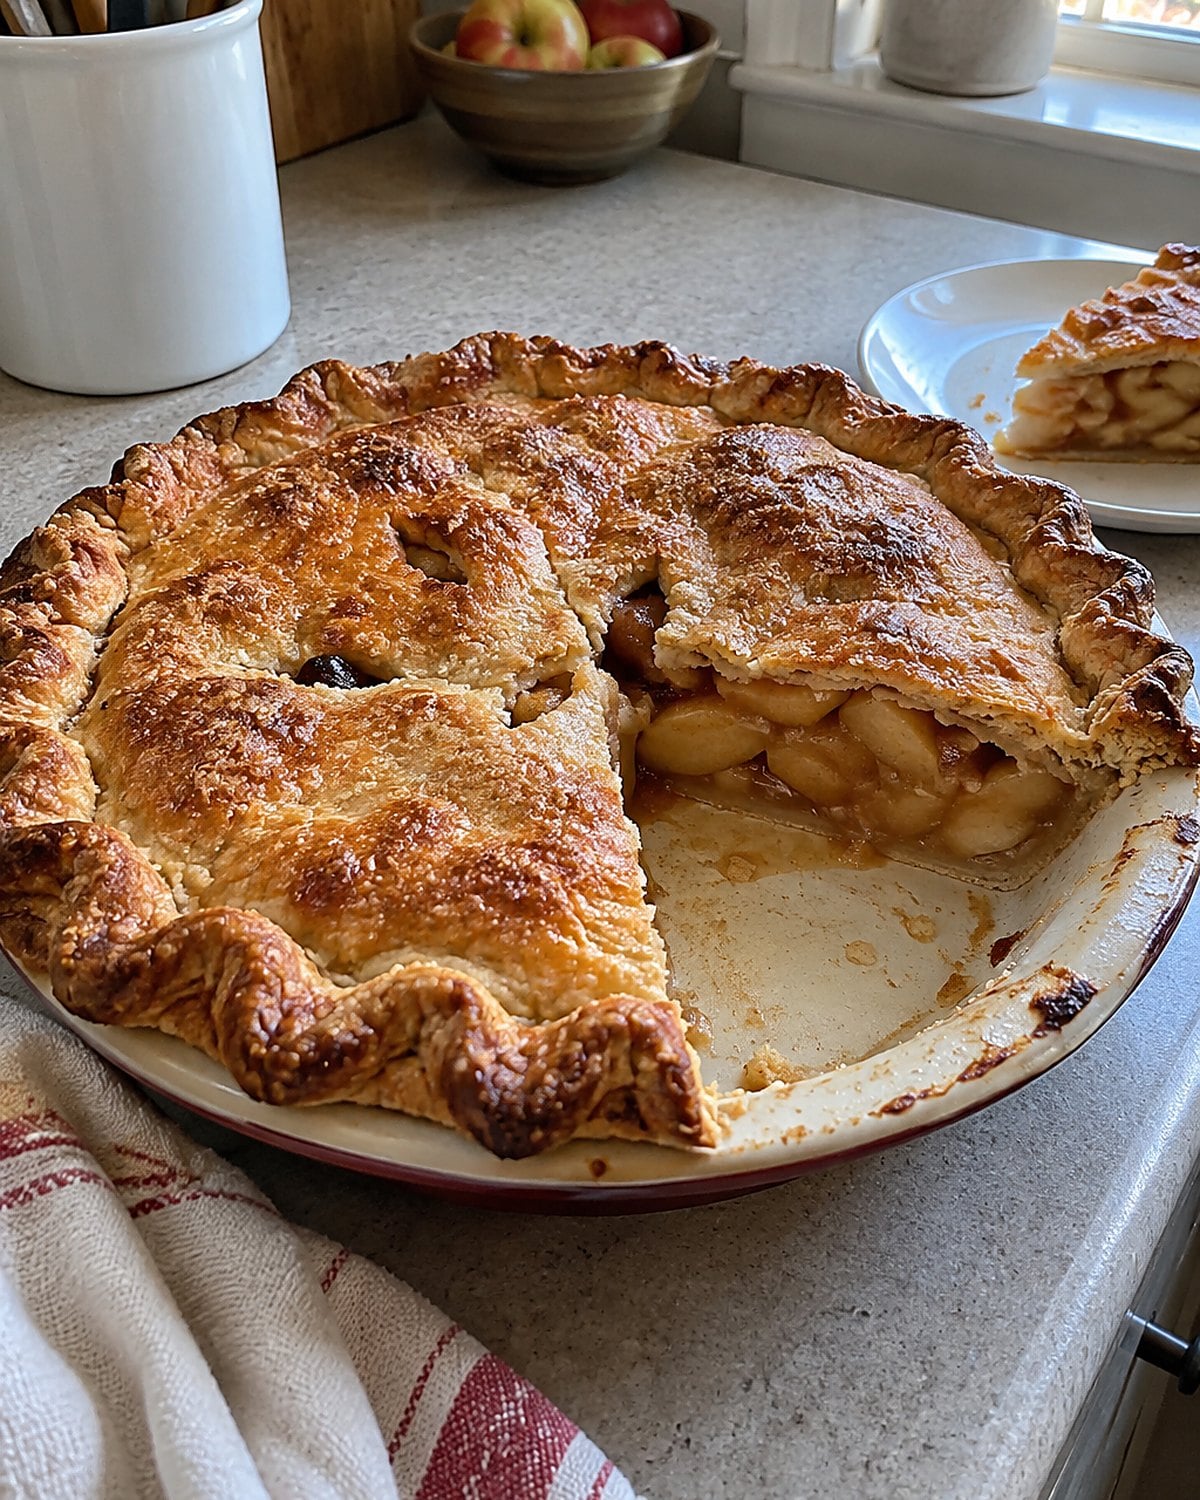
A pie from the bakery counter comes home in a clear plastic box that announces itself from across the room. Move it to your pie plate, and it looks like it belongs beside the serving spoons you've had for years. That's presentation, not a claim that you baked it.
Take the pie out of its packaging while it's still cool enough to handle neatly. Keep any storage directions from the label. If the bakery says to refrigerate it, put it back in the fridge after the transfer.
The FDA's food storage guidance is worth a look when the filling contains dairy or eggs and the label has gone missing.
What matters most at serving time is the cut. Wipe the knife between slices, then lift each piece with a pie server rather than dragging it across the pan. Whipped cream covers a chipped edge; a clean slice does the rest.
And if someone asks where it came from, the bakery has earned its credit. You saved your oven space for dinner.
#23 Frozen rolls with a hot pan
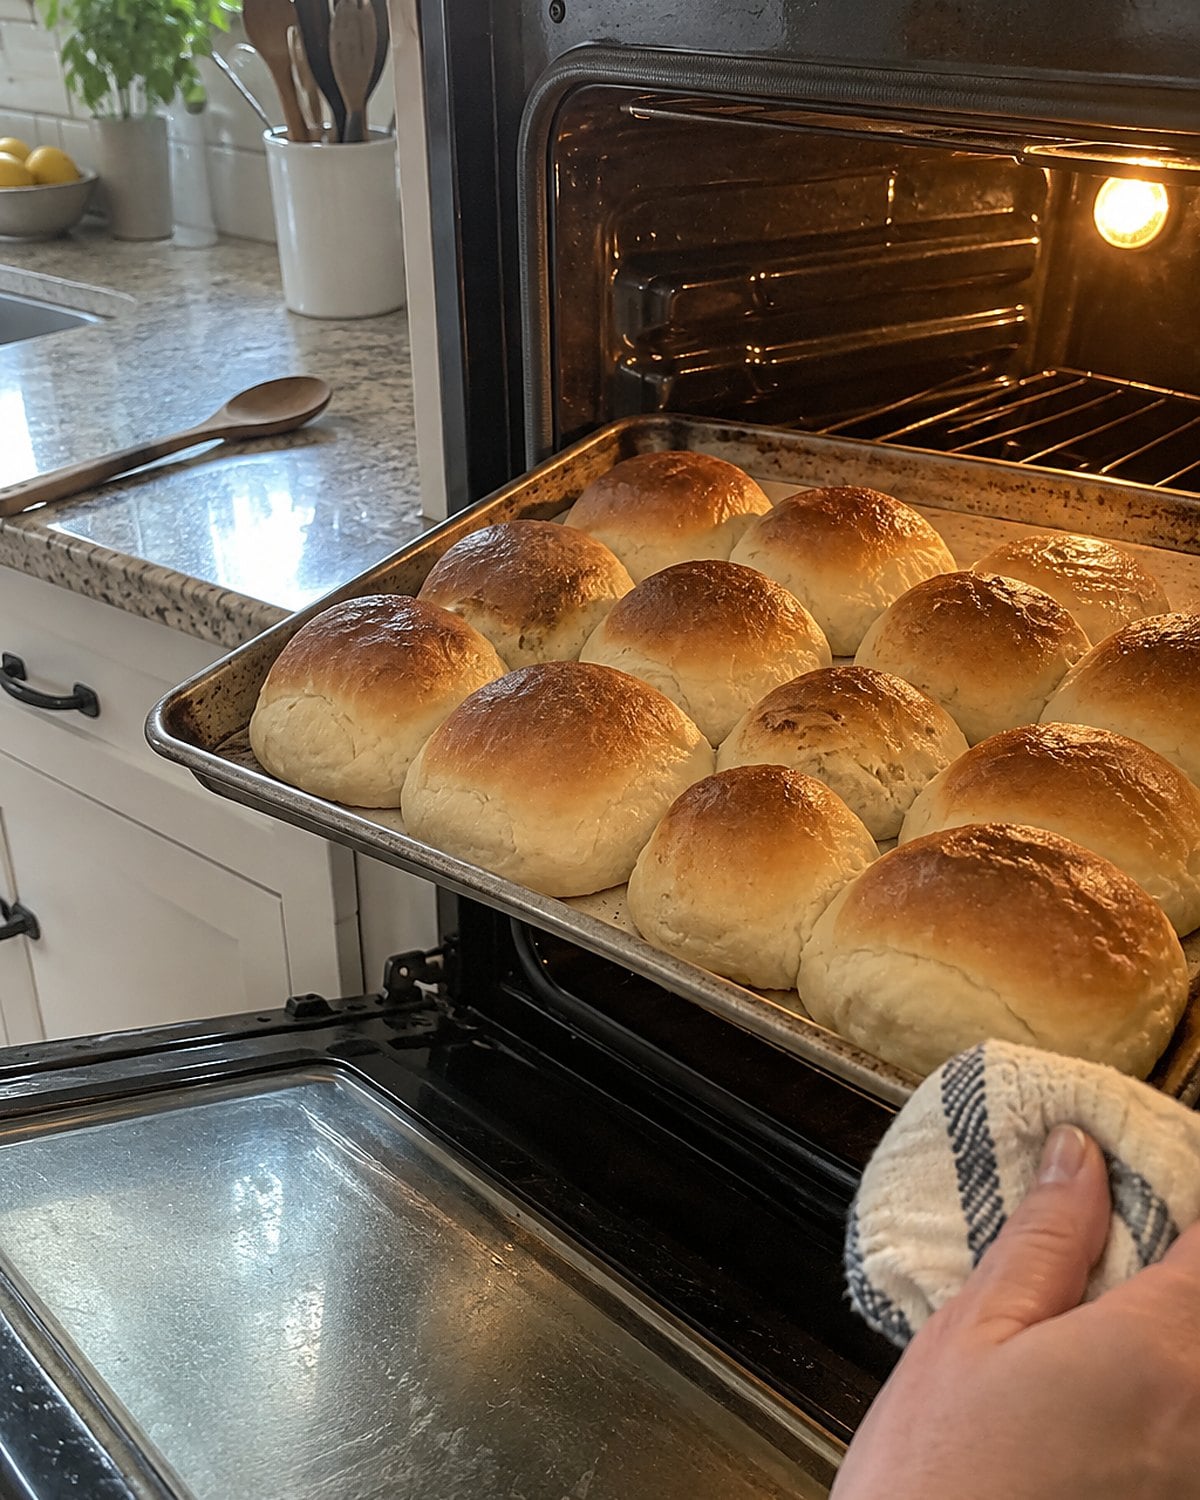
The smell of bread is persuasive. Frozen dinner rolls do plenty of the work before they reach your house, but the oven still gets the last word. Follow the bag's directions, and put a sturdy baking sheet in to heat while the oven warms.
Set the rolls on the hot sheet. Their bottoms start browning against the metal instead of sitting pale on a cold pan. If the package calls for a lower temperature than another dish in the oven, bake the rolls afterward. They deserve the few minutes when the oven belongs to them.
Brush with melted butter after baking, not before, if you want a soft, glossy top. A little flaky salt belongs there too. Put them in a cloth-lined basket, with the cloth folded over until everyone sits down. Nobody needs a story about when the dough was mixed.
#22 Store-bought broth for a quick soup
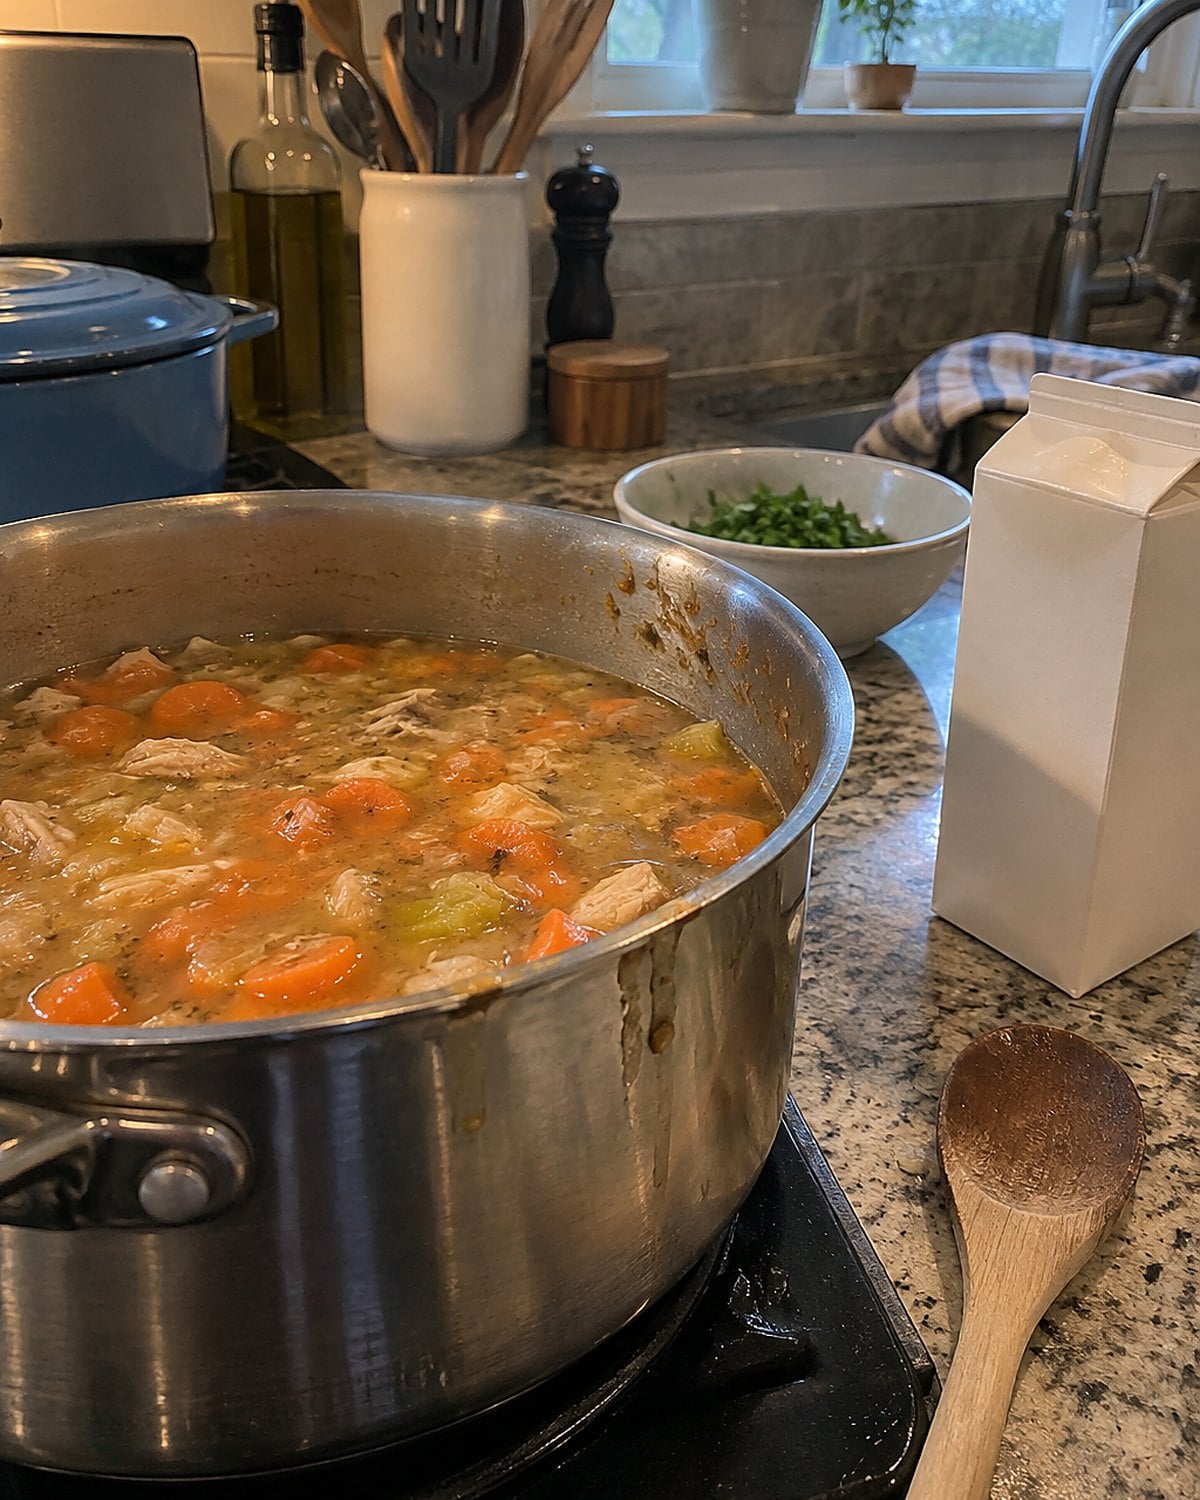
A carton of broth saves the long simmer. It still needs tasting before you build a holiday soup around it.
Pour some into a saucepan and warm it. If it tastes salty, hold back on salt everywhere else in the pot. If it tastes thin, cook onion in butter until it takes on color, then add the broth. The browned onion gives the soup a base the carton doesn't have on its own.
Scrape the bottom of the pan as the liquid goes in. Those brown bits dissolve into the broth instead of staying stuck to the metal. Add cooked vegetables or leftover roast meat near the end, so they warm through without losing their shape.
Before serving, taste a spoonful with everything in it. Broth that seemed fine alone changes once the other ingredients arrive. A squeeze of lemon sharpens a dull pot; a little warm water eases one that tastes too salty. The carton saved the simmer, but your tongue still finishes the soup.
#21 Refrigerated mashed potatoes with browned butter
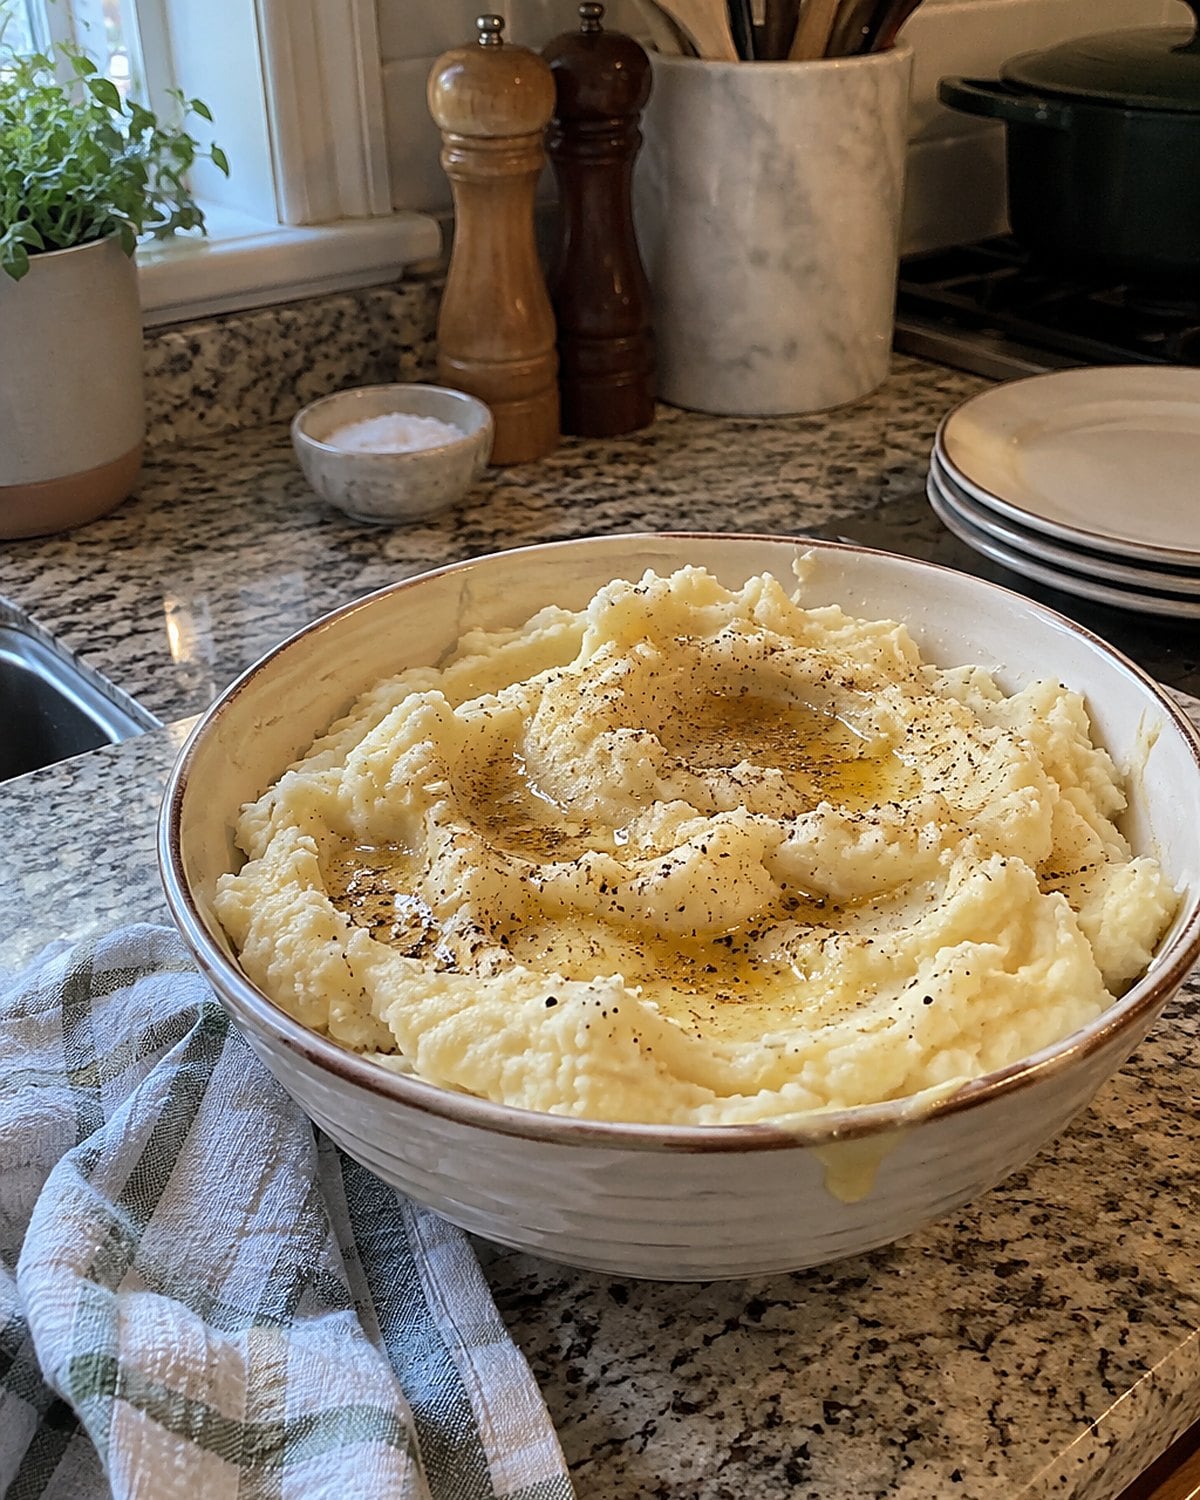
There is no prize for peeling potatoes while guests stand in the kitchen doorway. Refrigerated mashed potatoes free that stretch of counter, though they need a little attention before serving. Heat them according to the package, then give them a real taste.
Cold potatoes hide salt; hot potatoes tell you what's missing.
Meanwhile, melt butter in a small light-colored pan. Watch the milk solids gather at the bottom and turn brown. When they smell nutty, take the pan off the heat. A dark pan makes that color change harder to see, and burnt butter won't improve anything.
Stir some browned butter into the hot potatoes. Save a little to spoon over the top after you've moved them into a warm serving bowl. If the potatoes are stiff, loosen them with warm milk, adding a splash and stirring before deciding on more.
The finish is yours to choose: chopped chives for a fresh bite, or black pepper if that is what your family expects. The potatoes still need to taste like potatoes. What you've skipped is the peeling, boiling, draining, and washing up.
Try it: Sour Cream Mashed Potatoes (Instant Pot Step-By-Step Recipe)
#20 Bagged salad beside the heavy dishes
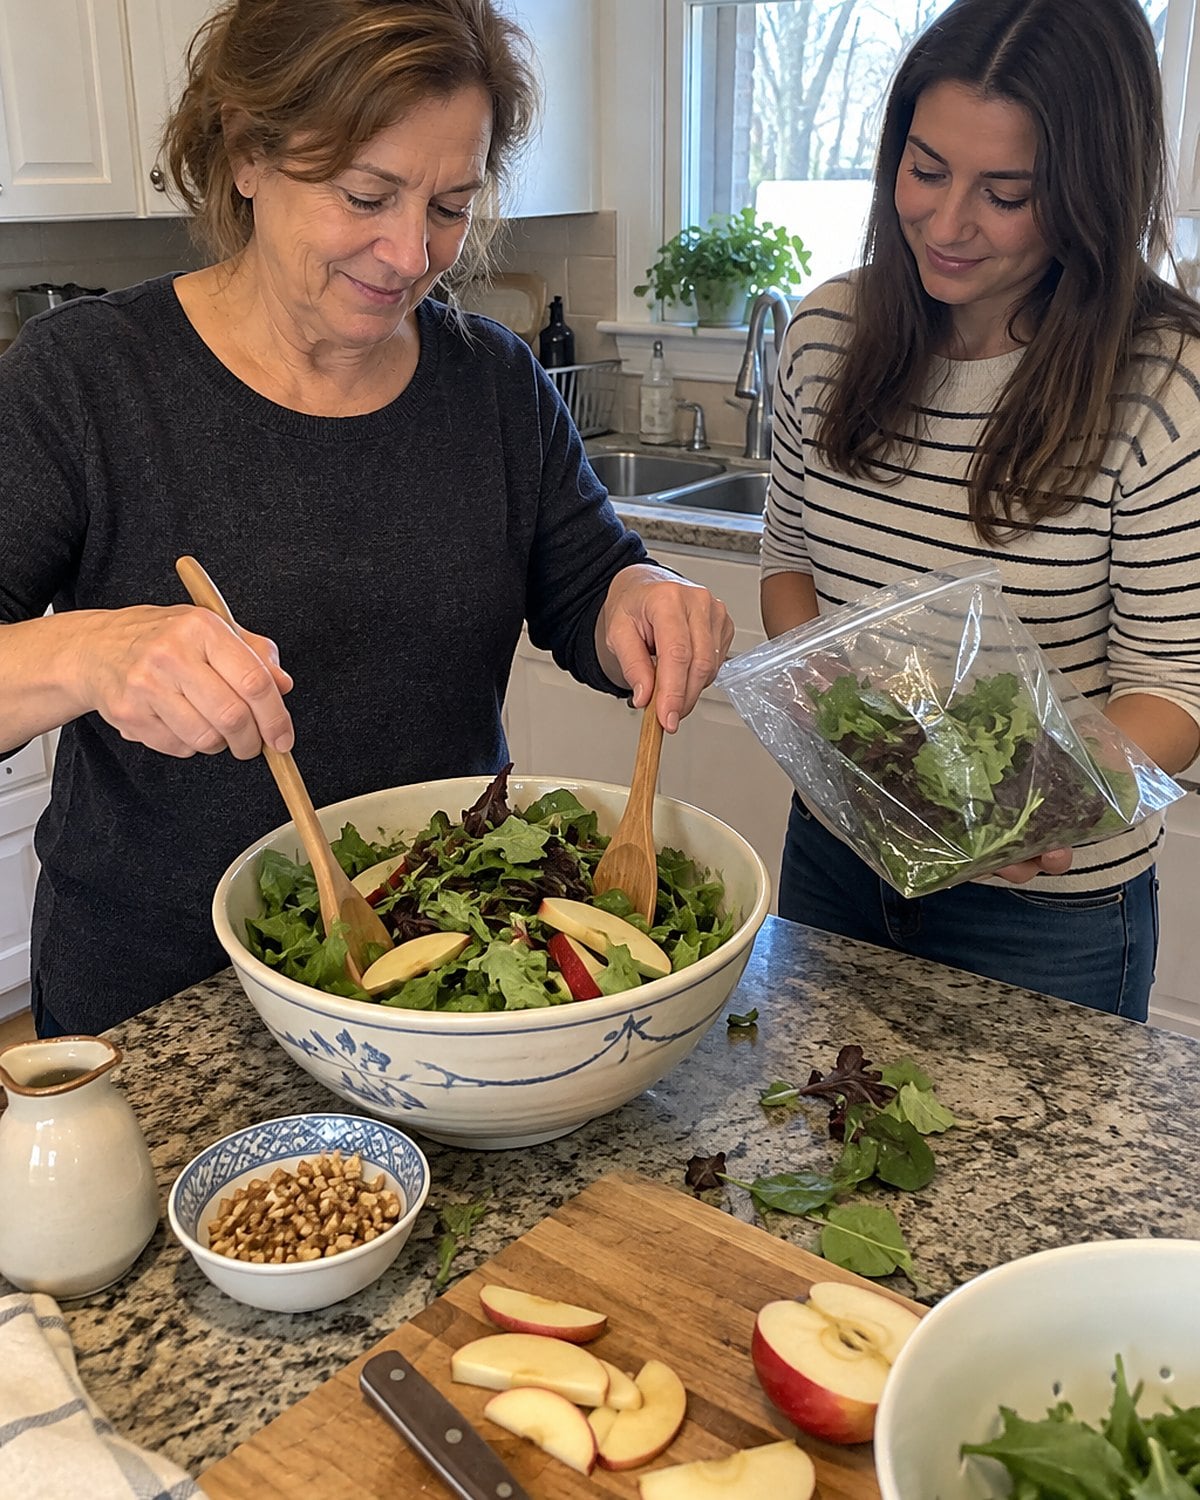
A holiday table gets crowded with rich food. You do not need another cooked vegetable to prove you made dinner. A bag of sturdy greens brings something crisp, provided you keep the dressing away until the plates come out.
Open the bag and look through it. Pull out any wet or damaged leaves, then dry the rest if they feel damp. Dressing clings to dry leaves; it slides off wet ones and gathers at the bottom of the bowl.
Use a large bowl, even for a small bag. Tossing needs room. Add thin apple slices or toasted nuts if they're already in the kitchen, then dress the greens right before serving. The salad is there to make the next forkful of stuffing taste good, not to demand another hour of chopping.
#19 Cranberry sauce from the can, reshaped
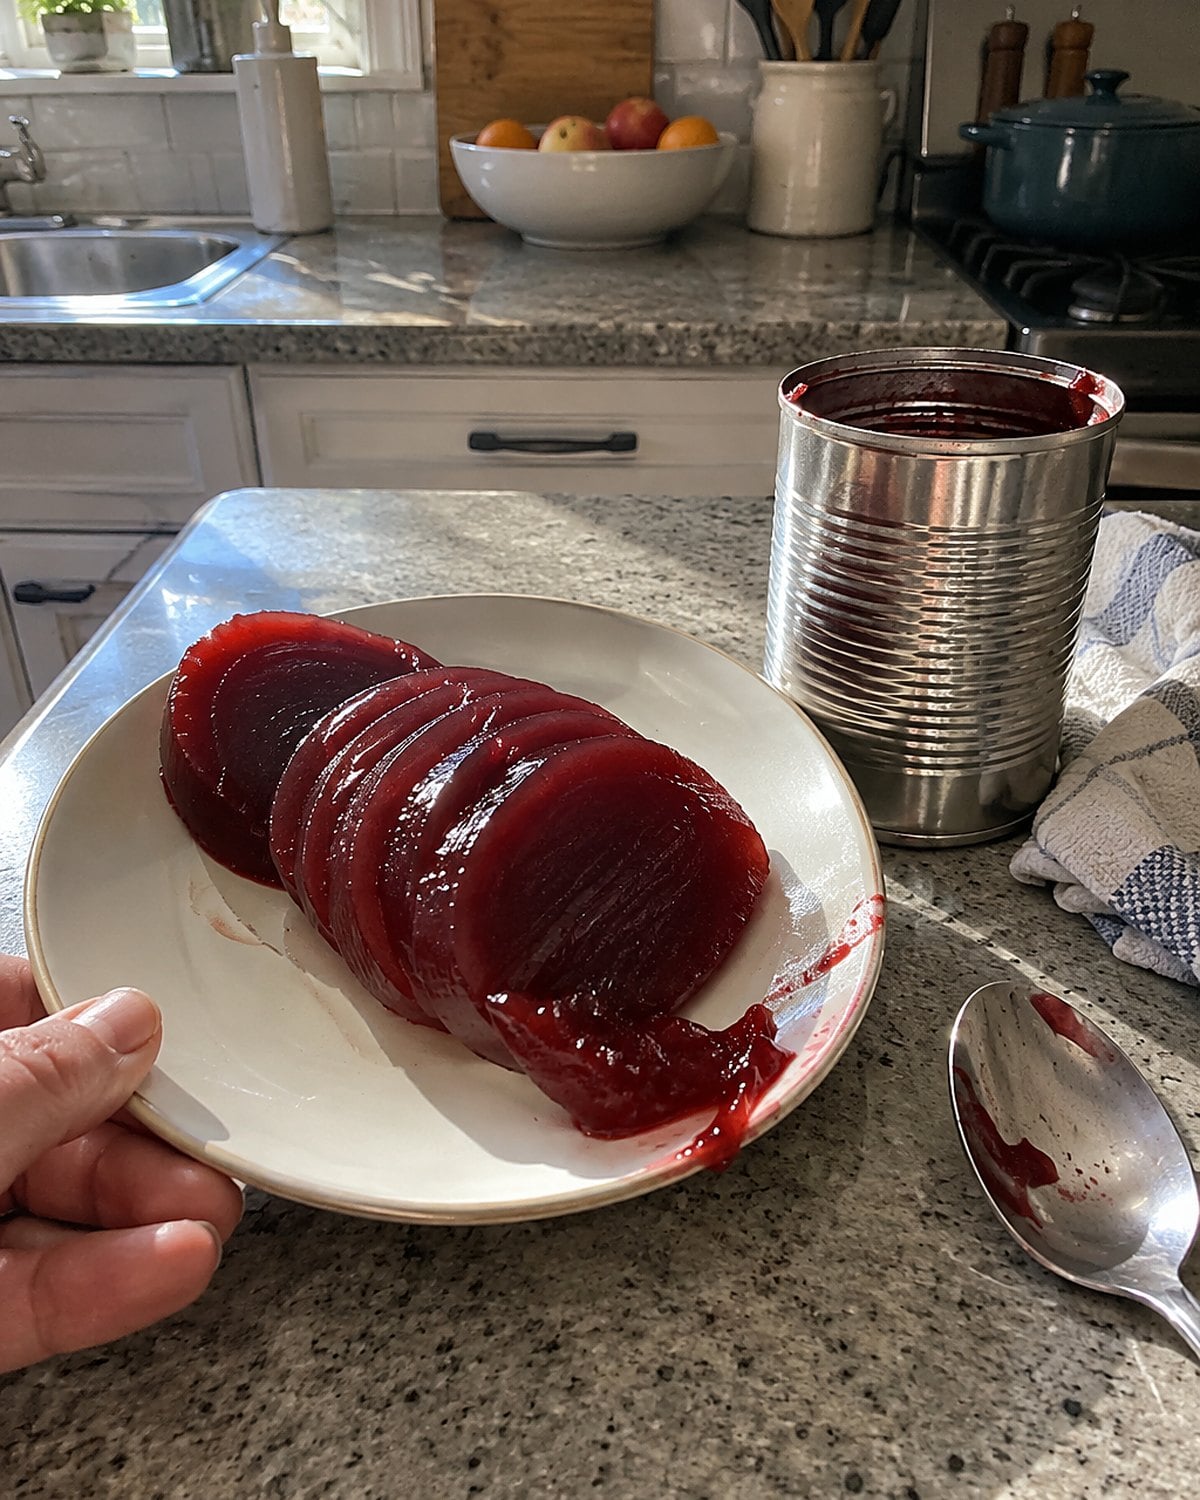
That familiar ridged cylinder has been on holiday tables for a long time. If everyone wants the canned sauce, buying fresh cranberries won't make them happier. What you change is how it meets the serving dish.
For smooth, jellied sauce, open both ends of the can and push it through onto a board. Cut across the ridges into neat slices and arrange them slightly overlapped on a plate. They lift cleanly with a small spatula.
You keep the recognizable flavor without putting a can-shaped column in the middle of dinner.
Whole-berry sauce calls for a different move. Spoon it into a bowl, stir it to break up the packed shape, and taste. A little orange zest adds fragrance without turning it into another dish. Zest only the colored surface; the white pith beneath it tastes bitter.
Whichever kind your family asks for, serve it cold and give it its own spoon. Cranberry sauce travels across the table more readily when nobody has to wrestle a slice off the platter.
#18 Prepared stuffing with a crisp top
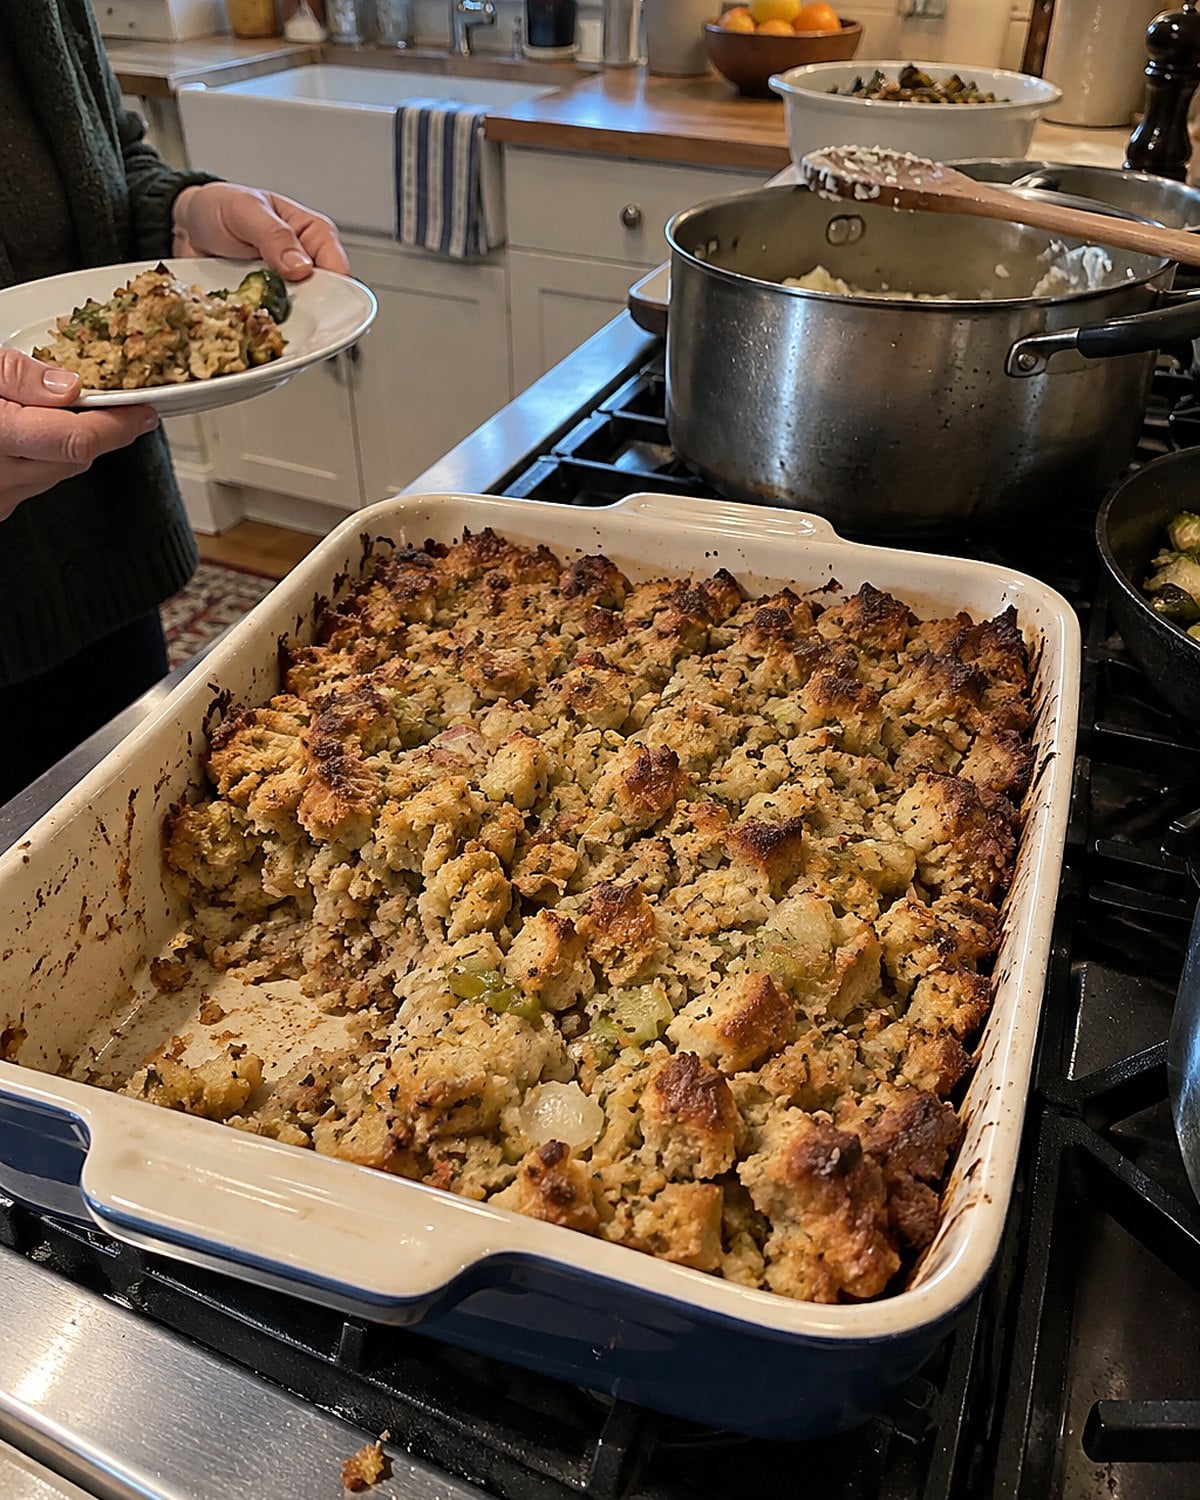
Prepared stuffing earns its place when the oven is full and the chopping feels endless. Its weakness is the top. Packed into a deep dish, it steams; spread out, it gets those browned bits people reach for first.
Buy the version your household already likes, then check its heating directions. Spoon it into a shallow baking dish rather than leaving it in a tall container. Dot the surface with butter.
For stuffing, whether bought or homemade, the USDA says the center needs to reach 165°F. Push the thermometer into the middle, away from the dish. Browning on top doesn't tell you what's happening underneath.
Taste before adding salt. Prepared stuffing arrives seasoned. If it tastes flat, chopped parsley adds a fresh note without fighting the sage. Bring the whole dish to the table. The crisp corners give people something to choose.
#17 Deli-counter vegetables in your skillet
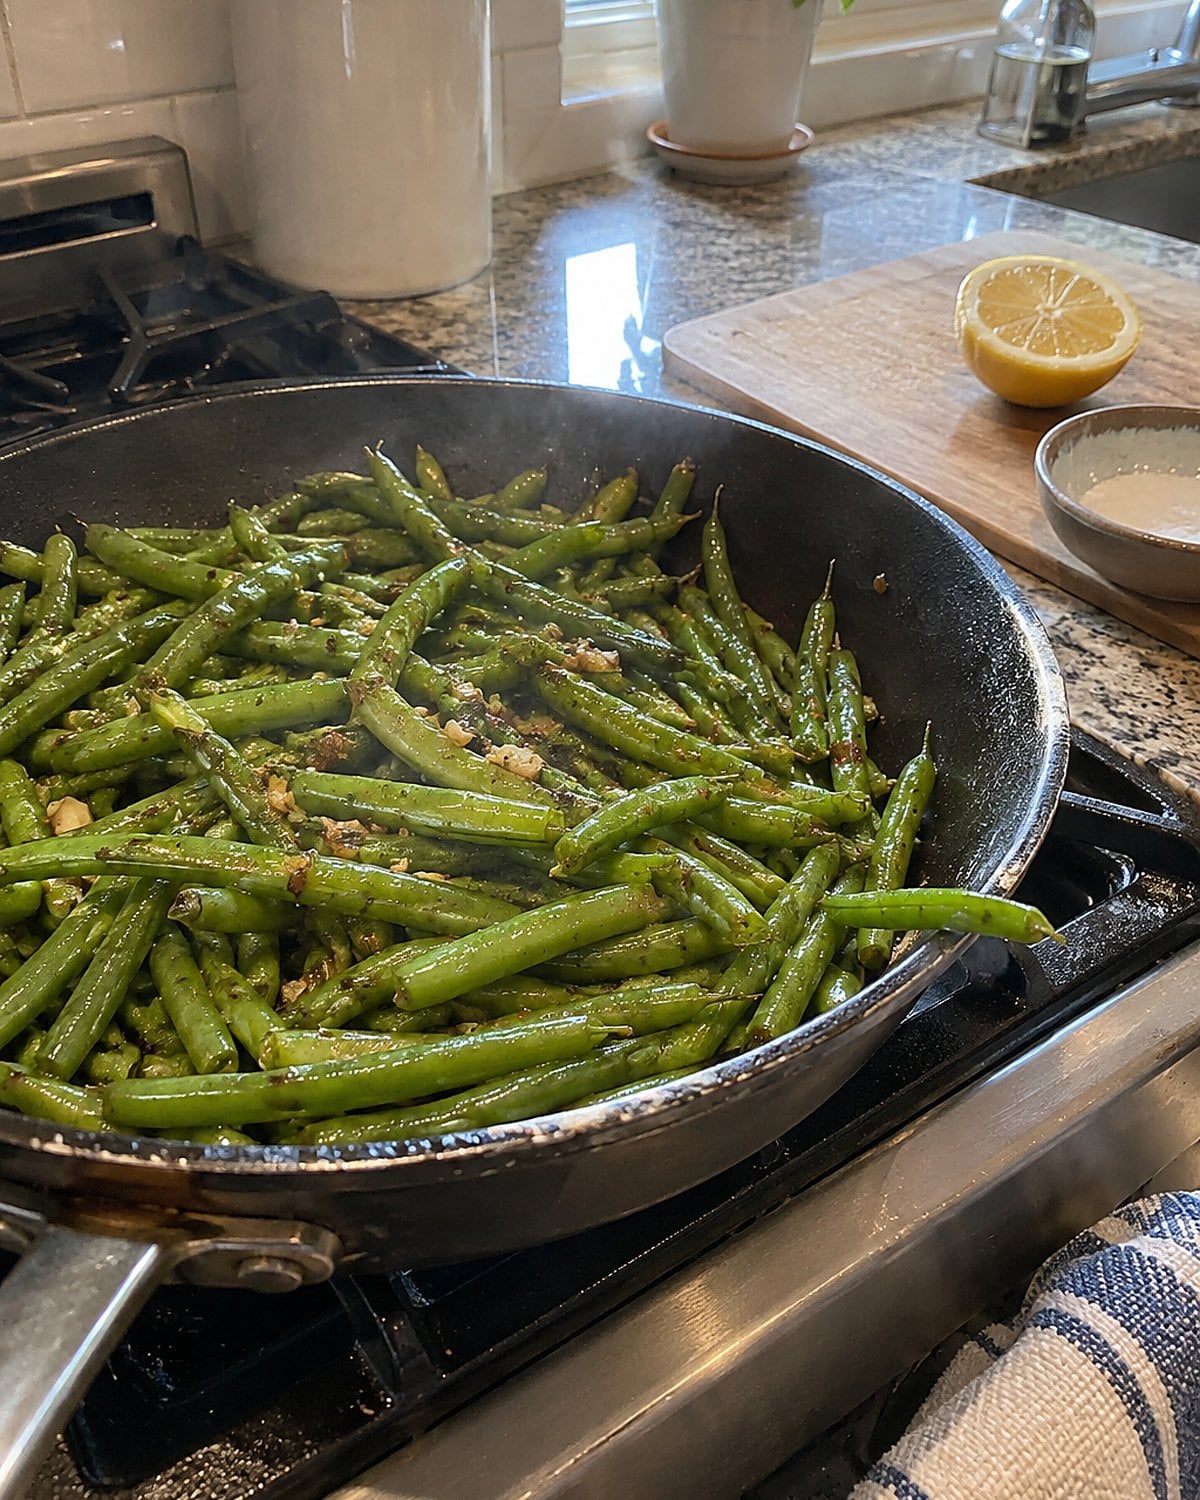
The deli case has cooked carrots, green beans, and other sides that ask little of you. What they don't give you is the smell of a skillet at the last minute. That smell is worth a small patch of stove space.
Choose vegetables that still look distinct in the tray, not a heap swimming in sauce. At home, heat a wide skillet, add a little oil or butter, and tip in the vegetables. Spread them out.
If the pan is crowded, they steam while you stir, and nothing gets a browned edge.
Keep them moving only enough to prevent sticking. Taste one as soon as they're hot. A squeeze of lemon wakes up green beans; chopped parsley suits carrots. Skip extra salt until you've tasted what the deli already added.
You can say, “I finished the vegetables in the skillet,” and mean every word. More to the point, you can hand a guest a spoon and ask them to bring the dish over. Dinner has enough jobs for everyone.
 You might also like27 Things Home Cooks Over 60 Do Without Thinking That Chefs Would Never Do
#16 Frozen pearl onions without the peeling
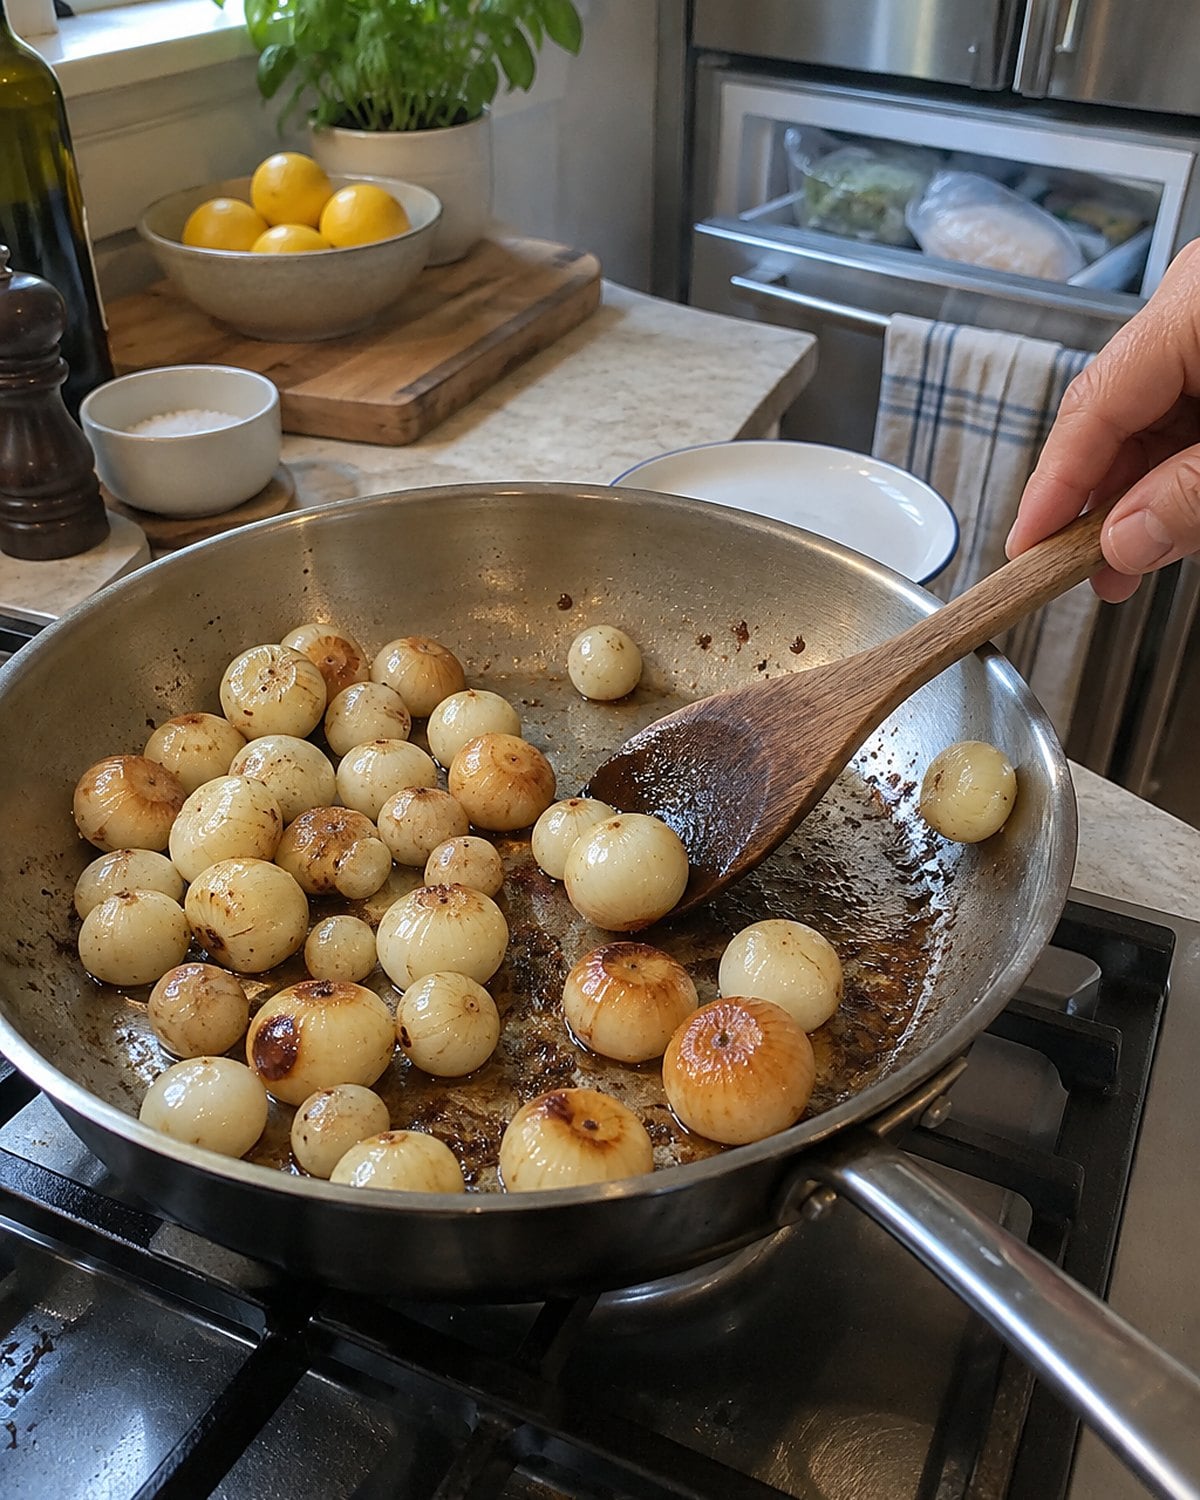
Pearl onions are lovely beside a roast. Peeling a bowl of them is less lovely, especially when the sink is already full. Frozen peeled pearl onions remove exactly the part nobody enjoys.
Tip them into a wide pan with butter and let the excess water cook away. Give the pan about 5 minutes before judging its progress; frozen onions release water as they heat. What you want to hear next is a sizzle, not a simmer.
Don't add sugar immediately. While the pan is wet, sugar dissolves into liquid; after the water is gone, it helps glaze the onions. Shake the pan now and then so their sides take on a little color.
Finish with a small splash of broth and cook until the liquid coats them. Taste for salt at the end. If the glaze looks watery, leave the pan uncovered and keep it moving. You get tender onions with a shiny finish, and no papery skins stuck to your fingertips.
#15 Precut squash on a roomy sheet
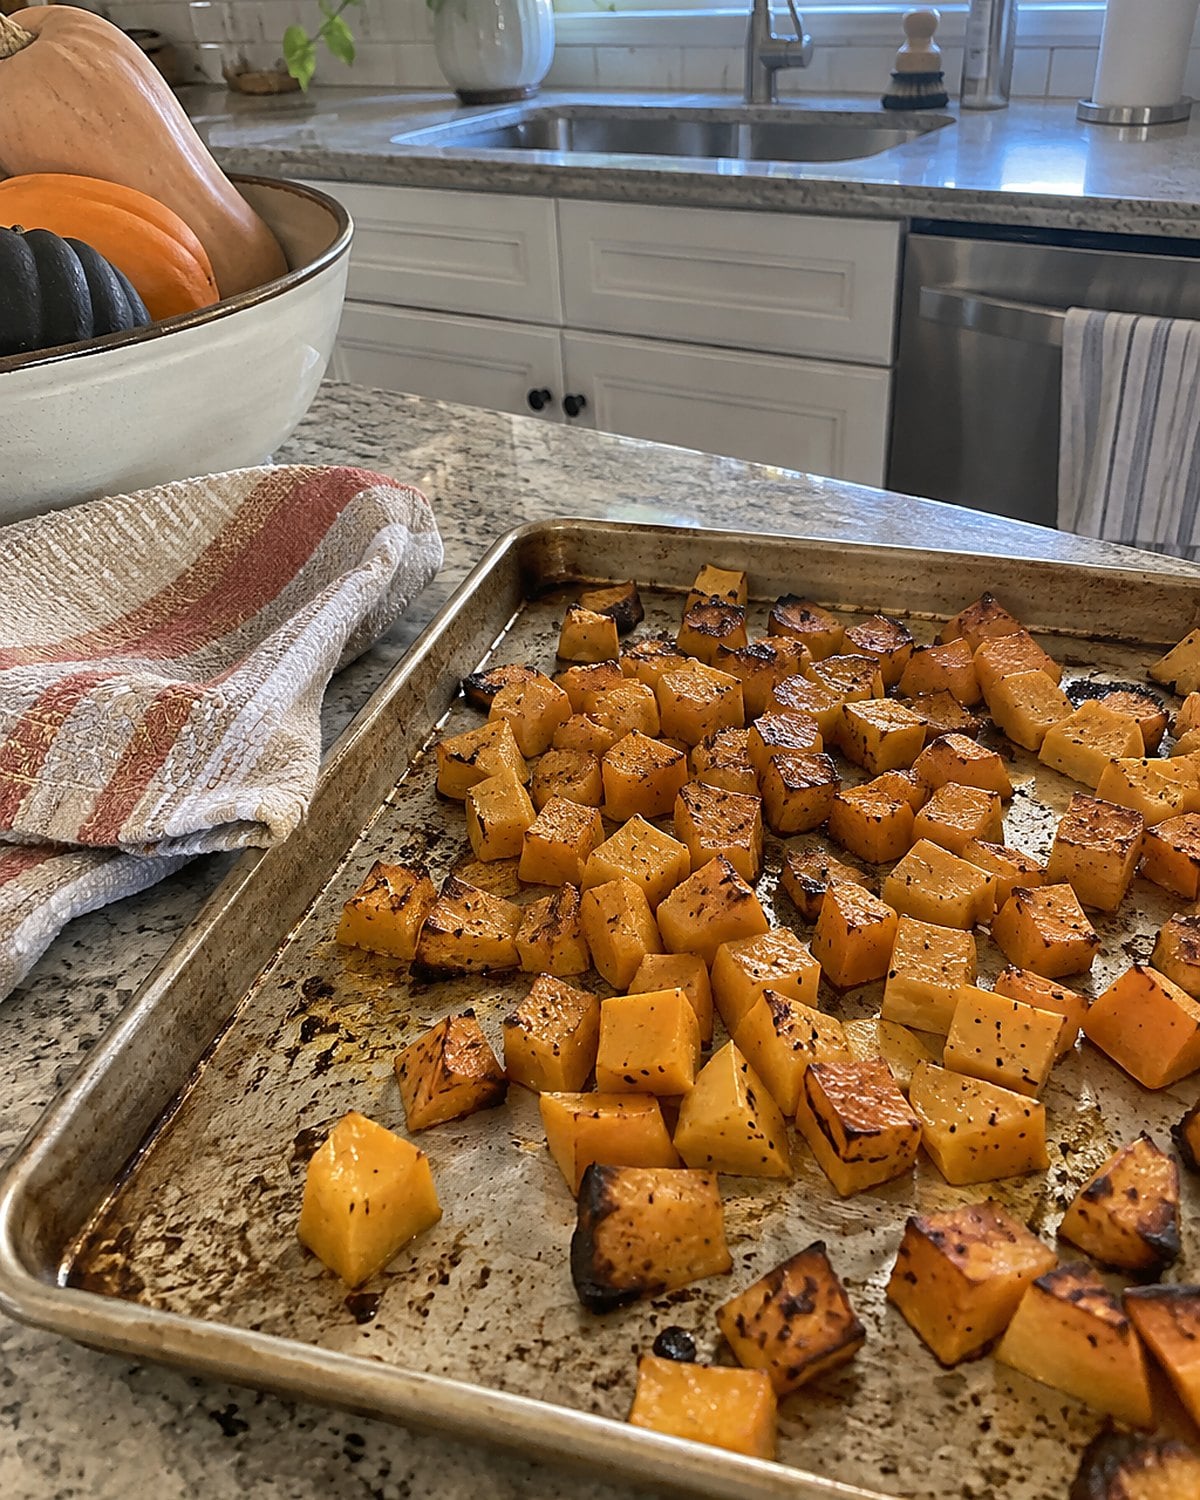
The hardest part of squash is the knife work. A bag of peeled, cubed squash puts that work behind you, but it won't roast well if you pour the whole bag into a cramped pan.
Dry the pieces with a towel if they look wet. Toss them with oil, spread them on a sheet pan, and leave space between them. Roast at 400°F, checking the bottoms after about 20 minutes. Hot metal browns them; pieces piled on top of one another trap steam and stay soft.
Look at the cut sizes before the pan goes in. If some chunks are much larger, cut those down so the small pieces don't scorch while the large ones finish. Turn the squash once the bottoms have browned enough to release from the pan.
Season after tasting. For a sharper finish, add a splash of cider vinegar after roasting, when the heat won't cook away its edge. Serve it from the warm sheet pan if your serving dishes have run out. The caramelized corners won't complain.
Try it: 20+ Instant Pot Pumpkin & Squash Recipes
#14 A butcher's tied turkey breast
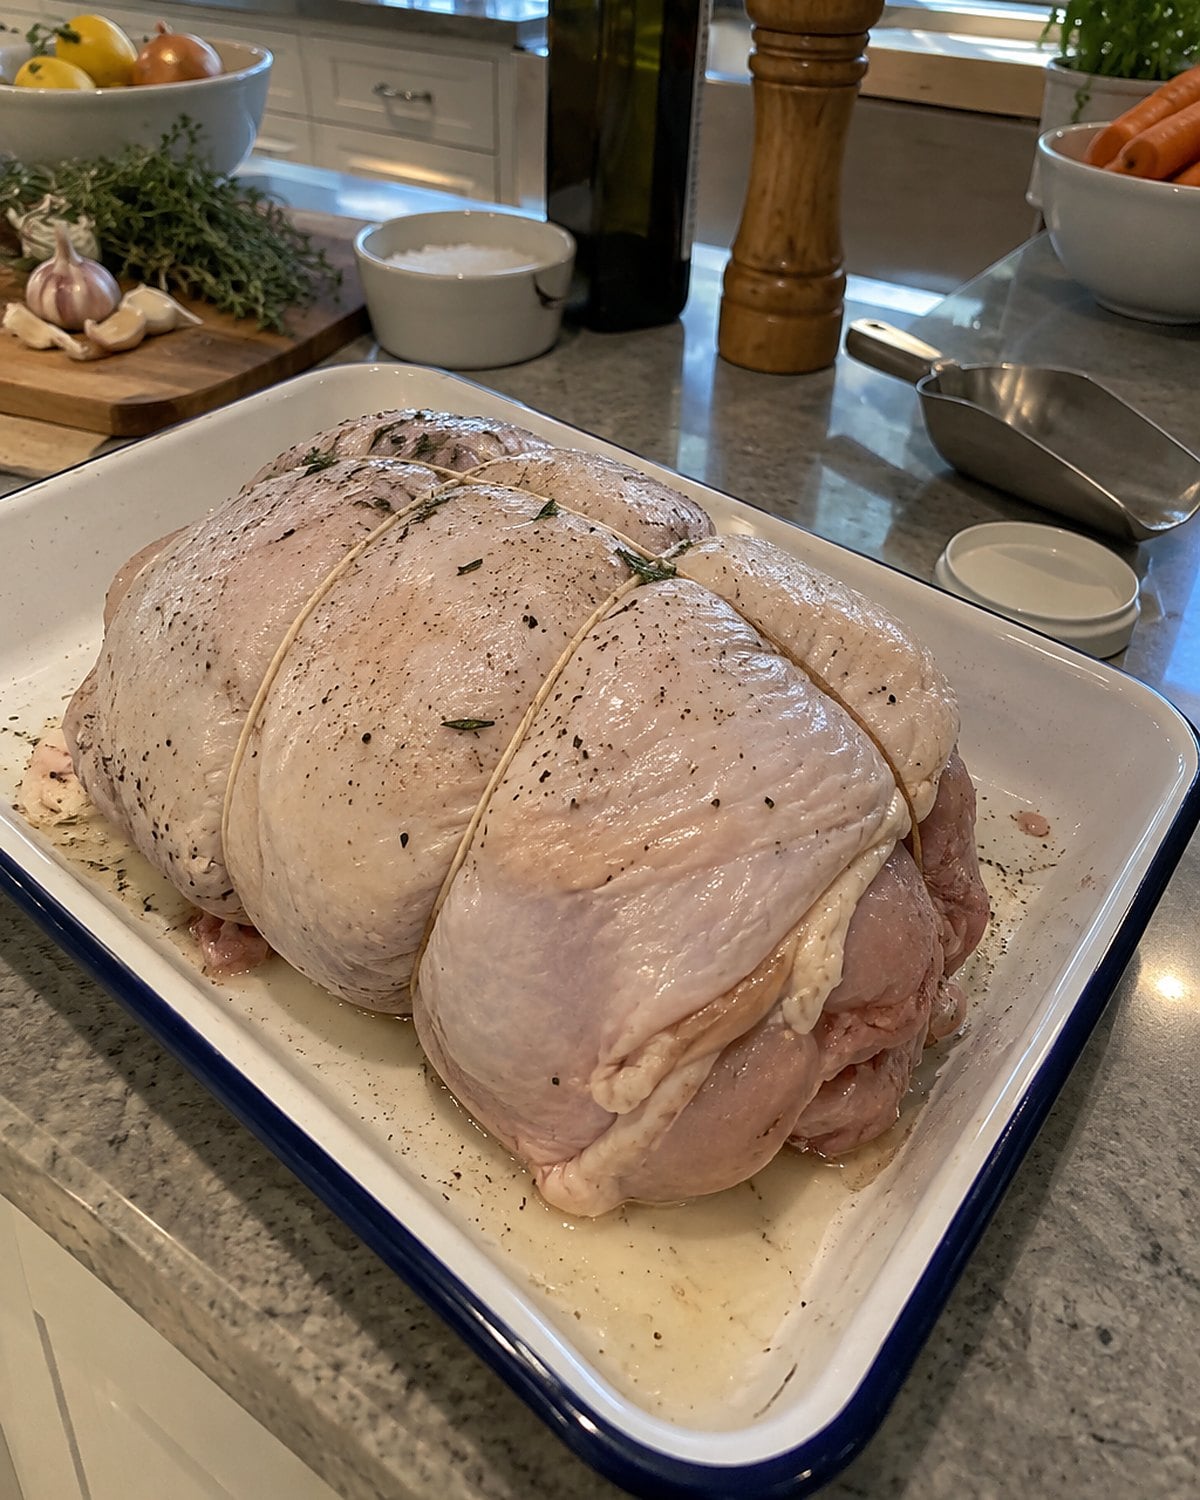
A whole turkey takes oven space, carving space, and a long conversation about leftovers. If there are fewer people at your table now, ask the butcher for a boneless turkey breast, tied for roasting. That sentence tells them what you need without inviting a debate about holiday tradition.
The shape matters. A tied breast cooks more evenly than a loose piece with thin ends flopping outward. Leave the string on while it roasts, and cut it off before slicing. Rest the meat so the juices settle, but don't use time or color alone to judge doneness.
The USDA's poultry guidance gives 165°F as the safe internal temperature. Put the thermometer in the thickest part, avoiding the pan and any stuffing. Slice across the grain, then arrange the pieces on a platter. There's room for gravy, and nobody has to carve around a carcass.
#13 Cookie dough waiting in the freezer
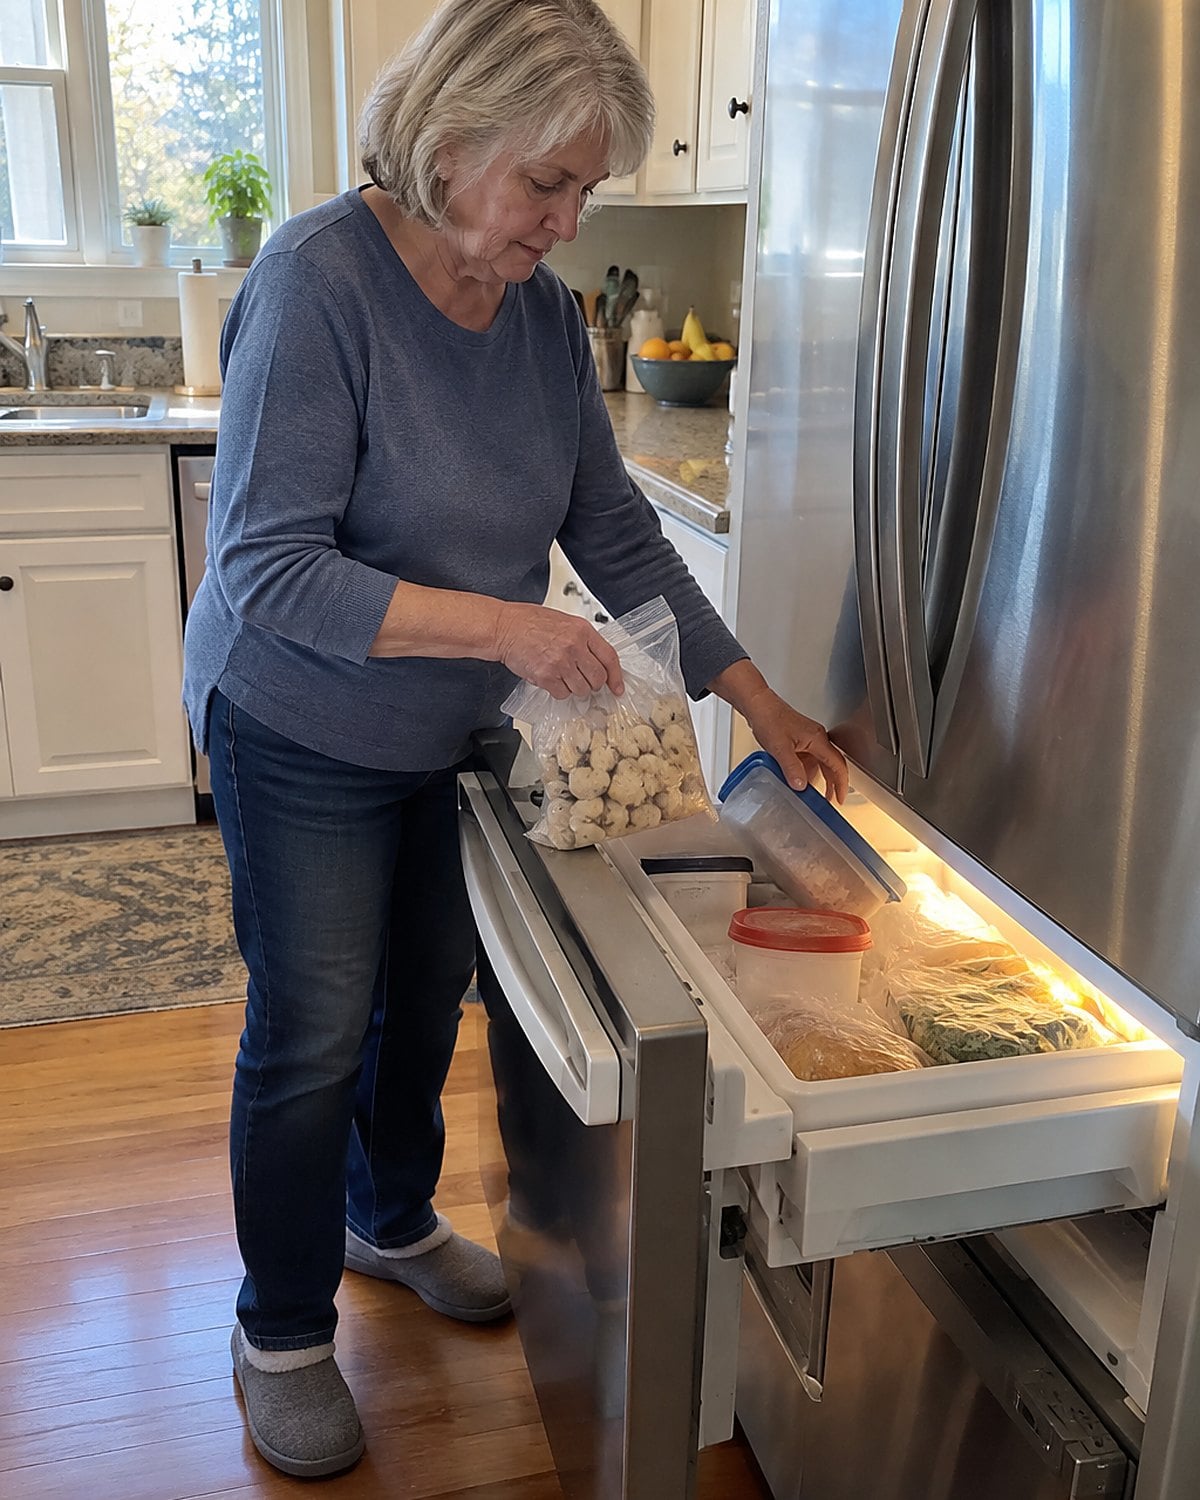
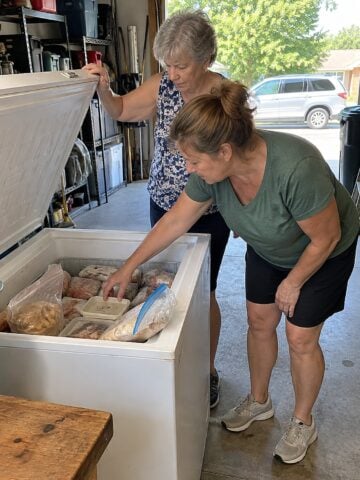
A freezer drawer with a dated bag of cookie dough is a useful thing to open on a busy holiday. Make a dough you know well on a calmer day, scoop it into portions, and freeze the scoops on a tray. Once they're firm, move them to a freezer bag and write the date and baking directions on it.
That last detail saves more trouble than the dough itself. Without directions, you'll stand by a hot oven trying to remember whether the cookies needed parchment or how far apart to space them. Follow your recipe's instructions for baking from frozen, or thaw the dough in the fridge first.
Want the house to smell as though you've baked all afternoon? Bake a tray shortly before people arrive. Let the cookies cool on the pan until they're firm enough to lift. A warm cookie torn apart too soon looks underbaked even when it will set as it cools.
Put out a small plate and keep the rest for later. The freezer has done the waiting, and you still get the part of baking you like.
#12 Premade crust under a familiar filling
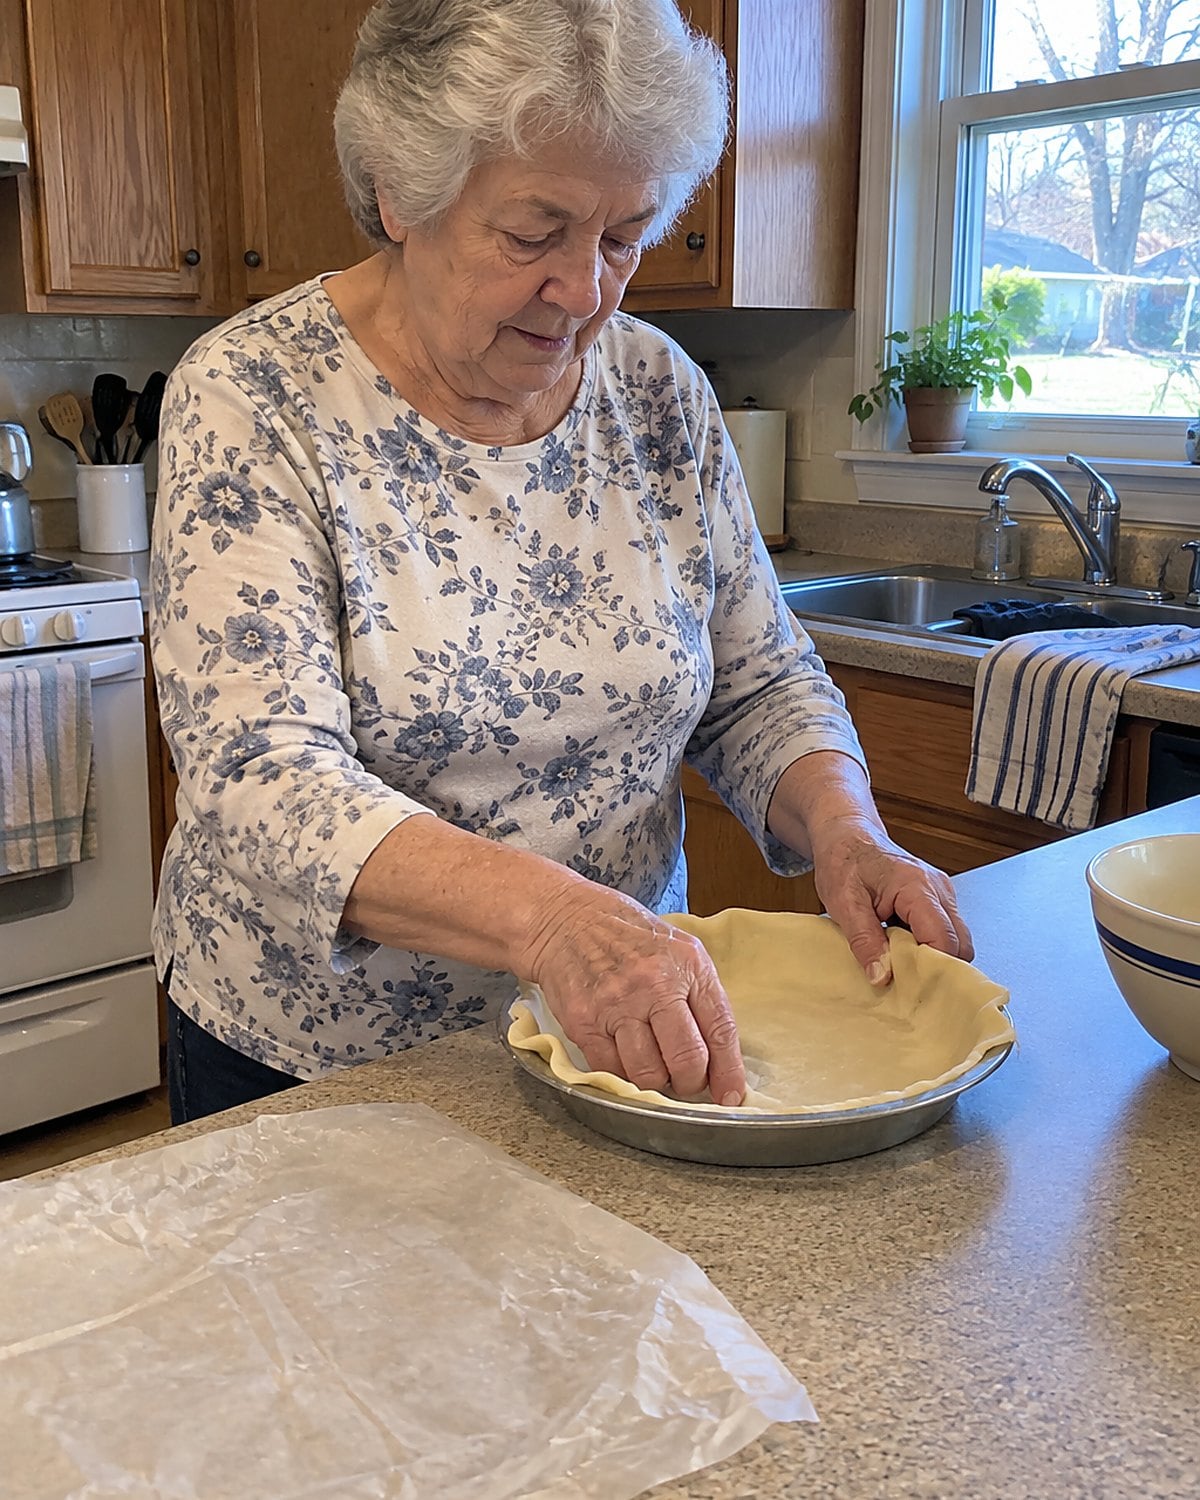
If the filling is the pie your family asks for, make that part. There is no need to turn pastry into a second project. A refrigerated crust takes the rolling pin off the counter and leaves you free to watch the filling.
Let the crust come to the temperature the package directs before unrolling it. A crust forced flat while cold cracks at the rim. Ease it into the plate without stretching; stretched dough pulls back in the oven.
Press the dough into the corner where the bottom meets the side. A gap there leaves the crust hanging above the plate, and the filling pushes it down during baking. Use your fingers rather than tugging at the rim.
Then follow your filling recipe, especially its directions for a prebaked crust. Before serving, look at the bottom slice. A firm base lifts; a damp one folds. The shortcut works best when you still give the crust the bake your pie needs.
#11 Packet gravy rescued with pan drippings
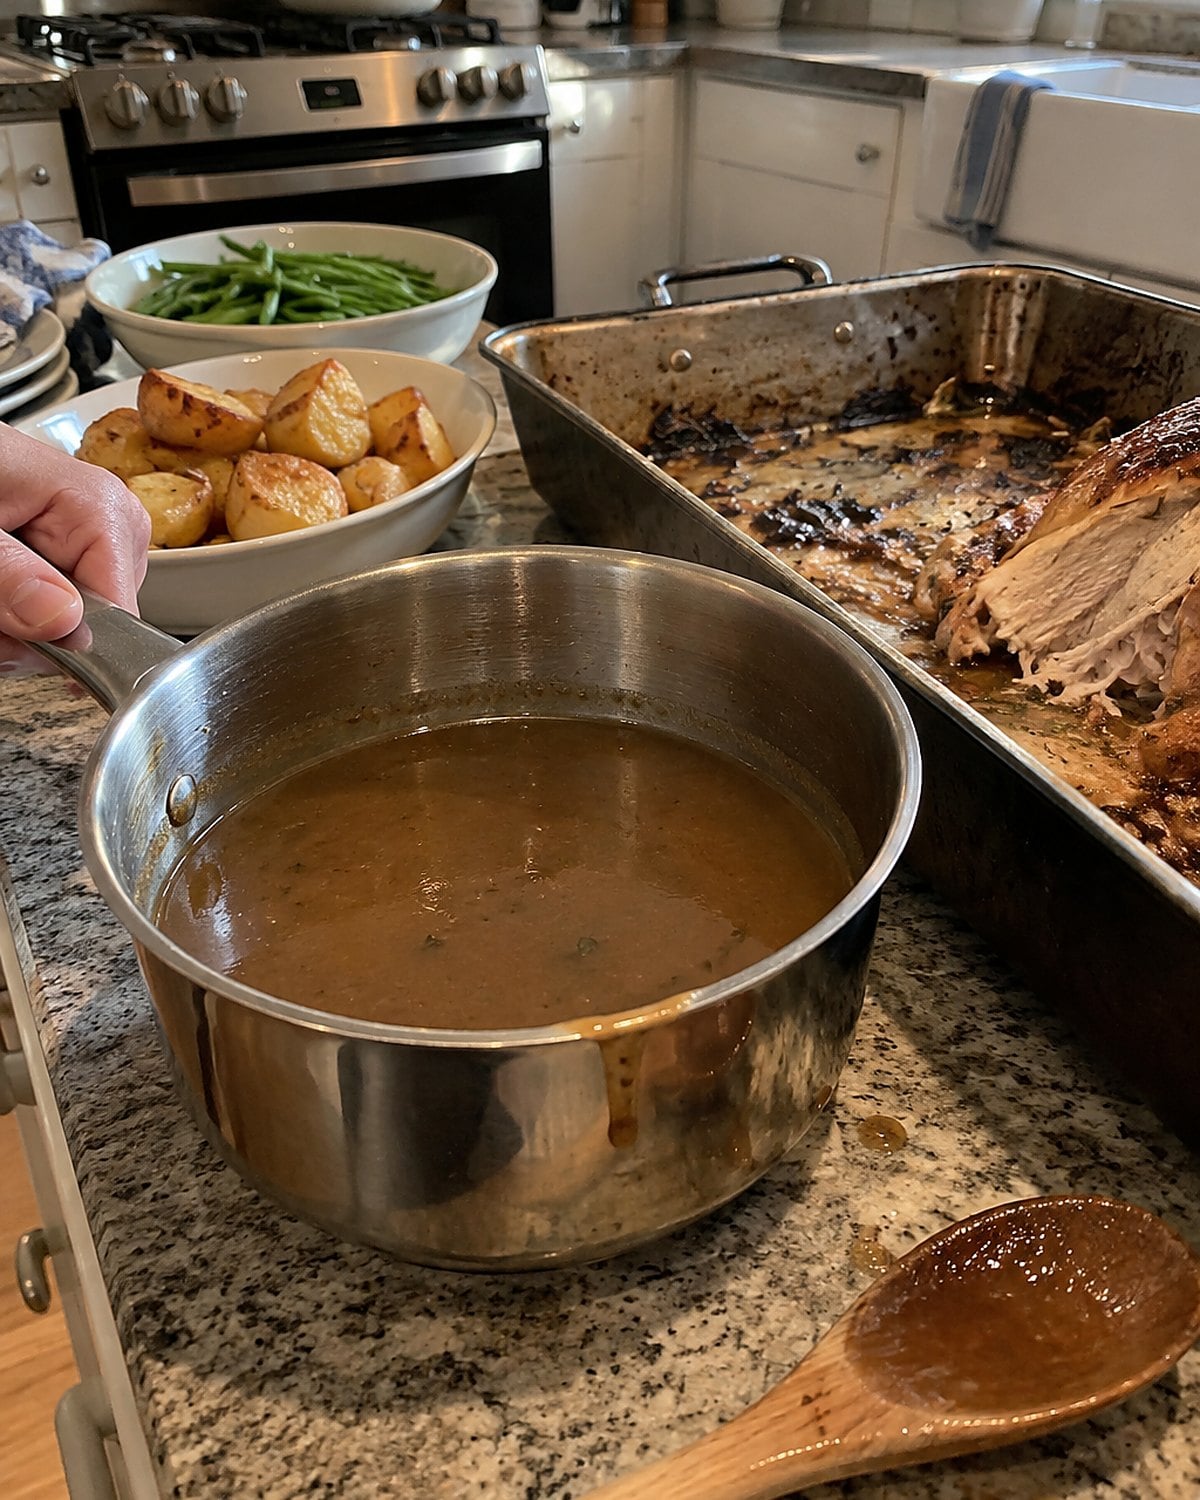
Keep a gravy packet in the pantry for the roast that leaves too little liquid behind. The packet handles thickening. The roasting pan supplies the taste.
Prepare the gravy as directed, using the liquid the packet specifies. In a separate cup, let the pan drippings settle. Spoon off the fat, then add a little of the savory liquid beneath to the finished gravy.
Stir and taste. Packet gravy already carries salt, so don't season it blind.
Scrape browned bits from the roasting pan with a little warm water or broth. Those bits belong in the gravy if they smell roasted, not burnt. Strain out any hard scraps before pouring.
If the gravy grows too thick while waiting, whisk in warm broth. Don't leave it over strong heat while you set the table; the bottom will catch before anyone notices. A small saucepan gives you control right up to the moment the gravy boat goes out.
#10 A rotisserie chicken for the casserole
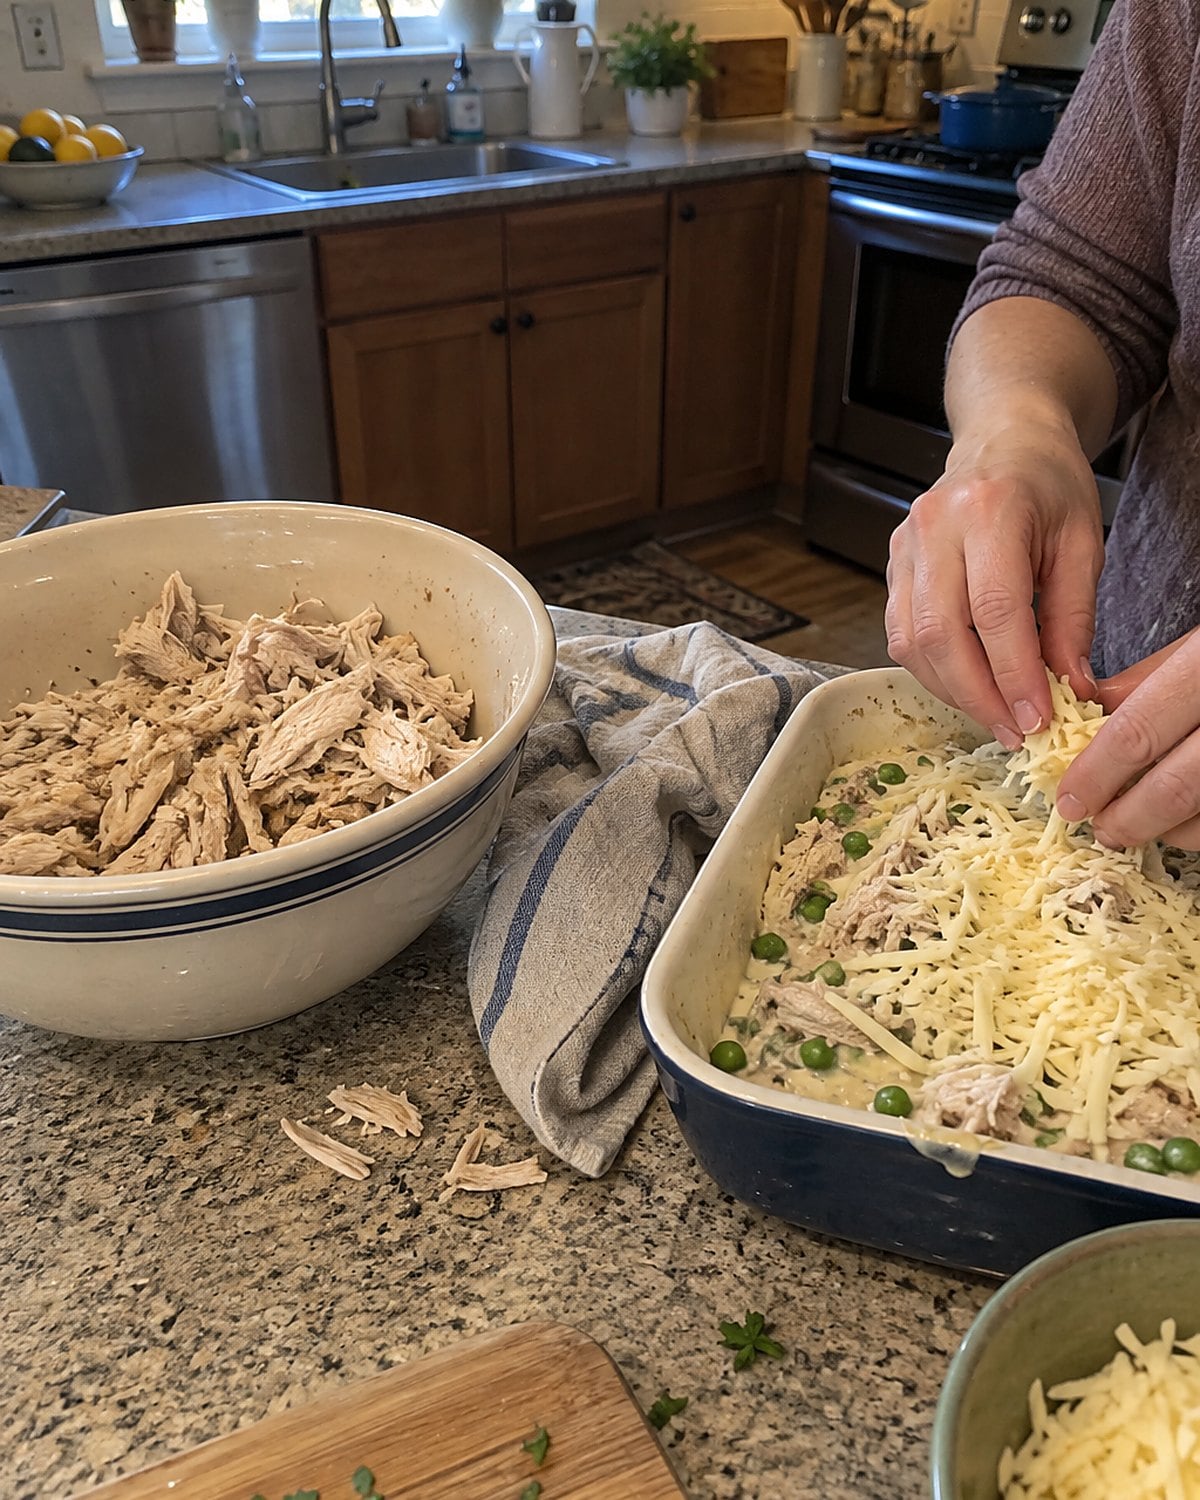
Nobody sees the raw chicken once it's folded into a holiday casserole. A rotisserie chicken gives you cooked, seasoned meat without another pan on the stove. Choose a plain bird if the casserole has a strong flavor of its own.
Pull the meat while the chicken is easy to handle, discarding bones and skin where they don't belong in the dish. Keep the pieces fairly large. Tiny shreds disappear into sauce, while generous pieces still taste like chicken when you serve a spoonful.
Watch the salt. Both the cooked bird and a prepared soup or sauce bring seasoning with them. Taste the mixture before topping it with cheese or crumbs.
Then bake the casserole until the center reaches 165°F, the USDA's temperature for casseroles. Check the middle with a thermometer; the browned topping won't tell you whether it's done.
If you won't assemble it promptly, refrigerate the chicken. The USDA's cold storage chart is the place to check how long cooked poultry belongs in a fridge held at 40°F or below.
Try it: Instant Pot Chicken Broccoli & Rice Casserole
#9 Canned beans in the holiday soup
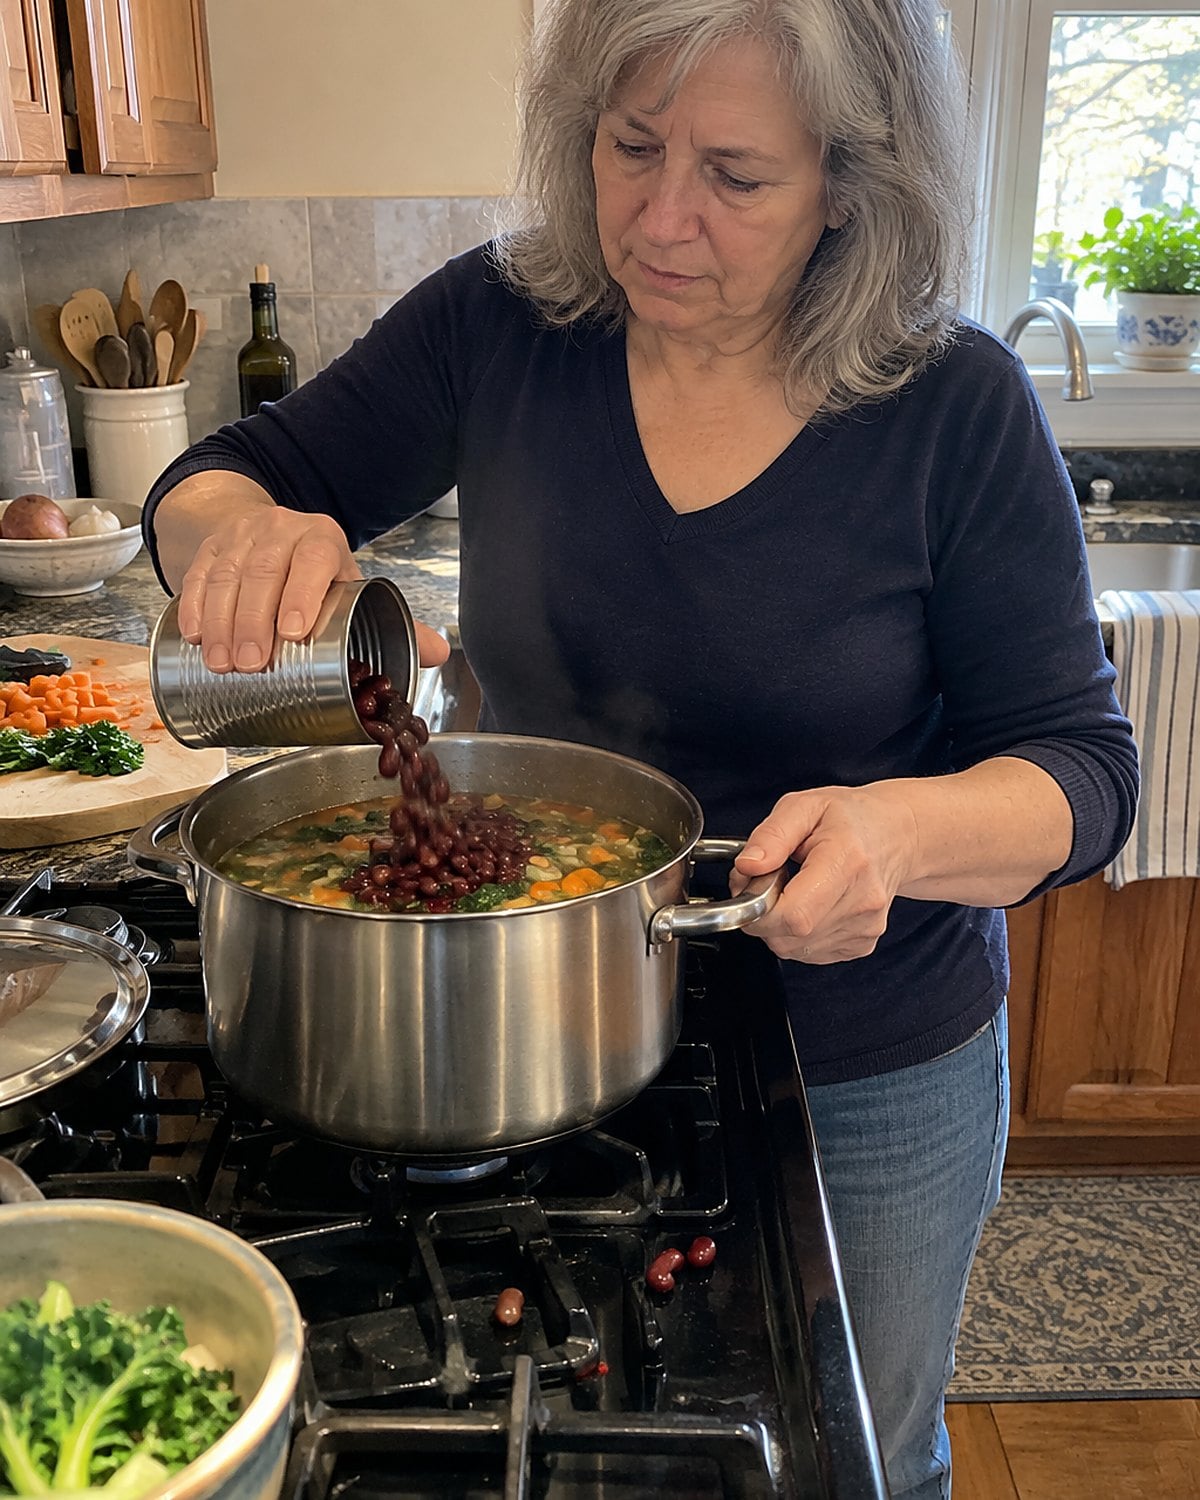
A pot of soup is welcome when holiday plans stretch across days. Dried beans ask you to plan that pot far ahead. Canned beans let you start with the onions and get to dinner.
Cook onion, carrot, and celery in oil until the onion loses its raw smell. Add broth and whatever flavor belongs to your soup, perhaps a bay leaf or a piece of Parmesan rind. Let that base simmer before opening the beans.
The vegetables need time to soften. The beans don't need another long cook.
Drain and rinse the beans if you want a cleaner-tasting broth. Add them toward the end, then stir with care. For body, mash a spoonful against the side of the pot and stir it back in. That thickens the soup without flour or cream.
Taste after the beans go in. Canned beans bring some salt even after rinsing, and the broth adds more. If the pot tastes heavy, a squeeze of lemon at the end lifts it. Ladle it into mugs if everyone is still moving around the kitchen.
Try it: Instant Pot Bean Soup (Only 5 Ingredients)
 You might also like27 Homemade Christmas Candy From the 1950s and 60s That Disappeared
#8 The cheese board from the deli case
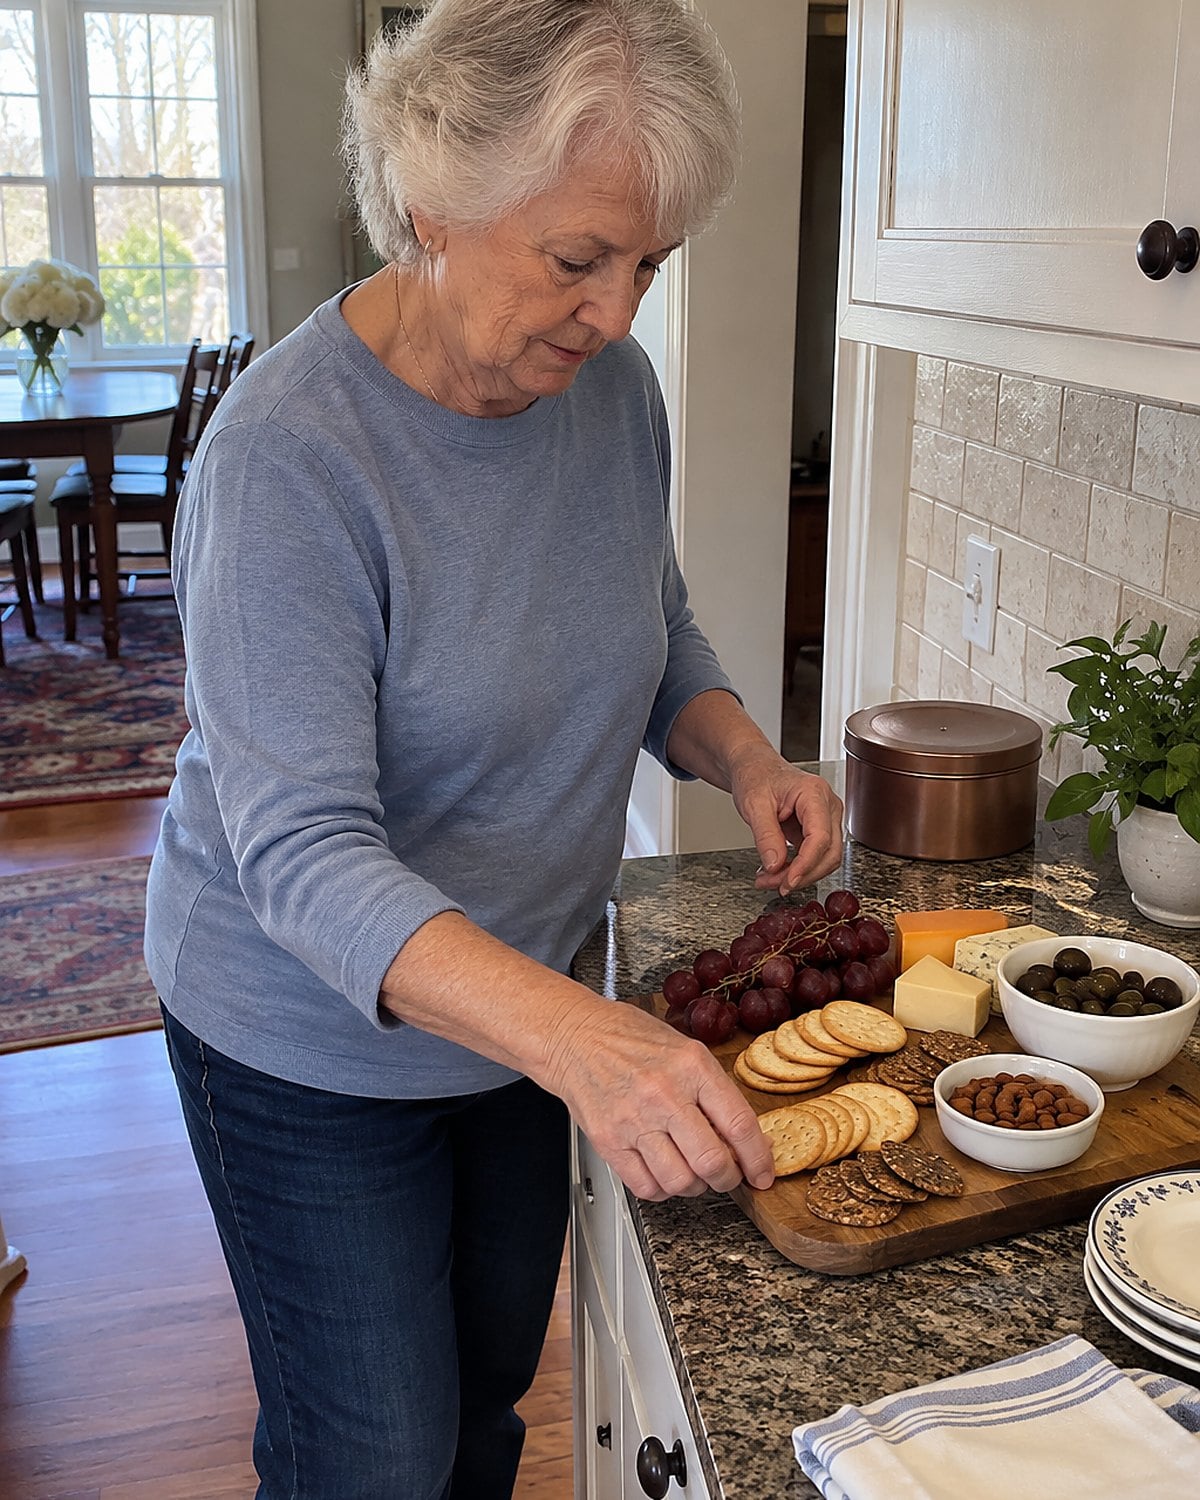
When dinner is running late, a deli cheese board buys you breathing room. Leave the cheese in its wrapper until you have a clean board ready, then arrange it with crackers and fruit you already have. No carving vegetables into decorations.
Keep the board modest. People should still want dinner. Put a separate knife beside each soft cheese so the cheddar doesn't end up coated in goat cheese. A small bowl handles olives or pickles better than scattering them among the crackers.
Set the board where guests gather, away from the stove. It gives them somewhere else to stand while you finish the hot food. For cheese that needs refrigeration, follow the FDA's two-hour rule and put it back sooner if the room is warm. You get company without an audience at your elbow.
#7 Jarred mincemeat in the old tart tins
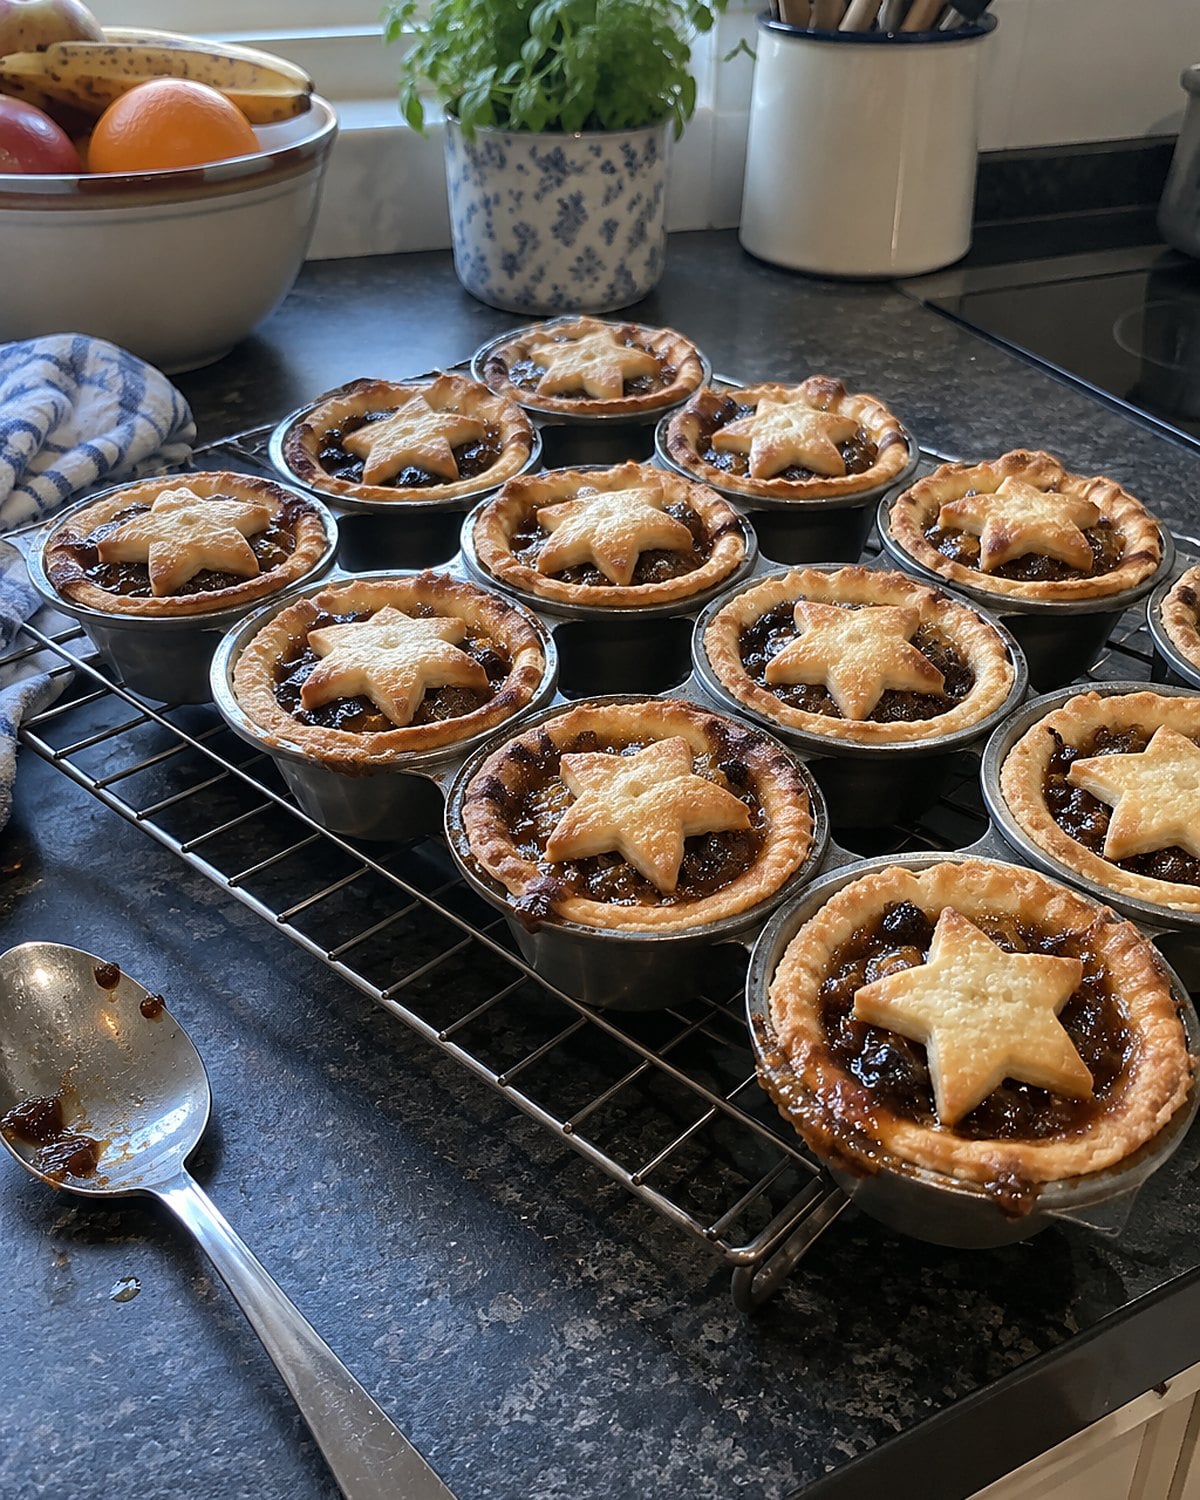
Those little tart tins in the back of the cupboard have history, even if you buy the filling. Jarred mincemeat lets you make the pastry, or use ready-made pastry, without chopping and cooking fruit for another afternoon.
Read the jar before adding anything. Some mincemeat is bright with citrus and spice; some tastes sweeter. A spoonful straight from the jar tells you which one you bought. If it needs contrast, put a small piece of tart apple beneath the filling.
Don't heap it high. Hot filling bubbles, and an overfilled tart glues itself to the tin.
Use the pastry package's baking directions as your guide, and watch for browned edges and a bubbling center. Let the tarts settle before lifting them out; rushing breaks the shells.
There is something satisfying about using the old tins without taking on the old workload. The familiar shape reaches the table. The hours spent stirring fruit do not.
#6 Jarred beets in the serving bowl
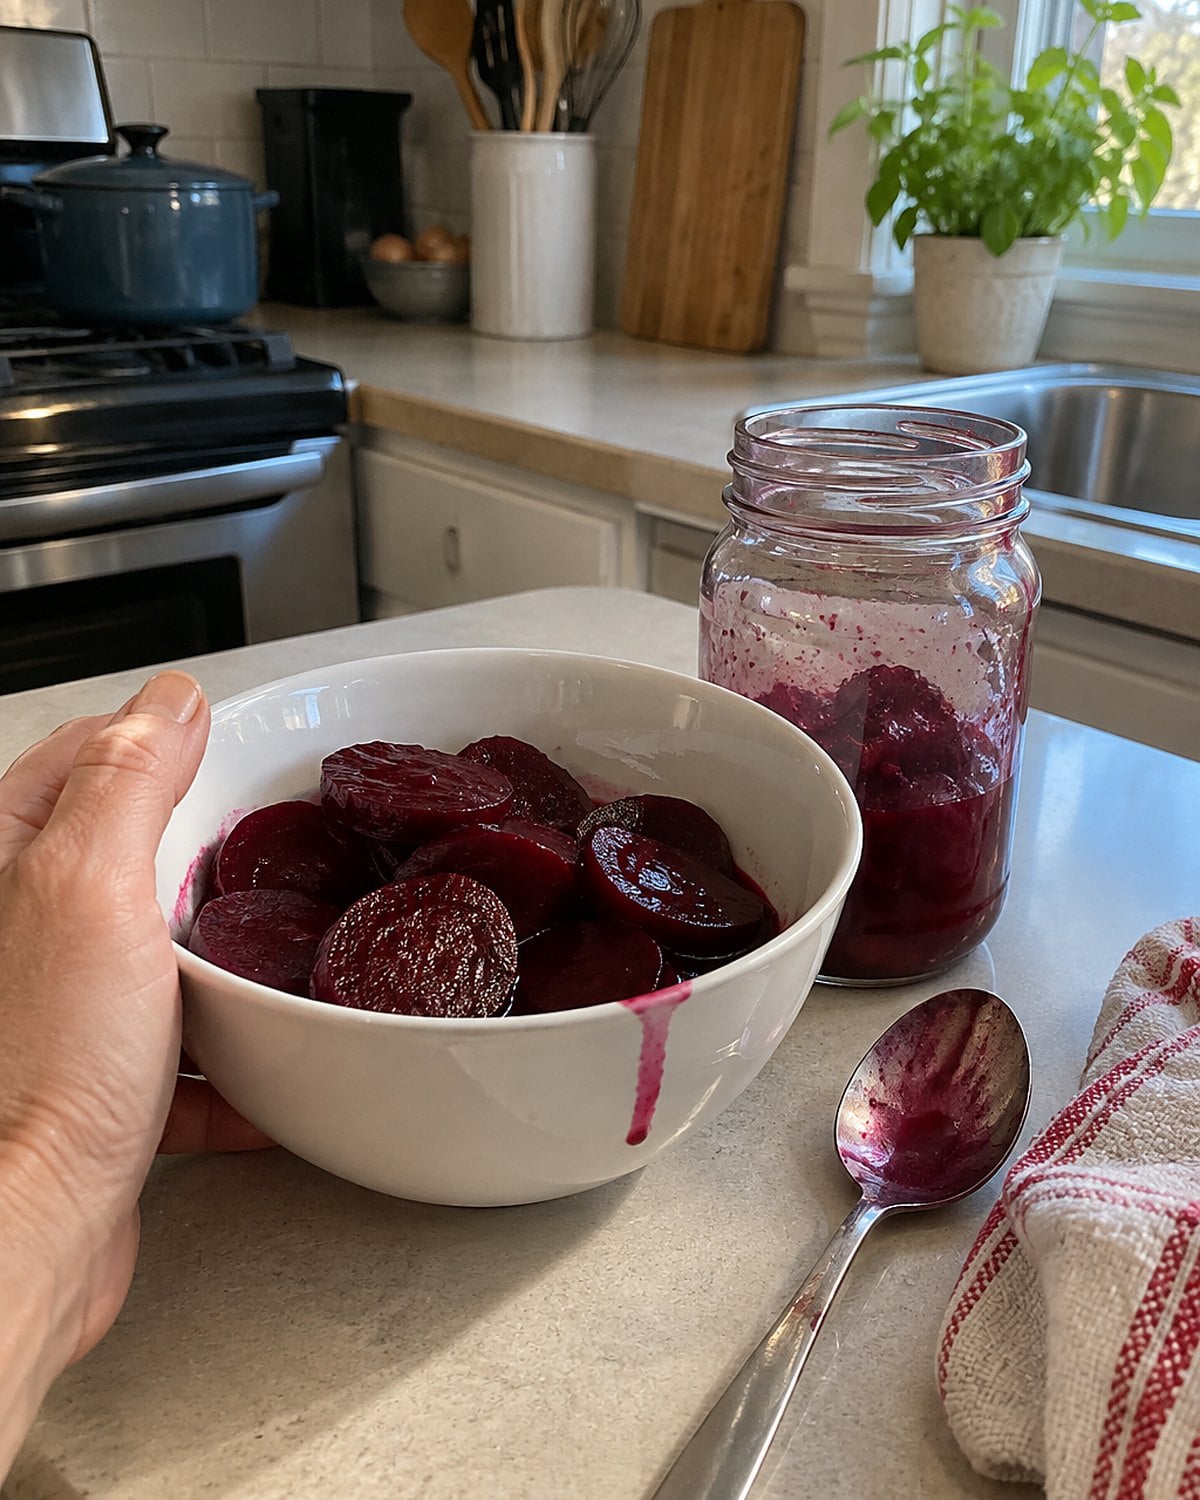
Do you still make the beet dish because it appears in every holiday photograph? If the answer is yes, let a jar do the peeling and cooking. Choose beets without a sauce that fights the rest of your meal, then drain them well.
Give them about 10 minutes in a colander while you set out the bowl. Liquid left in the jarred beets pools under the dressing and thins its taste.
Cut large pieces into fork-sized bites. Toss with a little vinegar and oil, taste, and add salt only if the jar needs it. Fresh dill or parsley looks good, but the acid matters more. It cuts through the sweetness and keeps the beets from tasting flat beside roasted meat.
Use a serving bowl that can survive a stain, and give the beets their own spoon. Their color travels. You have kept the dish and spared your cutting board the purple hands-and-counter episode.
Try it: Instant Pot Creamed Beets
#5 The covered dish before guests arrive
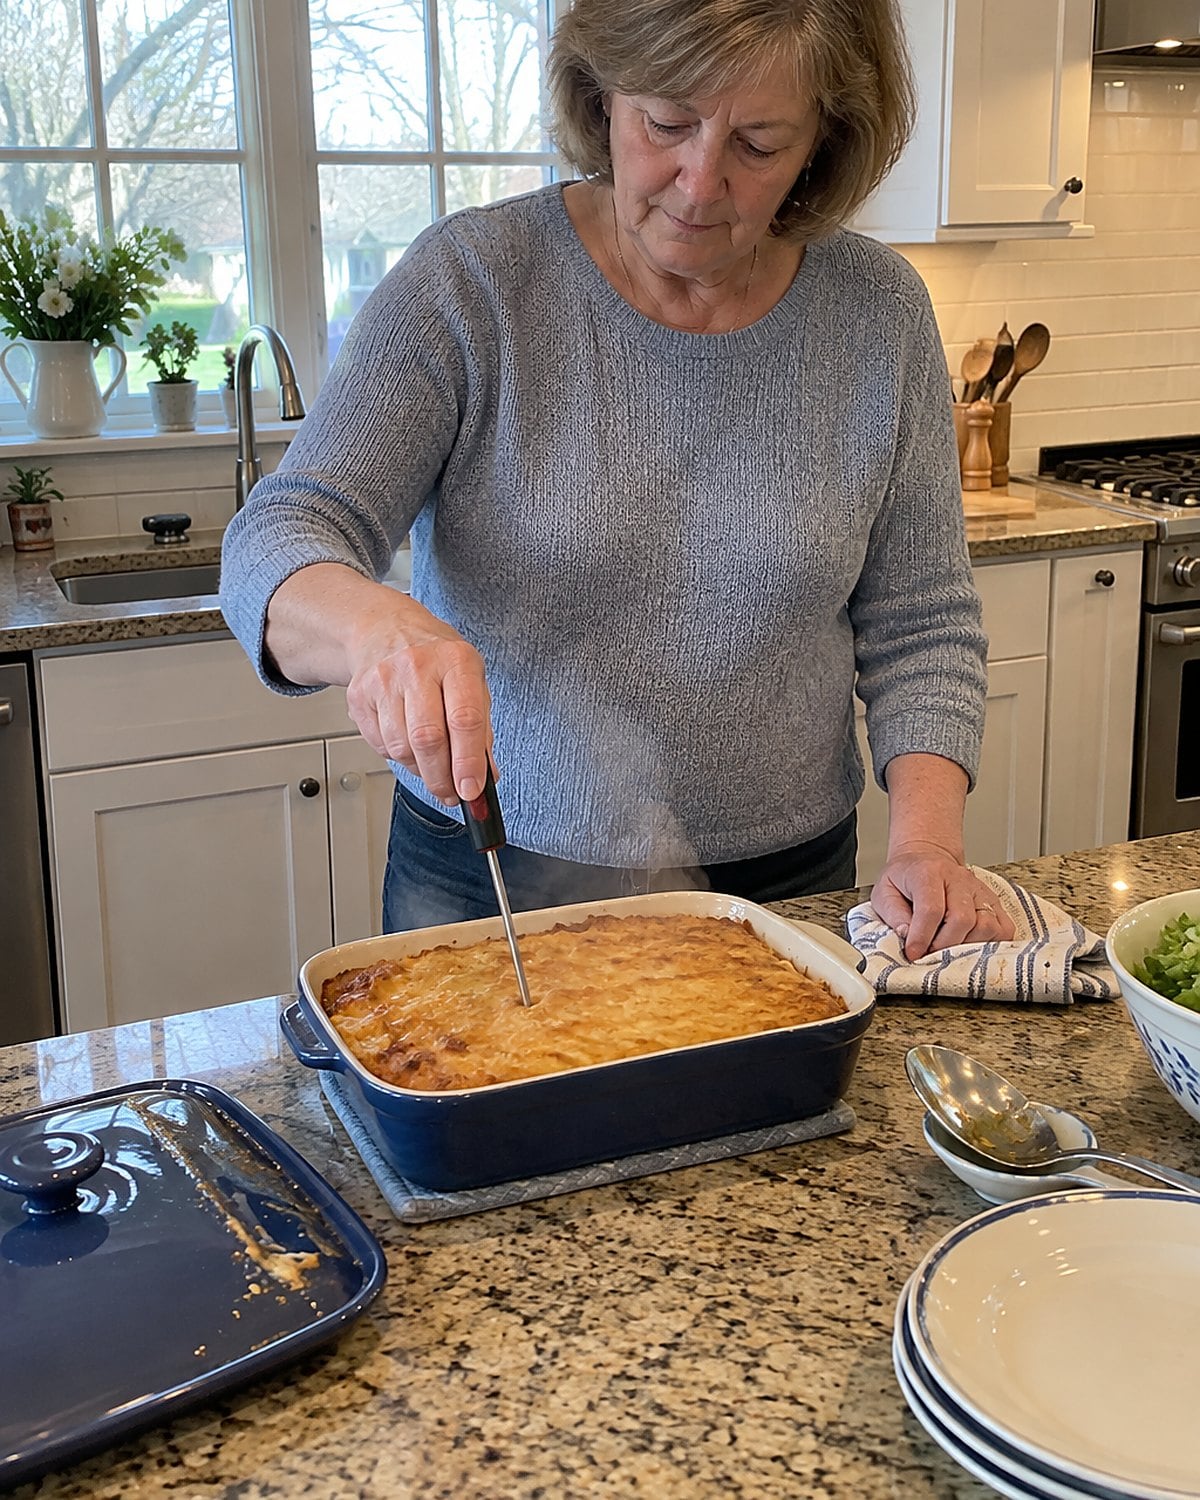
The covered casserole waiting by the oven feels like a head start. It is, as long as its temperature stays in the plan. A hot dish cannot sit on the counter through a long visit just because it has a lid.
If you're serving hot food over time, keep it at 140°F or above. If you're holding a cold dish, keep it at 40°F or below. The USDA's danger-zone guidance also says perishable food should not sit out longer than two hours.
A kitchen timer beats guessing when the first guest arrived.
For a dish made ahead, follow its chilling and reheating directions rather than leaving it near the stove to “take the chill off.” Check the center when reheating leftovers or a casserole: 165°F is the USDA target. Push the thermometer past the crisp topping into the middle.
Put hot dishes out when people are ready to eat, not when the table looks ready for a photograph. That small change protects dinner and keeps the top from drying while everyone talks in the hallway.
#4 Boxed cake in the holiday trifle
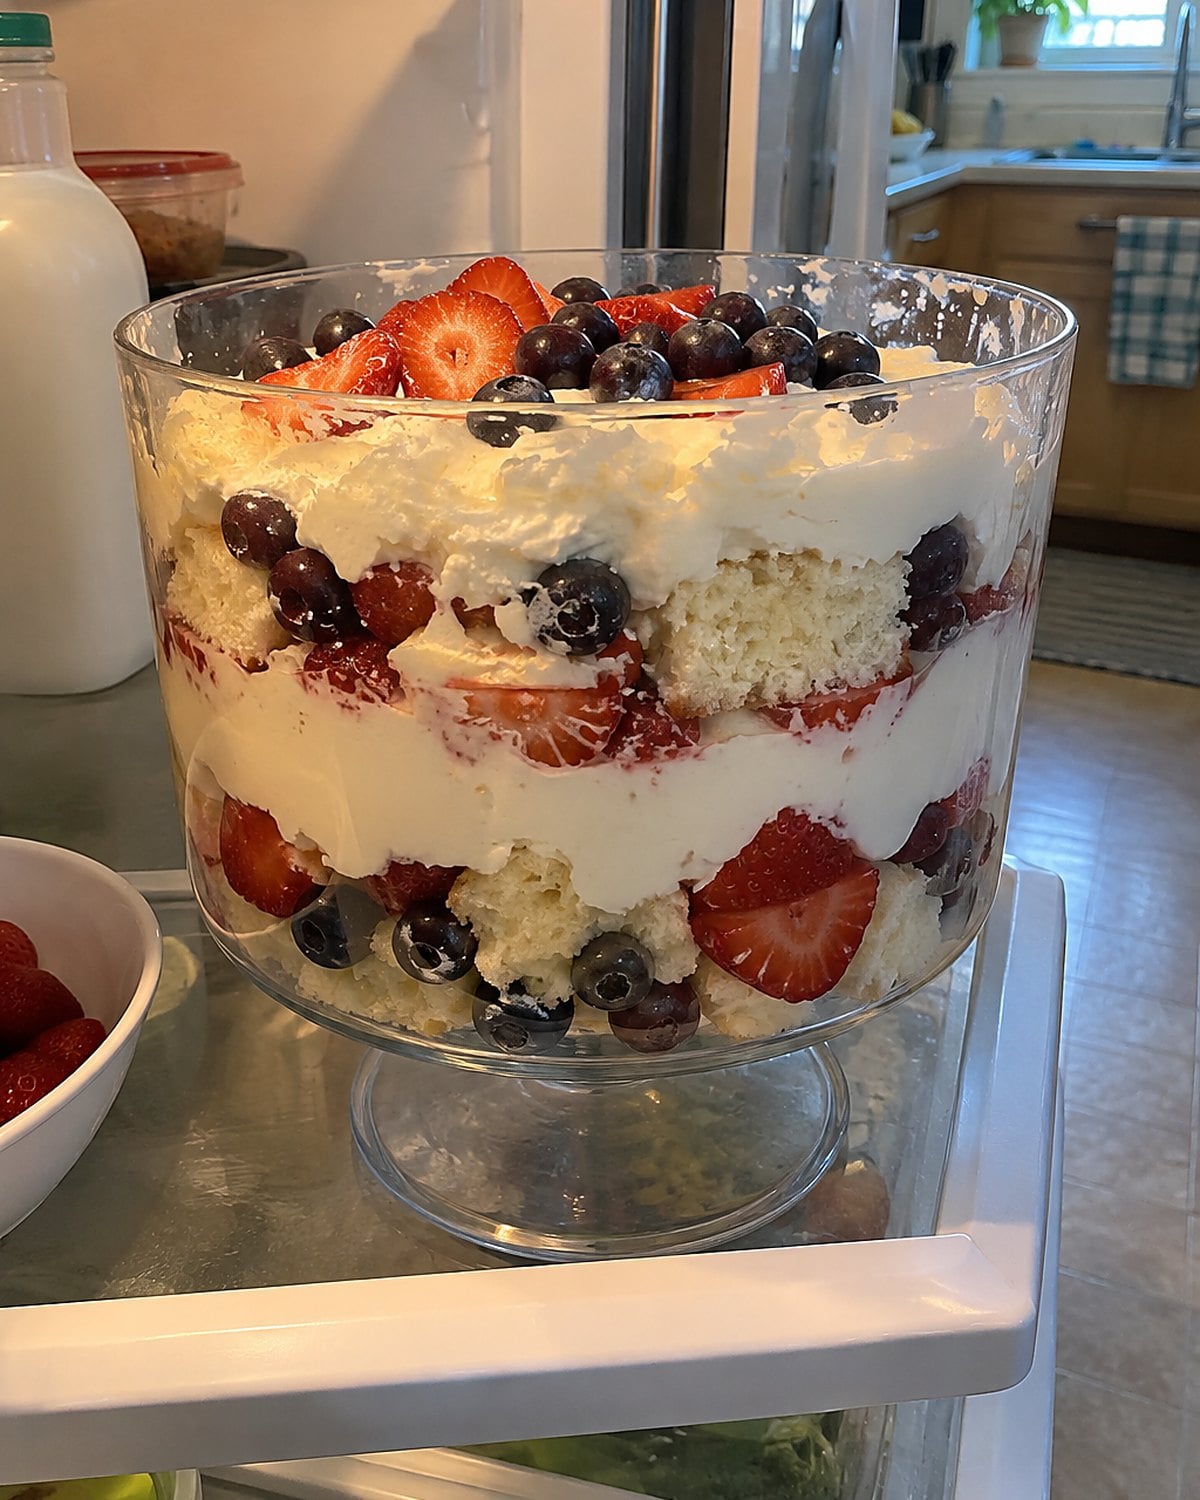
A trifle gives you permission to use a boxed cake. Once cake is layered with fruit and cream, its job is to hold shape and soak up some flavor. A reliable boxed cake does that work.
Bake it according to the package and let it cool all the way before cutting. Warm cake turns cream loose and smears the layers. Cut it into rough pieces; no one sees a ruler-straight edge through the glass bowl.
Taste the fruit before adding sugar. If it's sweet already, a little lemon juice brings a sharper note. Layer cake, fruit, and cream so every serving reaches each part. Cover and refrigerate a trifle with dairy at 40°F or below, then take it out when dessert is ready.
Keep the box out of the story if you like. The bowl tells the one that matters.
#3 Chopped onions done a day early
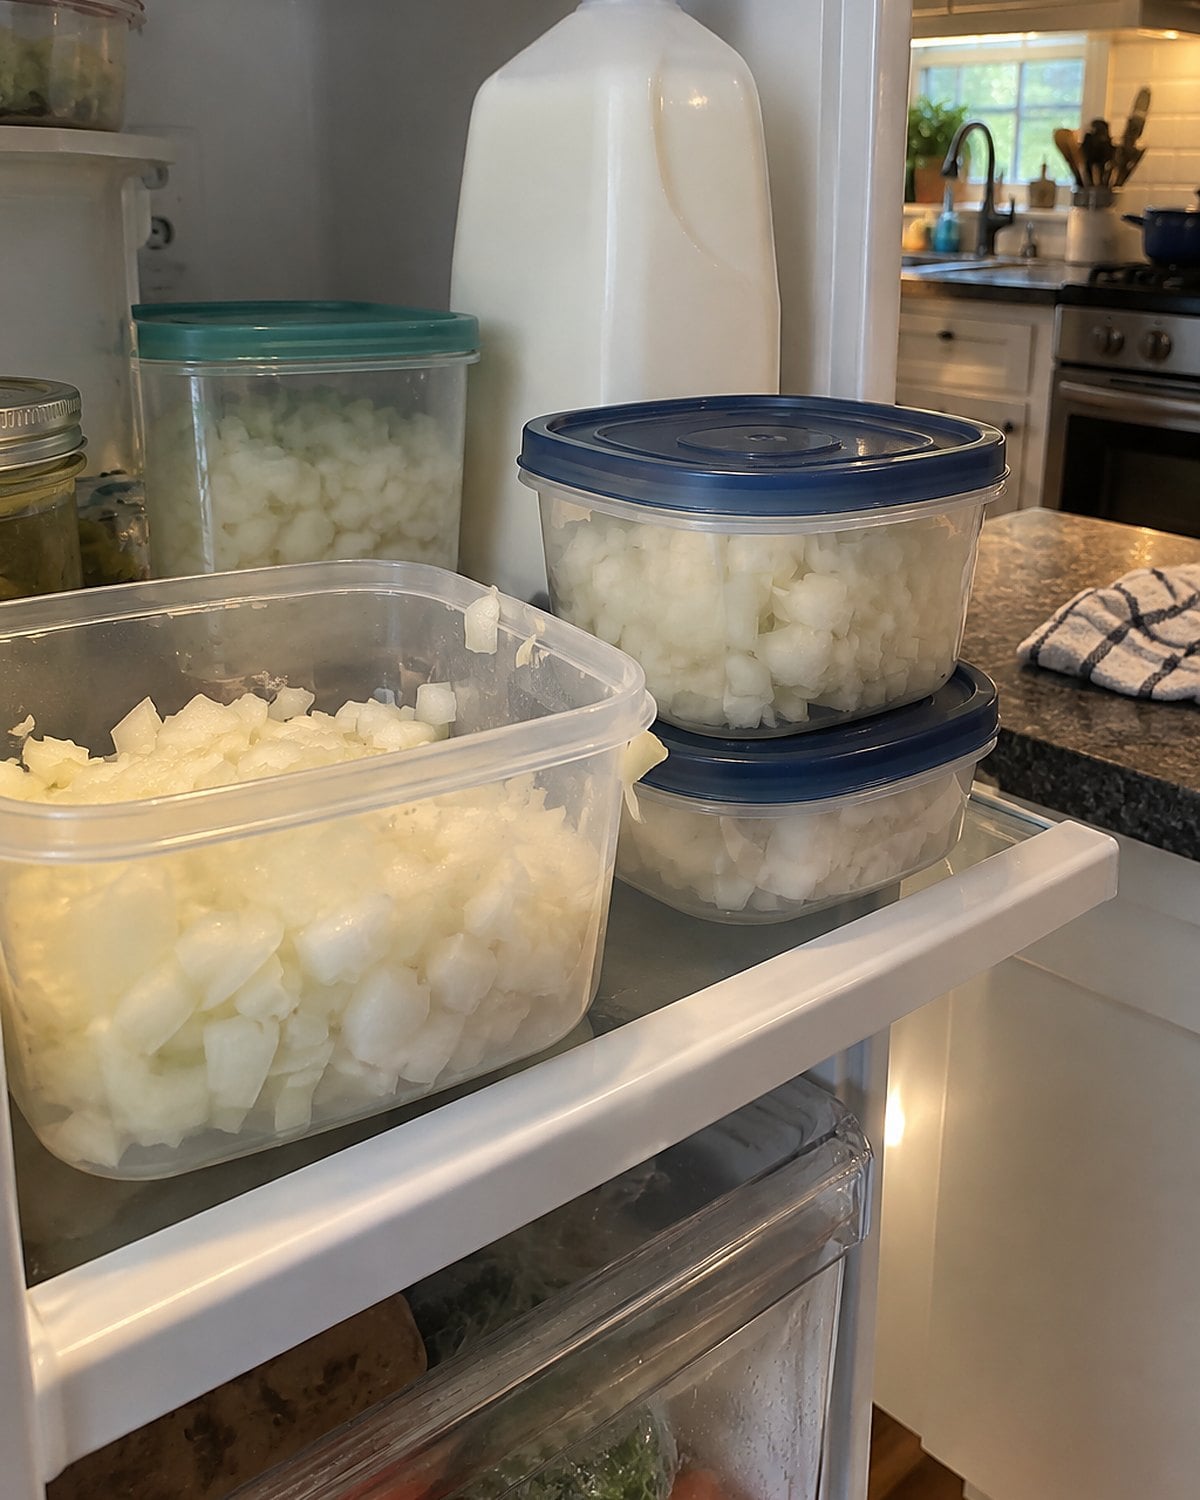
Sometimes the shortcut is work moved out of the holiday's way. Chop the onions for the stuffing, soup, or gravy when the kitchen is calm. Put each dish's share in its own covered container, so you're not trying to recall which pile was meant for which pan.
Keep the containers in the fridge. When cooking starts, set out only the one you're using and leave the others cold. A label on the lid is less work than opening every container to smell it.
Chopping early changes the sound of the next day. No knife knocking on the board while you watch the oven. No onion skins sticking to a damp counter as the doorbell rings. You still cook the dish; you've only separated its messy beginning from its busy finish.
If someone asks what to do when they arrive, the containers make the answer easy. Hand over the onions and say which pan needs them. A task that clear invites help instead of a long explanation.
#2 The side dish someone else brings
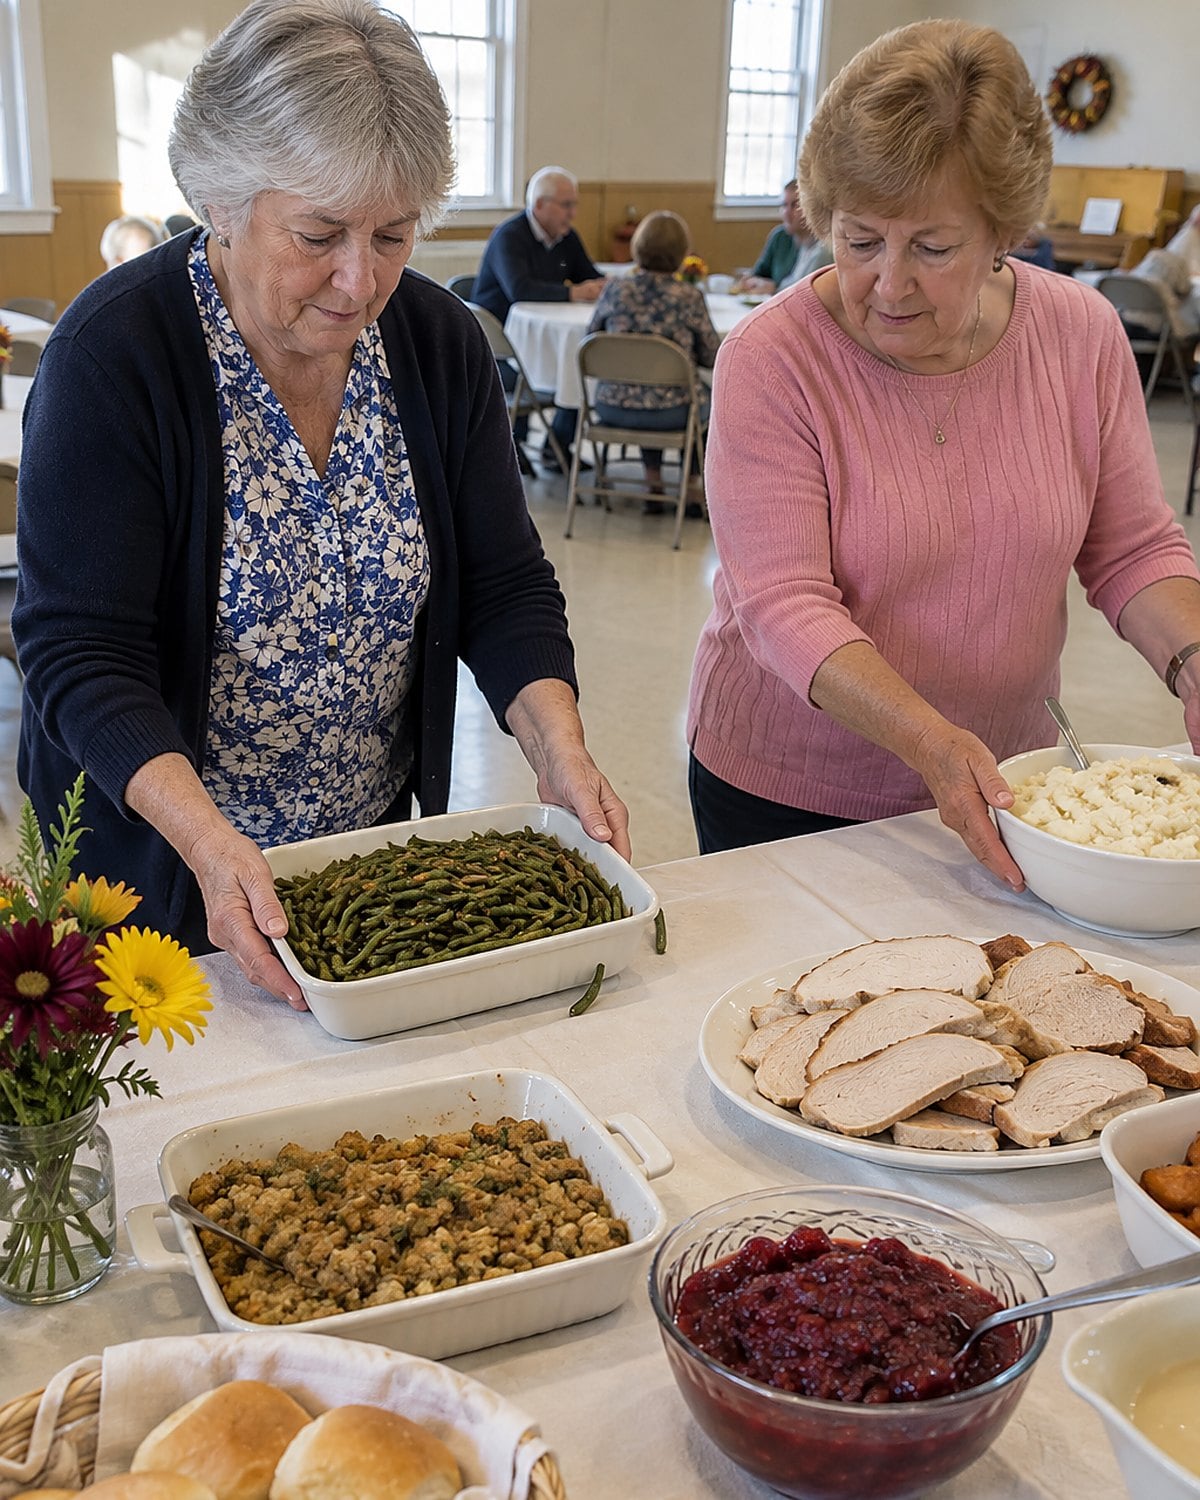
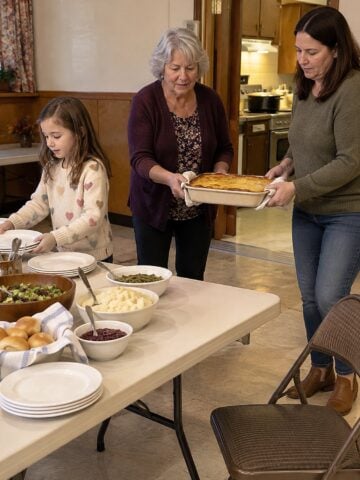
You don't have to make every dish yourself for the meal to feel like yours. When a family member asks what to bring, give them an actual side, not a vague invitation to “bring anything.” Name the dish, and tell them whether the oven will be free.
Try: “Could you bring the green beans ready to serve? The oven will be full.” That gives them a plan and spares you a cold casserole that needs heating at the busiest moment. If they prefer to cook at your place, ask them to bring the pan and the ingredients.
Make room for their dish on the table. Put out a serving spoon and let them carry it in. A meal has always belonged to the people who show up for it, including the one who brought the beans.
#1 The oven schedule on a scrap of paper
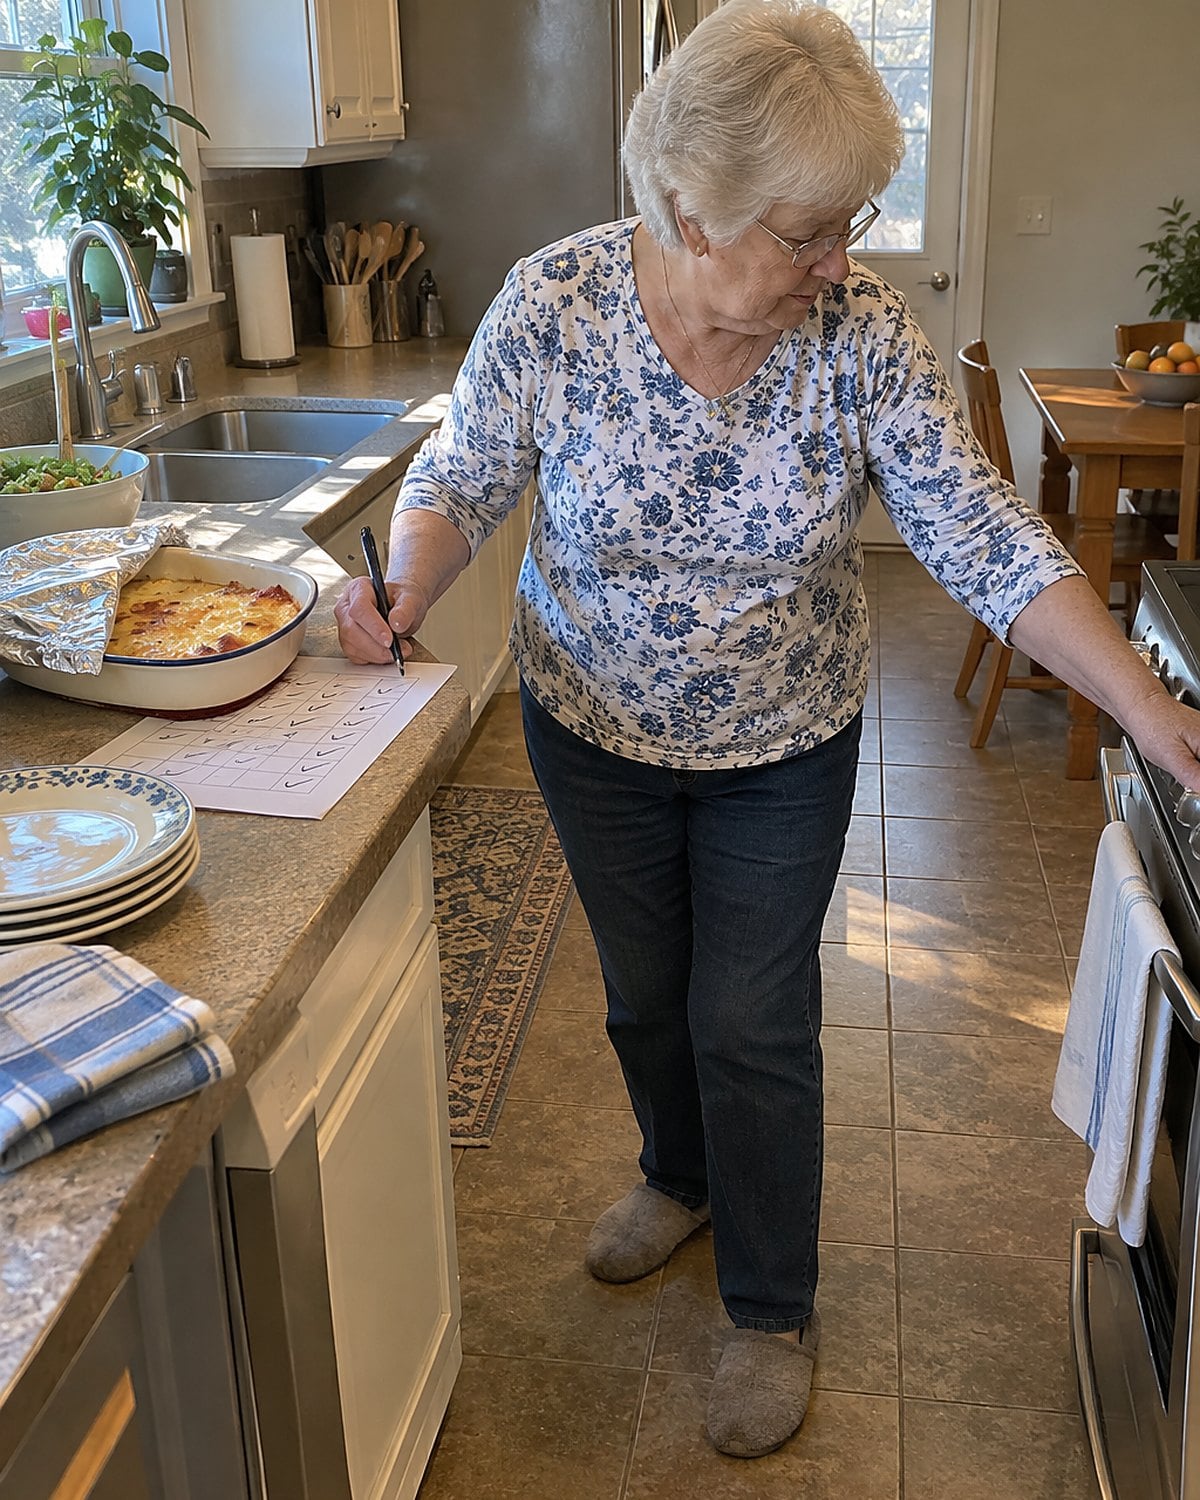
The most useful holiday shortcut costs nothing. Before shopping, write down every dish that needs the oven, its temperature, and when it needs to come out. Use the back of an envelope or the scrap beside the phone. The schedule isn't for anyone else to admire.
Start with the dish that controls dinner, usually the roast. Add its resting time. Then look for dishes that heat well while the meat rests, and mark anything that needs a different oven temperature. That is the point where you decide what to buy prepared, cook on the stove, or hand to somebody else.
Keep the scrap near the oven controls, not beneath a pile of mail. As dishes go in, write down the time. When they come out, cross them off. A timer still does its job, but the paper tells you which timer belongs to which pan.
You already know how to make this meal. The scrap keeps you from having to hold the entire meal in your head while someone asks where the extra chairs are. Tonight, write the oven list before you write the grocery list. It will show you exactly where a shortcut helps.
Keep reading
 26 Things Home Cooks Over 60 Do on Thanksgiving That Chefs Would Never Do
See all 26 →
More you’ll remember
 25 Thanksgiving Habits From the Old Days That Food-Safety Experts Beg You to Drop
 27 Thanksgiving Side Dishes From Church Suppers That Nobody Makes Anymore
 23 Things That Were Always on the Christmas Table in the 1960s and Never Are Now
The bottom line
The best shortcuts leave you in charge of the parts people remember. Brown the top, taste the gravy, warm the bread, and let someone else peel the onions.
A well-prepared kitchen already has room in the freezer, a thermometer in the drawer, and an oven plan beside the stove. Pick one dish from your usual menu and hand its hardest step to a shortcut this year.
Leave a Reply