

The thermometer clipped to the pot knocks against its rim each time you stir. Beside the stove, a buttered pan waits, though the recipe calls for wax paper.
Someone wrote “don’t make on a rainy day” beside divinity in the church cookbook. No explanation, just the warning.
Those Christmas candies took over the counter and held it until the dishes were done. Some disappeared because they took work. Others lost their place when the household got smaller and a full tin became too much candy. Yet the useful parts of those old instructions still hold up.
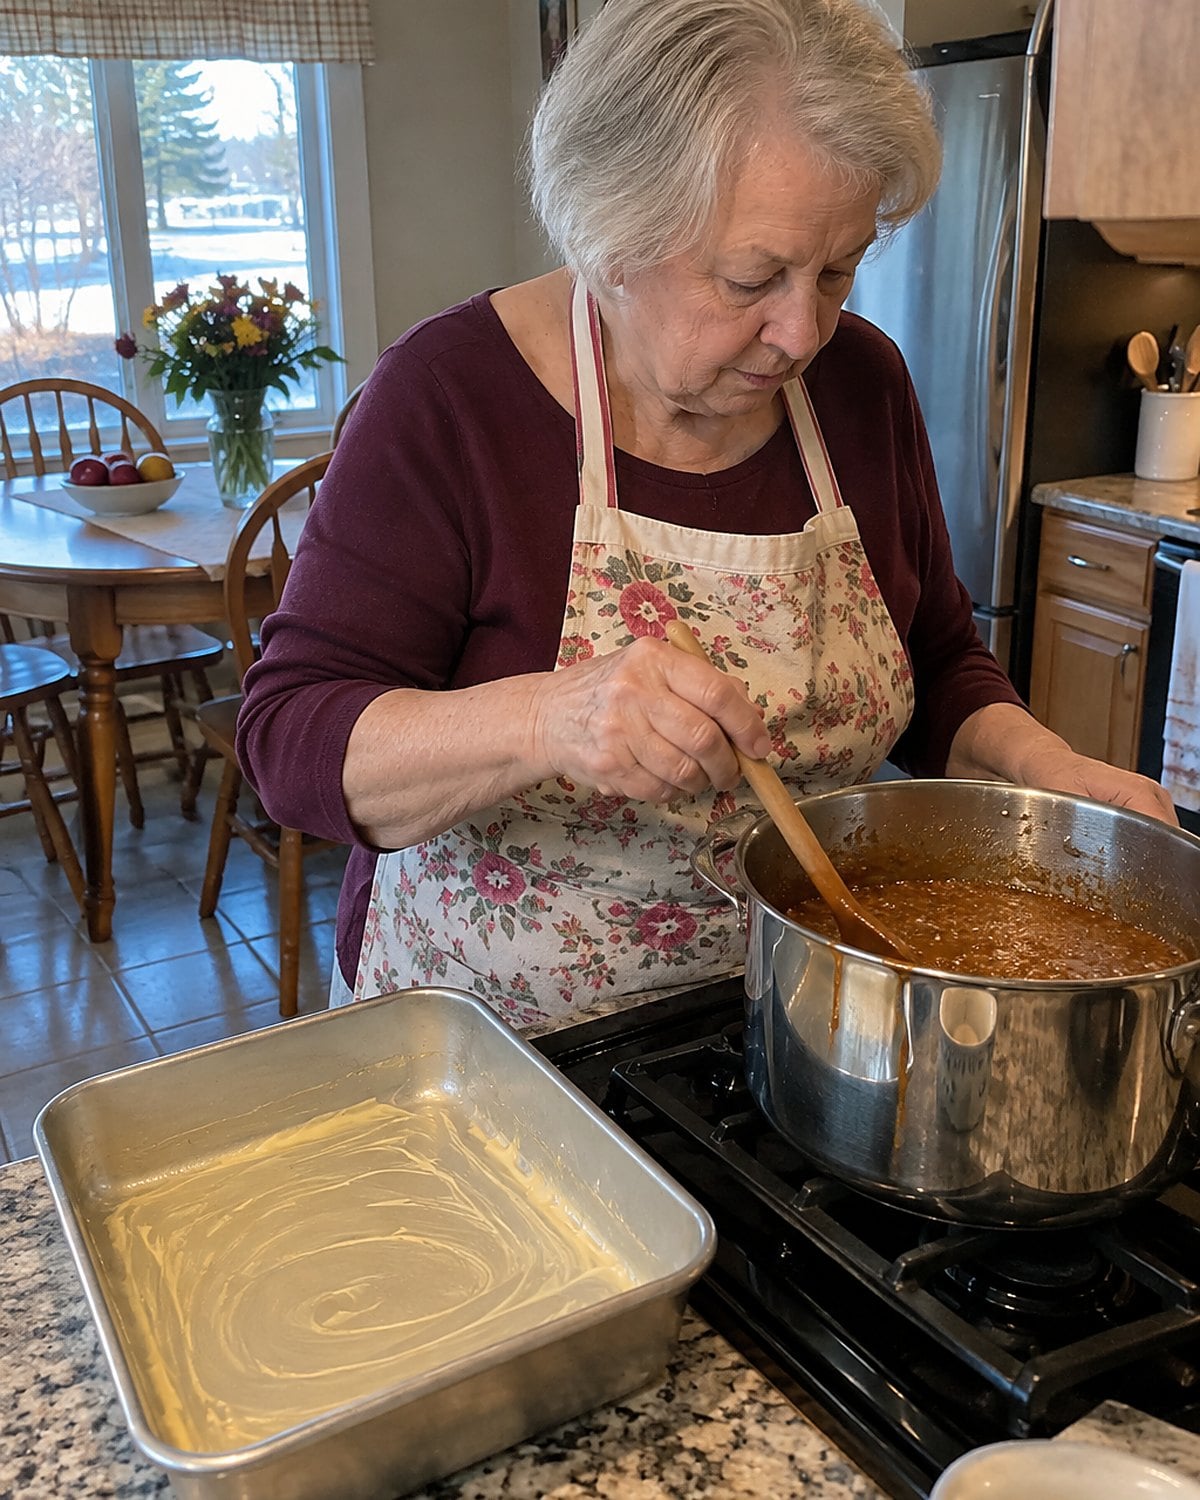
#27 Church Cookbook Date Pinwheels
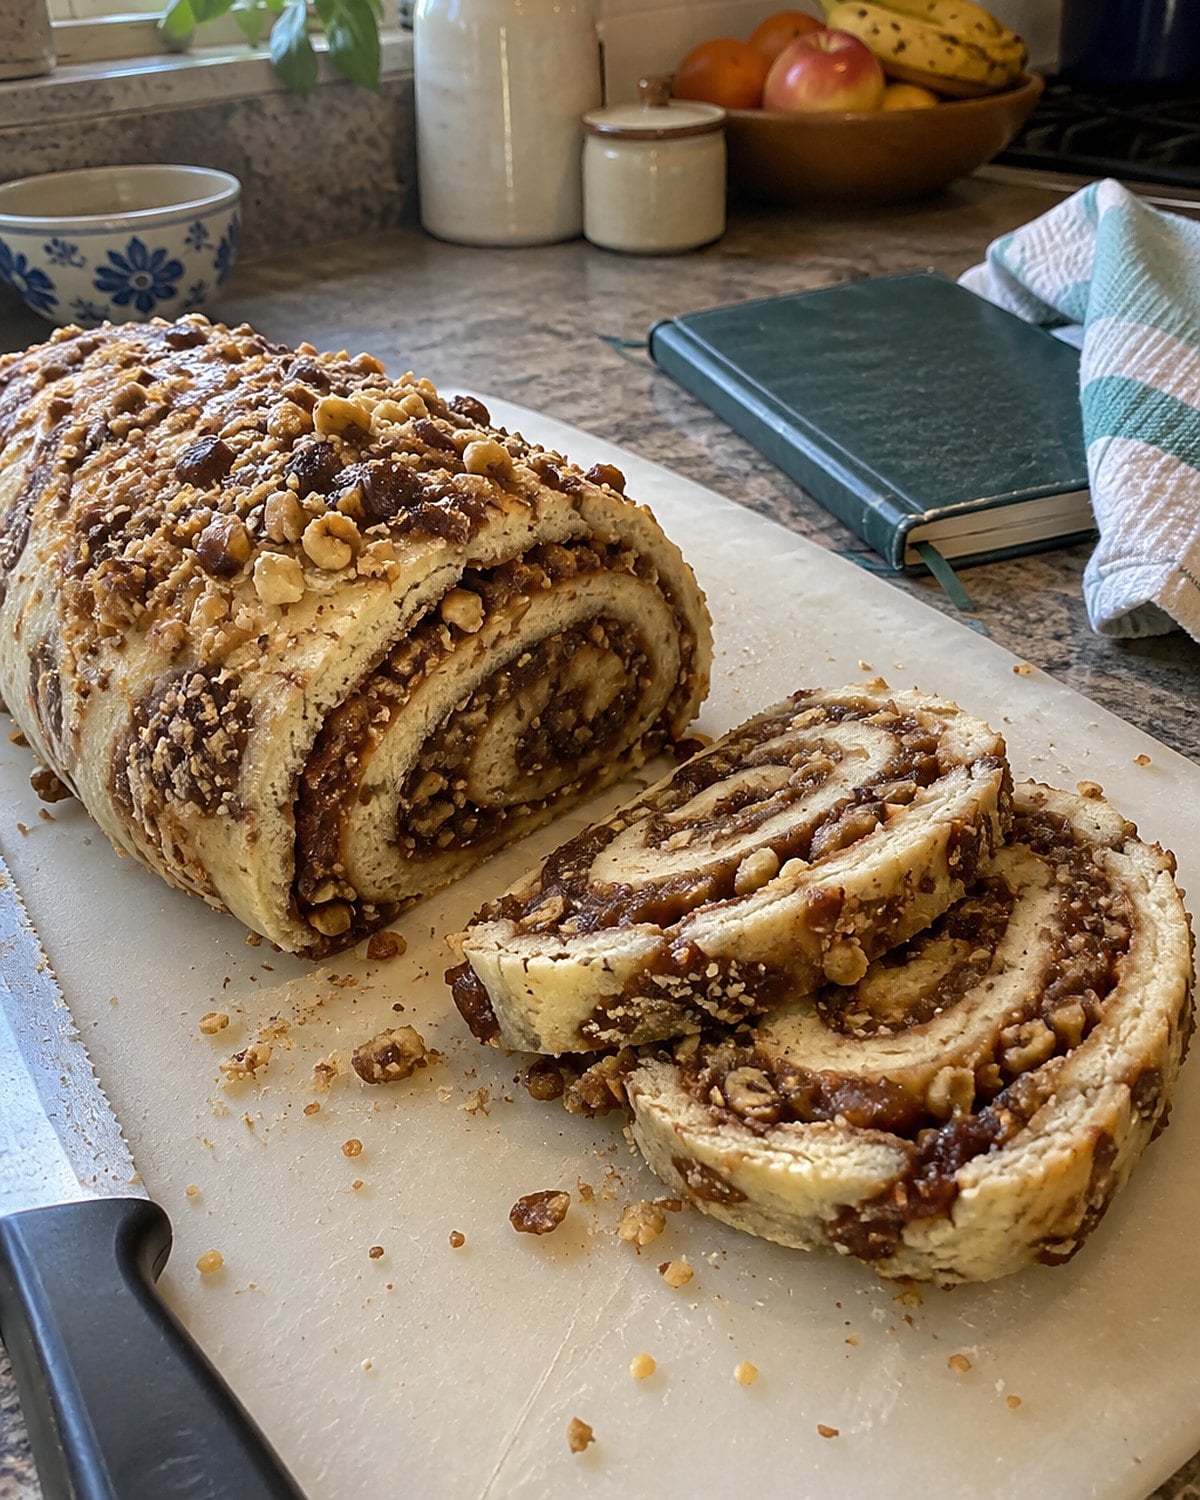
The date pinwheels on the church hall table had a dark spiral running through pale candy. They held their shape when someone cut them, yet gave way when you bit in. That clean spiral started before the rolling. Dates had to become a spreadable filling, without whole pieces that dragged through the soft candy.
Recipes differ on the pale layer. Some use a cooked fondant; others build a dough from confectioners’ sugar. The filling stays the same idea: chopped dates cooked with a little water until they mash under a spoon. Cool it before spreading. Warm filling loosens the layer beneath it and leaves a sticky seam.
If you find the recipe tucked into your cookbook, read the ingredient list before you start heating anything. “Date roll” meant different things in different kitchens. For the neat pinwheel version, keep the filling thin and stop rolling when the candy begins to crack. A small crack at the edge beats a thick seam that won’t hold.
#26 Buttered Pans for Peanut Butter Fudge
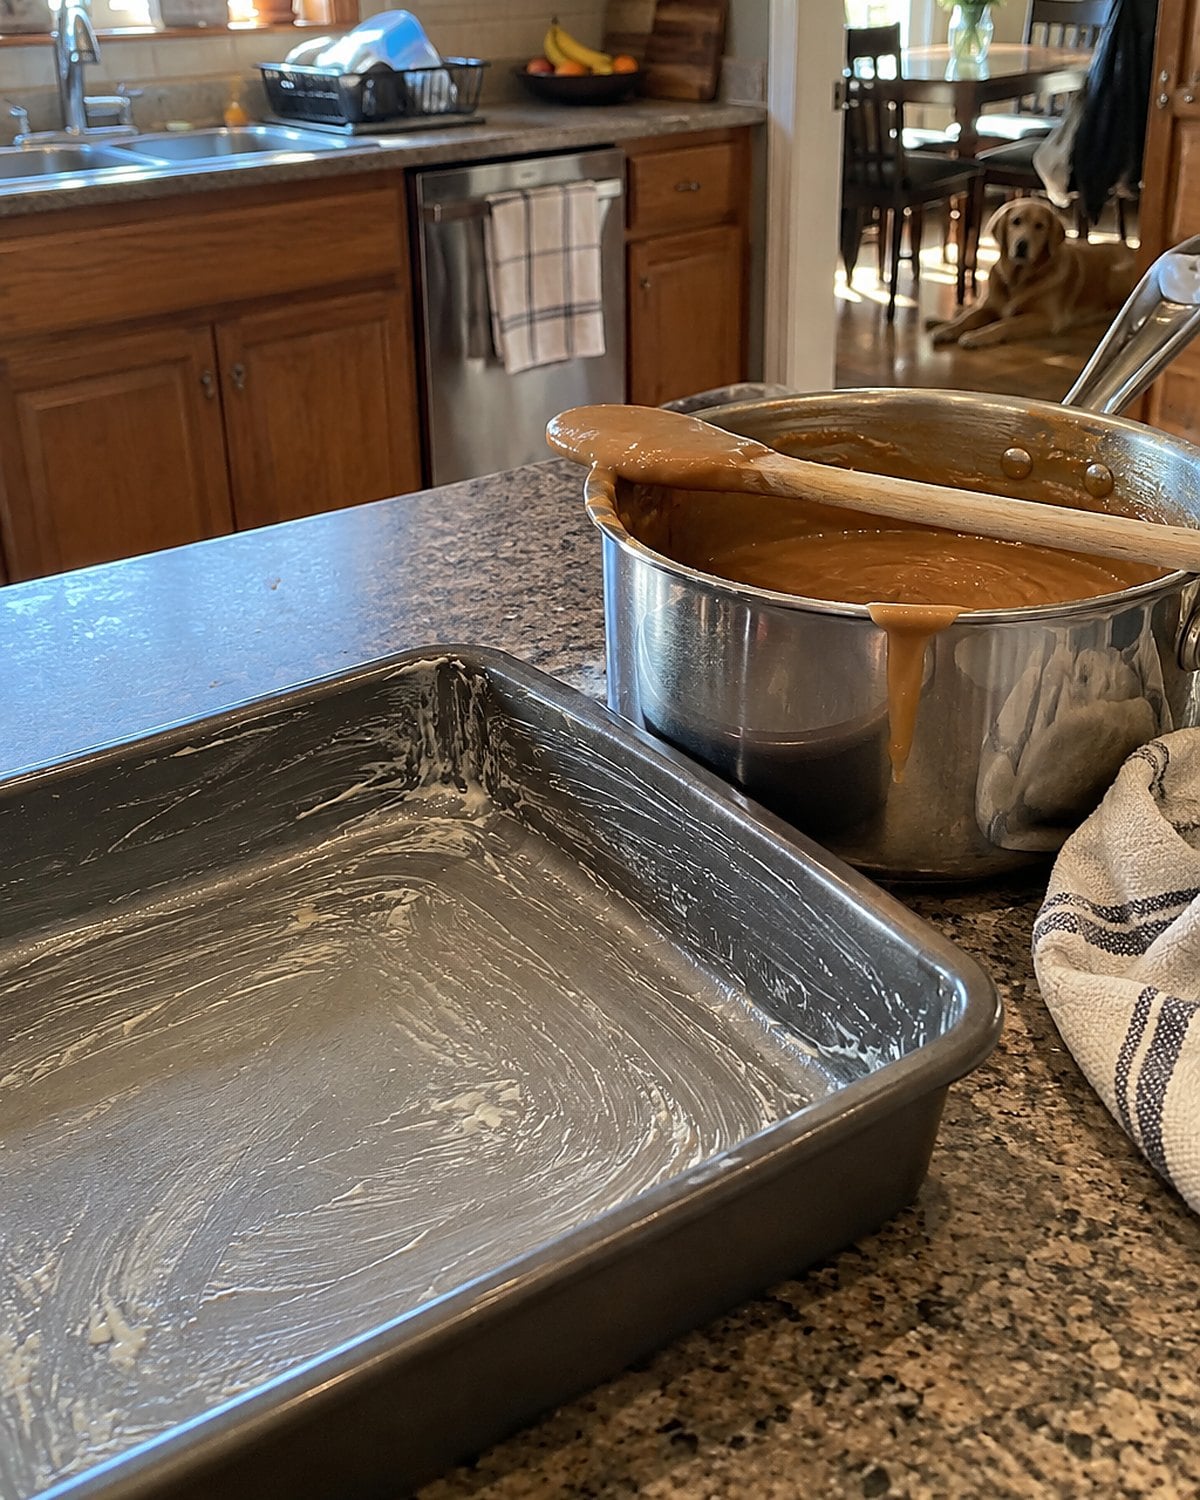
The buttered square pan sat ready before the peanut butter came out. Once cooked fudge starts to thicken, there's no good time to hunt for a pan or clear the dish drainer.
Peanut butter fudge needs an even mix while it's warm. Stirring after it begins to set leaves streaks and lumps; pouring too early leaves a soft slab. Watch the trail from your spoon. When it briefly stays visible on the surface, move the candy into the prepared pan and leave it alone.
A smaller household changes the pan, not the test. Use a small dish for a modest batch, so the fudge has enough depth to cut. Rub butter into its corners first. You'll thank yourself when the first square lifts out whole.
#25 Brown Sugar Penuche in the Pot
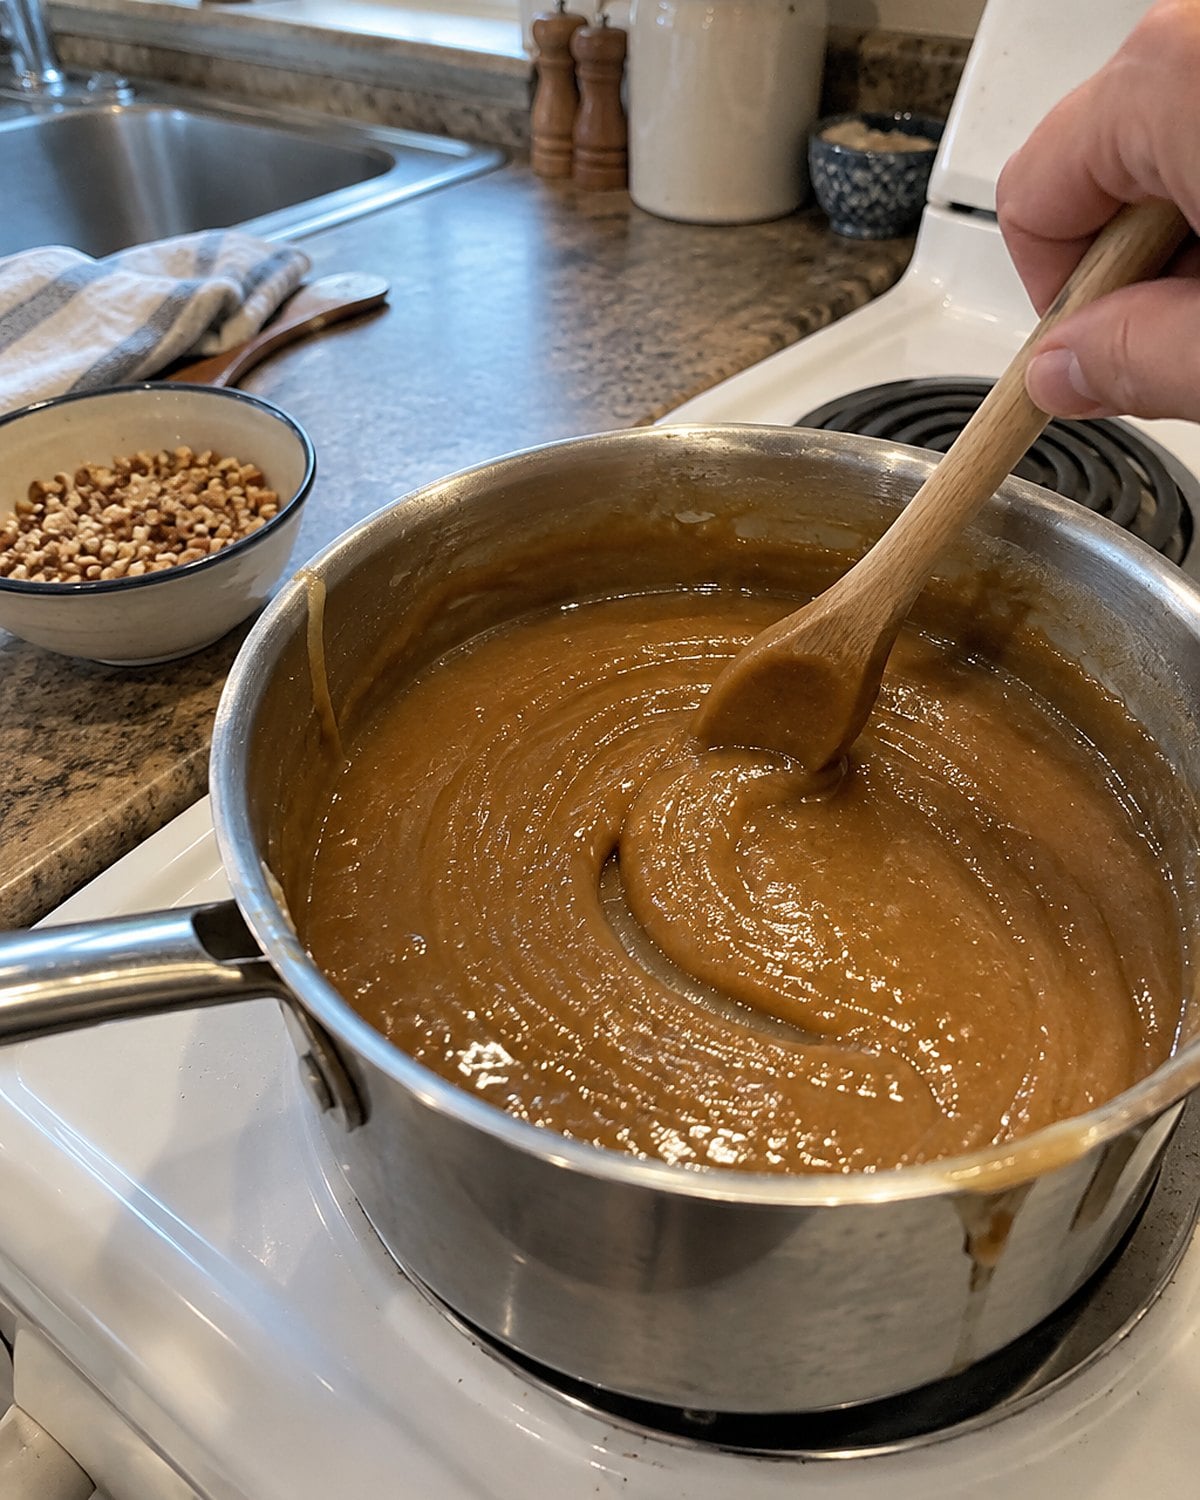
Penuche brings the smell of brown sugar and butter into the kitchen before it looks like candy. Its color comes from the brown sugar and its molasses, rather than chocolate or a long session of browning in the pan. That distinction matters when you're watching a bubbling pot and waiting for a darker color that the recipe never promised.
Older penuche recipes call for cooking the syrup to the soft-ball stage, about 234°F to 240°F. Then comes the hard instruction: let it cool without stirring before beating it thick. Stirring hot syrup at the wrong moment starts sugar crystals early. The result feels grainy instead of smooth.
Once the pan has cooled as your recipe directs, beat until the gloss fades and the mixture grows heavy. Have the pan ready. If you're adding nuts, put them beside the stove before you start. A batch can go from pourable to stubborn while you're opening a cupboard.
The useful lesson is in that pause between boiling and beating. Sugar candy remembers when you stirred it.
#24 The Cold Water Soft-Ball Test
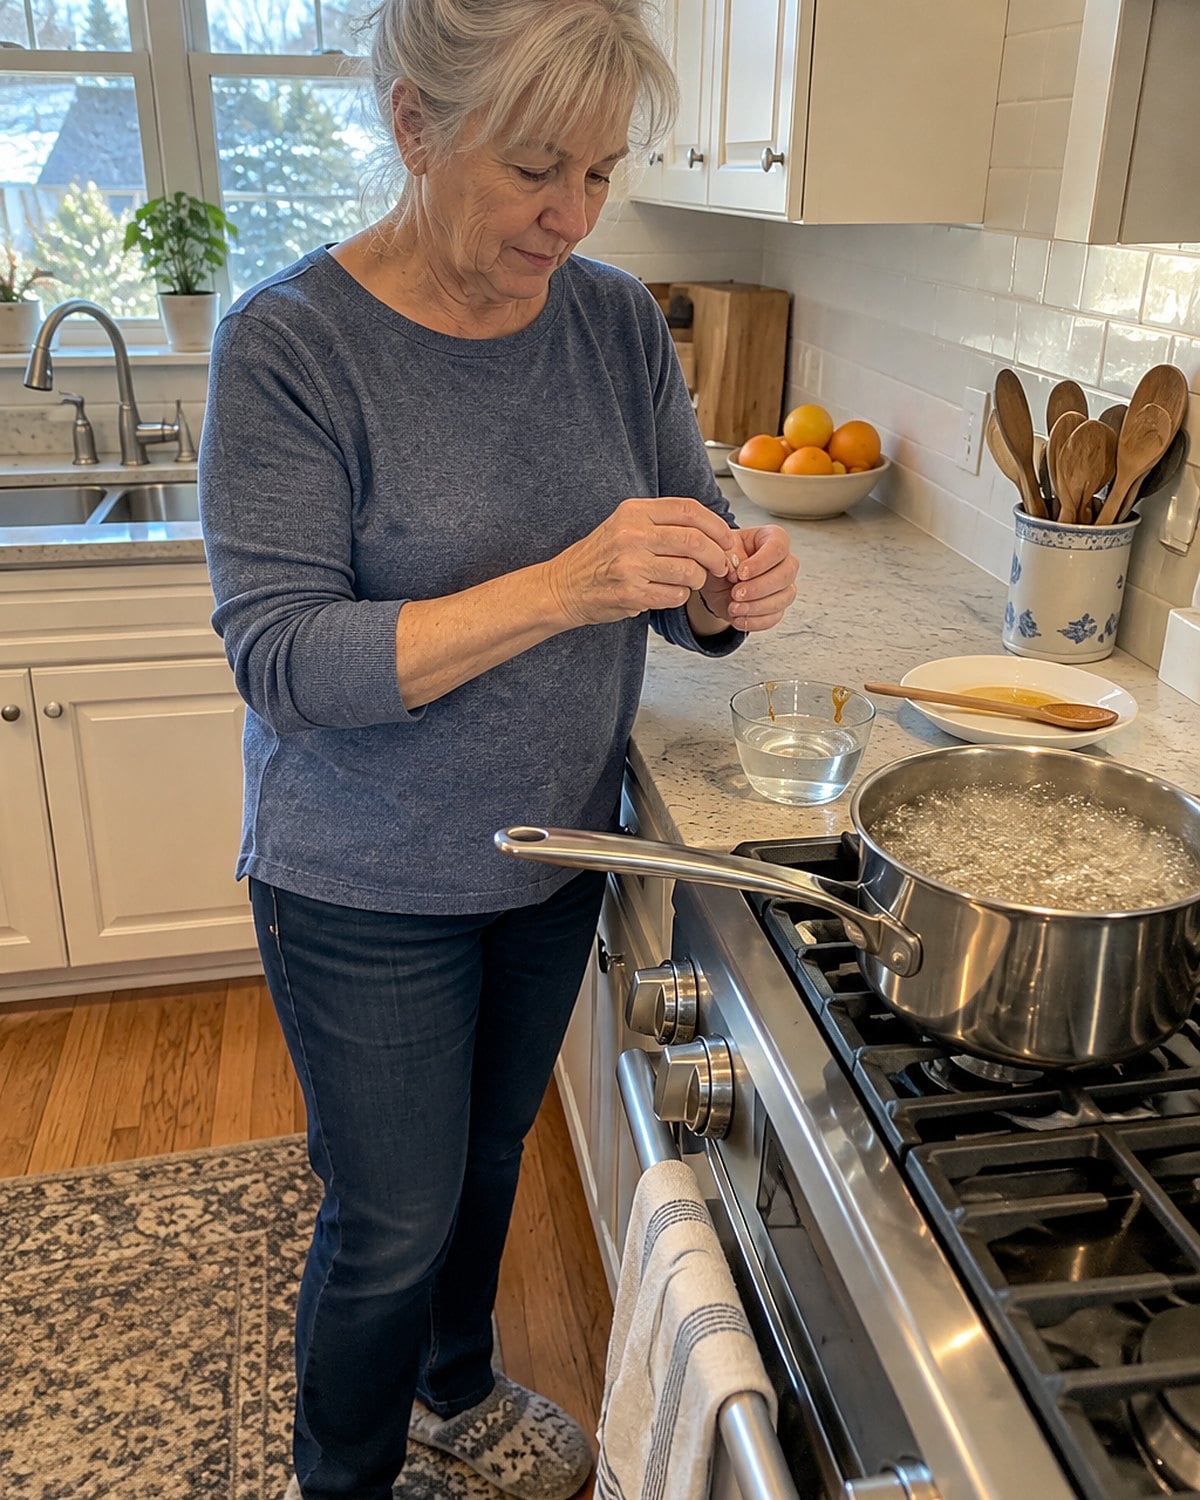
There was a time when the cold-water test settled arguments at the stove. A little syrup dropped into a cup of cold water either formed a ball or slipped through your fingers. No battery, no dial, no squinting at a thermometer through steam.
For soft-ball candy, lift the cooled syrup out of the water and press it. It should flatten under your fingers. If it dissolves, cook the syrup longer. If it holds a firm, springy shape, you've gone beyond the stage the recipe asked for.
Use a fresh cup of cold water for each test. Hot syrup warms a small cup quickly, and the next drop won't tell you as much. Keep your fingers out of the pot: move a dab of syrup with a spoon, then test it only after the water has cooled it.
That small cup beside the stove earned its place.
#23 Sweetened Condensed Milk Fudge Squares
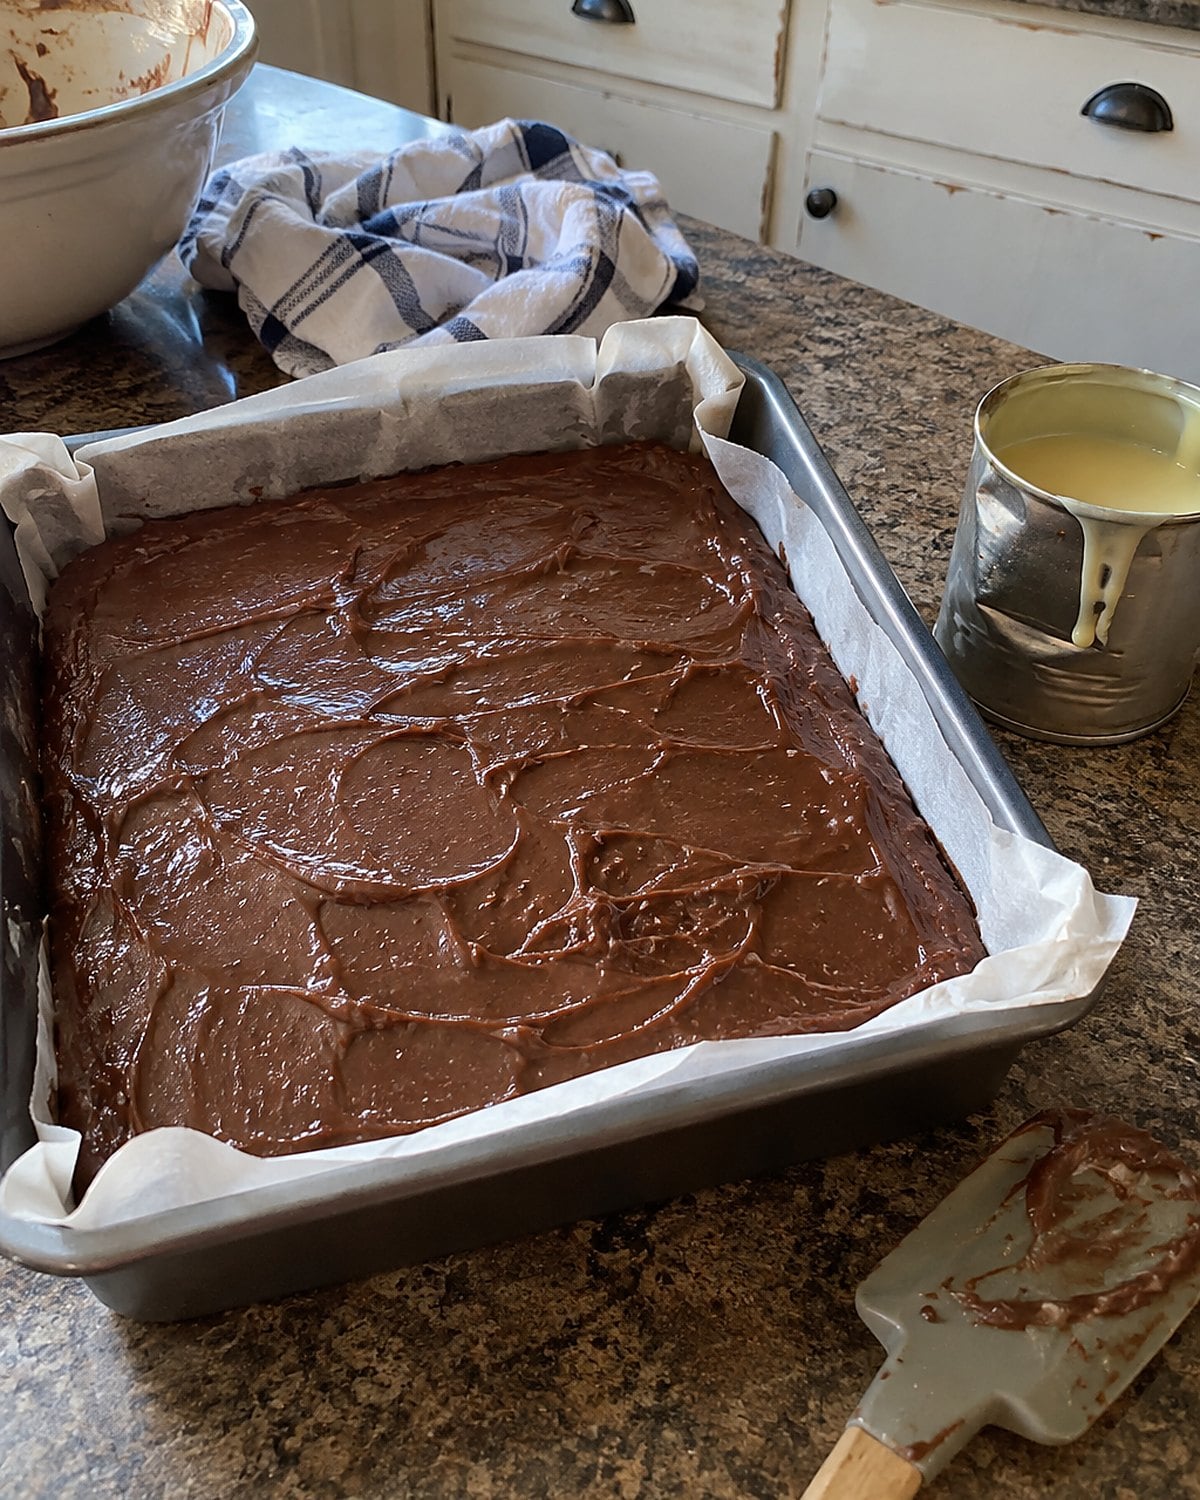
The can opener left a sharp lid beside the bowl, and thick sweetened condensed milk slid out slowly. Fudge made with it spared you much of the old boil-and-beat routine. A family recipe built around the can could be finished while another candy still cooled on the stove.
Sweetened condensed milk and evaporated milk aren't interchangeable here. One is sweet and thick; the other is much thinner. Grab the wrong can and the chocolate mixture won't set the way the handwritten recipe expects. Read the label before you open it.
For chocolate fudge, melt the chocolate with the condensed milk over low heat, stirring until the mixture looks even. Scrape the bottom and corners of the pan. Dark streaks on the spoon mean you haven't finished mixing. Once it's in the lined pan, give it time to firm before cutting.
If you want to pass the recipe along, write out the milk's full name. “One can of milk” was clear to the person who wrote it and a puzzle to everyone who followed.
#22 Mashed Potato Candy Spirals
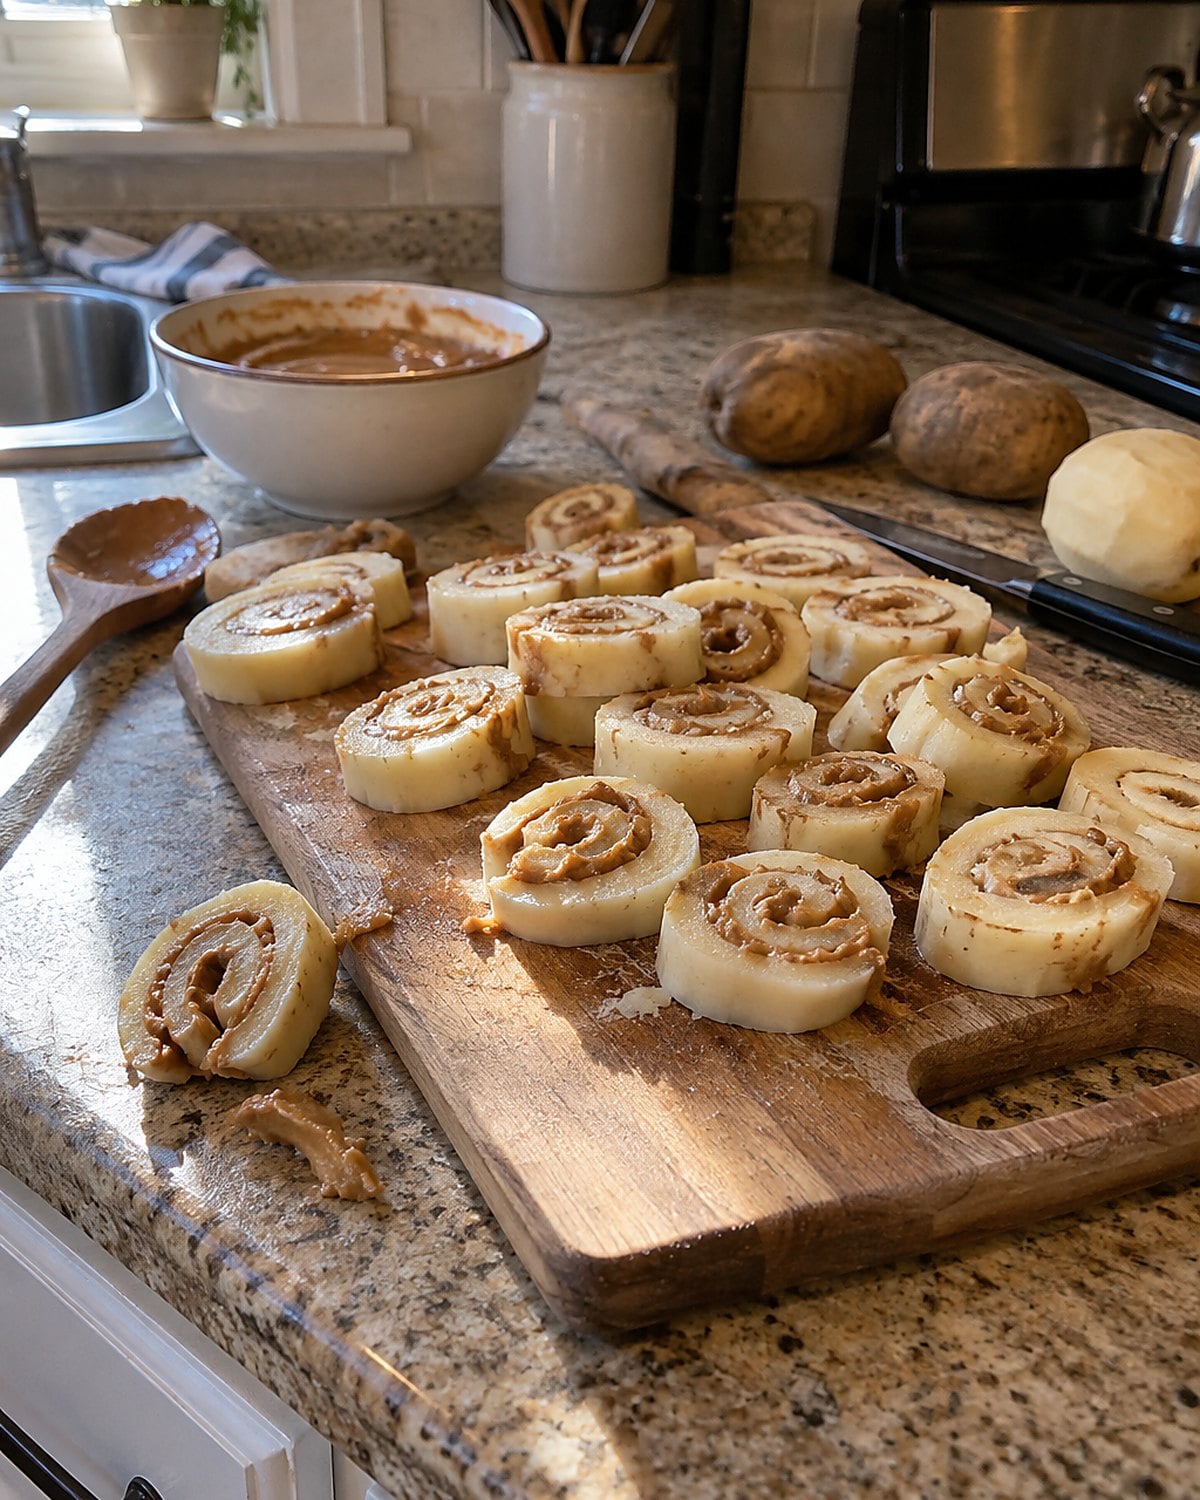
A spoonful of plain mashed potato sounds like a strange start for Christmas candy. Add confectioners’ sugar, though, and the potato becomes the base of a sweet dough. Peanut butter spread across it makes the familiar spiral when you roll and slice it.
Start with potato that has no butter, milk, garlic, or pepper. Leftover dinner mash changes both flavor and texture. Work sugar into cooled potato until the dough holds together without smearing across your hands.
Spread the peanut butter thin. A heavy layer slides as you roll and pushes out the ends. Chill the finished log until it cuts cleanly, then wipe the knife between slices if the filling drags. That first neat spiral is proof the potato did its job and stayed out of the way.
Because the filling contains cooked potato, don't treat the finished candy like shelf-stable fudge. Keep it covered in the fridge at 40°F or below, and bring out only what you'll serve. For storage guidance, consult the USDA FoodKeeper guide rather than an old recipe card.
#21 Taffy Hooks and Buttered Hands
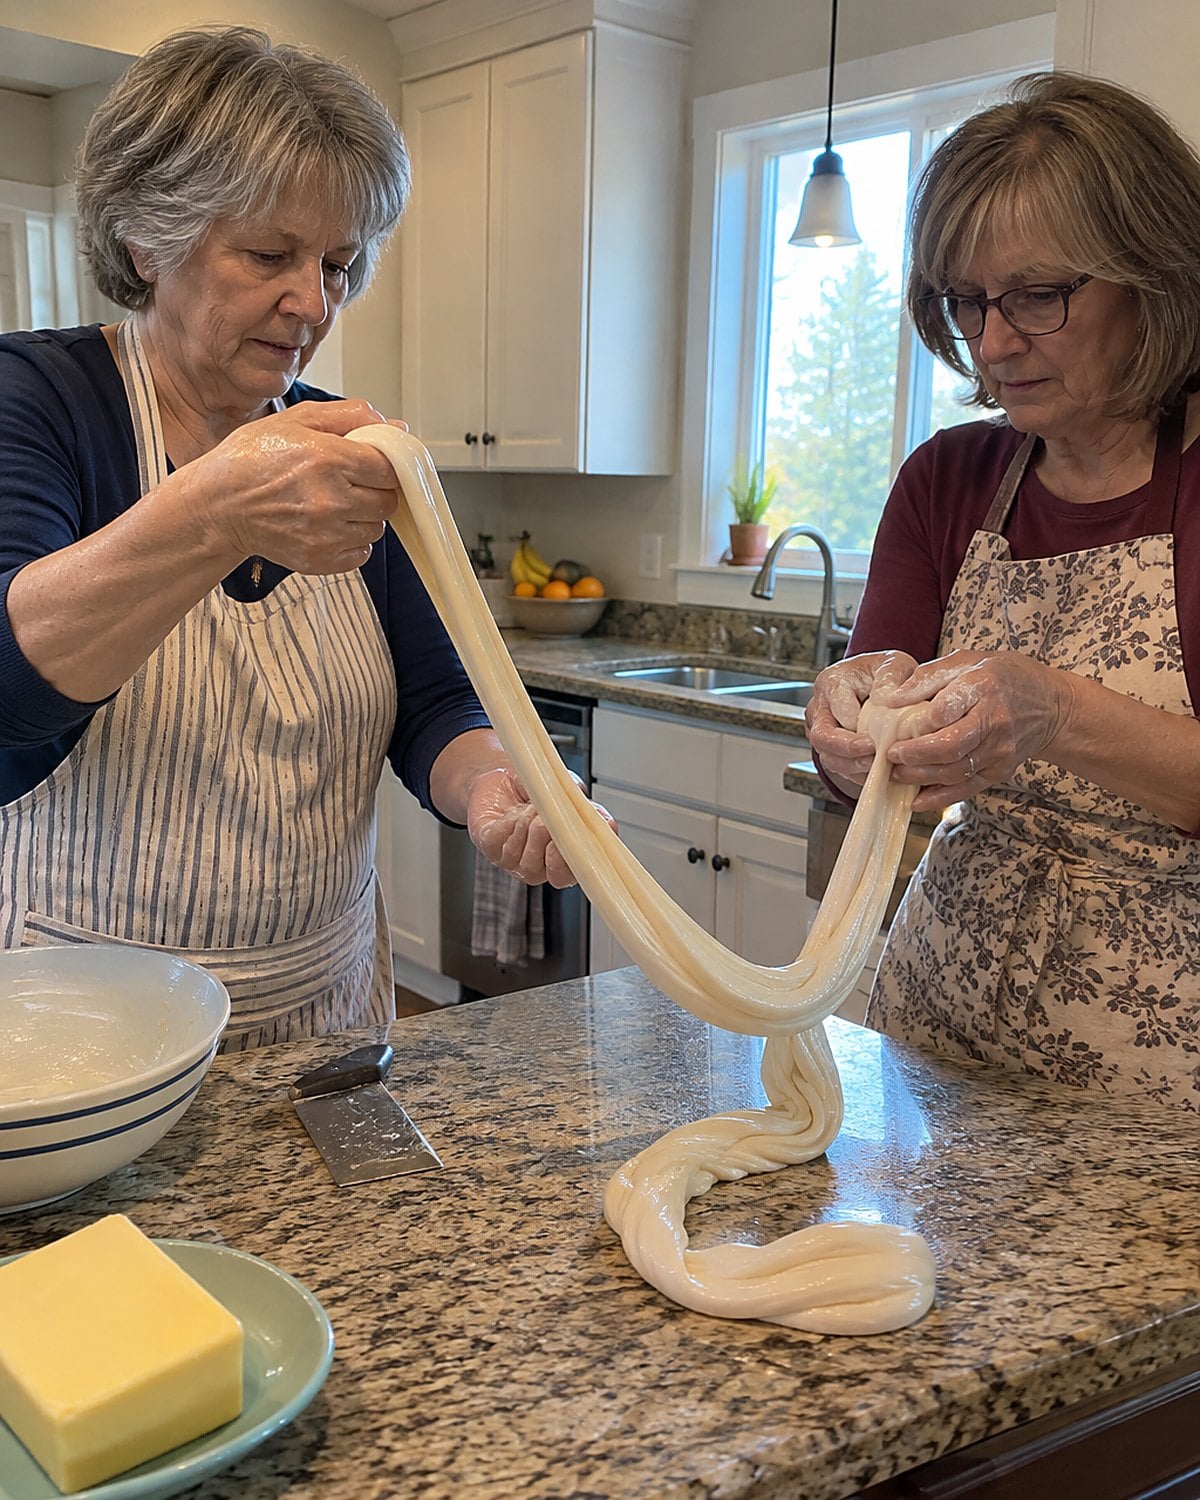
Someone had to keep the taffy moving. On a long Christmas candy day, one person poured the cooked syrup while another buttered hands for pulling. The dull lump grew lighter as it was stretched, folded, and stretched again. Air worked into the candy, changing both its color and its bite.
A taffy hook saved arms in kitchens that owned one. Without it, two people could trade the work. Don't grab boiling syrup. Let the cooked candy cool until it's still warm but safe to handle, as your recipe directs, then butter your hands to reduce sticking. Start pulling before the mass turns stiff.
This is a candy worth making with someone who wants a job. A grandchild can help wrap cooled pieces in wax paper, even when the hot work stays with you. Twist the ends firmly so the pieces don't press together in the tin.
The wrappers made their own sound in a coat pocket at church. Before any piece got eaten, somebody had already done the pulling.
#20 Sugared Orange Peel Strips
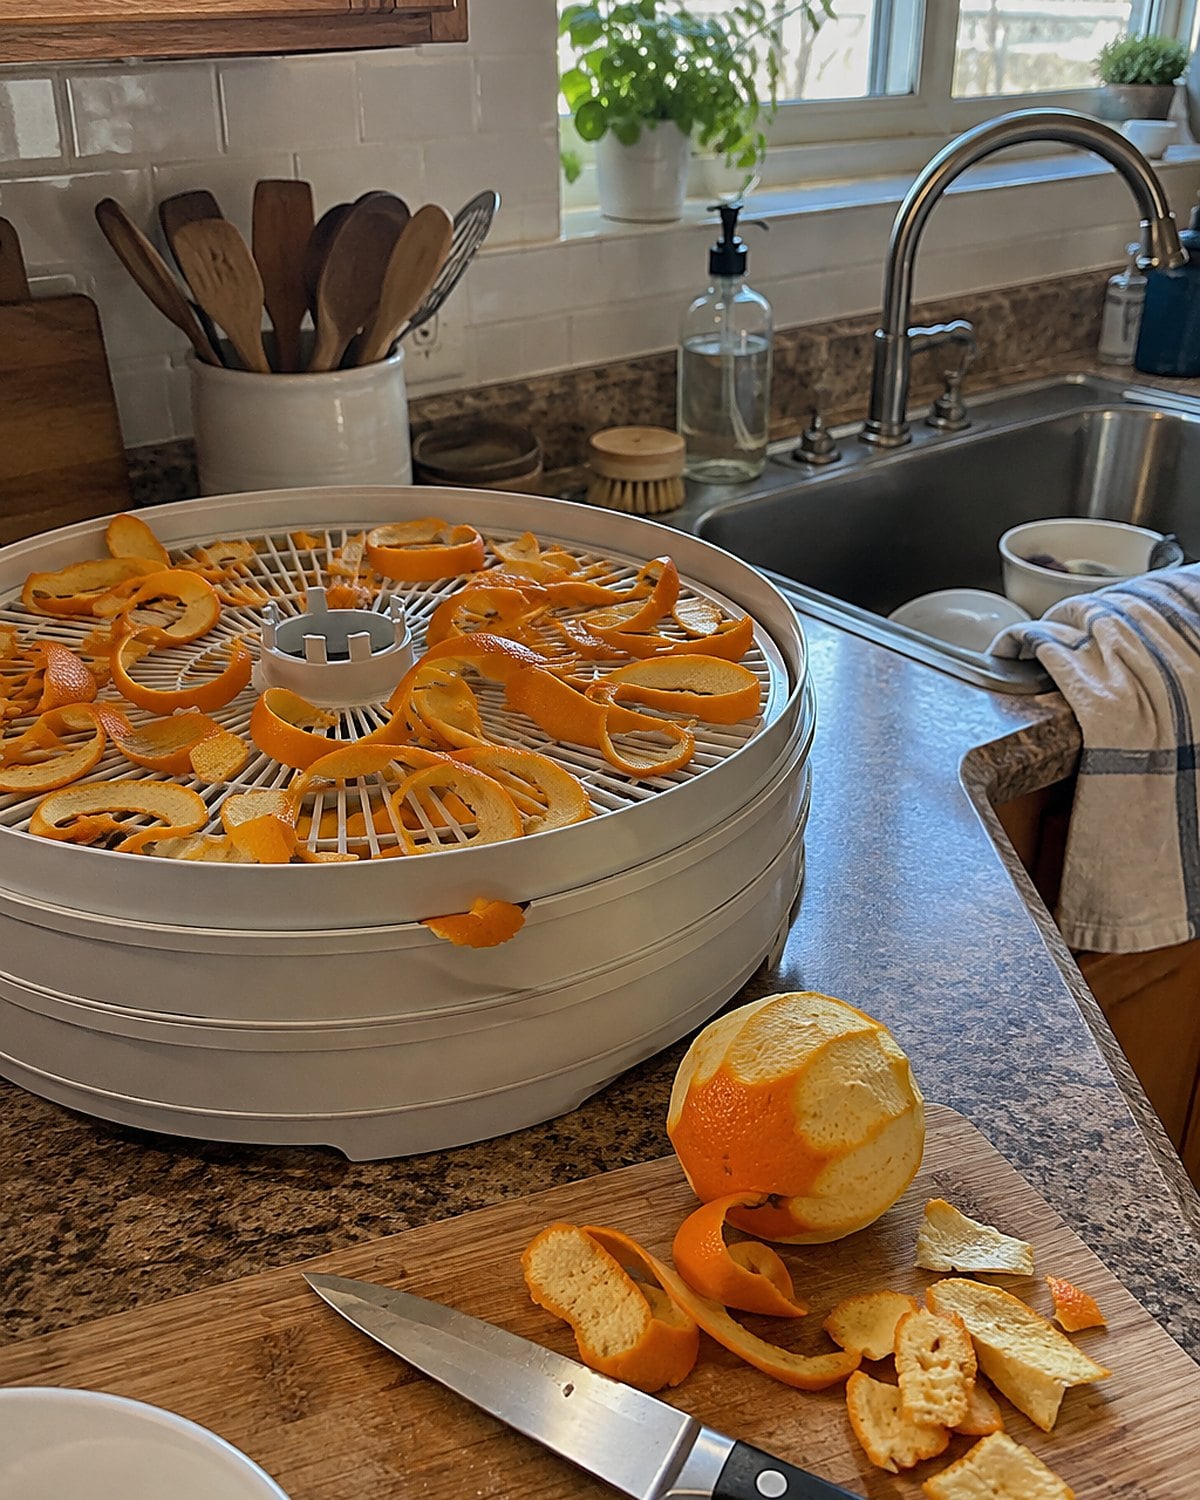
Orange peels used to sit by the sink after breakfast, waiting for a second job. Candied peel took that bitter scrap and turned it into a bright strip for a Christmas tin. The step worth remembering is the blanching.
Cut the peel into strips and trim away some of the thick white pith. Boil the strips briefly in water, drain them, and repeat according to your recipe before simmering them in sugar syrup. That first water carries off bitterness. Skip it and the coating has to fight the peel's harsh edge.
After simmering, let the strips dry until they no longer feel wet, then roll them in sugar if the recipe calls for it. Touch one before putting it in a tin. A sticky surface will glue the strips together.
The same idea works with lemon peel, but start with fruit you've washed well. You'll taste the peel itself.
#19 Dried Apricots Under Chocolate
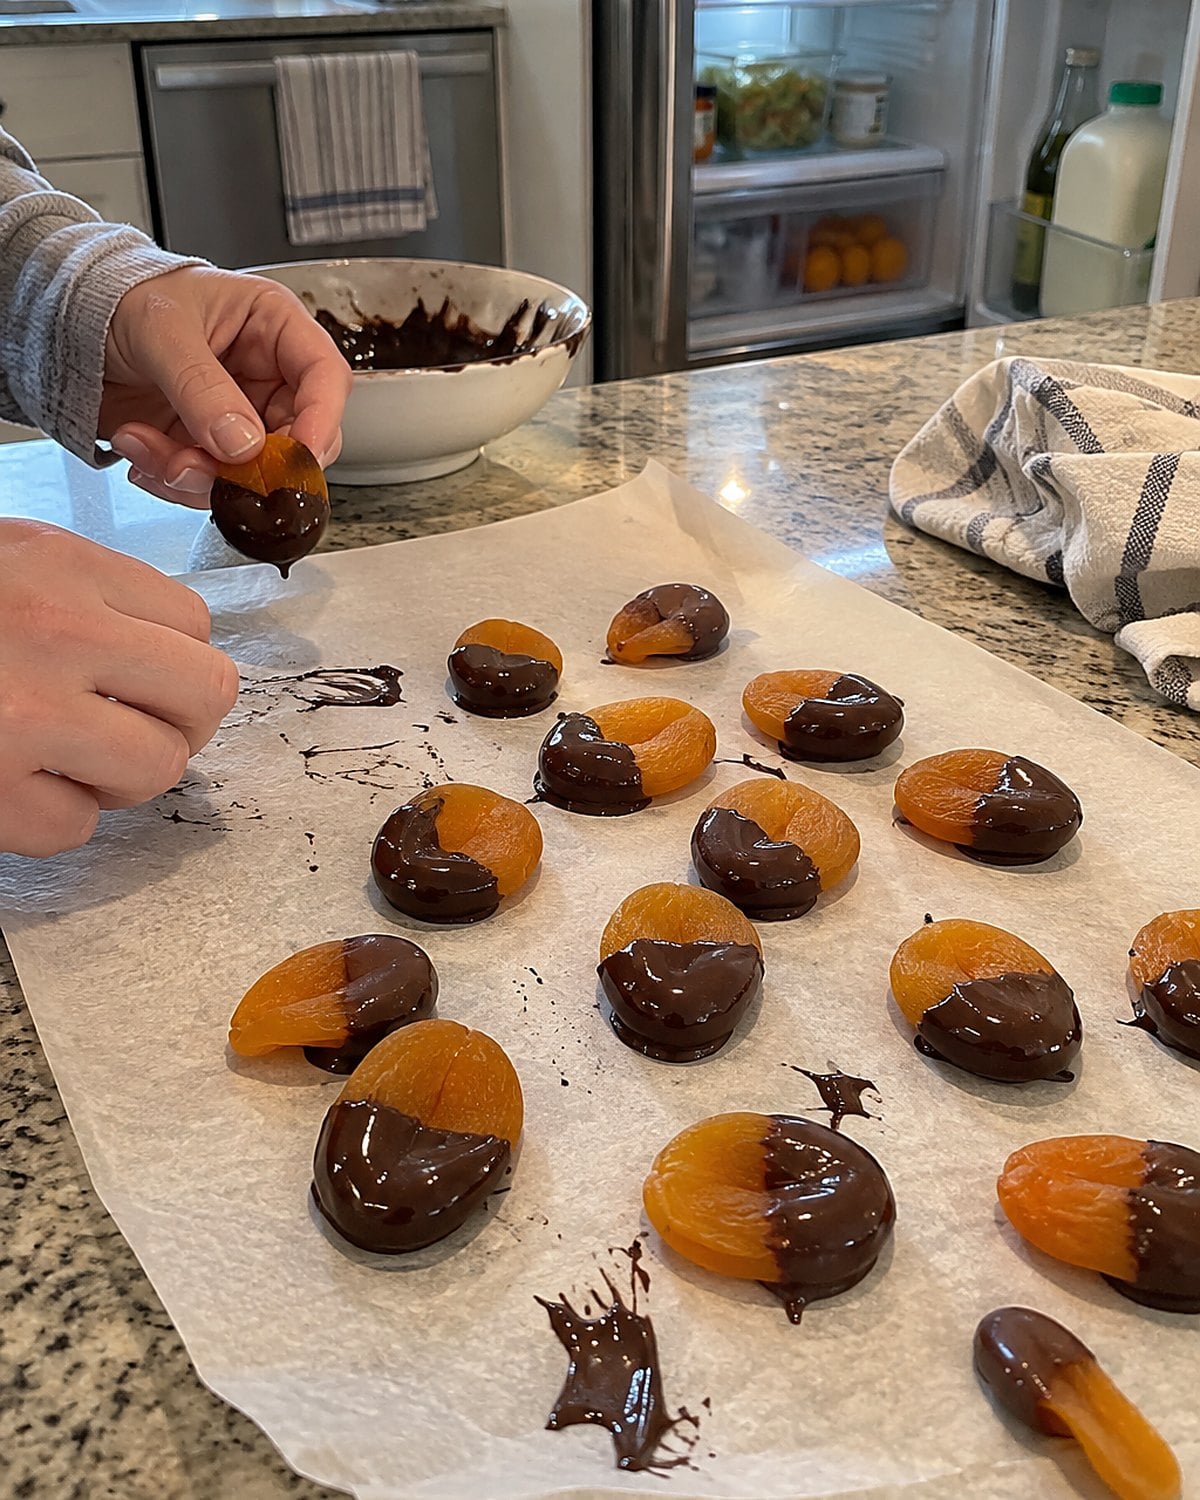
The apricots looked plain until someone dipped half of each one in chocolate. The orange half still showed, which made the candy stand out on a crowded plate without a paper cup or a fork mark.
Dry fruit and melted chocolate don't get along. Moisture on the apricot's surface makes the coating cling poorly. Pat the fruit dry if it feels damp, and let it reach room temperature before dipping. Melt chocolate slowly, away from splashes and steam. Then set each piece on parchment until the coating firms.
Taste one apricot before dipping the rest. Its tartness has to stand up to the chocolate; a bland dried fruit stays bland under a sweet coat. If your pantry has a bag left from holiday baking, this is a smaller project than a pot of syrup.
Put the dipped pieces in a single layer while they set. Stack them too soon and you'll lift the chocolate off the bottom one.
#18 Peanut Brittle Snapped at the Counter
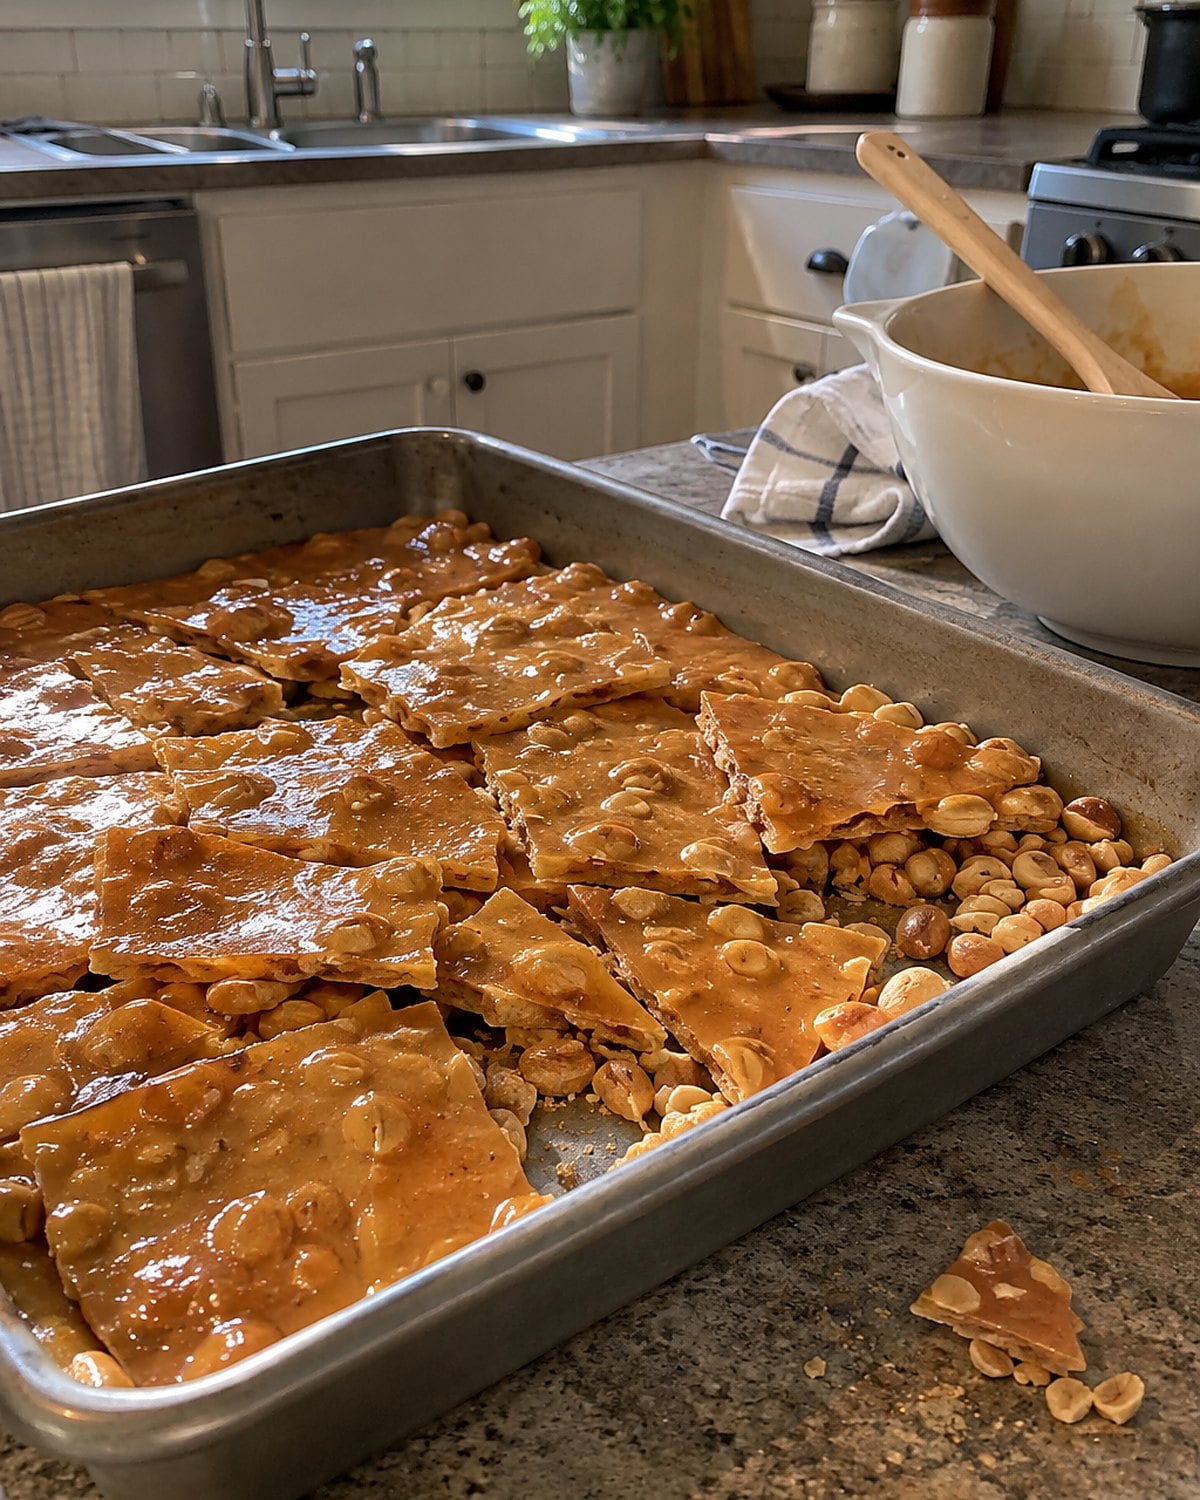
You knew peanut brittle was ready to share when the sheet snapped rather than bent. The sound came after a fast pour and a long wait at the counter.
Brittle syrup reaches the hard-crack stage, about 300°F to 310°F. Baking soda goes in near the end in recipes that call for it. It foams through the hot syrup and leaves tiny bubbles in the finished sheet, giving your teeth a little less work. Stir it in with room left in the pot.
Spread the candy on a prepared pan without lingering. Once cool, break a corner. If it bends or clings to your teeth, the syrup didn't reach the stage the recipe needed. Keep that note beside the thermometer for next time.
#17 Buttered Marble for Holiday Brittle
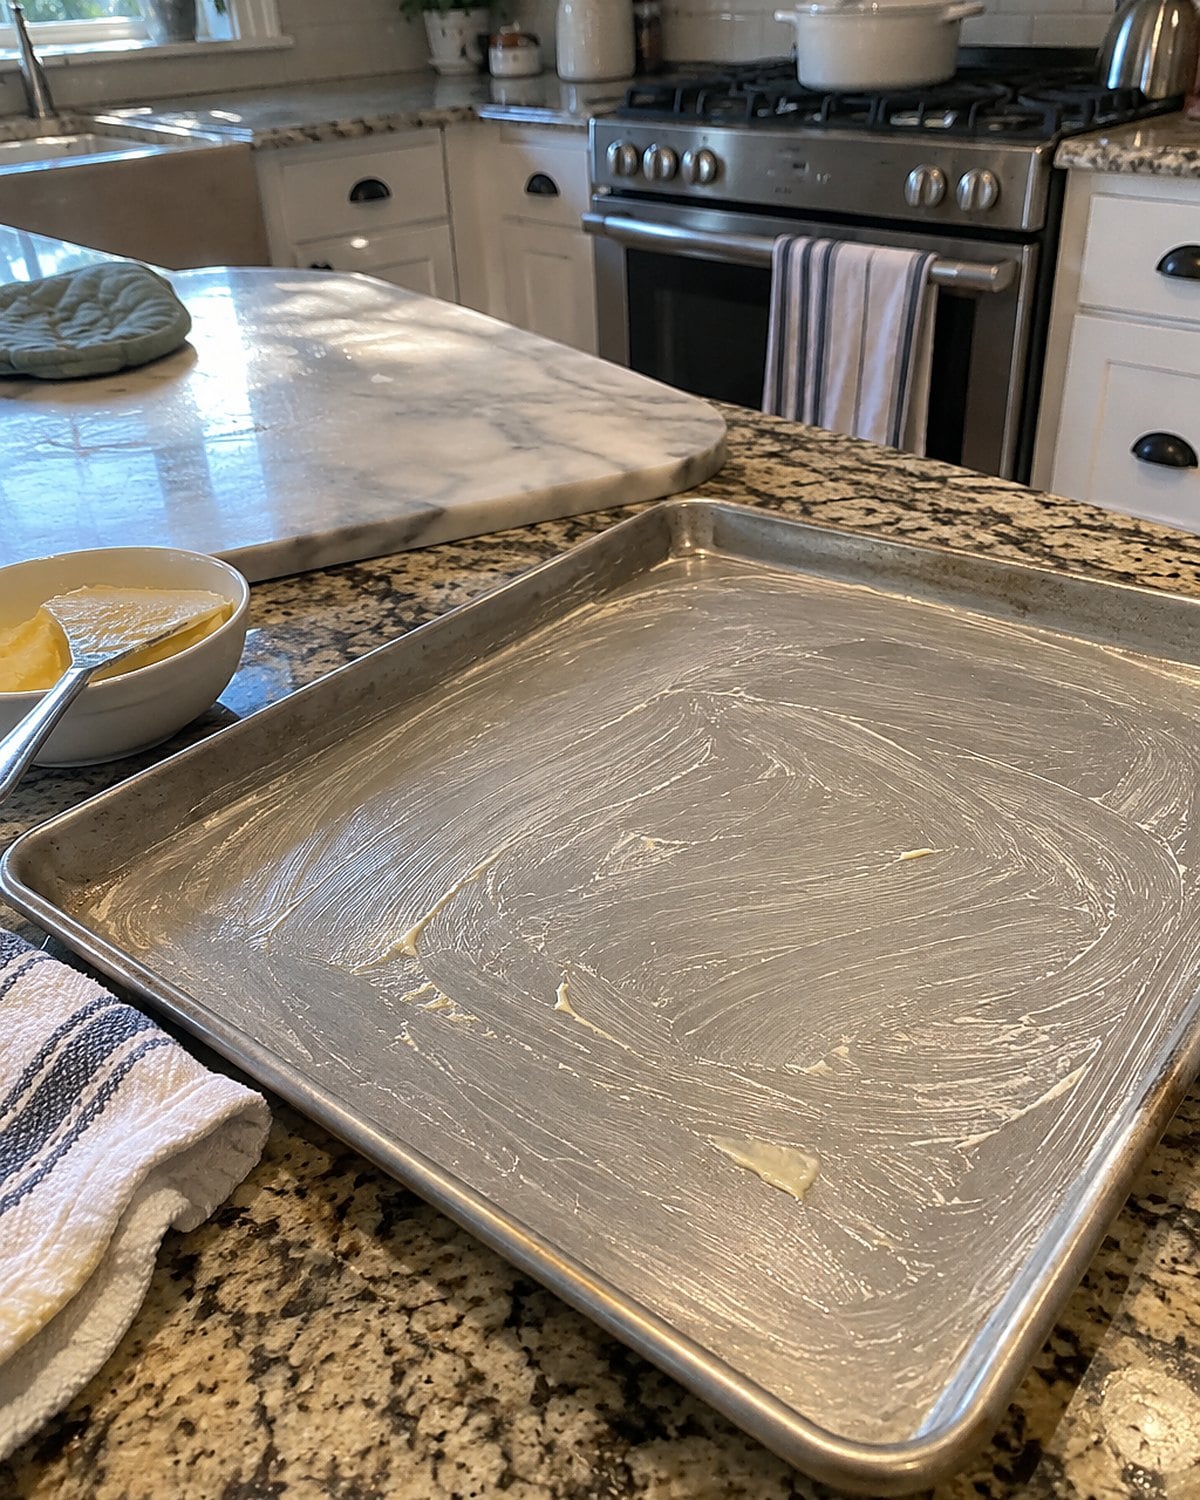
The marble slab on an older kitchen counter was more than a handsome surface. Its weight and coolness helped hot candy spread and shed heat. Not every kitchen had one, so a buttered baking sheet did the same job for generations of brittle makers.
Prepare the surface before the syrup reaches temperature. Butter it as your recipe directs and set it on a steady counter. When the hot candy lands, keep hands clear and use a heatproof spatula only if the recipe calls for spreading. Thin edges cool faster than a thick center.
That's why the first shards from an uneven pour feel different from the last. On a smaller batch, choose a pan with room for the syrup to spread. A thick pile makes harder pieces to bite.
Lift a cooled shard and look at its edge. No marble slab? Keep the old butter-the-pan habit. It mattered more than the counter beneath it.
#16 Black Walnuts in Christmas Fudge
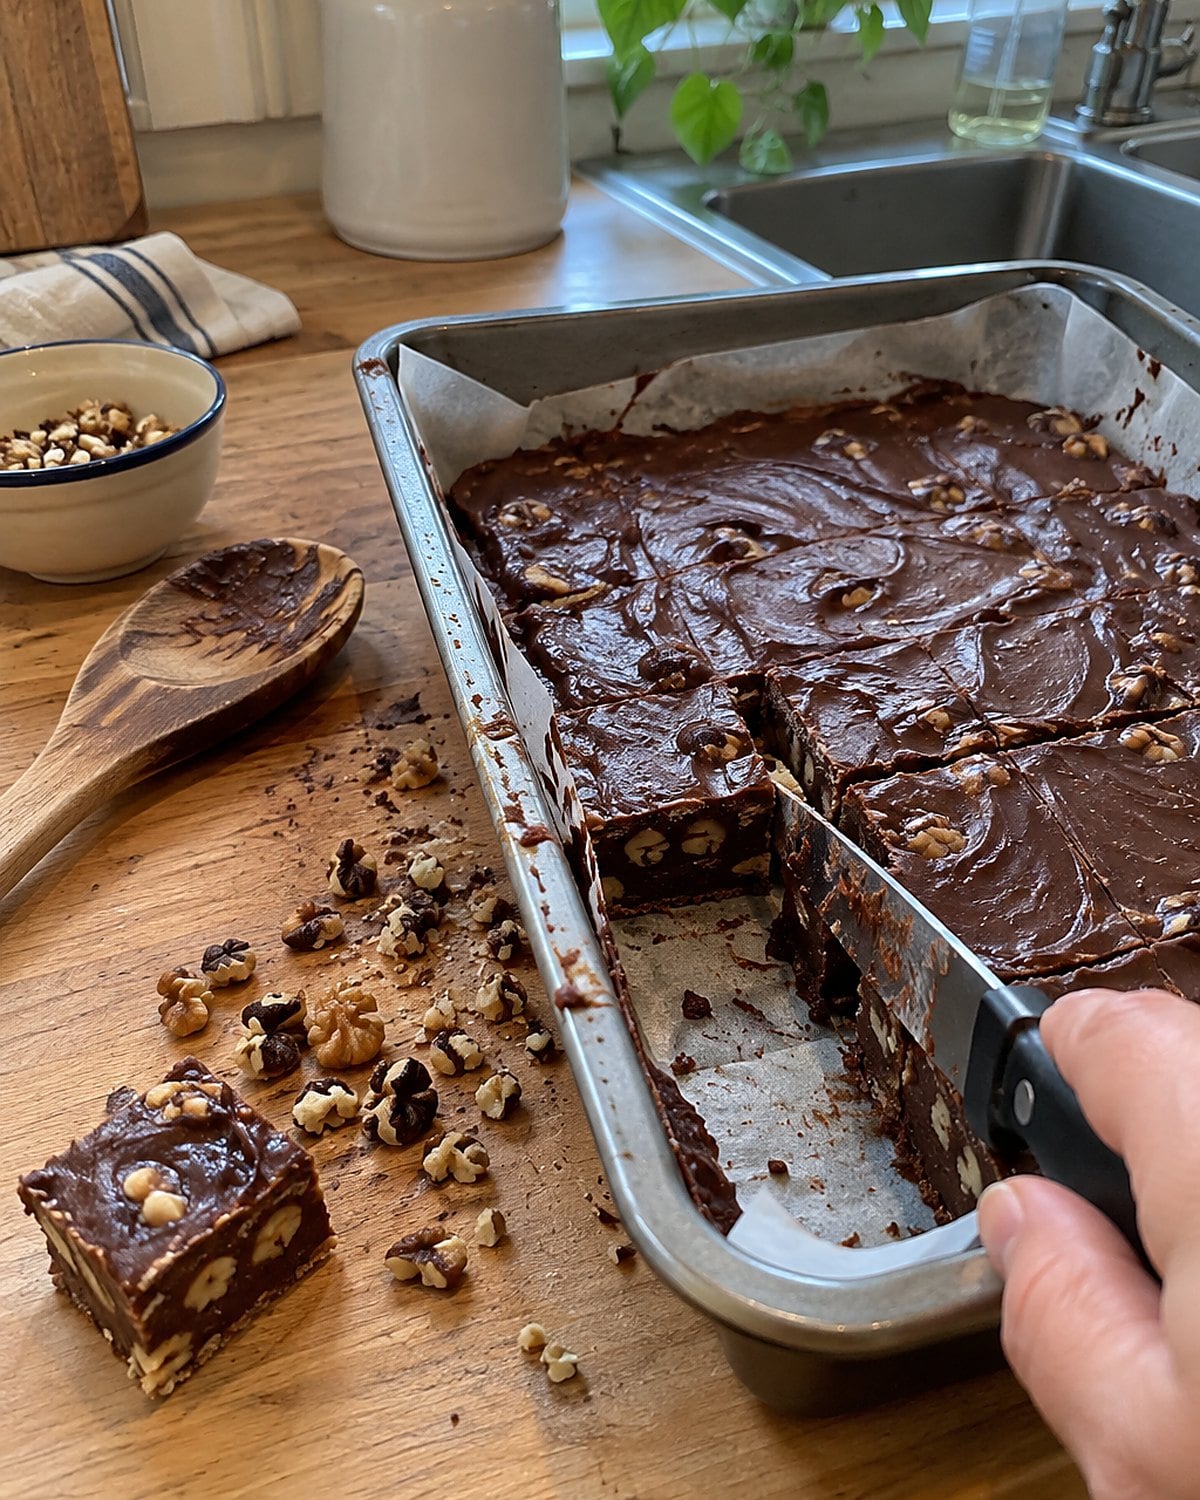
The first bite of black walnut fudge announces the nut before the chocolate. Black walnuts have a bold, earthy taste, far stronger than the English walnuts sold for everyday baking. A little changes the whole pan.
Shelling them was a project. Their hard shells and dark husks explain why a bag of ready-to-use pieces felt like a luxury when it appeared. If you have black walnuts, taste one before mixing them into fudge. Old nuts smell or taste stale; candy won't hide it.
Chop the good ones so each square gets some, then add them at the point your recipe calls for nuts. Save a few pieces to press on top. You'll know which fudge is which before anybody cuts it, and the person who loves black walnuts will find it first.
#15 Coconut Bonbons on Wax Paper
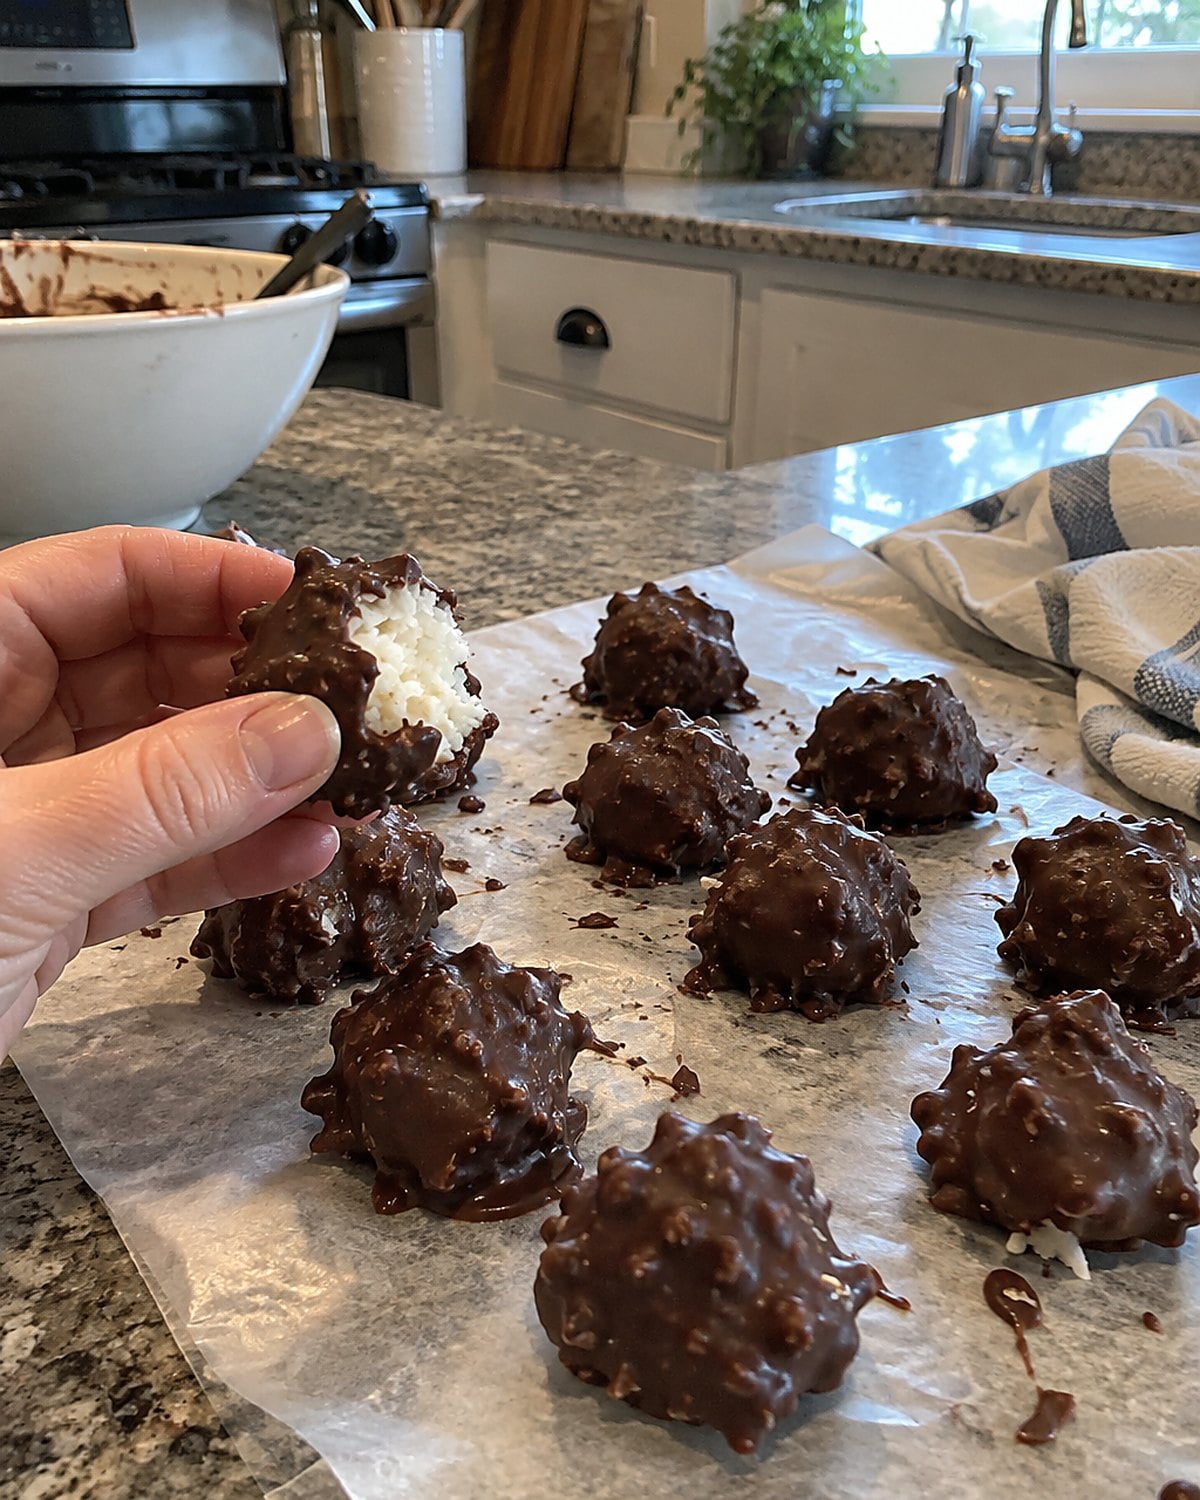
A row of coconut bonbons on wax paper never looked as tidy as the recipe picture. One had a longer chocolate drip; another showed a bit of white at the base. Those were usually the first ones taken.
The center needs enough body to hold its shape before dipping. If it smears when you lift it, chill the formed pieces as the recipe directs. Then melt the coating and work with a few pieces at a time. A fork lets excess chocolate drip back into the bowl before you set each bonbon down.
Here's the question to ask at the counter: do you want coconut you can chew, or a smooth, sweet center with coconut flavor? Shredded coconut gives the first result. A finely chopped filling gives a more even bite. Check the recipe before buying the coconut; sweetened and unsweetened won't give you the same sweetness.
Leave the bonbons alone until the coating sets. A fingerprint on the top tells everyone who checked too early.
#14 Chocolate-Dipped Maraschino Cherries
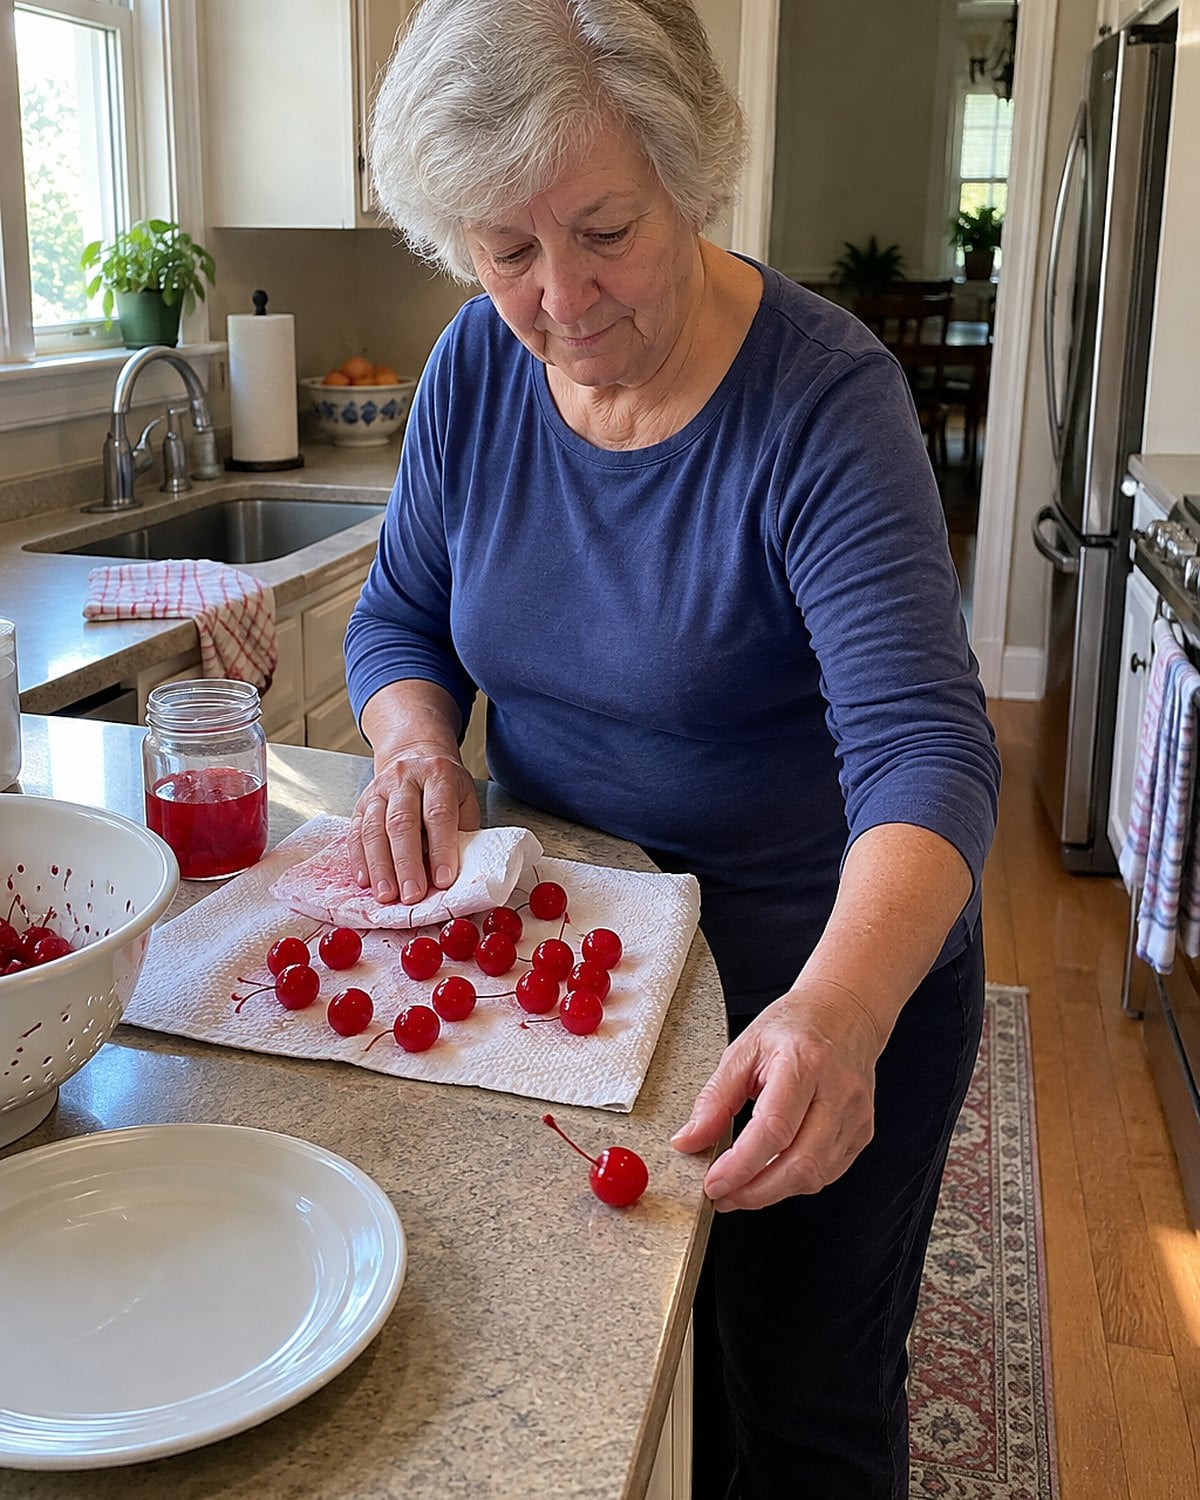
A jar of maraschino cherries made a small candy project look like an event. The trouble arrived under the chocolate: a wet cherry leaked through a thin patch and glued itself to the wax paper.
Drain the cherries well, then dry their surfaces with clean towels. If your recipe wraps them in a fondant center, cover each cherry completely before dipping. An exposed spot gives syrup a path out. Set the dipped pieces apart so their coatings don't touch while they firm.
These aren't the same as the boxed, syrupy cherry cordials. Homemade versions differ by recipe, and some centers turn liquid only after resting. Follow the instructions you have rather than guessing from the way a commercial candy behaves. Meanwhile, keep a towel by the jar. That simple drying step saves the coating.
#13 Gray Streaks on Dipped Chocolates
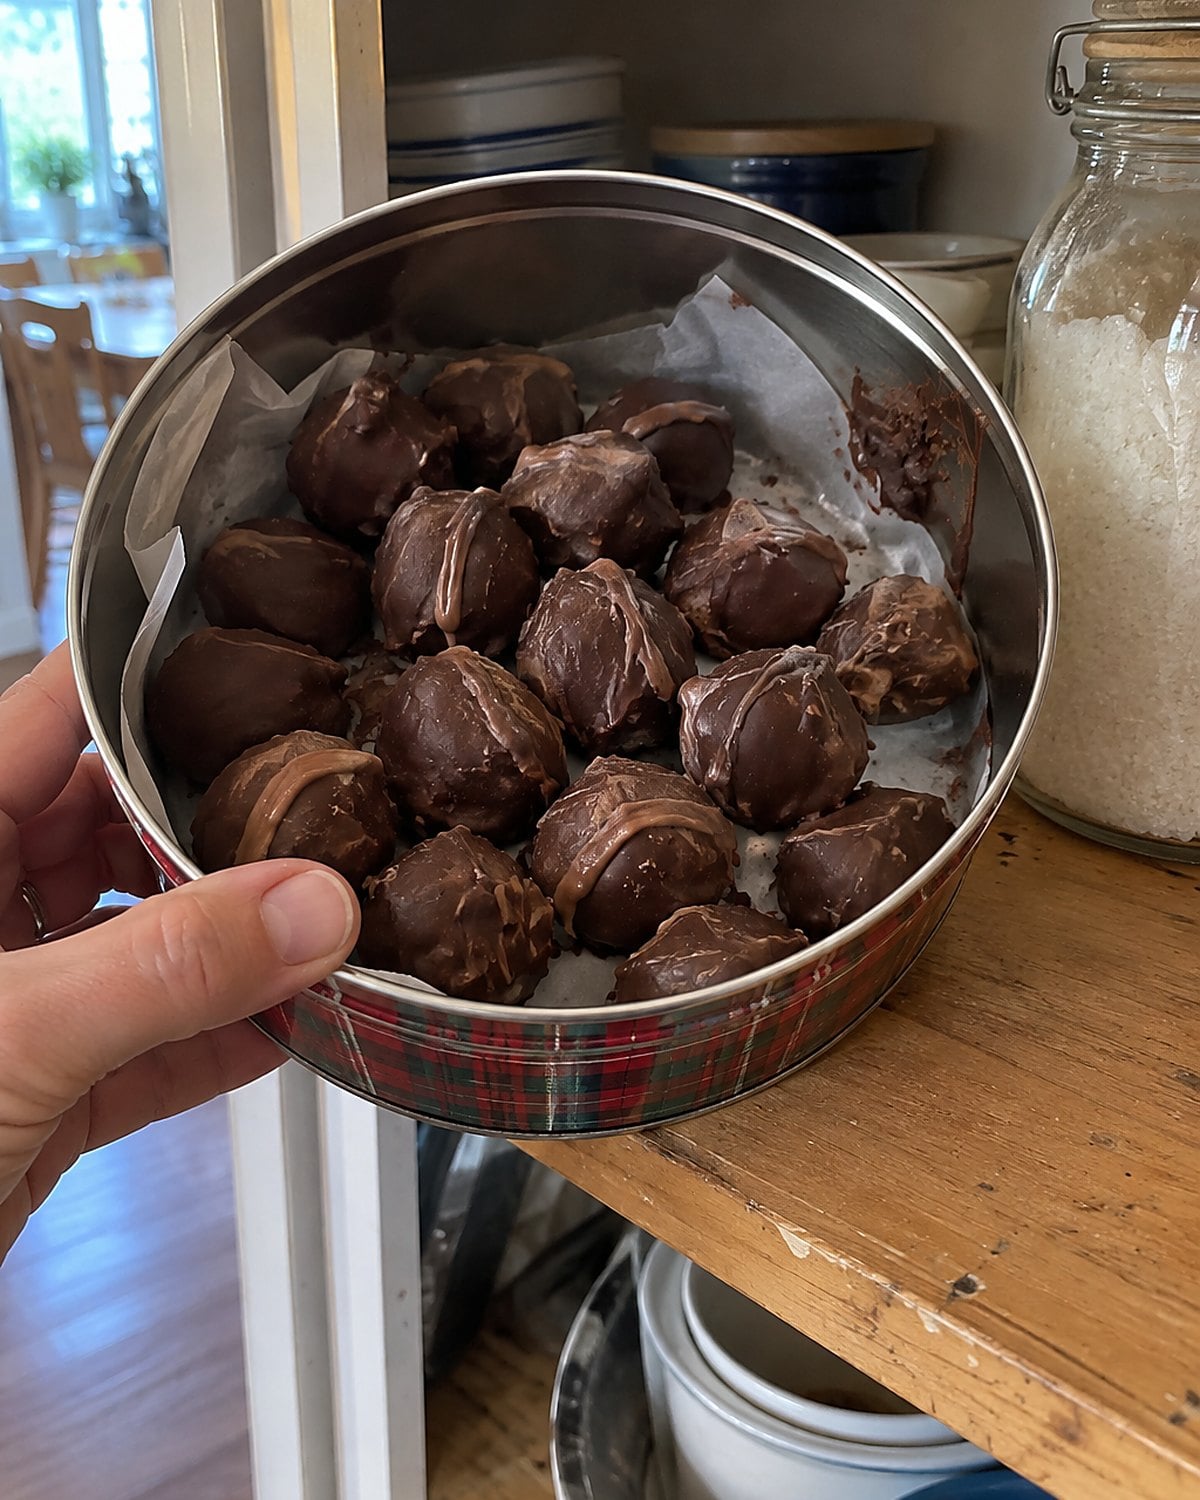
You lift the lid on a tin of dipped chocolates and find pale streaks across the tops. They look dusty, though the tin was clean. Chocolate bloom has arrived.
Fat bloom shows when cocoa butter settles into a different crystal pattern, often after chocolate was melted and cooled without tempering. Sugar bloom follows moisture on the surface. Either leaves a pale finish.
Those streaks tell you nothing about a cream or fruit filling inside. If you're unsure how long a homemade filling has been stored, don't use the shell's appearance to decide. Look up the filling in the USDA FoodKeeper guide before you pack another tin.
For a better finish next time, keep water and steam away from melted chocolate. Temper real chocolate if you want a firm, shiny shell. Or choose a coating product and follow its package directions. They're different materials; treating them the same way causes trouble.
If there's a glossy piece left in the tin, break it. That clean snap is what careful cooling gave you.
#12 Vanilla Wafers Rolled Into Rum Balls
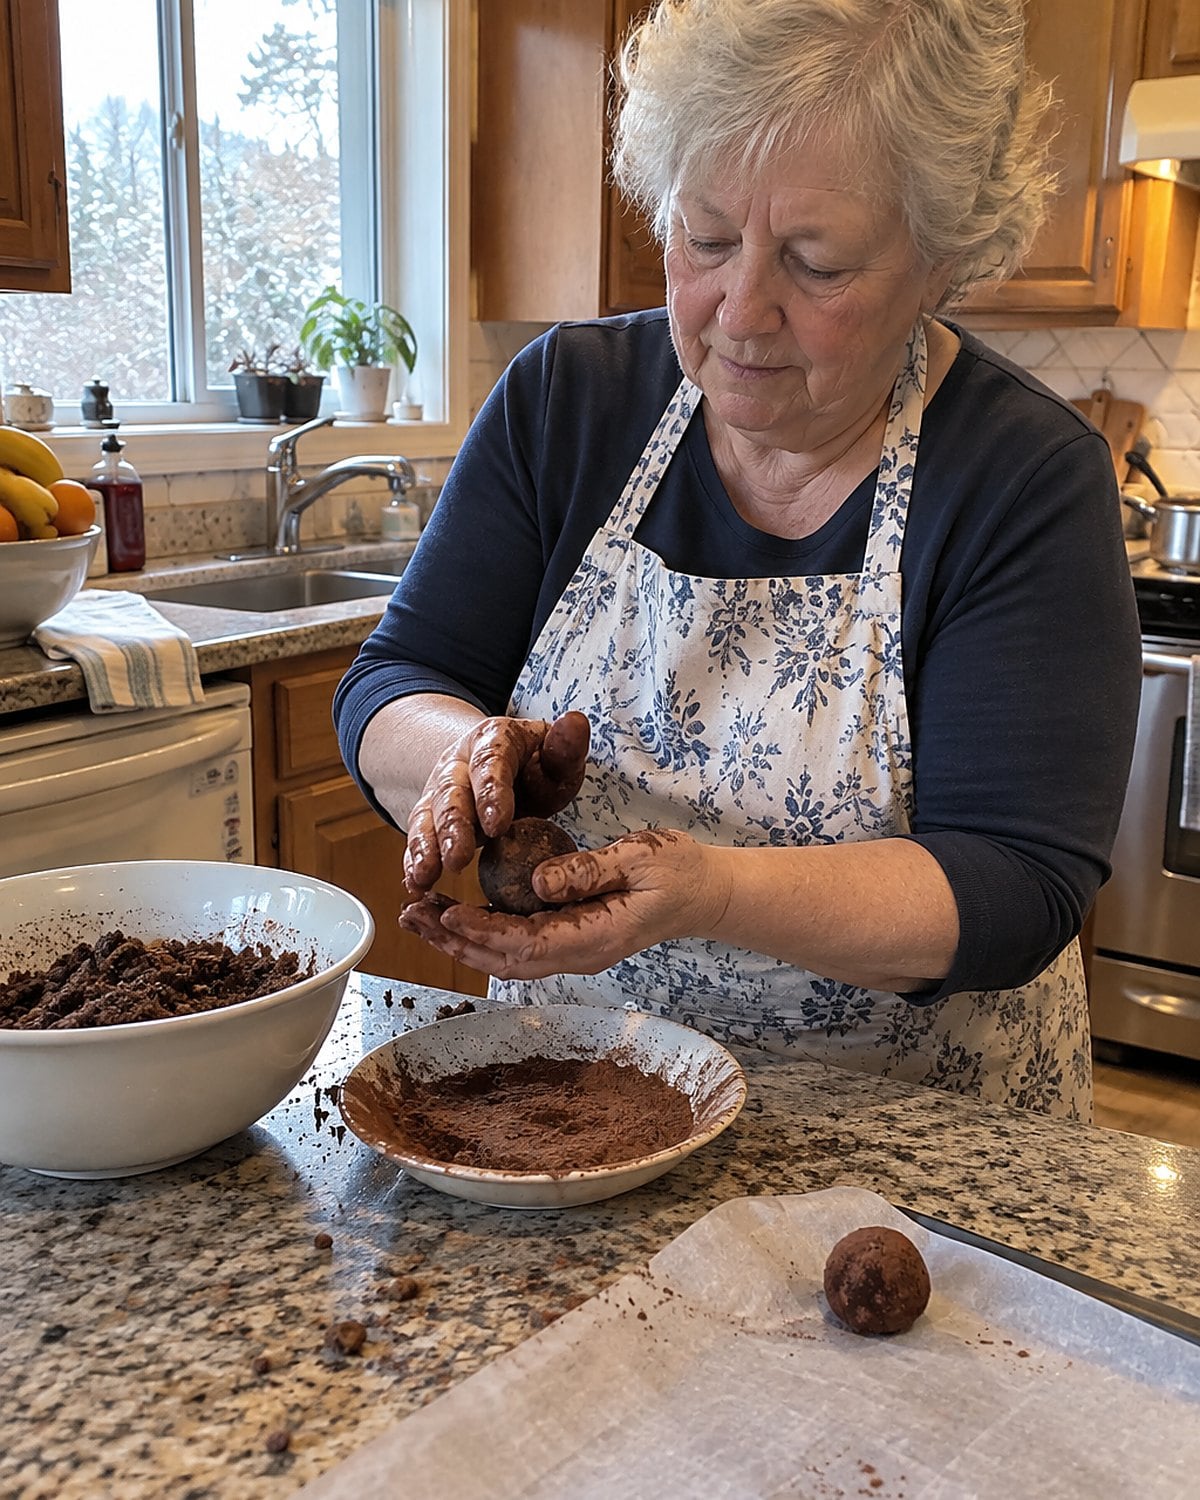
The rolling took longer than the mixing. Crushed vanilla wafers, cocoa, and the recipe's liquid made a dough that clung to your palms. By the end, confectioners’ sugar had reached the dish towel and the drawer pull.
Crush the wafers finely before mixing. Big pieces leave gritty patches that won't soften at the same rate as the rest. When the mixture holds together under a firm squeeze, shape it. If it crumbles, check the recipe's liquid measure before adding more; too much makes balls that spread.
Rum balls aren't cooked after mixing. If you serve them to children or to anyone avoiding alcohol, choose an alcohol-free recipe and label the plate. A dusting of cocoa looks much like a dusting of sugar from across the church hall table.
Set one aside and taste it after the flavors have had time to settle. Then you'll know which version deserves a note in the margin.
#11 Molasses Taffy from the Tin
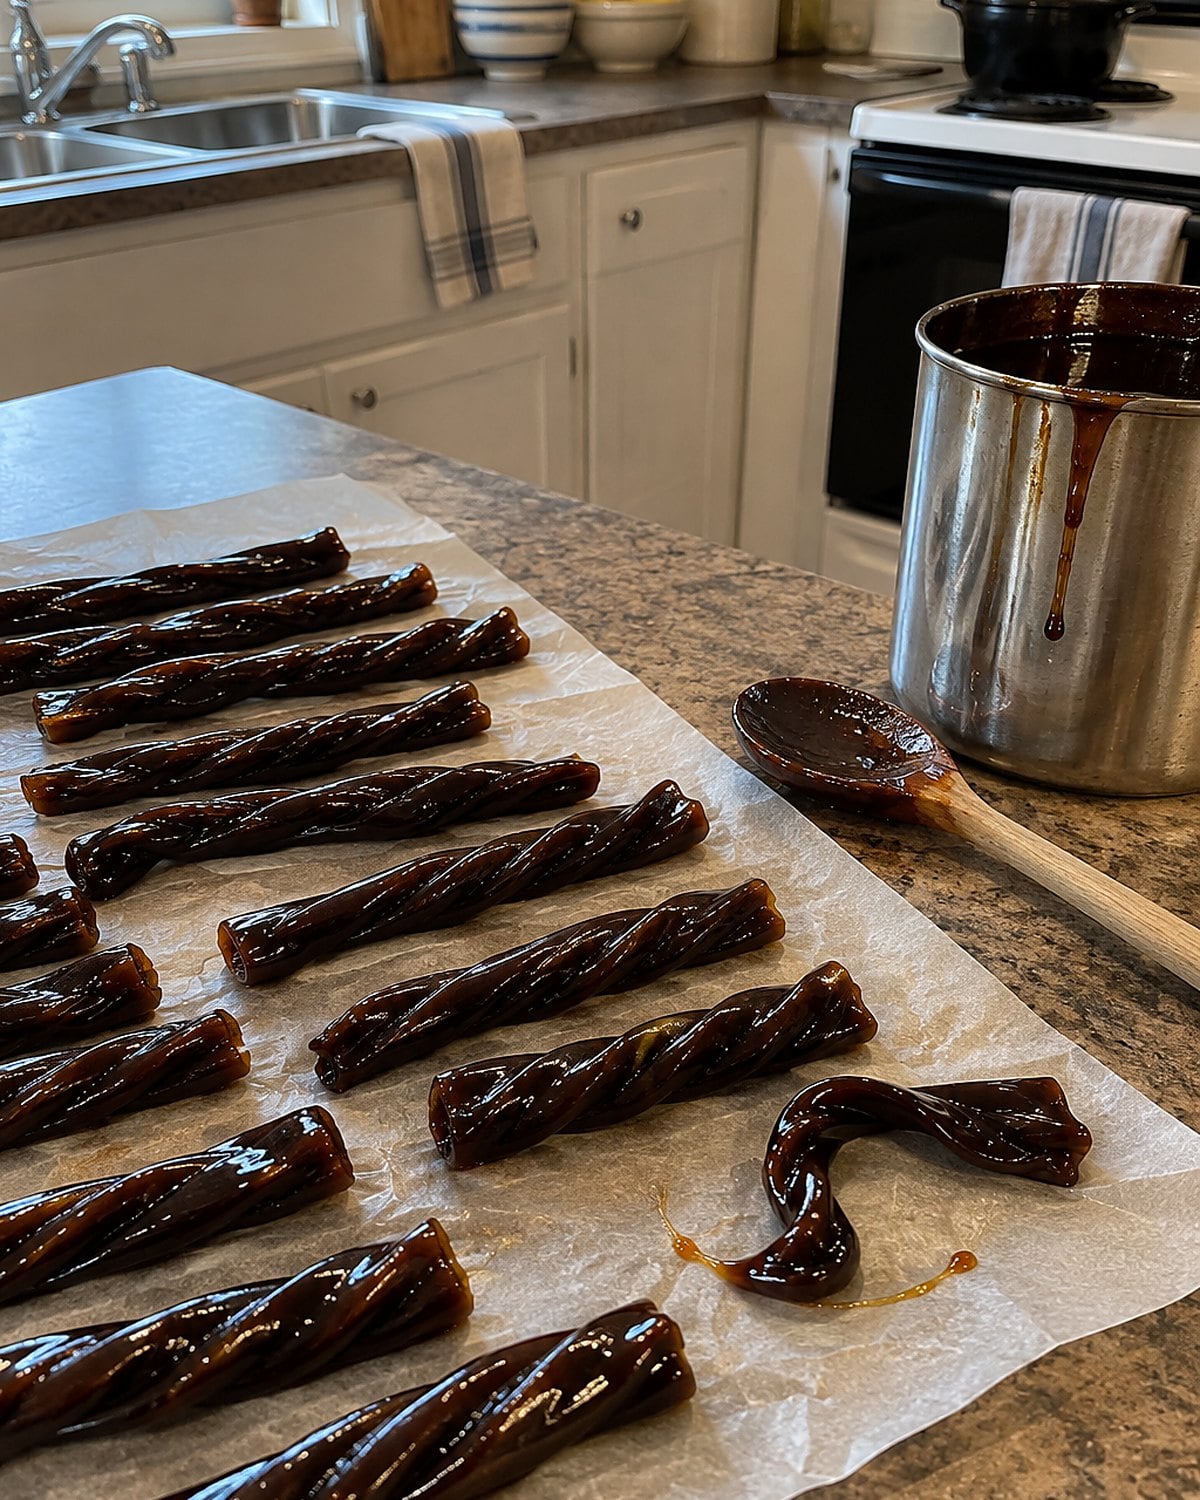
The molasses tin needed its rim wiped before the lid would close. It also made a taffy unlike the pale candy in wax-paper twists. The darker syrup brought a strong flavor that lasted after the sweetness faded.
Molasses isn't one uniform ingredient. Light and dark types taste different; blackstrap is much more bitter. Before starting a family recipe, use the type it names. If it says only “molasses,” taste what you have on a spoon. A bitter jar will make bitter candy.
Cook the taffy to the temperature in your own recipe, then pay attention to its texture as it cools. You need it warm enough to stretch and firm enough to handle. Butter your hands as directed and pull until the color lightens. Cut or twist pieces before the rope hardens.
Make this one on a day when someone will enjoy helping. The candy asks for your hands at the exact moment the dishes start piling up, and that's part of why the tin disappeared from so many holiday counters.
#10 Marshmallow Squares Dusted with Cornstarch
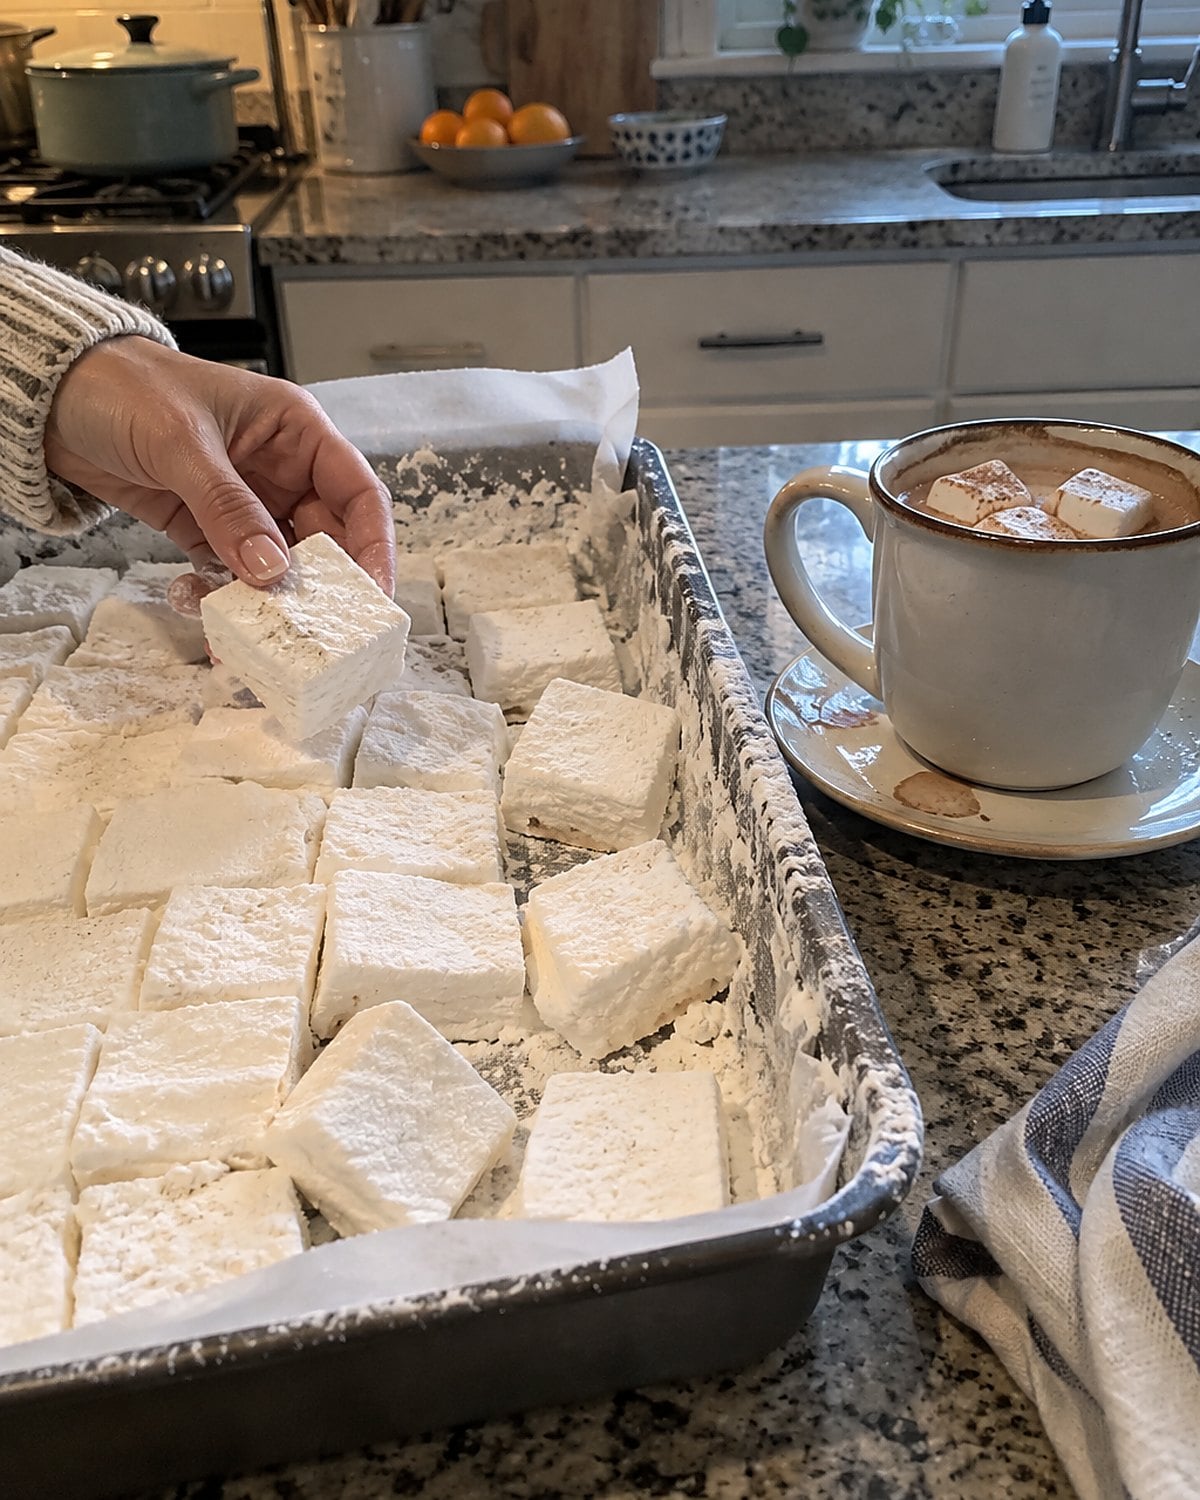
A homemade marshmallow pressed between your fingers doesn't feel like the one from a store bag. It yields, then springs back. On a winter counter, a pan of them sat under a generous coat of powdered sugar and cornstarch, waiting to be cut.
Gelatin gives the mixture its structure. Hot sugar syrup goes into the gelatin mixture as the recipe directs, then beating traps air until the mass turns thick and pale. That change takes work, even with a mixer. Stop too early and the slab won't have the same lift.
Dust your knife and the cut sides, not just the top of the pan. Exposed edges stick to each other. Drop one square into hot cocoa tonight and watch how it melts; the rest deserve a place in the tin.
#9 Saltine Toffee from the Cookie Tin
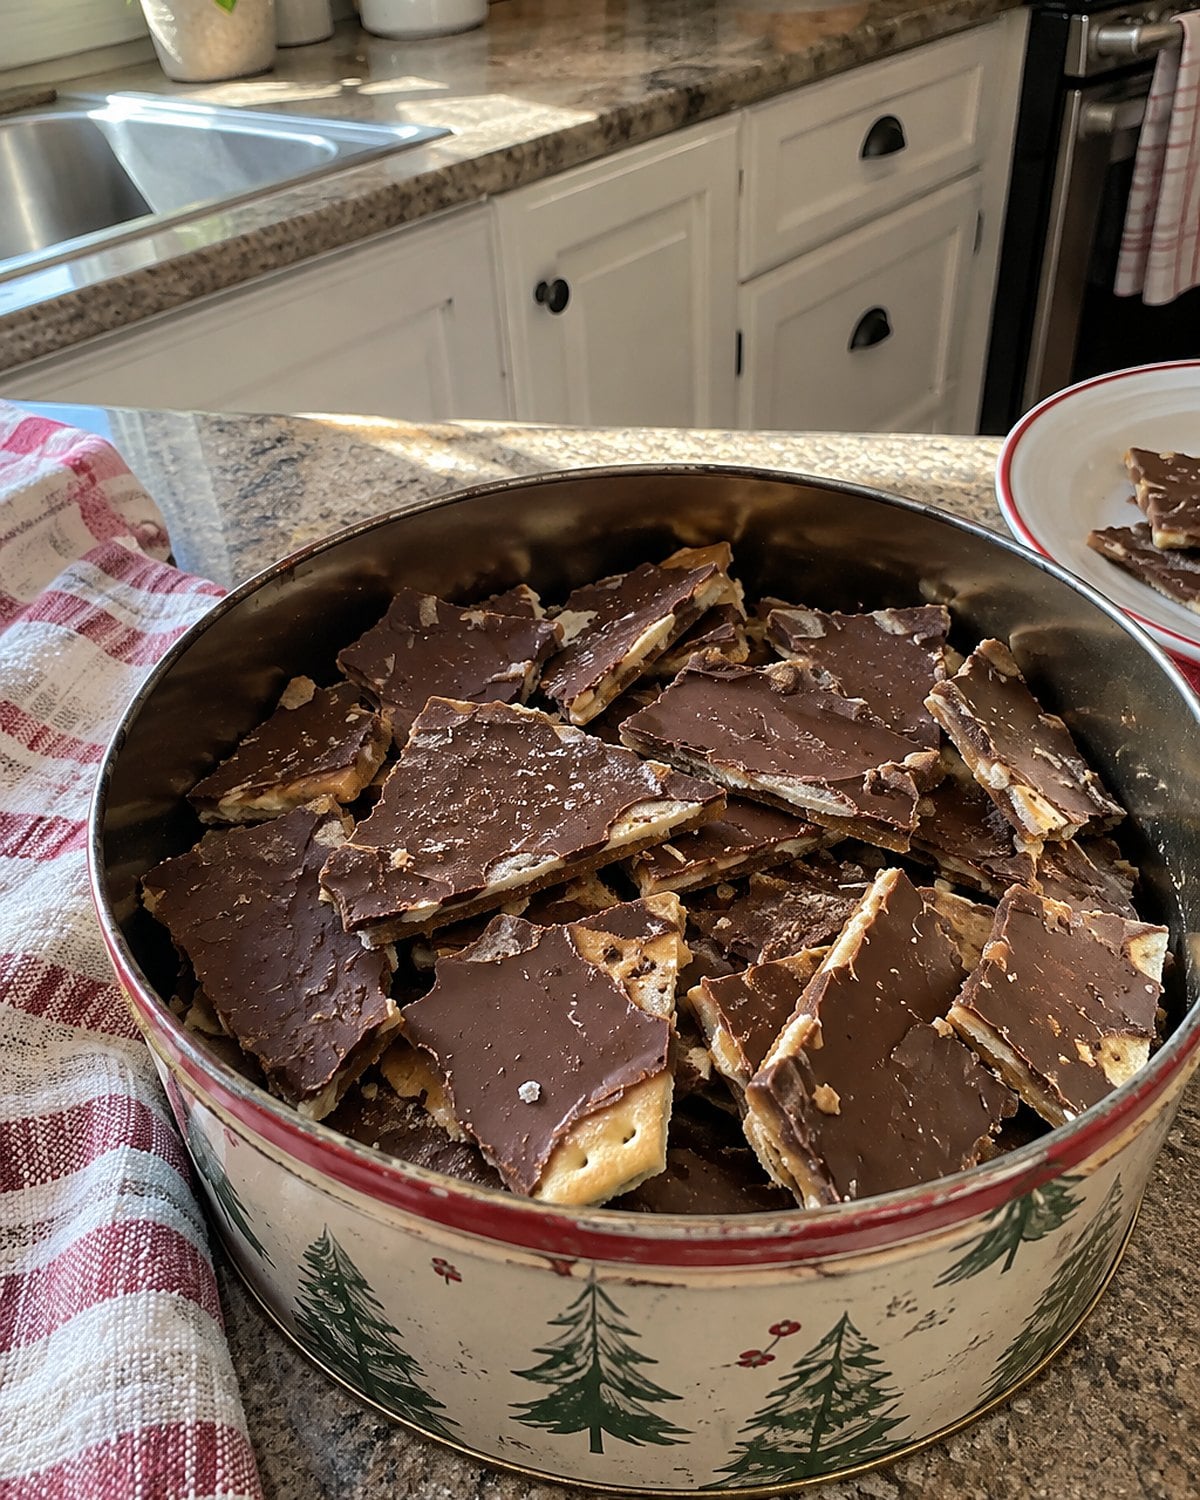
The crackers were the surprise under the chocolate. Saltines gave a sheet of holiday toffee its straight edges and salty crunch, with none of the hand-pulling that older candy demanded.
Line the pan well and lay the crackers close together. Boiled butter and brown sugar spread over them, then a short bake helps the topping set as the recipe directs. Cover bare corners. If syrup runs beneath the crackers, some pieces come out mostly chocolate and cracker while others carry a thick layer of toffee.
Spread melted chocolate after the hot pan comes out, when the surface is ready for it. Let everything cool fully before breaking it. The first snap tells you if the cracker kept its crunch.
This sweet stayed in holiday rotation because a half-sheet of crackers was easier to manage than a pot of divinity. If your old tin still smells faintly of chocolate, you know which candy got packed last.
#8 Pecan Pralines on Wax Paper
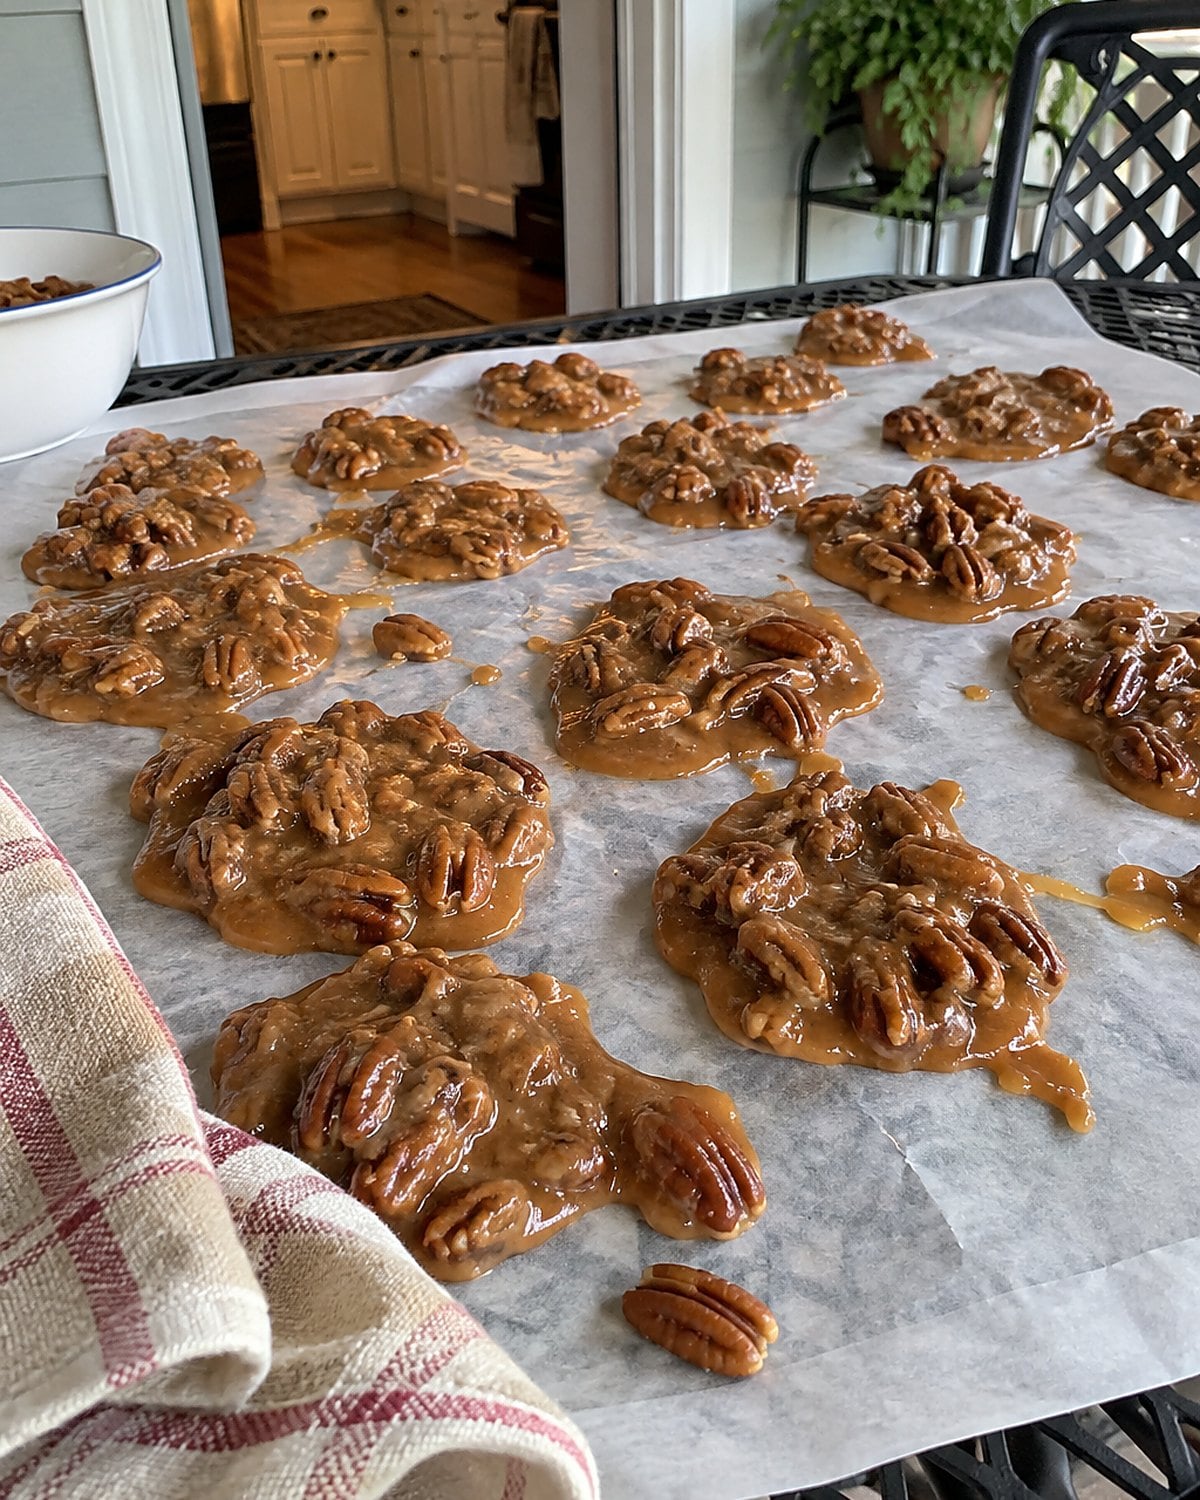
A praline starts as a glossy spoonful and ends as a sandy, tender round. That turn happens fast. Once the cooked sugar mixture starts losing its shine, you're working against the clock.
Set out wax paper and your spoon before you cook. Follow the recipe's cooling and beating instructions, then drop the mixture while it still flows. Wait until it's thick as dough and you'll have a potful of candy you can't shape neatly.
Pecans give each piece its crunch, but the sugar texture tells the story. A good praline breaks with a small crumble and melts on your tongue. Taste one after it cools. If it stays sticky, check your cooking stage the next time. If it's gritty throughout, look at when you began stirring.
#7 Peppermint Creams in Wooden Molds
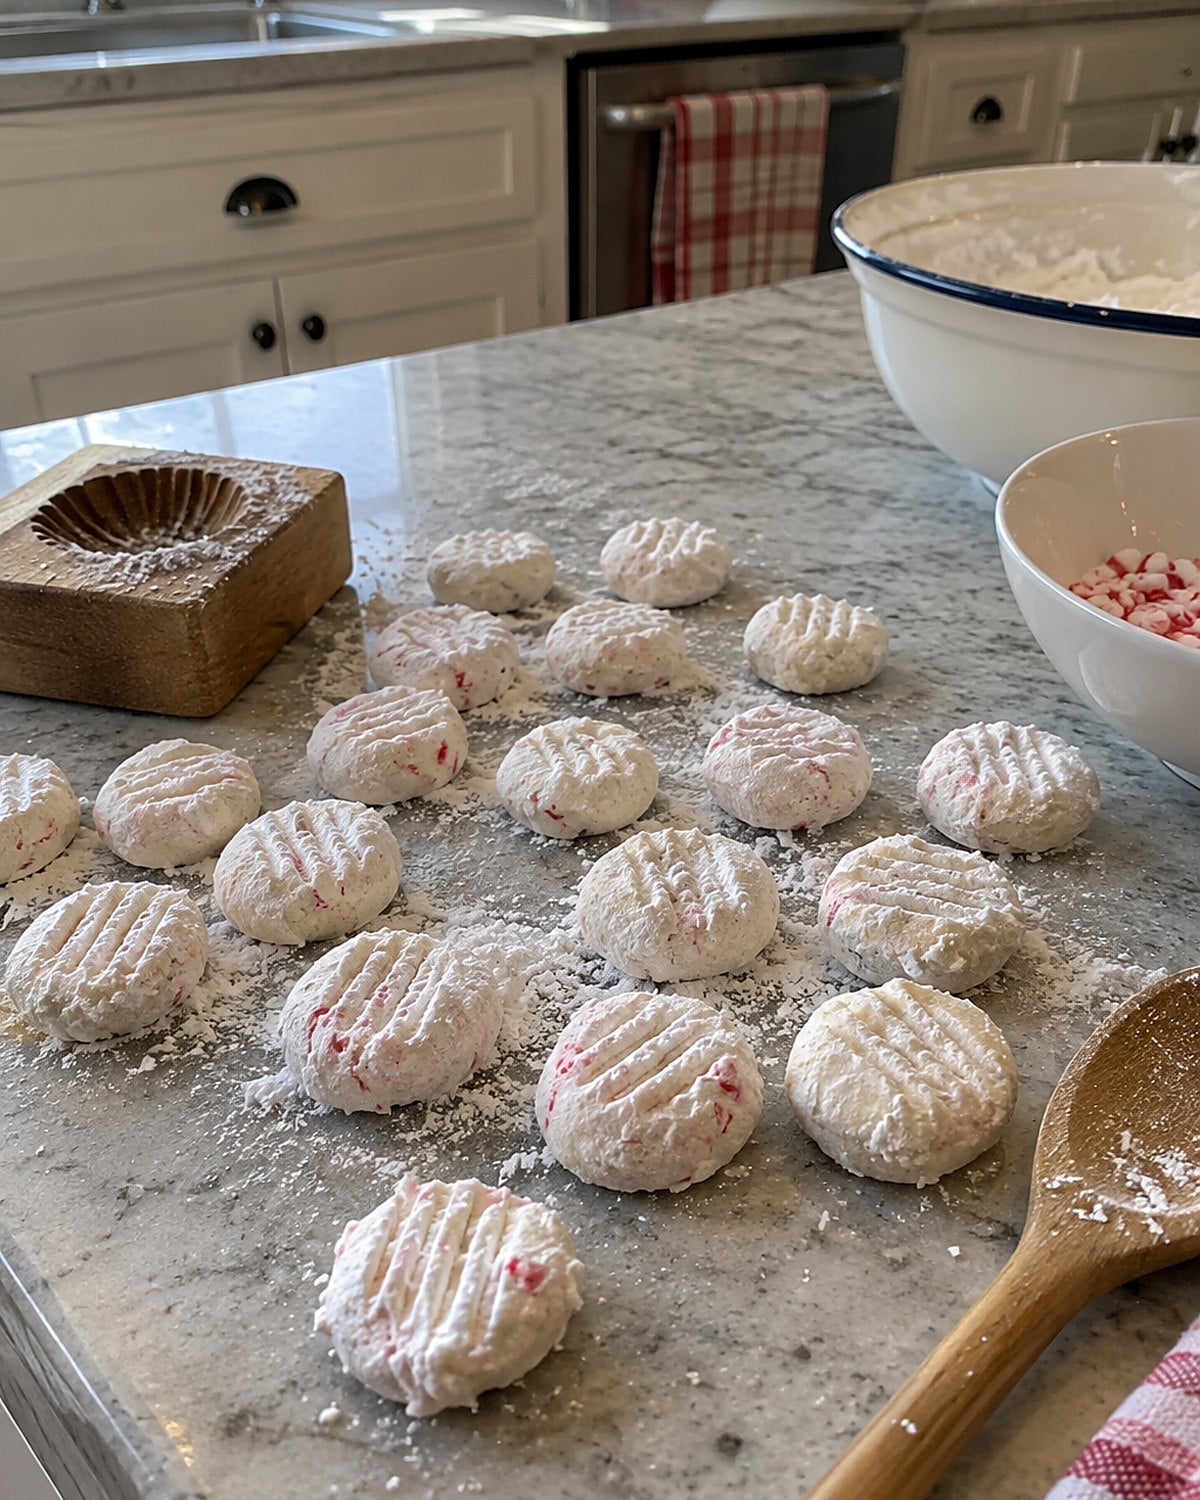
Some peppermint creams carried the mark of a small wooden mold. Others showed the plain imprint of a fork. Both looked at home on a Christmas plate, beside the chocolates that took far longer to finish.
A simple uncooked cream uses confectioners’ sugar and a small amount of liquid to make a firm dough. Peppermint extract is powerful, so add it a little at a time and taste before shaping. Too much leaves a harsh, cooling taste that chocolate won't cover.
Press the dough into a mold dusted as the recipe directs, or flatten pieces with a fork. Let the surfaces dry before packing them so the shapes survive.
Dipping one side in chocolate? First lift a cream to see if it holds its form. The fork version is worth remembering. You don't need to find the old mold to put this candy back on your counter.
#6 Ribbon Candy in Cellophane Boxes
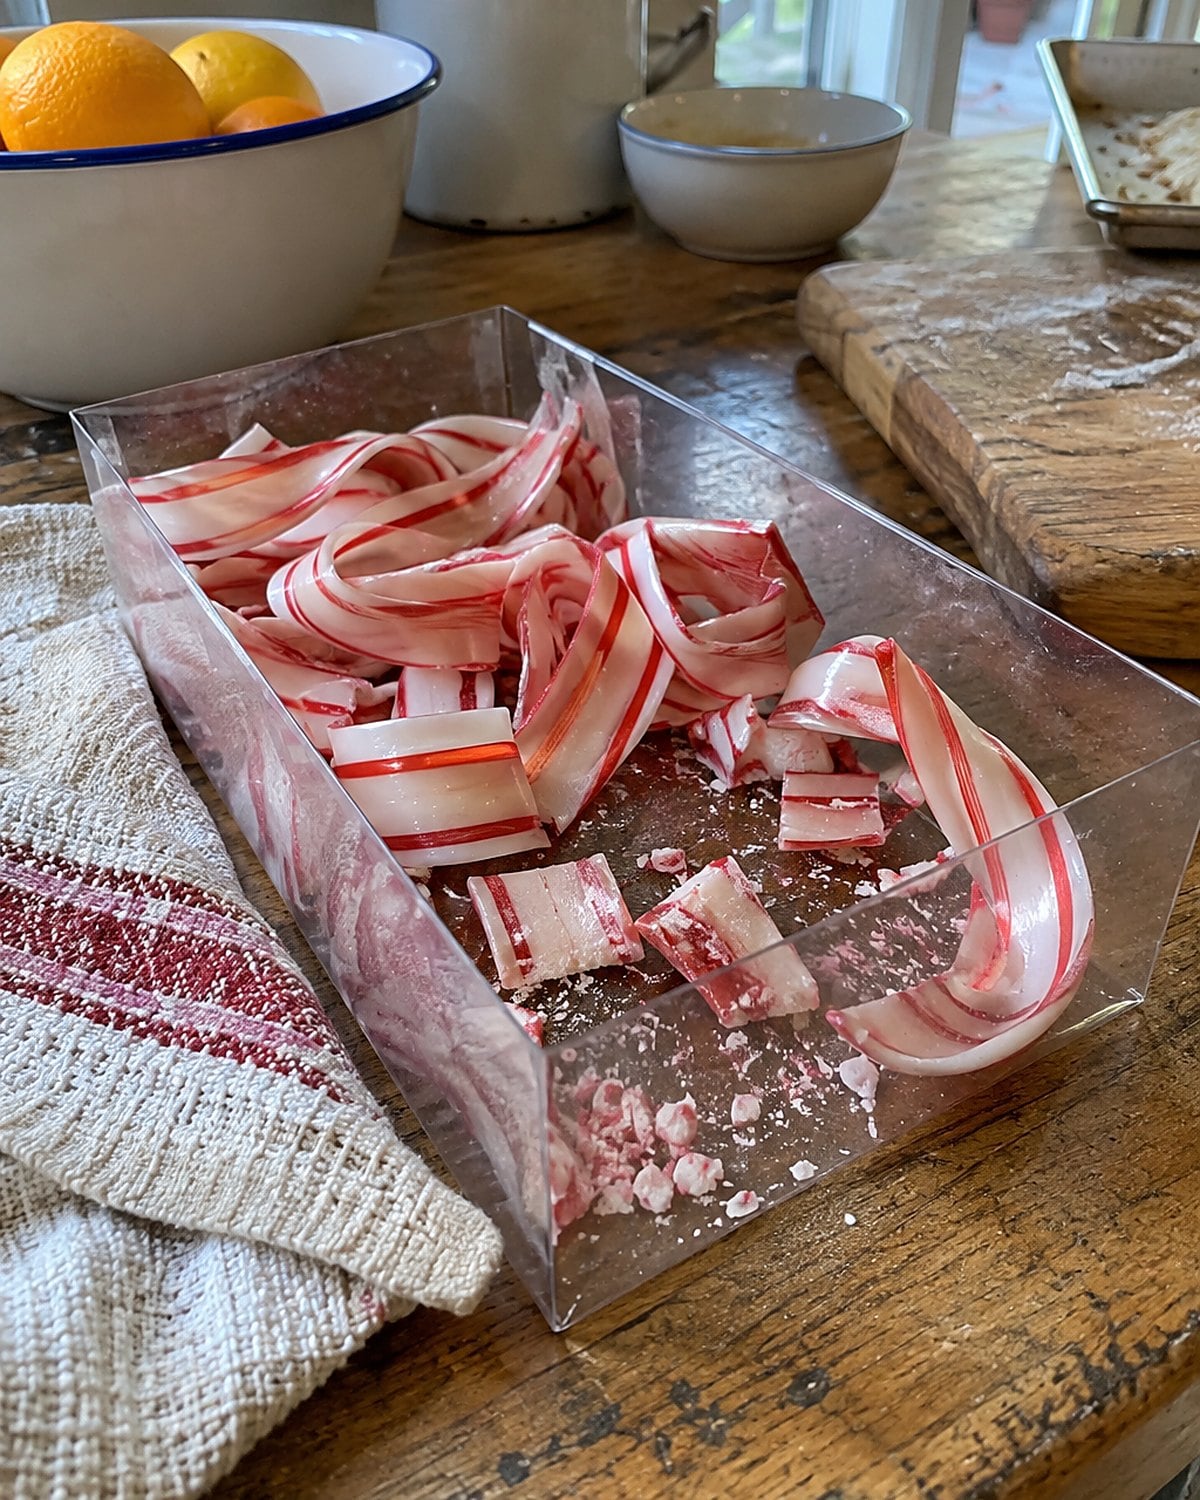
Ribbon candy held its waves like folded glass. The striped pieces were beautiful in a cellophane box and quick to shatter when somebody reached inside. Making them at home demanded hot sugar work, speed, and hands protected for the job.
That helps explain why ribbon candy became something people bought, even in families that made brittle and fudge. Pulling colored candy into even bands, joining the colors, then bending the strips before they hardened was skilled work. A kitchen spoon couldn't make those thin folds.
If an old recipe tempts you, read it through before heating syrup. Set up the work area and make sure the instructions cover handling hot candy. Or put a box on the table and make the fudge you already know. Recognizing the work behind a candy counts, too.
#5 Maple Sugar Candy from Snowy Trips
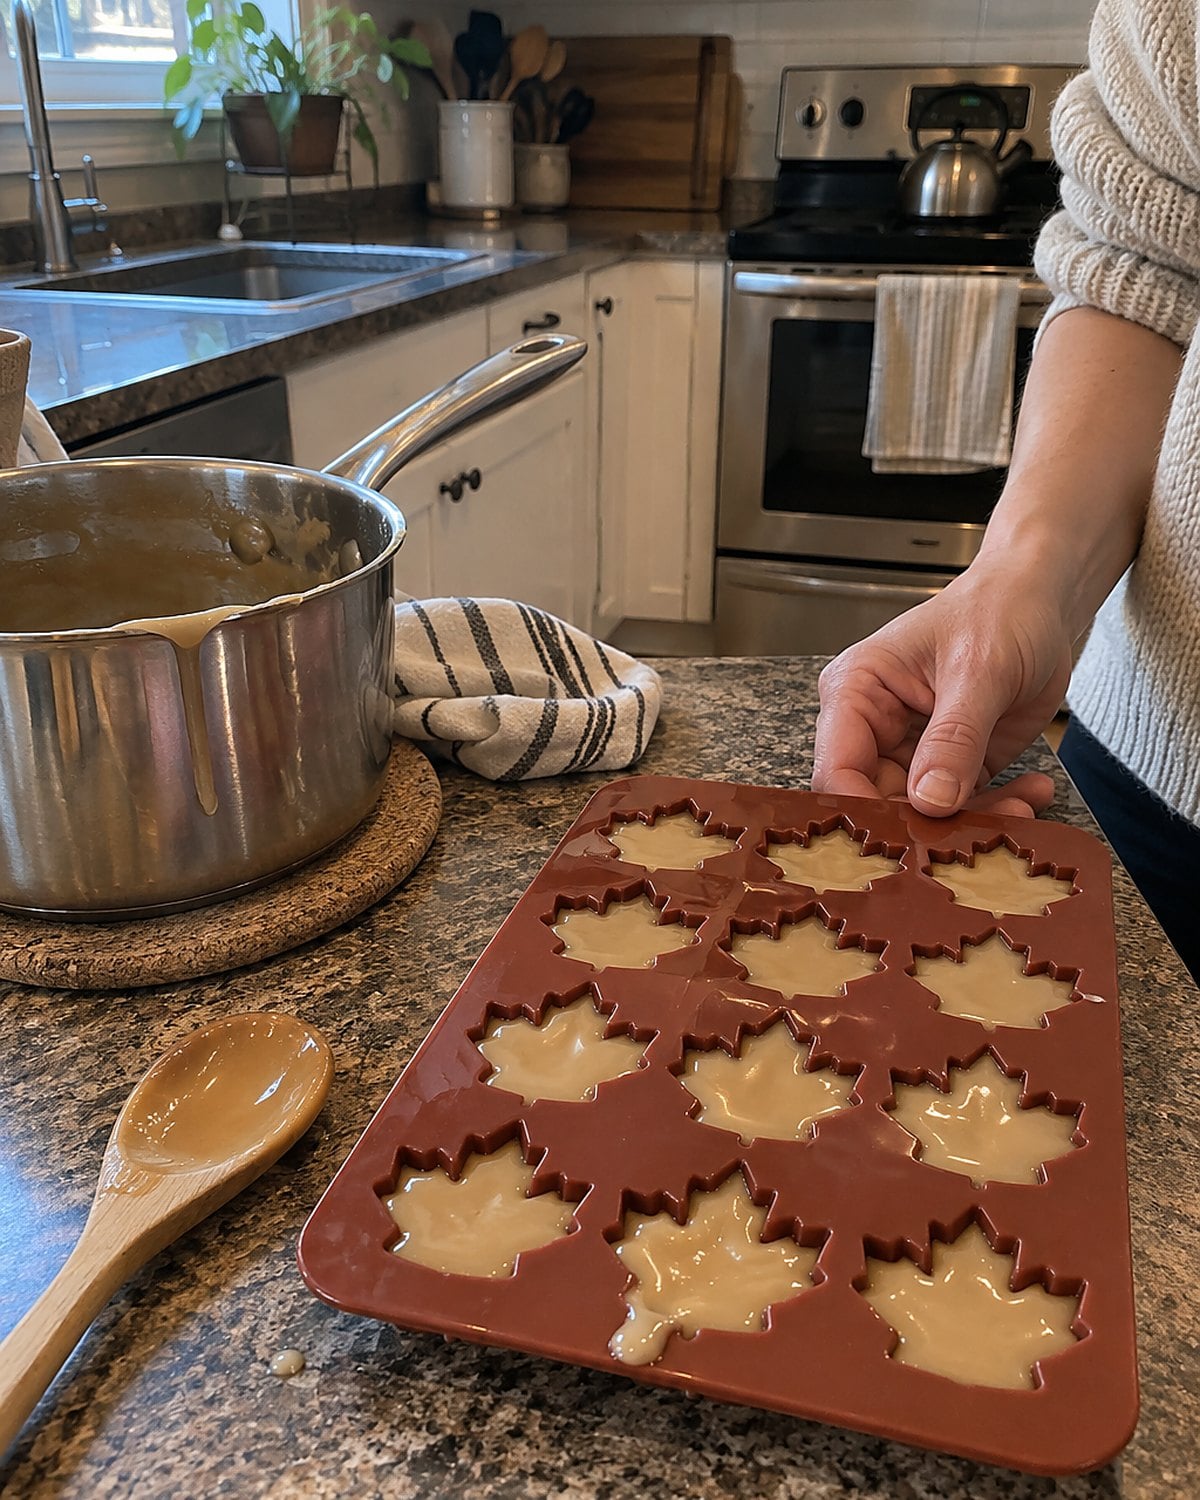
Maple sugar candy came home in small boxes from places that tapped trees. Its leaf shape was part of the pleasure, but the first bite was about texture. The outside broke, then the center melted into strong maple sweetness.
Pure maple syrup needs cooking and controlled cooling before it becomes a moldable sugar candy. The syrup is boiled to the stage your recipe names, cooled without disturbance, then stirred until it lightens and thickens. Pour too late and it sets in the pot. Pour too early and the mold won't give you a firm piece.
A little maple candy goes far. If you find the leaf molds in the back of a drawer, try a modest batch rather than filling every cavity. Set them on a level surface first.
Maple-flavored pancake syrup isn't a substitute for pure maple syrup in a maple sugar candy recipe. Read the bottle before you spend the afternoon stirring.
#4 Copper Pots for Cooked Sugar
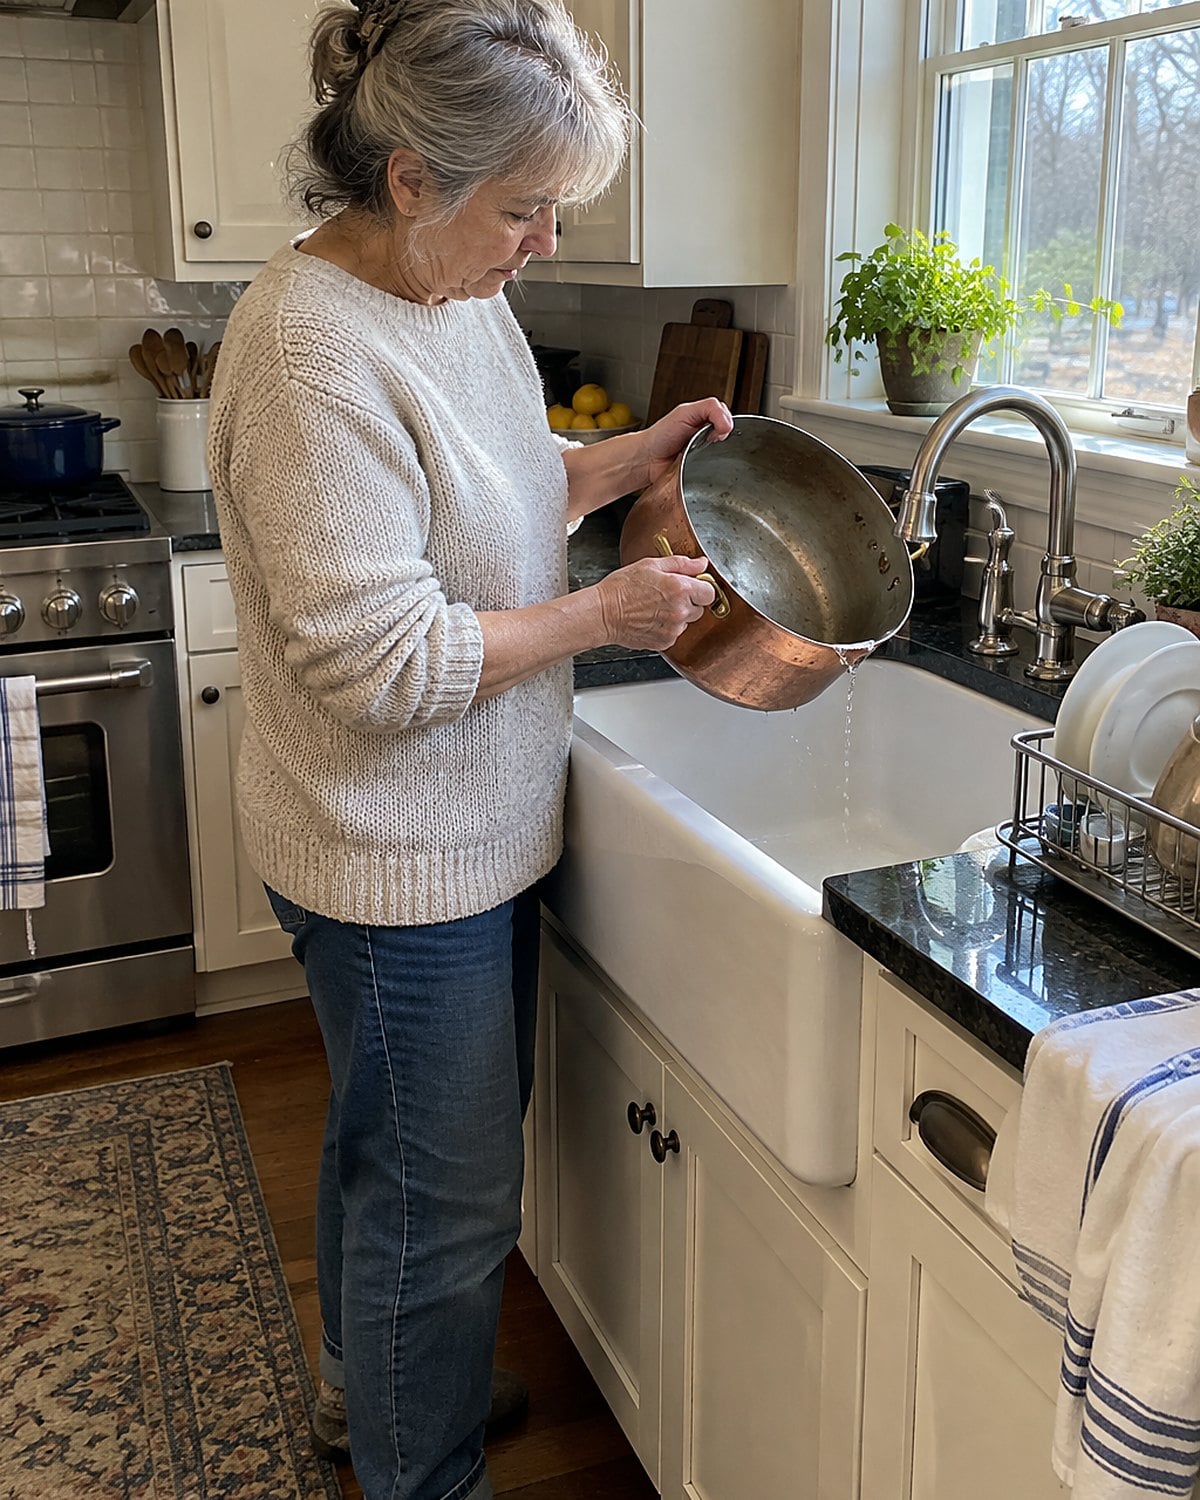
A copper pot looked right on a candy stove, its sides catching the late afternoon light. Copper conducts heat well, which helps syrup heat evenly when the pan is well made. The person tending it still had to watch the temperature.
Bare copper reacts with some foods. For candy, use cookware intended for cooking, with a sound lining where the pan requires one.
If an inherited pot's lining is worn or you're unsure what it was made for, keep it on the shelf. A heavy, sturdy saucepan works for the candies here.
Pick one with room above the syrup, especially when a recipe adds baking soda or calls for vigorous boiling. You want your attention on the candy, not on bubbles climbing toward the rim.
#3 Rainy-Day Divinity on Wax Paper
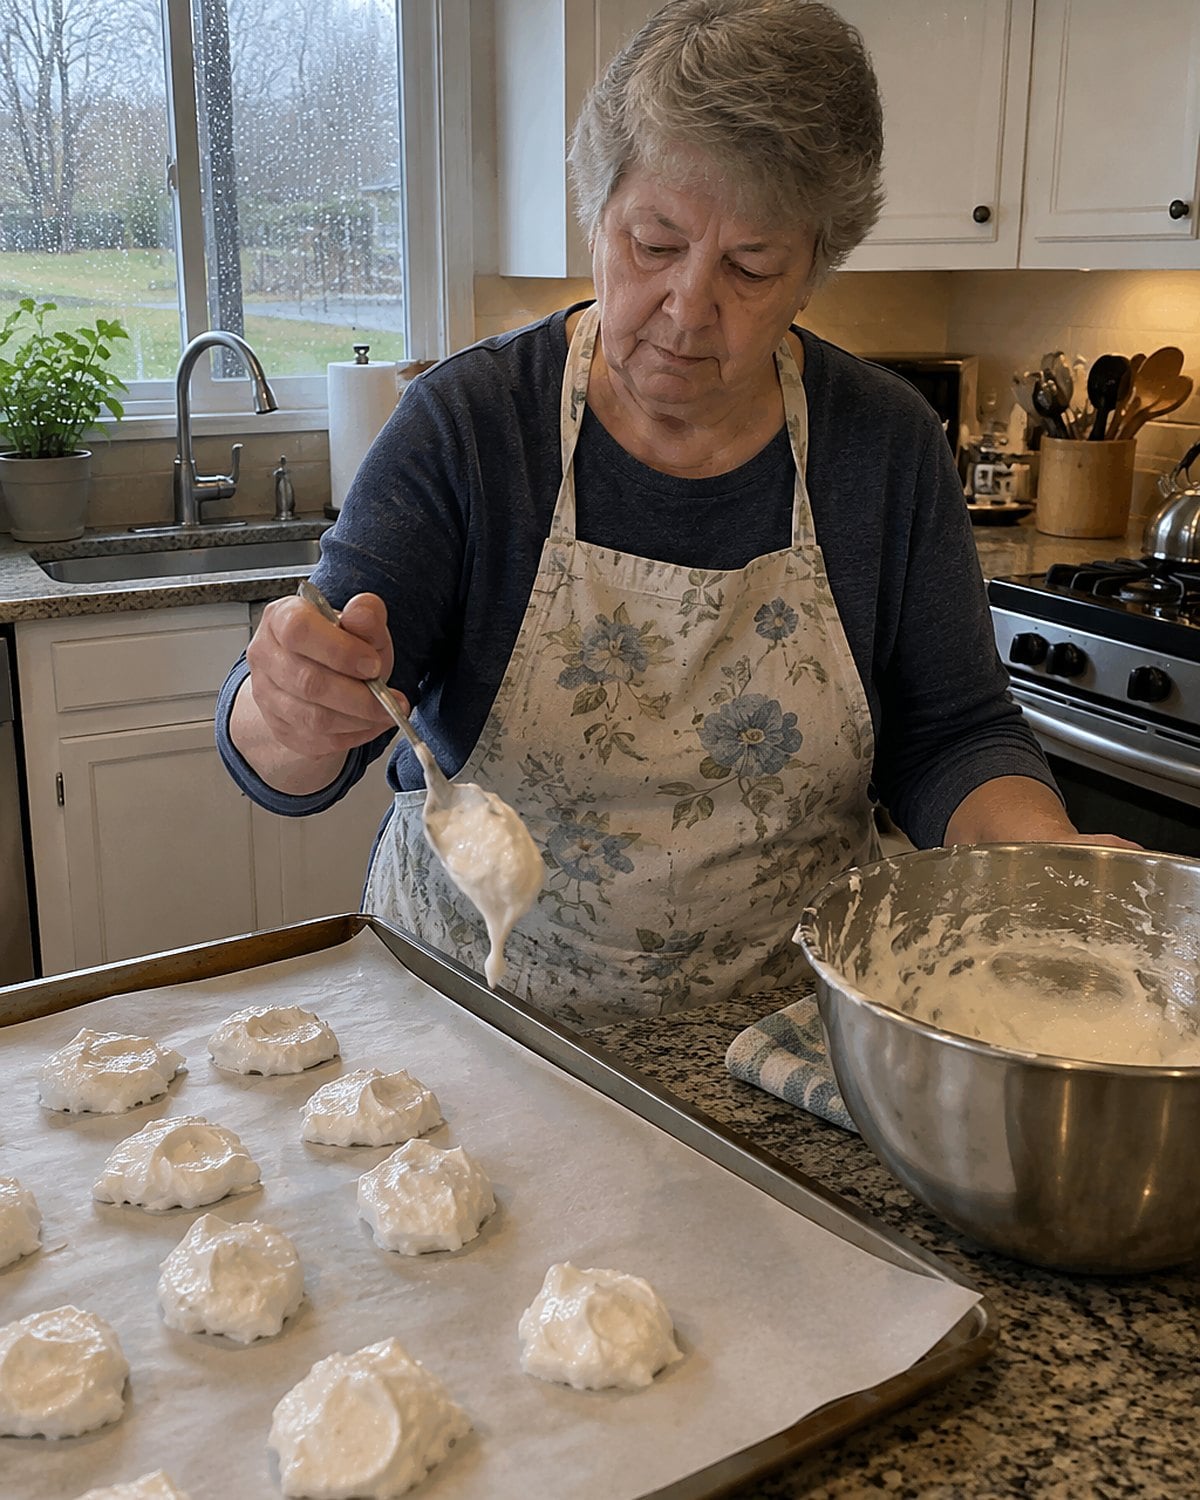
The rain starts while the syrup boils, and the note in the cookbook suddenly makes sense. Divinity is beaten into a light candy from hot syrup and egg whites. Sugar absorbs moisture from damp air, so humid weather makes the dropped pieces harder to dry.
A rainy day isn't a verdict on your skill. Cook the syrup to the stage your recipe specifies; divinity recipes call for hard-ball syrup, about 250°F to 265°F. Pour it into the beaten whites as directed, keeping the stream away from the beaters.
Listen to the mixer and watch the gloss. Test one spoonful on wax paper before dropping the whole batch. If it spreads, keep beating and test again. If it holds a mound, start spooning before the mixture stiffens in the bowl.
Don't let the weather warning stand in for the actual test. Check the syrup stage and the egg whites, then write down what the candy looked like when you stopped beating. That note will help more than “rainy day” next Christmas.
Because hot syrup doesn't give you a measured egg temperature, choose pasteurized egg whites for a recipe that leaves their final temperature unknown. The FDA's guidance on raw and undercooked eggs explains why that choice matters.
#2 Butterscotch Drops from the Candy Tin
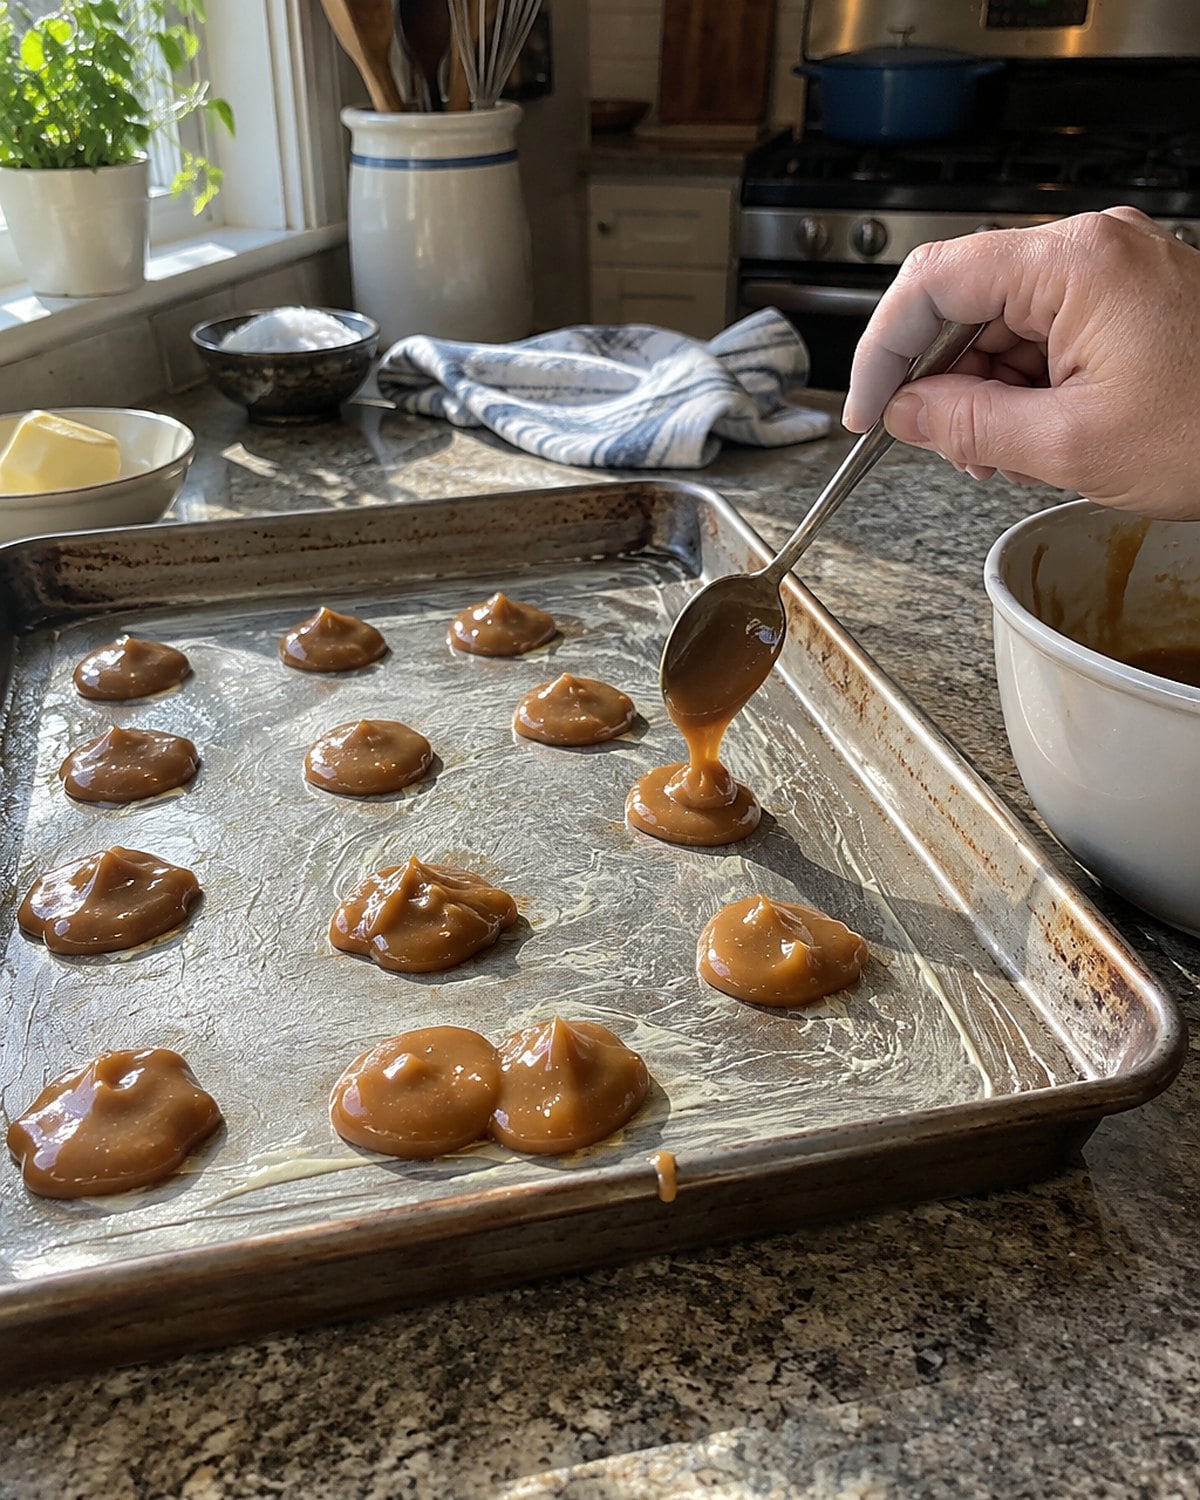
A spoonful of butterscotch syrup hitting a buttered pan smells like the brown sugar candies that used to fill the last empty space in a Christmas tin. These were hard little drops, meant to last longer in your mouth than a square of fudge.
Brown sugar supplies the molasses flavor; butter rounds it out. The old challenge was getting the syrup cooked far enough to harden without scorching that sugar. Keep the heat steady and follow the hard-crack stage in your recipe. A dab dropped into cold water should turn brittle once it cools.
Set out the buttered surface before the pot gets hot. Work in small spoonfuls, leaving space between them. Syrup poured in a heap stays hot longer, and separating it after it sets means broken edges and sticky fingers.
If you find a handwritten card that says only “cook until done,” write in what you see during the cold-water test. Your next batch deserves a better clue than the last cook left you.
#1 Candy Thermometer Clipped to the Pot
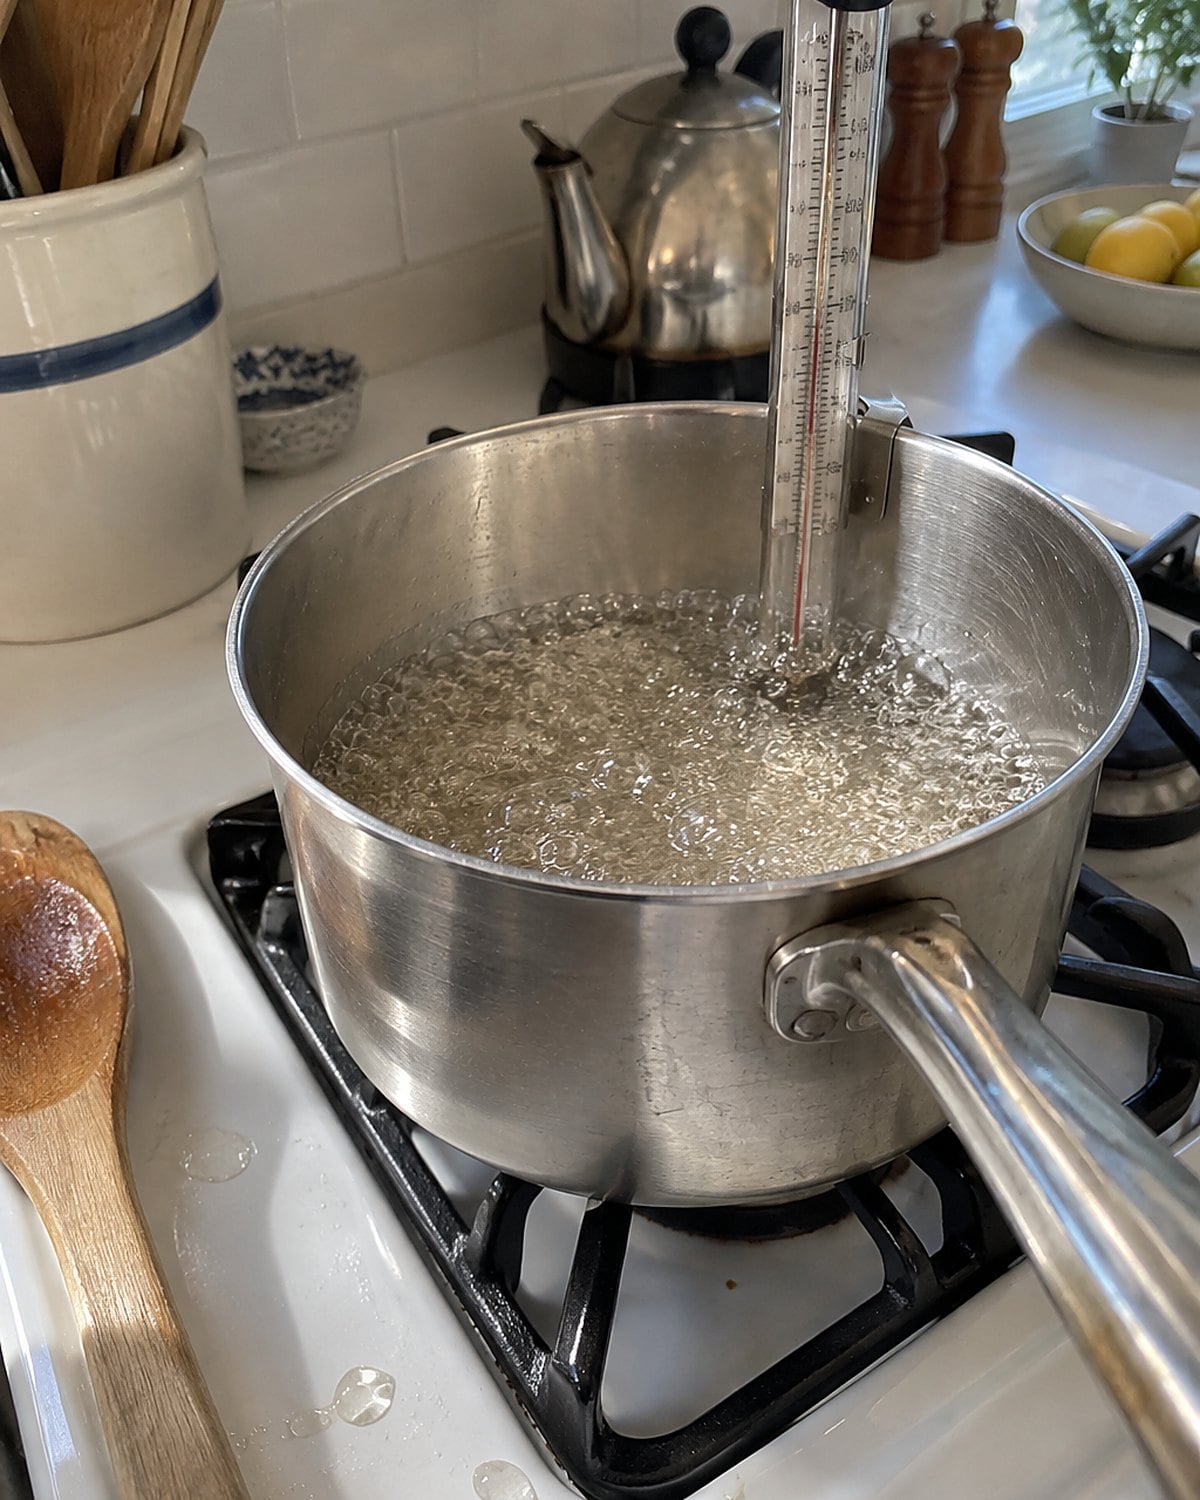
That thermometer has spent years clipped to the same saucepan. Its dial is familiar enough that you trust it without thinking. Before another batch, give it a check in boiling water.
At sea level, water boils at 212°F. Higher elevations lower that boiling point, so use your local boiling point if you live above sea level. Keep the thermometer's sensing tip in the water, away from the pot's bottom and sides. Note the reading once it settles.
If the thermometer allows adjustment, follow its instructions; otherwise, account for the difference when you cook. Clip it to the candy pot so the sensing tip sits in syrup without touching metal. A tip resting on the pan reads the pan's heat, not just the syrup's.
Check the number at eye level instead of leaning over steam. If the old thermometer's markings have faded, replace it before you commit a pot of sugar. A reading you can't make out isn't much help when the syrup changes fast.
The cold-water test still earns its place beside the stove. Use it when the dial and the candy seem to disagree. One small check before you pour the sugar saves a long, frustrating beat at the end.
The bottom line
These candies disappeared for different reasons, but many asked the same thing of you: prepare the pan, watch the sugar, and move when the texture changes.
The well-prepared version of you has the recipe open, the thermometer checked, and wax paper laid out before the syrup starts. She also knows which candy fits a small batch and which one deserves company.
Which old candy is still written in your kitchen's margins, and what did the person before you forget to write down?
Leave a Reply