

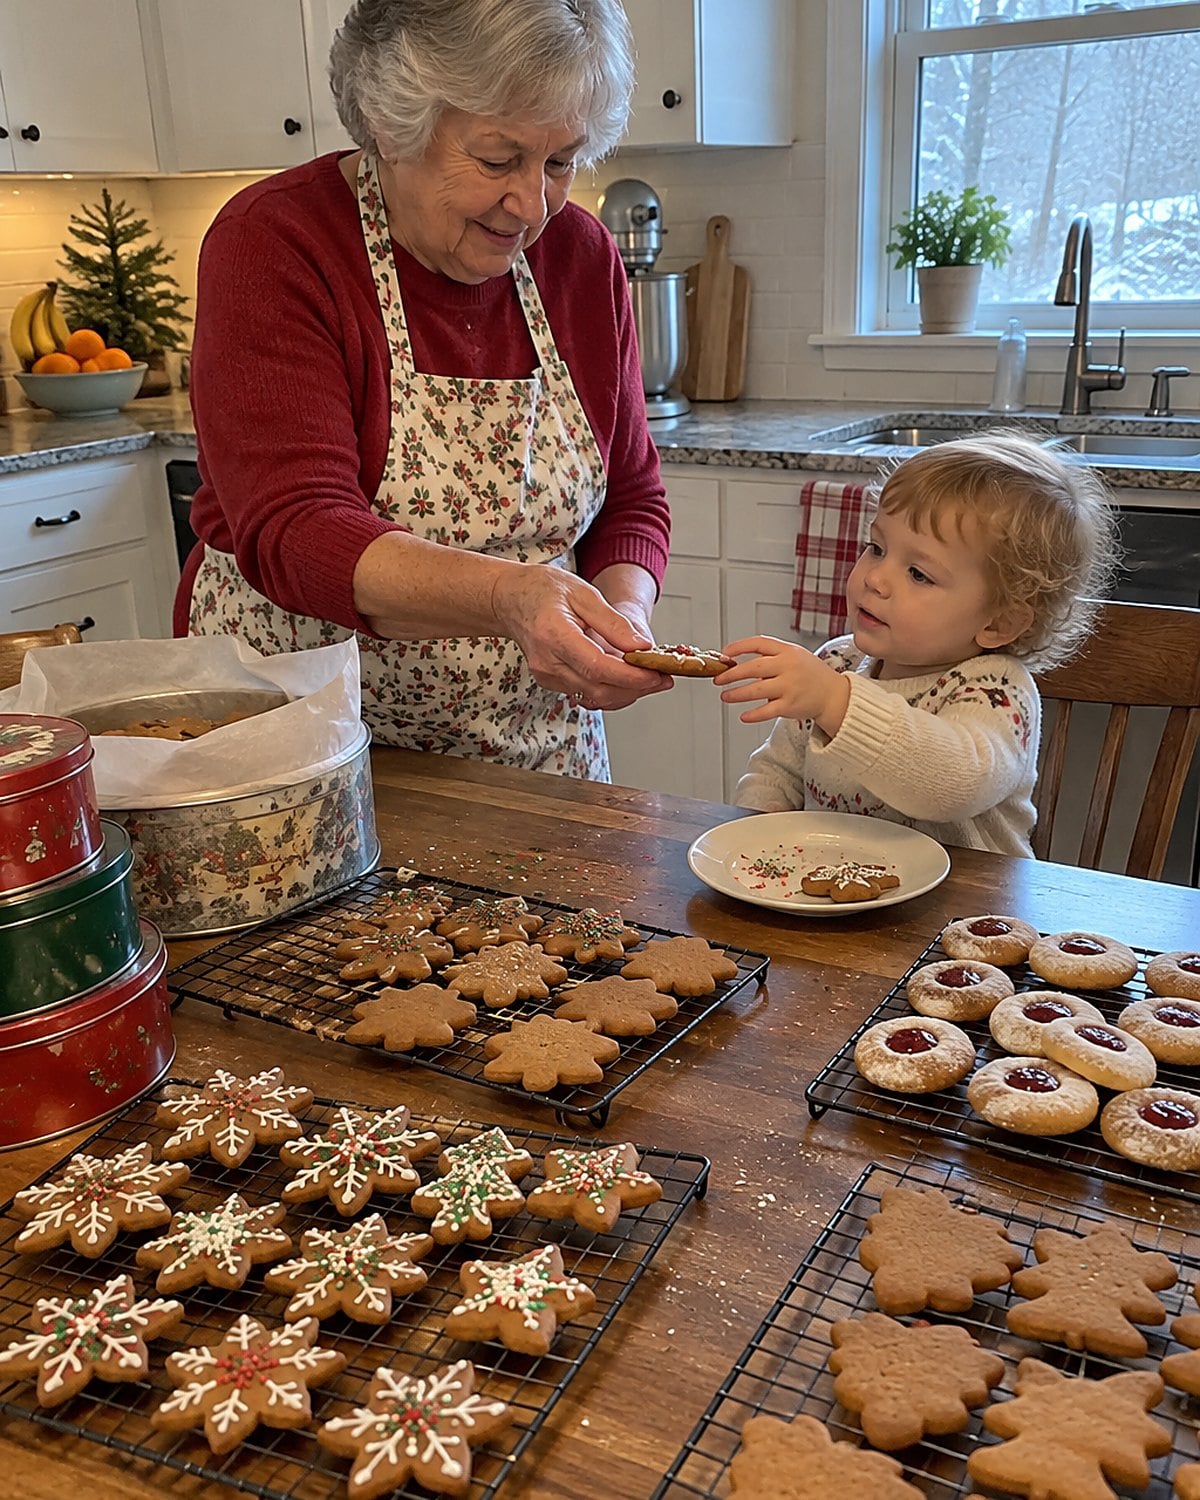
A tin lid gives that short metal pop when you lift it. Inside, a sheet of wax paper sticks to a crescent dusted with sugar.
Those cookies didn’t all come from the same dough. Some needed a hot iron, some needed a night in the fridge, and some needed you to leave them alone until morning. The details stayed in the kitchen even after the recipe cards went missing.
#27 Spritz Trees From the Cookie Press
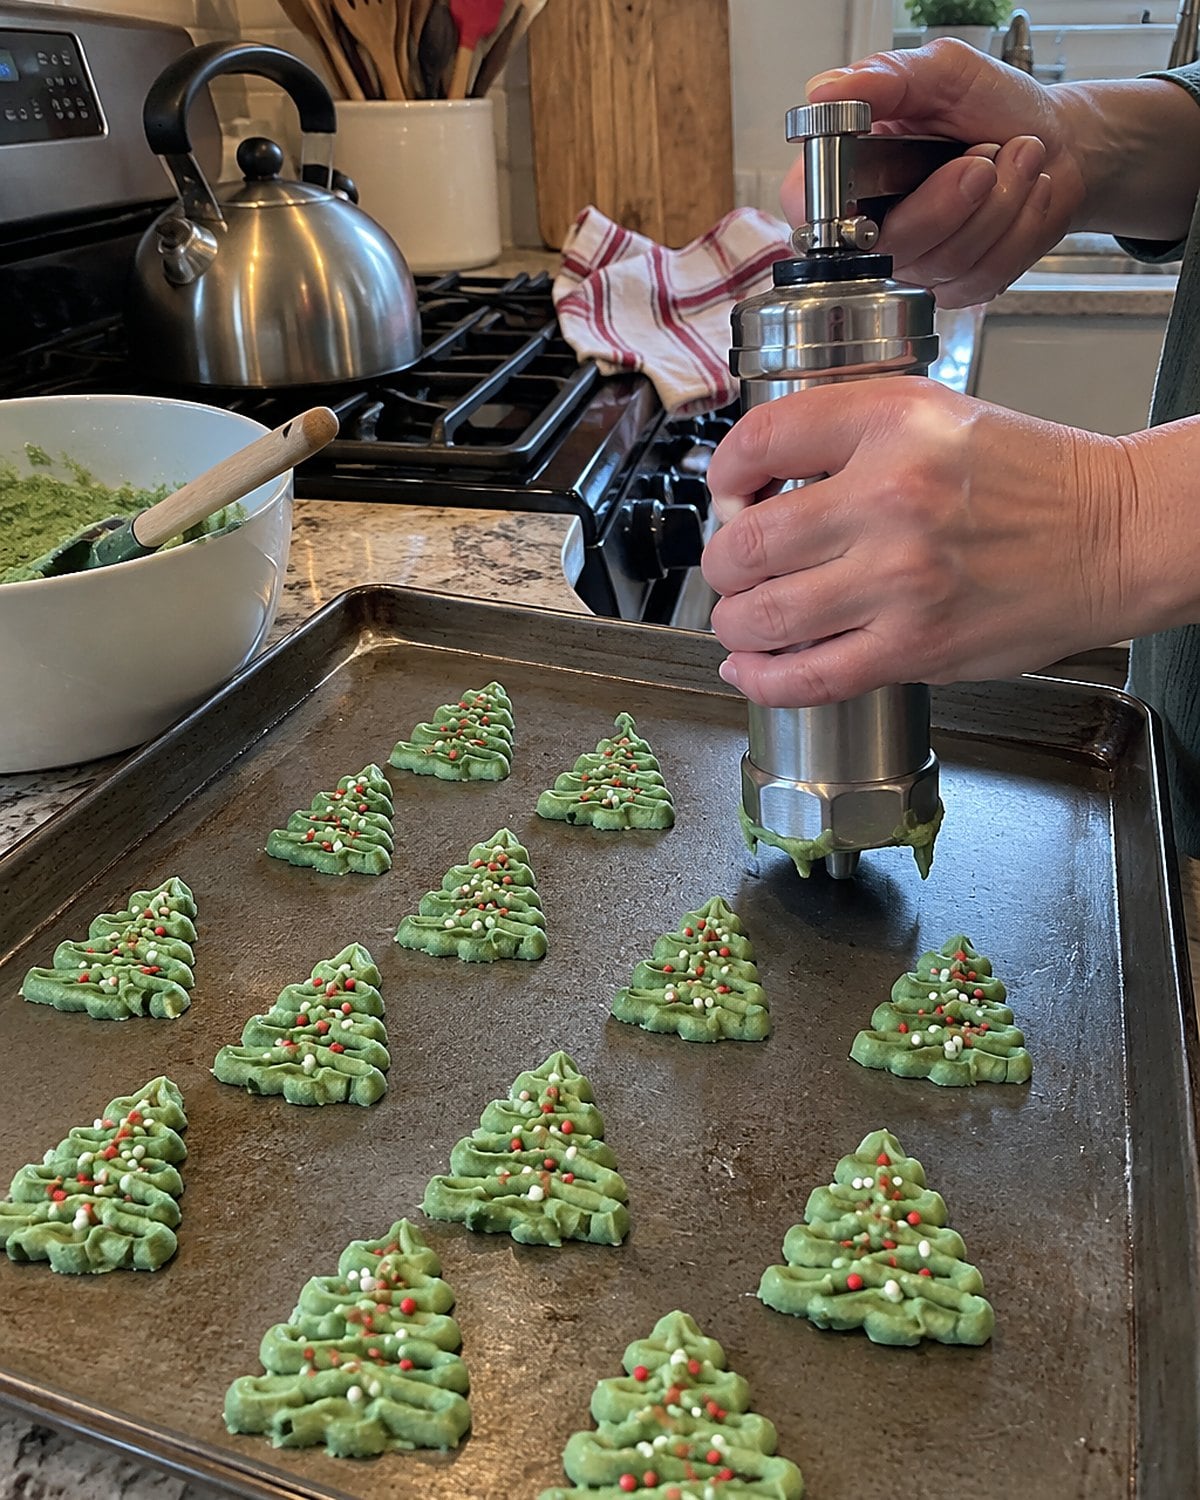
The cookie press came out once a year, wrapped in its box with the metal disks rattling underneath. Trees and wreaths appeared straight on the baking sheet. The first one was rarely as neat as the last.
Spritz dough needs to hold its ridges. If it’s too warm, the shapes spread; if it’s too stiff, the press won’t release them. Work with a small portion while the rest stays cool. Press onto a clean, ungreased metal sheet so the dough grips when you lift the barrel.
Don’t force a stuck press. Check that the disk sits flat, then try again with dough that gives under your thumb. A few colored sugar crystals go on before baking, when they’ll stay caught in the grooves.
The broken trees taste the same. They’ve always been the ones eaten beside the oven.
#26 Pink and Green Ribbon Cookies
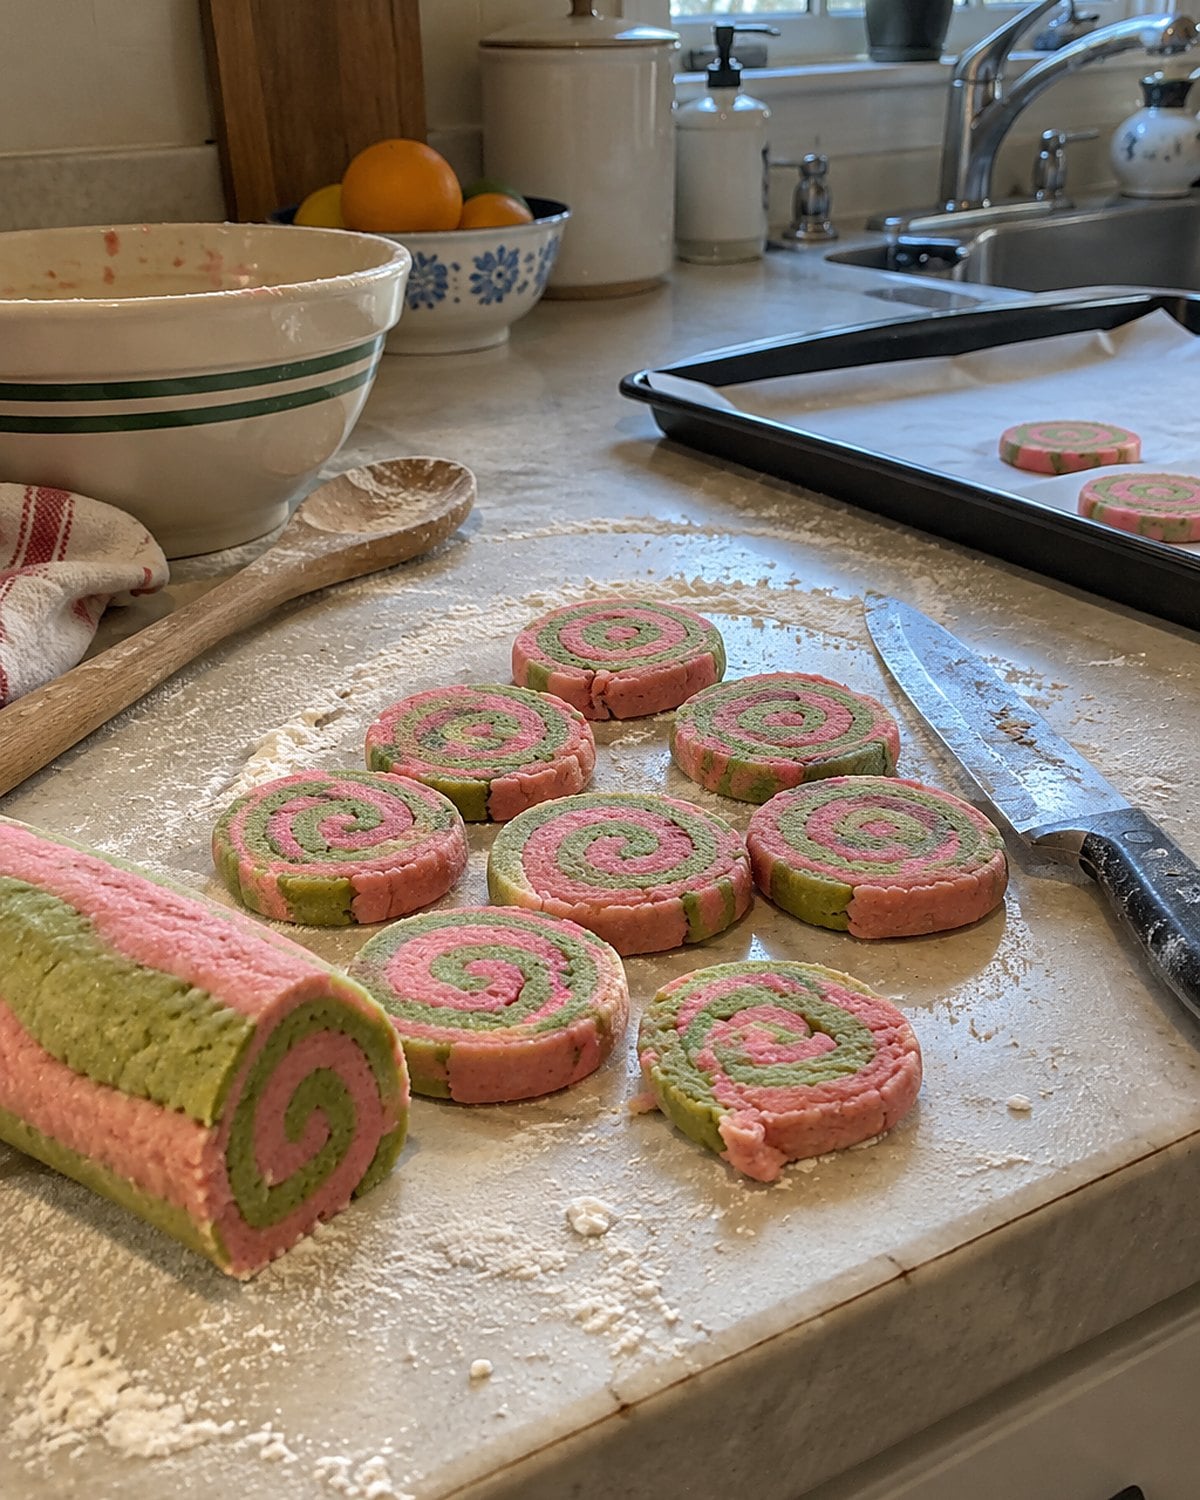
A slice of ribbon cookie shows its work: stripes of dough stacked in a loaf, then cut thin enough to show every color. The old recipe card might call for red and green. After years in the oven, those stripes sometimes came out pink and pale green instead.
The sharp lines start before baking. Chill each layer until it holds its shape, then press the stacked dough together without smearing the edges. A ruler isn’t needed. Look at the end of the loaf: if the stripes run straight there, they’ll show in each slice.
Cut with a sharp knife, wiping the blade when dough begins to drag. Set the slices on the sheet with room around them.
Their color won’t tell you when they’re done. Look for a dry surface and a faintly browned edge.
There’s a pleasure in finding the same stripes all the way through. Save the uneven ends for the person standing at the counter. Nobody needs to know how many you ate while cutting.
#25 Pecan Tassies in the Mini Muffin Pan
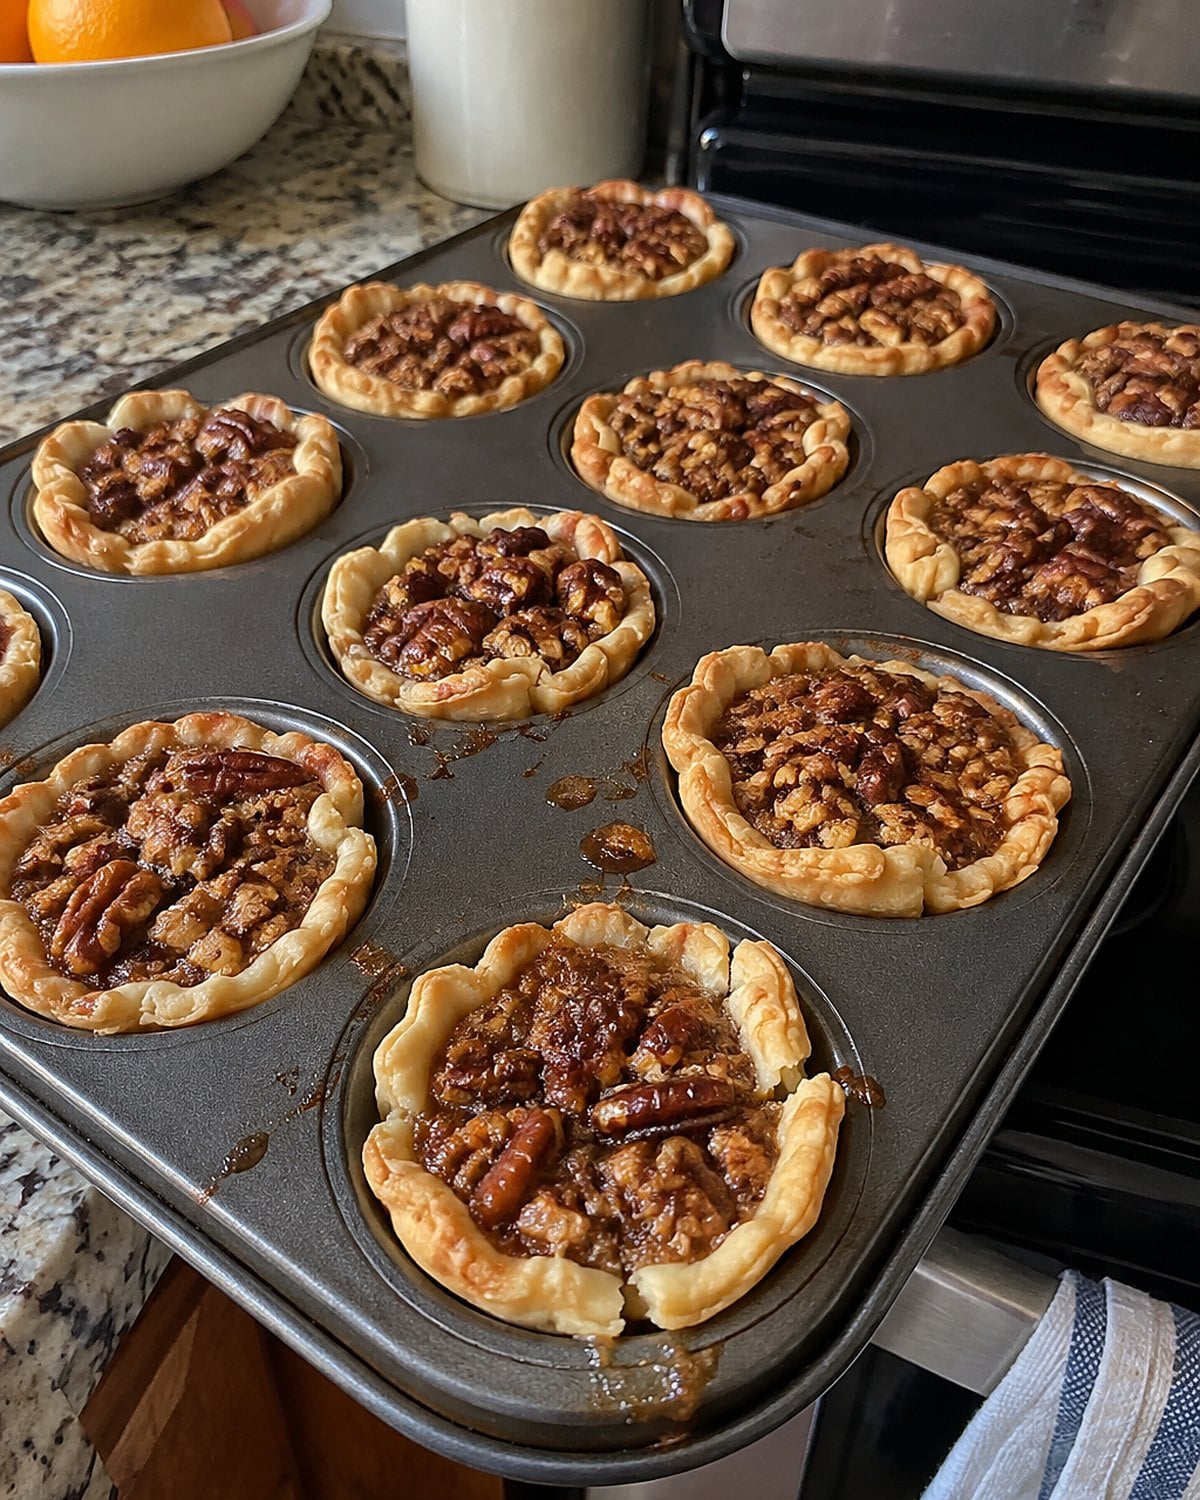
The mini muffin pan did a lot of work at Christmas. For pecan tassies, each cup held a small pastry shell filled with pecans and a sweet, sticky center. They looked like tiny pies, though the dough was easier to handle than pie pastry.
Press the dough across the bottom and up the sides. Thin spots at the bottom leak filling; thick rims bake up doughy. Before you add the filling, run a finger around each cup and even out the wall.
Keep the filling below the rim.
It rises and bubbles in the oven, then settles as it cools. Let the tassies firm up in the pan before lifting them out with the tip of a butter knife. Pull one too soon and its center comes with you.
A tassie belongs on the little plate beside the coffee pot, where a full slice of pie would be too much. That’s probably why the pan kept coming back out.
#24 Spice Cabinet Peppernuts in the Tin
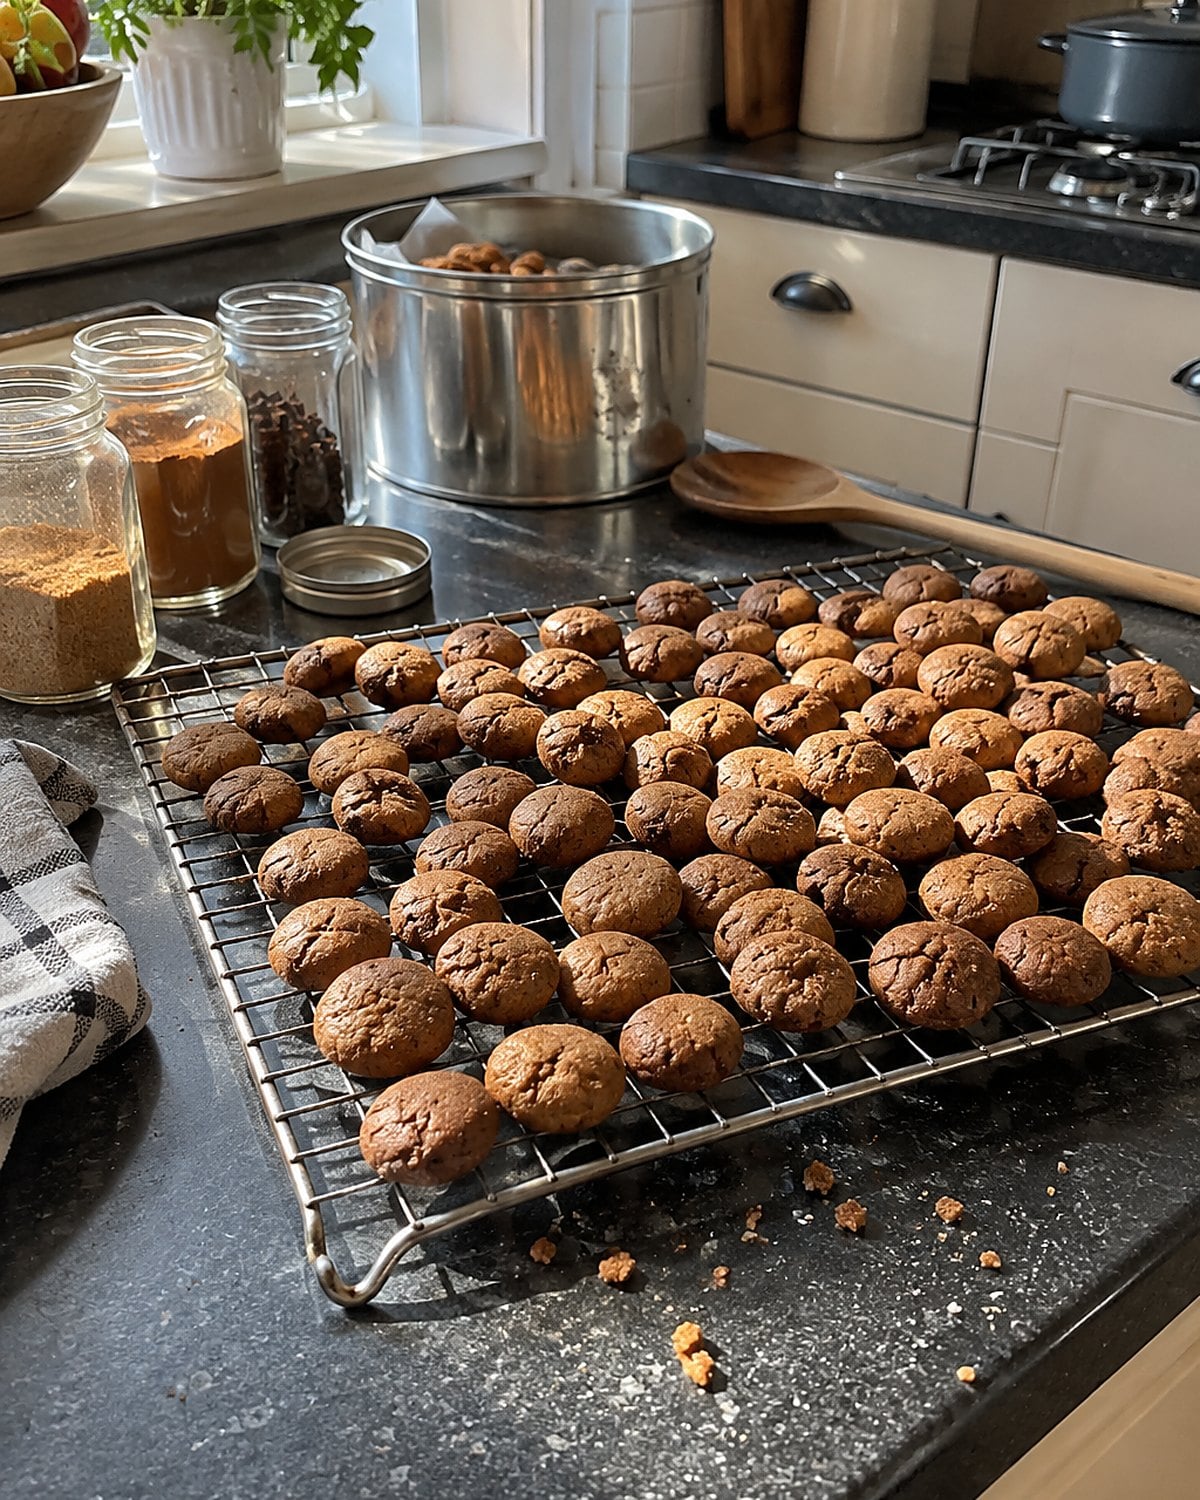
Why did the smallest cookies get the strongest spice? Peppernuts were built for the tin. You could reach in for a handful and get cinnamon, cloves, ginger, and, in some recipes, a little black pepper.
The name covers several family versions. Some are crisp enough to snap. Others have a firm outside and a softer middle. Check the recipe in your church cookbook before changing the dough; the size of the pieces and the bake make a difference.
Roll the dough into narrow ropes, then cut small pieces across them. Keep those pieces close in size so they finish together.
If the spices have been in your cabinet since last Christmas, smell each jar before measuring. A spice that barely smells in the jar won’t wake up in the oven.
Let peppernuts cool before closing the tin. That last bit matters when you want a snap instead of a soft bite. Slip a piece of wax paper between them and any powdered-sugar cookies, or both will look like they came from the same recipe.
#23 Powdered Sugar Crescents on Wax Paper
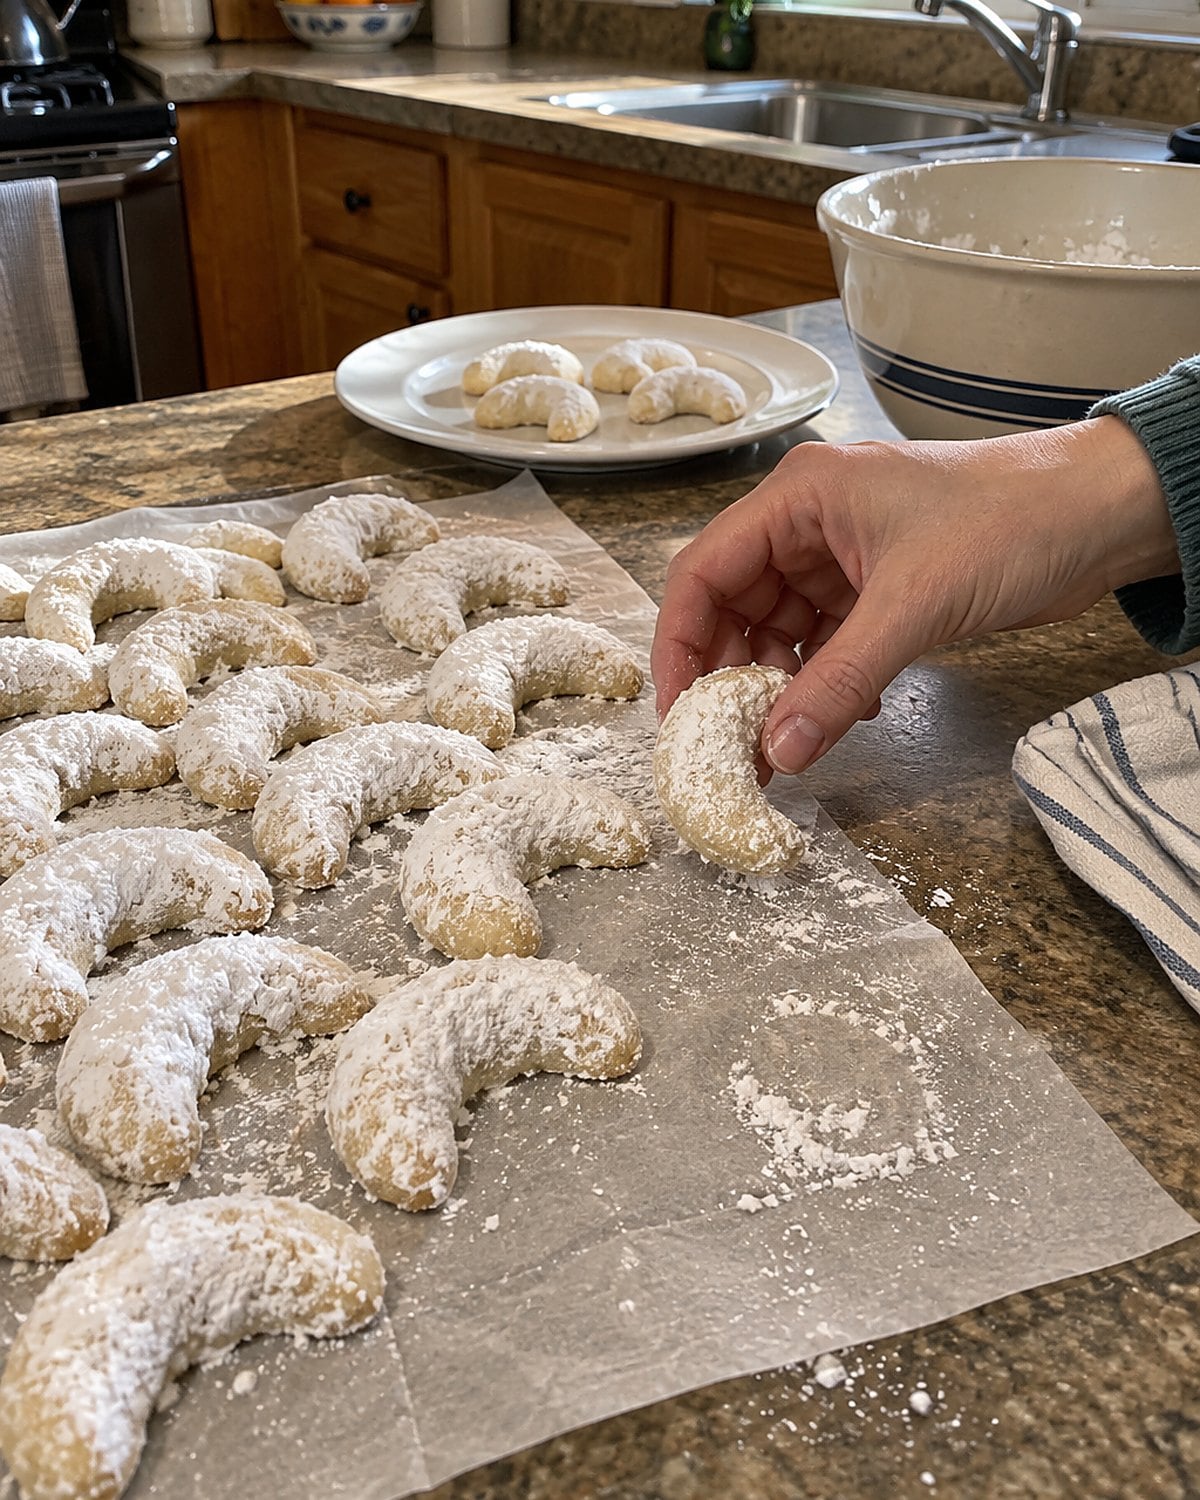
A crescent lifted from the tin left a white thumbprint on your sweater. That was part of the deal. These buttery nut cookies, called Mexican wedding cookies or Russian tea cakes in many recipe boxes, got their snowy coat from powdered sugar.
The dough should hold when you squeeze a piece in your palm. If it crumbles apart before you shape it, work it just enough to bring it together. Keep the crescents small and fairly even so the tips don’t brown before the centers bake.
Give them a first coating while they’re warm enough to catch the sugar. Once cool, add a second coating for that familiar white finish. Put wax paper under the cooling rack if you don’t want to scrub sugar from the whole counter.
The curved shape matters less than the bite: tender, nutty, and ready to fall apart before you reach the sink.
#22 Date Pinwheels Sliced From a Roll
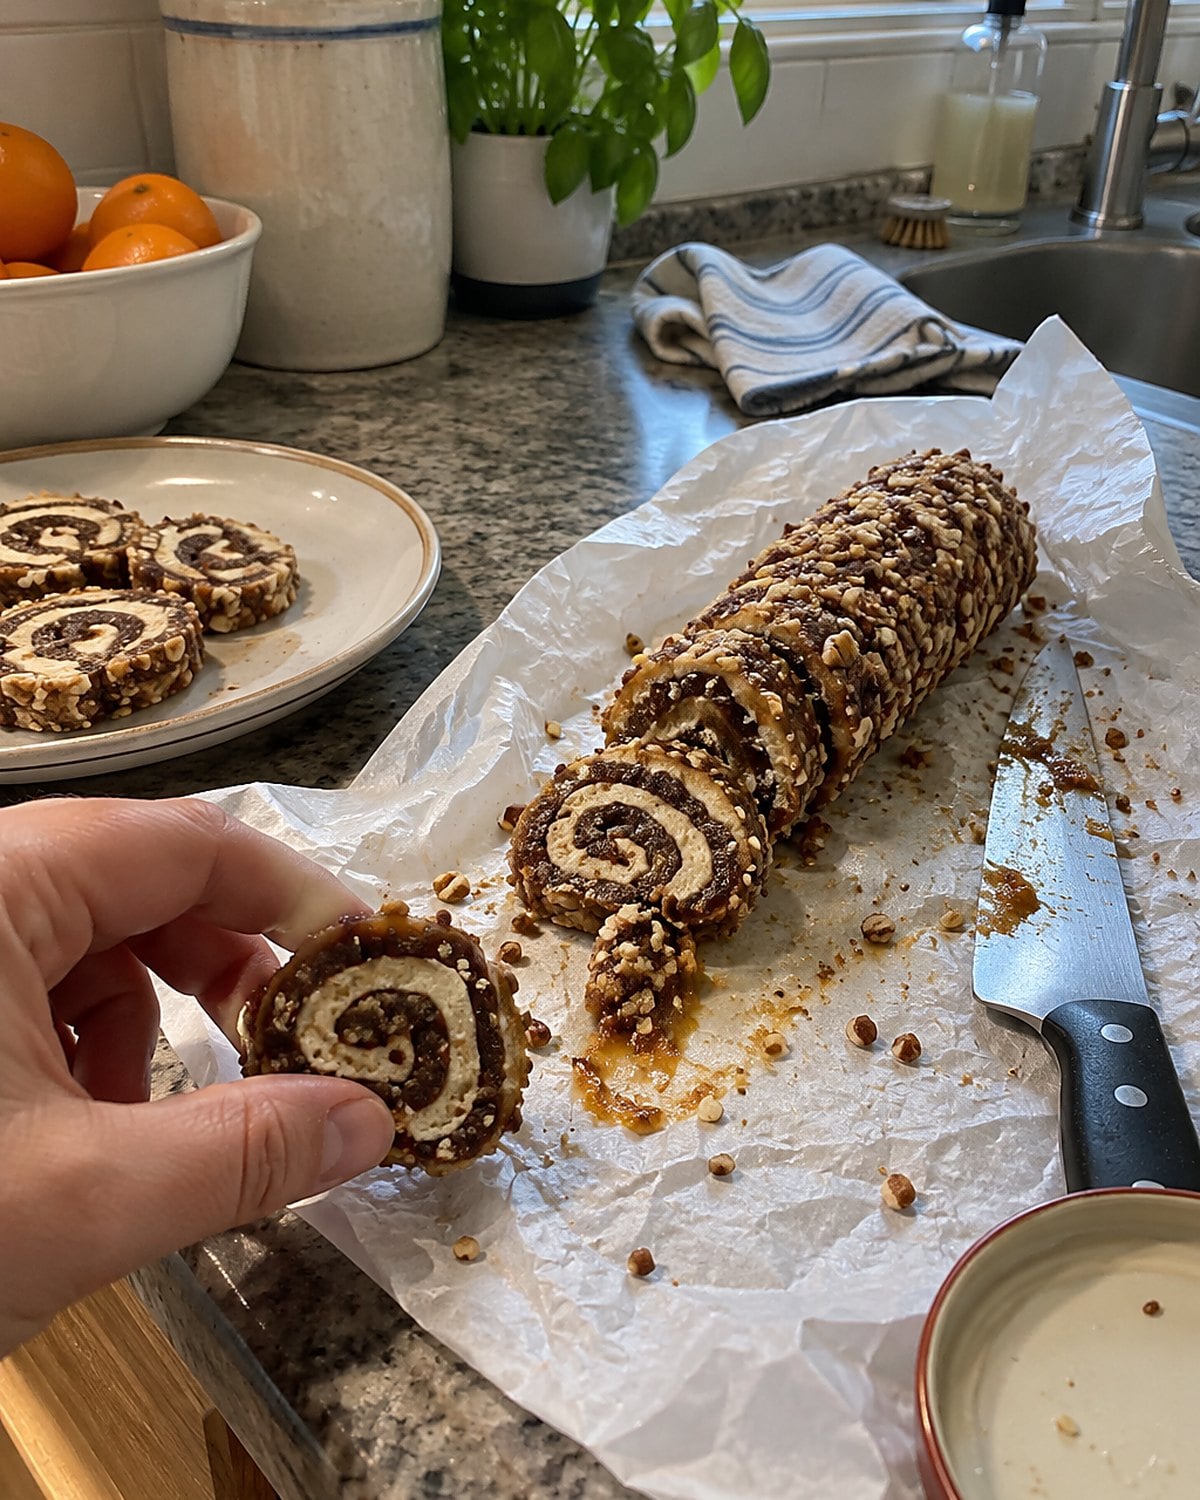
A date pinwheel begins as a flat sheet of dough and a spread of dark filling. Roll them together, chill the log, and every slice shows a spiral. In the tin, they looked like somebody had spent all morning on them.
The filling needs to spread without running. Cook chopped dates with a little water until they soften and mash together, then let the mixture cool. Warm filling softens the dough and makes the roll hard to handle.
Spread it almost to the edge. Start the roll firmly, using the paper beneath the dough to lift it rather than pulling with your fingers. Chill the wrapped log until a knife cuts through without flattening the spiral. Wipe the blade between slices when date filling clings to it.
Those end pieces rarely made it onto a plate. They showed whether the spiral worked and gave the baker something to taste before the rest went into the oven. If your first slice comes out oval, turn the log a little before the next cut.
#21 Soft Molasses Cookies With Cracked Tops
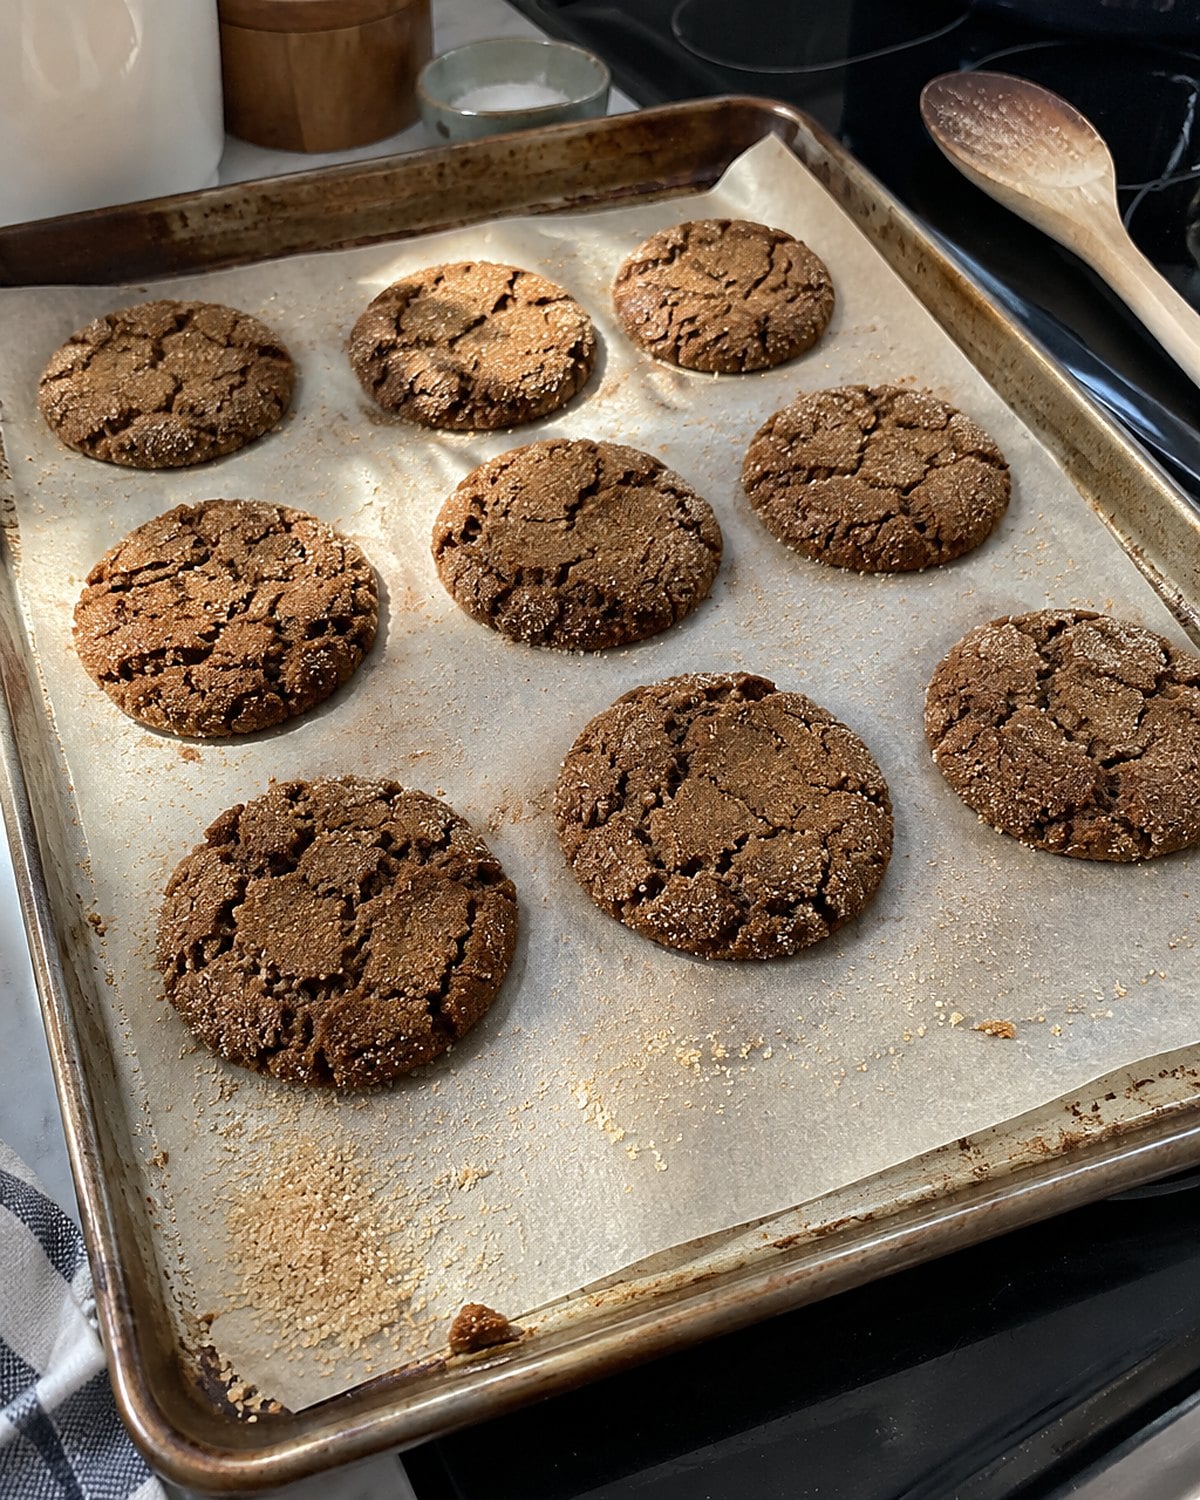
The first bite told you whether the molasses cookies had been left in the oven too long. A good soft one bent a little before it broke. Its crackled top carried a thin coat of sugar.
Molasses gives the dough both color and moisture, so a dark cookie isn’t necessarily an overbaked one. Watch the center. When the surface looks set but still gives under a light touch, take the sheet out and let the cookies finish firming on it.
Roll the dough balls in sugar just before baking. If they sit coated on the counter, the sugar starts to disappear into the damp dough. Leave space between them; they spread as they bake.
That warm molasses smell could fill the kitchen before you opened the oven. Put one on a plate while it’s still a little warm, then see if the center is the soft one you remember.
#20 Thin Moravian Sugar Cookies on the Board
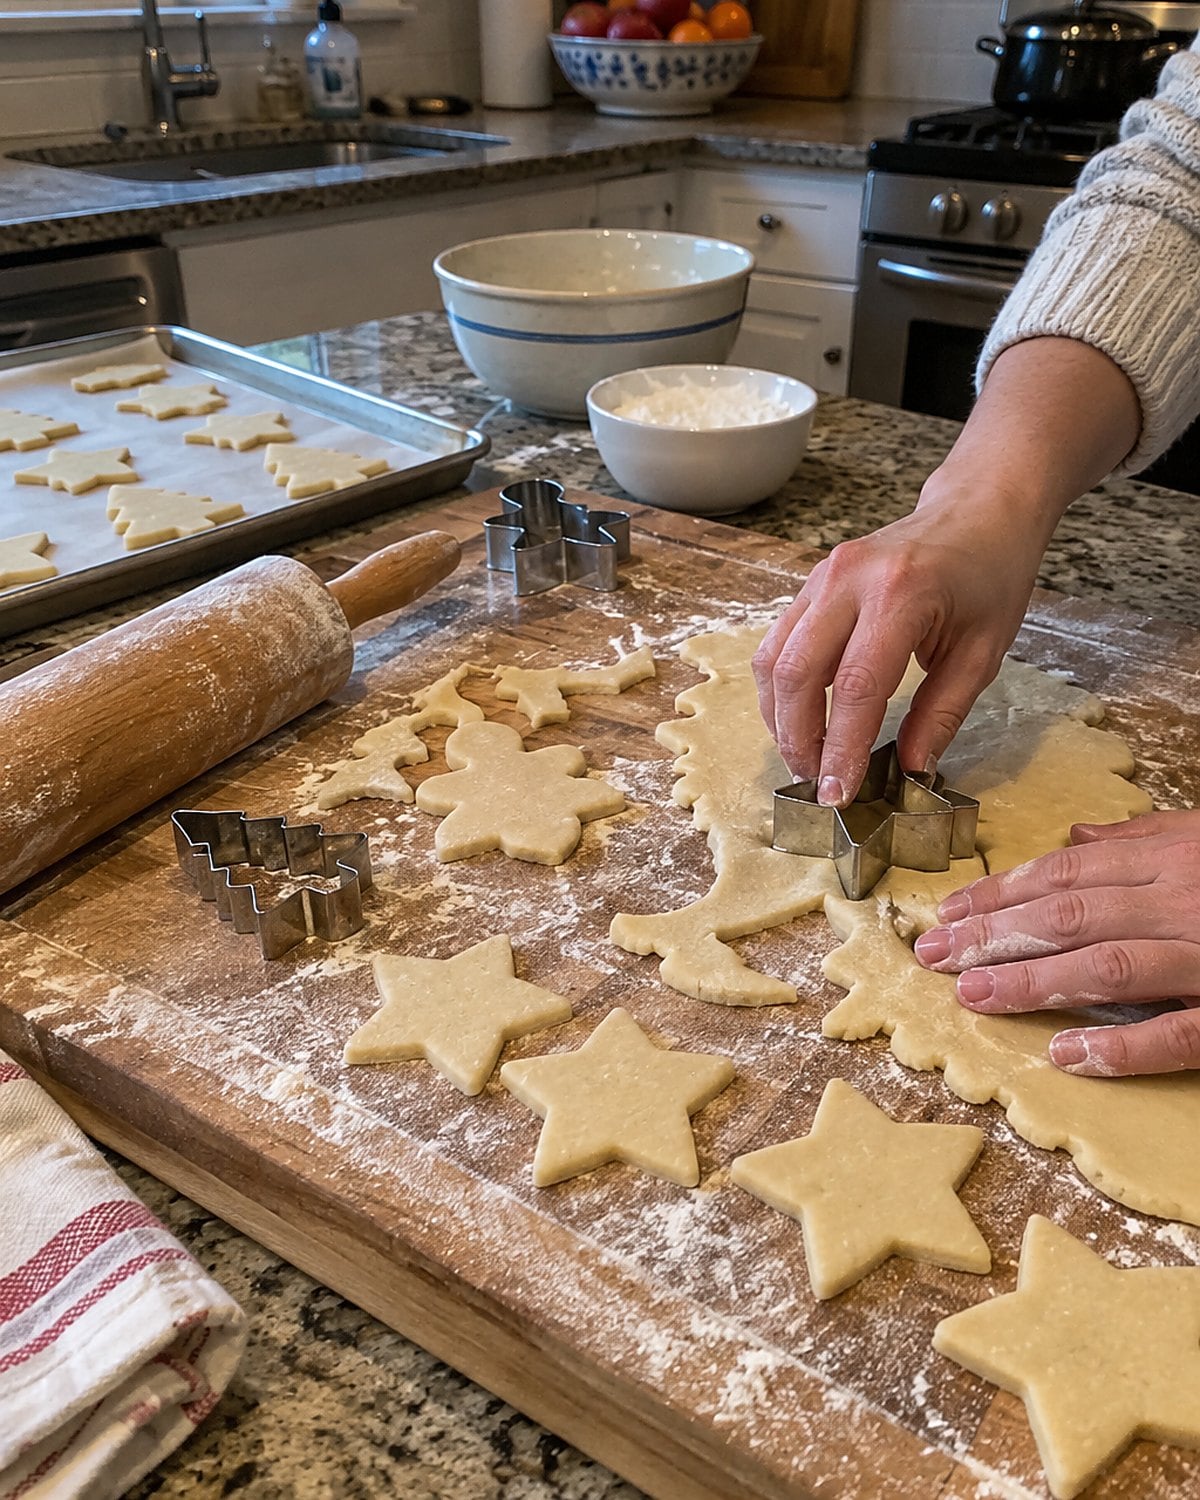
There was flour on the rolling board, flour on the apron, and a cutter that kept disappearing under the scraps. Moravian sugar cookies asked for patience. Their thinness gave them that clean, crisp bite.
Cold dough is easier to roll thin. Divide it before chilling so you don’t have to fight a large, hard piece. Dust the board lightly, then turn the dough as you roll to keep it from sticking. Too much flour worked into the scraps changes the last batch.
Lift each cutout with a thin spatula. If a shape stretches on the way to the sheet, chill the dough again rather than pressing it back into place. Watch the oven closely. A thin cookie goes from pale to browned at the edge faster than a thick one.
You don’t need to roll every piece to a ruler’s mark. Hold one up: if the edge looks thin and the shape still lifts whole, you’re there. Save the smallest scraps for a plain test cookie. It will tell you what the batch tastes like without disturbing the stars.
#19 Anise Drops That Form a Cap
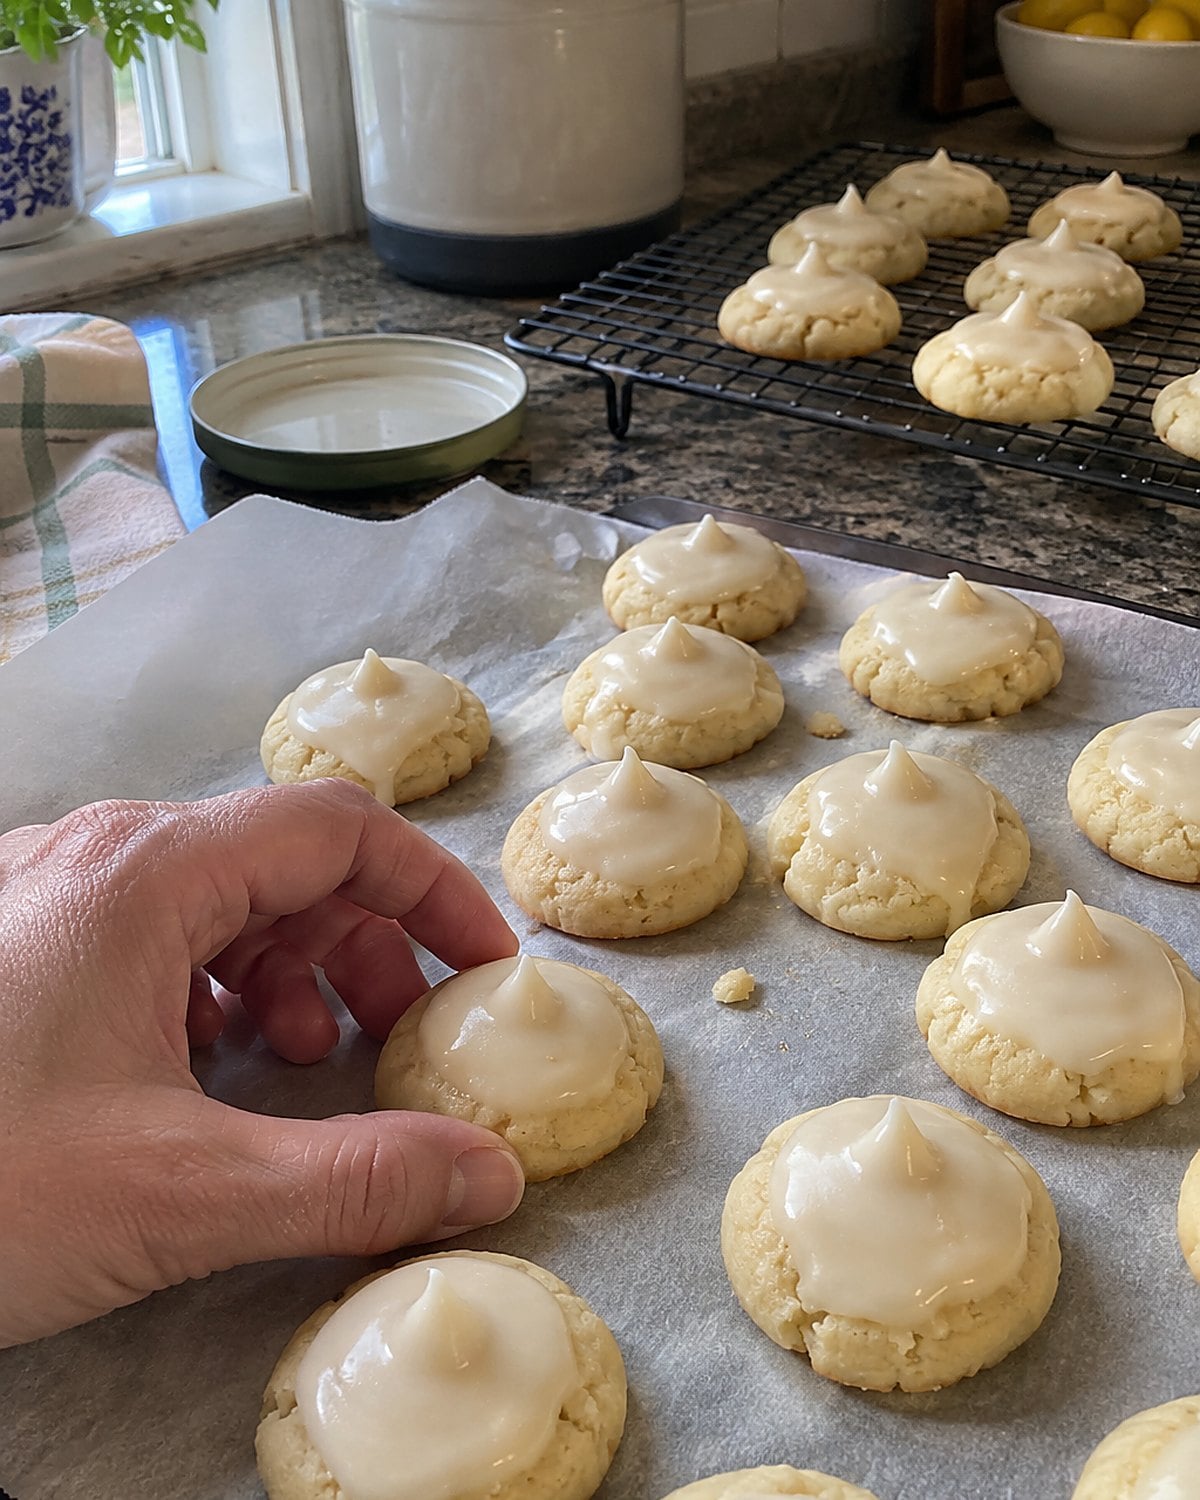
Anise drops have a little trick: a pale cap sits above a firmer base. That look comes from the beaten egg mixture and from leaving the piped drops to dry before they bake. Rush them into the oven and you lose the part everyone asks about.
Beat the mixture as the recipe directs, then pipe small, even rounds. Leave them undisturbed until the tops feel dry to a fingertip. The surface should resist your touch rather than come away on it.
Anise has a distinct licorice scent. Open the jar before you commit it to the batter; you’ll know right then if the flavor belongs in your Christmas tin. For a family that loves it, these are the cookies somebody seeks out under all the familiar chocolate.
Keep an eye on the pale tops as they bake. Their shape, more than deep color, tells the story.
#18 Apricot Kolacky With Pinched Corners
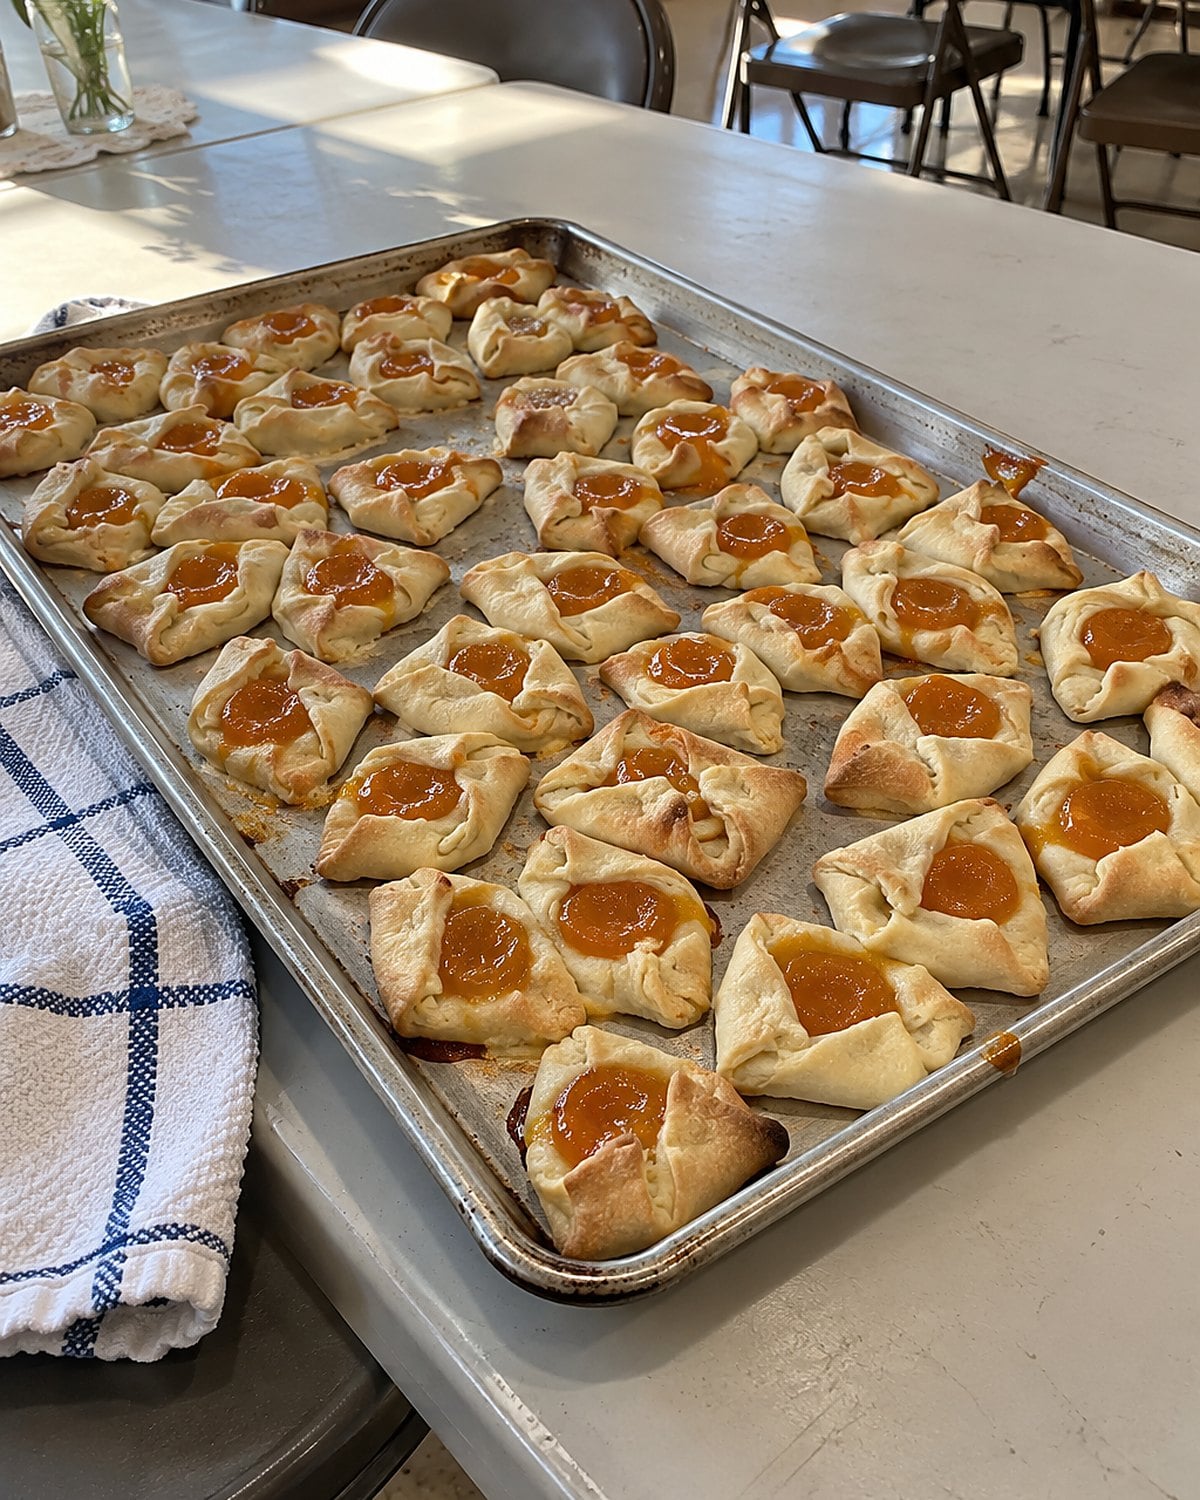
Kolacky sat on the church hall table in rows, each with a spot of apricot, prune, or poppy seed filling. Some families folded the corners in; others cut rounds and left the filling open. The folded ones had a habit of springing apart.
Roll the dough evenly and cut pieces that match. Put the filling in the center, away from the edges where you need dough to grip dough. Pinch the corners firmly, then look at the seam from the side. If you see filling between the layers, wipe it away and pinch again.
Thick jam stays put better than a runny one. If your jar looks loose, spoon a little onto a plate and watch whether it spreads. Choose a thicker filling before you assemble the whole sheet.
Don’t judge these while they’re still hot. The filling needs to cool before it stops flowing. Once it does, the sharp apricot against rich pastry earns its place beside the sweeter cookies. Which filling disappeared first in your family’s tin?
#17 Brown-Edged Lace Cookies From the Oven
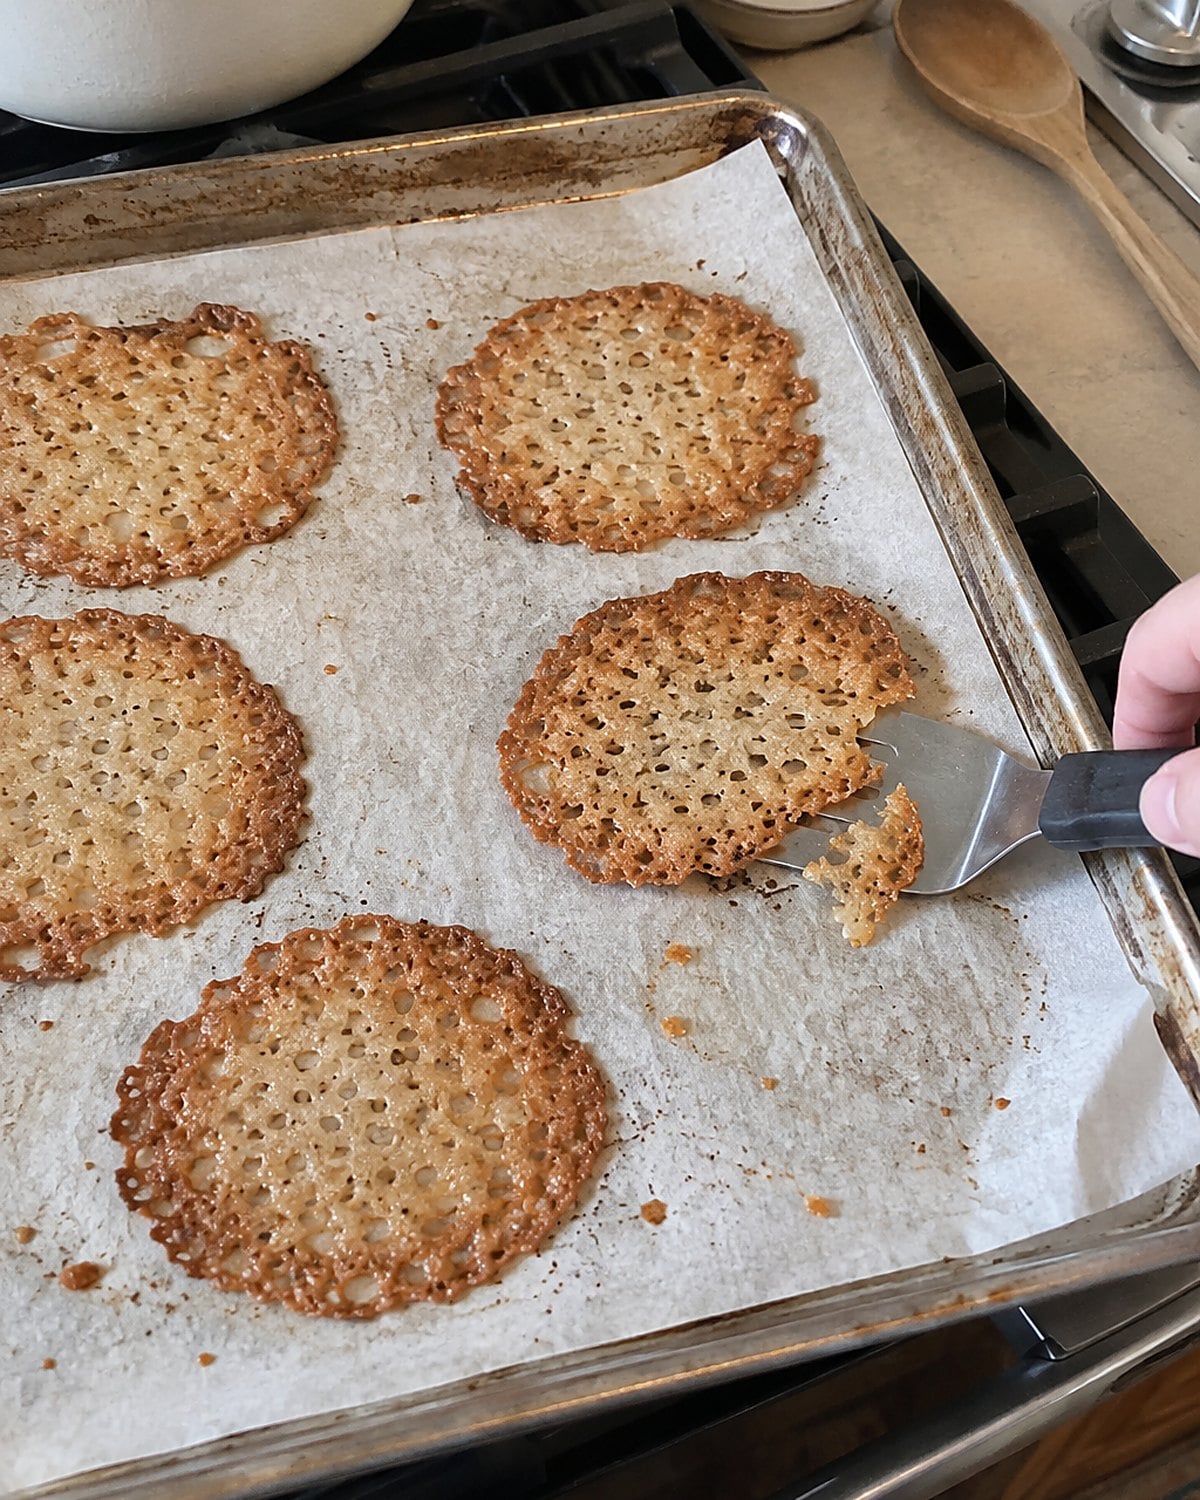
A lace cookie looks almost too thin to lift. Its little holes come from a buttery batter spreading across the hot baking sheet. Give each mound space, because these cookies travel farther than they seem to have any right to.
The oven window is worth watching. Look for a deep golden edge and a center that has stopped bubbling hard. Take the pan out and wait until the cookies firm enough to lift with a thin spatula. Move too soon and they fold into a sticky scrap.
If a cookie stays stuck, slide the spatula under from several directions instead of tugging one edge. Keep wax paper between the cooled layers in the tin. Their delicate surfaces catch on one another.
You can leave them flat, or curl a warm one over a wooden spoon handle. Start with the plain flat batch if it’s been years since you made them. The browned butter taste needs no extra work.
#16 Stained-Glass Cutouts for the Grandchild
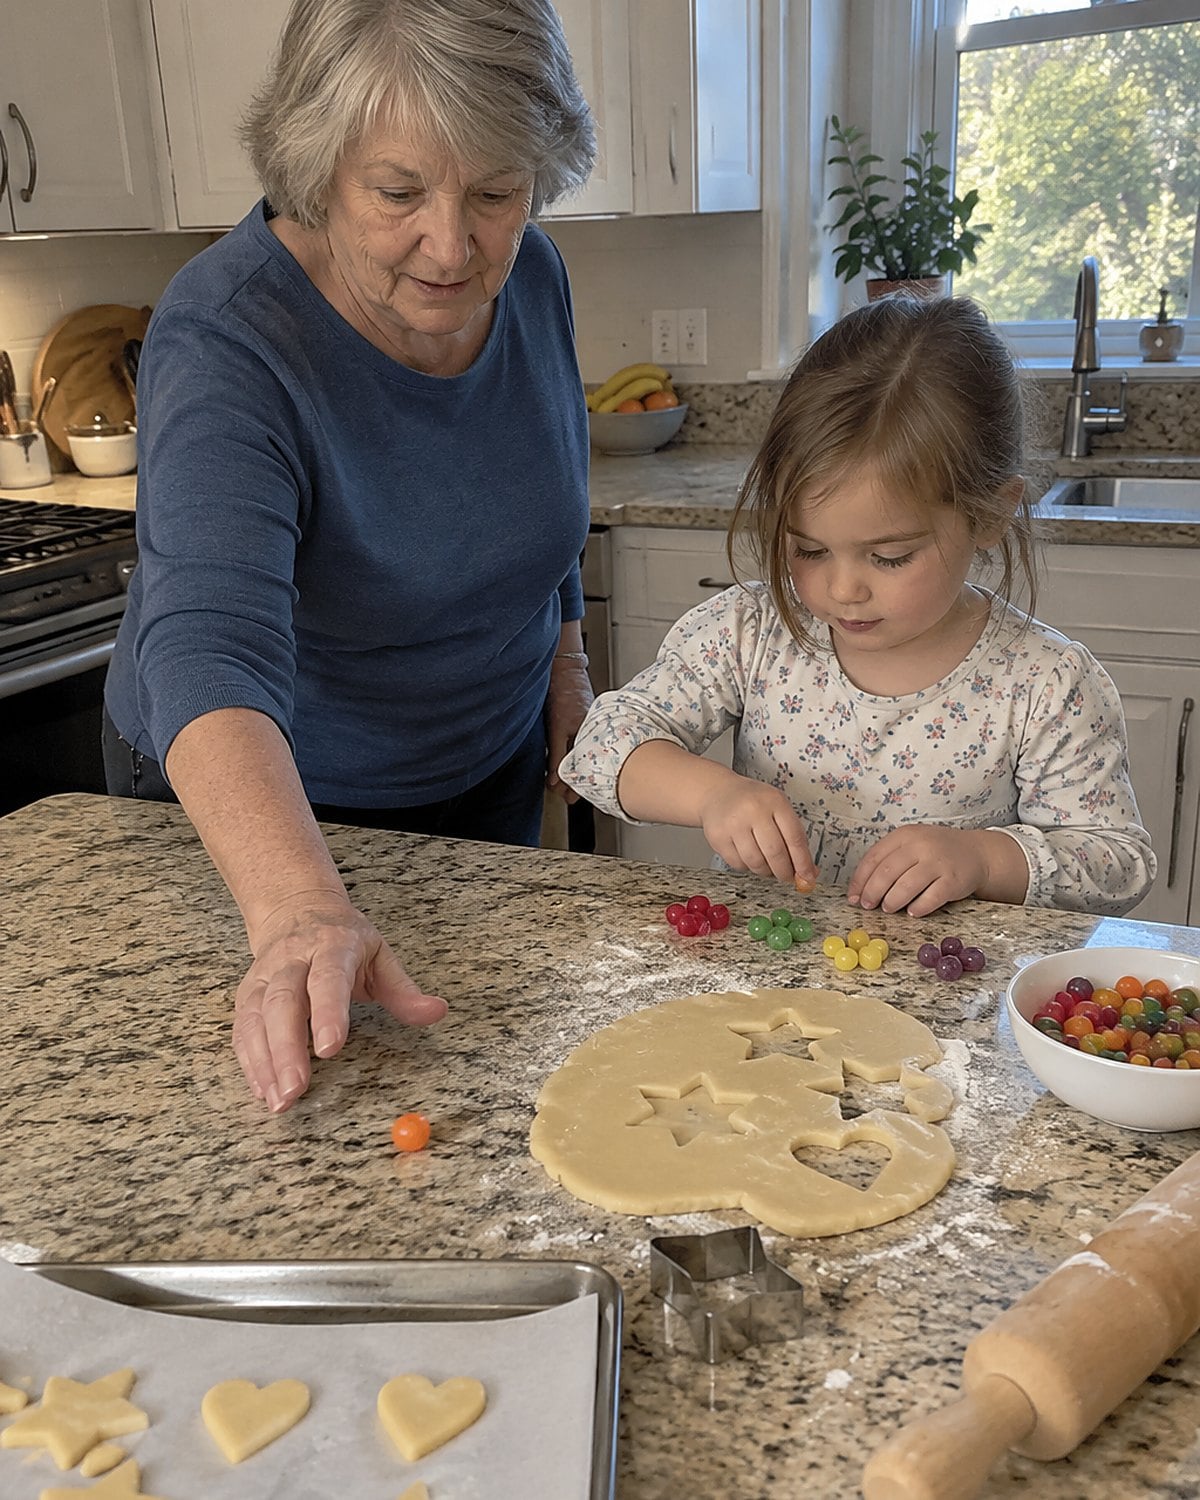
A grandchild sees the bright center first. The grown-up sees crushed hard candy on the counter and a sticky spot under the step stool. Stained-glass cookies made both memories.
Cut a window in each cookie before it goes on the sheet. Place the shapes on parchment, then fill each opening with crushed hard candy. Keep the candy inside the cutout. Stray bits melt onto the pan and make the cookies harder to lift.
Watch through the oven door as the pieces melt into a clear pool. Let the cookies cool completely on the parchment before peeling them free. Hot candy burns, and even warm centers are easy to dent with a fingertip.
This is a good job to share without handing over the hot pan. Ask the small helper to sort candy colors or choose the cutters. Keep the crushing and oven work with you. When the cookies cool, hold one near the kitchen window. The color is the reason to make them again.
#15 Fried Rosettes Lifted From Hot Oil
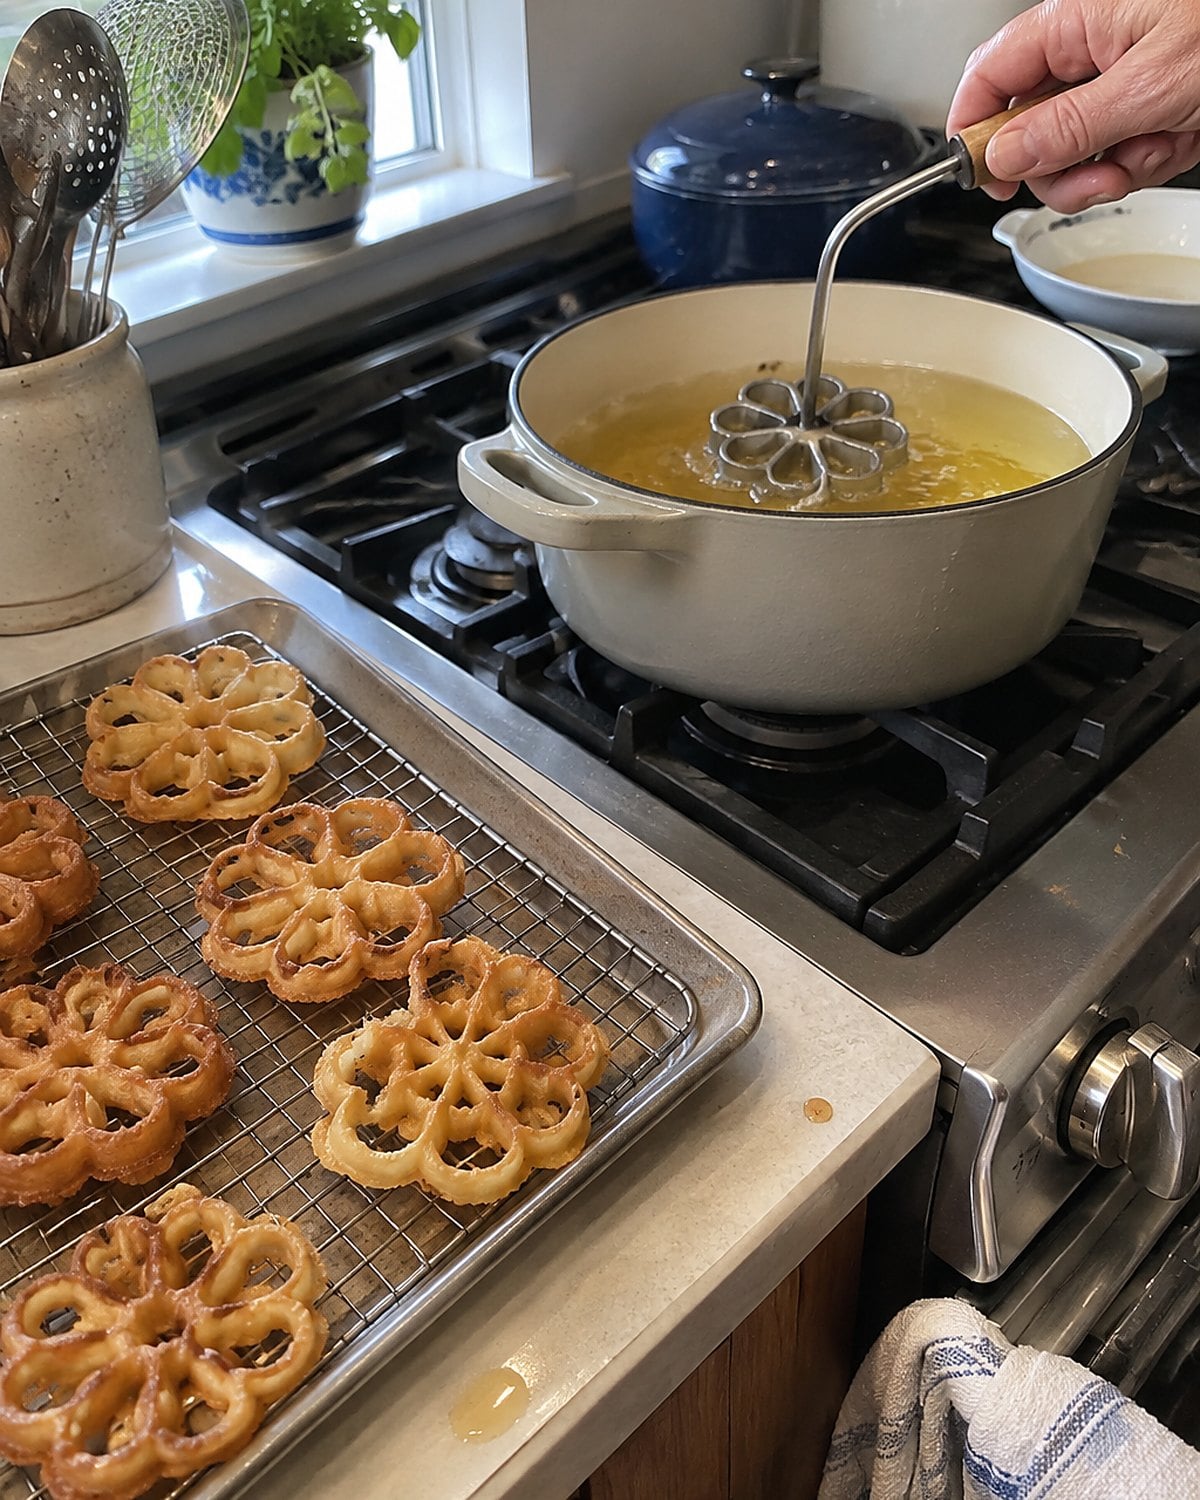
The rosette iron lived in a drawer with tools used only in December. Its thin metal shape went into hot oil, then into batter, then back into the oil. A crisp flower loosened from it and floated free.
The order matters. Heat the iron in the oil before dipping it into the batter. Let batter coat the sides, but keep it below the top edge of the mold. Cover the top and the cooked rosette has no easy way to release.
Use a deep, steady pot and a thermometer for the oil temperature given in your recipe. Fry a test rosette before filling the counter with batter-dipped irons. If it won’t slip off, check the batter line and heat before trying another.
Drain each one well and dust it with powdered sugar after it cools. A rosette should feel light in your hand and break with a clean crunch.
#14 Chocolate No-Bakes on the Counter

No-bake cookies still demanded a pot and a decision at the stove. Cocoa, sugar, butter, and milk boiled together before oats and peanut butter went in. Then came the rush to spoon the mixture onto wax paper before it set.
The boil is where the texture changes. If the mixture hasn’t cooked enough, the cookies stay loose; take it too far and they turn grainy. Use the timing and boiling cue from a tested recipe, and start the count only when the mixture reaches a full, active boil.
Have the oats measured and the wax paper spread out before you turn on the burner. Once the pot comes off the heat, stir in the remaining ingredients and work without stopping to hunt for a spoon. Scoop a test cookie. It should settle into a mound, not run across the paper.
These belonged to the afternoon when the oven was already full. You got chocolate cookies on the counter without moving the pans of cutouts. Keep one aside for a bite after it sets; the surface tells you much less than the texture inside.
#13 Lebkuchen From the Church Cookbook
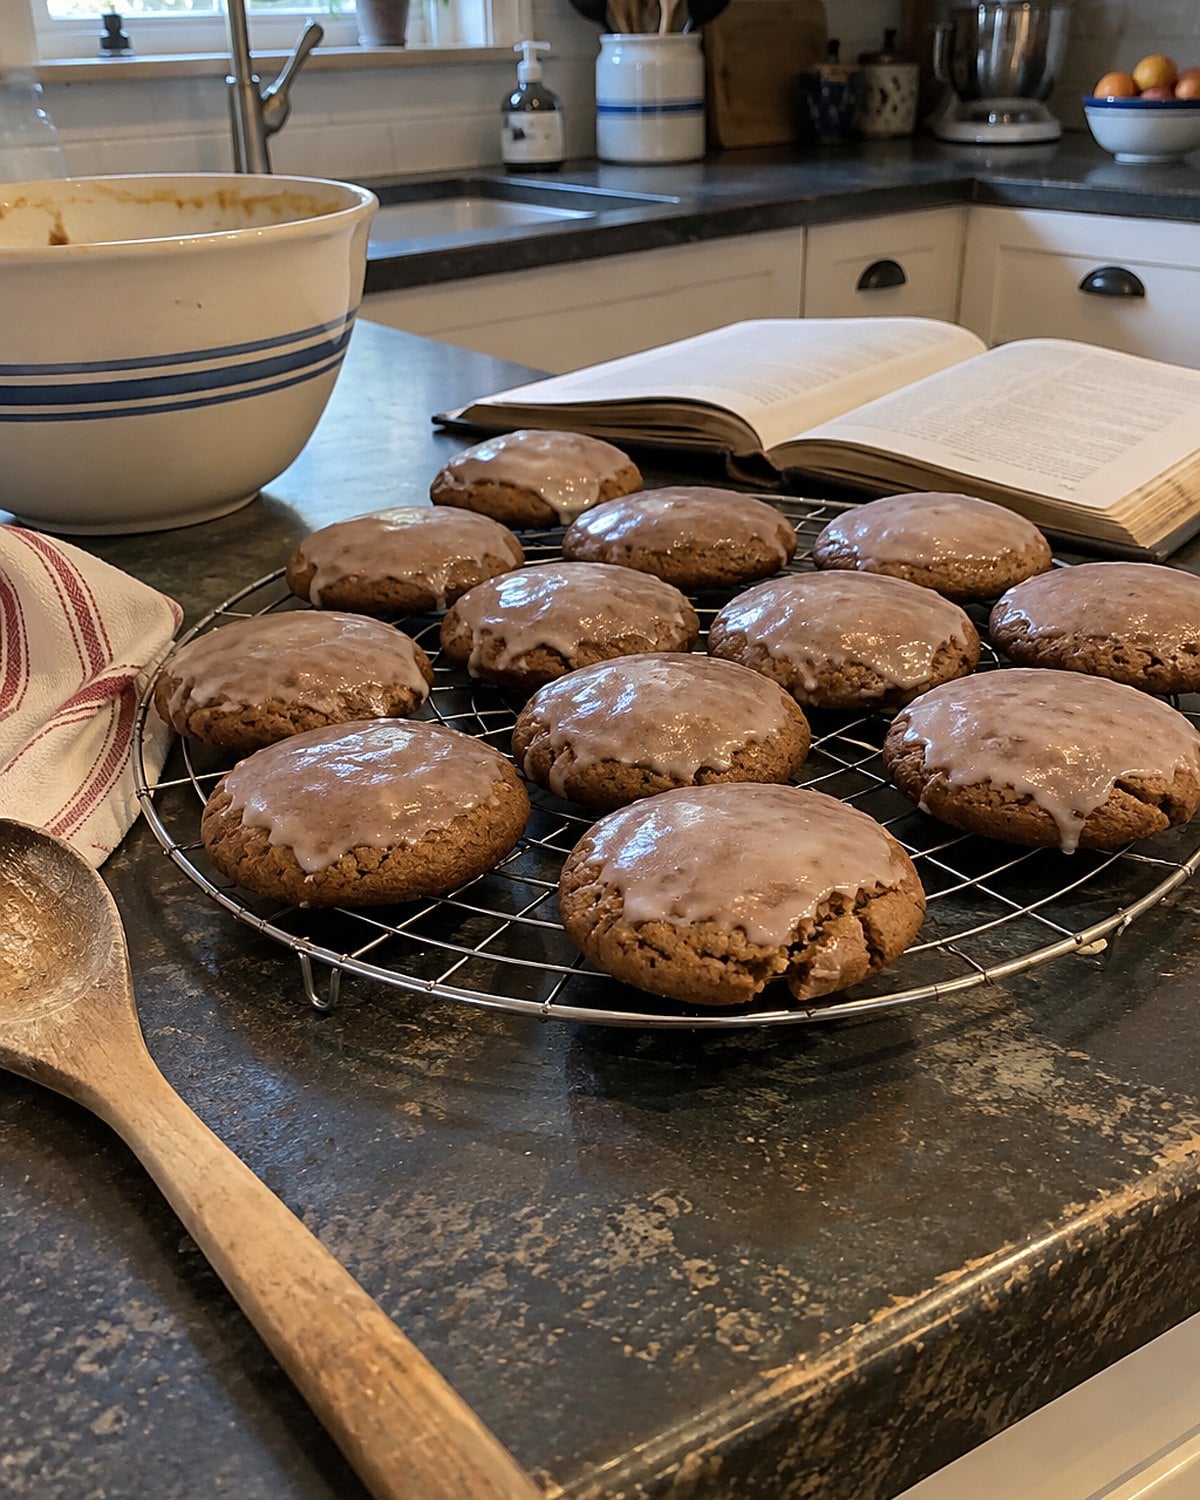
The church cookbook with the broken spine had recipes that assumed you knew what “mixed spice” meant. Lebkuchen entries differed from kitchen to kitchen: honey, nuts, citrus peel, and warm spices each had their turn.
Start with the recipe you’ve got rather than combining bits from several. Honey changes how dough handles, and a thick cookie bakes differently from a thin one. Before baking the full batch, make a small test piece. Taste for spice and check whether its center is baked to the texture the recipe promises.
Candied citrus peel gives a distinct chew. Chop it finely so one bite doesn’t get all of it. If your family recipe calls for a glaze, wait until the cookies have cooled so it sets on the surface.
The margin notes are worth reading. A penciled “more ginger” is more useful than the printed description beneath the title. Which hand wrote on your copy?
#12 Walnut Snowballs Beside the Coffee Pot
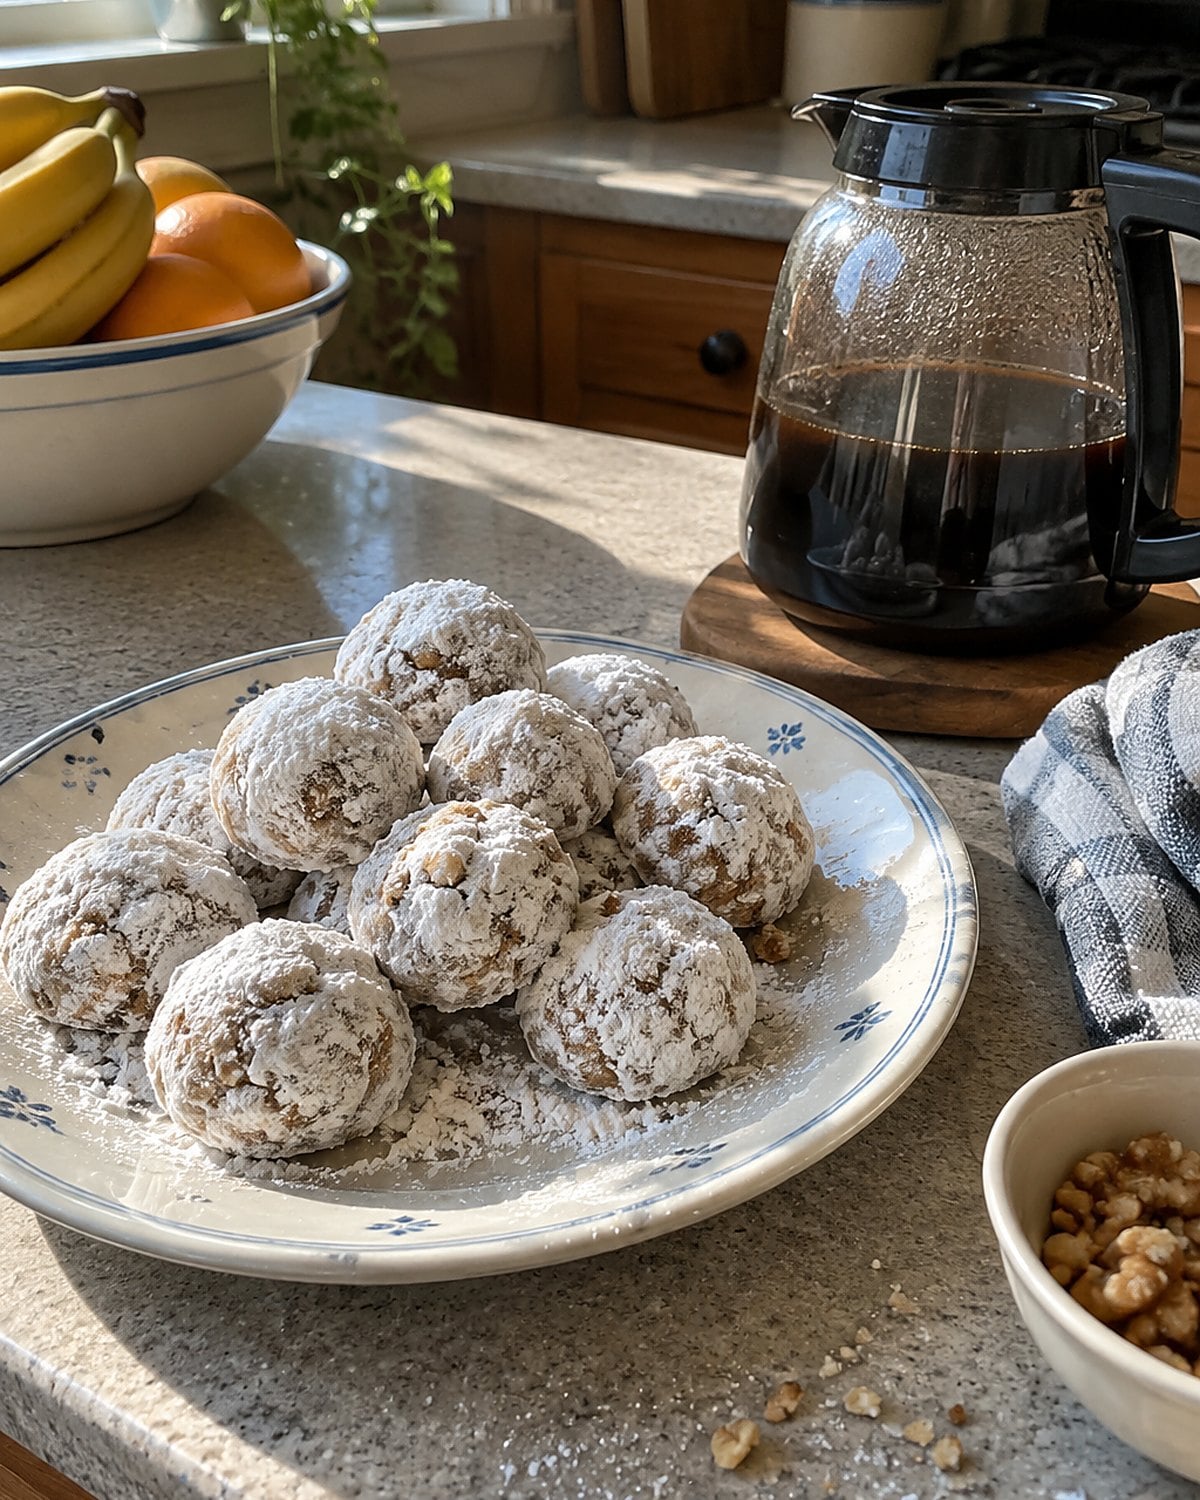
Walnut snowballs seemed sturdy until one cracked in your fingers. Their short, buttery dough held chopped nuts and very little stretch. That’s why the finished cookies dissolved so fast with coffee.
Chop the walnuts small enough to sit inside a rounded ball. Large pieces poke through and make shaping harder. Pinch off a piece of dough and roll it between your palms. It should come together without leaving a greasy film. If it smears, chill the dough before shaping the rest.
Bake until the bottoms have color, then let the cookies stand on the sheet before moving them. While warm, they’re fragile. Roll them in powdered sugar, cool, and coat again for a white finish that lasts through handling.
These resemble crescents, but the ball gives you a different bite: more tender center, less browned edge. Set both out and you’ll see which plate people return to. Keep the coffee pot nearby; the powdered sugar will soon be on every cup handle.
#11 Royal-Iced Stars by the Sink

The sink filled with piping tips, and every star on the rack looked different. Royal icing gave Christmas cutouts their sharp white lines and little dots that stayed where you put them.
For icing made with egg whites, choose pasteurized whites or meringue powder and follow a tested recipe. The FDA’s egg safety advice is worth checking before a batch meant for children or guests.
Let the cookies cool fully before decorating. Warm cookies loosen the icing. For outlines, look for icing that holds a line without breaking as it leaves the tip. If it runs off the edge, it’s too thin for that job.
You don’t need a drawer of tips. A small piping bag with its corner cut close makes dots and simple lines. Put the finished stars where nobody needs the counter for dinner; the icing needs time to dry untouched.
#10 Fruitcake Cookies Packed in Metal Tins

Fruitcake cookies carried the things that once filled the holiday baking shelf: dried fruit, nuts, and candied peel. They were small, dense bites, not slices of fruitcake disguised under a new name.
Chop the fruit and nuts so each cookie gets some of both. Big pieces make the dough hard to portion and leave bare spots. Stir until the fruit is spread through the dough, then check the first baked cookie. Its center should be set, with fruit held in the crumb rather than falling out.
Packing matters after baking. Cool the cookies completely before they go into a clean tin, and separate layers with wax paper. Keep them apart from crisp cookies. A soft, fruit-filled cookie changes the feel of its crisp neighbor in a closed container.
That stack of tins by the back door had a purpose. One went to a gathering, one stayed home, and one waited for the visitor who stopped in. If you bring these back, tuck a few into a smaller tin so they don’t vanish under the sugar cookies.
#9 Orange-Glazed Anise Cookies on the Rack
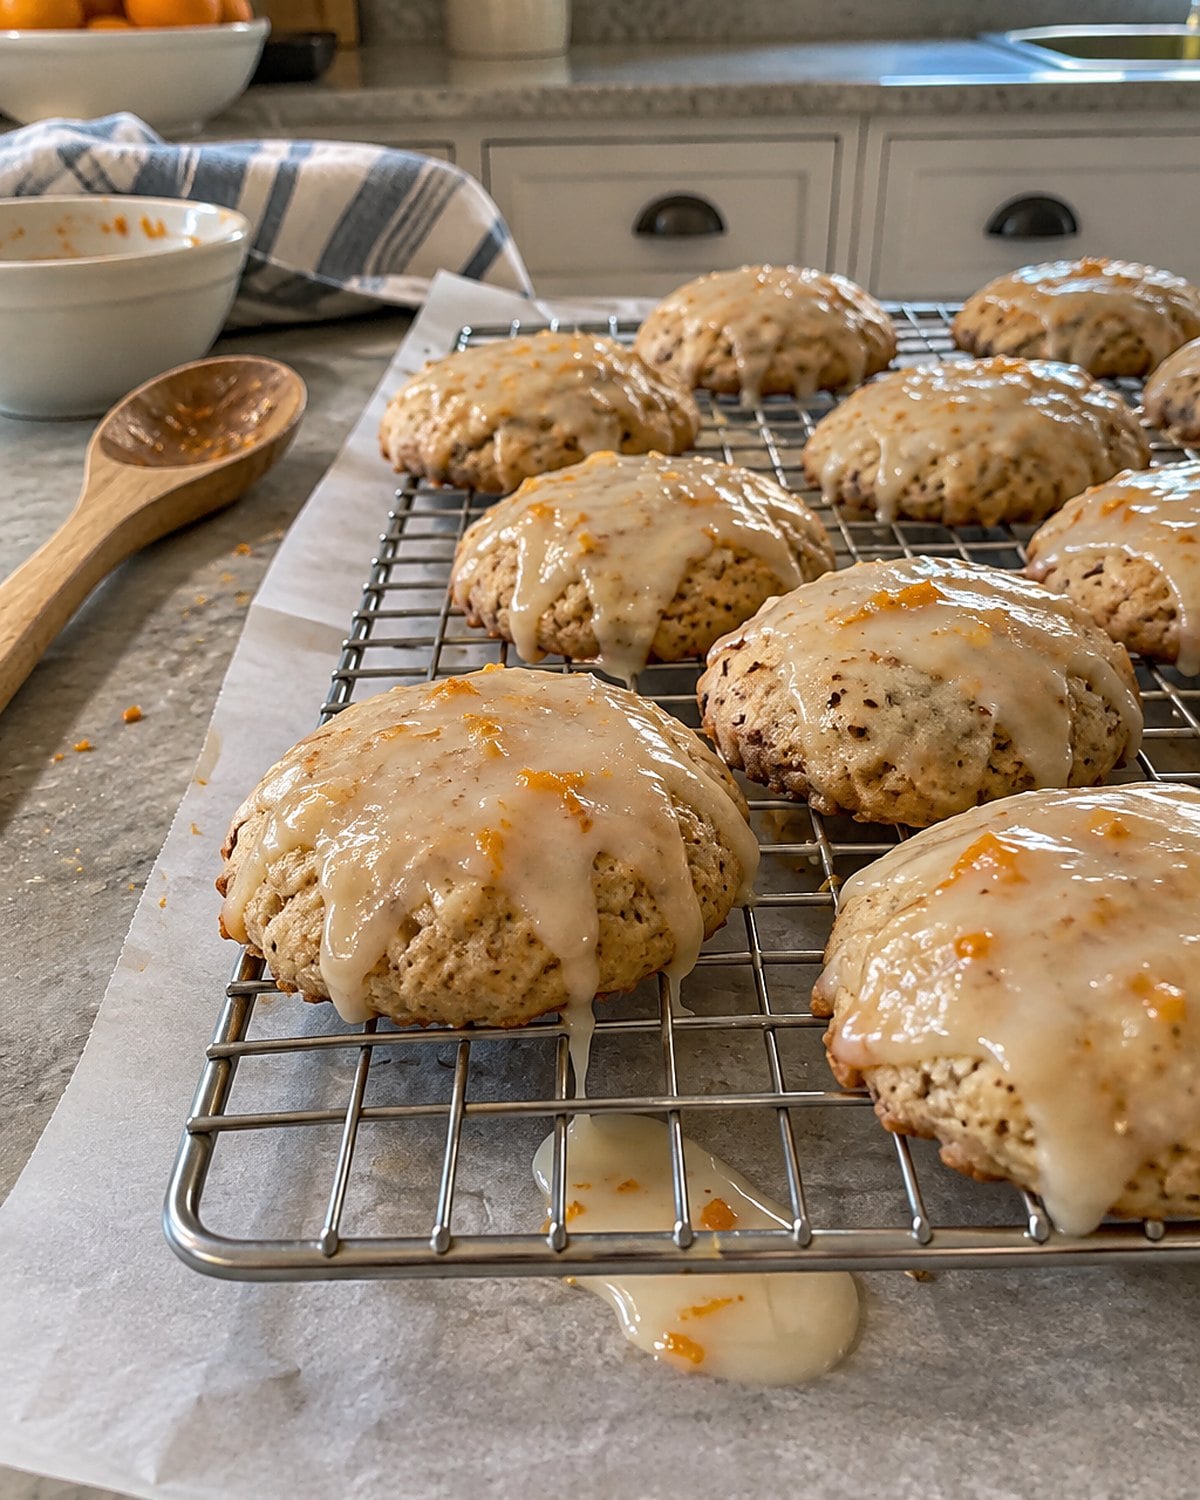
The smell reaches you before the plate does: anise in the cookie, orange in the glaze. In some kitchens, these were simple rounds. In others, the dough was tied into small knots.
Orange zest brings more scent than juice alone. Rub the zest into the sugar with your fingertips before mixing the dough; the sugar picks up the oils left on your hands. Then use orange juice in the glaze for a tart edge against the sweet cookie.
Wait until the cookies cool before glazing. Set them on a rack over a sheet of wax paper so the drips don’t glue them to the counter. Taste one after the glaze sets, when you get both flavors in the same bite.
If anise isn’t your favorite, don’t erase it before asking someone else. That scent is the reason a relative opens the tin and says, “You made these.”
#8 Bourbon Balls From the Fridge Drawer
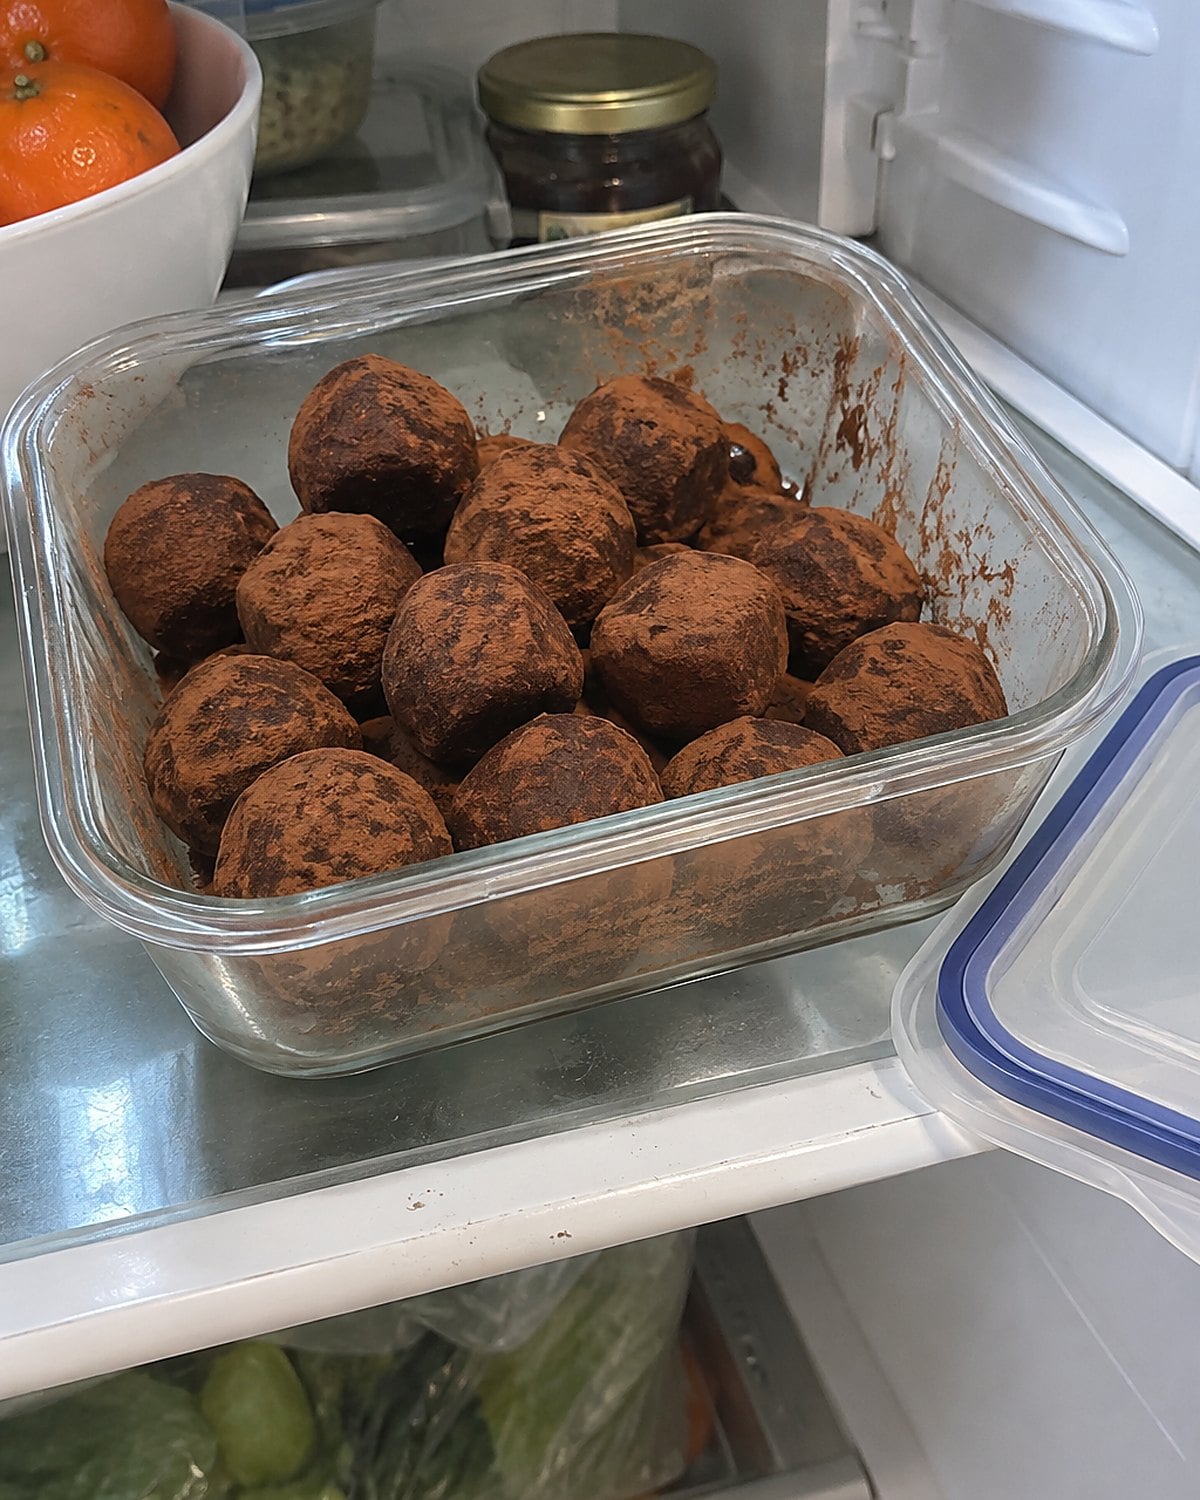
Bourbon balls didn’t need the oven, but they did need a place to rest. Crushed wafers, nuts, cocoa, and bourbon were pressed into small balls, then coated in sugar or cocoa. Their flavor changed after the mixture sat.
Measure the liquid with the recipe in front of you. Add too much and the crumbs won’t hold a ball; add too little and they fall apart in your hand. Squeeze a spoonful before shaping the batch. If it holds when you open your palm, you’re ready to roll.
These contain alcohol that hasn’t been cooked off. Label the container clearly and keep it out of reach of children. Make a separate alcohol-free cookie if the grandchildren will be picking from the tins.
A cool spot keeps the coating neater while you finish shaping. Before serving, cut one open. The center should hold together, with no dry crumbs falling out. That small check saves you from putting a whole plate of crumbling balls beside the coffee.
#7 Jam Thumbprints at the Holiday Gathering
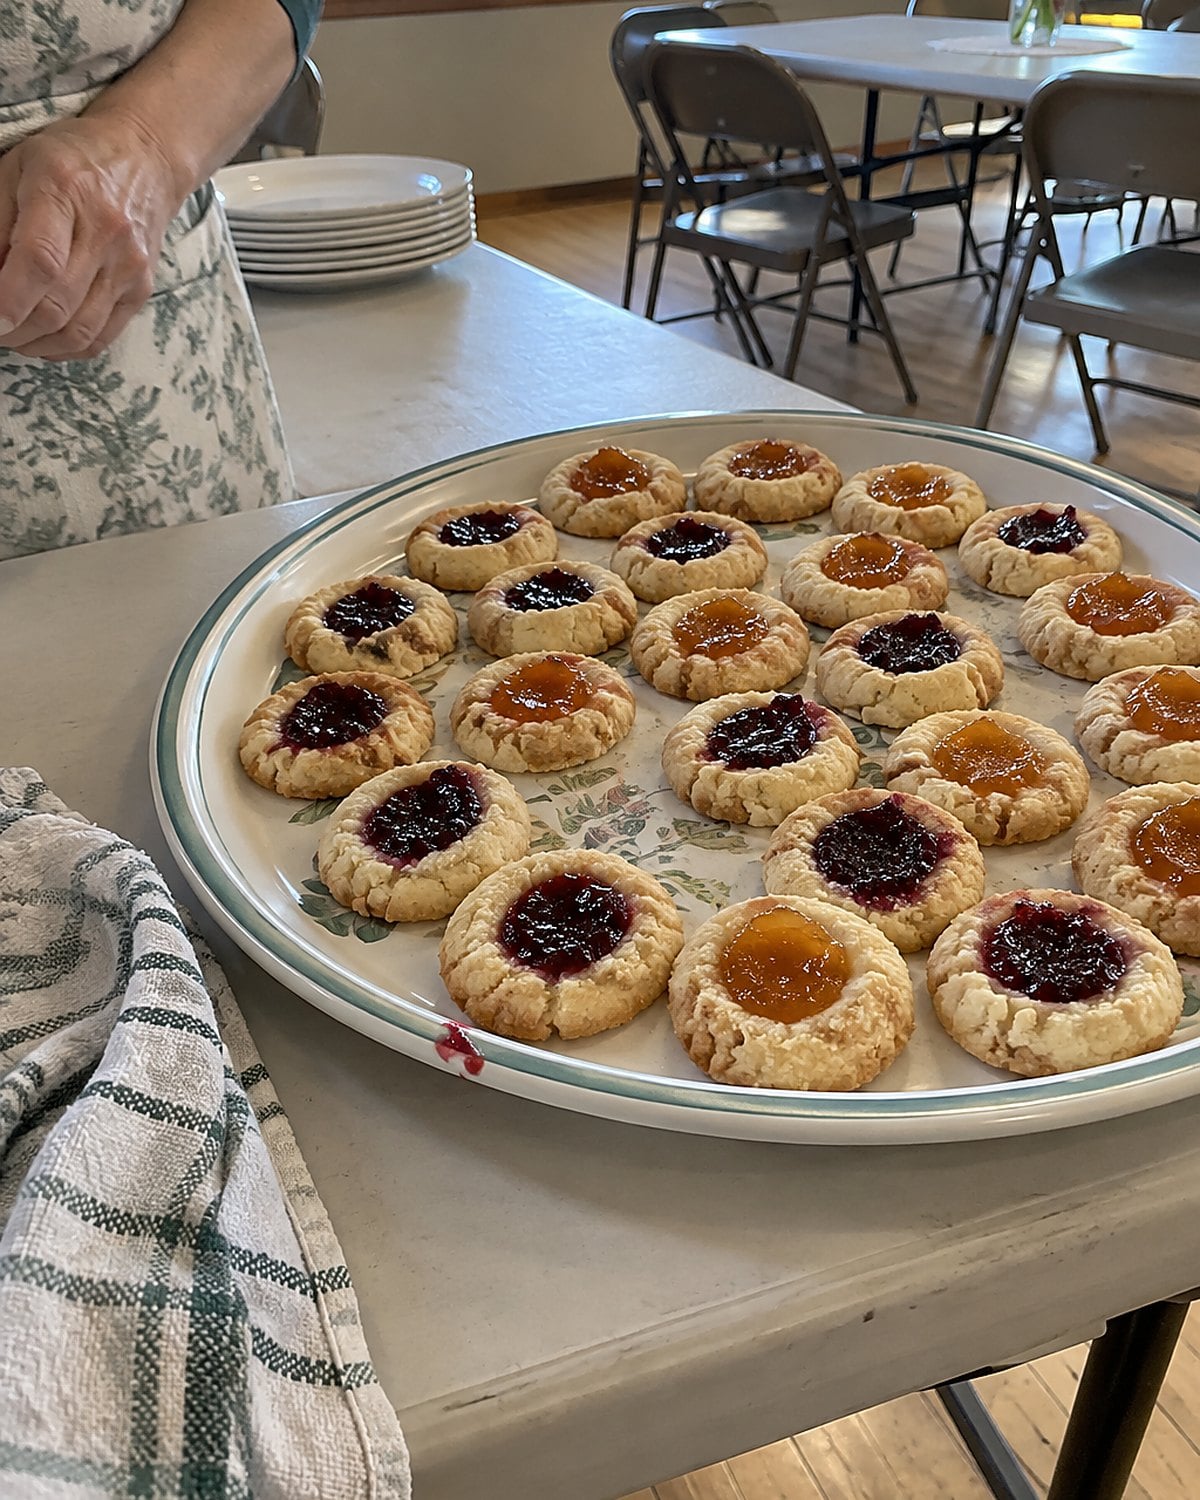
A thumbprint tray could disappear before the ham was carved. The little hollow held red raspberry jam, apricot, or whatever jar was open in the fridge. Children went for the shiny center; adults noticed the buttery edge.
Make the hollow before the dough goes into the oven. Press just deep enough to hold jam without breaking through the bottom. If the edges crack a little, pinch them back together. A wide hollow invites filling to spill onto the sheet.
Use a thick jam and keep it inside the well. Let the baked cookies cool before stacking them, or the centers will stick to the cookie above. On a church hall table, that meant a single layer on the first plate and refills from the tin.
Which jar would you open now? The flavor you choose will make this tray yours again.
#6 Gingerbread People With Crisp Sleeves

The gingerbread person with one arm broken off still got eaten. It was the thin wrist, not the ginger, that gave way. Thick bodies and narrow sleeves don’t finish baking at the same rate, so shape matters.
Roll the dough evenly. After cutting, move each figure with a broad spatula and leave room around it on the sheet. If a hand bends during the move, straighten it before baking; it won’t fix itself in the oven.
Check the small parts first. When the edges look set and the center no longer shows a wet shine, pull the sheet. Leave the figures on it until they’re firm enough to move. A cookie lifted hot by its head is likely to lose an arm.
For a softer bite, use the thickness and bake called for in a recipe written for soft gingerbread. A thin, crisp recipe won’t turn soft just because you shorten the oven time. Keep one plain figure for tasting before you spend the evening giving everyone icing buttons.
#5 Pizzelle Wafers From the Iron
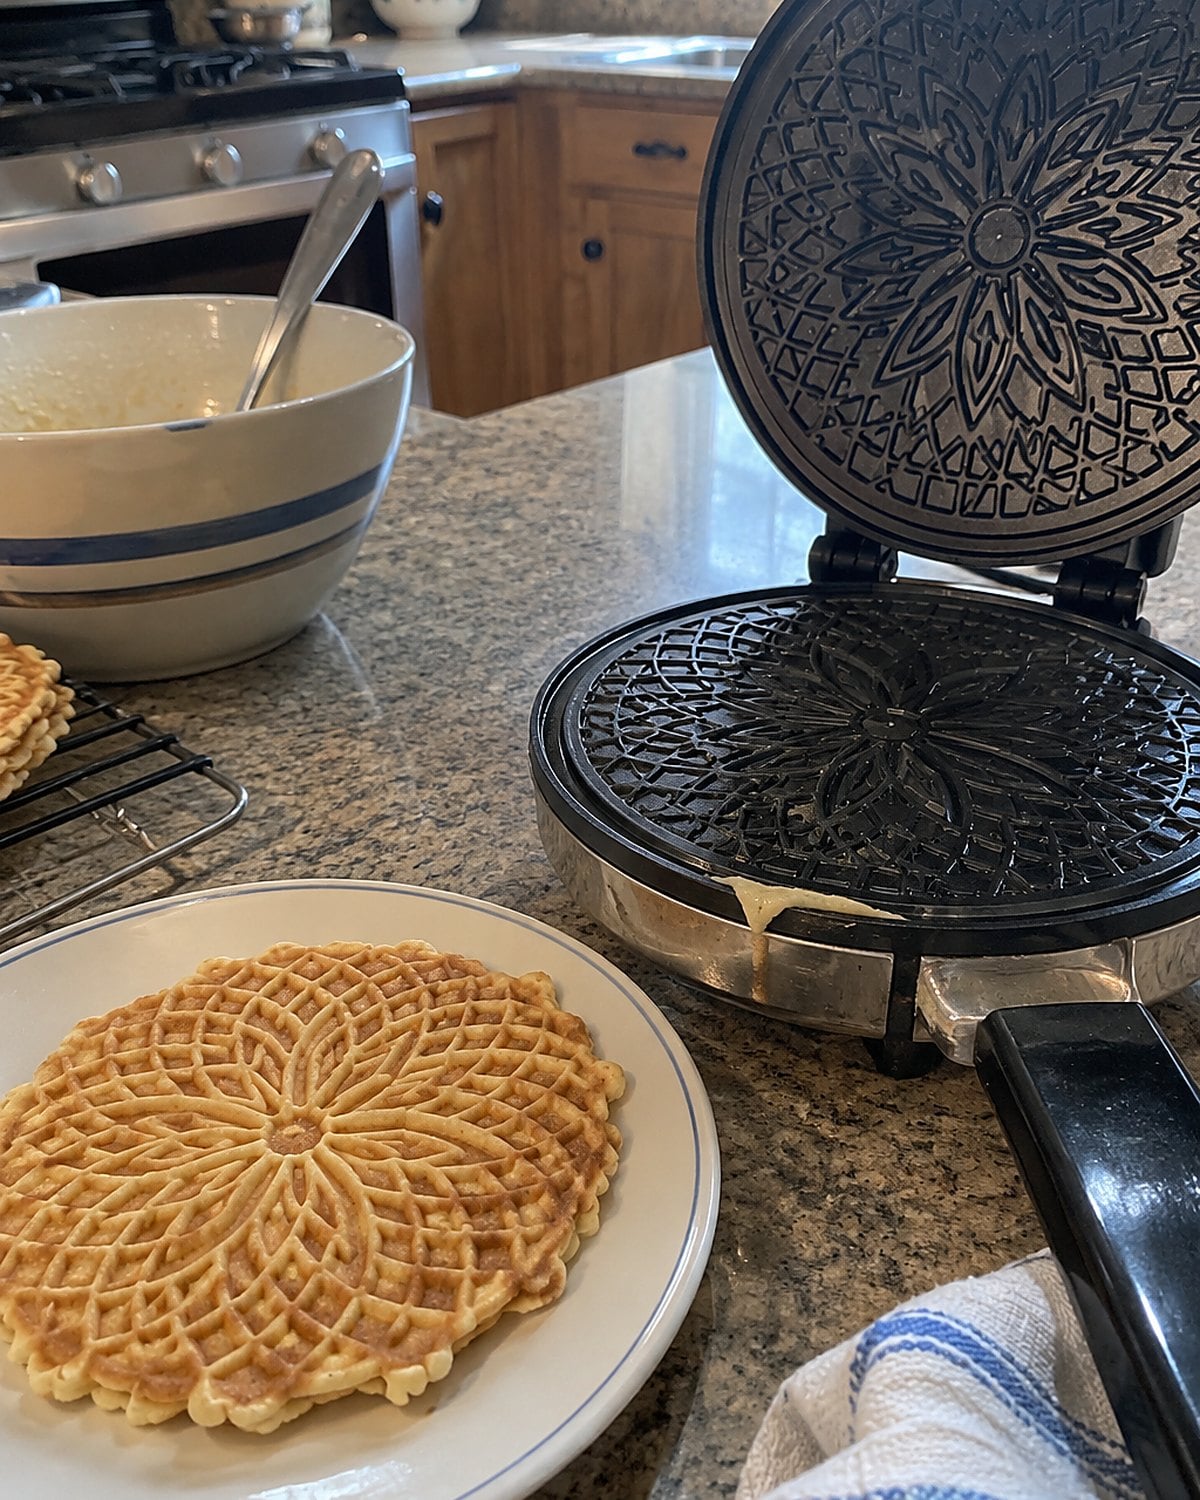
A pizzelle iron turned batter into thin patterned wafers. The lid pressed down, a little steam escaped, and the kitchen filled with the smell of anise or vanilla. Someone always wanted the first one, even when its edge was uneven.
Preheat the iron well. Spoon batter into the center and close the lid without forcing it down. The first wafer shows whether you used too much batter; overflow on the counter is an answer you’ll remember.
Lift the pizzelle while it’s still pliable and lay it flat to cool. It turns crisp as it cools. Stack warm wafers and the steam stays between them, taking away that snap.
Check the pattern as each one comes off. Pale, soft patches need more time on the iron. The prettiest ones go in the tin; the lopsided ones belong beside the machine.
#4 Sandbakkels Pressed Into Fluted Tins

Sandbakkels needed a collection of small fluted tins and the patience to press dough into each one. The thin shells baked into little cups, ready to eat plain or fill after cooling.
The trouble spot is the base. Press the dough too thick there and it stays heavy while the rim browns. Push a small piece across the bottom first, then work it up the sides with your thumb. Turn the tin as you go. You should see an even lining, with no bare metal.
Set the filled tins on a baking sheet so they’re easier to handle. Bake until the edges take on color, then let the shells cool before easing them out. A slight twist of the tin helps release them; digging at a hot rim leaves crumbs instead of a cup.
If you’ve inherited the tins, count them before you start. Wash, dry, and set them out together. They’re easy to lose among the measuring spoons, and the last few cookies need those little molds as much as the first ones do.
#3 Fig-Filled Cuccidati Under White Icing
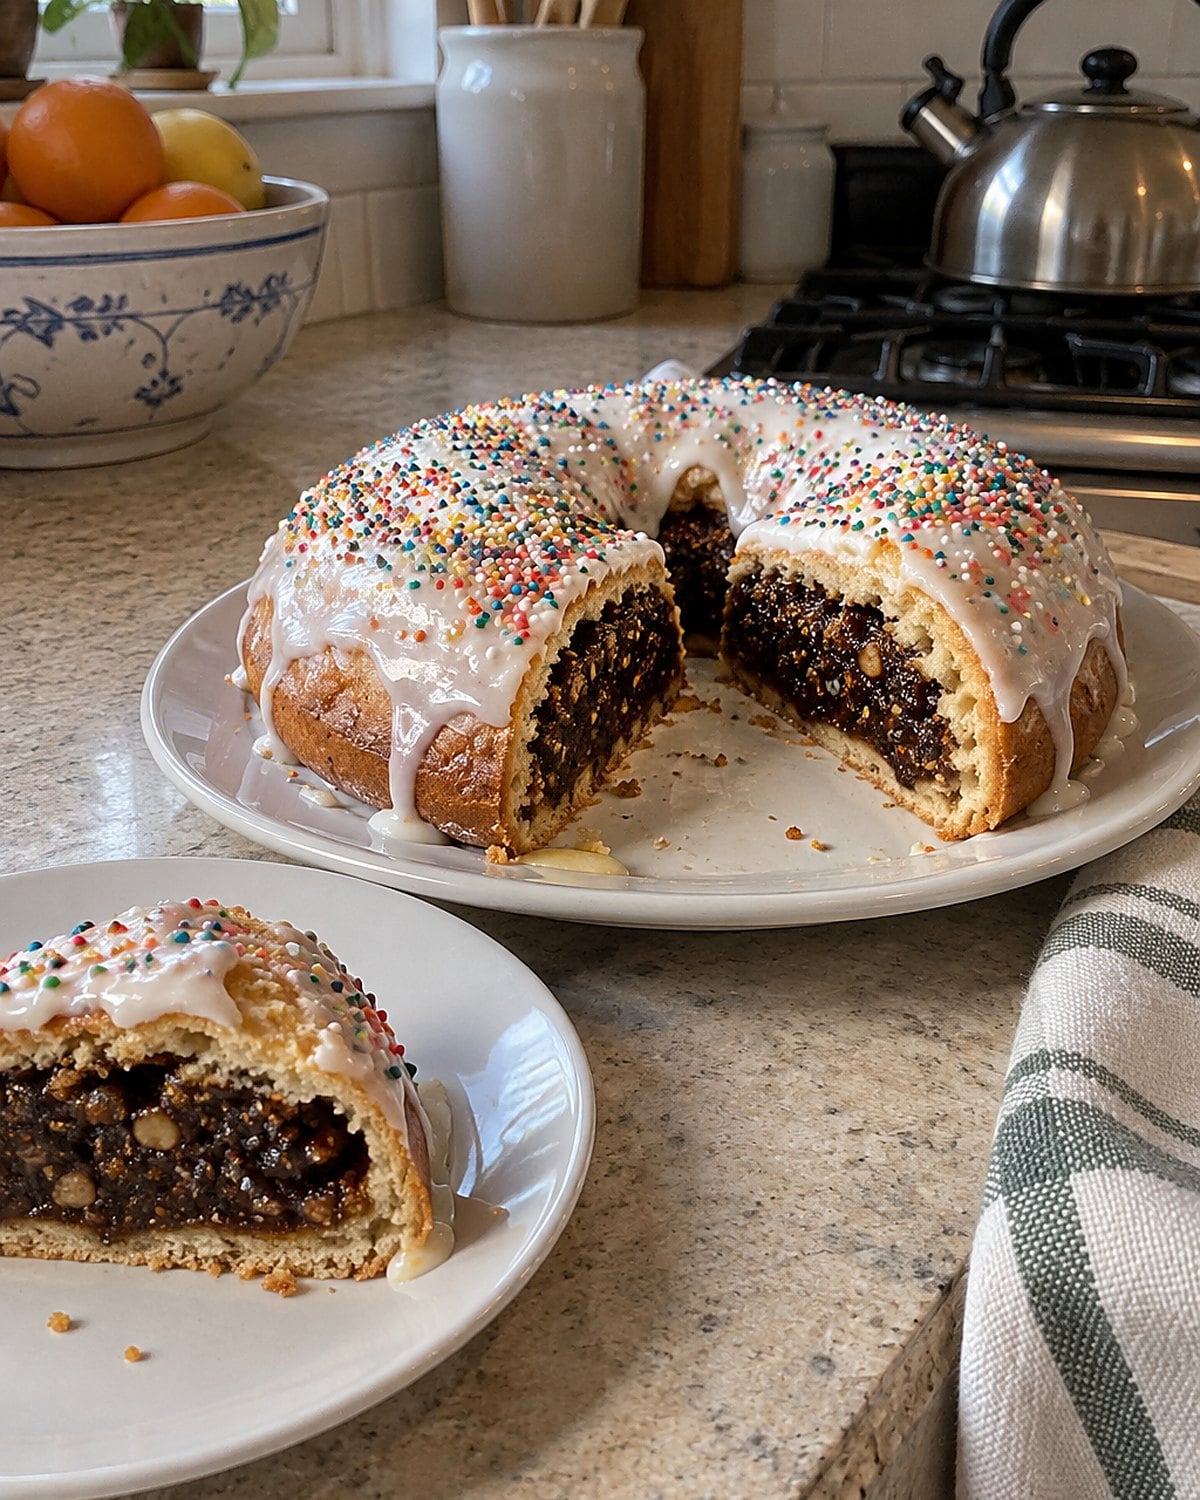
Cuccidati hid a dark fig filling inside a strip of pastry. A white glaze and colored sprinkles on top made them easy to spot in the Christmas tin. Cut one open, though, and the filling told you far more.
Chop or grind the figs with nuts and citrus until the mixture holds together. It should spread along the dough without pouring out. Lay it in a line, fold the pastry over, and seal the edge before slicing. A loose seam opens in the oven.
Bake a test piece and cut through its center once it cools. Look for pastry baked through beside the filling, not a damp strip of raw dough. Then glaze the rest and add sprinkles while the glaze is still wet.
The filling work takes time. That first cut makes the effort visible in every cookie that follows.
#2 Butter Wreaths With Cherry Centers
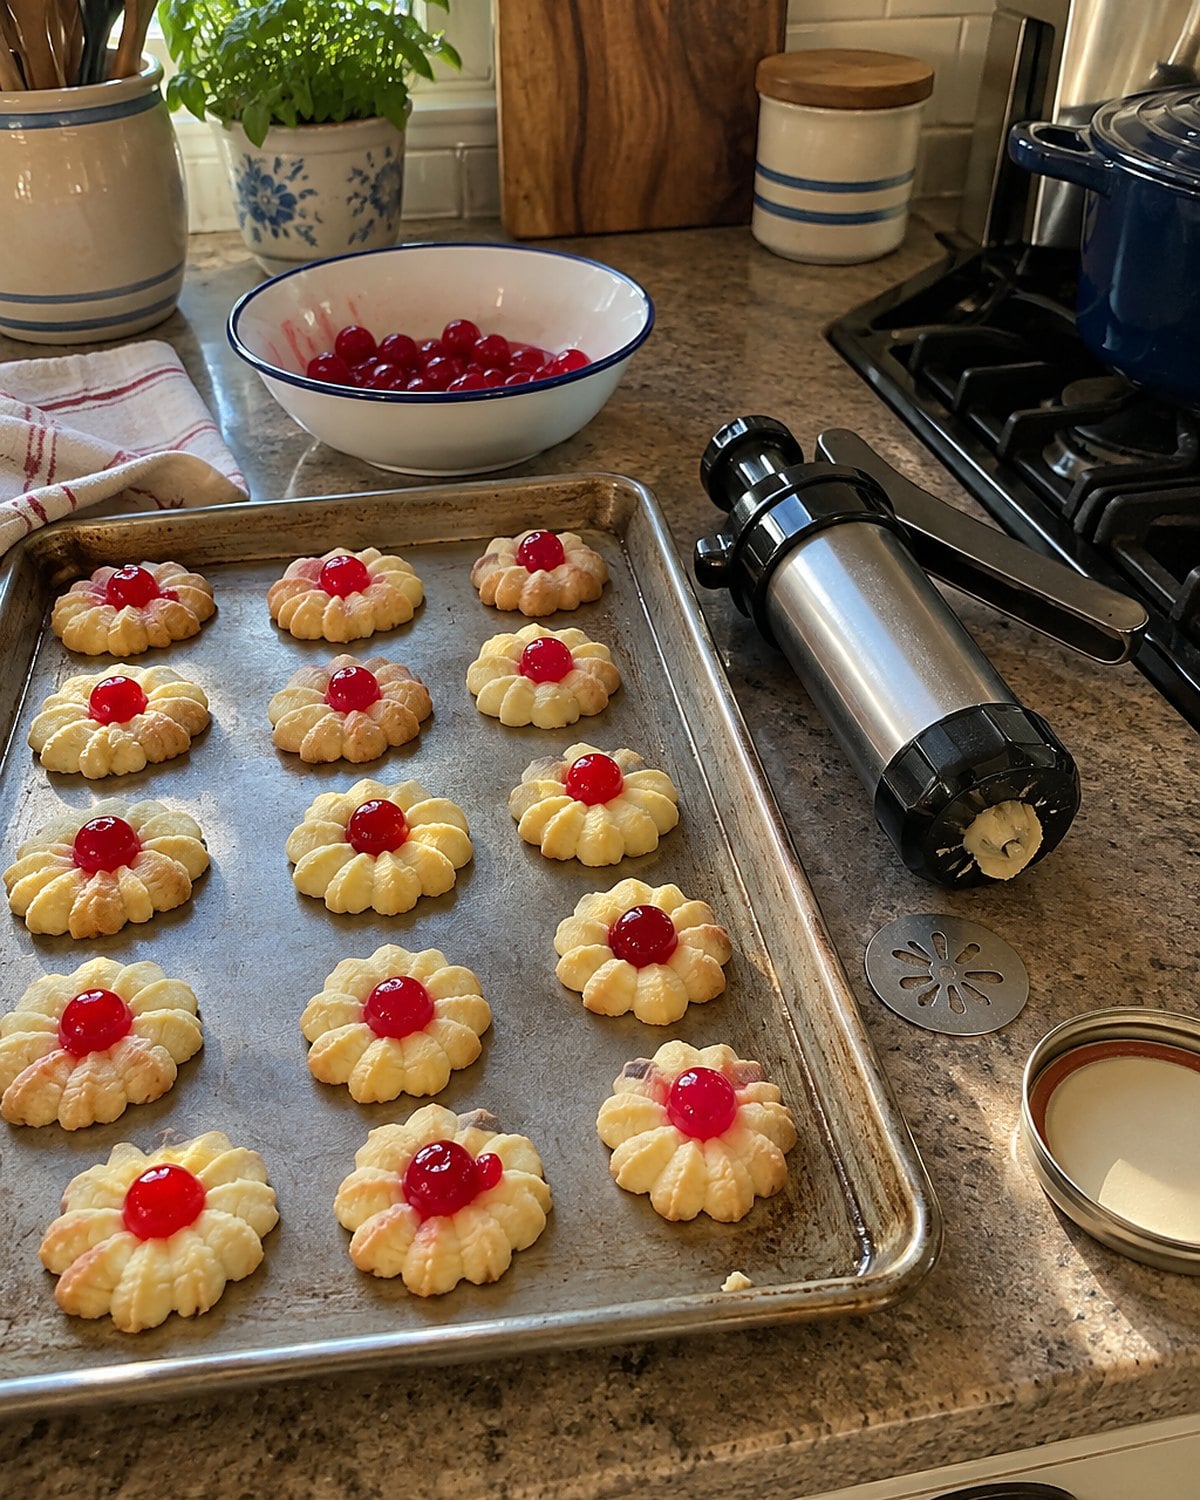
A butter wreath came from the press in one quick squeeze, then got its bright center from a piece of candied cherry. Those red dots made a plain tray look ready for Christmas.
Set the press on a cool, ungreased sheet and release each wreath with a straight lift. If the dough clings to the disk, wipe it clean before trying another. Pressing harder won’t give you a neater circle.
Cut the cherries small and blot their cut sides with a towel. A wet piece slides off the dough; a large one weighs down the center. Push each piece in just enough to stay put, without flattening the ridges around it.
Bake until the edges show a little color. Butter cookies continue to firm as they cool, so give them a moment on the sheet before moving them. When you pack the tin, lay these in a single layer if the cherry centers still feel sticky. You’ll be glad when you lift the lid.
#1 Forgotten Icebox Cookies in the Freezer
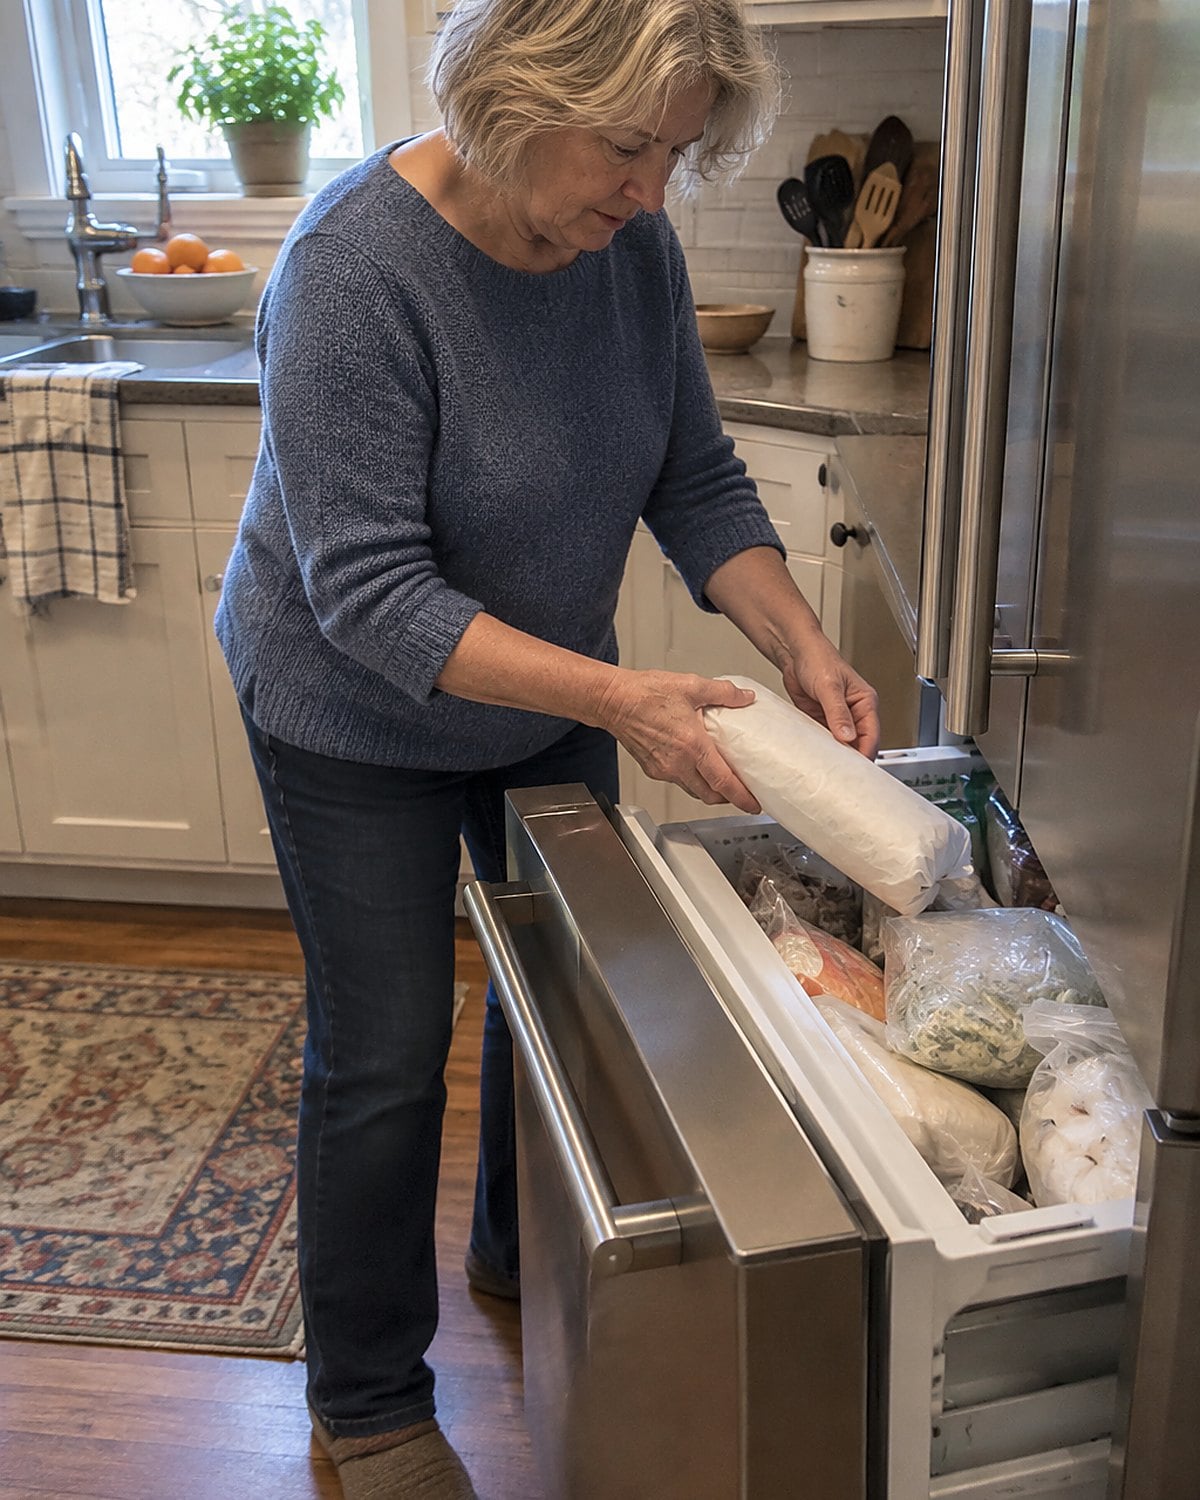
That old dough log in the recipe box is the most useful cookie to bring back. Icebox cookies were built for a household that didn’t need every batch baked at once. Make the dough, shape it into a log, and slice only what you want to bake.
The slice tells you what to fix. If it squashes into an oval, chill the log until it’s firm enough to cut cleanly. If it cracks under the knife, let it sit briefly on the counter. Turn the log a little between cuts to help keep it round.
Wrap it well before freezing, and write the dough name and date on the bag. Follow a tested recipe’s freezing and baking directions rather than guessing at a time for frozen slices. The oven still gets a sheet of fresh cookies, just without a whole afternoon of mixing.
You don’t need to refill every tin. Put a log in the freezer while the counter is clear. Later, when the house is down to one or two people, you can bake a few for tonight and leave the rest for a weekend visit.
The bottom line
The old tins held cookies made in different ways. Each had a small point where the baker paid attention: a dry top, a sealed edge, a slice that stayed round.
You’ve already done the useful part if there’s a recipe card on the counter and room for one batch. Choose the cookie whose missing shape you remember best. What tool would you have to pull out of your kitchen drawer to make it?

Leave a Reply