

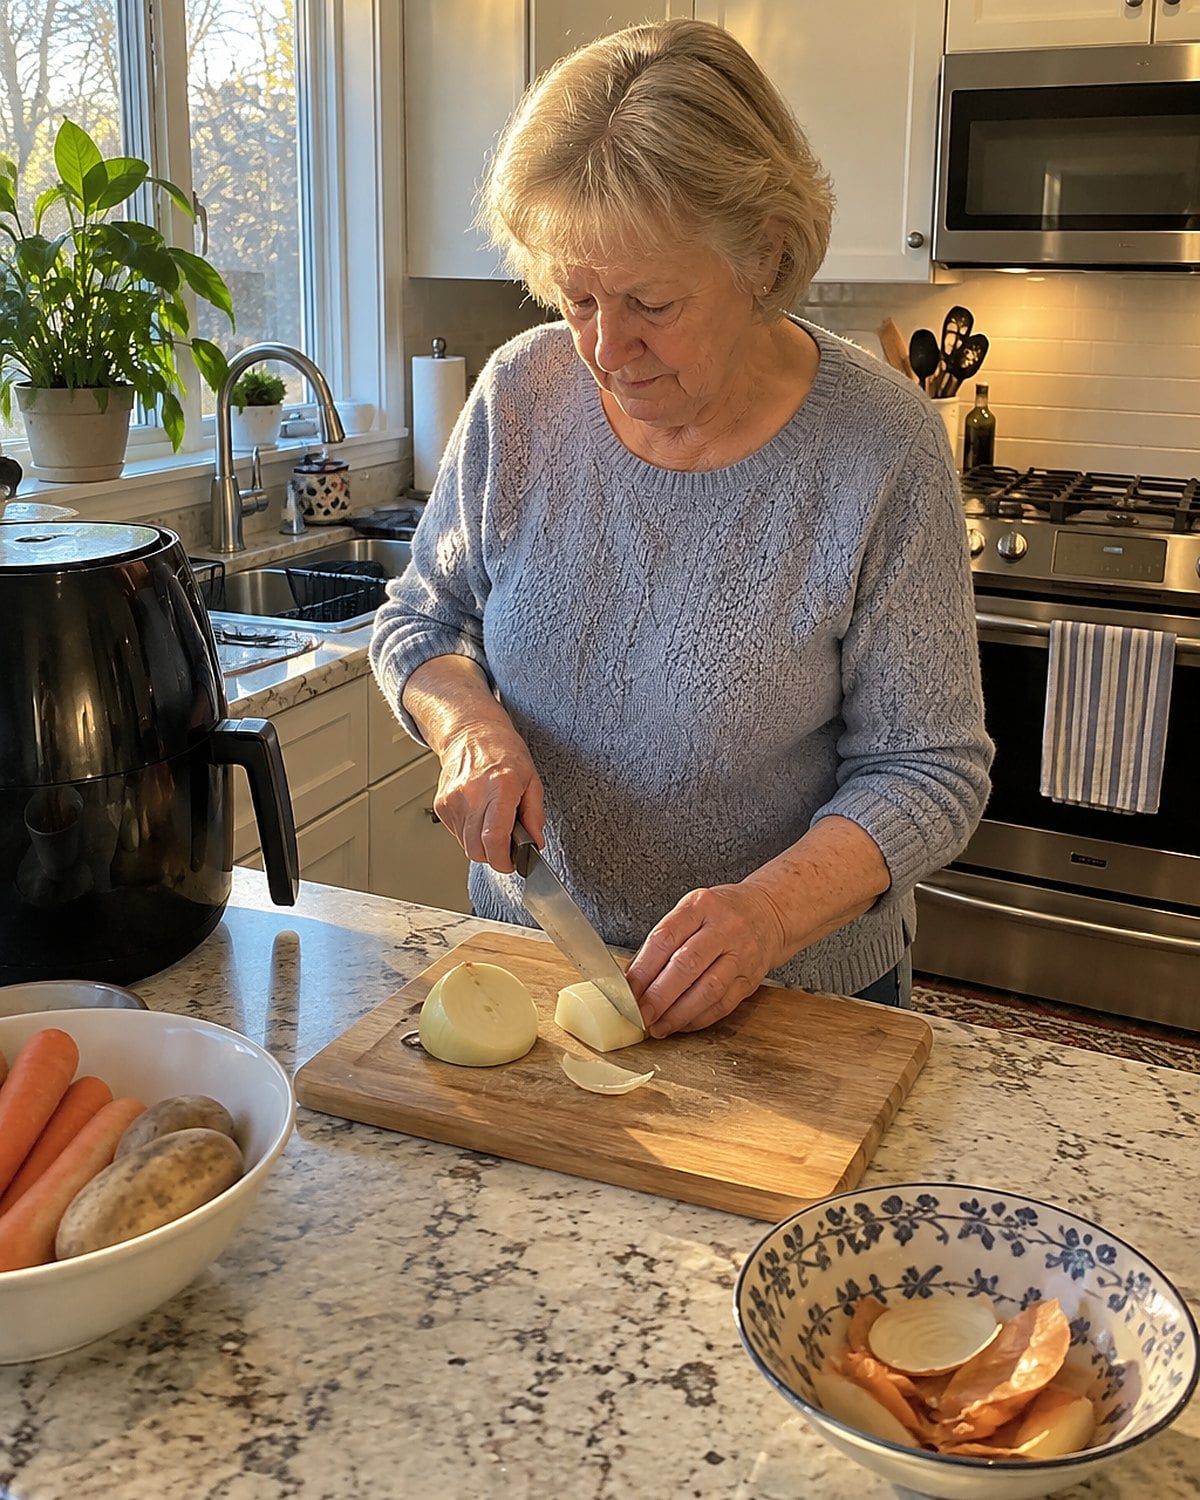
The onion is halfway through when the blade stops cutting and starts pushing. You press harder. The layers skid across the board, and a piece lands beside the air fryer. Dinner will get made anyway. It always does.
A knife loses its edge so gradually that the extra work becomes part of the recipe. If you’ve never sharpened yours, you’ve spent years adapting to a problem that has a fix. Start by noticing where the blade asks for force.
#26 The onion that slips sideways
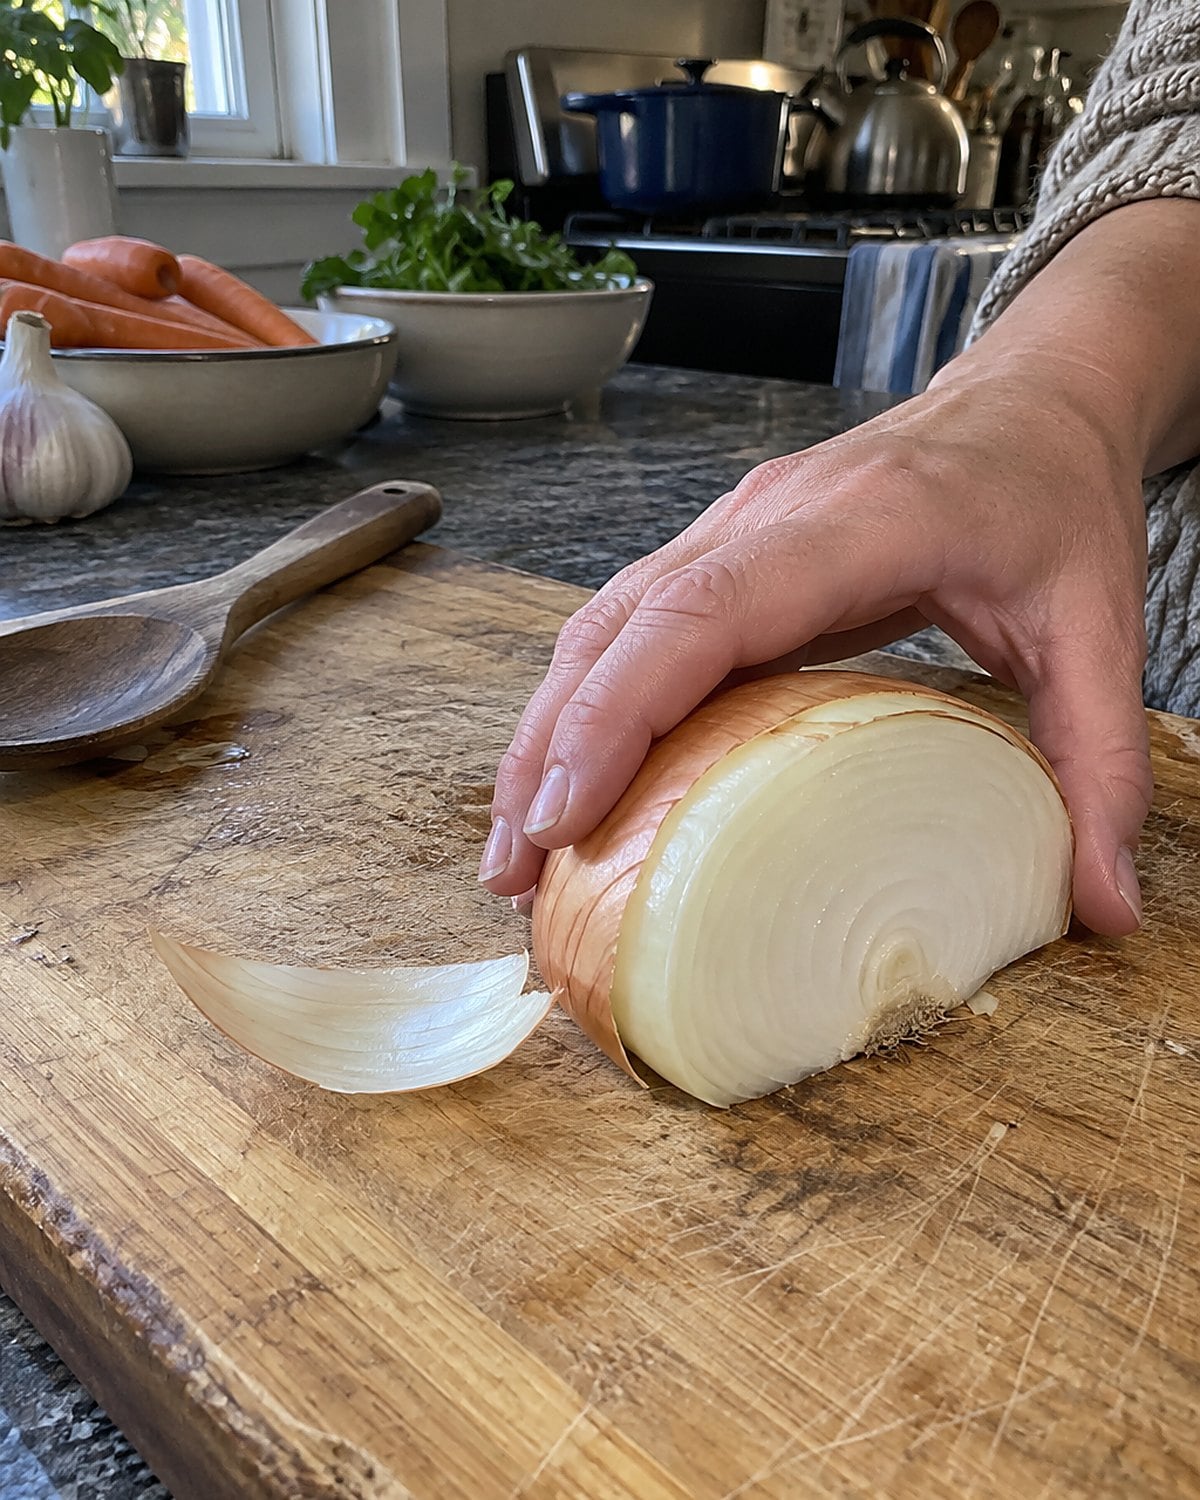
An onion gives you an early warning. Set a halved onion flat-side down and make a slow cut from top to board. A working edge enters the layers without driving the onion forward. A worn edge presses on the curved top, then slides. Your other hand has to chase the onion.
Keep the root end attached while you make the first cuts. It holds the layers together, giving your guiding hand a steadier piece to hold. Curl your fingertips back and let the knuckles face the blade. There’s no prize for speed here.
If the knife still skates, stop pushing. Switch to the sharpest suitable knife you own, or set the onion aside until the edge gets attention. Extra force turns an ordinary weeknight cut into a contest between your hands and a rolling vegetable.
#25 The tomato skin under pressure
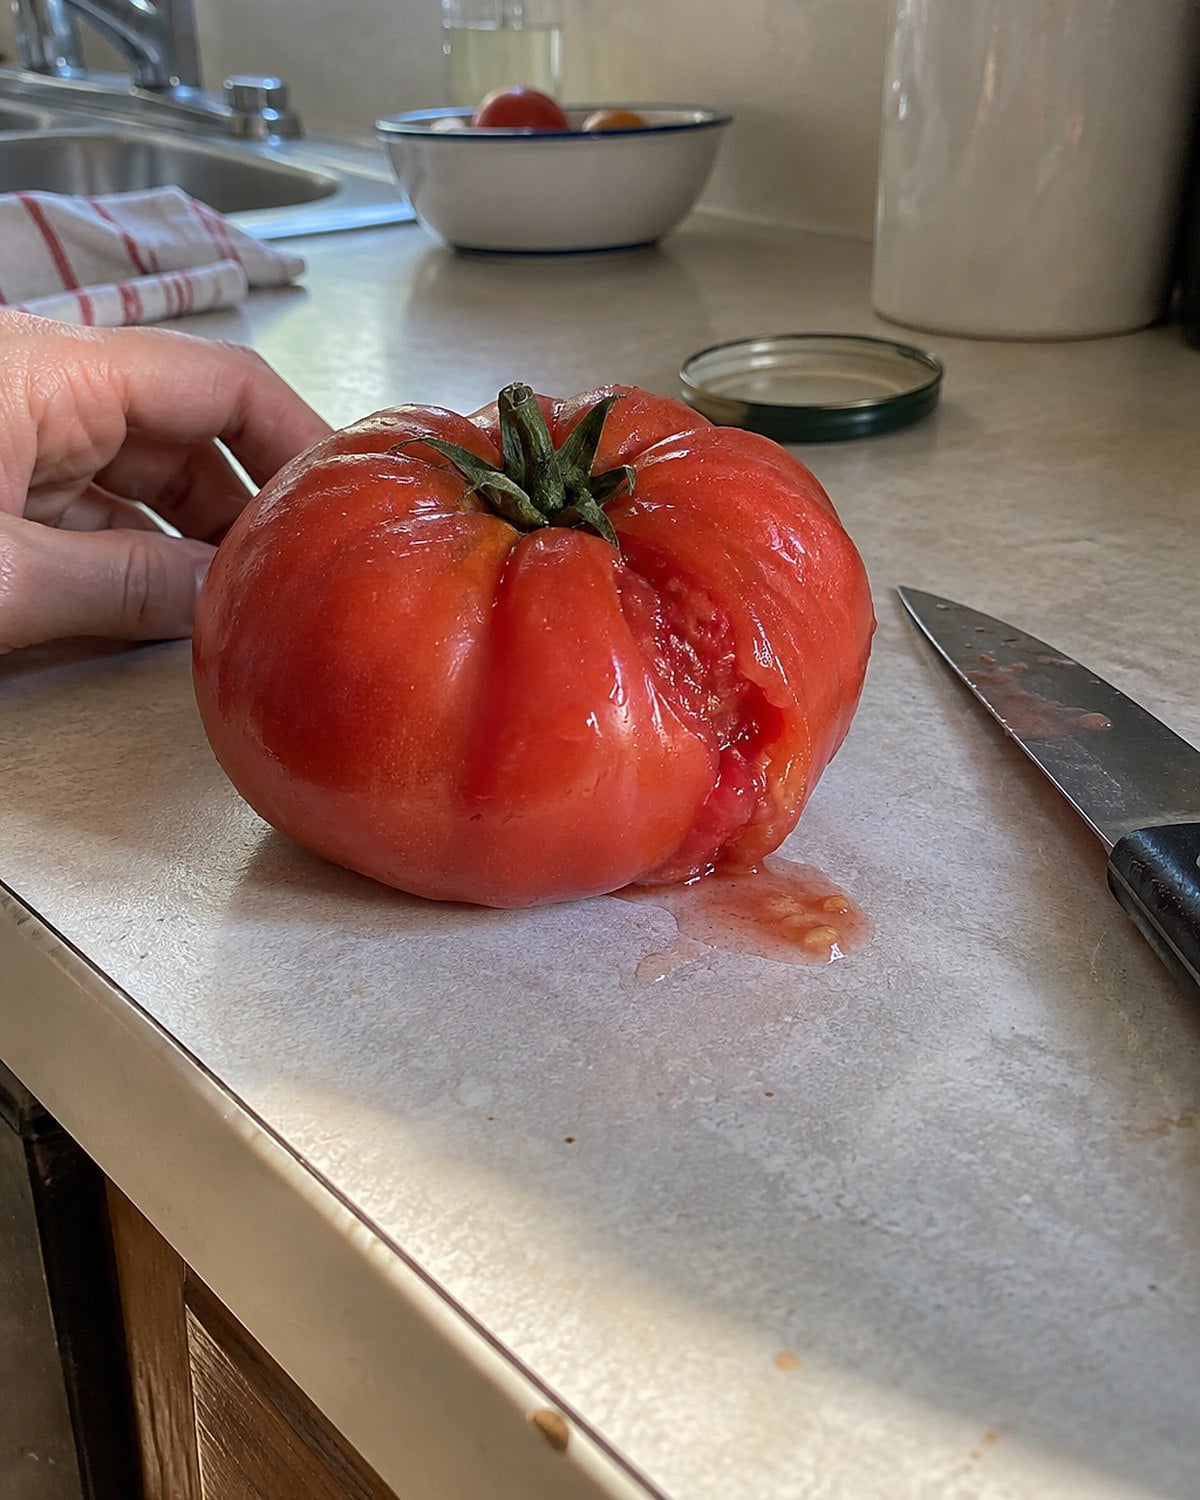
Try this on a ripe tomato destined for a sandwich. Rest the blade on the skin and draw it toward you with light pressure. The edge should catch. If the tomato squashes before the skin opens, you’ve found a better test than the old habit of checking a blade with your thumb.
A tomato has a thin, tough skin around soft flesh. A dull plain-edge knife compresses the flesh while it searches for a way in. That leaves a wet patch on the board and uneven slices that fall apart before lunch reaches the plate.
Use a serrated bread knife for the sandwich today. Its teeth catch the skin without a hard push. Then put sharpening on your calendar rather than declaring that tomatoes are difficult.
Don’t test sharpness by drawing a finger along the cutting edge. The tomato tells you enough, and you still get to eat it. Once that edge is restored, repeat the same light pull on another tomato. You’ll feel the difference before the first slice drops.
#24 The bell pepper on its side
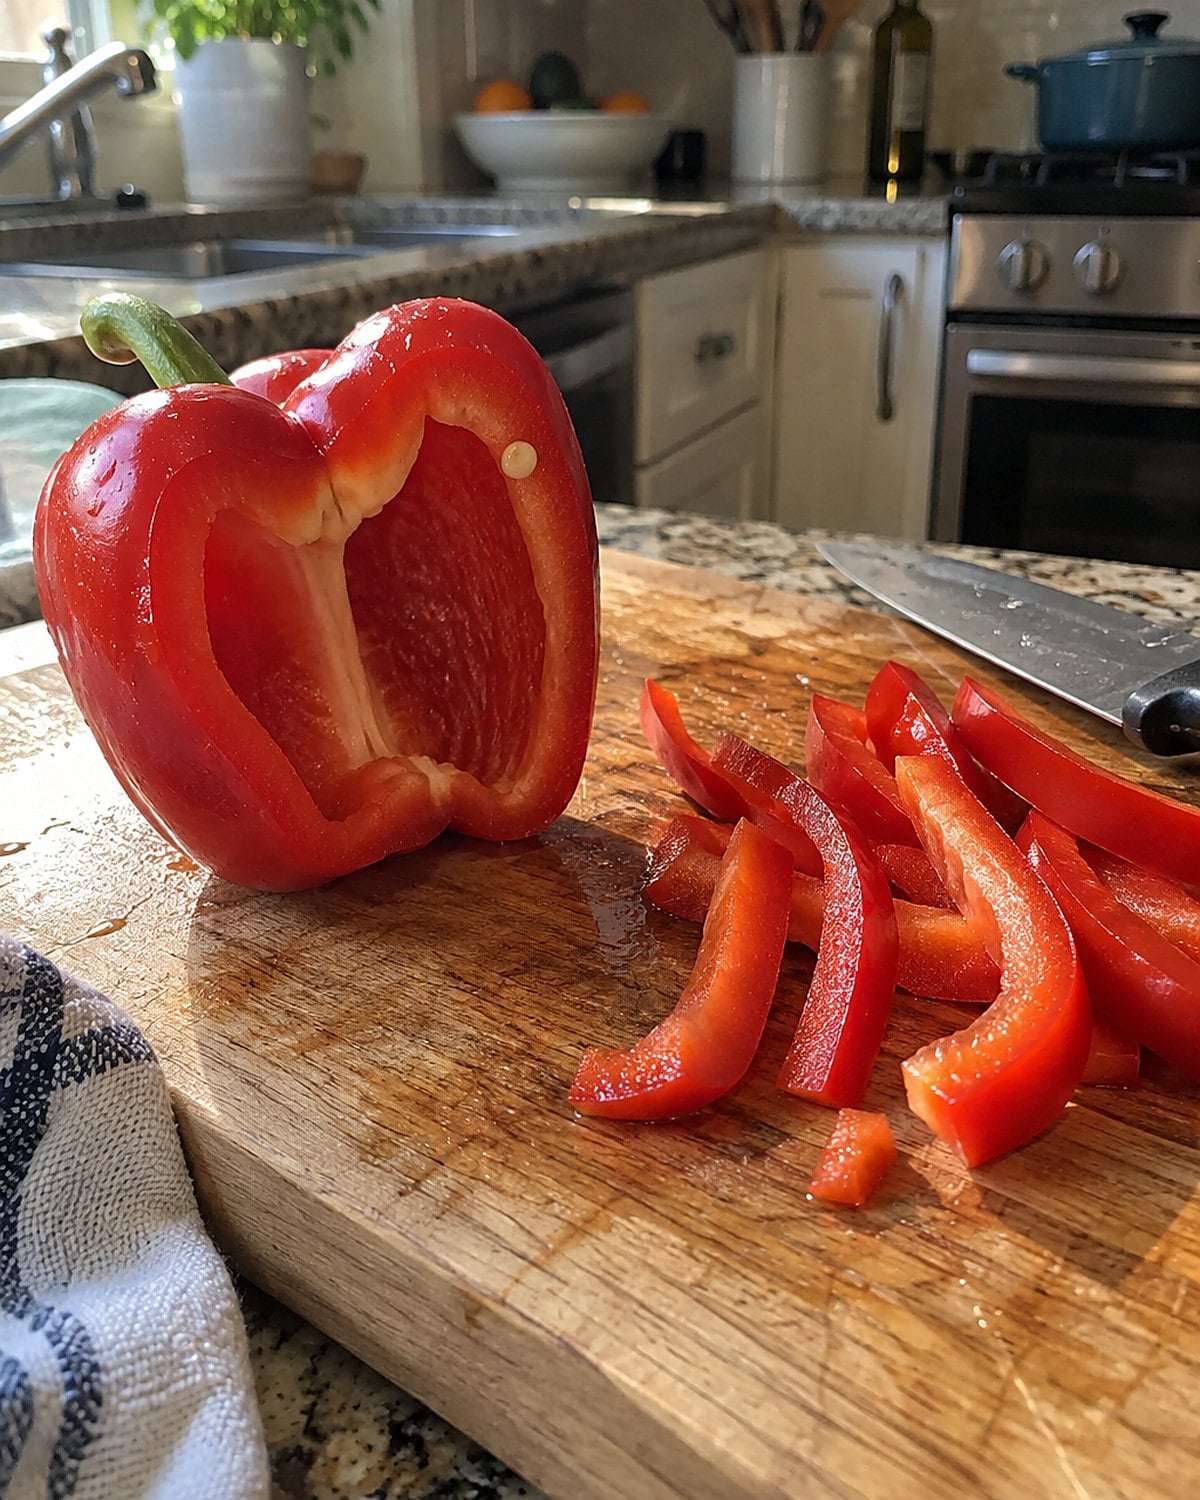
A whole bell pepper rolls when you press a knife into its rounded wall. Cut off a side to create a flat base, then set the pepper on that base while you work. You’ve removed the wobble before asking anything of the blade.
Watch what happens next. A good edge cuts the firm skin from the flesh side with a controlled stroke. A tired edge drags, bends the pepper, and sends your guiding hand back to straighten it. Place the pieces skin-side down for the final strips, where the knife has an easier route through the flesh.
That change in position helps tonight. It doesn’t repair a worn edge. If pepper prep still demands a shove, remember that feeling when you get to the sharpener.
Try it: Instant Pot Recipes With Bell Peppers
#23 The carrot that needs a shove
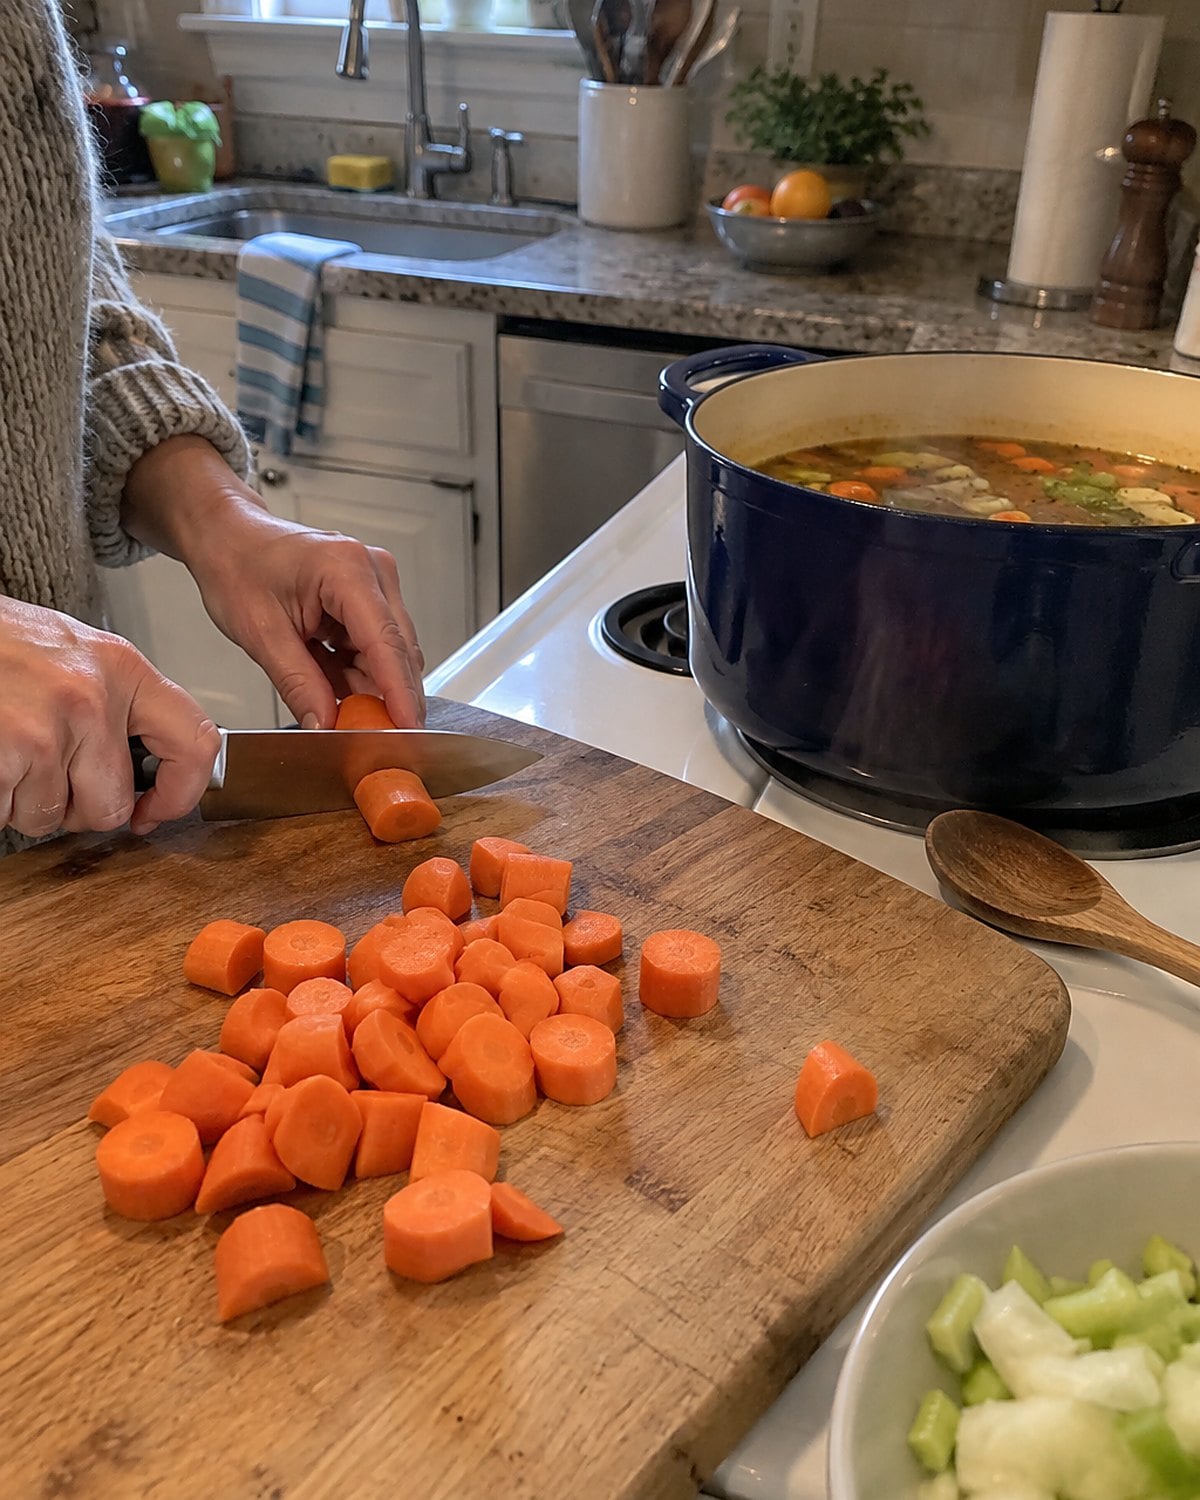
A carrot sits steady on the board, yet the knife lands with a loud thump. You lift the handle, press harder, and finish with chunks that vary from coin-thin to thumb-thick. Those chunks won’t soften at the same pace in soup.
Cut the carrot into lengths that fit under your hand. If a piece rolls, take a thin slice off its side and put that flat side down. Now use a smooth forward-and-down stroke instead of driving straight through. The blade should do the cutting while your hand steers.
Look at the cut face. A clean surface tells you the edge passed through. A rough, cracked face points to crushing, especially when the carrot breaks just before the blade reaches the board.
For an Instant Pot soup, uneven carrots stand out when the lid comes off. The small pieces are soft while the large ones still resist the spoon. Fix the footing and the cutting stroke first. If the thump remains, sharpen the knife. Dinner shouldn’t require you to strike the board like a mallet.
#22 The winter squash on the counter
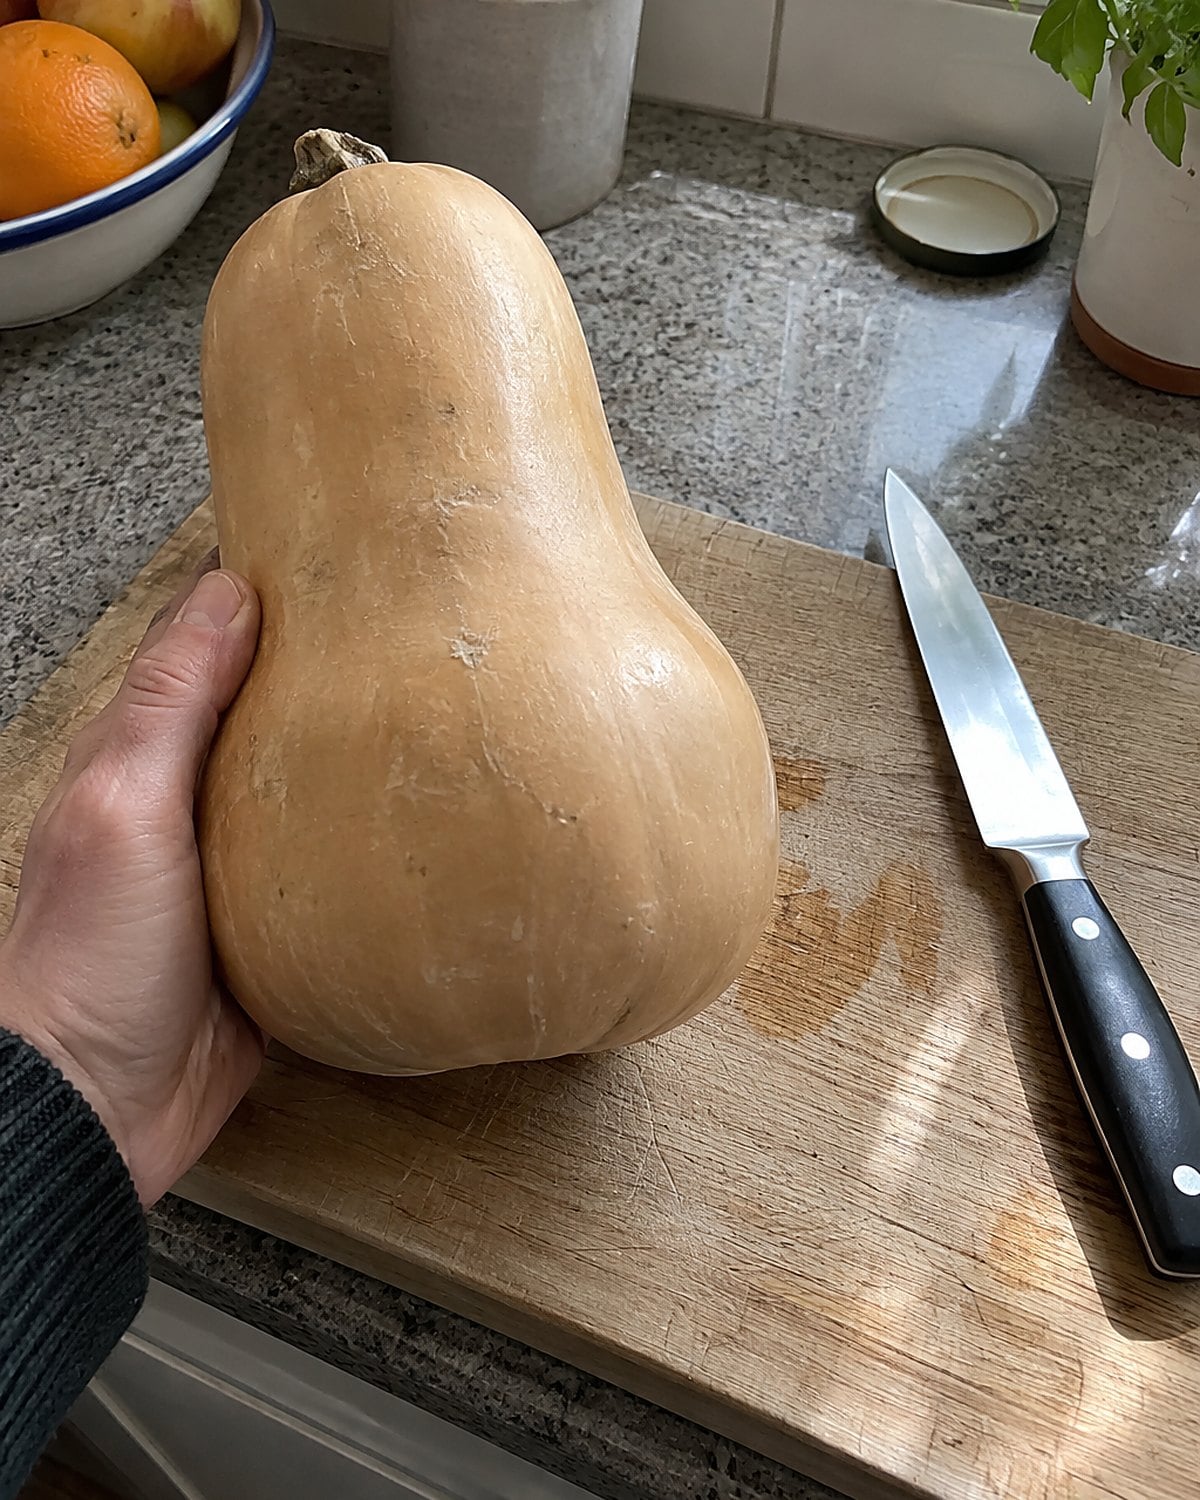
Winter squash asks for respect even with a sharp knife. Its hard skin and rounded shape leave little room for a blade that slips. Clear the counter, set a sturdy board down, and cut a flat resting spot before tackling the larger sections.
Don’t hold a wobbling squash in one hand while trying to force the knife through it with the other. Stop if the blade sticks. Pulling hard on a trapped handle invites a sudden release toward your hand.
A sharp, sturdy chef’s knife makes the cut more controlled, but it doesn’t make every squash a good job for that knife. Buy precut squash when the whole one feels awkward. That’s a choice about dinner, not a verdict on your skill.
The real warning is familiar: if you have to lean your weight over the blade, reset the squash or change the plan.
Try it: Instant Pot Butternut Squash Soup
#21 The parsley that turns dark
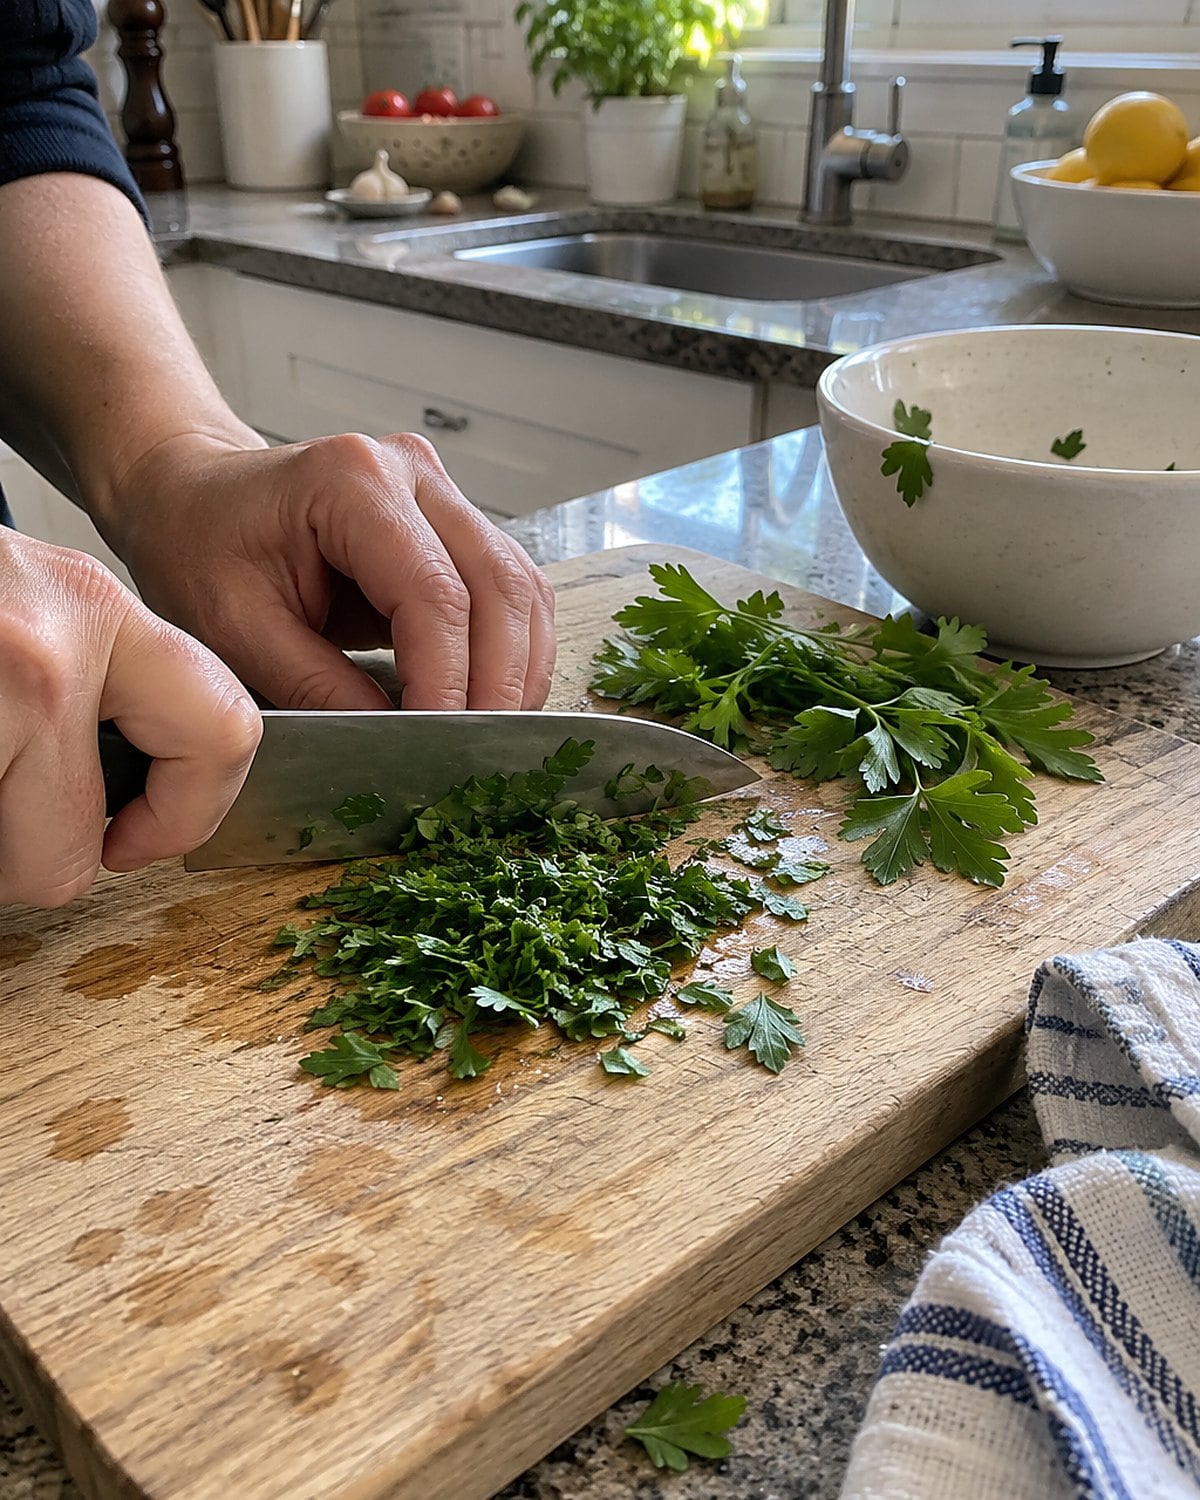
Parsley on the board should come away in recognizable pieces. When a dull knife lands again and again, the leaves bruise. The pile grows damp, darkens, and sticks to the blade. No amount of extra chopping brings back the fresh edges.
Dry the leaves after washing. Gather them into a loose pile, then slice across it with a sharp blade. Move the pile together for another pass only if the pieces are too large. You don’t need to work the knife over them until the board turns green.
Notice what happens when you wipe the blade. If you’re scraping off a wet paste instead of flicking away bits of leaf, the edge needs attention. The same problem shows up with basil, where bruising becomes visible fast.
Tonight’s fix is to tear leaves by hand over the finished dish. For the next bunch, sharpen the knife before you decide fresh herbs aren’t worth buying. The difference is small on the board and obvious on the plate.
#20 The loaf beside the soup pot

A warm loaf leaves a trail of crumbs when you saw too hard. Bread needs a long serrated knife, not the chef’s knife you used for the vegetables. The long blade reaches across the loaf; the teeth catch the crust.
Let the knife do several light strokes. If you push straight down, the soft center compresses before the crust gives way. You get a flattened slice and enough crumbs to make the counter look like breakfast happened twice.
Check the knife’s length against the loaf. If the blade barely spans it, start on one side and work across without twisting. If it tears despite light strokes, ask a sharpening service whether it works on serrations. A pull-through tool meant for plain edges isn’t the answer.
For tonight, turn the loaf so the flattest side rests on the board. Put your guiding hand well clear of the cut. If the teeth skate off the crust, stop rather than holding the loaf tighter.
Try it: Instant Pot Bread Recipes
#19 The chicken breast on the board
Chicken for a skillet dinner is easiest to cut when the pieces don’t skate around. Put the breast on a stable board and use a sharp knife with a smooth drawing stroke. A dull blade tugs at the meat; then your free hand reaches in to hold down a piece that should already be cut.
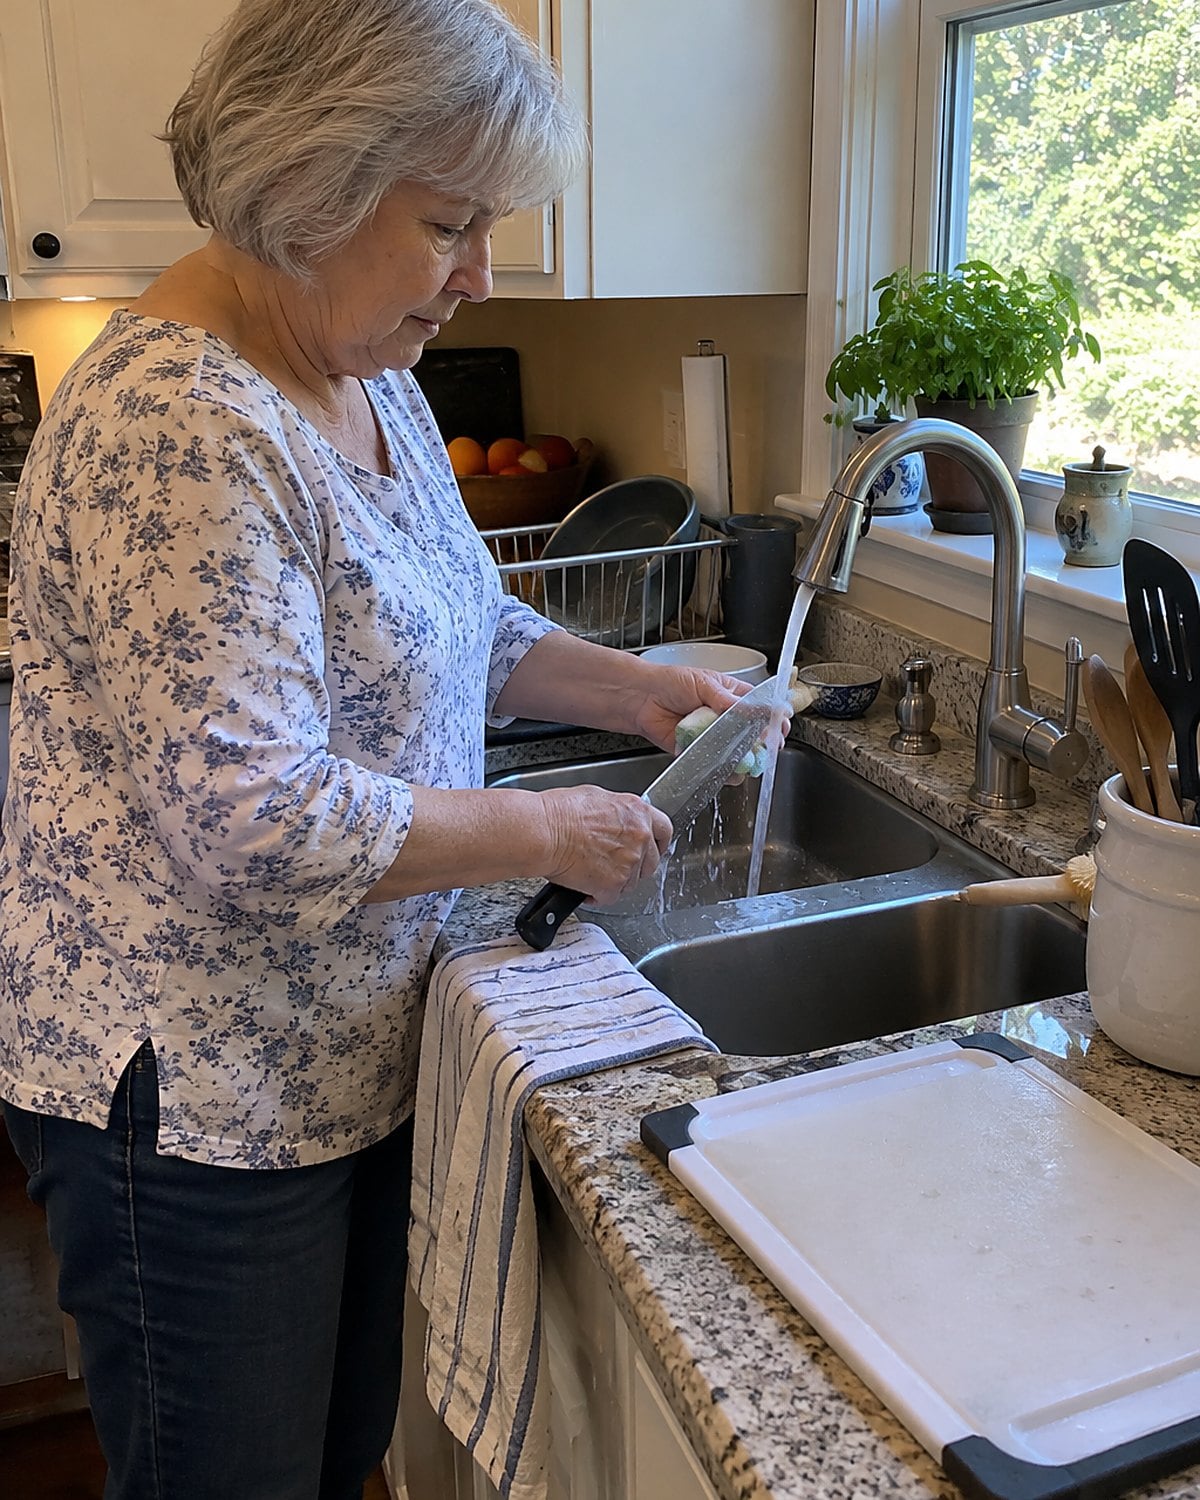
Keep the raw chicken on its own work surface. After cutting, wash the knife, board, and anything your hands touched with hot, soapy water before you start on salad vegetables. The USDA’s food safety guidance is worth keeping close for raw poultry questions.
Sharpness helps with control, but it doesn’t tell you when chicken is cooked. Put a food thermometer into the thickest part and check for 165°F. The USDA safe temperature chart gives the same number.
One more practical test belongs here: if the chicken board slides when the knife moves, stop before another cut. The edge and the surface both have a job.
Try it: 31 Skillet Chicken Recipes for Easy One Pan Dinners
 You might also like24 Things a Good Thermometer Would Have Told You Years Ago
#18 The cutting board that wanders
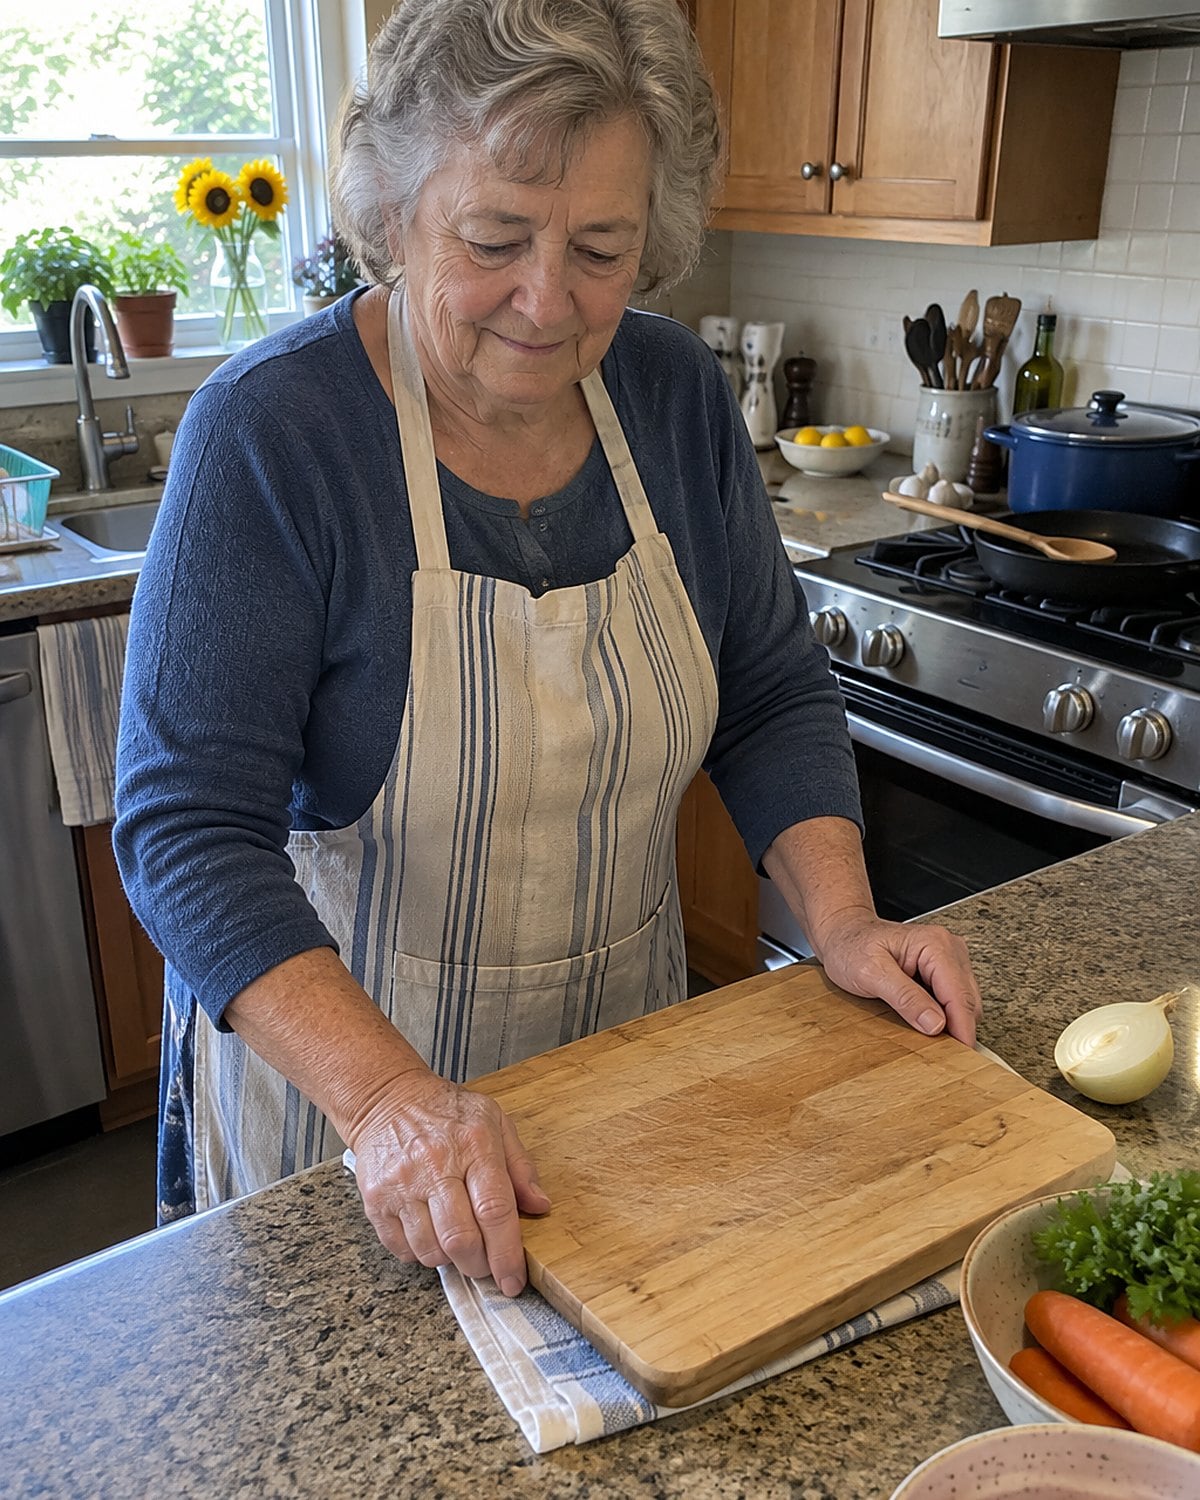
Your knife gets blamed for a cut that starts cleanly and ends crooked. Meanwhile, the board has moved across the counter.
Put a damp dish towel beneath the board and press on each corner. If it rocks, change boards or move to a level spot. Choose a board large enough to hold the food and give the knife room to finish its stroke.
Try cutting a potato while the board stays put. Notice where the blade lands at the end of the stroke. If the board shifts, stop and reset it; gripping the food harder won’t hold the whole surface still.
Then try the cut again. If the board stays put but the blade still slides over a tomato or pushes through an onion, you’ve separated the two problems. Keep the towel there for dinner. Deal with the edge next.
#17 The garlic clove under the blade
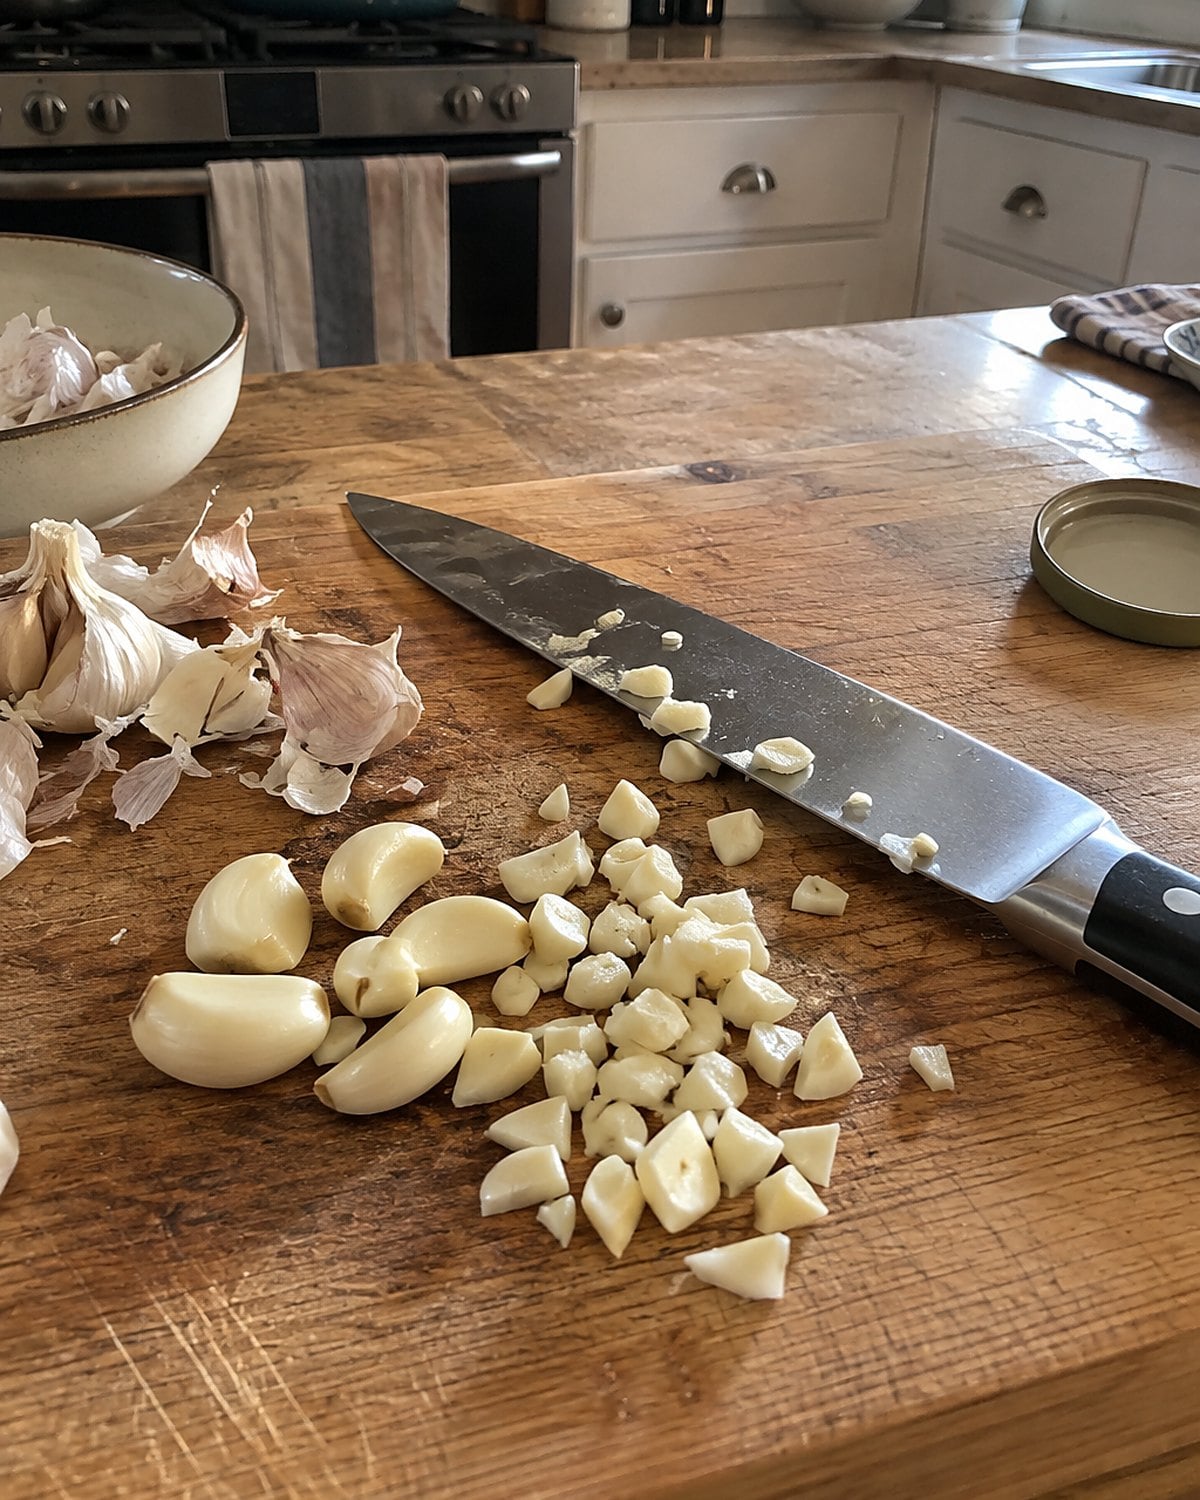
Does garlic stick to the knife because the knife is dull? Not by itself. A thin, moist slice clings to a broad blade even when that blade is sharp. But a dull edge makes the first cuts harder, and hard cuts send cloves skittering away.
Place a clove on the board, lay the flat of the blade over it, and press carefully to loosen the skin. Keep the sharp edge pointed away from your hand. Once peeled, trim the root end, then make controlled slices before chopping across them.
If you want a fine mince, gather the pieces with the blade’s side and cut again. Don’t drag the cutting edge sideways across the board to scoop garlic. That scraping wears on the edge you’re trying to preserve.
Garlic gives you a useful distinction. Sticking is an annoyance. Slipping is a warning. When the blade slides over an intact clove, make a flat side with a small cut and put the clove down on it before continuing.
#16 The apple at the high chair
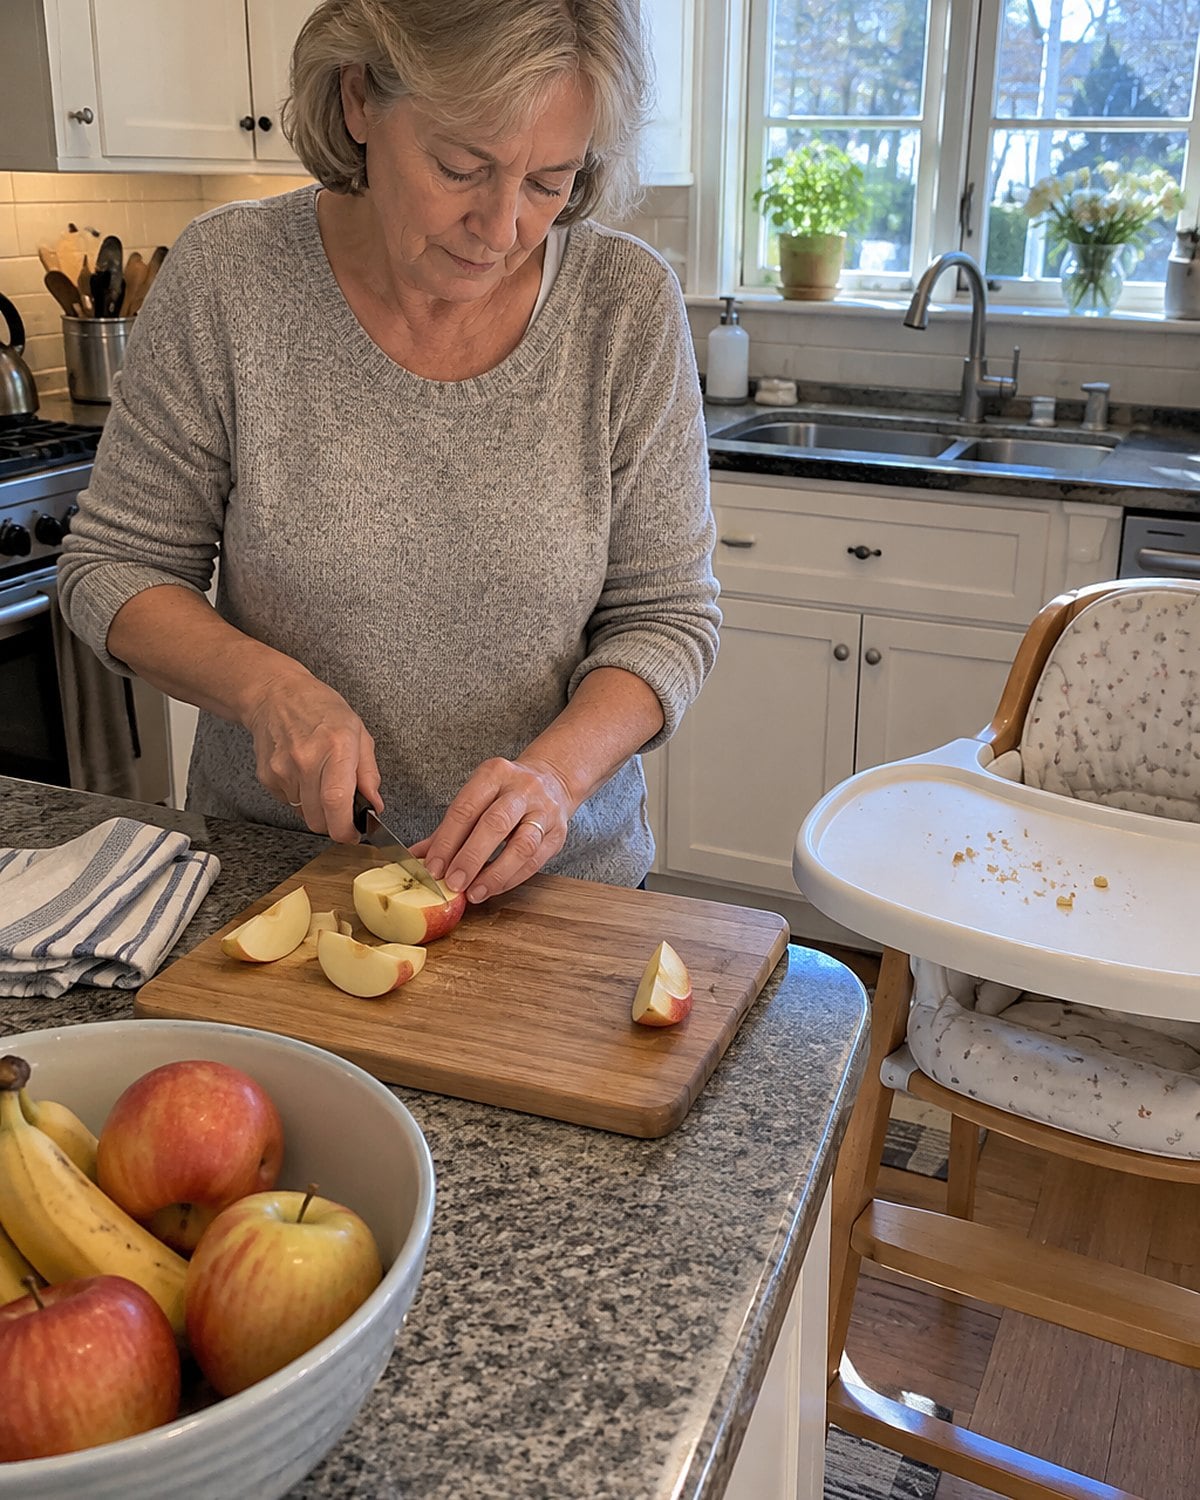
A grandchild waits in the high chair while you cut an apple at the counter. The knife that handles roast potatoes well suddenly feels clumsy near your fingers. That’s a size problem, not a reason to press harder.
Use a small, sharp paring knife for trimming and a larger knife on the board for slices. Keep the apple on the board rather than cutting toward your palm. Once a flat face is down, the next cuts have a steady starting point.
The CDC’s choking prevention guidance is the place to check how to prepare foods for a young child. Knife control matters here because the pieces you intend to serve need deliberate cuts.
#15 The knife left in the sink
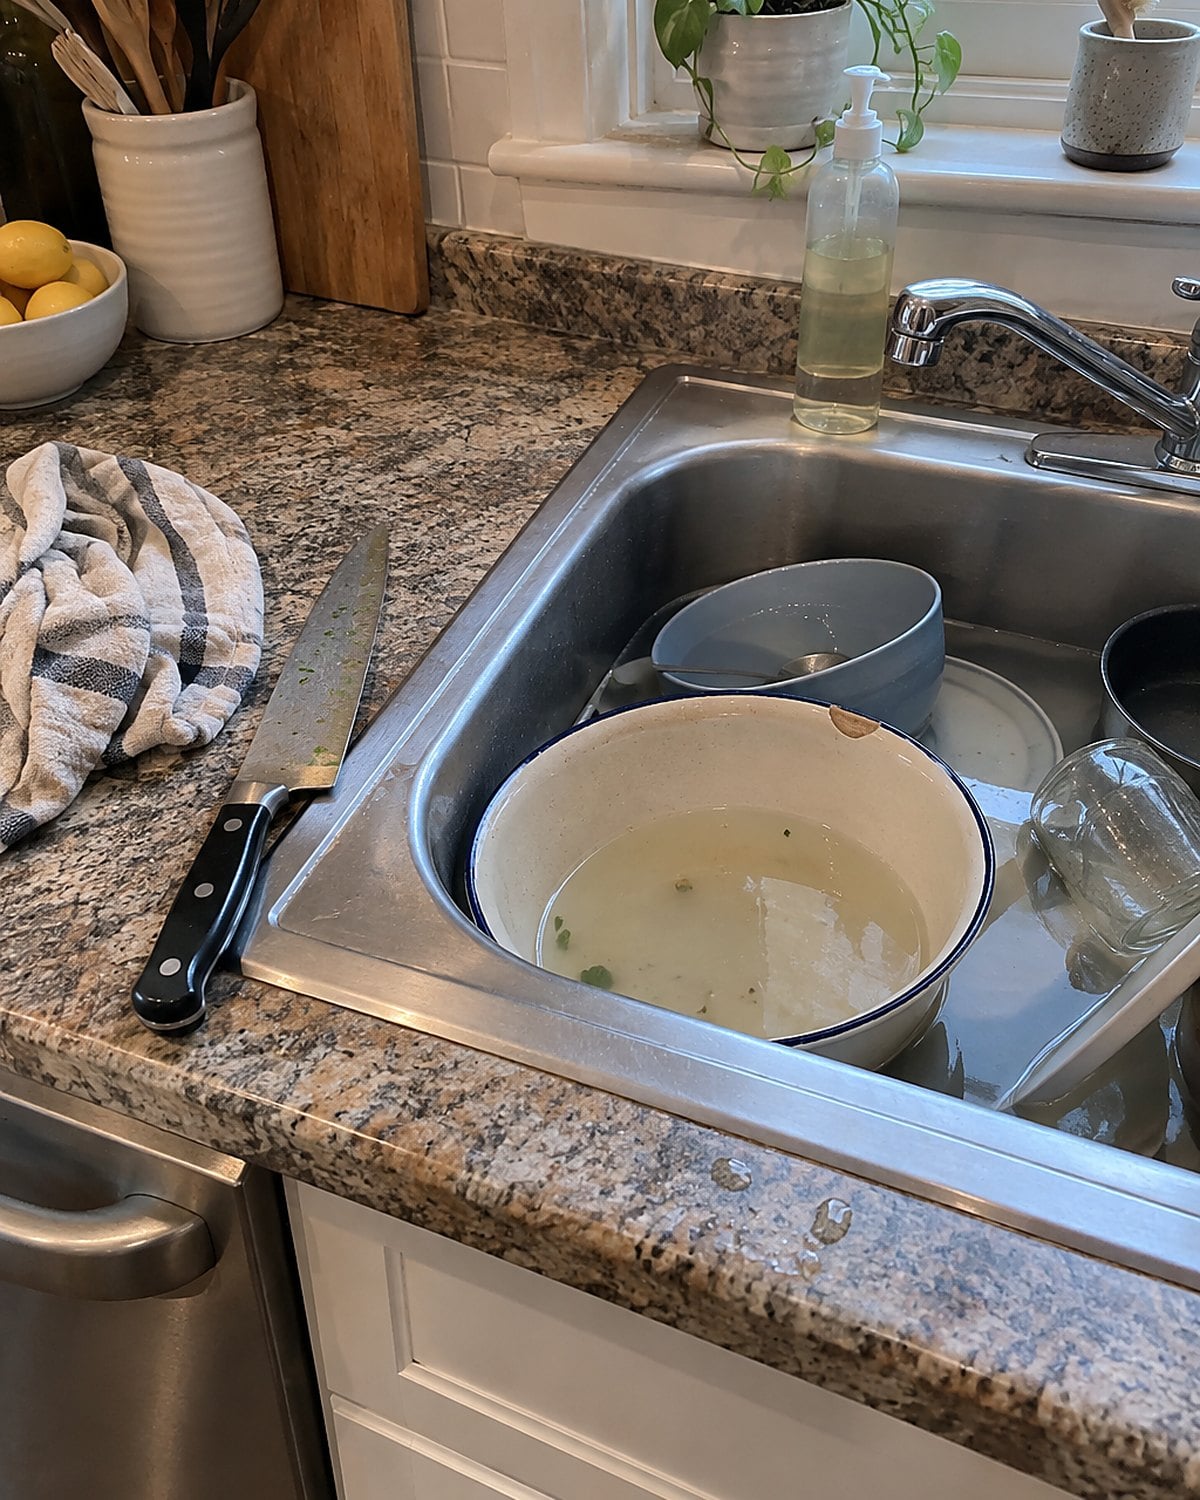
After dinner, the knife disappears under a bowl in the sink. The next hand reaches into cloudy water and finds the blade before the handle. That familiar cleanup shortcut deserves to end tonight.
Wash the knife where you can see it. Hold the handle, keep the edge pointed away, and wipe carefully along each side without wrapping the cloth around the sharp edge. Dry it right after washing.
If someone else helps with cleanup, give them a plain rule: “Knives stay on the counter until they’re washed.” No one has to guess what’s hiding in the water.
The FDA’s kitchen cleaning advice covers washing utensils and work surfaces after food prep. For your own sink, visibility is the detail that changes the task. It protects the person washing up and the blade you’re trying to keep in shape.
#14 The dishwasher rack at bedtime
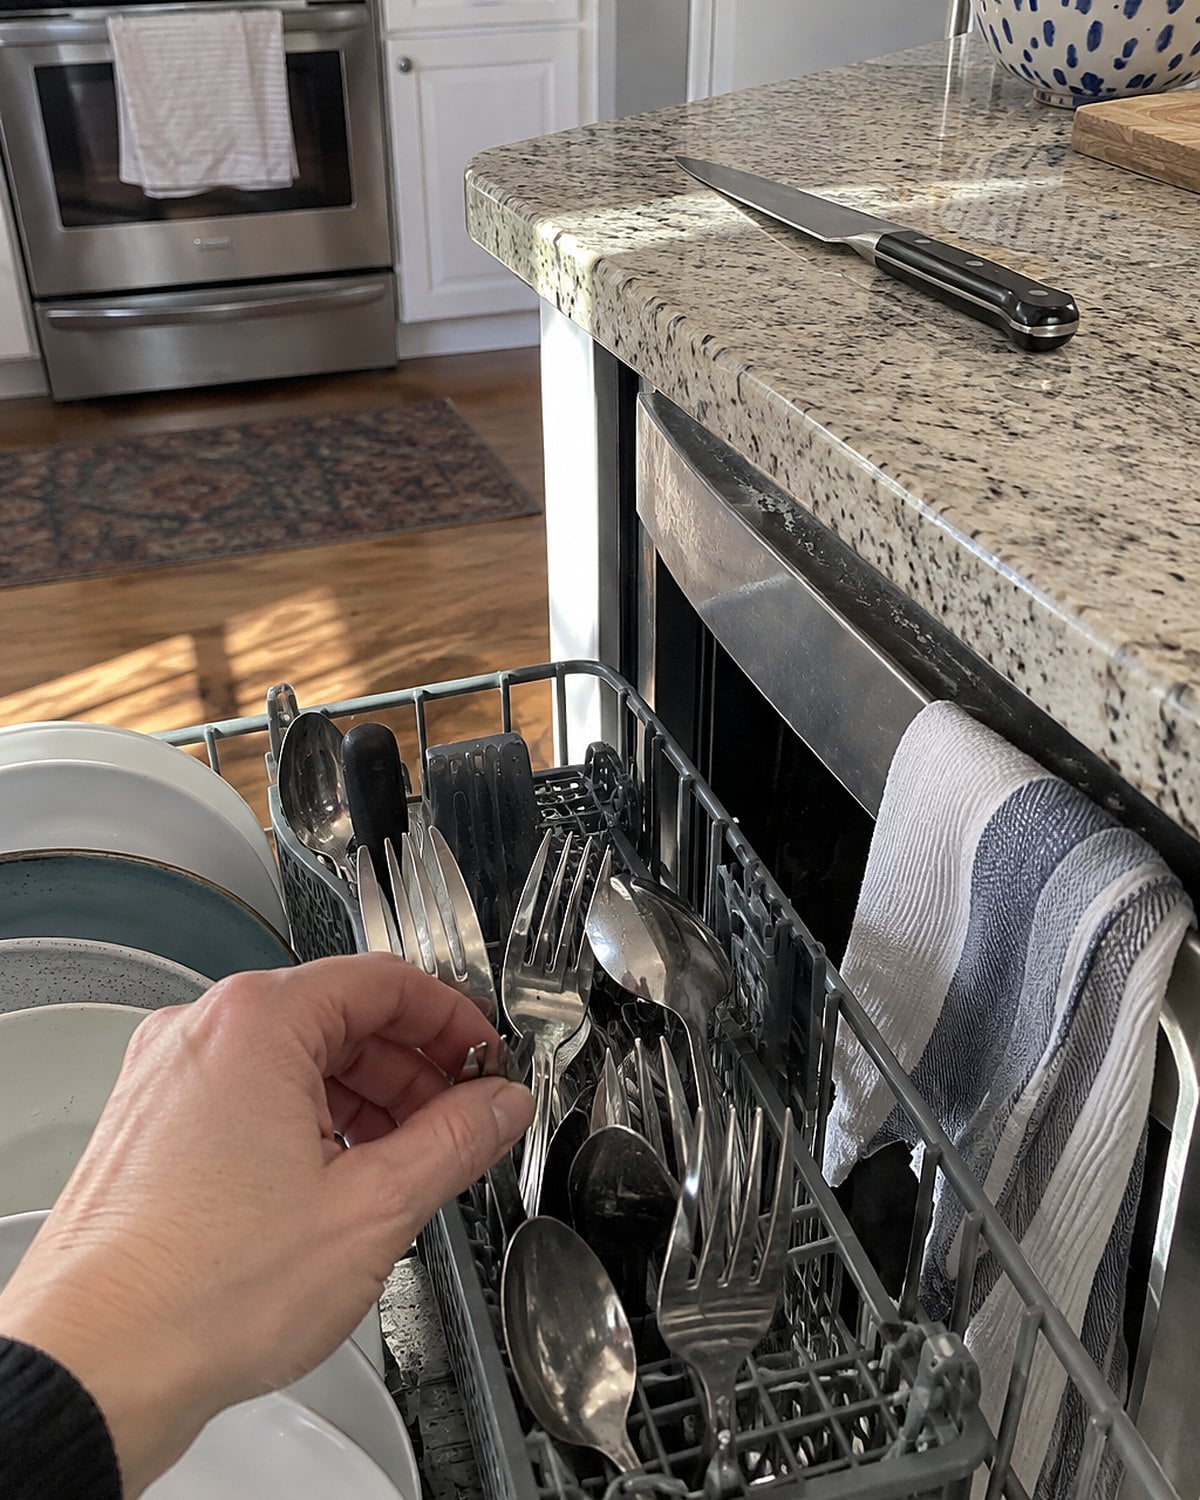
The dishwasher finishes after everyone has gone to bed. In the morning, the knife is tucked among the forks, with its edge facing the hand unloading them. That’s a poor place for a blade to wait.
If the knife maker permits machine washing, check how the knife sits before starting the cycle. An edge that knocks against other utensils takes needless wear. A wooden handle left wet for a long stretch deserves closer attention too.
Keep a drying cloth by the sink instead. Washing and drying the knife separately makes it easier to inspect the handle each night.
Look where the blade joins the handle. If that joint shifts or the handle is cracked, stop using the knife. A sharp edge won’t give you control over a handle that moves during a cut.
#13 The edge you cannot see
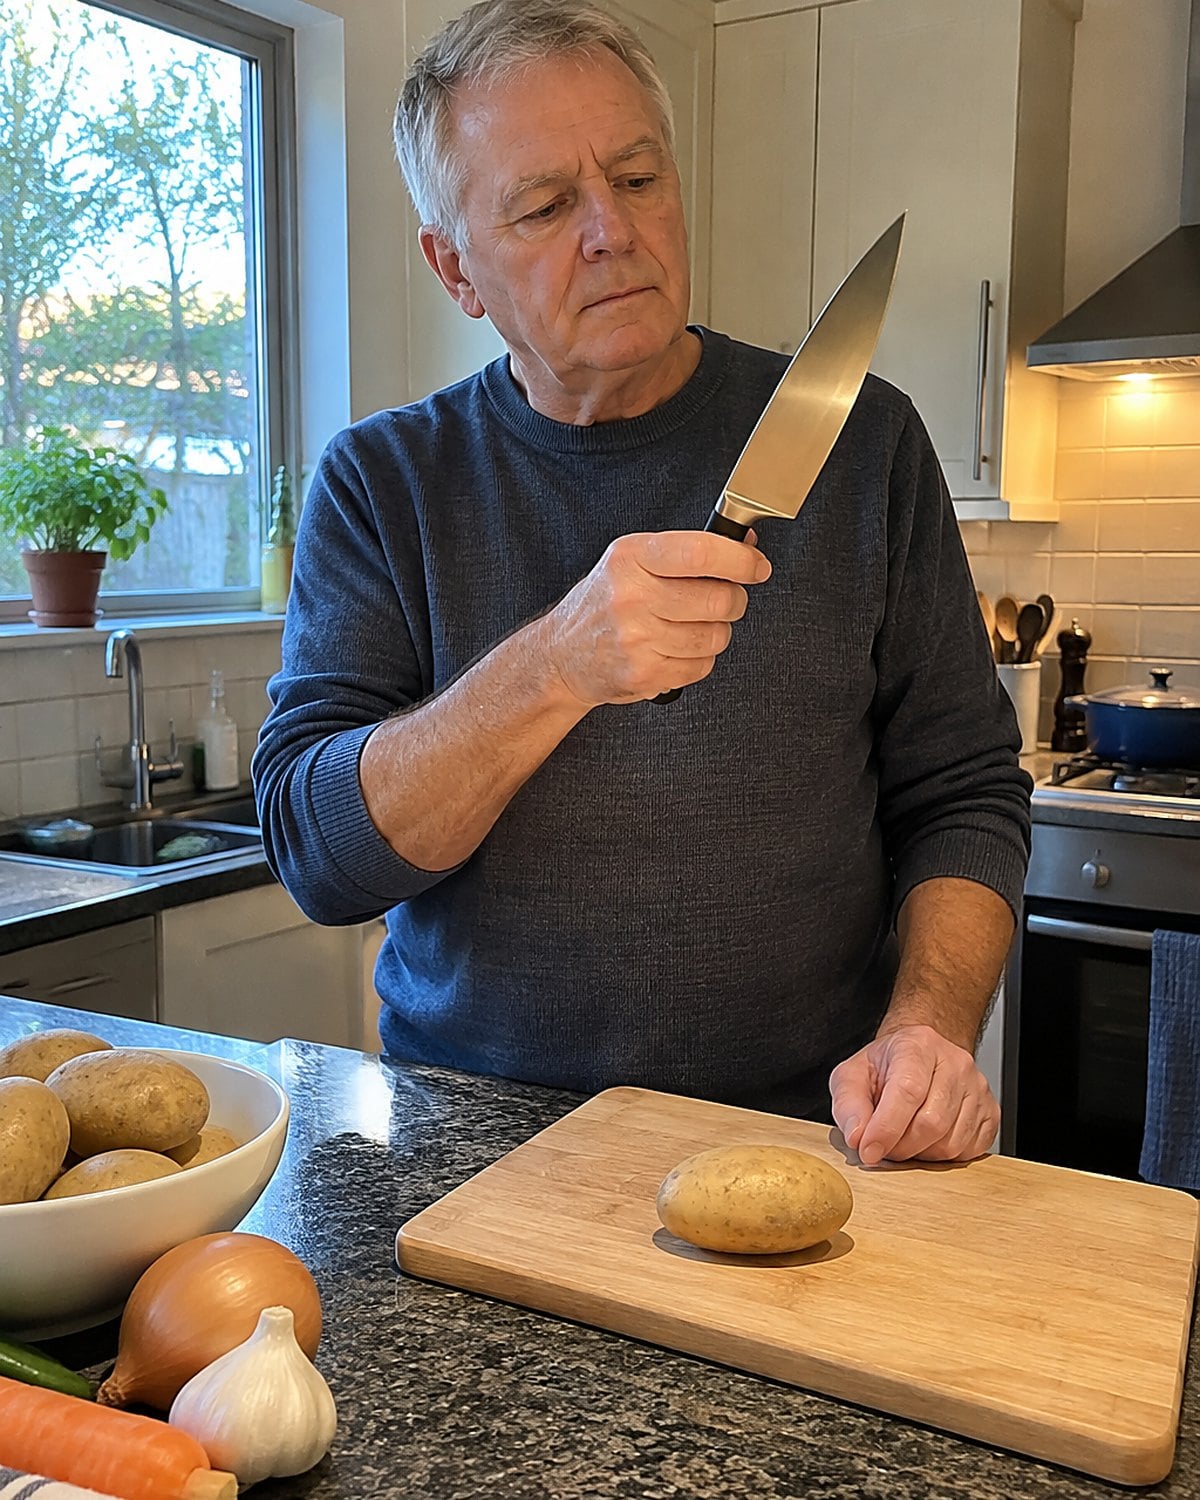
A knife edge is thinner than it looks. That’s why a blade can appear perfectly fine under the kitchen light yet fail on tomato skin. Wear happens at the tiny meeting point of the two sides of the blade, where your eyes give you little help.
You don’t need a magnifier. Use food you already cut. A sharp knife takes a light bite into a tomato and passes through an onion without making you brace your shoulder. Those tests tell you more than staring along the blade.
If you see bright glints when you look carefully at the cutting edge under a light, those spots deserve a closer inspection by a sharpener. Don’t run a finger along them to find out. A nick or damaged tip also calls for repair rather than another hard push at dinner.
The useful question is simple: “Where did this knife stop doing the work?” Remember the answer. It tells a sharpener what you’ve noticed and gives you a way to judge the edge after it comes home.
#12 The steel in the utensil crock
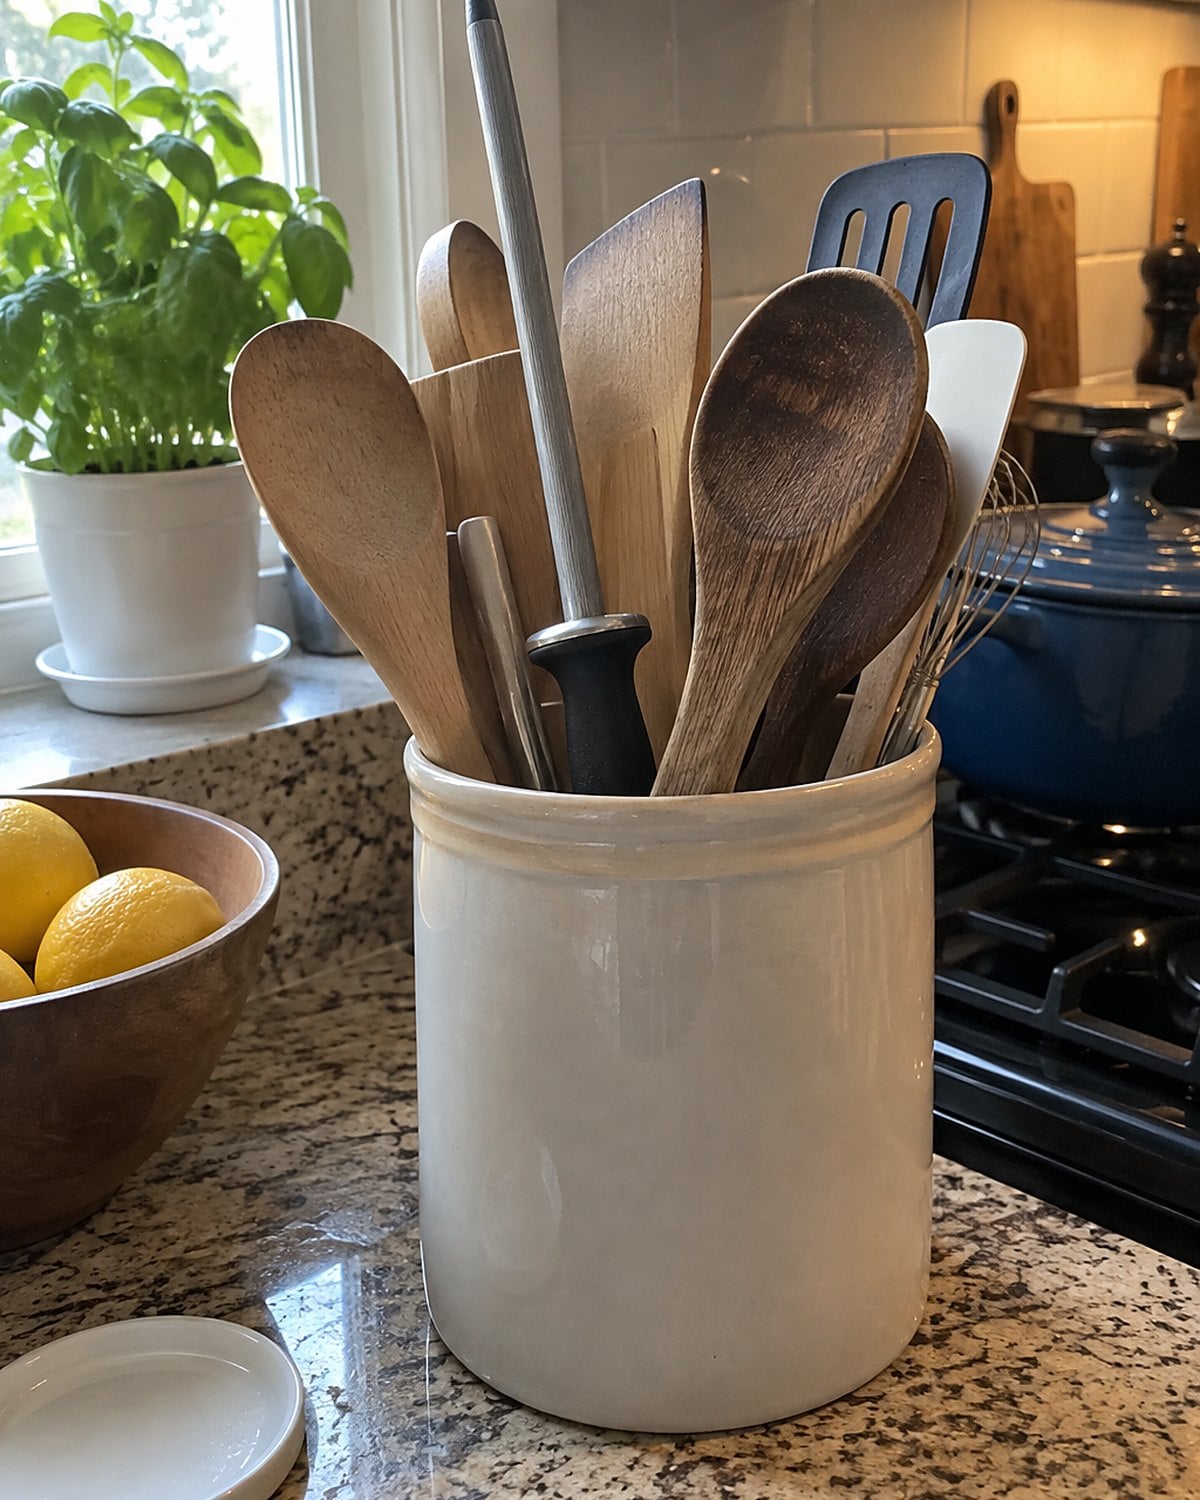
The long metal rod in the crock has a job, but it isn’t a substitute for sharpening. A honing steel tends a fine edge that has shifted with use. Sharpening removes metal to create a fresh edge. Those are different jobs.
If you’ve never sharpened the knife, a few passes on the steel won’t undo years of wear. Skip the dramatic, fast strokes you’ve seen on television. A controlled motion matters more than speed, and the edge must move away from your hand.
Look at the rod before you reach for it. Some tools sold in that shape have abrasive surfaces and remove metal. Check the maker’s directions rather than guessing from the handle.
Leave the rod alone if you’re unsure how yours works. For dinner, use the knife that cuts with the least pressure. The steel has no business becoming another rushed chore beside a hot pan.
#11 The sharpener in the hardware aisle
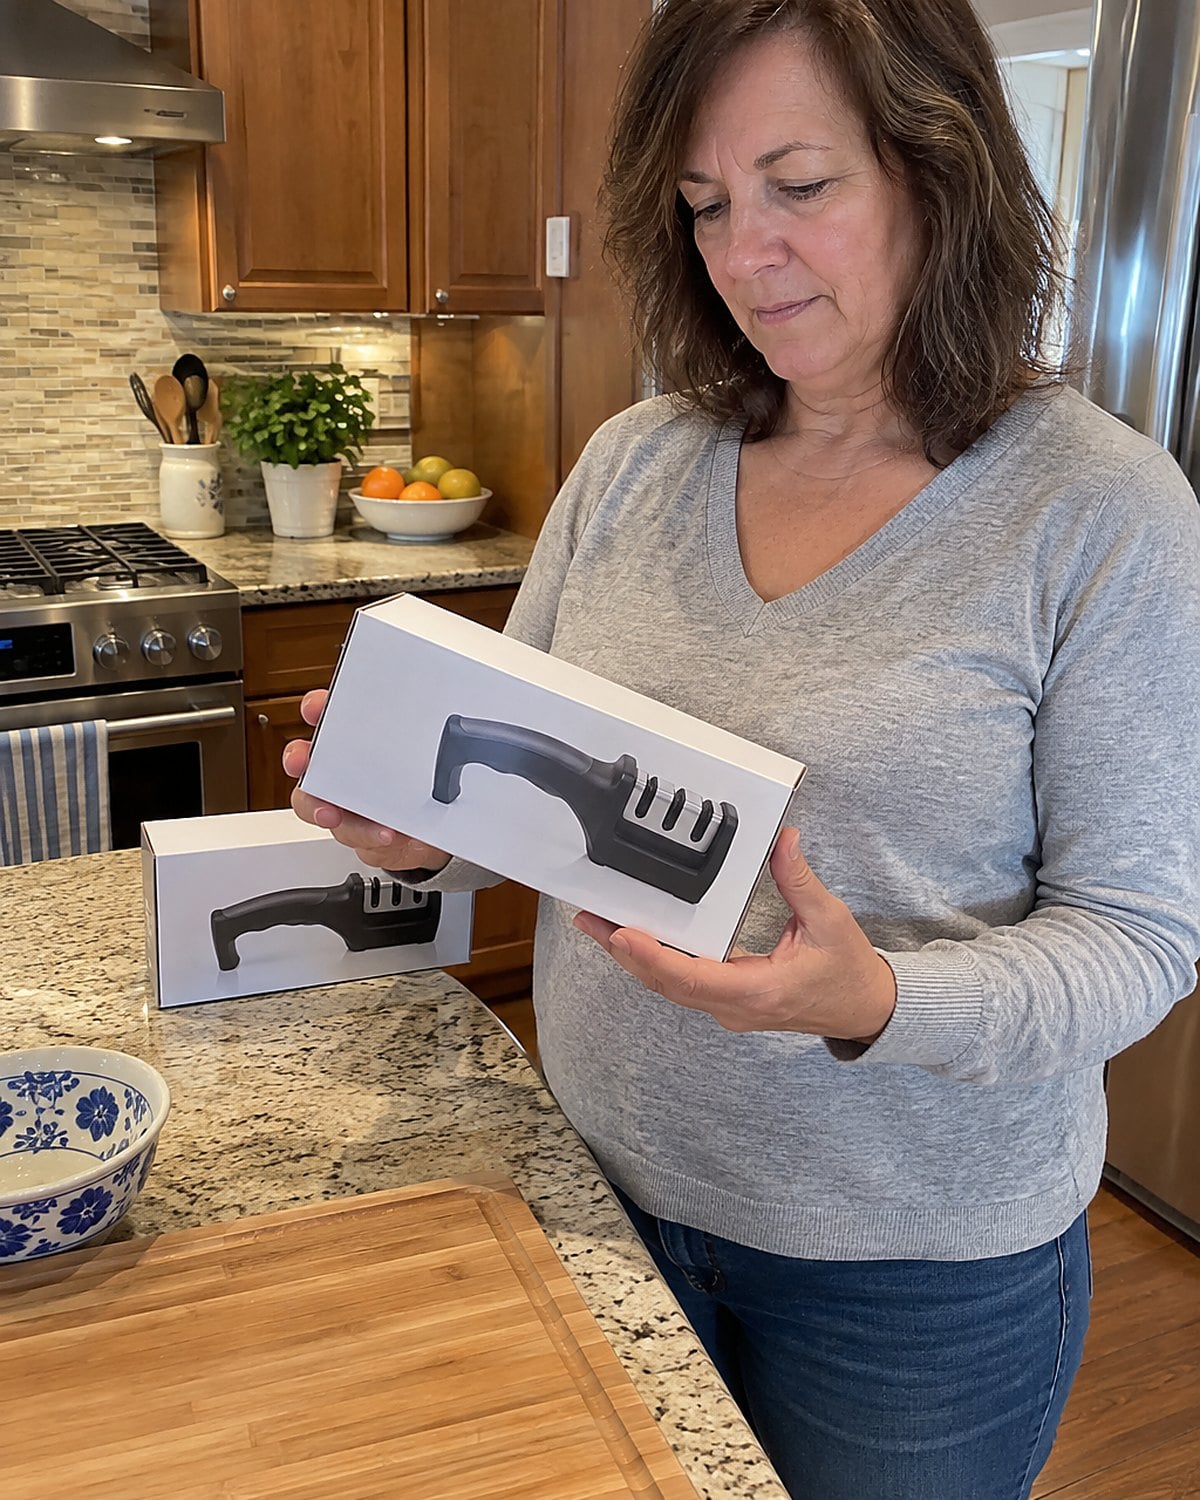
A row of sharpeners promises an easy answer, but start with the knife in your hand. What kind of edge does it have? Is it a straight-edged chef’s knife, a serrated bread knife, or a blade with visible chips? The tool that suits one job doesn’t suit them all.
A pull-through sharpener has fixed guides. Read its instructions for the blade type it accepts, and never force a knife through a slot that grabs or jams. A damaged blade needs inspection before you use a home tool on it.
Check the knife maker’s care directions if you still have them. A tool bought in haste creates another object for the drawer with the twist ties.
Then leave the aisle. You have enough information to identify the edge, which matters more than picking the first box labeled “sharpener.” There’s no need to spend money while you’re still guessing which blade the tool fits.
#10 The chip near the knife tip
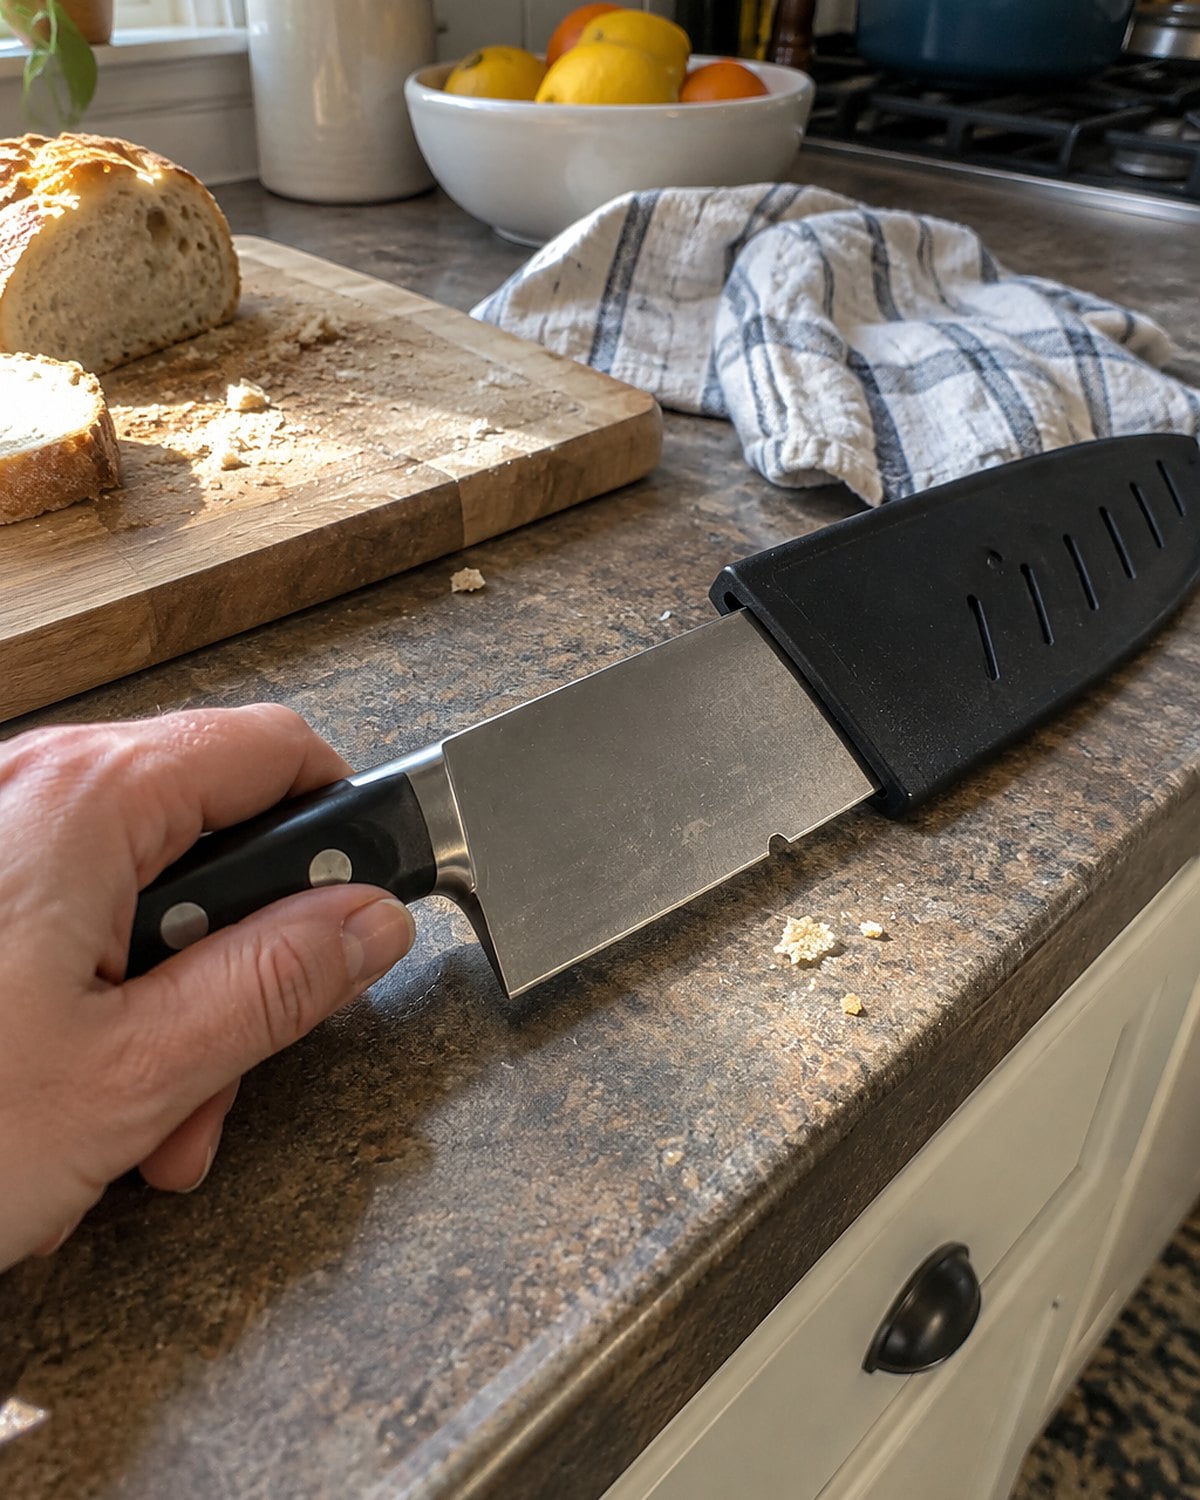
You’re cutting a potato when the blade catches halfway through. Look along the cutting edge under a light, with the edge pointed away from you. A nick near the tip changes how that part of the knife meets the board.
Don’t keep using the damaged spot to pry through firm food. Use a different knife for dinner. Mark the problem in your mind by its position: near the tip, at the middle, or close to the handle.
A bent tip also changes the job. It catches on the board and makes a neat cut harder to finish. Set that knife aside rather than trying to bend it straight with your hands.
When you have the blade assessed, describe exactly where it catches. “It snags near the tip” says more than “It feels dull.” Repair and routine edge work are different questions; the damaged spot needs an answer before the knife returns to dinner.
 You might also like27 Things Nobody Under 40 Knows How to Make From Scratch
#9 The crust that catches your fingers
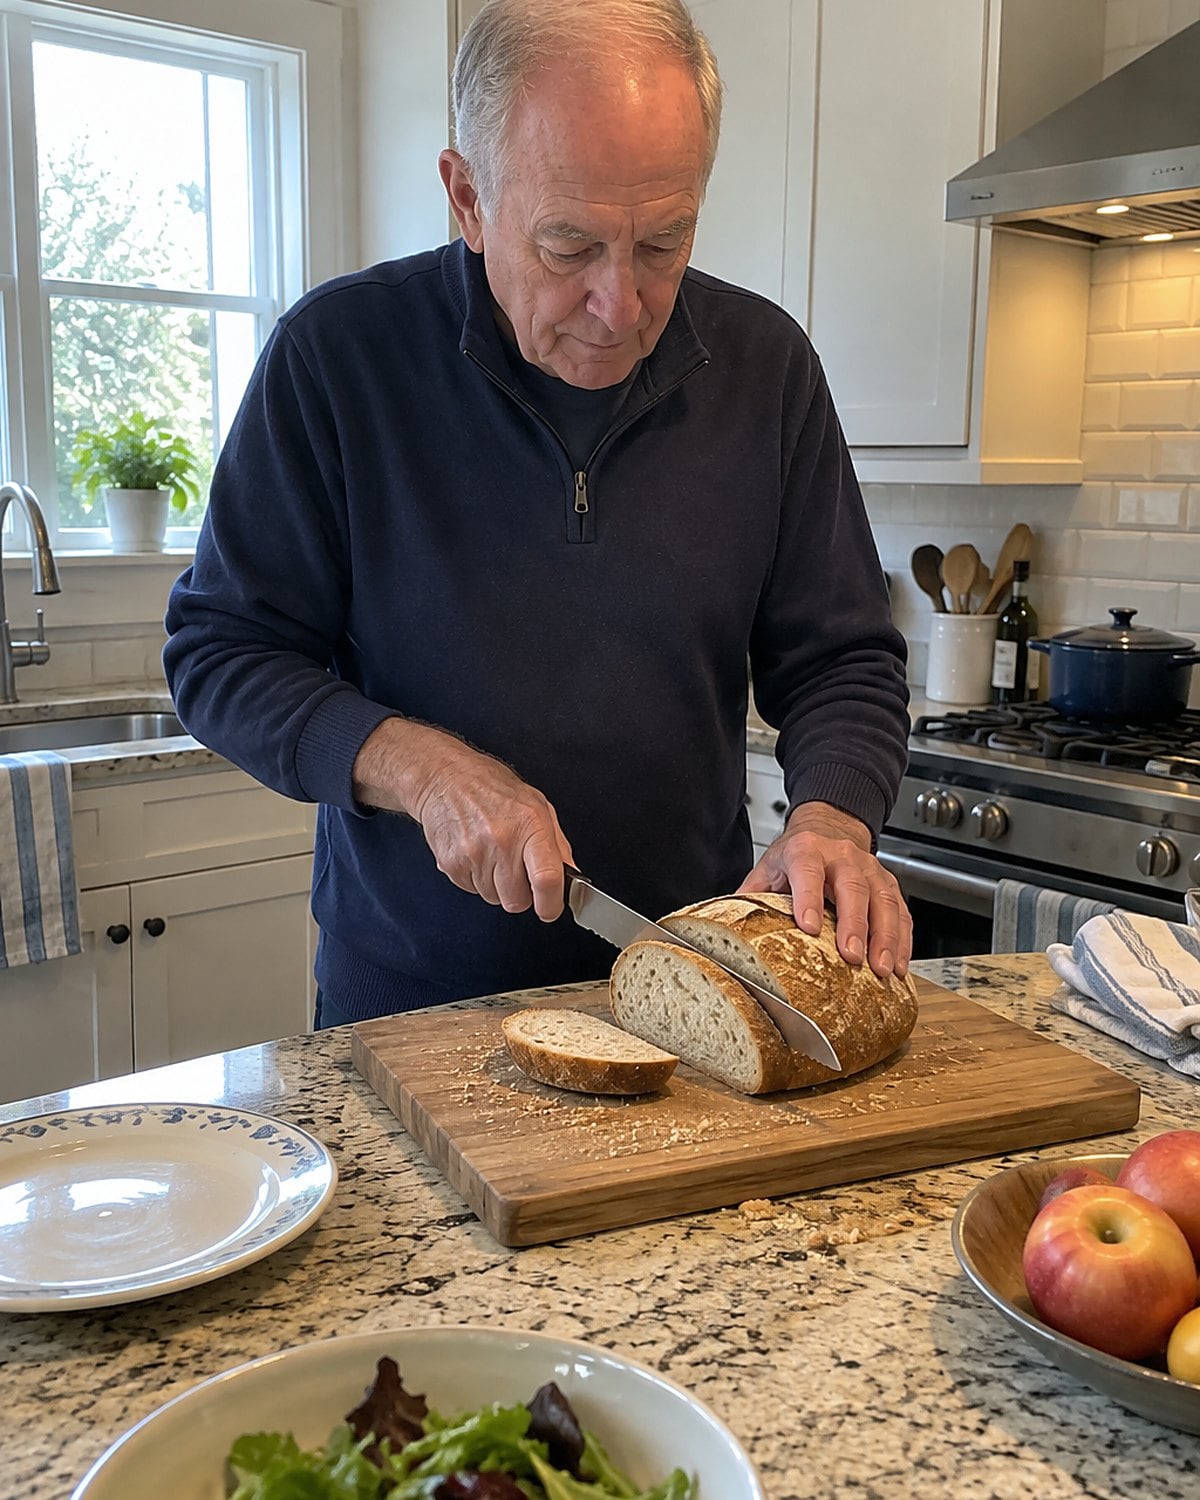
The holiday loaf sits on the board, crust firm and middle soft. Your guiding hand creeps toward the cut as you try to keep the loaf steady. Stop when that happens. A knife that slips off crust gives little warning before it reaches your fingers.
Place the loaf on its broadest stable side. Keep your hand on top, clear of the knife’s path, and start with short, light strokes. Once the teeth have opened the crust, use the full length of the blade without pressing down.
For a small roll, set it flat and cut horizontally with the blade parallel to the board. Don’t hold it in your palm. If the roll is too small to steady without putting fingers in the way, change how you’re serving it.
This problem belongs to the hand holding the bread, not to how long the knife has gone without service. Even a good edge needs a stable loaf. Give the crust room to catch the teeth before the longer stroke begins.
#8 The paring knife in your palm
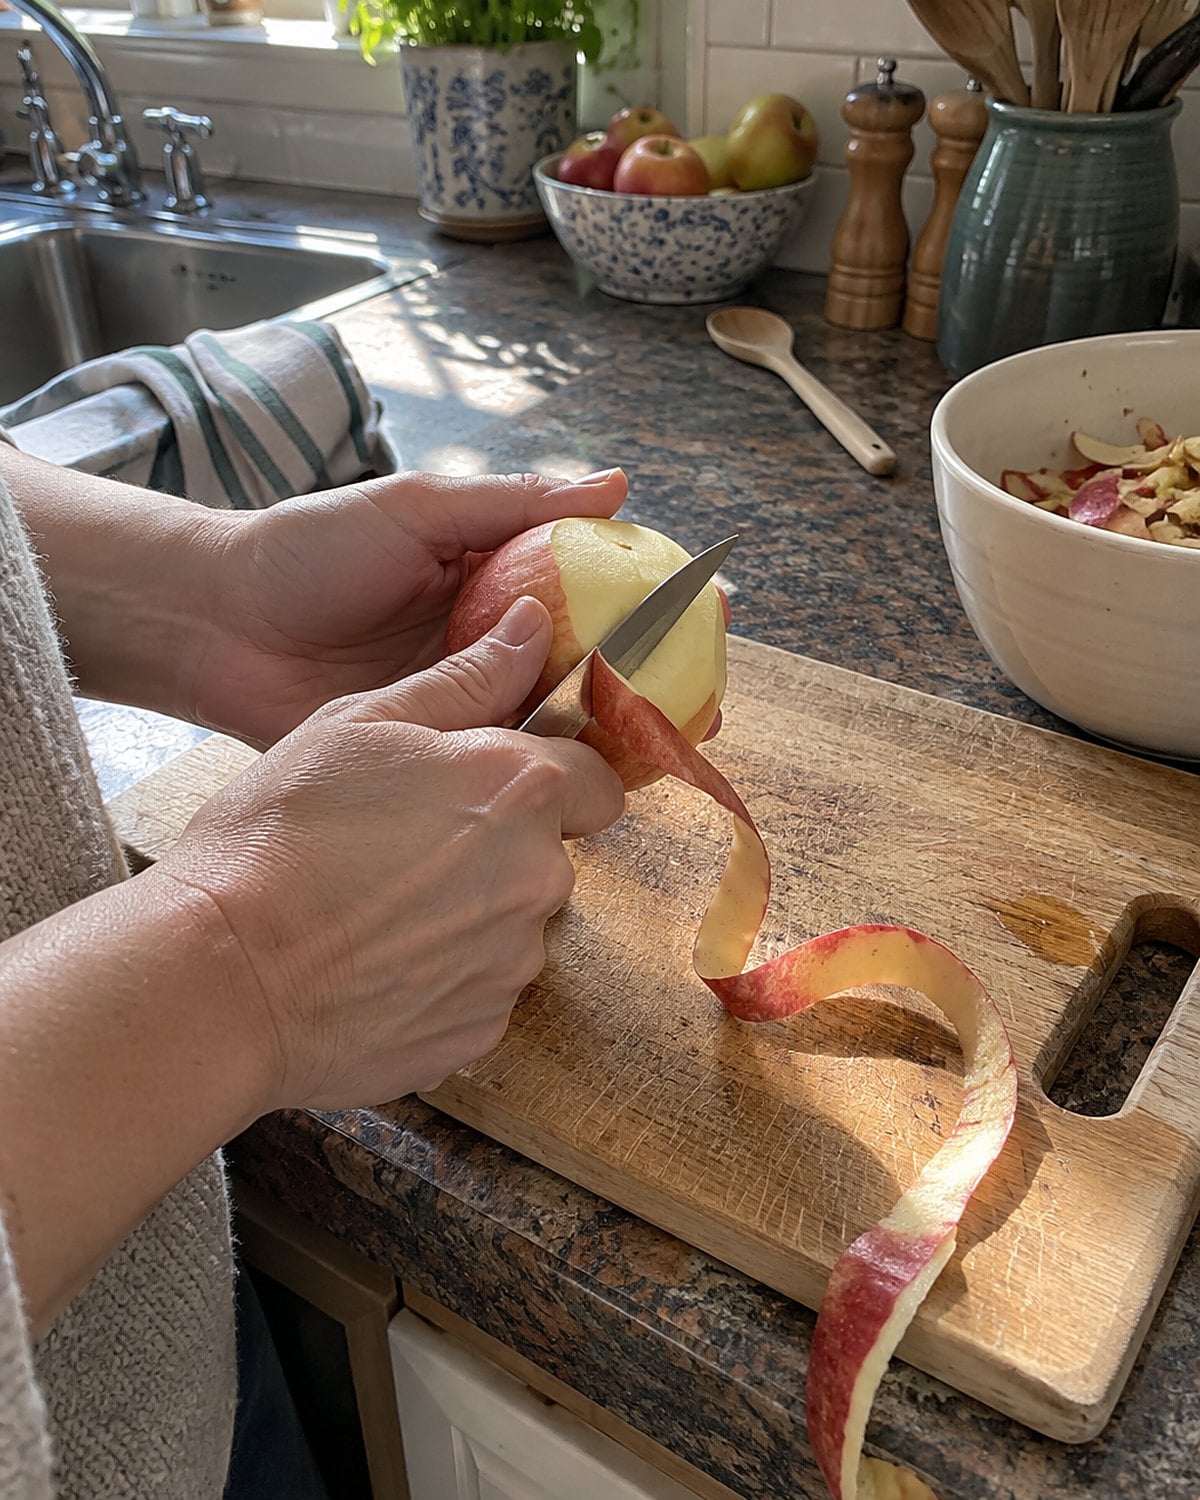
Peeling an apple over the trash bowl is a habit with deep roots. If the little knife has dulled, your thumb starts pushing harder to make up for it. The blade then moves toward the hand holding the fruit.
Bring the apple back to the board for trimming. A small knife still gives you control around the stem and bruised spots, but the board catches the cut instead of your palm. Keep the peel thin with short, measured strokes.
Notice which knife you reach for tomorrow morning. A sharp chef’s knife across the room won’t help the small blade you use for fruit. If the paring knife skips on apple skin, put it aside for edge work too.
#7 The handle that twists in your grip
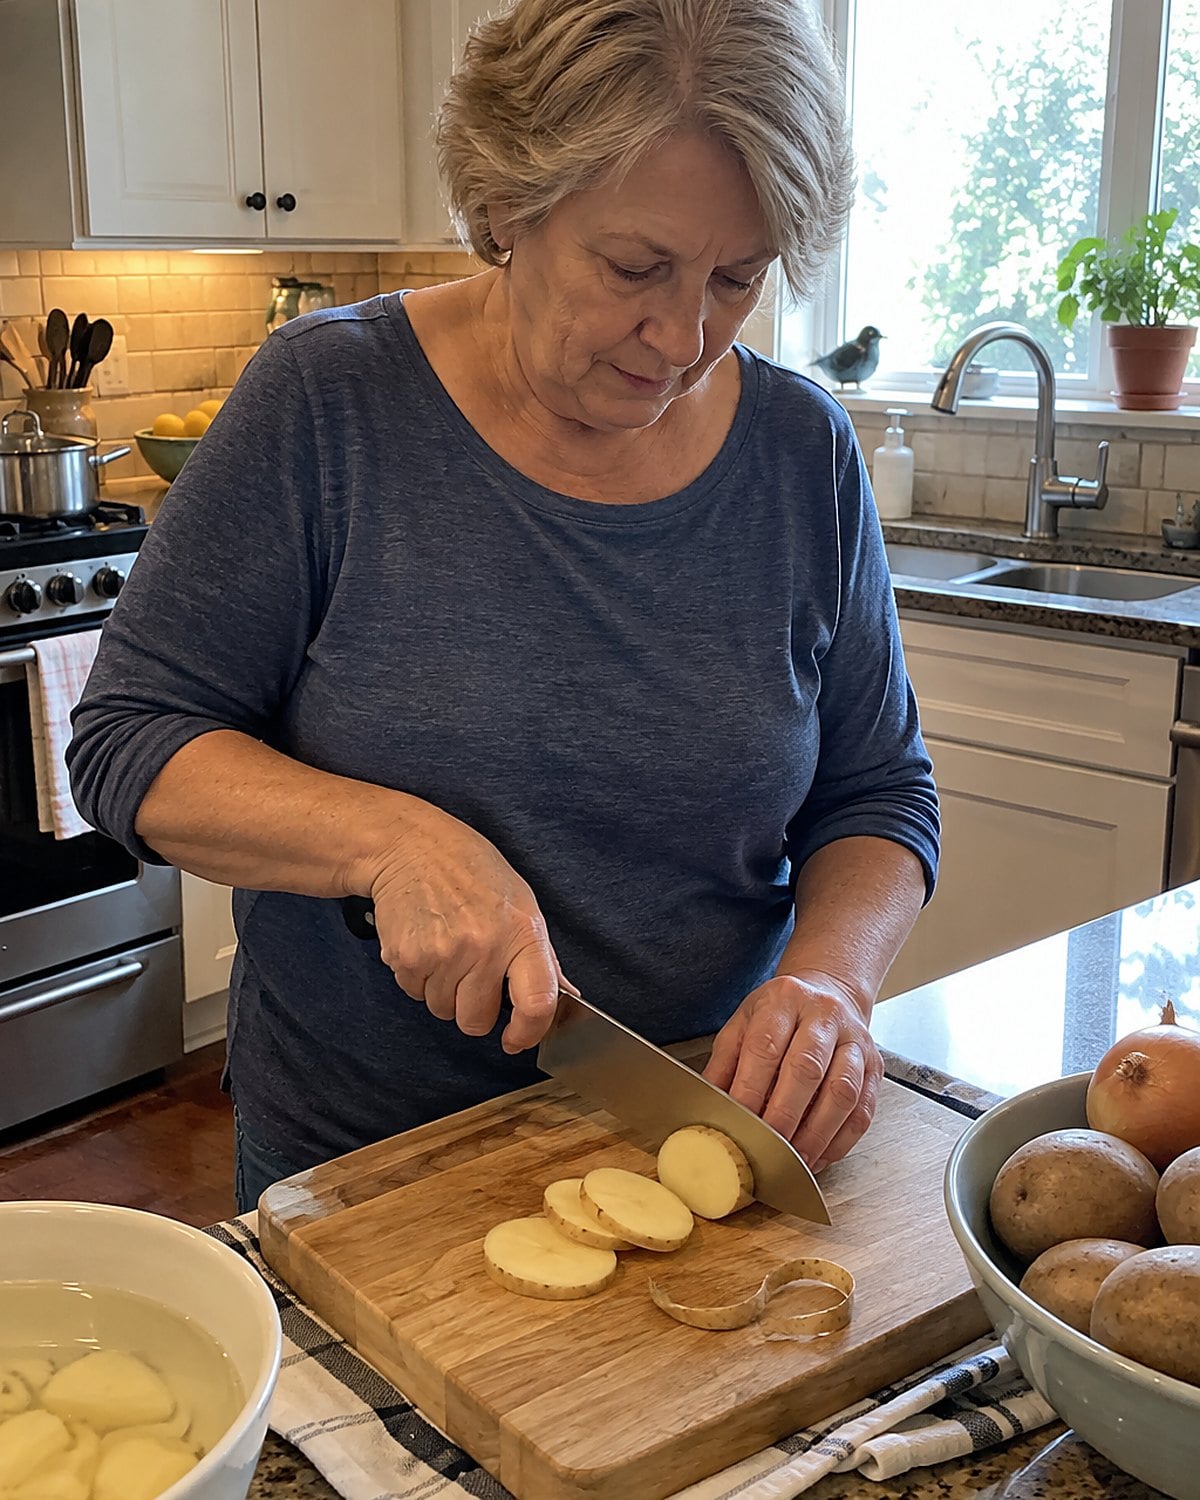
Pick up the knife you use most and hold it over the board. Does the handle feel secure when your hand is dry? Now look where handle and blade meet. Food stuck there makes the grip unpleasant; a cracked or loose handle makes it unreliable.
For a chef’s knife, try holding near the base of the blade, with thumb and forefinger on opposite sides. Let the remaining fingers wrap the handle. This grip gives you control of the blade without squeezing the handle like a hammer.
Make a slow cut through a firm potato on a stable board. Notice whether your wrist stays comfortable and the knife follows the line you chose. If the handle twists or shifts, stop using that knife. No edge work repairs a failing connection between blade and hand.
Hand size matters too. You’re allowed to prefer the knife that fits, even if the large one was a gift. The good knife is the one you control and keep sharp.
#6 The glass board by the stove
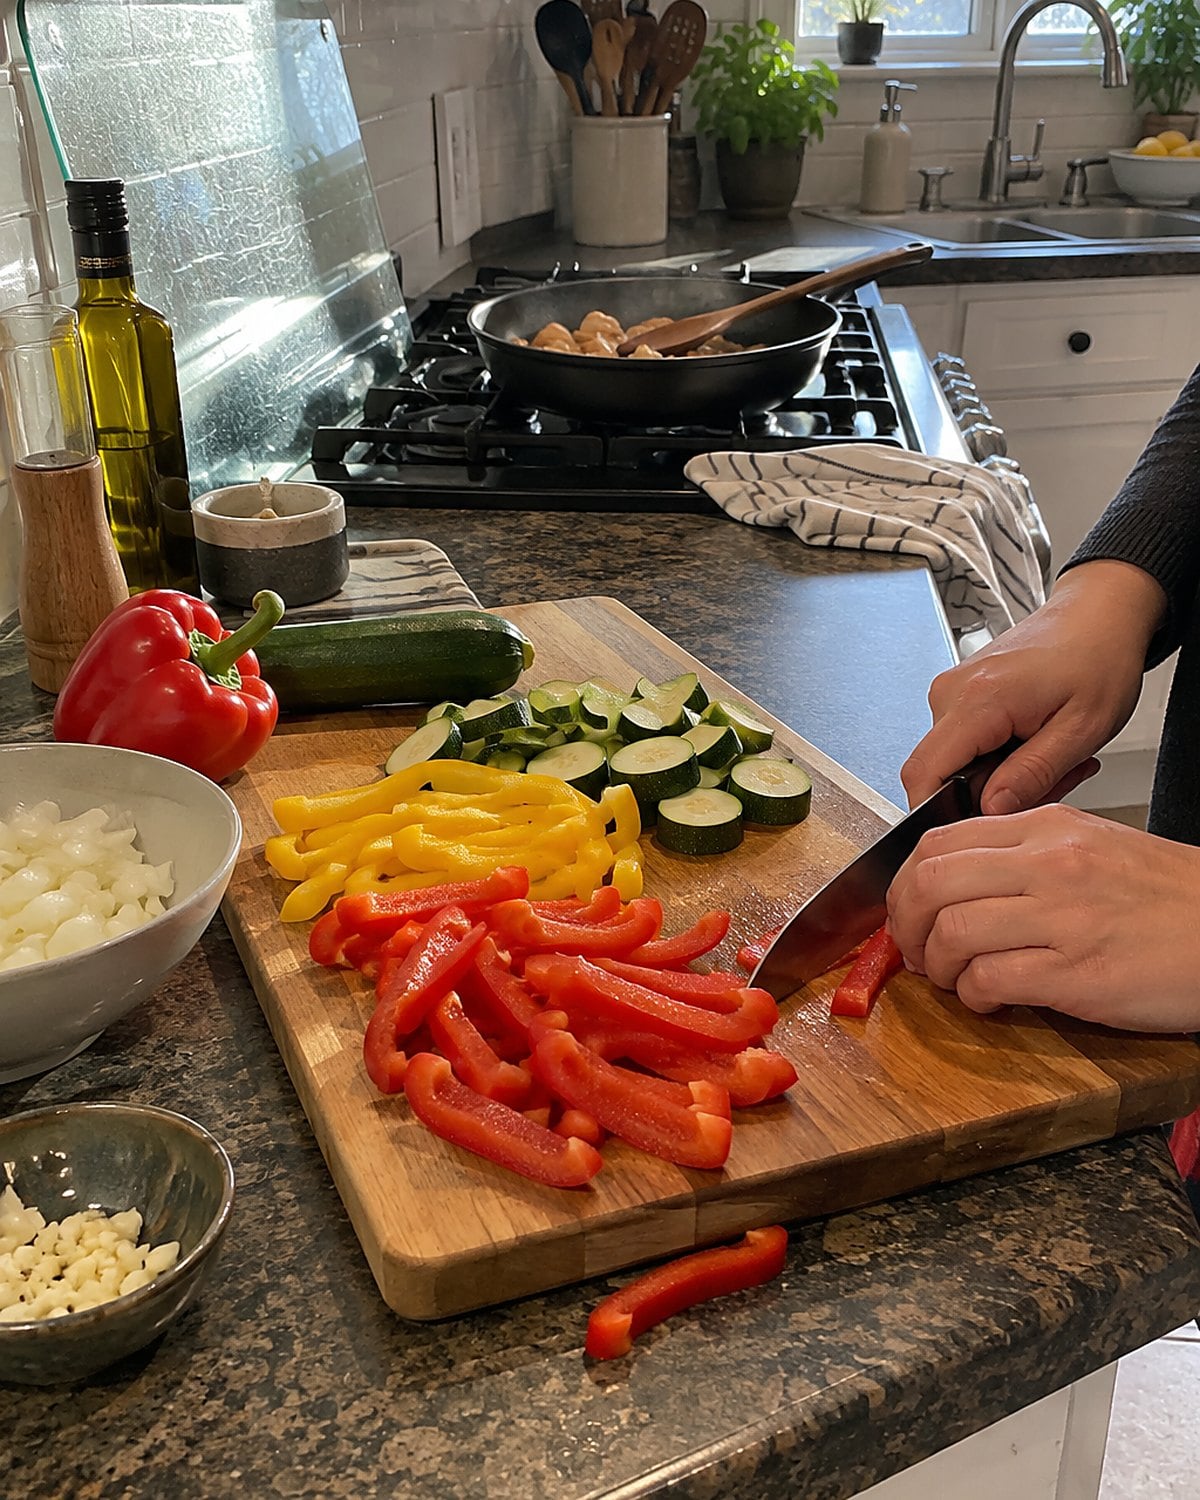
The glass board wipes clean and looks tidy beside the stove. It also gives your cutting edge a hard landing with every chop. Move the chopping to a wood or plastic board and save the glass for setting down a jar or spoon.
Listen as you work. A sharp knife meeting a suitable board makes a quieter contact than a blade striking glass. Sound isn’t a sharpness test, but it reminds you what happens at the end of each cut.
If a board slides, return to the damp towel trick. If it’s deeply grooved or hard to clean, replace it. The USDA’s cutting board guidance covers cleaning and replacement. Your knife and your next meal both need a board in good shape.
#5 The chopped vegetables heading for the pan
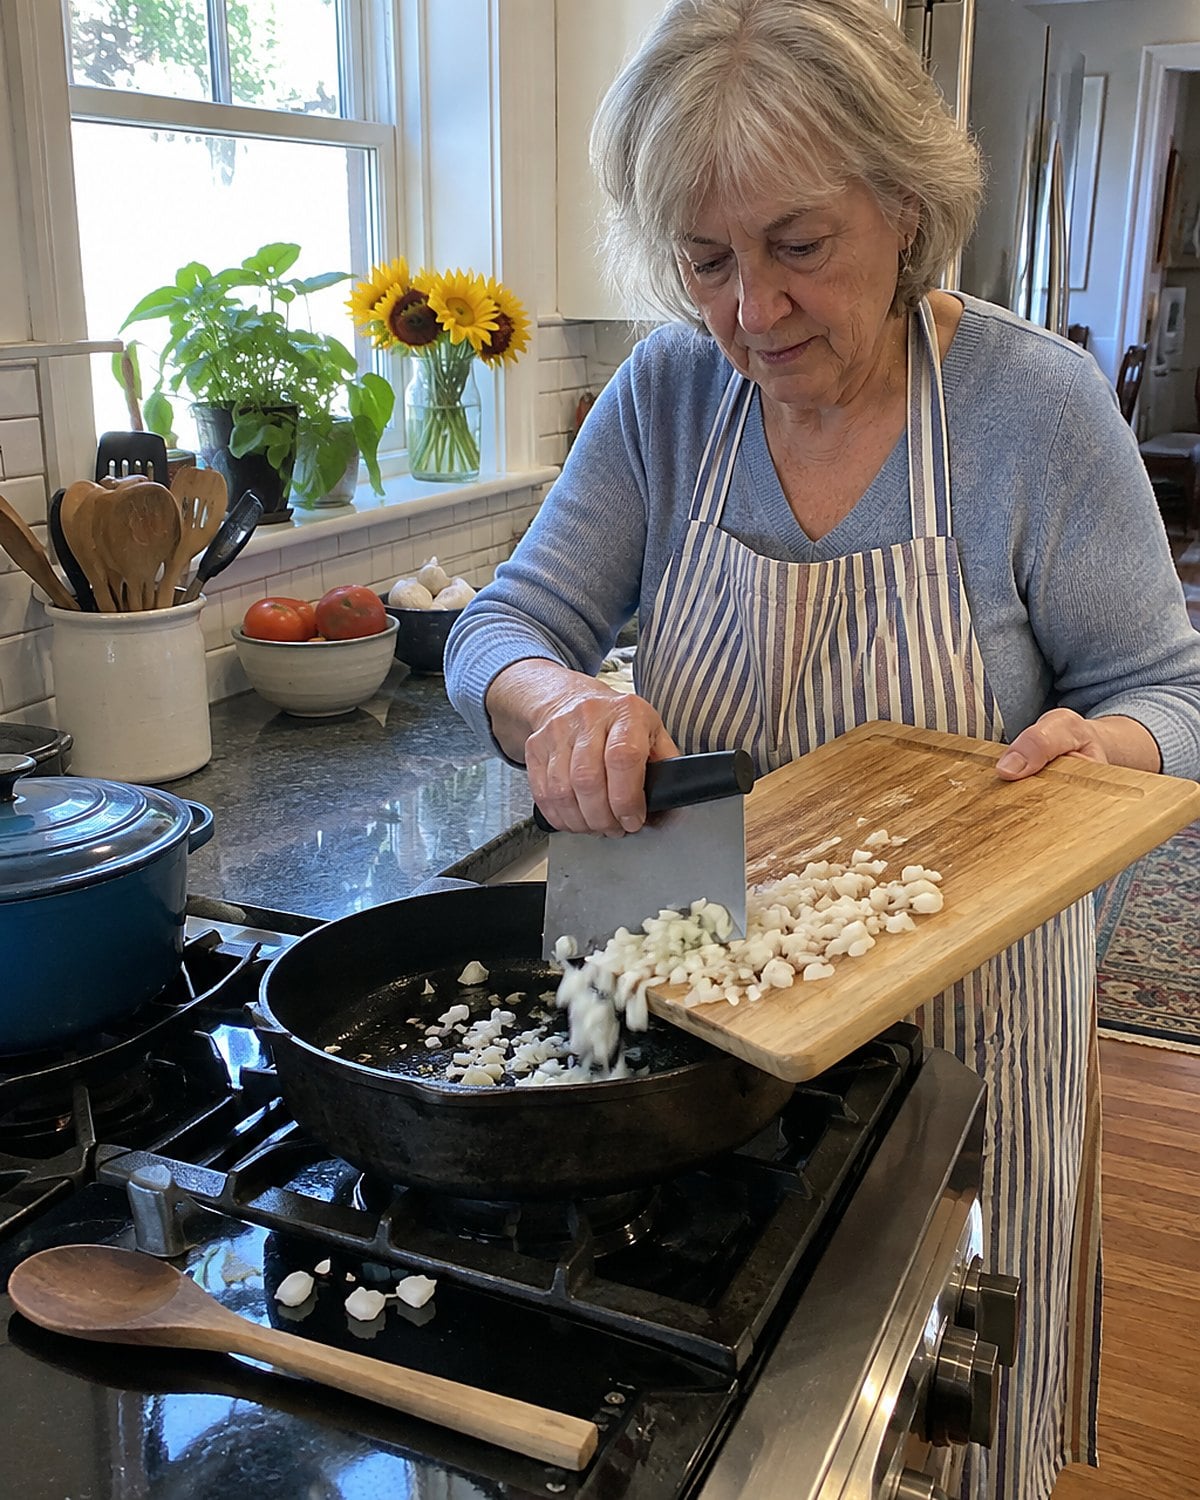
The onion is chopped, the pan is hot, and you use the knife edge to scrape pieces off the board. It’s a quick move. It also drags the part you paid to sharpen sideways against the board.
Turn the knife over and use its spine to gather the pieces. Better yet, lift them with a bench scraper. That broad, blunt tool moves chopped vegetables into a pan without putting your fingers near the cutting edge.
Keep an eye on the hot pan as you transfer food. Set the board close enough to work comfortably, but clear of the burner. If pieces stick to the board, lift them in batches instead of reaching across the heat for the last bit of onion.
This is one small habit worth changing before you spend anything on sharpening. You can protect an edge you already have, and the same scraper makes cleanup faster when parsley and carrot ends are scattered over the counter.
#4 The pear that fools the blade
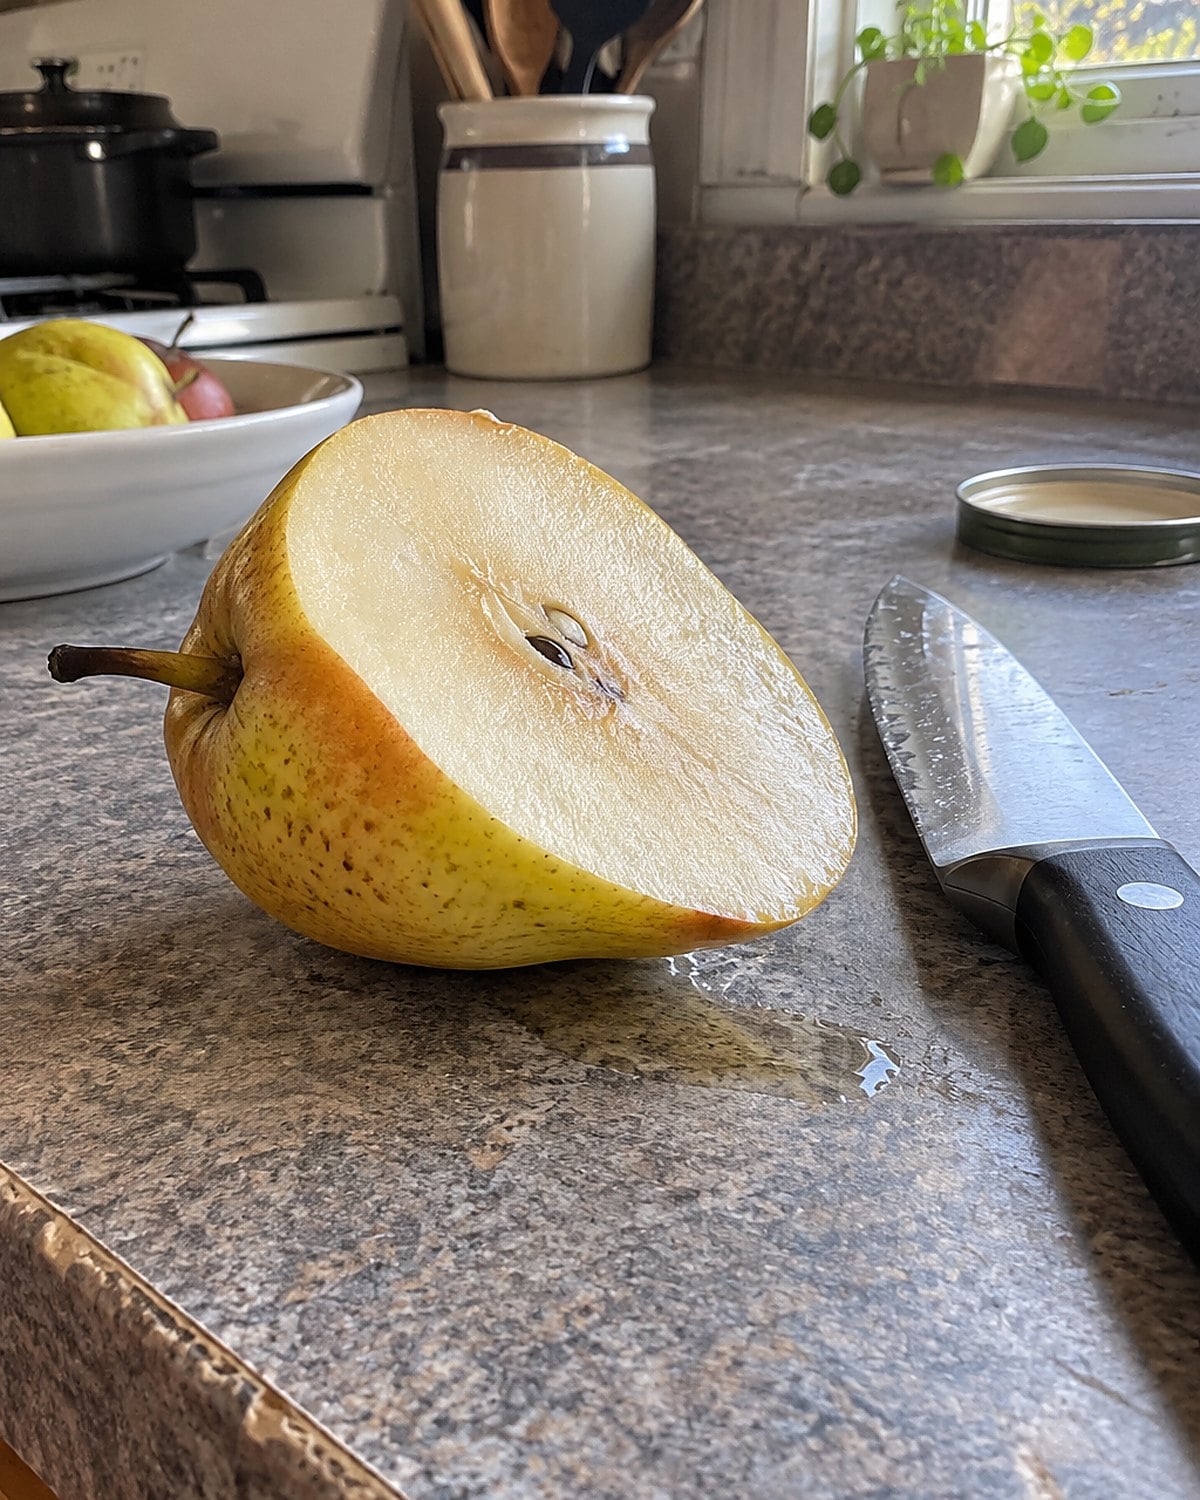
A ripe pear feels soft, yet its skin stops a worn edge for a moment. Then the blade breaks through and drops too far. That change from resistance to sudden movement is what makes a small snack prep feel oddly tense.
Put the pear on the board, cut a stable side, and slice with a sharp knife using light pressure. For a very soft pear, use a spoon to lift the flesh after halving it rather than forcing thin slices.
Pay attention to the first bite of the blade. If it skids, don’t add force while your other hand steadies the fruit. Choose a better knife. A piece of fruit isn’t worth an unplanned trip away from the stove.
#3 The crowded utensil drawer
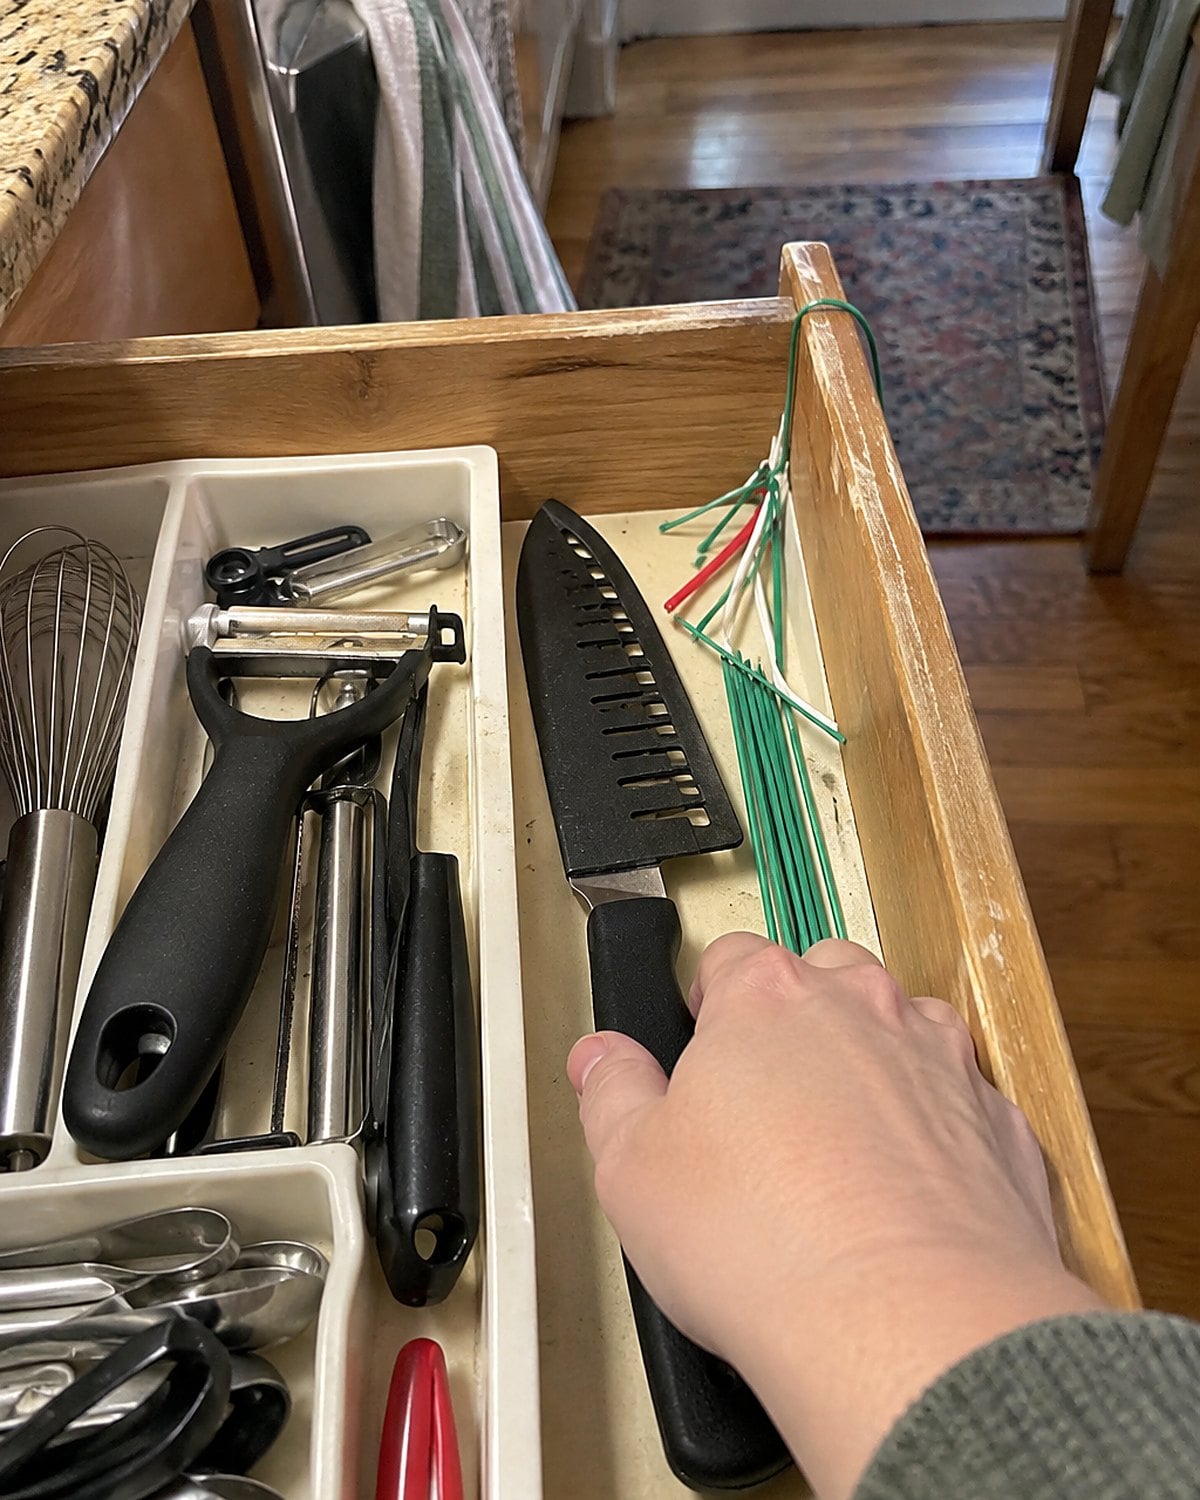
A knife rattles among peelers, corkscrews, and the twist ties you meant to throw out. Reaching for it risks a cut, and the edge meets metal every time the drawer opens. Storage is part of keeping a sharpened knife sharp.
A fitted blade guard covers the edge in a drawer. A knife block works when its slots are clean and the knives fit without being forced. A magnetic strip puts blades in sight, but it needs secure installation and a place away from curious hands.
Choose the setup that matches the kitchen you actually have. If grandchildren arrive on weekends, think about where they reach before choosing an open strip. If counter space is tight, a guarded knife in a drawer beats a block balanced beside the toaster.
Put the knife away dry. Then open the drawer once and reach for it as you would during dinner prep. Your hand should find the handle without searching through loose tools. That’s the test the storage has to pass.
#2 The first week after sharpening
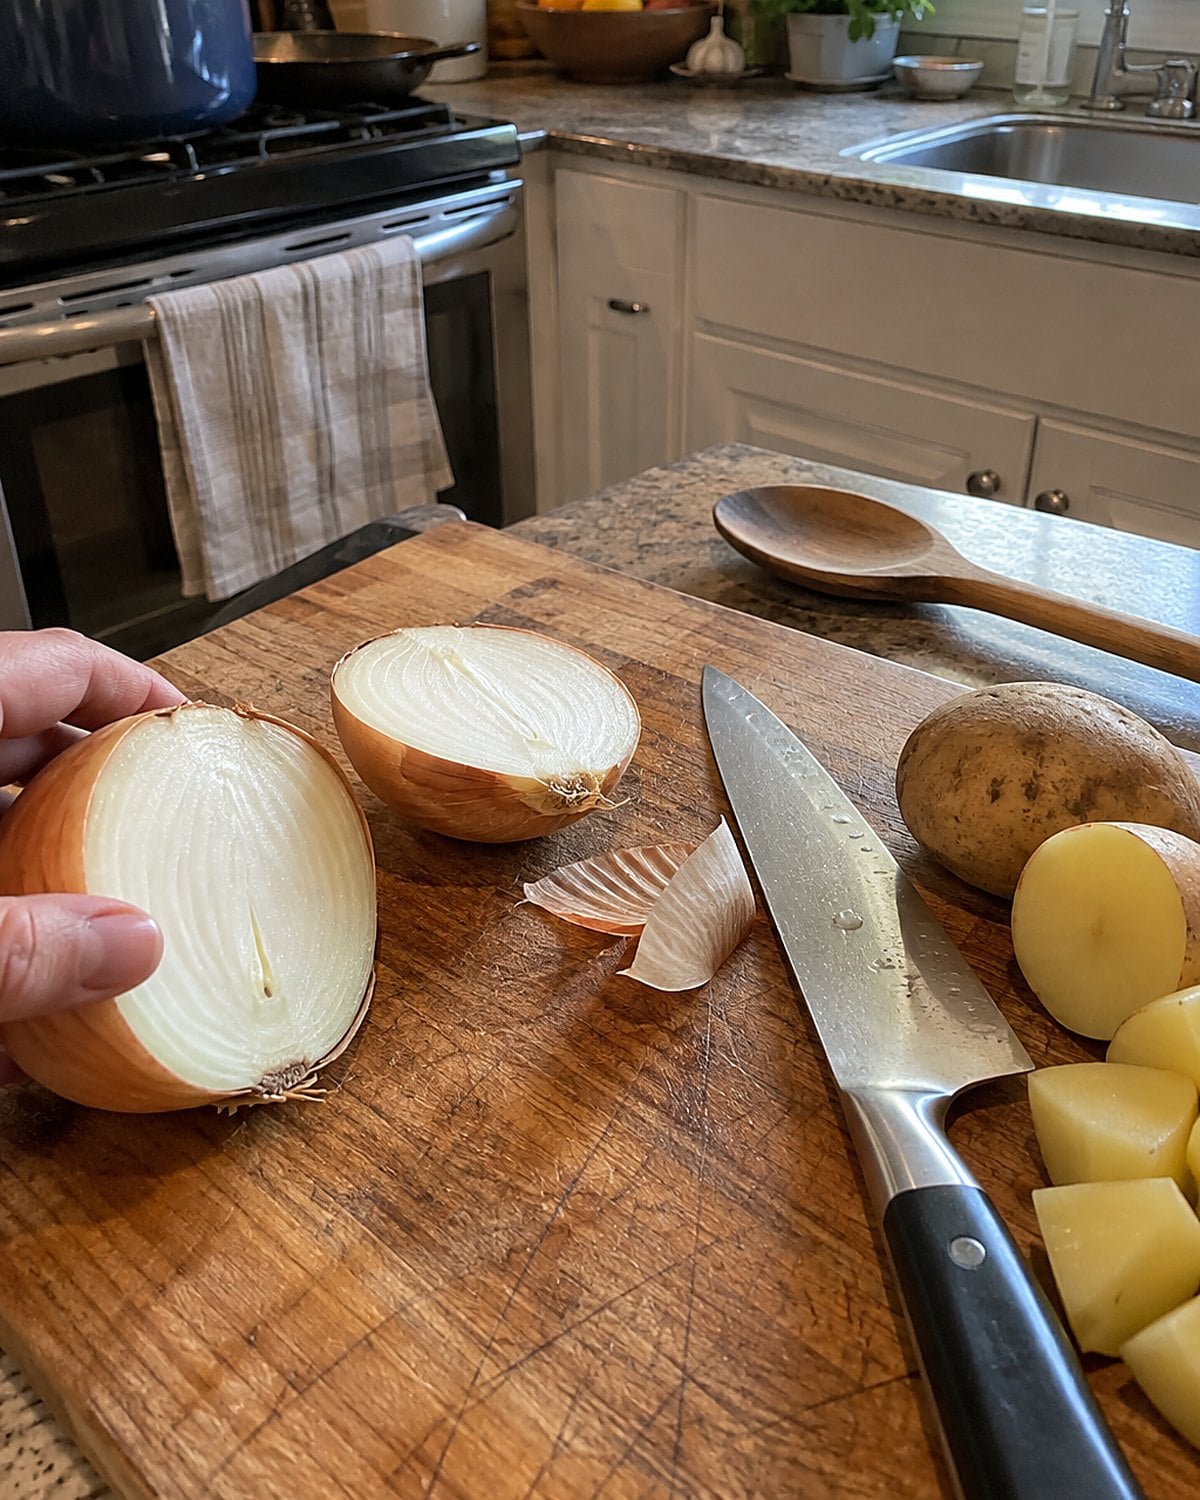
A newly sharpened knife feels different on the first onion. You reach for your usual pressure, and the blade moves sooner than expected. Slow down. Give your hands a few meals to learn what the edge does now.
Start with foods that sit flat on the board. Cut a halved onion, then a potato, using steady strokes rather than speed. Keep the guiding hand in its familiar curled position and move it only after the blade clears.
Wash, dry, and put the knife away after dinner. Tomorrow, notice whether the same cuts still feel easy. That small check is more useful than waiting for the knife to become frustrating again. An edge lasts longer when you notice the change early.
#1 The knife you have never sharpened
Arrange a first sharpening for the knife you use most. Do it before another month of hard cutting goes by.
Find the chef’s knife or everyday kitchen knife that reaches the board at dinner. Clean and dry it. Check the handle for cracks or looseness, then look along the blade for chips or a bent tip.
Call a local sharpening service before you travel. Ask whether it takes household kitchen knives, whether it handles damage, and how to transport the blade.
If there’s no service nearby, ask a kitchen store or hardware store where local knives are sharpened. You don’t have to buy a new knife to ask.
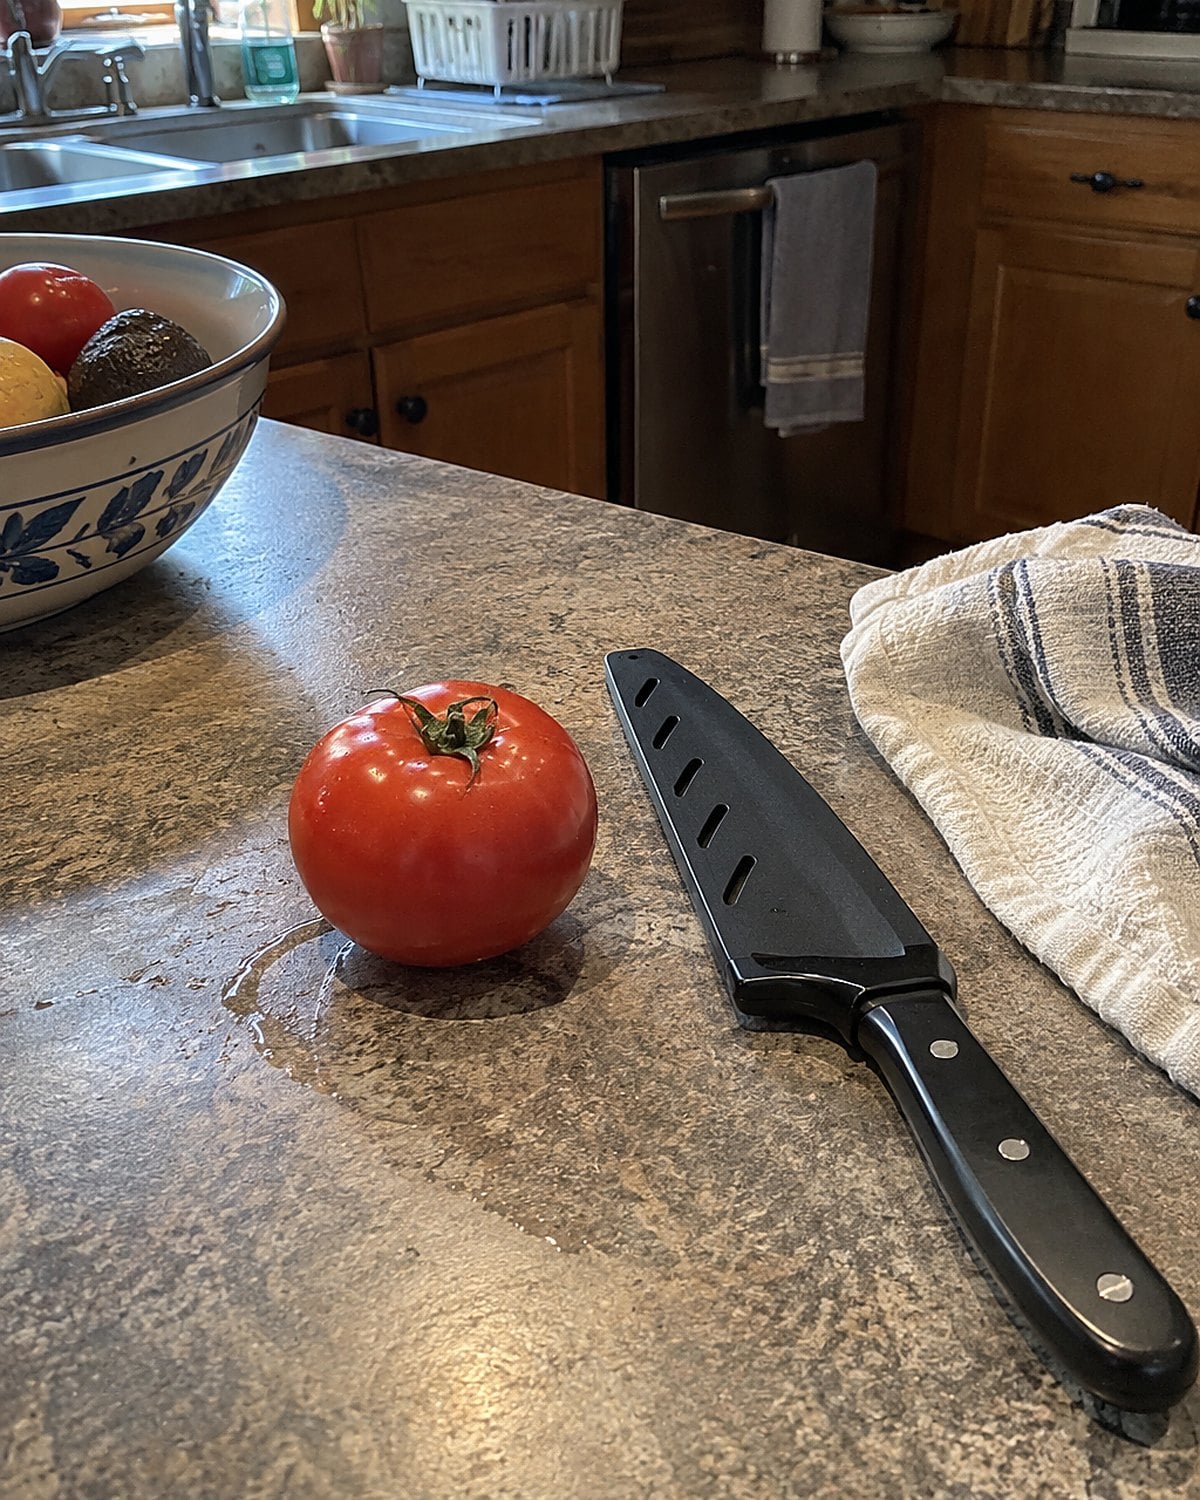
Once the knife comes home, put a tomato on a stable board. Make a light drawing cut through the skin. Then cut the onion you’ve been putting off. Notice the pressure your hand no longer has to supply.
Keep that feeling in mind the next time dinner prep starts asking for a shove. You’ve done this work for years without an edge that helped you. Now you have a way to tell when it’s time to sharpen it again.
Keep reading
 27 Things Home Cooks Over 60 Do Without Thinking That Chefs Would Never Do
See all 27 →
More you’ll remember
 27 Kitchen Habits That Started as a Shortcut and Became a Mistake
 27 Things That Go Wrong in the Oven, and What the Oven Is Trying to Tell You
 26 Mistakes People Make With a Slow Cooker After Years of Using One
The bottom line
When a knife stops cutting cleanly, you work around it. You steady the onion harder, strike the carrot harder, and call the extra effort dinner prep.
The well-prepared version of you has a stable board, a safely stored knife, and a plan to sharpen the blade she uses most. She knows what a light cut through tomato skin feels like.
Which knife will you pick up before tonight’s onion?

Leave a Reply