

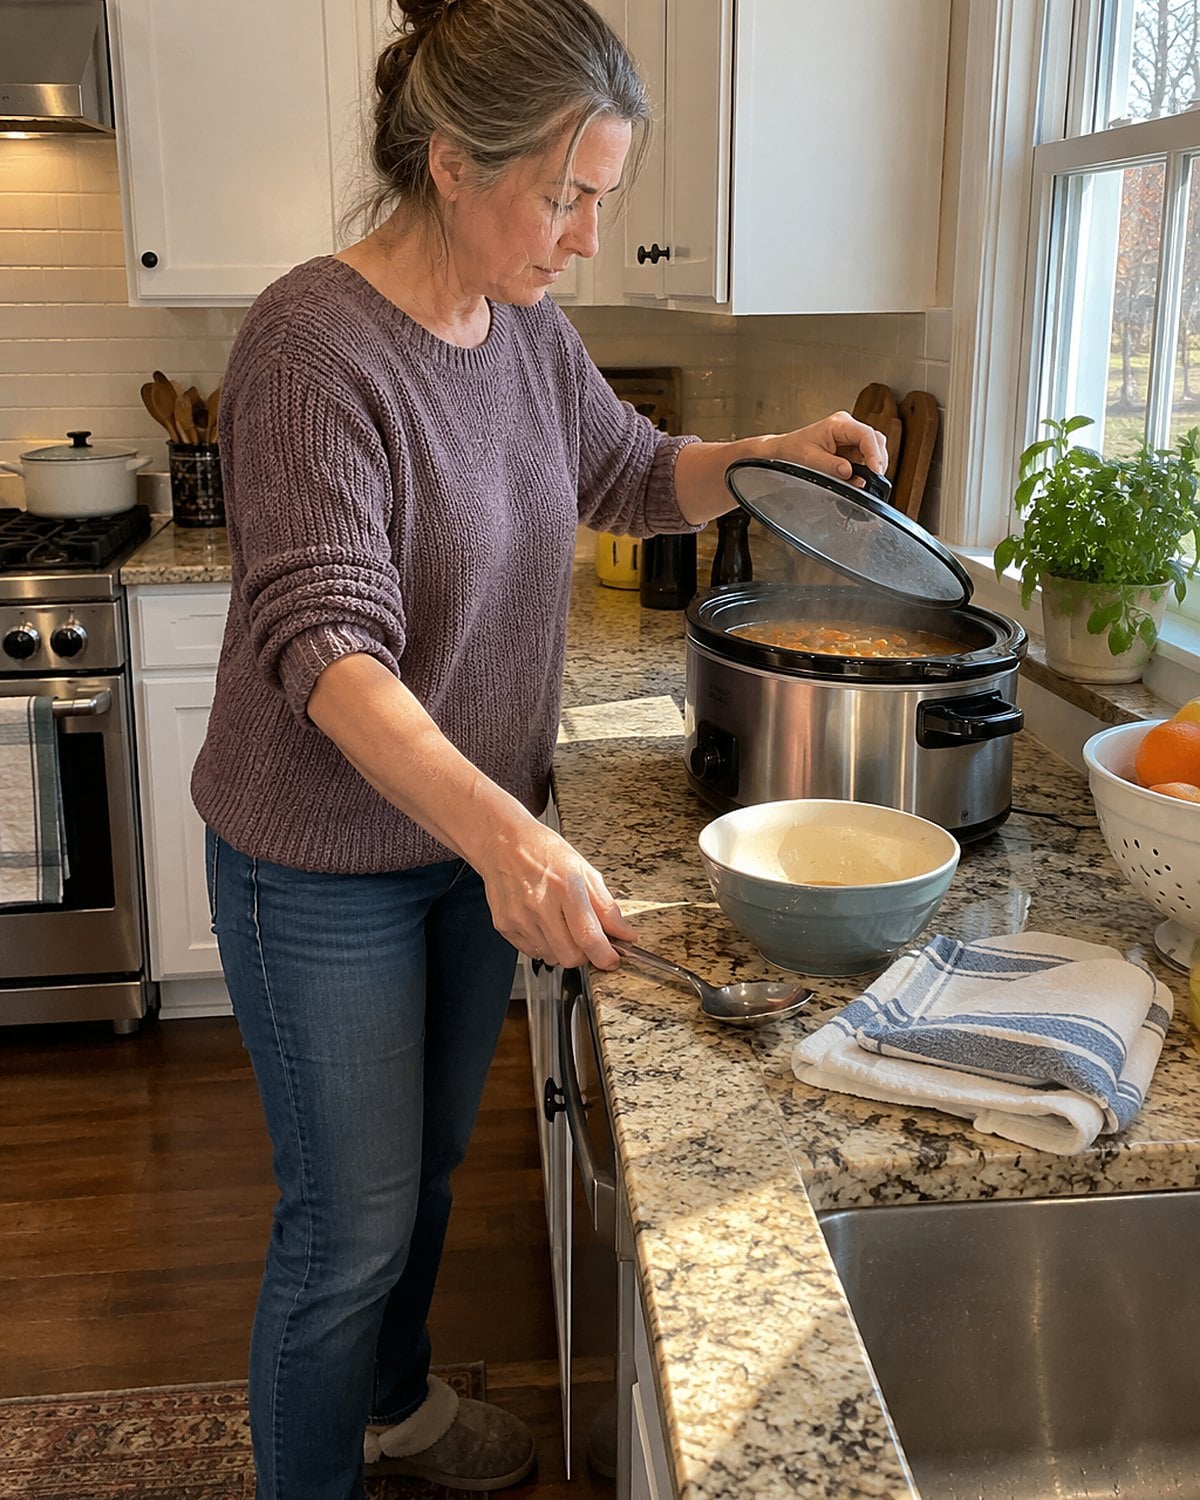
The slow cooker clicks on before the sun reaches the counter. Beside it sits a spoon with a bent handle, the one you reach for without looking. You’ve made dinner through school nights, late shifts, and years when every seat was full. Now the pot looks enormous for two.
That change asks a different kind of skill. You still know how to feed a crowd. The trick is making the old methods work when there’s nobody around to finish the last pan of biscuits.
#27 Applesauce From the Soft Fruit Bowl
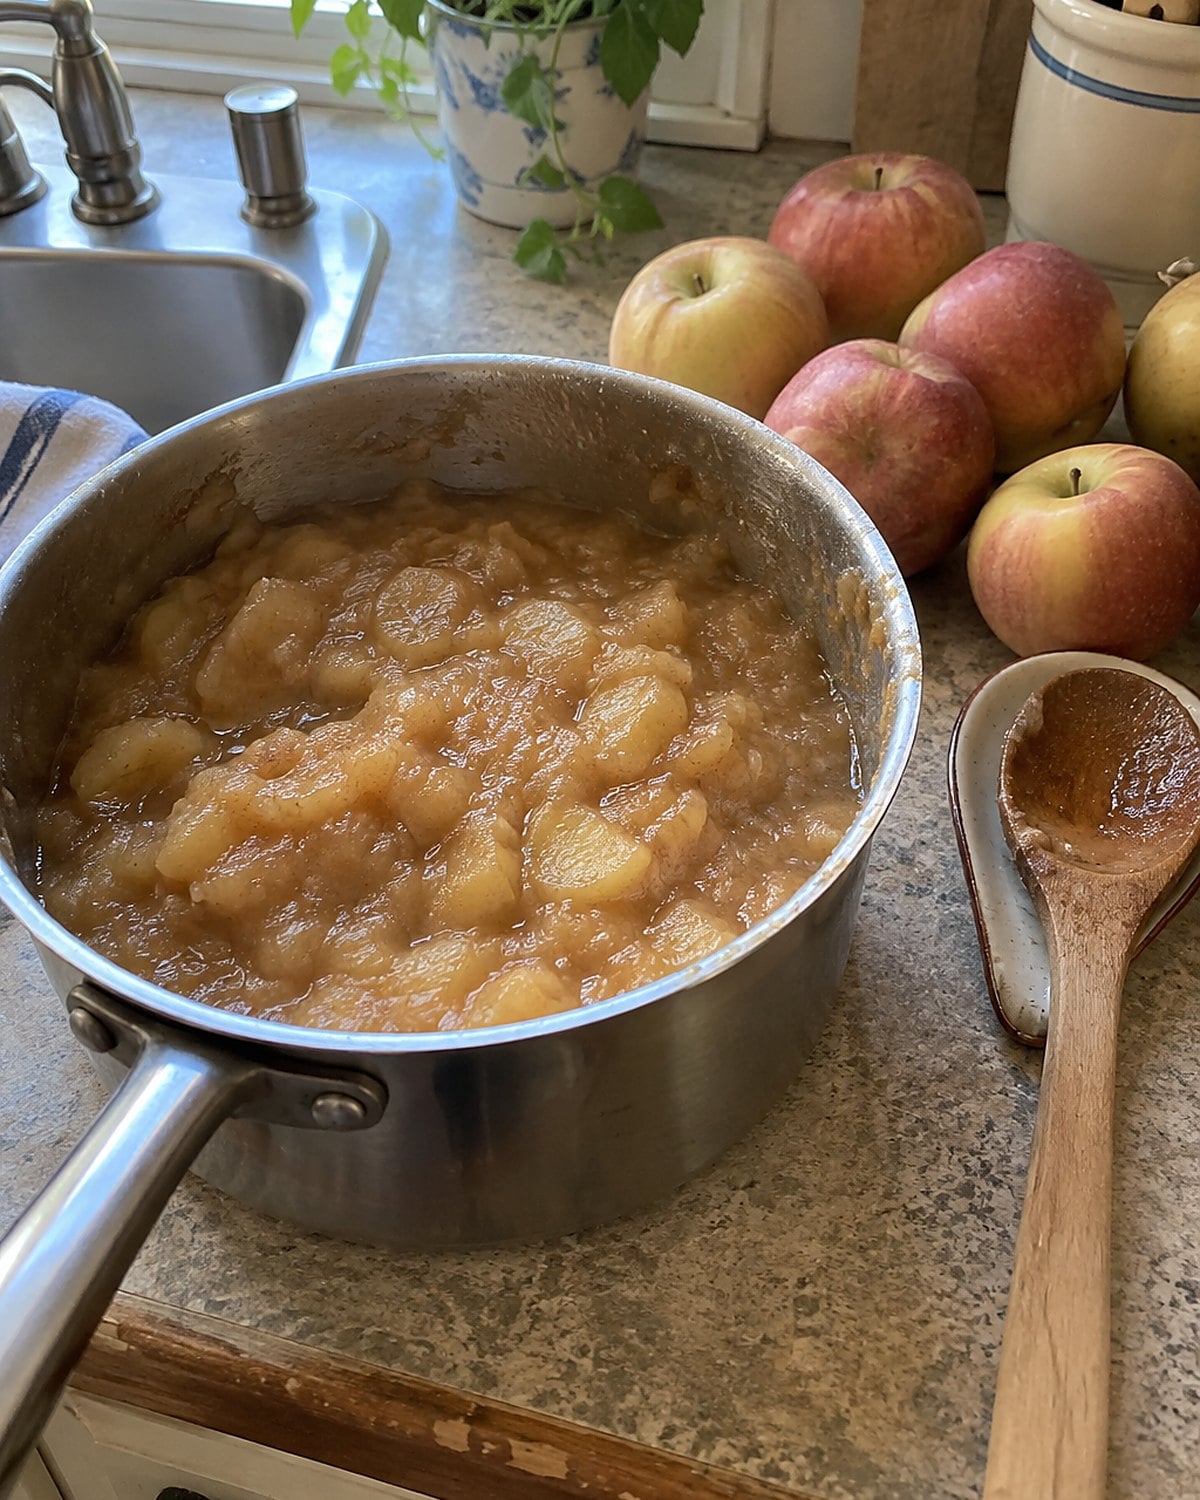
The apples near the back of the bowl have lost their snap. That’s when they earn their place in a saucepan. Cut out any spoiled fruit, then peel and core the rest. Add a splash of water and put on the lid until the pieces collapse.
Then take the lid off.
Steam escapes, the mixture thickens, and the apple flavor comes forward. Stir against the bottom now and then so the sugars don’t catch.
Taste before you reach for sugar. A tart apple and a sweet apple make their own balance. If the pot tastes flat, a little lemon juice wakes it up faster than another spoonful of sweetener. Leave it chunky for breakfast, or press it through a sieve for the smooth kind that used to arrive beside pork chops.
#26 Pantry Cocoa Pudding on the Stove
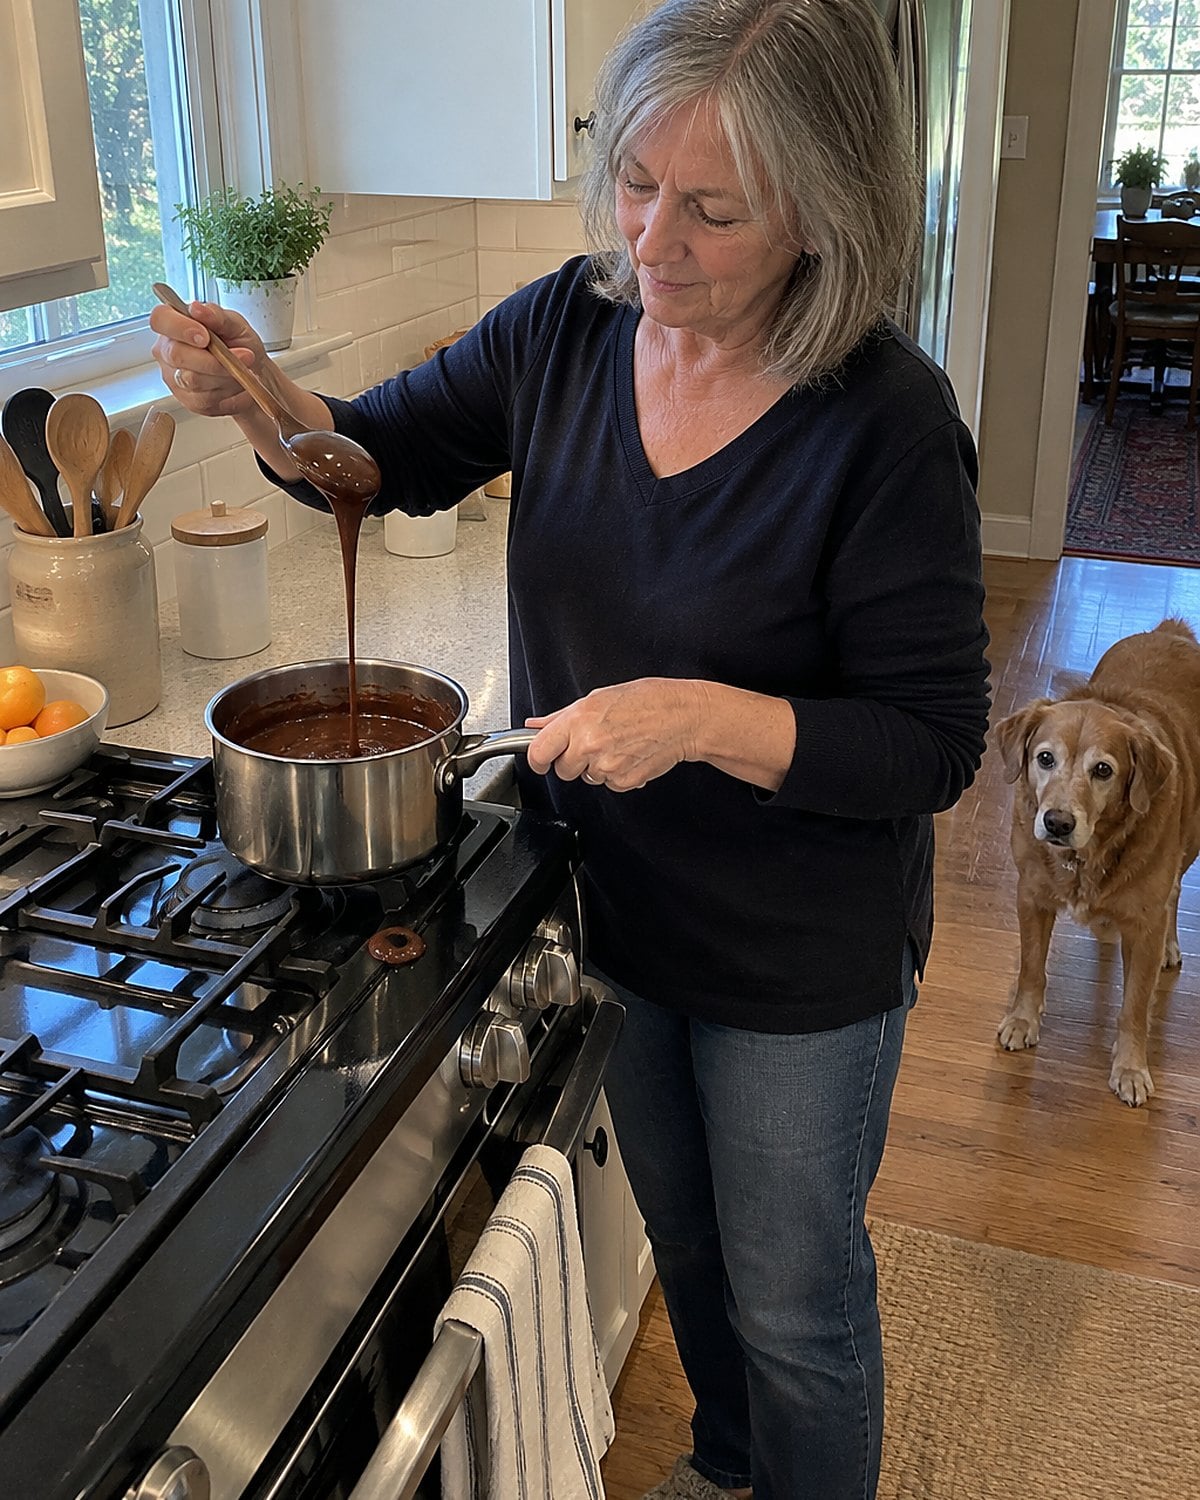
When did pudding start needing a box? The saucepan version asks you to watch one change: a thin, cloudy mixture turns glossy and leaves a brief trail behind the spoon.
Whisk sugar, cocoa, cornstarch, and milk while the pan is still cool. Cornstarch dropped into hot milk forms lumps before the spoon reaches them. Once the pan is on the heat, scrape the corners as you stir. Those corners thicken first.
Let the mixture reach a full bubble, then cook it for about 1 minute while stirring. A timid warm-up leaves the starch tasting raw. Take the pan off the heat before adding vanilla. It smells stronger when it isn’t boiled away.
A skin across the top isn’t a failure. Eat it, or press wrap against the pudding before chilling it. There’s your dessert from the same cupboard that holds the breakfast oats.
#25 Chicken Broth From Saved Bones
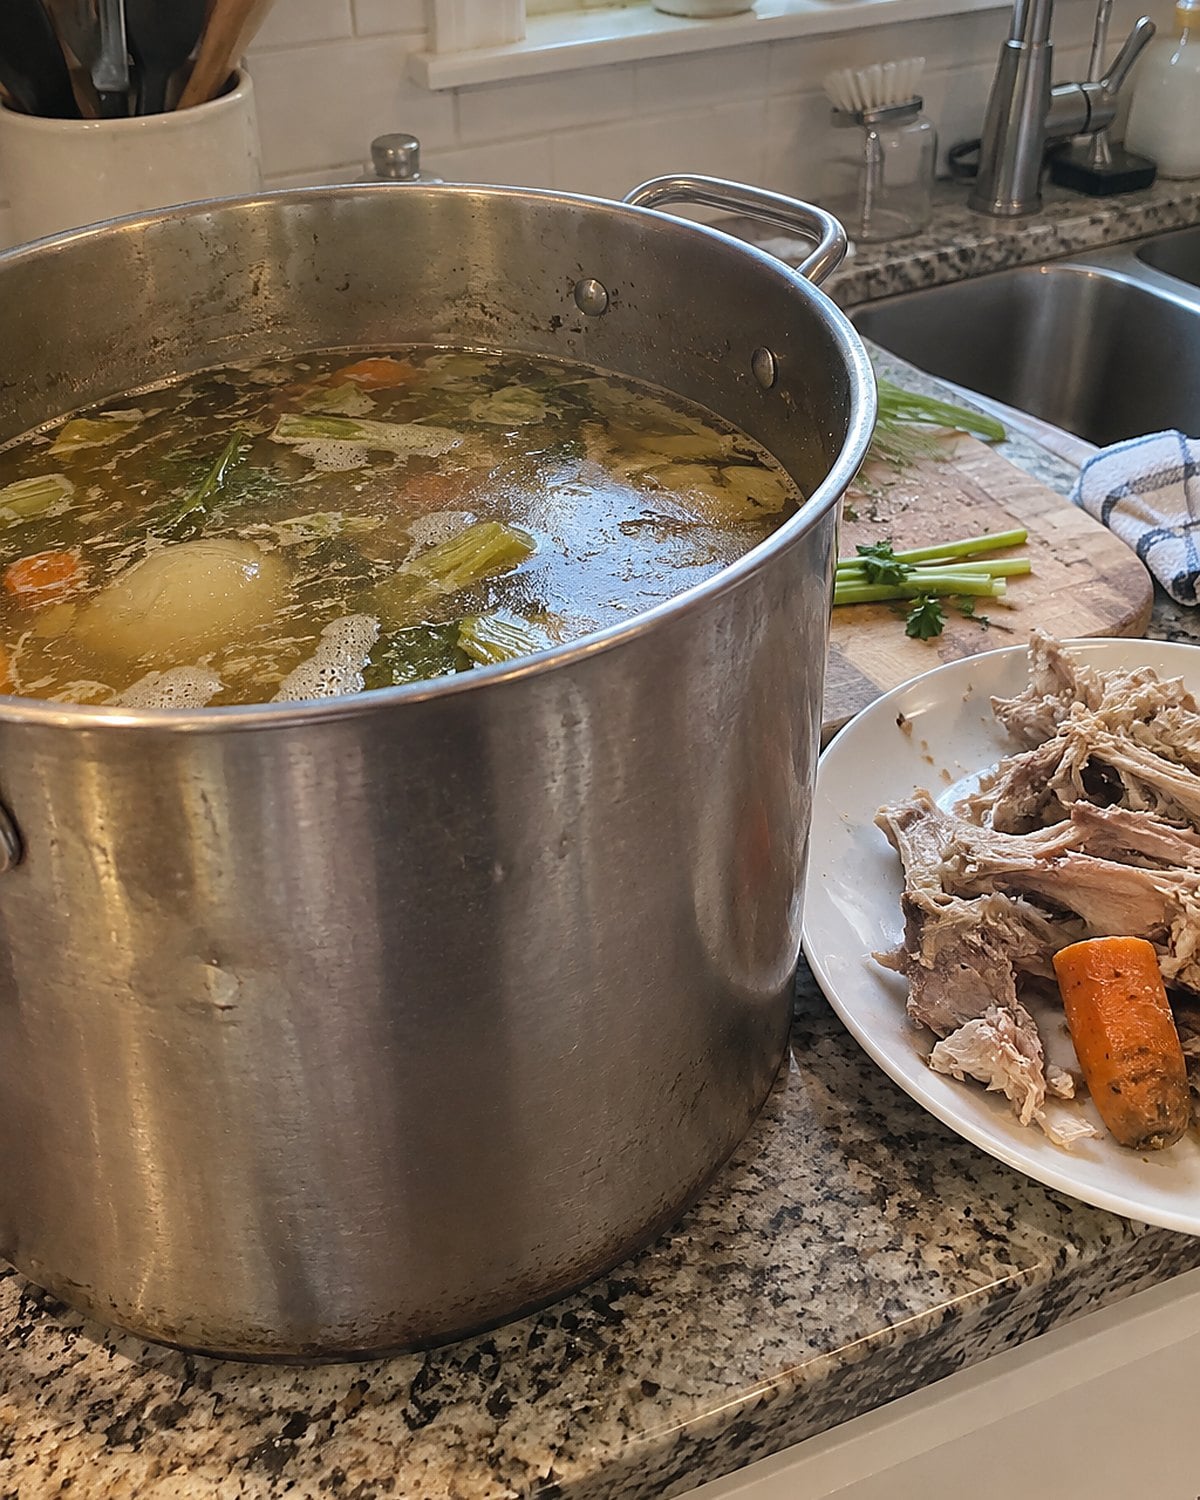
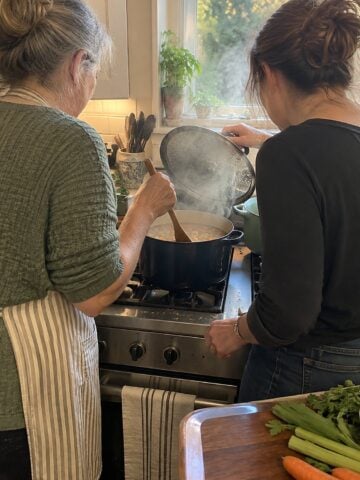
A container of bones beside the sink looks like cleanup, not tomorrow’s soup. Put the cooked chicken carcass in a pot with water, onion, and a carrot end. Bring it to a simmer, then lower the heat. Hard boiling turns broth cloudy and drives liquid away.
Skim the foam for a clear bowl. Don’t salt heavily yet. The liquid will shrink, and a broth that tastes right now will taste too salty later.
Strain it into shallow containers and refrigerate it promptly. The USDA Food Safety and Inspection Service says cooked leftovers belong in the fridge within 2 hours.
Once the broth is cold, the fat sits on top where a spoon reaches it. Lift off what you don’t want and leave a little for cooking.
Try it: Instant Pot Chicken Bone Broth In 3 Hours
#24 Butter-and-Flour Roux for Cream Sauce
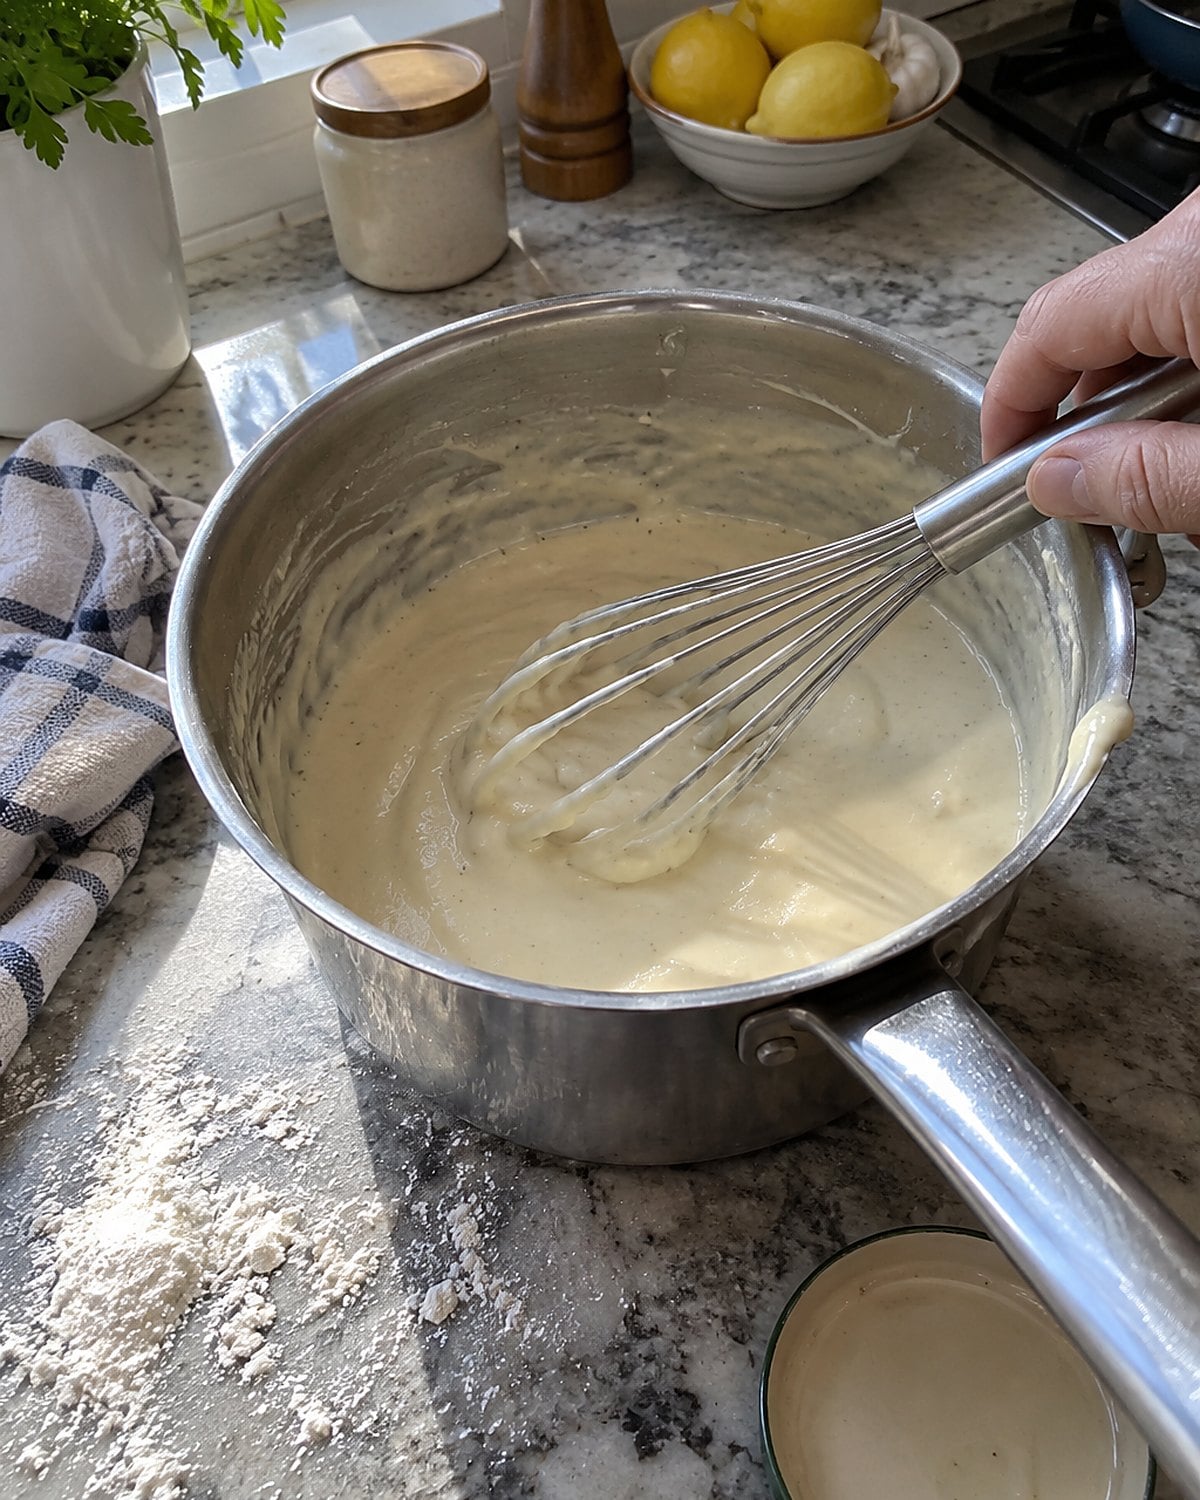
A pale sauce begins with a small wait. Melt butter, stir in flour, and keep stirring until the mixture smells faintly toasted rather than like raw flour. Don’t brown it if you want the sauce to stay light.
Now add milk in stages. The first splash turns the roux into a stiff paste. That’s right. Whisk it smooth before adding more.
Pouring all the milk in at once leaves dry flour tucked inside lumps, even while the rest of the pan looks thin.
Keep the heat modest and watch the spoon. When sauce coats its back, draw a finger across it. A clear line tells you it has thickened. This is the base for cheese sauce, creamed vegetables, and the casserole whose edges everybody used to scrape.
If it grows too thick, whisk in more milk. If it tastes like flour, give it more time on the stove. Salt belongs near the end, especially when cheese is going in. That sharp cheddar brings its own.
#23 Loose Bread Crumbs From Stale Slices
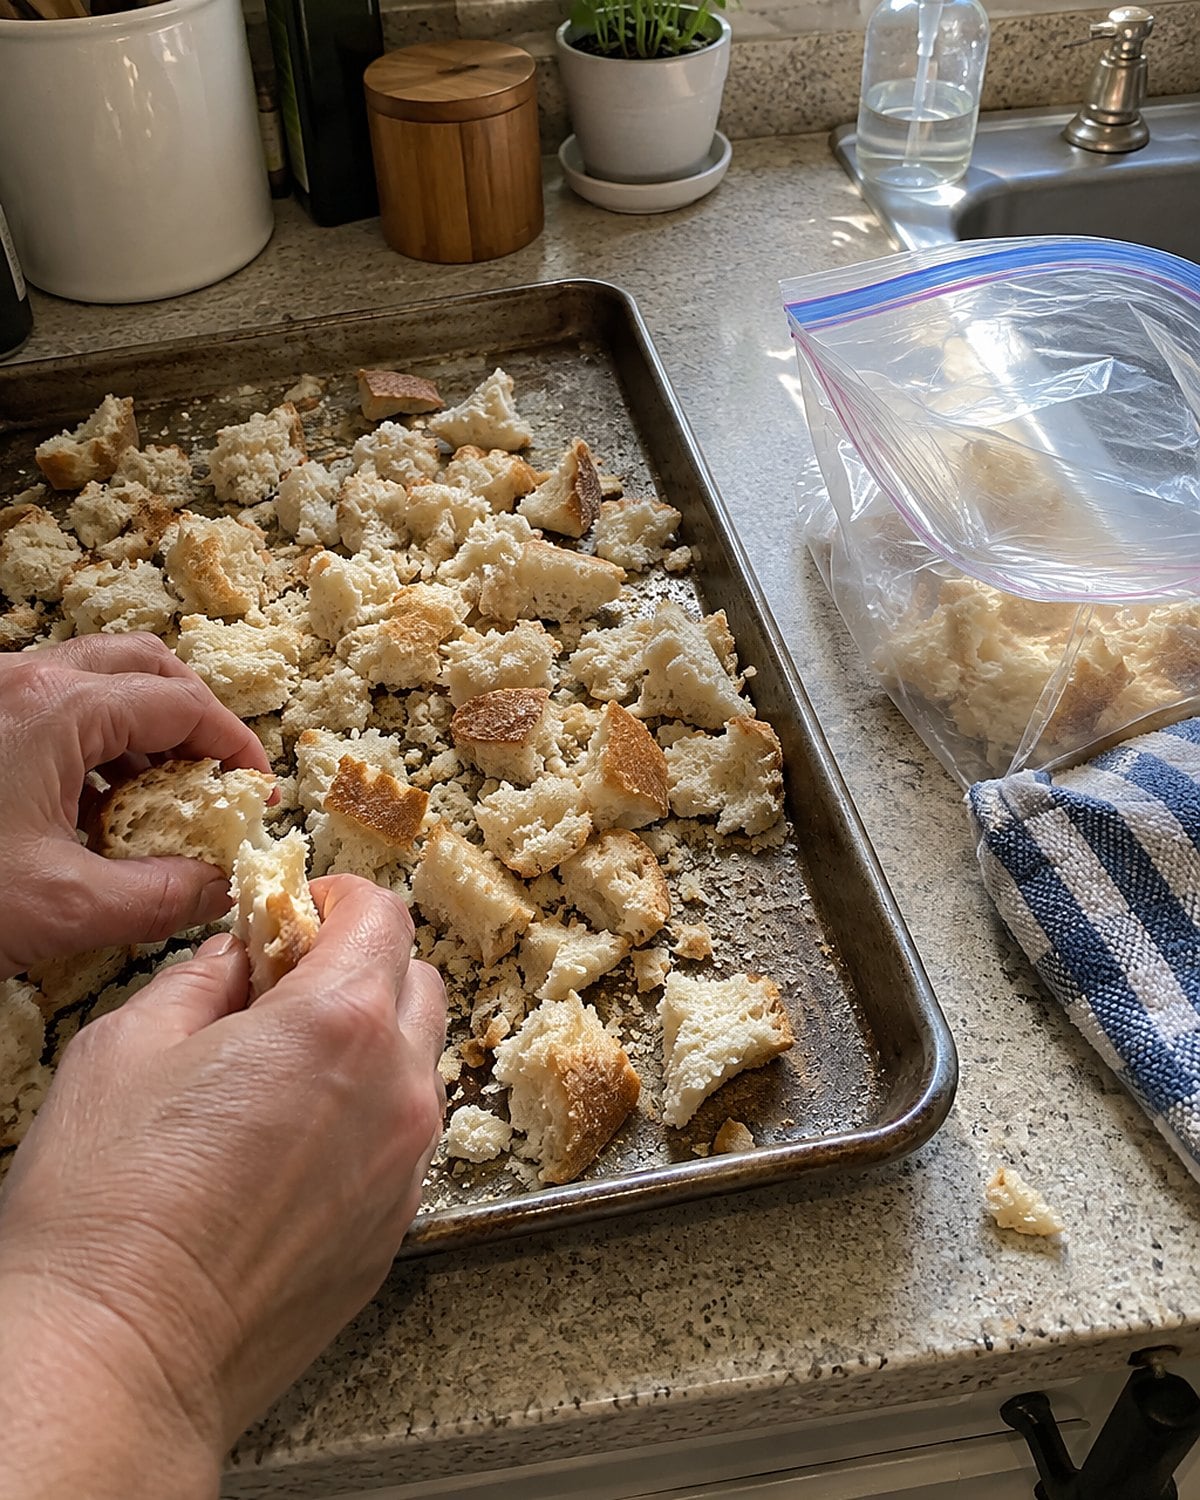
The heel of a loaf needn’t become toast you don’t want. Tear it into pieces and dry them in a low oven, then crush them by hand or in a processor. Dry bread breaks cleanly; damp bread rolls into stubborn little balls.
Keep the crumbs coarse for a casserole top. They catch butter and turn crisp in separate ridges. Grind them finer when they need to cling to a cutlet.
Saving bread over several days? Put the pieces in a freezer bag rather than leaving them on the counter. Label it so it doesn’t become a mystery. One handful gives baked pasta a crisp top and clears the bread box without asking anyone to eat another sandwich.
#22 Baked Beans With a Dark Top
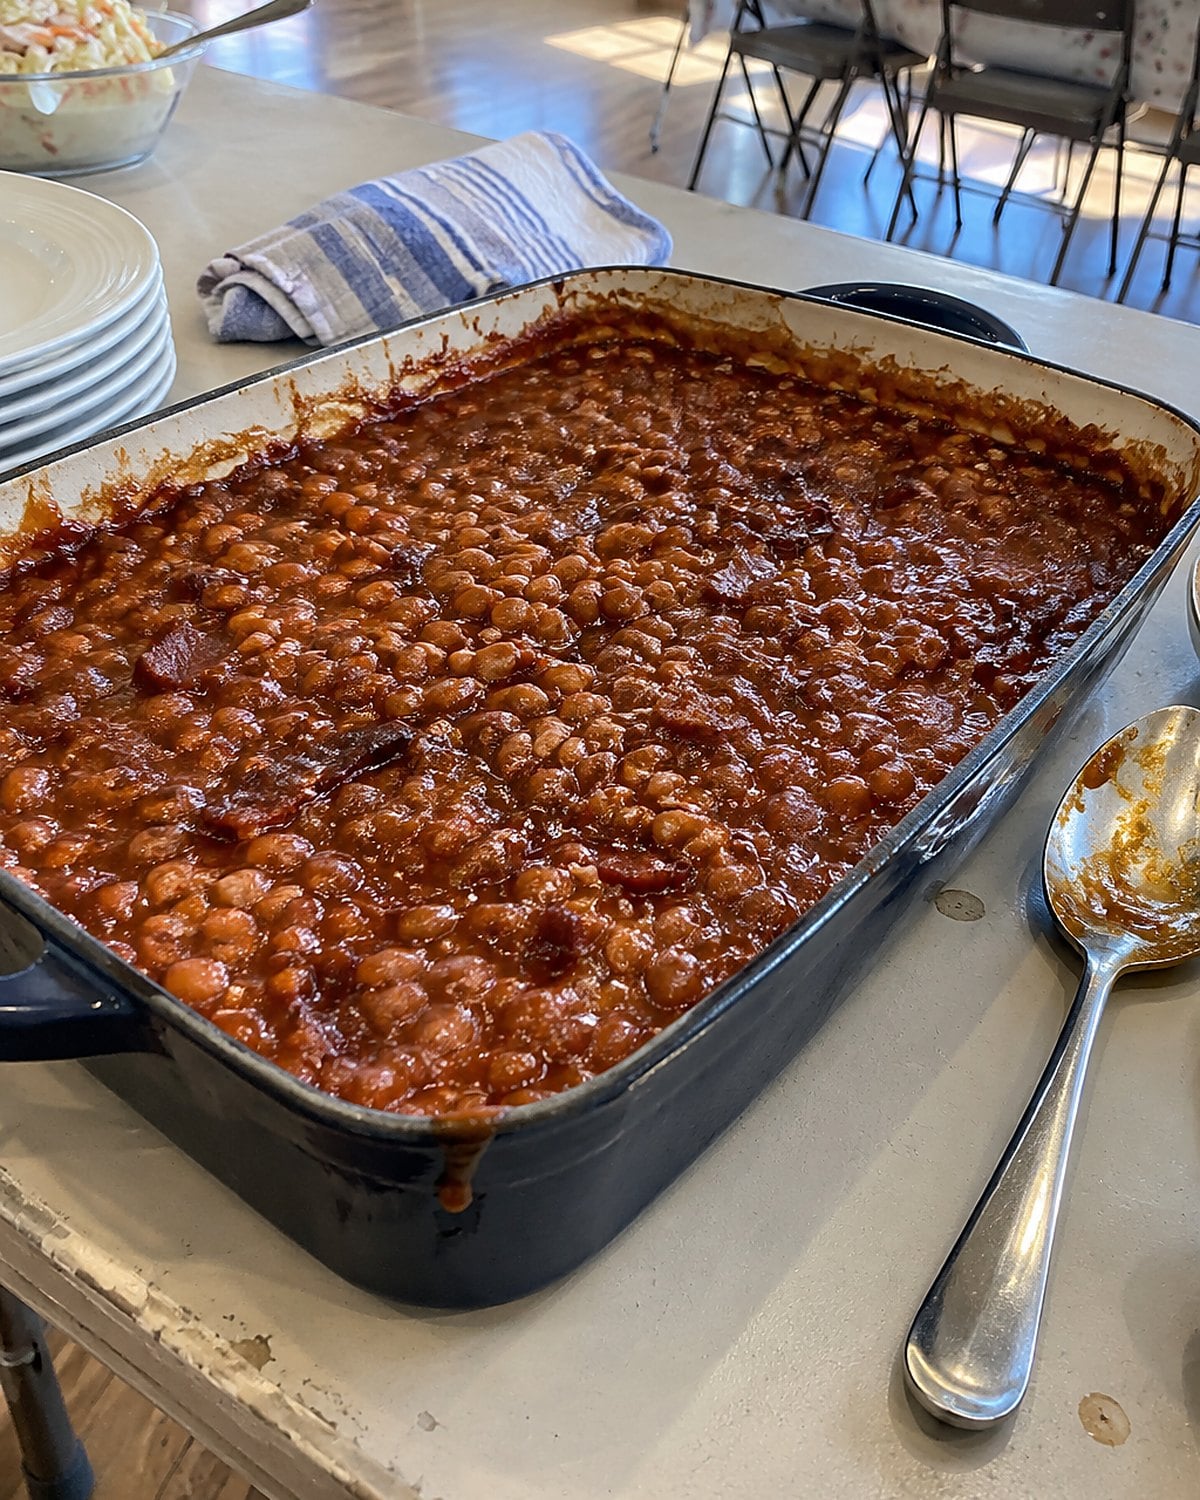
At a church hall table, the best pan of baked beans is rarely the neatest. A dark rim clings to the dish, and a spoon drawn through the center leaves a path that fills in slowly. That thickness takes patience after the beans are tender.
Start with cooked beans. Tomato and other acidic ingredients slow softening, so save them for the baking stage rather than asking dry beans to soften in a sharp sauce. Stir in onion, mustard, and a sweetener you like. A little liquid protects the bottom while the top cooks down.
Leave the pan uncovered toward the end. The surface darkens and the sauce gathers around the beans instead of sitting beneath them. Taste a bean from the middle, not just a spoonful of sauce. It should give without feeling pasty.
Dry kidney beans deserve special care before they reach this dish. The FDA’s Bad Bug Book warns that undercooked kidney beans contain a toxin. Follow its preparation guidance, including a full boil before slow cooking. A slow cooker alone isn’t the place to start them dry.
Try it: Instant Pot Baked Beans (Vegan & Gluten-Free)
#21 Deviled Eggs Without a Filling Packet
“You made these?”
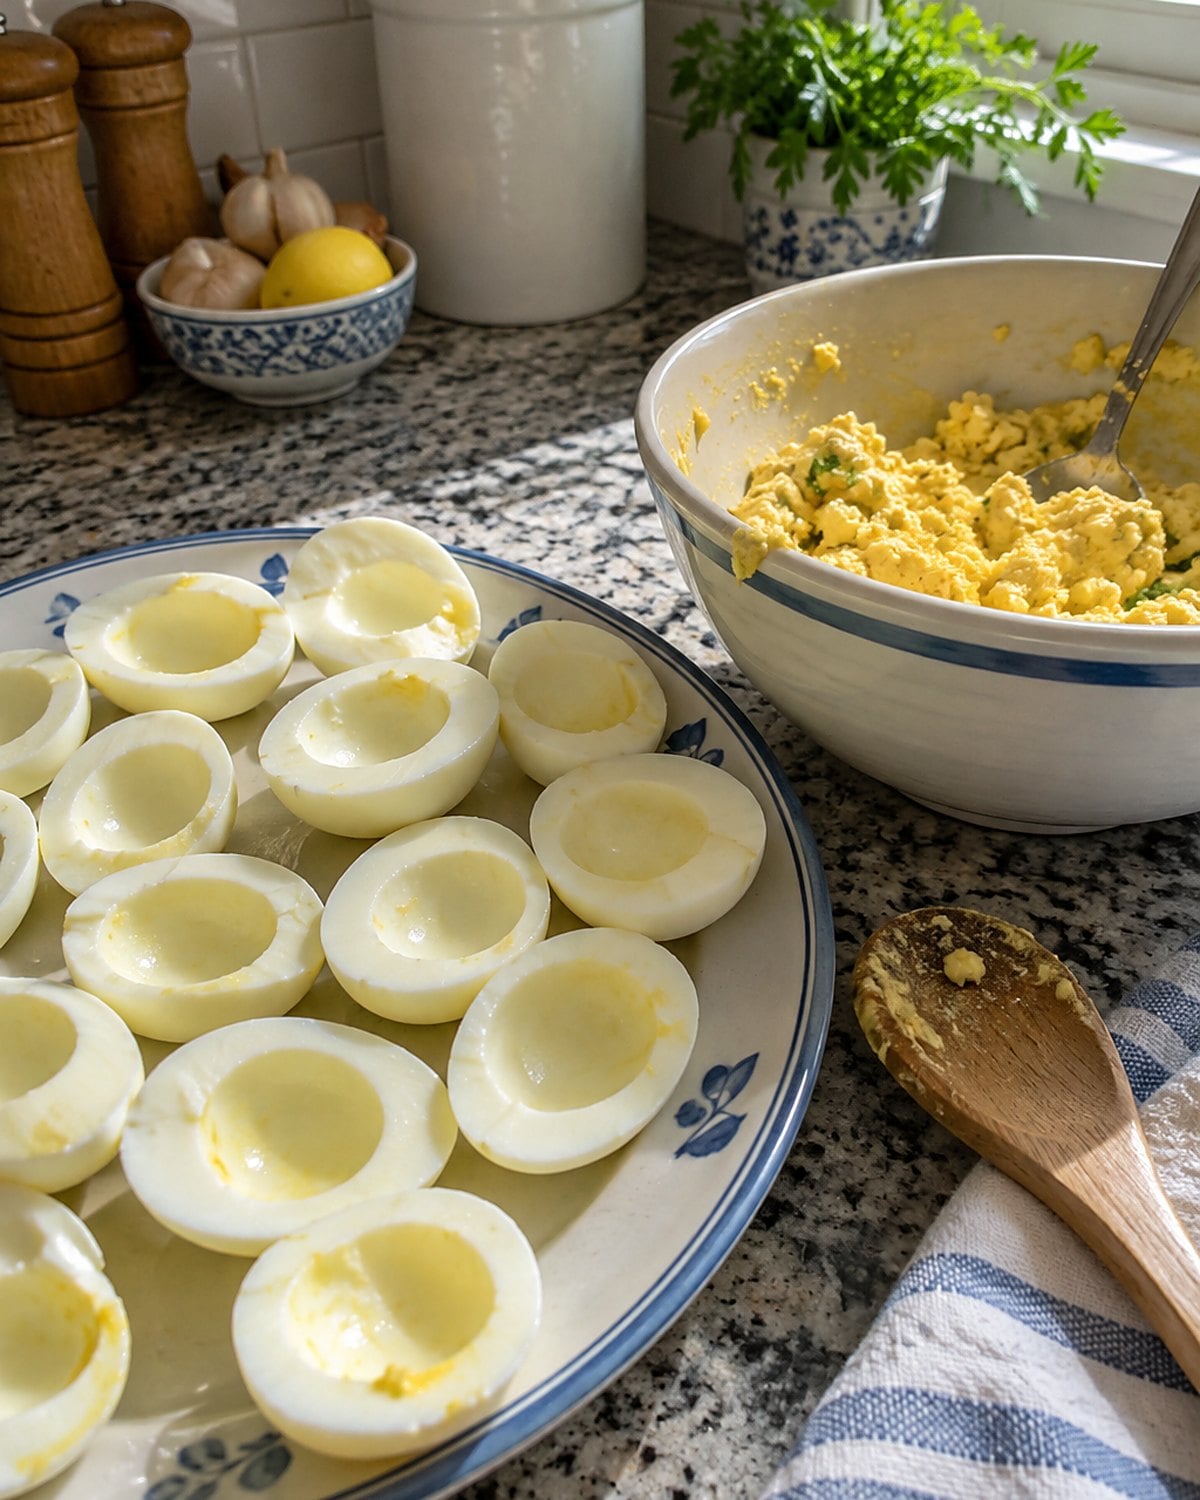
Set a filled egg on the plate and let someone ask. The filling should taste like the egg, with enough mustard and pickle brine or vinegar to give it an edge.
Mash the hard-cooked yolks first. Add mayonnaise and the sharp ingredients afterward, a little at a time. Too much mayonnaise makes a loose filling that slides out of the whites on the trip across the room. Taste from the mixing bowl before you fill them, then check one whole egg for salt.
For a gathering, pack the whites and filling separately in a cooler, then fill them when you arrive. The USDA’s egg safety guidance says egg dishes shouldn’t sit out beyond 2 hours. Use the same two spoons you’ve always used if you like. The shape of the filling isn’t the test.
#20 Chicken-and-Dumplings in One Pot
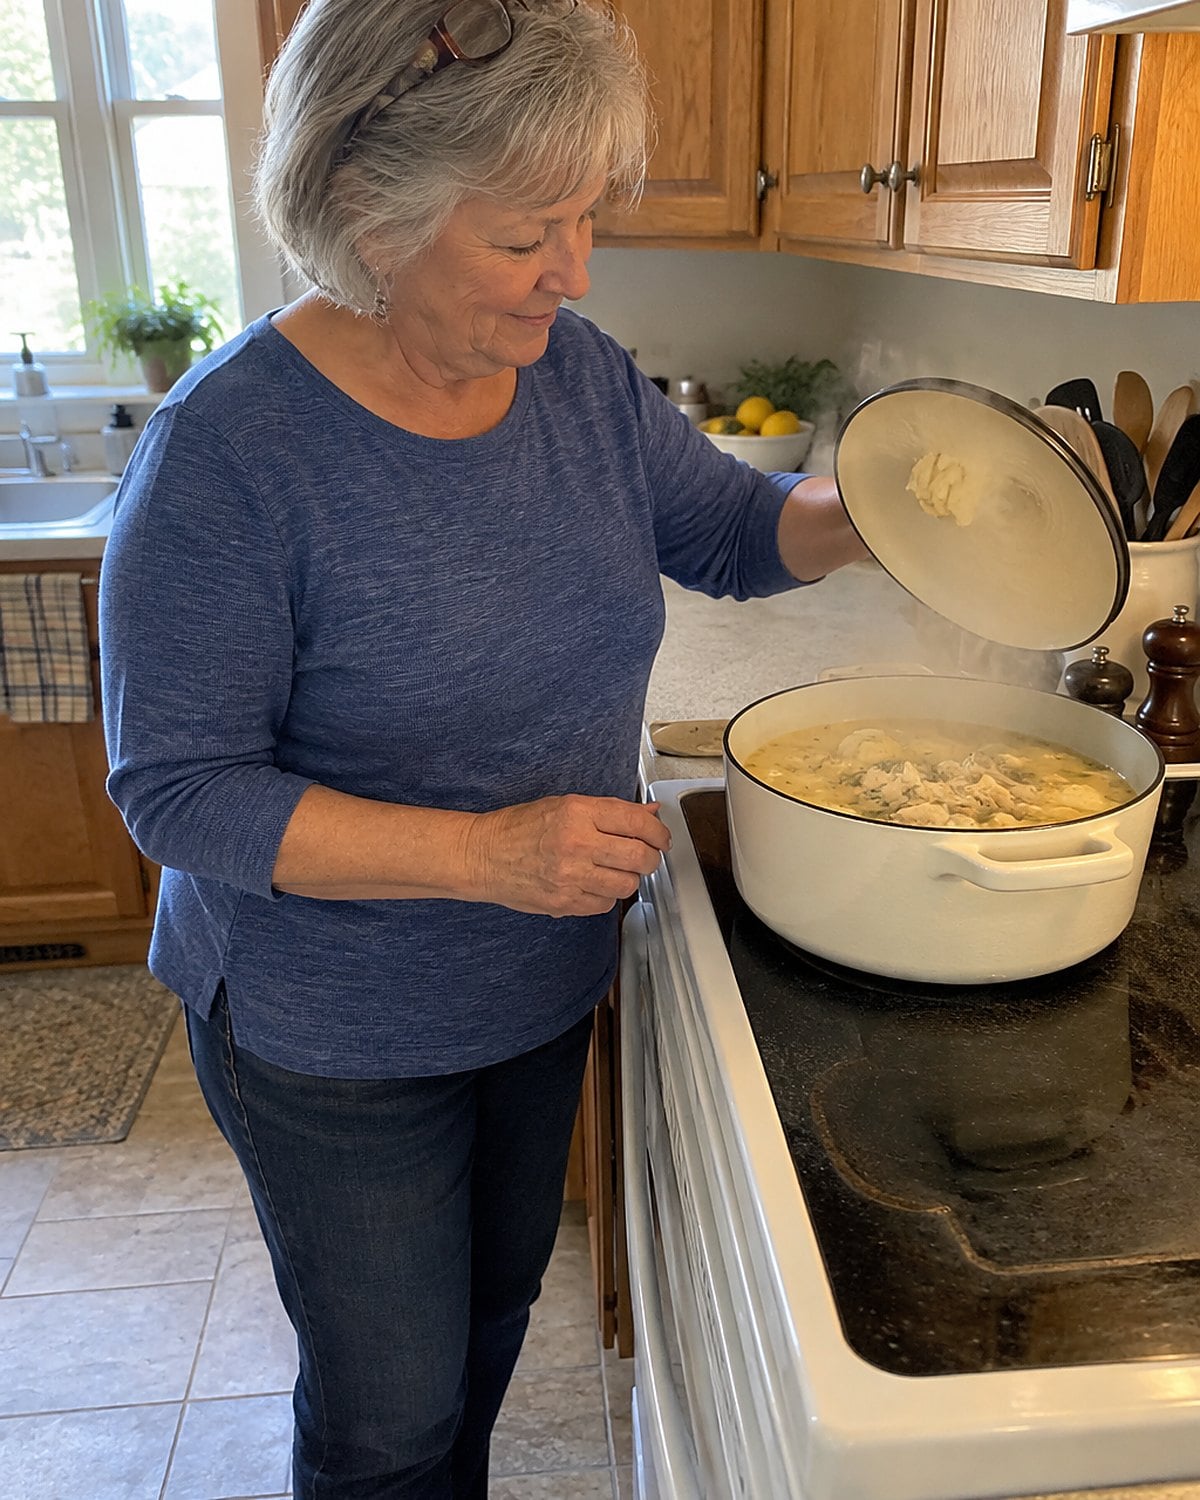
The lid is the part people want to lift. Leave it alone while the dumplings steam. Each peek drops heat from the pot and sends condensation onto the dough.
First get the broth and chicken tasting right. A dumpling won’t fix thin, unsalted soup. The liquid should simmer, not boil so hard that it tears the dough apart. Spoon the dough onto the surface with space between the mounds, then cover the pot.
Check the center of a dumpling before serving. Split one open: the middle should look cooked through, without wet batter. If it needs more time, put the lid back and let the steam do its work. Check the chicken with a thermometer if you cooked it in the pot; poultry reaches 165°F.
For two people, a smaller pot keeps the broth deep enough to support the dumplings. You still get the moment when the lid comes off and supper smells like somebody has been home all afternoon.
#19 Cooked-Cabbage Skillet With Bacon Drippings
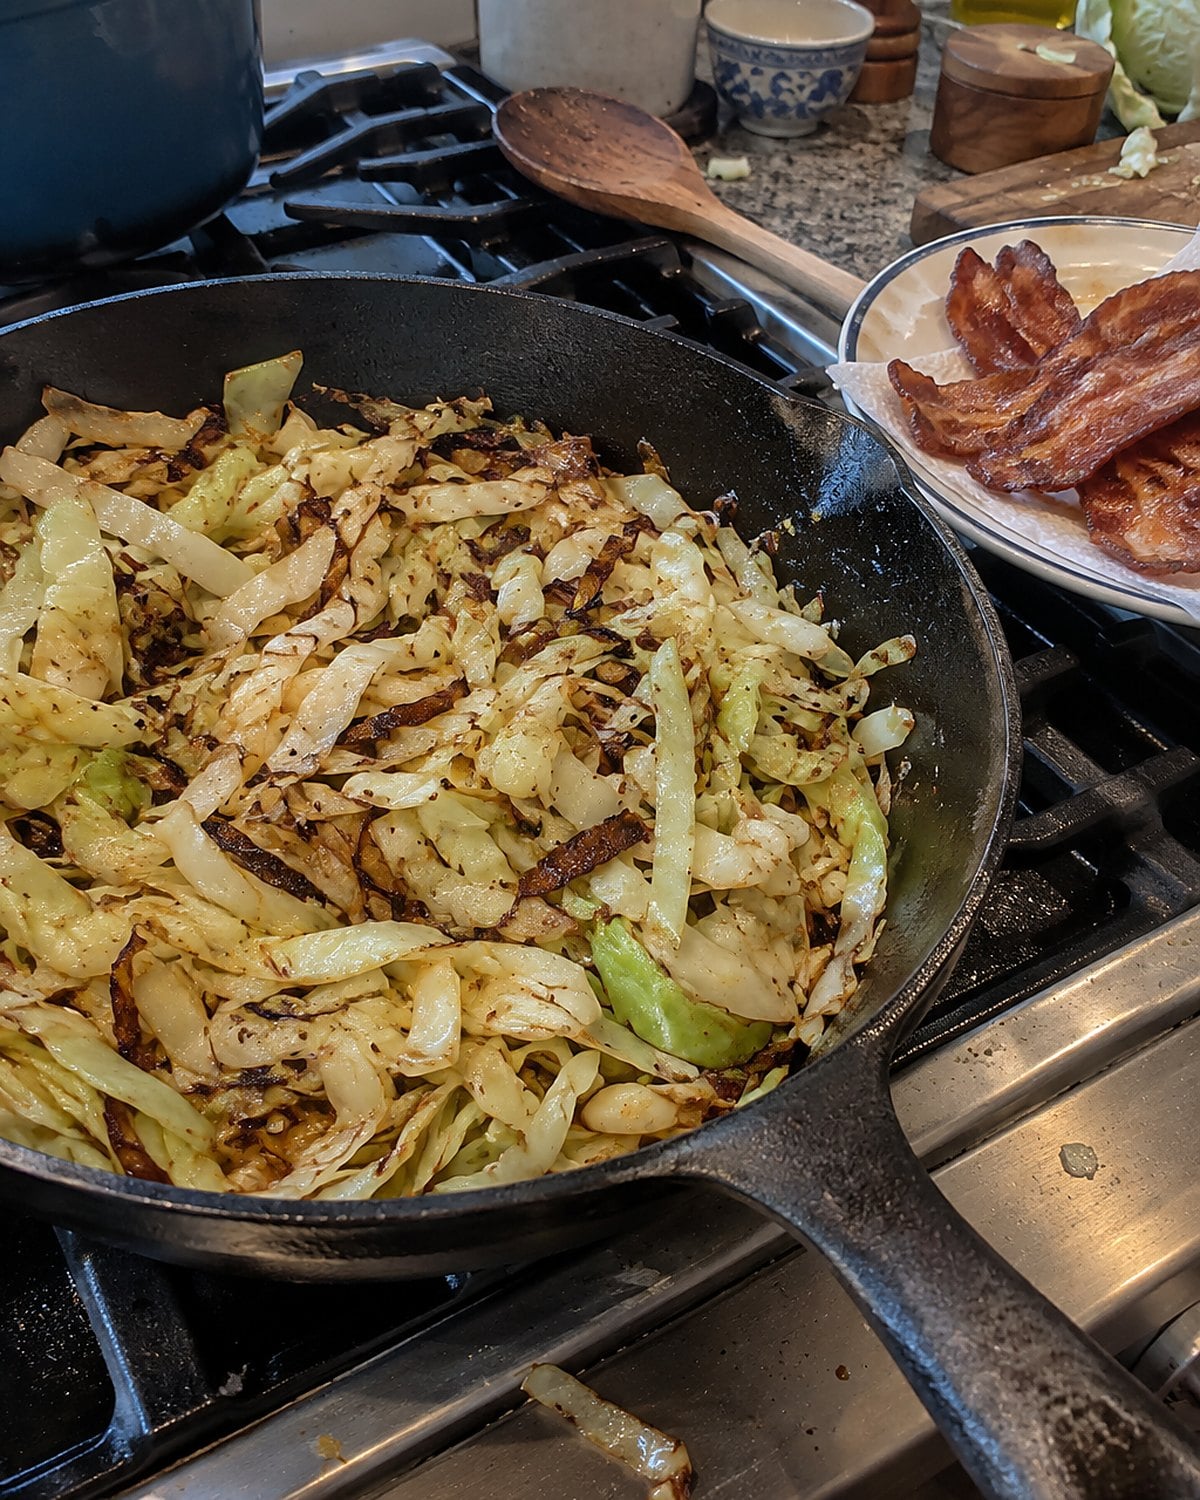
Cabbage tells you what it needs by sound. The pan hisses when water is leaving the leaves. Once that sound settles, the edges start to brown.
Cook a little bacon first, lift it out, and use the drippings for the cabbage. Cut the cabbage into ribbons that fit your fork. Crowding a small skillet piles wet leaves on wet leaves, so cook it in batches if needed. Put the bacon back at the end to keep its crisp edges.
Don’t reach for vinegar until you’ve tasted it. Salt draws out sweetness as the cabbage cooks. Vinegar belongs at the finish, where its edge stays clear.
Half a head looks modest on the cutting board and generous in the pan. The rest waits for slaw or soup. This is the kind of side that knows how to make a small dinner feel complete.
#18 Tomato Jam From the Late Garden Bowl
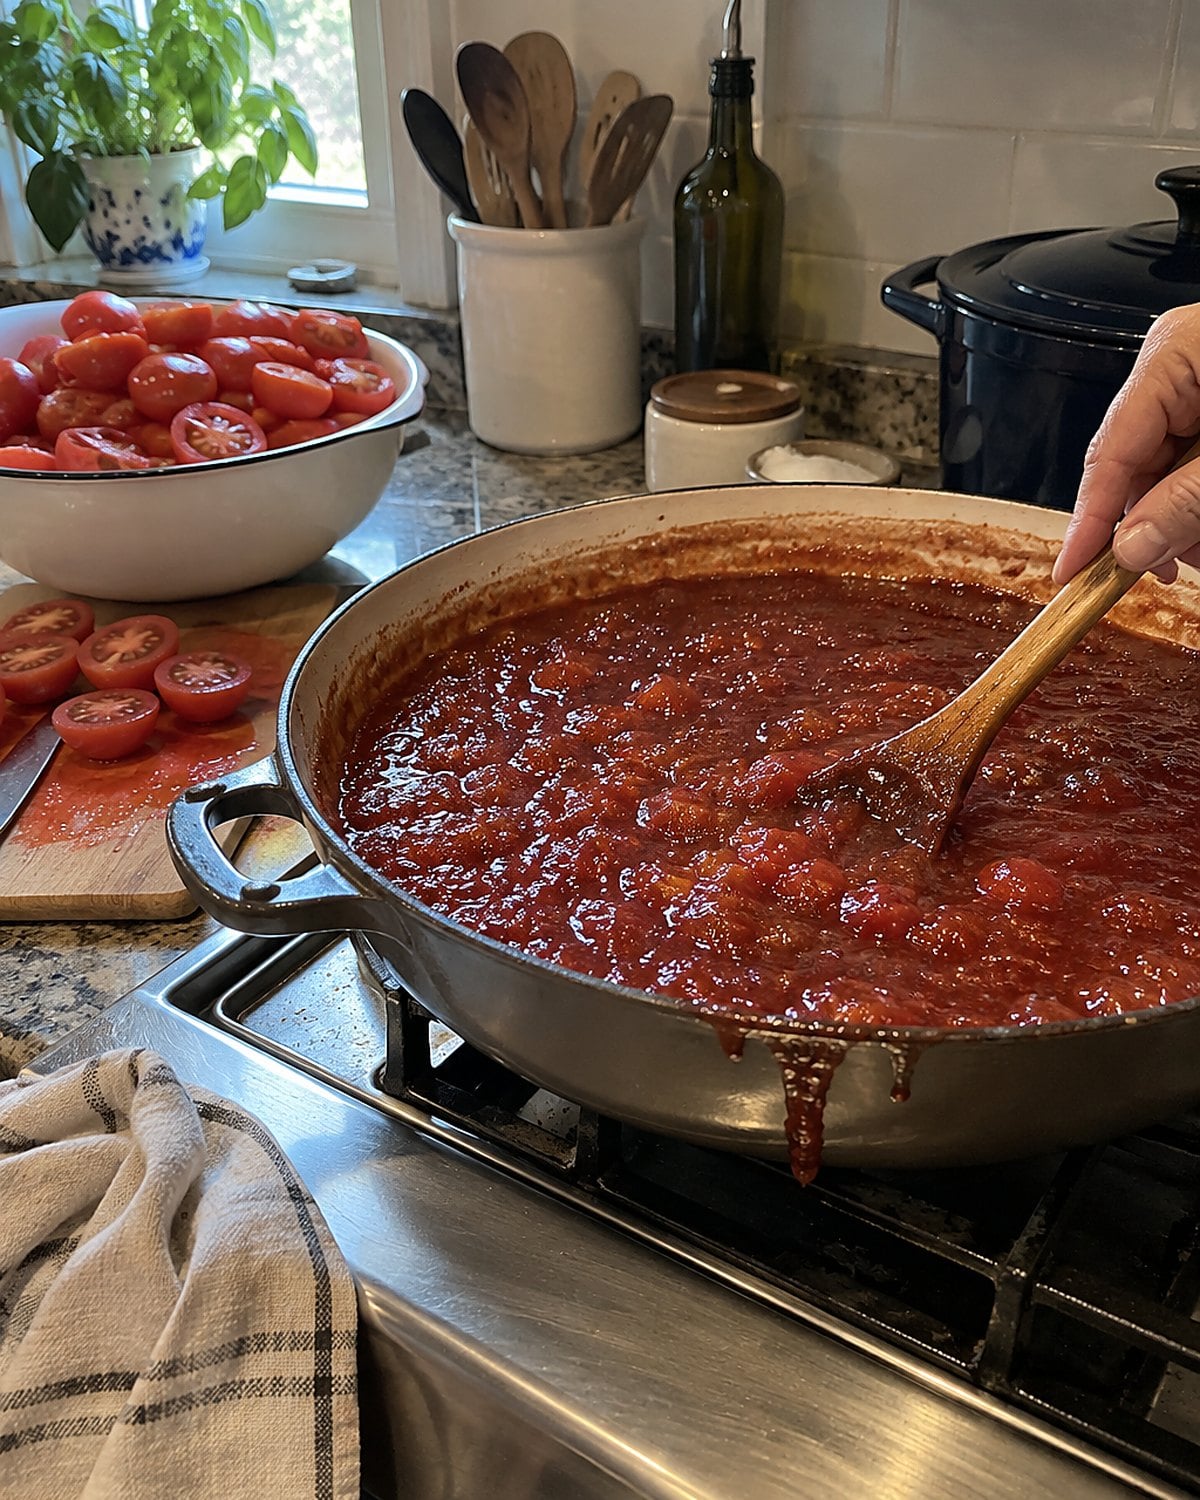
Late tomatoes arrive all at once. Some split before you get them inside; others sit on the sill because there aren’t enough sandwiches in the week. A wide pan gives those tomatoes somewhere to go.
Chop them and cook them with sugar, salt, and a little vinegar. Keep the heat low enough that the mixture blips instead of spitting across the stove. As water leaves, drag a spoon along the bottom. If it leaves a track for a moment, the jam is close.
Taste after it cools on the spoon. Heat hides sweetness and sharpness, and a hot taste sends you back to the sugar bowl too soon. A pinch of spice belongs there only if you want to taste that spice every time you open the jar.
This is a refrigerator spread, not a pantry preserve. For shelf-stable jars, use a tested recipe from the National Center for Home Food Preservation and follow its method. Your grandmother’s reused jar had charm; a tested process is what makes pantry storage a separate project.
#17 Biscuit Dough Under Your Fingertips
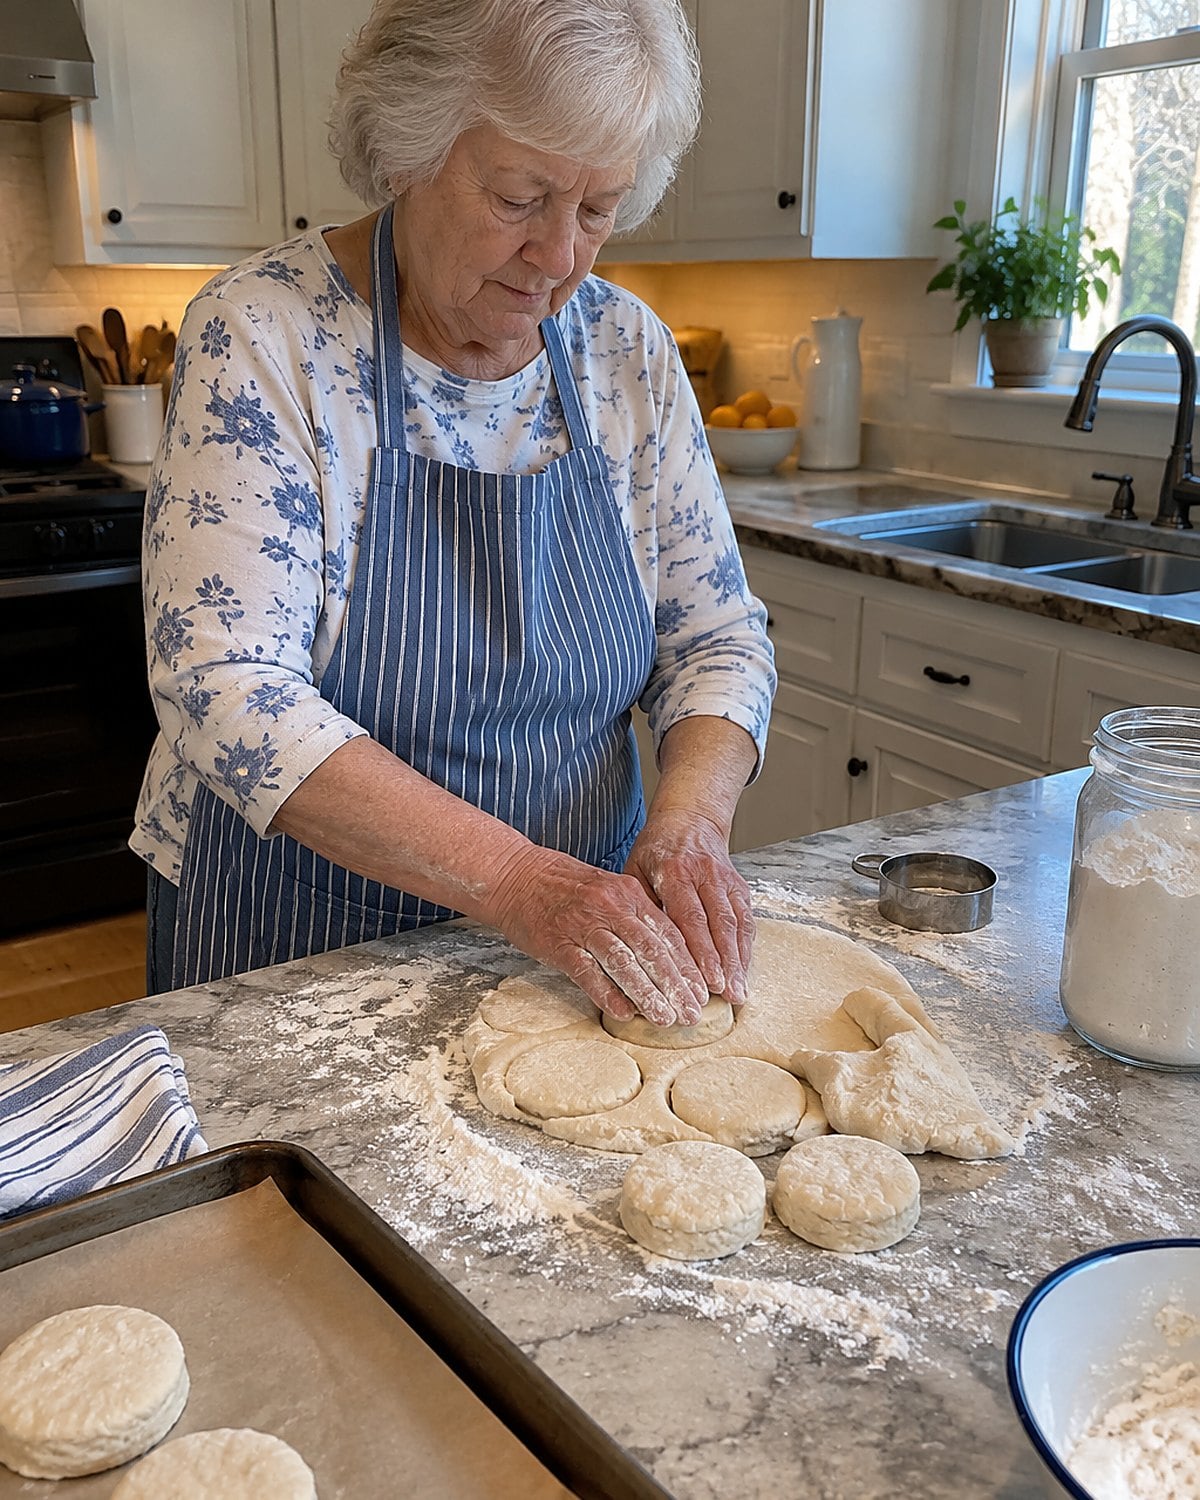
A biscuit gets tough long before it reaches the oven. Once liquid hits flour, stirring builds gluten. Stop when the dough holds together, even if a few floury patches still show.
Rub cold fat into the flour until the bits look uneven. Some should be smaller than peas; others should stay larger. Those larger pieces leave pockets as the biscuit bakes. Pat the dough out instead of rolling it thin and pressing it again and again.
Press the cutter straight down. Twisting seals the edge and holds back the rise. If you cut squares with a knife, you’ll have no scraps to gather. Either way, the ragged surface is a better sign than a polished one.
Break one open while it’s warm. It should pull apart in soft layers, not bend like a roll. That tells you more than the color on top.
#16 Skillet Cornbread With Crisp Edges
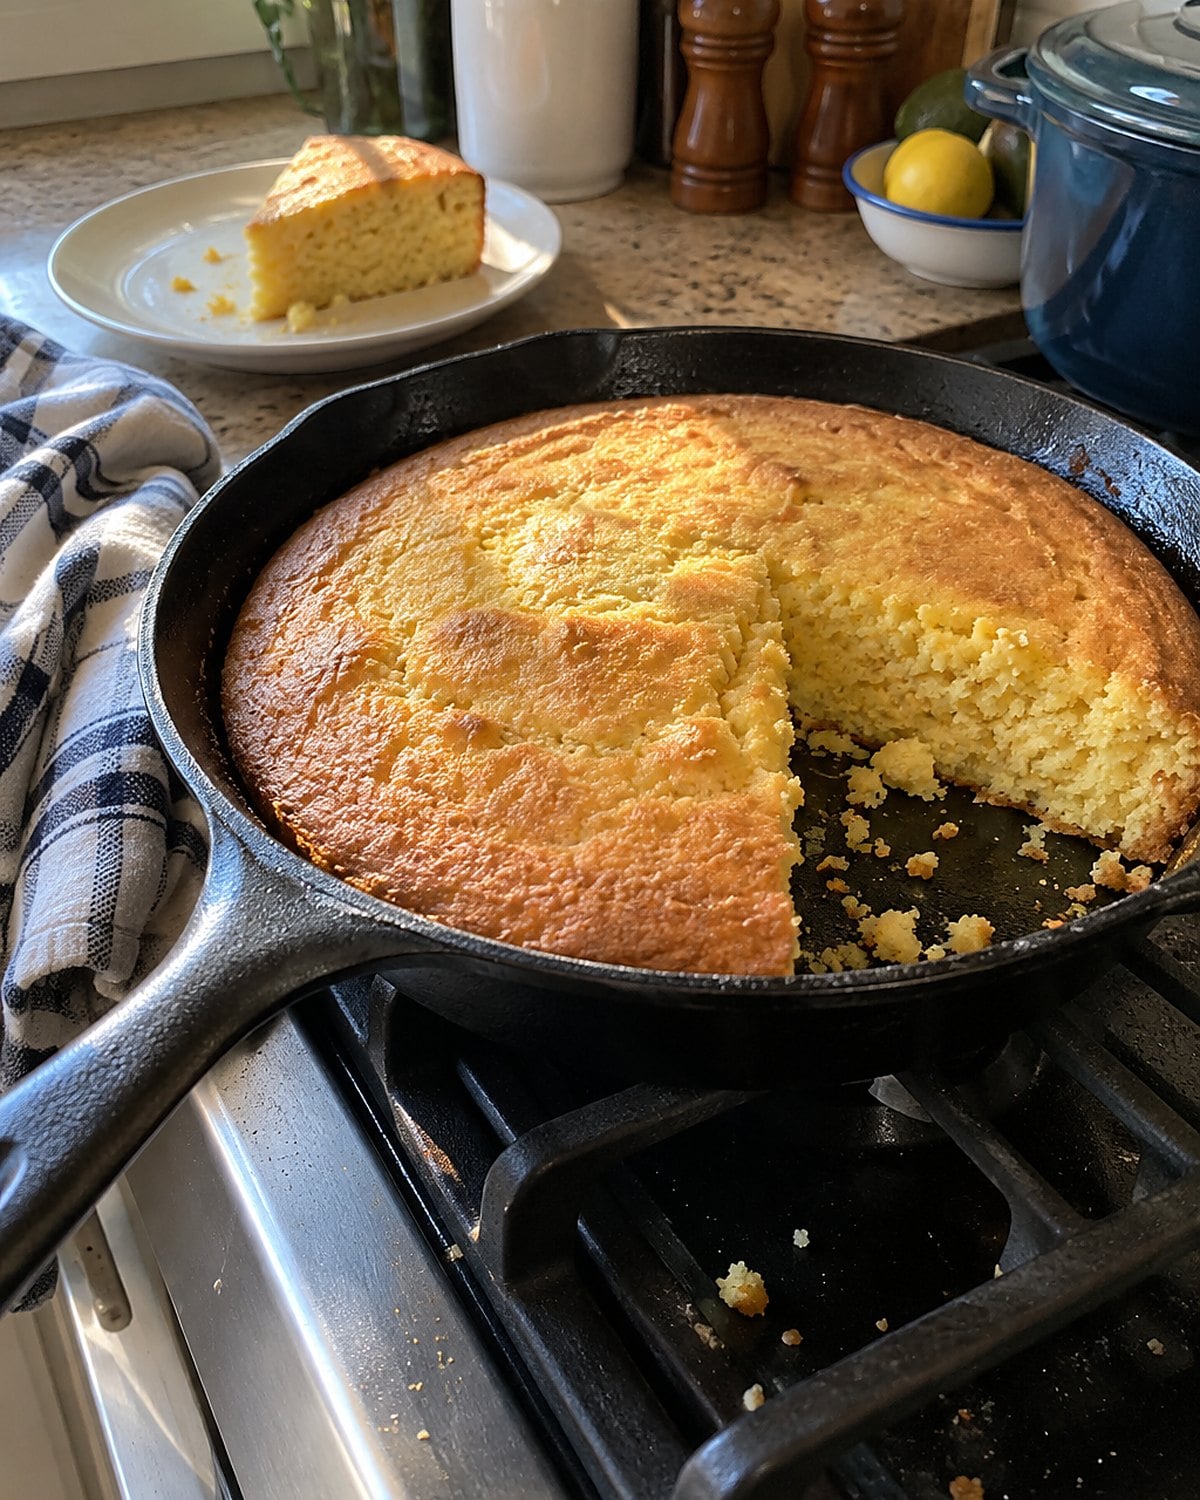
The empty cast-iron skillet belongs in the oven while it heats. Batter poured into a hot, greased pan starts cooking at the edge the moment it lands. That’s where the crust comes from.
Stir the batter only until the dry patches disappear. A few lumps do no harm; hard mixing gives you a heavy slice. Listen for the sizzle when you pour. If the pan says nothing, it wasn’t hot enough.
Cornmeal brings the flavor, while the skillet does the work a cake pan won’t. Take the bread out when the center springs back under a light touch. Let it rest before cutting, or the first wedge will crumble in your hand.
There’s no need to settle every old argument about sugar in cornbread. The crust is the part to settle at your stove.
#15 Oatmeal From the Large Canister
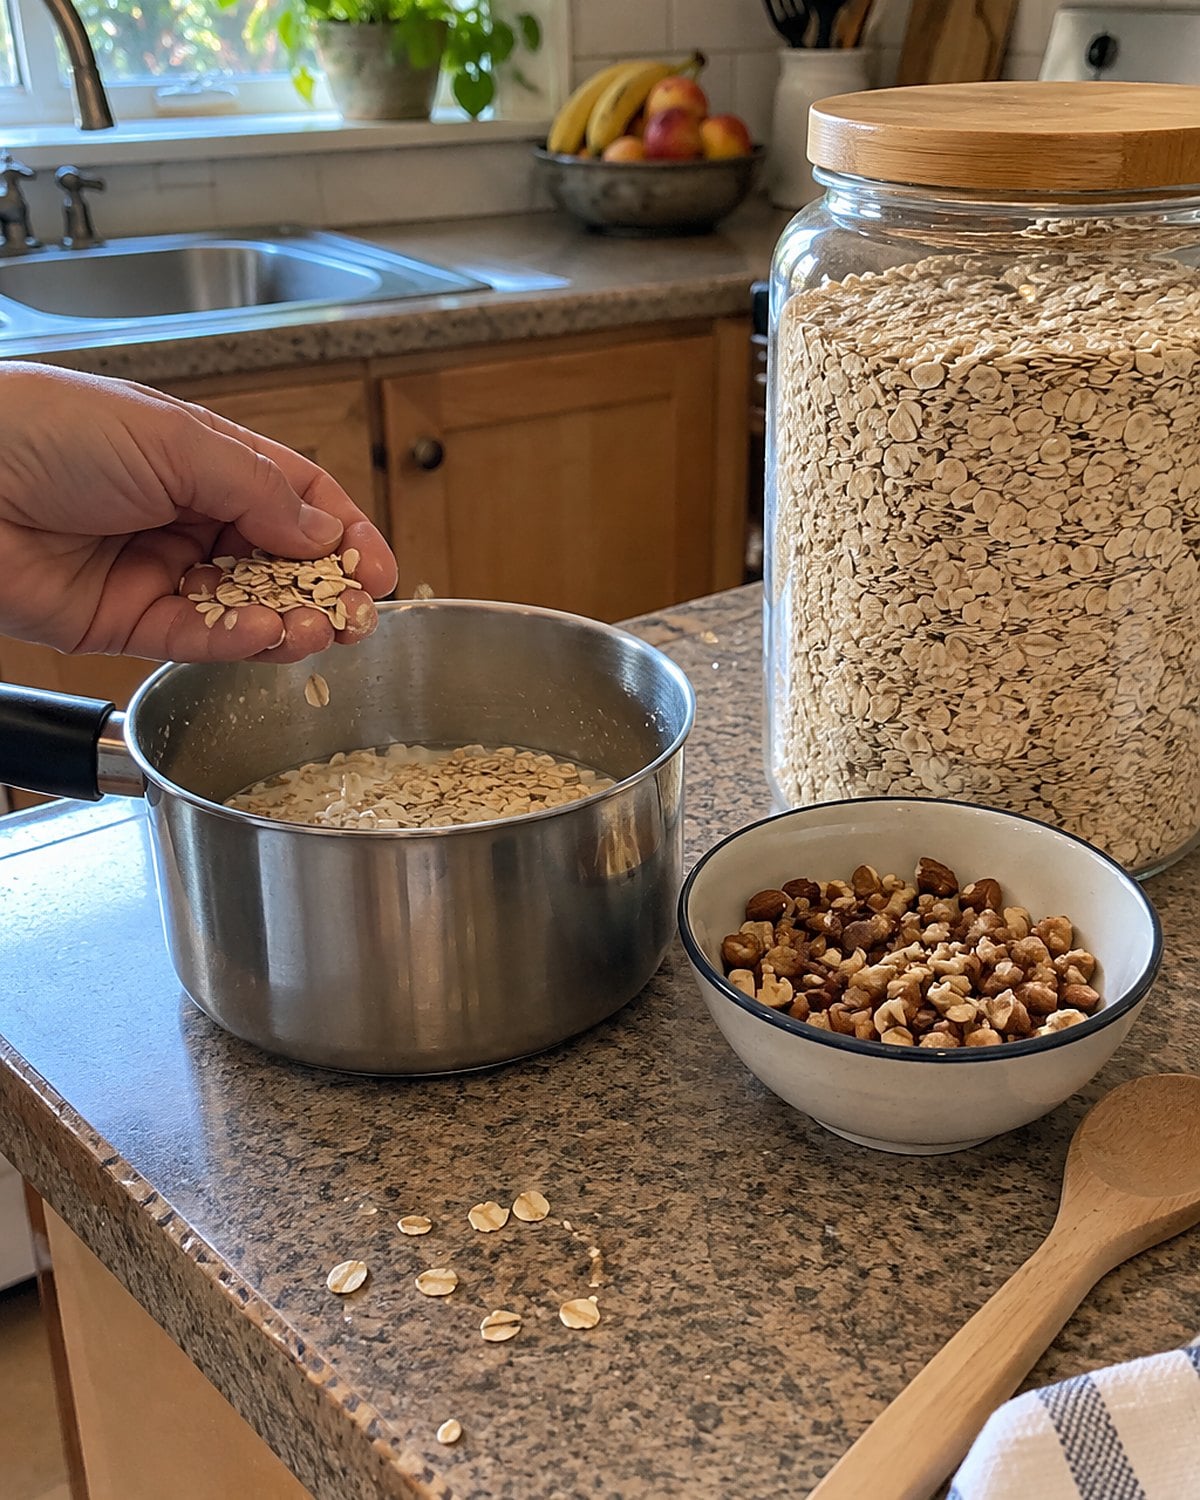
The paper packet knows exactly how sweet it wants your breakfast. The canister lets you decide after the oats are cooked.
Old-fashioned rolled oats keep more chew than quick oats because their flakes are thicker. Steel-cut oats are chopped grain rather than flattened flakes, so they take longer and stay firmer. Look at what’s in your cupboard before blaming the saucepan for a texture you didn’t expect.
Start oats in simmering water or milk, stir when they thicken, and turn off the heat before they look finished. They keep absorbing liquid while you find a bowl. A splash of milk loosens them again.
Toast a few nuts in a dry pan while the oats cook. Their smell tells you when to stop; burnt nuts won’t improve under maple syrup.
For one person, this breakfast uses what you want, not what a packet says is a serving. Put fruit on top at the table so the leftovers stay plain enough for tomorrow.
Try it: Instant Pot Rolled Oats With Cinnamon & Banana
#14 Pie Crust Rolled Between Two Sheets
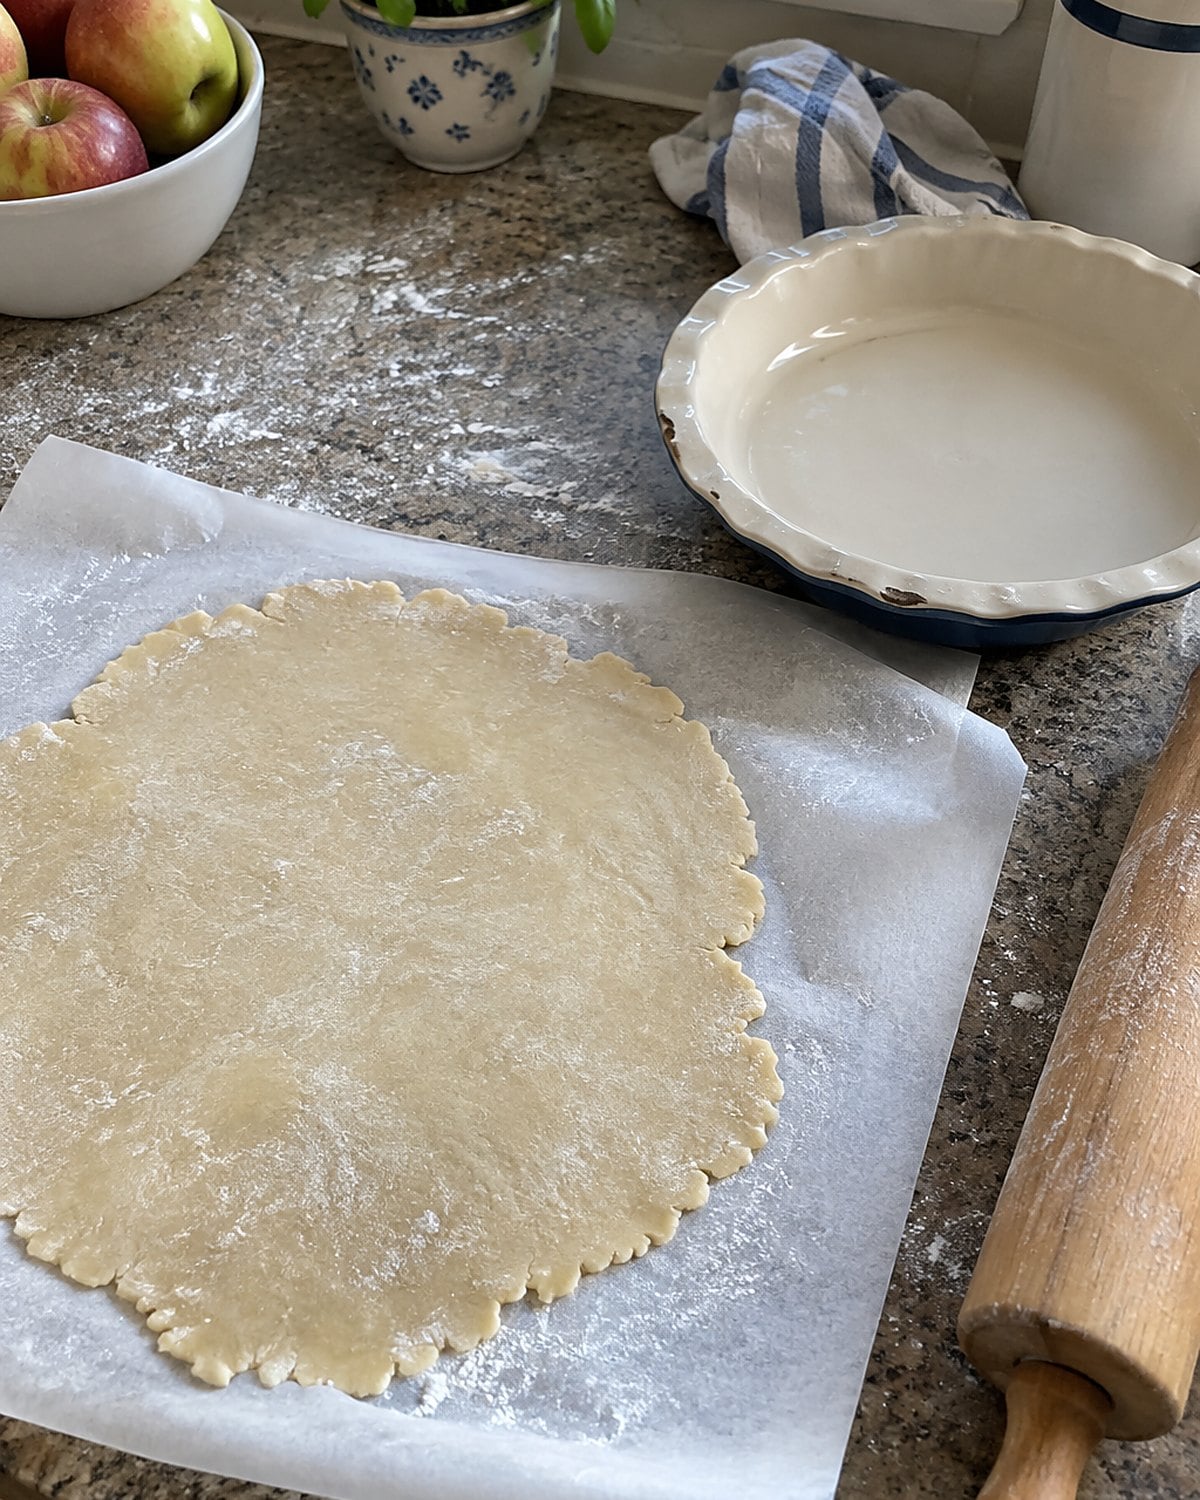
Pie dough turns difficult when warm fat melts into the flour. Start with cold ingredients, then stop adding water as soon as a squeezed handful holds together. It needn’t look smooth in the bowl.
Press the dough into a disk before chilling it. A ball has to be forced flat later, and that extra work makes a crust less tender. Roll the disk between two sheets of parchment if the counter and rolling pin keep grabbing it. Peel one sheet away, turn the dough into the plate, then peel the other.
A crack at the rim isn’t a ruined pie. Press on a scrap with a dab of water and keep going. The filling hides repairs better than any fancy edge does.
If the dough springs back as you roll, give it a rest in the fridge. Stretching it into the plate invites it to shrink while baking. The best crust fits before the oven goes on.
#13 Macaroni Salad for the Church Table
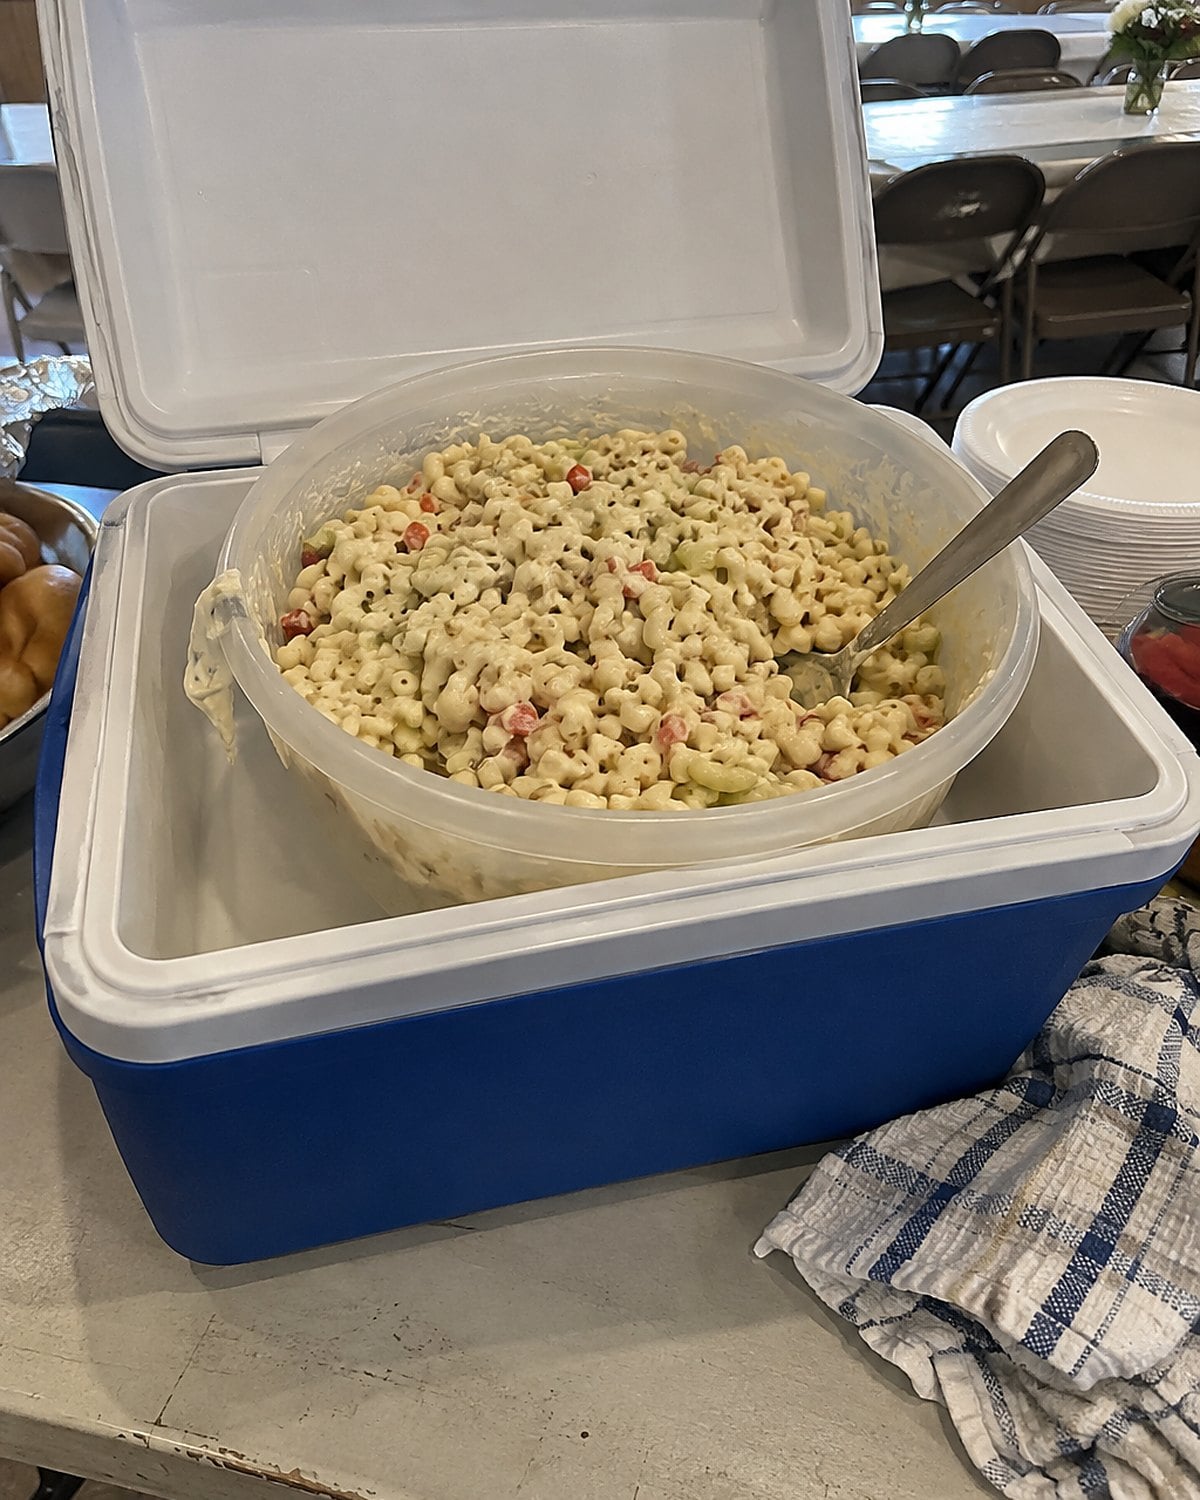
Someone always brought the macaroni salad in a bowl too big for her own refrigerator. At home, it’s worth making less, but the old lesson still holds: pasta changes after it meets the dressing.
Cook the macaroni until tender enough to eat cold. A firm bite that seems pleasant while hot turns stiff after chilling. Drain it well, then let the steam leave before stirring in mayonnaise. Dressing hot, wet pasta gives you a thin pool at the bottom of the bowl.
Season it once while mixing and again after it chills. Cold food tastes less lively, and the pasta takes up some of the dressing. A spoonful of pickle brine brings it back without making the salad sweeter.
If you carry it to a gathering, keep the bowl cold. Set out a small portion and leave the rest in the cooler. You’ll have a fresher bowl to bring out when the serving spoon starts scraping the bottom.
Try it: Creamy Macaroni Salad With Peas & Ham (Instant Pot, Stovetop)
#12 Cucumber Pickles Made for the Refrigerator
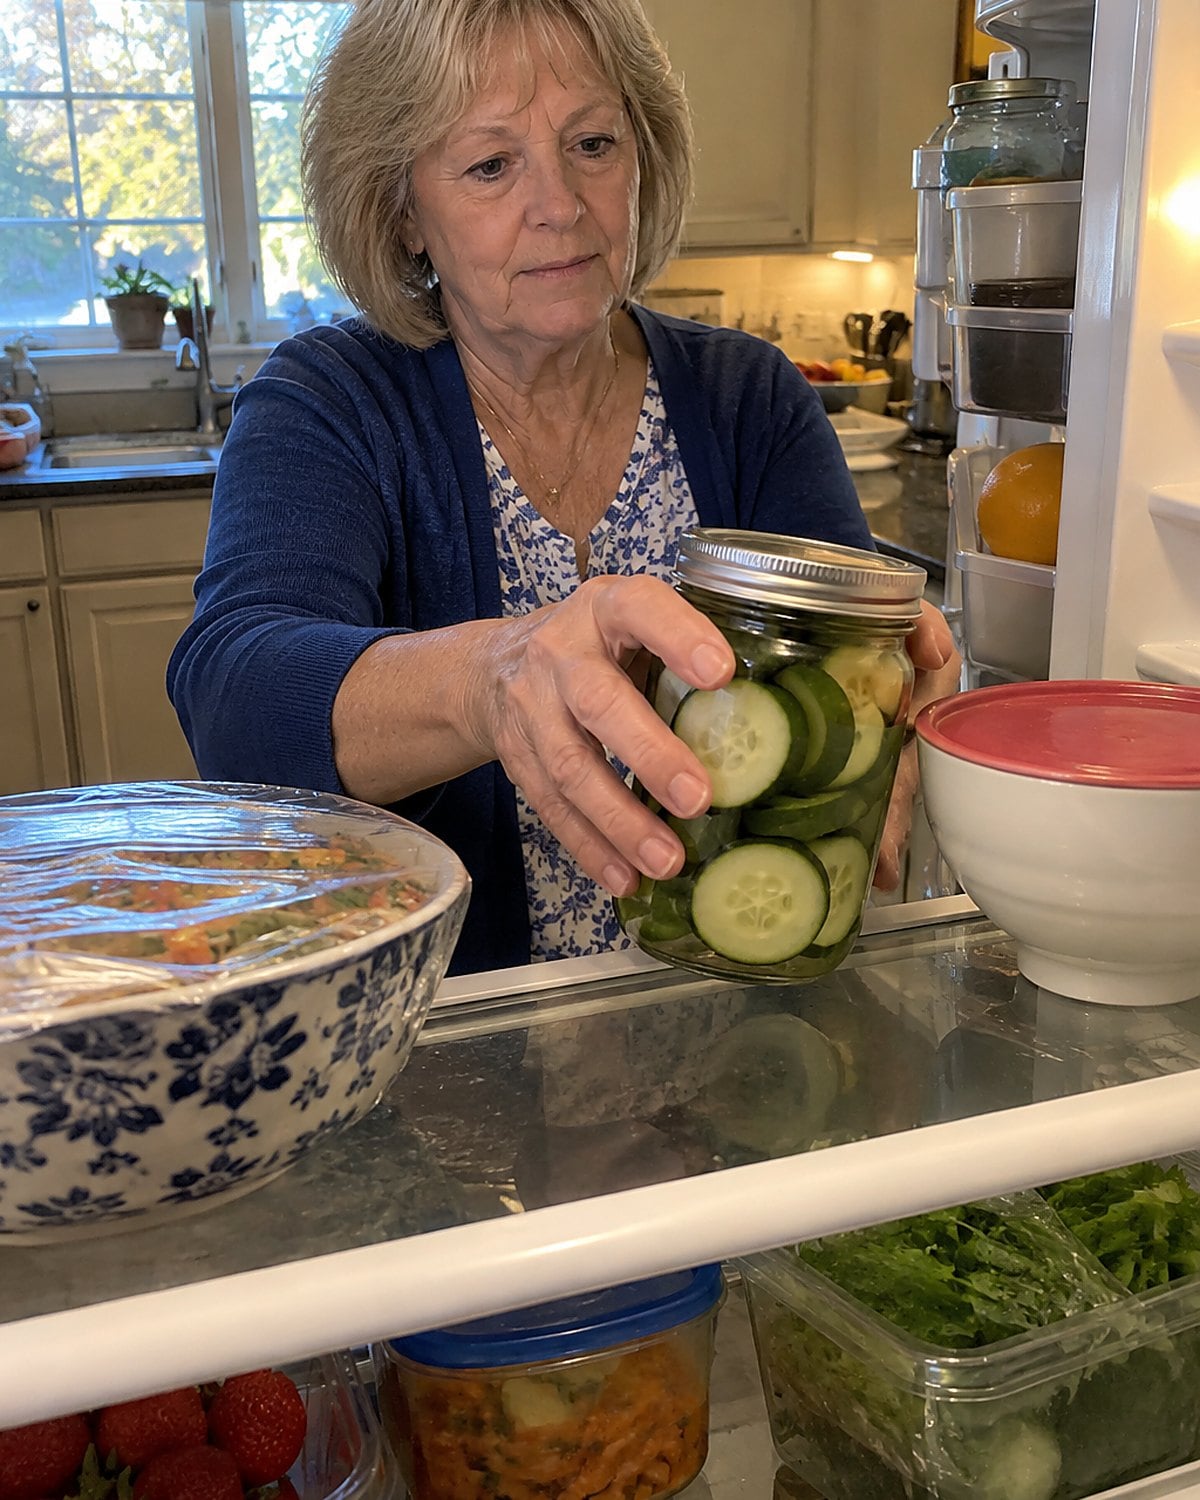
Want pickles by the weekend without setting up a canning pot? Make refrigerator pickles. Slice cucumbers, pour a vinegar brine over them, and put the jar in the fridge. They’re meant to stay cold.
Use a clean jar and keep the slices under the brine. Thin slices take on flavor faster; thicker ones keep more crunch. Taste the brine before it goes over the cucumbers. It should be sharp, salty, and a little stronger than you want the finished pickle.
The name matters. A refrigerator pickle is not a shelf-stable canned pickle. If you want jars for the pantry, follow a tested pickling recipe from the National Center for Home Food Preservation. Don’t reduce the vinegar because the first taste puckers your mouth.
Pull out a few slices for a sandwich, then close the fridge door. There’s no ceremony required.
#11 Freezer Jam With Fruit Still Showing
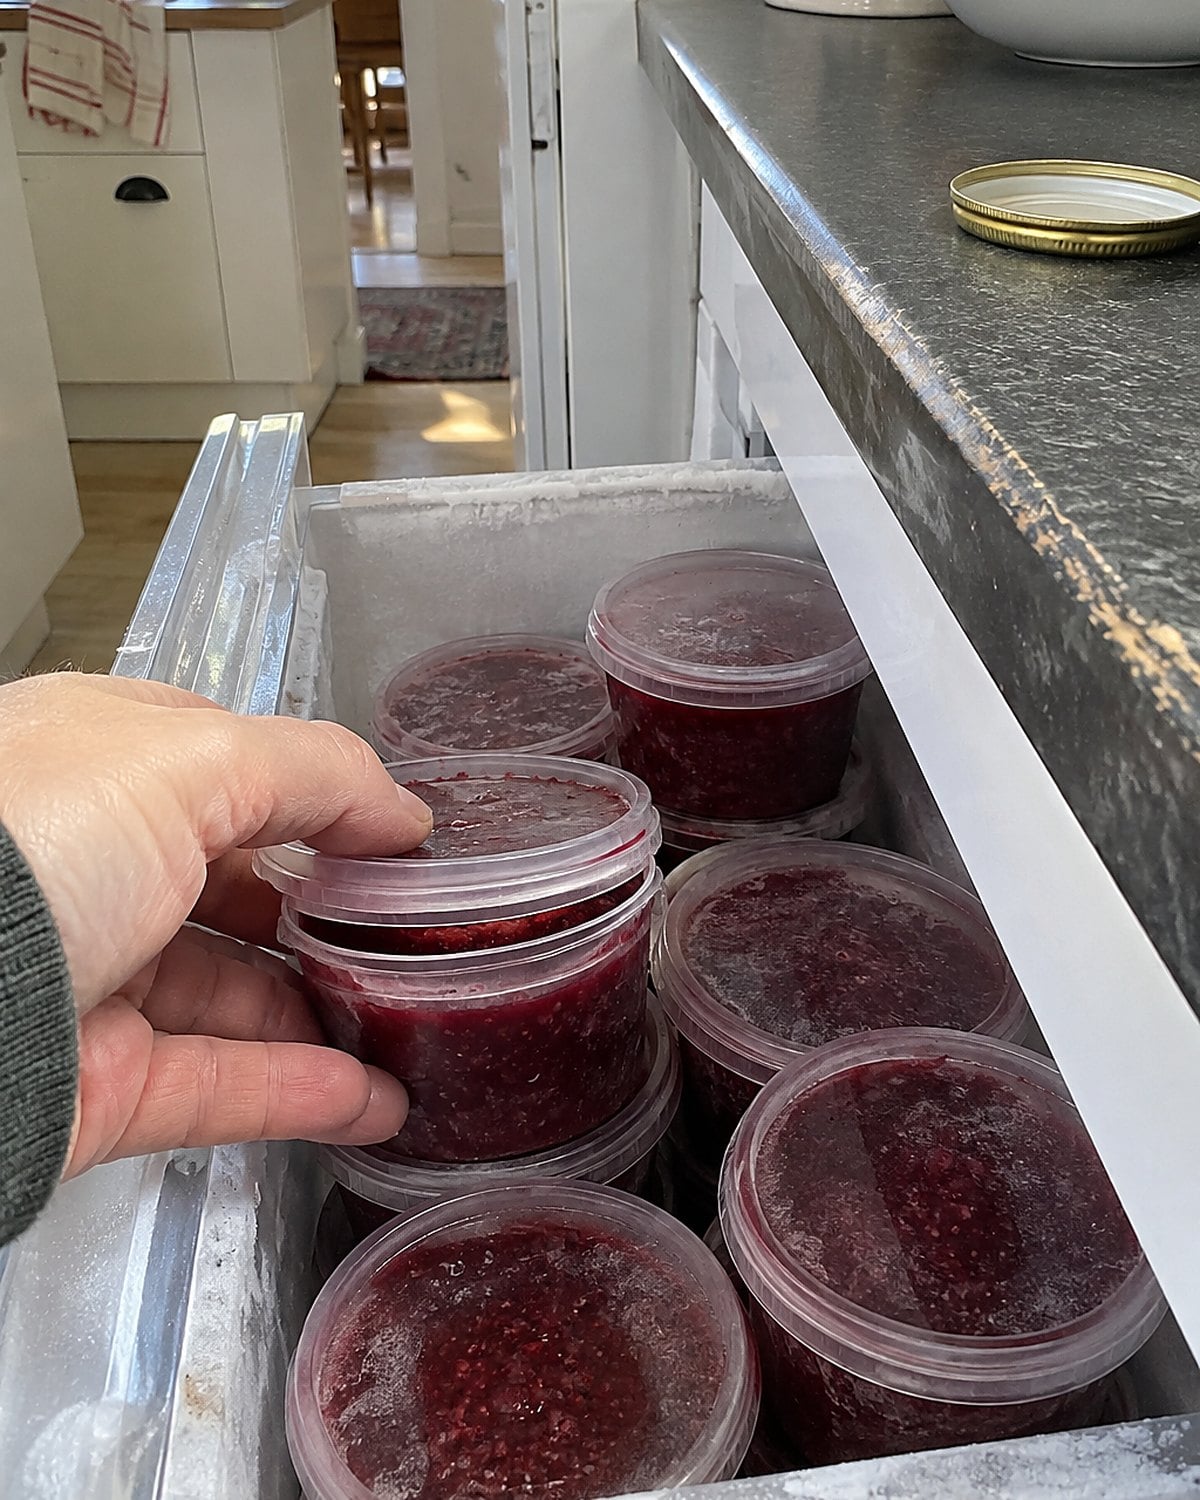
A spoonful of freezer jam should taste like the fruit you bought, not like a lesson in jar lids. Mash the fruit and use a recipe written for the particular pectin in your hand. Different pectins call for different amounts of sugar and different steps.
Read the package before you start, even if you’ve made jam for decades. A reduced-sugar pectin isn’t interchangeable with regular pectin. The set depends on that pairing, and a loose batch won’t tighten because you stare at it through the freezer door.
Leave the headspace called for in the recipe so the jam has room to expand as it freezes. Write the fruit and date on the container. That small habit saves you from thawing strawberry when you wanted raspberry.
This jam belongs in the freezer, not on a pantry shelf. For storage guidance, check the National Center for Home Food Preservation’s freezer jam instructions. Spoon it onto toast once it has thawed in the refrigerator.
#10 Fried Green Tomatoes With a Crunch
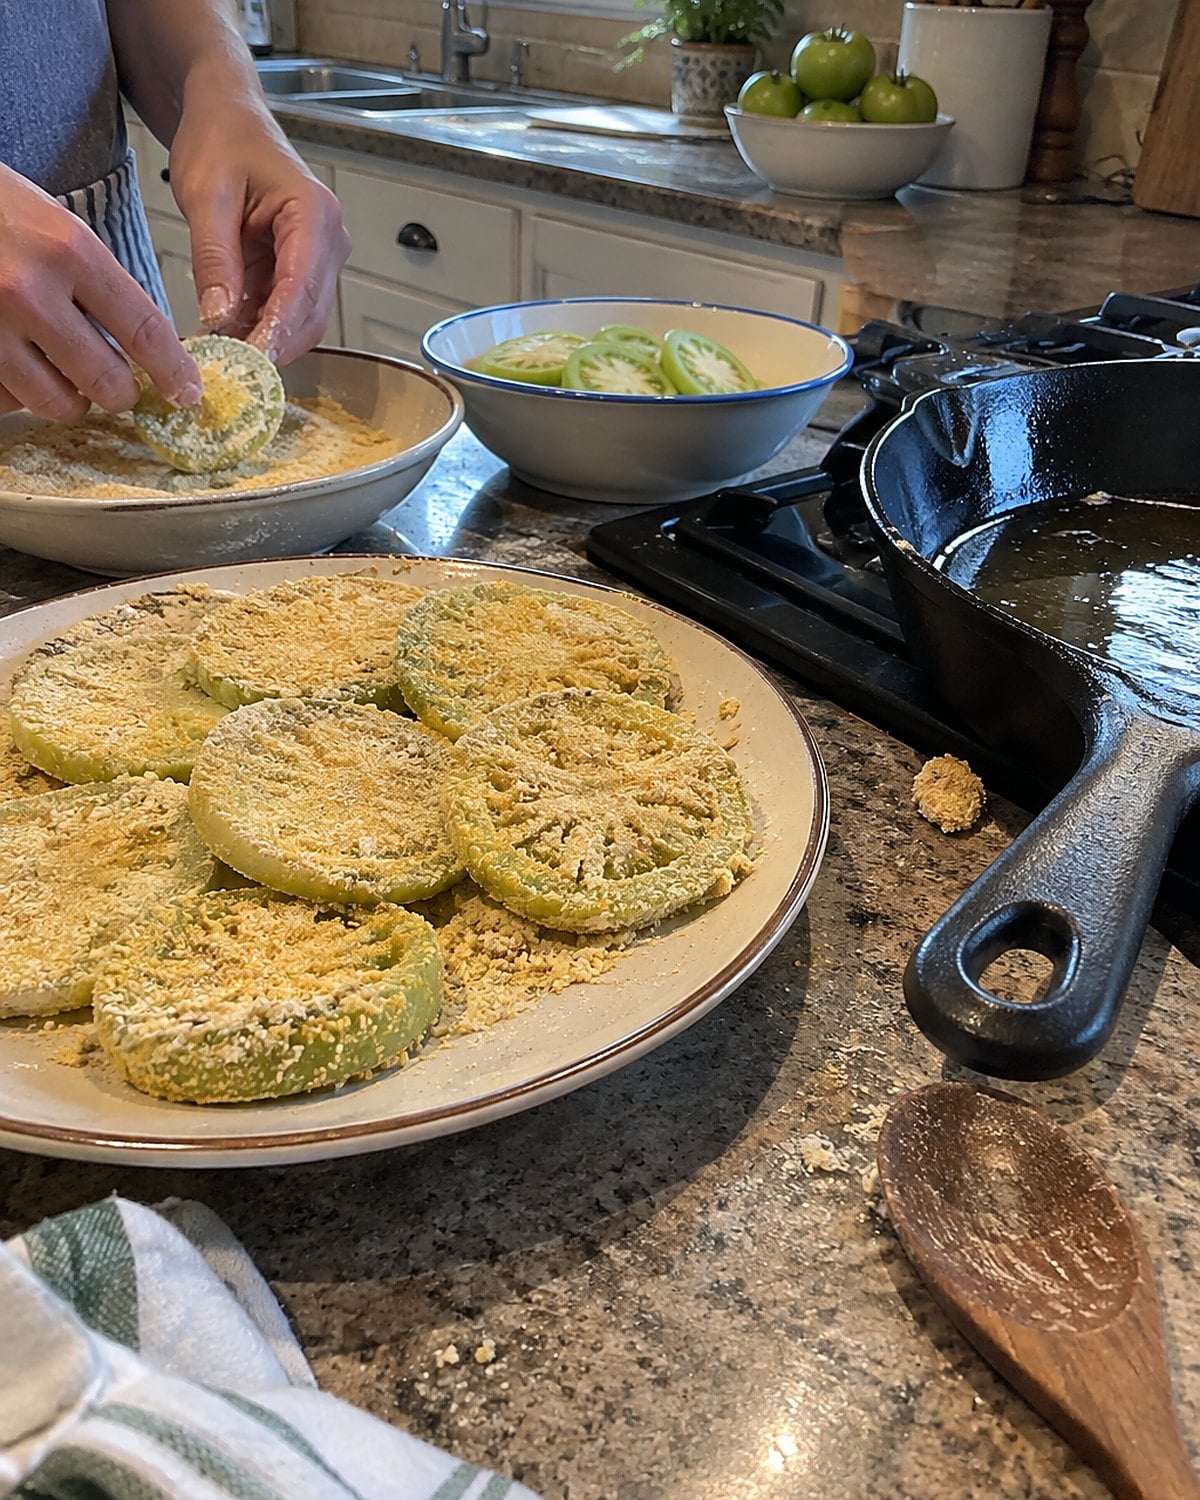
A green tomato has to be firm enough to hold its shape in the skillet. Cut slices of even thickness and blot them before coating. Water on the surface loosens the crumbs; a wet coating slides off when you turn the slice.
Set out flour, beaten egg, and cornmeal or crumbs in that order. Use one hand for the dry bowls and the other for the egg if you don’t want both hands wearing a thick glove of breading. Let the coated slices sit briefly while the skillet heats.
Oil should shimmer, not smoke. Lay in a slice and listen. A steady sizzle builds a crust; a crowded skillet cools the oil and leaves the coating greasy. Turn the tomatoes once the underside holds together and has good color.
Salt them as they come out. Then taste one without sauce. The tart center and crisp edge should answer each other. If all you taste is oil, raise the heat a little for the next batch.
#9 Egg Custard That Barely Wobbles
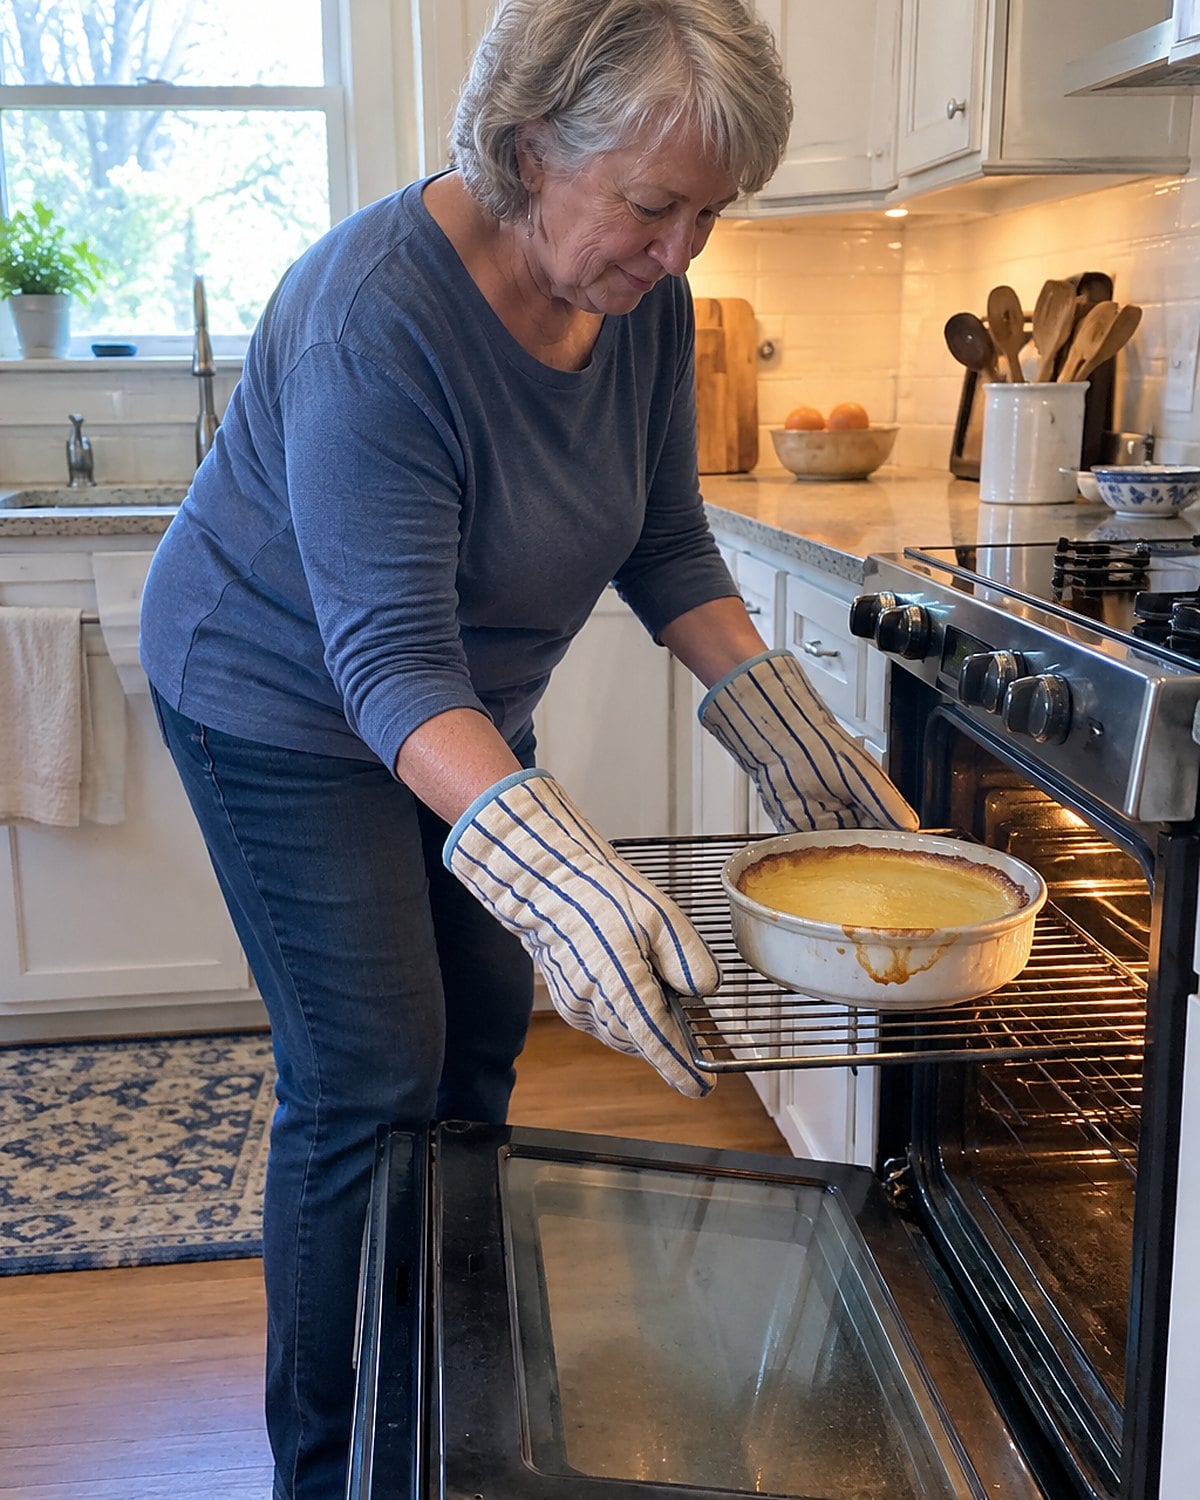
Custard tells on the oven the moment you shake the dish. The center should wobble as one piece, not ripple like liquid. It firms more while it cools.
Whisk eggs and sugar without beating in a cap of foam. Add warm milk slowly so the eggs don’t scramble. Pour the mixture through a sieve if you want a smooth finish, then set the baking dish in a larger pan of hot water. That water shields the edges from the oven’s harsher heat.
Pull the custard before the center looks fully firm. Waiting for a solid surface gives you a grainy edge. A little nutmeg on top is plenty.
When the dish is cool, refrigerate it. Next time you pass the oven window, look for the wobble instead of waiting for the clock to make the decision.
#8 Split Pea Soup From a Ham Bone
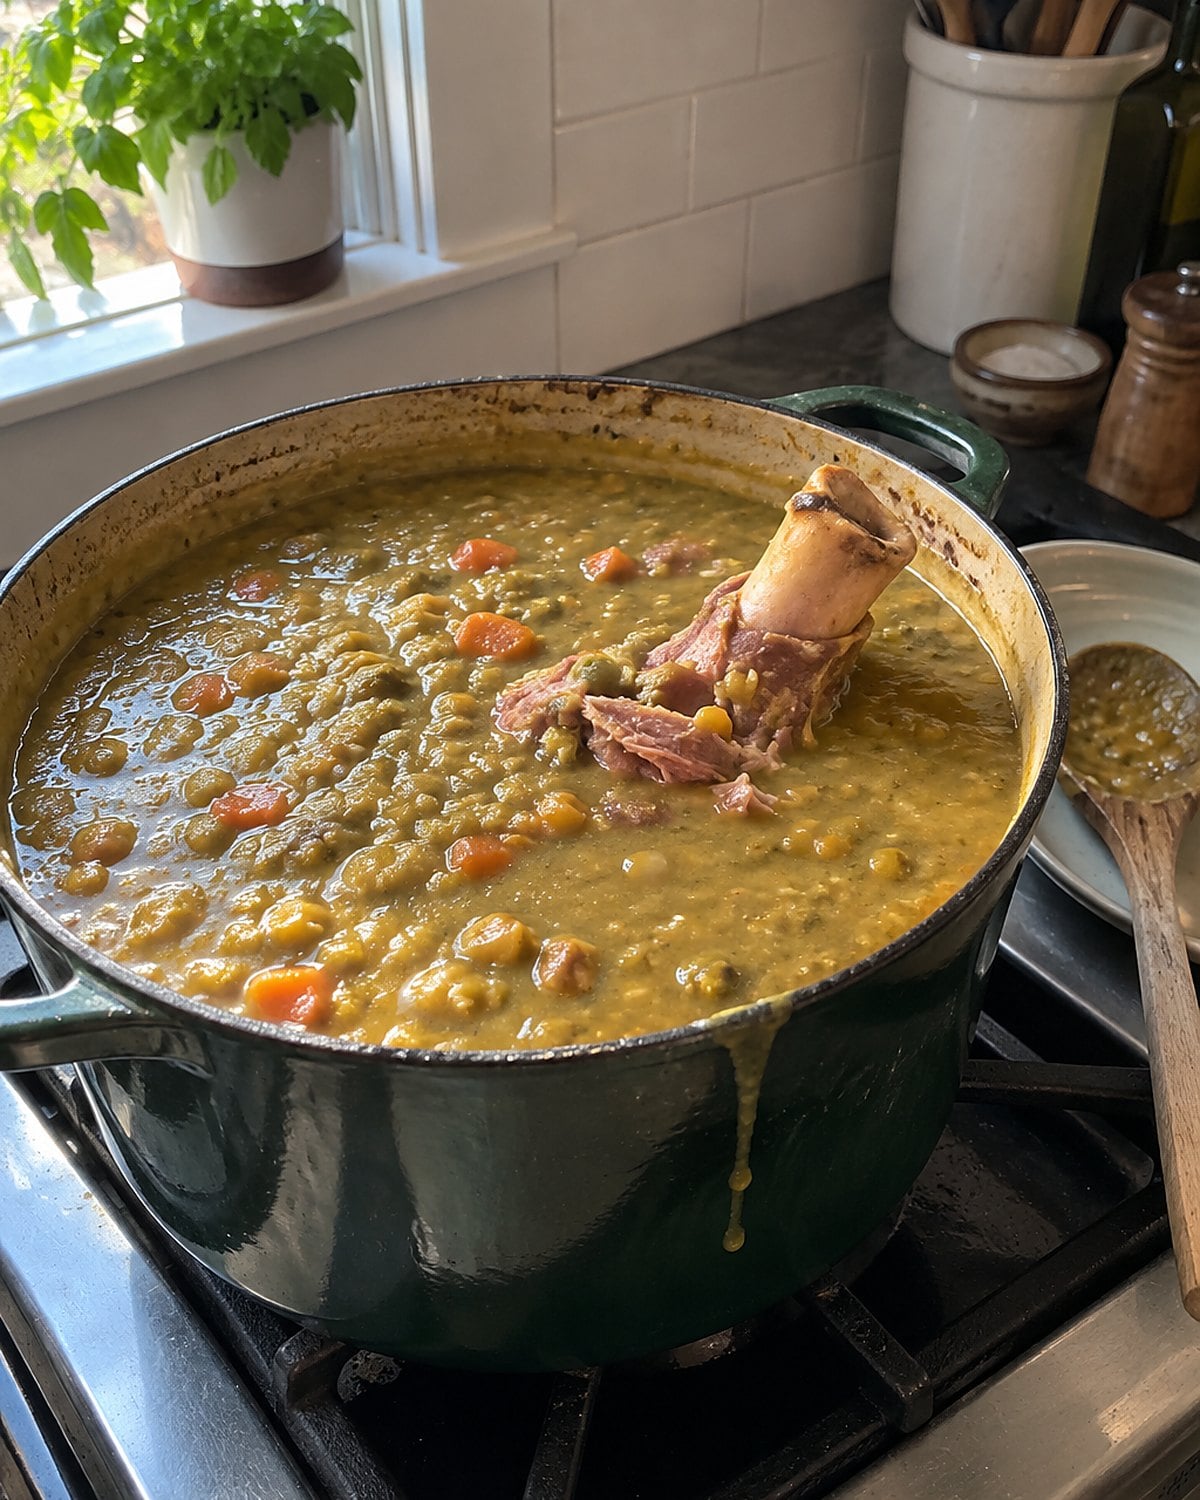
The ham bone left after a family meal looks too large for a household of two. That’s why the freezer bag matters. Wrap and label the bone when the kitchen is cleared, then choose a soup day instead of trying to cook again that night.
Rinse split peas and check them for stray bits. They need no soaking. Put them in a pot with the bone, onion, carrot, and enough water to cover everything well. Keep the pot at a steady simmer, stirring near the bottom as the peas soften. They break down and thicken the broth on their own.
Lift out the bone when the meat comes away easily. Strip off the meat, discard the bone, and put the meat back in. Taste before salting. Ham brings salt with it, and the soup thickens further as it stands. Water loosens it without taking away the smoky flavor.
You don’t need to make an enormous batch. Use a smaller piece of ham bone, or freeze portions of finished soup in shallow containers. Leave room at the top for the soup to expand. That label on the bag has earned its keep twice.
Try it: BEST Split Pea Recipes In The Instant Pot
#7 Homemade Crackers for the High Chair
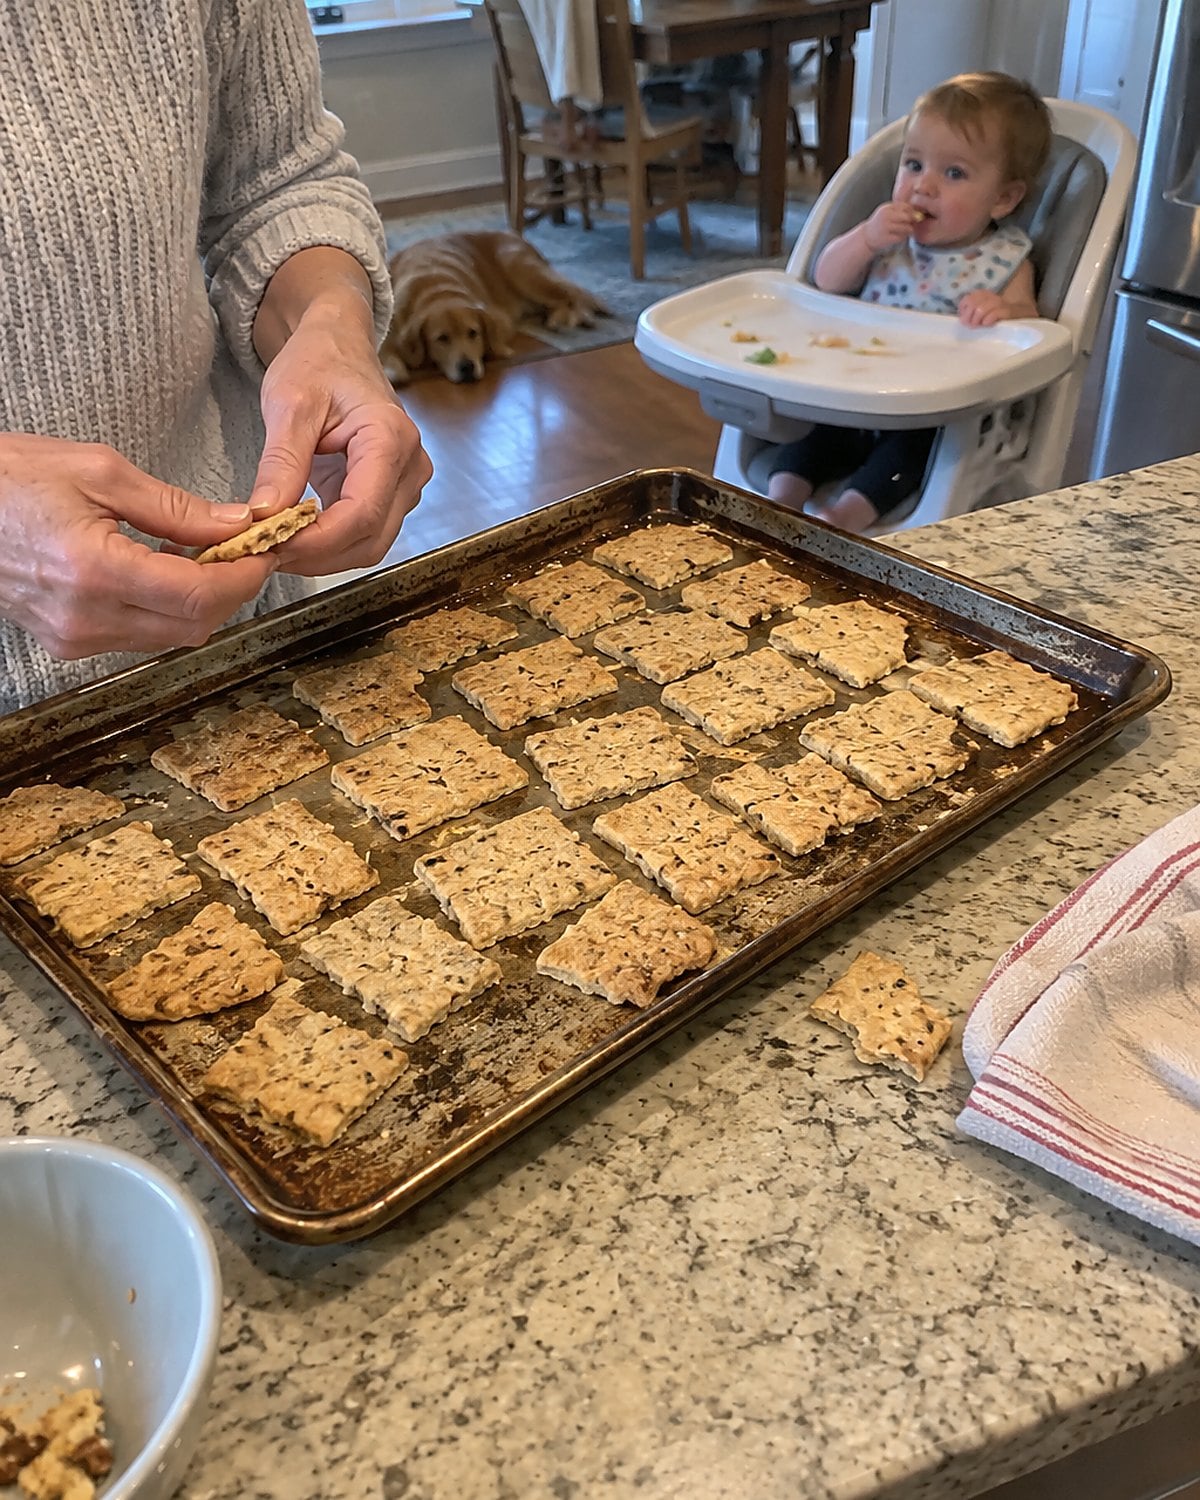
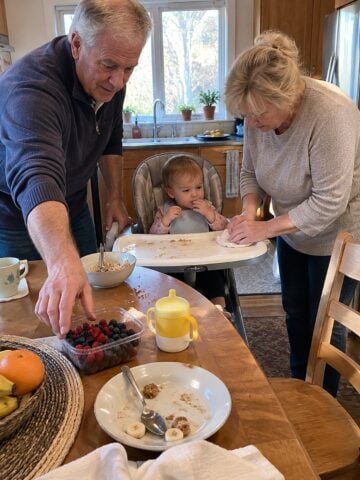
The grandchild wants something to carry around, and the cracker box is empty. Flour, fat, water, and salt make a plain dough you roll thin and cut into rough squares. Prick them with a fork so big bubbles don’t lift them off the baking sheet.
Watch the edges. They brown before the centers, especially where the dough rolled thinner. Pull a dark corner off the tray if the rest needs more time. Once cool, a cracker should snap. A bend means it needs a little longer in the oven.
For a young child, match the texture and size to what that child already eats safely, and keep them seated while eating. The CDC’s choking prevention guidance is worth checking before serving crunchy snacks to little ones.
For your own plate, break a few over soup. The uneven shapes are part of the pleasure.
#6 Potato Salad With a Warm Dressing Start
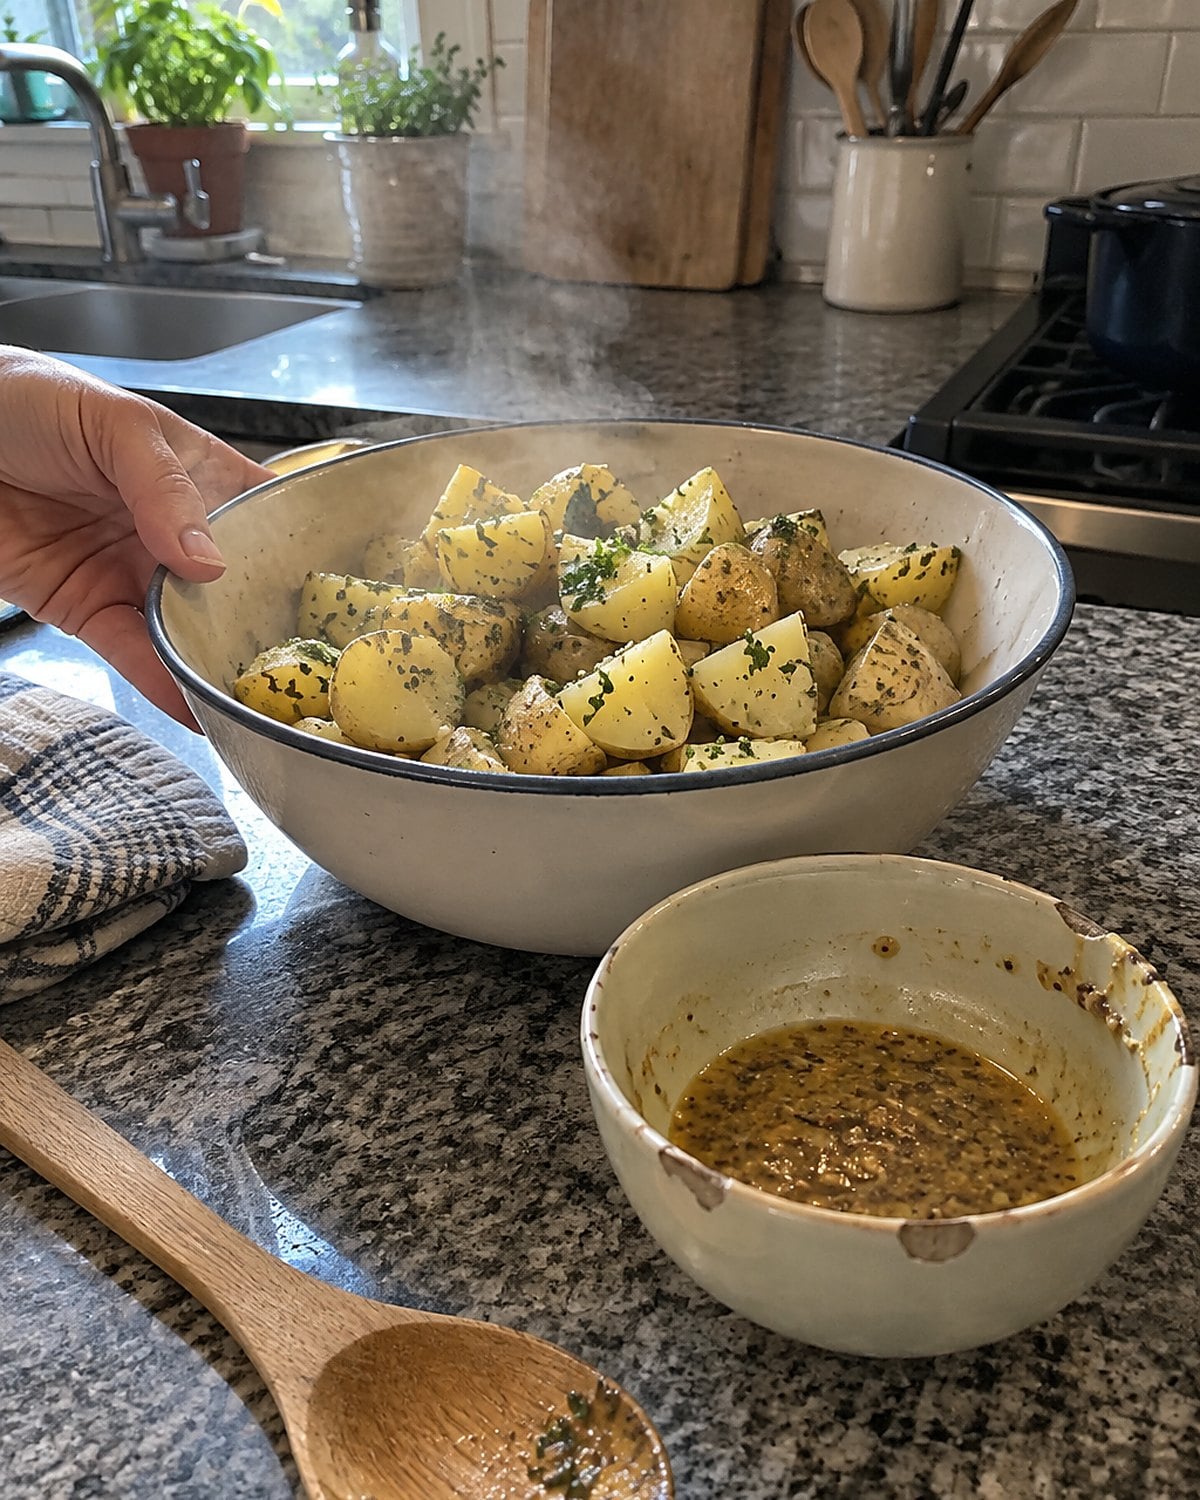
A cold potato resists flavor. Dress the cooked potatoes while they’re still warm, before adding the mayonnaise. Vinegar, mustard, and salt reach into the cut surfaces instead of sitting on the outside.
Choose waxy potatoes for clean chunks. Cook them until a knife slides in without breaking them apart. Drain, let the steam escape, then cut them while they’re comfortable to handle. Toss them with the sharp ingredients first. Let that sit while you chop celery or onion.
Add mayonnaise once the potatoes have cooled. It stays creamy rather than turning oily against the heat. Taste again after chilling; a salad that seemed lively at the counter loses some of its edge in the fridge.
At a picnic, the USDA’s outdoor food guidance gives perishable food a 2-hour limit outside refrigeration, or 1 hour above 90°F. Carry the salad cold and return it to the cooler promptly. The warm dressing belongs at home, before the bowl goes into the fridge.
Try it: Instant Pot Potato Salad With Tangy Vinaigrette (Vegan, Gluten-Free)
#5 Homemade Croutons From Yesterday’s Bread
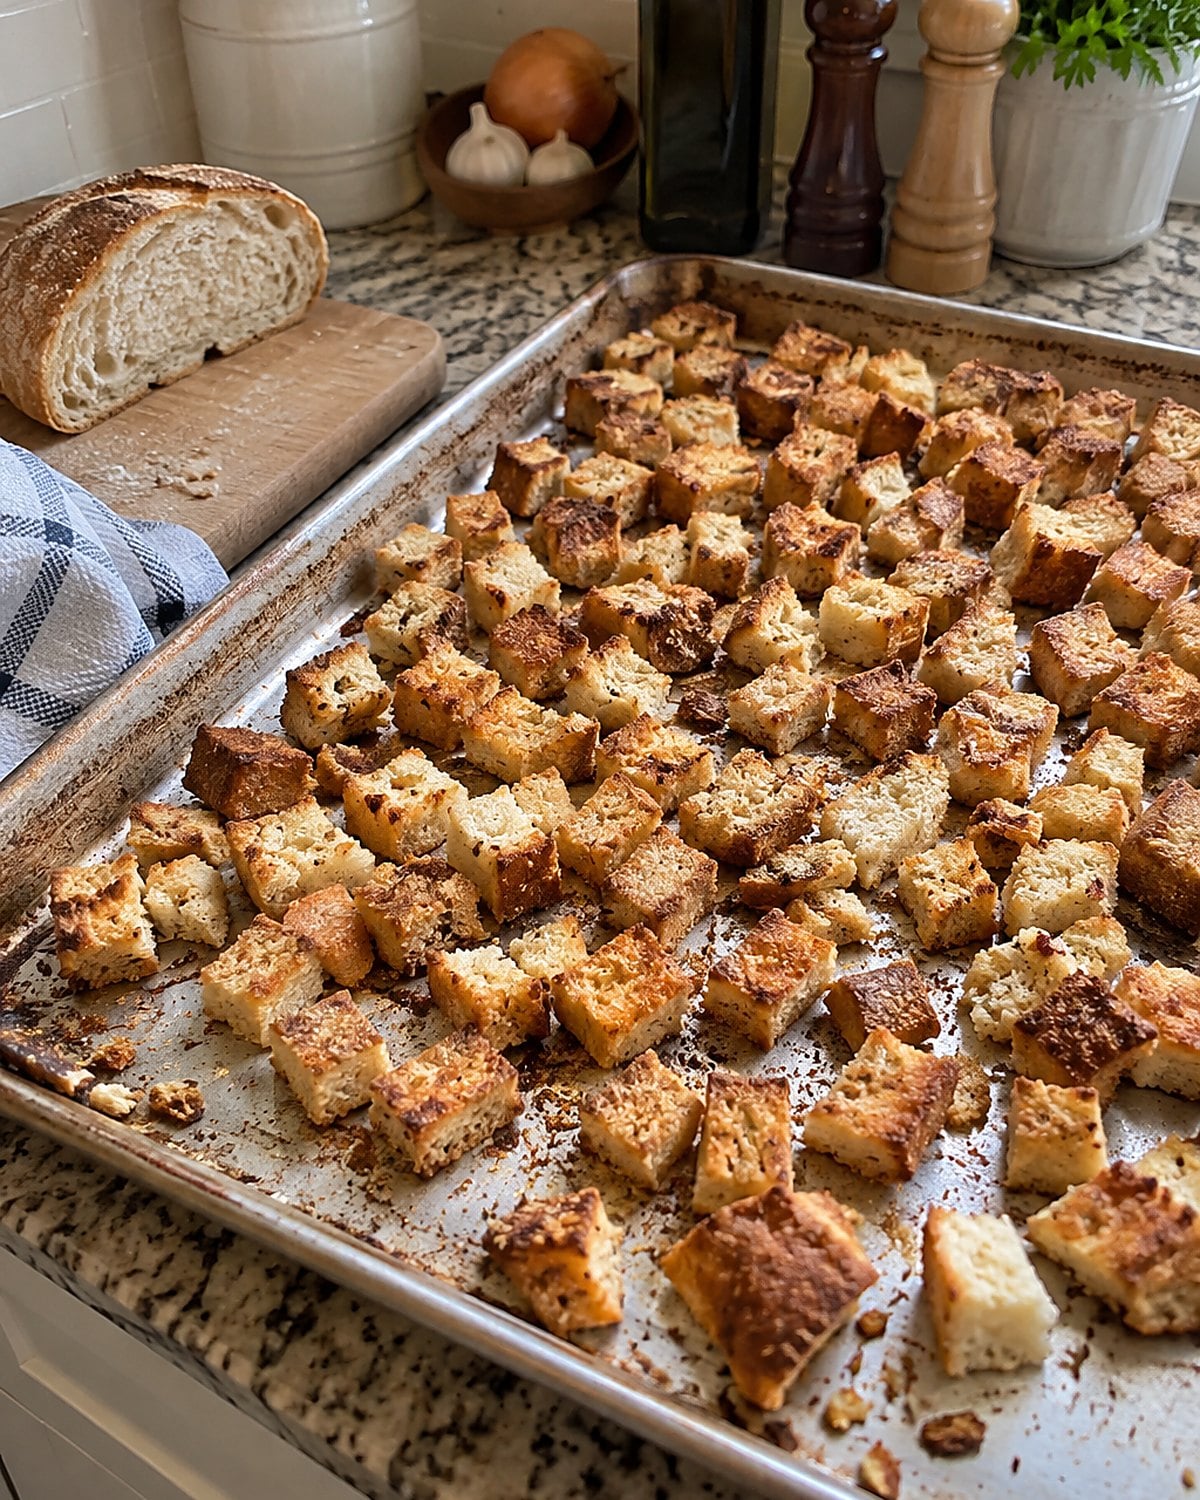
Yesterday’s bread has one more dinner in it. Cut it into uneven cubes, toss with oil and salt, and spread it out so the pieces aren’t stacked. A crowded tray traps steam; space gives the cut sides a chance to crisp.
Don’t mince fresh garlic onto the bread before a long bake. Little bits burn while the bread is still pale. Rub a cut garlic clove on the warm croutons afterward, or use garlic powder before baking. Either way, the bread tastes of garlic without bitter flecks.
Take a piece out and let it cool for a moment before judging it. Hot bread feels softer than it will in the salad bowl. If it still bends after cooling, return the tray to the oven.
A handful goes on soup as readily as salad. Make the amount you’ll use, and you won’t find a forgotten jar of hard cubes behind the cereal.
Try it: Herb & Garlic Sourdough Croutons (Great For Soups & Stews)
#4 Pot Roast That Pulls Apart Cleanly
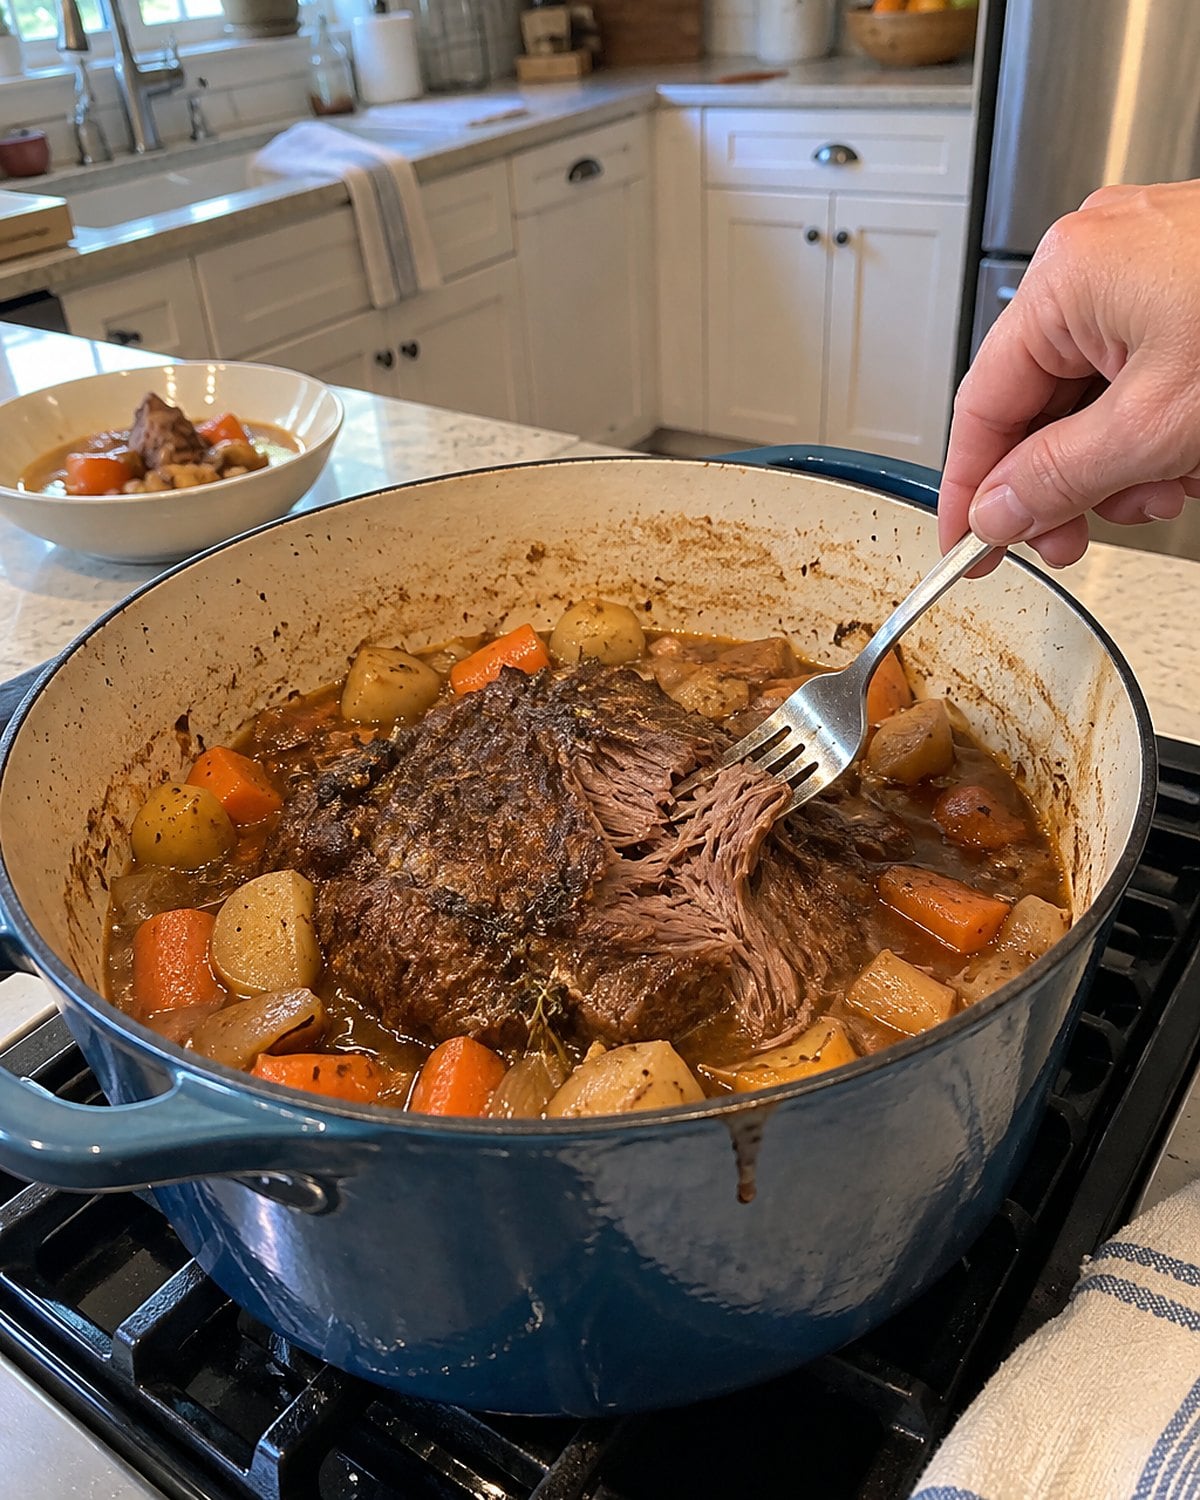
The lid rattles, the onions smell done, and the roast still fights the fork. Give it more time. Chuck has connective tissue that softens with long, moist cooking. A slice that seems tough halfway through hasn’t reached the good part yet.
Brown the meat first and let it take on color. Put it back over onions with enough liquid to keep the bottom from drying out. Cover the pot and cook it at a low oven heat until a fork turns in the meat without resistance. The liquid needn’t cover the roast.
Add quick-cooking vegetables later if you want them to hold their shape. Carrots put in at the beginning will taste good, but they’ll give up their edges by the time the meat is tender.
For a smaller table, choose a smaller chuck roast and a pot that fits it snugly. Keep the cooking liquid. After the meat rests, skim the fat and taste what’s left. Those onions have been working all afternoon; don’t wash them away.
Try it: Instant Pot Beef Pot Roast With Potatoes & Carrots
#3 Pan-Fried Pork Chops With a Rest
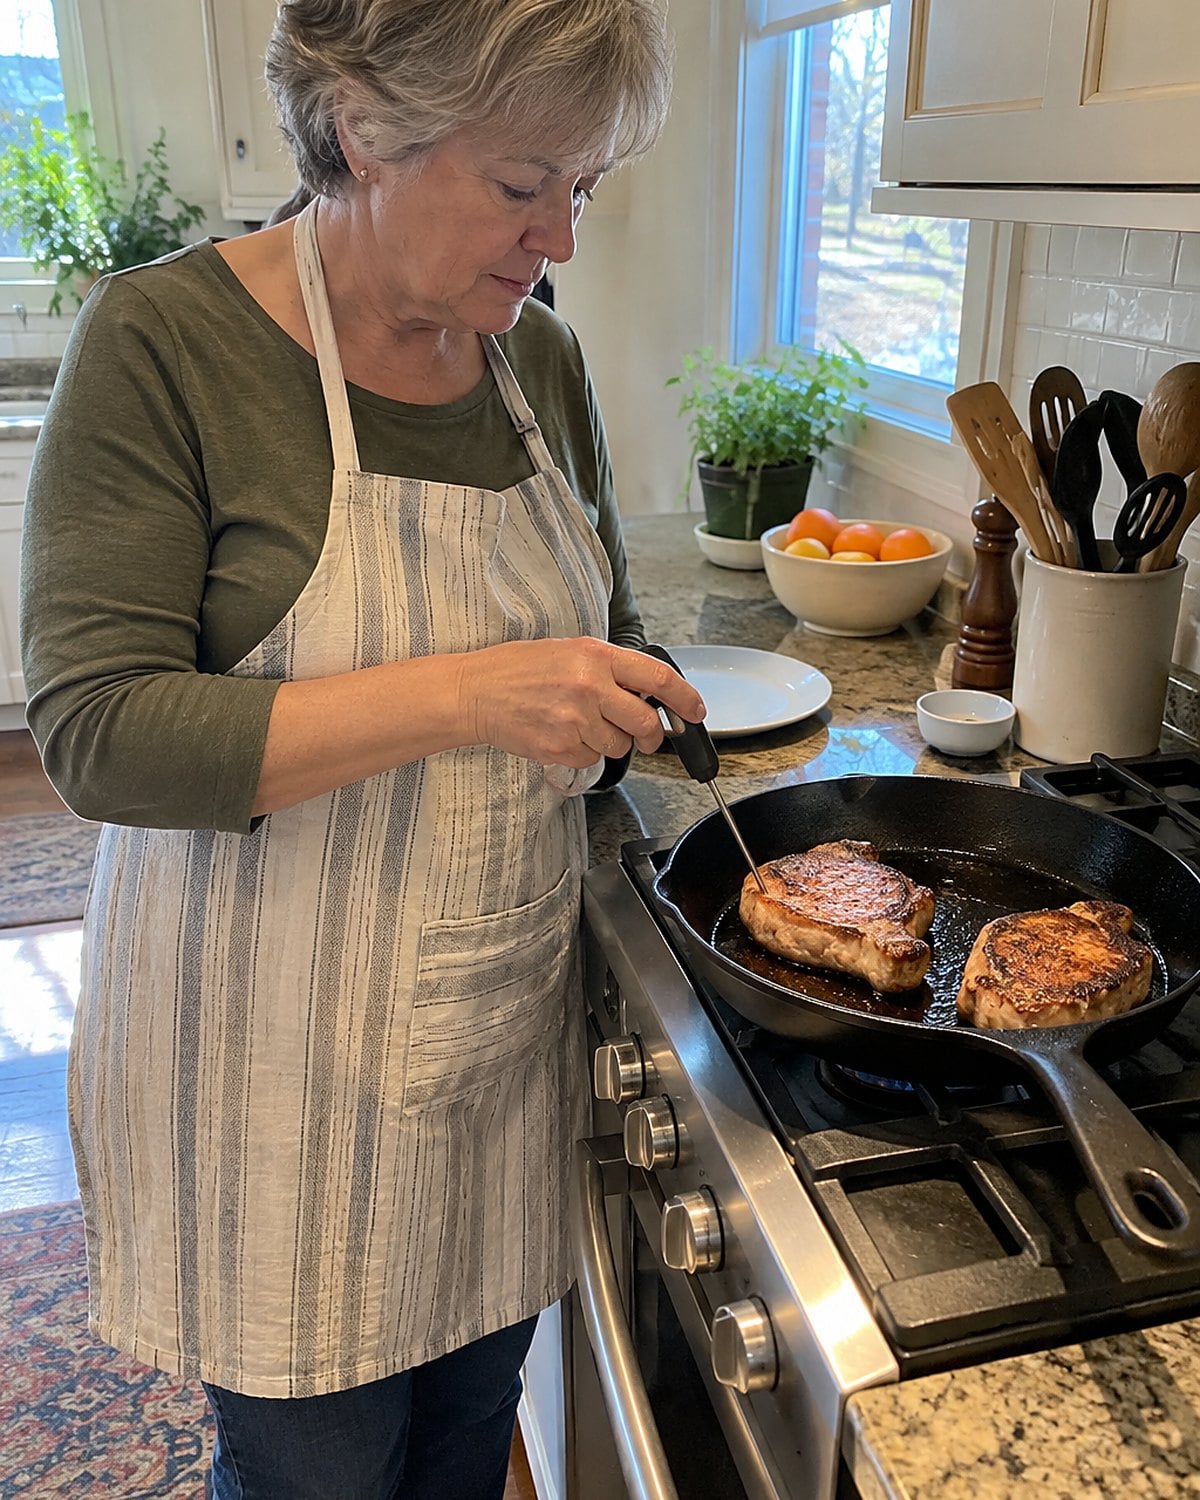
The old habit is to cut into the chop as soon as it leaves the skillet. Give it a rest on a plate instead. While you wait, a splash of water or broth lifts the browned bits from the hot skillet.
Pat the chop dry before it goes into the skillet. Moisture makes it steam before it browns. Turn it when it releases from the pan without a fight, then use a thermometer rather than guessing from its color.
The USDA’s safe temperature guidance sets whole cuts of pork at 145°F followed by a 3-minute rest. Push the thermometer into the thickest part, away from the bone. A thinner end will finish first, so test the thick part.
Bring the chop to the table after that rest, with a spoonful of those skillet juices. No sawed-open center required.
#2 Roast Chicken With Crisp Skin
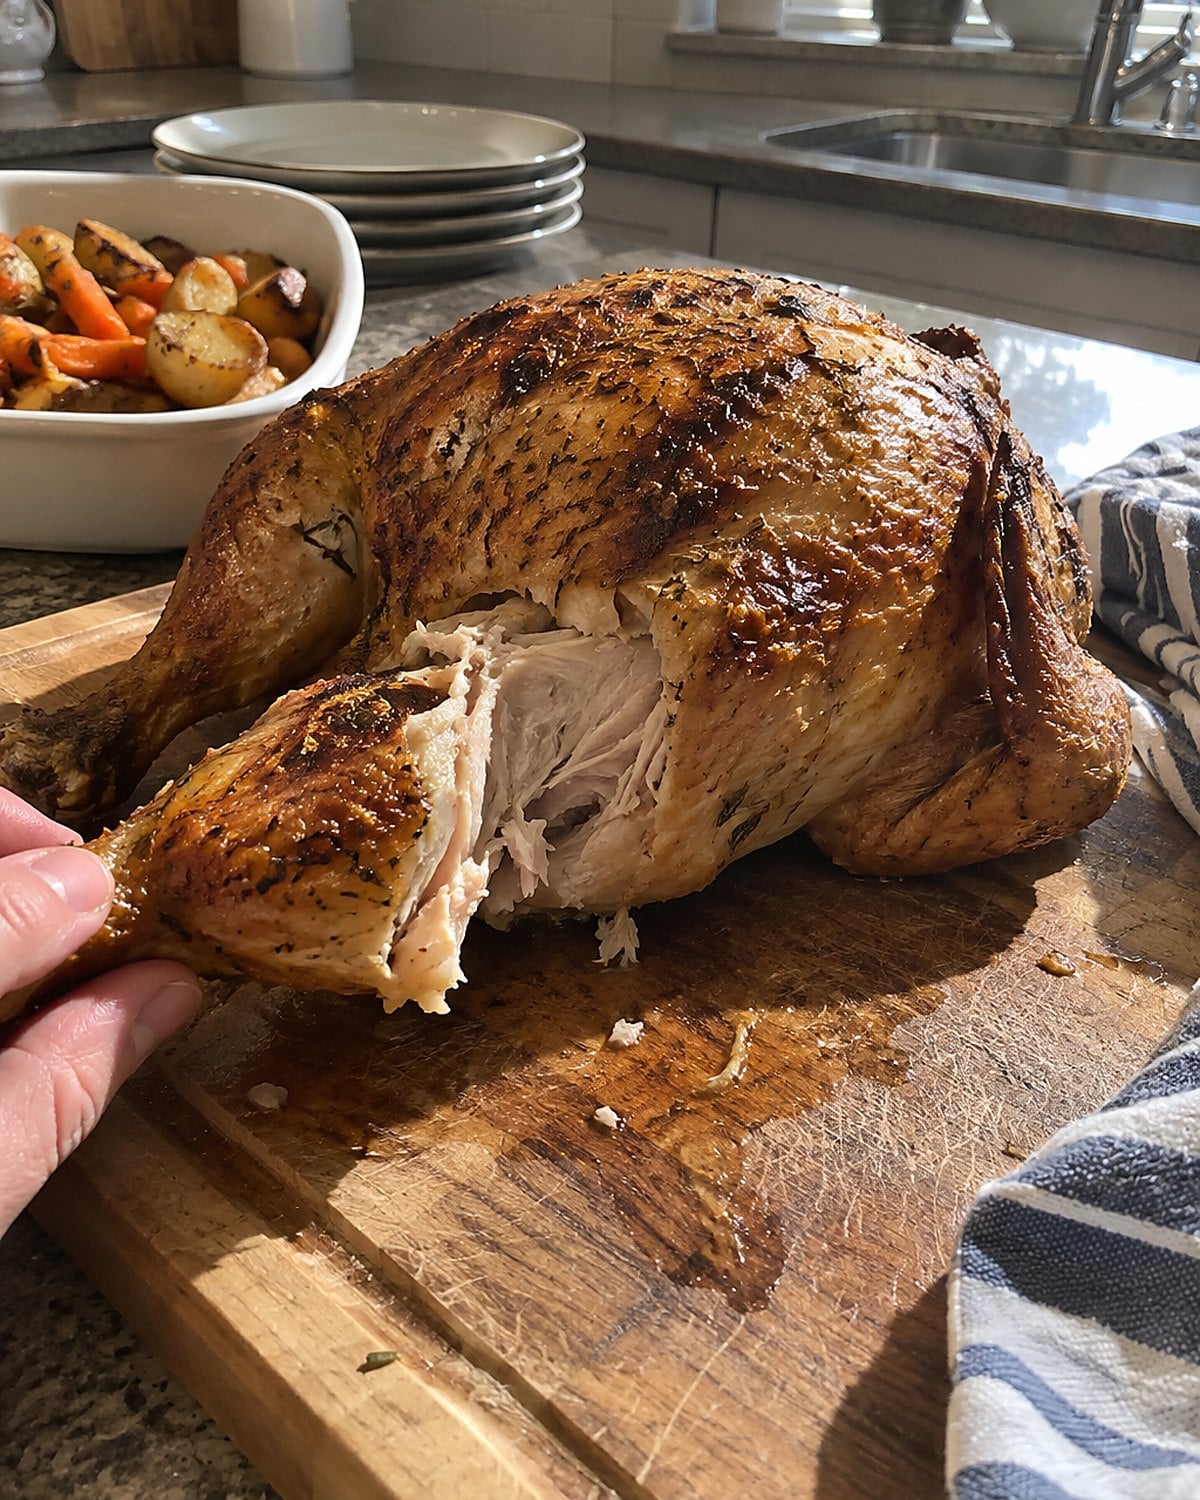
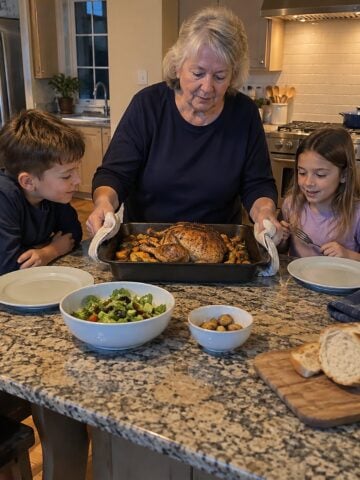
A roast chicken asks for less handling than its reputation suggests. Pat the skin dry, salt it, and give the bird room. Vegetables packed tightly around it release water, so the skin near them steams instead of browning.
Let the oven do its work. Check the thickest part of the breast and the inner thigh with a thermometer, without touching bone. The USDA Food Safety and Inspection Service gives 165°F as the safe internal temperature for poultry. Don’t trust the color of the juices; a thermometer settles the question.
If one spot isn’t there yet, return the bird to the oven and check again. The skin doesn’t need basting. Opening the oven door to spoon liquid over it interrupts the heat that’s crisping it.
Rest the chicken before carving. Start at the leg joint rather than sawing through bone; the joint shows you where the knife belongs. For a table of two, carve only what you’ll serve tonight. The rest of the bird will be easier to handle after supper.
#1 Pan-Drippings Gravy Without a Packet
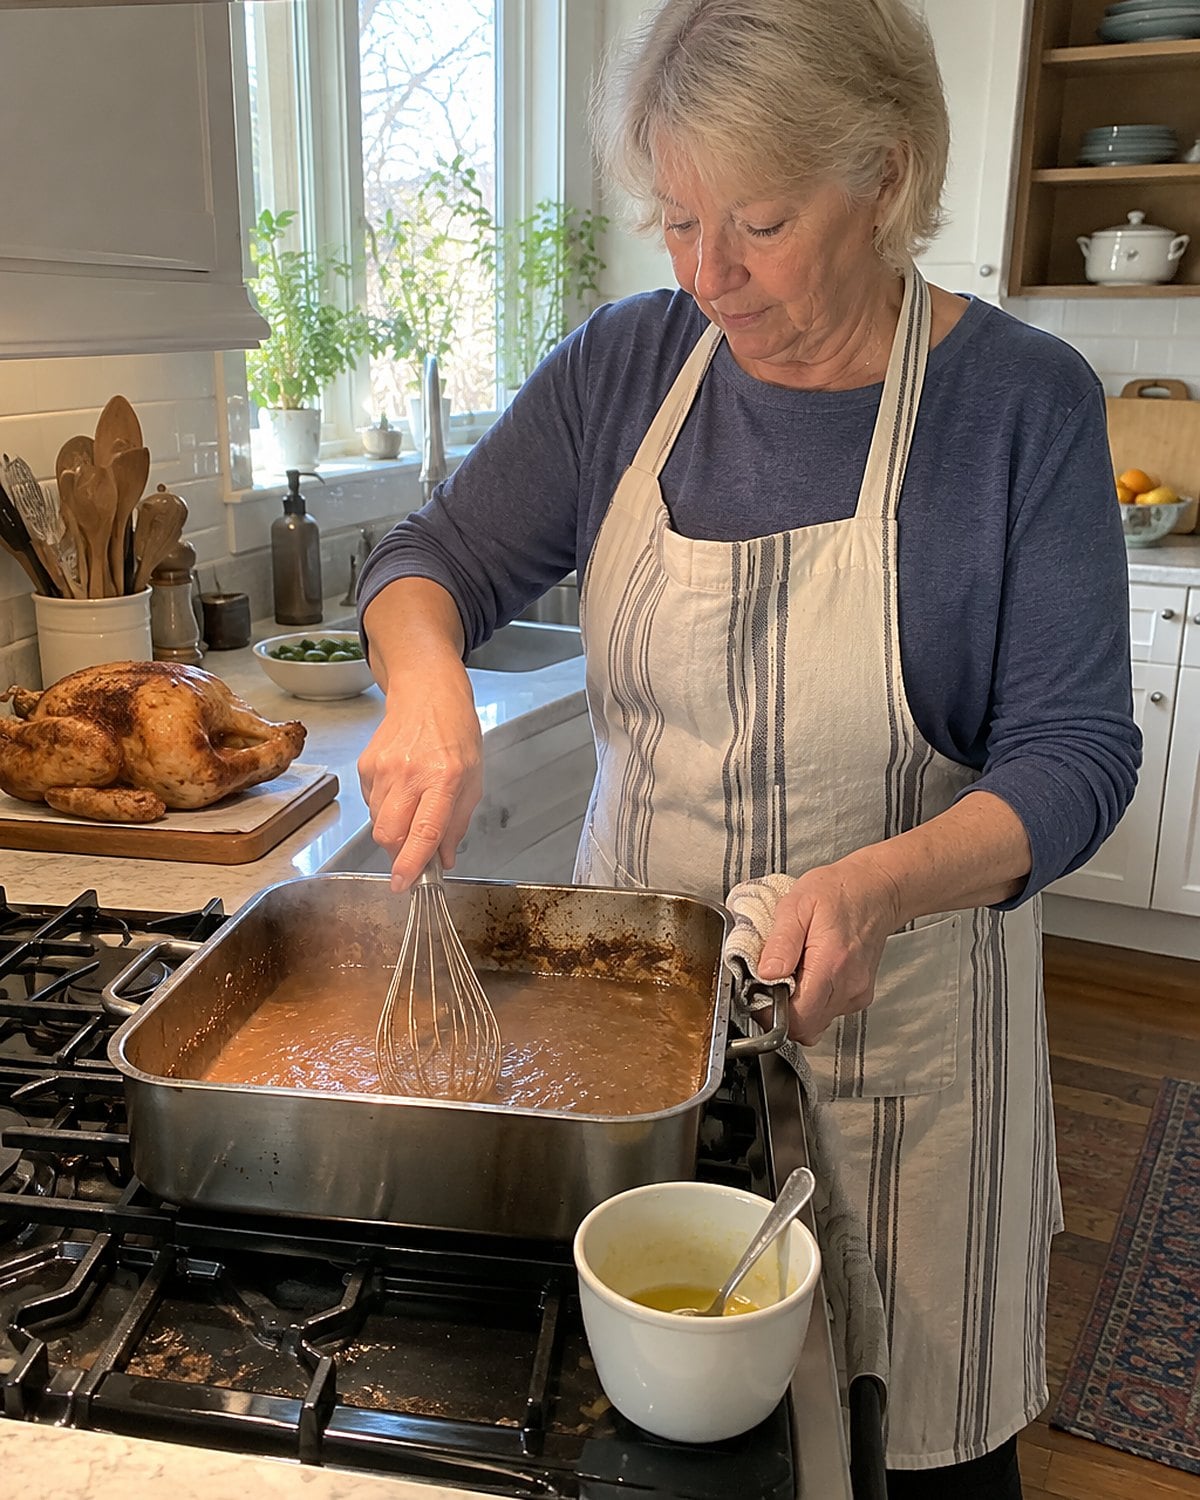
Set the roast pan over low heat. Scrape the bottom with a wooden spoon and look closely: dark brown bits are flavor; black, burnt bits will make bitter gravy. If the pan is blackened, use a clean skillet and the drippings you saved.
Pour the drippings into a heatproof cup. Let the fat rise, then spoon some back into the pan. For each 1 cup of gravy you want, use about 1 tablespoon of fat and 1 tablespoon of flour. Stir them together over the heat until the flour smells toasted.
Whisk in 1 cup of stock, broth, or water a little at a time. The first pour will seize into a thick paste. Keep whisking; it loosens. Scrape up the brown bits as the liquid warms, then let the gravy bubble until it coats a spoon.
Taste before adding salt. Roast drippings and boxed broth bring plenty. If the gravy is too thick, whisk in more liquid. If it’s too thin, let it bubble a little longer.
A proper spoon test takes a second. Dip it, turn it over, and draw a finger through the coating. When the line stays clear, take the pan off the heat. Gravy keeps thickening as it stands, so loosen it with a splash of warm liquid if the serving spoon starts to drag.
Now look at the pan. What seemed like cleanup has become the part everyone wants passed back across the table.
The bottom line
From a stale bread heel to a roast pan, scratch cooking begins by noticing what’s already there. Heat, time, and a taste at the right moment do the rest.
The well-prepared version of you has a freezer bag with a date on it, a thermometer within reach, and enough room in the evening to let dinner finish.
Which pan in your kitchen will you put to work tonight?
Leave a Reply