

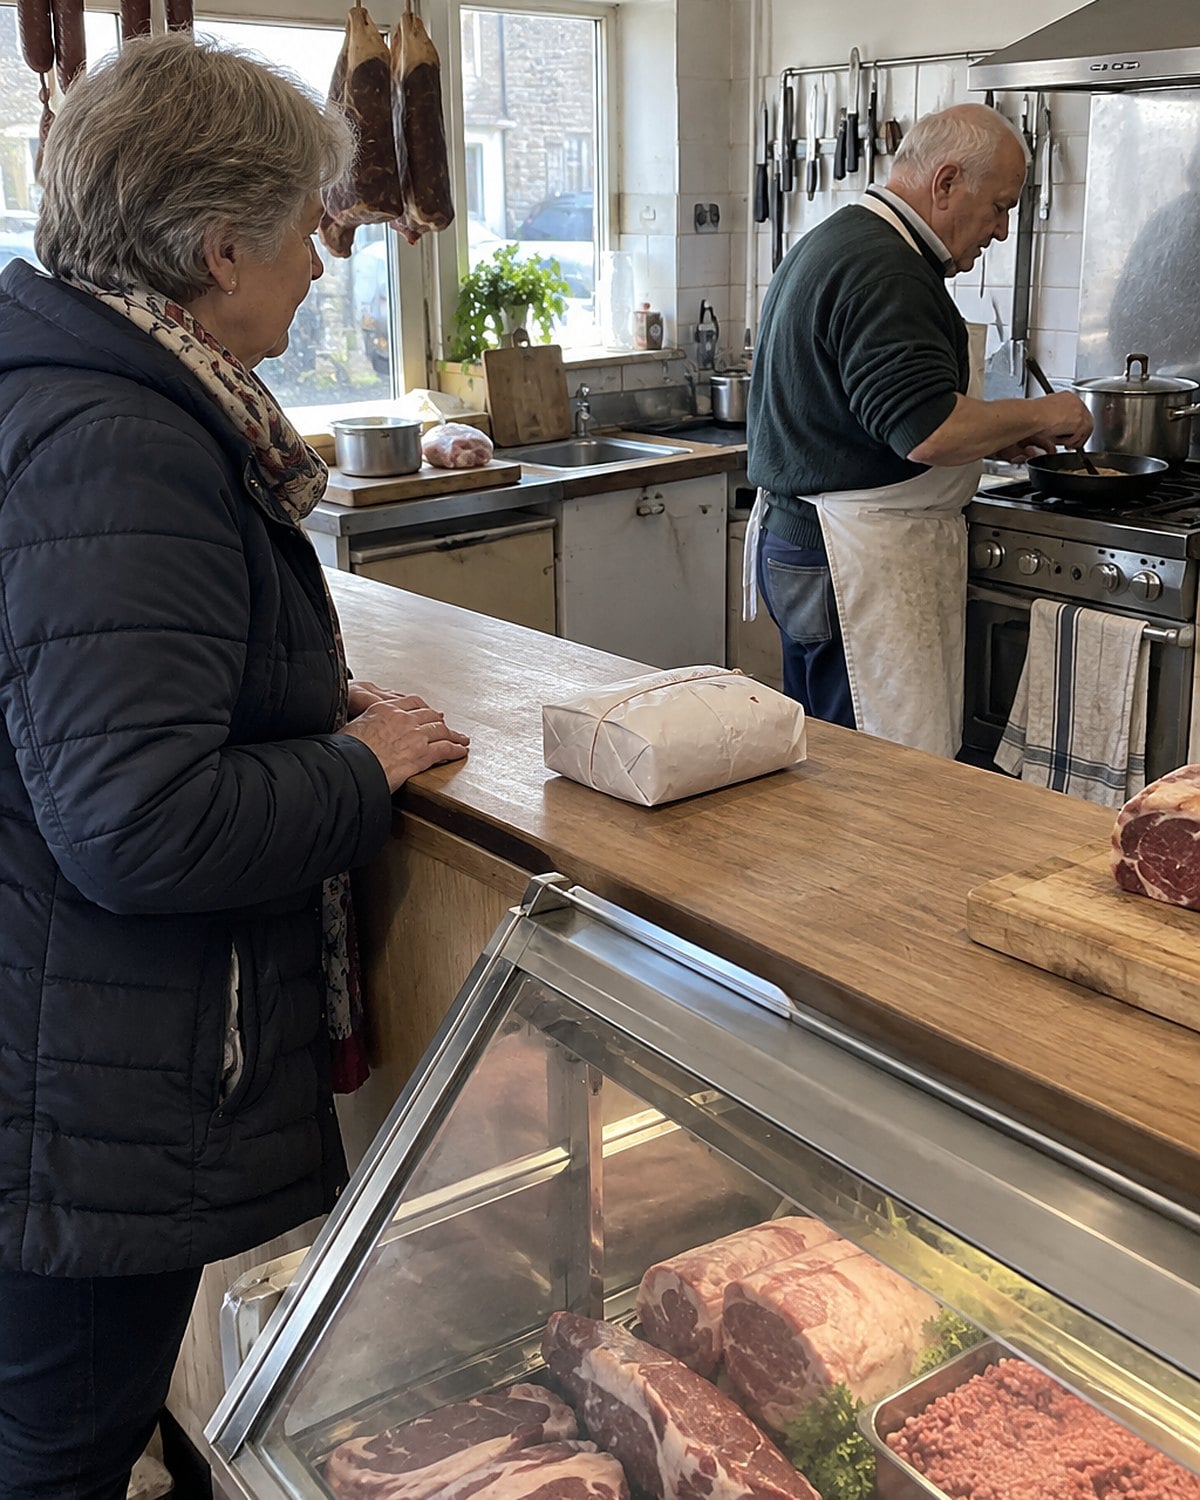
The loaf cooled beside the sink because every other inch of counter held something else. You knew it was ready when the crust stopped crackling and somebody reached for the bread knife. That Saturday smell didn't belong to a machine. It came from a bowl, flour on the cuff of a sleeve, and an oven already warm for supper.
Now the table looks different. The good news is that many of those breads were built around small, ordinary moves: a hot skillet, a rested dough, or a spoon that knew when to stop stirring. You still have those moves.
#27 Buttermilk Biscuits on the Floury Counter
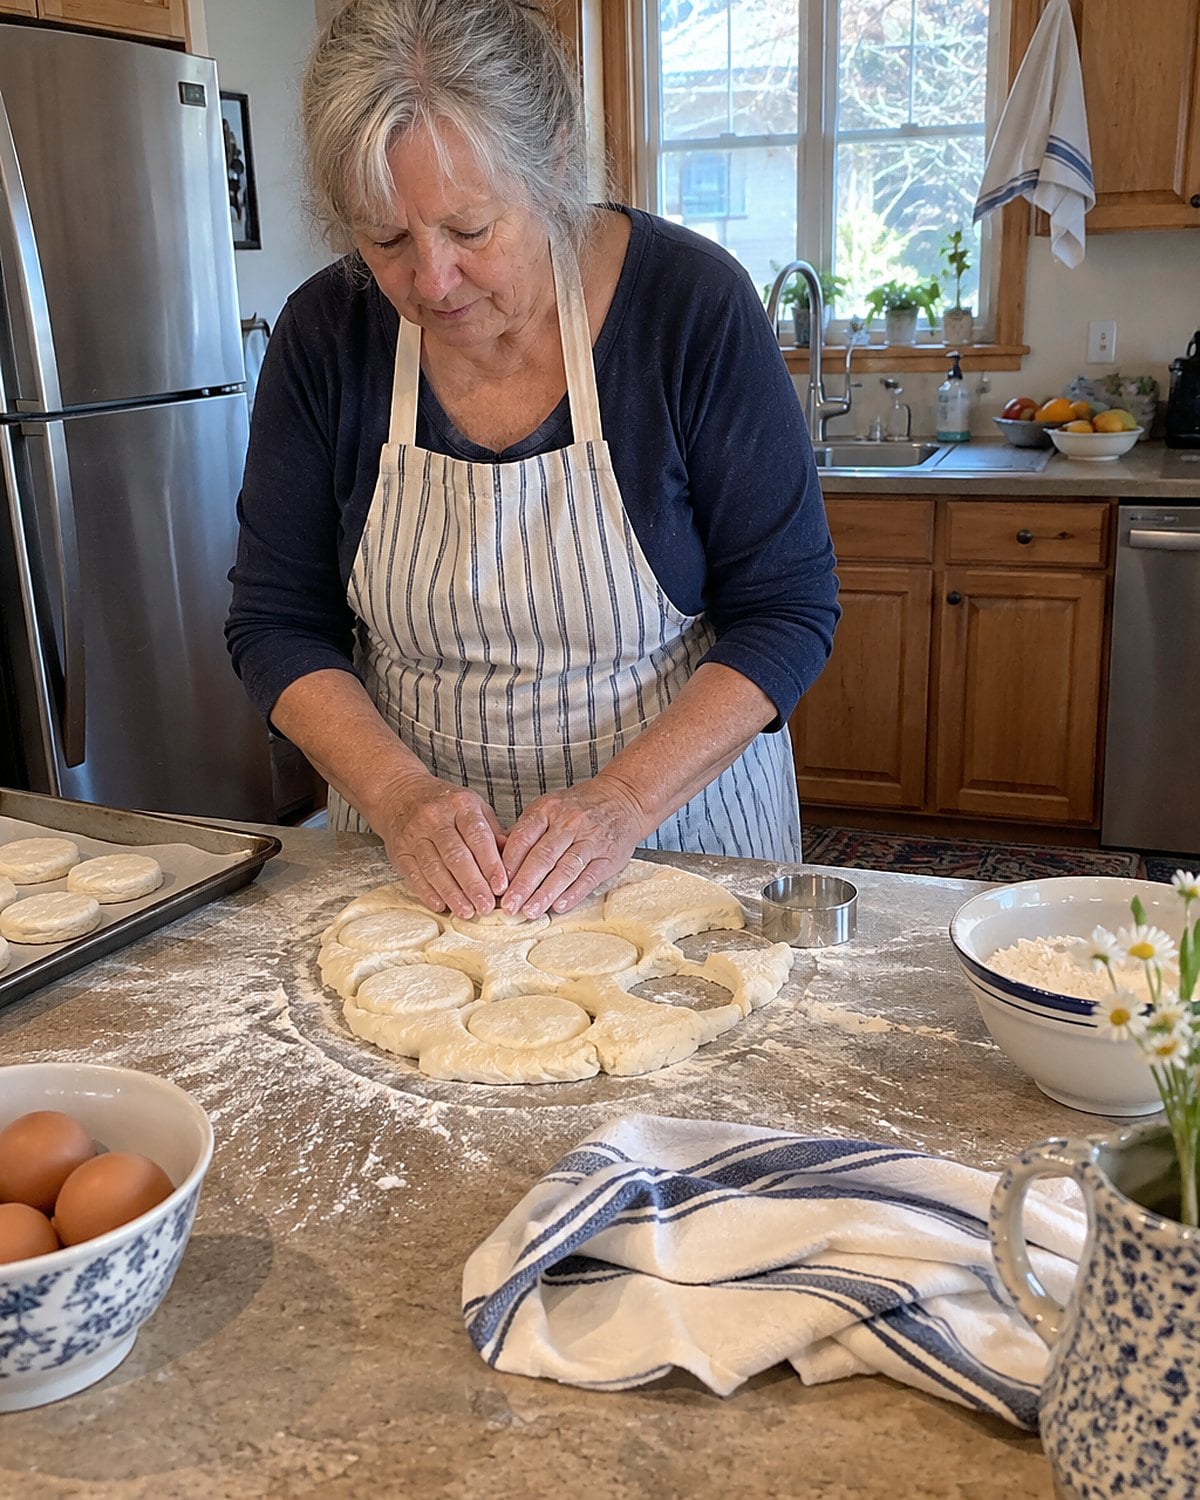
That dusting of flour across the counter had a purpose. Biscuit dough sticks when it's wet enough to bake up tender, and the flour on the board lets you handle it without kneading more into it.
Press the dough flat with your hands. Fold it over itself, turn it, and press again. Those folds give the biscuits layers without a rolling pin or a mixer.
When you cut them, press straight down. Twisting the cutter seals the edge, leaving the biscuit less room to rise. Set the cut biscuits close together on the pan if you remember pulling them apart at the table. Their sides support each other as they climb.
Save the scraps for one last biscuit rather than working them into the main batch. That slightly lopsided one was often the first to disappear.
#26 Cornbread in the Hot Iron Skillet
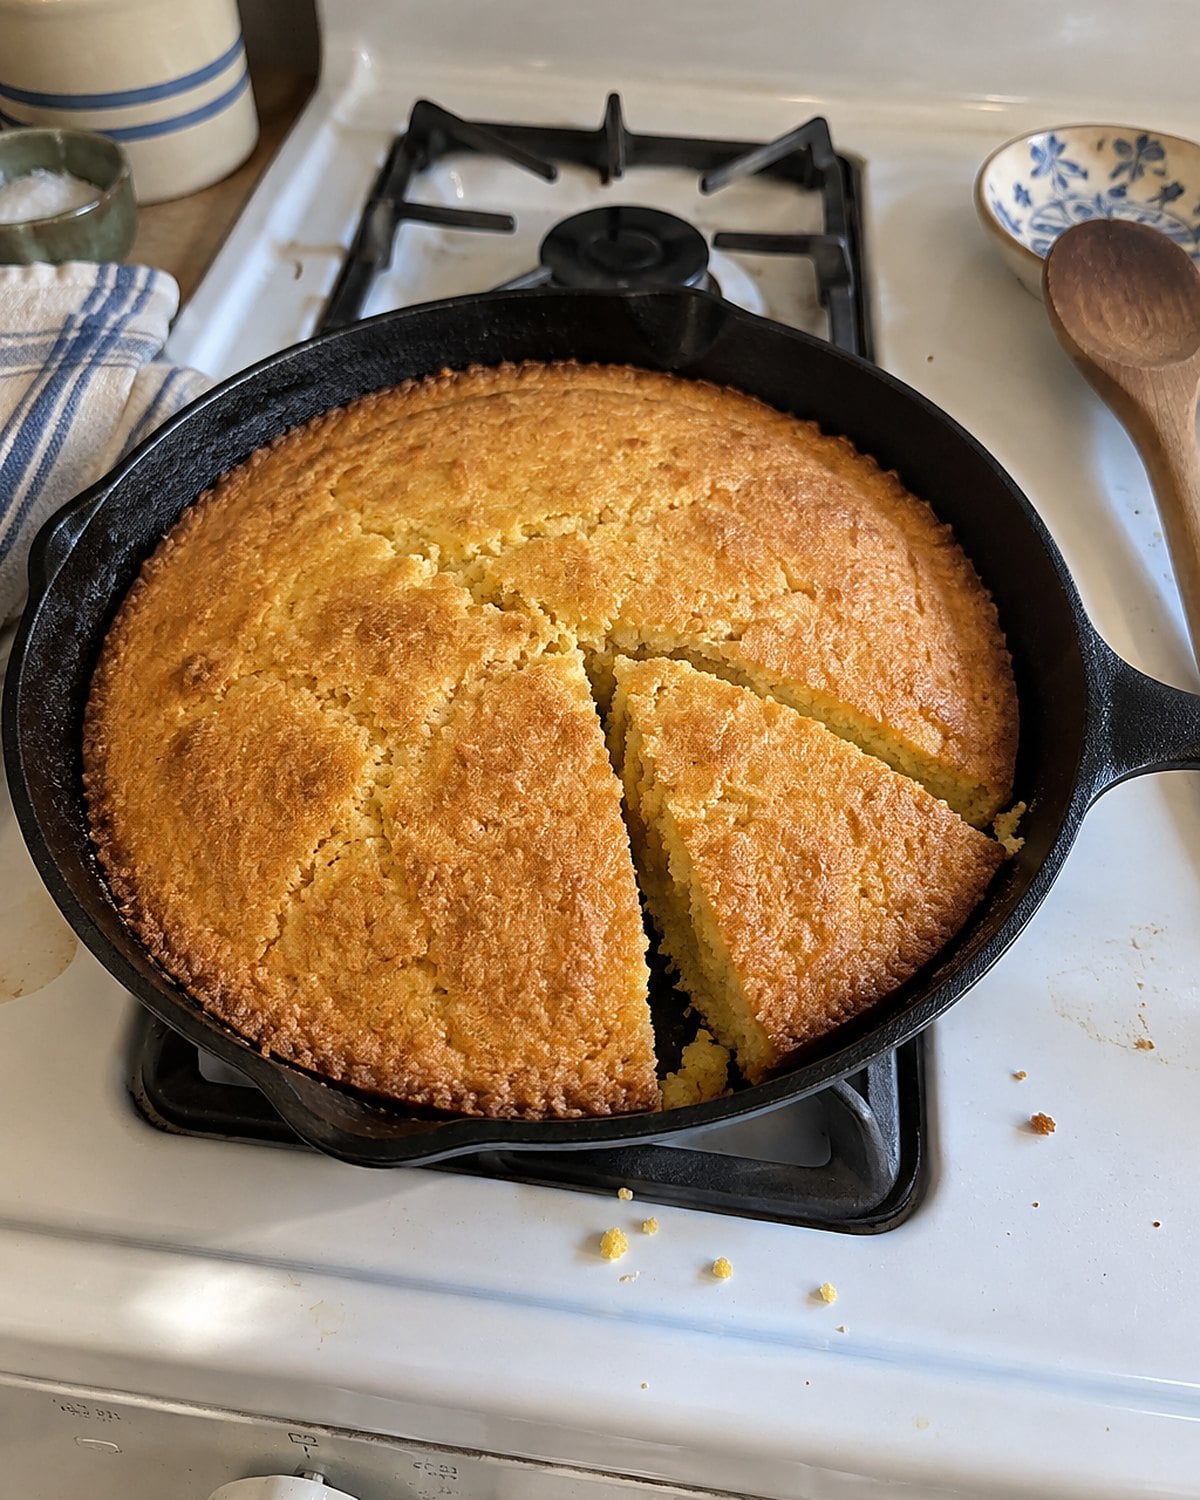
Did your mother pour batter into a skillet that hissed? The sound told her the bottom would start cooking at once. Preheat the cast iron with a little fat in a 425°F oven, then pour in the batter while the pan is hot. The edge firms against the iron before the middle has begun to rise.
Cornbread asks less of your hands than biscuits do. Stir the wet and dry ingredients only until the flour disappears. A few small lumps belong there. Keep stirring, and the crumb grows tough.
The old argument about sugar can stay at the family table. Cornbread differs by household and region; the useful test is under the slice. You want a browned bottom that lifts cleanly and an interior that holds together without feeling damp.
Put a wedge beside beans tonight. Listen for that crisp edge when the knife cuts through.
#25 Irish Soda Bread with the Craggy Top
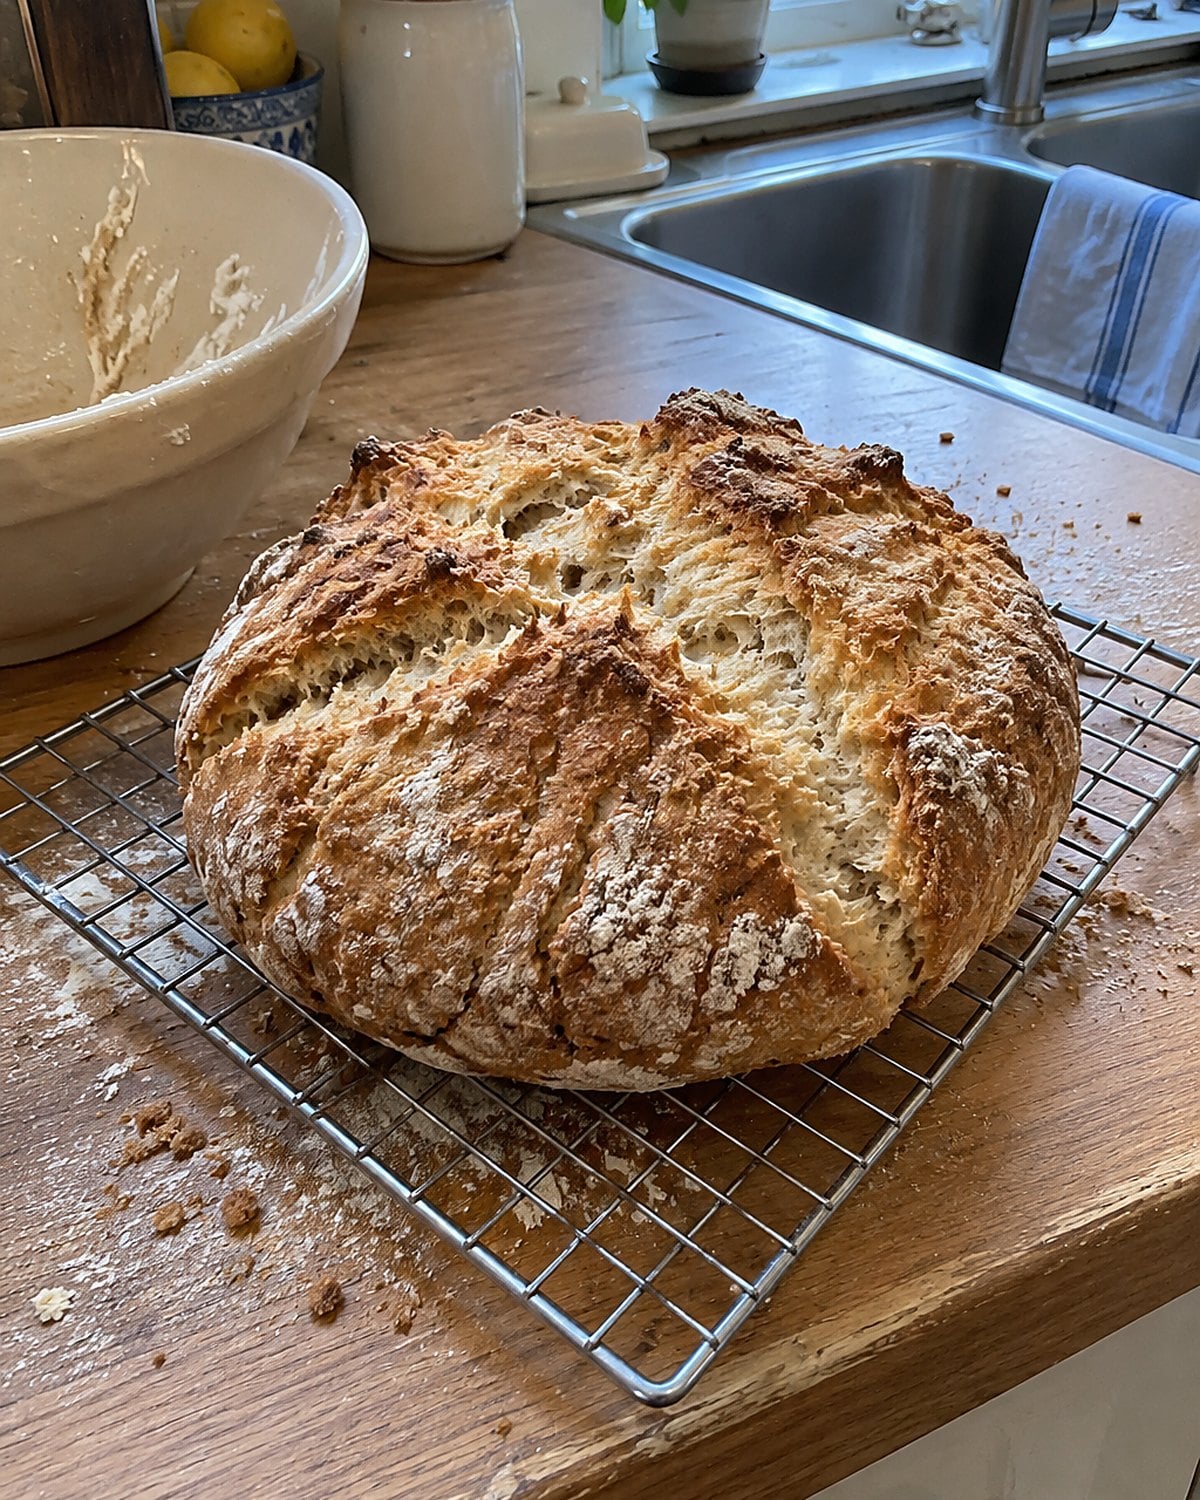
Soda bread looks unfinished when it goes into the oven. The surface is rough, the dough is sticky, and the deep cross on top seems too dramatic for a weekday loaf. Leave that roughness alone.
Baking soda reacts with the acid in buttermilk. Once the two meet, the dough needs shaping and baking, not a long rest on the counter. Mix with a spoon until the dry flour is gone, pat the dough into a round, and cut the top with a sharp knife.
That cut gives the loaf room to open as it rises. Tap the bottom after baking. A hollow sound tells you more than the color of the craggy top. Slice it when it's no longer steaming, so the crumb doesn't cling to the knife.
You need no loaf pan here. A baking sheet and the knife already in your drawer will do the work.
#24 Parker House Rolls for the Extra Chair
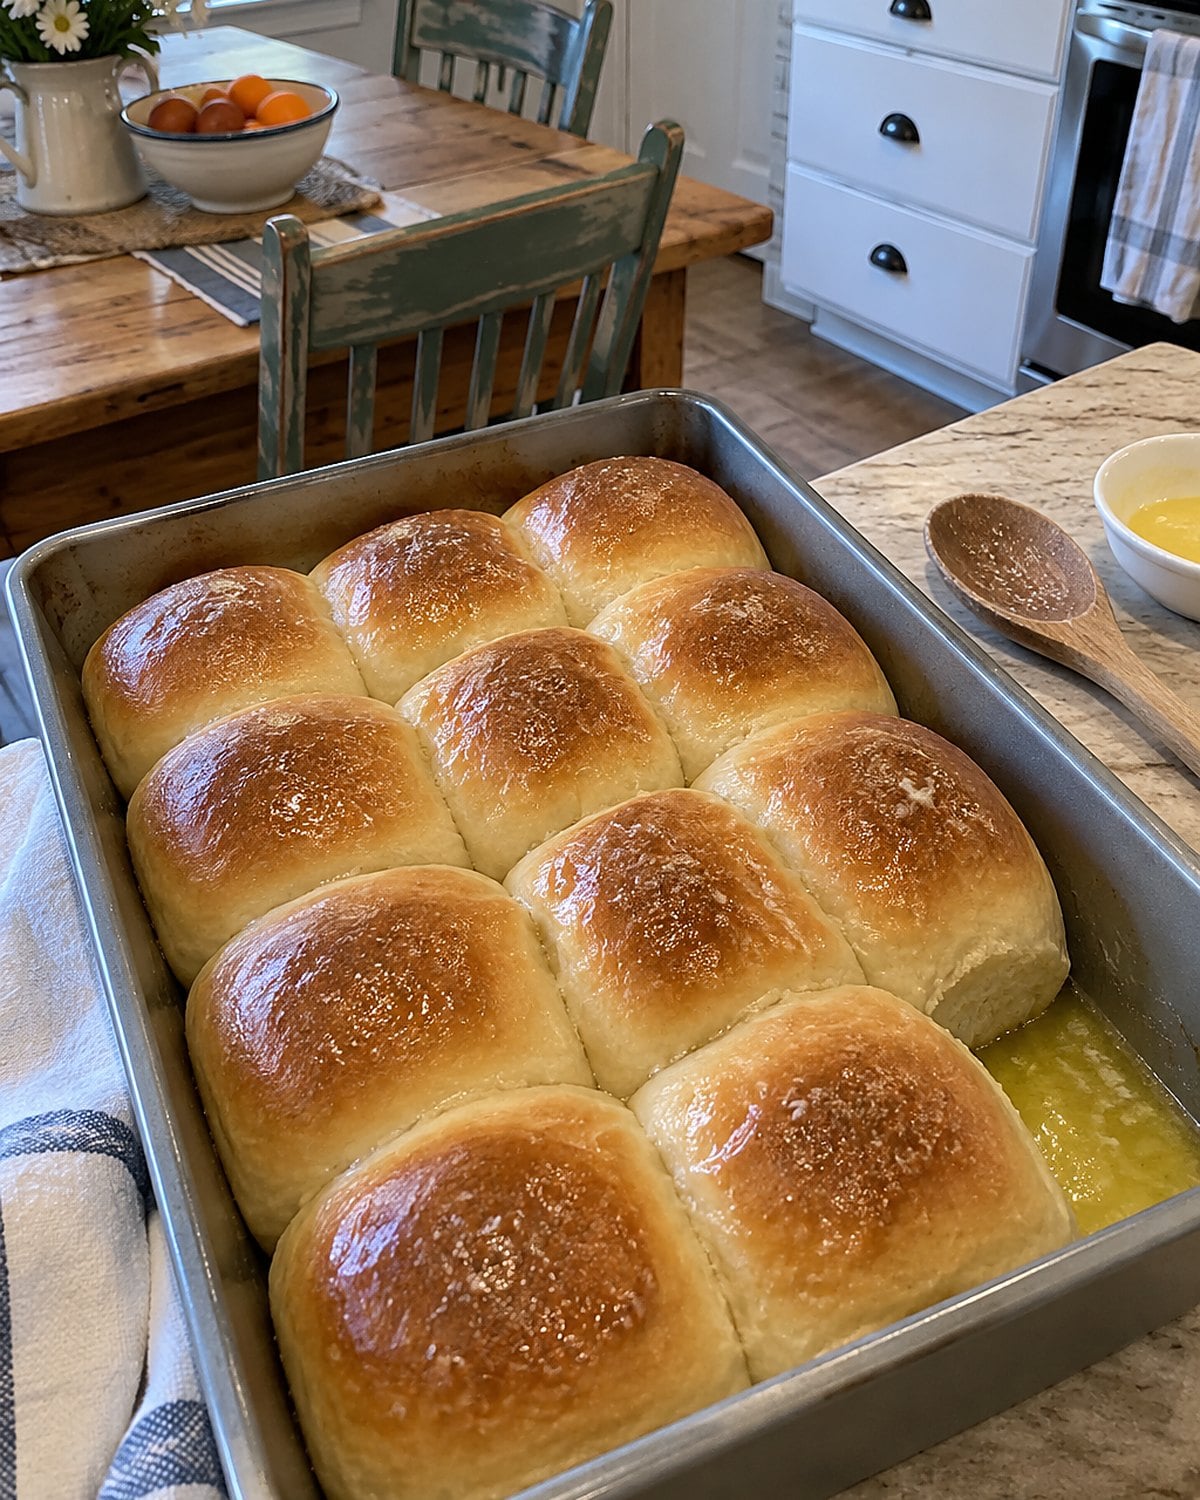
A pan of folded rolls used to signal that someone was coming over. The table got its extra chair, and the butter dish came out before the guests arrived. These rolls still earn that little bit of ceremony when a grandchild stops by after school.
Their shape does the work. Flatten each piece of soft yeast dough into an oval, brush it with melted butter, and fold it over. Leave the top half slightly short of the bottom half. That lip keeps the fold visible after the rolls rise and bake.
The skipped step is proofing after shaping. Freshly folded dough looks ready because it has a finished shape, but it needs time to grow light again. Touch a roll with a floured finger. If the dent fills back slowly, move the pan to the oven.
If it springs back at once, give it longer. That little pause is what puts air back into the fold before the heat sets it. Bring the pan out with the butter dish; the fold is an invitation to pull a roll open.
#23 Banana Bread from the Spotted Fruit Bowl
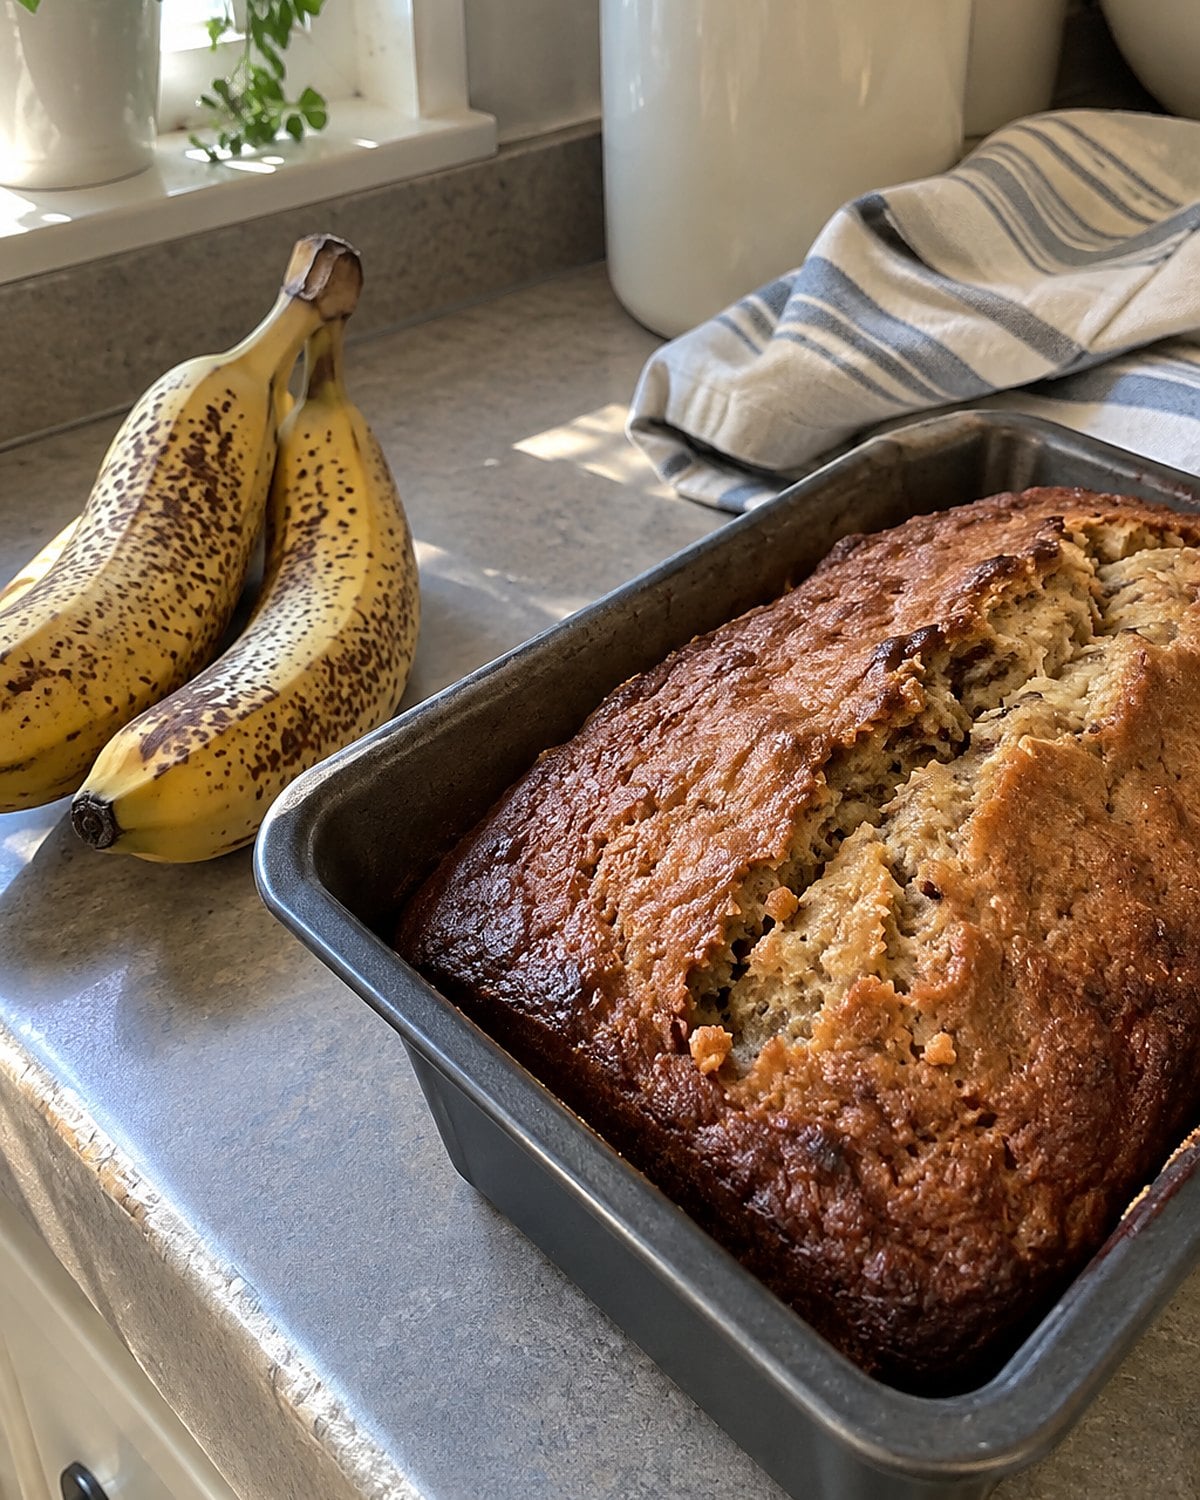
The bananas nobody wanted on Tuesday are the ones to mash for Saturday's loaf. Deeply spotted fruit mashes easily and brings a stronger banana taste. You don't need an electric mixer; a fork handles the fruit, and a spoon handles the batter.
Mix the flour in last. Stop when you no longer see dry streaks. The urge to beat the batter smooth works against you: extra stirring develops gluten and leaves a rubbery strip through the middle.
Check the loaf near its center with a toothpick. Wet batter means more oven time; a few moist crumbs mean it's done. Let it stand in the pan briefly before lifting it out.
The smell reaches the hall long before a warm slice holds together under the knife. Give your loaf that wait on a rack.
#22 Skillet Flatbread When the Oven Is Full
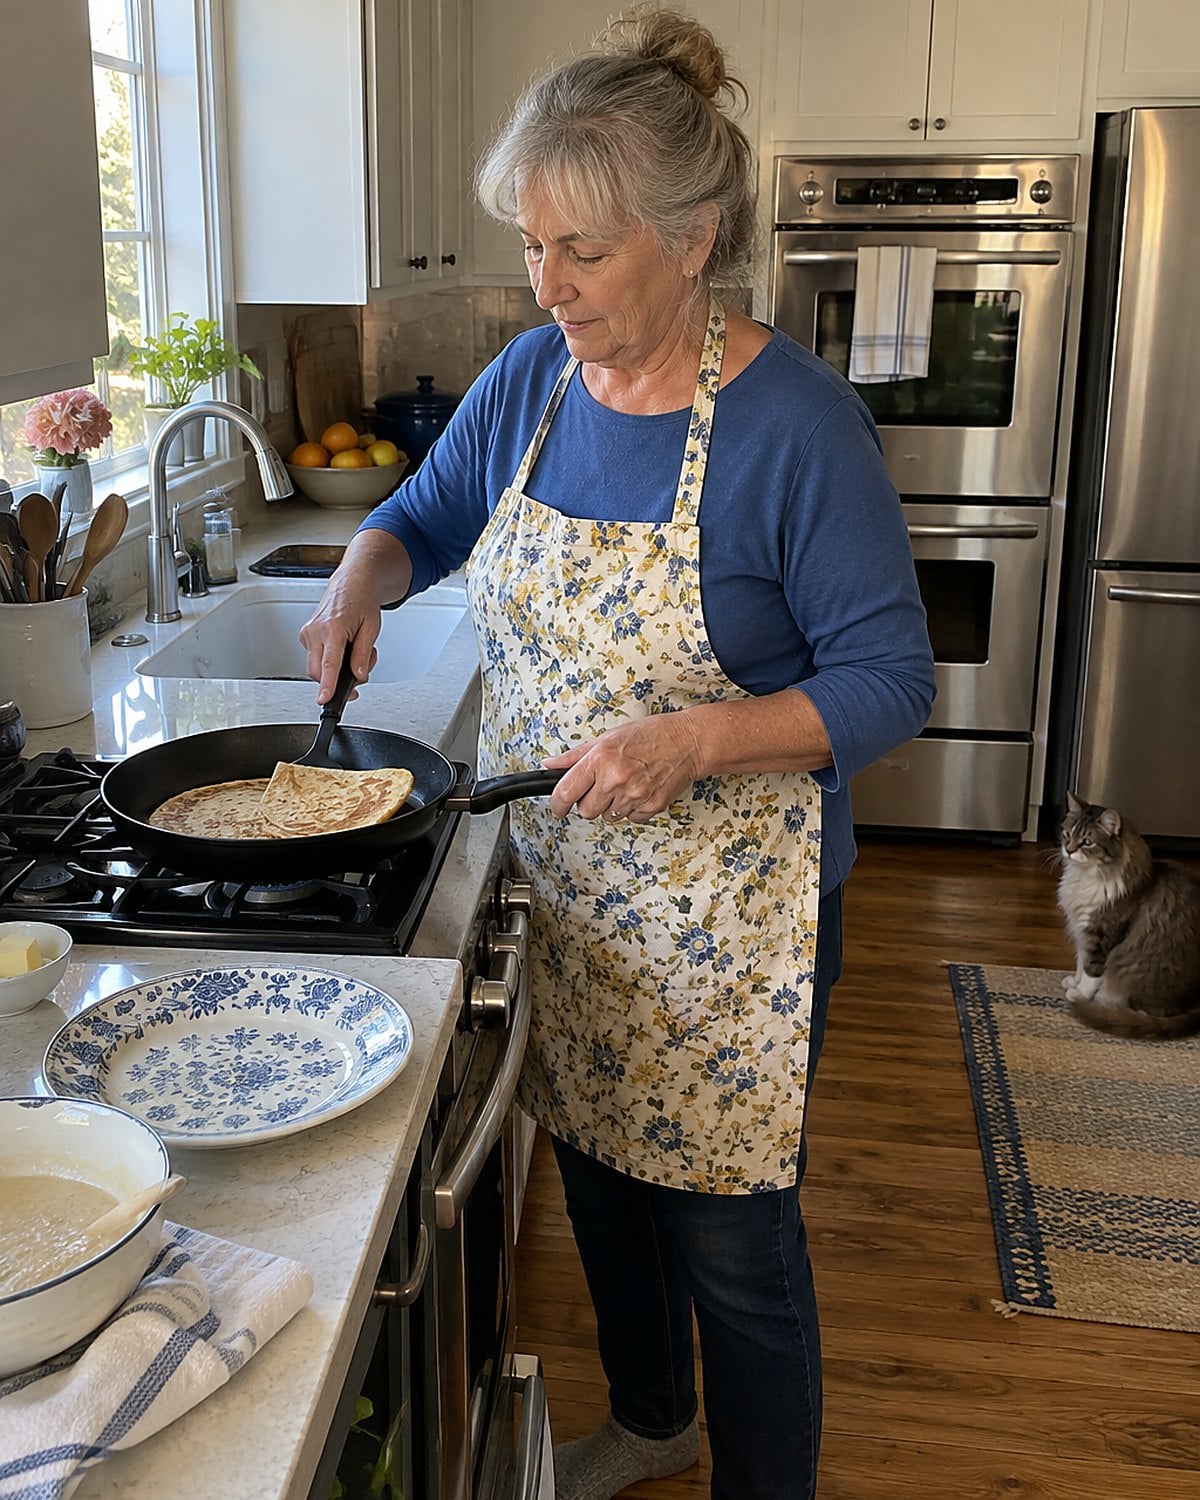
A crowded oven changes supper plans. There's a roast on one rack, potatoes on the other, and no room for the bread you promised.
Set a skillet on the stove instead.
Plain flatbread needs a soft dough and a hot, dry pan. Rest the mixed dough before you roll it. That pause relaxes the gluten, so each piece stays flat rather than shrinking toward the rolling pin. Roll one while another cooks, turning it when brown spots appear and the surface starts to puff.
Stack the finished breads under a clean towel. Trapped warmth keeps them bendable for wrapping around chicken or wiping up the last spoonful of stew. If you want a crisp bread instead, leave the stack uncovered.
It's a small choice. Your hands will feel the difference as soon as you fold a piece.
#21 Dinner Rolls That Touch in the Pan
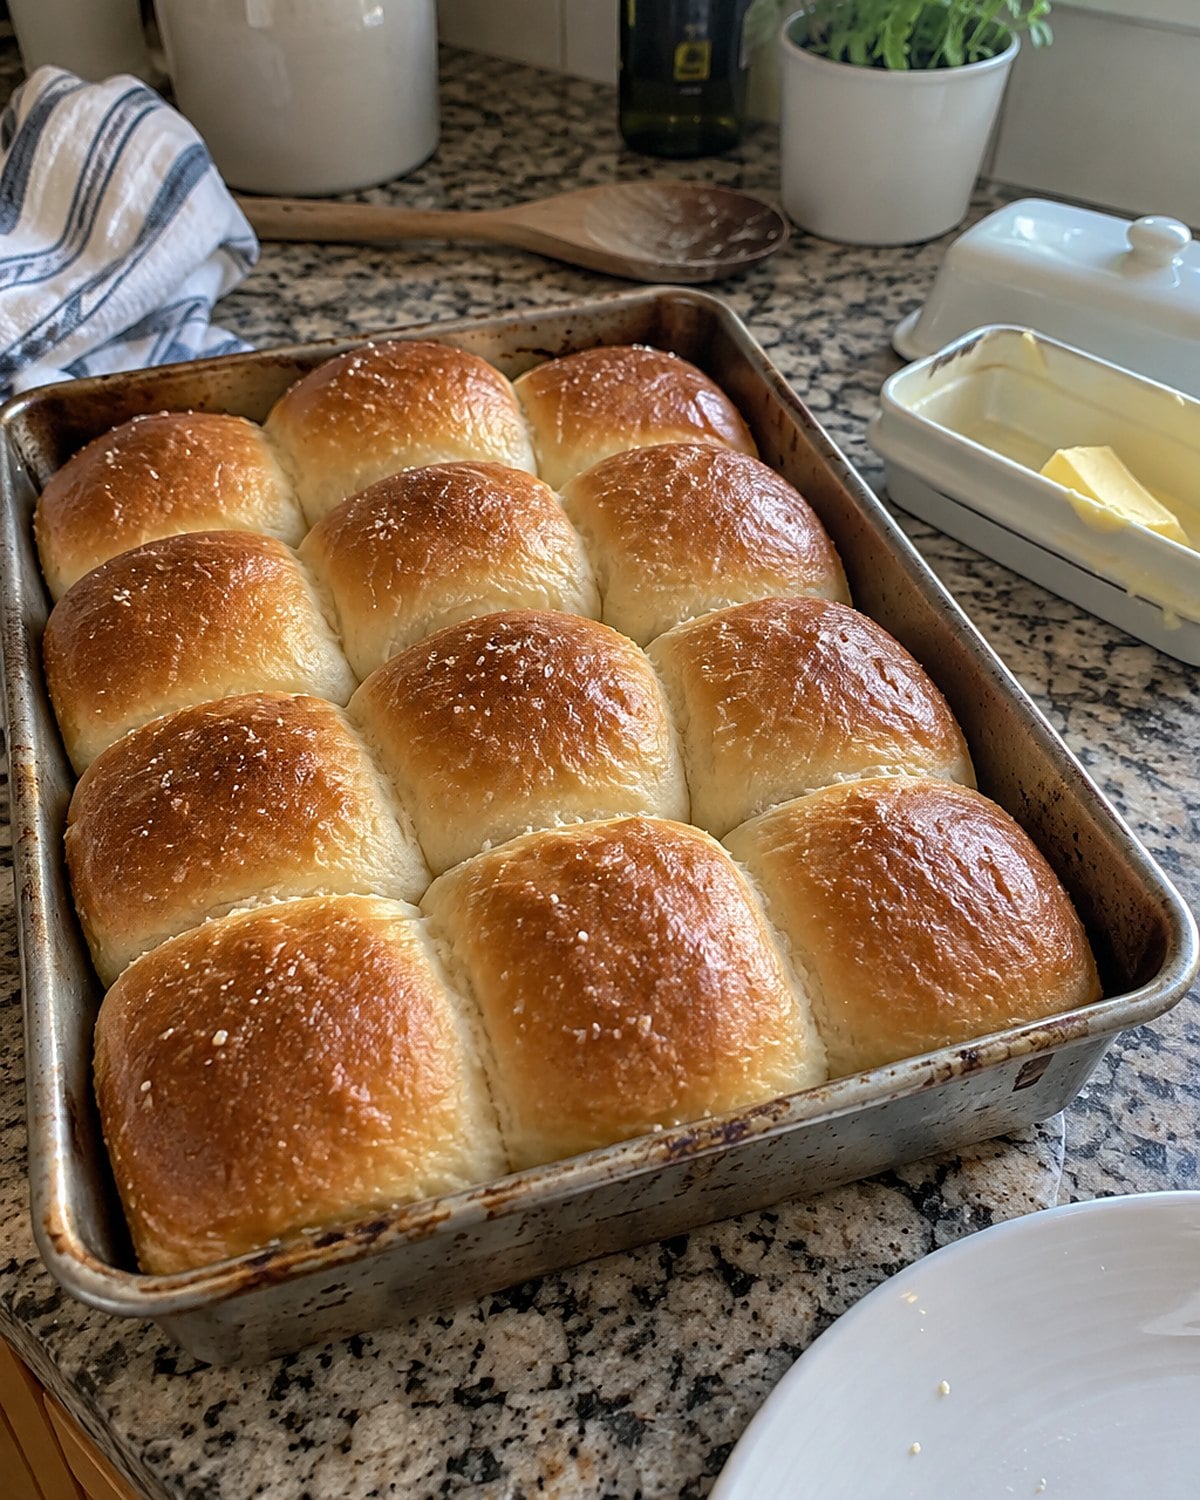
The rolls in the middle of the pan were pale on the sides and soft enough to pull apart. The corner rolls had more crust. Someone always knew which one they wanted.
Shape each dough piece by tucking its edges underneath until the top is taut. Set the rolls in a buttered pan with a little room between them. During their final rise, they'll meet; in the oven, the touching sides stay tender.
Use a light touch when you check the rise. A deep jab knocks air from a small roll. Press one lightly with a fingertip and watch the dent. Slow recovery means the pan is ready to bake.
Put the butter on the table before you bring these out. Nobody waits for them to cool completely.
#20 Cinnamon Swirl Bread with a Tidy Seam
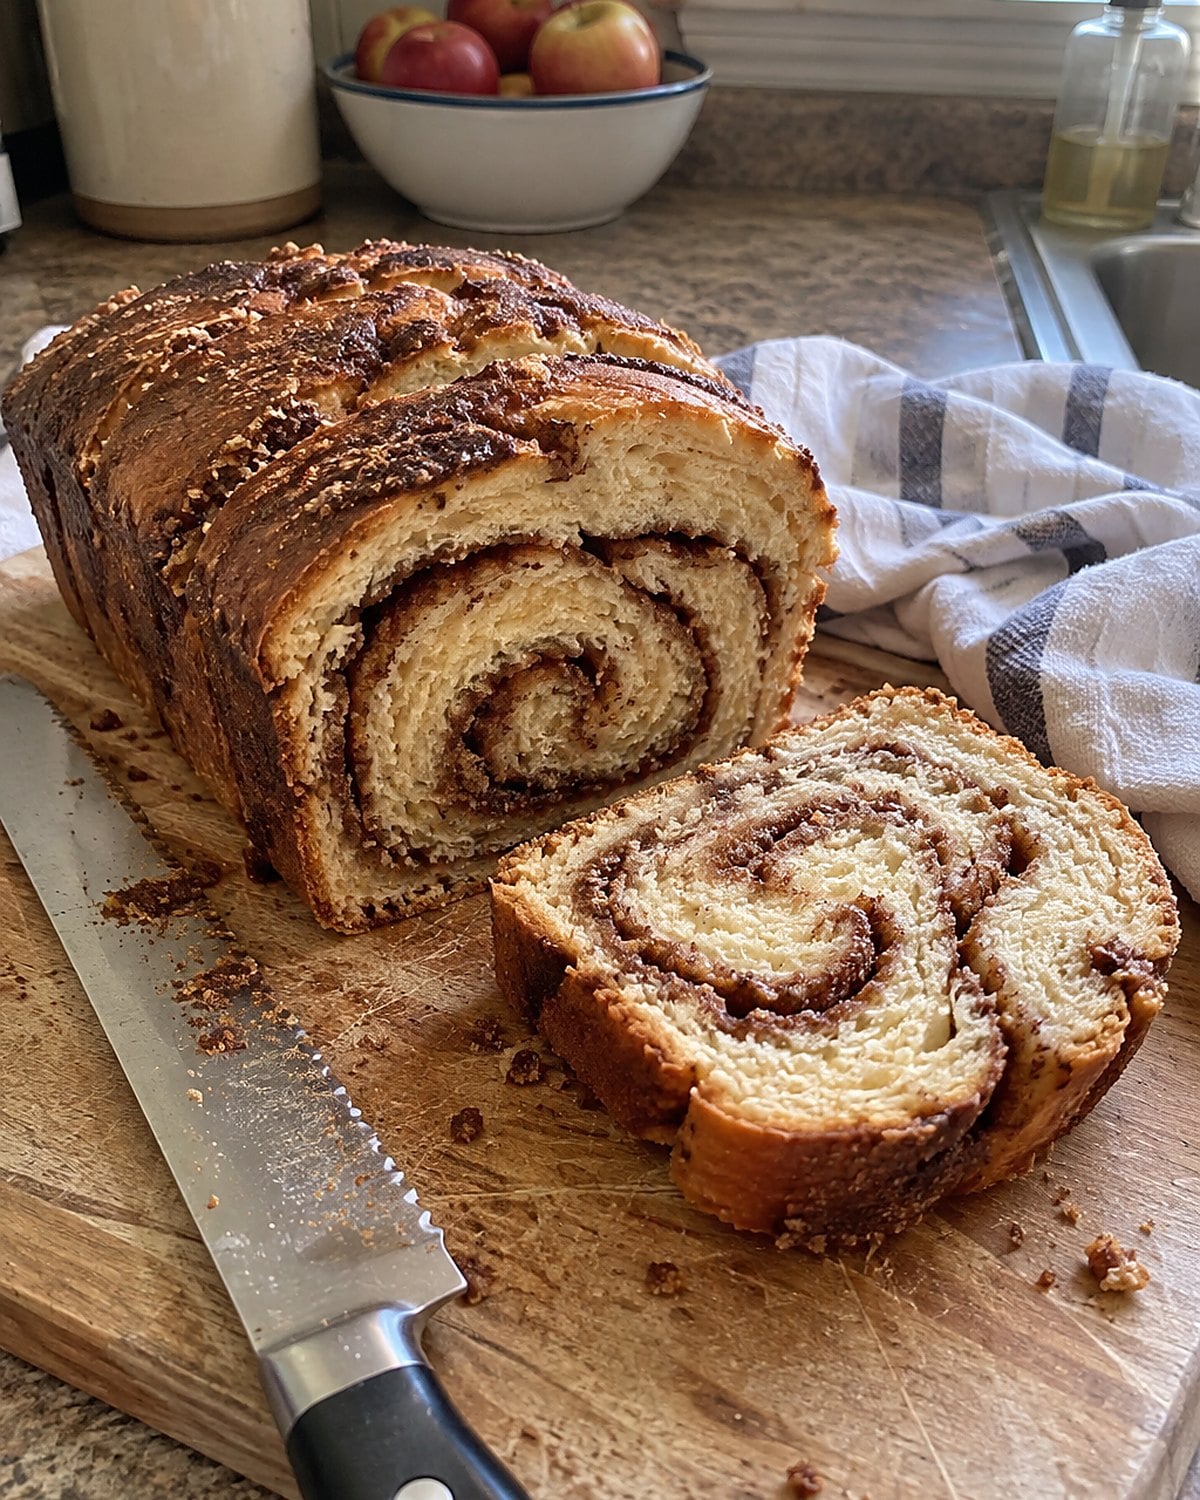
The first slice showed the whole trick: a brown spiral from crust to crust, with no empty tunnel beside it. The trick begins before the rolling.
Pat the risen dough into a rectangle and spread the cinnamon filling in a thin, even layer. Leave a bare strip along the far edge. Roll snugly from the near edge, then pinch that bare strip to the dough. Put the seam underneath in the loaf pan.
A heavy layer of sugar melts into a slippery space, and the spiral pulls apart when sliced. A restrained layer stays closer to the bread. Once shaped, let the loaf rise again before baking. The pan is a guide to its shape, not a sign that proofing is finished.
Wait until the loaf has cooled before cutting. A warm swirl smears under the knife, and the center tears. Toast tomorrow's slice if you miss the smell that filled the kitchen today.
#19 Zucchini Bread After the Garden Visit
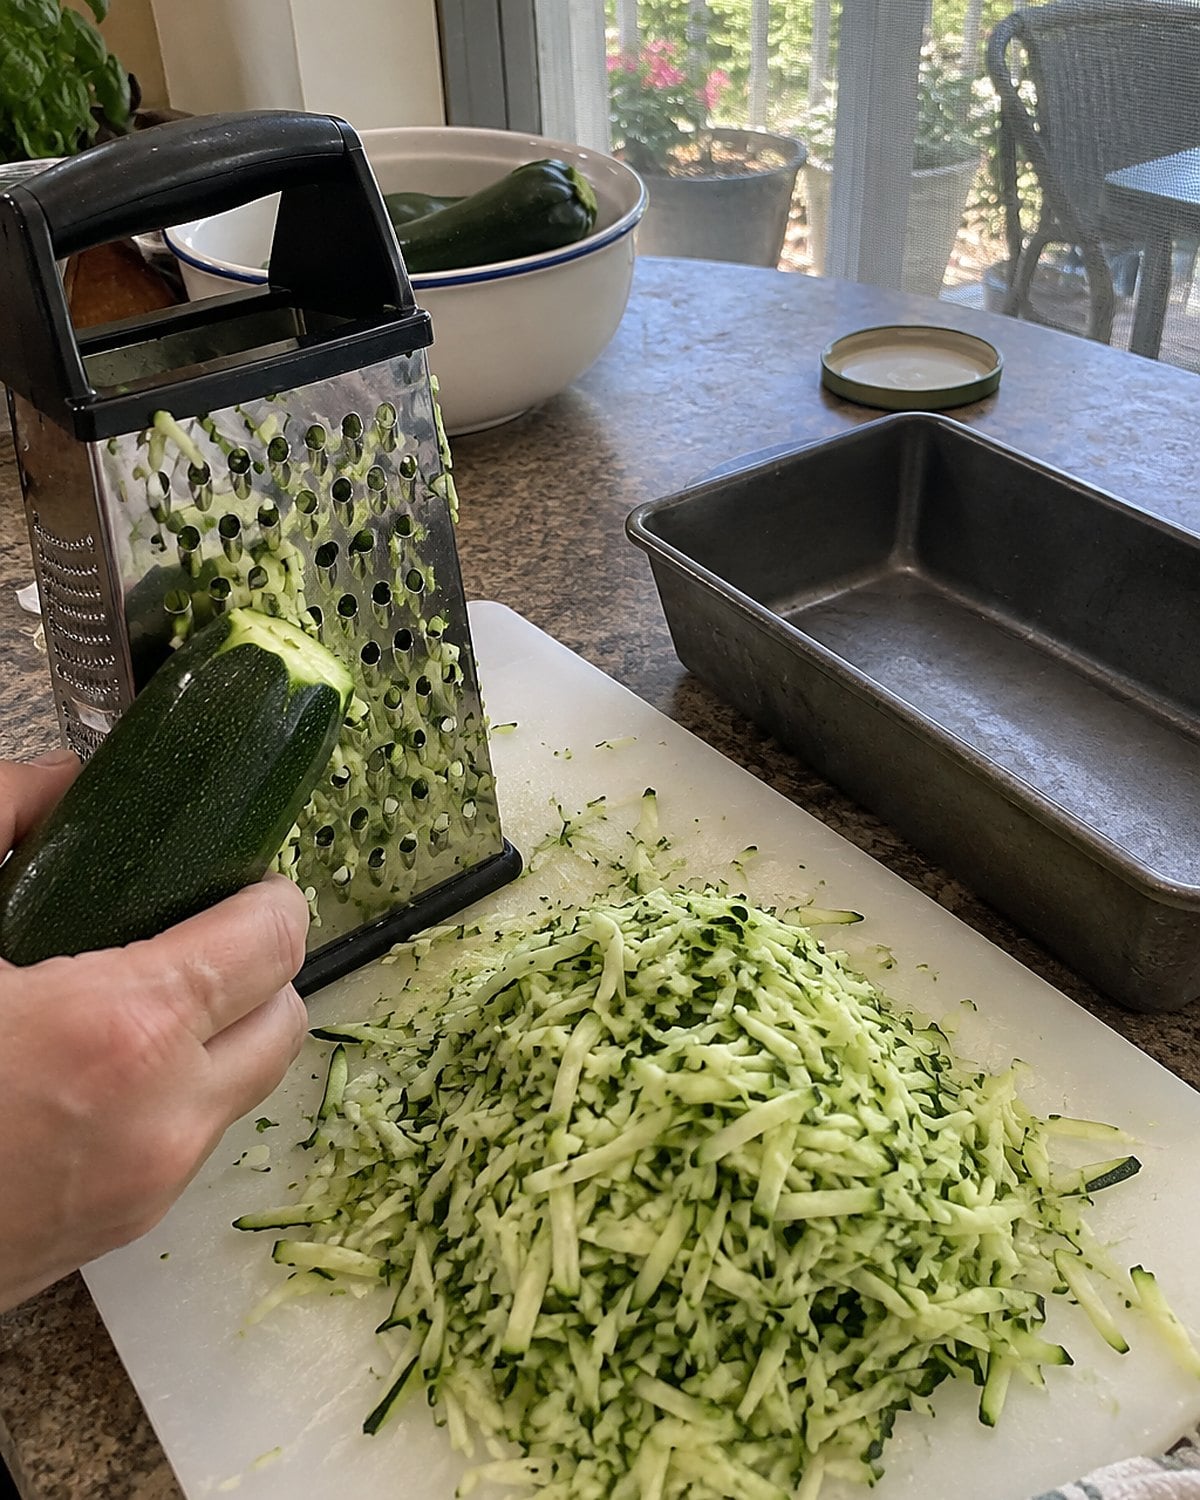
A neighbor leaves zucchini on the porch. You set one beside the church cookbook, and by the weekend it has become a loaf. That old exchange still works without a mixer.
Grate the zucchini and leave the peel on for those green flecks you remember. If the shreds sit in a puddle, blot them before mixing. The vegetable brings moisture, but standing liquid gives the middle more than it needs.
Fold the dry ingredients into the wet with a spoon. Scrape the bottom of the bowl once, where flour likes to hide, then stop.
A loaf baked in a deep pan needs its center checked, not just its browned edges. Push a toothpick into the middle and look for moist crumbs rather than wet batter. Save the end piece for yourself if you like the crust.
 You might also like27 Dishes From Church Suppers That Nobody Makes Anymore
#18 English Muffins on the Griddle
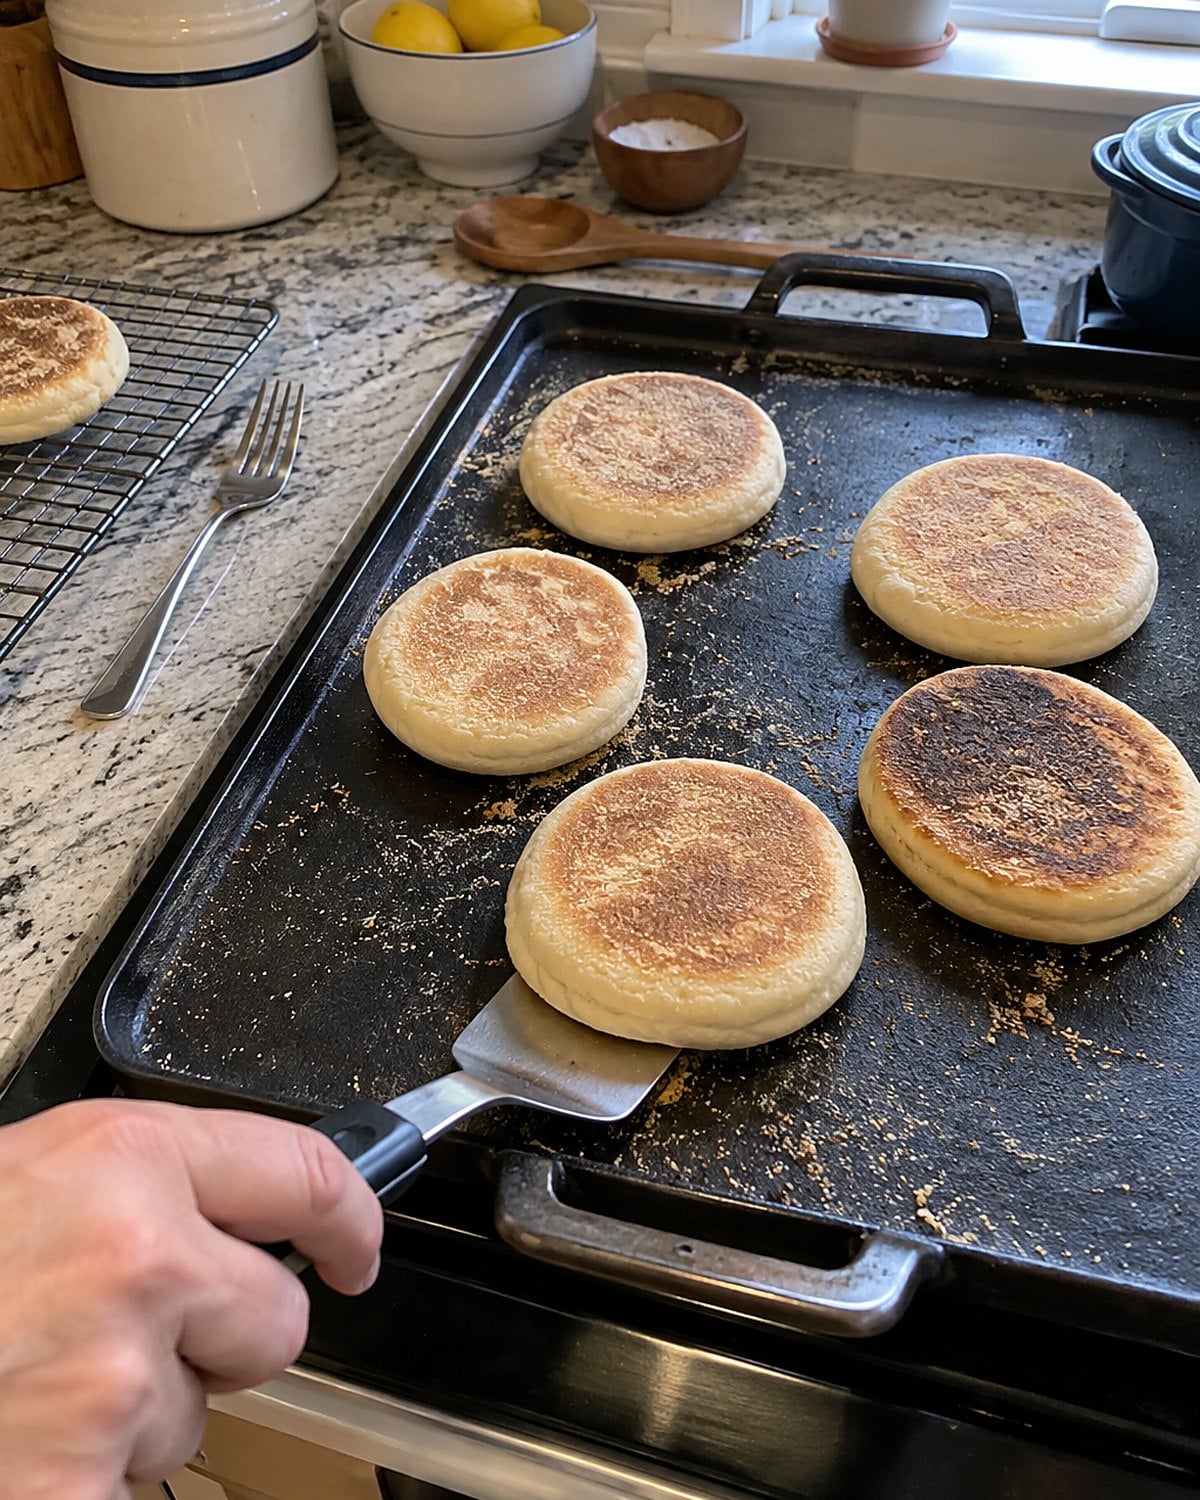
Why heat the oven for a bread whose best side is the split one? English muffins cook on a griddle or heavy skillet. Their slow, even heat builds the browned faces that toast so well the next morning.
Pat the dough out thick enough to leave a soft middle, then cut rounds without twisting the cutter. Give the cut muffins a final rise on a dusted tray. Transfer them with care; squeezing them flat now steals the space you worked to make.
Keep your pan over moderate heat. If a face browns too fast, lower the burner before turning the next muffin. You're aiming for a cooked center, not the darkest crust.
Check one by splitting it. The middle should look set rather than shiny or doughy. After cooling, use a fork to split the rest around the edge. That rough inside catches butter in the little pockets a knife would flatten.
#17 Garlic Knots from a Bowl of Dough
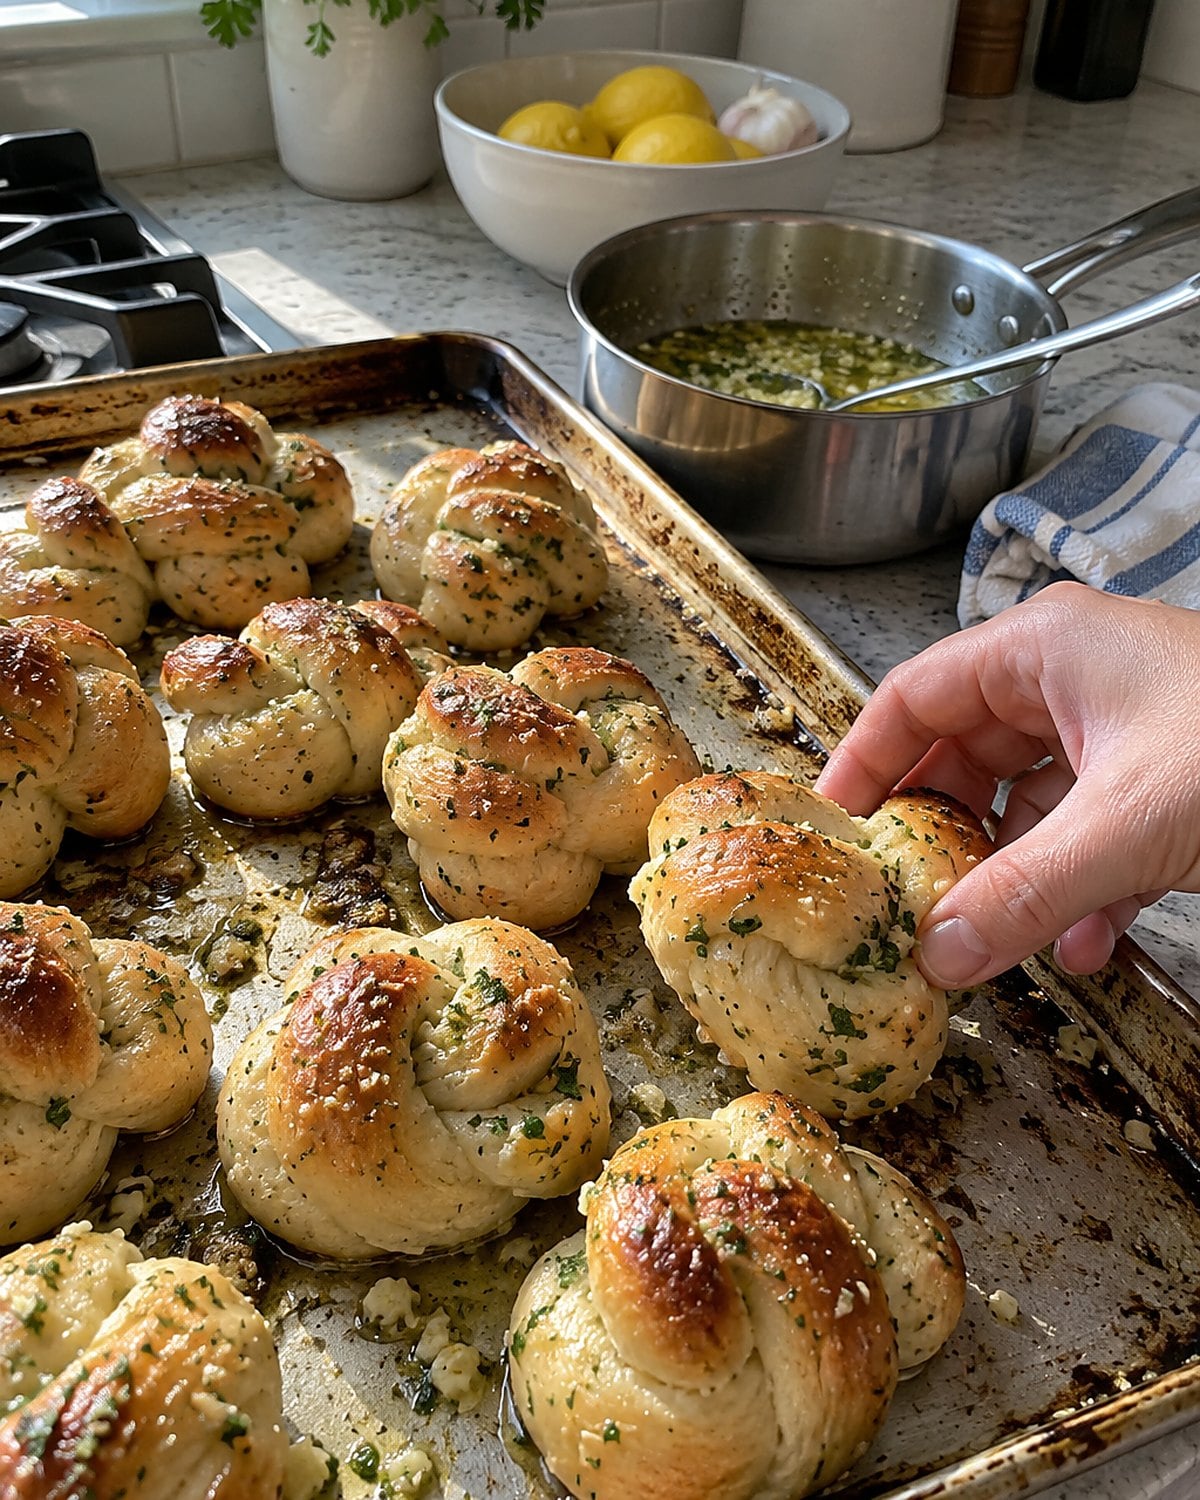
One bowl of dough turns into the bread everyone reaches across the table for. Tear off a piece, roll it into a rope, and tie a loose knot. Leave space at the center so it has room to swell in the oven.
Bake at 400°F for about 12 minutes, until the knots are golden. Look under one before you take out the tray; the bottom should have color, too.
The garlic belongs in the finish. Fresh minced garlic on the outside of a baking knot burns before the dough is done. Warm garlic in butter, then brush it over the knots as they come out. Add chopped parsley if it's in the crisper.
A loose knot looks less tidy on the tray, but it bakes more evenly than one pulled tight. Put the tray beside a pot of tomato sauce. You know where the first hand will reach.
#16 Bagels Boiled Before They Bake
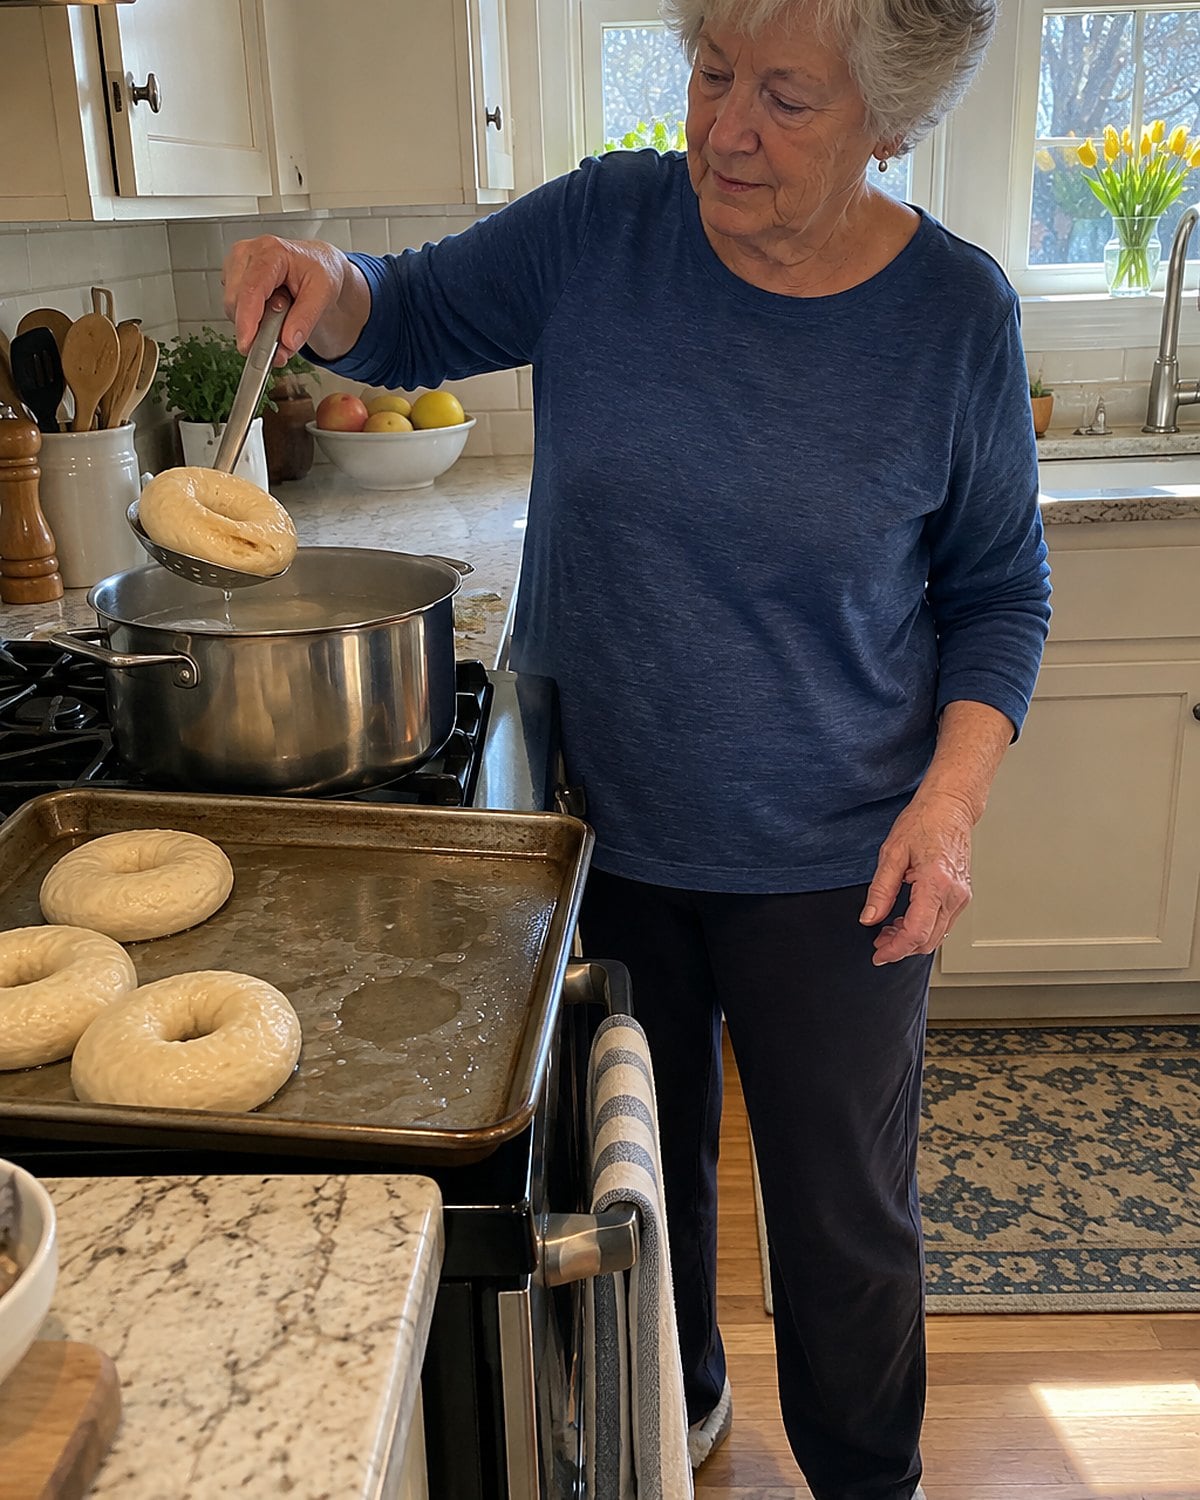
The large pot on the stove is what makes these feel unlike the other breads. Bagels take a brief bath in simmering water before they reach the oven. That water sets the outside, helping build the chewy crust around the dense middle.
Shape each dough ring with a generous hole. Proofing and boiling both make the dough swell, so a tiny opening closes. Lower the rings into the water without crowding the pot. Boil them for about 60 to 90 seconds per side, then lift them onto a baking sheet. Add seeds while the surfaces are still damp enough to hold them.
Watch the water rather than walking away to clear the counter. A hard boil tosses the rings against each other. Give each one room to float and turn it with a slotted spoon.
The baked bagel should feel firm, with a browned surface rather than a soft roll's pale top. Let it cool before splitting it for the toaster. You needed the pot you already own.
#15 Sandwich Buns for the Weekend Visit
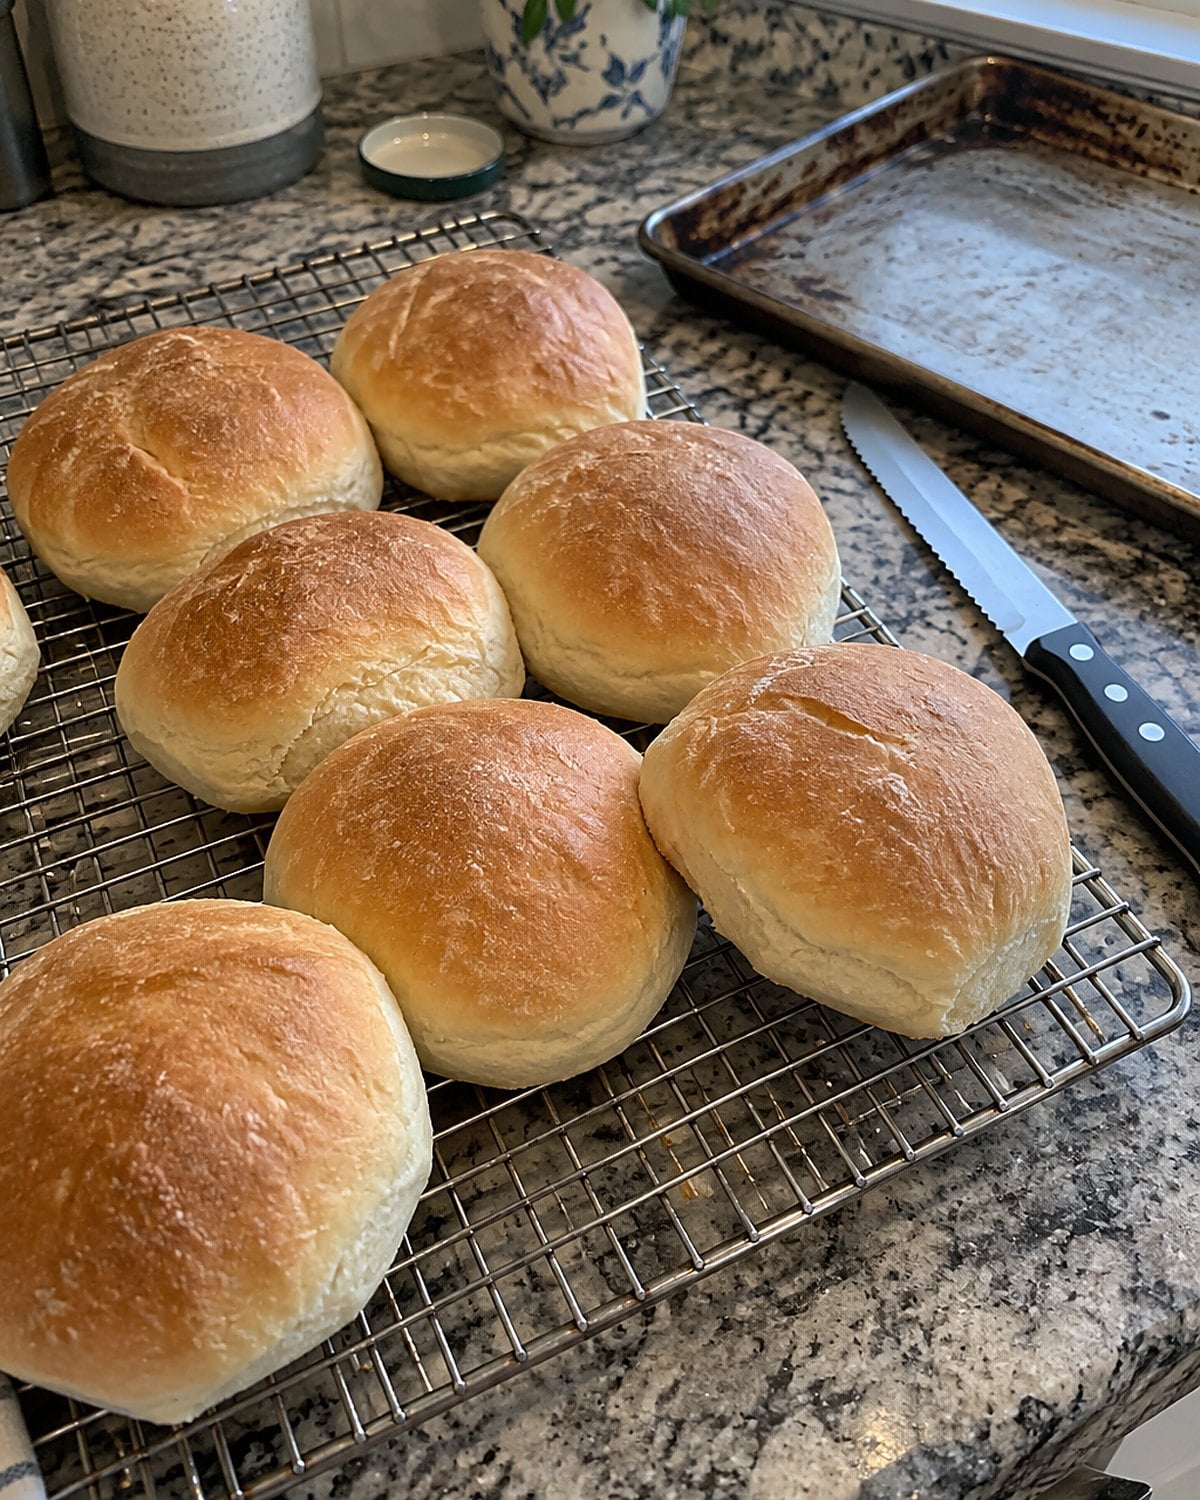
A hamburger bun has a job: hold the filling without making you wrestle the sandwich. Press the shaped dough flatter than you would for a dinner roll. It will rise in the oven, and the wider shape leaves room for what goes inside.
Put the buns on a baking sheet with space between them. Before baking, brush the tops with an egg wash if you want the glossy, browned finish from the bakery case. Skip it for a softer, plainer top.
When they're cool, split one with a serrated knife. If the crumb tears instead of slicing cleanly, wait a little longer. Set the buns out for visiting family with the filling close by. The first person through the door will know what supper is.
#14 Dutch Oven Bread Beneath the Heavy Lid
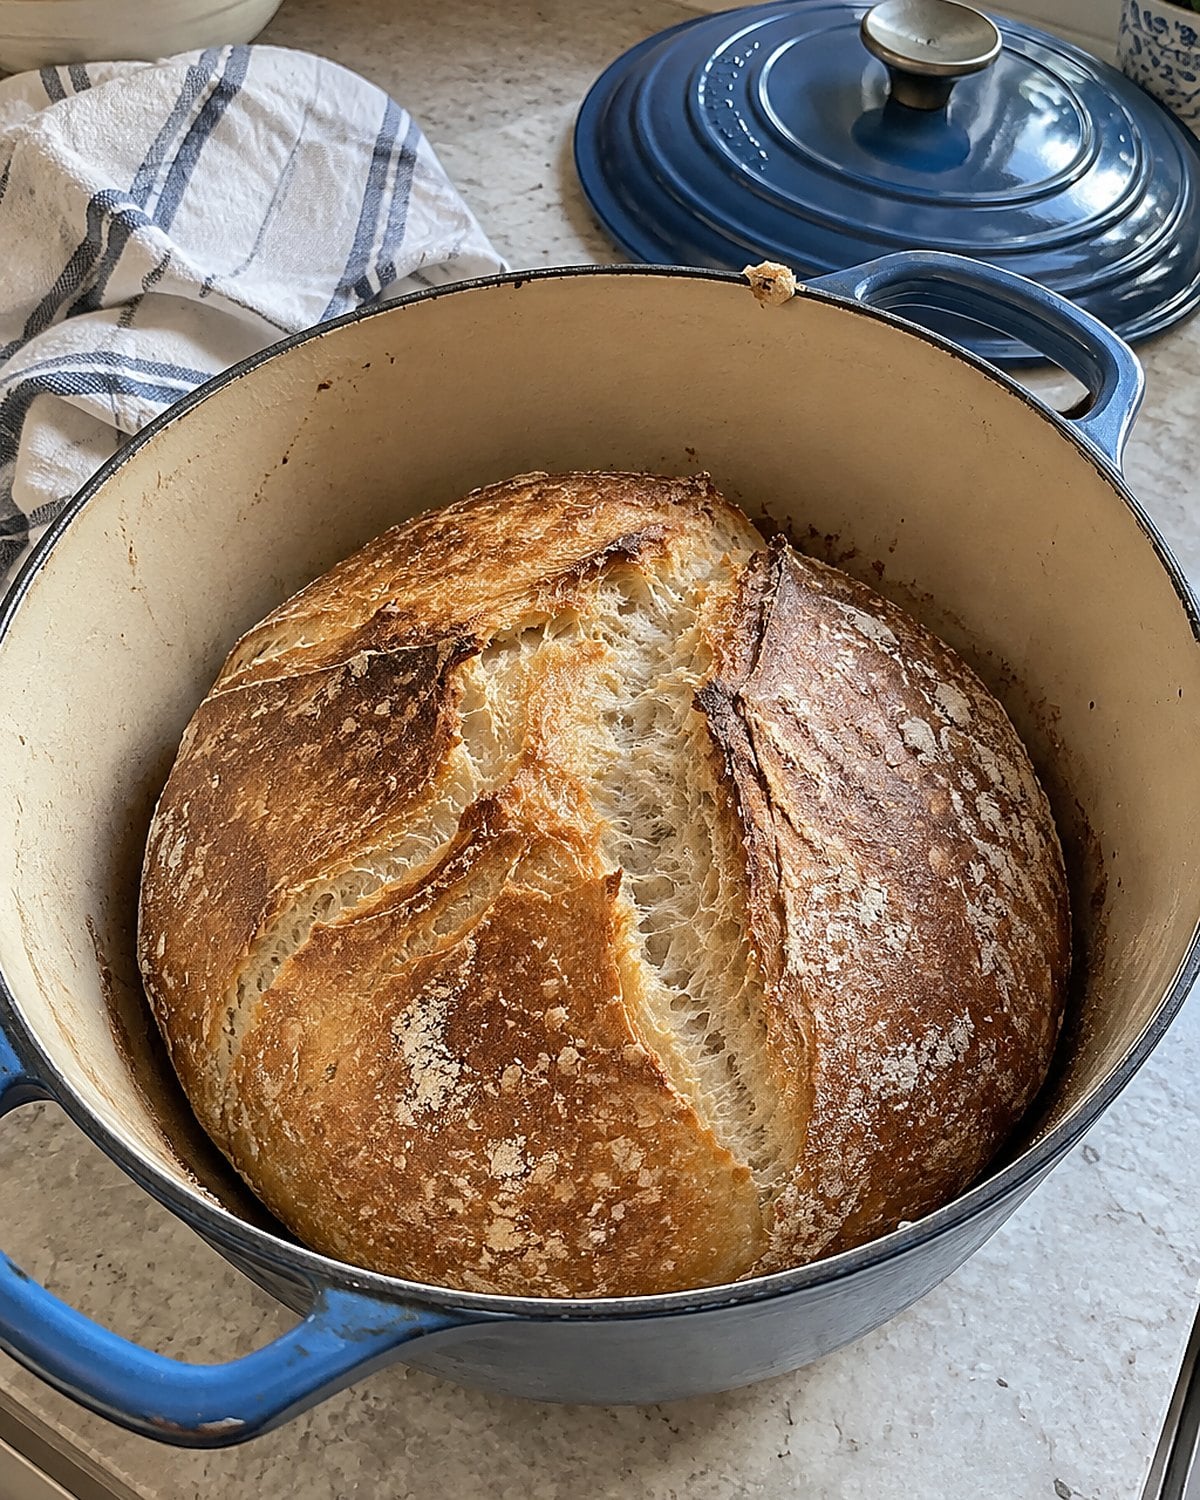
The lid made a dull sound when it settled onto the pot. Under it, the dough was doing something an open baking sheet couldn't manage: holding steam close to its surface.
Steam delays the crust from setting. The loaf gets room to expand before the outside turns firm, which is why a covered Dutch oven produces such a handsome split across the top. Heat the pot with the oven, then lower the dough into it on parchment.
Mind the handle and rim. They're hot before the bread goes in. Keep your oven mitt on when you reach for the lid again; it looks harmless sitting beside the pot.
Take the lid off for the final stretch of baking so the crust browns. A dark top alone doesn't tell you about the center. For a plain yeast loaf, an instant-read thermometer inserted into the middle should read about 190°F to 200°F.
Let the loaf cool on a rack. Cutting it while steam still rushes out leaves a gummy face on the first slice. Set the knife down, make the coffee, and give that crust time to crackle.
#13 Corn Muffins from the Worn Tin
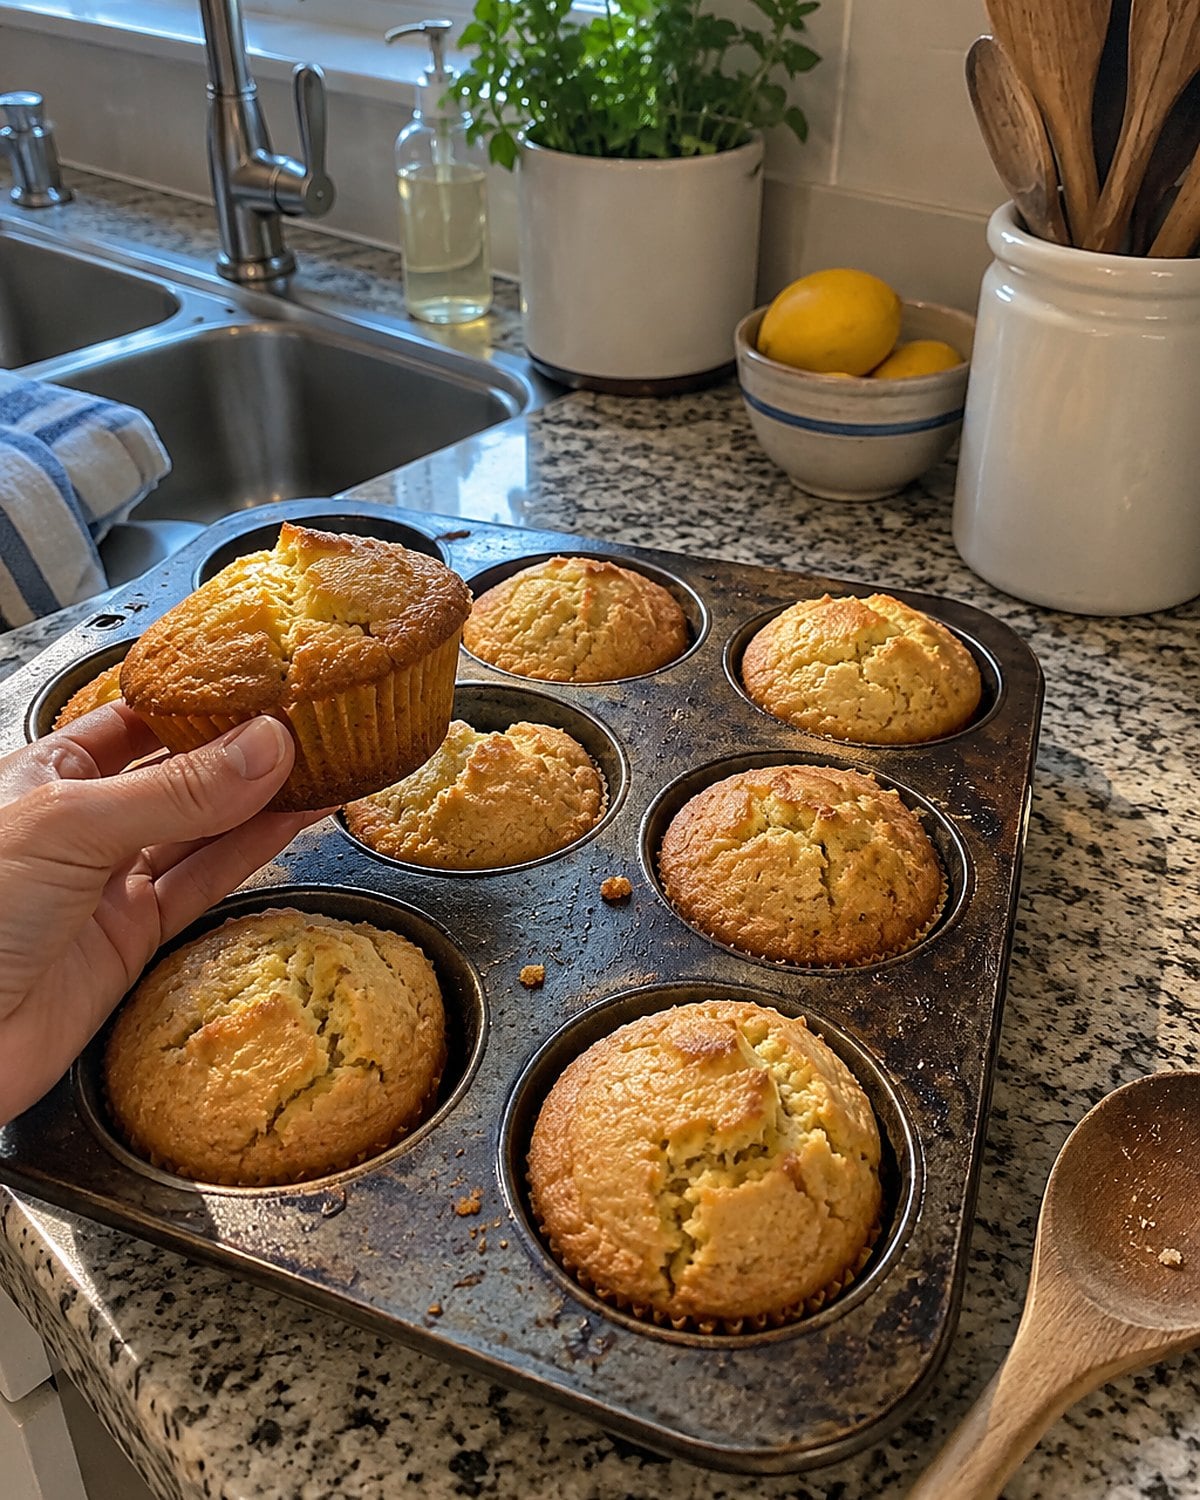
Somebody buttered the muffin tin even though its corners had turned dark years ago. The first batch went beside chili; the leftovers were split and toasted at breakfast.
Corn muffins need the same restraint as skillet cornbread, but the smaller cups change what you watch. Stir the batter just until it comes together, then fill the cups evenly. A nearly empty cup dries out while a heaped one stays damp in the middle.
Run your eye across the tin before it goes into the oven. Spoon batter from a fuller cup into a sparse one; it's easier now than after the tops have set.
Look for tops that spring back when touched and edges that pull slightly from the tin. Let the muffins stand briefly before you lift them out, so the tender bottoms don't tear.
If a little crumb stays behind anyway, that's the cook's piece.
#12 Whole Wheat Loaf with a Softer Crumb
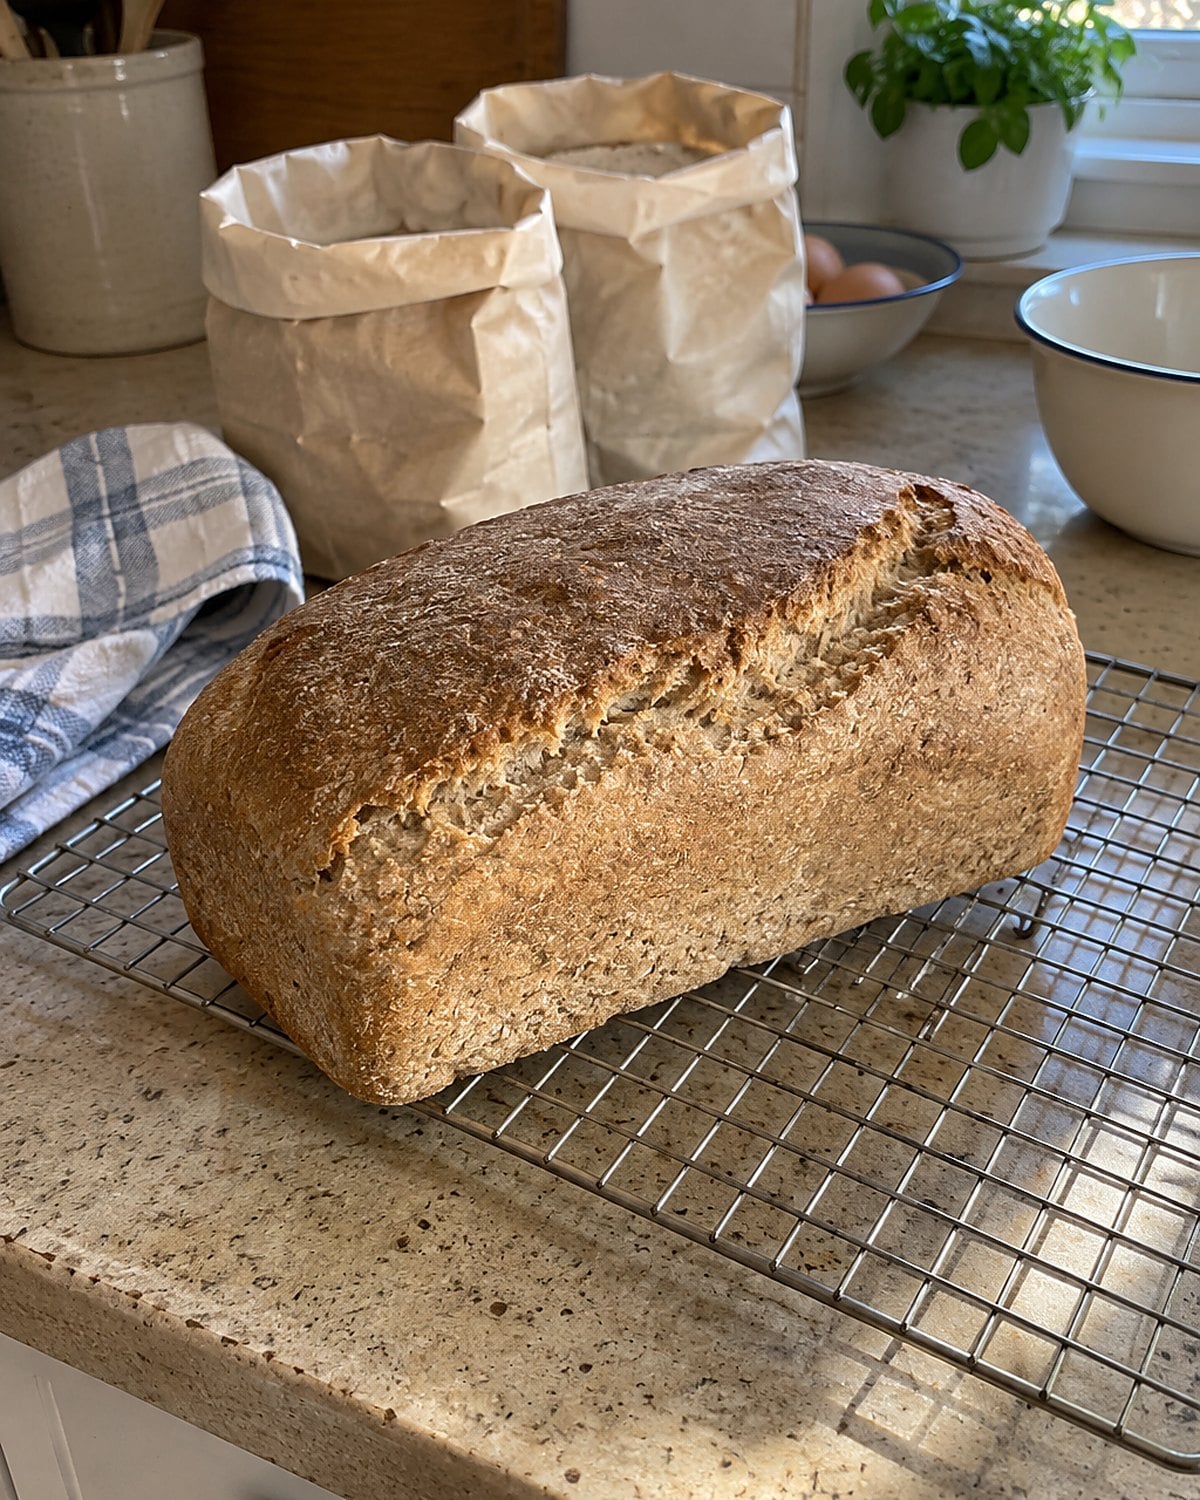
Whole wheat flour includes the bran and germ removed from white flour. Bran absorbs water, so a dough made with it feels different under your hand. Give the mixed dough a short rest before deciding it needs more flour. What first felt sticky becomes easier to handle as the flour hydrates.
For a loaf that still pleases someone raised on soft sandwich bread, combine whole wheat and all-purpose flour. There's no prize for making the dough so stiff it fights the bowl.
Knead until it stretches without tearing at the first pull, then let it rise until it looks full and airy. If dough clings to your fingers, scrape them clean before reaching for more flour. That sticky feeling alone doesn't tell you the dough is too wet.
Check the baked loaf by lifting it from the pan and looking at the sides. They should be set and browned, not damp where the bread touched the metal. Cool it before slicing for sandwiches. Your bread knife will give you cleaner pieces than the good chef's knife, no matter how sharp that knife is.
#11 Raisin Bread beside the Butter Dish
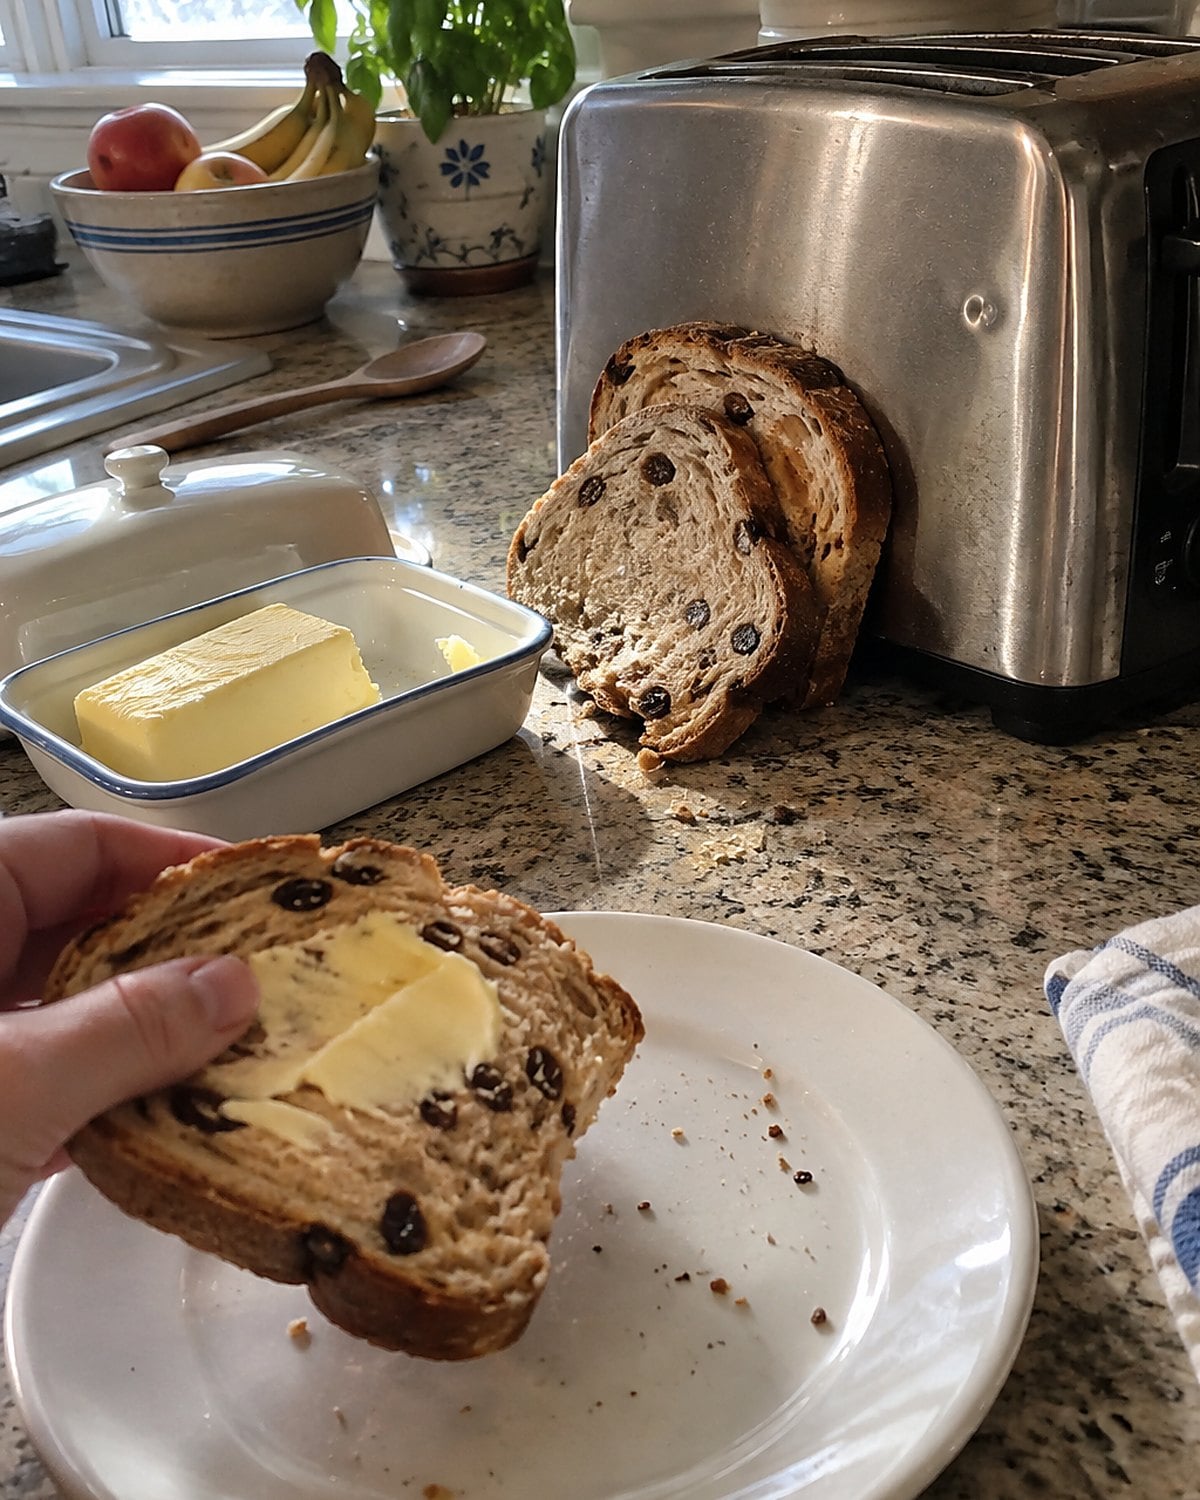
Raisins found their way into bread when there was enough dough for a breakfast loaf as well as supper. The slices went into the toaster, and the butter dish came out of the fridge.
Knead the dough first, then work in the raisins. Add them too early, and some break open while you're building the dough's structure. Scatter them over the flattened dough and fold it several times to spread them through.
Watch the outside of the loaf as it bakes. Exposed raisins darken before the bread is finished, so tuck any on the surface back into the dough when you shape it.
A cooled slice shows whether you spread them evenly. The end piece still tastes good if you didn't.
#10 Pizza Dough on the Baking Sheet
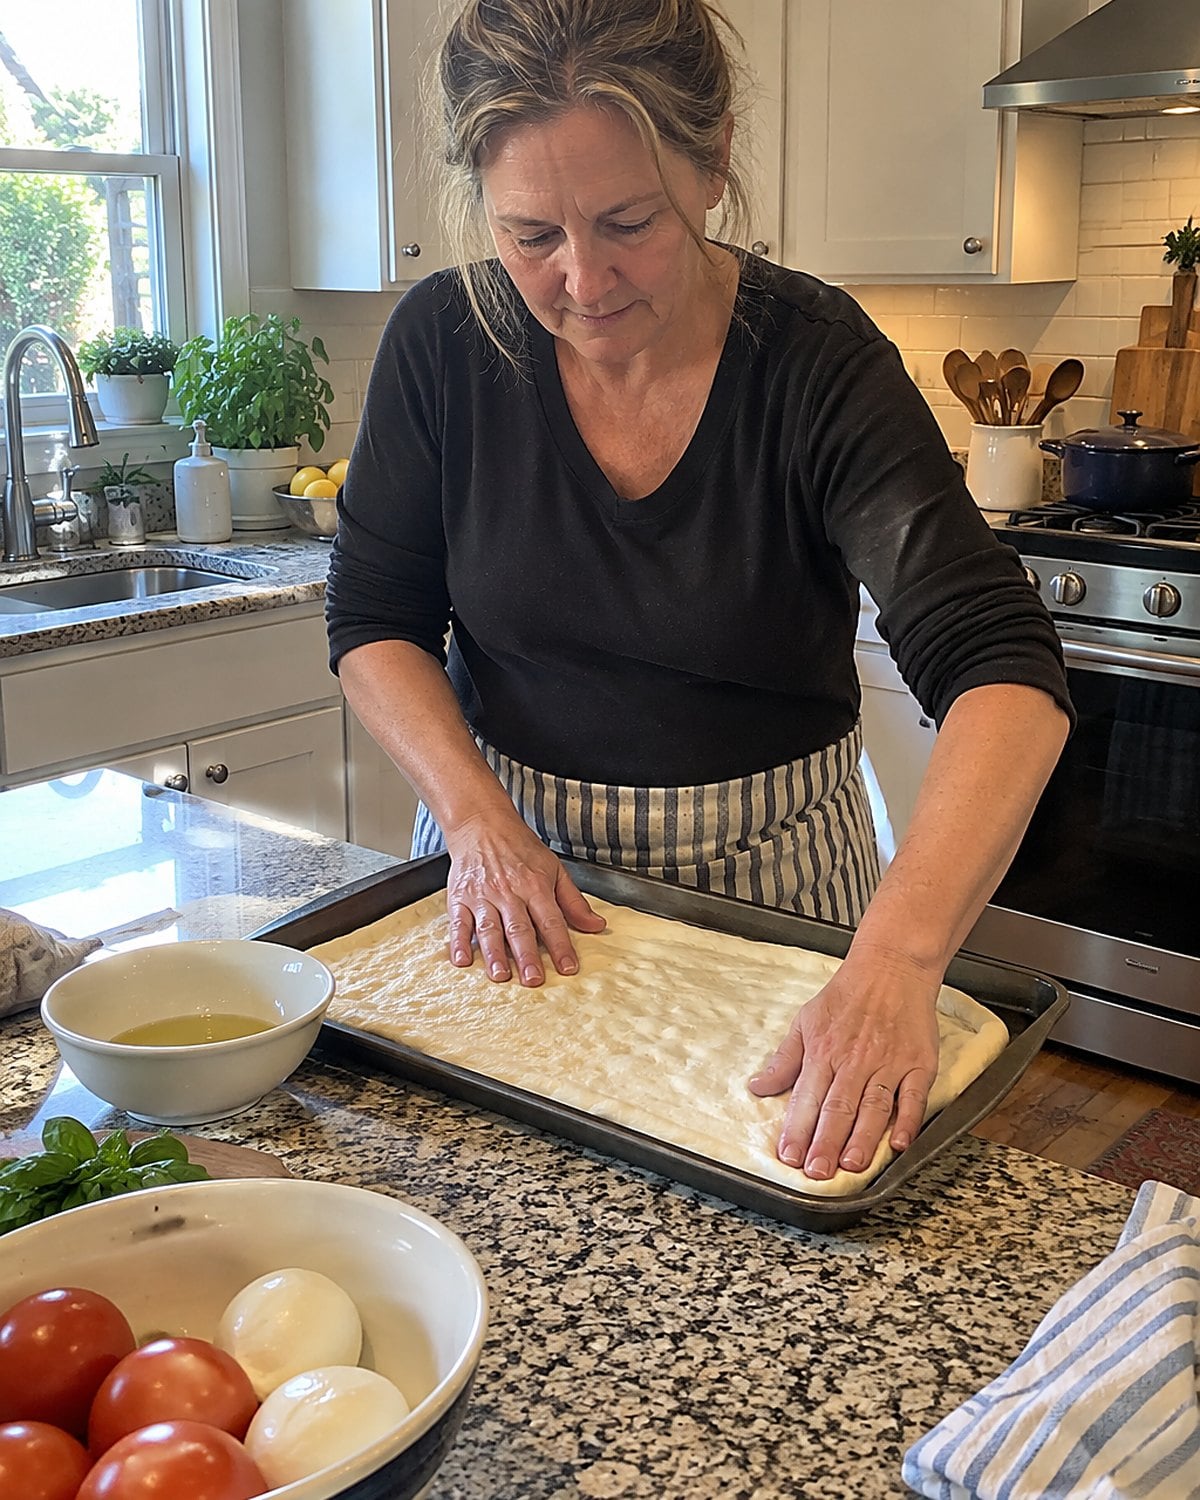
Saturday bread sometimes turned into Saturday supper. A baking sheet got oiled, the dough was pressed toward the corners, and everyone waited for the cheese to brown.
Start with the dough, not the toppings. After mixing and kneading, let it rise until airy. Press it across an oiled sheet with your fingertips. If it snaps back, walk away for 10 minutes. The rest relaxes the dough, making it easier to stretch without tearing a thin spot in the middle.
Keep the sauce light enough that you can still see dough beneath it. A heavy wet layer slows the crust, especially under vegetables. Bake until the edge is browned and the underside feels firm when you lift a corner with a spatula.
Put that first hot square on a plate. The bottom tells you whether the sheet did its work.
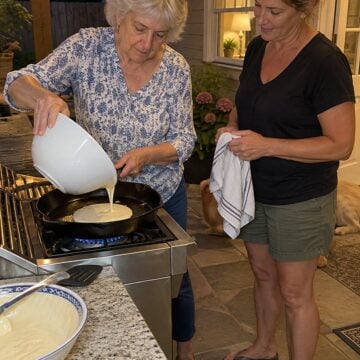 You might also like24 Southern Dishes That Only Taste Right From a Certain Pan
#9 Cheddar Biscuits from the Grater Drawer
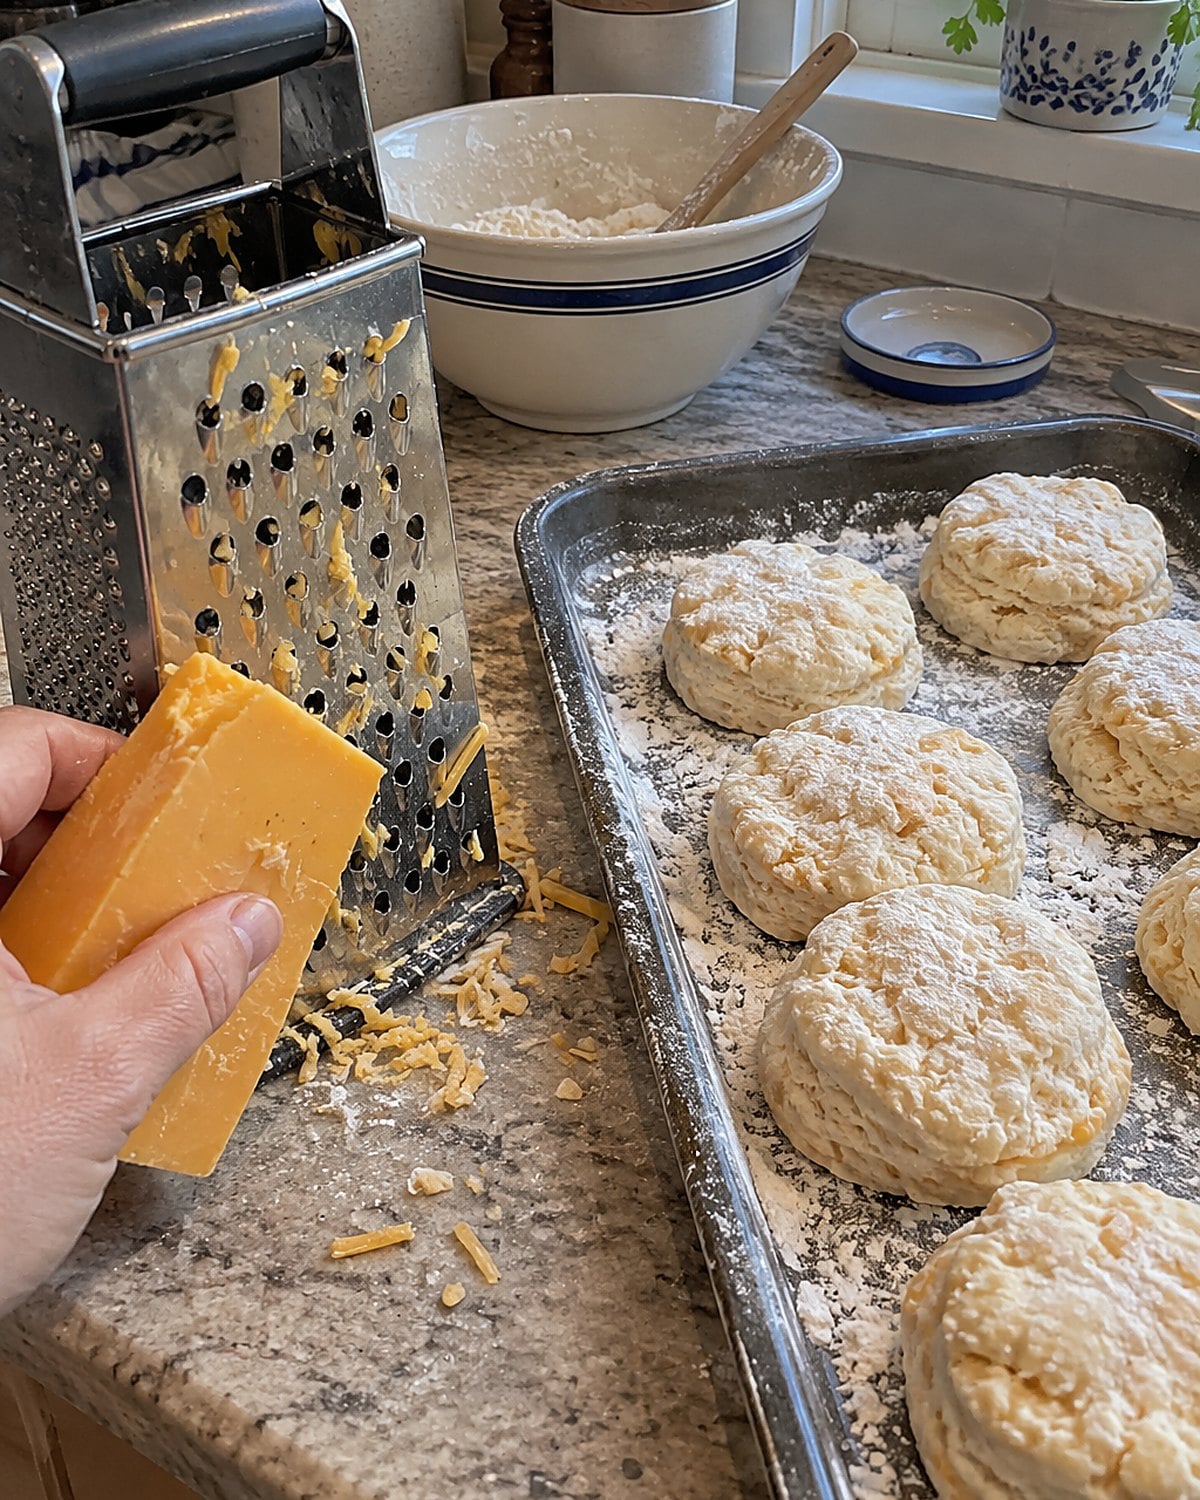
That last piece of cheddar needn't become a lonely snack. Grate it into biscuit dough, where small shreds spread through the crumb more evenly than big cubes.
Cold butter still matters. Cut it into the flour before stirring in the cheese and liquid, leaving visible bits. In the oven, those bits melt and release steam, helping the biscuit separate into tender layers. Work fast enough that the dough stays cool, but don't worry about making it smooth.
Taste the cheese before adding salt to the dough. A sharp cheddar brings more salt and flavor than a mild block. Cut these into squares with a knife, so the cheese stays tucked inside instead of dragging through a round cutter.
Bake at 425°F for about 12 to 15 minutes, until the tops are golden. Let one sit long enough to break open without burning your fingers. Soup can wait for that first bite.
#8 Braided Egg Bread Across the Counter
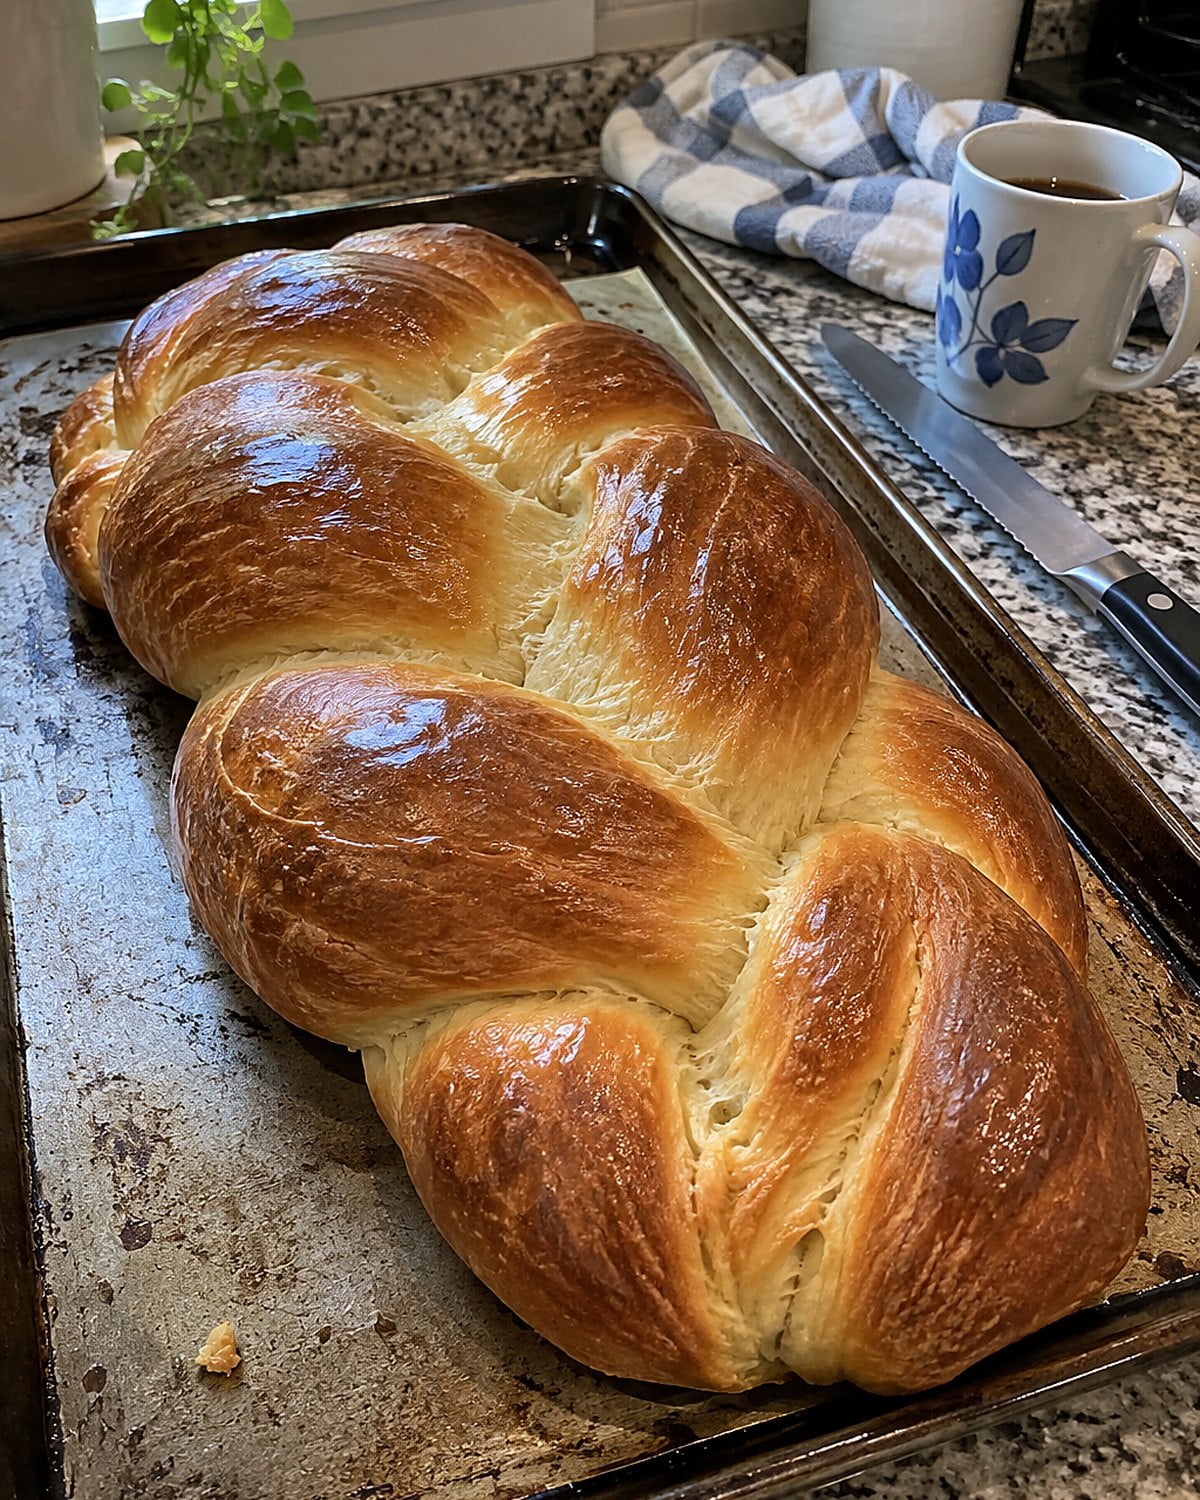
A braid looks harder than the dough feels. Roll three ropes, pinch their ends together, and cross the outside ropes toward the center. Keep the braid loose. The strands need room to rise without splitting apart.
Eggs give this loaf its rich color and tender crumb. After shaping, let the braid proof on the baking sheet where it will bake. Moving a risen braid to another pan distorts the pattern. Brush the top with beaten egg just before it goes into the oven, reaching into the grooves rather than painting only the high spots.
When it's done, the ridges are deep brown and the loaf feels light when lifted. Wait until it's cool enough to slice without compressing the strands. Put the end piece beside your coffee. The rest looks fine on the table, but the baker has first choice.
#7 Hamburger Buns with Sesame Seeds
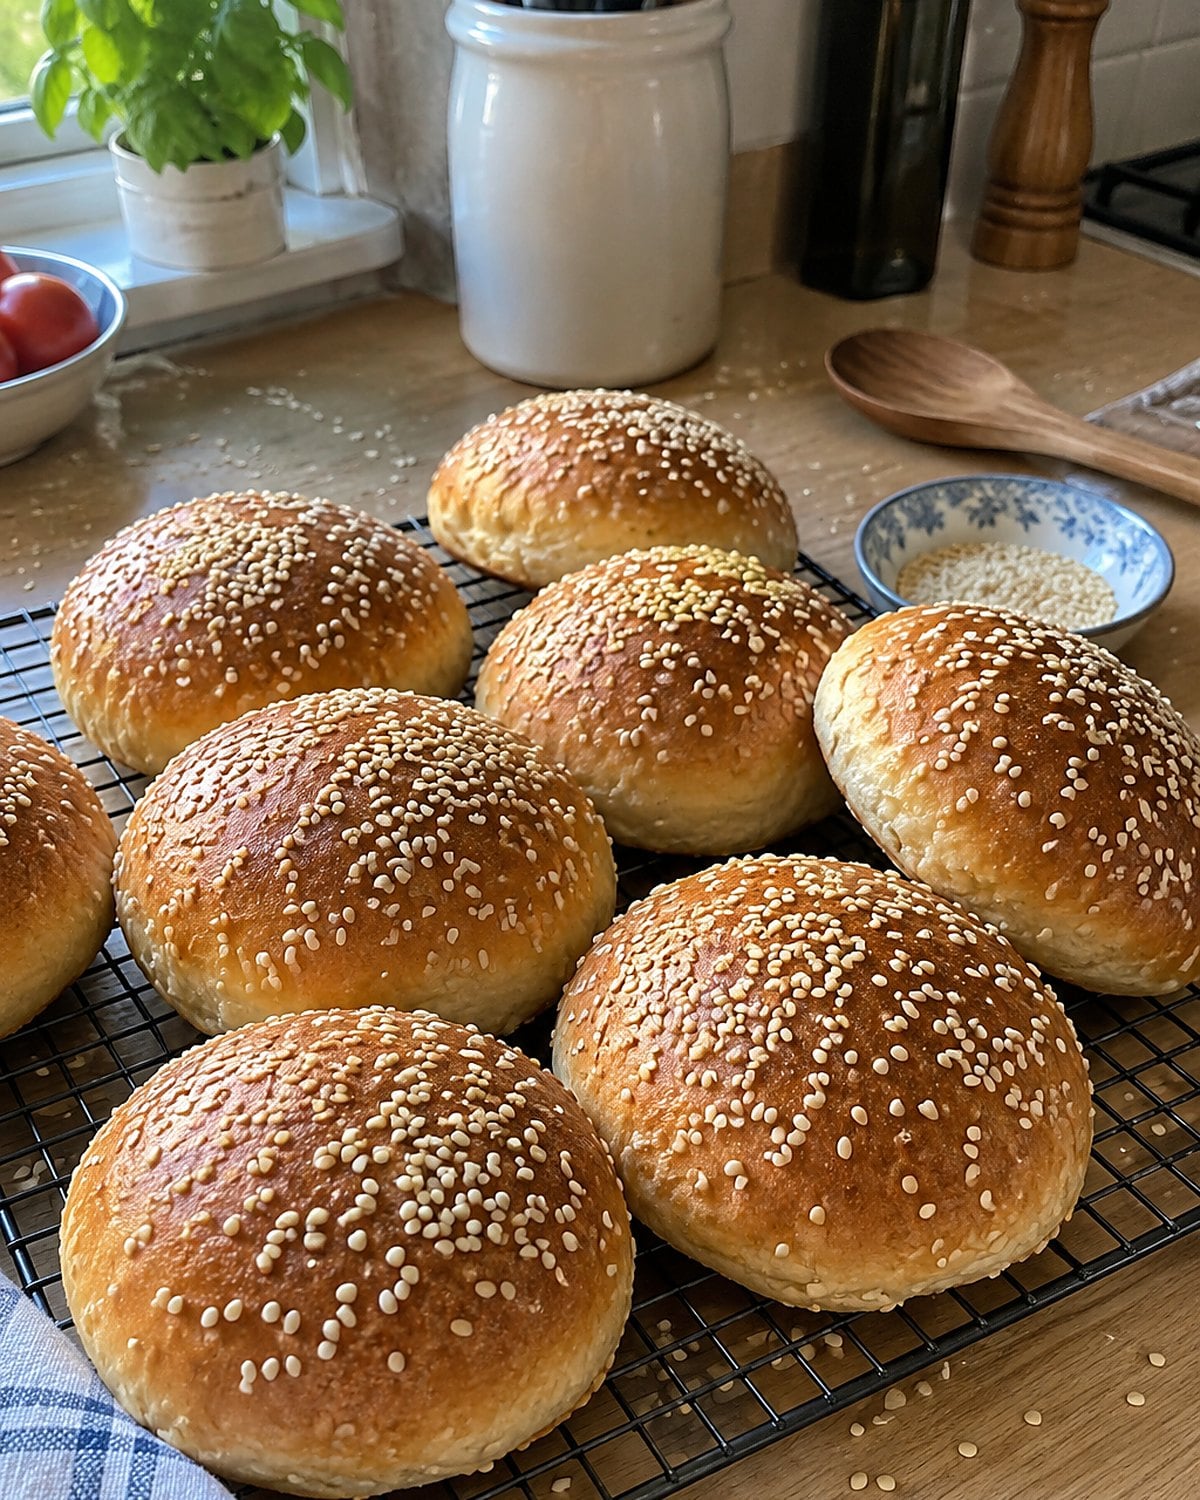
Seeds change a plain bun in one small, familiar way. The trick is getting them to stay put after the bread has cooled. Brush the shaped buns with egg wash, scatter on the sesame seeds, and pat them lightly into the surface.
Give the buns their final rise before that last brush. A heavy hand after proofing presses the air out of the dough and leaves a dense top. Use the brush as if you're painting a fragile eggshell.
Watch the color as the sheet bakes. Egg-washed tops brown faster than bare dough, while the center still needs time. Lift a bun and check that its underside is browned, too. When you split it later, toast the cut faces in a skillet. That thin toasted surface keeps sauce from soaking straight through the bread.
#6 Sticky Buns for the Grandchildren's Morning
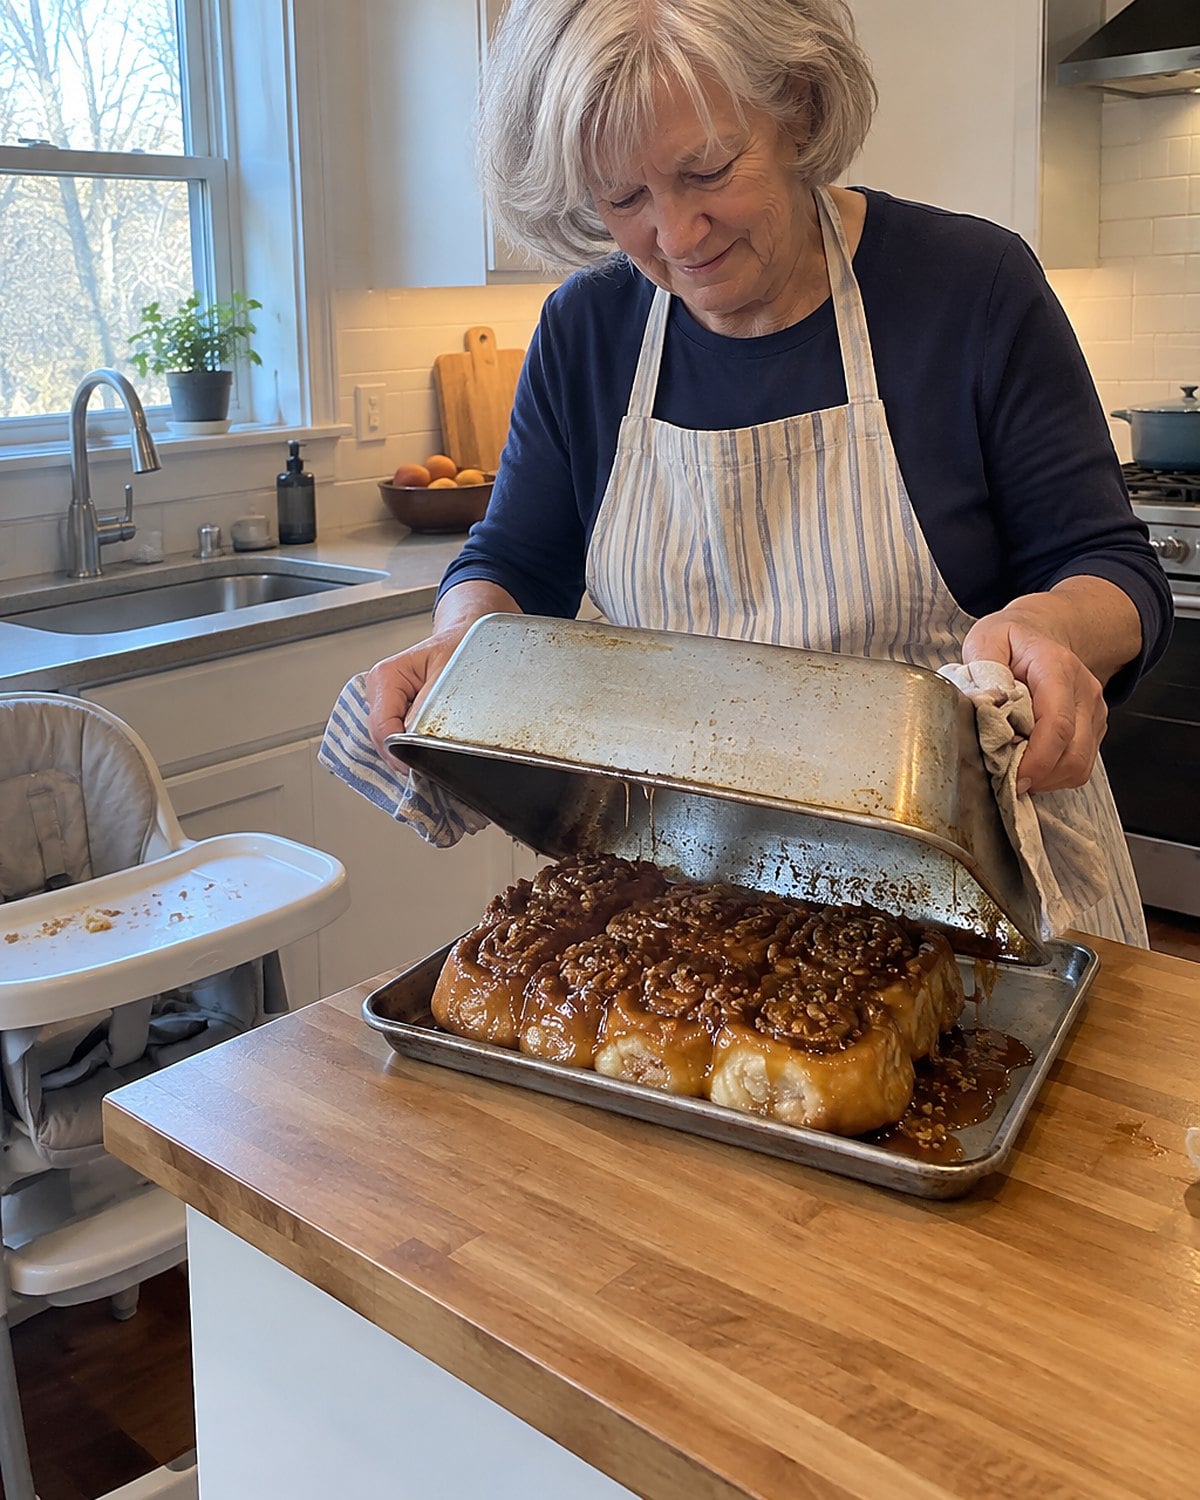
You remember the pan turning over and everyone leaning in to see which bun got the most sticky topping. Make that moment when the grandchildren visit, even if breakfast now happens around a different table.
Put the butter and brown sugar mixture in the pan first, with nuts only if everyone eating them can have nuts. Set the shaped rolls over it and leave room for them to expand. As the pan bakes, the topping bubbles underneath while the bread turns brown above.
Let the pan stand for 5 minutes after baking, then turn it onto a rimmed tray before the sugar firms in the pan. Keep hands and sleeves clear of the hot syrup. A rim catches the topping that runs off the buns.
You'll see the best edge as soon as the pan lifts. Someone else will see it, too.
#5 Beer Bread in the Loaf Pan
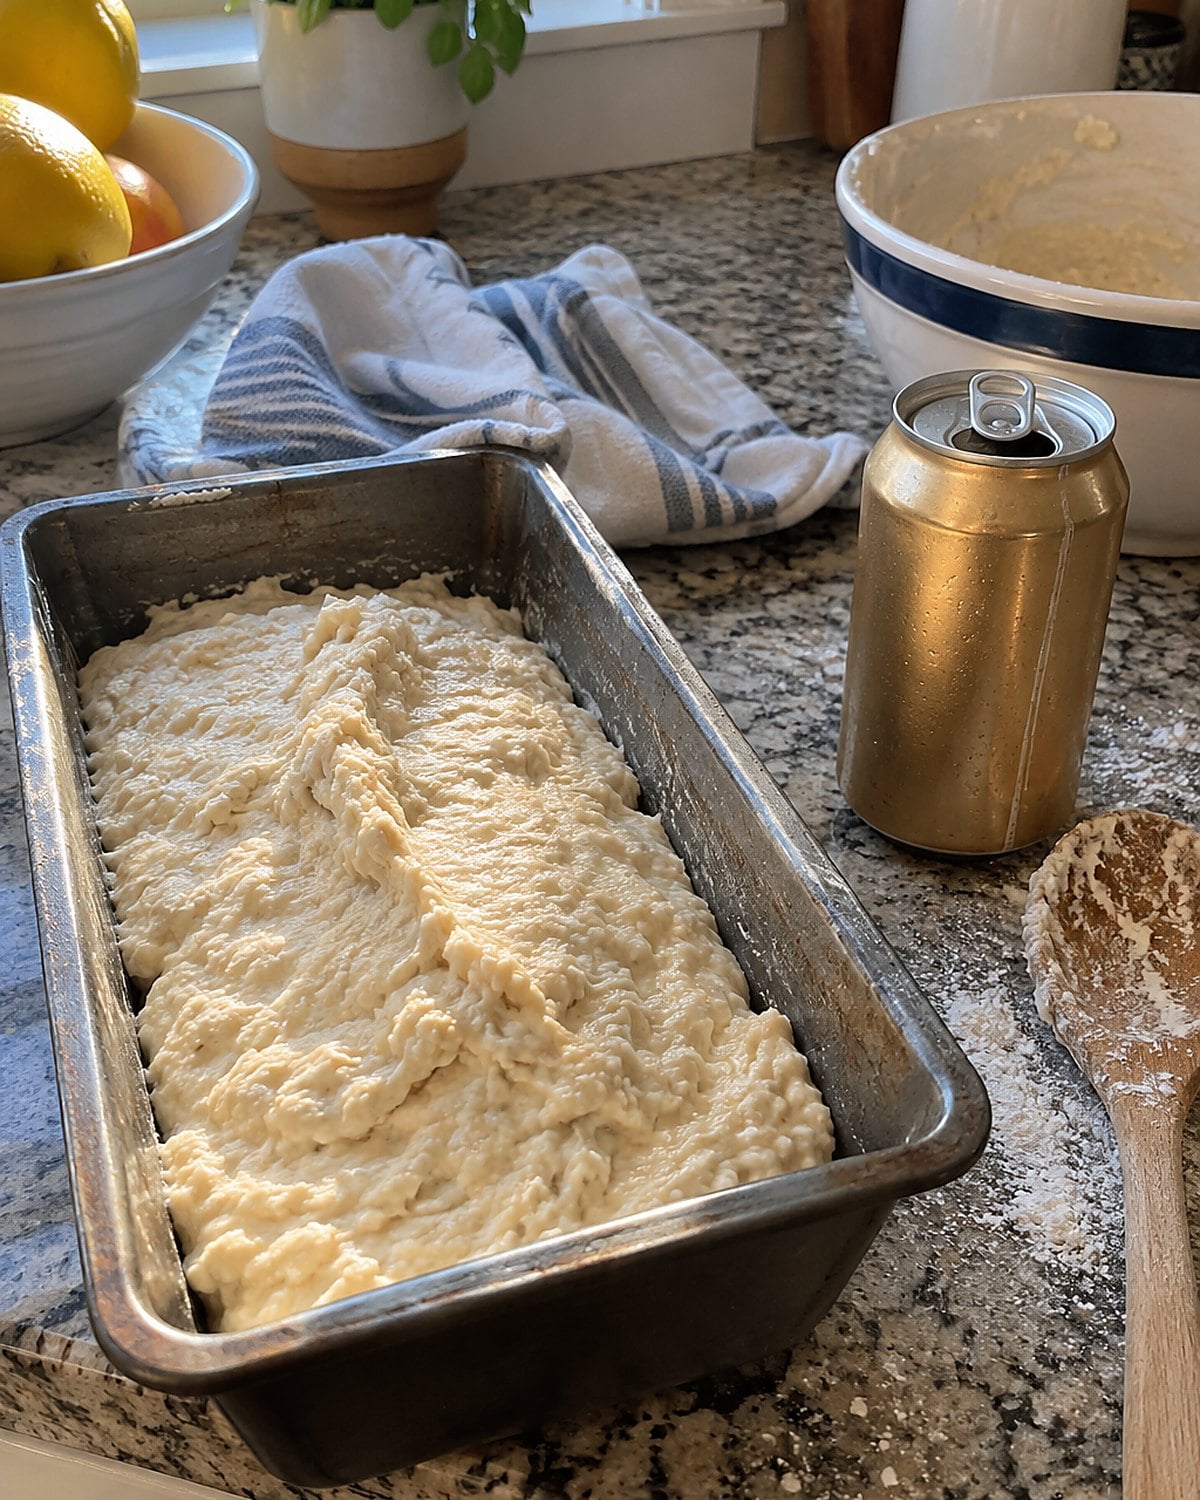
No kneading bowl on the counter, no dough rising by the radiator. Beer bread gets its lift from baking powder and the carbonation in the beer. Stirring it together takes a spoon, not a machine.
Check the flour before you start. Self-rising flour already contains leavening and salt; plain all-purpose flour does not. Use a recipe written for the flour in your cupboard rather than swapping one for the other without changing anything.
Stir only until no dry pockets remain. The thick batter looks rough going into the loaf pan, and that's fine. Bake at 375°F for about 45 to 50 minutes, then check the center with a skewer. Wet batter means it needs longer.
A slice beside stew has a sturdy crust and a crumb made for soaking up the broth.
#4 Focaccia with Fingertip Hollows
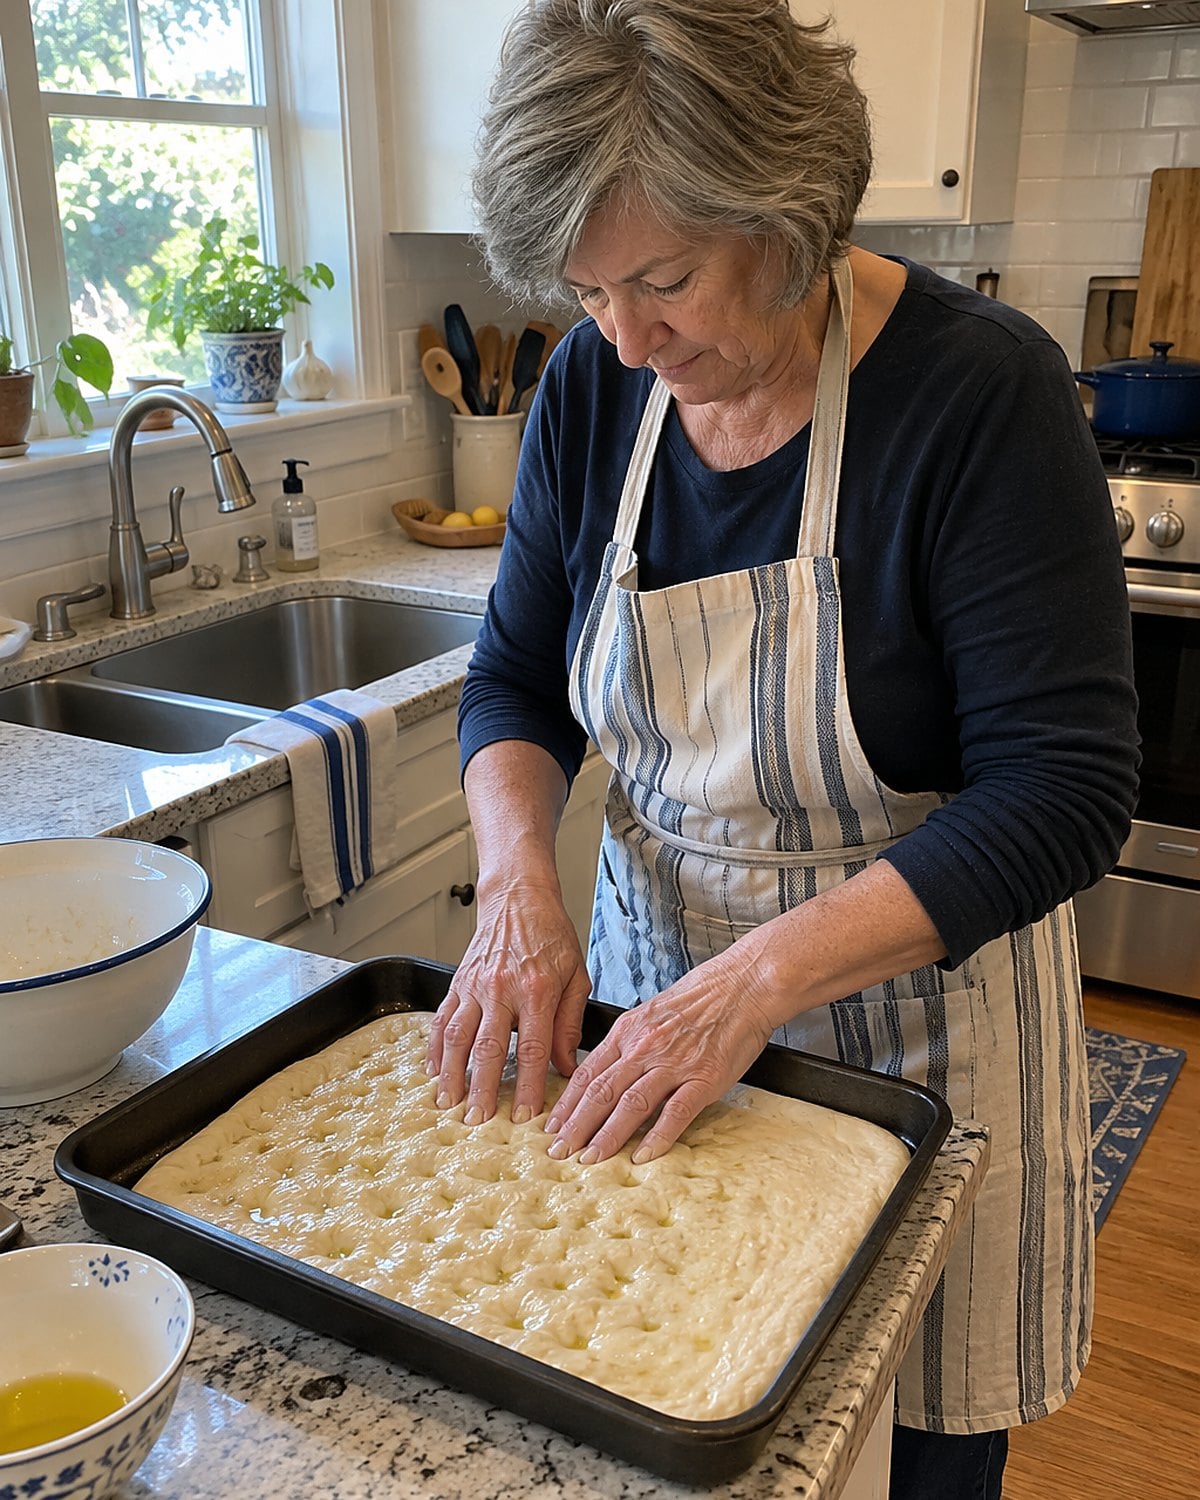
Focaccia starts as dough that seems too loose to shape into a loaf. Oil the pan, ease the dough into it, and give it time to spread. If it pulls away from the corners, let it rest before trying again. Forcing it thins the center.
When the dough looks puffy, coat your fingertips with oil and press deep hollows across the surface. Go nearly to the pan without tearing through. Those hollows hold olive oil and keep the top from rising into a plain, smooth slab. Scatter salt over the dough just before baking.
Look at the bottom when you think it's done. Lift a corner with a spatula; a browned underside gives you the crisp bite that makes the soft center worth reaching for. Cut a small square by the sink before anyone asks where the bread knife went.
#3 Quick Bread with the Split Crown
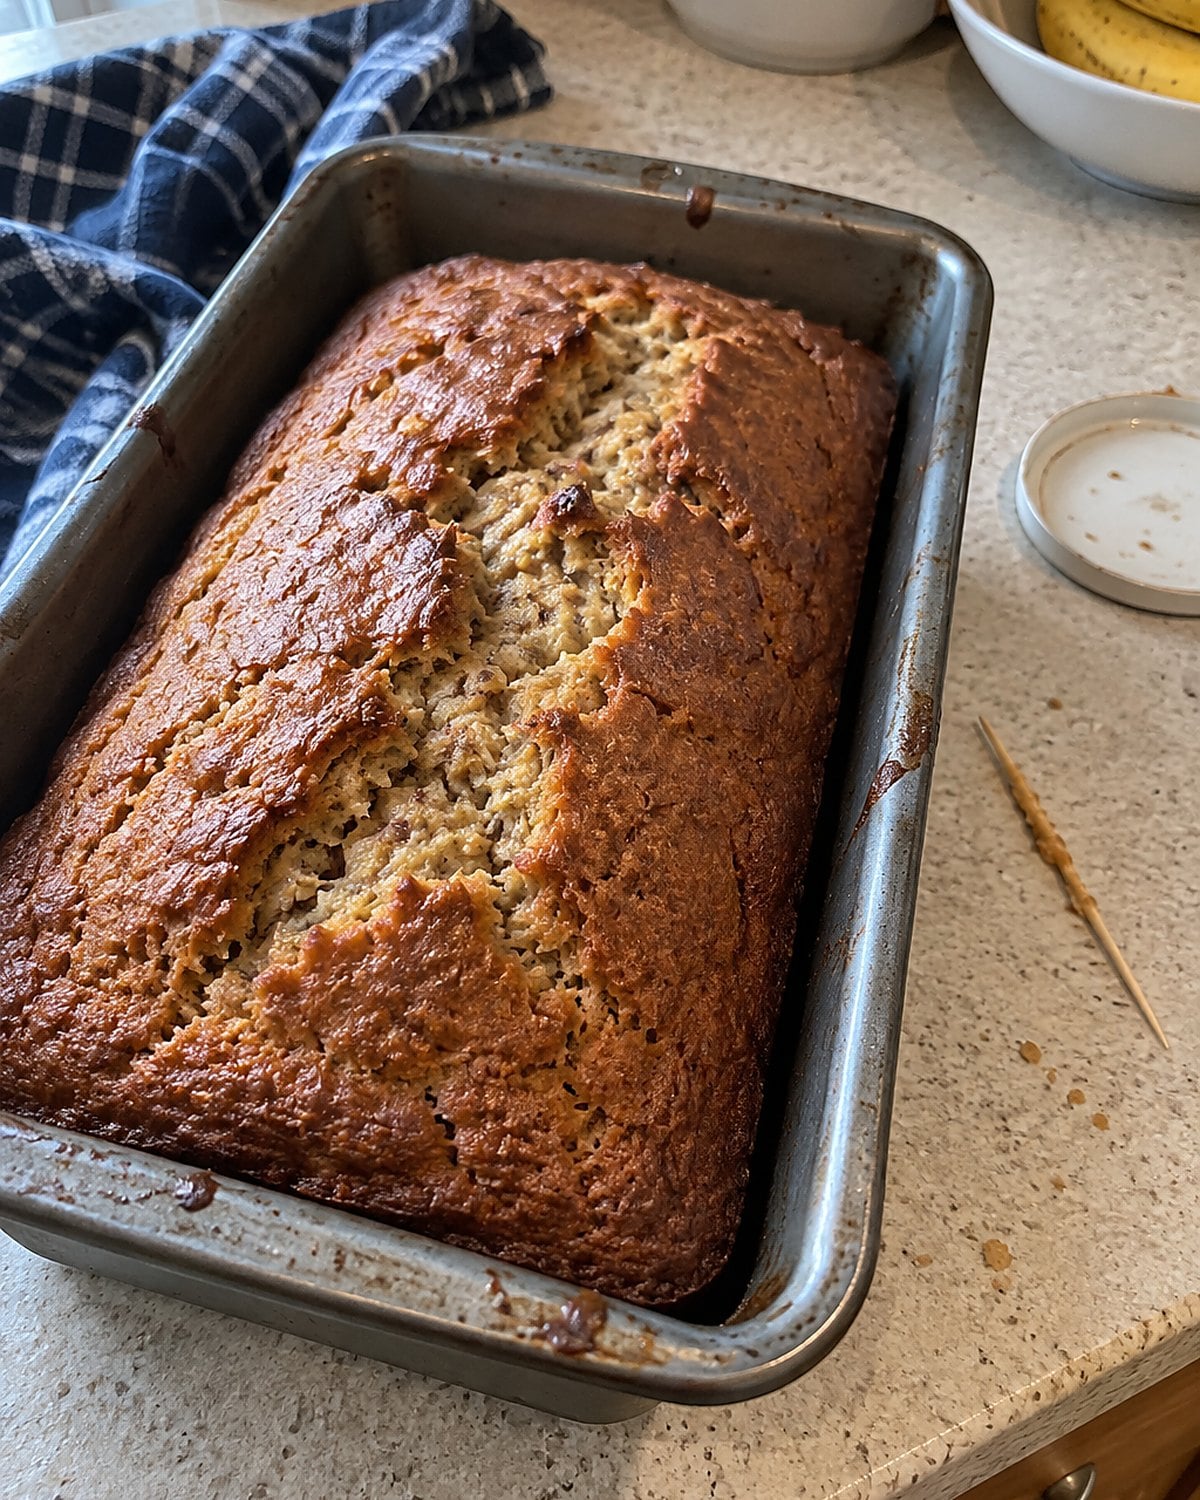
A quick bread's crack down the middle tells you the batter rose while the outside was setting. It doesn't tell you the center is baked. That's where the toothpick earns its place in the utensil drawer.
Insert it into the deepest part of the loaf, away from a nut or a pocket of fruit. Wet batter clinging to it calls for more time. Moist crumbs are fine. If the top is browning before the middle catches up, cover it loosely with foil and keep baking.
Leave the loaf in its pan for a short rest, then lift it onto a rack. Air beneath it keeps the bottom from growing damp. Once cool, wrap the cut end rather than pressing a knife through warm crumbs. The next slice will be neater.
#2 White Sandwich Bread by the Kitchen Window
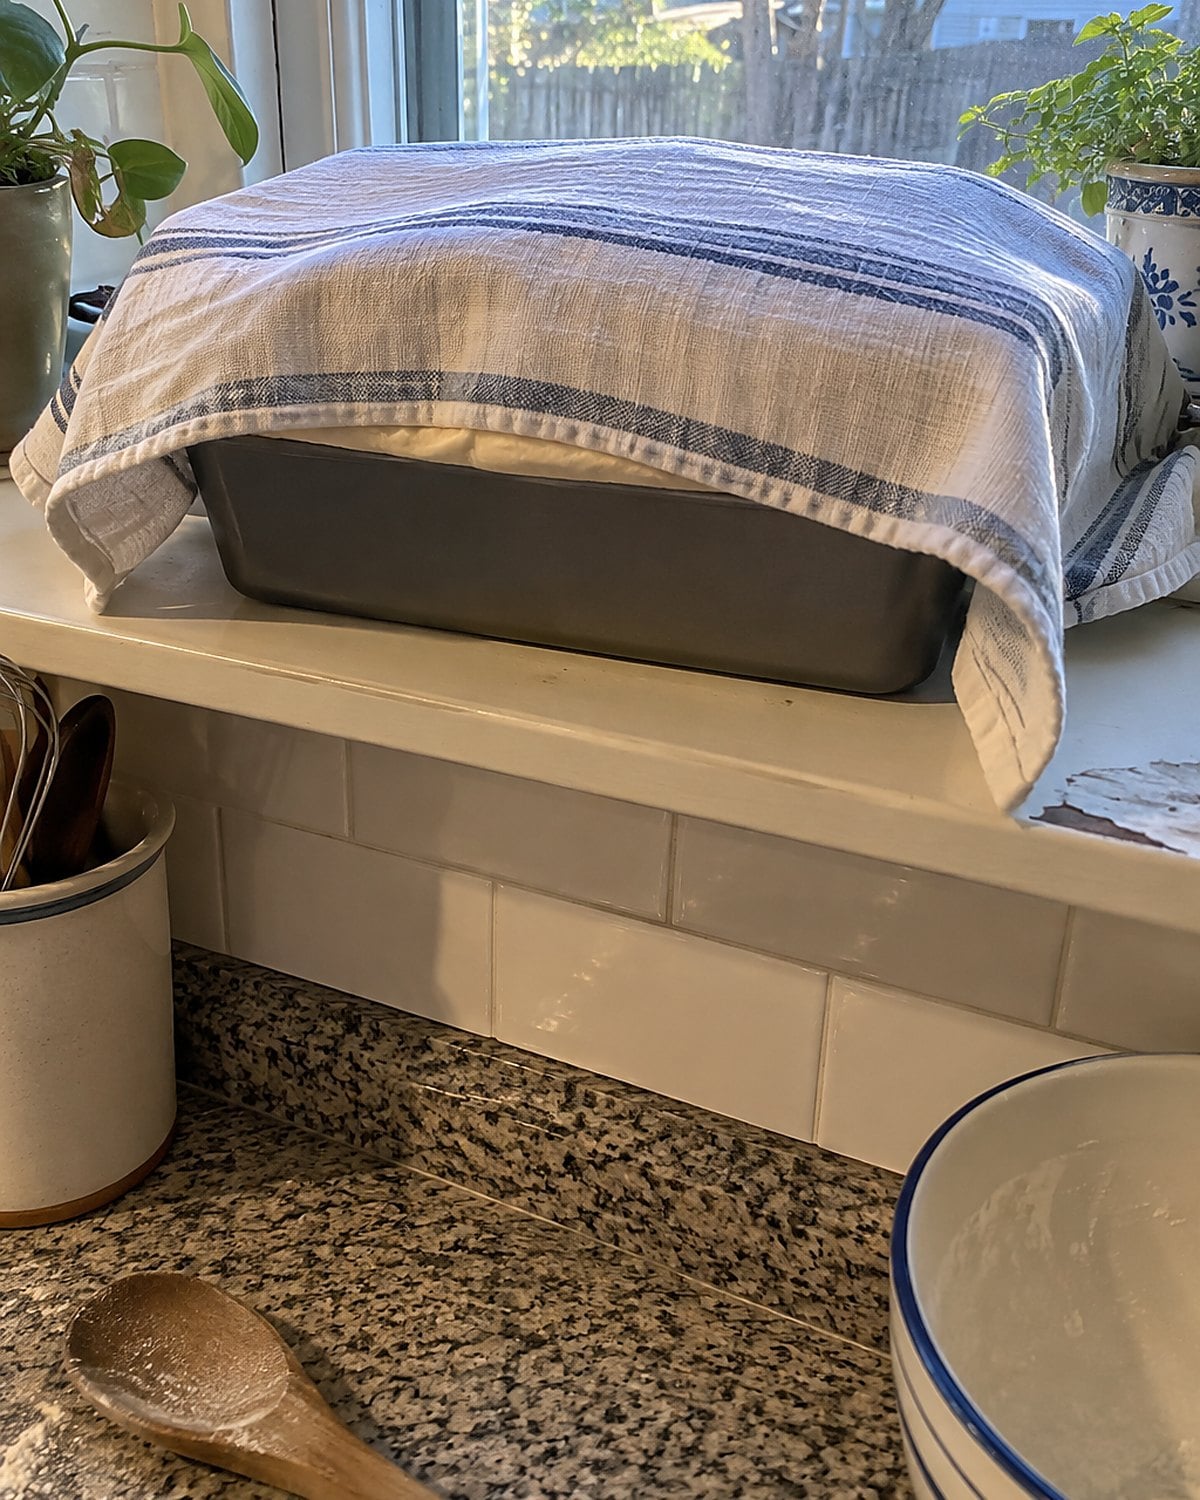
There was a loaf pan on the windowsill, a dish towel over it, and somebody checking the dough each time they passed. The window wasn't magic. Dough rises because yeast feeds and releases gas, while kneading builds a stretchy network that holds it.
For a soft sandwich loaf, shape the dough tightly enough to fit the pan without large gaps. Flatten it, roll it up, and pinch the seam. Set the seam underneath. A loose roll leaves a spiral gap through the slices, right where your sandwich filling wants to fall.
Use the dough rather than the clock to judge the final rise. Press a floured fingertip lightly into the top. A dent that returns slowly says it's ready. Once baked, turn the loaf out of the pan and let it cool before slicing.
Tomorrow, hold a piece up to the light. An even crumb means your shaping did its job. The heel still goes to whoever gets there first.
#1 One-Person Loaf for Tonight's Supper
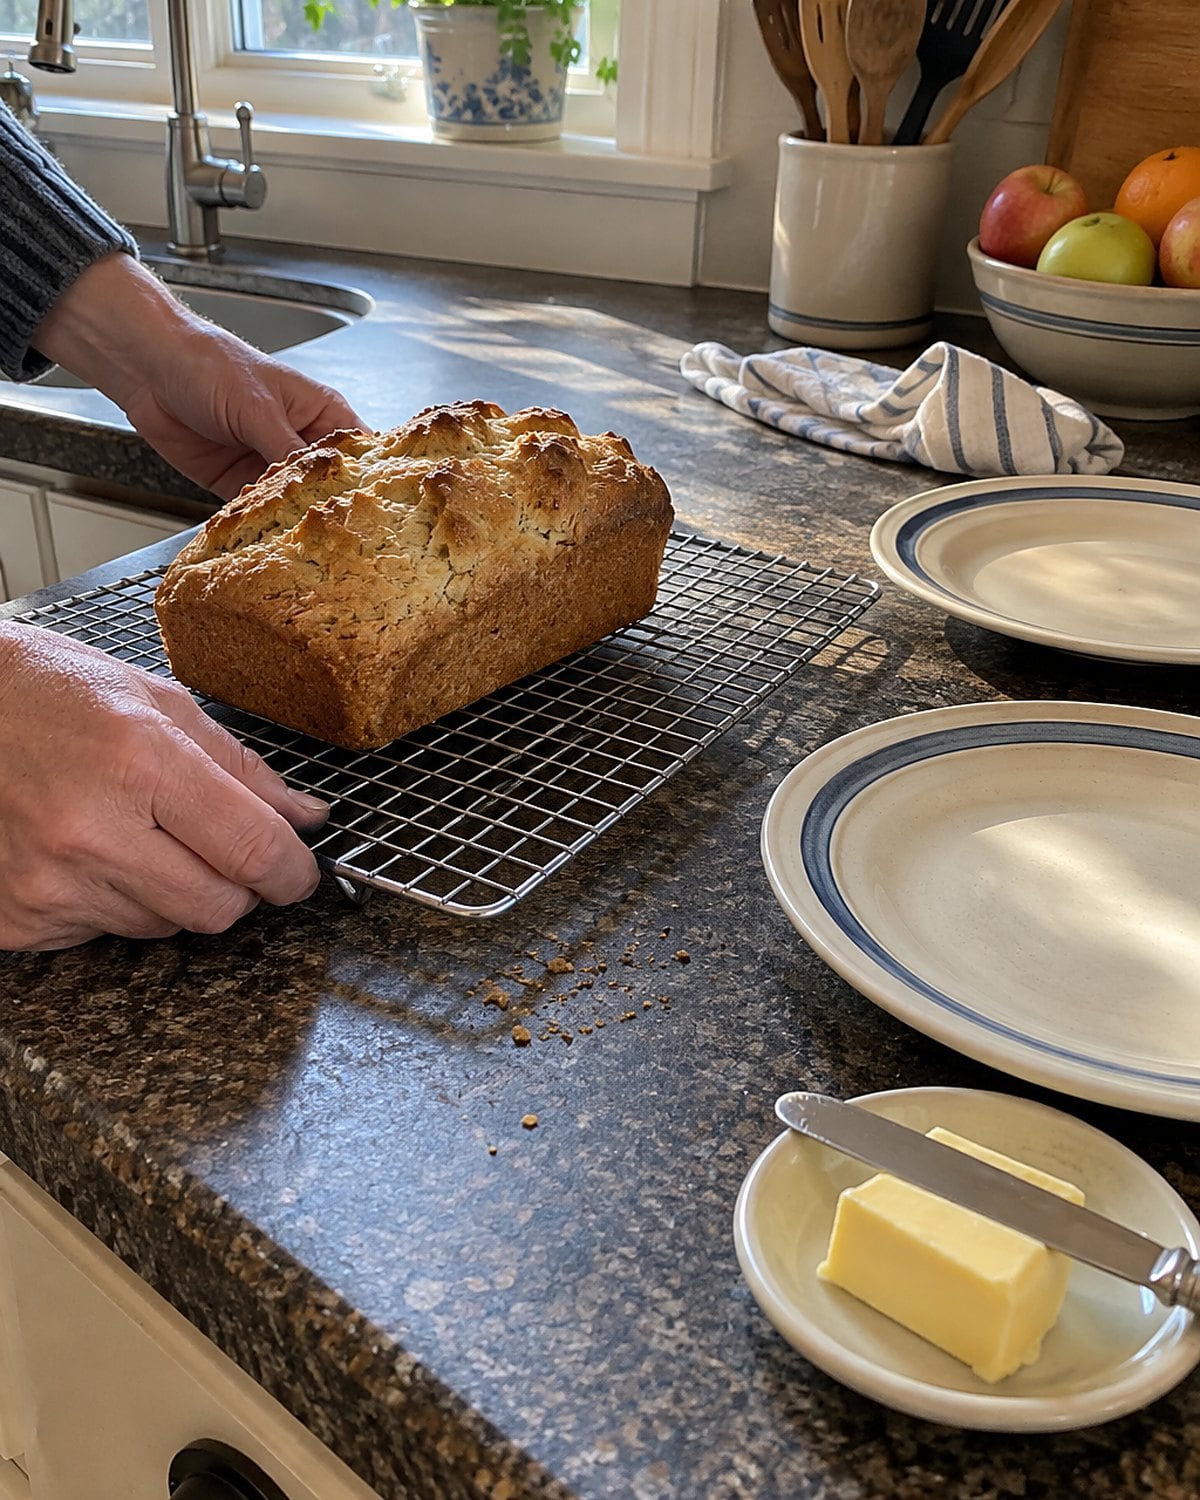
The old recipes assumed a full table. Your counter doesn't have to. The most useful bread to bring back is a loaf sized for tonight, without a row of spare slices waiting for a plan.
Start with a recipe intended for one small loaf. Halving a large recipe leaves awkward egg measures and dough that no longer fits its pan. Choose a loaf without eggs, mix it in a bowl, and turn it onto the counter. Knead until it feels smoother and springs back when pressed.
That spring matters more than a spotless work surface. Scrape dough from your fingers before dusting the board again. Too much added flour makes a stiff loaf, even when the dough looked promising in the bowl.
Let it rise, then press out large air pockets and shape it to fit a small loaf pan. Give it a second rise. A light fingertip press that fills back slowly tells you it's ready for the oven.
Bake until the top is browned and an instant-read thermometer in the center reads about 190°F to 200°F. Turn the loaf onto a rack and wait until the crumb sets before cutting. That's supper's bread, not a project for a future Saturday.
Set out the butter. Your kitchen has the rest.
Keep reading
 27 Old-Fashioned Desserts That Deserve a Comeback
See all 27 →
More you’ll remember
 27 Things Nobody Under 40 Knows How to Make From Scratch
 27 Dishes Your Mother Made From Nothing That You've Never Managed to Copy
 23 Foods That Were Made at Home Until the Store Started Selling Them
The bottom line
The breads that filled those Saturdays weren't made by a machine. They depended on what your hands and eyes noticed: a dough that sprang back, a browned underside, a center that had finished baking.
Keep flour and yeast where you can find them, and put the loaf pan within reach. Which bread did your mother make when the oven was already on?
Leave a Reply