

The oven light clicks on. You pull out the pan, and there it is again: the biscuits in the back left corner have dark bottoms, while the front row looks pale. You’ve turned that pan halfway through baking for years. Maybe you’ve even blamed the recipe.
That corner deserves a closer look. Heat reaches food through moving air, hot metal, and radiation from the oven walls. Change the pan or the rack, and the same oven gives you a different dinner. The marks it leaves are clues, if you know which ones to read.
#27 The Damp Oven Mitt by the Sink
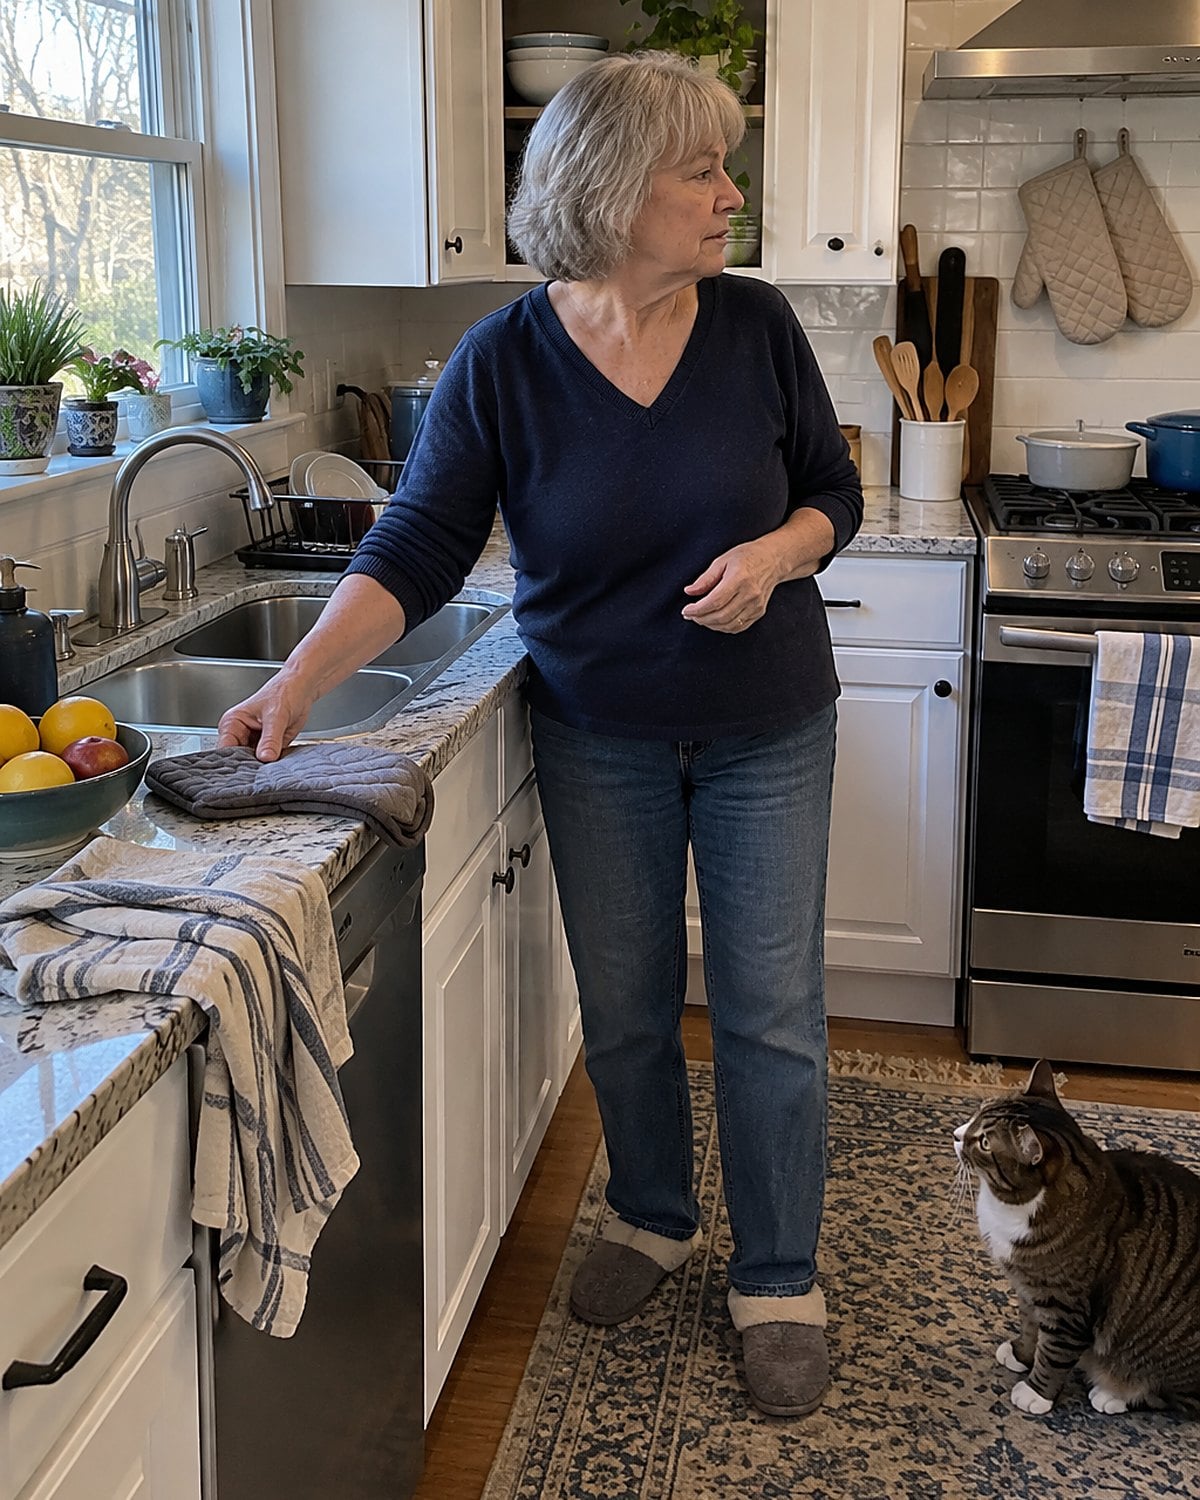
You reach into the oven and feel heat through the mitt before the pan clears the rack. The fabric looked thick enough. Then you remember setting it beside the sink after washing the vegetables.
Water carries heat through fabric faster than dry air does. A damp patch on a mitt turns a familiar lift into a painful surprise. Put the pan down on a clear, heat-safe surface and take another mitt. Don’t try to finish the trip because you’re almost there.
Once the mitt is dry, look at its palm and fingertips. Thin spots, holes, and flattened padding give heat a shorter path to your hand. Keep a sound, dry pair near the oven, away from the sink and dish towels.
There’s no need to test a worn mitt against a hot pan. Retire it from oven work. You’ve handled that heavy roasting pan for years; the fabric between it and your hand still needs to do its share.
#26 The Sheet Pan That Suddenly Buckles
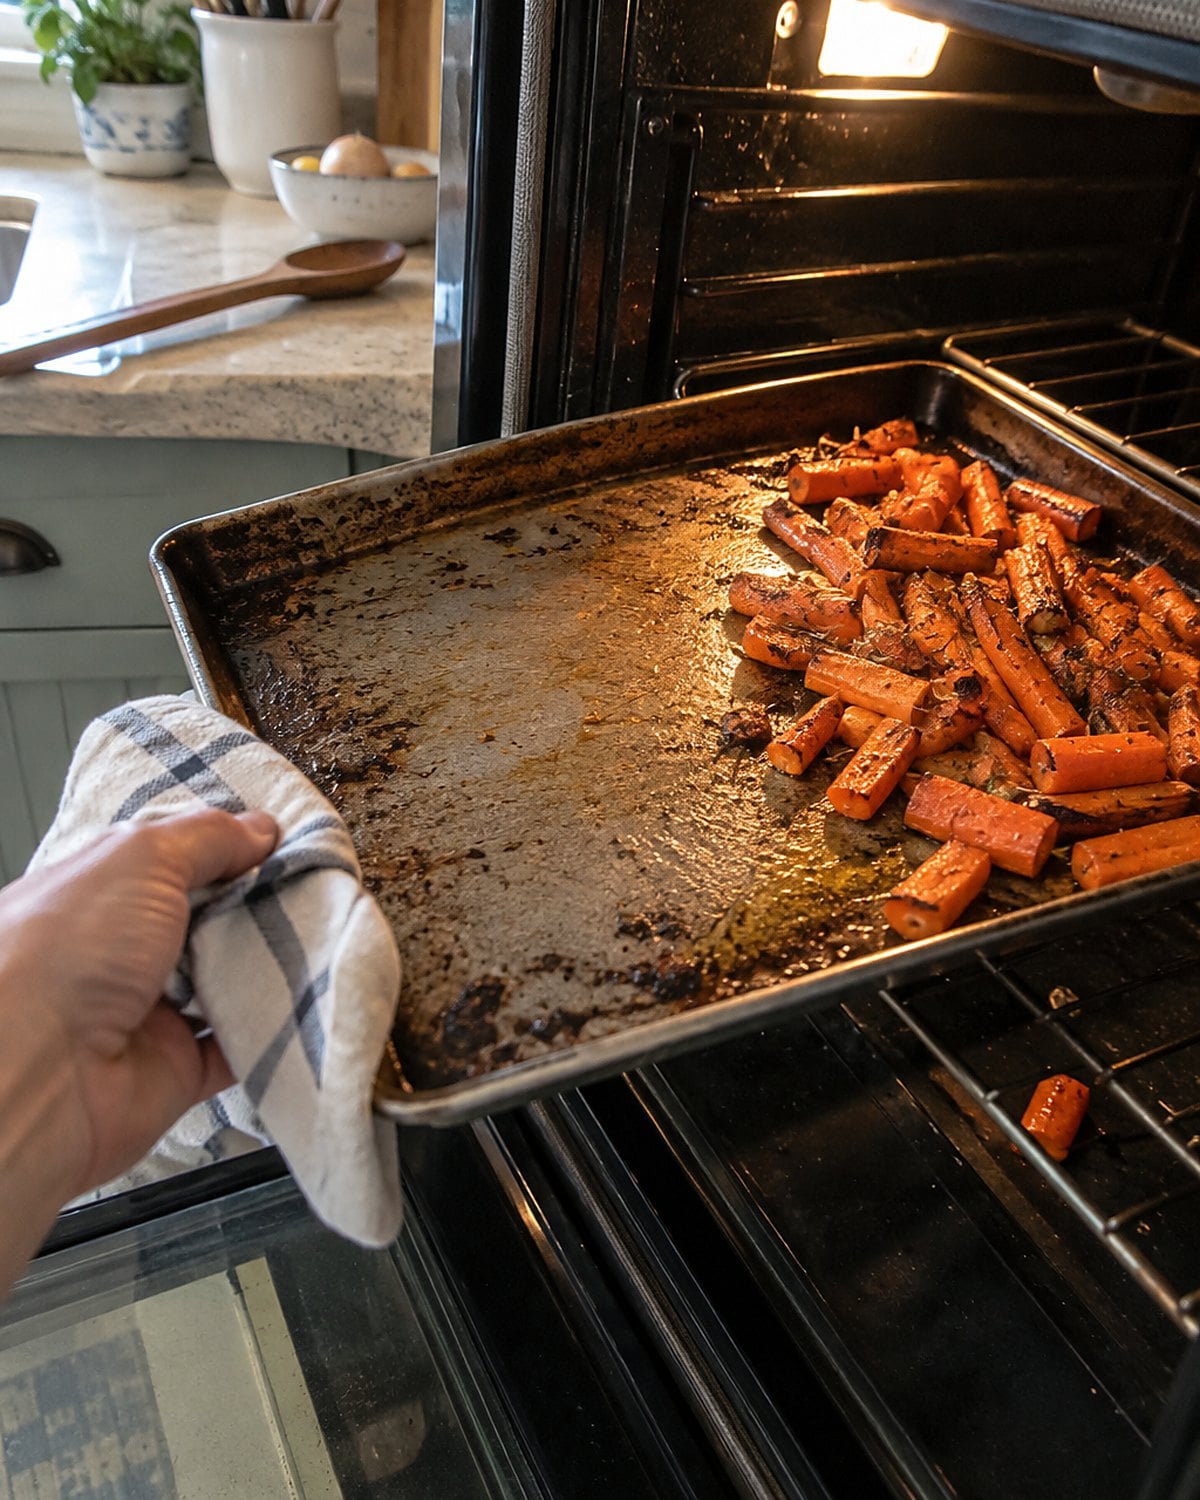
You hear a sharp pop behind the oven door, then find the carrots heaped toward one side. Thin metal expands in the heat. If part of a sheet heats faster than the rest, the pan can twist before it settles.
Give that pan room. A sheet jammed against an oven wall restricts airflow and puts one edge closer to intense heat. Place it near the center of the rack, with space around it. Spread the carrots in an even layer rather than leaving a mound where you tipped out the bowl.
When the pan cools, set it on the counter. A sheet that stays twisted sends oil and cooking juices into corners. Use a sturdier pan for vegetables tossed with oil. Save the buckled one for jobs where a puddle won’t decide which pieces burn.
#25 The Casserole on the Top Rack
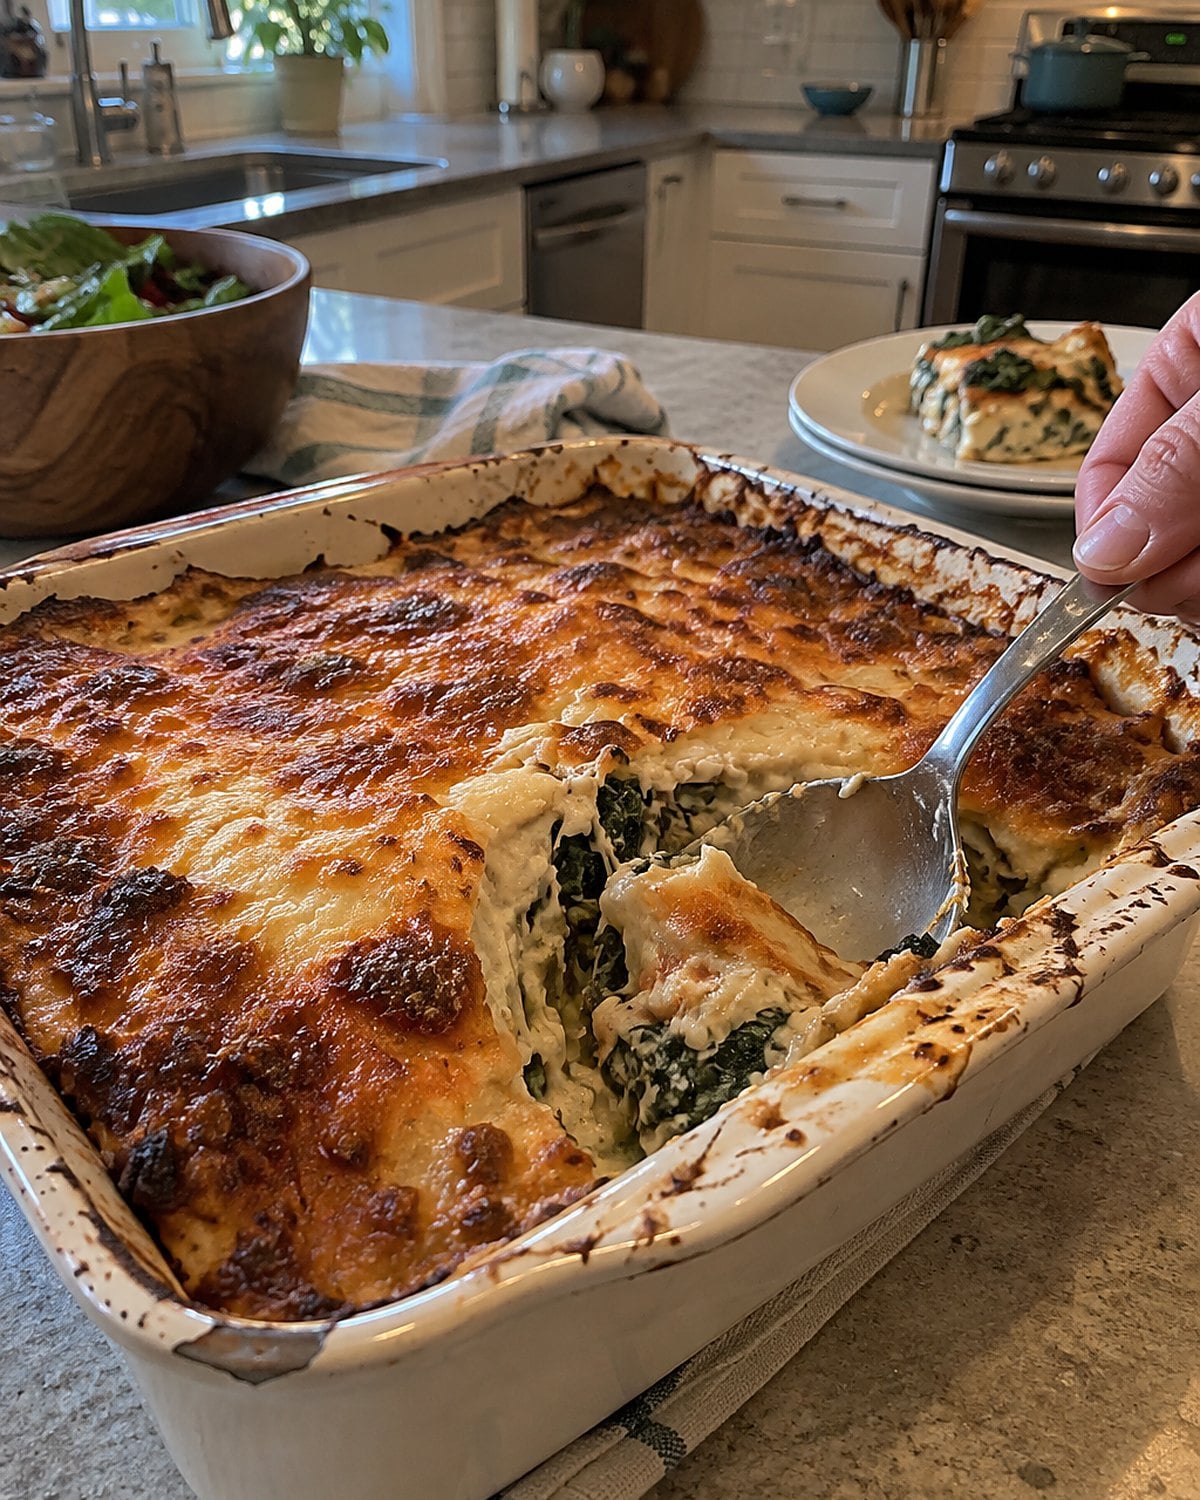
The cheese is brown. The middle is cold. Your church cookbook said to bake until bubbly, but bubbling at the edges tells you about the edges.
On a high rack, the casserole’s top sits closer to the upper heating element. That’s handy when the filling is already hot and you want color. It’s frustrating when a deep, chilled dish needs time for heat to reach the center.
Move it to the middle rack before baking. If the top colors early, cover it loosely with foil and keep cooking.
There’s another clue in the serving spoon. When the center comes out cooler than the edge, check the center directly instead of waiting for a darker crust. For a casserole containing poultry or leftovers, the USDA Food Safety and Inspection Service calls for 165°F throughout.
Put the thermometer tip into the middle of the filling, clear of the dish. Cheese can give you a lovely photograph long before dinner is ready.
Try it: Chicken Broccoli Cauliflower Casserole In Oven
#24 The Cast-Iron Skillet Under Cornbread
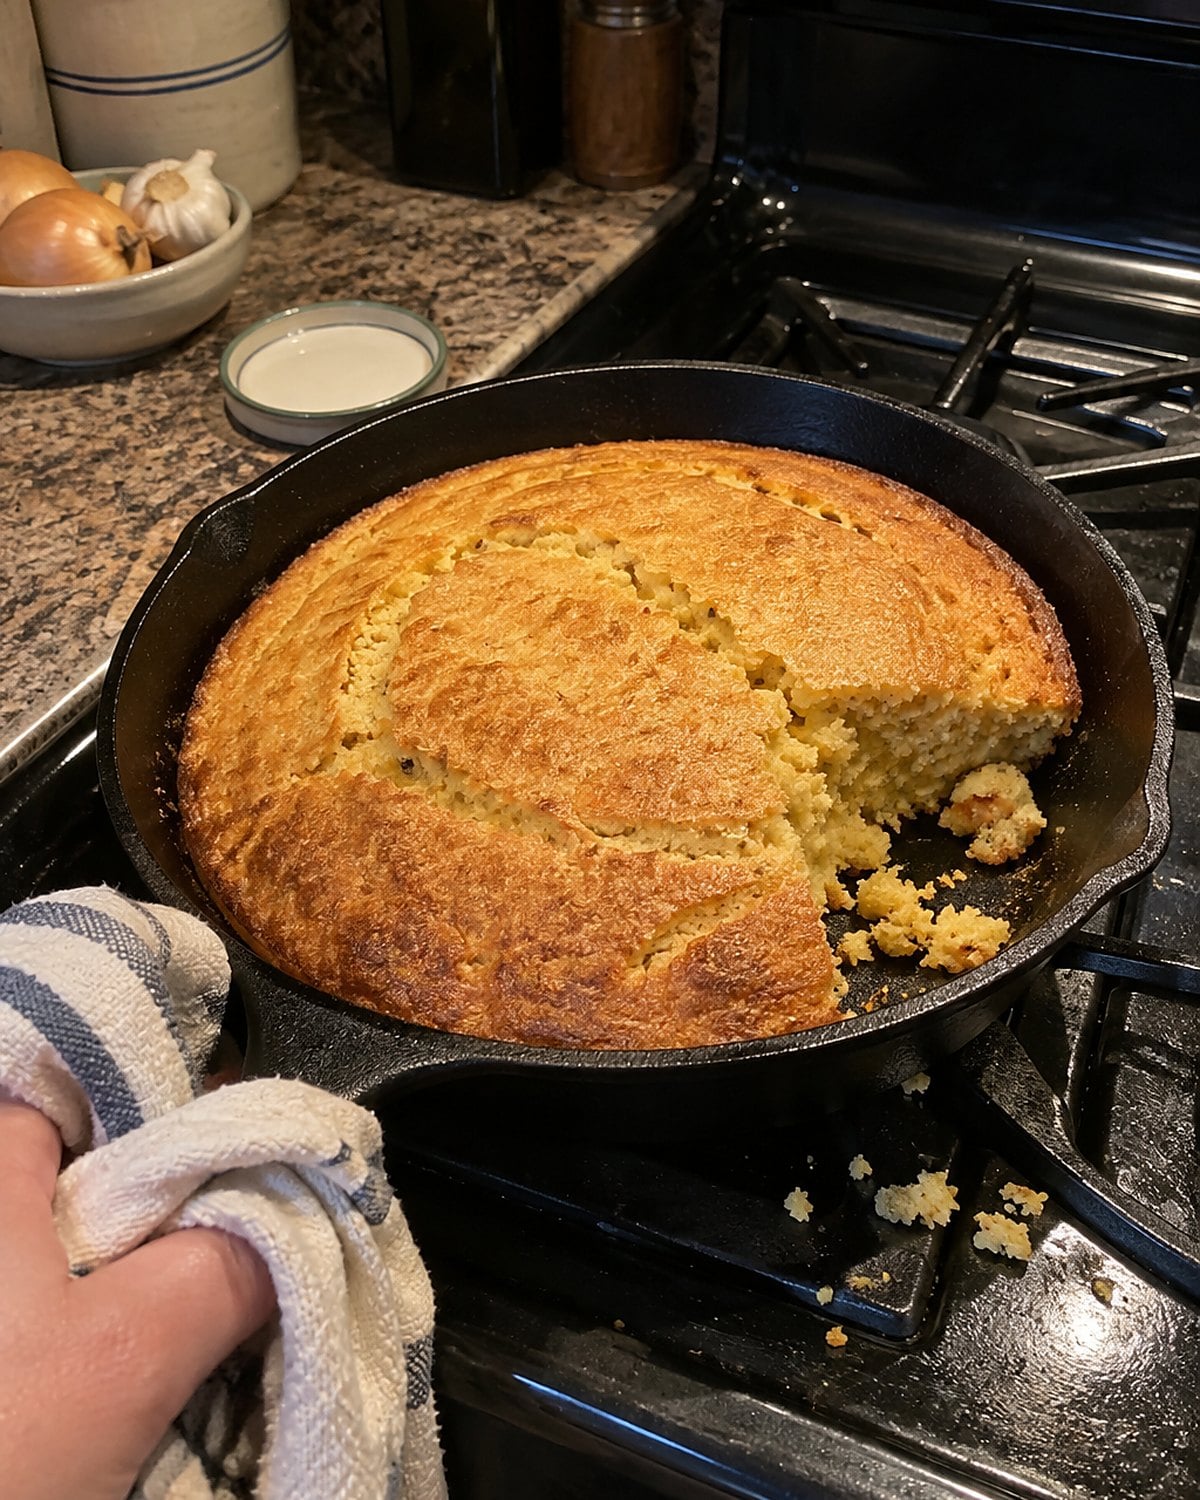
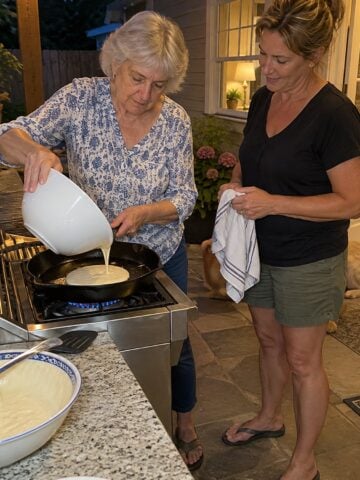
That heavy skillet holds heat beautifully once it gets hot. It also takes time to get there. Pour batter into a cold cast-iron pan and the cornbread’s underside starts slowly, even while the top browns.
For a crisp edge, heat the skillet in the oven first. Add the fat to the hot pan, then pour in the batter and return it to the oven. Keep a dry towel beside the stove. The handle looks exactly like it did when it was cold.
If you prefer a softer crust, skip the hot-skillet step. The point is to choose it rather than wonder why this week’s cornbread differs from last week’s. A thin metal cake pan and a heavy iron skillet are different instructions, even when the recipe treats them as equals.
#23 The Deep Pan of Baked Ziti
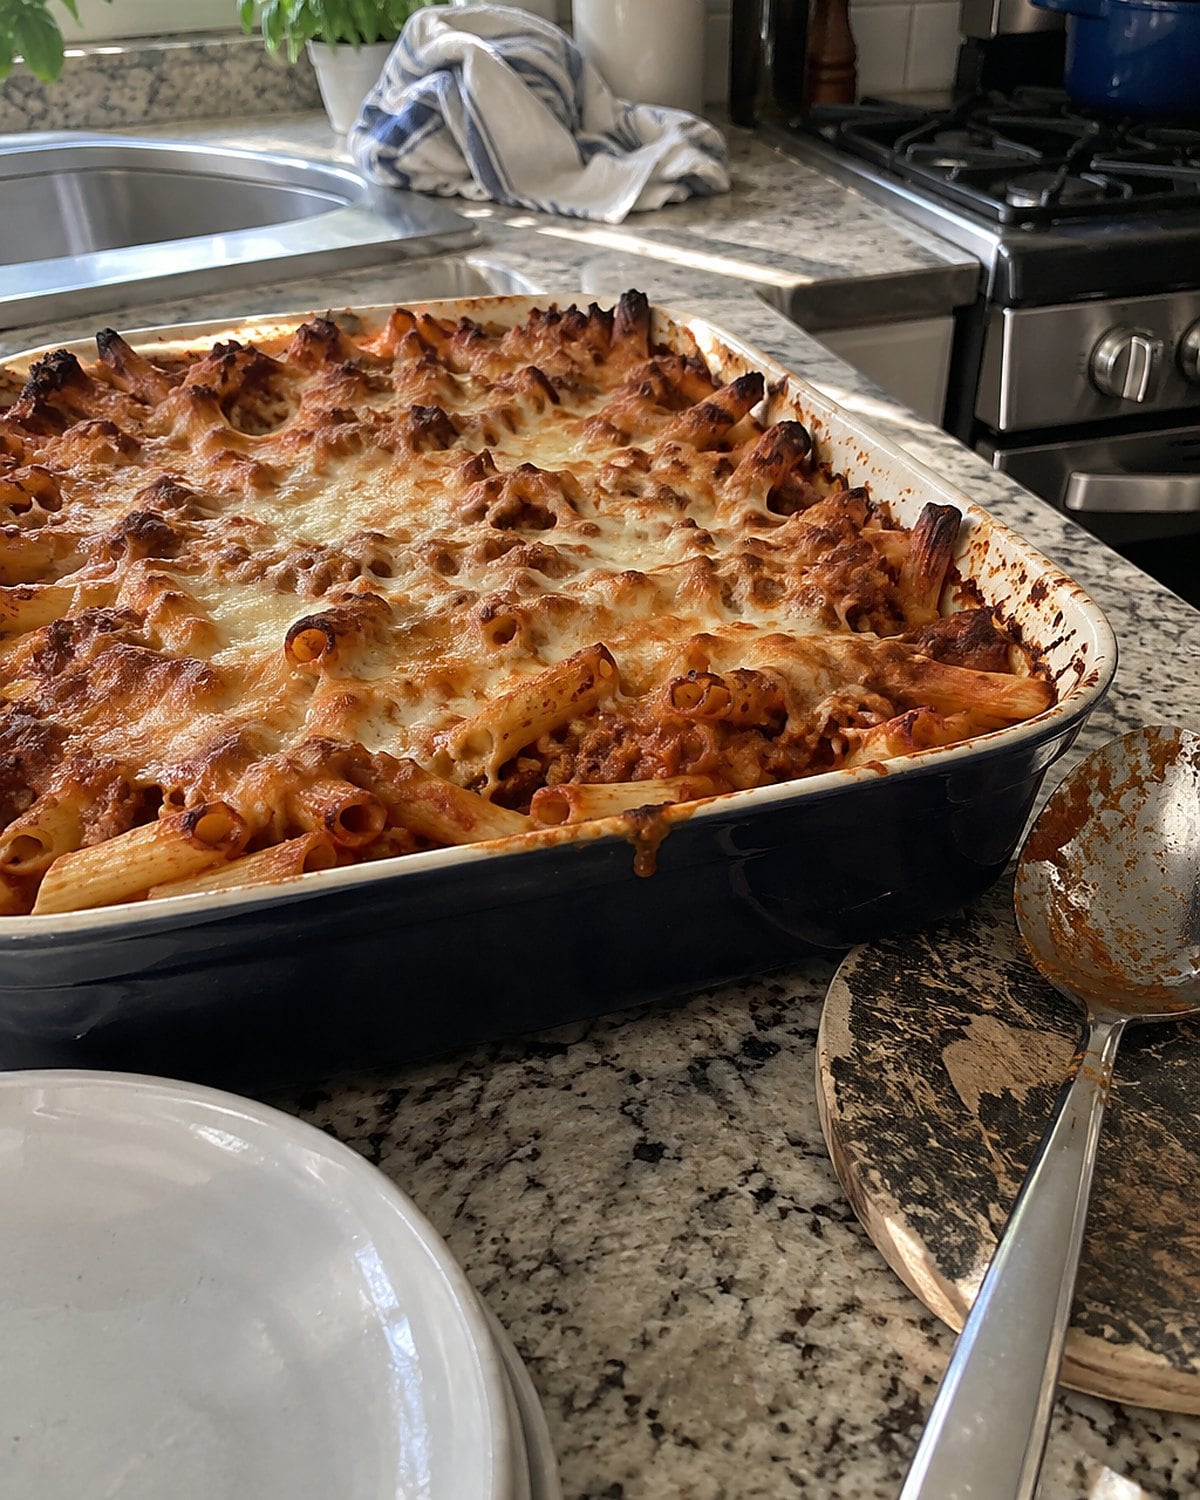
A shallow pan of ziti finishes differently from a deep one, even with the same amount of pasta. In the deep pan, heat has farther to travel before the sauce at the center gets hot. At the edges, sauce bubbles and pasta tips dry out first.
That’s why adding another handful of cheese doesn’t solve a cold center. Use a wider dish when you want the whole pan hot sooner. If the deep dish is the only clean one, cover it for the first part of baking. Uncover it after the center is hot so the top can brown.
Watch the sauce at the edge. Dark, sticky patches tell you the exposed pasta needs protection, not more oven time uncovered. Tuck those pieces under the sauce before the pan goes in. If you’re reheating leftover ziti, check the center for 165°F, following USDA leftover guidance.
The good part of a deep pan is that it carries plenty to a weekend table. Its depth just needs to be part of your timing, not a surprise when everyone reaches for a spoon.
#22 The Foil Tent Over the Turkey Breast
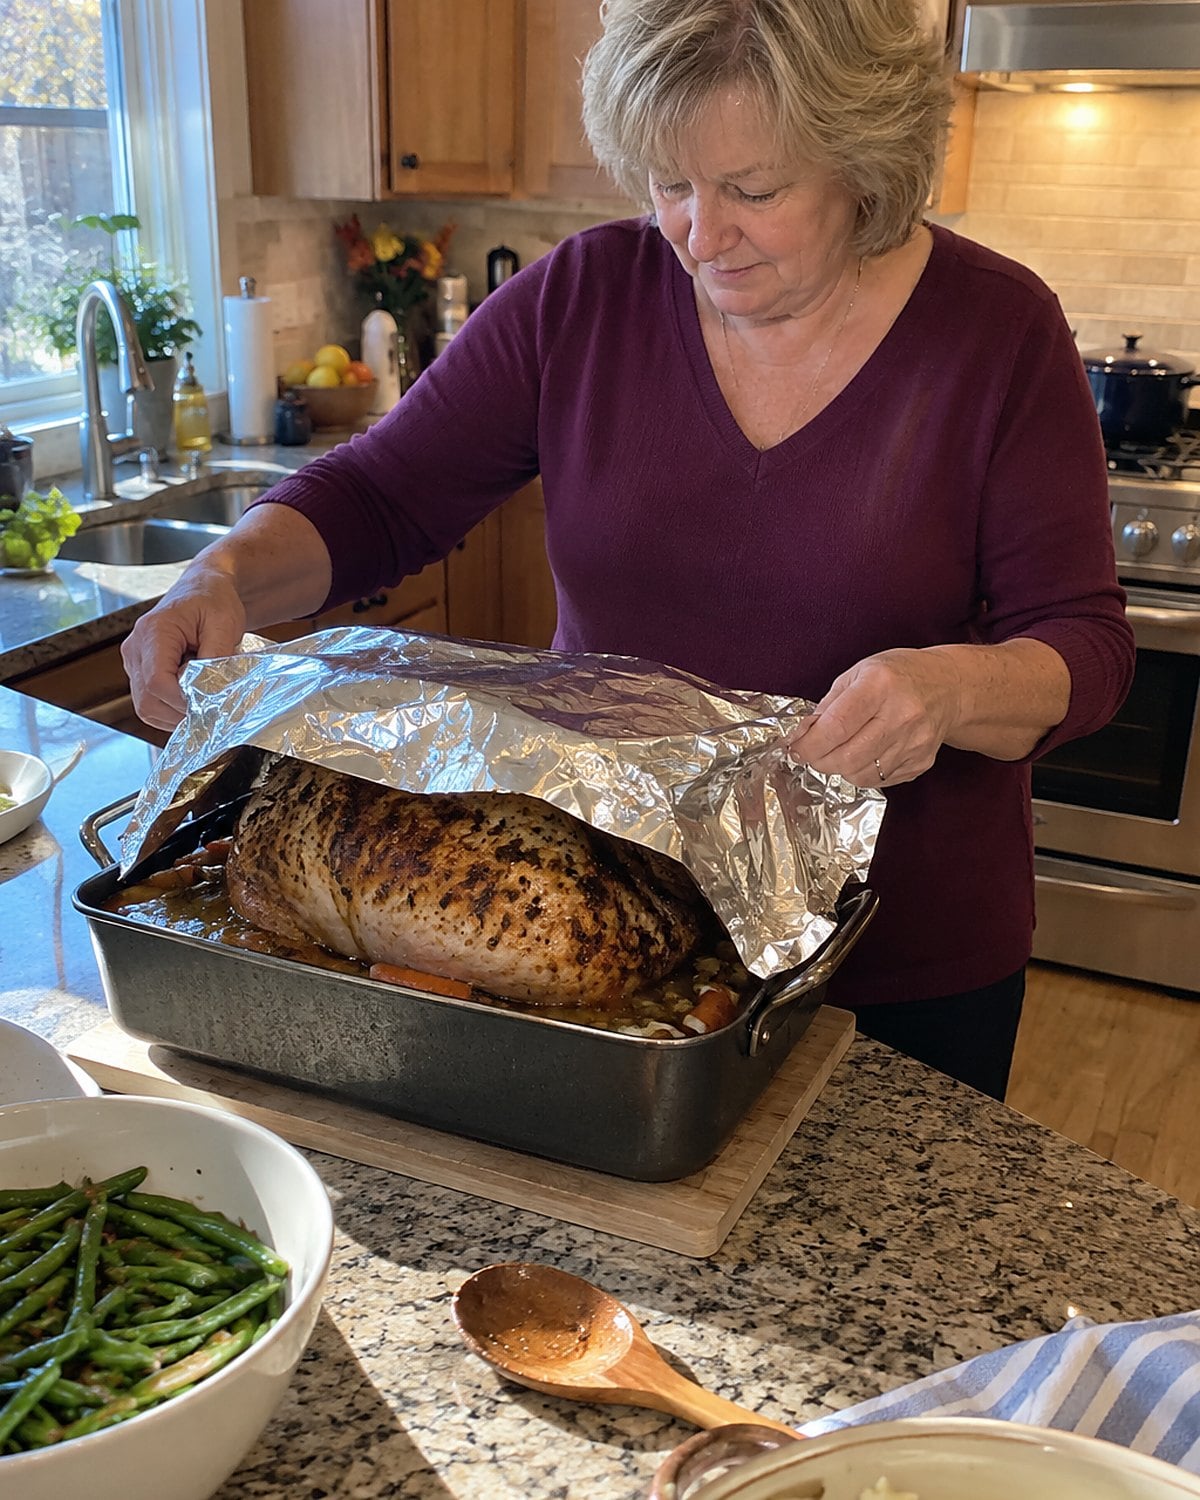
A foil tent earns its place when the turkey breast is getting too dark before the thickest part is done. Lay foil loosely over the browning area. Pressing it against the skin traps moisture there and rubs off the crust you’ve waited for.
Check the meat, not the color. Put the thermometer into the thickest part of the breast, away from bone. Poultry needs to reach 165°F under USDA safe-temperature guidance.
A whole bird gives you several places to check. Don’t let one good reading beside the cavity speak for the breast and thigh. Foil buys the darker parts time while you find out what the meat itself is doing.
#21 The Broiler and the Forgotten Cheese
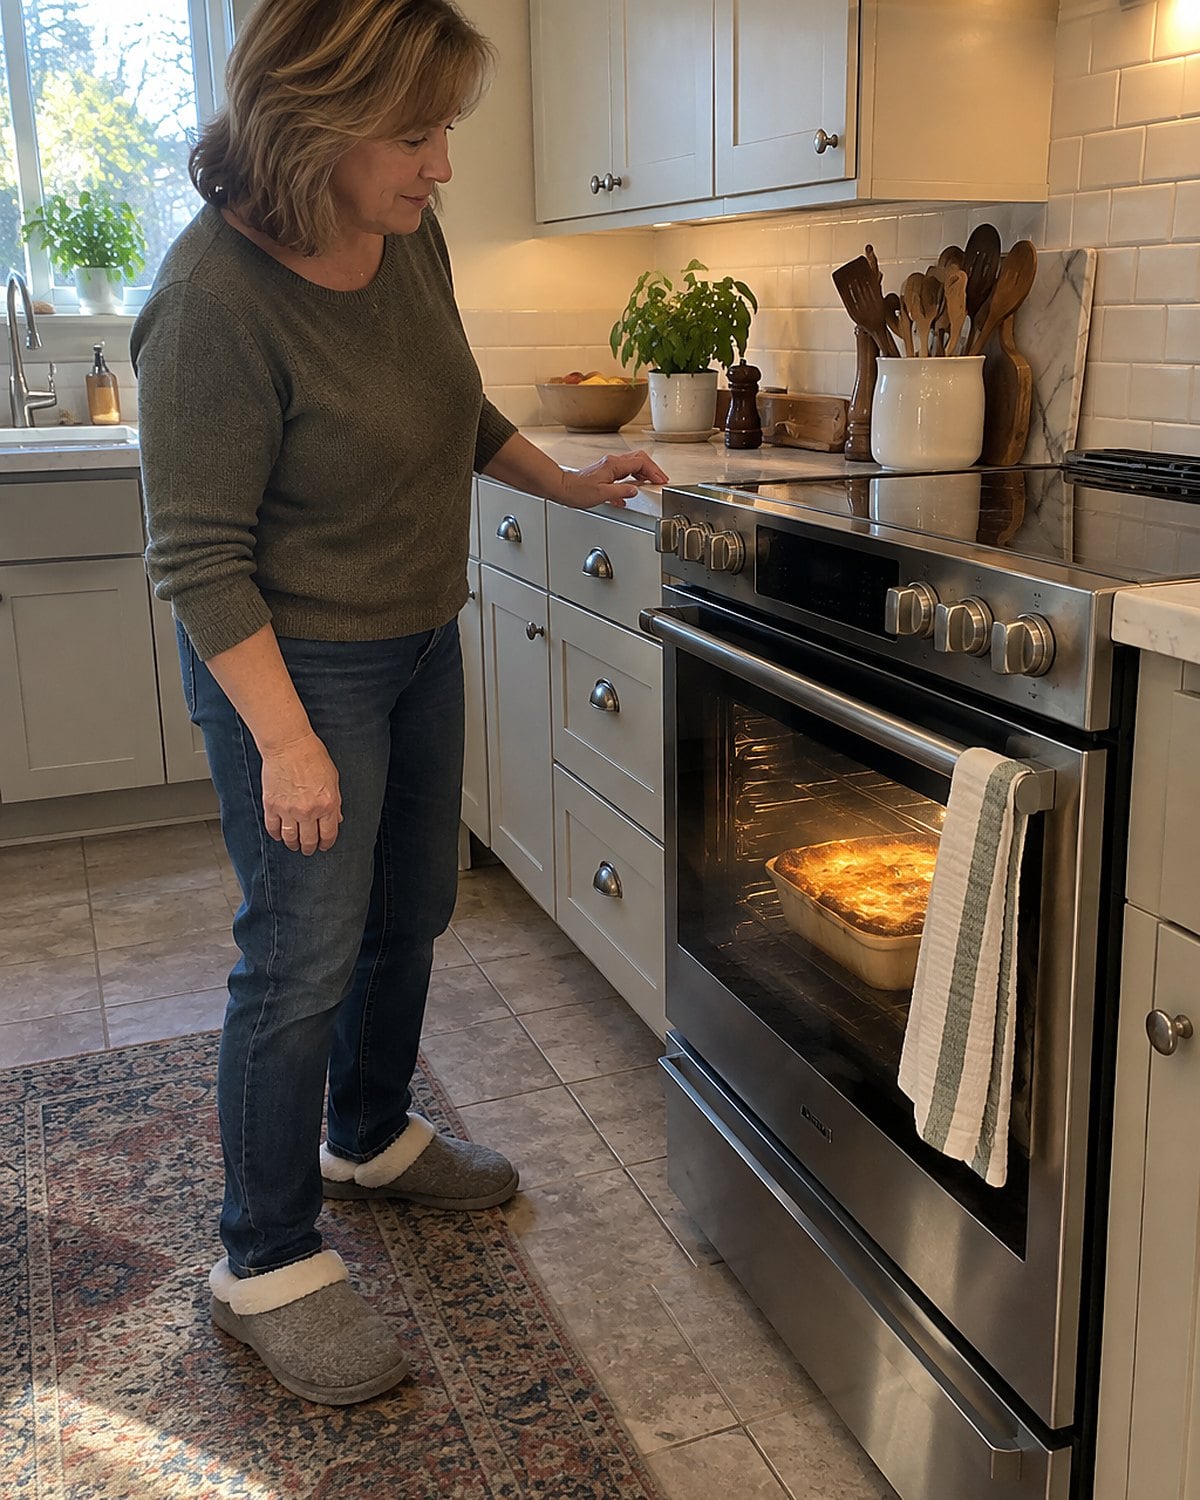
Broiling turns an ordinary dish into a kitchen watch shift. The upper element sends fierce heat directly toward the food. A minute that barely changes the cheese can be followed by a minute that burns it.
Pull up a chair if you like. Just stay near the oven and look through the window. Move the rack down if the surface is charring before the cheese melts. The distance from food to element matters more here than it does during regular baking.
Use a broiler-safe pan, and check the manufacturer’s instructions before putting glass under the broiler. The USDA’s guidance on broiling and grilling also covers pan and rack setup.
When the cheese looks right, take the dish out. Turning off the broiler and leaving the pan inside won’t hold that color in place. The hot element and walls keep working after the switch clicks.
#20 The Oven-Door Gasket with a Gap
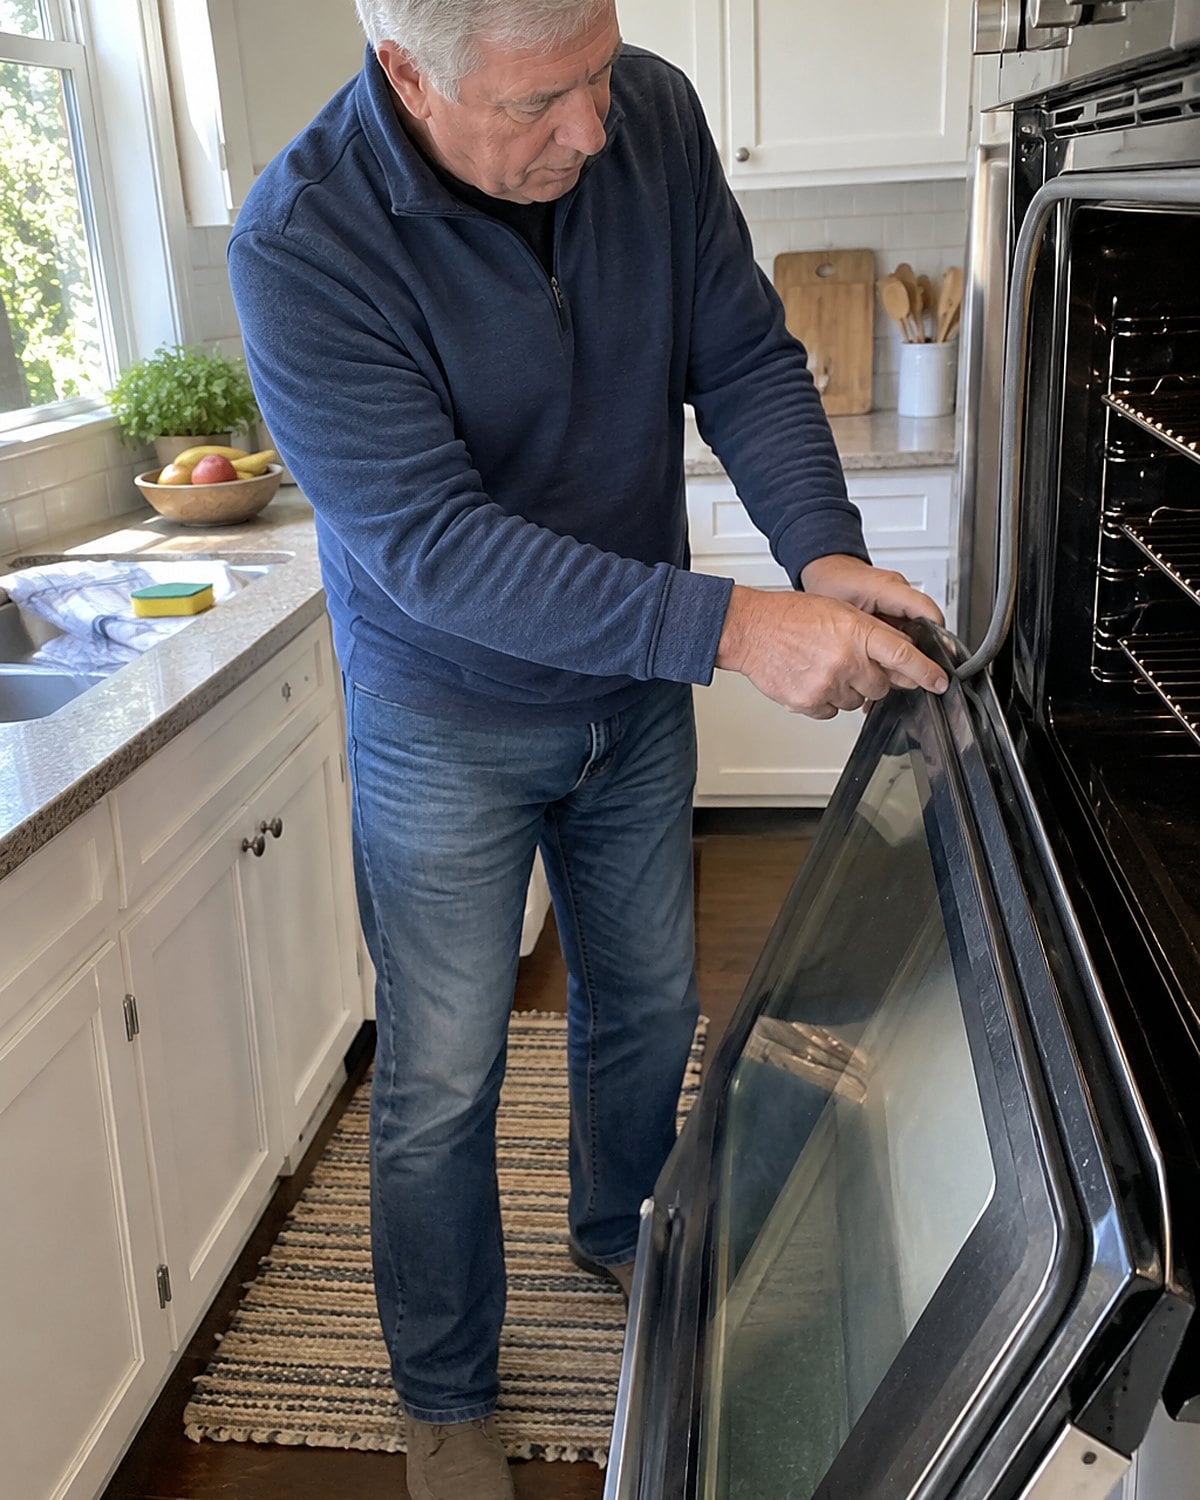
Why does the front row stay pale? Before changing the recipe, look at the soft seal around the oven door.
Grease and crumbs collect there. A torn or displaced section lets heated air escape, leaving food near the door lagging behind the back row. Wait until the oven is cool, then wipe the gasket without tugging it loose. Look for a section that has slipped out of place.
If the seal is torn, check your oven manual for the correct replacement. Don’t wedge the door shut with a towel. The appliance maker’s care instructions tell you how that particular gasket attaches.
A pale front row has other possible causes, including pan position. Still, this check takes less effort than another batch of biscuits, and it leaves the recipe alone.
#19 The Convection Button on Grandma’s Cake
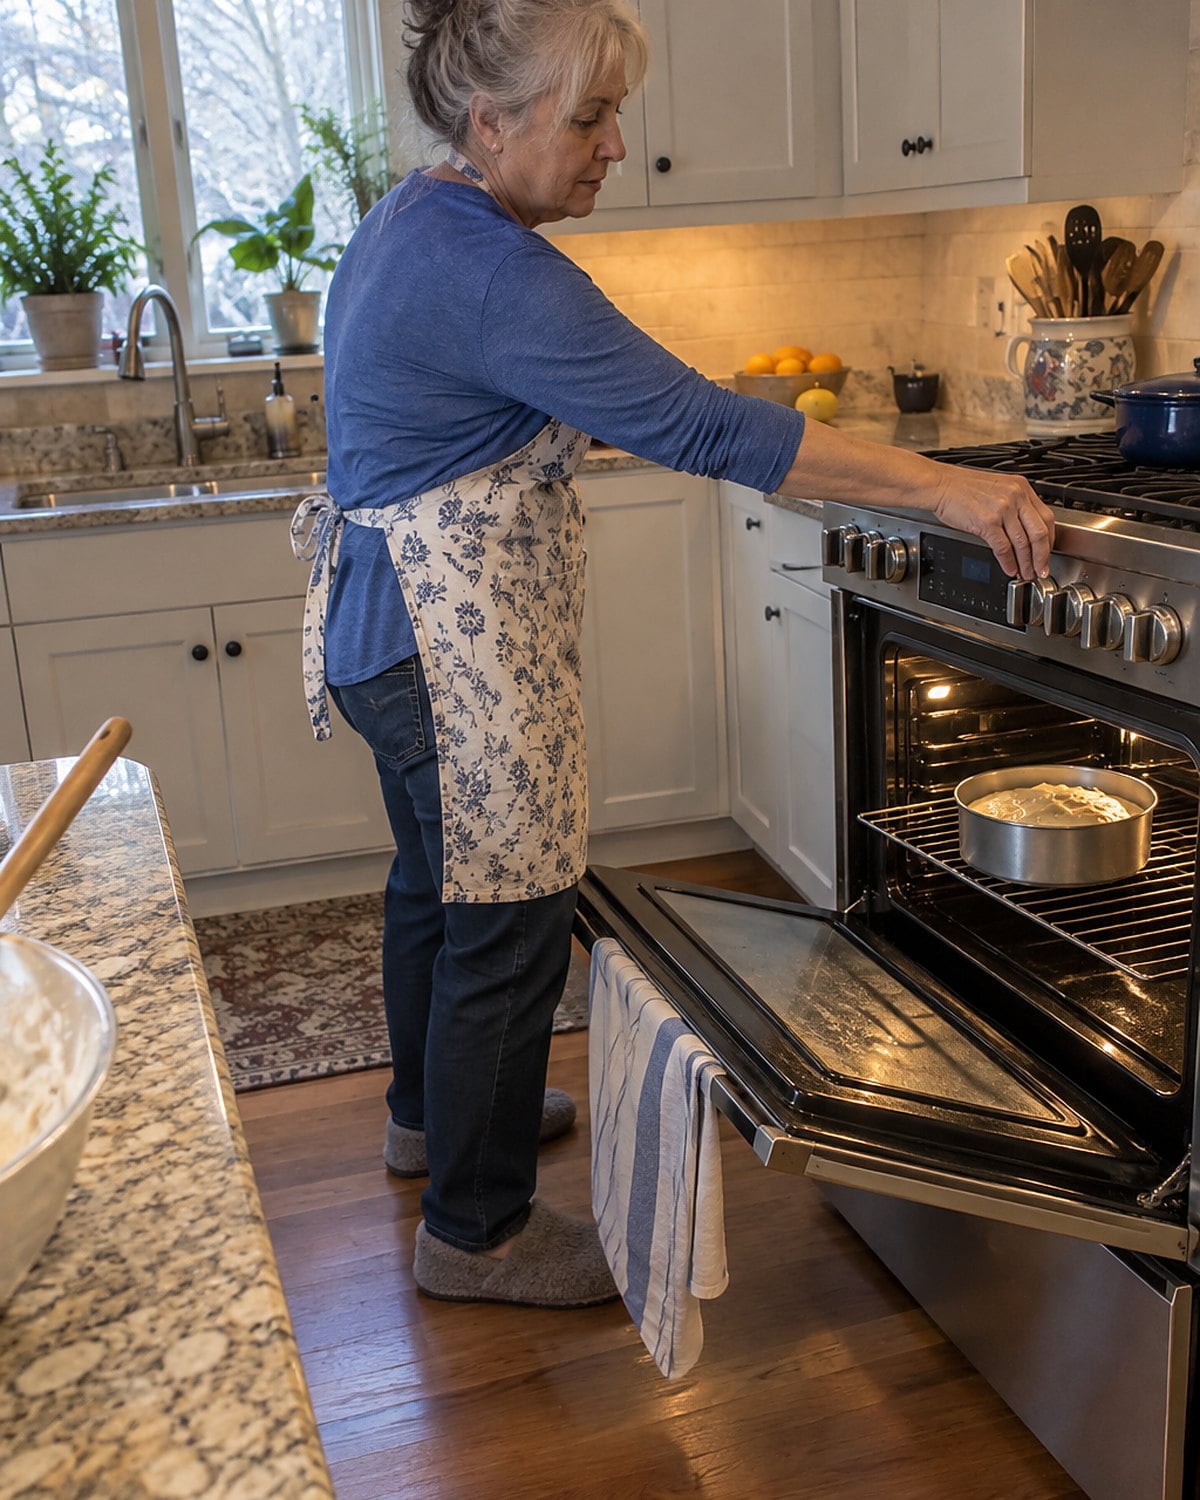
Your cake recipe gives a temperature for a standard oven. Pressing the convection button changes the job. A fan moves hot air around the pan, so the outside loses moisture and colors faster.
For a recipe written for conventional baking, a common starting adjustment is 25°F lower when using convection. Your oven manual gets the final word, since settings differ. Check the cake earlier than the printed time, and use a toothpick in the center rather than judging by the brown edge.
Convection shines when you want air moving around roasting vegetables or more than one tray of cookies. For a delicate cake with a high rise, the regular bake setting removes one variable. You’ve already got the pan, flour, and oven position to think about.
Write down which setting you used beside the recipe. Six months from now, “bake until done” won’t explain why the cake with the familiar ingredients came out drier than you remember.
 You might also like26 Mistakes People Make With a Slow Cooker After Years of Using One
#18 The Smudged Window at Cake Time
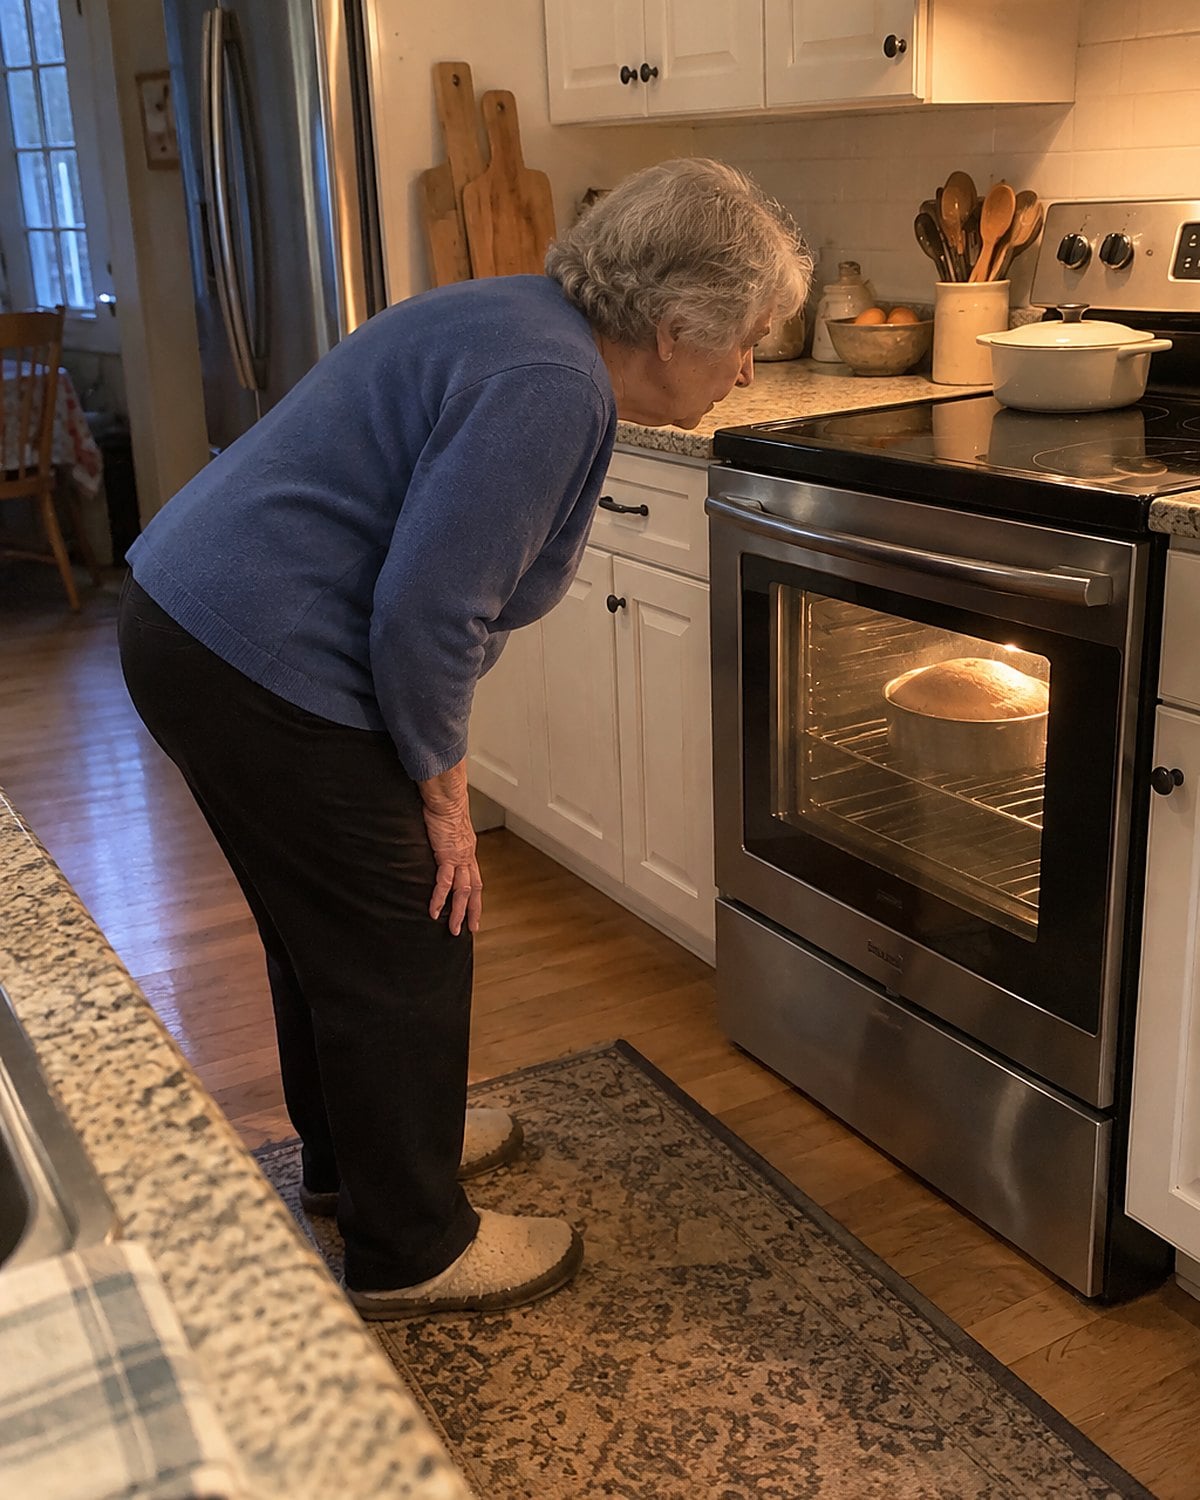
The cake has risen above the pan. You want to check it, but the oven window is too smeared to show whether the middle has set. That’s a cleaning job with a baking payoff.
Wipe the cool window before the next cake goes in. During baking, switch on the light and look for set edges and an even top. Wait for the recipe’s earliest check time before opening the door and testing the center.
The glass won’t tell you everything. It will tell you when another look through the window is enough.
#17 The Pizza Stone Put In Late
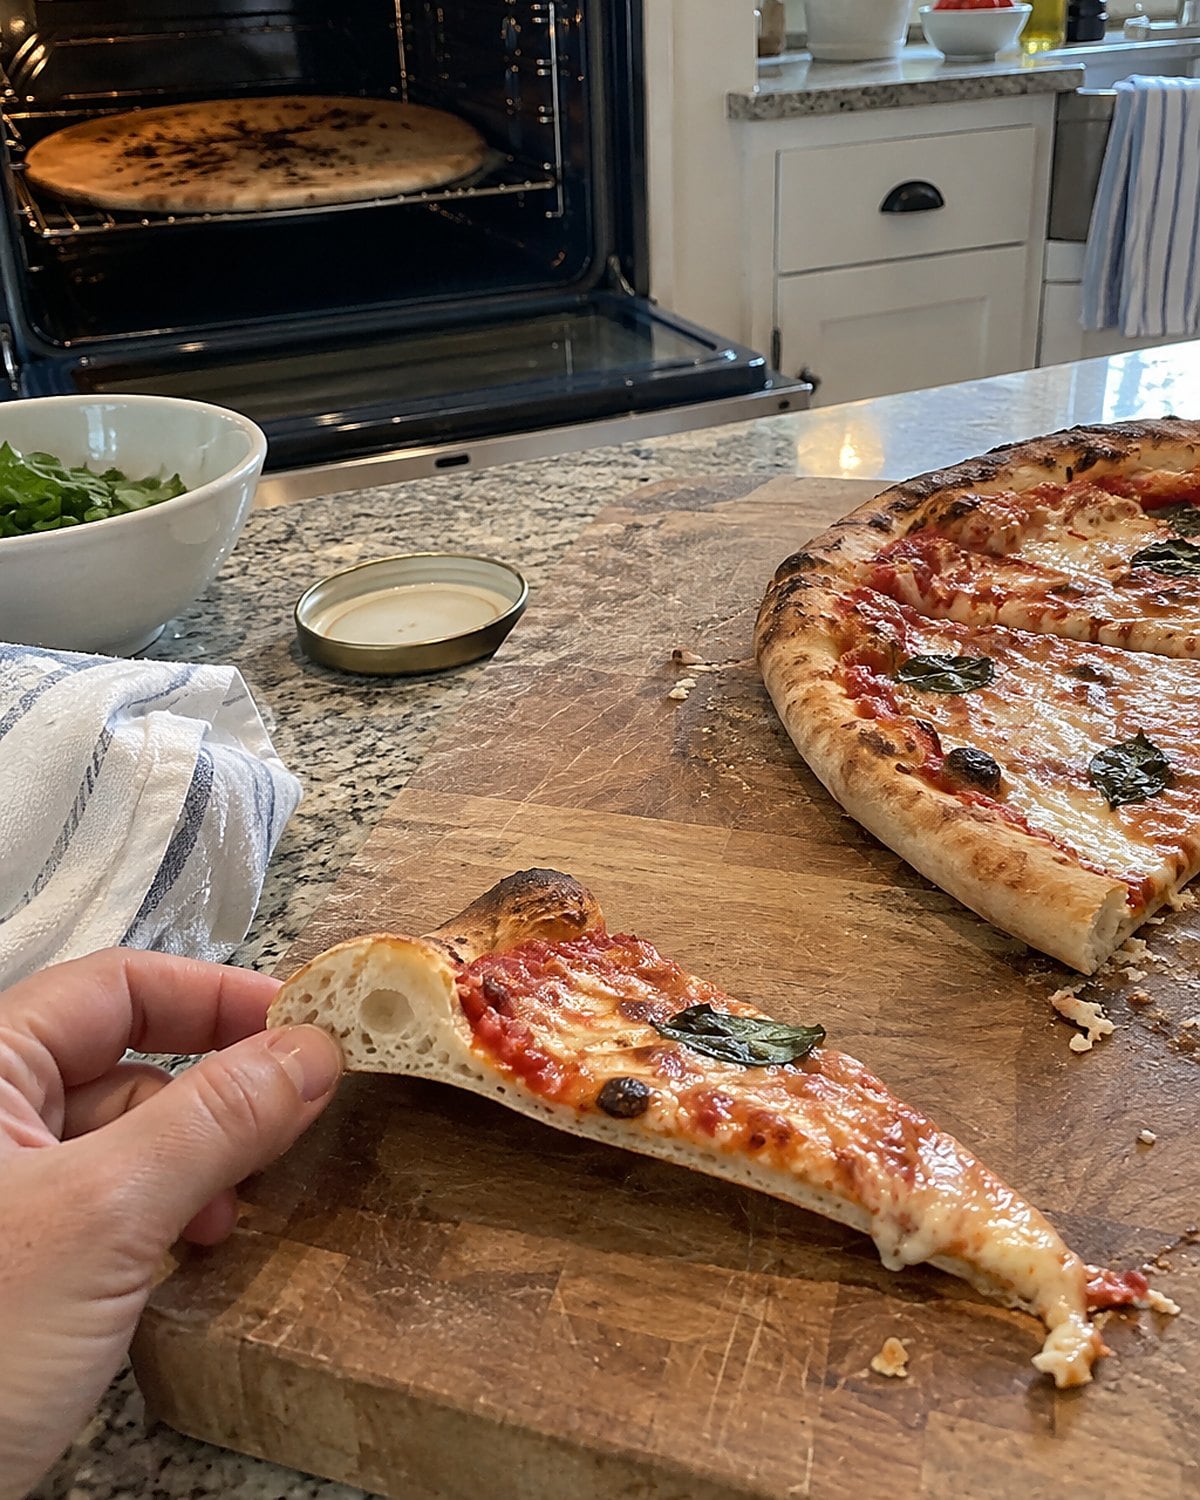
A pizza stone needs time in the oven before the pizza arrives. Set a cold stone under dough in an already hot oven, and it still has to absorb heat. The toppings start cooking while the crust waits for the surface beneath it.
Put the stone in before preheating. Let it heat with the oven, then give it additional time after the oven signals ready. Your stone’s instructions set the details. A baking steel follows the same principle, though its weight and heat transfer differ from stone.
You’ll see the difference under the first slice. A pale, limp bottom tells you the cooking surface lacked heat. A dark top with a pale bottom also points toward rack position; try a lower rack next time.
Don’t carry a blazing stone to the counter to inspect it. Let it cool in the oven. The pizza gives you all the evidence you need, right on the cutting board.
#16 The Biscuits Packed Shoulder to Shoulder
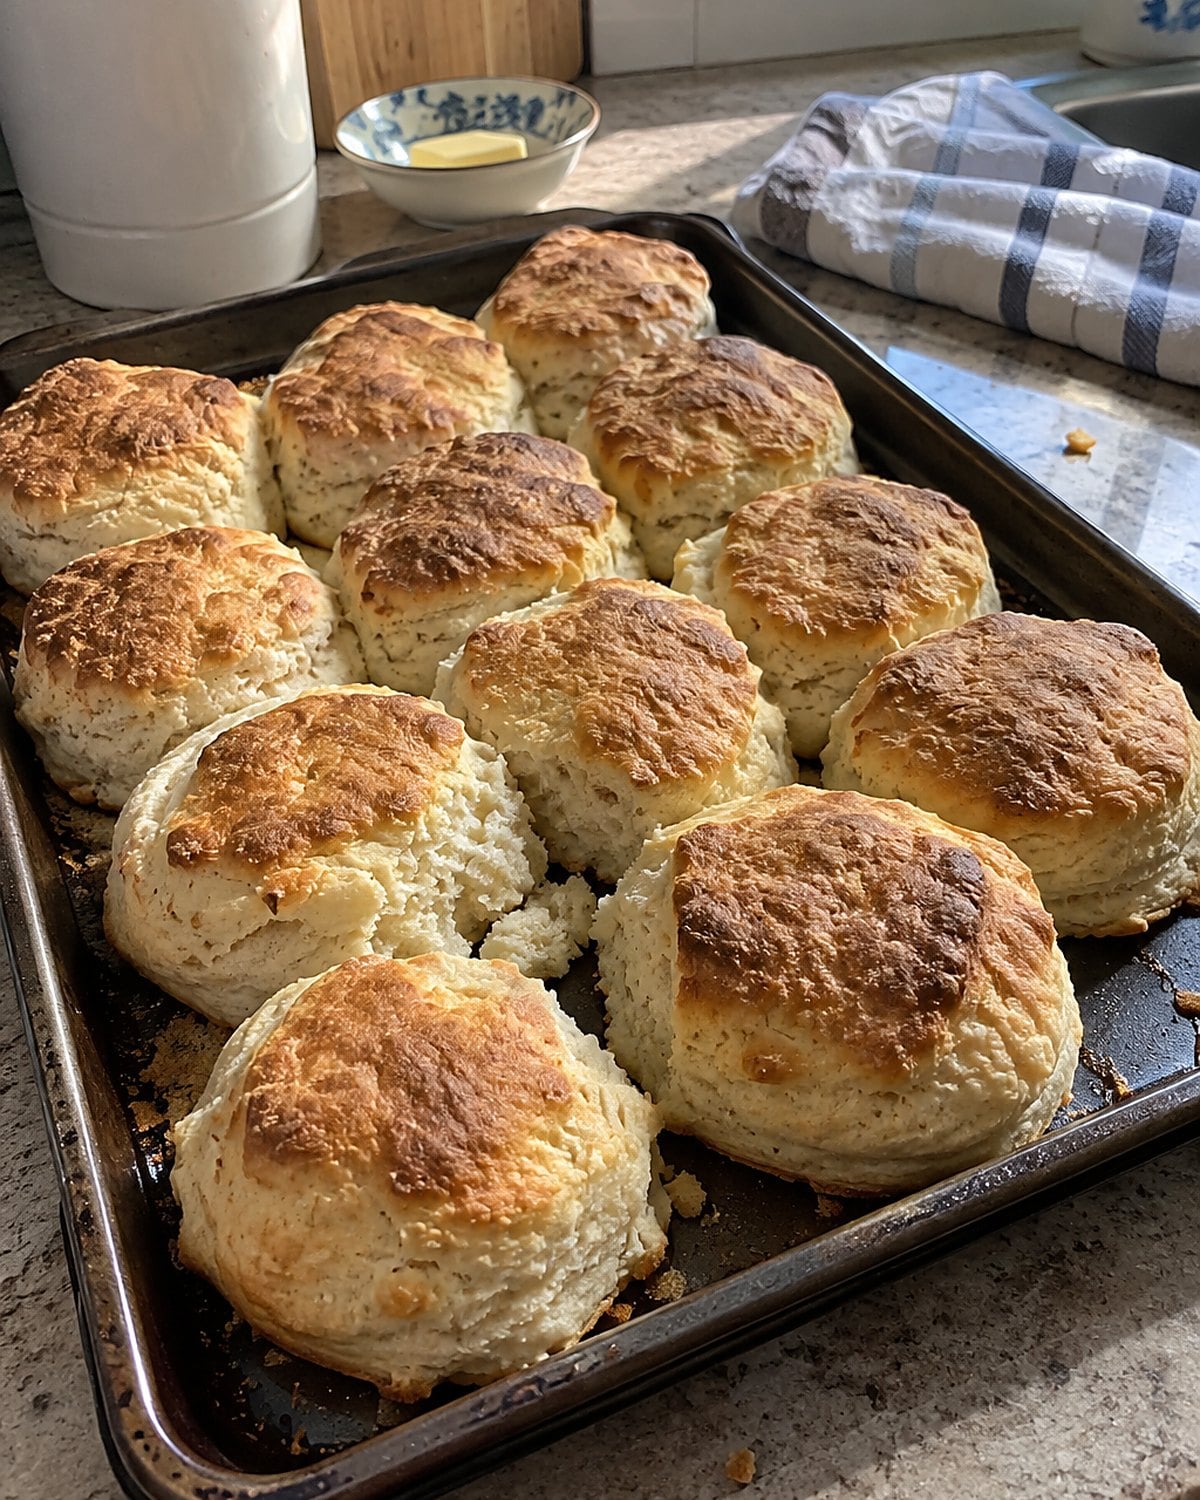
A pan of biscuits can look like a family photograph: everyone pressed together, no room at the edges. That closeness changes the bake. Sides touching other biscuits stay tender; exposed sides brown.
Neither result is a mistake. Put biscuits close when you want soft sides that pull apart. Leave space between them when you want a crust around each one. Then watch the center biscuits. They receive less heat along their sides than the outside row.
If the tops brown before the centers set, move the pan down a rack on the next batch. For today, give the center biscuits more time and check one by lifting its edge. The underside should have color, and the middle shouldn’t look wet when you split it.
Food packed together changes the heat reaching each piece. Remember that before blaming the oven for a pale middle row.
#15 The Dark Cookie Sheet from the Drawer
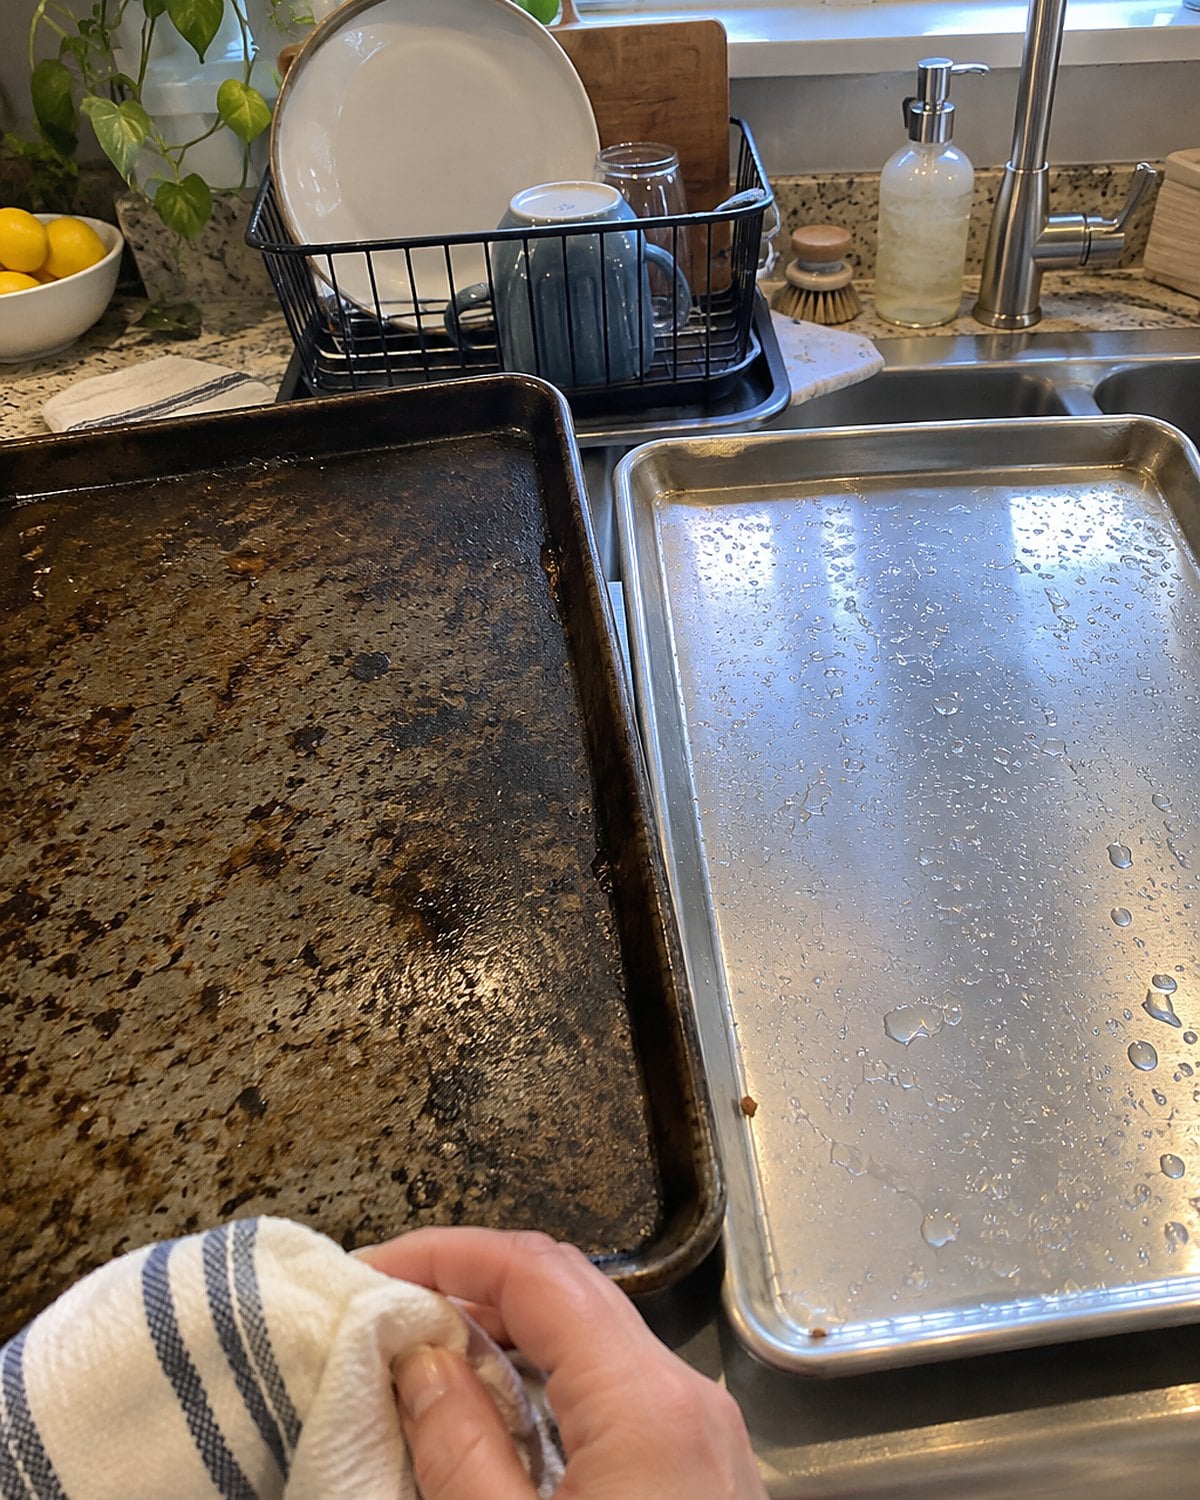
Take out your two cookie sheets and turn them over. One is shiny aluminum. The other has gone nearly black after years of dinners, cookies, and scrubbed-on marks. They won’t give you identical bottoms.
A dark surface absorbs more radiant heat. Cookie bottoms color faster against it, while the tops follow their own pace. If the underside burns before the center sets, try the lighter sheet. You can also move the rack higher, farther from heat concentrated below.
Line both sheets the same way when you compare them. Parchment changes contact between dough and metal. A silicone mat changes it again. Switching pan, liner, and rack at once leaves you guessing which change helped.
Take a look halfway through baking. If cookies on the back edge brown first, rotate the sheet from front to back. If every cookie has a dark bottom, rotation won’t solve it. That’s the pan, the rack, or the oven temperature talking, and the next batch is your chance to listen.
#14 The Muffin Pan with Pale Centers
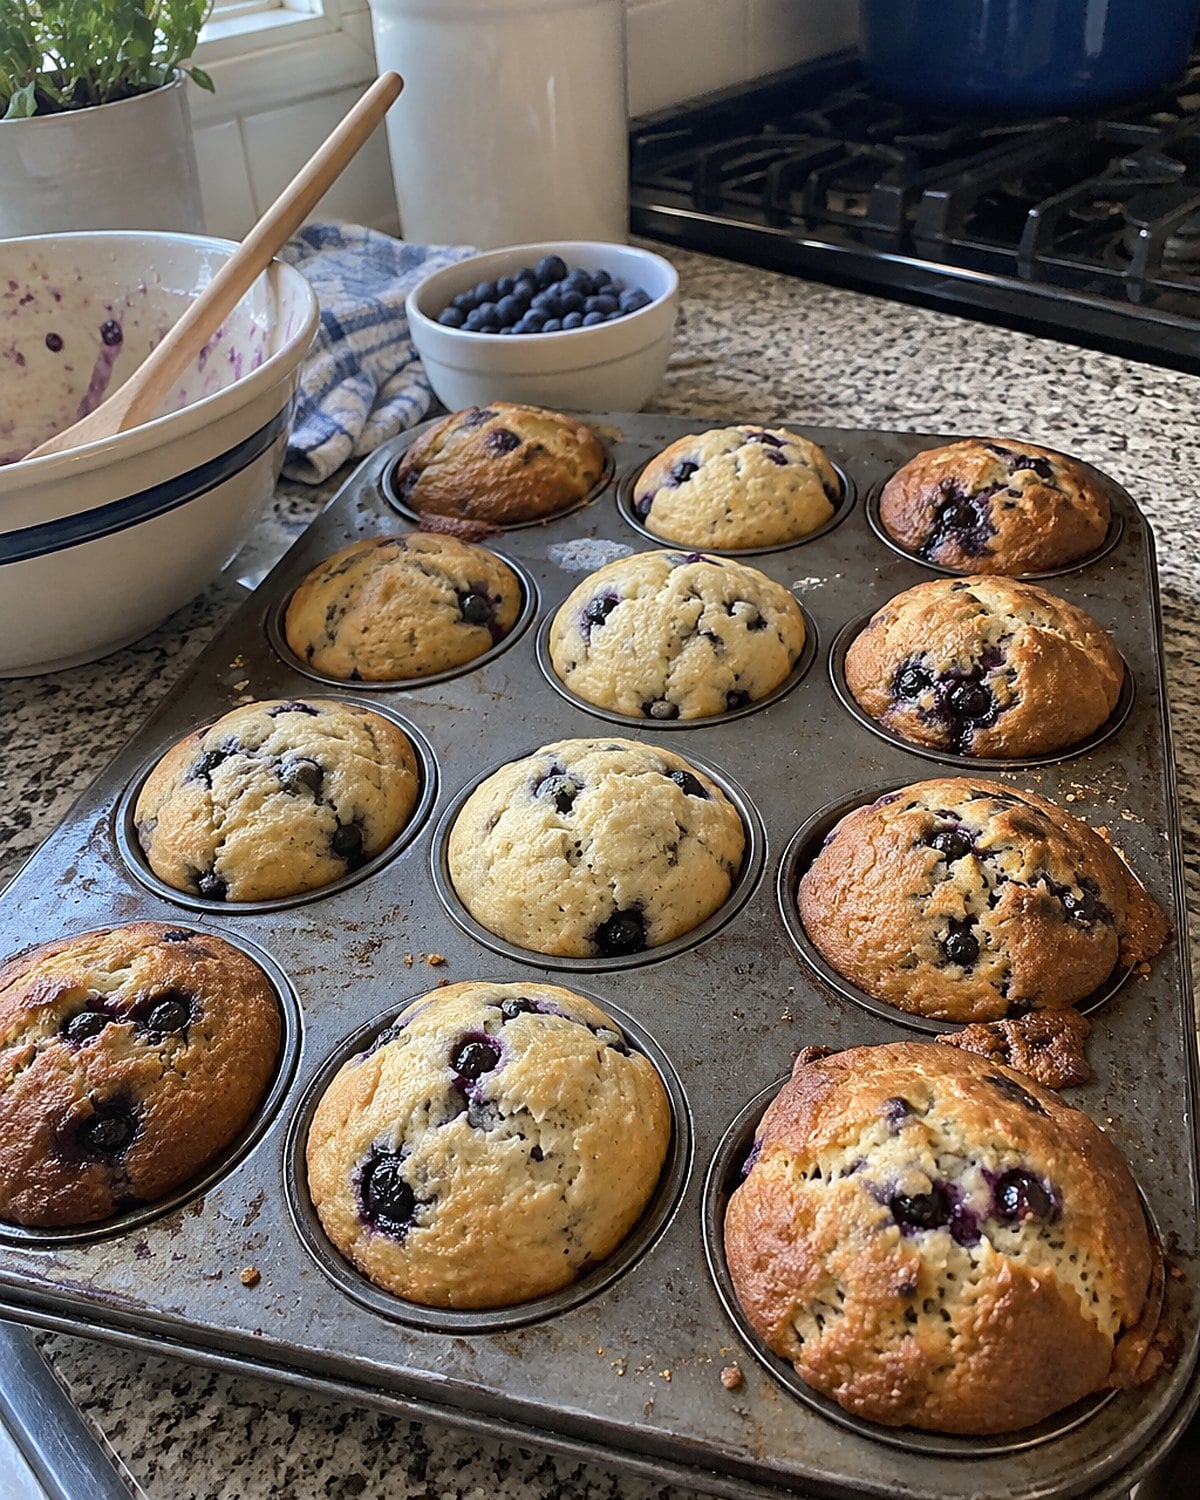
Why are the muffins at the edge brown while the middle ones look pale? The outside cups have more exposure to the oven’s hot air and walls. The center cups sit surrounded by metal and neighboring batter.
Fill the cups to similar levels before blaming the oven. An overfilled center muffin needs more time than a smaller one at the edge. Rotate the pan when the tops have set enough that a turn won’t slosh the batter.
When testing, choose a center muffin. Push a toothpick into its middle, then look for wet batter. A few moist crumbs tell a different story.
If the center is ready and the edge muffins are darker, you’ve learned how that pan bakes. Next time, move the rack toward the center of the oven before changing your batter.
#13 The Pie with a Soggy Bottom
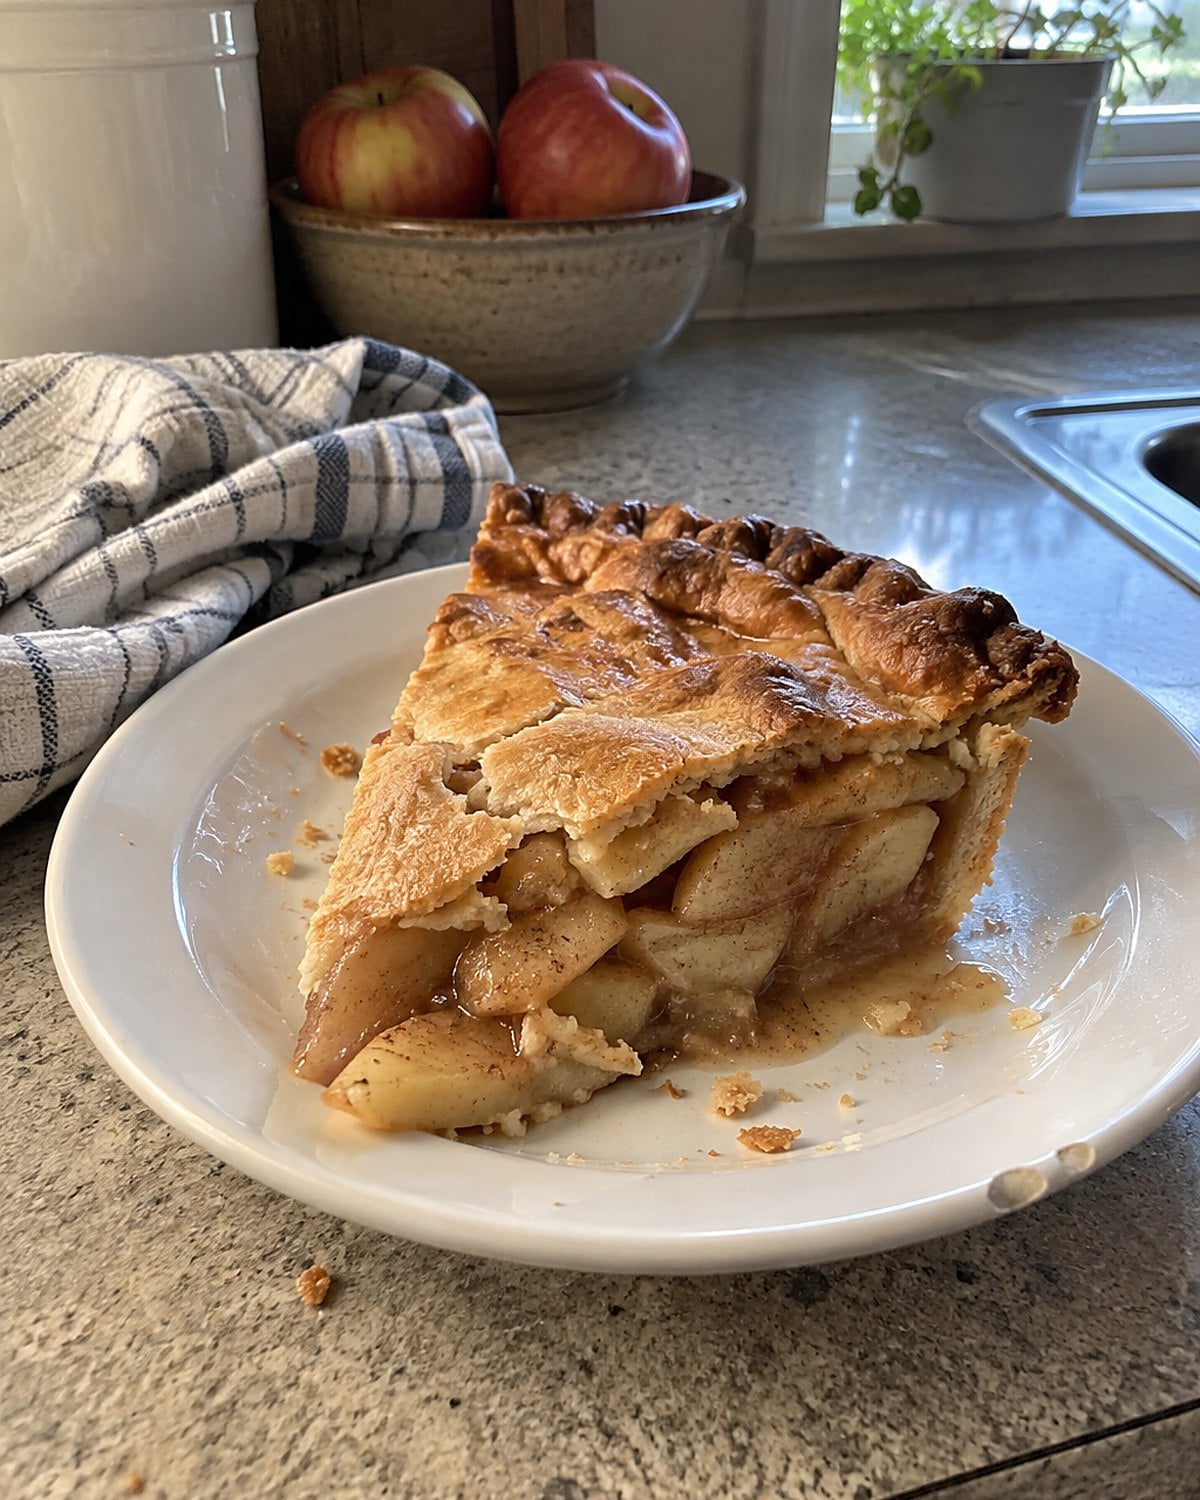
The apples are tender, the top crust is brown, and the bottom bends under the fork. Fruit releases juice as it heats. Meanwhile, the bottom crust needs heat through the pie plate before it can set and brown.
Put the pie on a lower rack to give its bottom more help. A metal pie plate conducts heat faster than a thick ceramic dish. If you switch plates, keep that change in mind when you compare this pie with the last one.
For a single-crust pie with a wet filling, blind-bake the crust when the recipe calls for it. That head start matters. With a double-crust fruit pie, look through a clear glass plate if you have one. You’ll see the bottom’s color without cutting into dinner’s dessert.
A baking sheet below the pie catches drips, but a cold sheet directly under the plate changes how heat reaches the crust. Preheat the sheet if you use it as the pie’s landing place. Give yourself a safe, steady spot to set that hot plate down.
#12 The Roast Pan Full of Burned Drippings
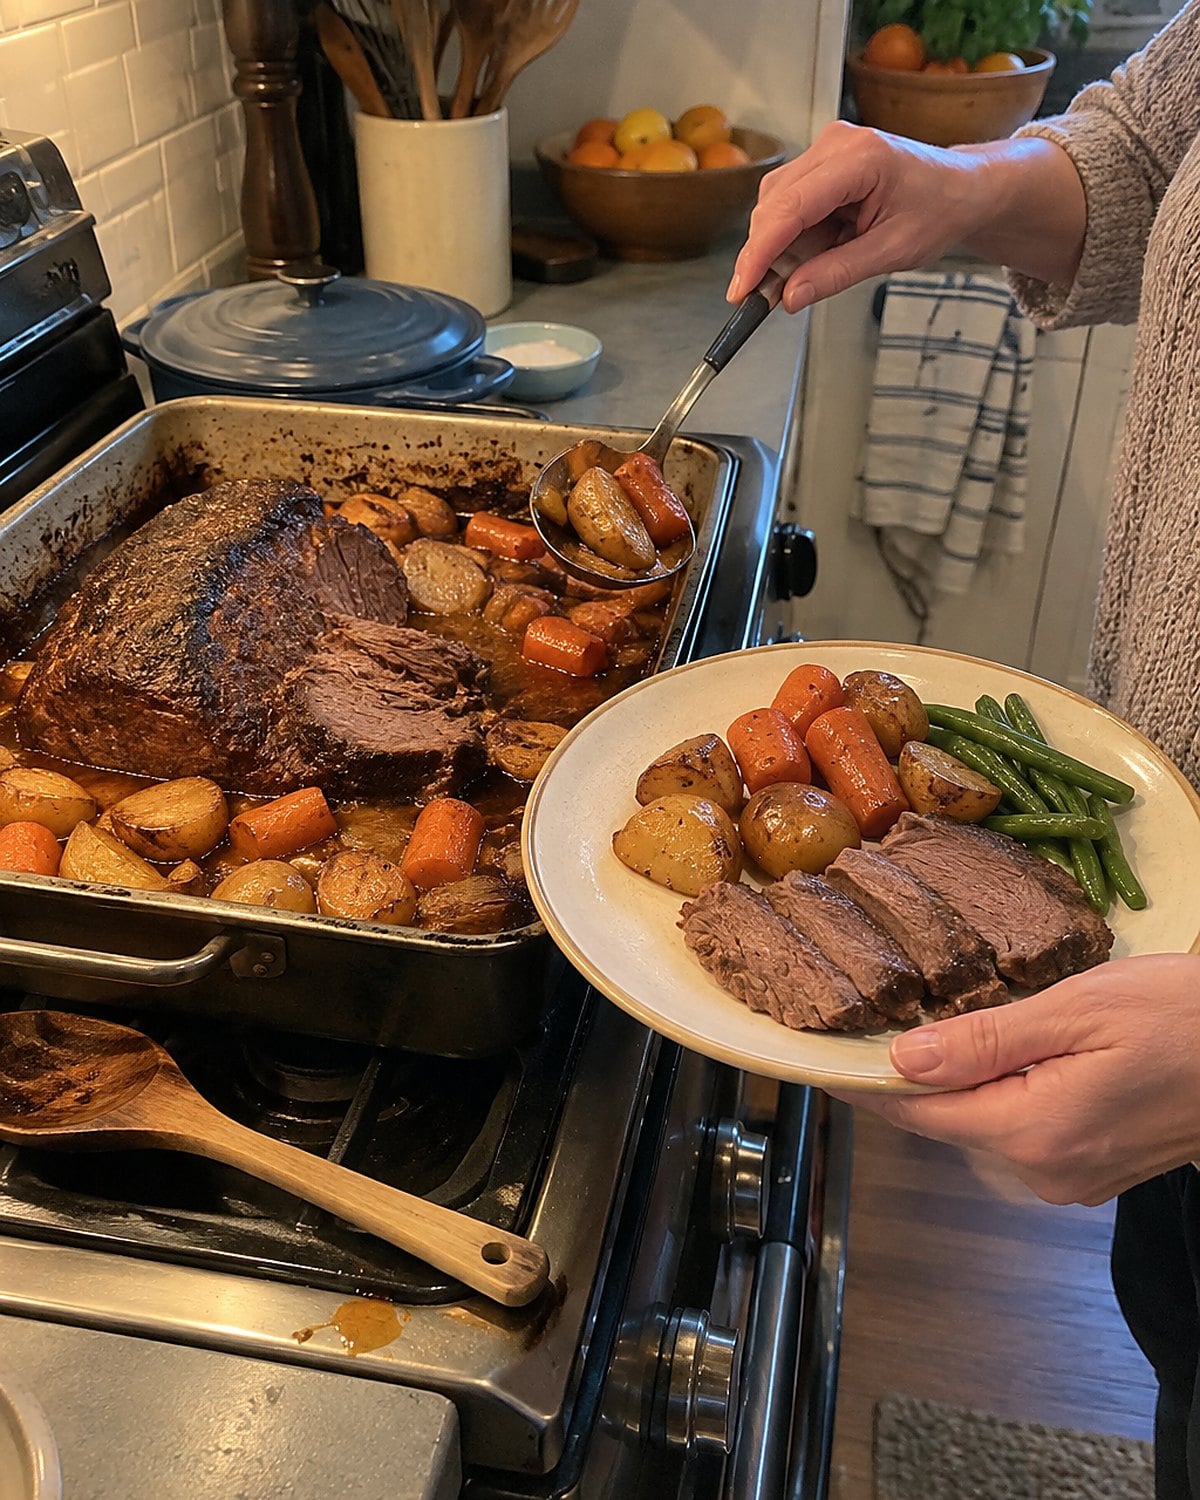
Brown bits at the bottom of a roast pan promise gravy. Black, bitter bits promise a new plan. Drippings hit hot metal, lose their water, and keep cooking while the roast finishes.
Check the pan when you check the meat. If the drippings look dry and dark, add a little water to the pan, keeping it away from the roast’s skin. Use a sturdy roasting pan that suits your oven; don’t pour cold liquid into a fragile hot glass dish.
If the drippings have already burned, taste before building gravy around them. Strain out the fat you need, but don’t expect straining to remove bitterness. A clean saucepan and stock are better than a whole gravy boat devoted to rescuing char.
The pan has given you an early warning. Next roast, look underneath before the smell reaches the hallway.
Try it: Best Instant Pot Gravy (Quick & Easy, No Drippings!)
#11 The Dutch Oven with Its Lid On
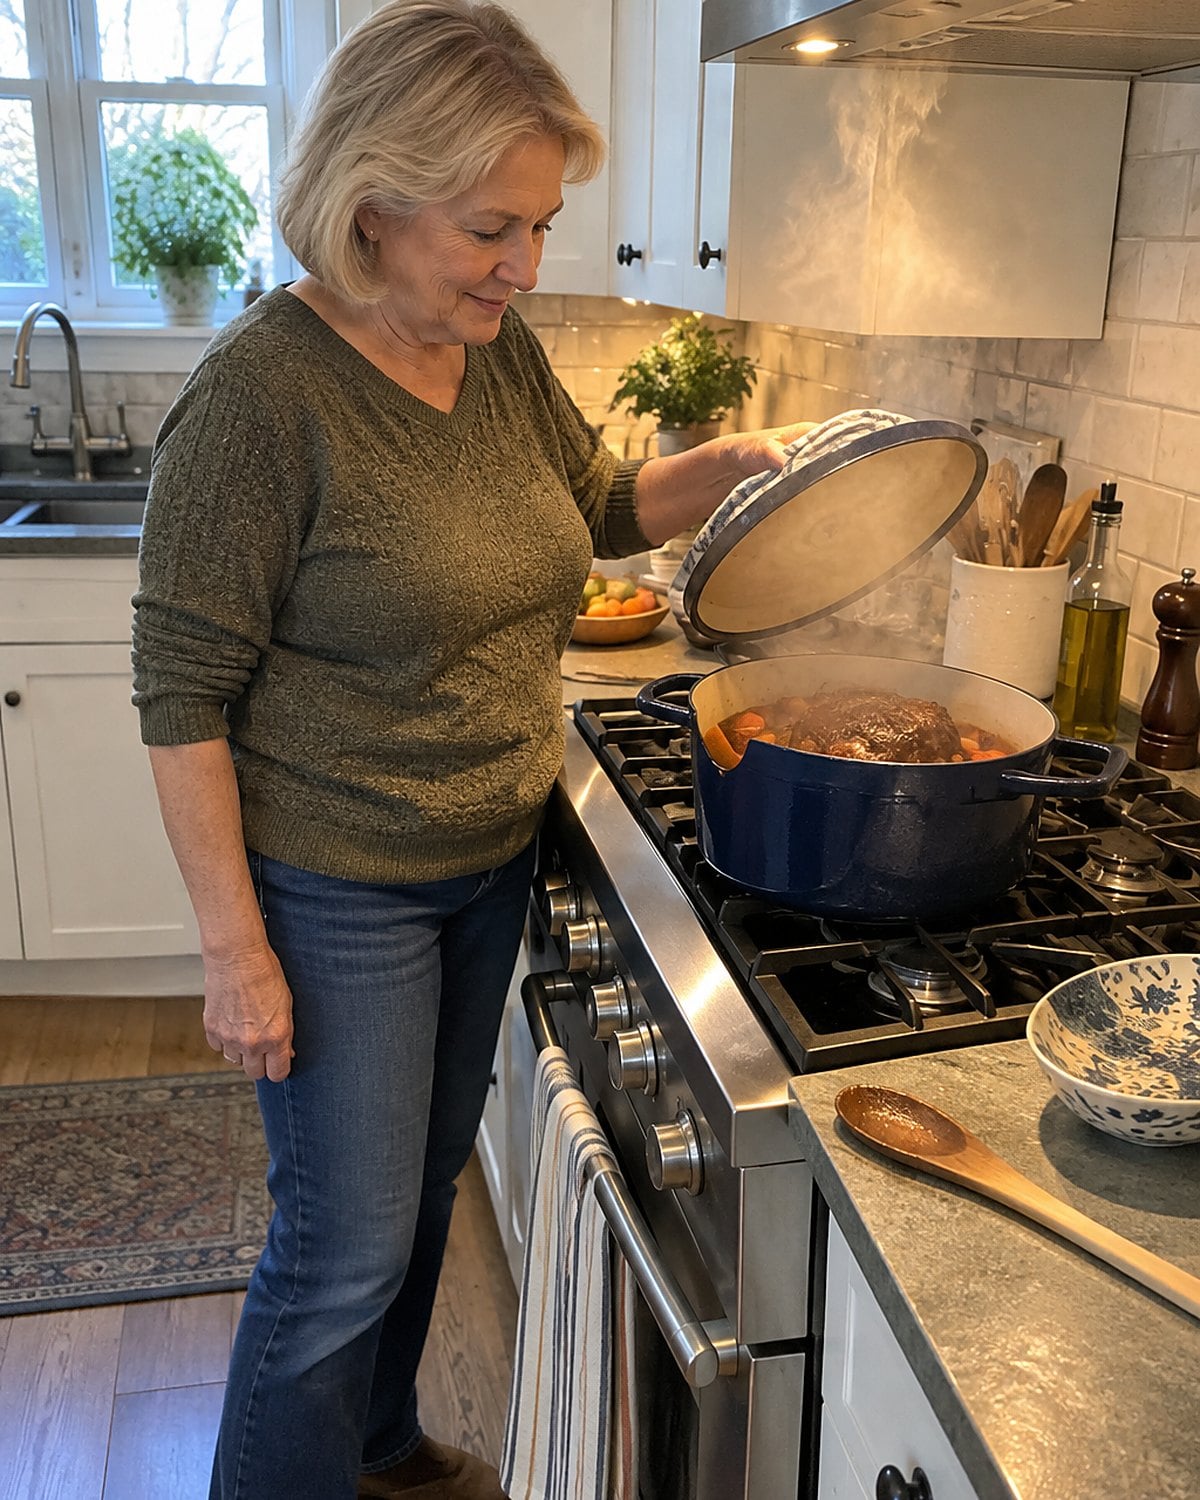
A covered Dutch oven holds moisture close to the food. That’s why a tough braise turns tender inside it. It’s also why the top of a covered dish stays pale. Browning needs a drier surface.
For pot roast, keep the lid on while the meat cooks in liquid. If you want a darker finish, remove it near the end and let the surface dry in the oven. For baked beans, uncovering thickens the liquid as water escapes. Stir and look at the level so the beans at the edge don’t dry out.
The lid is doing a job, not getting in the way. Taking it off from the start changes the amount of liquid left in the pot. Leaving it on when you want a crust changes the finish.
Lift the lid away from your face. Steam gathers beneath it, even when the outside looks harmless. Then decide which dinner you want: moist and covered, or browned and uncovered.
Try it: Instant Pot Beef Pot Roast With Potatoes & Carrots
#10 The Frozen Casserole in Its Baking Dish
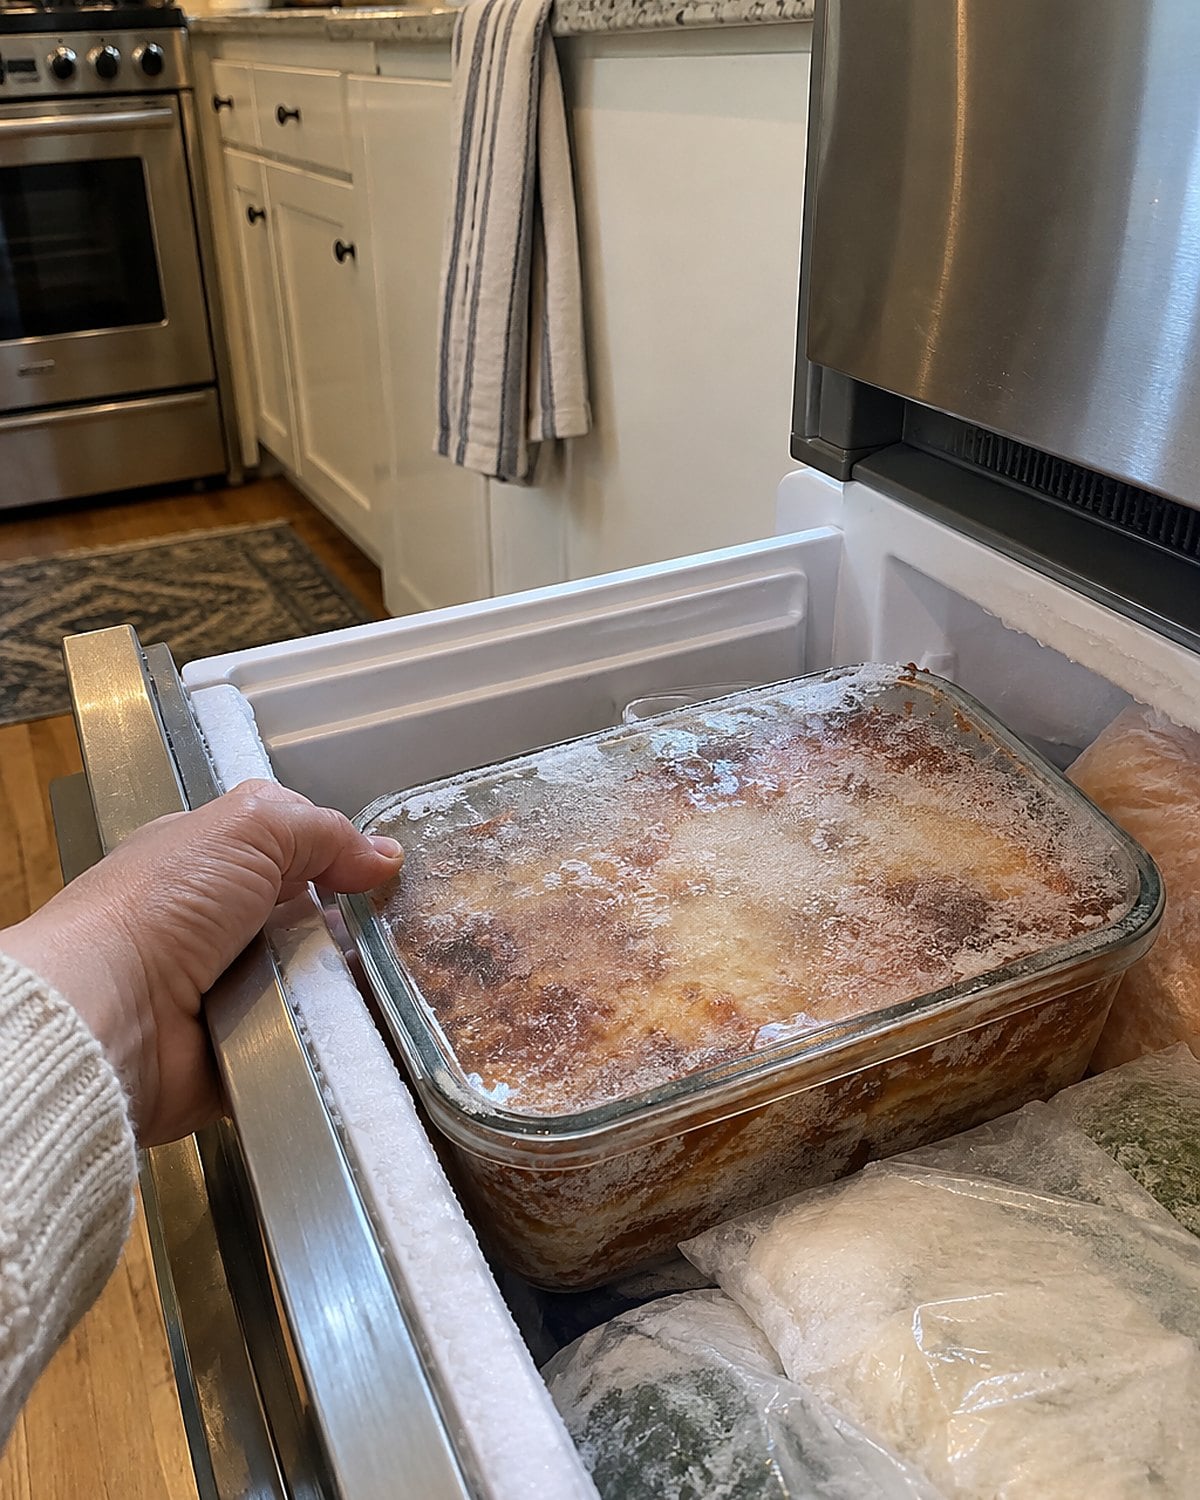
That freezer dish looked ready for the oven when you took it out this morning. The center, though, has a long trip from frozen to hot. A browned top tells you little about what’s happening beneath it.
First, check the dish maker’s instructions. A cold glass or ceramic dish placed in a hot oven faces a sharp temperature change. Don’t gamble on it because the dish survived last time.
Cover the casserole while it heats, then uncover it for browning. If it contains leftovers, check the center for 165°F before serving. The thermometer tip belongs in the food, not against the dish.
And if you thawed the casserole first, follow the USDA’s safe thawing advice. The counter isn’t a shortcut for a dish with meat, dairy, or other perishable ingredients.
 You might also like27 Old-Fashioned Desserts That Deserve a Comeback
#9 The Grandchild Who Wants Another Peek
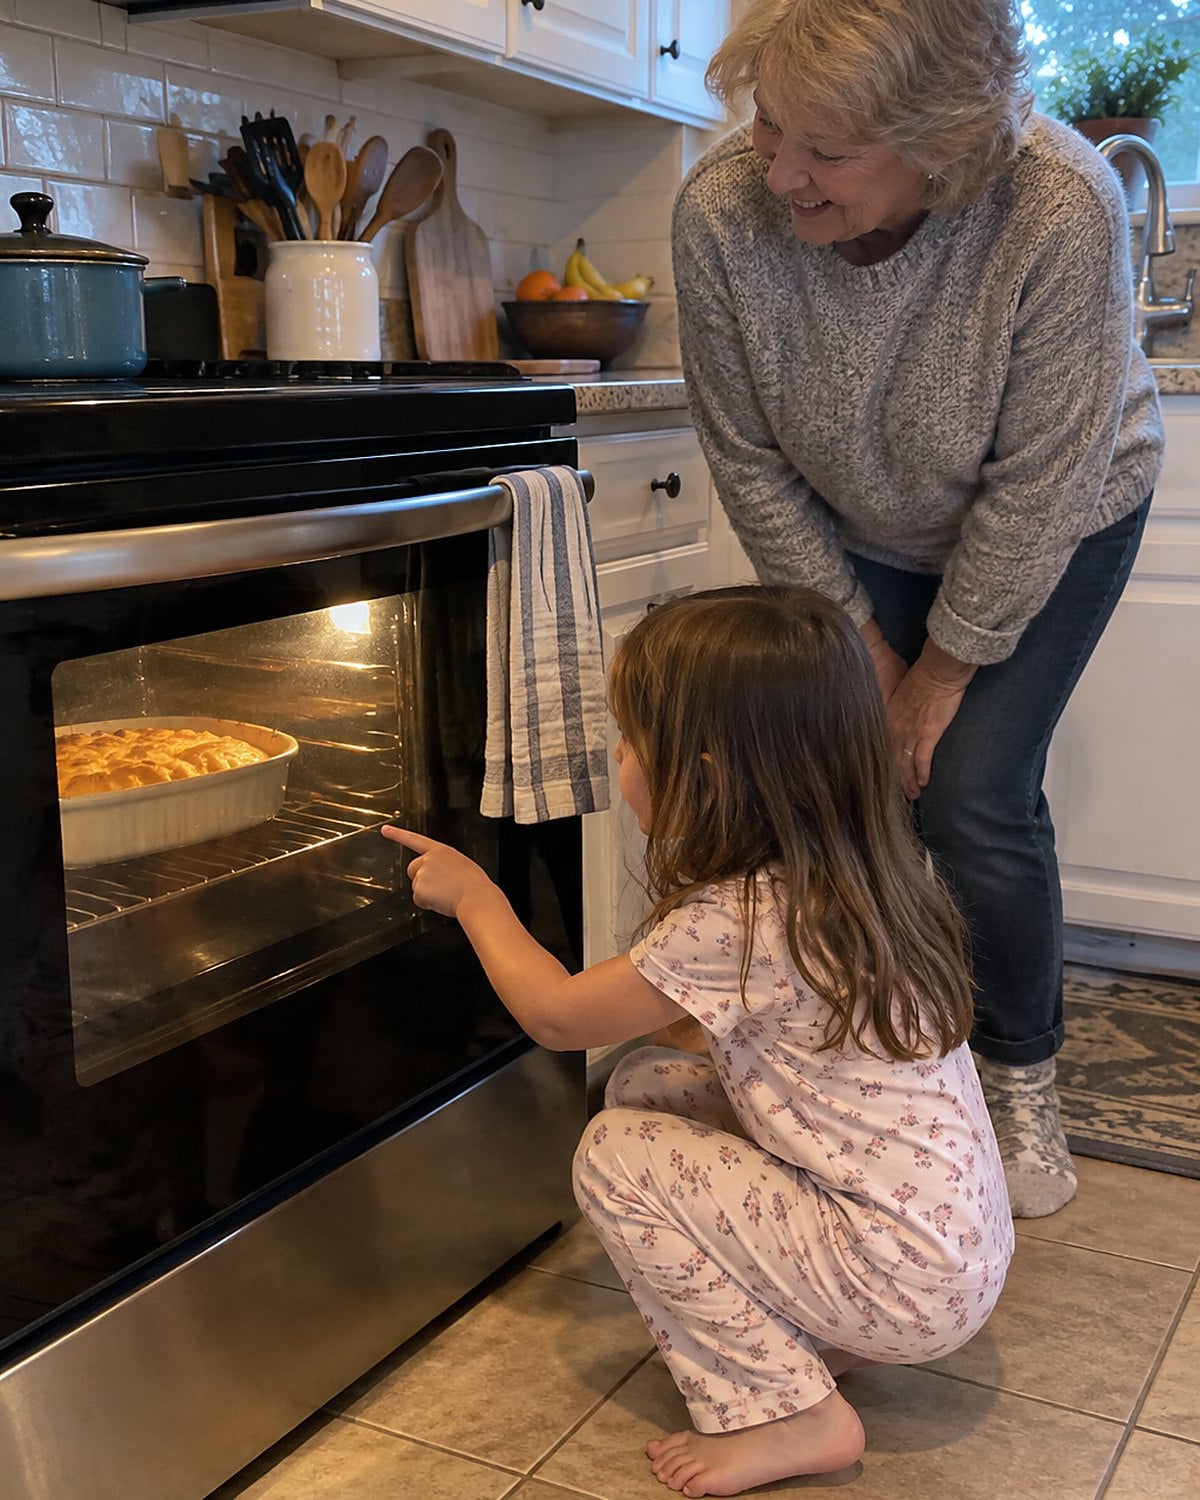
A little hand reaches for the oven handle because the rolls smell good. You remember doing the same thing. Now you’re watching the hand, the hot door, and a tray that still needs time.
Give your helper a job away from the heat. “Watch the timer and tell me when it rings” works better than a string of warnings. If you have a window, let them look through it with you. The glass still gets hot, so hands stay off the door.
Keep the oven handle your job. Set a clear place on the counter for the pan before you open the door, and ask your helper to stand back while you carry it. That gives the moment an order everyone understands.
There’s a practical reward: the first roll that’s cool enough to handle. Meanwhile, you keep control of the hot door without turning a family visit into a lecture.
#8 The Self-Cleaning Cycle Before Company
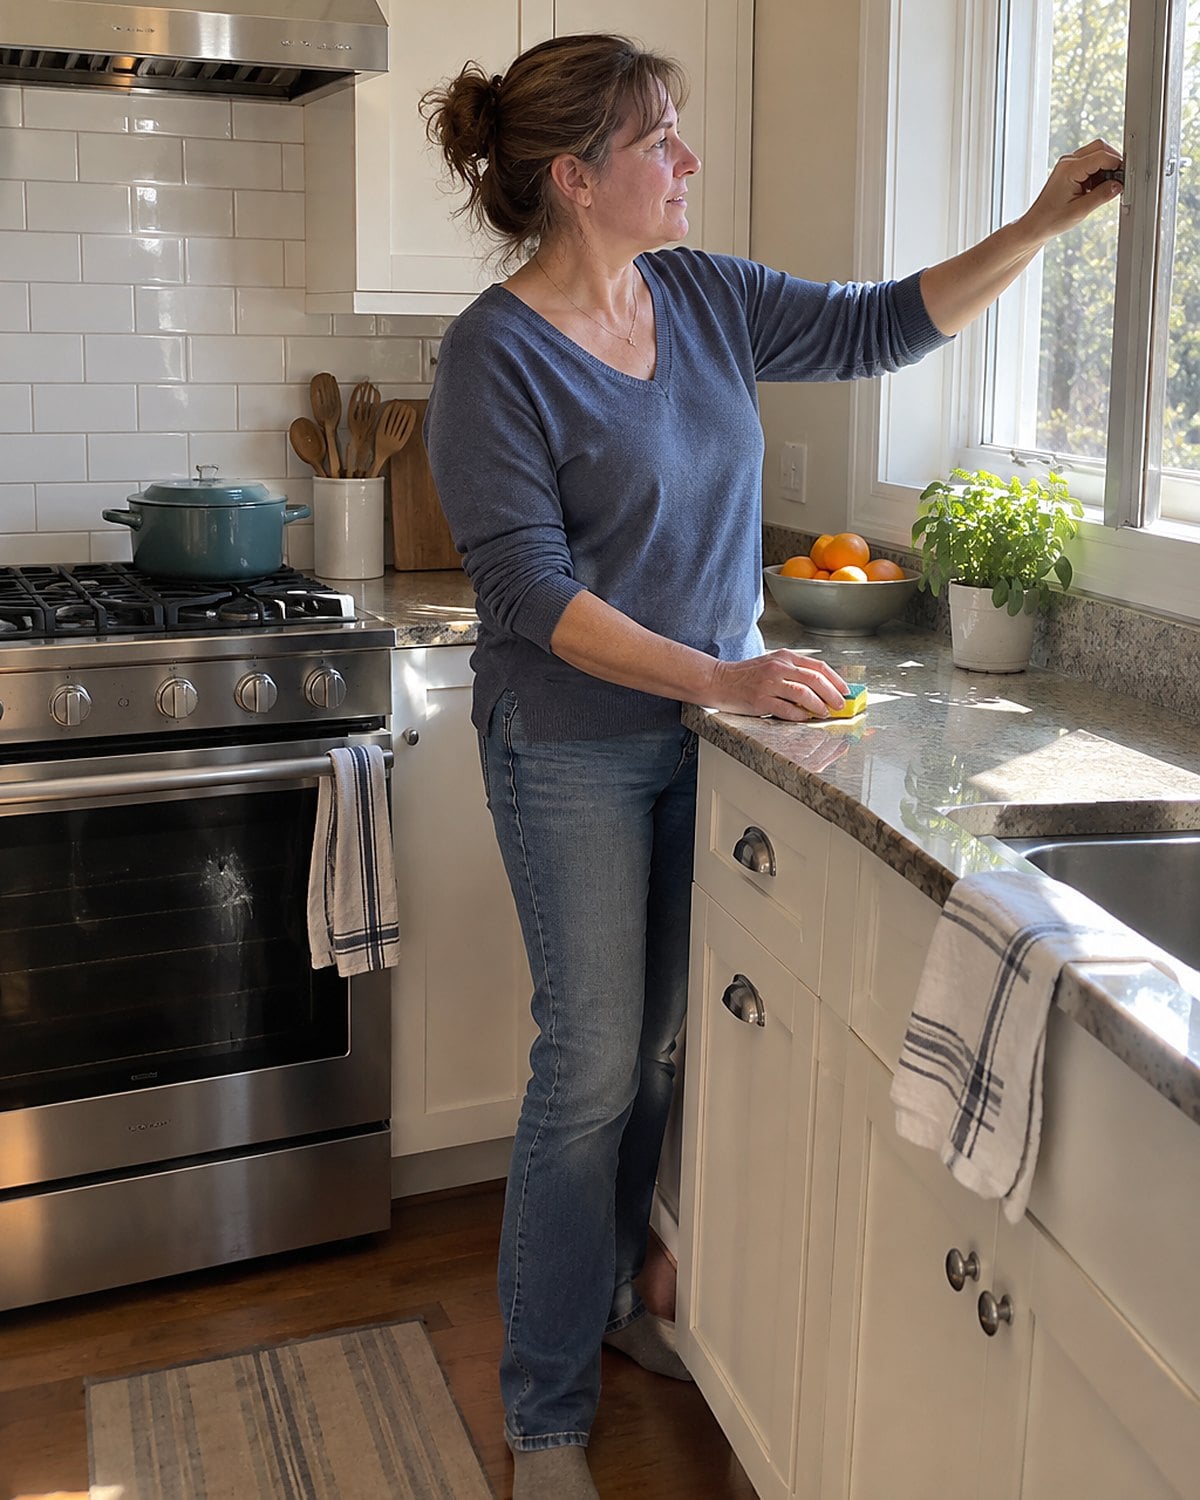
The oven smells sharp just as guests are due. If you ran a self-cleaning cycle before dinner, you’ve asked the appliance to reach far hotter temperatures than normal baking uses. Old spills burn away, and the kitchen notices.
Don’t start that cycle before you need the oven for a meal. Read your model’s manual, remove the items it says to remove, and ventilate the kitchen as instructed. If you have pet birds, check the appliance maker’s warnings before running the cycle; fumes from overheated cooking surfaces are dangerous to birds.
A spill doesn’t always call for self-cleaning. Once the oven is cool, wipe up what you can by hand. If smoke appears during ordinary cooking, turn the oven off and deal with the spill when it’s safe. Dinner can wait; a smoky kitchen isn’t a seasoning.
#7 The Foil Spread Across the Oven Floor
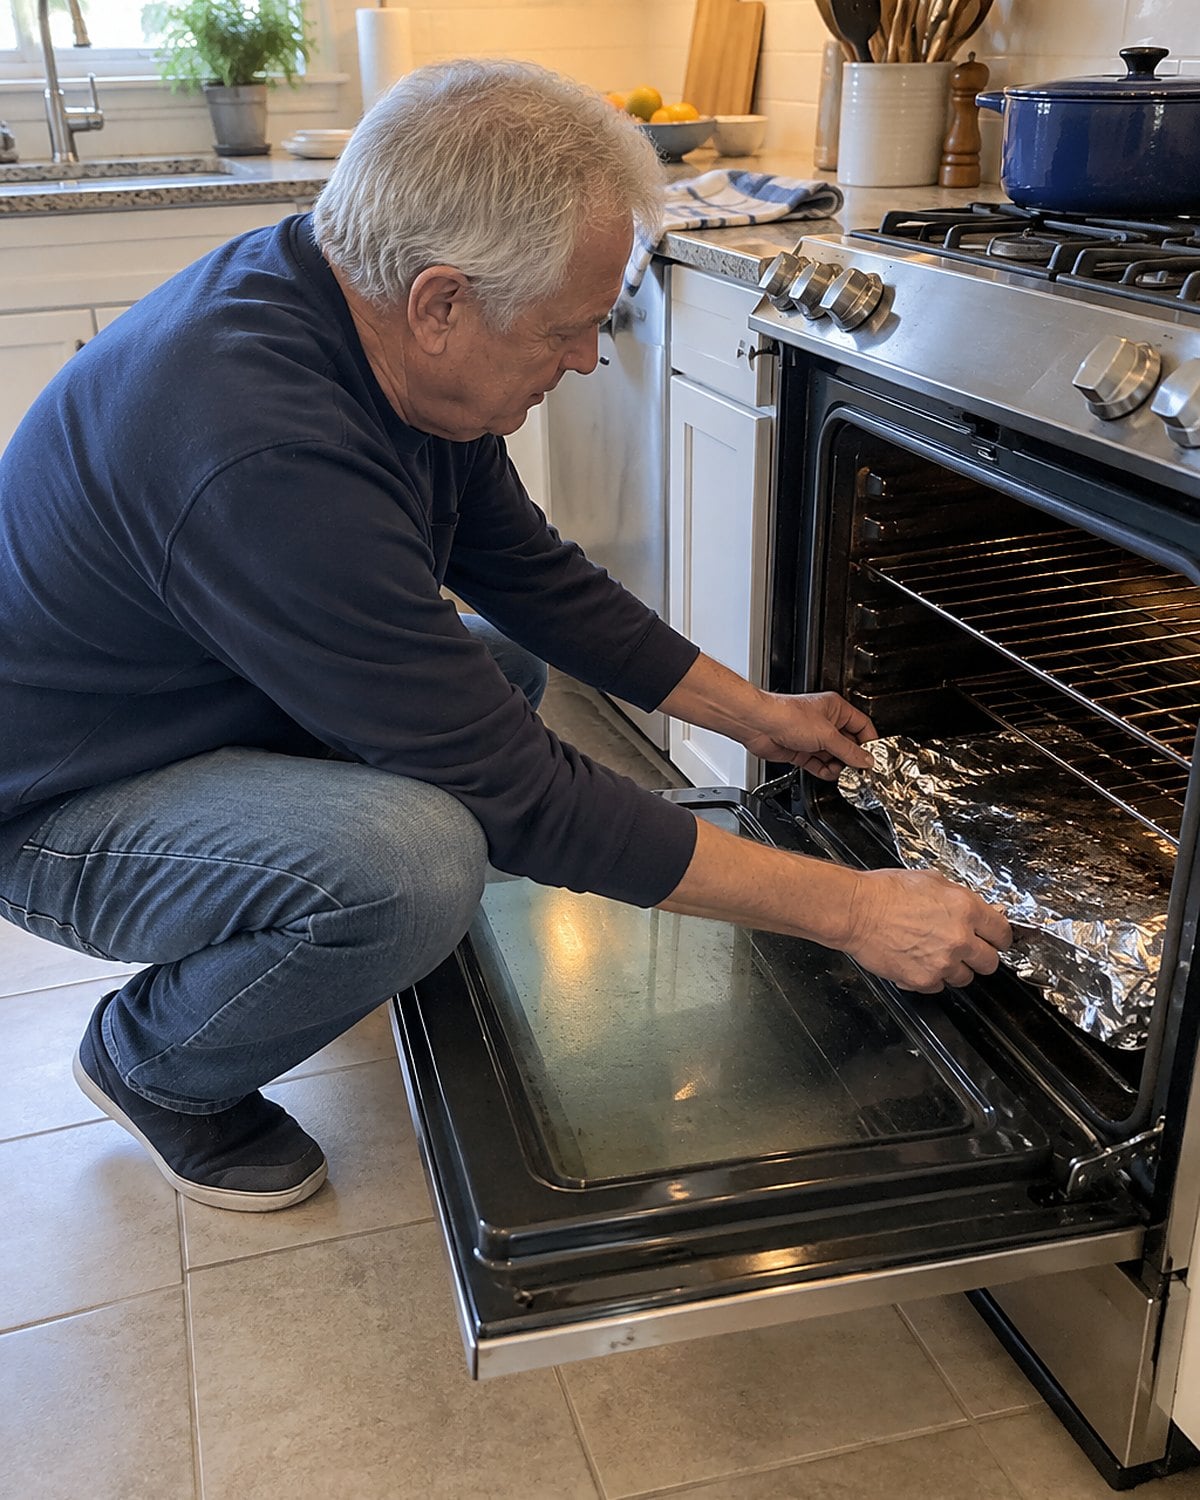
A sheet of foil on the oven floor looks like a tidy answer to pie drips. It blocks heat and airflow where the oven was built to use them. In some models, it damages the oven floor or interferes with a heating element.
Take it out. Your oven manual tells you where a drip-catching pan belongs. For a pie, set a sturdy sheet pan on a rack below it, leaving room for air to move. If you put the pie directly on a baking sheet, remember that you’ve changed the heat reaching its bottom crust.
Foil also causes a stranger mystery: food browns differently after you “protected” the oven. The recipe didn’t change. The space the heat travels through did.
If a spill has fused to the floor, wait until the oven is fully cool before cleaning it. Don’t scrape around a heating element with a metal tool. The goal is a clean oven that still works as designed, not a spotless floor at the cost of tomorrow’s bake.
#6 The Steam Behind the Oven Door
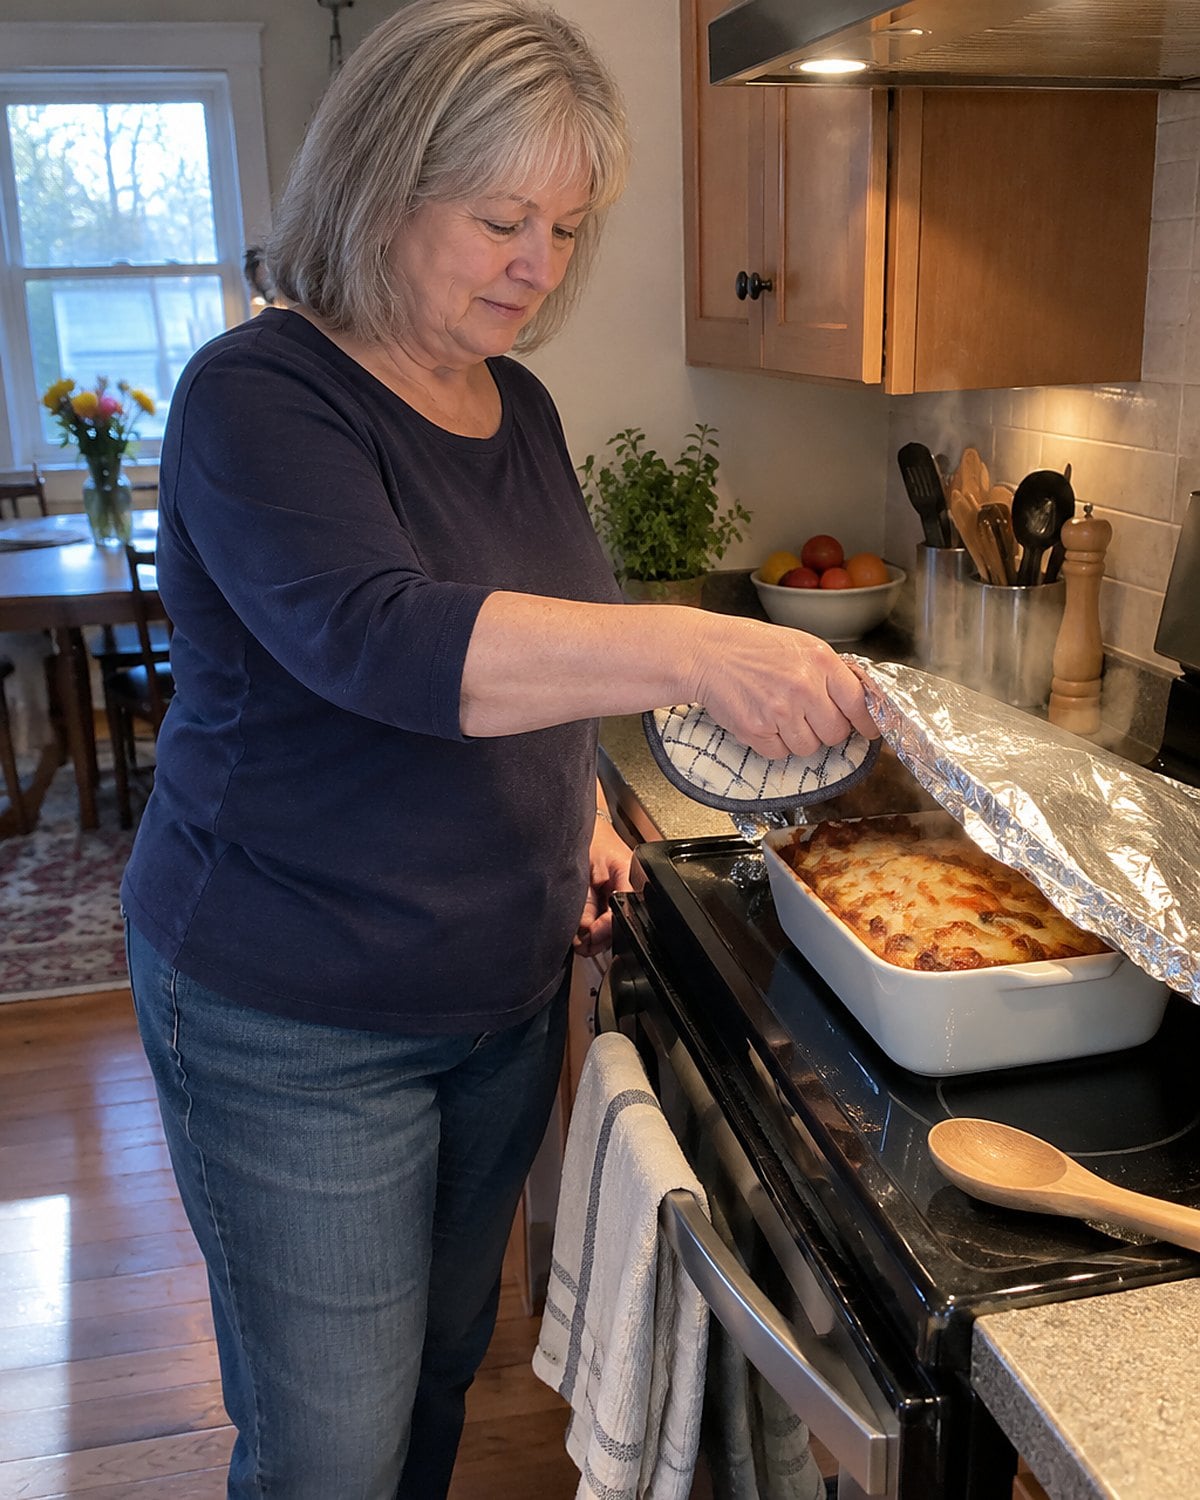
The dish is done. Your face is close to the door as you pull it open, and hot steam rolls out before your mitt reaches the pan. A covered dish sends a second burst when its foil or lid comes off.
Stand to the side and open the door first. Give the steam a path away from your face. Use dry oven mitts; damp fabric carries heat to your skin fast. Set a hot lid down with its underside facing away from the edge of the counter.
For foil, lift the far edge first so steam escapes away from your hands. None of this slows dinner. It’s a small change in the order you move, and it makes the trip from oven to counter less exciting.
#5 The Thermometer Touching the Bone
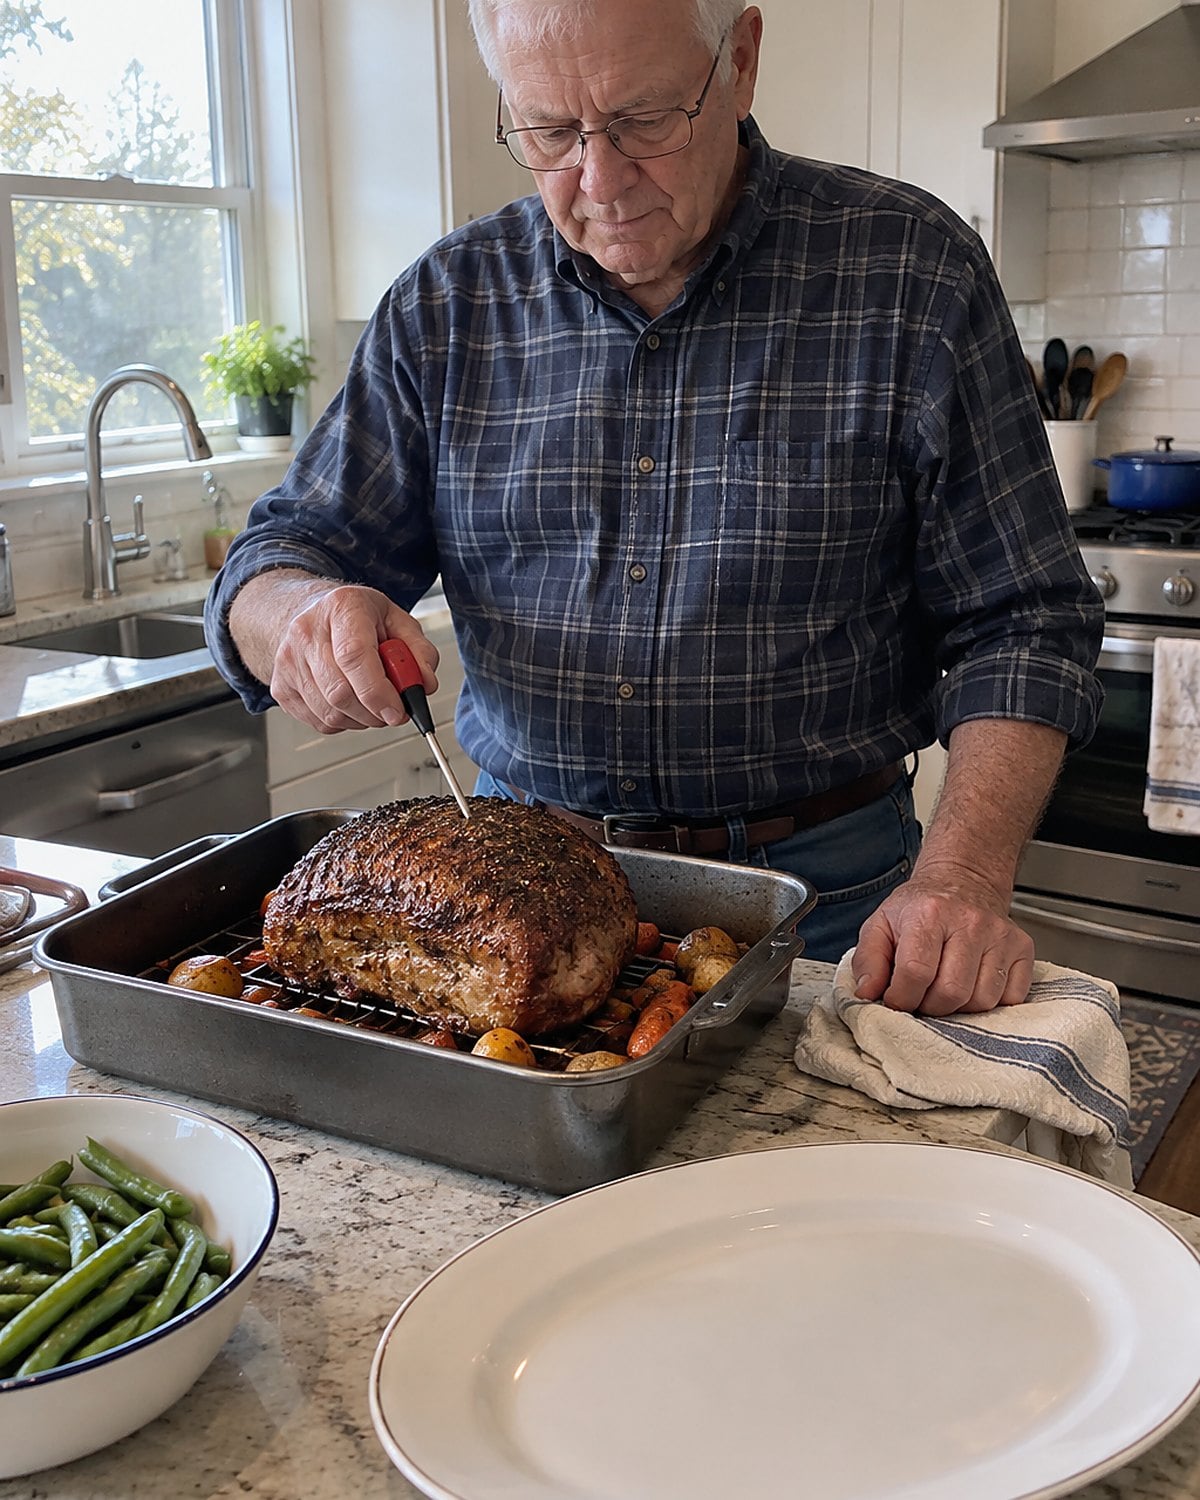
You check a roast and get a number that doesn’t match what you see. Before changing the oven temperature, look at where the probe tip landed. Bone, a pocket of fat, or the metal pan gives you a reading that doesn’t describe the meat’s thickest part.
Push the tip into the thickest part, away from bone. Check another spot if the roast has an uneven shape. For poultry, the USDA’s safe-temperature chart sets 165°F. For ground meat, it sets 160°F. For whole cuts of beef and pork, it lists 145°F followed by a 3-minute rest.
A thermometer is most useful when you treat its reading as a question about one precise spot. The back of a roast can finish before the front if heat reaches them differently. Move the probe, rather than deciding the oven has lied.
Once you know the meat’s temperature, you can deal with its color. A roast that has reached its safe temperature but needs more browning calls for a short finish, watched closely, not a guess about whether its center is done.
#4 The Preheat Beep Before Baking
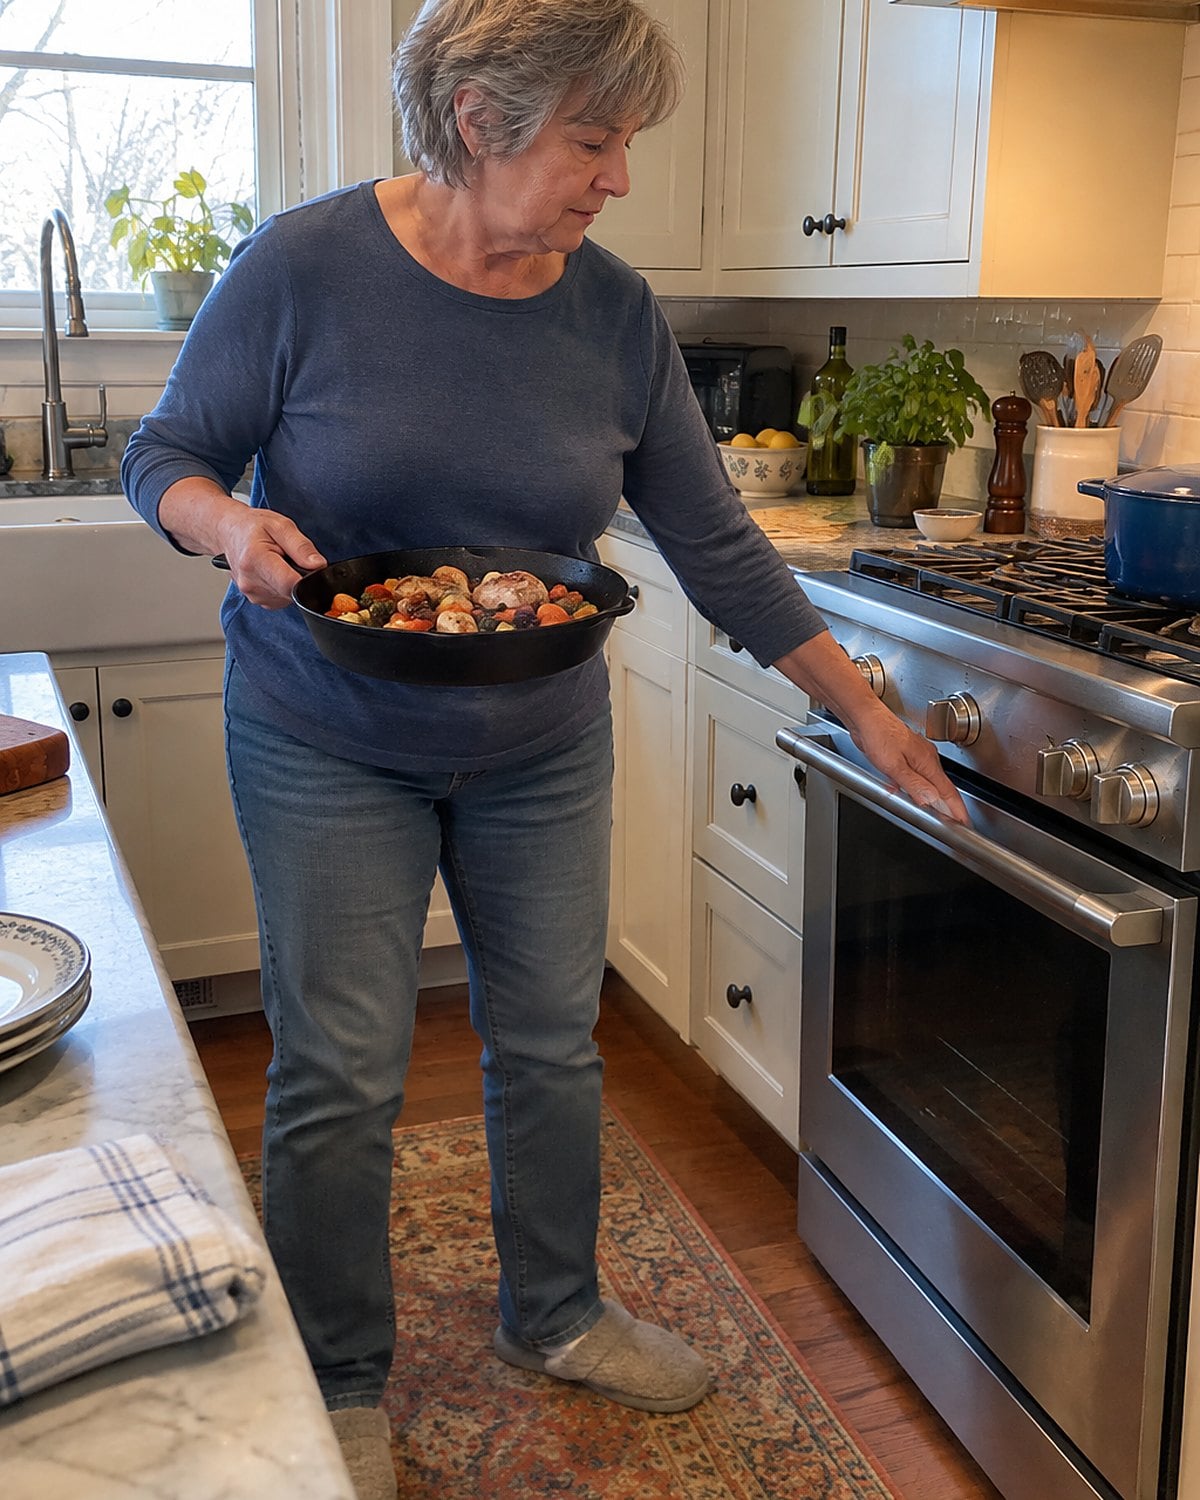
The oven beeps, and you slide in the bread. Then its bottom comes out pale. The beep tells you the oven’s sensor has reached its target. It doesn’t tell you every rack, wall, and heavy baking surface has caught up.
For cookies on an ordinary sheet, the beep gives you a sensible moment to begin. For a pizza stone or a heavy cast-iron pan, allow extra preheating time so the surface itself gets hot. Follow the pan or stone maker’s directions.
Notice what happens after you load the oven, too. A chilled, heavy dish takes heat from its surroundings. That’s another reason a deep casserole behaves differently from a tray of cookies.
You don’t need to distrust every beep. Just ask what needs preheating: the air, or the thing your food will touch.
#3 The Oven That Swings Around Its Setting
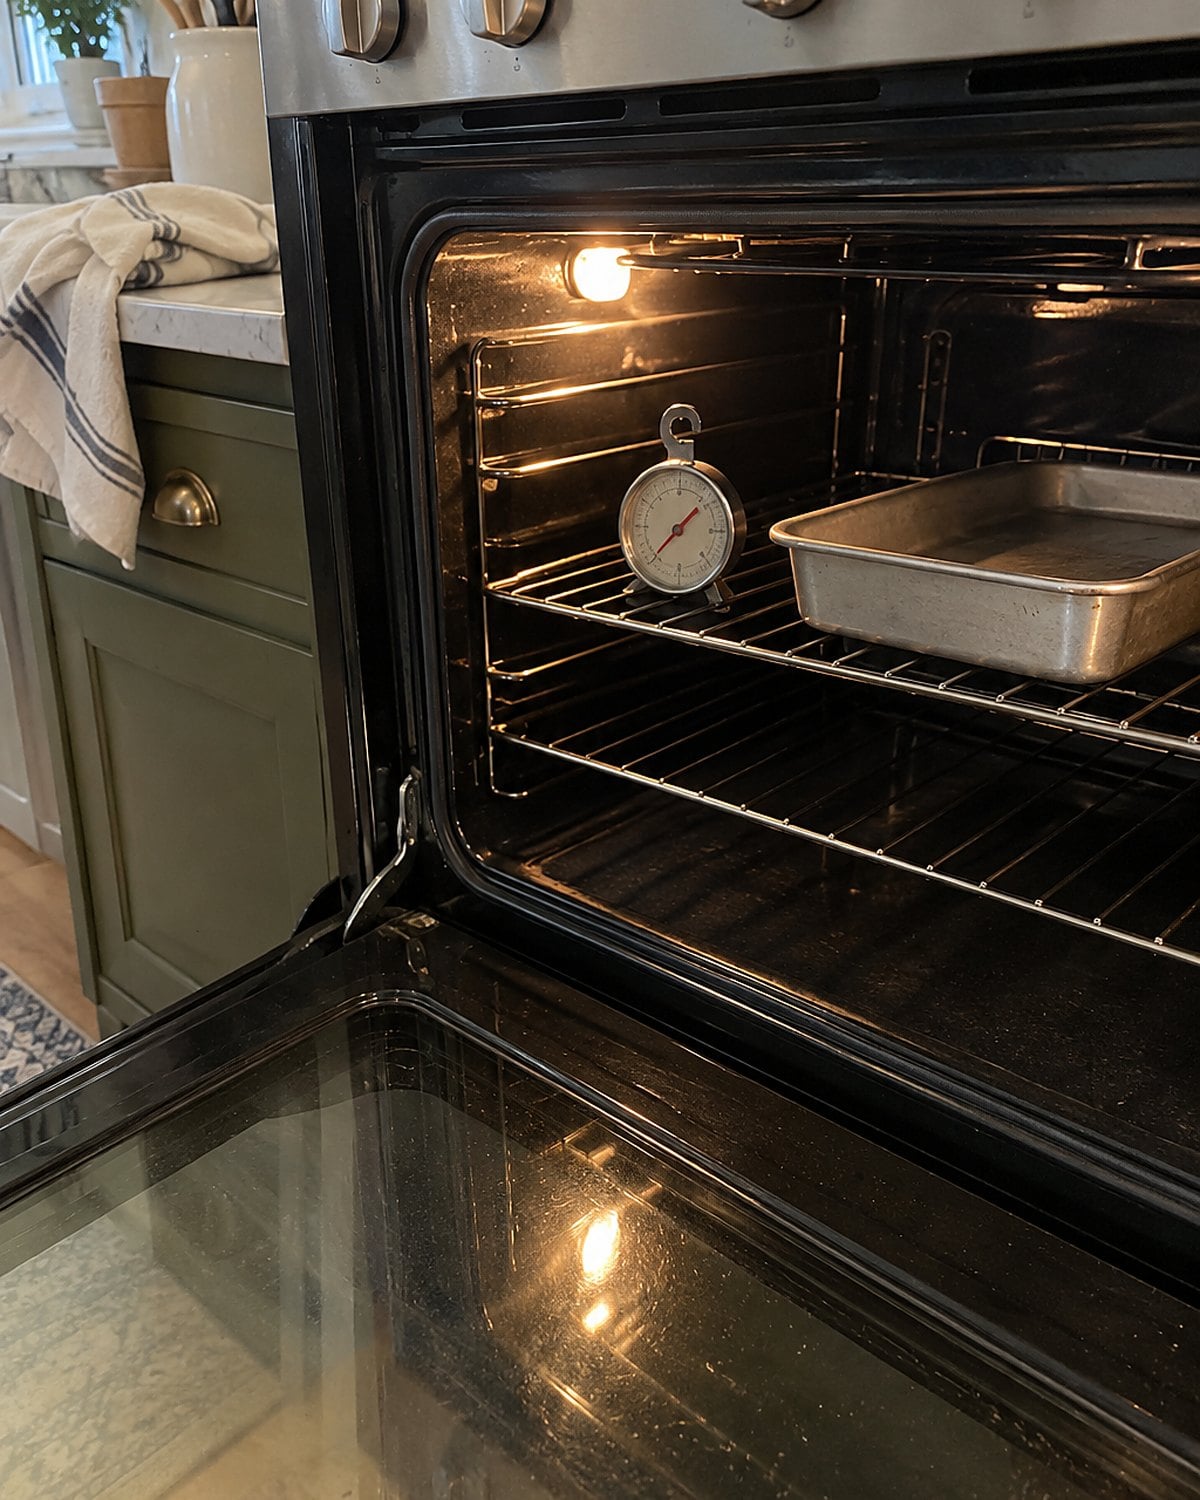
An oven set to 350°F doesn’t hold its air at one unchanging number. Its heating element cycles on and off. A separate thermometer rises and falls as the oven works, which looks alarming if you expect a fixed reading.
Watch for a pattern instead of reacting to one glance. If the oven thermometer moves above and below the setting, then returns toward it, you’re seeing the cycle. A pan placed close to a heating element feels more of that cycle than one centered in the oven.
Food tells you about the result over the whole bake. Repeated dark bottoms with pale tops point toward a rack or pan problem. Repeatedly slow baking across different dishes gives you a reason to test the oven’s temperature more carefully.
Don’t turn the dial up each time you spot a low reading. That chases the cycle and makes the next high point hotter. Give the oven time to settle, then compare several readings and several bakes.
#2 The Oven Thermometer on the Middle Rack
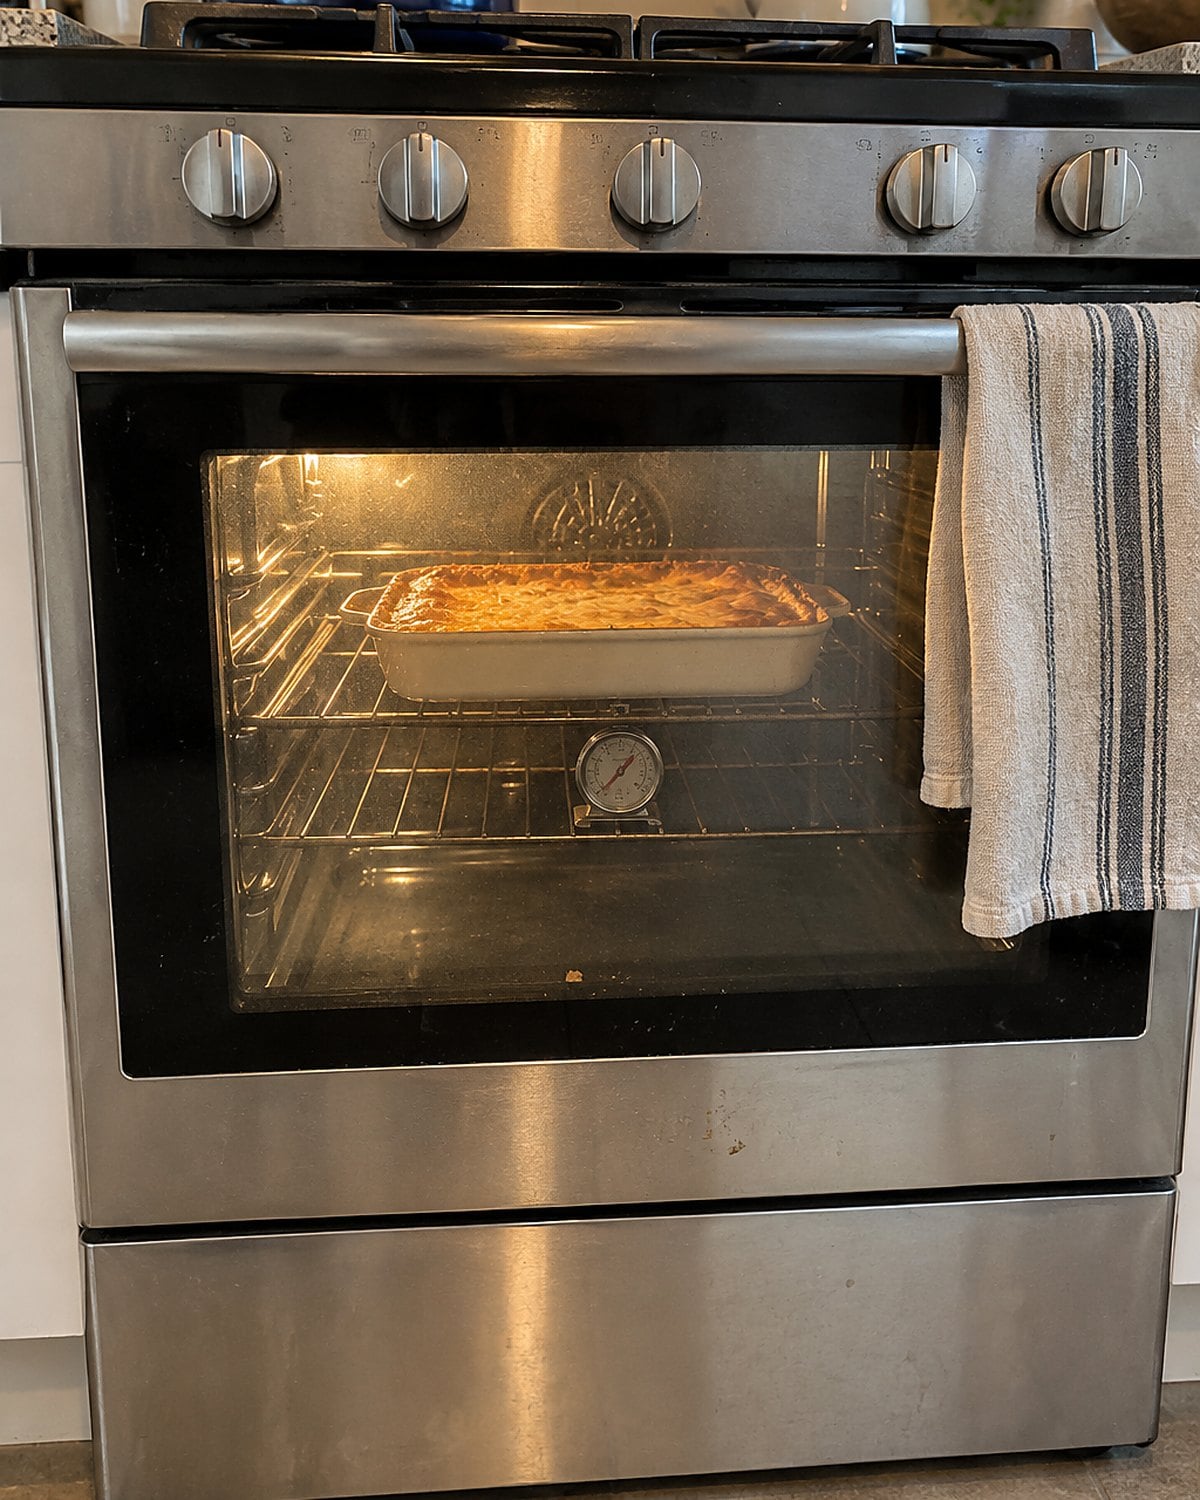
A small oven thermometer costs less trouble than rewriting every family recipe. Set it near the center of the middle rack, where you bake most often. Preheat the empty oven to a temperature you use regularly, such as 350°F.
Read it through the window if the numbers are visible. If you need to open the door, be quick and close it again. Check more than once, allowing time between readings. The heating cycle matters, so one number doesn’t settle the question.
If readings stay far from the setting, consult your oven manual for calibration instructions or arrange service. Don’t adjust a gas appliance beyond the steps the manufacturer gives you.
Keep that thermometer handy. It helps separate “this recipe needed longer” from “this oven was running cool,” which is especially useful when a borrowed dish comes with a handwritten baking time.
#1 The Back-Left Pan Map
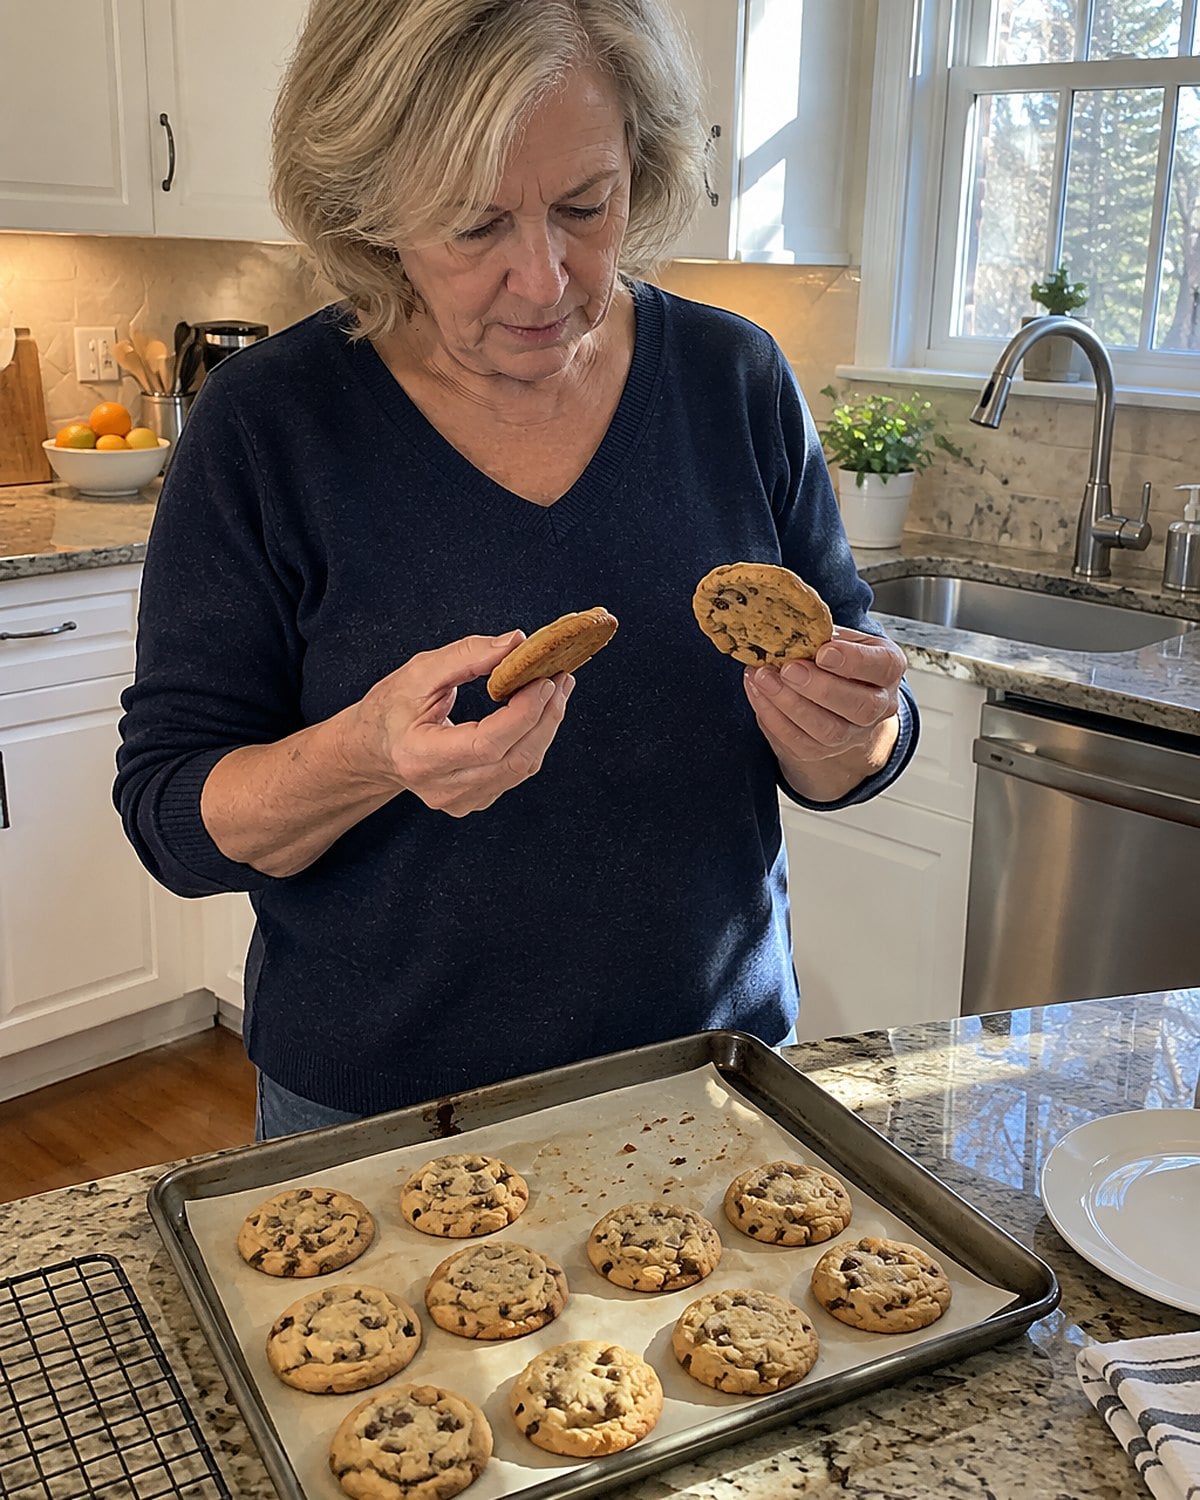
You know the back left corner keeps winning the race. Here’s how to find out why, without sacrificing another holiday dish.
Start with one familiar food, such as a batch of cookies. Use the same sheet, liner, rack, oven setting, and amount of dough you normally use.
Place the cookies with space between them. Before rotating the pan, look through the window and note which ones color first. Finish baking, then put the sheet on the counter in the same orientation it had in the oven.
Now check the bottoms. Is the dark patch confined to the back left? Does a whole back row show more color? A corner points you toward airflow, oven-wall heat, or a pan that sits unevenly. A full row points more strongly toward the pan’s position in the oven.
On another day, repeat the batch with the pan turned around from the start. Keep everything else the same. If the dark cookies follow a particular corner of the pan, inspect that sheet. If they stay at the back left of the oven, you’ve mapped the place to work around.
That map is worth more than a dial turned at random. Center the pan, give it room, and rotate it halfway through baking when the food holds its shape. You already noticed the clue. Now you know what to do with it.
Keep reading
 27 Things Home Cooks Over 60 Do Without Thinking That Chefs Would Never Do
See all 27 →
More you’ll remember
 27 Kitchen Habits That Started as a Shortcut and Became a Mistake
 24 Things a Good Thermometer Would Have Told You Years Ago
 26 Ways Your Knives Are Making Dinner Harder Than It Has to Be
The bottom line
The oven leaves evidence on the food: a pale bottom, a burned edge, a cold center. Read the pattern before changing the temperature. A different pan, rack, or amount of space can settle the problem.
The well-prepared version of you has a thermometer in the drawer, a pan that sits flat, and one batch of cookies to test that back corner. Which mark keeps appearing in your kitchen?
Leave a Reply