

The knife is already in your hand. Dinner smells done, the plates are out, and that thickest piece of chicken is still making you suspicious. So you cut straight through it and watch the juices run across the board.
A thermometer gives you a different answer: one from the center, before dinner loses its heat. It also catches trouble you can't see, from a warm refrigerator shelf to frying oil that's gone cold. The trick is knowing what the number means, and where to take it.
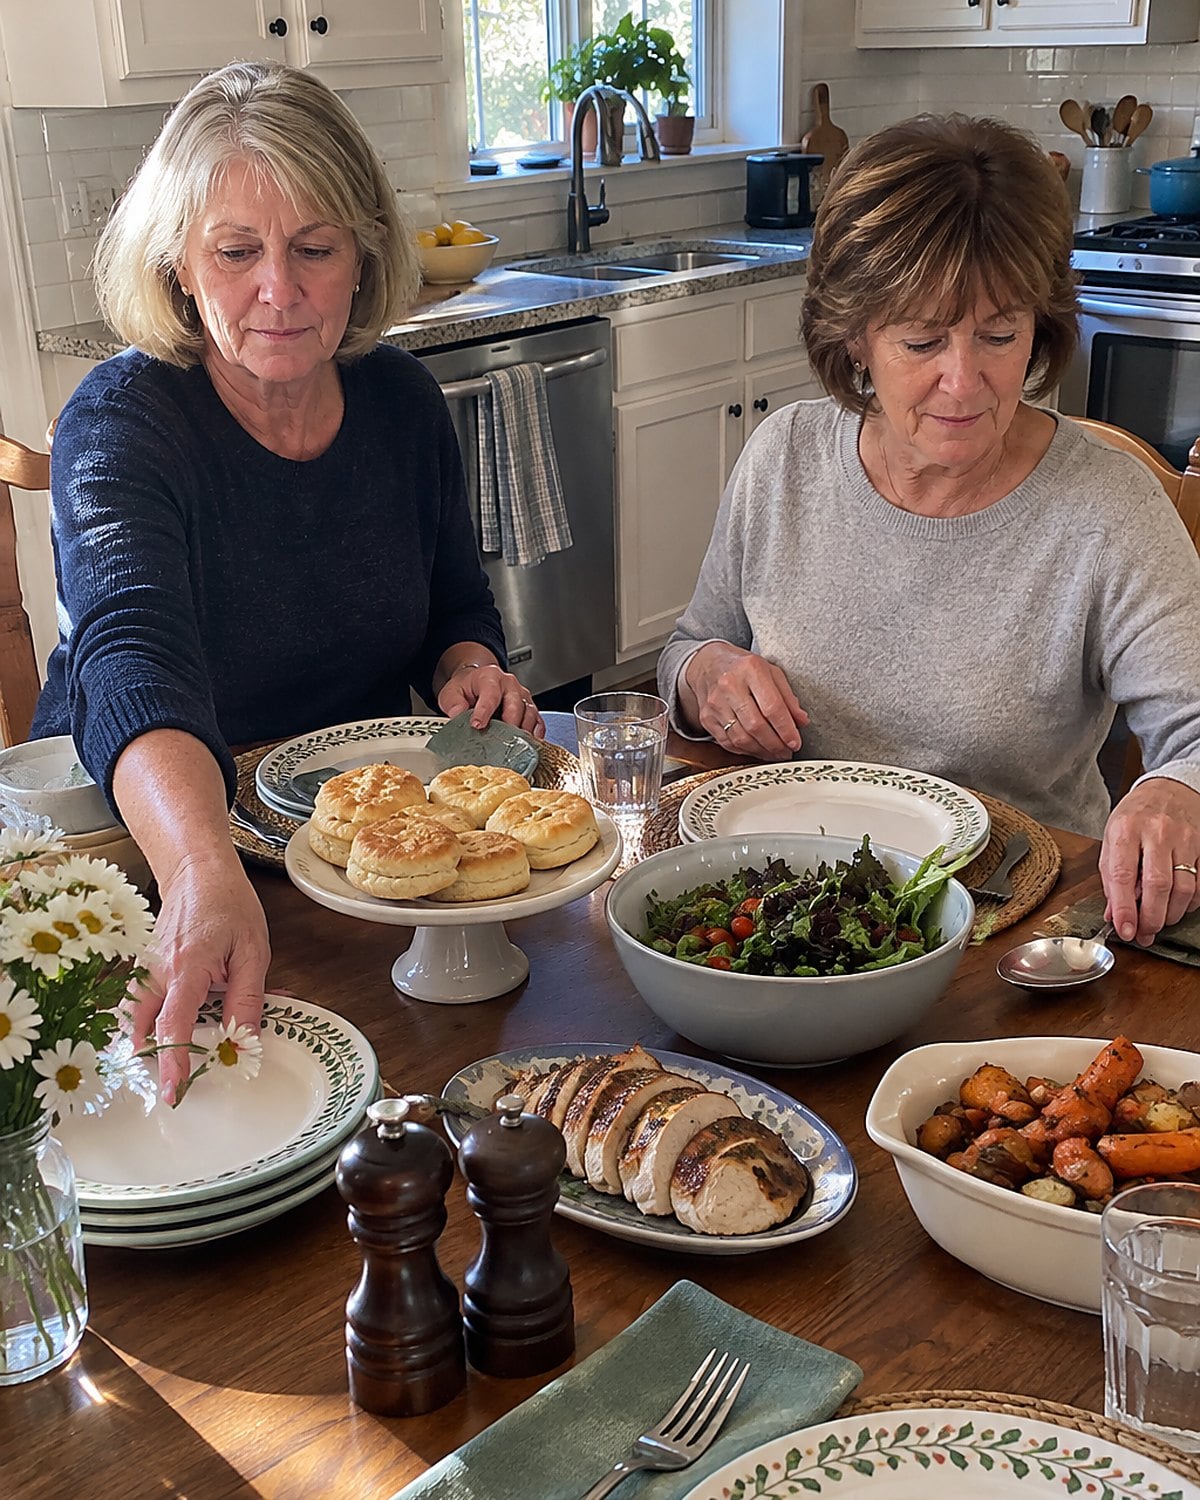
#24 The Chicken Breast Beside the Stove
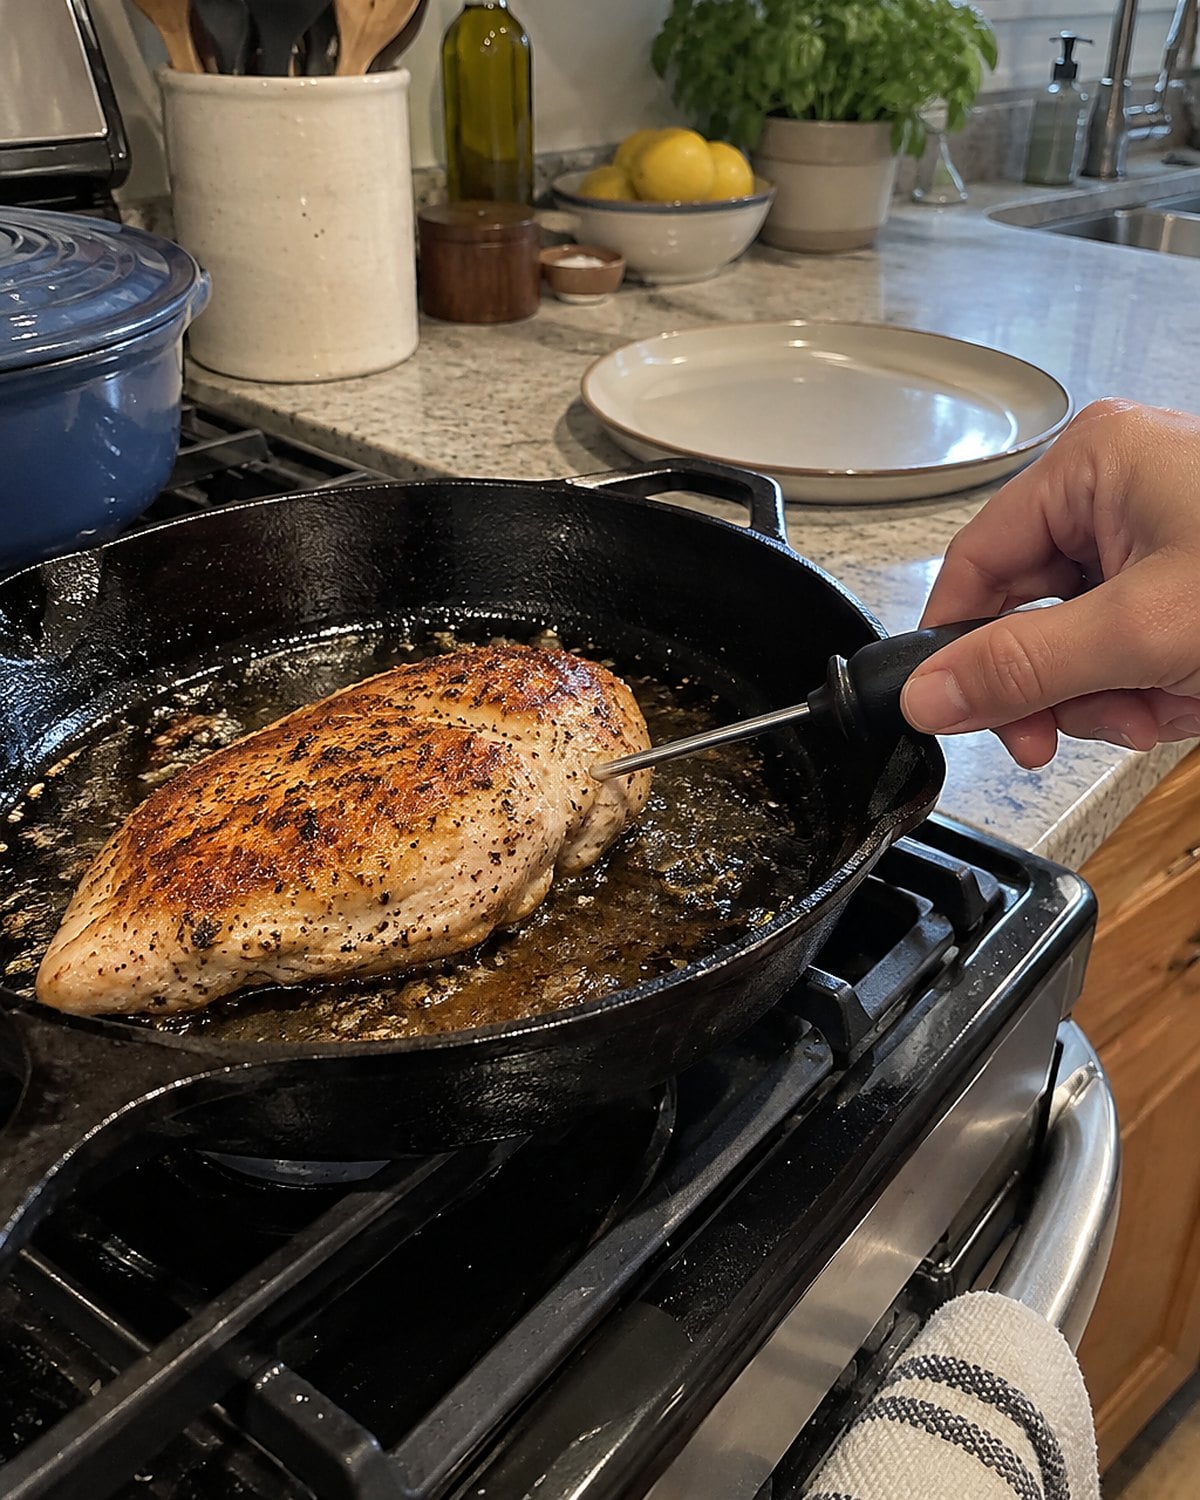
The outside looks ready long before the center tells its story. A skillet browns the surface first, especially when the breast has a thick end and a thin tail. Cutting into the thick end answers the question, but the juices wind up on the board.
Push the probe into the thickest part from the side. Aim for the center, not the pan beneath it. The USDA's safe temperature chart puts poultry at 165°F. Check before you move the chicken to the plate.
A pale interior alone won't settle it. Neither will clear juices. If the reading is low, put the breast back over the heat and check again. You get to keep that first cut for dinner, where it belongs.
Try it: 31 Skillet Chicken Recipes for Easy One Pan Dinners
#23 The Ground Beef Turning Brown
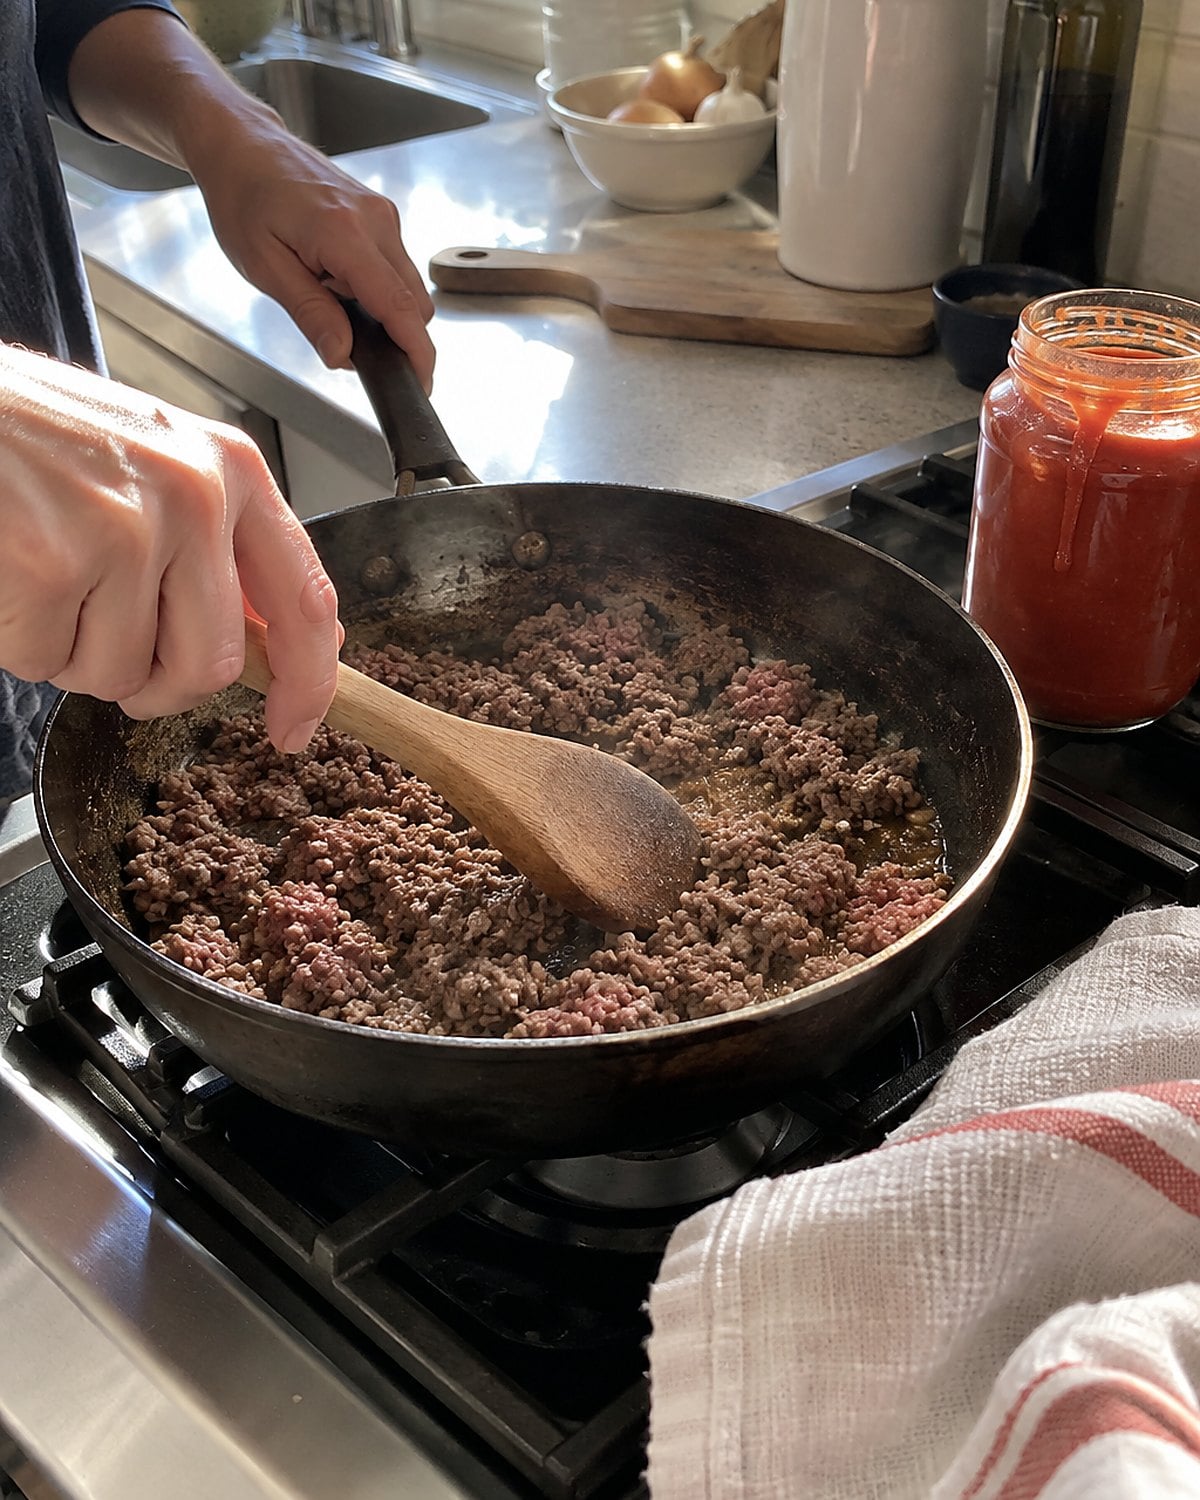
Have you ever broken up a skillet of ground beef until every piece looked brown, then wondered about the clump you missed? Color gives a poor answer. Browning starts where meat touches the hot pan; the center of a larger piece heats later.
Ground beef needs 160°F, according to the USDA. That matters most when the meat stays in a thick shape, such as a burger or a meatball. For crumbles, break the meat into small, even pieces as it cooks. Check a larger piece before you stir it into sauce.
Don't drag the probe across the pan bottom and call that the beef's temperature. Lift a piece with a spoon or steady it against the side of the skillet. Then put the tip into the meat.
That last check takes less work than fishing half-cooked chunks out of spaghetti sauce.
#22 The Pork Chop With the Dark Crust
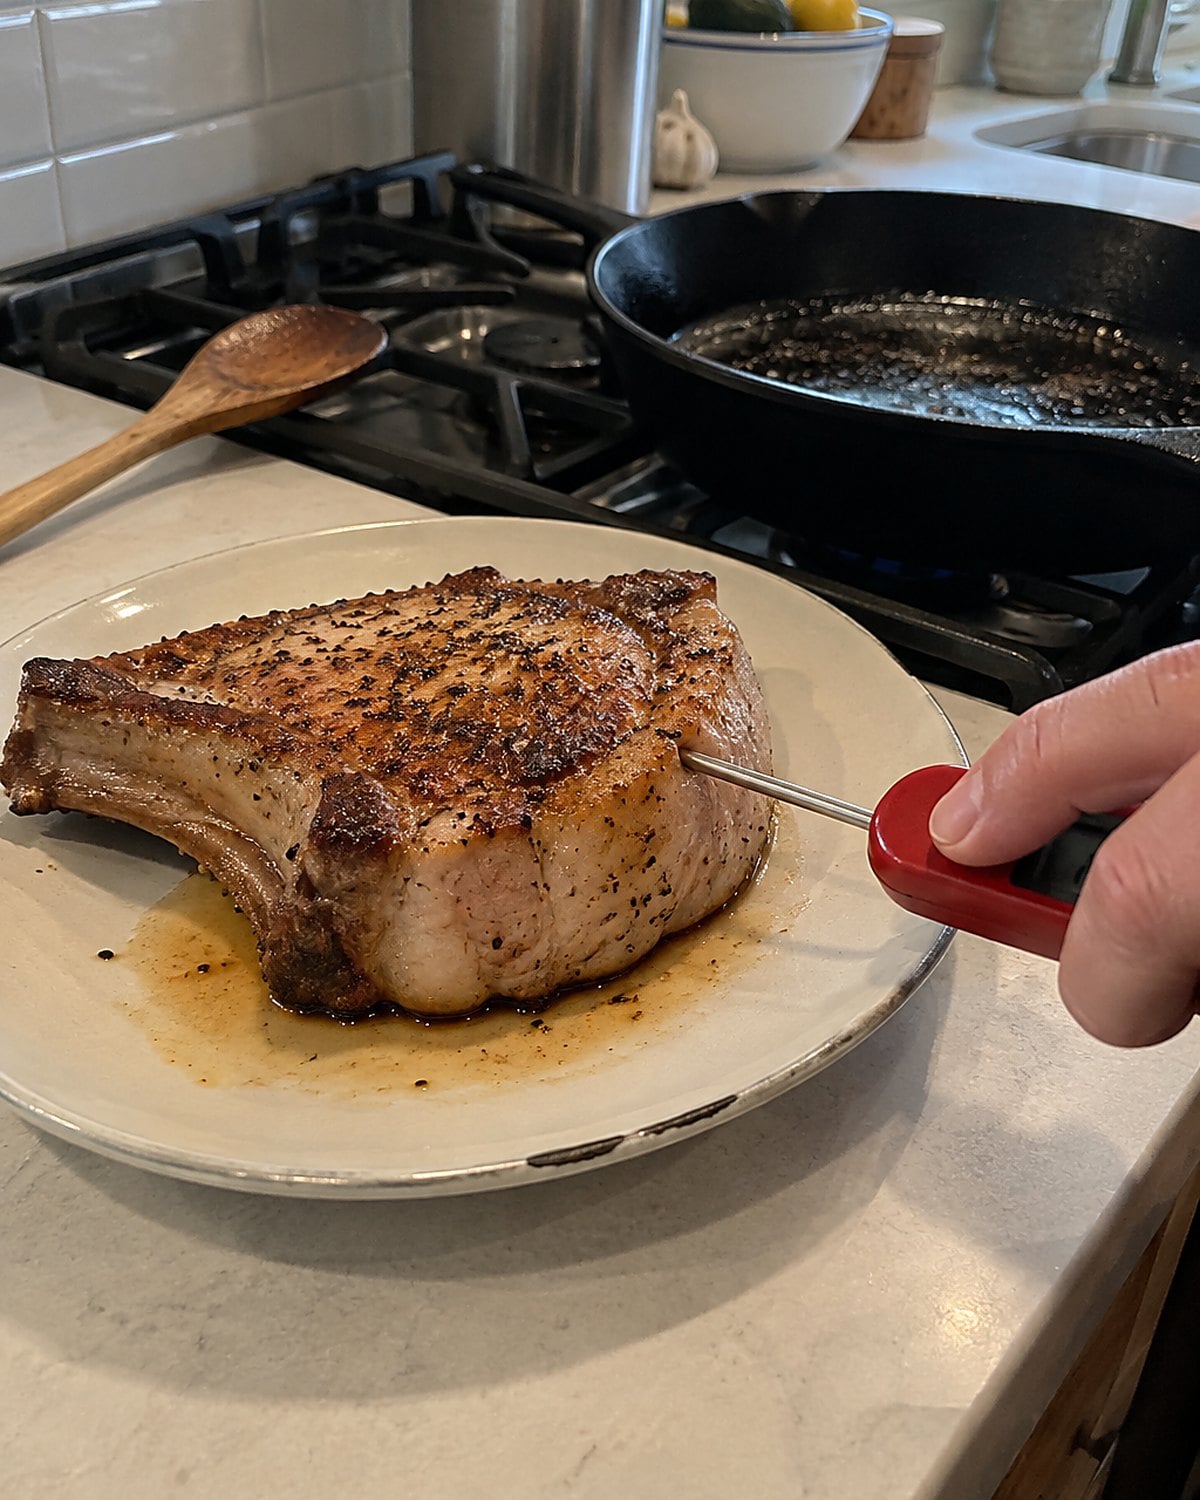
The cast-iron pan does a beautiful job on the outside of a thick pork chop. Then comes the old question: is the middle done, or is the crust getting too dark while you wait?
The USDA sets whole cuts of pork at 145°F, followed by a 3-minute rest. Slide the probe into the thickest part from the side, keeping it clear of the bone. If the chop has reached that mark, take it out of the pan and give it its rest on a plate.
Don't use the color of the center as a verdict. A safely cooked chop can still look pink. That might feel odd if you grew up cooking pork until every trace of pink disappeared. The number gives you a better place to stop.
If the crust is done and the center isn't, lower the heat. A lid helps the middle catch up without asking the bottom of the chop to take another hard sear.
Try it: Instant Pot Air Fryer Pork Chops With Maple Mustard Glaze (No Breading)
#21 The Steak With One Thin End
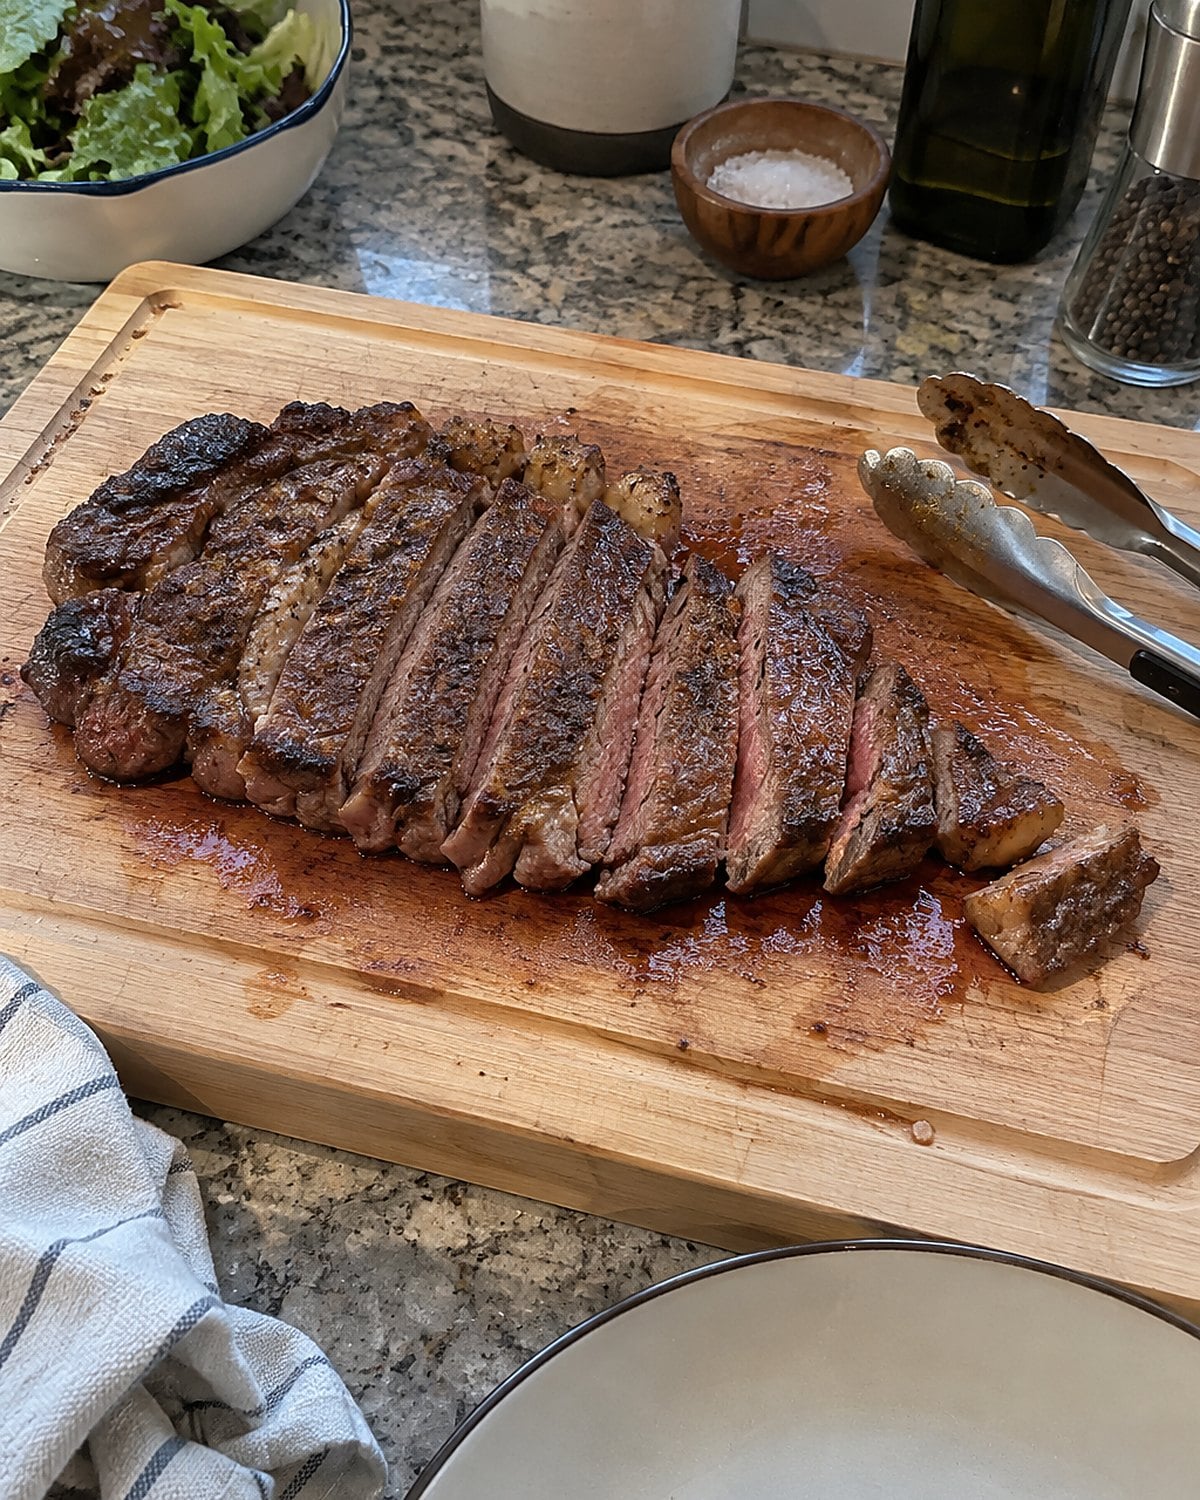
Two spots on the same steak can give you different dinners. The thin end sits closer to the pan's heat from both sides. The thick end holds on longer.
Take the reading in the thickest part, with the probe entering from the side. Don't let its tip emerge through the other side. If you only measure the thin end, you learn what that end did, not what you'll find when you cut the steak for the table.
The USDA sets 145°F with a 3-minute rest for whole cuts of beef. A thermometer also tells you when the thin end needs to leave the hottest part of the pan while the thick end finishes. Turn the steak so the heat goes where dinner still needs it.
#20 The Meatloaf Under the Ketchup Glaze

The ketchup on top bubbles. The edges pull away from the loaf pan. Somebody asks if dinner's ready.
None of those signs reaches the middle.
For a meatloaf made with ground beef, the center needs 160°F. If the mixture includes ground poultry, use the poultry mark of 165°F. Push the probe down into the thickest part, stopping in the center rather than touching the loaf pan. Test another central spot if the loaf is uneven.
That matters when you change pans. A broad, shallow loaf and a tall, narrow one won't heat through at the same pace, even with the same mixture. A glossy glaze tells you what happened on top; it doesn't tell you what happened beneath it.
Take the loaf out when it reaches the right temperature. Then let it stand before slicing, so the pieces hold together better. This is the supper where a single clean hole beats that wide exploratory cut right down the middle.
Try it: Instant Pot Meatloaf With Barbecue Bacon
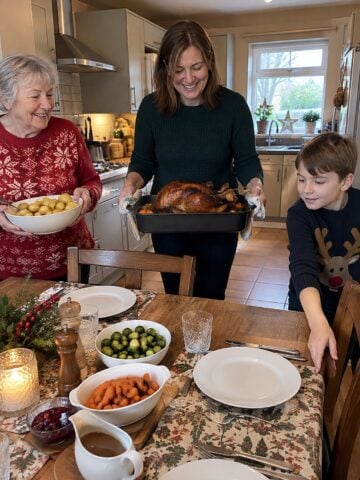
#19 The Turkey Thigh Against the Bone
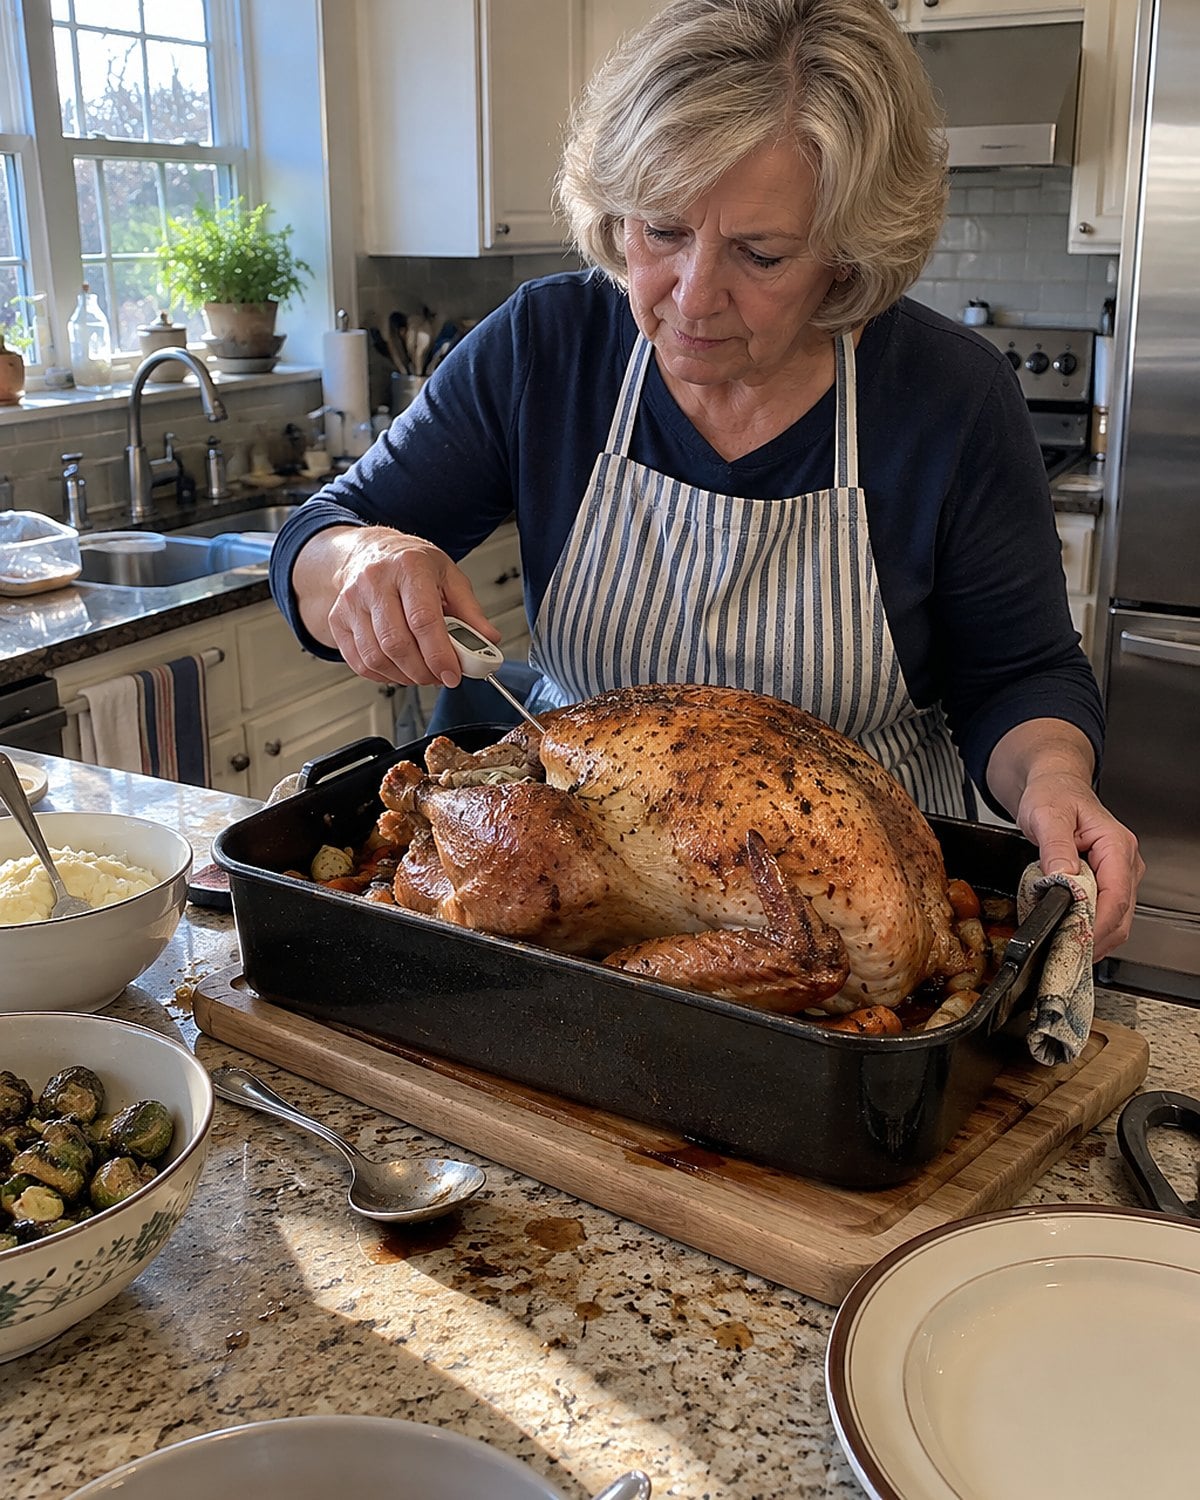
A holiday bird has several thick places, and the breast isn't the only one worth checking. The thigh sits close to bone and deep inside the bird. A probe tip pressed against bone won't give you the meat's answer.
Insert it into the thickest part of the thigh without touching bone. Check the thickest part of the breast, too. The USDA calls for 165°F in both places. If there's stuffing inside the bird, the center of the stuffing must also reach 165°F.
Keep the probe still long enough for the reading to settle. Then shift to a new spot rather than turning the first hole into a tunnel.
You don't need to carve the thigh off to investigate it. That's welcome news when the platter is waiting and someone has already carried the gravy to the table.
#18 The Fish Fillet That Flakes Early
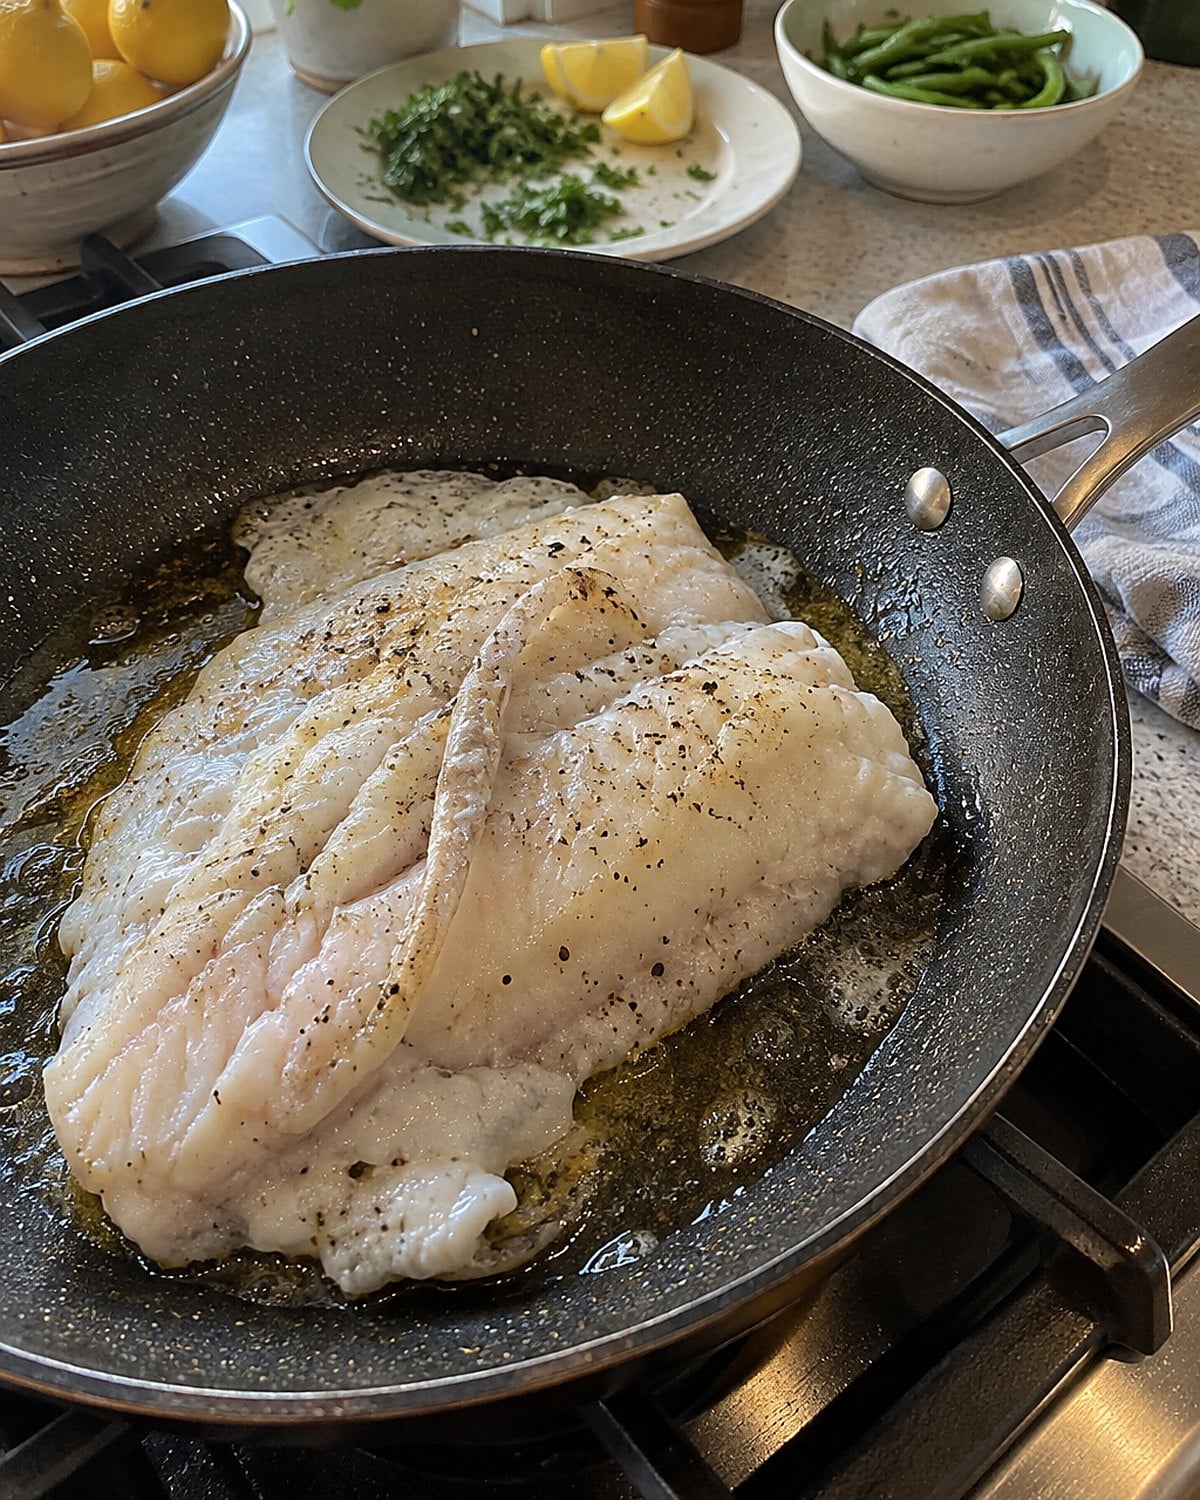
The thin tail flakes when you nudge it. The thick center still holds together. Which part are you about to serve?
The FDA's fish cooking guidance says to cook fish to 145°F, or until the flesh is opaque and separates easily with a fork. Test the thick center from the side, away from the pan. A flake from the tail answers a different question.
As the fillet cooks, its proteins change and the flesh separates. That visible change reaches thin areas first. Repeatedly lifting the center with a fork breaks the portion you wanted to put on a plate.
Fold a thin tail over itself before it goes into the pan, or lift it onto the thicker portion as it finishes. Keep the probe in the thick part long enough for the display to settle.
You'll know why the tail looked done early, and dinner stands a better chance of arriving in the pieces you meant to serve.
Try it: Flaky & Crispy Cod In The Air Fryer
#17 The Casserole Back From the Fridge
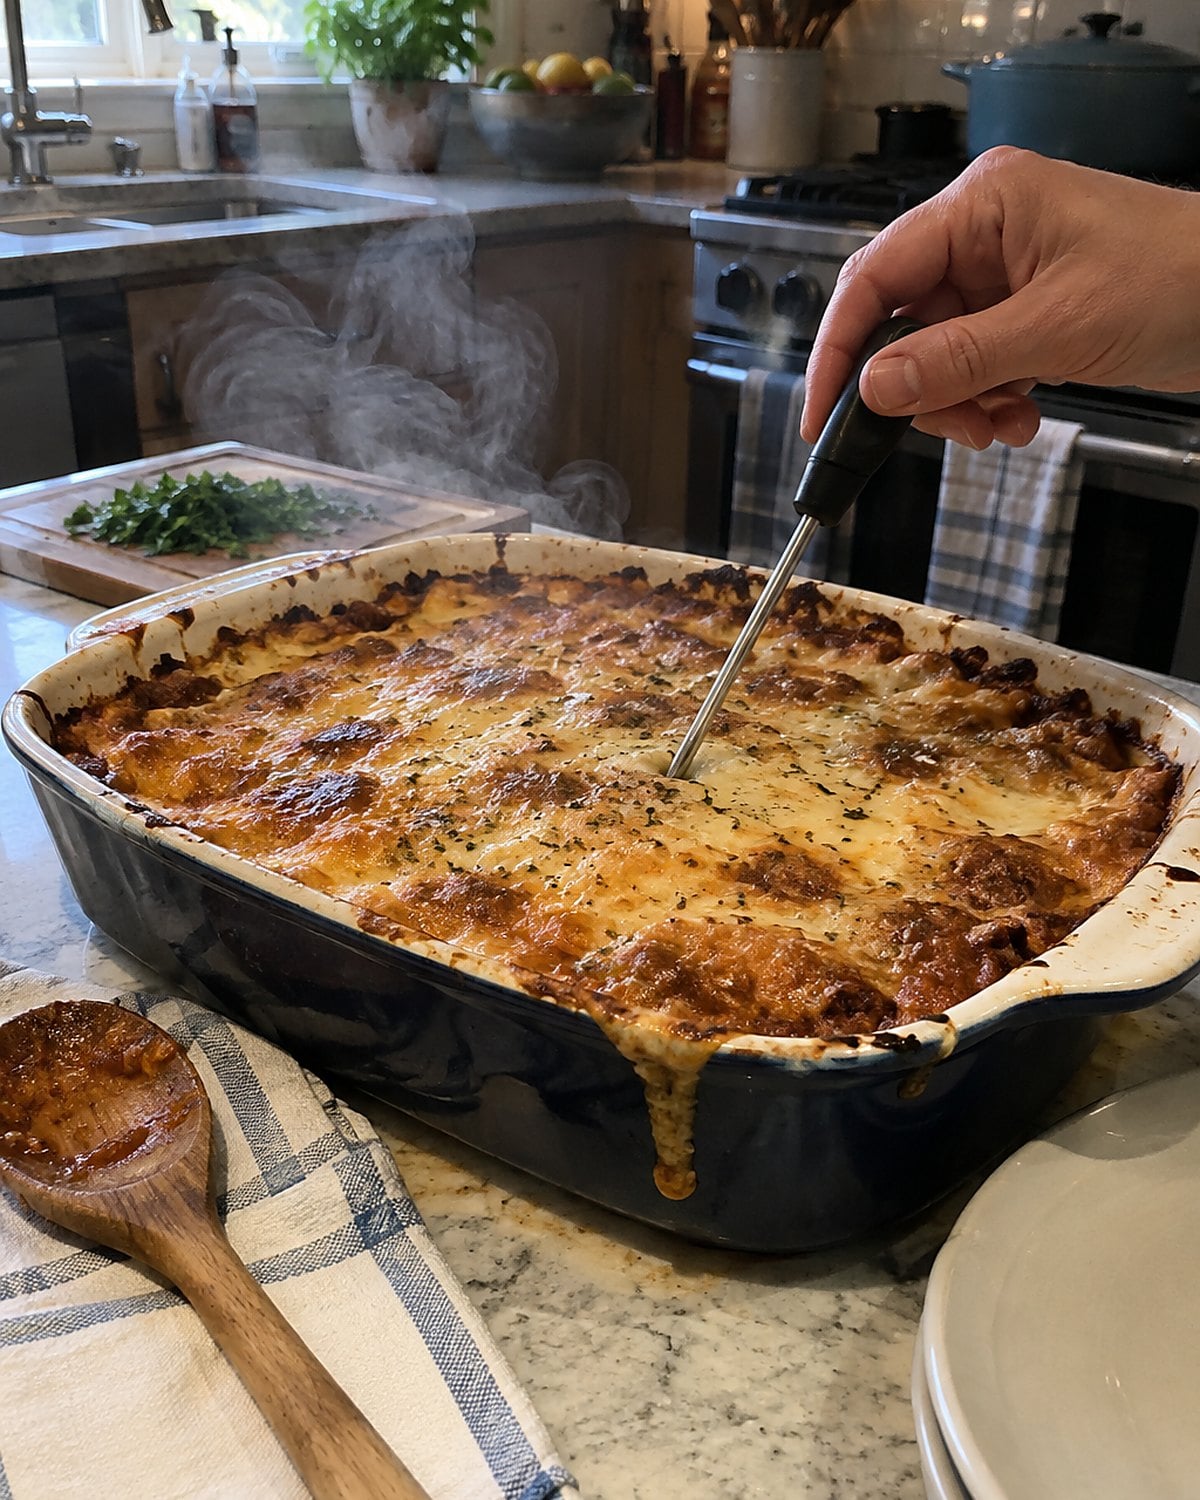
Last night's casserole comes out of the refrigerator in its baking dish. Half an hour later, the cheese on top is bubbling and the middle still feels cool against the serving spoon.
That's the spot to test.
The USDA says to reheat leftovers to 165°F. Put the probe into the center of the casserole, not the hot edge or the browned top. If the middle isn't there, cover the dish so the surface doesn't dry out and keep heating. Test again before serving.
A deep dish takes longer to warm through than a shallow one. Stir a casserole when its shape allows it, especially around colder pockets near the center. When it doesn't, give the heat more time to travel inward.
Tasting a spoonful near the edge won't answer the question about the middle. The thermometer does, without costing you a corner of the topping.
#16 The Refrigerator Door Shelf
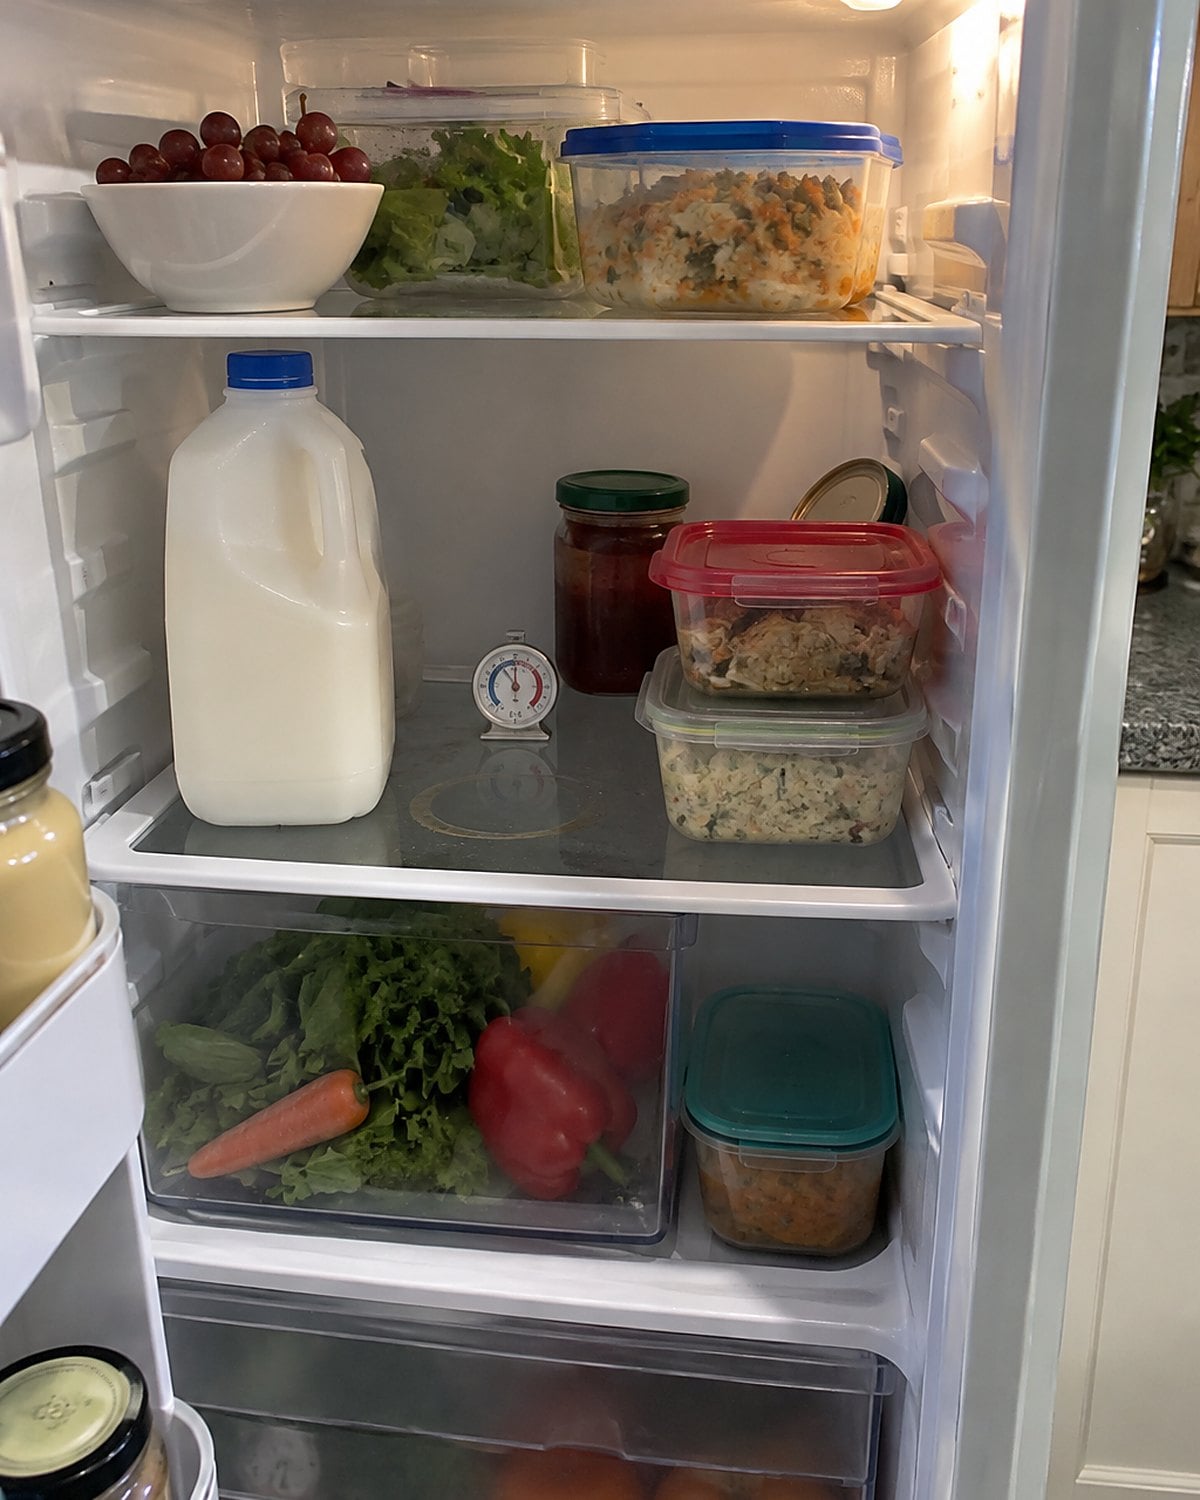
A refrigerator dial marked “cold” tells you where you set the control. It doesn't tell you the temperature beside the milk.
Put a refrigerator thermometer on a middle shelf and read it after the door has stayed closed for a while. The FDA's refrigerator guidance says the fridge should stay at 40°F or below.
Check again after a large grocery trip, when you've opened the door repeatedly. If the shelf reads above that mark, adjust the control and check again later. Don't block the air vents with cartons. Cold air needs a path around the food.
The little thermometer on the shelf answers a question that the dial can't.
#15 The Frozen Roast in the Sink
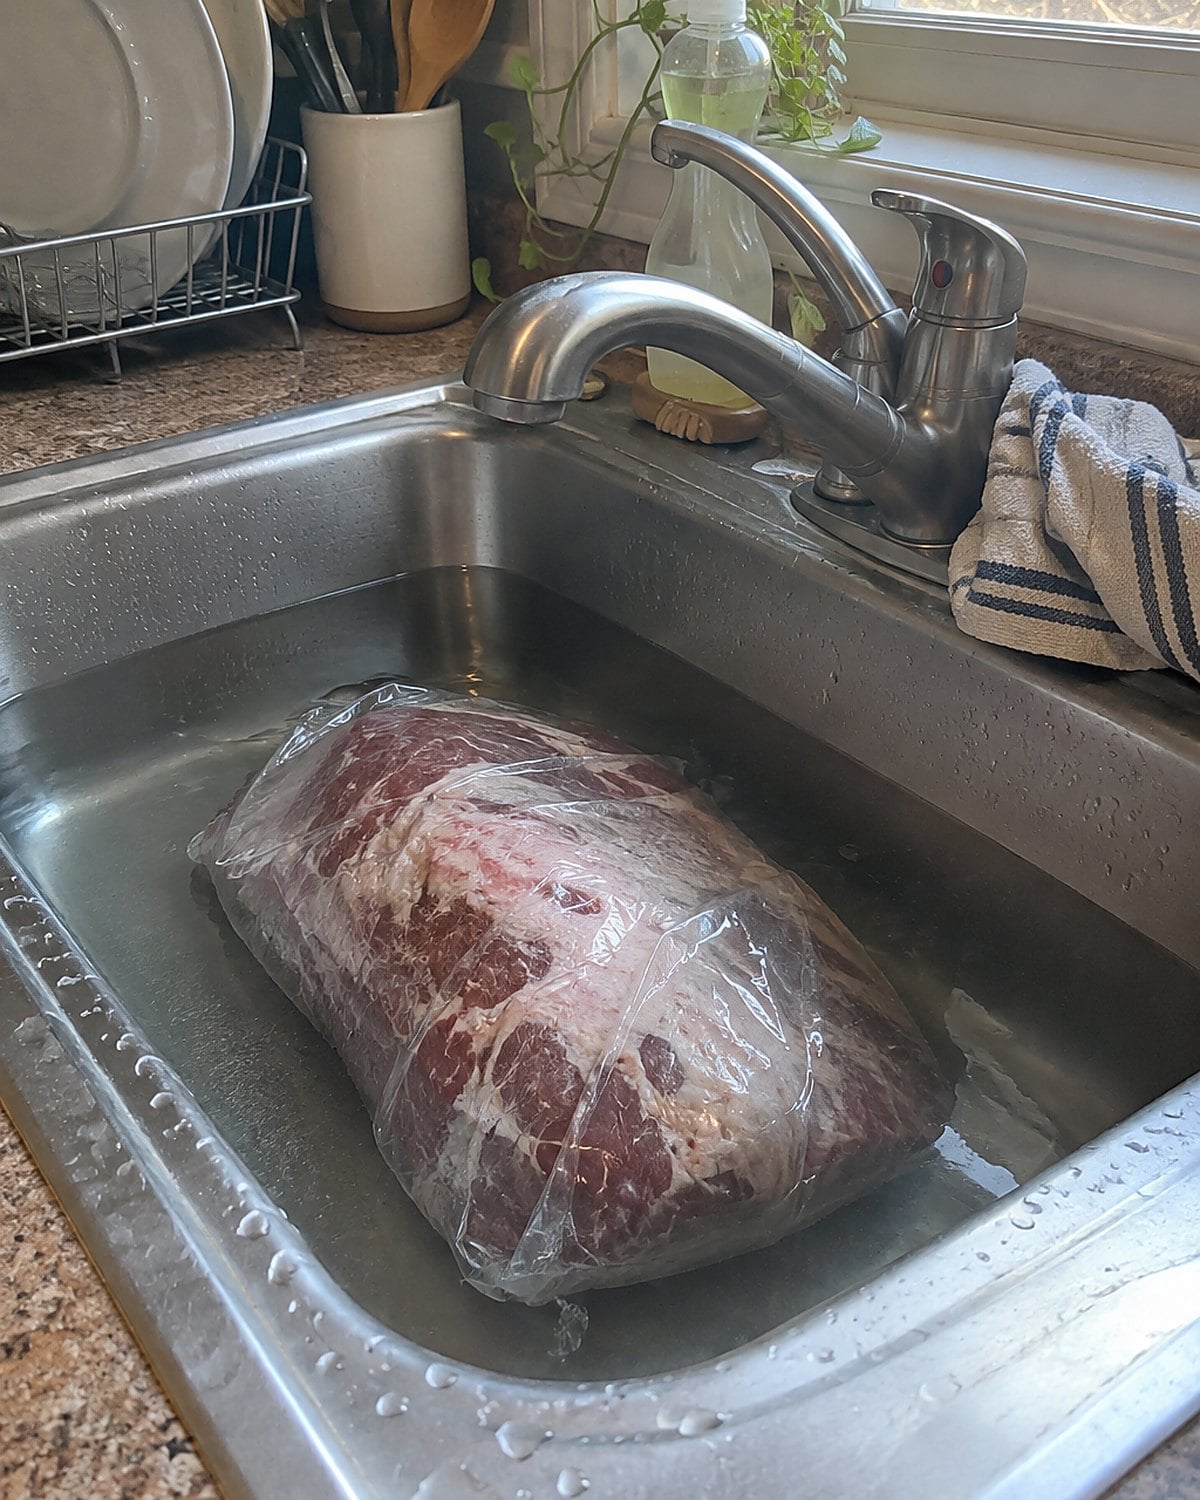
The roast is solid when you take it out. Dinner is closer than you thought. A sink full of water looks tempting, especially when that bag of meat has been taking up freezer space long enough.
For a cold-water thaw, the USDA says to keep the meat in a leakproof package and submerge it in cold tap water. Change the water every 30 minutes, and cook the meat immediately after it thaws.
A thermometer won't make a forgotten sink safe. What it tells you is that cold tap water and room-temperature water aren't the same thing. If the sink has sat unattended, don't use a cool-feeling center as proof that the outside stayed cold.
Don't leave the roast on the counter while you make another plan. Its outside warms before its center thaws. A hard center can feel reassuring while the surface tells a different story.
If time allows, move it to the refrigerator instead. The freezer-to-fridge trip is slower, but it doesn't ask you to keep watch over a sink.
#14 The Thin Cutlet and the Long Sensor
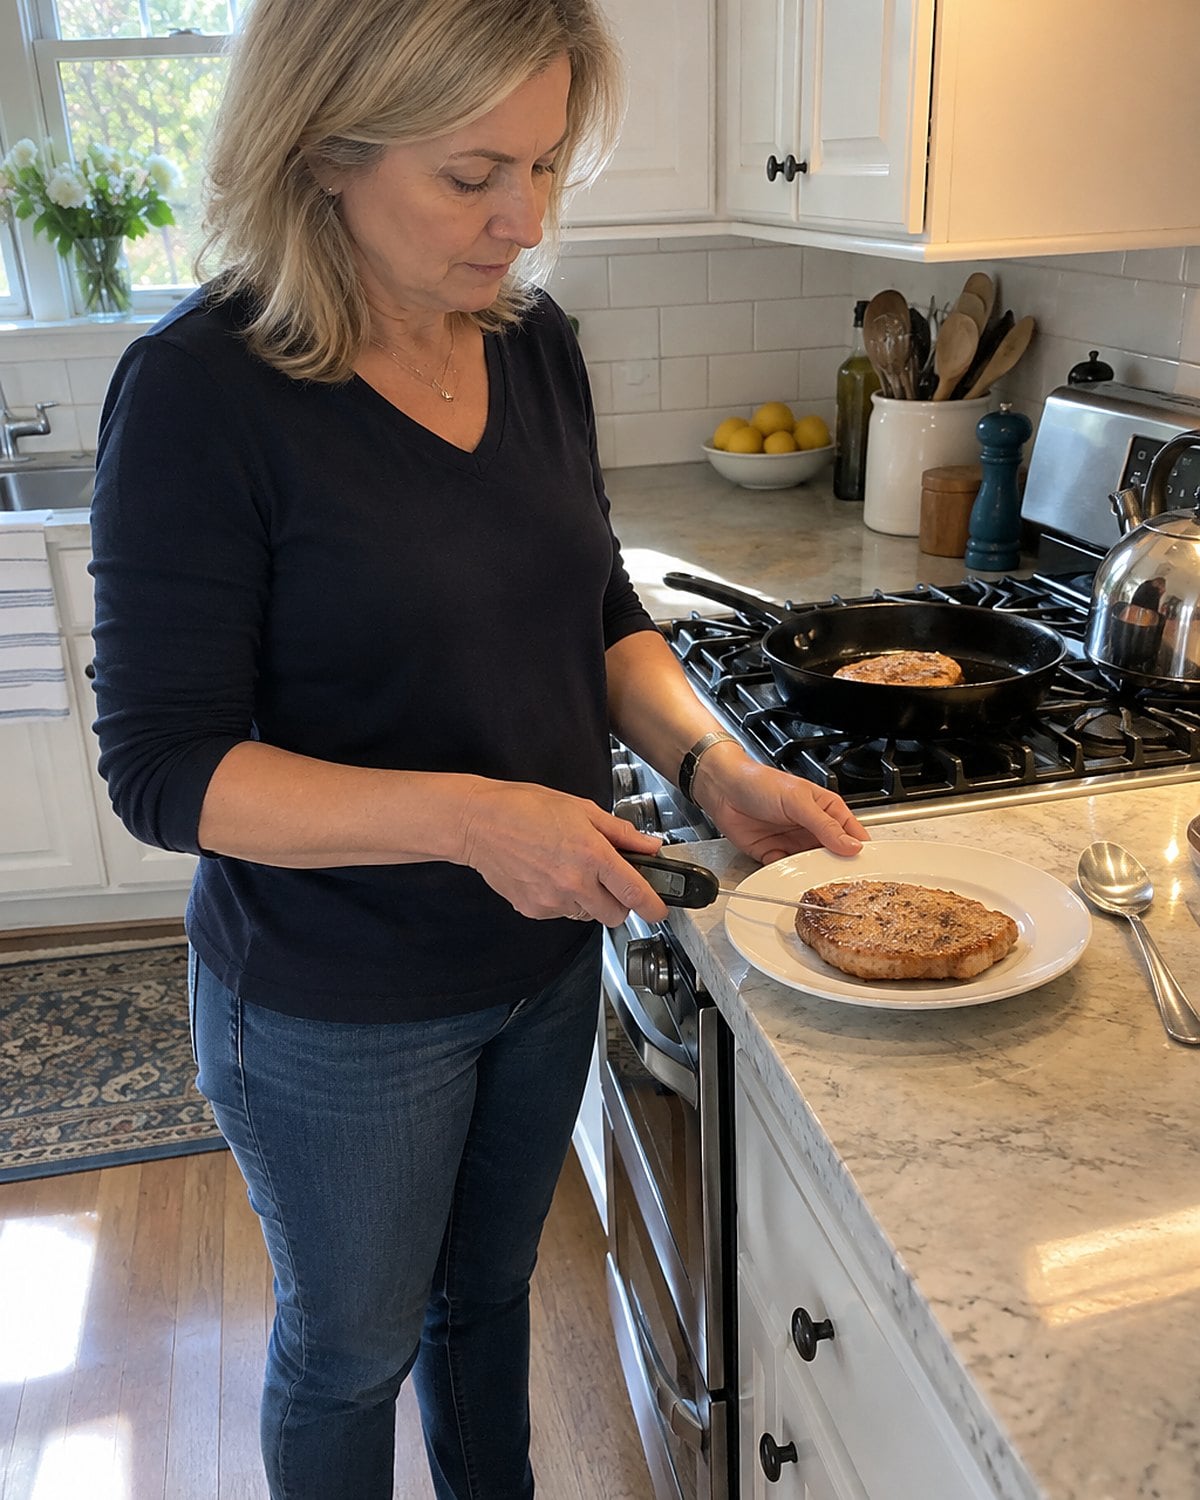
That little metal point looks as though it reads whatever it touches. The catch is inside the probe: thermometers don't all sense temperature at the same place.
The USDA's thermometer guidance describes different sensing areas. Check the instructions for the tool in your drawer. A thermometer whose sensing area extends up the stem needs that whole area inside the food.
For a thin cutlet, approach from the side. Lay the probe nearly parallel to the cutting board and aim through the middle. If the sensing area sticks out into the kitchen air, the display hasn't measured the cutlet alone.
Don't press down until the tip meets the hot pan, either. Move the cutlet onto a plate if that gives you room for a sound reading.
This is worth checking before a busy supper. Find out where your probe senses heat while the kitchen is calm, rather than trying to decode its instructions with the burner still on.
#13 The Burger Too Thin for a Probe
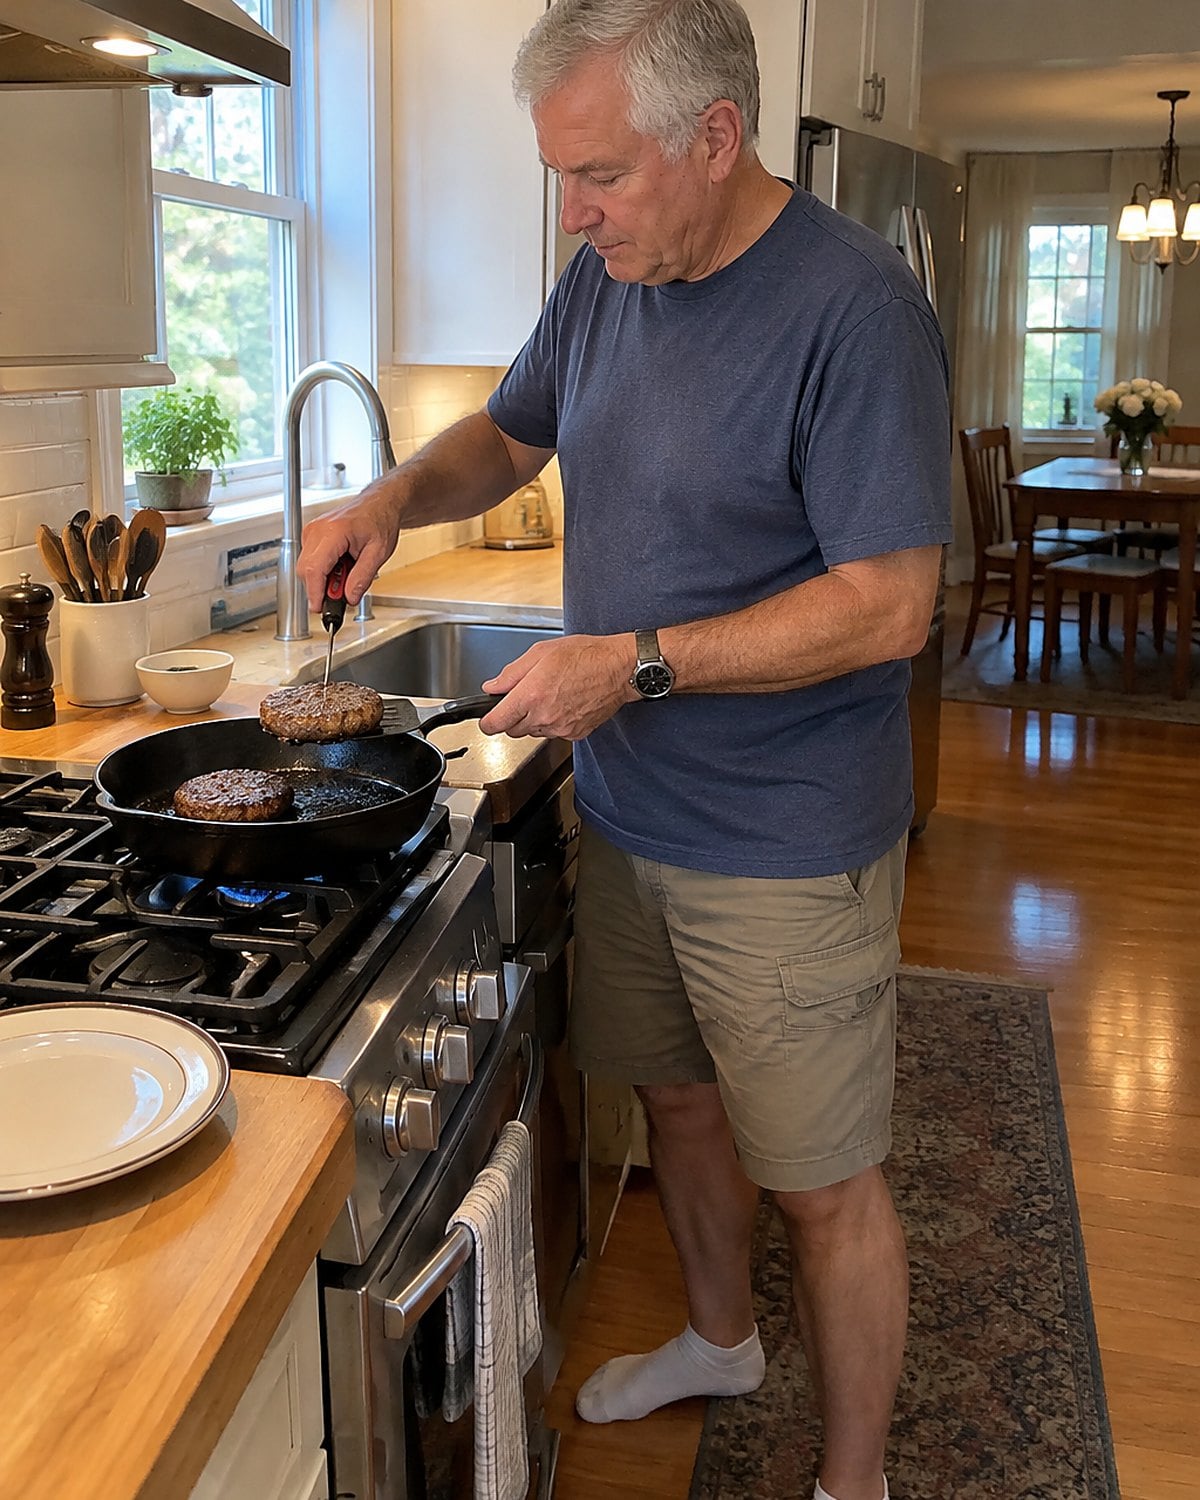
A burger isn't always thick enough to take a thermometer straight down from the top. Push that way and the probe reaches the pan before its sensing area is inside the meat.
Lift the burger with a spatula. Insert the thermometer sideways, through the edge and toward the center. Keep the sensing area inside the patty, clear of the hot metal underneath. Ground beef needs 160°F, even when the outside has a dark crust and the juices look clear.
Give the reading time to settle. Then check a different burger if its shape or thickness differs. That smaller patty made from the last bit of meat won't cook on the same schedule as the big one.
No need to split a burger on the griddle and press its juices into the pan. Keep the bun ready instead.
#12 The Stuffed Pepper With a Hot Rim
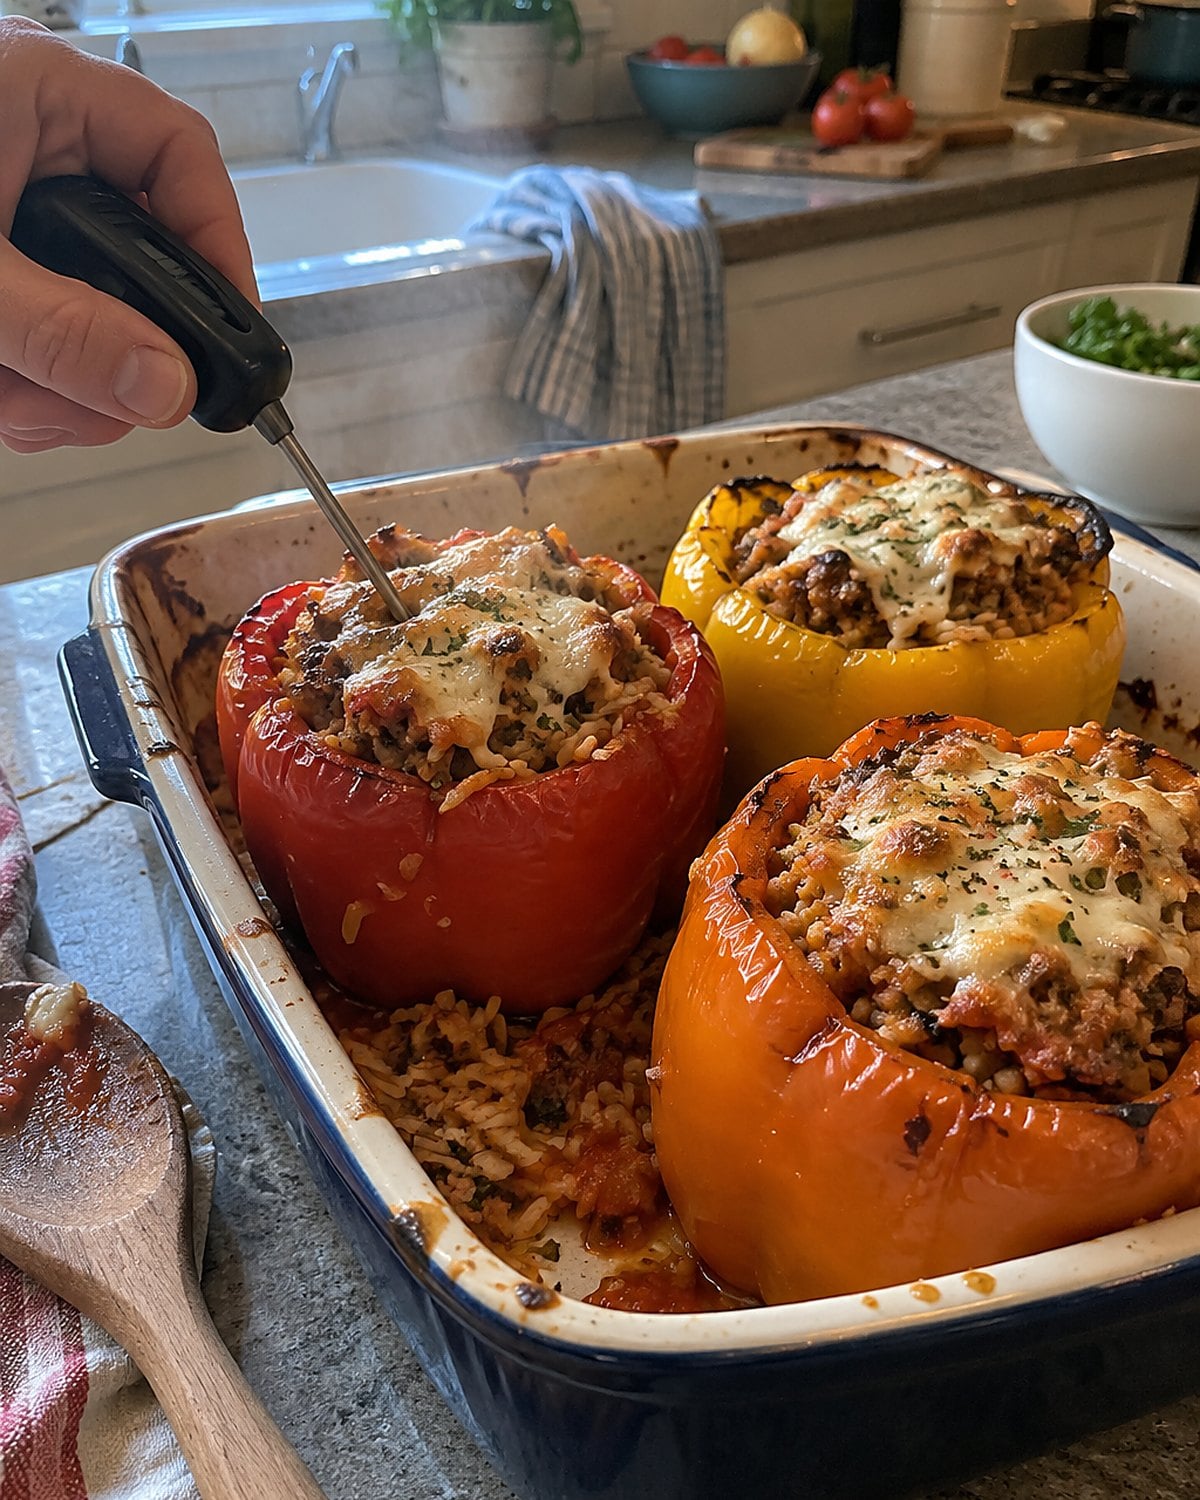
The pepper wall gets tender. The cheese browns. Inside, a tight mound of filling heats on its own schedule.
Put the thermometer through the top and into the center of the filling. If the filling contains ground beef, look for 160°F. If it contains ground turkey or chicken, look for 165°F. Rice and vegetables beside the meat don't change the temperature the meat needs to reach.
A pepper sitting against the hot side of the baking dish is a poor guide for the one in the middle. Check the fattest pepper, especially where you've packed the filling high. If the top browns first, cover the dish while the center finishes.
And if you've filled peppers with fully cooked leftovers, treat them as leftovers when reheating: the center needs 165°F. The probe settles the question without making you scoop out a forkful and spoil the first pepper you planned to serve.
Try it: Best Instant Pot Stuffed Peppers
#11 The Pork Roast on the Cutting Board
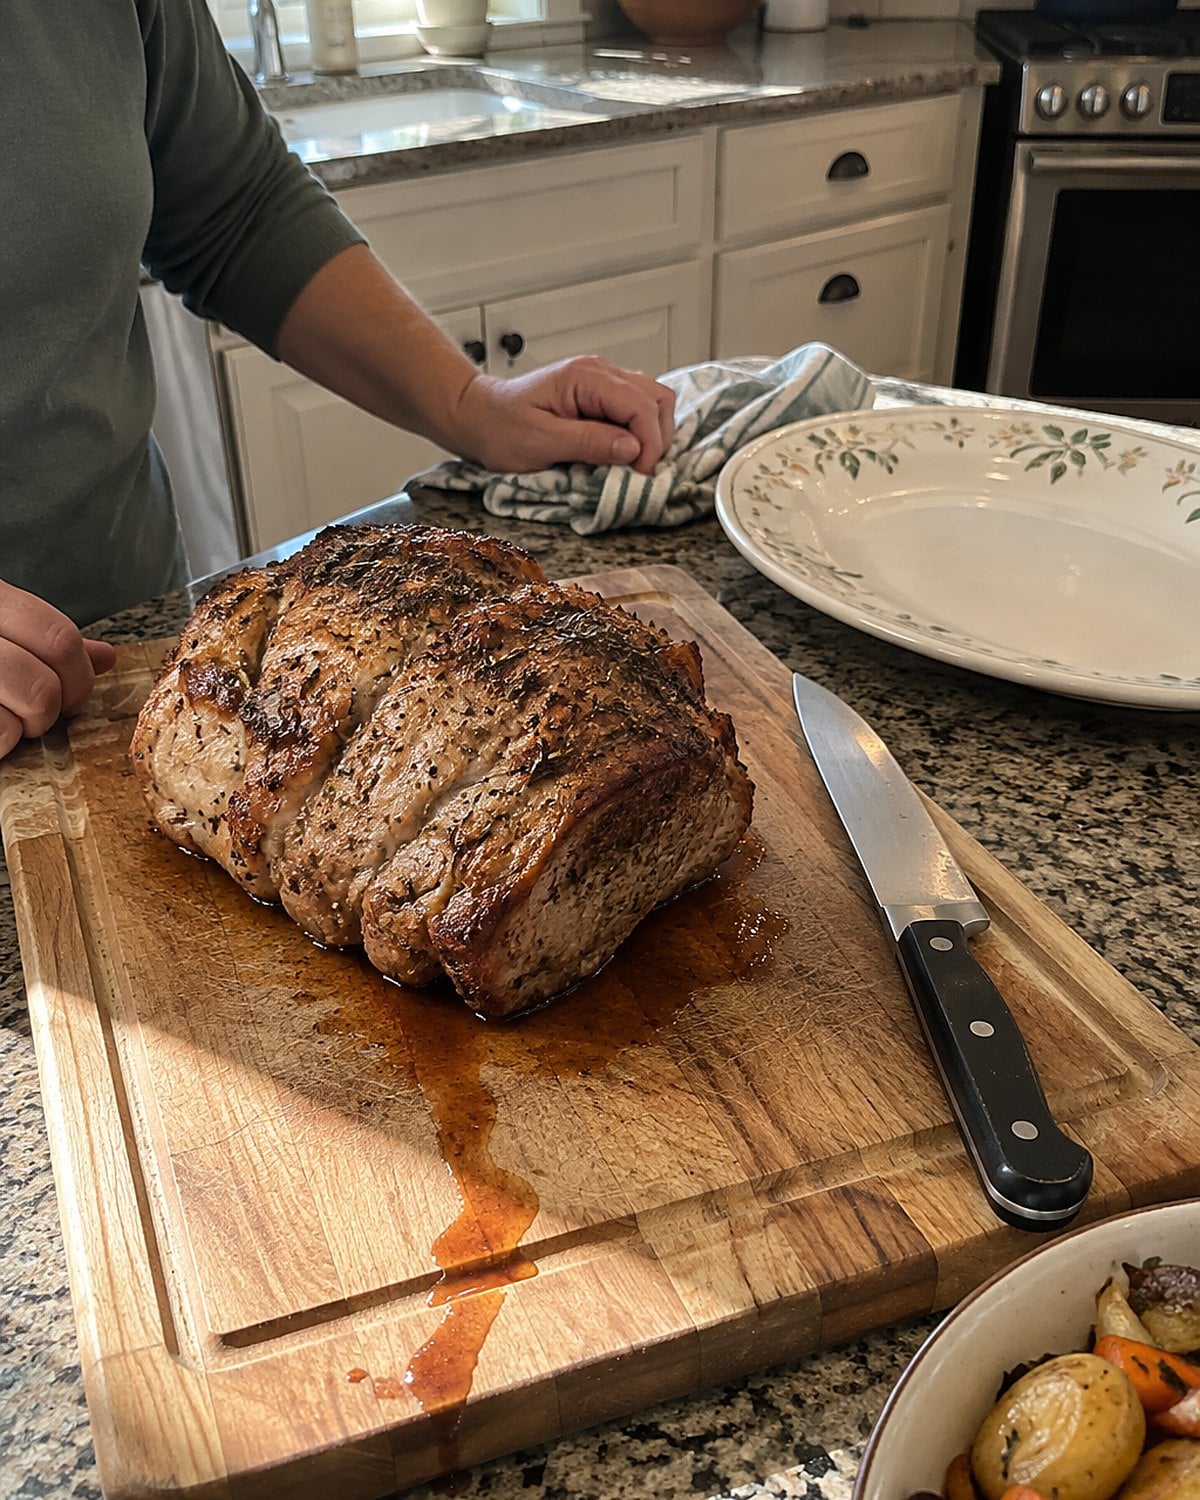
A roast leaves the oven and everybody starts looking for the carving knife. Give the thermometer one last job before the first slice.
Check the thickest part of a whole pork roast, away from bone and fat. The USDA says 145°F, followed by a 3-minute rest. Set the roast on the board for that rest. Use the time to finish the vegetables or find the serving platter you put away somewhere sensible.
A probe reading is a snapshot of the spot you tested. For an uneven roast, test another thick place before deciding it's finished. If one spot is below the mark, return the roast to the oven and check again.
The rest belongs to the temperature rule. It isn't a punishment for anyone hungry at the table.
Try it: Instant Pot Pork Shoulder & Gravy (Step-By-Step)
#10 The Bread Loaf With the Damp Stripe
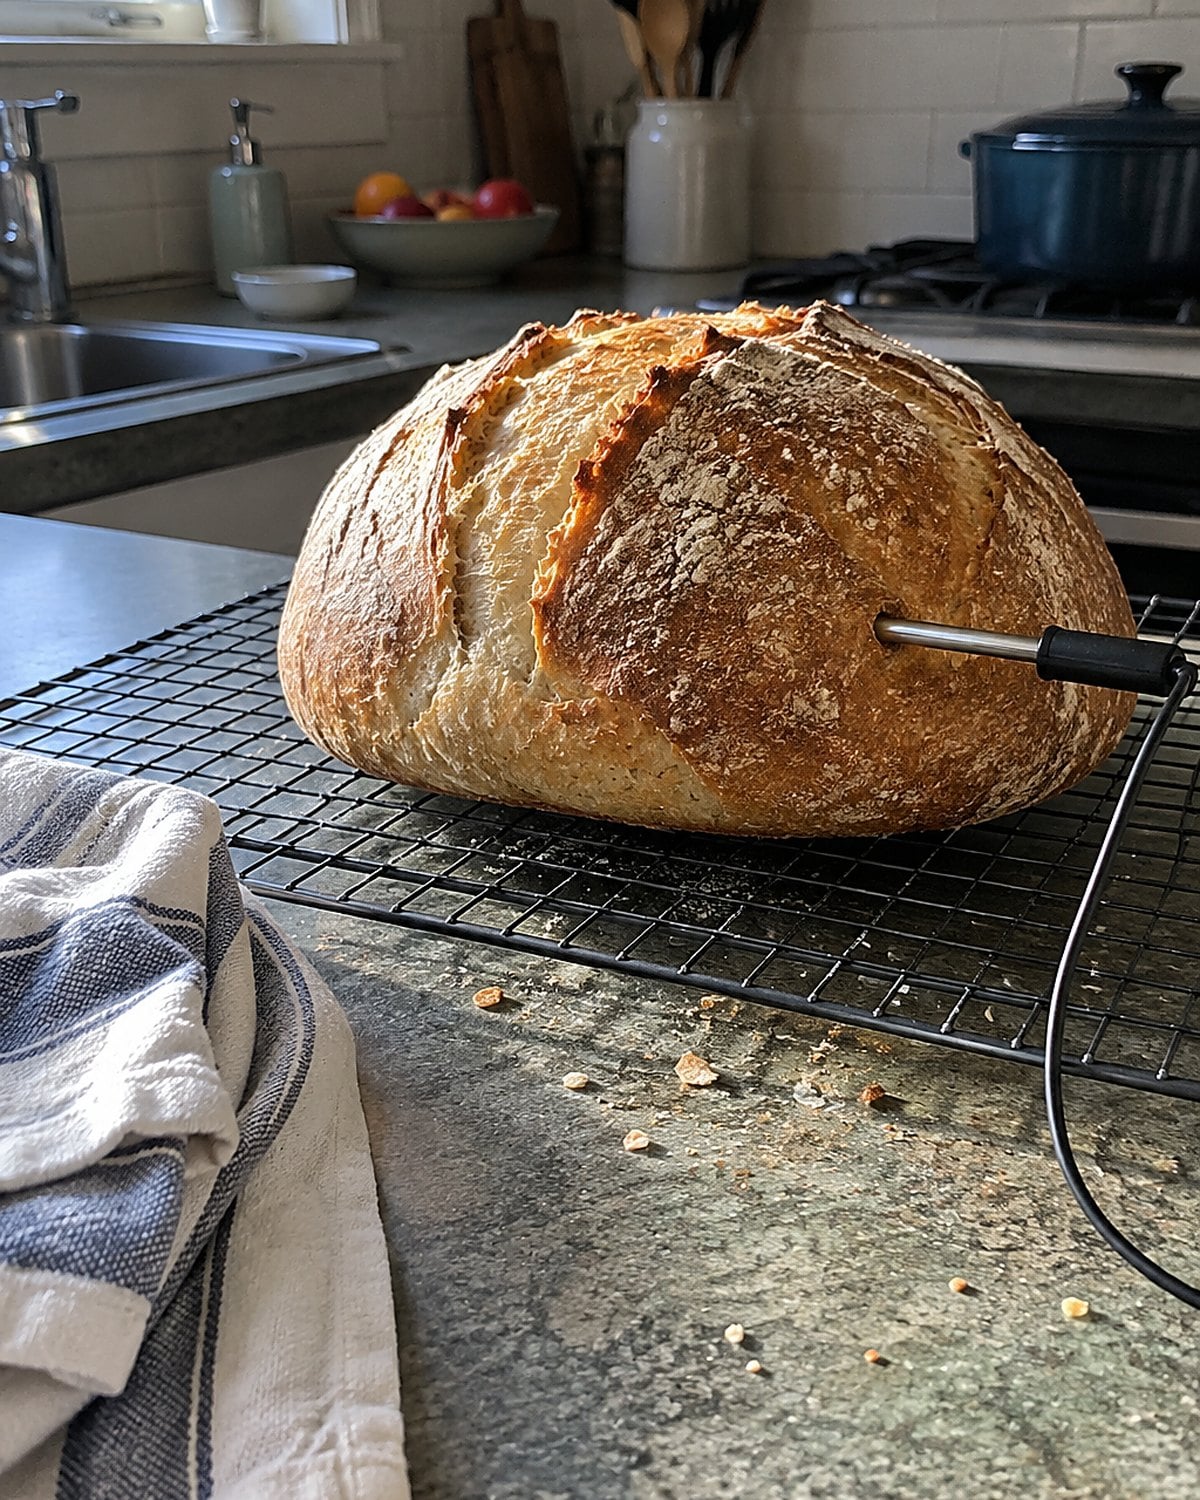
That familiar thump on the bottom of a loaf is satisfying. It doesn't always settle the question, especially with a dense whole-grain bread or a loaf baked in a deep pan.
An instant-read thermometer gives you another clue. For many lean yeast loaves, bakers look for a center temperature around 190°F to 200°F. Enriched breads with eggs, sugar, and butter have different targets, so follow the recipe's temperature when it gives one.
Put the probe through the side or bottom, toward the center, and avoid the pan. A reading near the crust tells you about the crust. Push far enough to reach the part that has been giving you trouble.
Temperature isn't the entire bread story. Slice a loaf while it's hot and steam escapes into the cut crumb. Even a baked-through loaf can look gummy there. Let it cool before judging the stripe.
If a cooled loaf still has a wet band, remember exactly where you measured. The next loaf gives you a chance to move the probe deeper before turning off the oven.
#9 The Custard Coating the Spoon
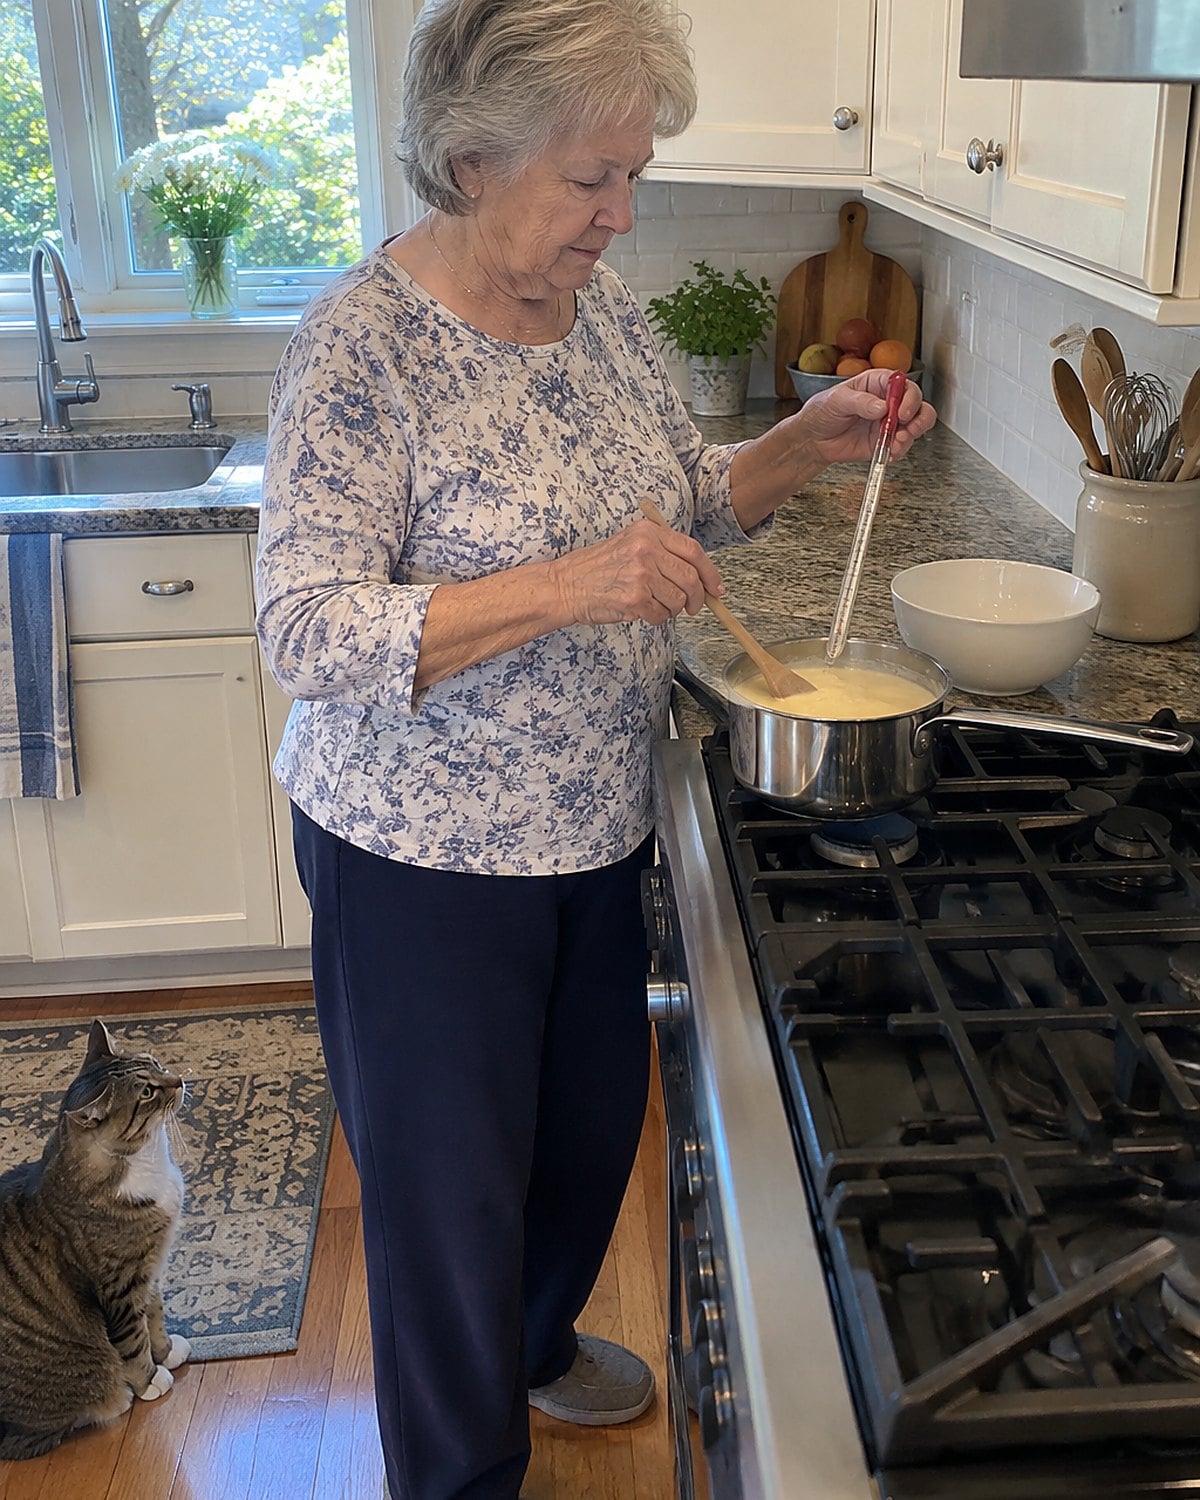
Custard asks you to stand at the stove and pay attention. The spoon gets a thin coat, then a thicker one, and suddenly the edge of the pan looks grainy.
For a stirred egg custard, the FDA's egg safety guidance gives 160°F. Stir while you take the reading, keeping the thermometer tip off the pan bottom. The metal there is hotter than the custard moving above it.
Once the custard reaches its target, take the saucepan off the heat. Keep stirring for a moment; the hot pan hasn't stopped working. If you wait for a hard boil as proof, you've waited past the point that makes custard smooth.
Your spoon still matters. The thermometer tells you when to stop second-guessing what the spoon shows.
#8 The Caramel in the Heavy Saucepan
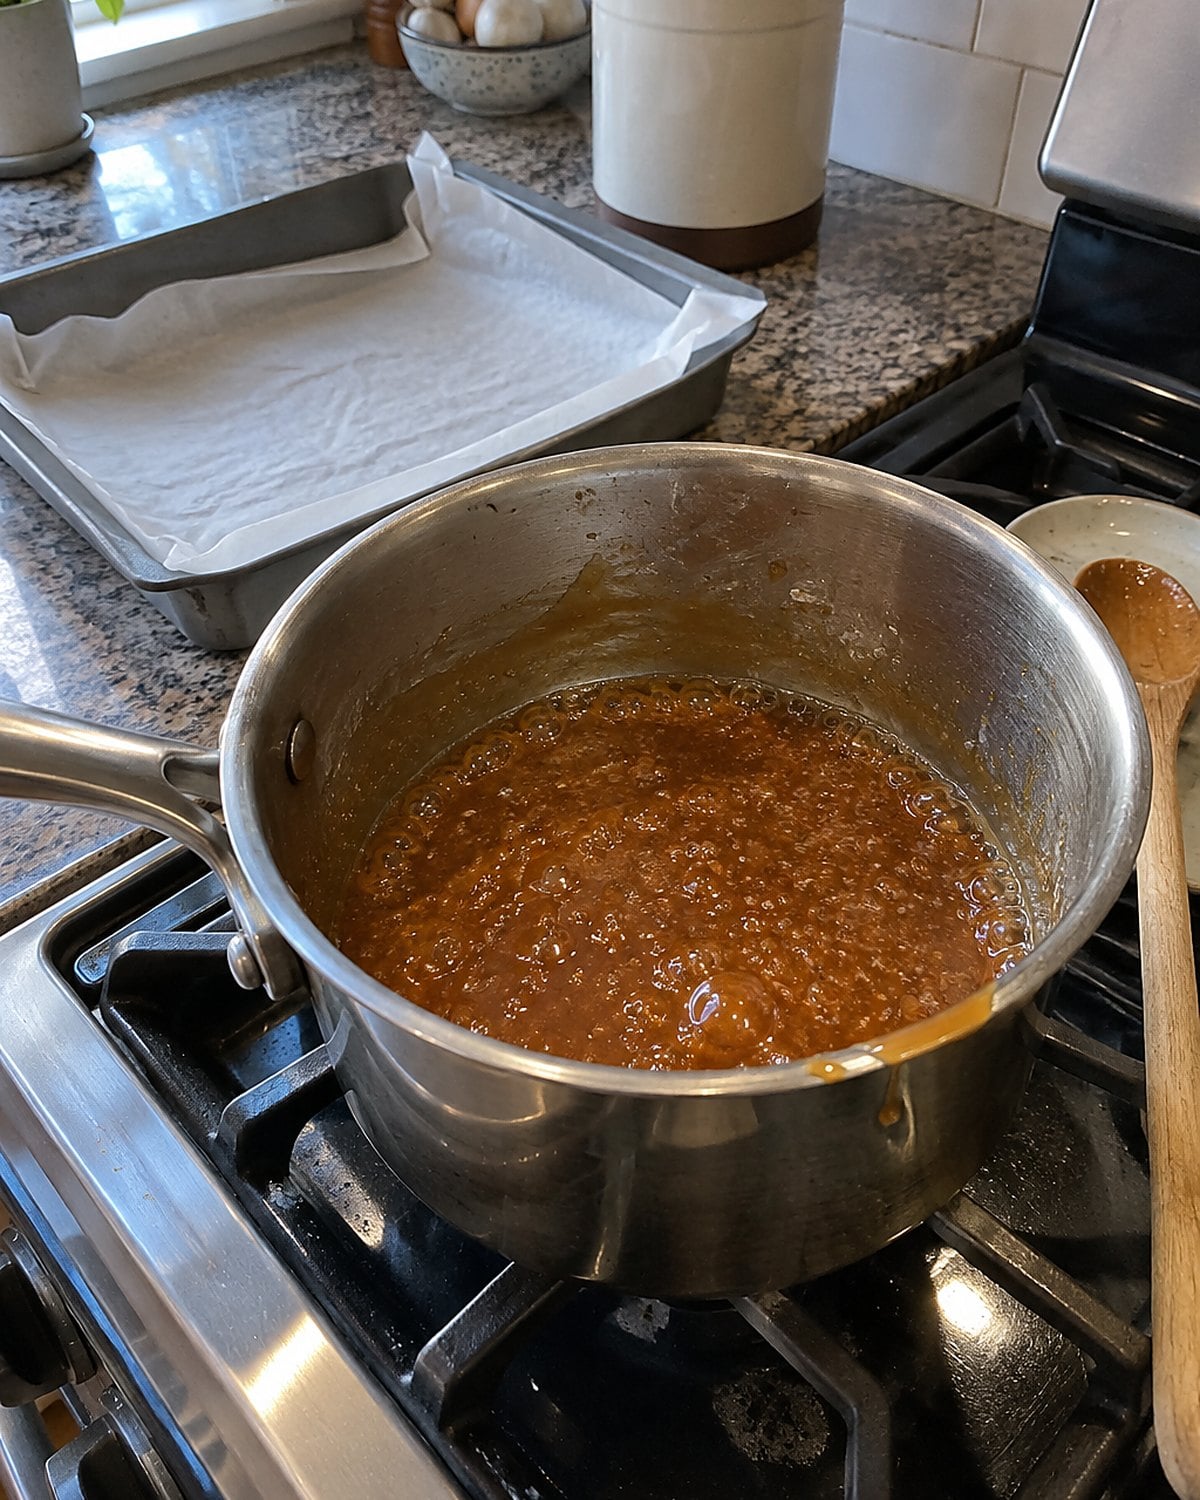
Watch the edge of a pan of sugar syrup. It takes on color before the middle looks the way you pictured. By the time you find a clean spoon, the whole pan has moved on.
A candy thermometer tells you about the syrup's temperature. It doesn't choose the caramel color you like. As water boils away, the syrup grows more concentrated; once browning starts, your eyes decide when to stop.
If a candy recipe names a syrup stage, use its temperature target. Clip the thermometer so its sensing area sits in the syrup, clear of the saucepan bottom. The pan is hotter than the syrup touching your spatula.
For caramel judged by color, stay beside the stove. Swirl the pan if the color develops unevenly, and take it off the heat before it reaches your preferred shade. The hot metal keeps cooking the sugar after you lift it.
Set out the lined pan, bowl, or next ingredient before you start. The thermometer frees you from guessing at a syrup stage; it won't fetch a spatula from the drawer with the twist ties.
#7 The Frying Oil After the First Batch
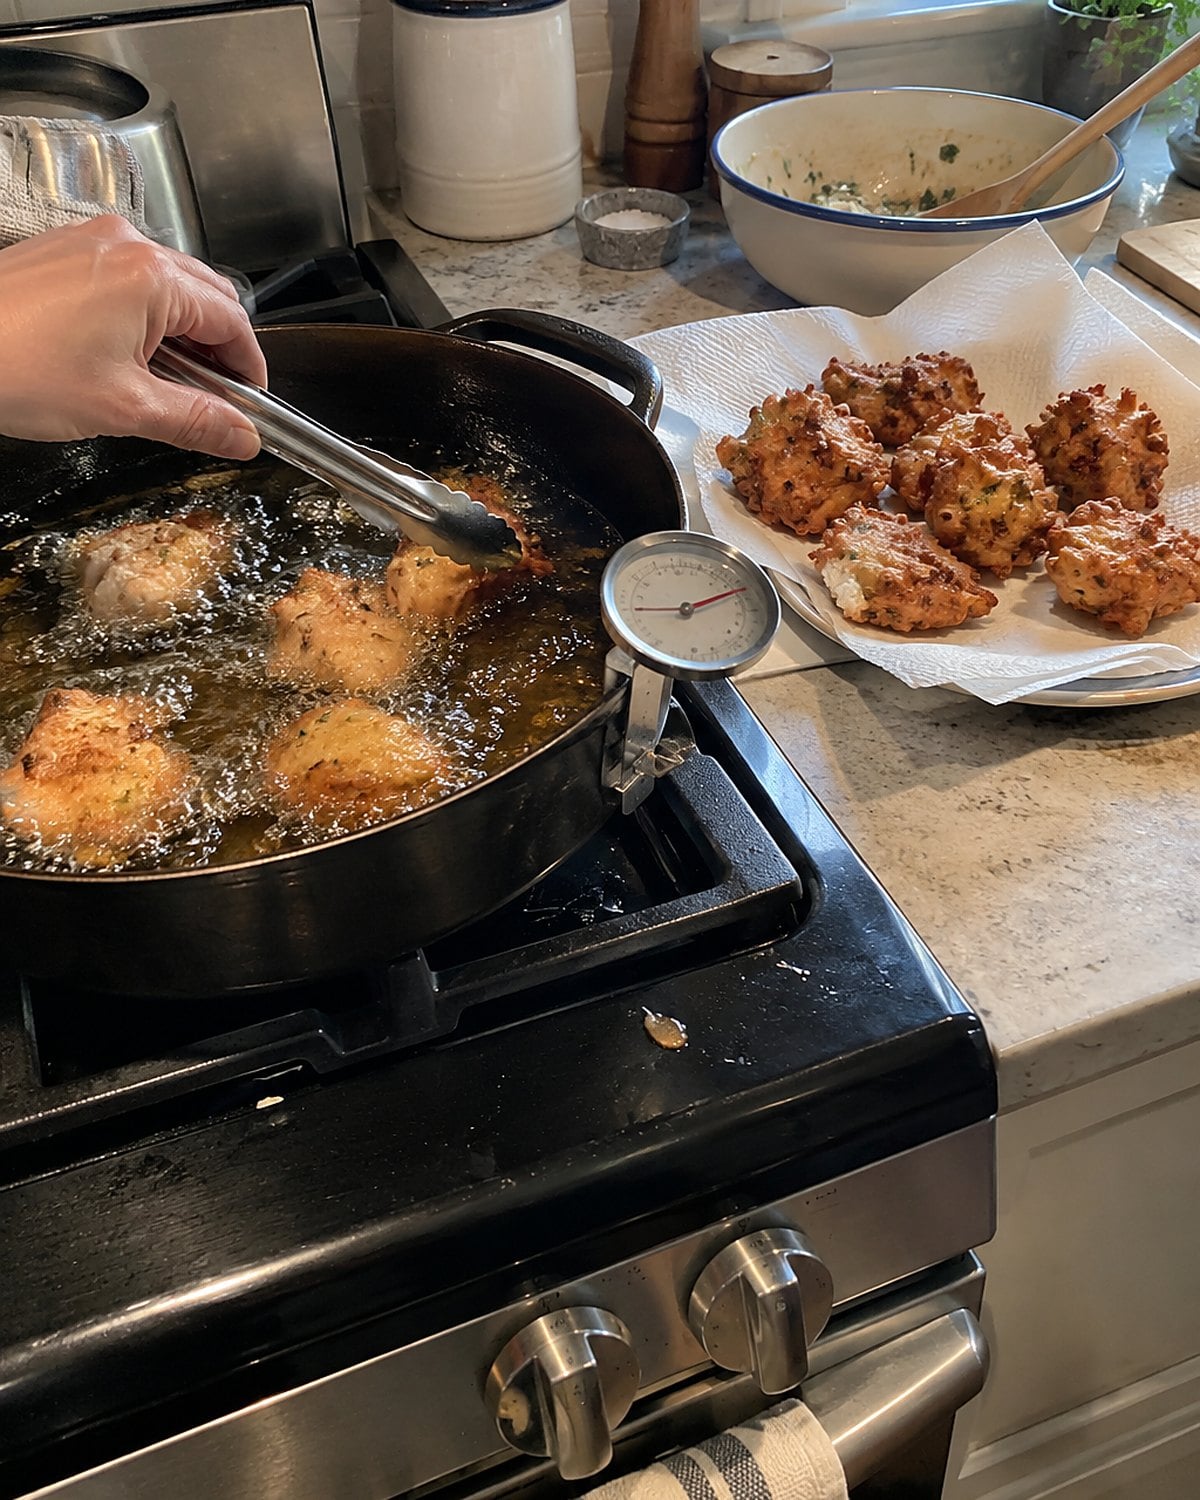
The first batch of fritters sizzles on contact. The next batch sits there, collecting oil. The thermometer would have shown the drop before you added that second spoonful of batter.
Food cools the oil as it goes in. A small pan and a crowded batch make the drop sharper. Start at the temperature your recipe names, then watch the reading between batches. Many fried foods call for oil in the 350°F to 375°F range, but use the recipe's target for the food in your hand.
Give the oil time to return to that target before you add more. If it climbs too high, move the pan off the burner and lower the heat. Keep the probe from touching the pan bottom, which is hotter than the oil above it.
There is still room for the old tests. A lively sizzle tells you the oil is working. The number tells you why the second batch isn't behaving like the first.
#6 The Hot Water at the Sink
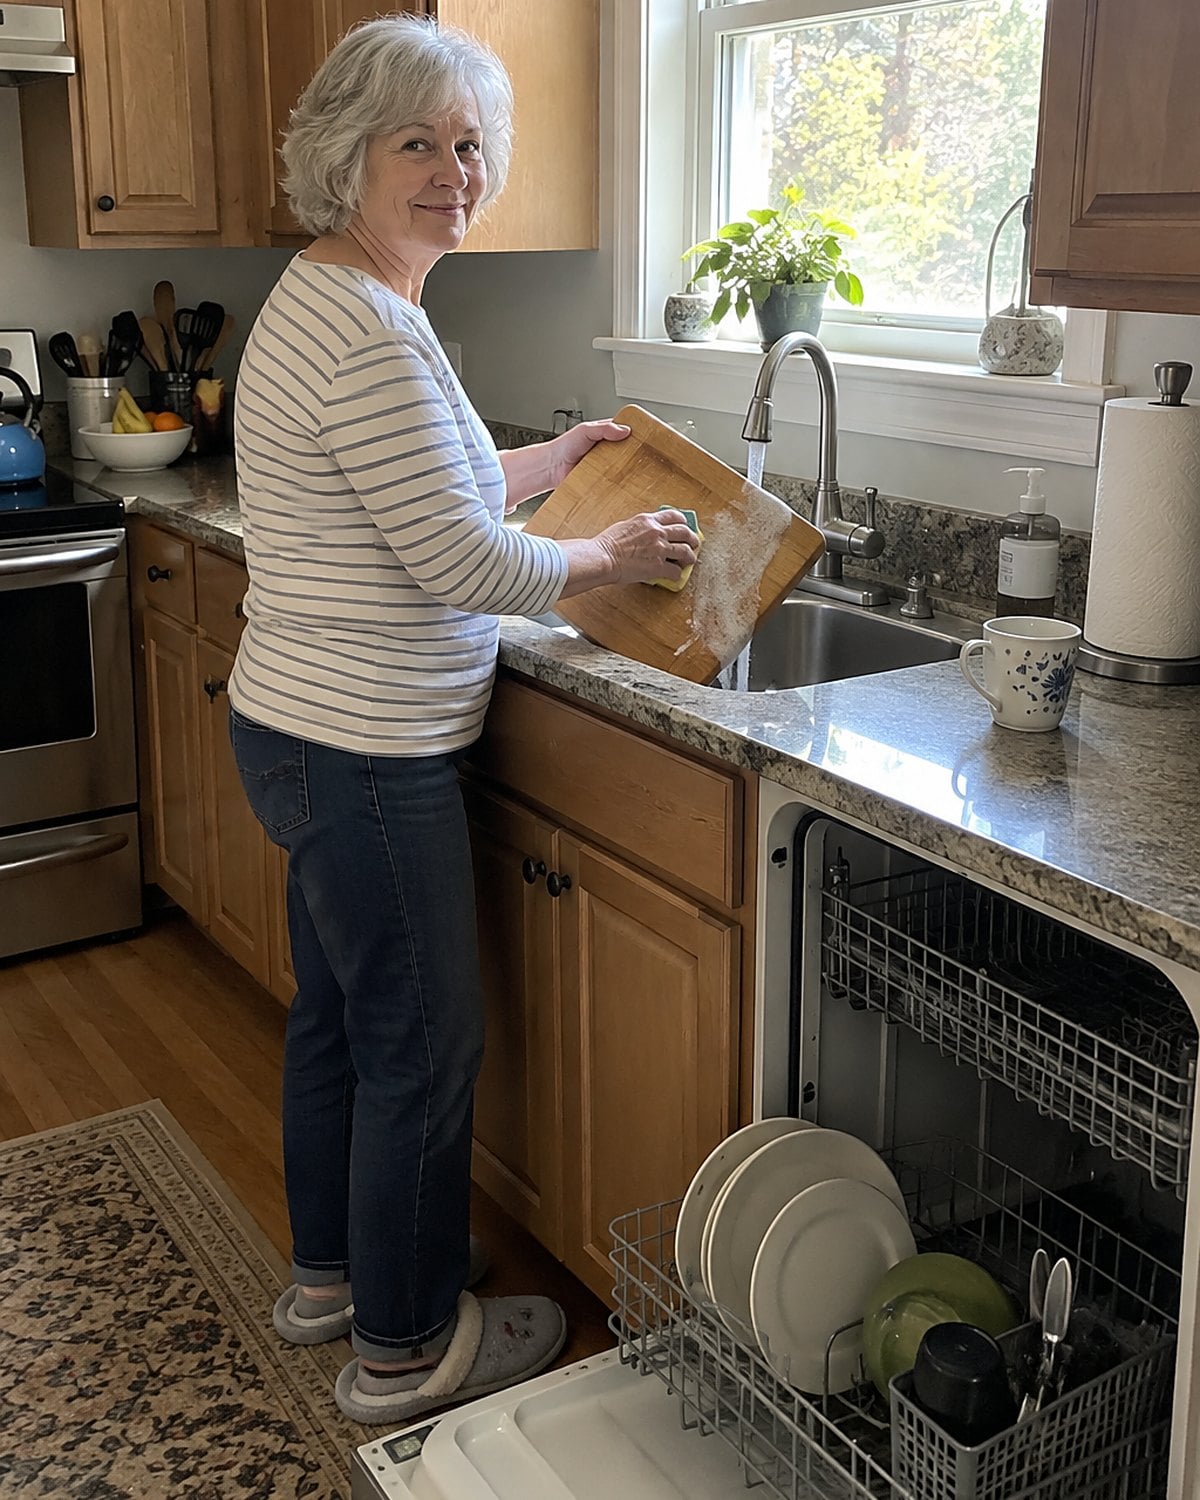
Hot tap water feels fierce against your hand. It isn't a reliable way to decide whether a pot, spoon, or cutting board is clean enough to use again.
Wash equipment with soap and water, then follow the sanitizer's label if the job calls for sanitizing. A food thermometer doesn't certify a hand-washed surface. The USDA's clean-and-sanitize guidance separates washing from sanitizing for good reason.
The steaming dishwasher makes the same point. A warm door doesn't tell you which cycle ran or whether your machine has a sanitizing setting. Check the manual for the machine you own; don't put a cooking probe inside a running dishwasher to guess.
The lesson is narrow. Heat you feel and temperature you measure are different things. So are a hot rinse and a clean board.
#5 The Stockpot Waiting to Cool
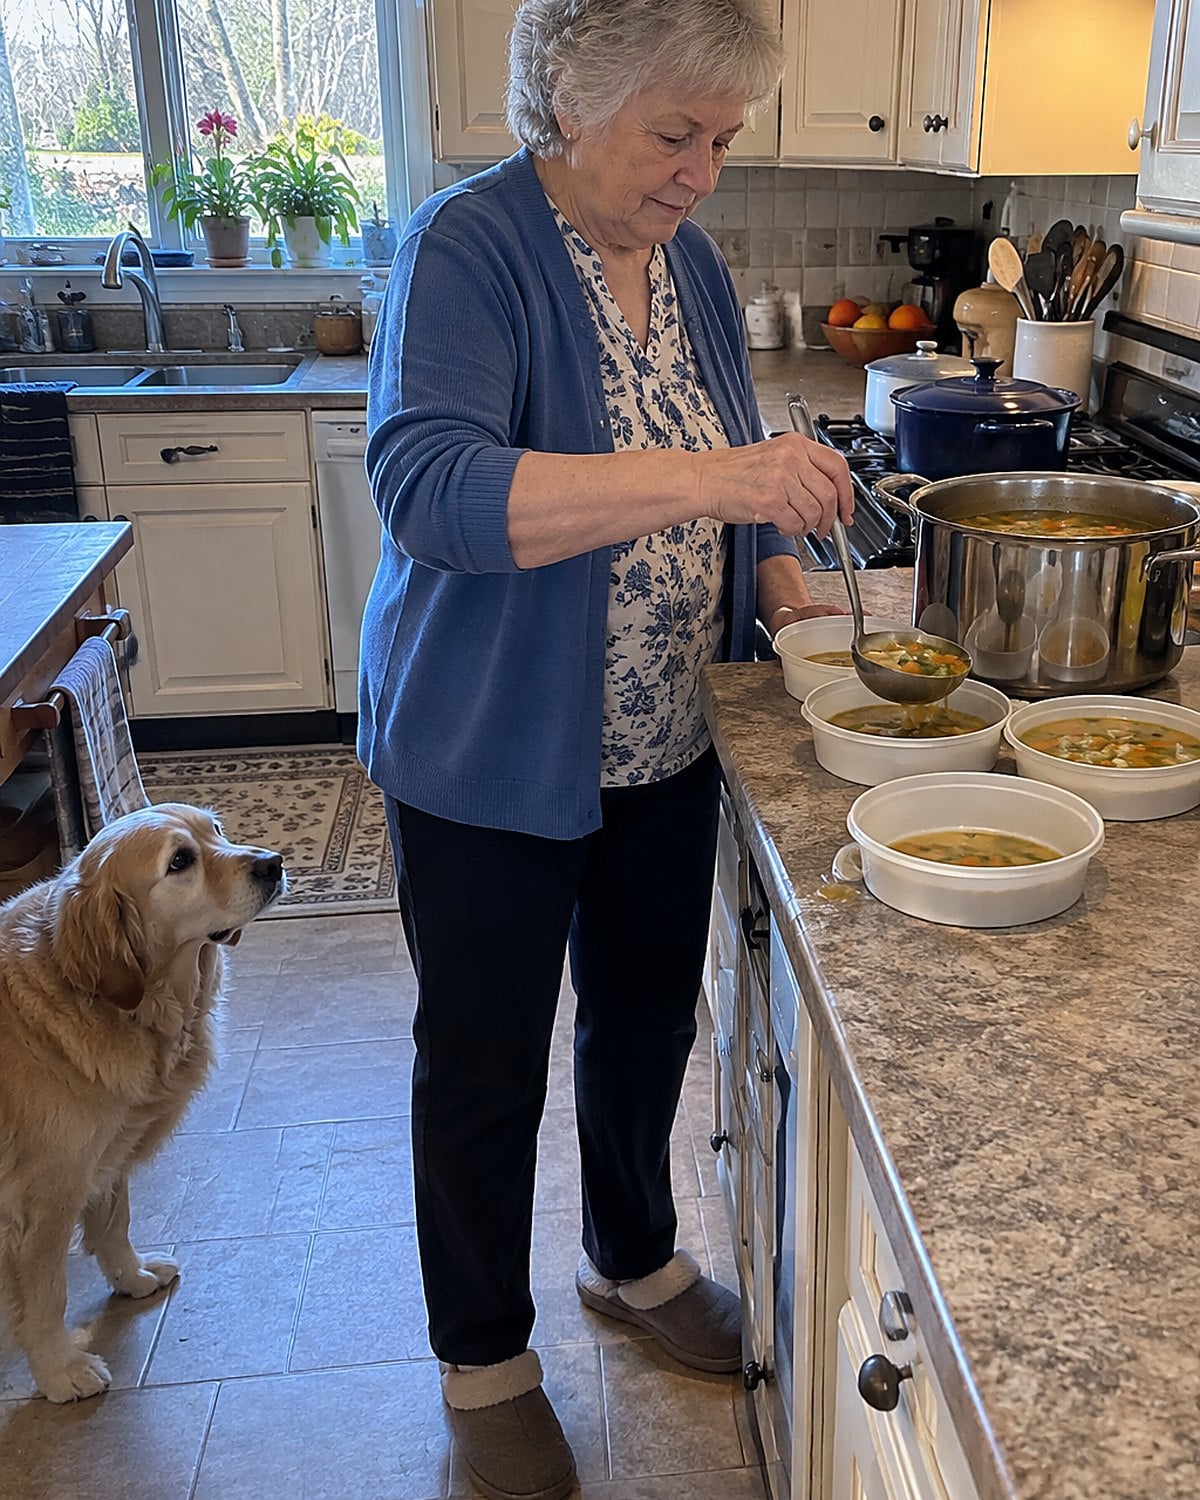
The soup is done, and a heavy stockpot sits on the stove while you clear the table. Its surface stops steaming. Deep inside, the soup is still hot.
Don't wait for a big pot to reach room temperature before refrigerating it. The USDA's leftovers guidance says to refrigerate perishable food within 2 hours, or 1 hour when the air is above 90°F.
Divide soup into shallow containers so it cools faster, then refrigerate it promptly. A thermometer helps you see the difference between the surface and the middle. Stir the soup and measure in the center.
Check the refrigerator thermometer afterward. That fridge needs to stay at 40°F or below.
There's no prize for fitting the whole pot on one shelf. Clean, food-safe shallow containers earn their space here. Label the portions so the next dinner starts with a plan.
#4 The Probe Against a Chicken Bone
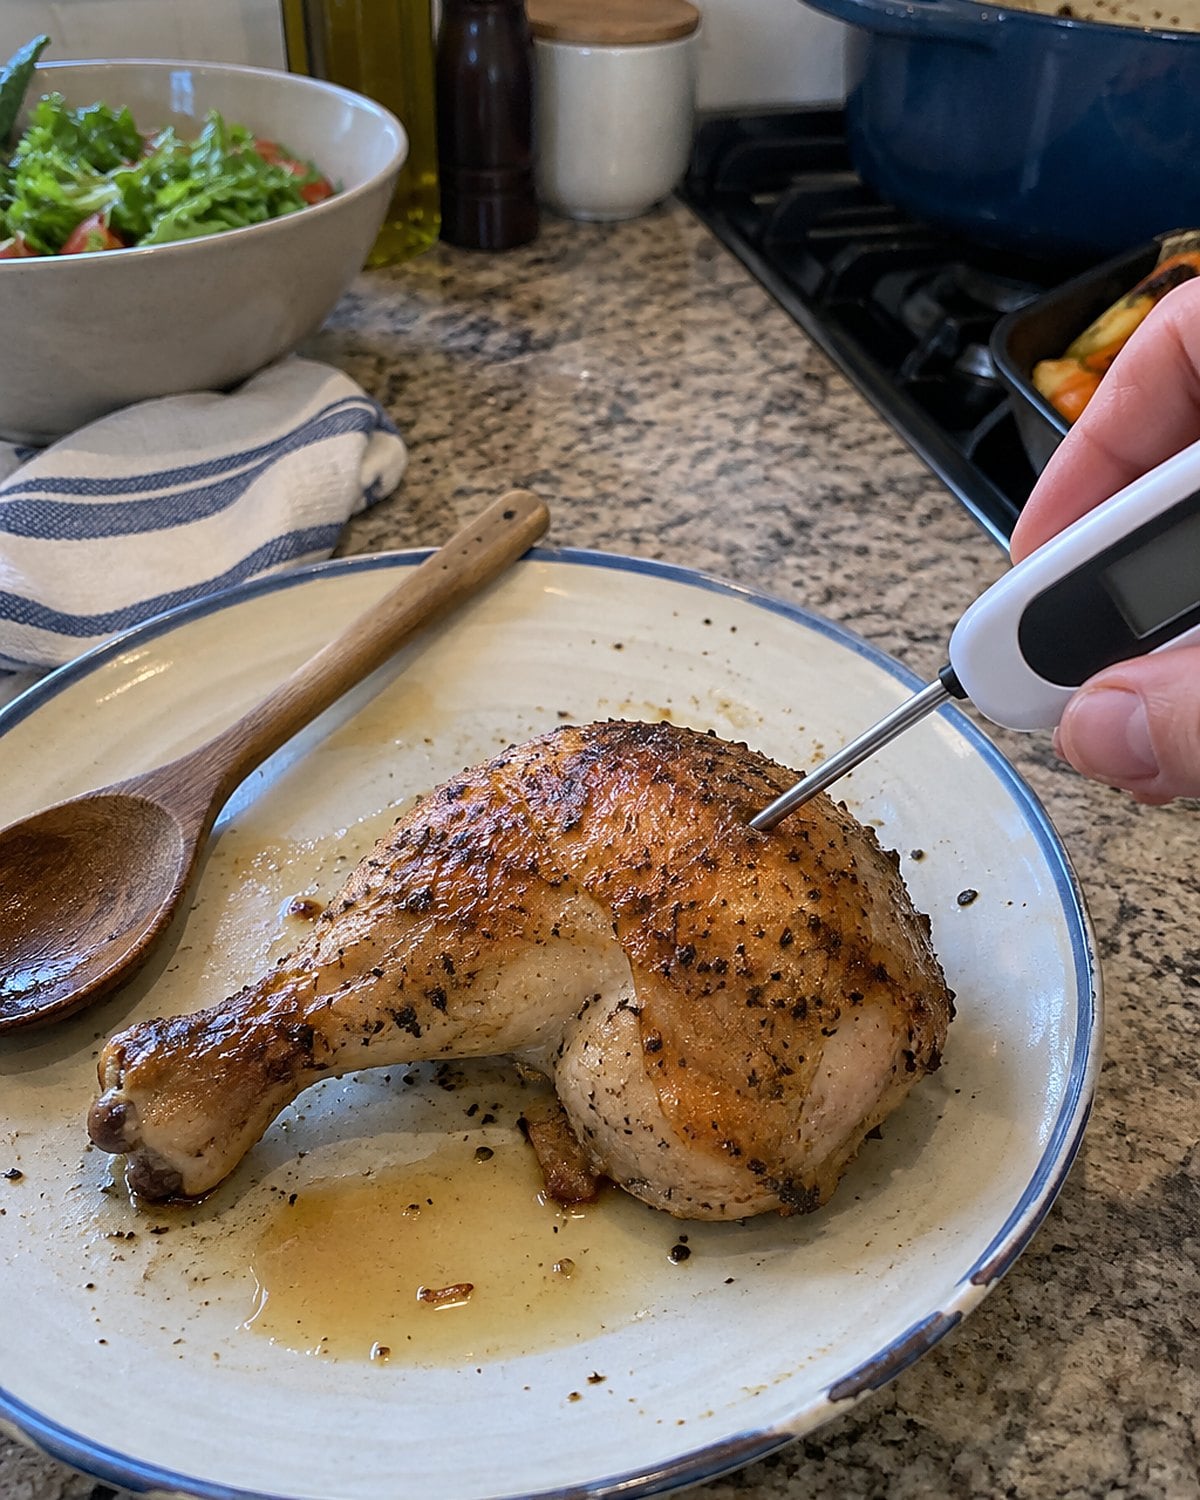
The thermometer says dinner is ready, but you don't quite trust where you put it. Fair question. A probe pushed against bone, a pan, or an empty pocket has measured something other than the center of the meat.
Pull it back. Find the thickest solid part and insert the tip again without touching bone. For chicken, you're looking for 165°F. Check another thick spot if the piece has an uneven shape.
Angle matters. On a thin piece, come in from the side so the sensing part stays inside the food. On a thick piece, stop before the tip reaches the far side.
Clean the probe after it touches raw meat, following the thermometer maker's directions. Then take a fresh reading. A good tool still needs a good landing place; that old slash across the chicken starts to look like an awfully large test hole.
#3 The Instant Pot Lid After Pressure Cooking
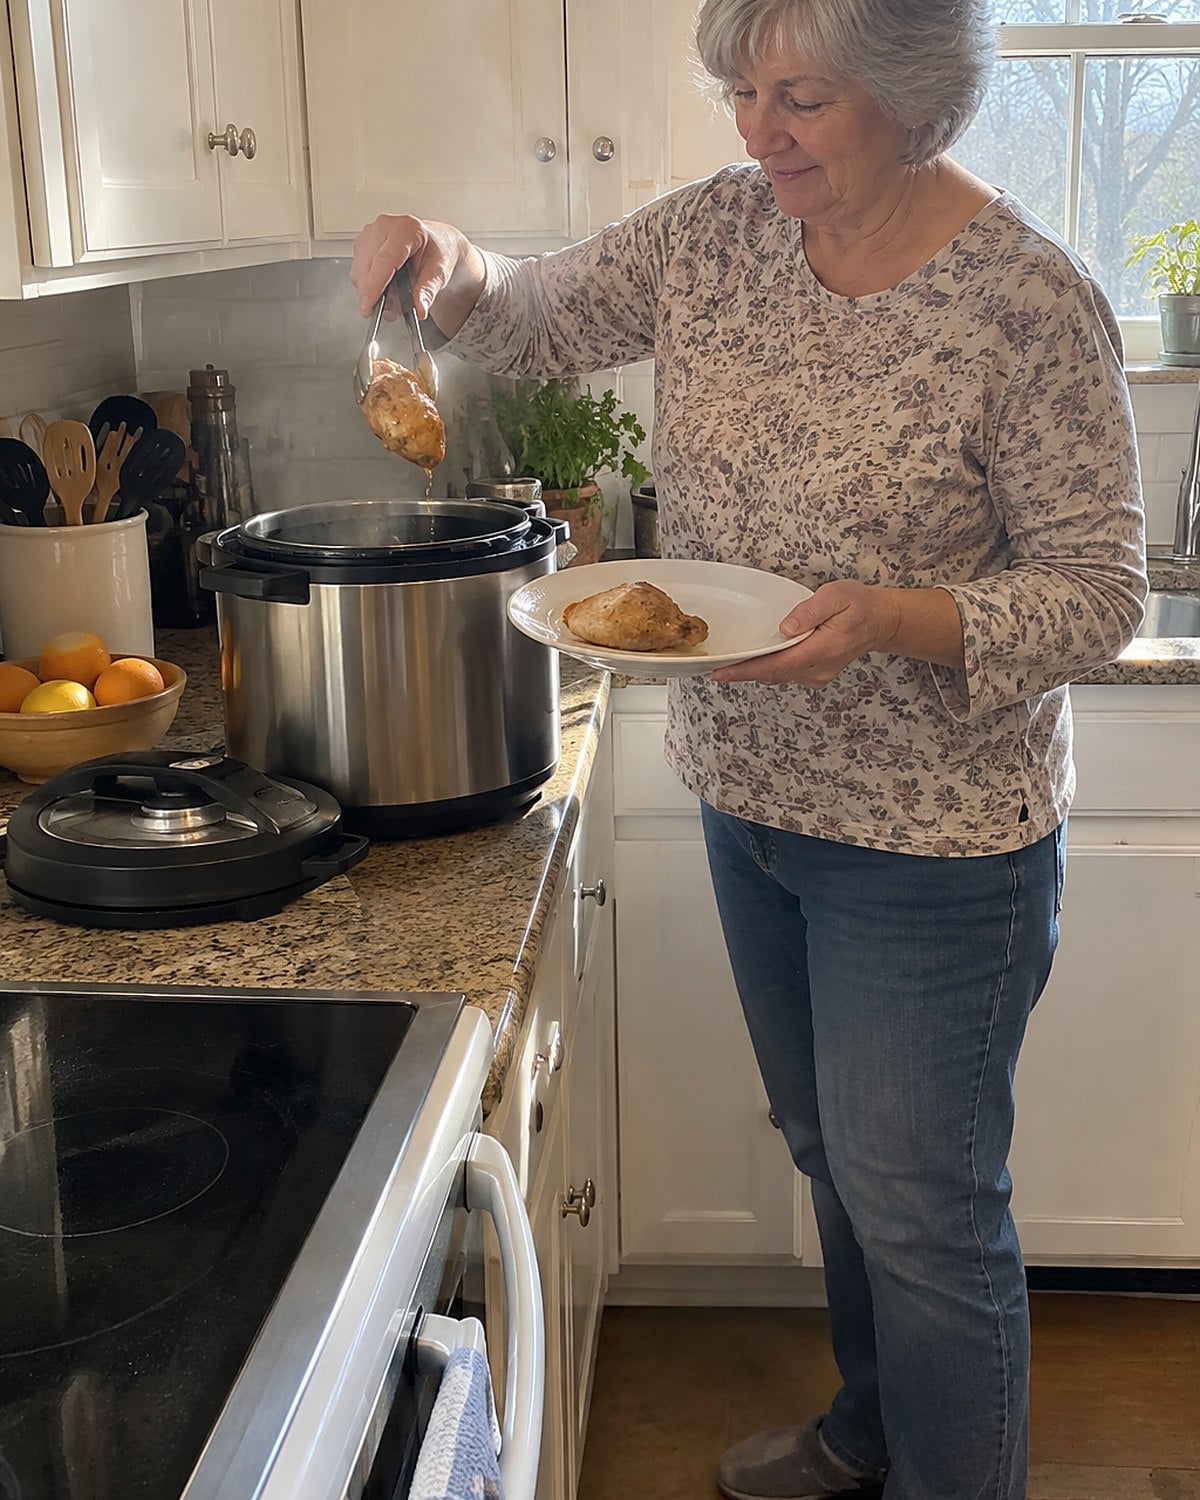
The pin drops. You open the lid and see steam curl out of the pot.
That pin told you pressure had released. It didn't measure the chicken under the broth. After opening, lift a thick piece onto a plate and test it for 165°F. You'll get a better angle there than by chasing it around a deep pot.
For reheated leftovers, stir and test the center for 165°F. If the reading is low, return the food to heat and check again. Keep your hand out of the steam's path while moving the lid.
There's no need to cut the chicken open to see whether the pressure cooker did its work. Give the probe room, and let the center answer.
#2 The Nuggets Beside the High Chair
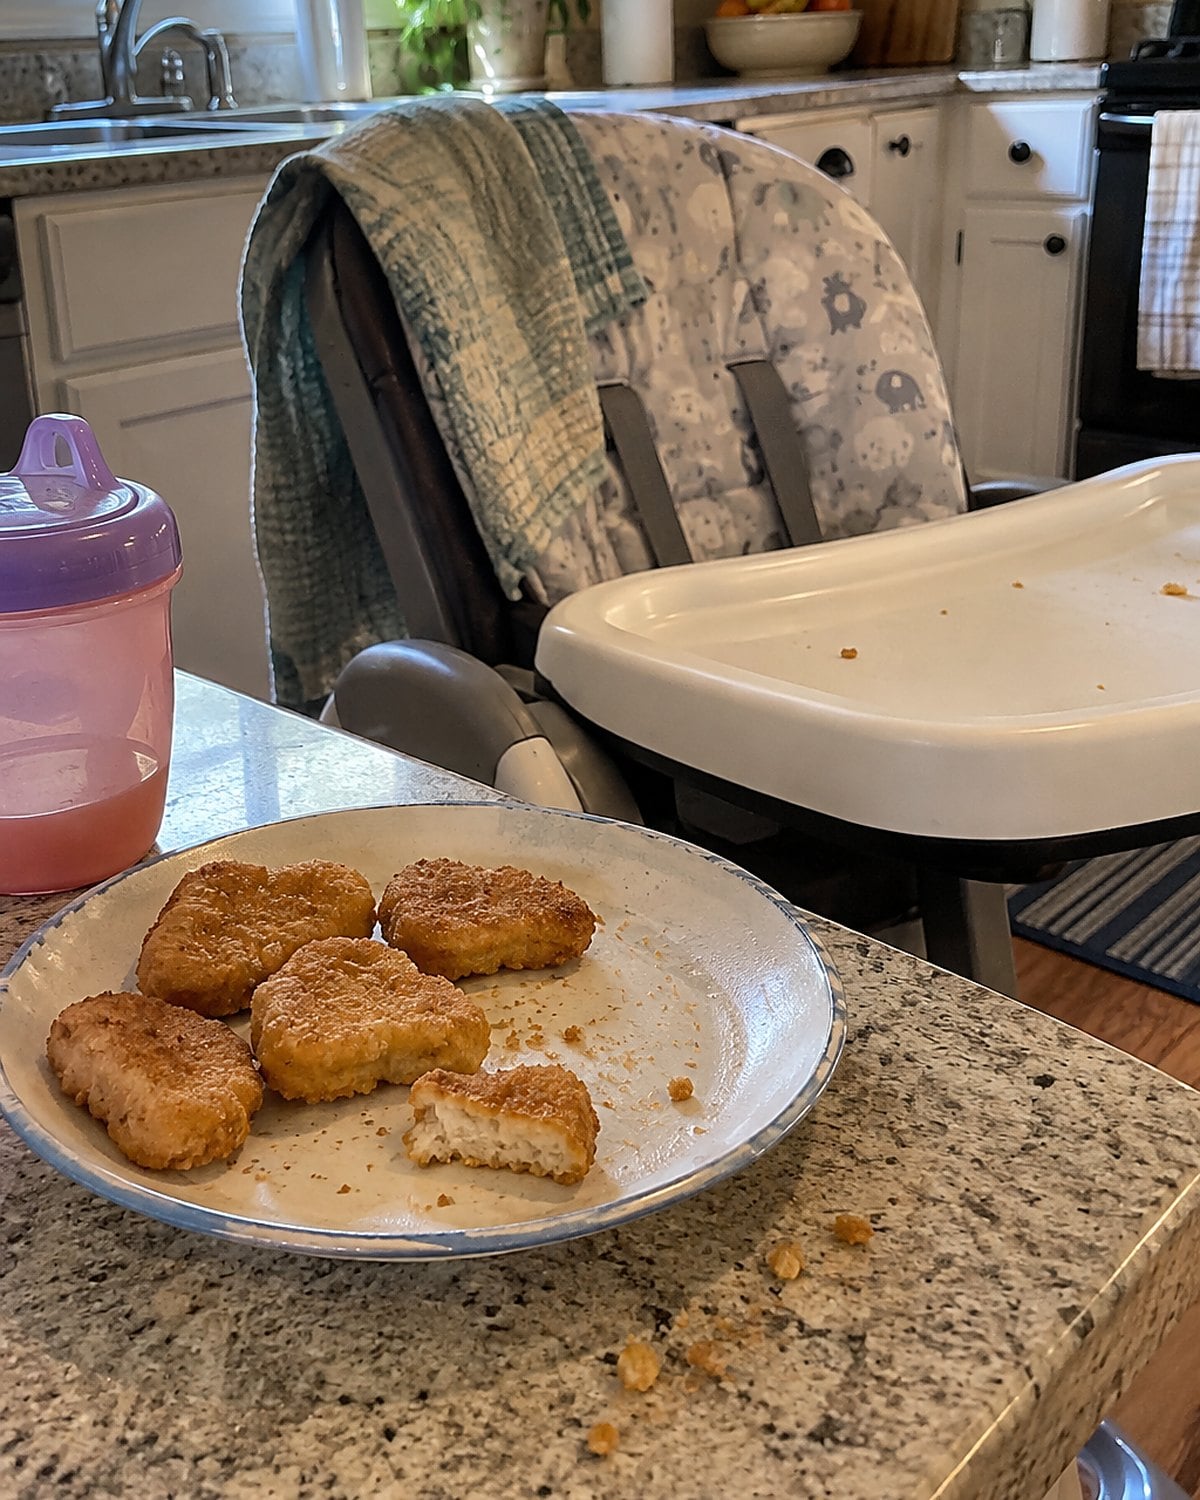
A grandchild wants the nuggets now. The small pieces look browned, and one is already cooling on a plate by the high chair.
For homemade chicken nuggets, test a thick piece for 165°F. Insert the probe from the side so its sensing area stays in the chicken. If the pieces are too small for your thermometer, use a probe suited to thin foods. A reading from the hot baking sheet doesn't settle it.
Frozen packaged nuggets have their own cooking directions. Follow the package, and check the center with a thermometer when there's room for a sound reading. Browning on a crumb coating tells you about the coating first.
Then let that hot nugget cool before it goes onto the little plate. The temperature that finishes cooking it isn't the temperature for a child's first bite.
#1 The Thermometer in the Ice Glass
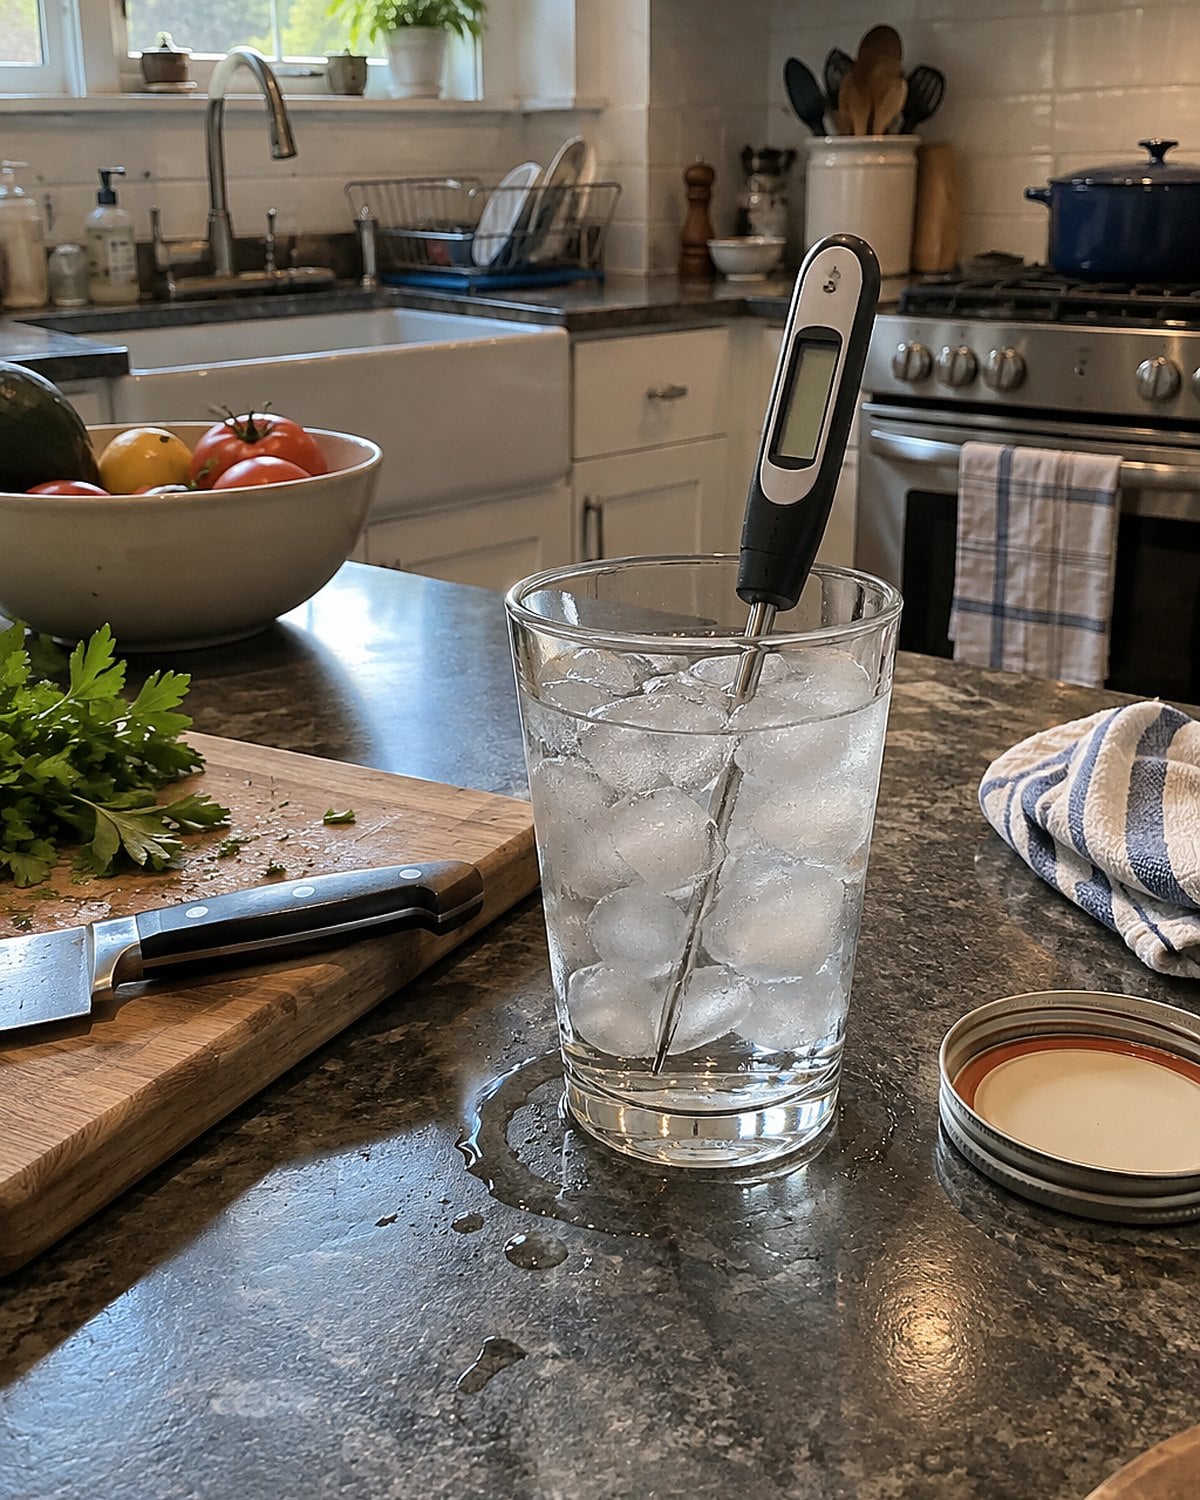
You can put the probe in exactly the right place and still get a bad answer. The display won't tell you it has drifted. An ice-water check will.
Fill a glass with ice and add cold water to fill the spaces between the cubes. Stir. Put the thermometer's sensing area in the middle of the ice water, clear of the glass. It should read 32°F.
If the reading is off, consult the instructions for your thermometer. Some models have a calibration adjustment; others need replacing. Guessing how far off it is leaves you making the same old dinner cut, only with a number on the screen.
Try the check before the next roast goes in. The glass costs you less than a slice of meat, and you don't have to wait for supper to learn whether you trust the tool.
The bottom line
A browned edge, a bubbling top, and a good smell tell you something happened. They don't tell you what happened in the center.
The ready version of you has checked the thermometer in ice water and knows where its sensing area belongs. Which dish in your kitchen still gets that first suspicious cut?

Leave a Reply