

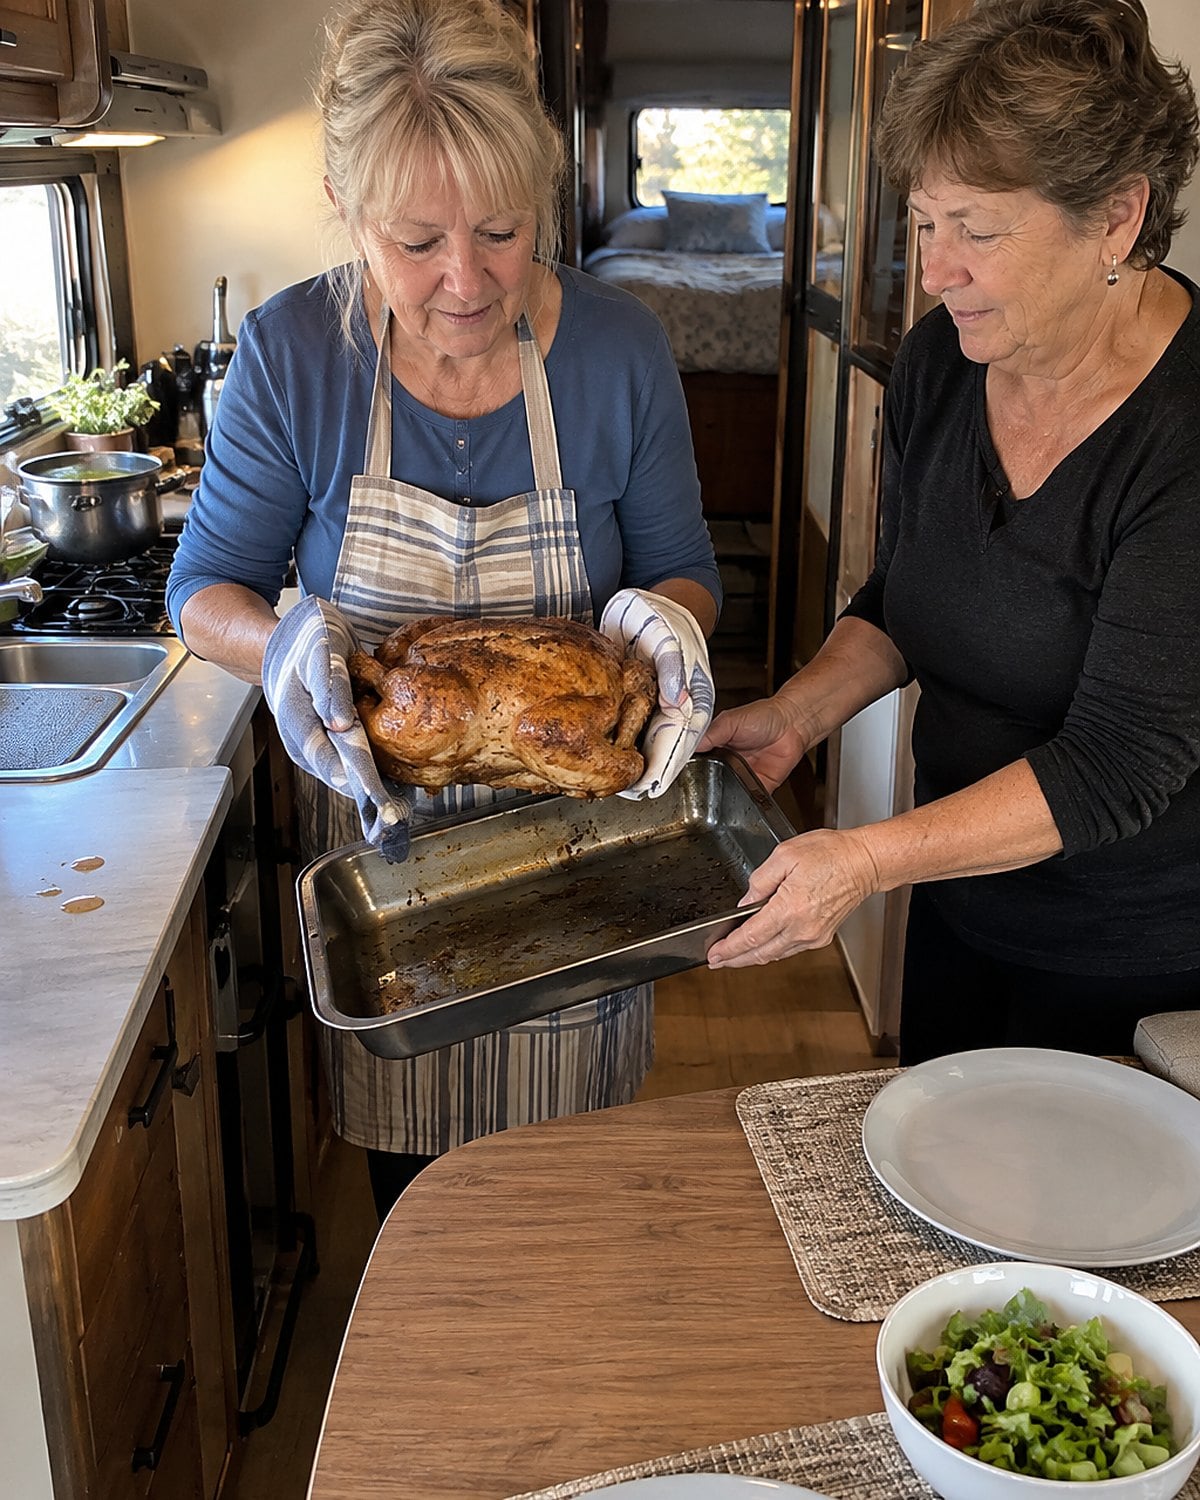
The roasting pan comes out of the oven, and its handles leave two dark marks on the folded towel. You lift the bird to a platter. Underneath sits a patch of browned juices that deserves your attention before anybody starts clearing up.
There was a way to make one chicken keep working after supper. It took a sharp knife, a clean container, and the habit of looking at what remained before washing the pan. Some of those habits are worth keeping exactly. Others need a firmer food-safety rule than the one you grew up with.
#23 The Backbone Under the Kitchen Shears
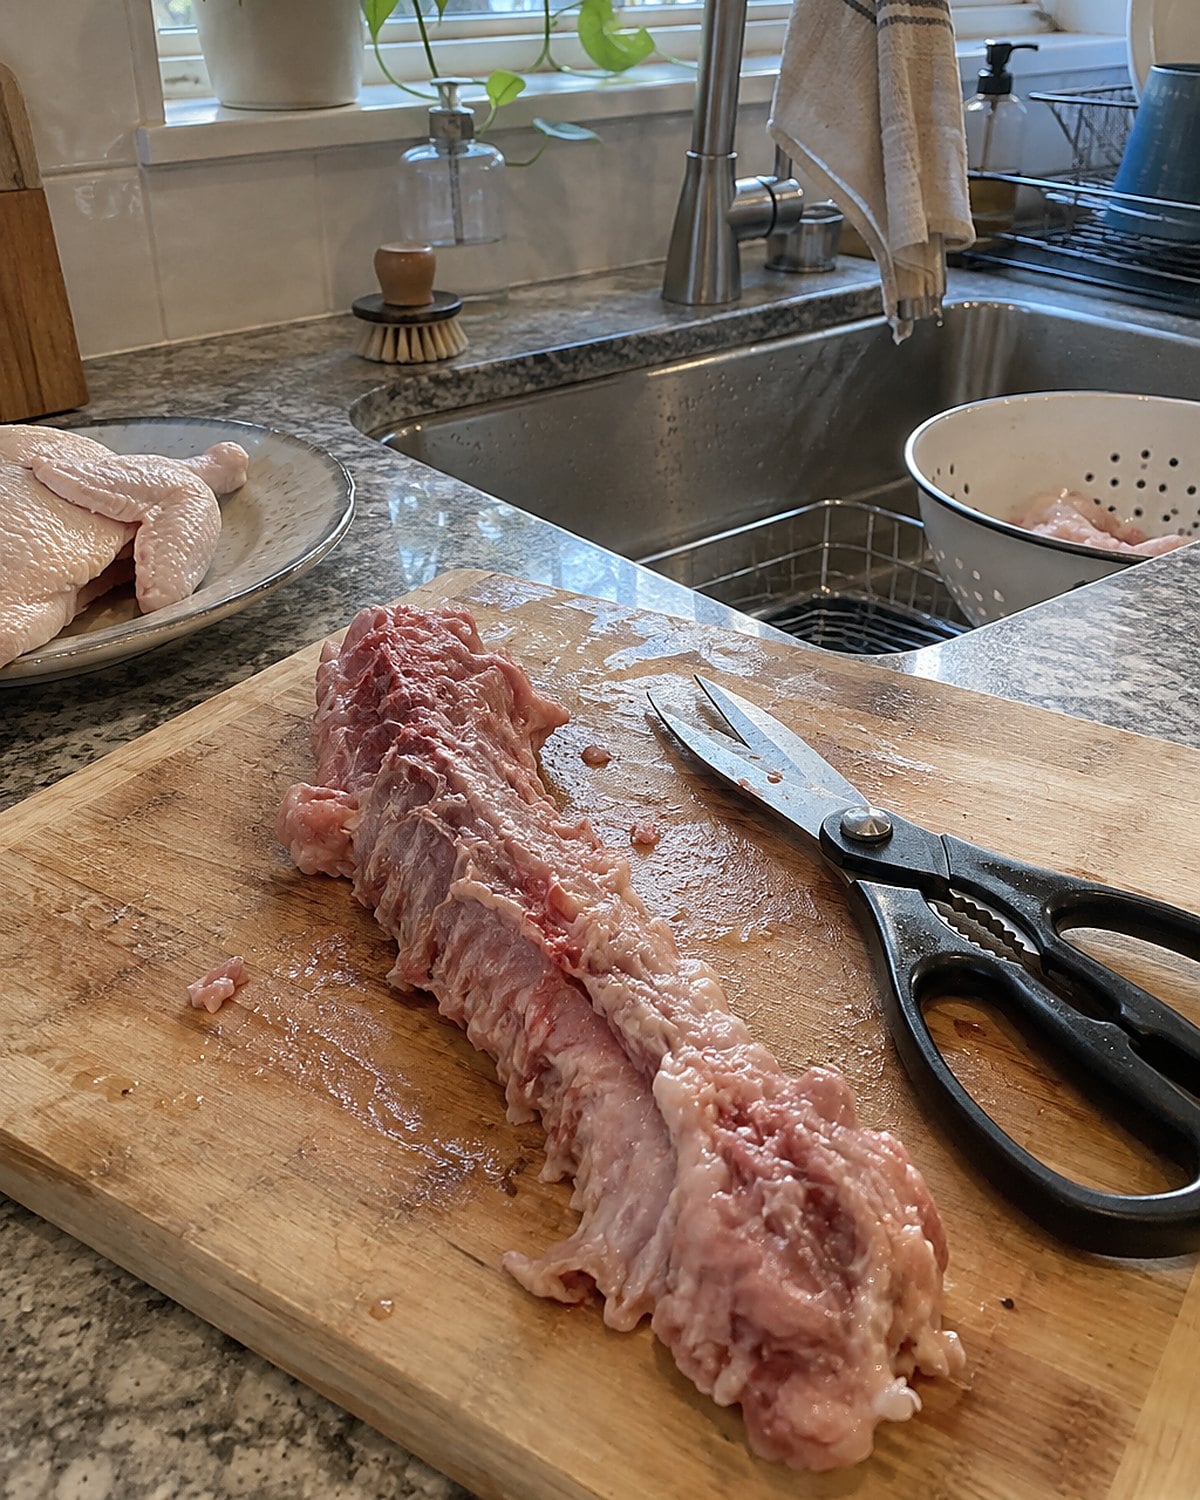
The backbone looks like the least promising part of a chicken. It also makes a fine start for broth when you cut a bird open to roast it flat. Set the chicken breast-side down and cut along each side of the spine with sturdy kitchen shears. Press the bird flat, then refrigerate the backbone while the chicken roasts.
At cleanup, put the backbone in a pot with water. Bring it to a boil, then keep it at a simmer until the liquid tastes of chicken. Strain it before storing it.
Those shears need a proper wash after touching raw poultry. The USDA Food Safety and Inspection Service advises against washing the chicken itself: splashing water spreads raw juices around the sink. Your grandmother's thrift makes sense here. Rinsing the bird doesn't.
#22 The Liver in a Separate Bowl
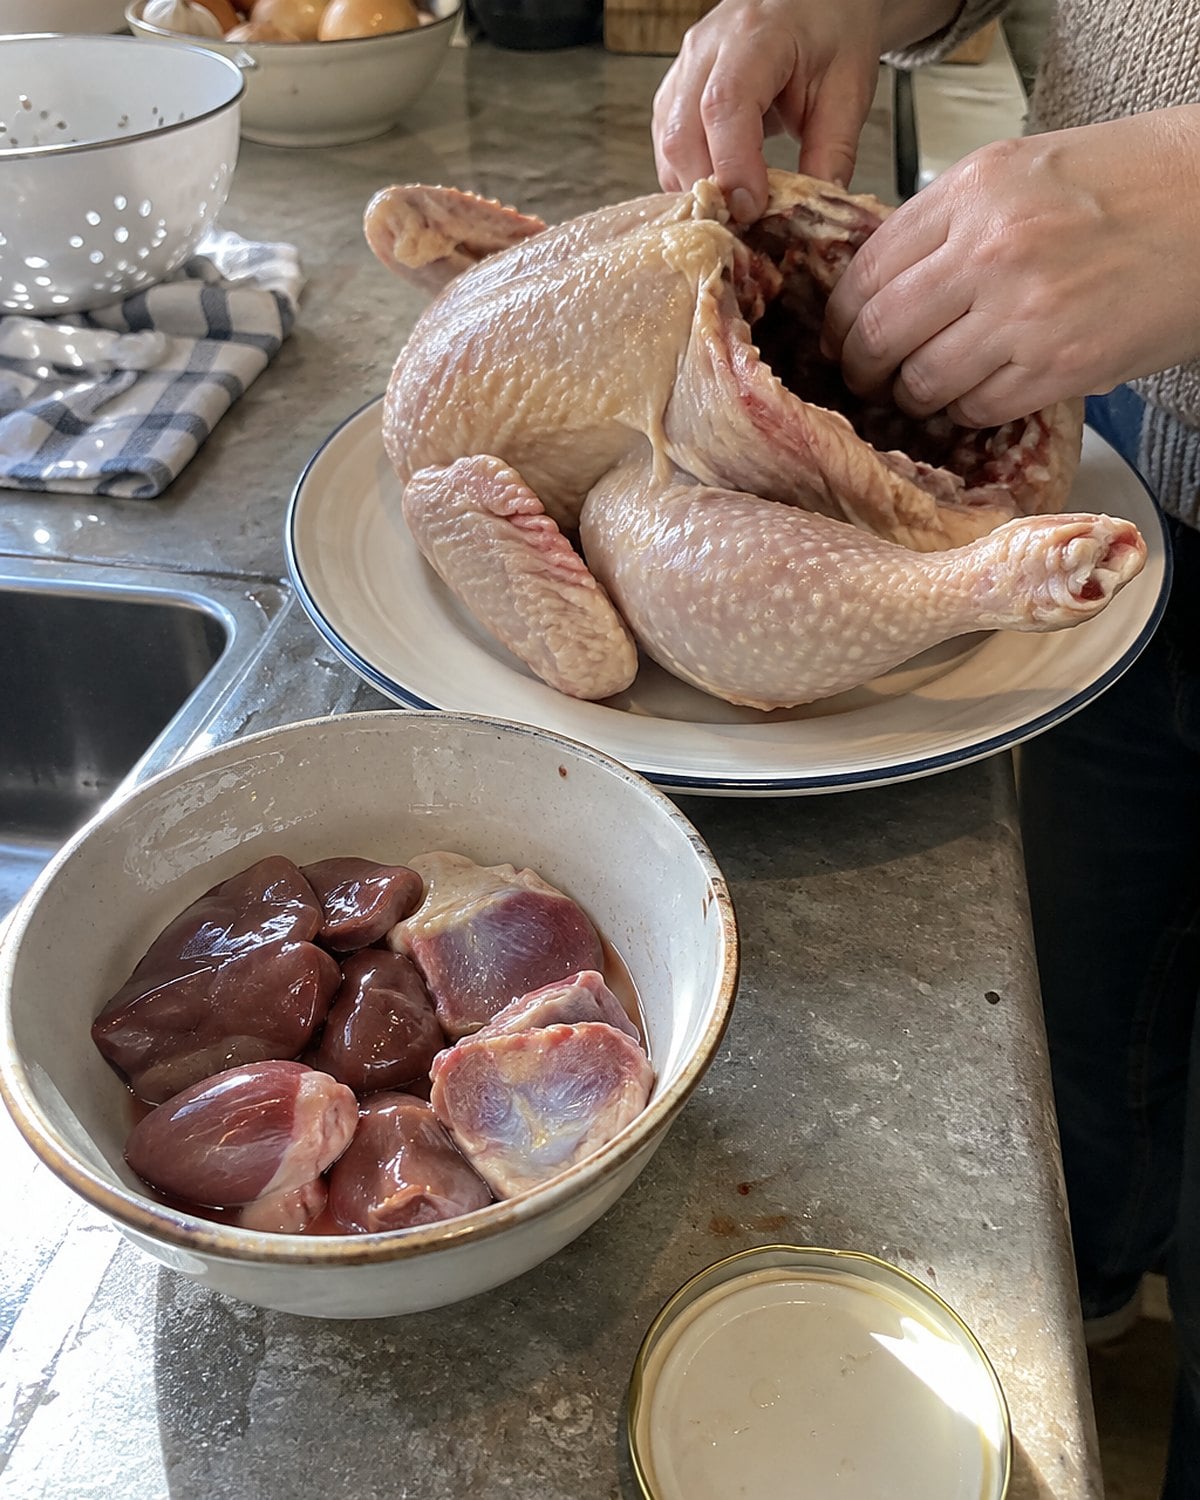
The small packet inside a whole chicken asks for a decision before the oven goes on. Open it over a bowl. A liver looks dark and smooth; the heart is firm, and the gizzard feels muscular. Take the packet out before cooking the bird.
Liver has a strong flavor and a tender texture. Fry it separately with onion rather than dropping it into a pot of broth, where its taste takes over. Check the thickest part of each giblet for 165°F, following the USDA's poultry guidance. Then you get the pan of onions without guessing whether the gizzard is done.
Look closely before you start. If you find a greenish smear from a broken gallbladder on the liver, discard that liver. There's plenty of chicken left to cook; no saved morsel earns a bitter panful.
#21 The Neck Waiting for Broth
The neck slips out of the packet just as you're clearing space for the roasting pan. Where does it go? Into a small pot, with enough water to cover it and any other bones you've saved.
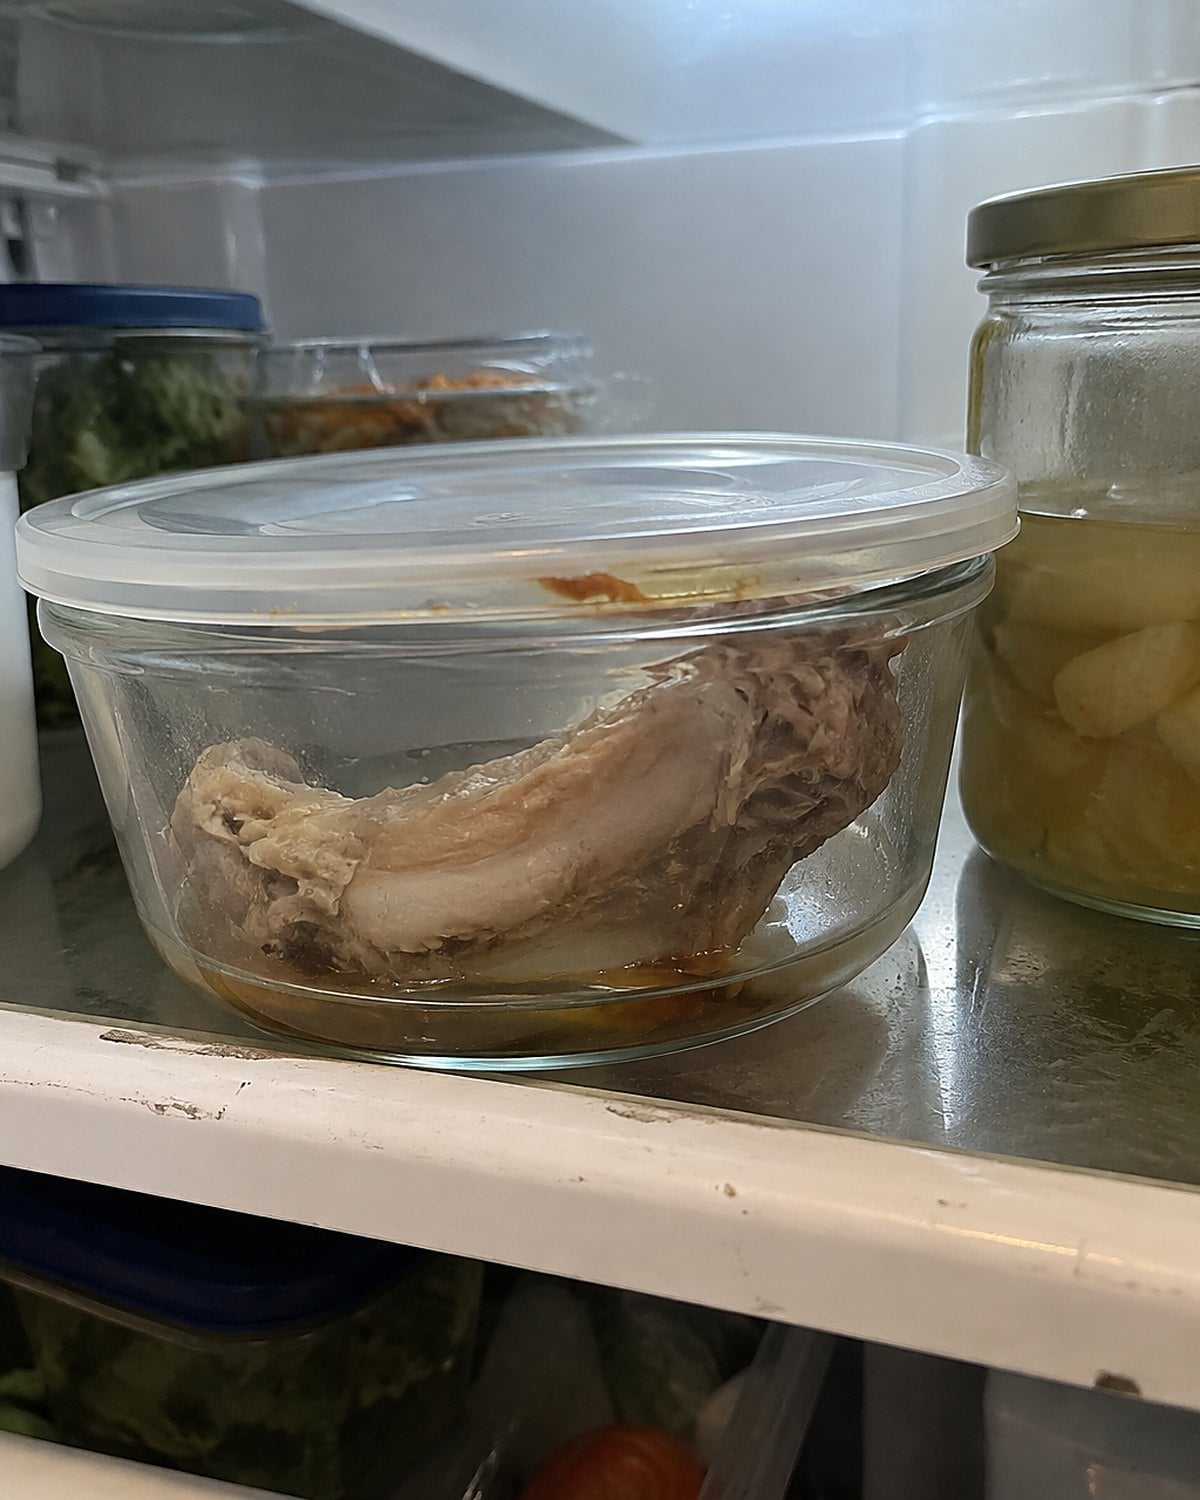
First, give it a place to wait. Raw necks belong in the refrigerator while you prepare the bird. Don't leave one on the counter to deal with after supper.
If you're making broth tomorrow, put the neck in a covered container. Keep the fridge at 40°F or below; the FDA's refrigerator guidance explains why a thermometer inside the fridge beats guessing from the dial. Now you know where that odd little piece is when the pot comes out.
#20 The Skin Saved for Cracklings
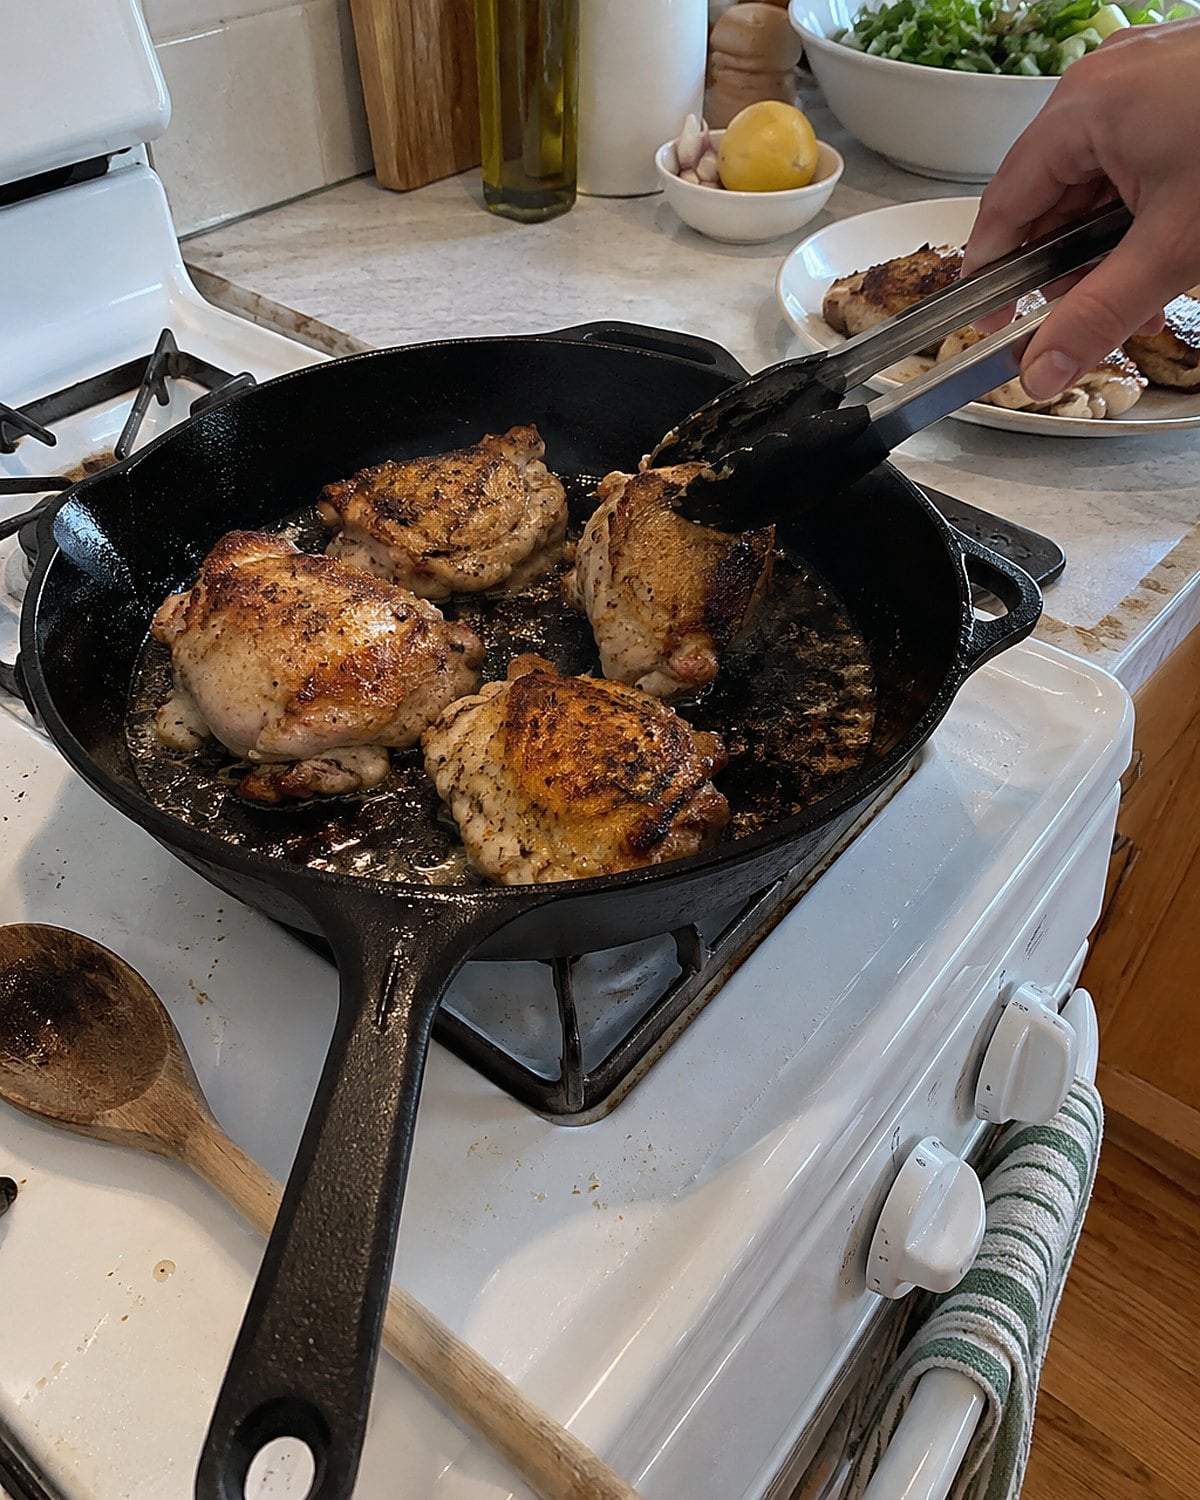
A strip of loose chicken skin is slippery work on the cutting board. In a skillet, it changes. The fat melts out, the edges shrink, and the skin turns crisp enough to crumble over potatoes or beans.
Cut loose skin into pieces and start it in a cool skillet. Keep the heat low enough for the fat to render before the skin burns. Turn the pieces as they color. Lift them out when they're crisp, then drain them on a paper towel.
Stay near the stove. A crowded pan steams at first, then spits as the moisture cooks off. That change in sound tells you to watch closely.
The fat left behind has its own job, so don't scrub the skillet yet. If the skin came off a raw bird, cook it thoroughly. For the chicken itself, check the thickest part with a thermometer, away from the bone, for 165°F.
#19 The Skillet of Clear Chicken Fat
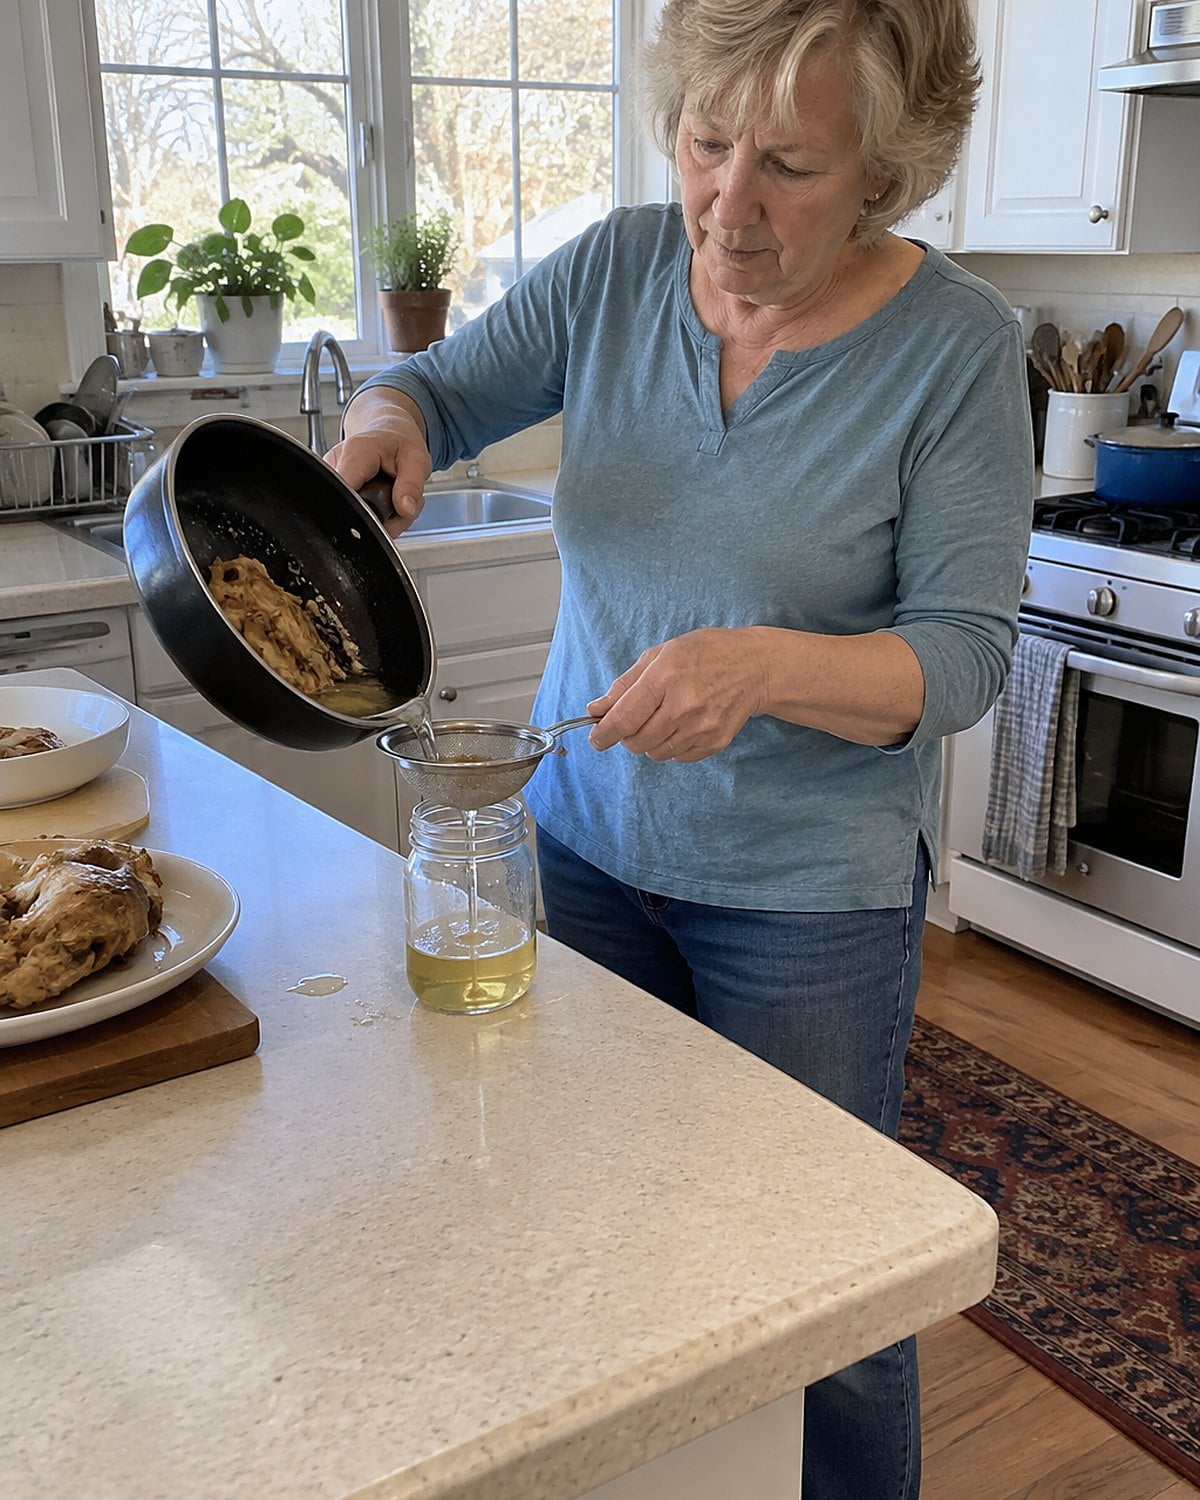
That clear fat under the cracklings is useful for onions and potatoes. Pour it through a fine strainer into a clean container, leaving the browned bits in the skillet. Then refrigerate it promptly.
Here's the distinction worth remembering. Fat rendered from skin in a skillet isn't the liquid beneath a roasted chicken. The roasting pan holds meat juices and water along with its fat. A jar of pan drippings belongs with cooked leftovers in the fridge, never on a pantry shelf.
When you cook with the strained fat, start with a spoonful. Let it warm, then add the onions. They should sizzle when they land, not turn dark before they soften.
If the skillet still holds browned pieces after rendering, add a splash of water and scrape them up for the next savory pot. That leaves the fat clean for cooking and puts the browned flavor where it belongs.
#18 The Pan Drippings After Sunday Dinner
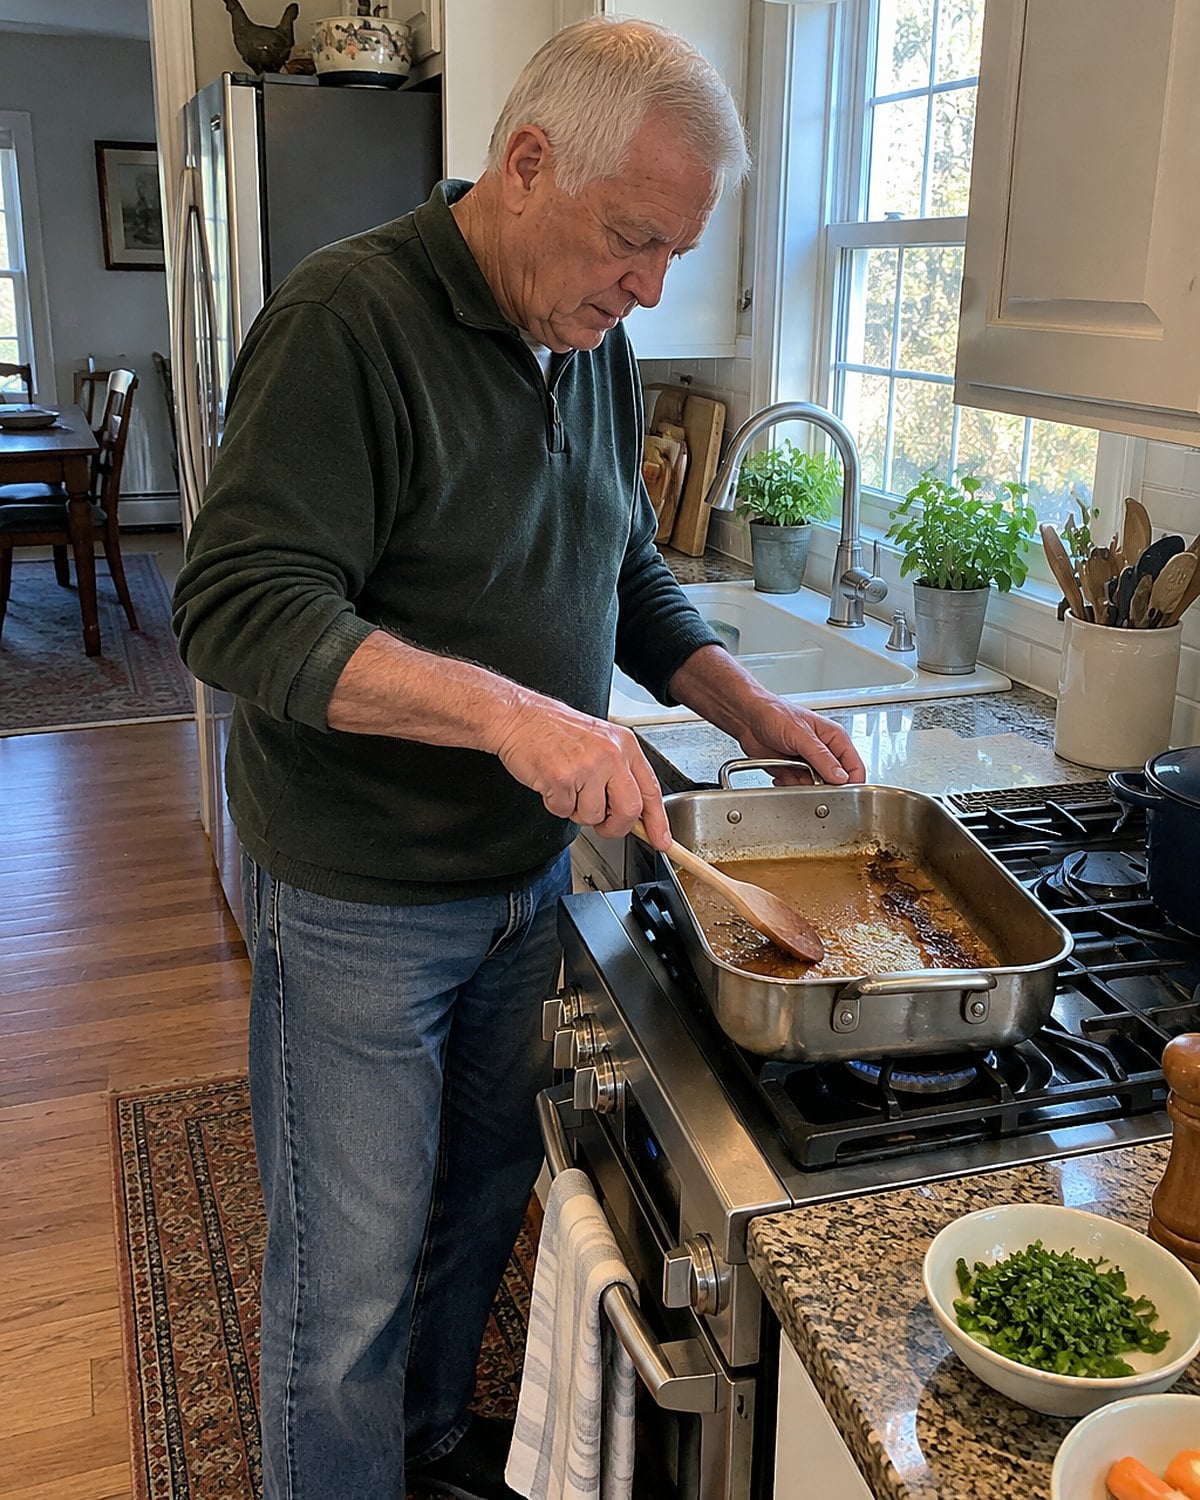
The bird is carved, someone has asked for the last wing, and the roasting pan is still warm. That's your moment. Tip the pan so the fat gathers at one end. Spoon off what you want, then set the pan over low heat and add a little water.
Scrape the browned patches with a wooden spoon. Those stuck-on bits dissolve into the liquid, giving you a quick base for gravy. For thicker gravy, cook flour briefly in some of the fat before whisking in the hot liquid. Taste before salting: a well-seasoned bird has already seasoned the pan.
Don't put the roasting pan into the sink to soak first. Water in the sink gets thrown away; water added over heat picks up supper's best browned flavor.
Once the gravy is done, move it into a shallow container. Give it fridge space within 2 hours, as the USDA's leftovers guidance advises. Otherwise, all that scraping has saved gravy you shouldn't keep.
#17 The Wishbone Above the Breast
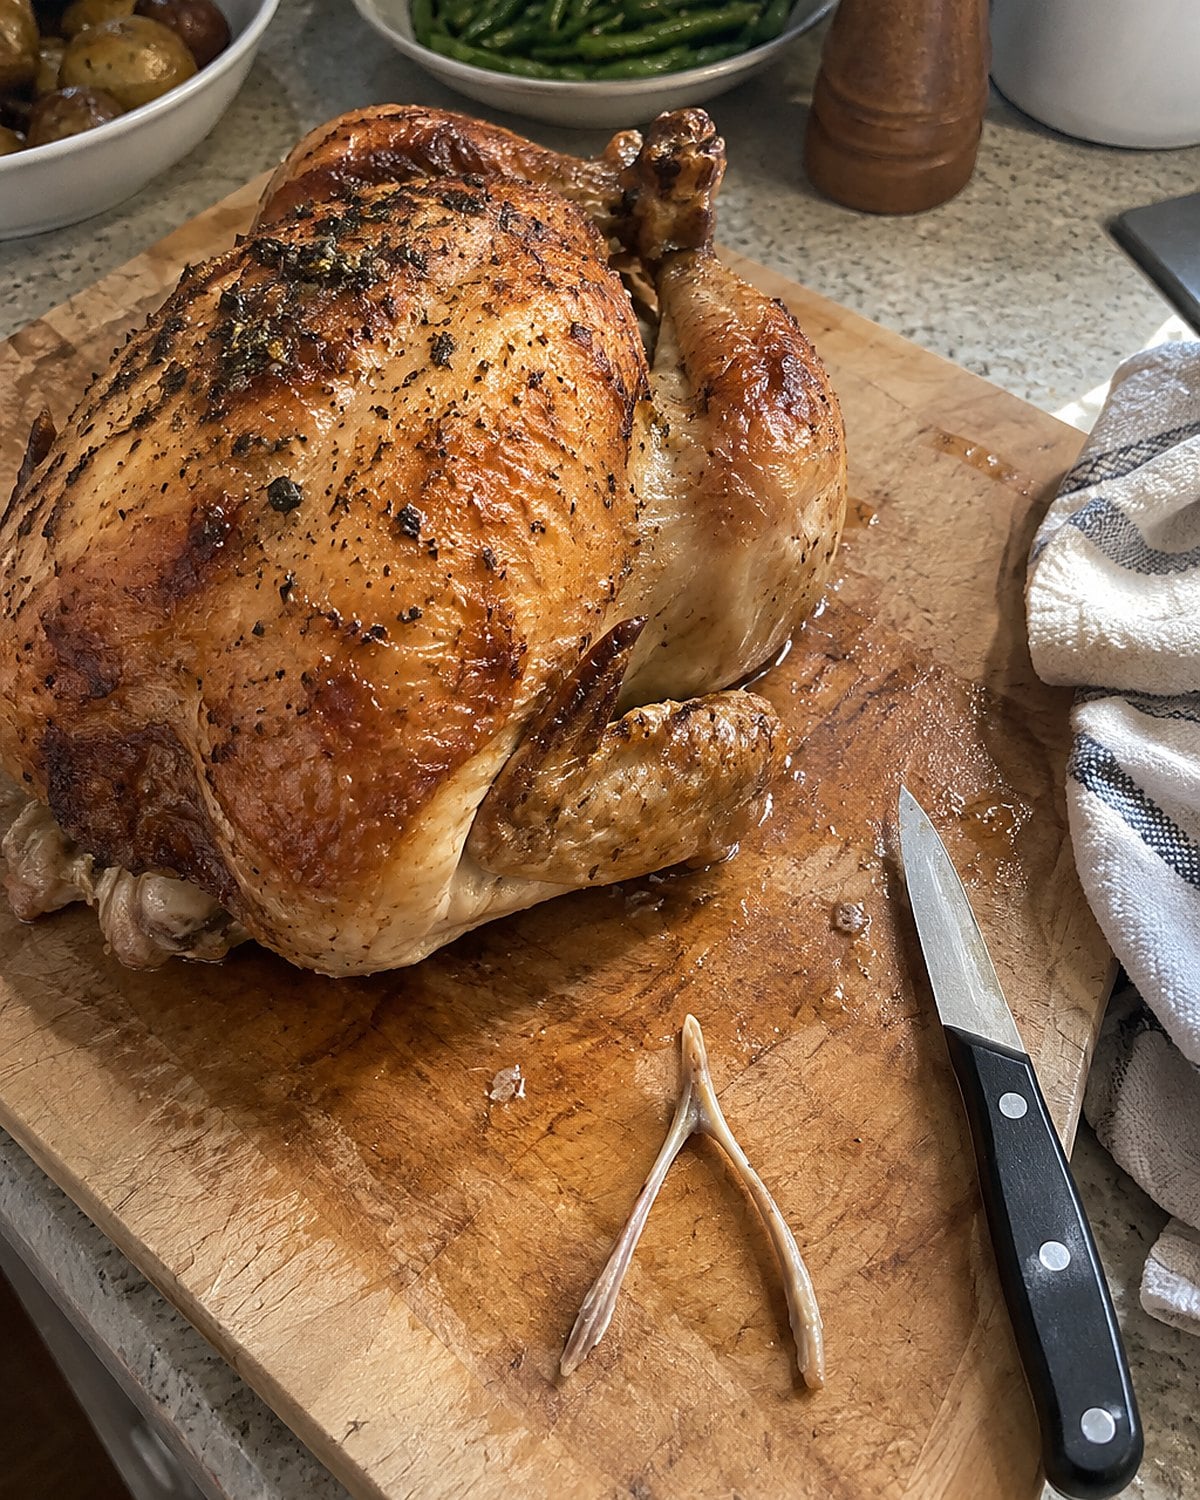
Feel along the opening at the neck end of a whole chicken. The wishbone sits above the breast like a narrow fork. Slip the tip of a small knife along its sides, then pull it free before roasting.
Why bother? When you carve, your knife runs into less bone near the top of the breast. You get cleaner slices instead of ragged pieces left clinging to the carcass. Save the wishbone with the other bones for broth.
Go slowly with the knife; the bone's outline is easier to feel than to see. Once it's out, the breast is simpler to carve for supper, and the leftover slices look like something you'd want in tomorrow's sandwich.
 You might also like27 Things Your Mother Did With Leftovers That Would Make a Chef Wince
#16 The Second Plate Before Seconds
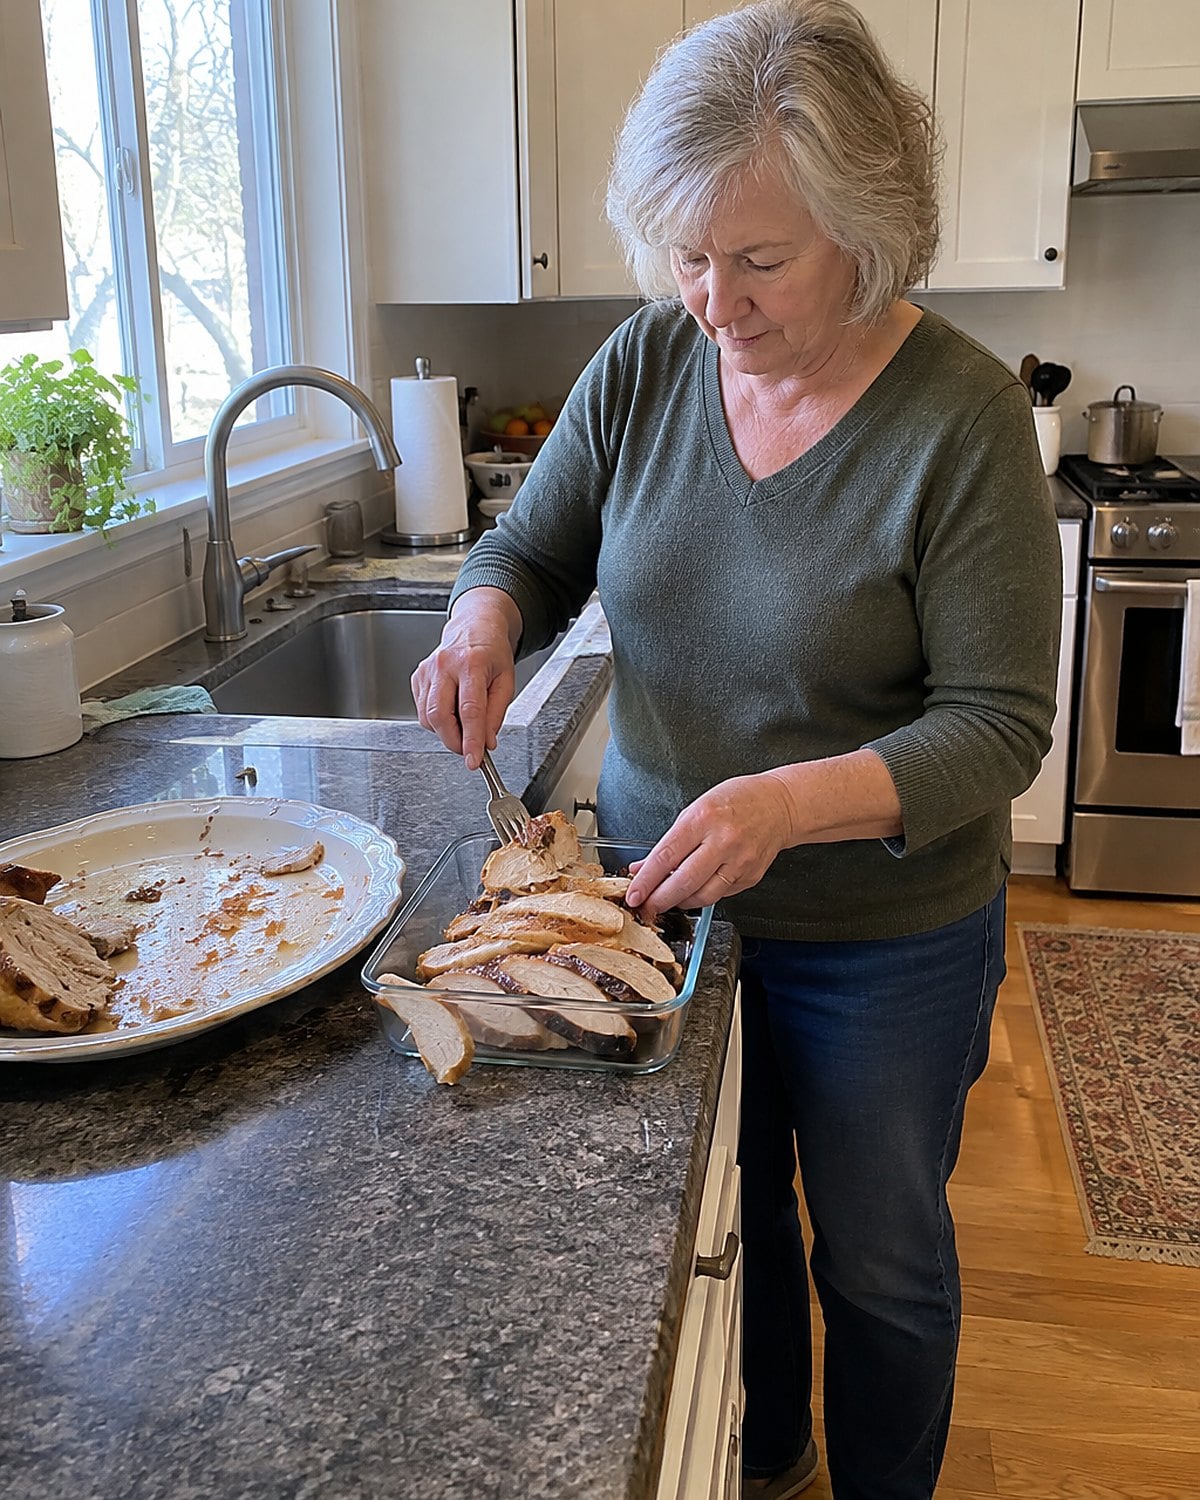
At a full Sunday table, the platter went round until only bones remained. At a table for two, you have another choice. Before supper, move tomorrow's portion to a clean, shallow container. Then put the platter out.
This isn't about denying anybody another piece. It keeps clean leftovers away from hands, serving forks, and a long conversation after dinner. Set aside the sliced breast for sandwiches, or reserve the dark meat for a dish that will take reheating well.
Cover and refrigerate the saved portion within 2 hours of cooking. You have 3 to 4 days to use cooked poultry from a fridge held at 40°F or below, according to the FoodSafety.gov cold storage chart. If lunch won't happen in that window, freeze the portion.
You still get to offer seconds. You'll also know where lunch went.
#15 The Wing Tips in the Stockpot
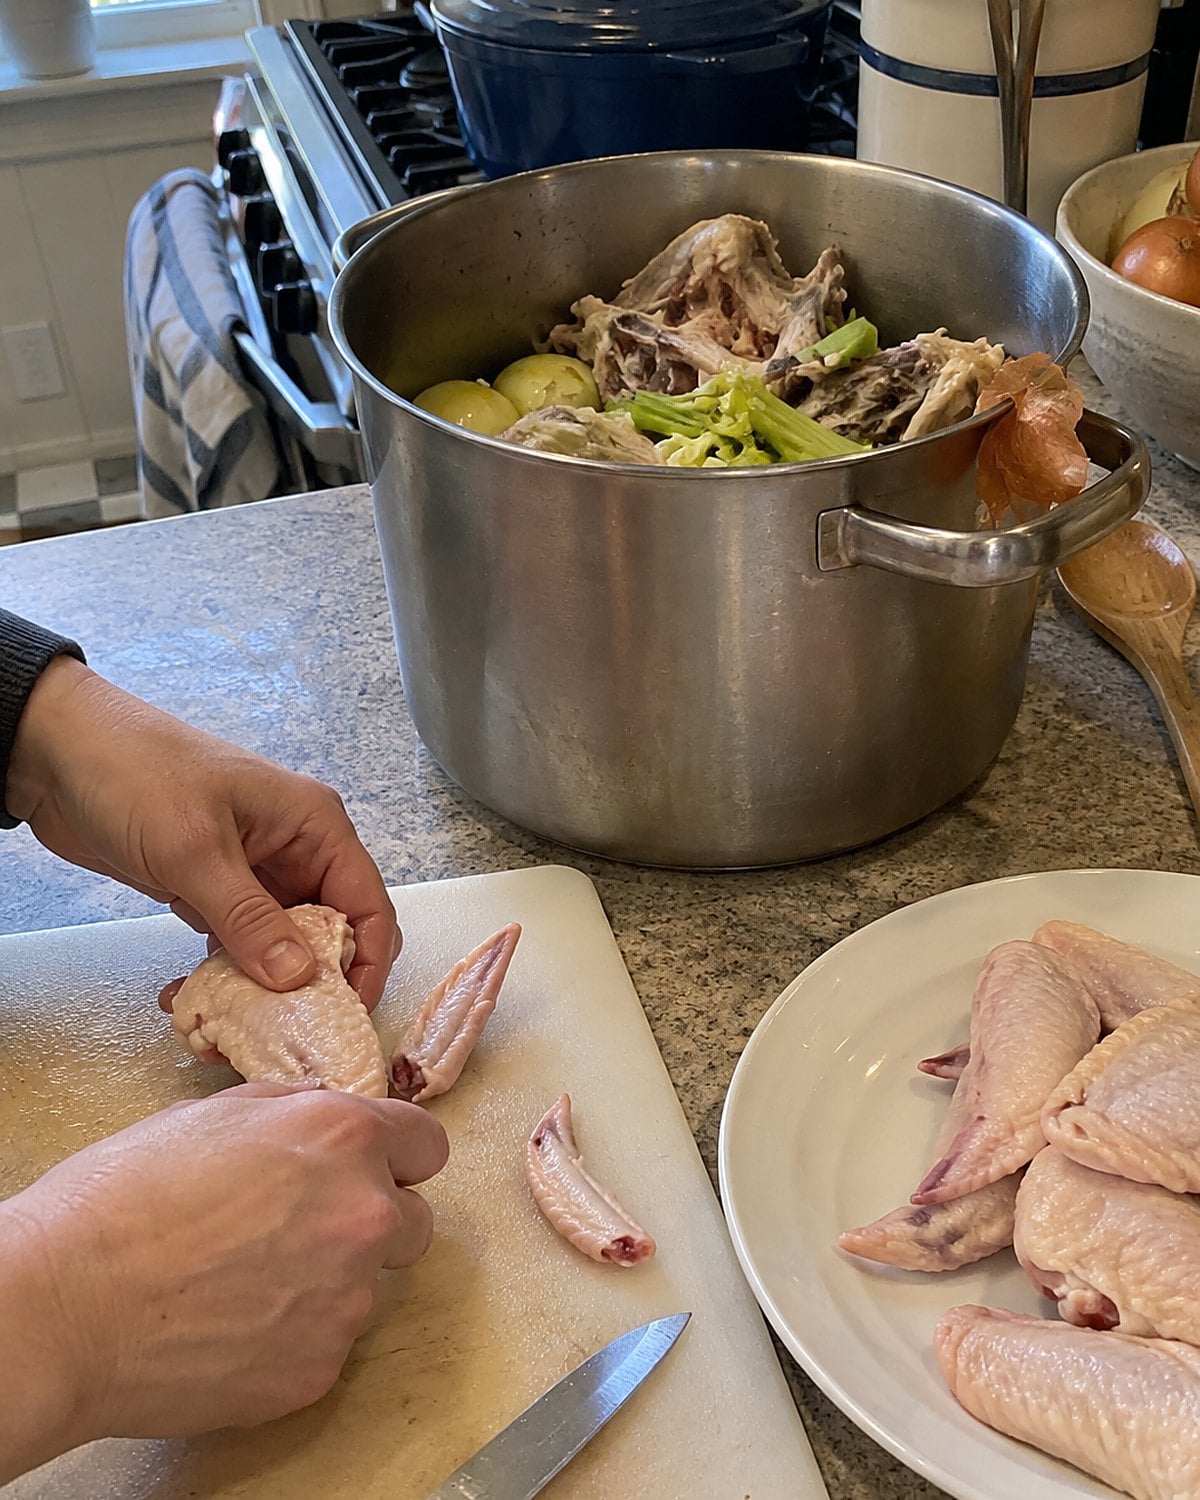
Wings have plenty of skin, joints, and bone for their size. When you trim the tips before roasting, they look too small to fuss over. Drop them into the stockpot with the carcass instead.
What do they add? The connective tissue releases gelatin as it cooks, giving the chilled liquid some wobble. That's a different job from the onion ends, which add flavor but won't give broth that body.
Don't fill the pot so high that the pieces float far apart. Add enough water to cover them, then taste the strained broth. If it tastes thin, simmer the liquid uncovered to concentrate it.
#14 The Onion Ends Beside the Carcass
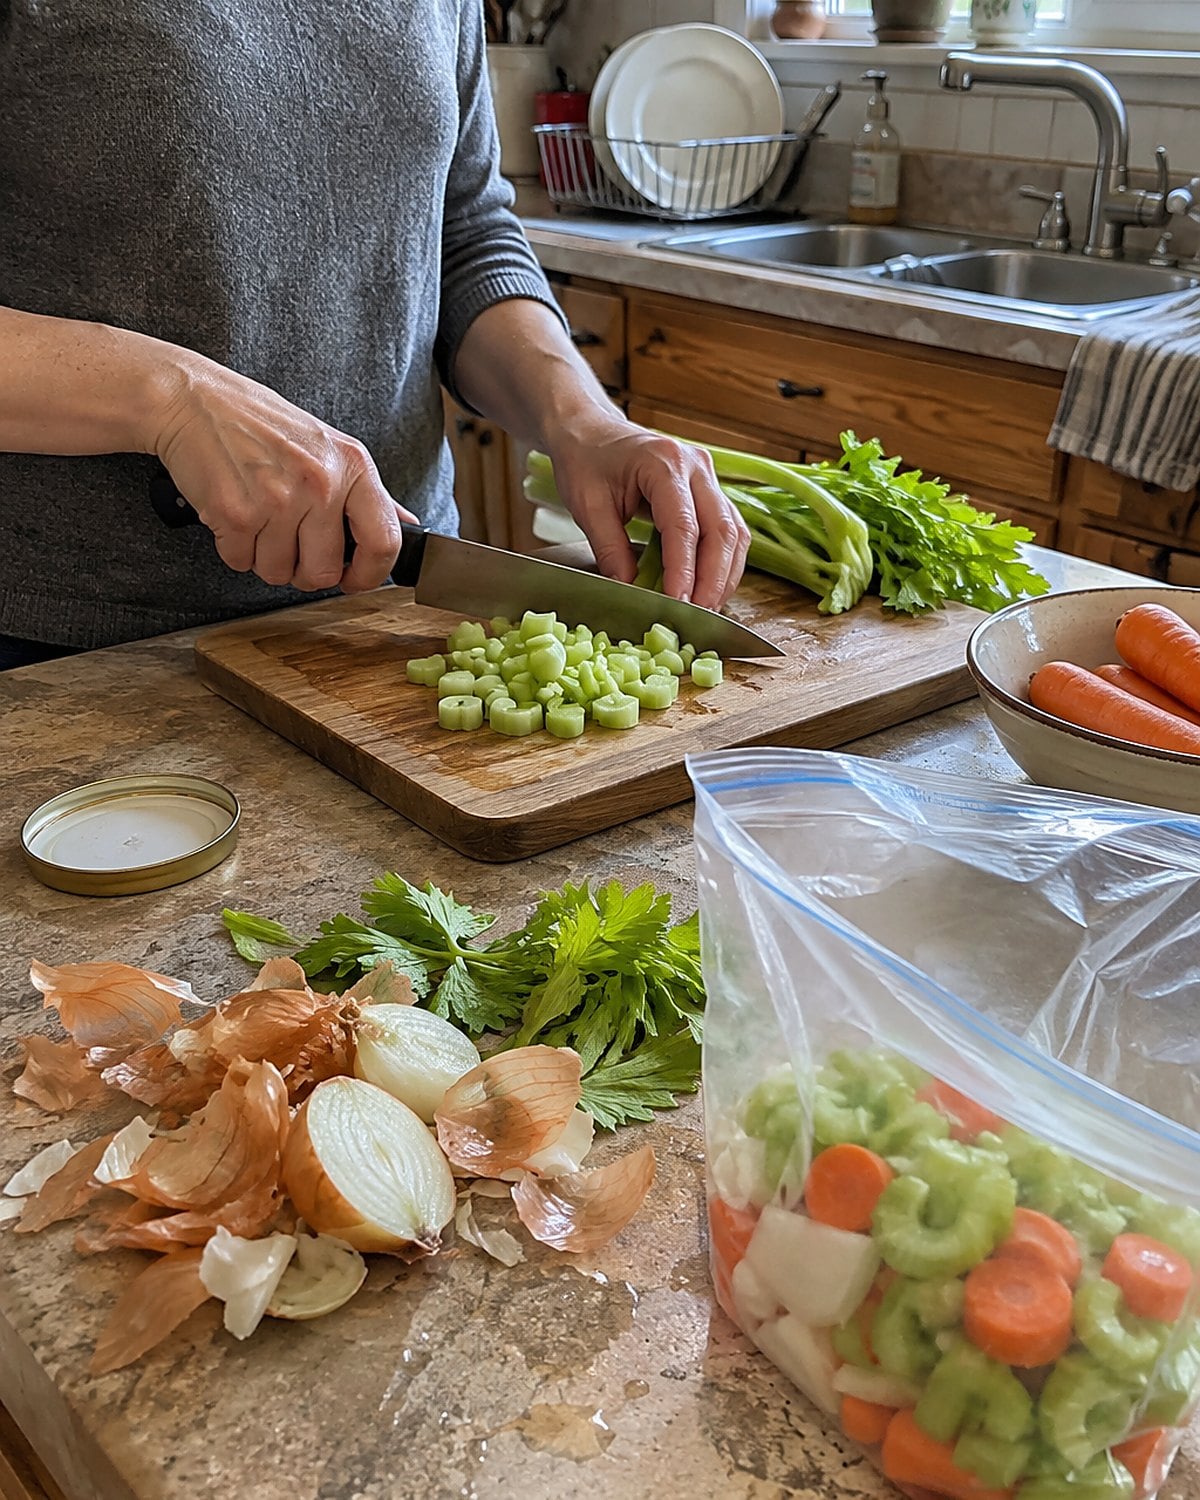
The onion ends left from making dinner still smell like onion. So do the celery leaves you pulled from the stalks. Put clean, sound trimmings beside the carcass while you assemble a broth pot.
Skip anything spoiled, slimy, or dirty. Also skip the bitter mountain of cabbage scraps that would drown out the chicken. You want a broth that still tastes like the bird.
A freezer bag helps when supper doesn't leave you enough trimmings. Add the clean pieces, press out the air, and write the date on the bag. When you make broth, tip them in with the bones. There's no need to buy a fresh bunch of celery just to discard most of it after straining.
The useful habit starts at the cutting board: decide which ends are food before they disappear into the trash bowl.
#13 The Breast Checked With a Thermometer
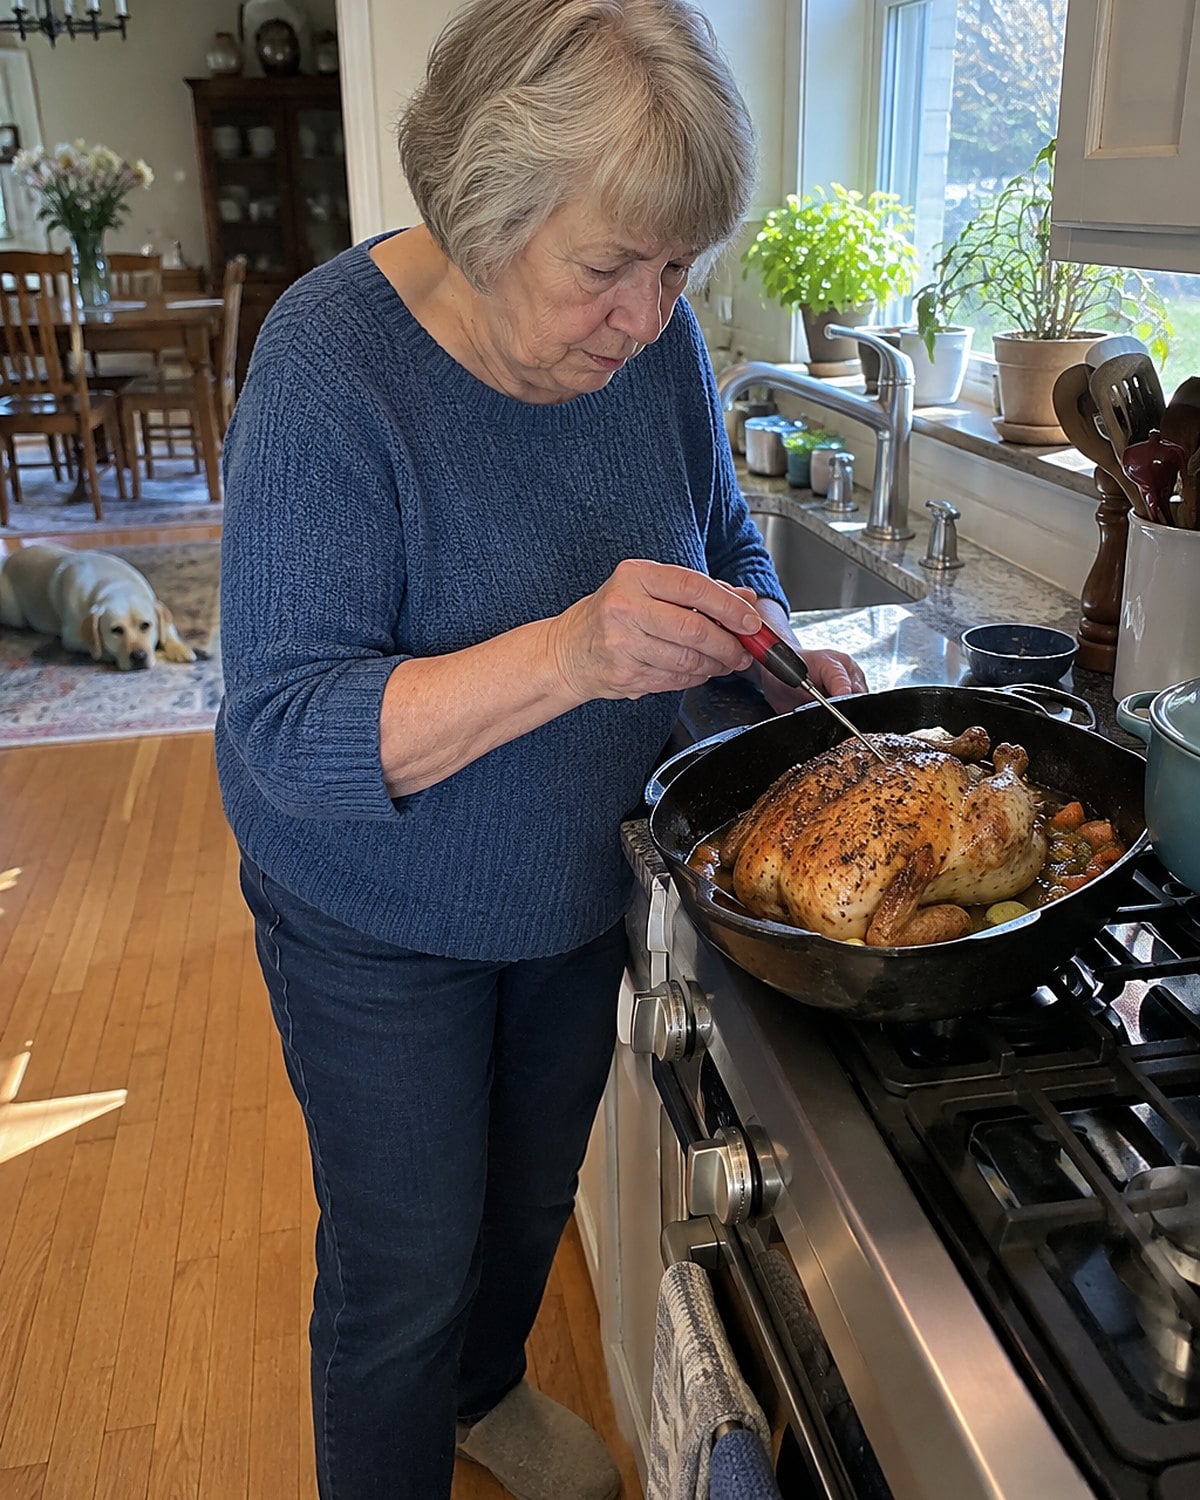
The white meat disappears first when everyone wants a neat slice. Yet a breast cooked past its best point turns dry even while the thigh stays pleasant.
Put down the carving knife for a moment.
Push a thermometer into the thickest part of the breast without touching bone. Check for 165°F. Check the thigh as well; the USDA sets the same safe minimum for all poultry. Give each reading time to settle before you decide the bird is done.
After roasting, let the chicken rest while you ready the plates. Carve only what the table needs. The breast you leave intact loses less moisture than a platter of thin slices left waiting beside the stove.
#12 The Carcass After the Platter Clears
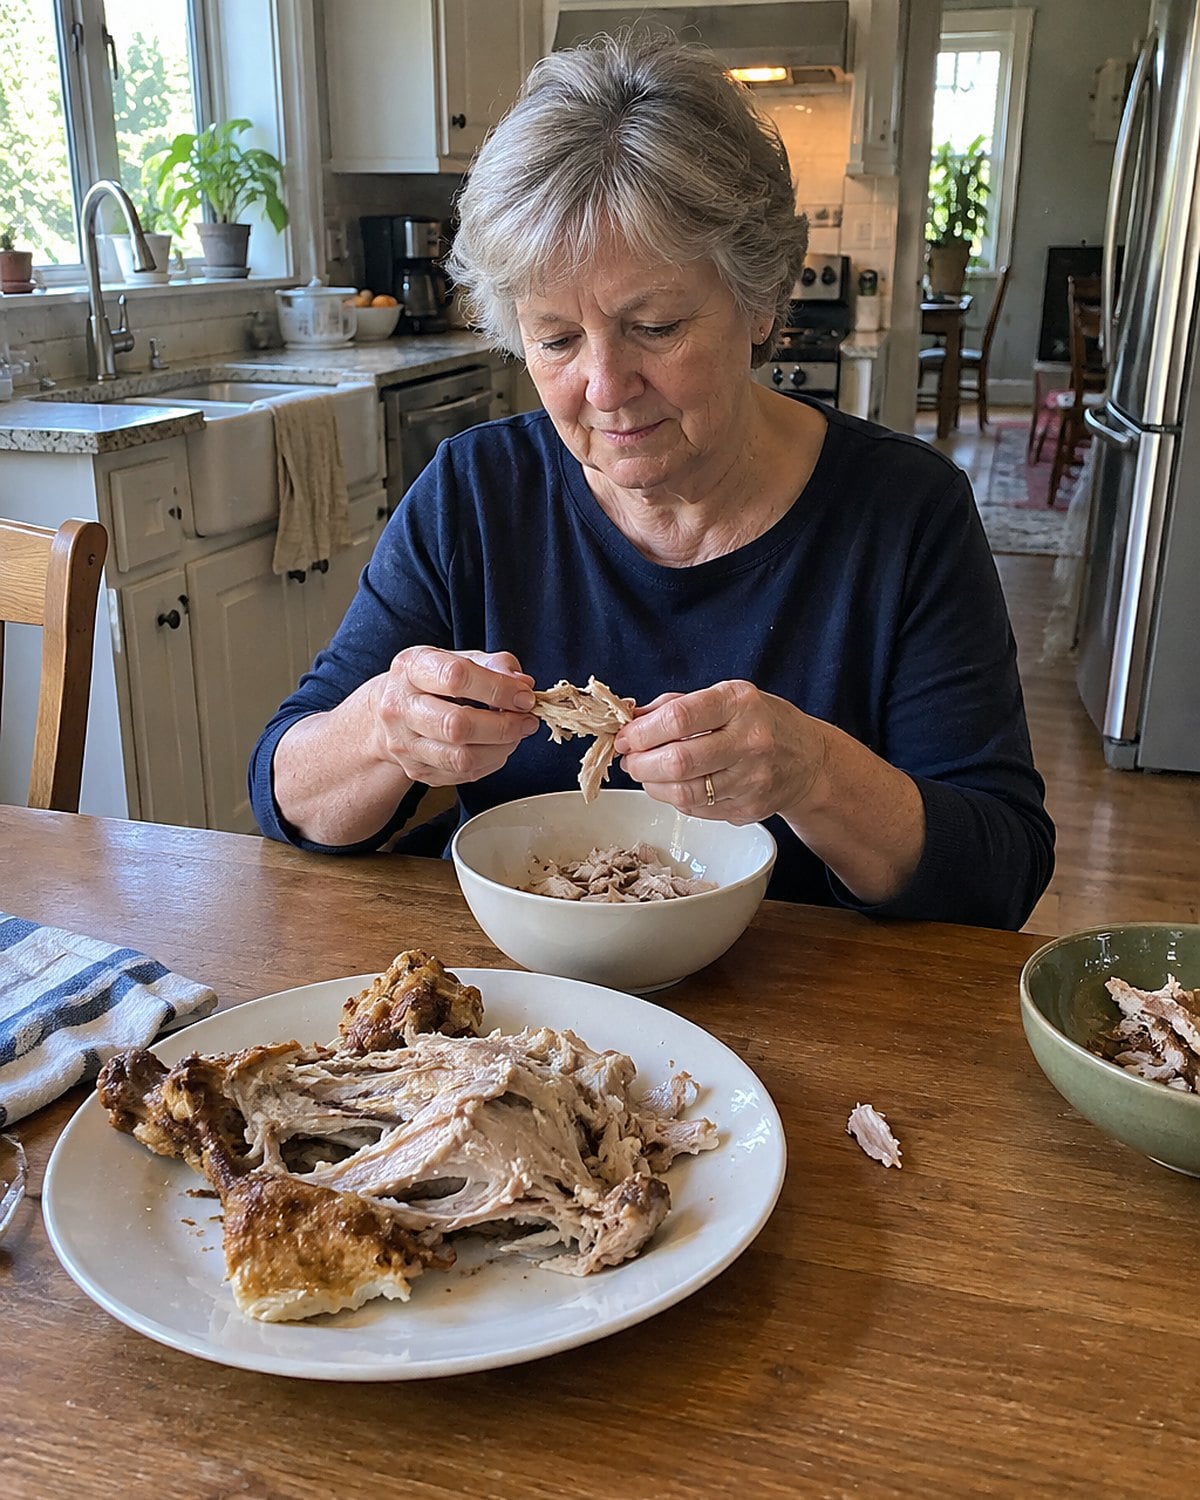
There is a moment when a stripped chicken looks finished. Pick it up again and you'll find meat along the back, at the joints, and beneath the breastbone. Use clean hands or a small knife to pull those pieces free.
Keep the picked meat for soup or a small chicken salad. Put the bones aside for stock. This order matters: picking meat from a cold, cooked carcass is easier than fishing bits from strained broth.
Don't let the platter sit out while the evening goes on. Refrigerate the cooked chicken within 2 hours, and work with it cold if you aren't making broth at once.
That handful of meat is small. It is also the part you'd miss when a bowl of soup needs one more spoonful.
Try it: Instant Pot Chicken Bone Broth In 3 Hours
#11 The Pot of Chicken and Dumplings
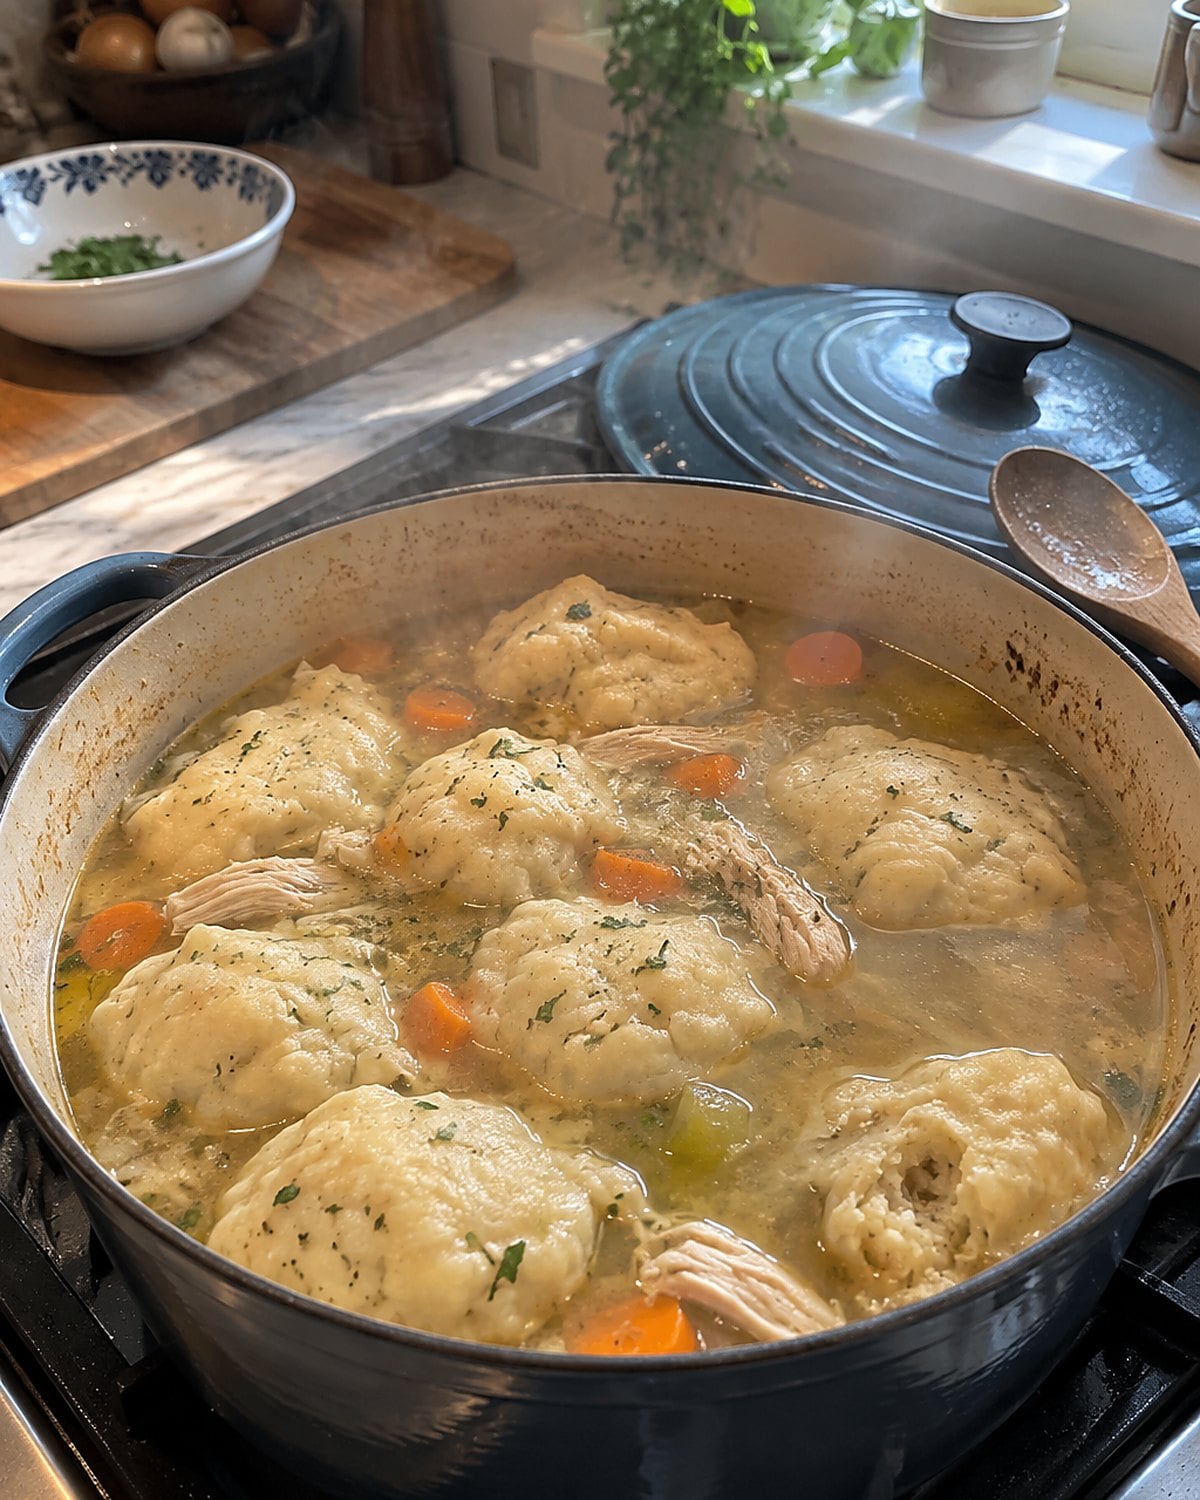
Dumplings stretch a little picked chicken across bowls without pretending the chicken isn't there. The part people rush is the liquid. Bring the broth to a steady simmer and taste it before any dough goes in.
Drop the dumplings onto the simmering surface, then cover the pot. Lifting the lid repeatedly lets out the steam that cooks their tops. Follow the cooking time for your dumpling dough, and cut one open to check that its center is cooked through.
Add the picked chicken near the end so it heats through without spending the whole simmer in the pot. Since that chicken is leftover meat, check the finished dish with a thermometer. The USDA's leftovers guidance calls for 165°F.
Each spoonful should taste of broth first, with chicken in the bite. If the liquid tastes flat, fix it before the dumplings soak it up.
#10 The Feet at the Butcher Counter
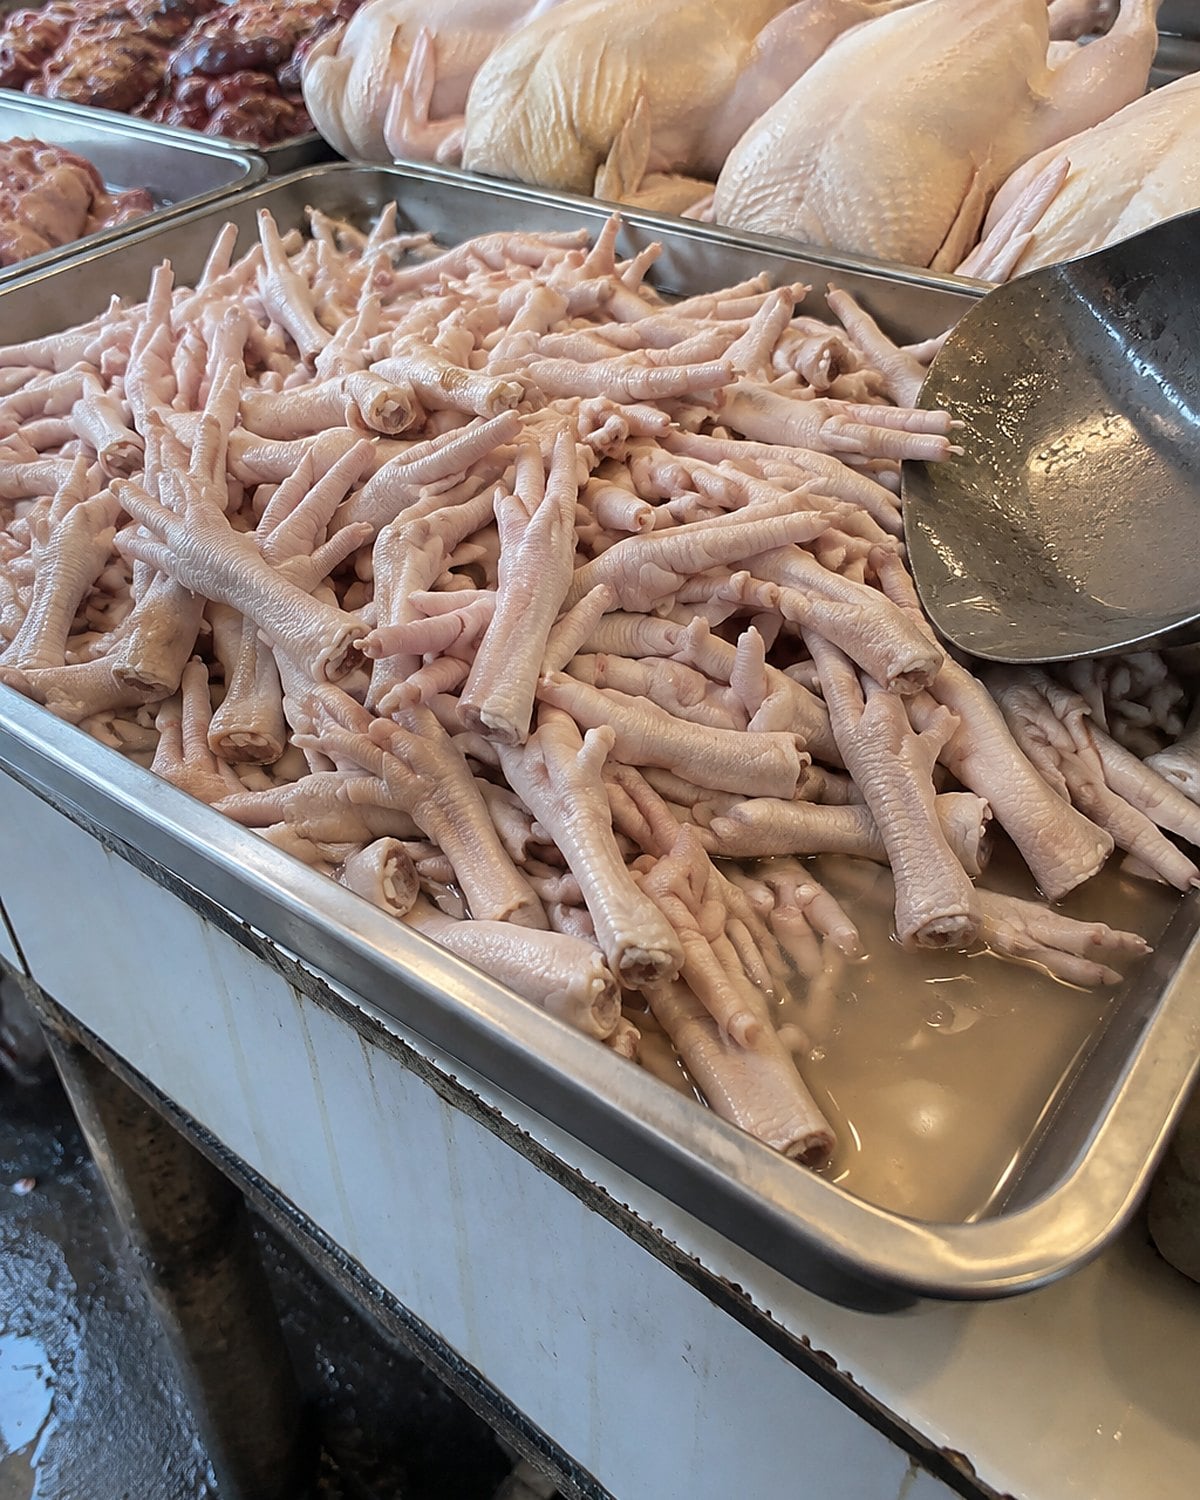
If a market has chicken feet, you'll see why they belonged in old broth pots. They're full of skin, joints, and connective tissue. Ask whether the feet have been cleaned and are ready for stock. If the counter doesn't carry them, leave it there.
Put prepared feet in the pot with other chicken bones. Keep the simmer easy and strain carefully when the broth has the body you want. Feet give the pot connective tissue, which helps the broth set when chilled. The amount of water changes how firm it gets.
There's no need to track down feet if handling them puts you off.
But if you already make stock and see them at the counter, you know what they do. The broth isn't stronger because an ingredient sounds old-fashioned. It earns its place by what happens in the pot.
#9 The Jar of Cold Broth
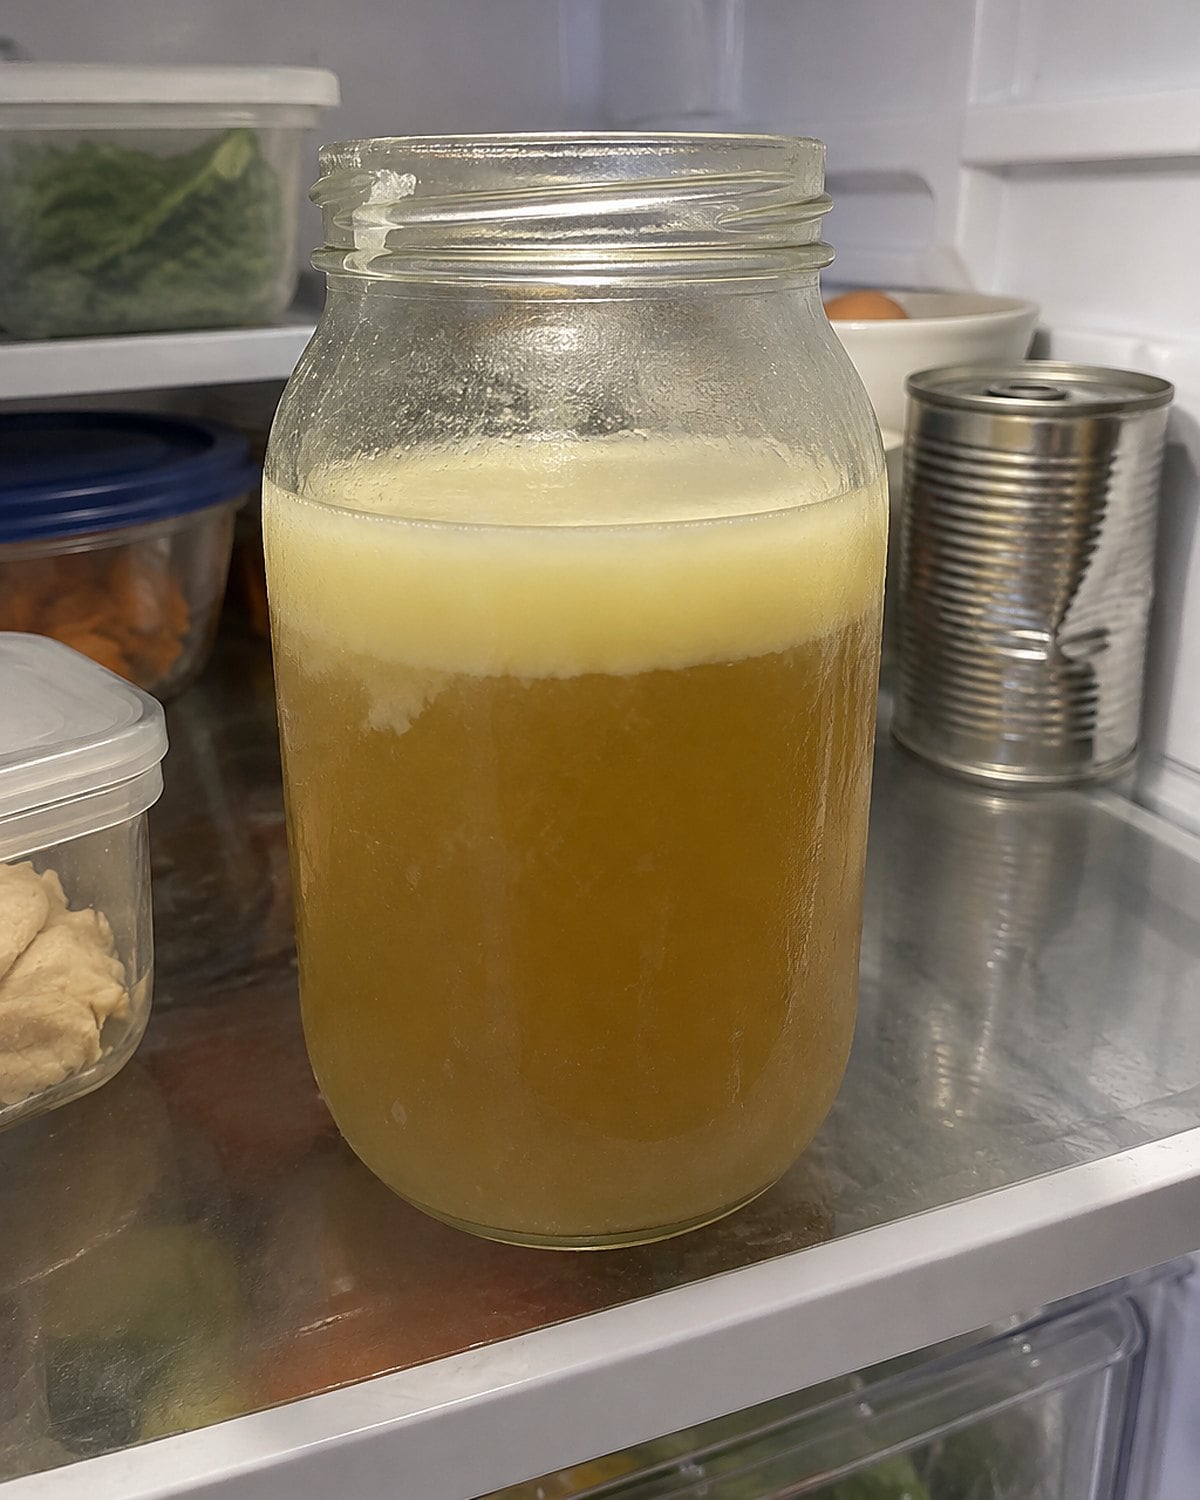
A jar of broth at the back of the refrigerator needs a date, not a hopeful sniff. Cool homemade broth promptly in shallow containers, then refrigerate it. Once it's cold, move it to a jar if that fits your fridge better.
The FoodSafety.gov cold storage chart gives meat broth and gravy 3 to 4 days in the fridge. Write the cooking date on a piece of tape. That tells you when to use the broth and when the jar has had its turn.
A layer of fat on top adds flavor to the next pan, but it doesn't preserve the broth beneath it. Smell won't settle the question of an old jar's safety, either.
Open the dated jar when you need liquid for gravy or soup. If it reaches the end of its fridge window before you've used it, discard it rather than trusting the fat cap.
 You might also like25 Dishes That Deserve to Come Back, With a Note on What Went Wrong the First Time
#8 The Roast Chicken Left on the Stove
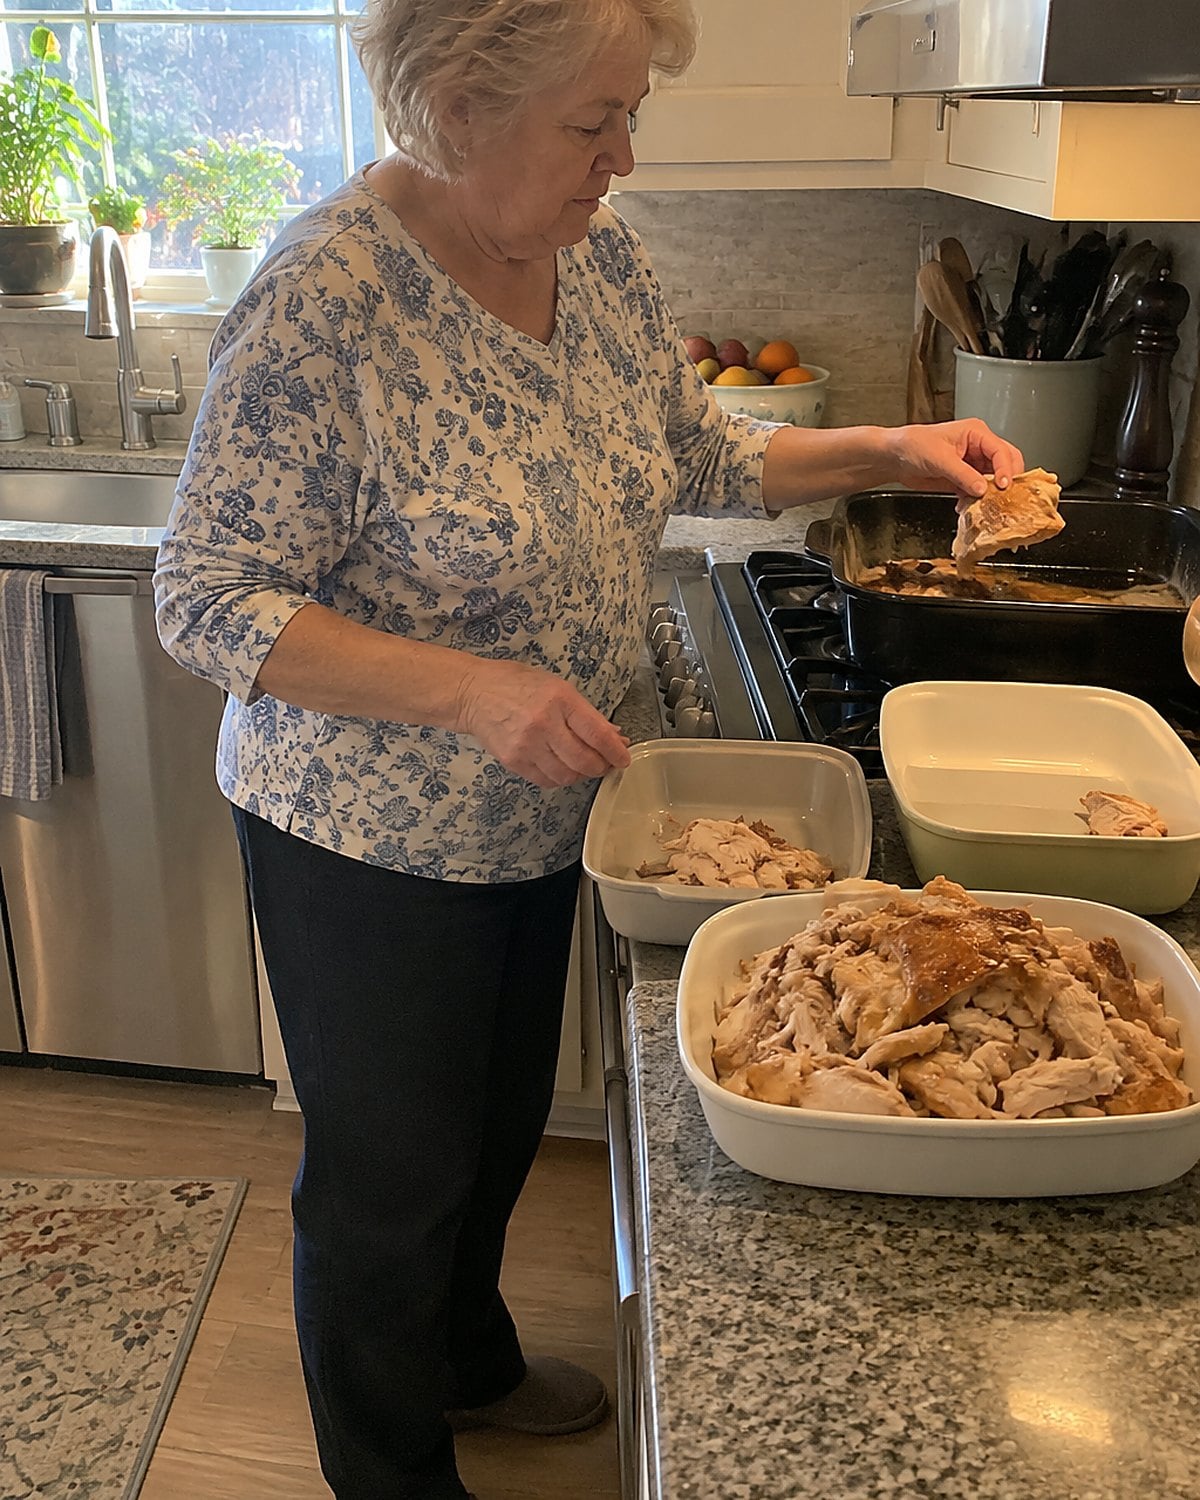
A cooling chicken on the stovetop feels familiar. The kitchen is busy, the pan is hot, and someone will put it away after the dishes. That old routine is worth changing.
Look at the clock before the plates come back to the sink. The USDA's leftovers guidance gives you 2 hours to refrigerate perishable leftovers. Past that point, saving every scrap isn't worth serving it tomorrow.
Take the meat off the bones and divide it into shallow containers so it cools faster in the fridge. Store the bones separately if you're saving them for stock.
A big, hot pot of broth needs the same attention. Divide it among shallow containers rather than parking the entire stockpot in the refrigerator. Stirring broth over an ice bath helps bring its temperature down before you put it away.
Your grandmother knew to save the good bits. Add a clock to that habit.
#7 The Chicken Salad for One
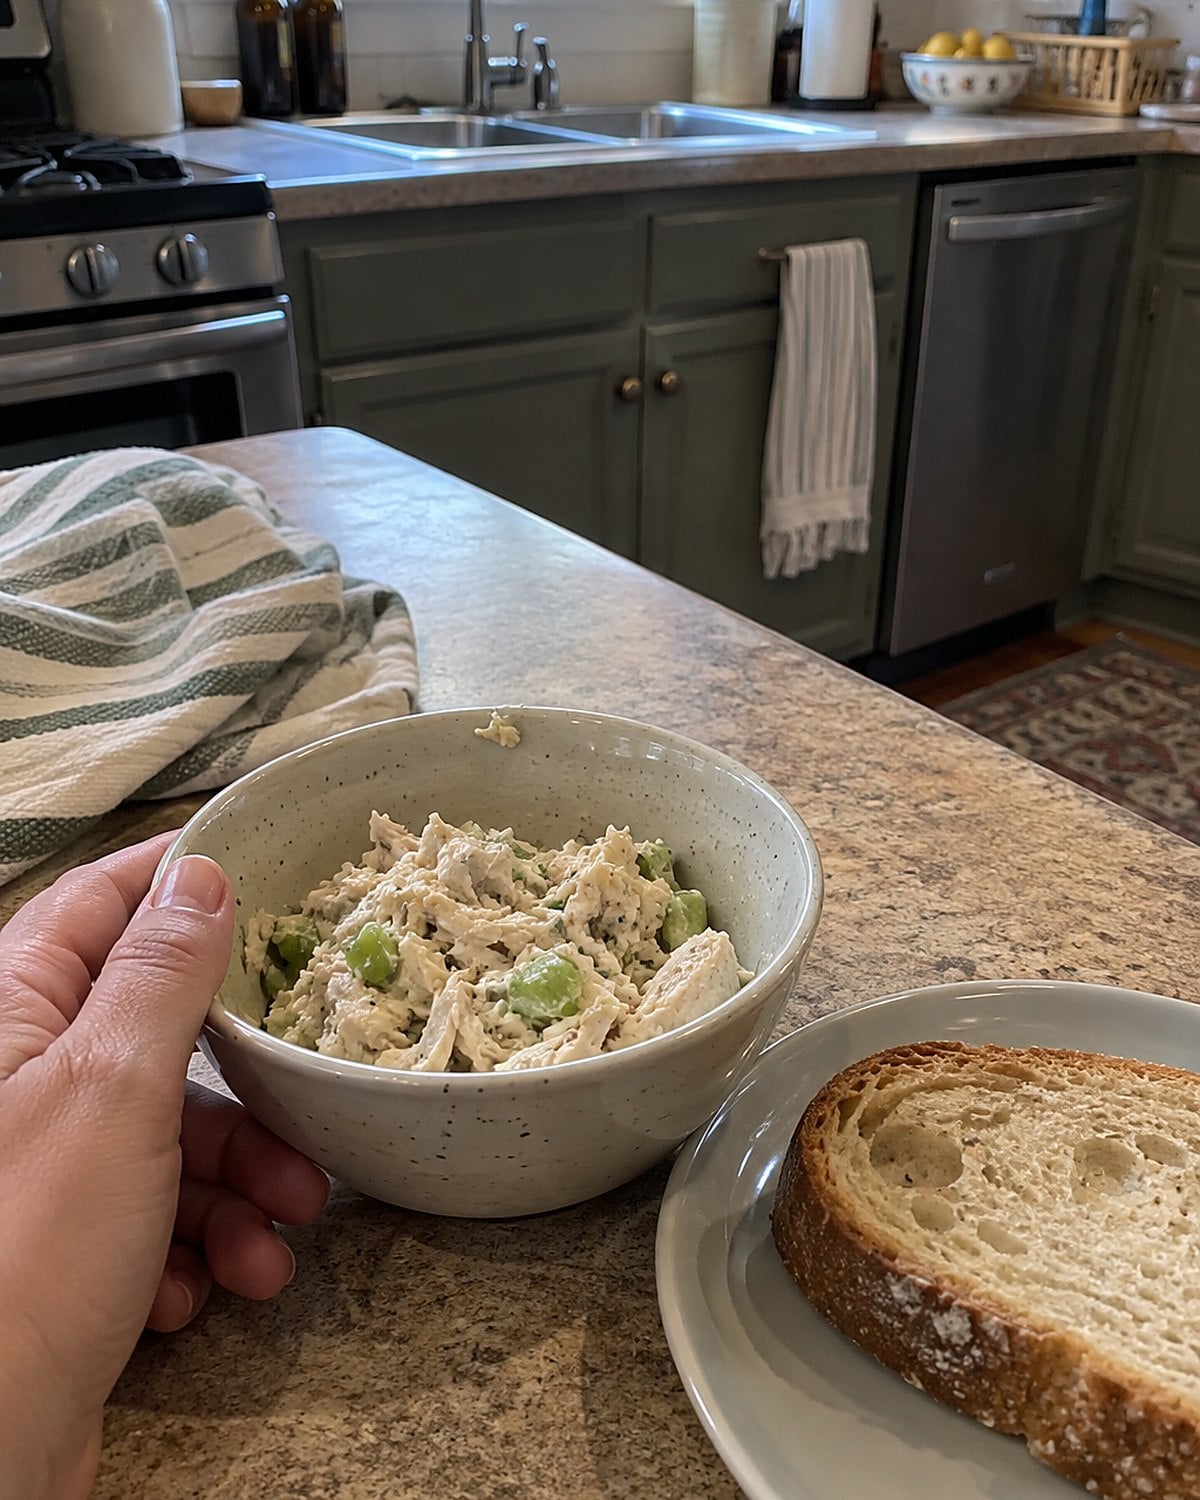
A spoonful of leftover breast, a celery stalk, half a pickle. That's lunch if you chop the chicken small enough for every bite to get some crunch.
Before dressing it, check the date you cooked the bird. Chicken salad made from leftover roast chicken doesn't get a new storage clock. Count from that first cooking day, using the 3 to 4 day refrigerated-leftover window on the USDA's cold storage chart.
Now taste. Yesterday's roast already brought its seasoning, so add salt only after you've mixed in the celery and dressing. A squeeze of lemon or a little pickle brine gives the bowl a sharper edge.
Make the amount you're going to eat, or return the rest to a fridge held at 40°F or below. One small bowl beats a large tub you have to keep remembering.
Try it: Instant Pot Chicken Salad (Classic Recipe)
#6 The Dark Meat for Pot Pie
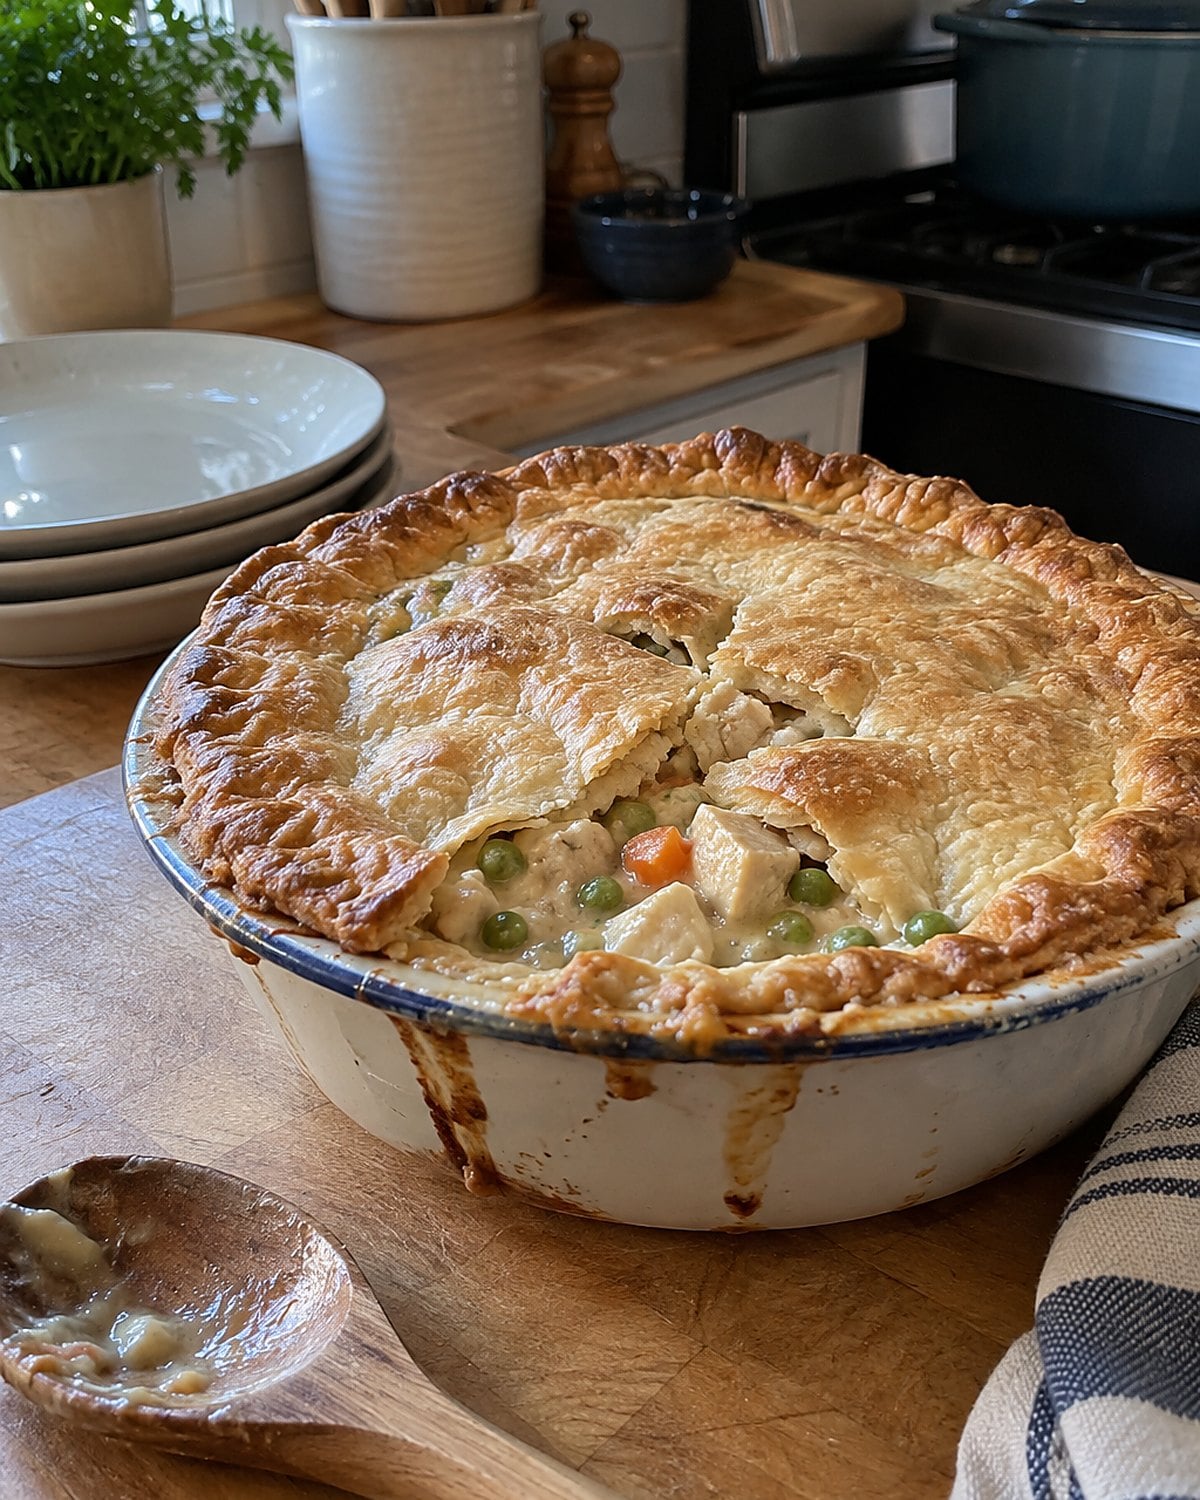
A thigh and a drumstick left after supper are pot-pie meat. Pull the cooked meat from the bones and tear it into pieces big enough to find with a fork. Dark meat keeps a satisfying texture under gravy and a crust.
Before you reach for pastry, check the filling. Warm the broth and vegetables, thicken the liquid, then stir in the chicken. The skipped step is tasting that filling while it's still in the pan. Once the crust goes on, a bland center stays bland.
Keep the filling thick enough to coat a spoon. A watery one soaks the bottom crust and runs across the plate. For a smaller household, bake the filling under a top crust in a modest dish. There's no need to build the old family-sized pie unless more people are coming.
When reheating a leftover pot pie, check its center with a thermometer. Look for 165°F before you cut into that browned crust.
Try it: Instant Pot Chicken Pot Pie (Two Ways)
#5 The Sieve Beneath the Broth
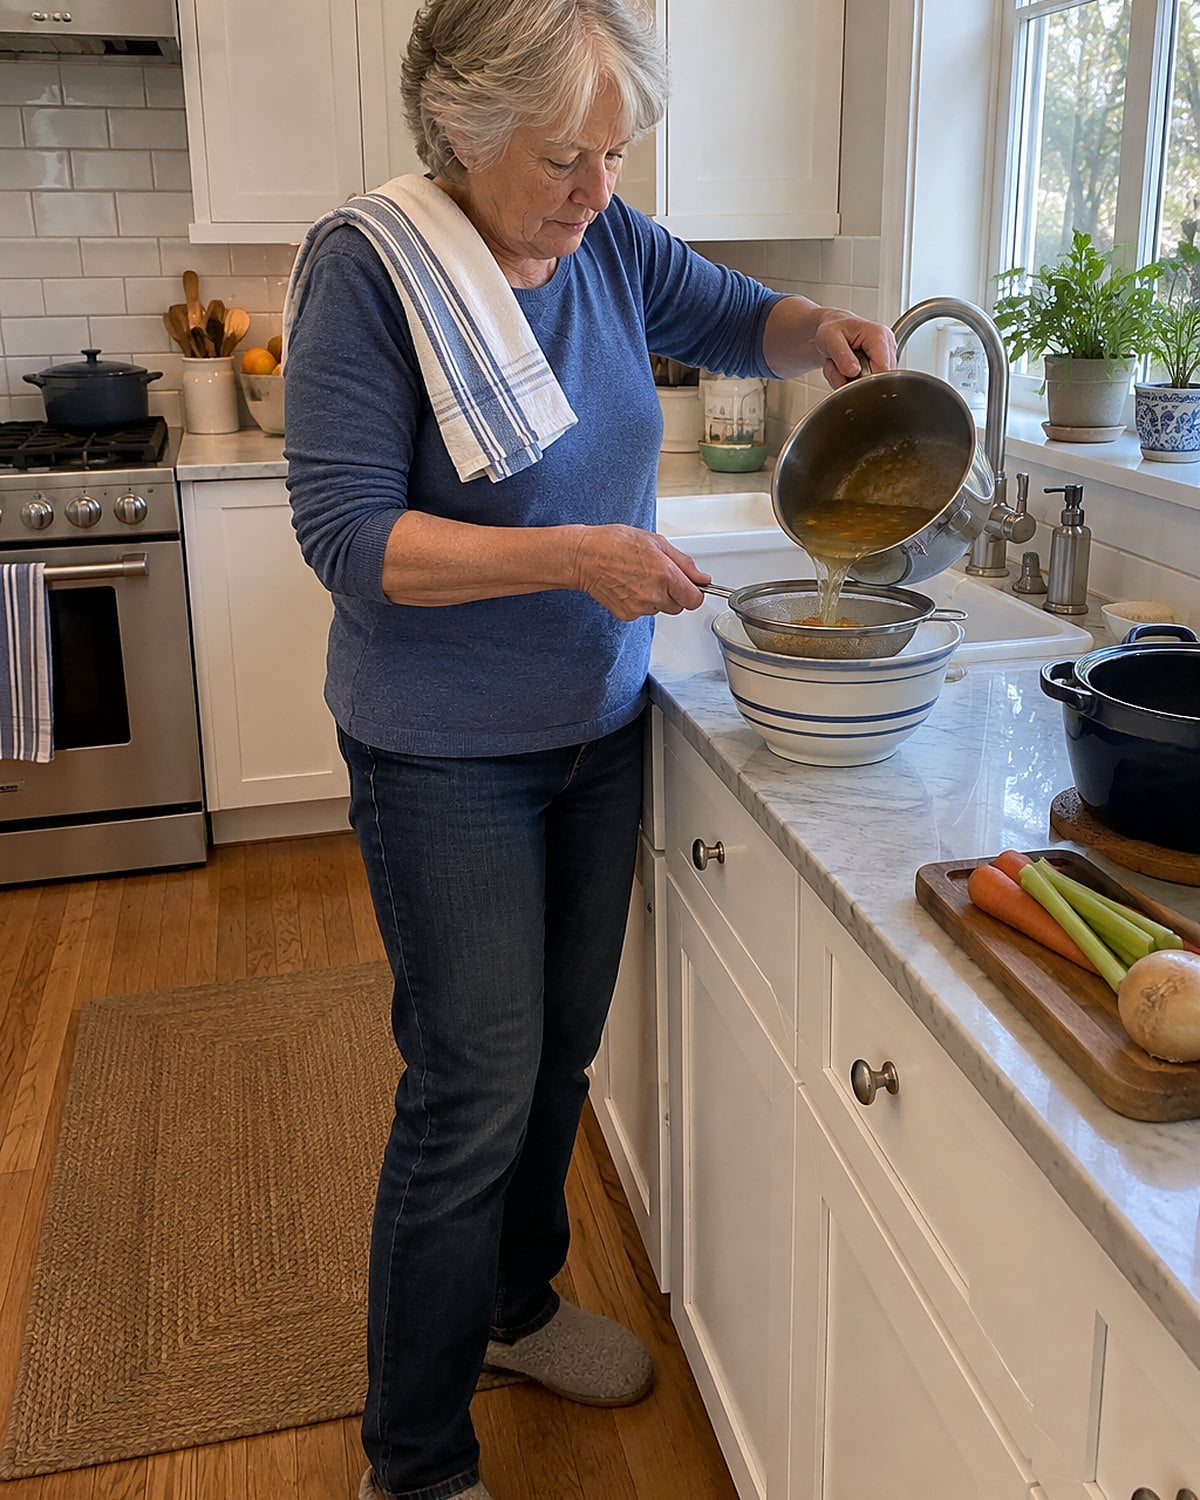
After simmering bones, the pot looks generous. Set a sieve over a heat-safe bowl or another pot before you lift the lid. Pour slowly, keeping your hands out of the steam.
Small bones hide among softened vegetables. Straining catches them before the broth becomes soup. Look through the picked meat as well, especially the pieces pulled from the back and joints. Your fingers do a better job finding a sharp fragment than a spoon does.
Don't press every last vegetable through the sieve. That clouds the broth and brings tired vegetable pulp along with it. Let it drain, taste the liquid, and decide whether it needs more simmering. The safest bite is the one you checked before it reached the bowl.
#4 The Freezer Bag Laid Flat
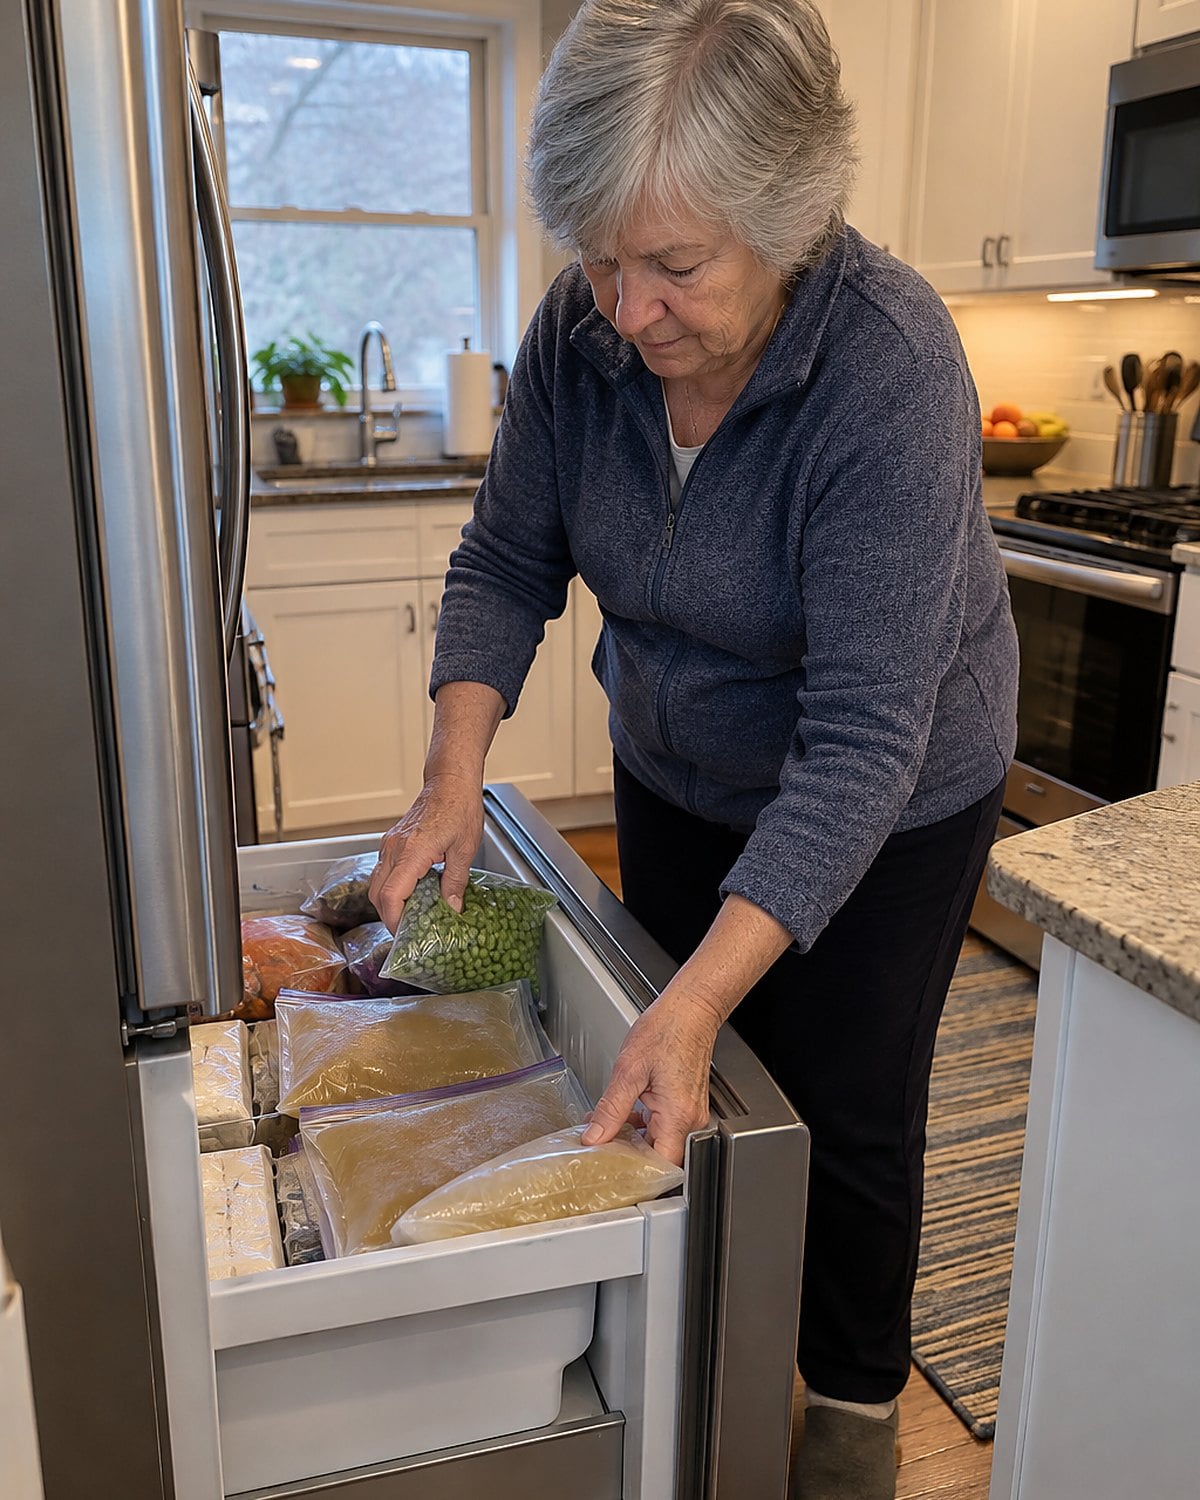
A big container of broth asks you to thaw more than tonight's rice needs. A flat, smaller bag gives you another choice.
Cool the broth promptly in shallow containers and refrigerate it first. Then pour cold broth into a freezer-safe bag. Seal it well, leaving room for the liquid to expand, and lay it flat on a tray in the freezer. Once solid, it stands upright beside the peas.
Label the bag with its date and amount. That last detail matters when a pan sauce needs a cup and you don't want to thaw an unmarked block. Set the bag in a bowl when thawing it in the fridge.
The FoodSafety.gov cold storage chart has separate freezer entries for broth and cooked chicken. Use the broth entry when you label this bag, rather than borrowing the date from a package of frozen meat.
A leaking corner makes a sticky drawer, so check the seal before the tray goes in.
#3 The Rice Cooked in Chicken Broth
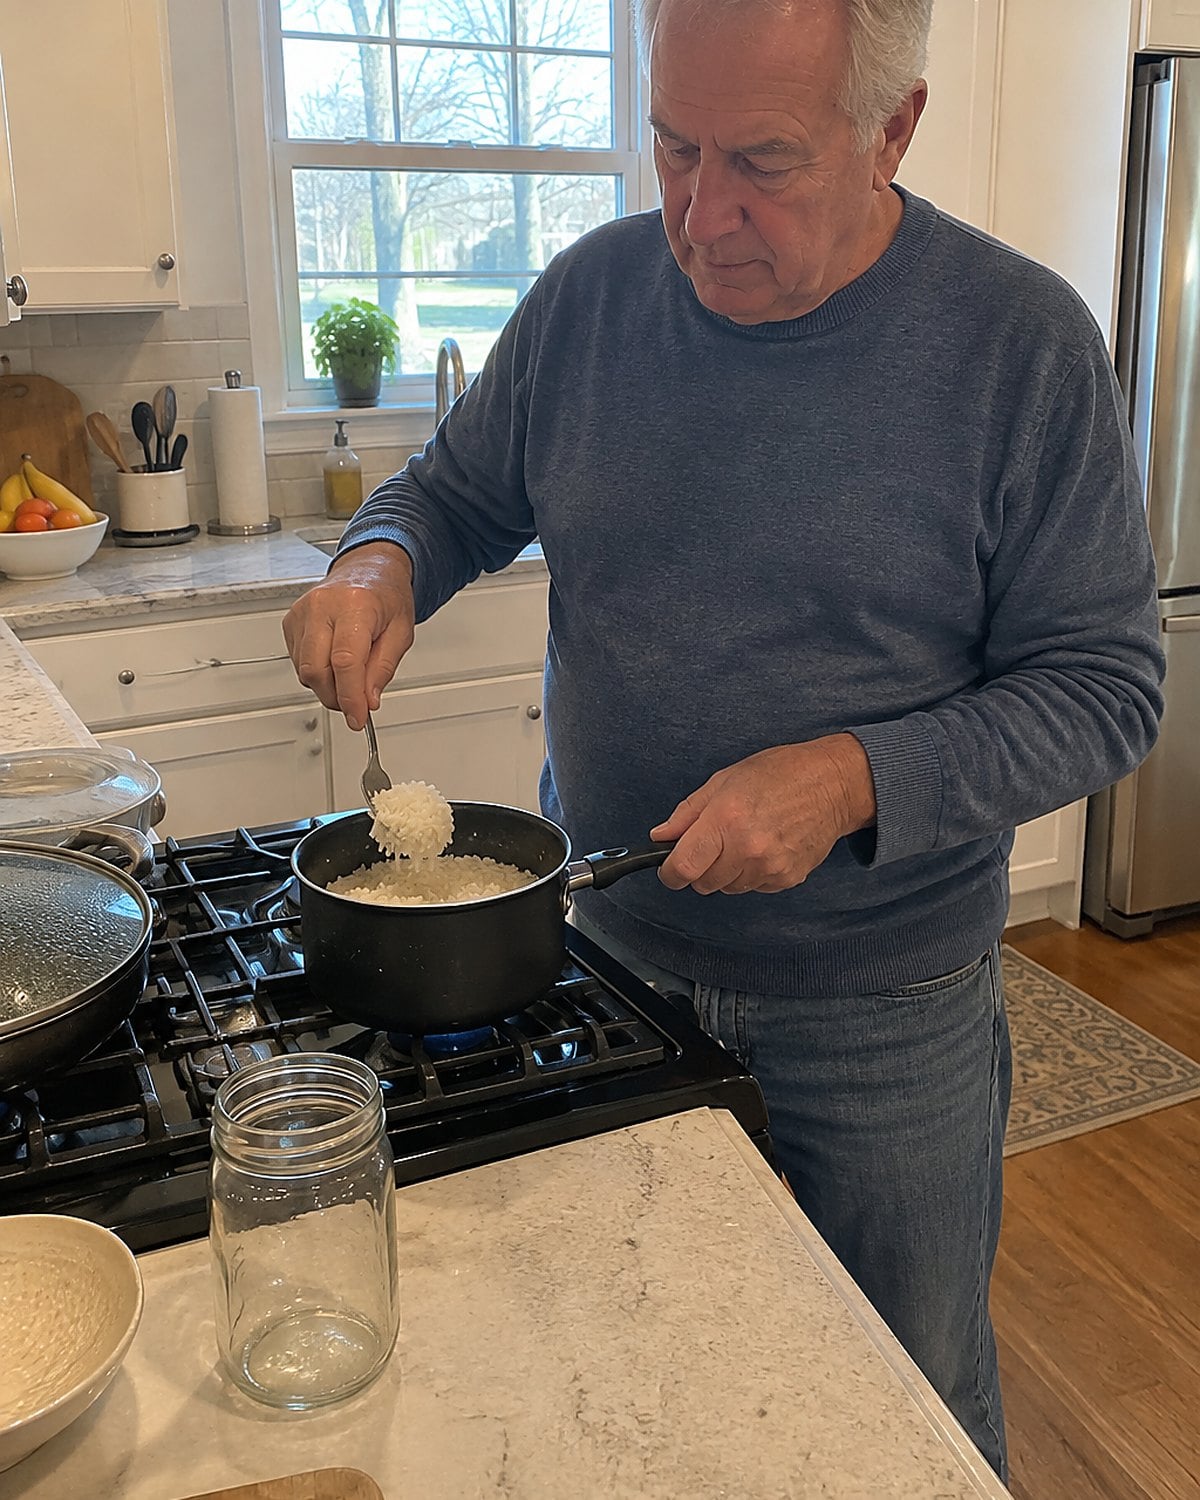
Plain rice tells you fast whether your saved broth has flavor. Replace the water in the rice pot with broth, keeping the liquid amount called for by your usual rice method. Taste the broth first, especially if you salted it while cooking.
There's a step worth keeping: bring the pot to its proper simmer before lowering the heat and covering it. Constant peeking lets steam escape. Leave the lid alone until the rice has absorbed the liquid, then fluff it with a fork.
If the broth tastes strong or salty, use part broth and part water. You want rice that tastes good beside dinner, not rice that takes over the plate. A small measure of yesterday's chicken now has a job tonight.
#2 The Bones Toasted for Another Pot
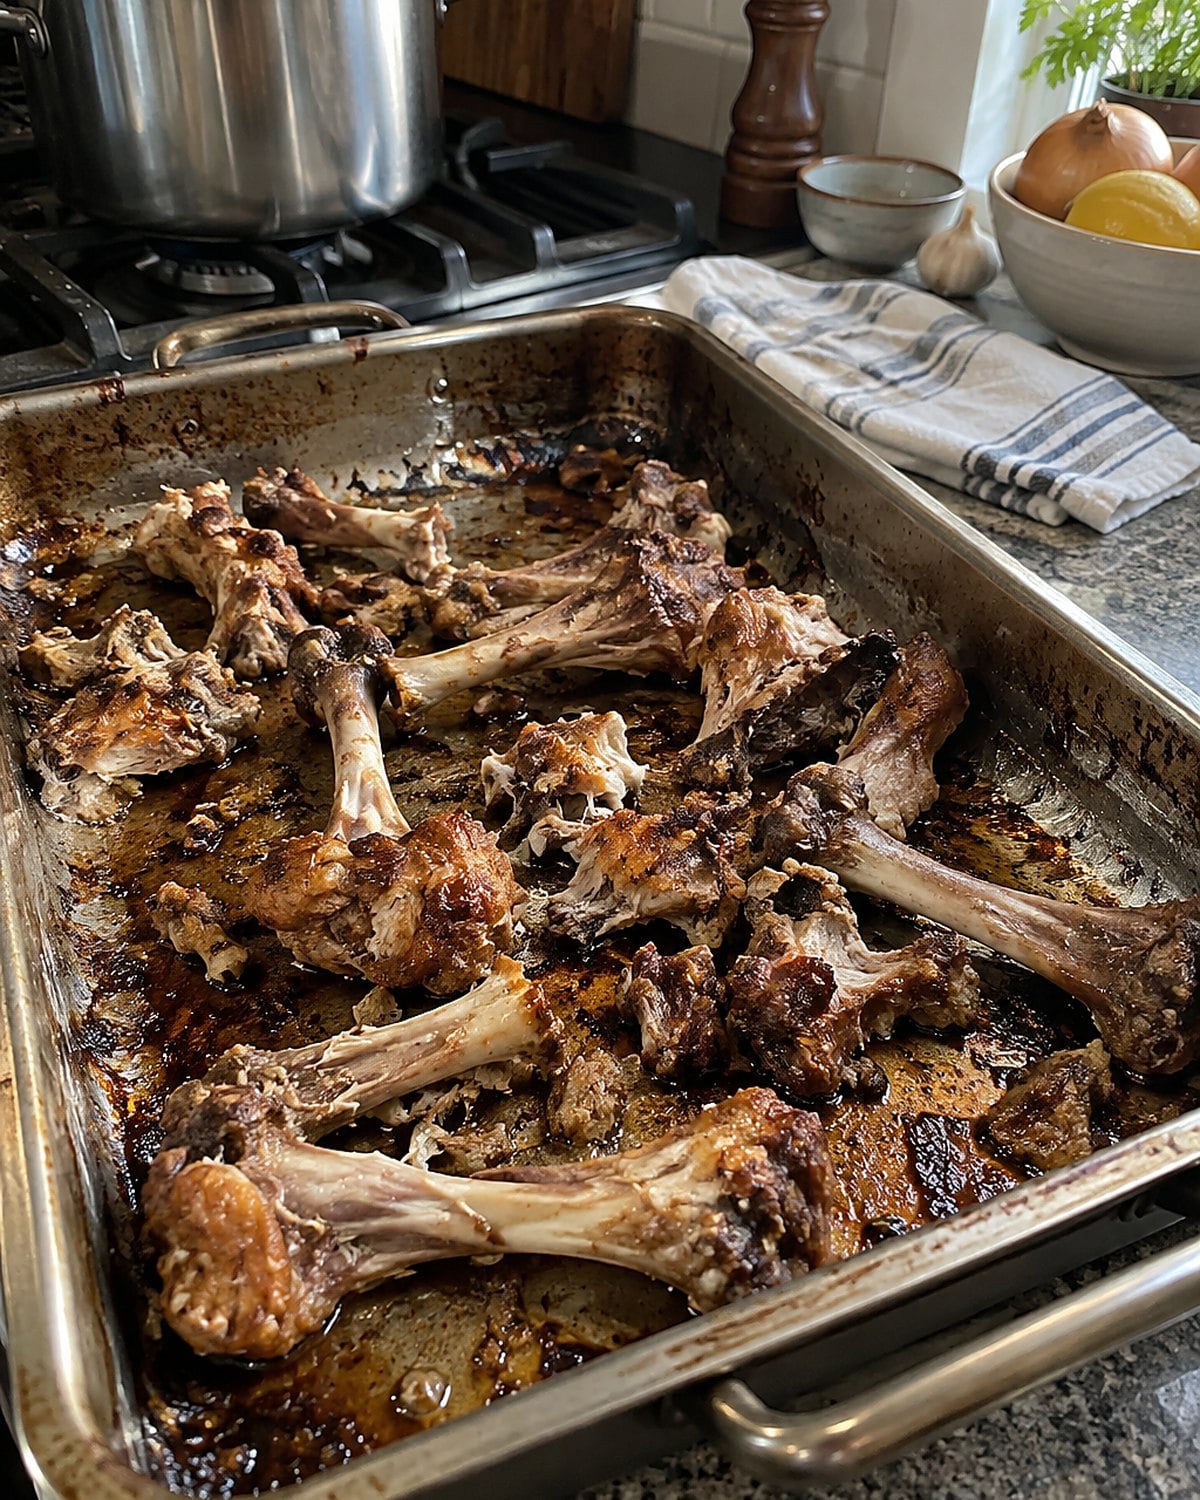
When roasted bones go into a pot, the broth picks up some of the flavors already browned in the oven. Bones from a plain cooked chicken give a lighter broth. Both belong in the kitchen, but they don't taste the same.
For deeper color, spread cooked bones on a roasting pan and heat them in the oven until their edges brown further. Watch for scorching. Transfer them to a pot, then loosen the browned patches in the pan with water and add that liquid too. You're collecting flavor that would otherwise go down the drain.
Keep the broth at a simmer rather than a hard boil. Strain it when it tastes rich enough for the dish you have in mind. There's no prize for cooking it until every bone crumbles.
Then look at your dinner plan. A light broth suits a delicate soup; a darker one stands up to beans or gravy. Knowing which pot you've made is more useful than giving every batch the same label.
#1 The Chicken Plan Before You Shop
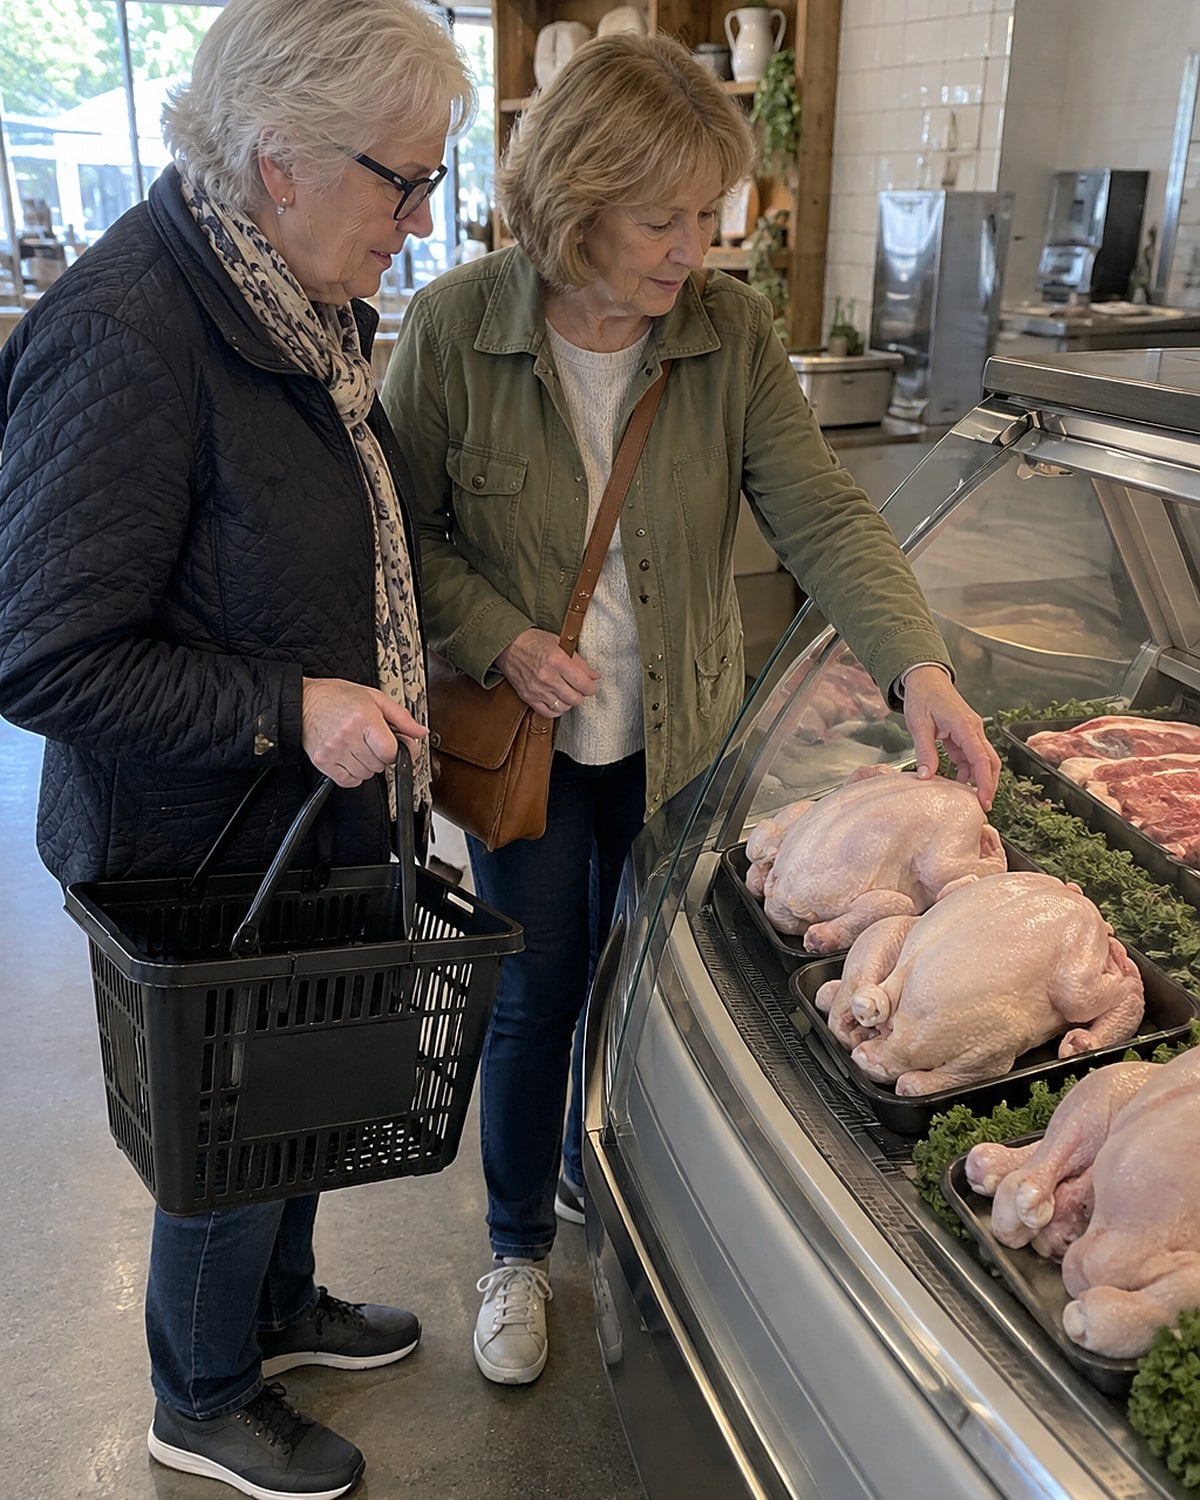
Stand in front of the chicken case and picture the table, not the bird. How many people are actually coming? For a table of two, a whole chicken makes sense when you want roast meat, lunch, and bones for soup. Otherwise, a smaller cut belongs in the basket.
Check the calendar, too. If tomorrow is already full, don't buy a bird whose leftovers need attention tomorrow. Choose a size that fits the meals you'll eat and the time you have to cook it. A bigger chicken isn't a bargain when it ends up forgotten.
For four people, the question changes. A whole bird might disappear at supper, leaving bones but little meat for lunch. If lunch is the reason you're buying chicken, count the diners before you count on leftovers.
Then read the package. If you're hoping for giblets, check whether they're included; packing differs. If you're making broth from the carcass, decide when you'll do it. Give that task a place on the calendar rather than leaving a covered bowl to surprise you later.
Try one sentence before you leave the store: “This chicken is for supper and Thursday's soup.” If Thursday's soup doesn't fit your week, change the purchase or change the plan. That decision saves more than scraping every last bone after dinner.
Keep reading
 27 Things Home Cooks Over 60 Do Without Thinking That Chefs Would Never Do
See all 27 →
More you’ll remember
 23 Food Safety Rules Your Mother Taught You That Are Wrong, and the Ones That Still Hold
 27 Things People Over 60 Still Do With Leftovers That Food-Safety Experts Beg Them to Stop
 24 Things a Good Thermometer Would Have Told You Years Ago
The bottom line
A chicken lasted because each part had somewhere to go. The pan gave gravy, the meat gave another meal, and the bones gave broth.
The well-prepared version of you has a meal in mind before shopping and fridge space ready when supper ends. She knows which scraps are worth keeping and when the clock says to put them away.
Which part of your next chicken already has a job?
Leave a Reply