

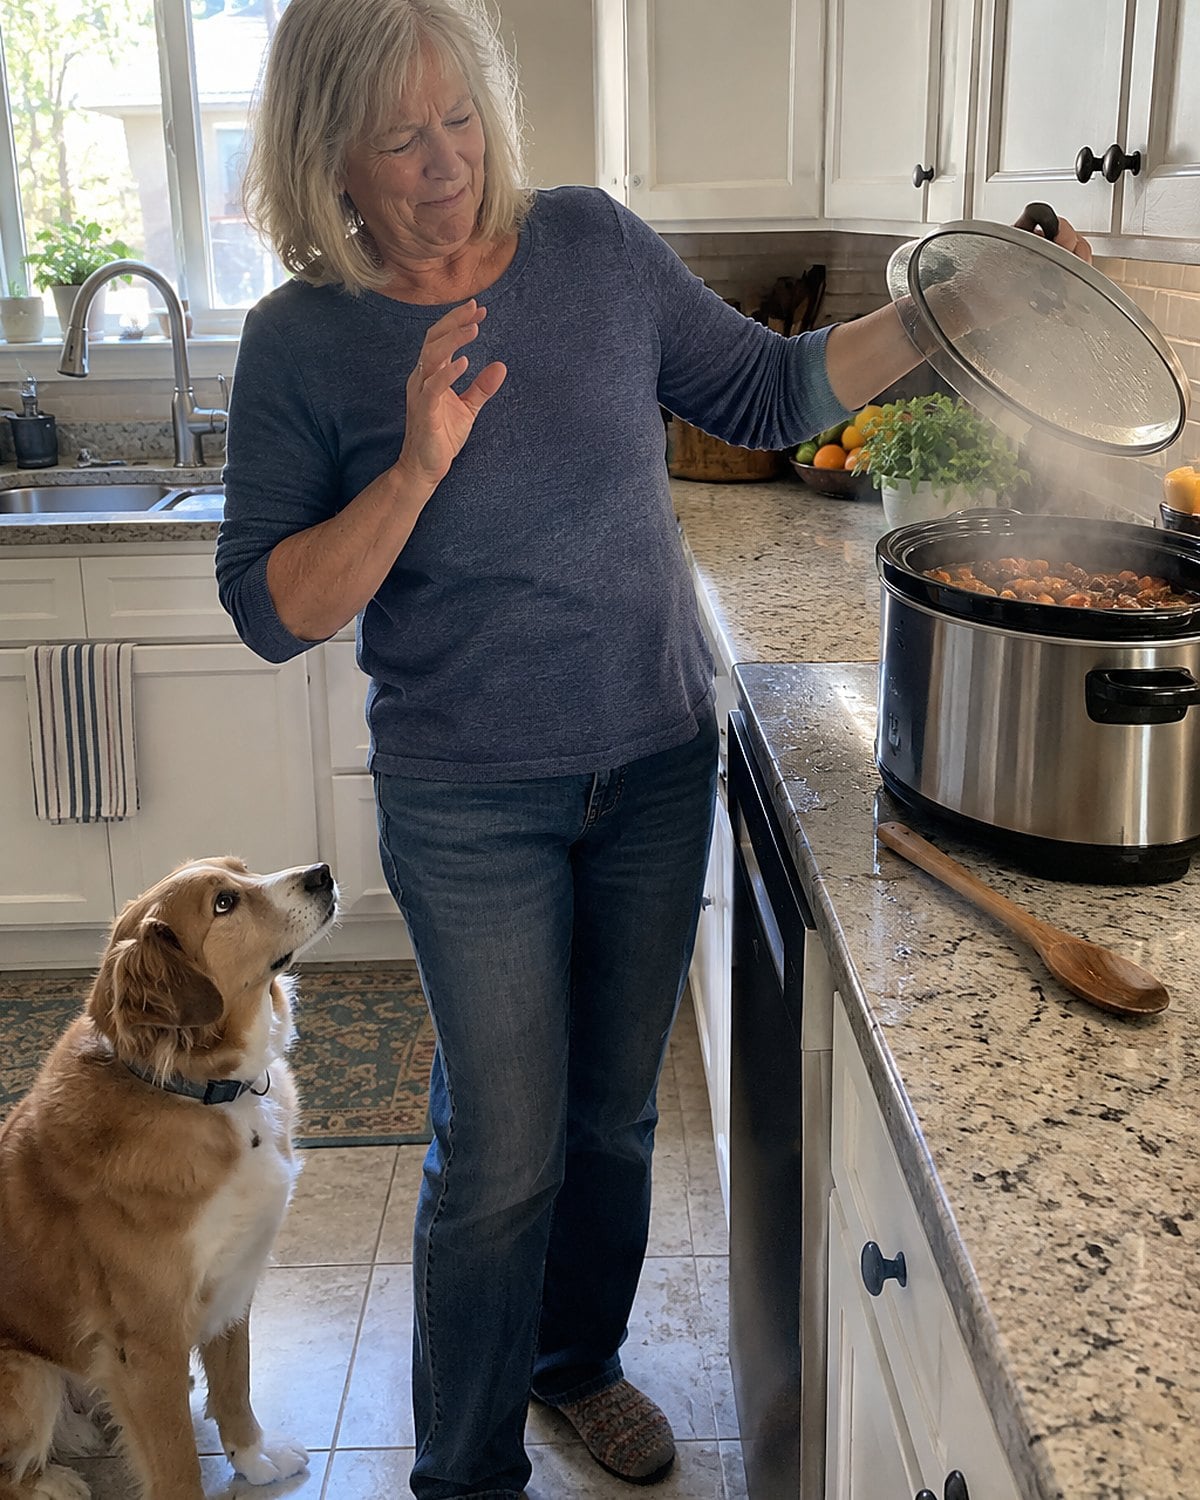
The slow cooker sits on the counter, and its lid gives that familiar little rattle. You know which drawer holds the serving spoon without looking. You also know the shortcut you took when the house was full and dinner had to happen between school pickup and bedtime.
Some of those shortcuts still earn their place. Others stuck around after the schedule changed, the pans changed, or the number at the table changed. When a meal disappoints you, the trouble is worth tracing back one step. It might be the habit you stopped noticing.
#27 The flour scooped with its measuring cup
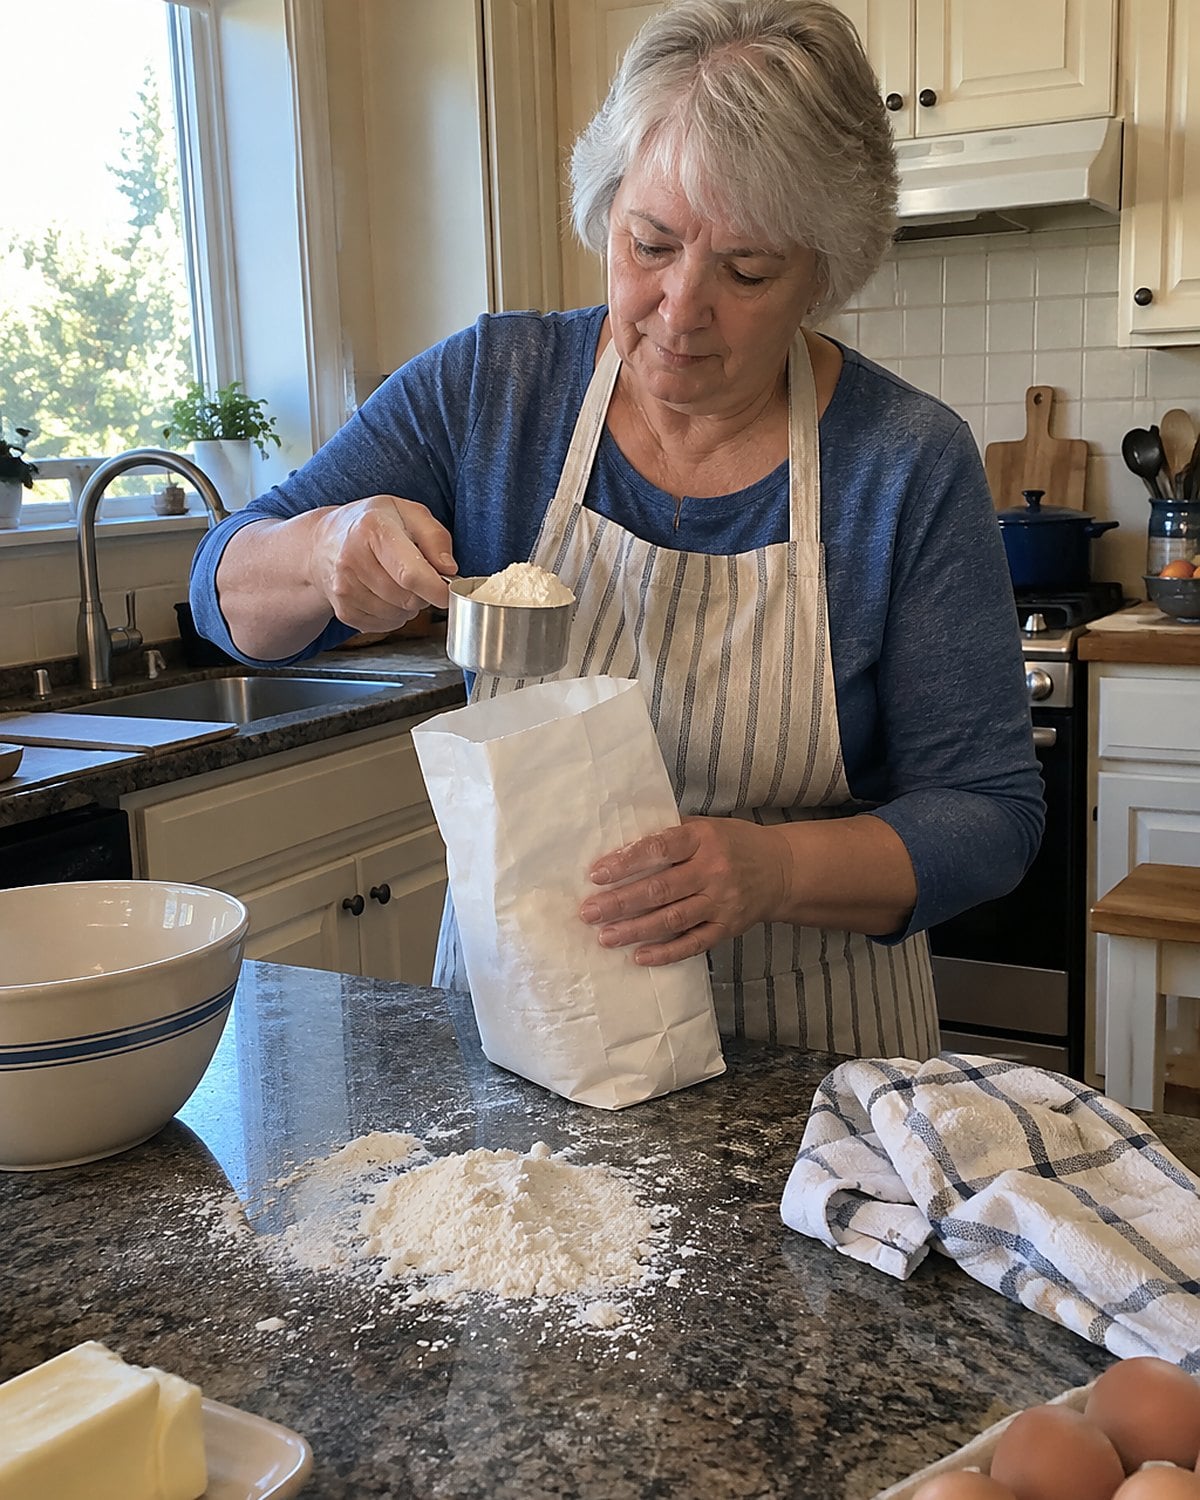
That church cookbook with the broken spine says “one cup flour.” You reach into the bag with the cup, level it, and keep going. The cake comes out heavy, though you followed every word on the page.
A measuring cup packs flour down as it digs. Spoon flour into a dry cup instead, then sweep the top level with a straight edge. For a recipe you bake often, weighing the flour gives you an even better way to repeat a good result.
There’s no need to rethink every old recipe at once. Try the spoon-and-level method on the next batch of muffins and notice the batter. If it pours more freely than you remember, the shortcut was changing the recipe before the pan ever reached the oven.
#26 The skillet crowded with mushrooms
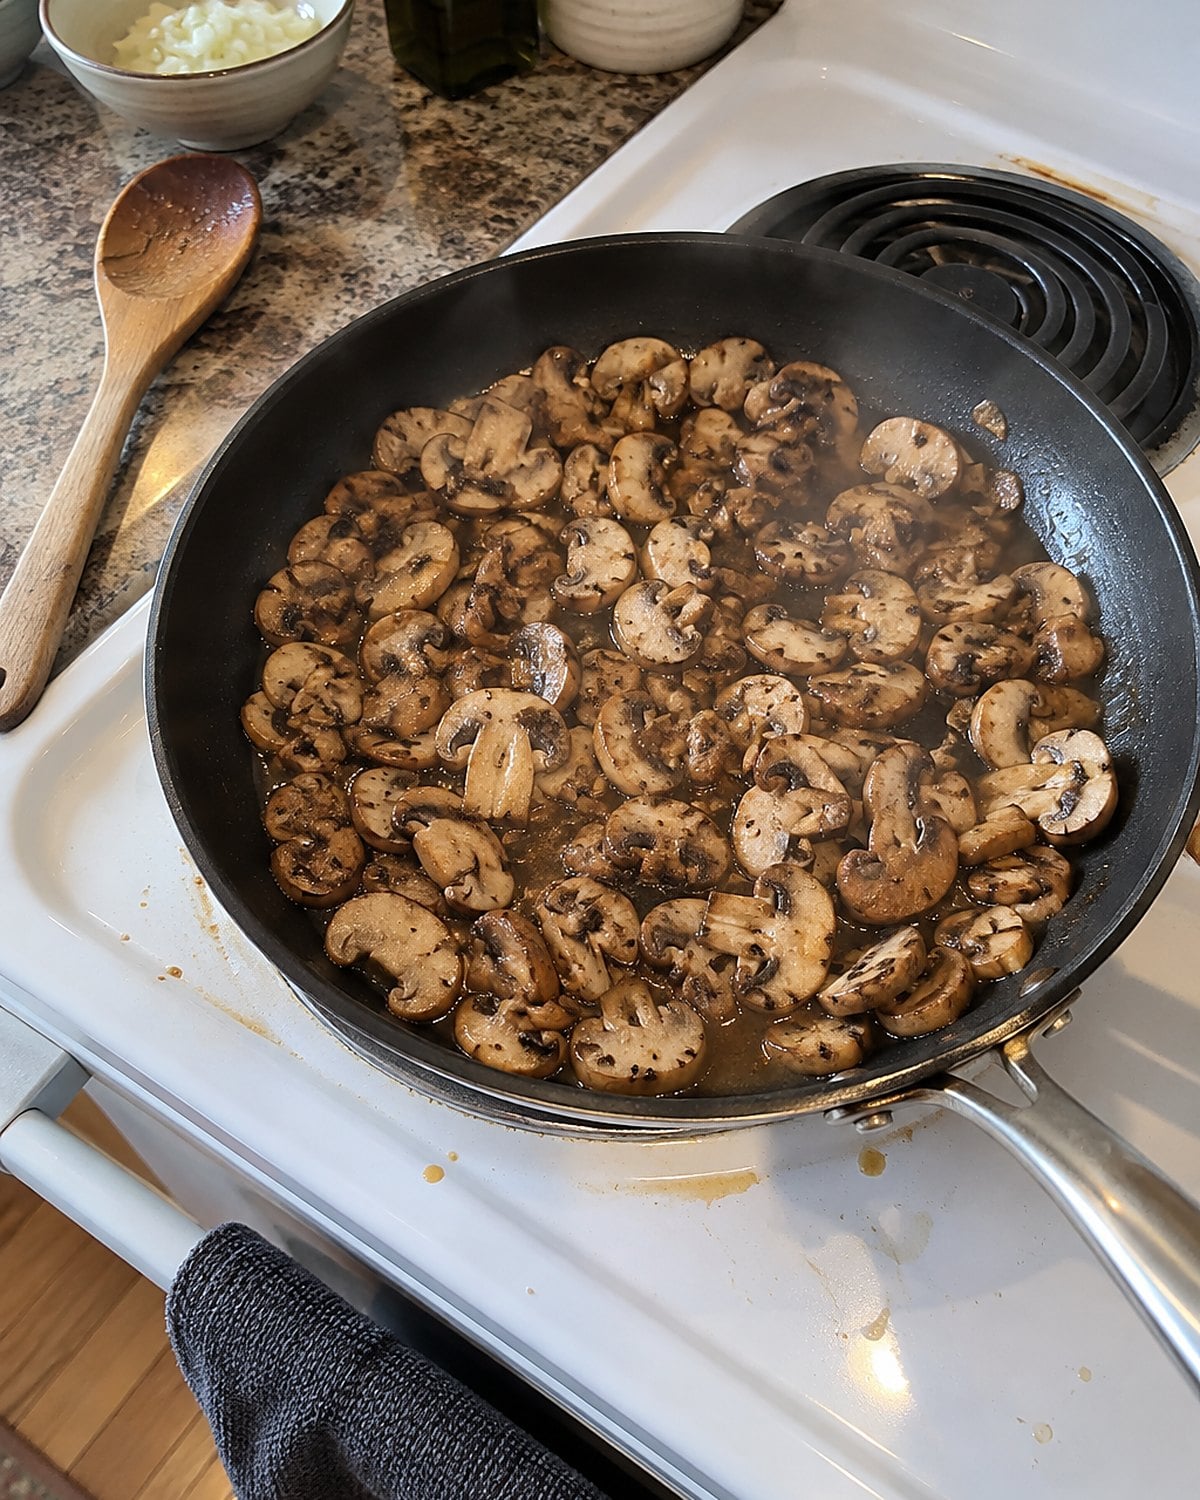
A full skillet looks efficient. All the sliced mushrooms fit, and there’s one pan to wash. Then liquid pools under them. Instead of browned edges, you get pale mushrooms that shrink while you wait.
Mushrooms release water as they heat. When they sit shoulder to shoulder, that water stays in the pan and the mushrooms steam. Give them room in a wide skillet, or cook them in batches. Let the liquid cook away before you expect browning.
Watch the bottom of the pan. Once it looks dry and the mushrooms start to sizzle in fat rather than bubble in water, their color changes. The extra batch takes a few minutes; trying to brown a crowded pan takes longer.
#25 The eggs cracked into a hot pan
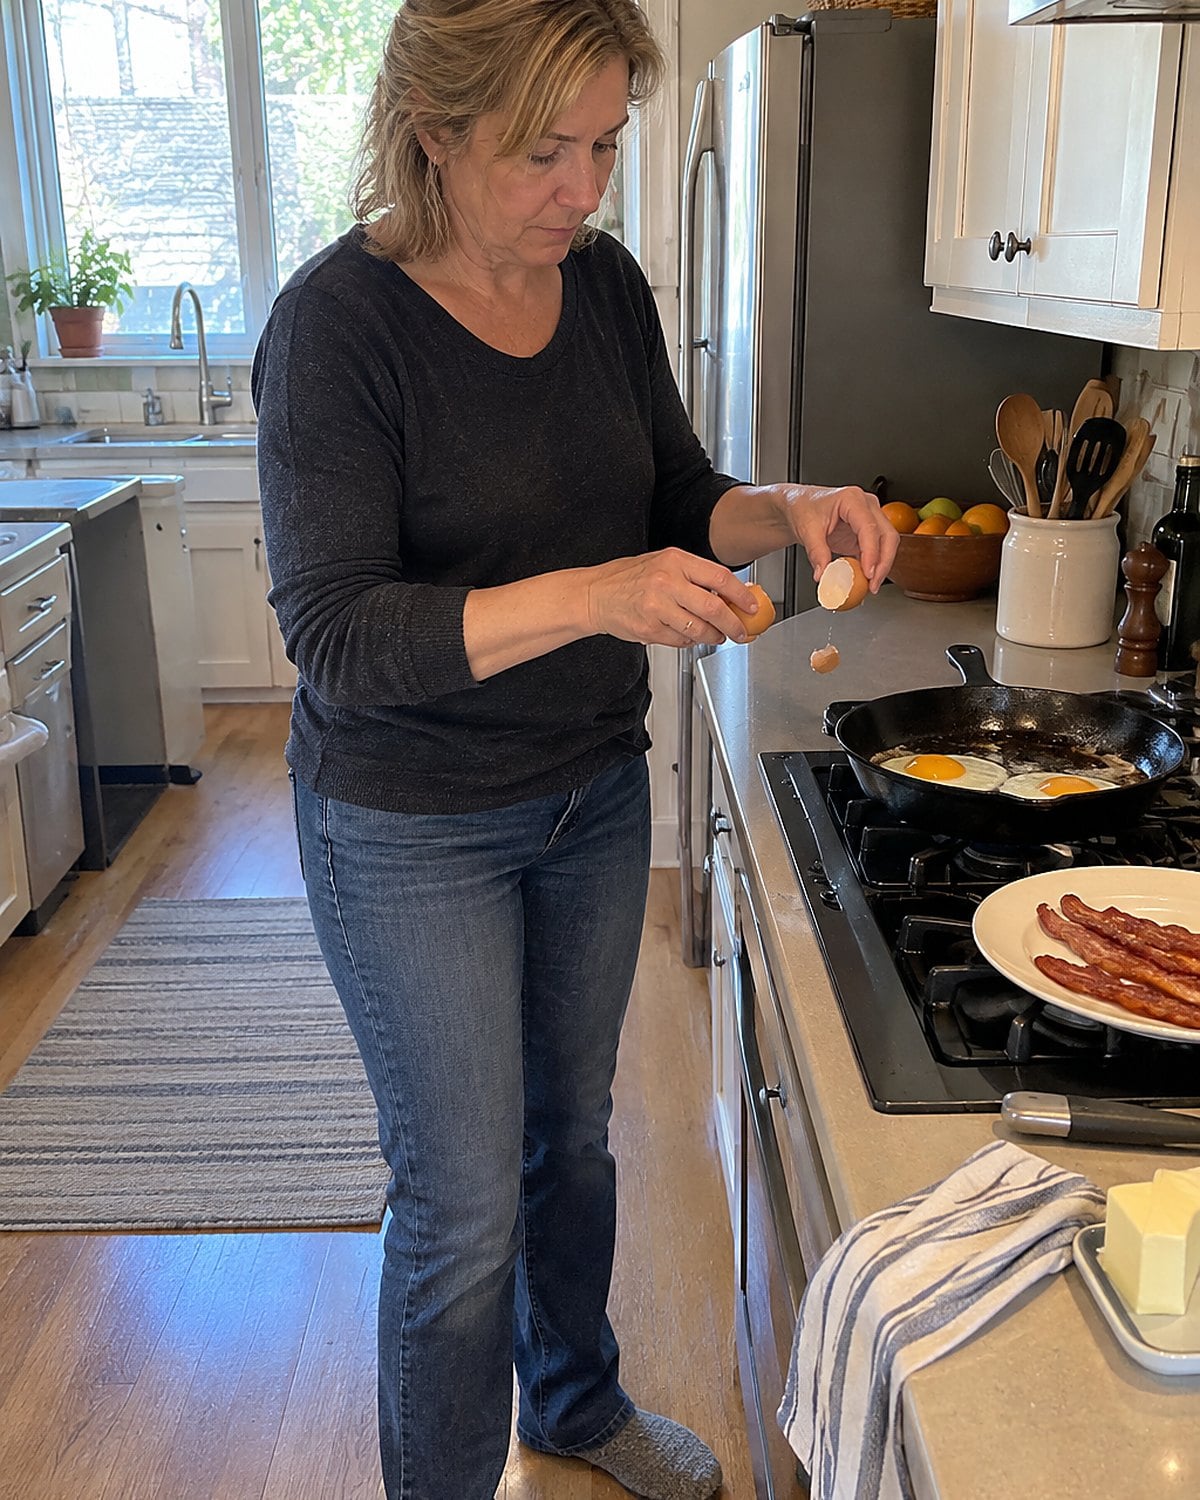
You set the skillet over high heat while you find the eggs. By the time they go in, the butter has browned and the whites seize around the edges. That fast start made sense when breakfast had to leave with the school bus. It doesn’t give you much control now.
For fried eggs, put the pan over medium or lower heat and add the eggs when the butter foams without turning brown. The whites set while the yolks still have time to warm. For scrambled eggs, lower heat and frequent stirring give you soft curds; high heat drives out water and leaves a puddle on the plate.
If you’ve made eggs the same way for forty years, change only the heat tomorrow. You’ll see the difference before you reach for the spatula. Keep the hotter pan for the toast that follows.
#24 The garlic added with the onions
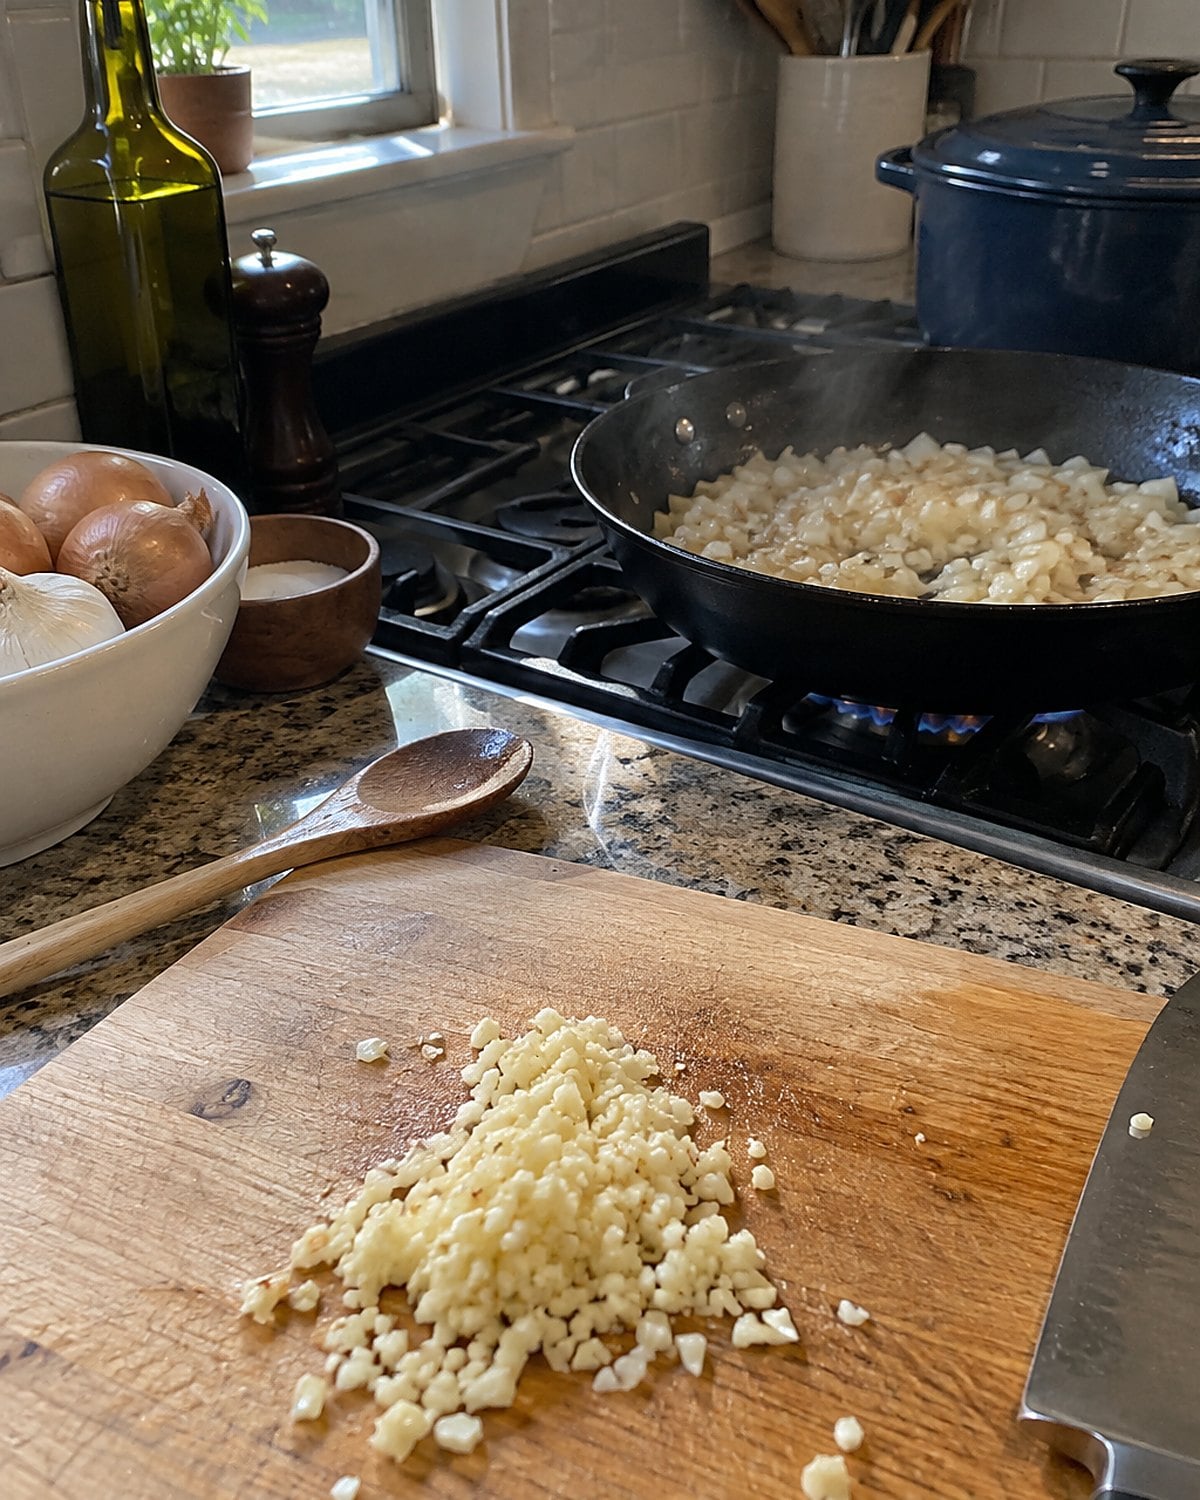
The onions need time. Minced garlic doesn’t.
When both go into the pan together, the garlic’s little pieces brown while the onions are still firm. By the time the onions turn sweet, the garlic tastes bitter.
The shortcut saves the motion of adding an ingredient later. Then it asks you to live with the result.
Start the onions first. Once they’re soft and nearing the color you want, stir in the garlic. Give it roughly 30 seconds, just until you smell it, then add tomatoes, broth, vegetables, or whatever comes next. That next ingredient cools the pan and stops the garlic racing ahead.
You still chop both at the same time. Leave the garlic on the corner of the board until the pan is ready for it.
#23 The pot of pasta with too little water
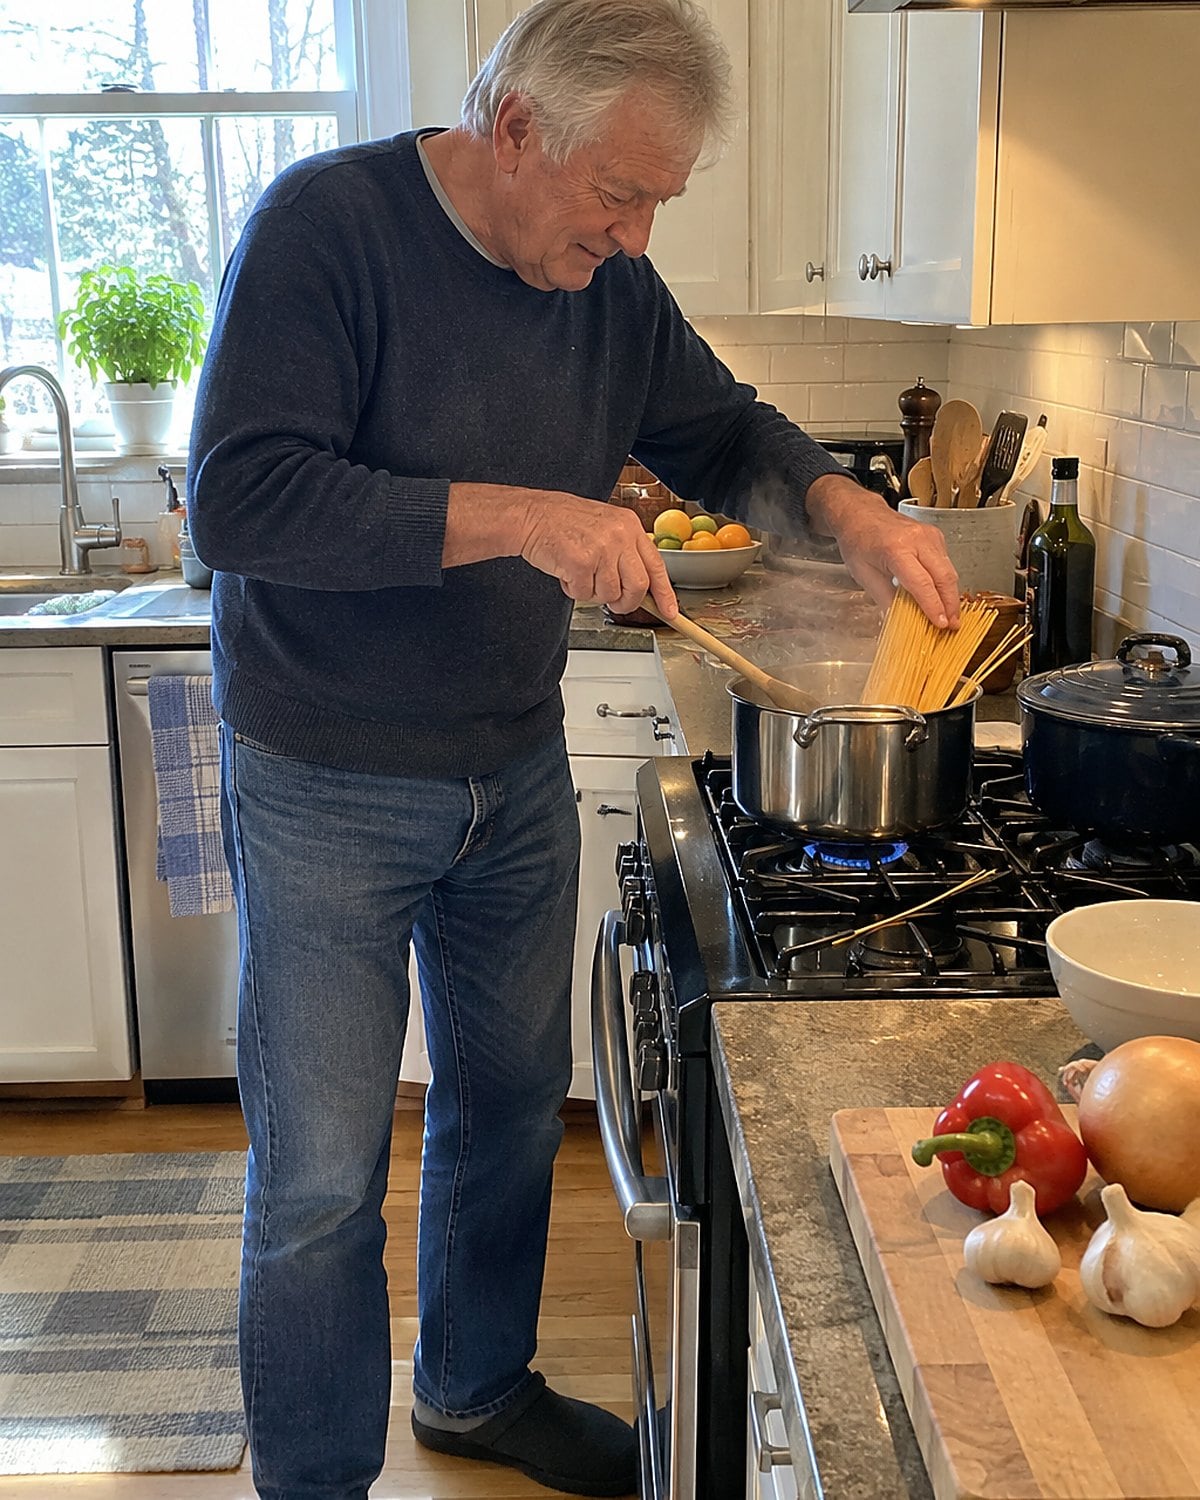
A small pot reaches a boil quickly, so it’s tempting to use it for a whole box of pasta. Then the spaghetti bends over the rim, the water turns thick, and the pieces cling where they touch.
Pasta needs enough water to move while it cooks. A larger pot also leaves room to stir as the strands soften. You don’t need to stand over a vat for two servings, but the pasta should fit after it bends and move when you stir it. Give it a good stir right after adding it and again as the boil returns.
The real time-saver comes before you drain. Scoop out a cup of the starchy cooking water. A splash loosens sauce and helps it cling to the pasta. Drain the rest, then finish the pasta in the sauce rather than piling sauce on top of a dry mound.
If you’ve been rinsing pasta to stop the sticking, try the bigger pot and early stir first. Rinsing washes away the starch your sauce needs. Save the cold-water rinse for pasta salad, where cooling the noodles is the point.
#22 The beans salted only at the end
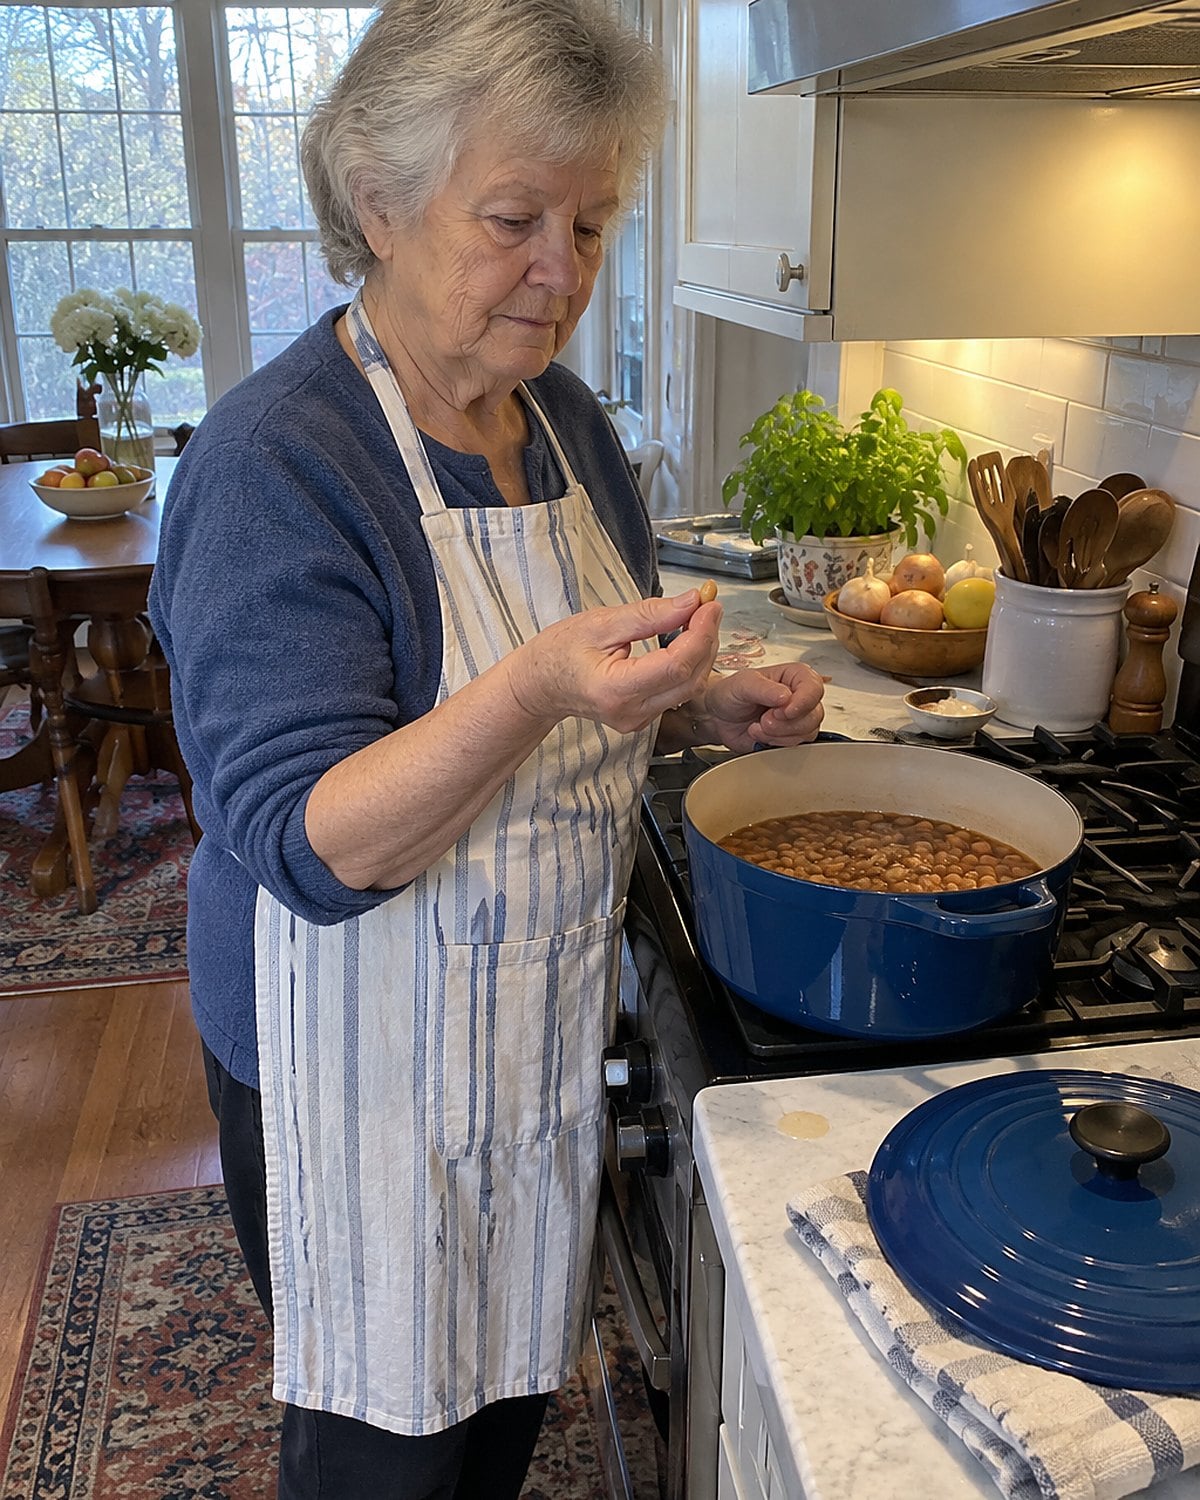
Did someone tell you salt keeps dried beans hard? That rule has lingered in kitchens longer than many bean recipes.
Bean age matters more: old dried beans take longer to soften, regardless of when the salt goes in.
Salt the cooking water so the beans have flavor beyond their skins. Hold acidic ingredients, such as tomatoes or vinegar, until the beans are tender. Acid slows softening, which is why a pot of beans cooked in tomato sauce takes patience.
Take a bean from the pot and press it between your fingers. Its center should yield without a chalky spot. Then taste the cooking liquid. If it tastes flat, the beans will too. The same check works before they go into chili or soup, where another hour of simmering won’t fix a hard center quickly.
Try it: How To Cook White Beans In Instant Pot
#21 The lettuce washed before storage
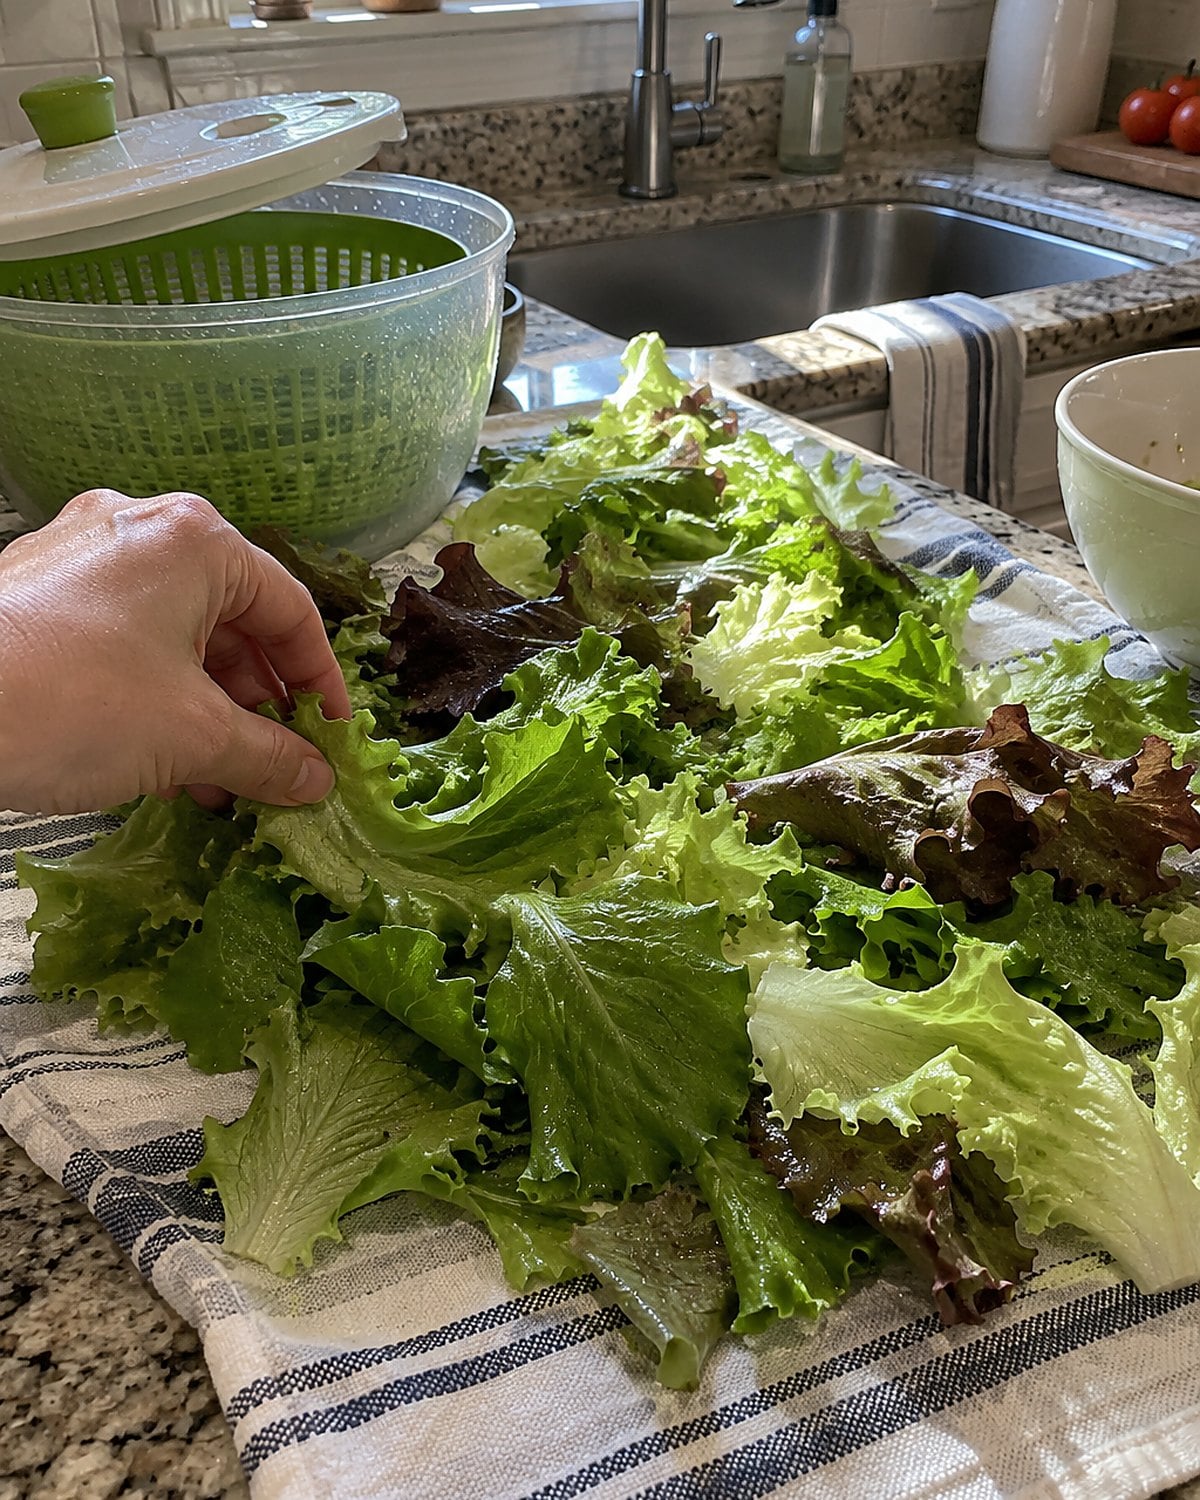
Washing lettuce when you unpack the groceries sounds like doing tomorrow’s work today. It is, if the leaves go into the fridge dry. Wet leaves sealed in a bag turn slick before you’re ready for salad.
After washing, spin the leaves or spread them on a clean towel until surface water is gone. Line a container with a dry paper towel, add the lettuce, and close it. Replace the towel if it gets soaked. Or leave the head whole and wash leaves as you use them.
Look at the leaves when you open the container. Crisp edges mean the shortcut paid off. Slick leaves mean water stayed trapped, so change how you dry them next time.
#20 The steak turned only once
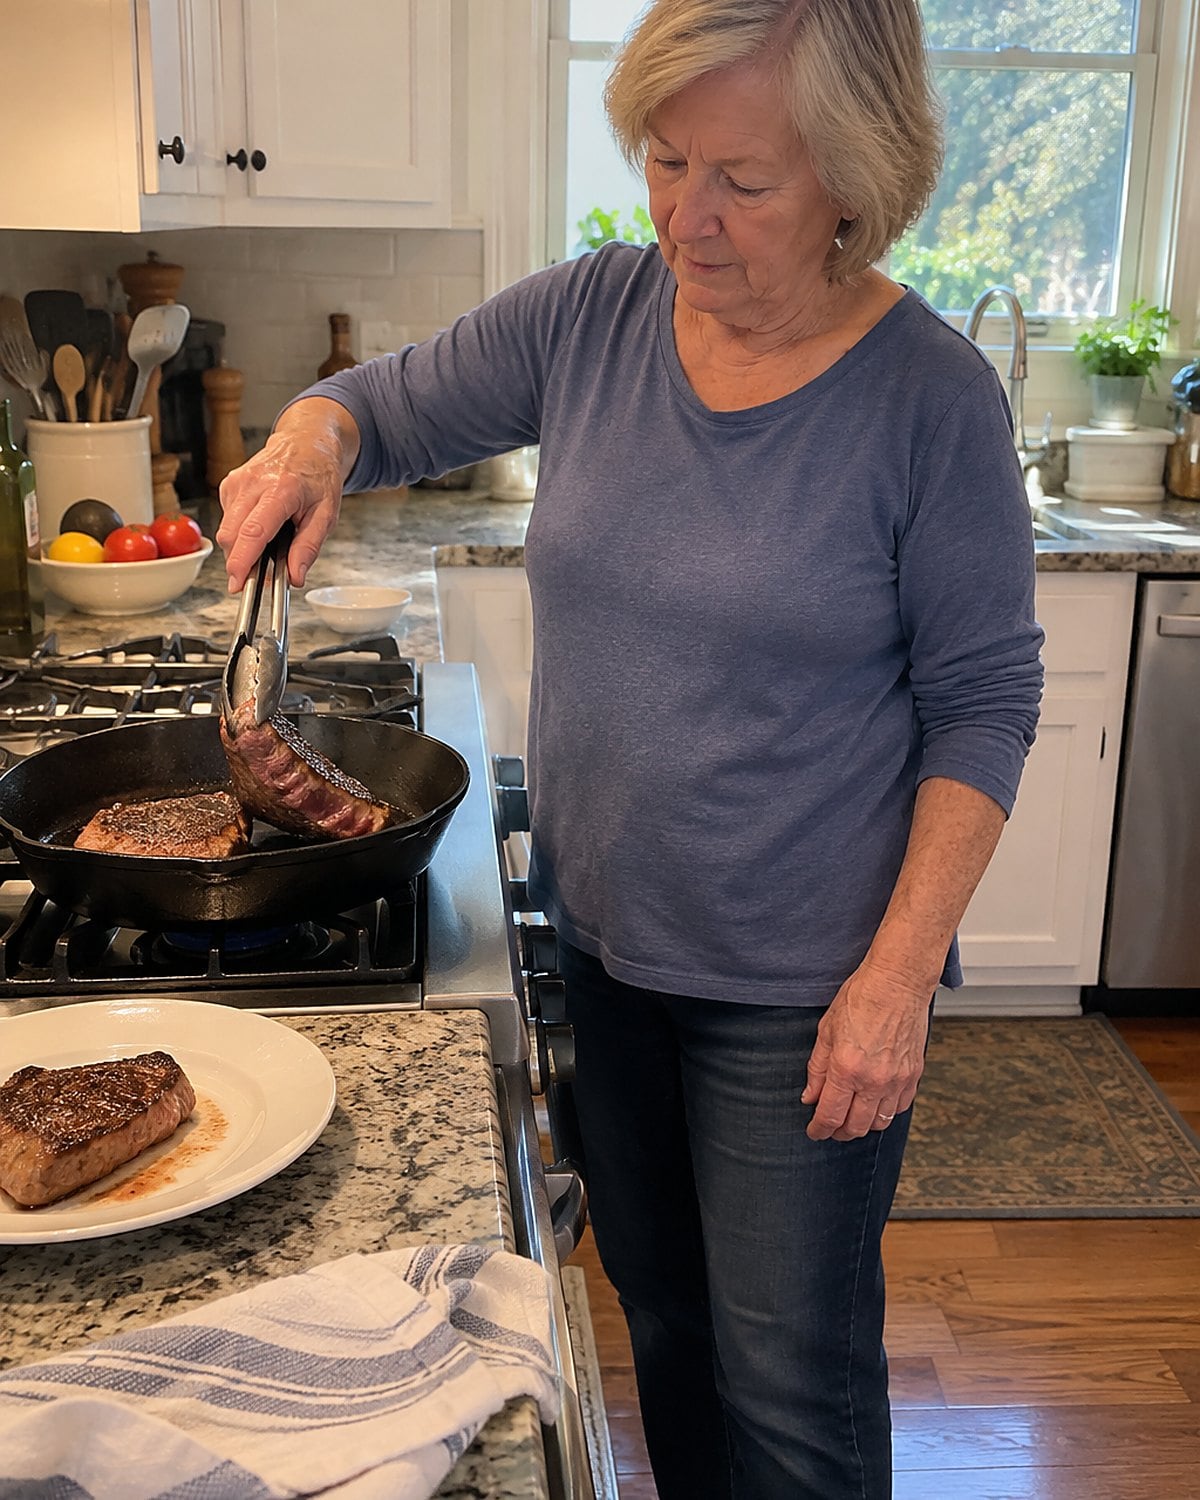
“Don’t touch it” is handy advice when you’re trying to get a good crust. Somewhere along the way, it became a rule that steak gets one flip and no more. Then one side spends too long over the hot spot while you wait for the other.
Leave the steak alone long enough to brown, then turn it. After that, turning it more than once helps you watch both sides and catch uneven heat. If the crust is getting dark before the middle is done, move the steak to a cooler part of the pan.
Use a thermometer for the finish. The USDA’s safe-temperature guidance calls for 145°F for whole cuts of beef and pork, followed by a 3-minute rest. Slide the probe into the thickest part, away from bone.
The old rule was trying to stop constant fussing. You still need to give the meat a moment to brown. You just don’t need to treat the first flip as your last chance.
#19 The soup seasoned before it reduces
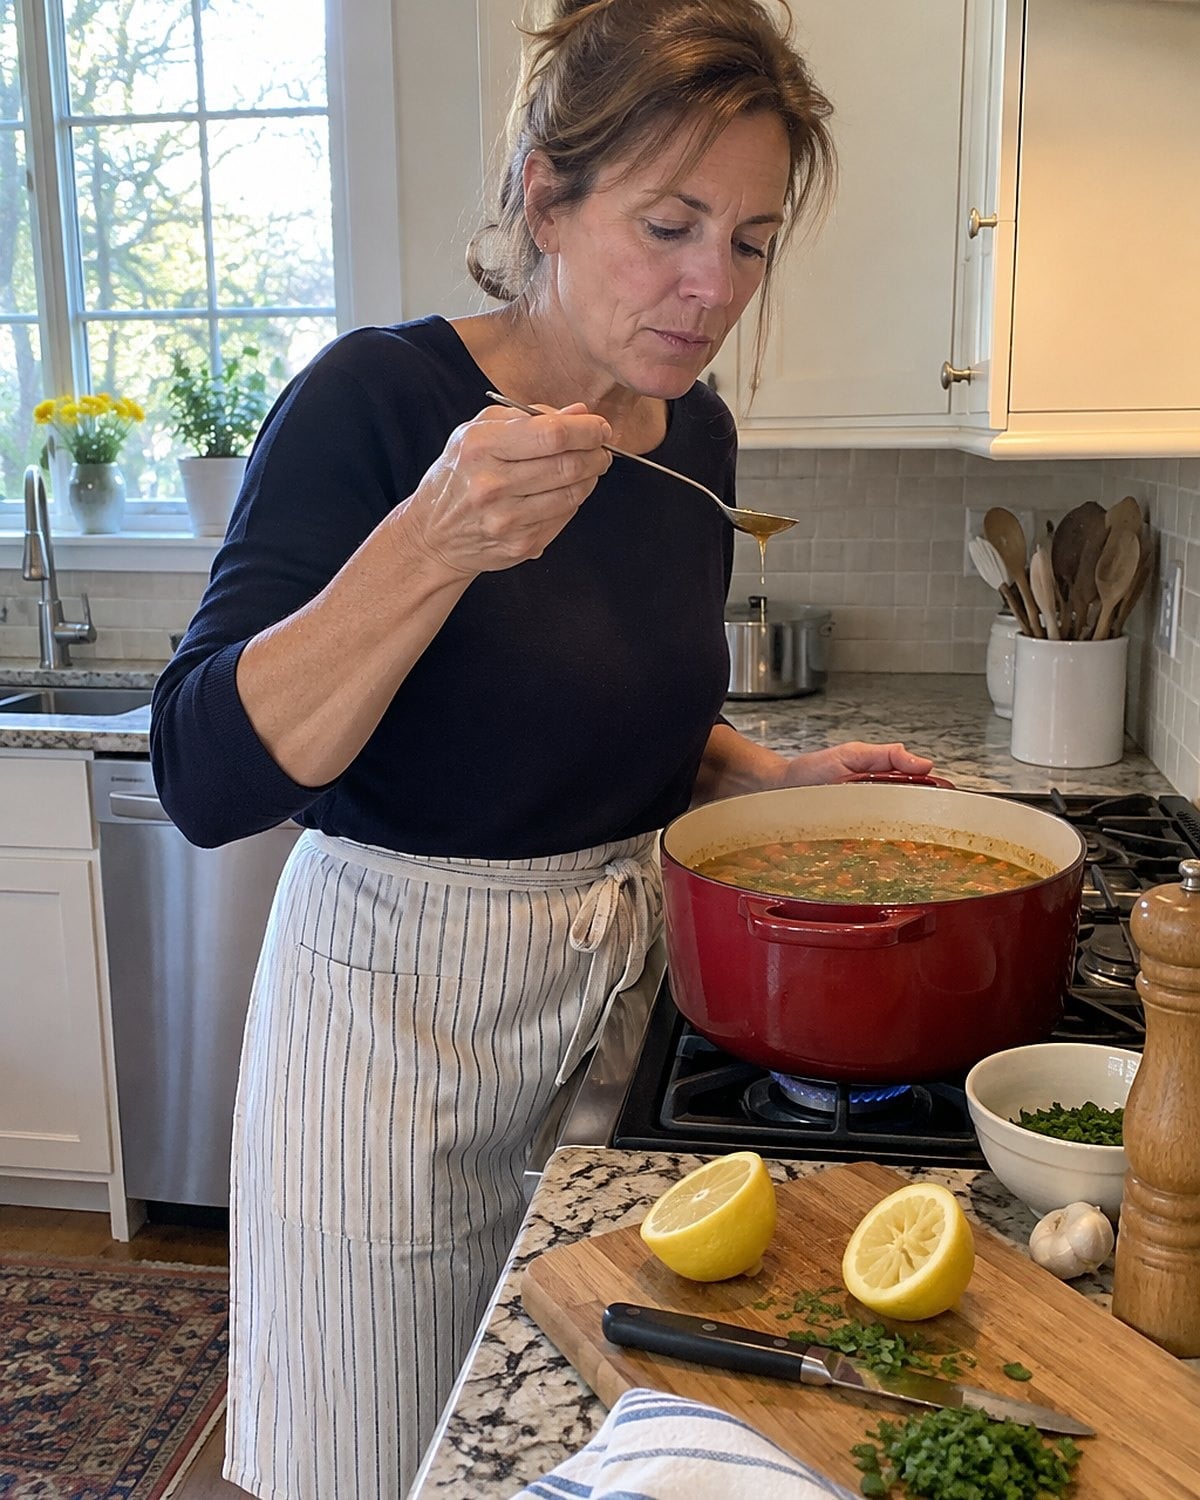
A spoonful of broth tastes thin, so you add more salt. Then the soup simmers with its lid off. An hour later, the pot holds less liquid and the salt tastes louder.
Seasoning early has its place. Vegetables and beans need salt as they cook. The mistake is treating the first taste as the final one when the soup still has a long simmer ahead. Add a modest amount at the start, then taste again after the liquid has reduced.
If the soup tastes heavy rather than lively, try a squeeze of lemon or a little vinegar before adding another shake of salt. Stir, taste, and decide. The test belongs in a spoonful, not in the whole pot. That way, you find out what the acid does without committing dinner to it.
 You might also like27 Things People Over 60 Still Do With Leftovers That Food-Safety Experts Beg Them to Stop
#18 The tomatoes kept in the refrigerator
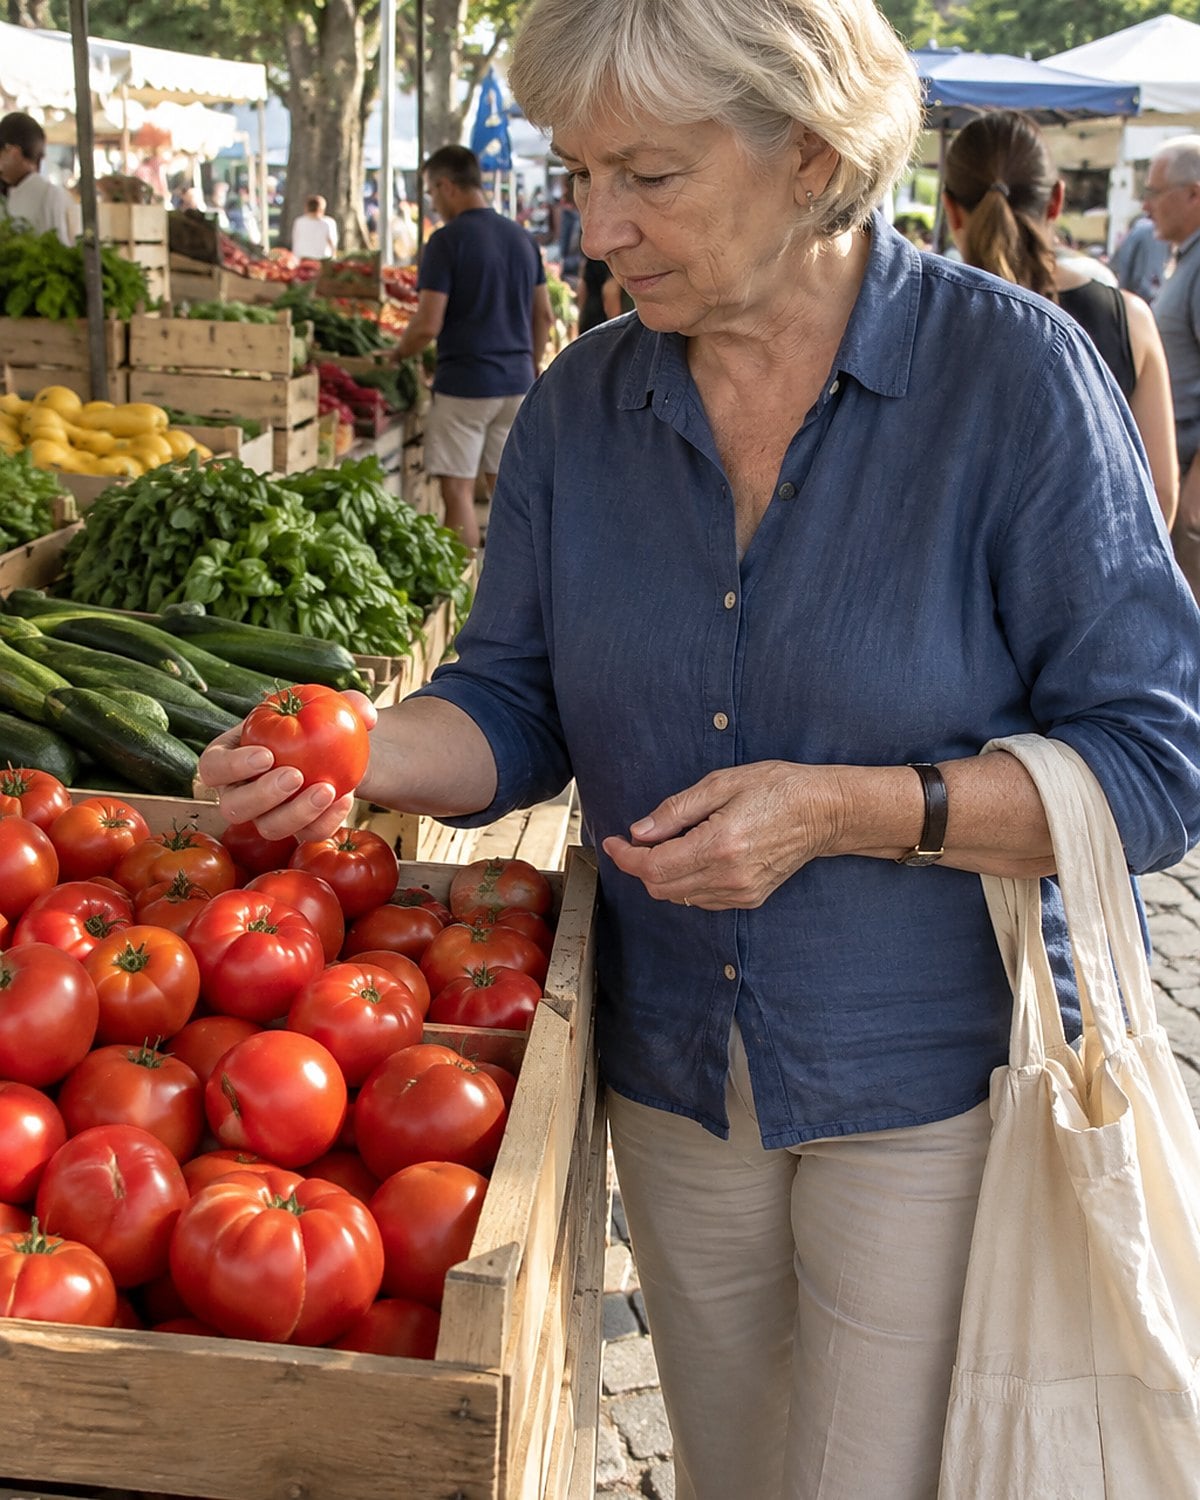
At the market stall, the tomato smells like a tomato. At home, you put it beside the milk because that’s where produce goes. Chilling dulls its flavor and changes its texture, especially before it ripens.
Keep whole tomatoes on the counter, away from direct sun, and use ripe ones while they still feel firm enough to slice. A cut tomato is different: refrigerate it promptly in a covered container. Bring it out shortly before you eat it so it loses the refrigerator chill.
There’s a useful test right at the stem end. Smell it. If it has a clear tomato scent and yields a little when pressed, make tonight the tomato night. Slice it over toast, add it to a sandwich, or eat it alongside supper with salt.
Once a whole tomato is so ripe that it won’t last on the counter, the refrigerator buys you time. The point is to let it ripen first, instead of putting every tomato in the crisper by reflex.
#17 The dull knife pressed harder
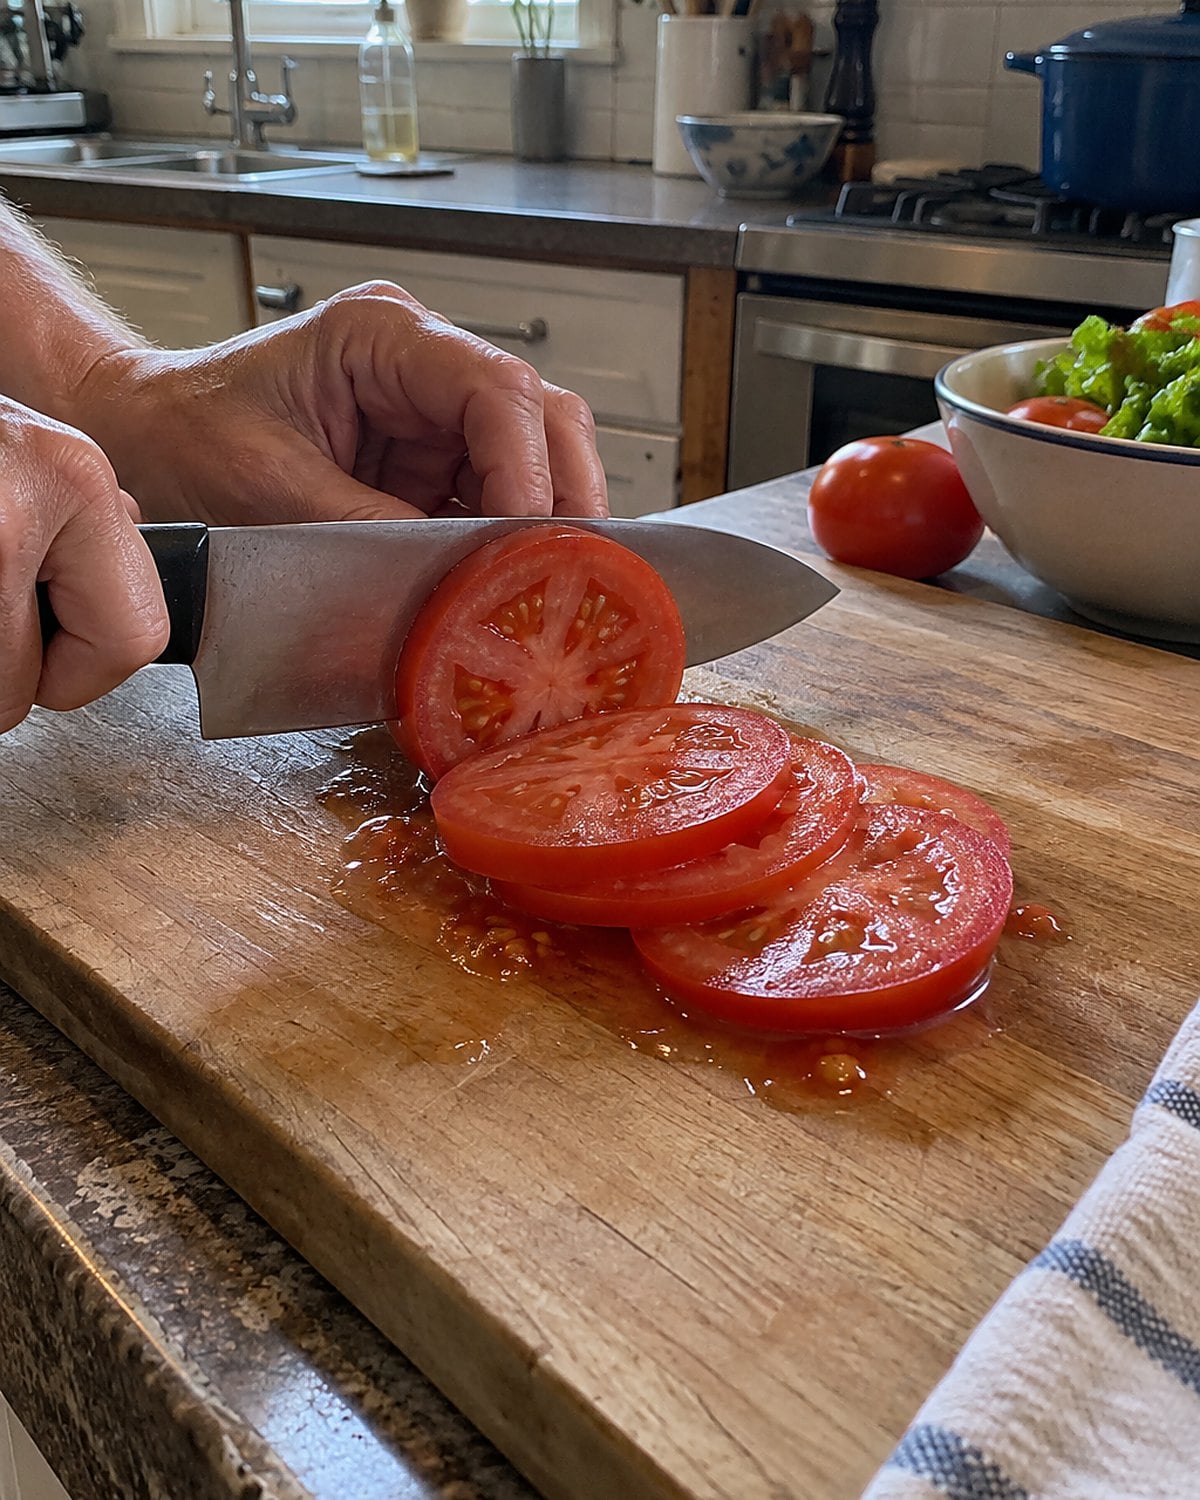
The old shortcut was to make one more dinner before dealing with the knife’s edge. At first, a harder push got you through a tomato. Then the blade began sliding across the skin right when your hand was pushing hardest.
Give that tomato another look. The blade should break the skin without your other hand pressing down on the fruit. If it skates, stop before the next cut.
Hone the knife when its edge feels off, and sharpen it when honing no longer helps. A honing steel straightens an edge; it doesn’t replace sharpening. For a knife that has worked through forty years of dinners, a proper sharpening feels like getting the old knife back.
Keep the work surface steady, too. Neither a sharper edge nor a firmer grip makes up for a knife you’re forcing through food. Set the tomato aside, tend to the blade, then finish slicing it.
#16 The ground beef browned in one heap
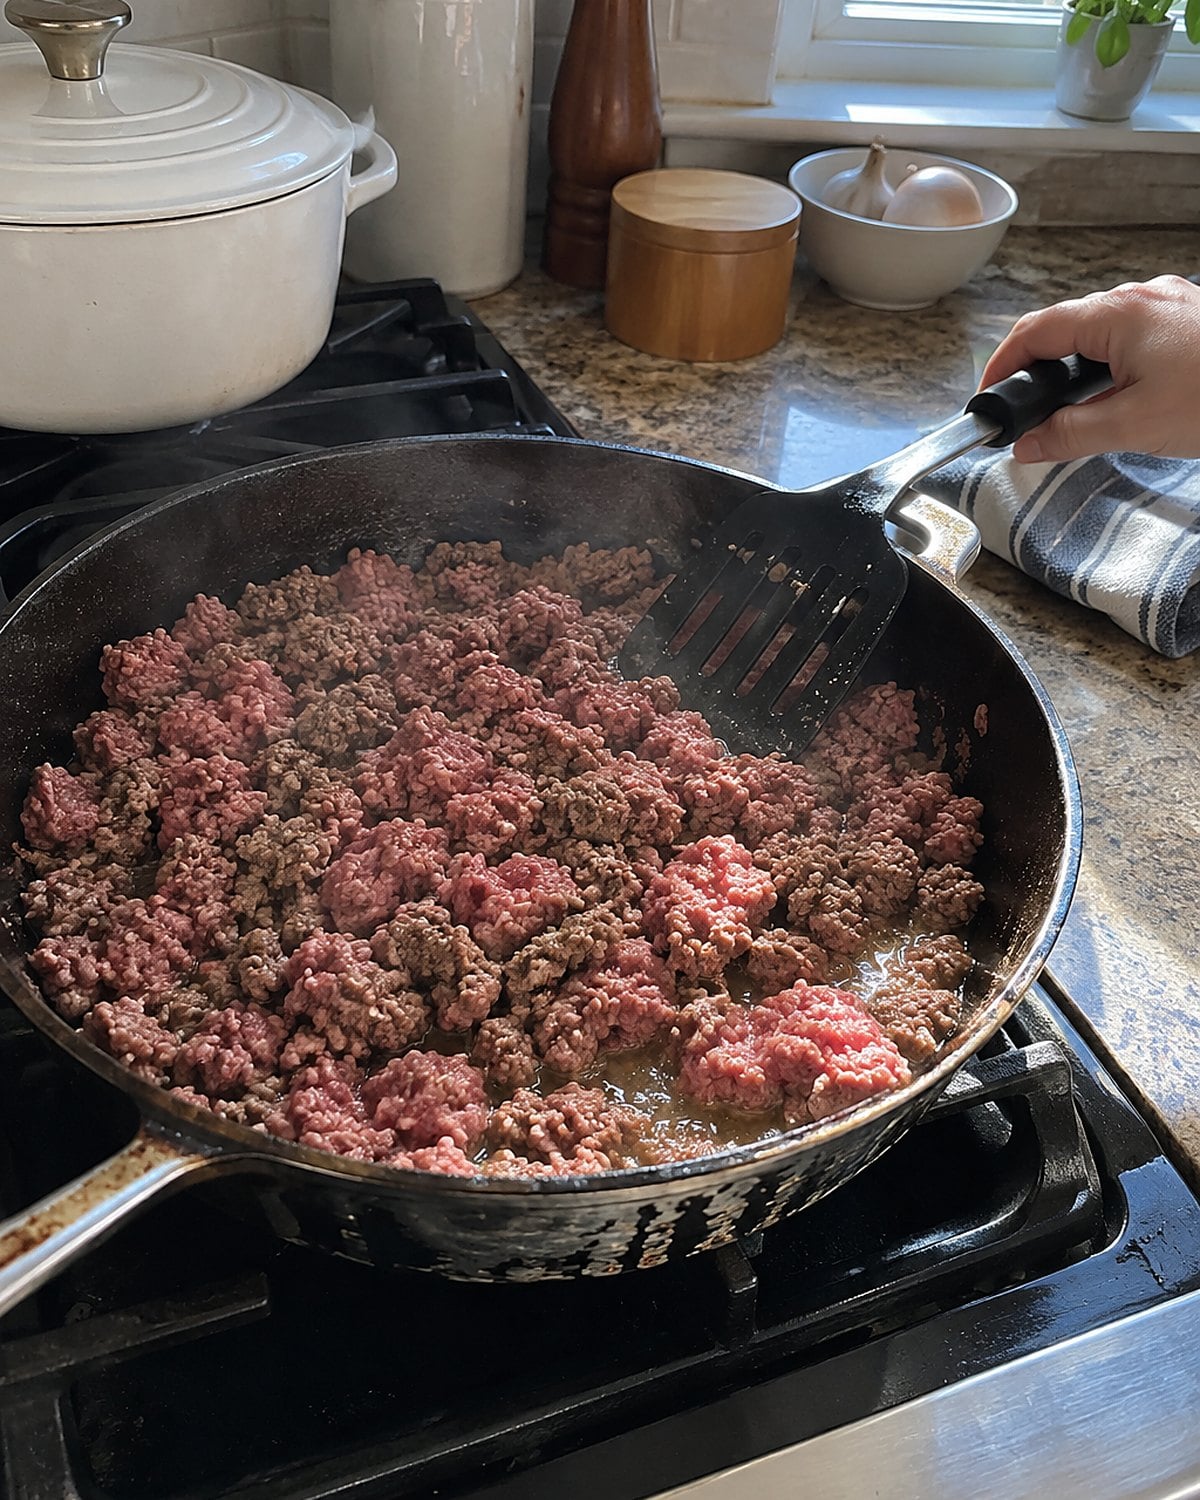
The family taco pan used to be enormous. Now you’re cooking enough ground beef for one or two, but the old habit remains: dump it in and start stirring. The meat breaks into small pieces before the pan has a chance to brown any of it.
Let the pan heat, add the beef, and press it into a broad layer. Leave it alone until the underside browns. Then turn sections and break them up. Browning happens where meat meets a hot pan, not where it steams in a constantly stirred mound.
That dark color brings flavor to tacos, pasta sauce, and a pot of chili. If the pan fills with liquid, let the liquid cook away before judging the browning. For a larger batch, use two rounds rather than stacking meat so deep that the bottom disappears.
Ground beef also needs a safe finish. The USDA safe-temperature chart lists 160°F for ground meat. Put the thermometer into a thicker clump before you finish breaking it apart. Browning tells you about flavor; the thermometer tells you about doneness.
#15 The baking soda beside the spices
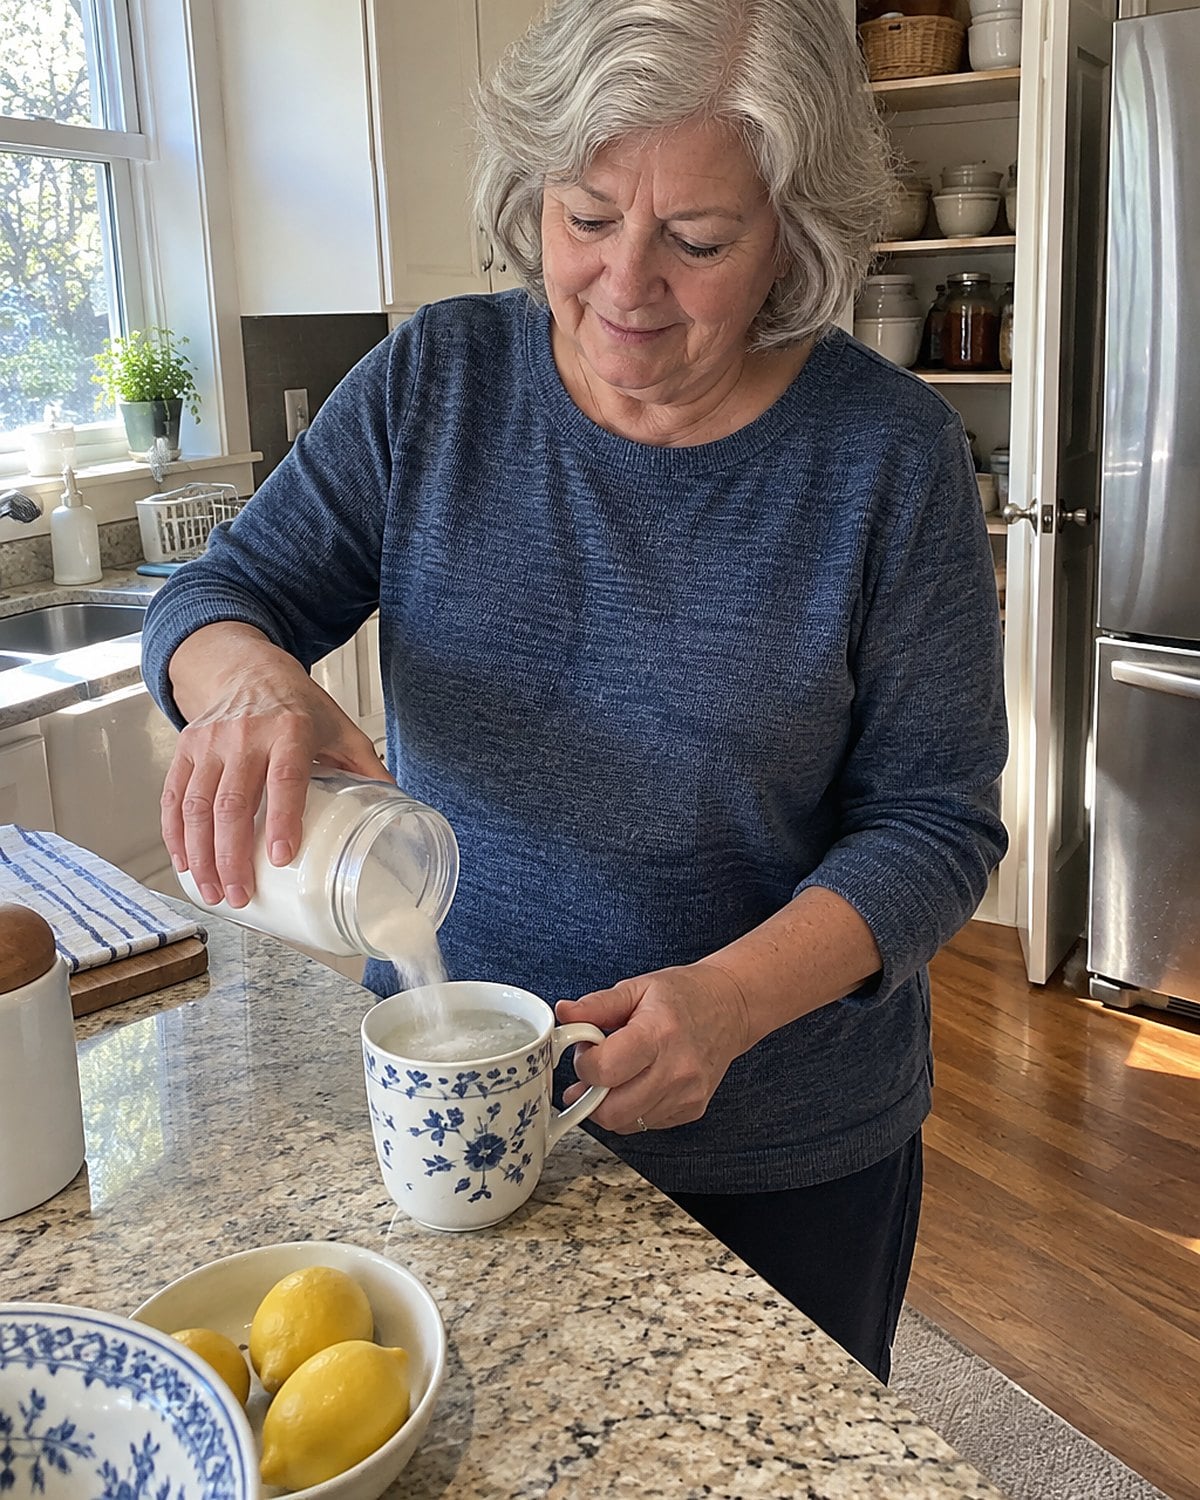
You open a new box of baking soda for cookies, then tuck it into the cupboard. Months later, the cookies spread strangely or the quick bread barely rises. It’s easy to blame the recipe when the small box has been open since the last holiday visit.
Baking soda reacts with acid, such as buttermilk or molasses. Baking powder already contains the acid it needs. They aren’t interchangeable spoon for spoon, and neither does its job well if it has lost strength.
For baking powder, stir a little into hot water; active powder bubbles. For baking soda, use vinegar instead. You’re checking for a lively reaction, not trying to save a measured batch after the batter is mixed. Write the opening date on a new container, and check it before the next church bake sale.
#14 The refrigerator door full of milk
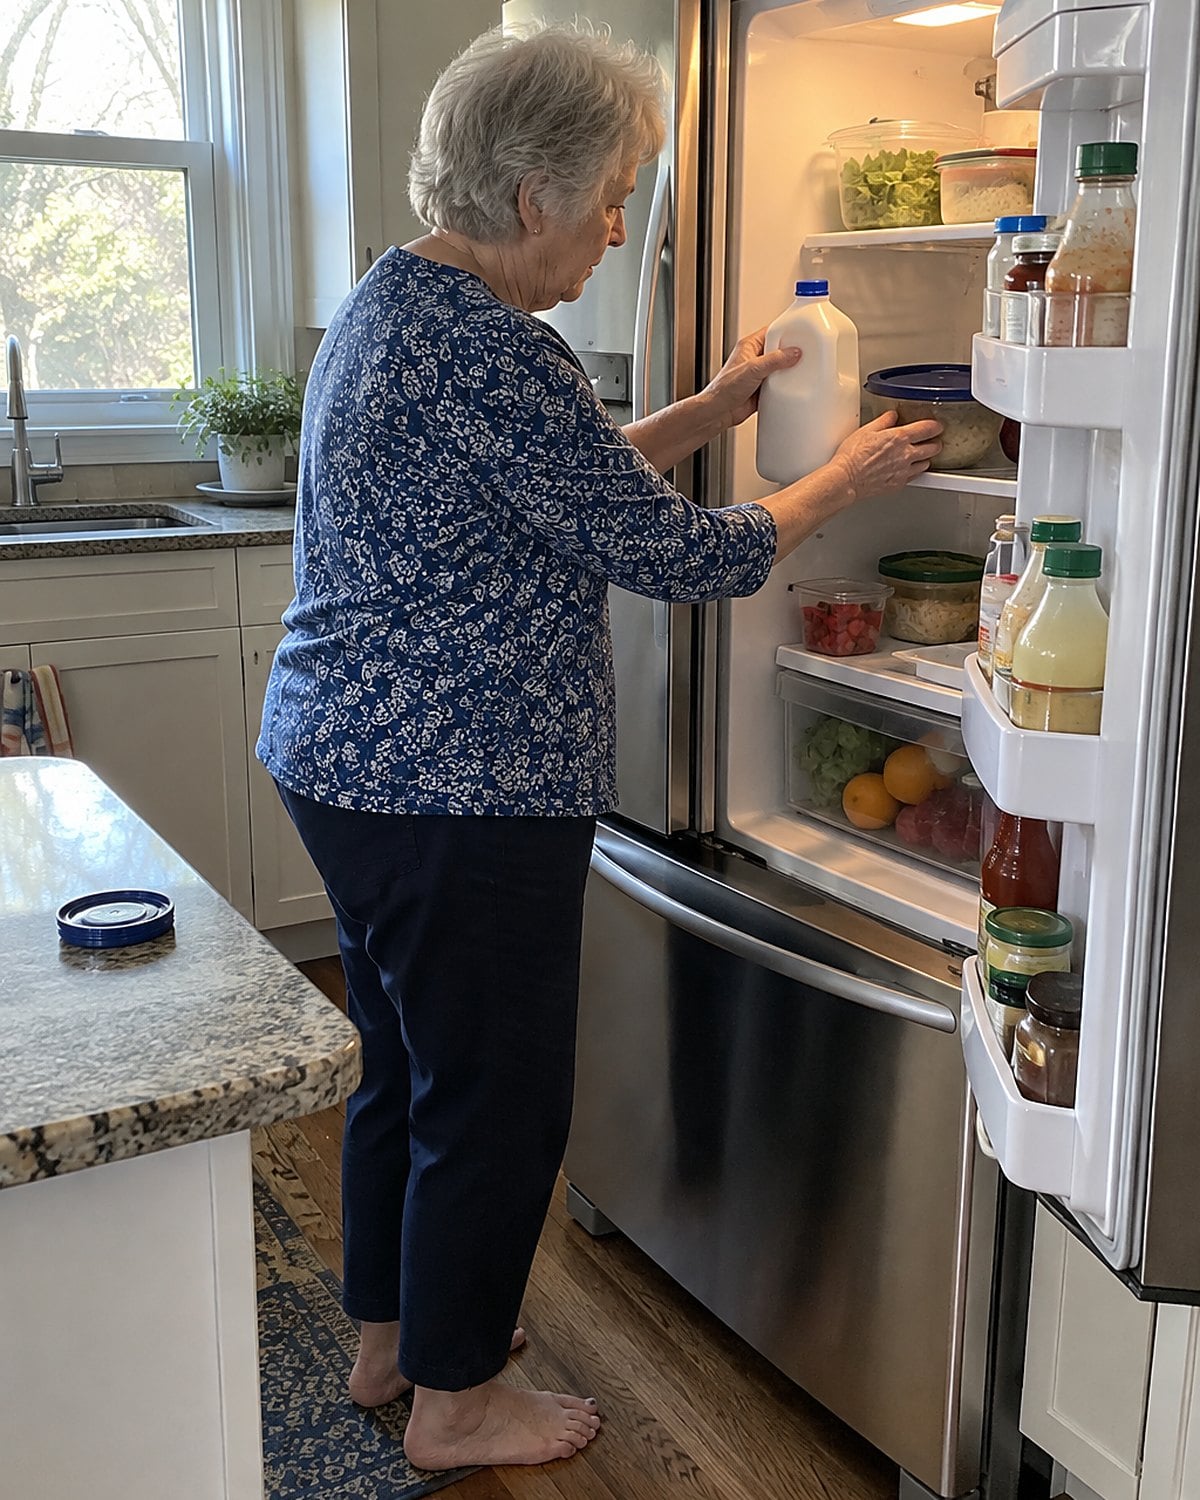
The door shelves make milk easy to grab while you make coffee. They’re also the part of the refrigerator exposed to warm kitchen air each time the door opens.
Move milk and other easily spoiled foods to an interior shelf. Keep condiments in the door, where the changing temperature is less of a problem.
Put a refrigerator thermometer on a middle shelf and check it after the door has been closed for a while. The FDA’s refrigerator advice sets the fridge at 40°F or below.
Don’t rely on the dial’s number. It describes a setting, not the temperature where your food sits. If the thermometer reads above 40°F, adjust the dial and check again after the refrigerator has had time to cool.
The useful rearrangement takes less effort than replacing a carton that soured early. It also gives you a clear answer when someone asks whether the fridge feels cold enough.
#13 The green beans boiled until soft
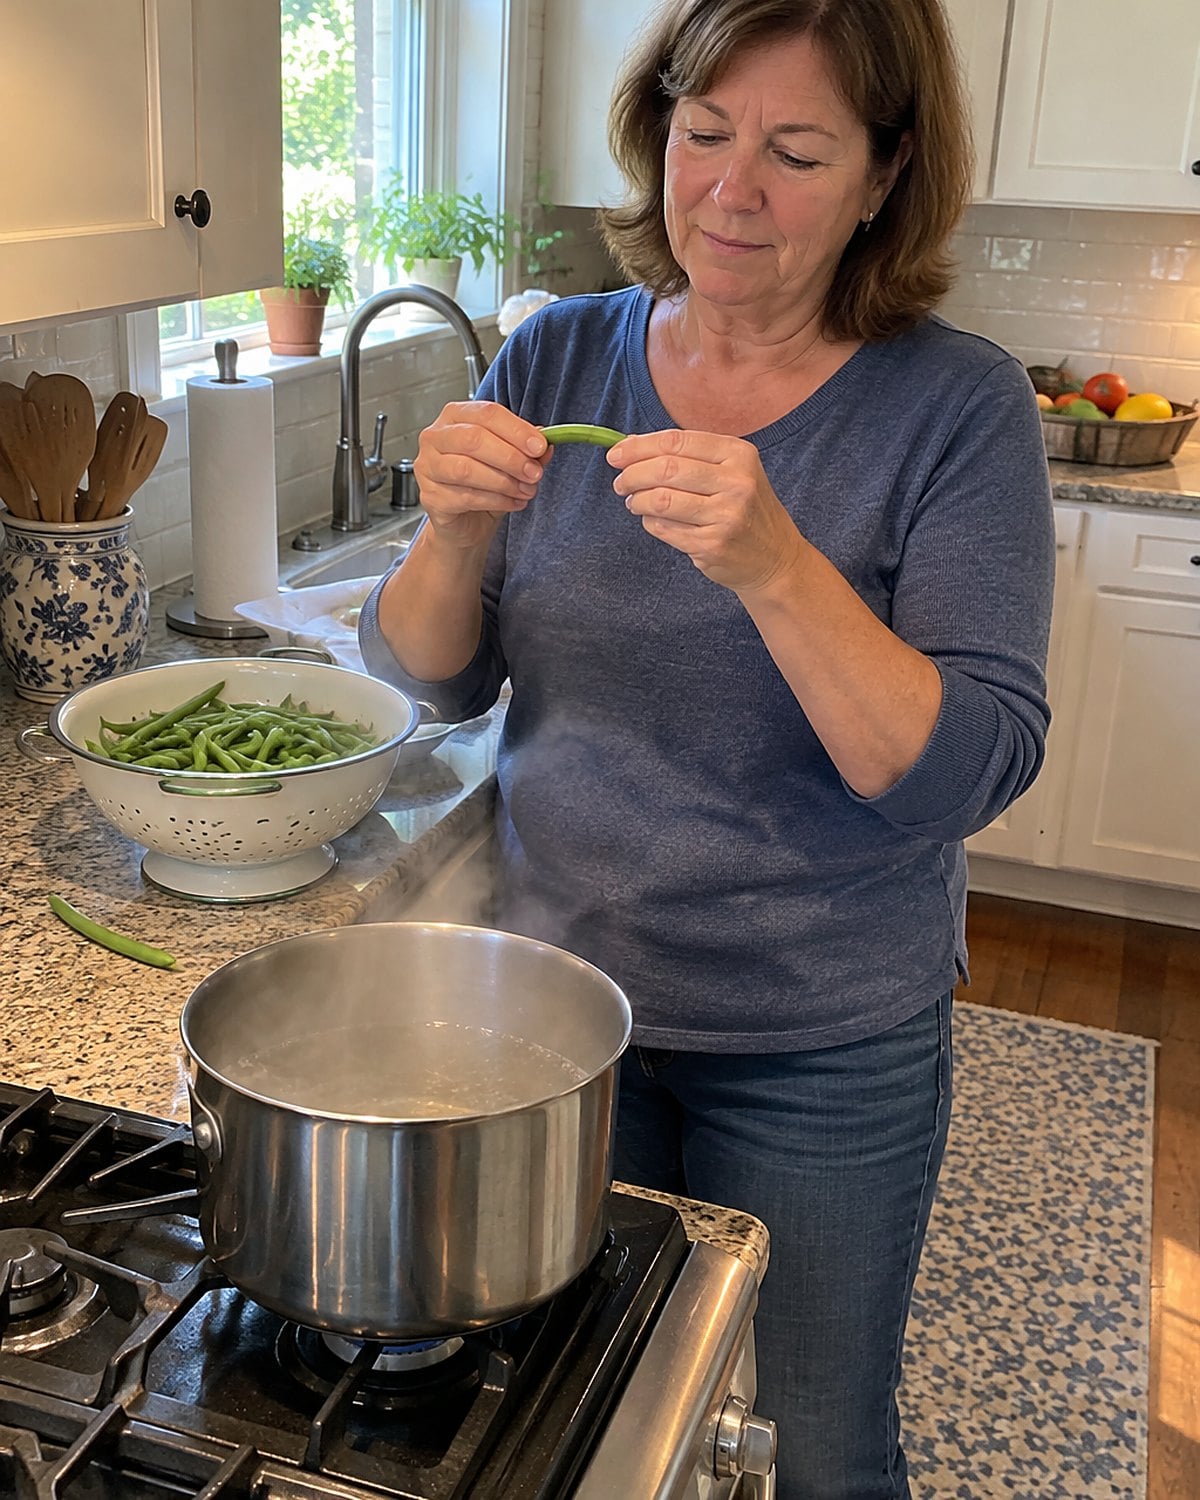
A pot of green beans went on the stove early because dinner had several pans to manage. By the time everything else was ready, the beans had lost their snap and their bright color.
For a quicker side, cook them in boiling water until a bean bends but still offers resistance when you bite it. Drain them and finish with butter or olive oil and salt. Want the long-cooked beans you grew up with? Make those on purpose, with broth and aromatics, rather than getting them by leaving plain beans in water too long.
Take a bean out and taste it before you drain the pot. That small pause does more than a timer here. The bean tells you whether it needs another minute.
Try it: Instant Pot Green Beans With Butter & Pepper
#12 The chicken rinsed in the sink
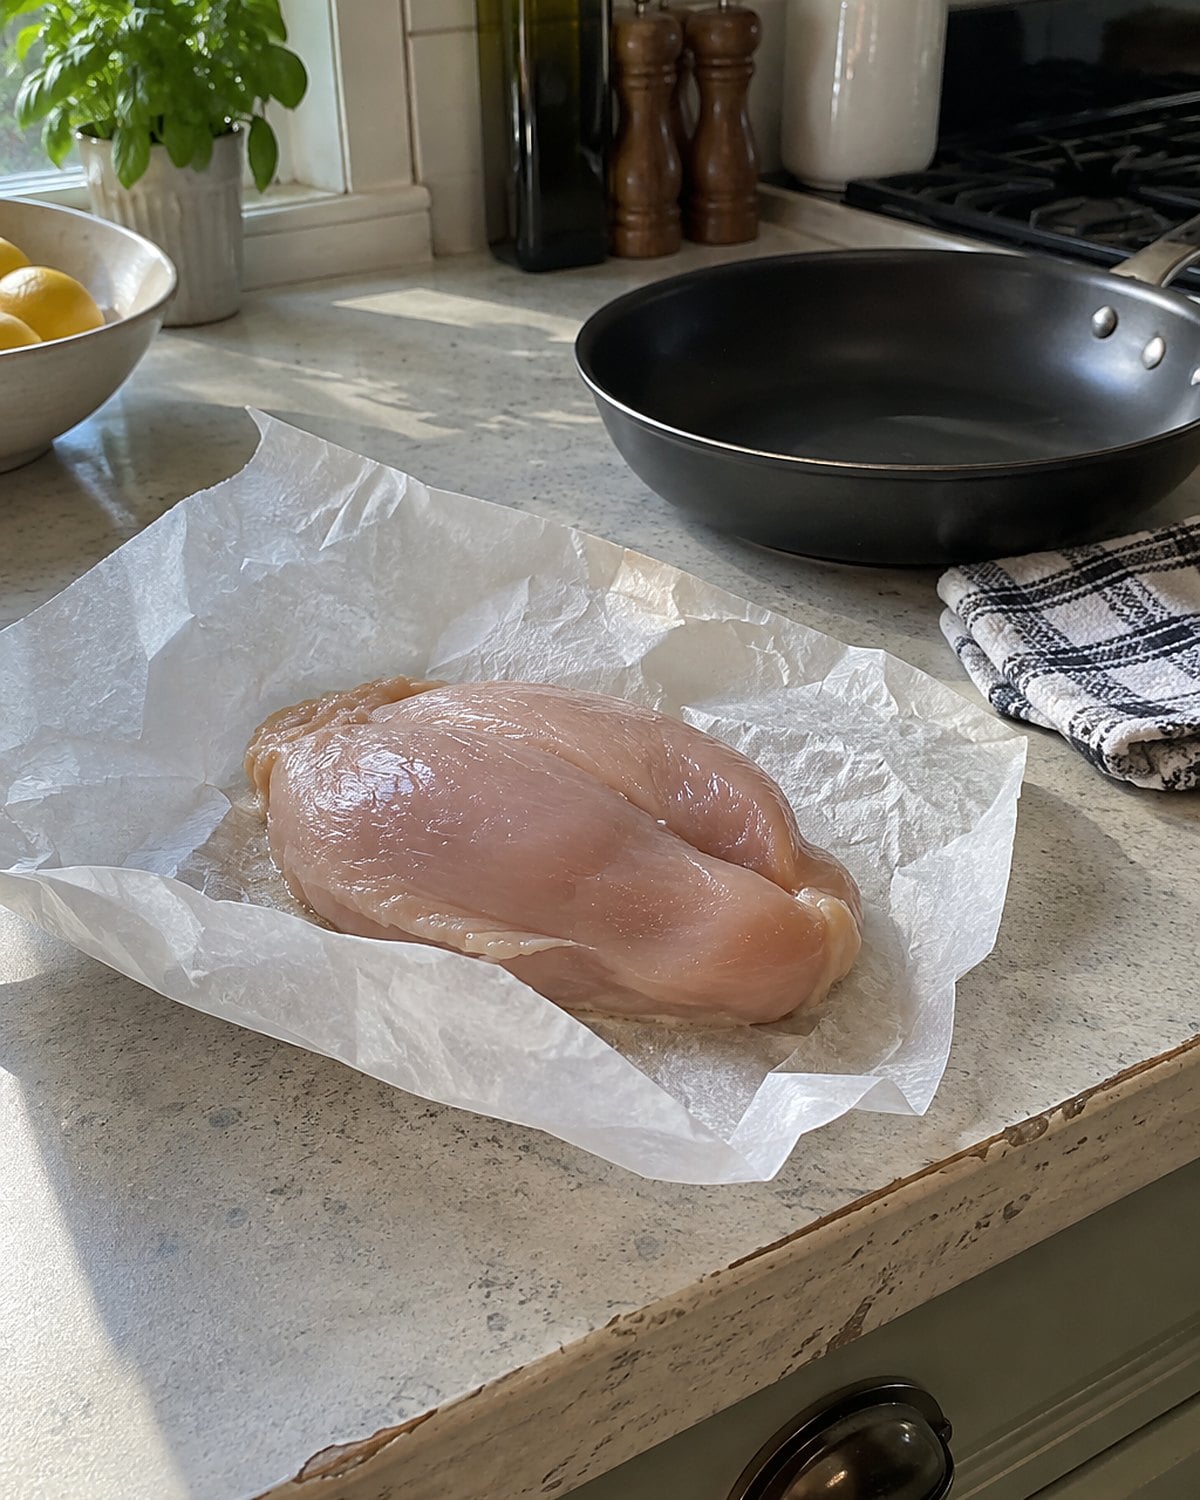
The package drips. Rinsing the chicken feels like the cleanest way to deal with it, especially if that’s how you learned to prepare dinner. But water hitting raw chicken splashes germs around the sink and nearby counter. Rinsing doesn’t make the chicken safe to eat; cooking does.
Open the package beside the pan or board where you’ll work. If you want a dry surface for browning, pat the chicken with paper towels and throw them away. Wash your hands, the board, the knife, and anything else the raw juices touched. Then clean the sink if the package dripped there.
The CDC’s chicken guidance says not to wash raw chicken. It also gives the safe cooking temperature: 165°F. Put the thermometer into the thickest part without touching bone.
That old rinse felt like a first step toward a clean meal. Skip it, and there’s less cleanup to do before the pan even heats.
#11 The thermometer left in the drawer
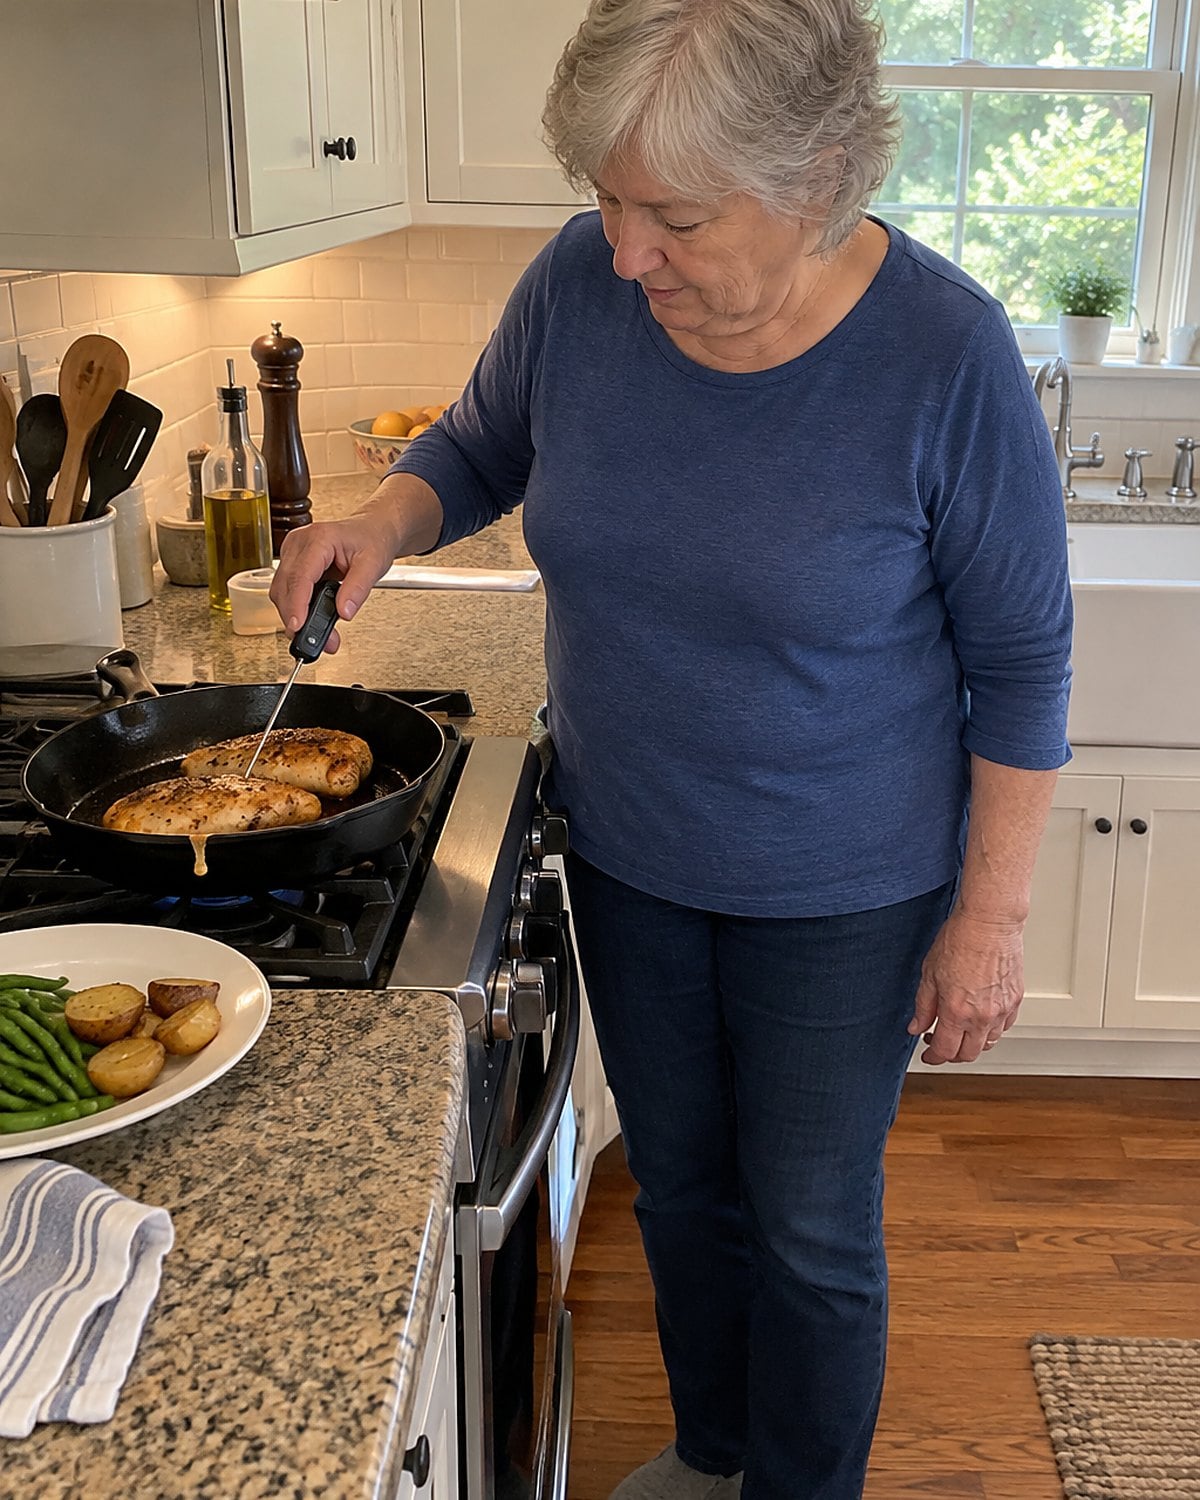
Cutting into meat has been the dinner test for years. The juices look clear, the center looks pale, and everyone is waiting. Neither color gives you the answer a thermometer gives.
Keep the thermometer in a drawer you actually open while cooking. Push its tip into the thickest part of the meat, away from bone or the pan, and wait for the reading to settle. Check another spot if the piece has an uneven shape. For poultry, the USDA says 165°F.
There’s a payoff beyond the safety check. Once you trust the number, you stop leaving dinner on the heat while you guess. That helps a chicken breast stay juicy and lets you serve without making an inspection cut across the middle.
#10 The onions stirred without a pause
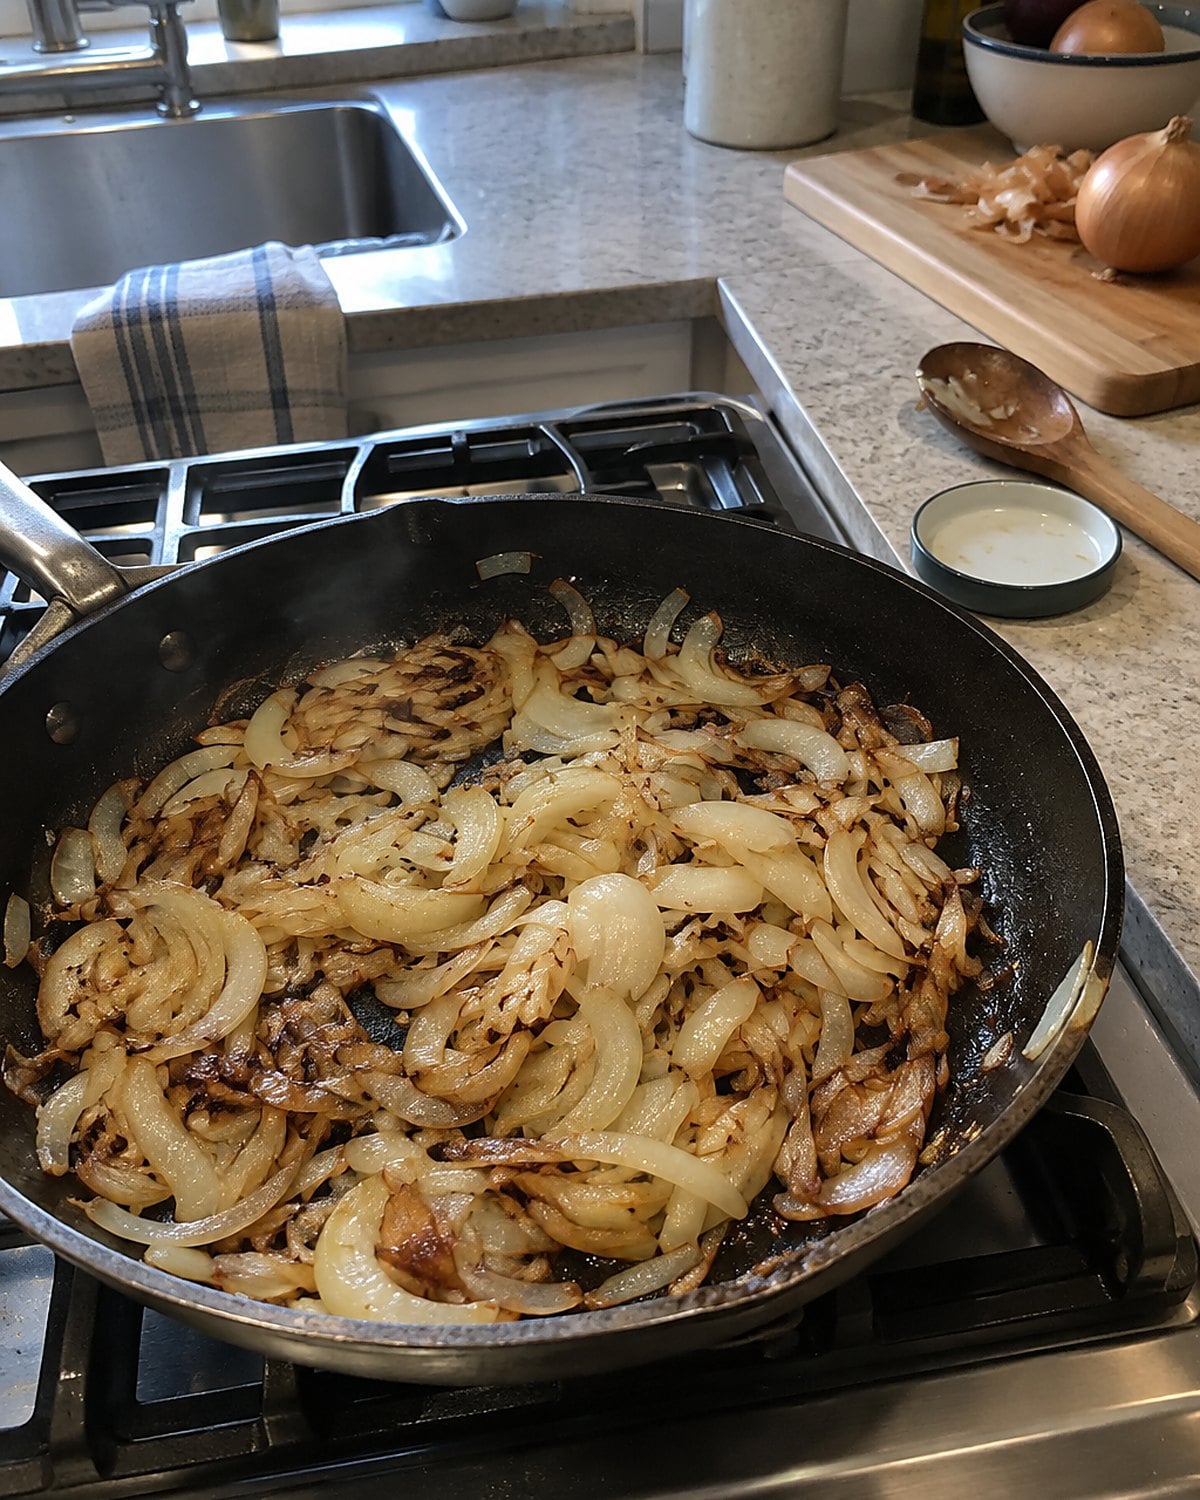
A wooden spoon feels like useful work in a hot pan. You stir the onions each time you walk past. They soften, but they never get those brown edges you wanted for burgers or soup.
Browning takes contact with the pan. Stir once to coat the onions in fat, spread them out, and give them a few minutes without moving them. When the edges color, stir and spread again. Keep the heat moderate so the browned bits smell sweet rather than sharp.
There’s a difference between browned onions and deeply caramelized onions. The latter take time, and the pan needs watching as the onions shrink and their sugars concentrate. A lid speeds softening at the start, but lift it and let moisture escape when you want color.
If dinner is close, stop aiming for a whole pot of dark onions. A few browned edges will still improve the dish. Leave the spoon on the counter long enough to let them form.
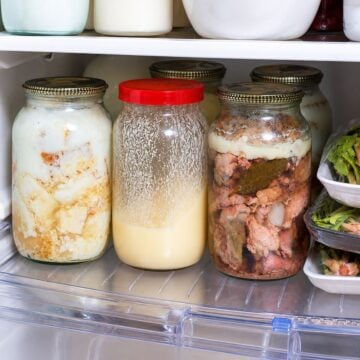 You might also like26 Things in Your Fridge Right Now That Should Have Been Thrown Out
#9 The freezer bag with no date
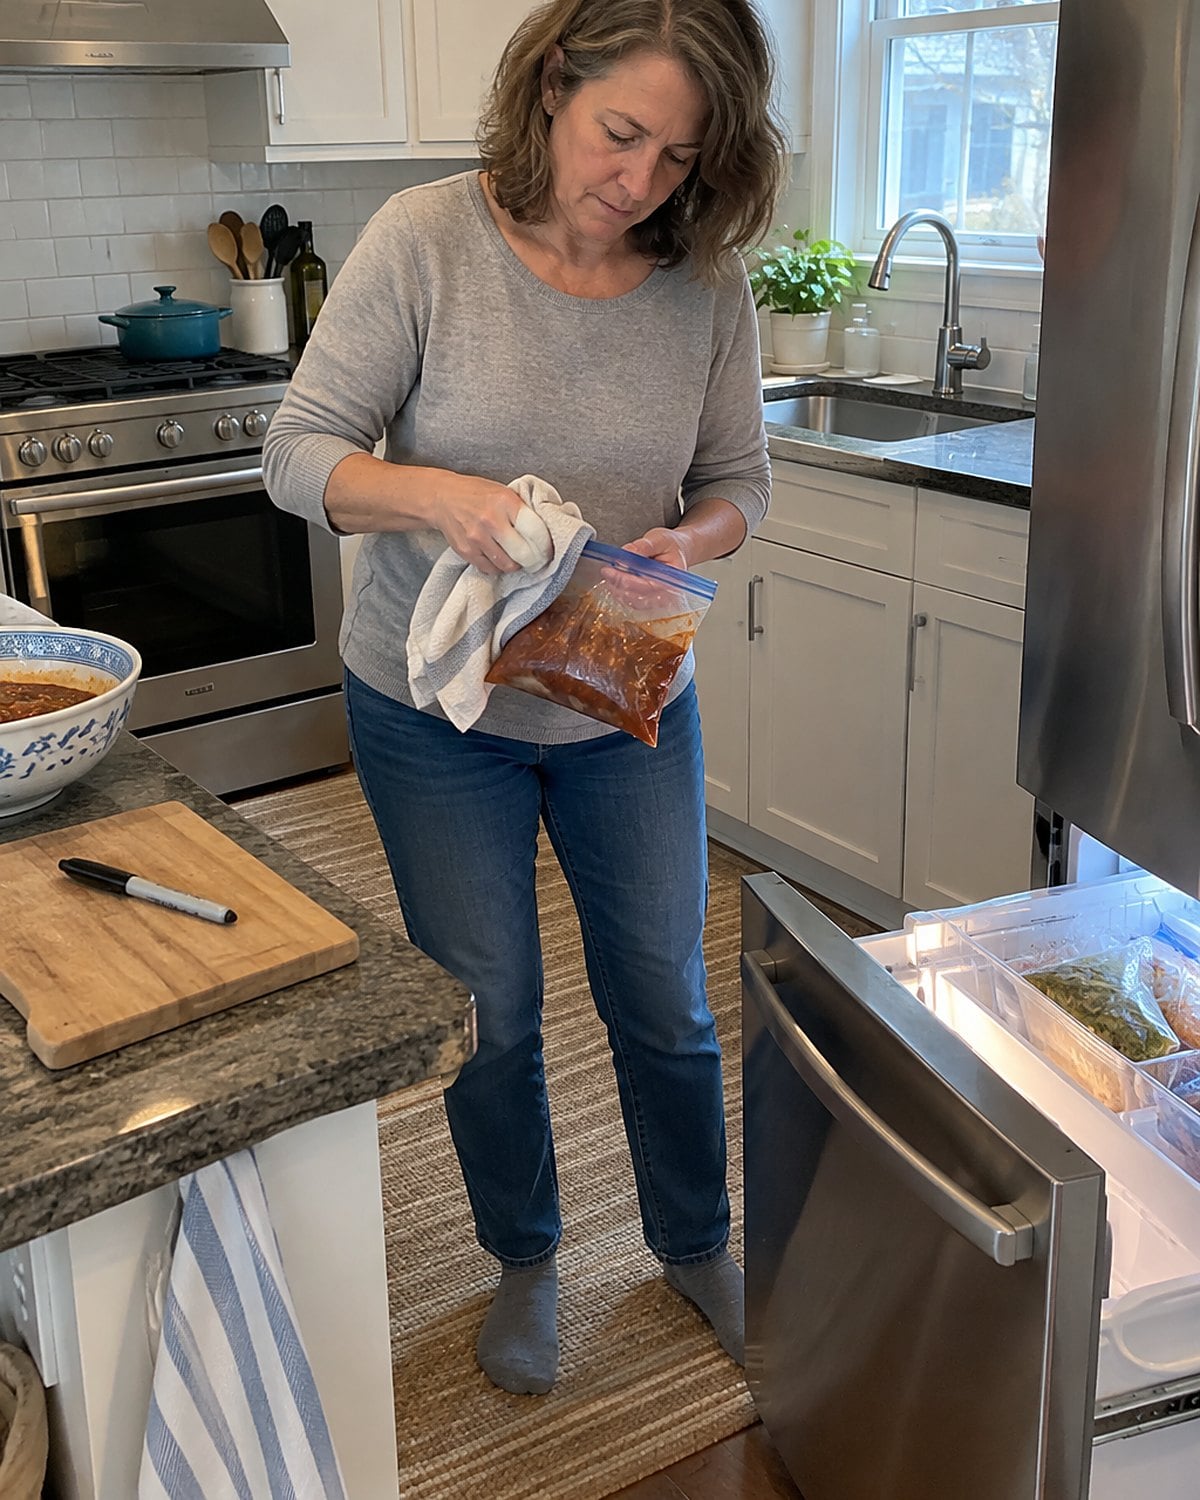
You know exactly what went into that freezer bag. Then the grandchildren visit, the holidays pass, and it looks remarkably like three other bags.
Keep a marker near the bags. Write what’s inside, how much, and the date before the food goes in. “Soup” leaves you guessing; “chicken soup, two bowls” tells you whether to thaw another bag. Press out excess air, seal the bag, and lay it flat to freeze so it stacks in the drawer.
The USDA’s cold storage chart separates freezer guidance about quality from refrigerator guidance about safety. A date helps you choose the older bag first and remember what it was.
Tonight, label the bag you’re about to add. You don’t have to solve every mystery already buried in the drawer.
#8 The casserole covered through its last minute
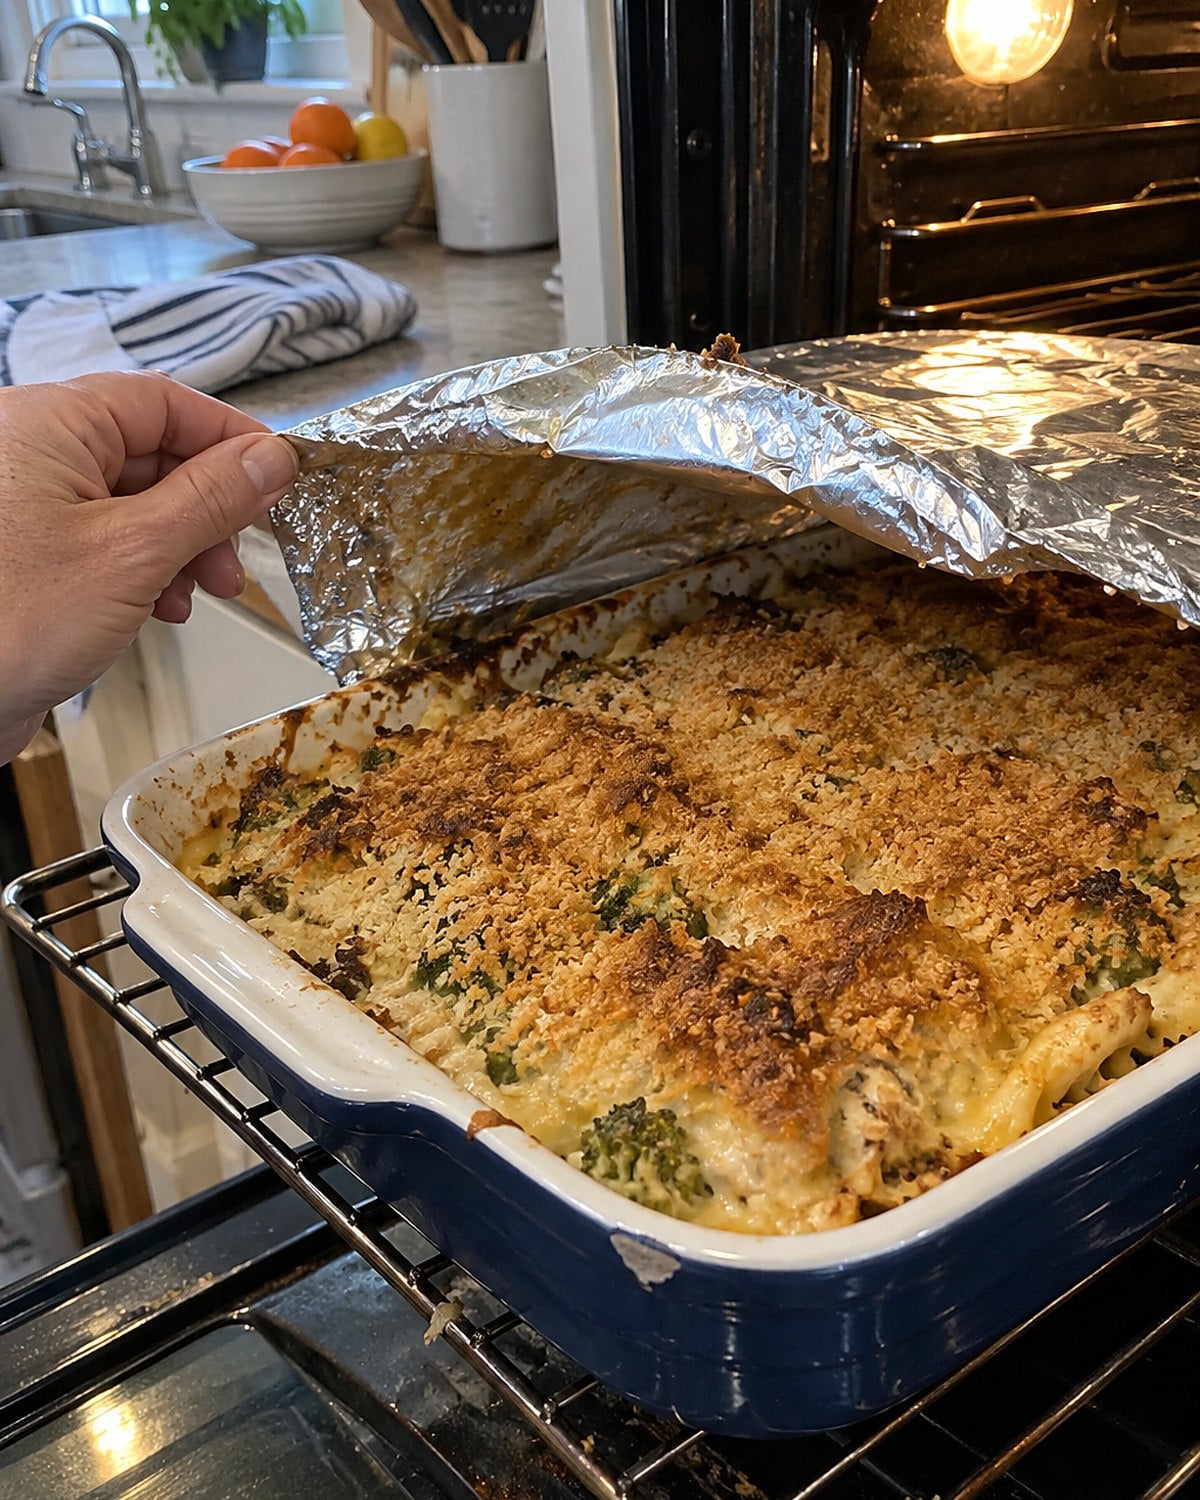
Foil over the casserole keeps the top from burning while the middle heats. You leave it on through the end because the dish looks done underneath. Then the topping lands on the table damp.
Keep the cover for the part of cooking that needs protection. Remove it near the end so steam escapes and the top browns. If a breadcrumb topping is still pale while the middle is hot, move the dish to a higher oven rack and watch it. A brief finish under the broiler needs your full attention.
For a casserole made with cooked leftovers, the middle matters more than the crust. The USDA’s leftovers guidance calls for reheating leftovers to 165°F. Check the center with a thermometer before you chase a darker top.
Let the dish stand for a few minutes after it comes out. The filling settles, and the first scoop holds together better. You still get the crunchy top, with no cold patch hiding under it.
#7 The raw-meat and salad-vegetable sequence
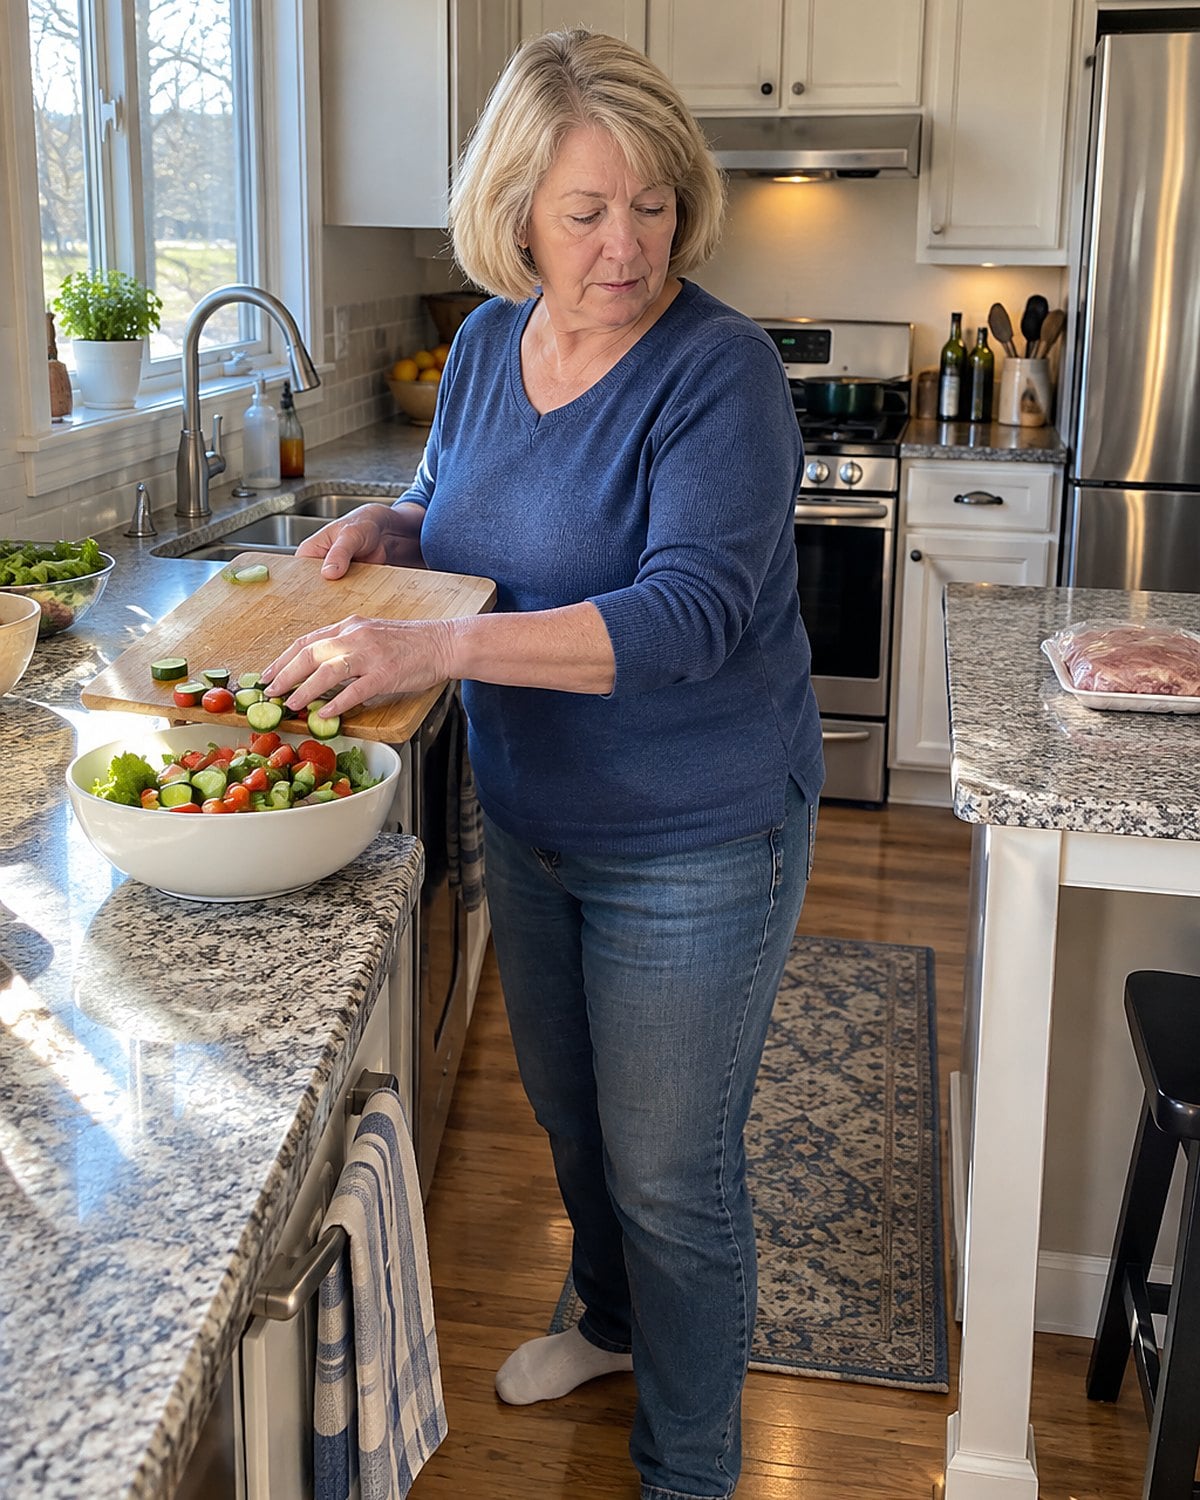
You’re already chopping salad vegetables when the meat package needs opening. Using the same work area looks faster than clearing it first. Then dinner waits while you scrub, or you work around the spot where raw juices landed.
Set out separate work surfaces for raw meat, poultry, and seafood and for food that won’t be cooked. Wash surfaces and utensils with hot, soapy water after raw meat touches them. Replace a surface with deep grooves you can’t clean well. The FDA’s safe-food-handling advice explains why that separation matters.
If counter space is tight, do the vegetables first. Move them to a clean bowl. Only then open the meat package. That order saves you from stopping halfway through to clean the whole work area.
#6 The slow cooker filled to the brim
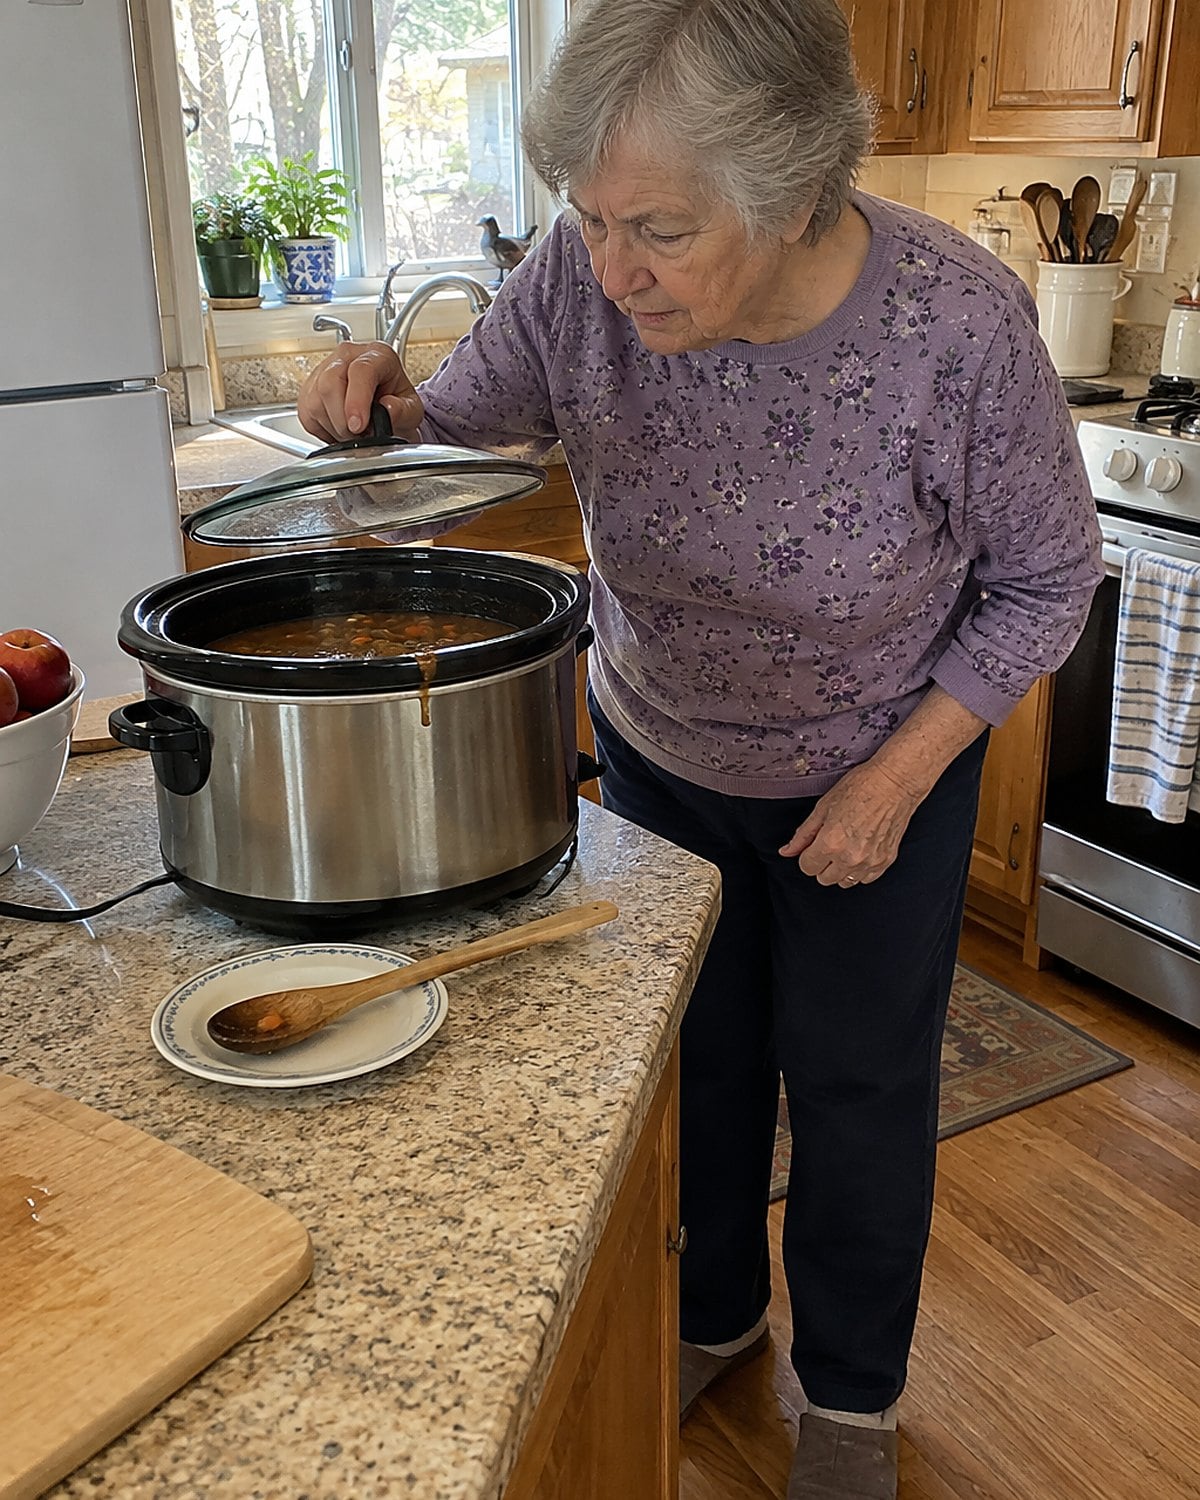
At noon, the slow cooker looks roomy. By late afternoon, beans and vegetables have softened into the broth, and liquid is pressing against the lid. You filled it once to save a second batch, but the pot has no room for a steady simmer.
Check the manufacturer’s fill line before you start. Don’t force the lid down over a mound of ingredients. Leave room for liquid to move and for the lid to sit properly. If the recipe makes too much, put the extra uncooked ingredients aside and cook a second batch another day.
Keep the lid on during cooking. Each peek lets heat out, and the cooker needs time to recover. If you’re making food ahead for the grandchildren, cool cooked leftovers promptly in shallow containers rather than leaving the full insert on the counter.
The shortcut to keep is the one slow cookers were made for: load an amount the pot handles well, then let it cook without your help. A crowded pot asks for more attention, not less.
#5 The giant pot for two bowls
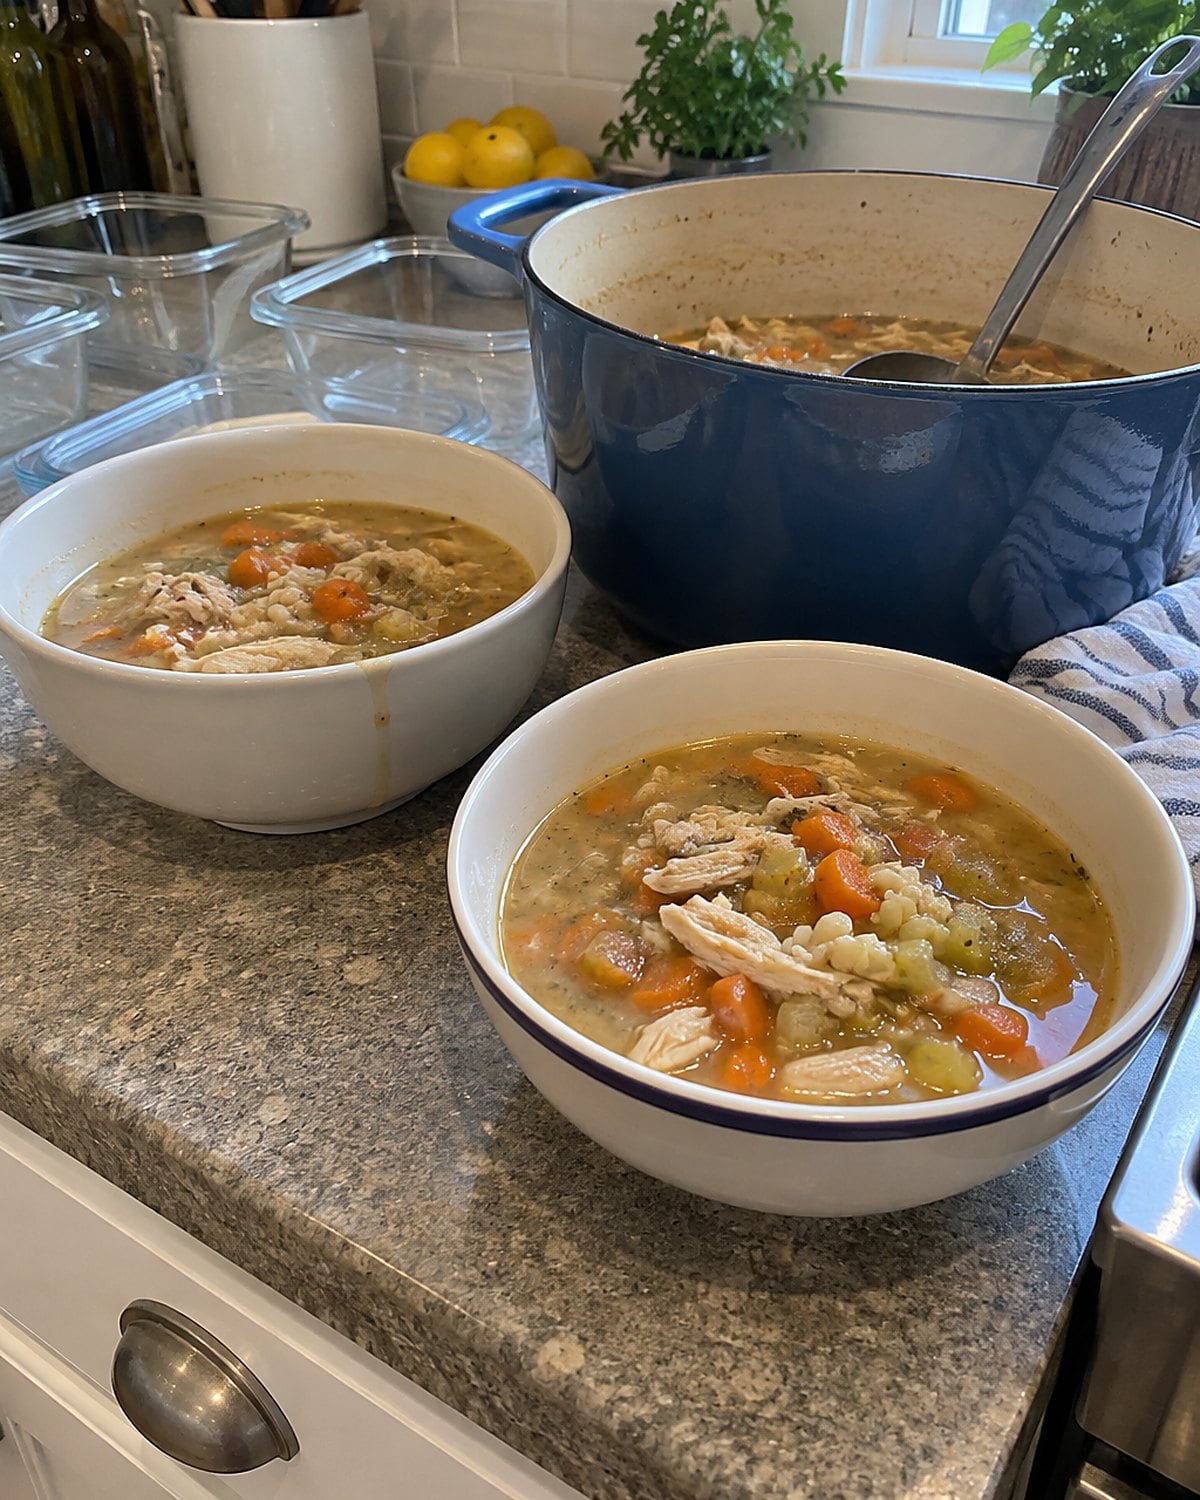
You’ve made the same pot of soup for decades. It feeds a crowd beautifully. Now there are two bowls at supper, and the rest becomes a refrigerator puzzle.
Before you start, decide where the extra portions will go. Put freezer containers on the counter if you want future dinners. If you don’t, use a smaller pot and make less. For a soup built from vegetables, broth, and beans, the pot size is a useful reminder to stop adding ingredients before the batch grows.
Don’t leave a huge pot to cool on the stove overnight. Divide what’s left into shallow containers and refrigerate it promptly. The USDA’s leftovers advice says cooked leftovers keep three to four days in the fridge. Dinner tomorrow is a plan; a pot with no plan is another chore.
#4 The oven opened for every peek
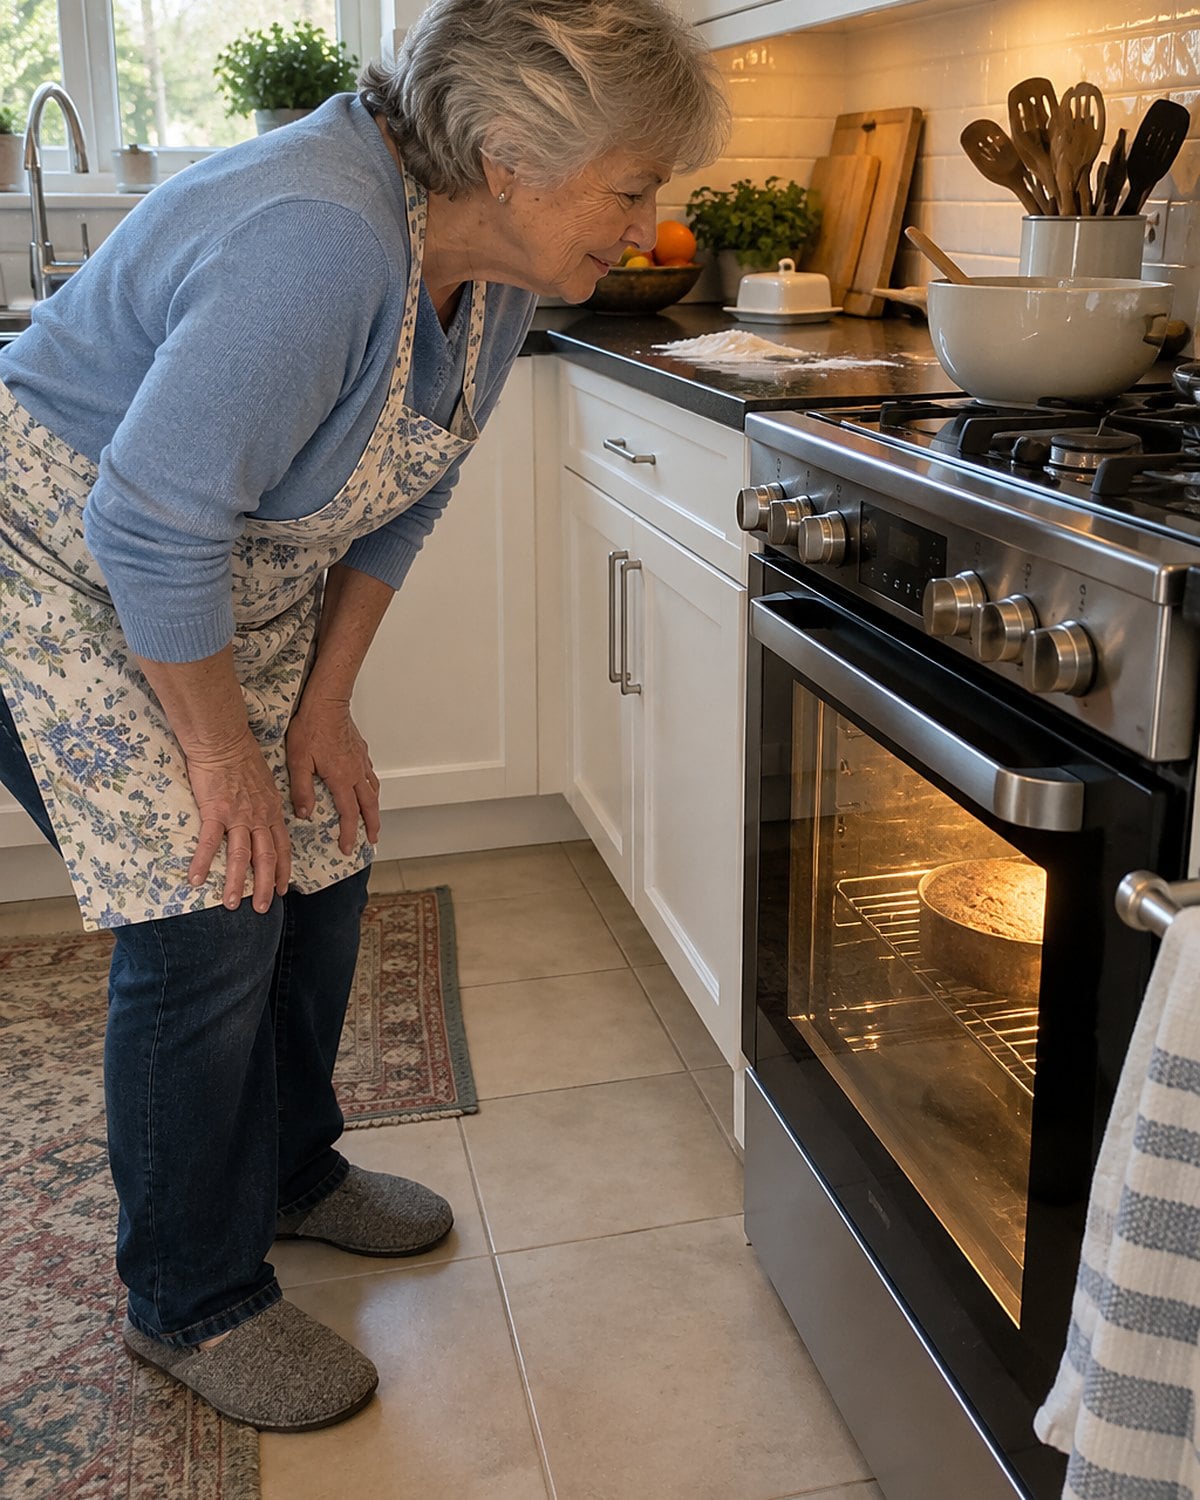
The timer hasn’t rung, but you pull the oven door open to see how the roast looks. You do it again while setting the table. Each look sends hot air into the kitchen, and the oven has to climb back to its set temperature.
Use the oven light and window for the early looks. When the food nears the time you expect, open the door once and make that check count. Turn the pan if one side browns faster. Put a thermometer into the thickest part if doneness is the question.
A cake is less forgiving of early peeks. Open the door before its structure sets and the middle loses support. Wait until the top looks set through the window, then test near the center with a toothpick. A few moist crumbs tell you more than staring at a wet-looking patch from across the kitchen.
You’re still in charge of dinner. You’re just choosing a check that gives you an answer instead of another blast of oven heat.
#3 The hot stockpot in the fridge
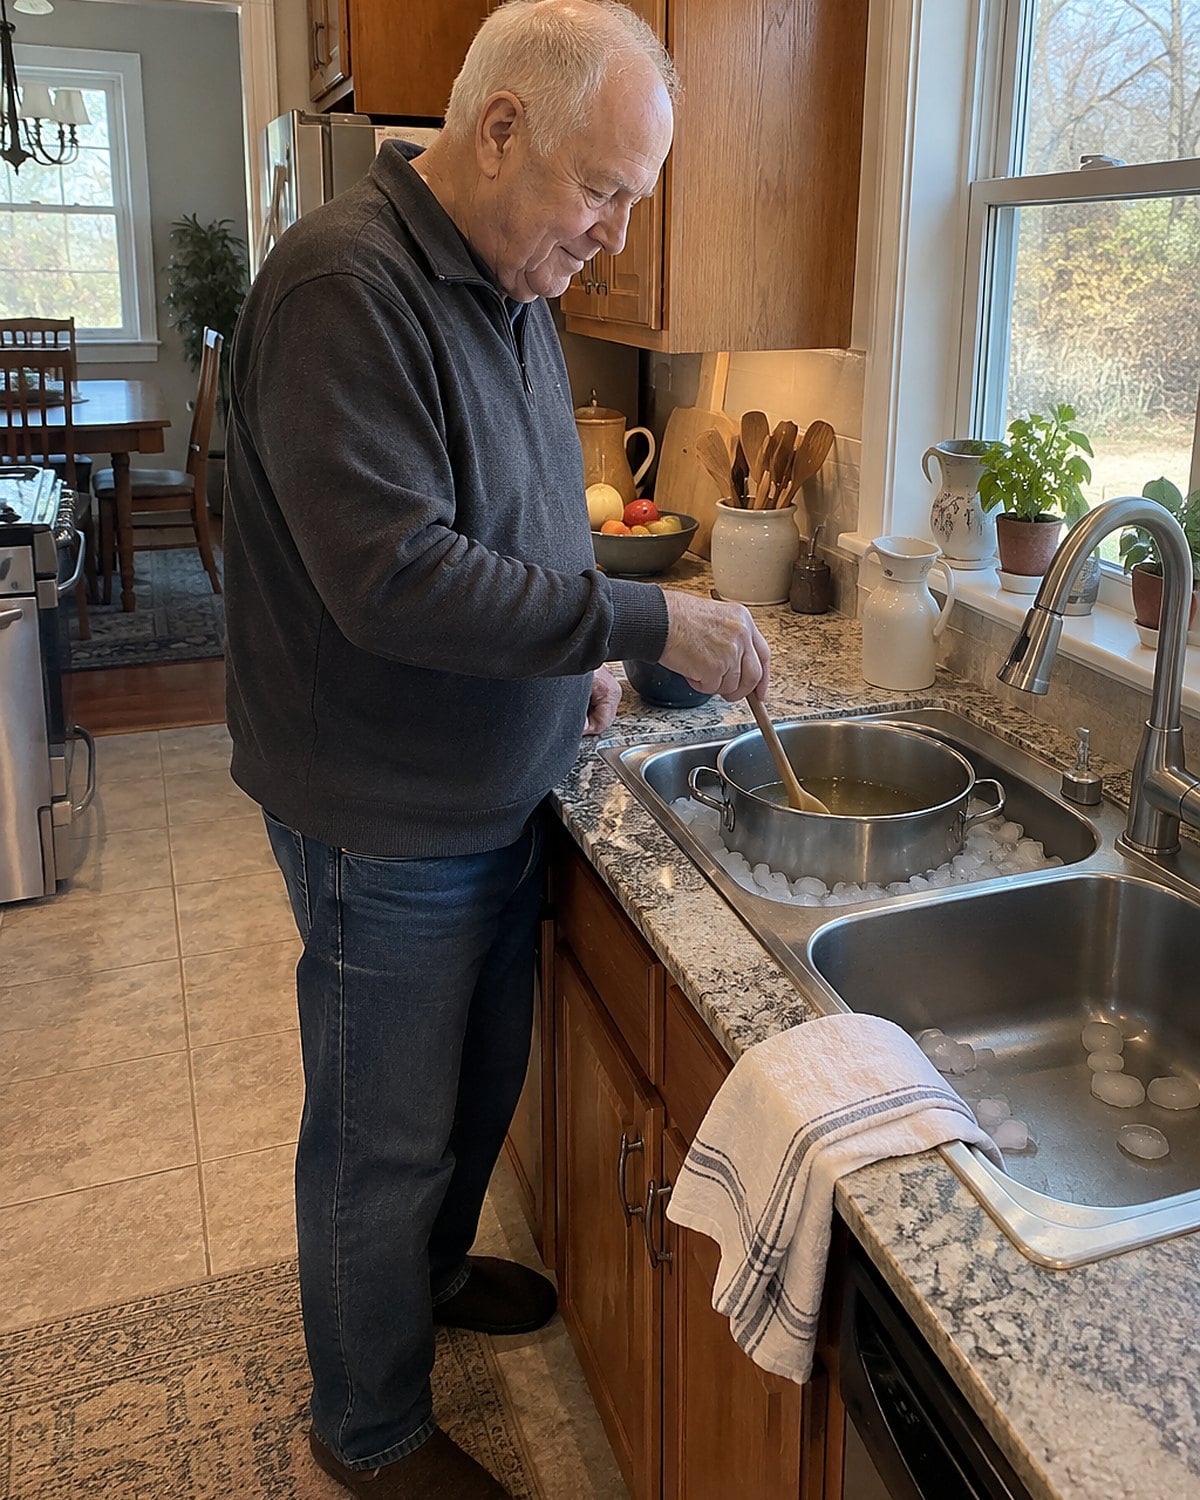
A big pot of stock is finished, and you want the stove clear. Sliding the whole pot into the refrigerator seems like the fastest route. Its deep center stays hot while everything around it has to share the fridge.
Divide stock or soup into shallow containers. An ice bath in the sink helps bring down the heat first: set the pot in cold water, add ice, and stir the contents. Then refrigerate the smaller portions promptly. The USDA’s leftovers guidance recommends shallow containers for quick cooling.
Clear a shelf before you cook if you know a big batch is coming. That small bit of planning beats standing at the open fridge door with a heavy pot in your hands.
#2 The leftover dish reheated again
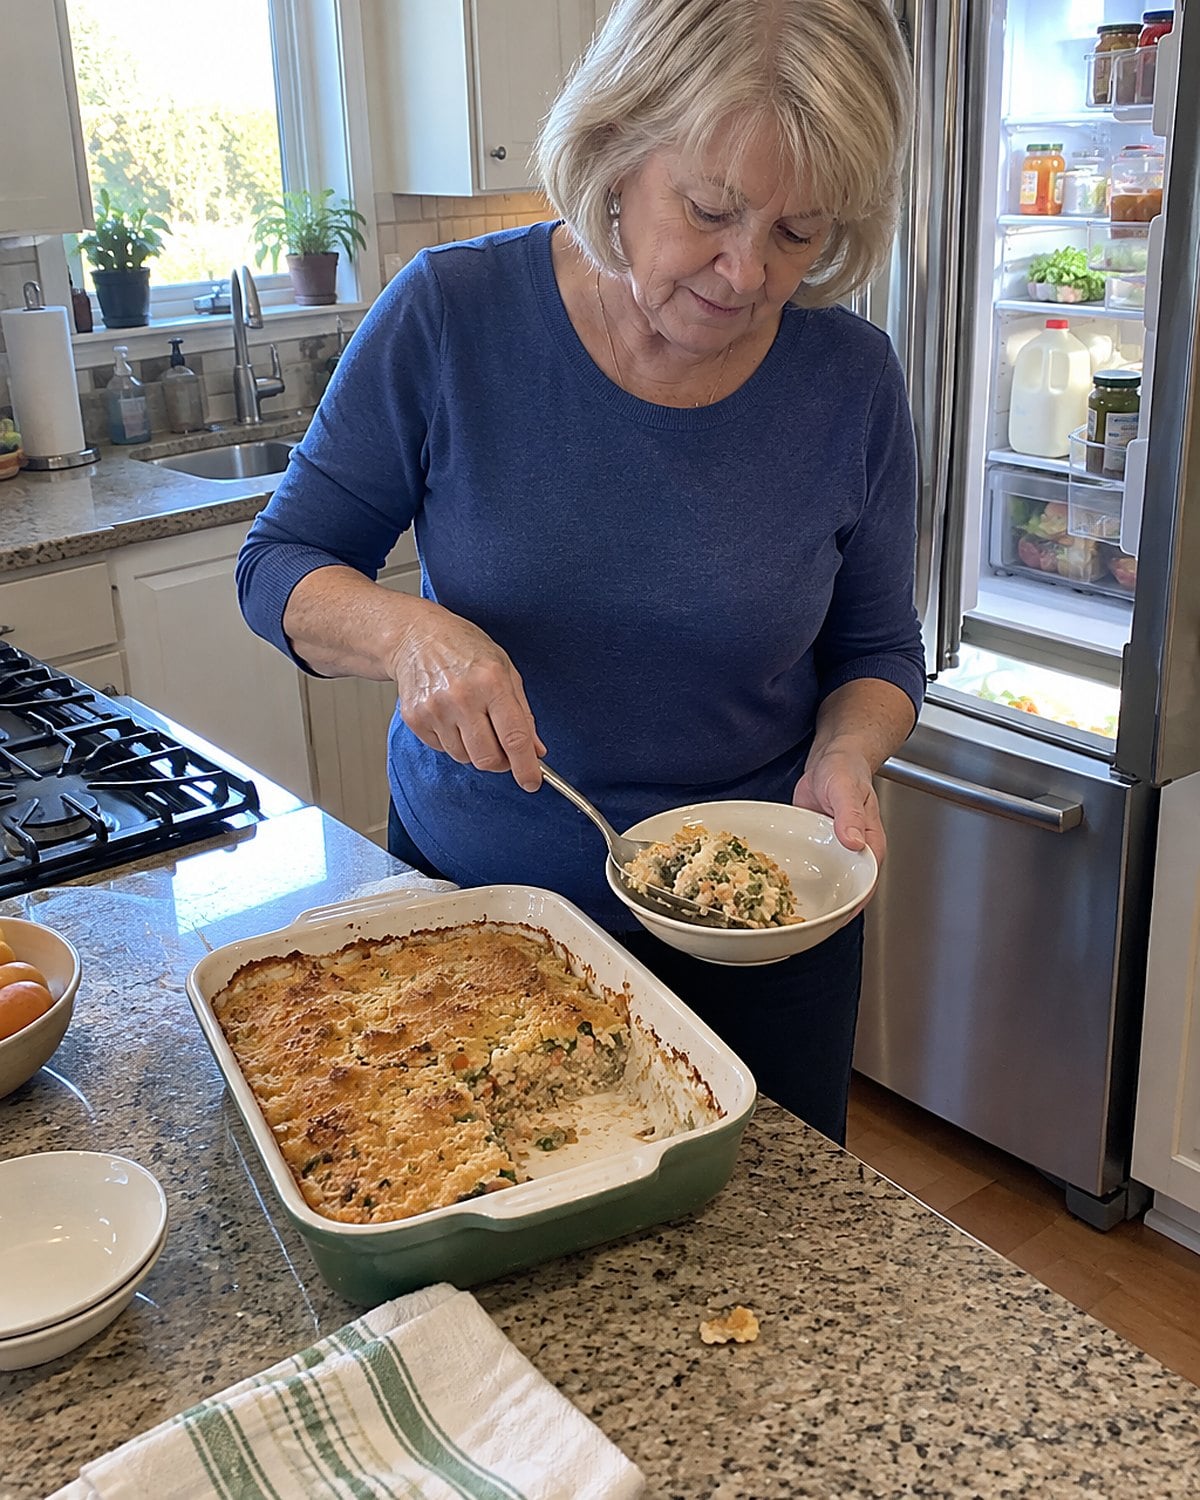
After Sunday dinner, the casserole goes into the fridge. On Monday, you heat the whole dish for one serving and put it back. Tuesday, you do it again. It saves finding a smaller pan, but every trip through heating and cooling asks you to handle the leftovers carefully.
Take out the portion you want and reheat only that. Leave the rest cold. Heat the portion to 165°F, the temperature in the USDA’s leftovers guidance. For a microwave, stir partway through and check more than one spot; the middle and edges don’t always heat alike.
Keep the refrigerator at 40°F or below and use cooked leftovers within three to four days. Freeze portions you won’t eat in that window. A container holding one dinner is easier to use than a baking dish you have to warm all over again.
The useful shortcut happened on Sunday, when dinner was already made. Protect it by putting supper-sized portions away while you clear the table.
#1 The damp towel beside the cutting board
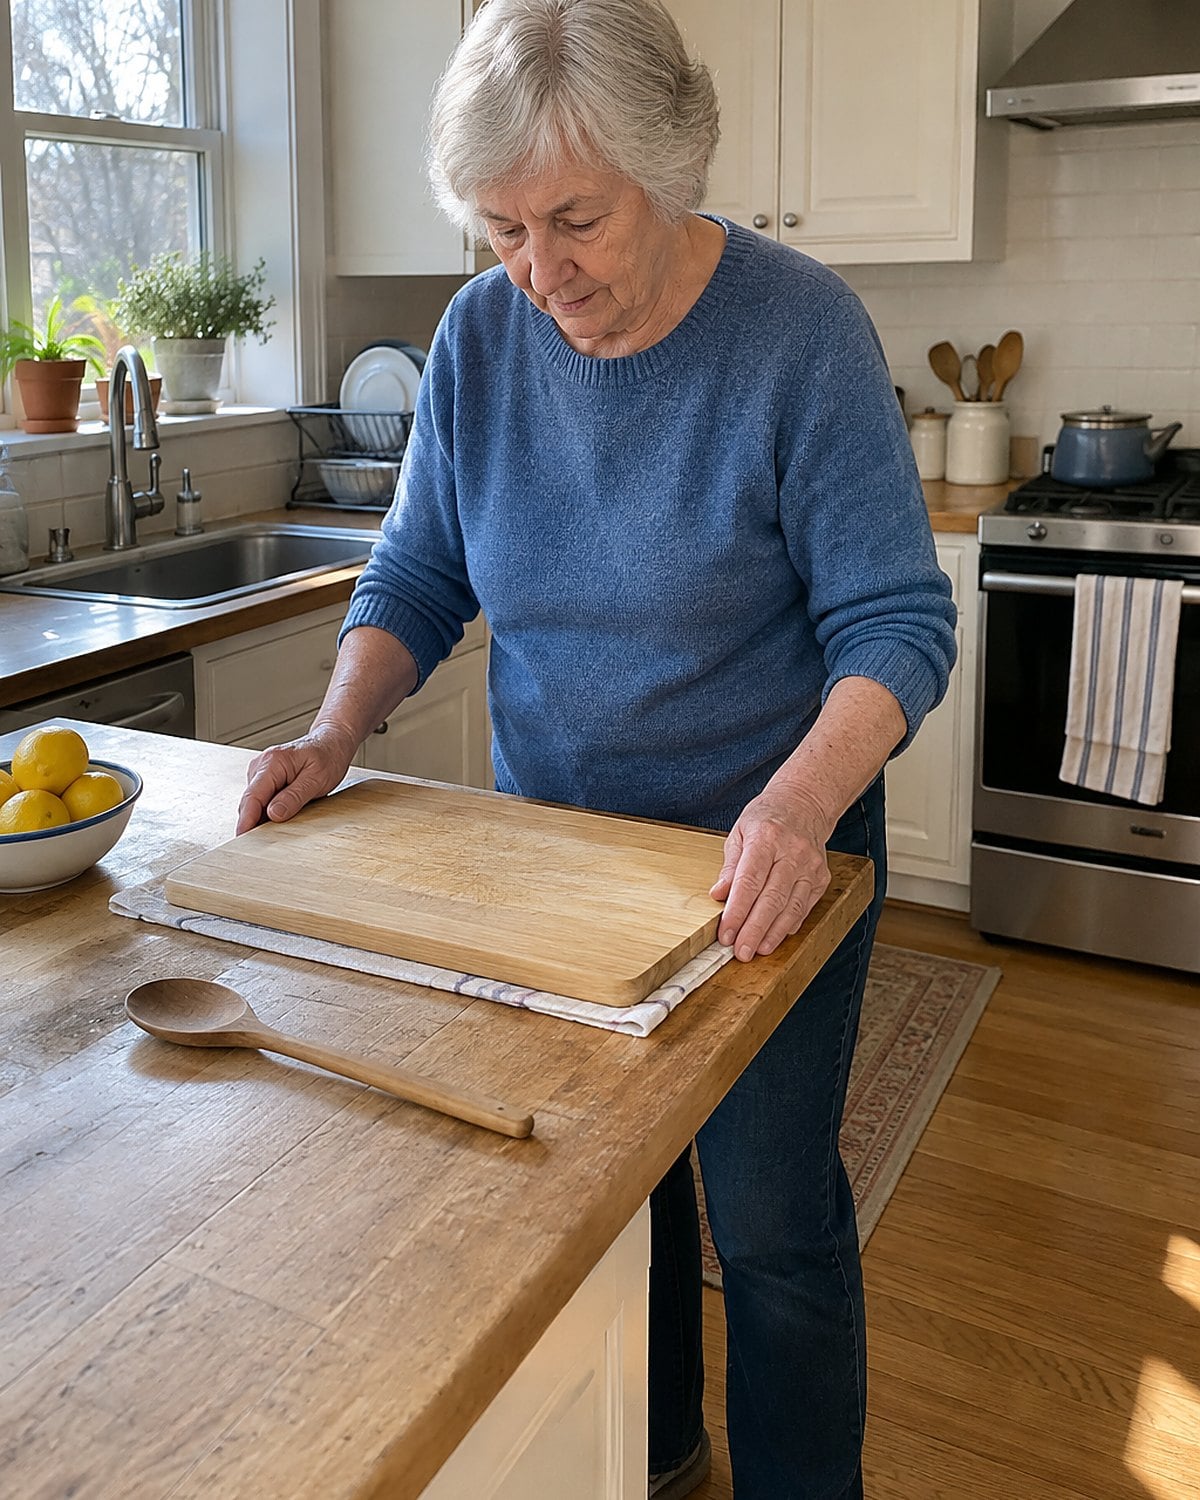
The board slips a little as you cut. You pull it back into place with your wrist and keep chopping, because the onions are already half done. That tiny adjustment becomes part of the routine. It shouldn’t be.
Put a damp kitchen towel beneath the cutting board, or use a nonslip mat. Press opposite corners of the board before you start. If it rocks, check whether the counter is uneven, the towel is bunched, or the board has warped. Fix that before the knife comes out.
This check matters on an ordinary Tuesday as much as it does when a grandchild is waiting for apple slices. A sharp knife does its best work on a surface that stays put. So does the hand holding the food.
Try the corner press tonight, even if you’ve used that board for years. It takes less time than finding the serving spoon in the drawer with the twist ties. Then notice whether you still need to catch the board with your wrist. If you do, change what’s underneath it.
Keep reading
 27 Things Home Cooks Over 60 Do Without Thinking That Chefs Would Never Do
See all 27 →
More you’ll remember
 26 Mistakes People Make With a Slow Cooker After Years of Using One
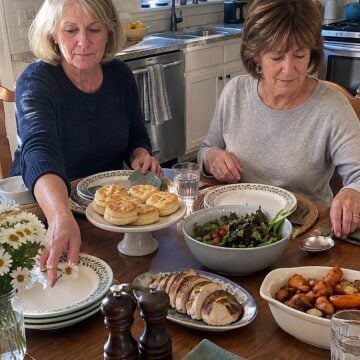 24 Things a Good Thermometer Would Have Told You Years Ago
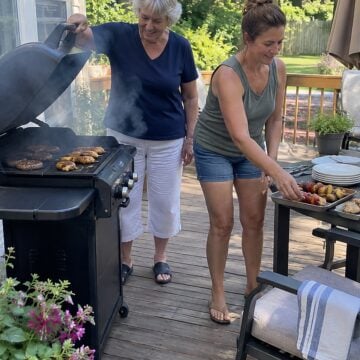 23 Food Safety Rules Your Mother Taught You That Are Wrong, and the Ones That Still Hold
The bottom line
A shortcut earns its place when it saves work without passing that work along to the next step. Crowding the pan, leaving the lid on, or guessing at the temperature does the opposite.
The well-prepared version of you has a thermometer within reach, room in the fridge, and a board that stays still. None of that asks you to forget how you’ve always cooked. Which habit in your kitchen has been asking for a second look?
Leave a Reply