

The pot lid knocks against the burner, and somebody asks whether you put beans in the chili. You already know what happens next. Every kitchen has its line: the crust goes underneath, the noodles stay broad, the topping gets crushed by hand.
Those rules came from people making dinner with the pan they owned and the time they had. Some still earn their keep. Others deserve a closer look when supper is for two instead of a full table. The good rules leave evidence you can see, smell, or taste before anyone takes a bite.
#26 The no-beans chili pot
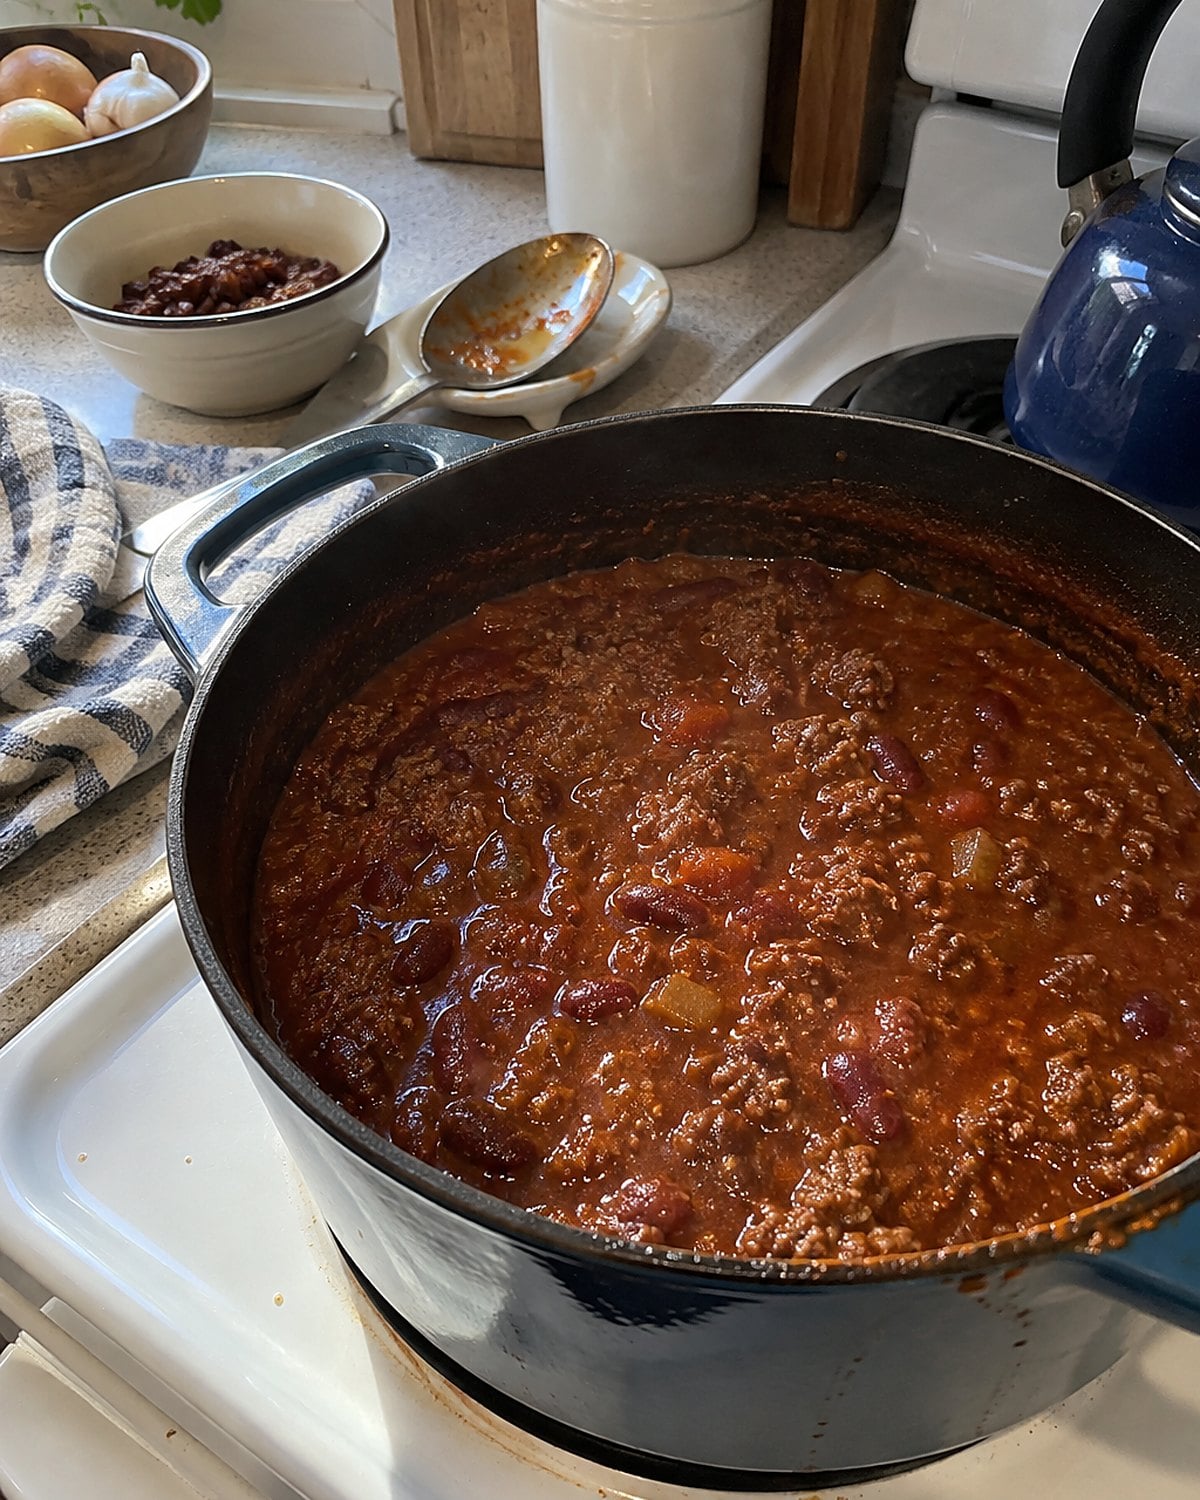
The no-beans rule starts an argument before the chili reaches the table. Keep your peace and make the pot you want. Beans add body and stretch a batch; leaving them out gives browned beef and chile a clearer voice. Neither choice fixes a pot that tastes thin.
Brown the ground beef in batches so the meat touches the bottom of the pot. Crowding leaves it steaming in its own juices.
Cook the onion and chile seasoning in the fat, then add tomatoes and liquid. By serving time, a spoon drawn across the bottom should leave a brief trail.
Taste before you argue about beans. If the chili tastes flat, add salt in small pinches and taste again. If it tastes sharp, give the pot more time uncovered. Keep the family rule if you love it, but let the spoon have the last word.
#25 Meatloaf under the ketchup glaze
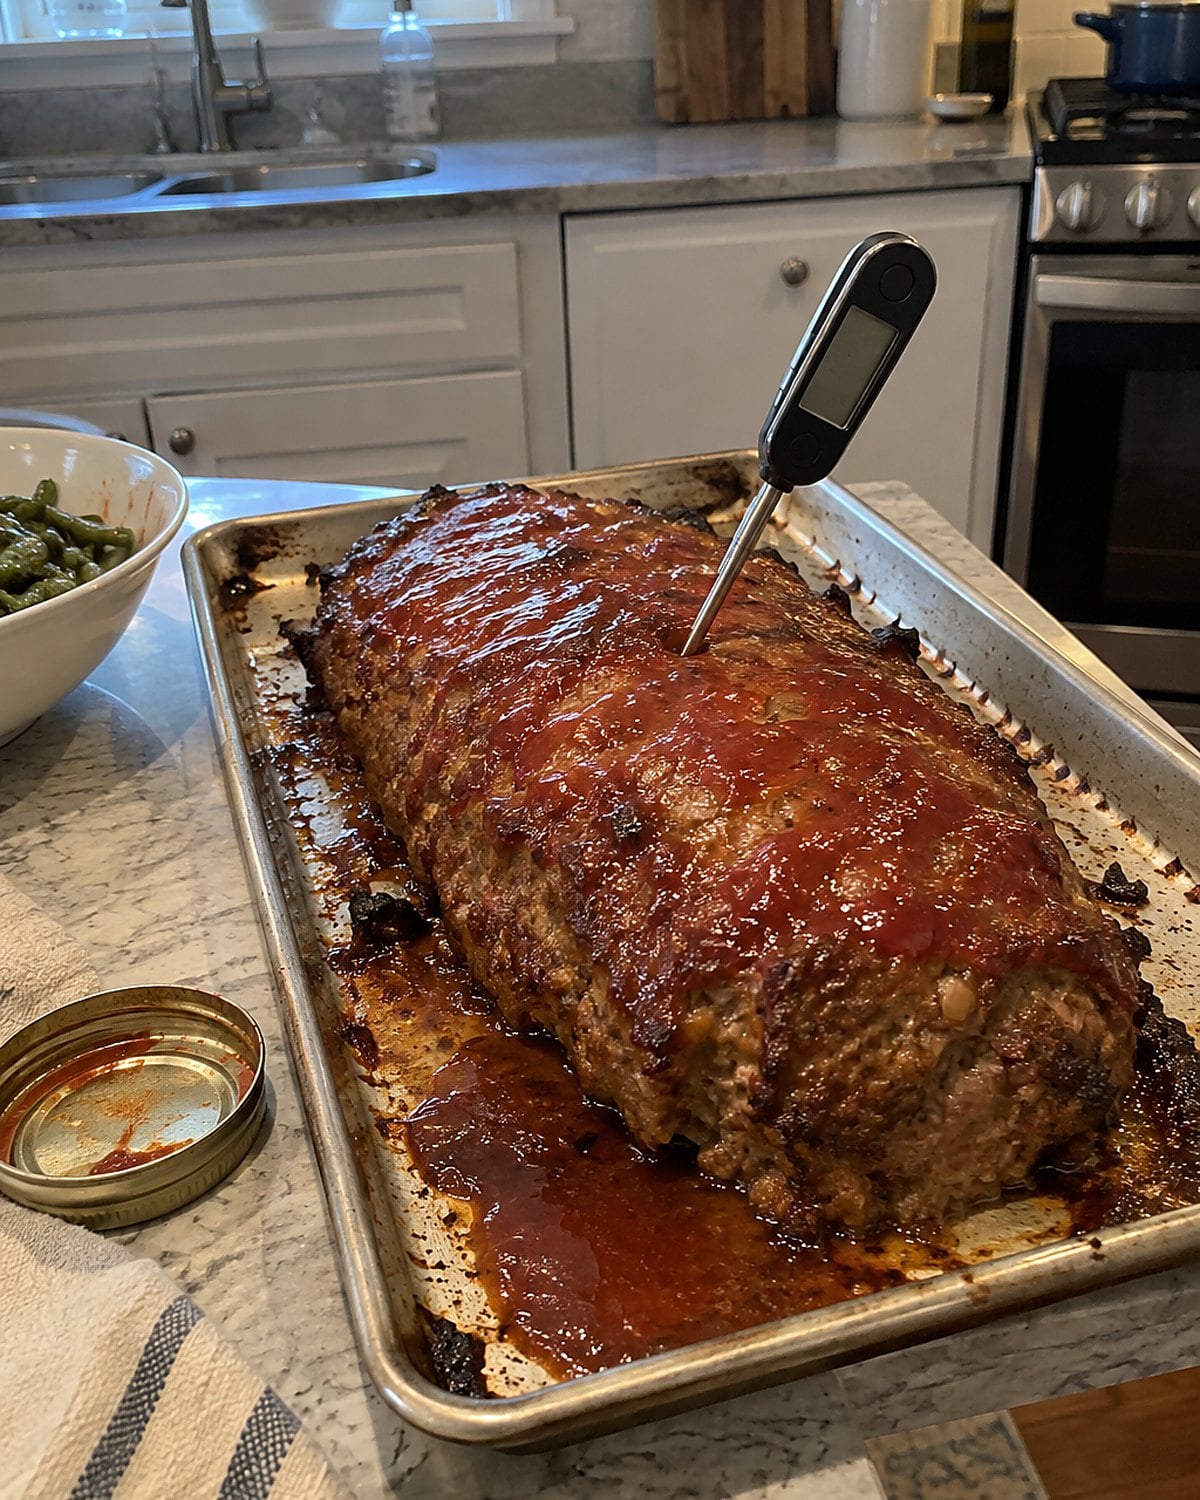
A meatloaf belongs in a sturdy pan, though that pan causes trouble. Its sides hold fat against the loaf, leaving a pale strip around the bottom. Set the shaped meat on a rimmed sheet pan instead, with space for hot air to reach the sides.
The old test was a slice through the middle. That releases juices and still leaves you guessing about doneness. For ground meat, the USDA Food Safety and Inspection Service says 160°F. Slide a thermometer into the center from the side, away from the pan.
Mix the meat until the crumbs, egg, and seasoning hold together. Stop there. Work it like bread dough and the finished slice turns firm and springy. The ketchup glaze goes on before baking, but judge the loaf by its center, not its shiny top.
Tomorrow's sandwich gives you another test. A good slice holds together cold without feeling like a rubber eraser.
#24 Funeral potatoes beneath the crushed cornflakes
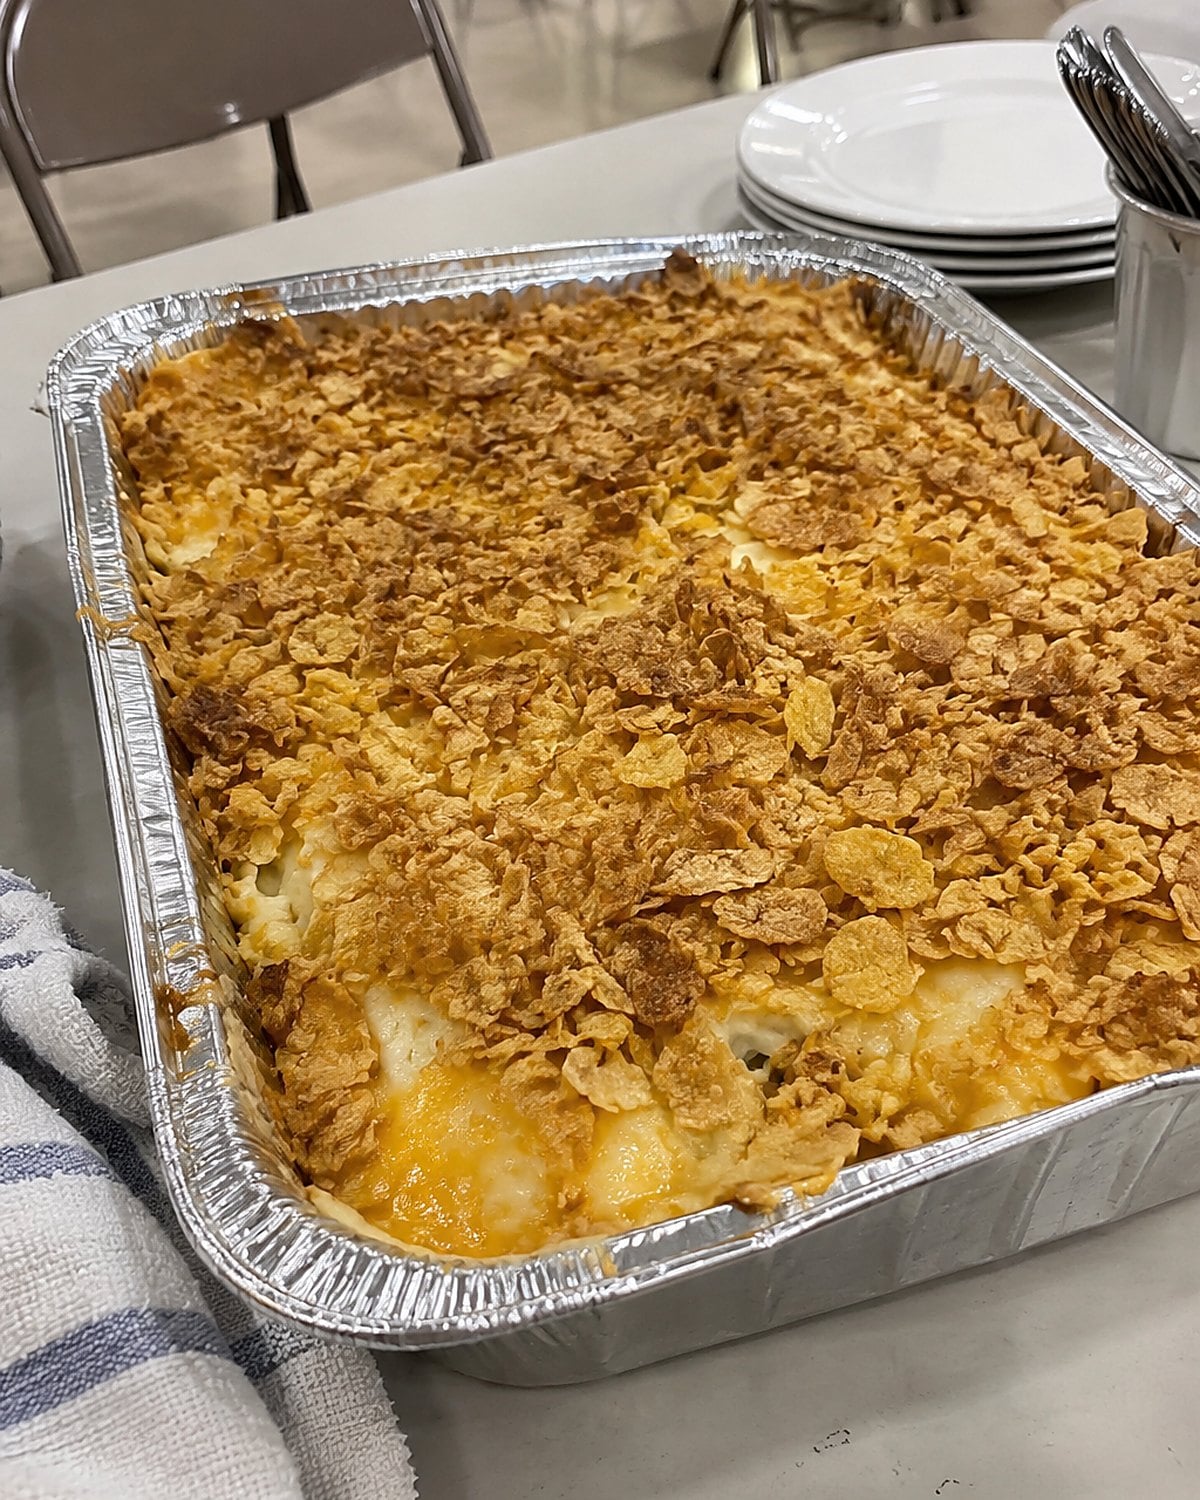
At a church hall table, the rule was clear: don't arrive with a dish nobody recognizes. Funeral potatoes earned their space beside the ham because the creamy potatoes and crisp top survived a trip across town.
The cornflakes need protection from the creamy filling. Crush them in your hands, toss them with melted butter, and scatter them over the casserole just before it goes into the oven. Put them on too early, before a long wait in the fridge, and they lose their crunch.
Look through the oven door for bubbling at the edges and a browned top. Then wait before scooping.
That short pause lets the filling settle, so the serving spoon lifts potatoes instead of a runny corner. When you bring the dish for somebody else, the texture says as much as the note taped to the lid.
#23 Green bean casserole with crisp onions
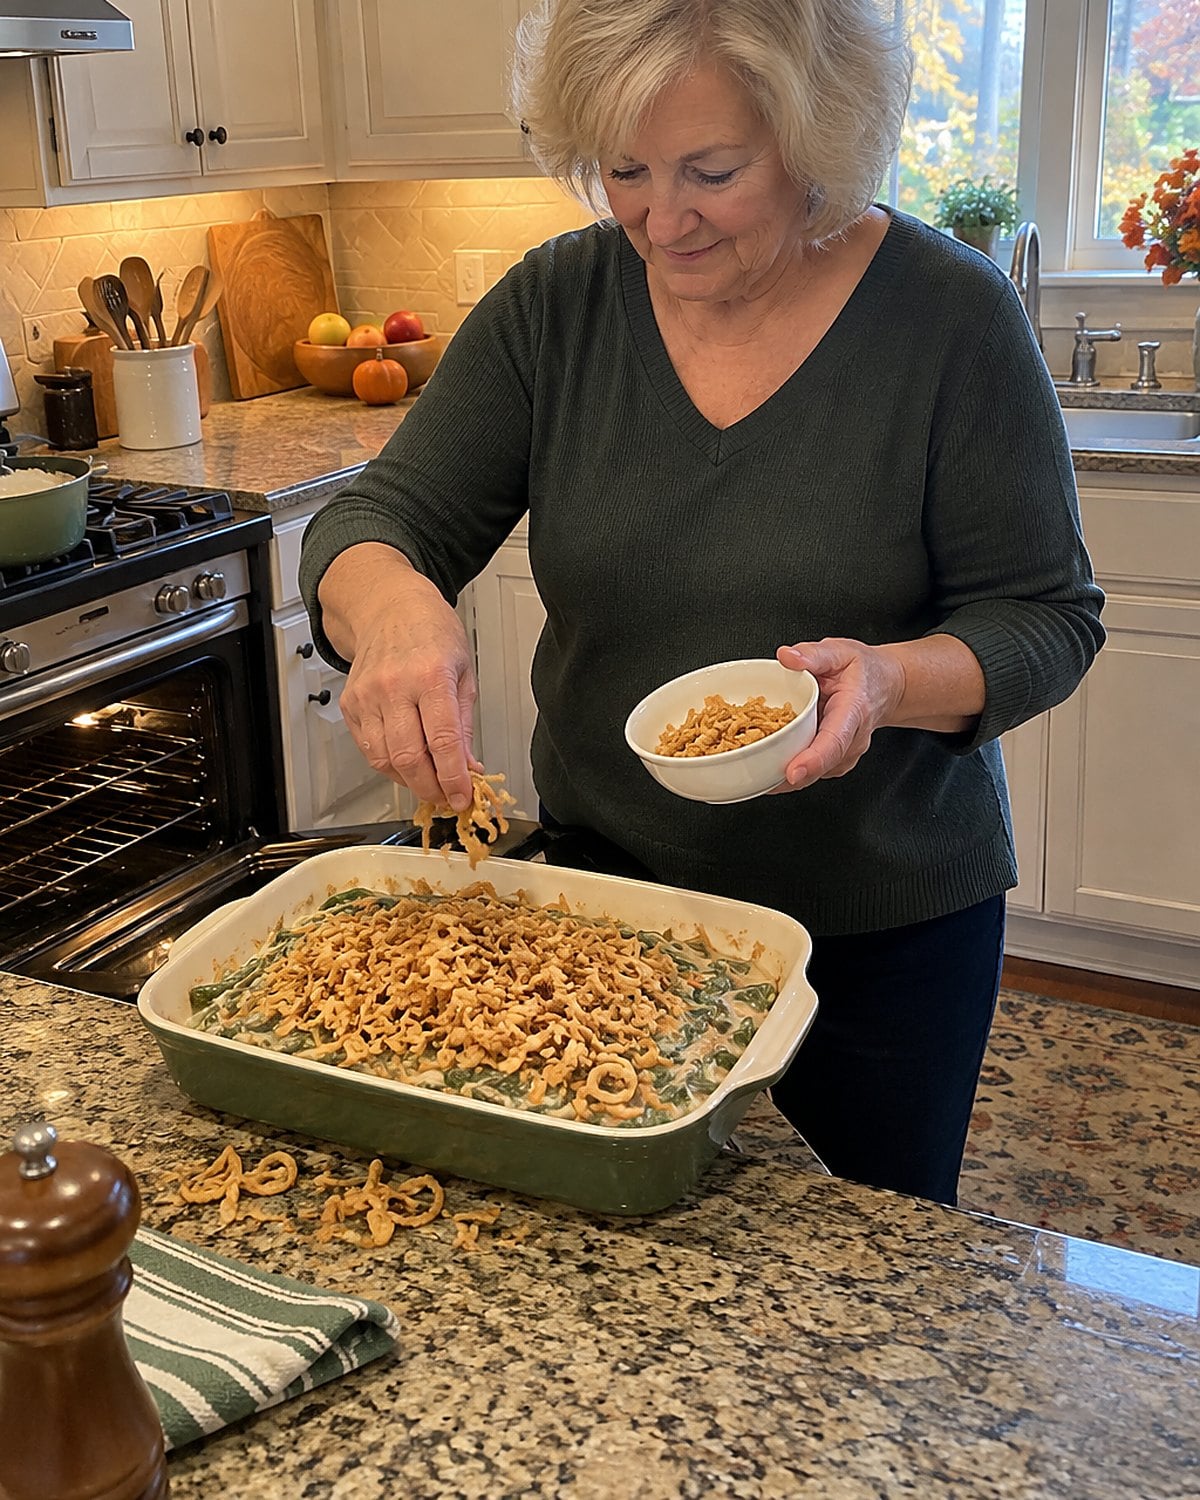
The first spoonful should catch both a tender bean and an onion that crackles. That takes attention to when the onions go in.
Stir some crisp onions through the beans and sauce before baking; they give the middle a savory bite. Save the rest for the top near the end. A long stretch in a damp casserole takes the snap out of every onion on the surface.
Once the filling bubbles, scatter the reserved onions and return the dish to the oven until they color.
Fresh beans need cooking before they meet the sauce. Canned beans need draining, or the sauce thins as they heat. Either way, taste the mixture before it goes into the baking dish. Once the onions are on top, fixing a bland middle gets messy.
The rule isn't that every green bean must taste like the holiday version. It's that the topping should still sound crisp when the serving spoon breaks through.
Try it: Instant Pot Green Bean Casserole
#22 Cast-iron cornbread with browned edges
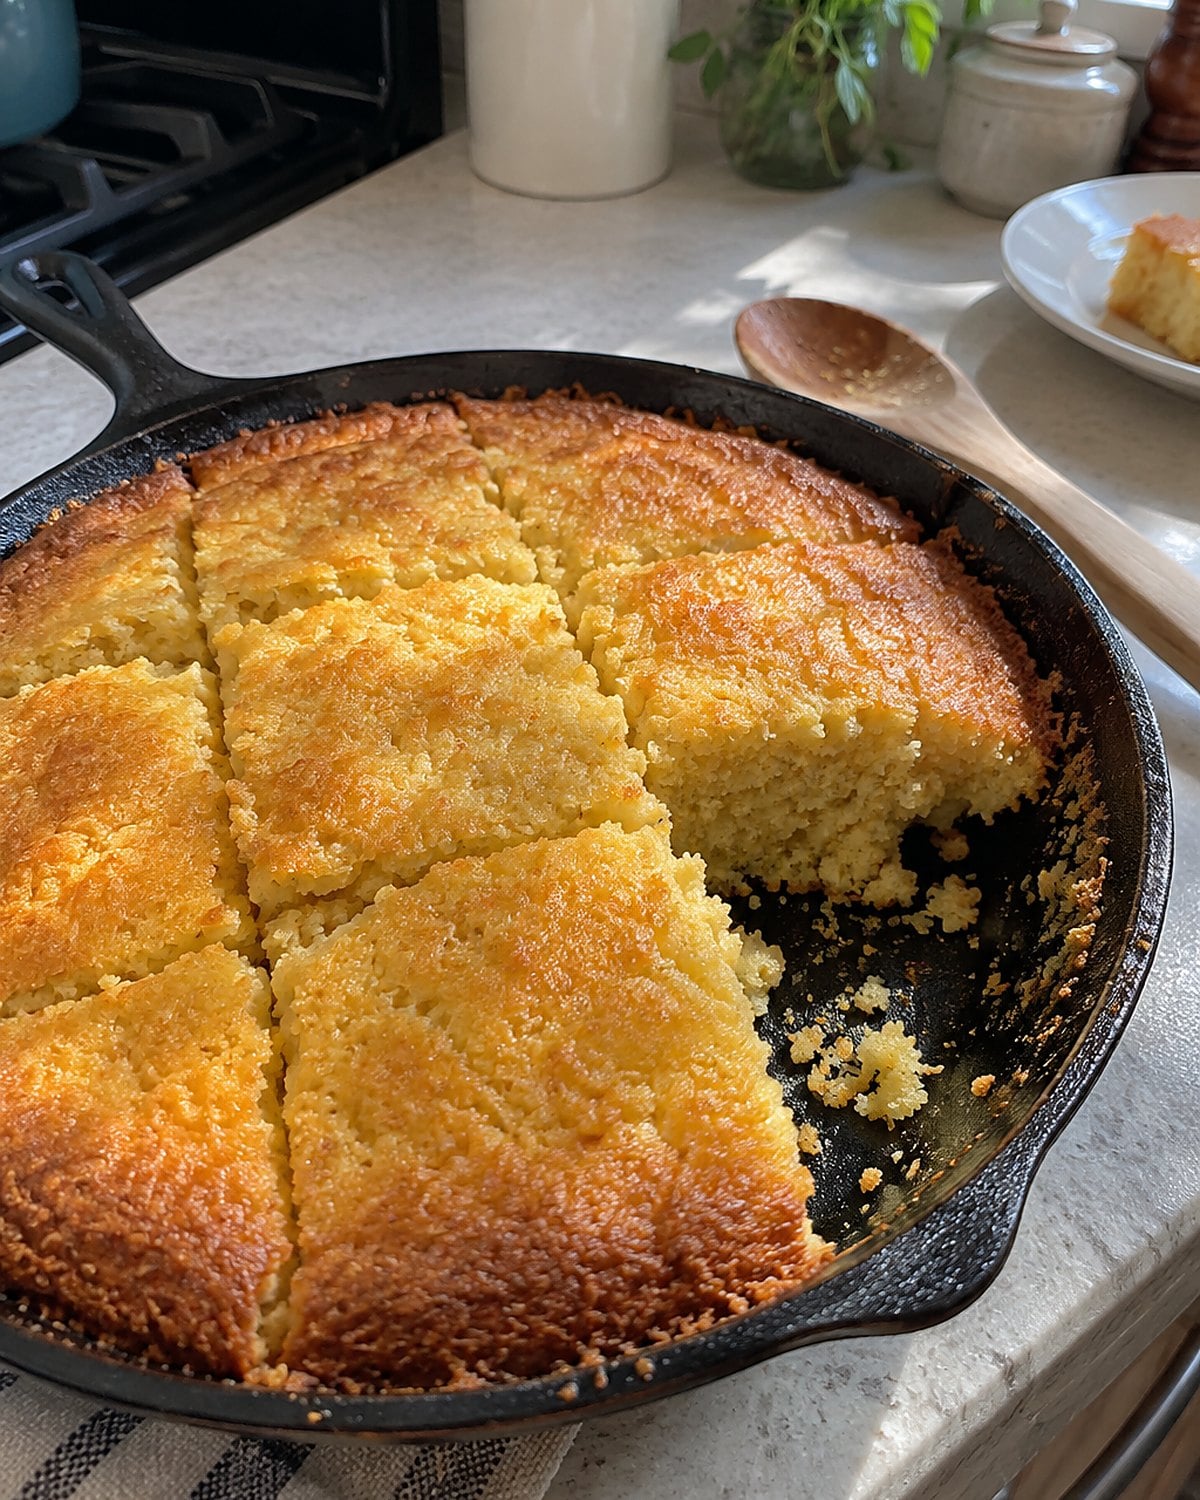
A heavy skillet answers the cornbread question before anyone asks about sugar. Heat the cast iron in the oven, then add the batter to a thin film of fat. You should hear a sizzle around the edge.
That sound means the bottom crust has started setting. Pour batter into a cold pan and the center still bakes, but the edge loses the deep brown ring people reach for first.
Don't pull the skillet out because the top looks dry. Press the center: it should spring back. A wooden pick should come out without wet batter clinging to it.
Then leave the bread alone long enough to cut a square without tearing its sides. Sugar is a family argument. The hot pan is a cooking decision. If the skillet needs care afterward, the Lodge cast-iron care guide explains how to wash and dry it.
#21 Chicken and dumplings under the lid
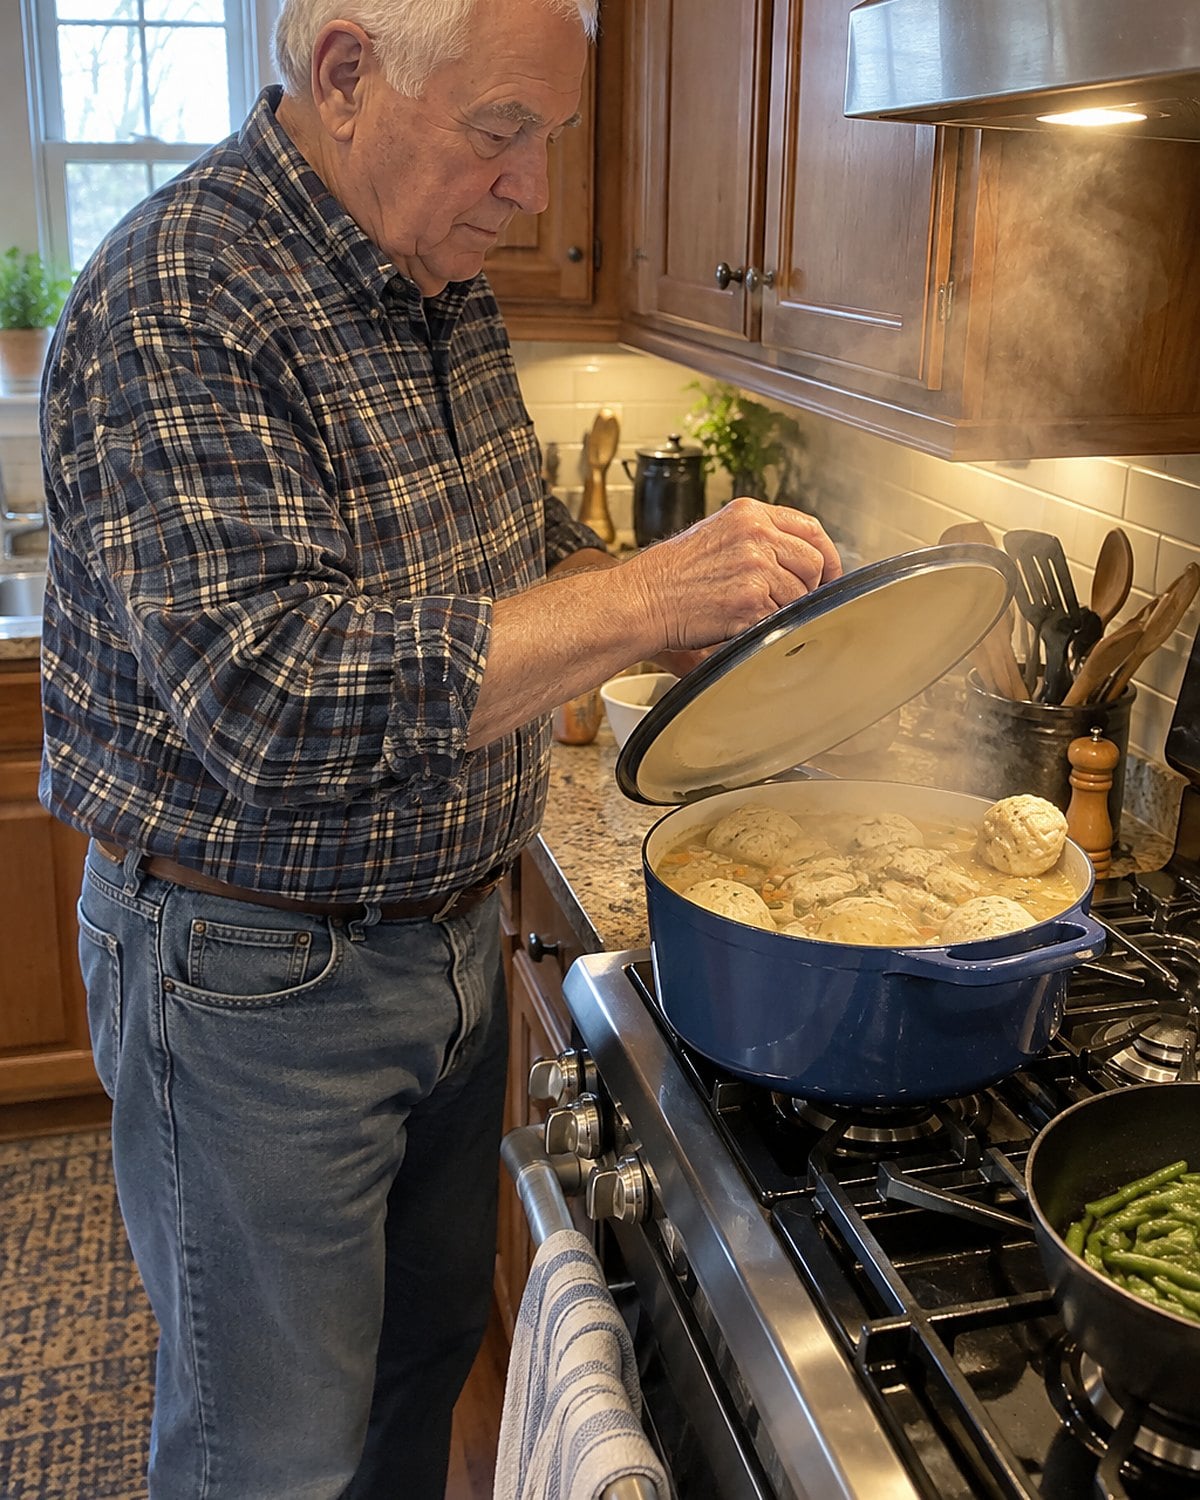
Lift the lid too soon and the dumplings collapse. That old warning has a sound bit of cooking behind it: the dough needs steady steam while it sets.
Bring the chicken broth to a steady simmer before adding spoonfuls of dough. A hard boil knocks them around and turns the liquid cloudy.
Set the dumplings on the surface with space between them, cover the pot, and resist checking every minute. After about 15 minutes, break open a dumpling from the center of the pot. Its middle should look cooked and breadlike, not wet or sticky.
There are two familiar kinds of dumplings. Rolled strips cook in the broth and make it thicker. Puffy spoonfuls sit above it and steam beneath the lid. Don't expect the same texture from both, and don't thin the broth until you know which one you're making.
For leftover cooked chicken, add it to the hot broth before the dumplings so it heats through. For raw chicken, use a thermometer: the USDA's chicken guidance sets 165°F as the safe internal temperature. The lid rule matters, but the chicken comes first.
#20 Tomato slices beside the BLT
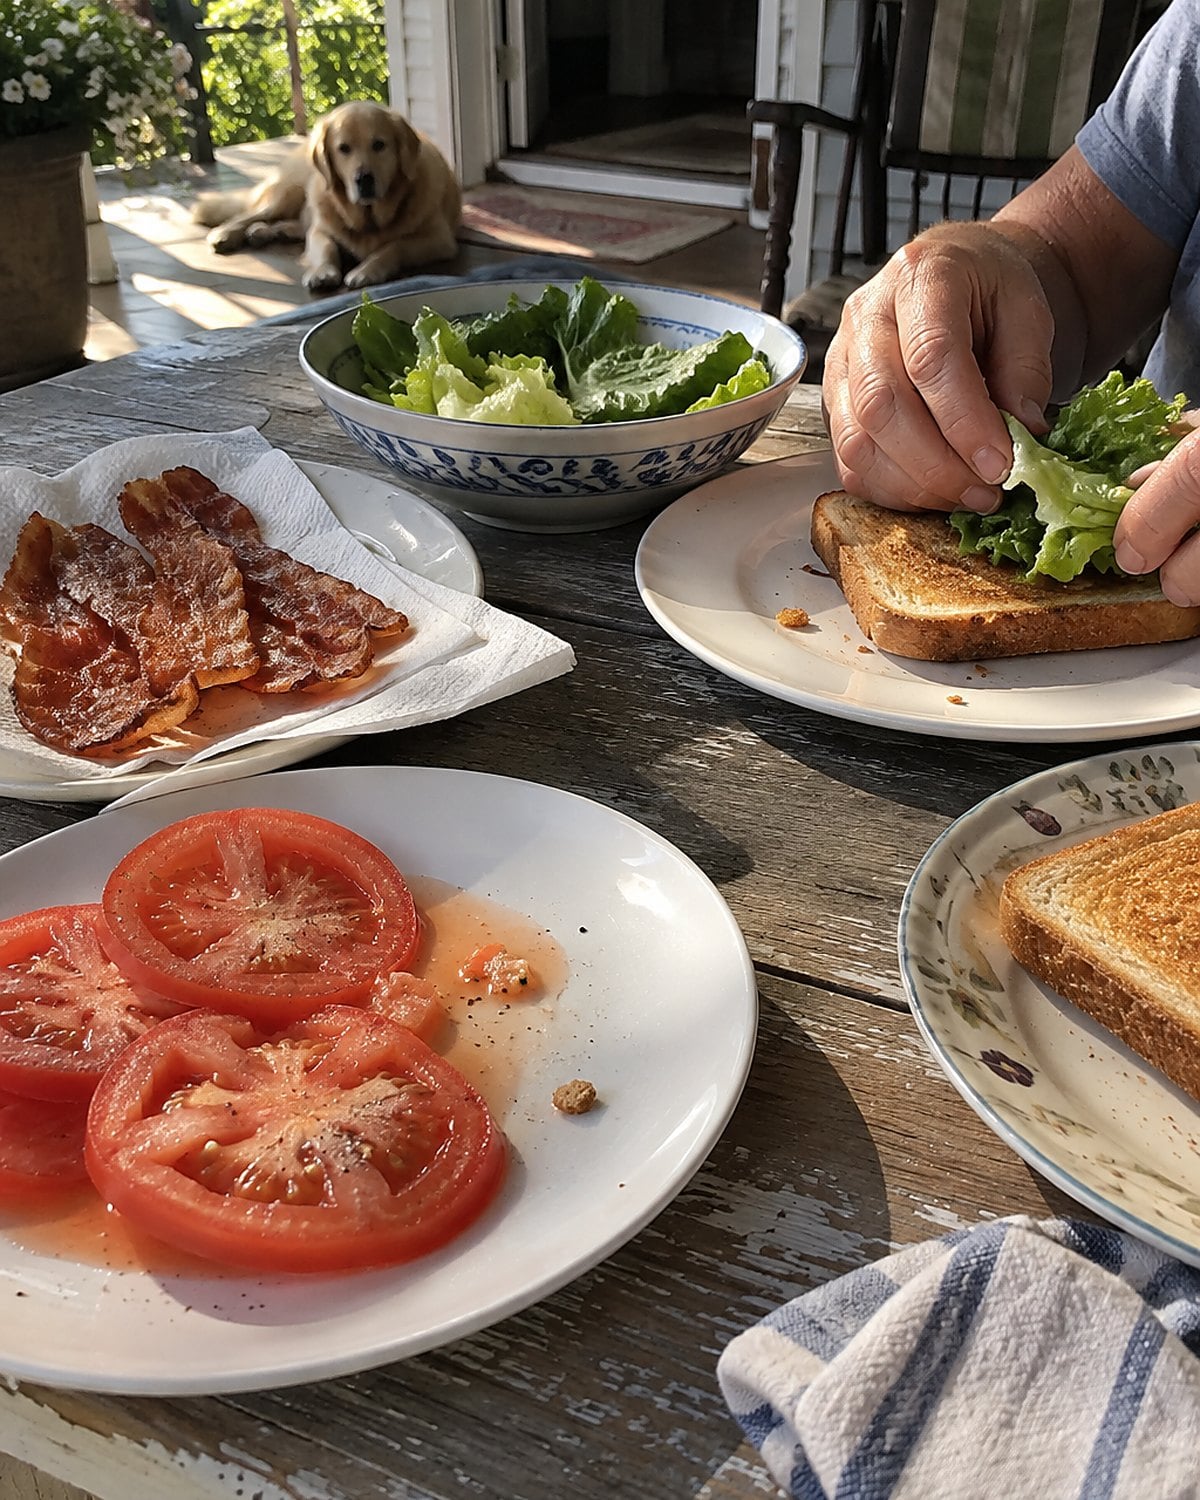
The best BLT begins away from the frying pan. A ripe tomato sliced too early leaves juice on the board; assembled too early, it leaves that juice in the toast.
Cook the bacon, toast the bread, and wash and dry the lettuce. Slice the tomato last. Give the cut face a little salt, then build the sandwich and eat it while the toast still scratches the roof of your mouth.
If supper is on the porch, carry the pieces out separately and let everyone put theirs together. That's a familiar summer rule worth keeping. The plate gathers bacon crumbs, the tomato leaves its mark, and nobody has to pretend a soggy sandwich is tradition.
#19 Rhubarb pie in the old tin
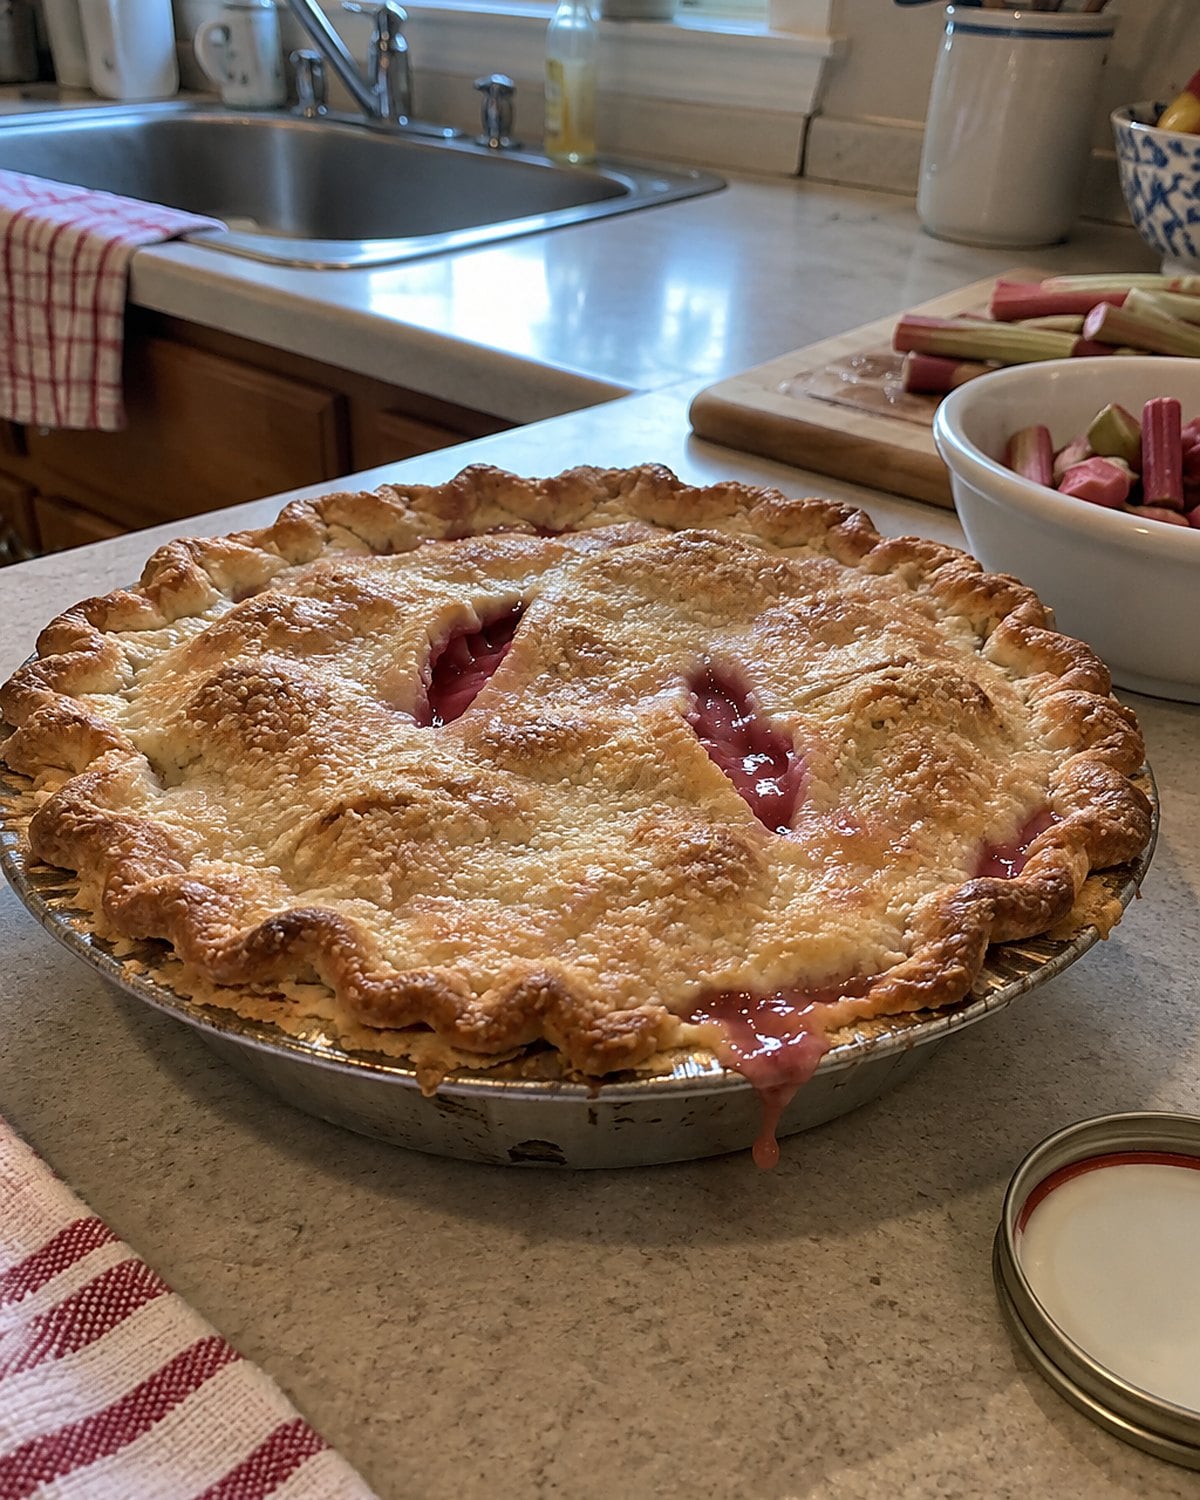
The pie tin comes out when the rhubarb does. You know how much filling it holds by sight, yet rhubarb doesn't behave like apple. Its cut pieces release plenty of juice as they heat.
Toss the chopped stalks with sugar and thickener until no dry pockets remain. Heap them into the crust, then bake until the juices bubble thickly through the vents near the center. A browned edge alone doesn't tell you the filling has cooked.
Shield that edge with foil if it colors before the middle bubbles. Let the pie cool before slicing. Cut while it's hot and the fruit runs across the plate; the thickener needs cooling time to hold a slice. Taste a bit of raw rhubarb as you work and adjust the sugar to its tartness.
One rule deserves no debate: use the stalks, never the leaves. The University of Minnesota Extension's rhubarb guidance identifies rhubarb leaves as poisonous. If a child is helping at the counter, hand over the washed stalks after the leaves are removed.
#18 Creamed peas in the small saucepan
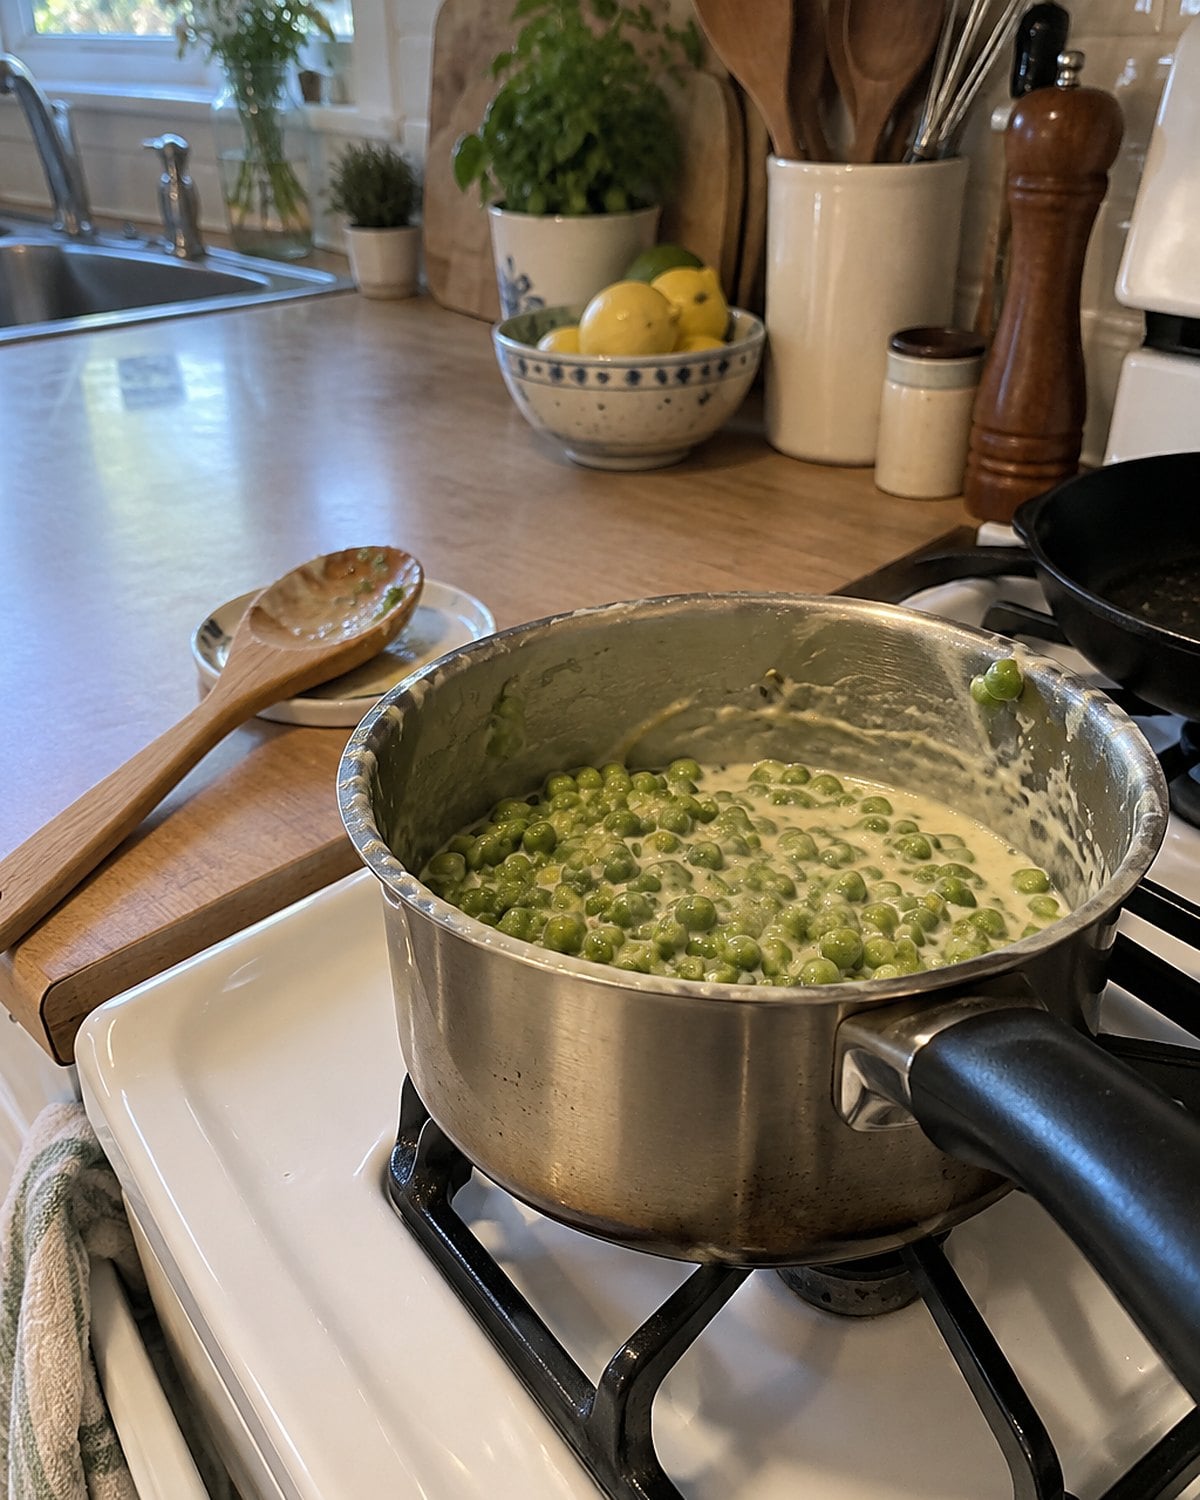
How many peas do you need beside a chop tonight?
Reach for the little saucepan, not the holiday pot. Warm the peas, then coat them with a white sauce thick enough to cling to a spoon. Boil the finished mixture hard and the sauce loses its smooth look while the peas dull in color. A low simmer does the work.
Taste a pea, not just the sauce. Frozen peas bring sweetness; salt and black pepper keep the dish from tasting like warm milk.
If you're serving one or two, a handful of peas makes sense. There's no need to recreate the full Sunday spread to keep the part you miss.
#17 Buttered egg noodles by the stove
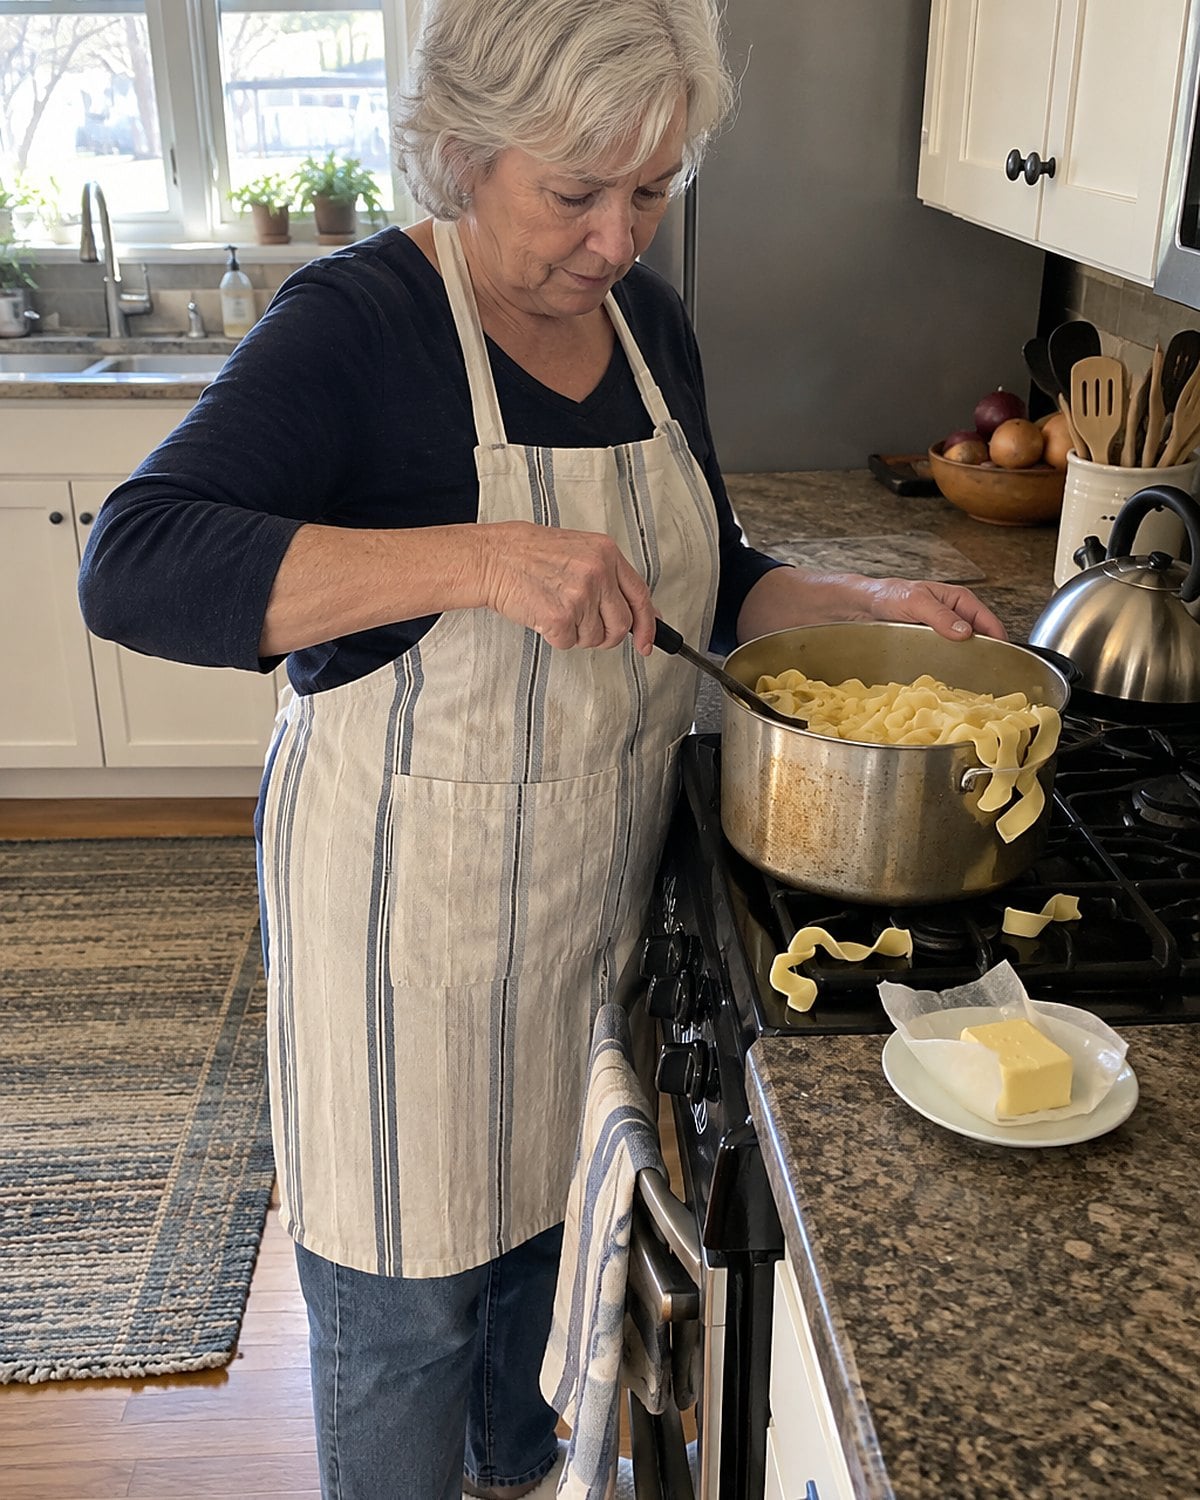
A bowl of buttered egg noodles looks too plain to have a rule. Then you eat a forkful that tastes of butter in one spot and hot water everywhere else.
Salt the cooking water. Before draining, dip out a small cup of the starchy water and set it beside the stove. Return the drained noodles to the warm pot, add butter, and toss.
Splash in a little reserved water until the butter coats the broad noodles instead of pooling at the bottom. Taste while the noodles are hot.
Black pepper belongs here, as does parsley if it's on hand, but neither repairs underseasoned pasta. The water and butter form the coating that makes a plain side worth a second helping.
This dish also tells you when the rest of dinner is late. Leave noodles waiting in a colander and they cling together. Give them their butter right away, then set the covered pot off the heat until you're ready to serve.
#16 Potato salad with yellow mustard
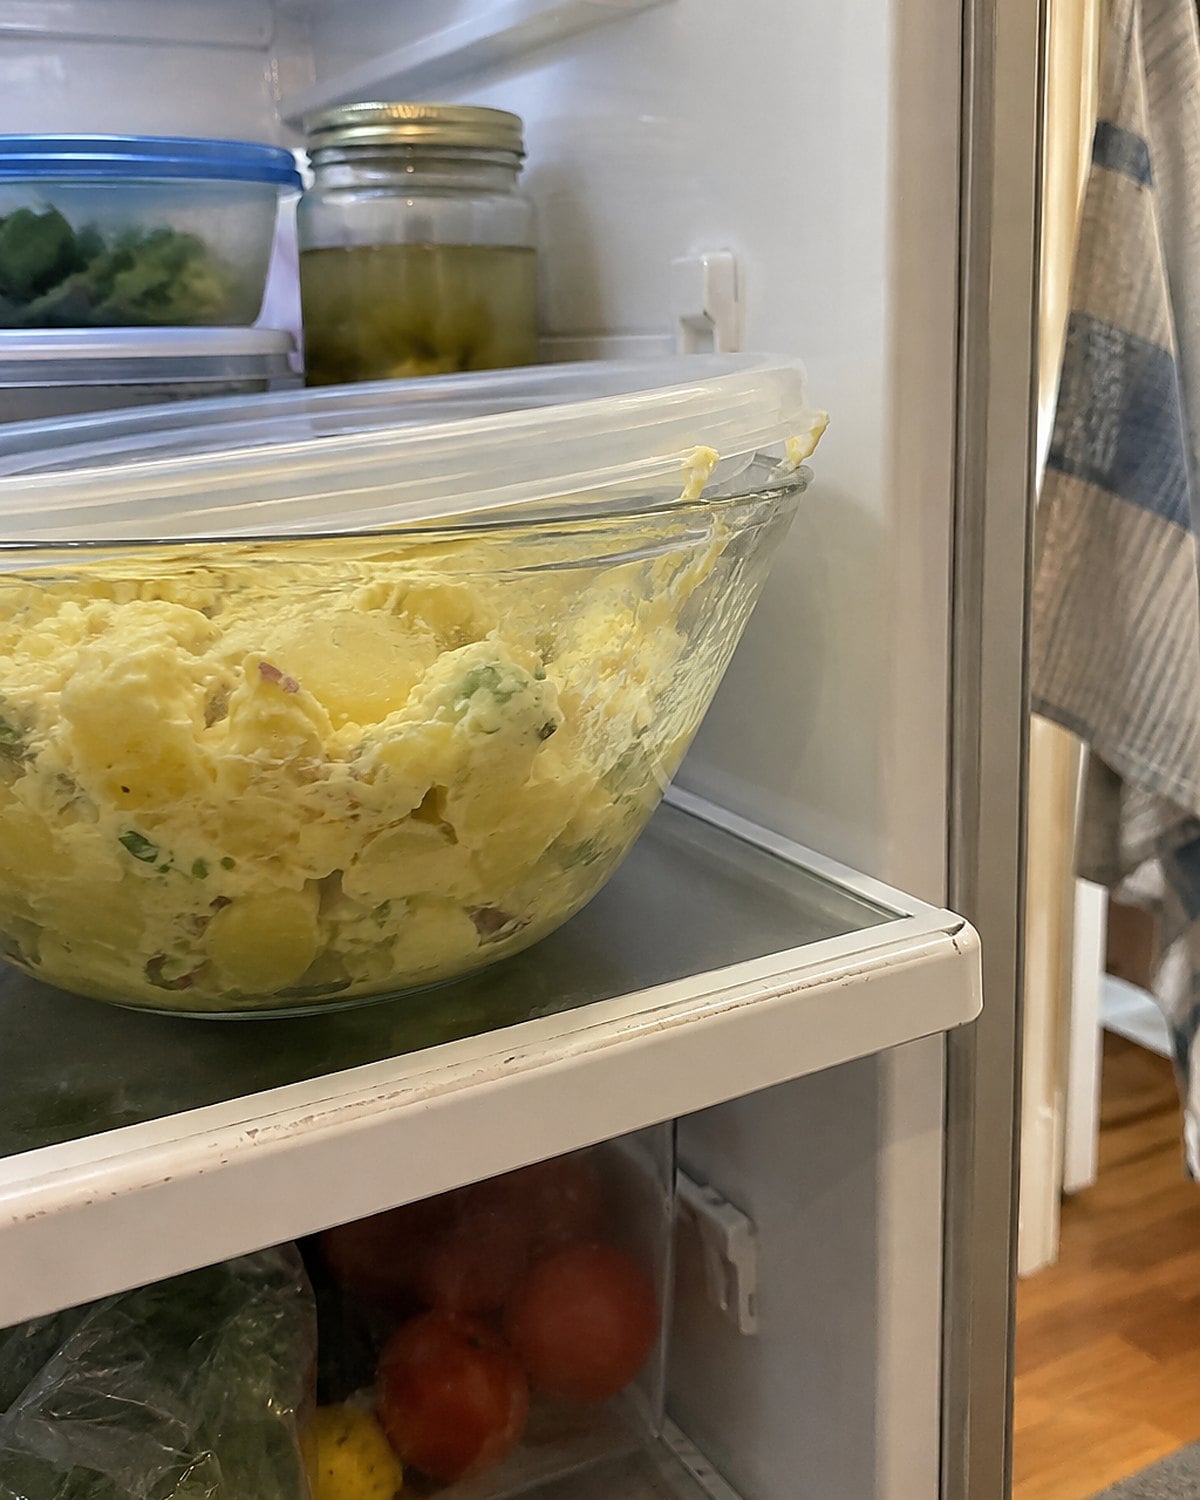
At the cookout, somebody always knows which potato salad has mustard before the lid comes off. The yellow color gives it away. What keeps people taking another spoonful is the seasoning inside the potatoes.
Dress the potatoes while they're still warm enough to absorb vinegar and salt. Let them cool before stirring in mayonnaise, mustard, eggs, and the crunchy bits. Add the dressing to hot potatoes and it slides into a thin coating.
Keep the bowl chilled until serving and return it to the fridge after the meal. The FDA's refrigerator guidance calls for 40°F or below. The old serving spoon stays with the bowl, too. Potato salad has enough family rules without borrowing the spoon from the baked beans.
Try it: Instant Pot Potato Salad With Eggs & Creamy Dressing
#15 Sloppy joes in the skillet
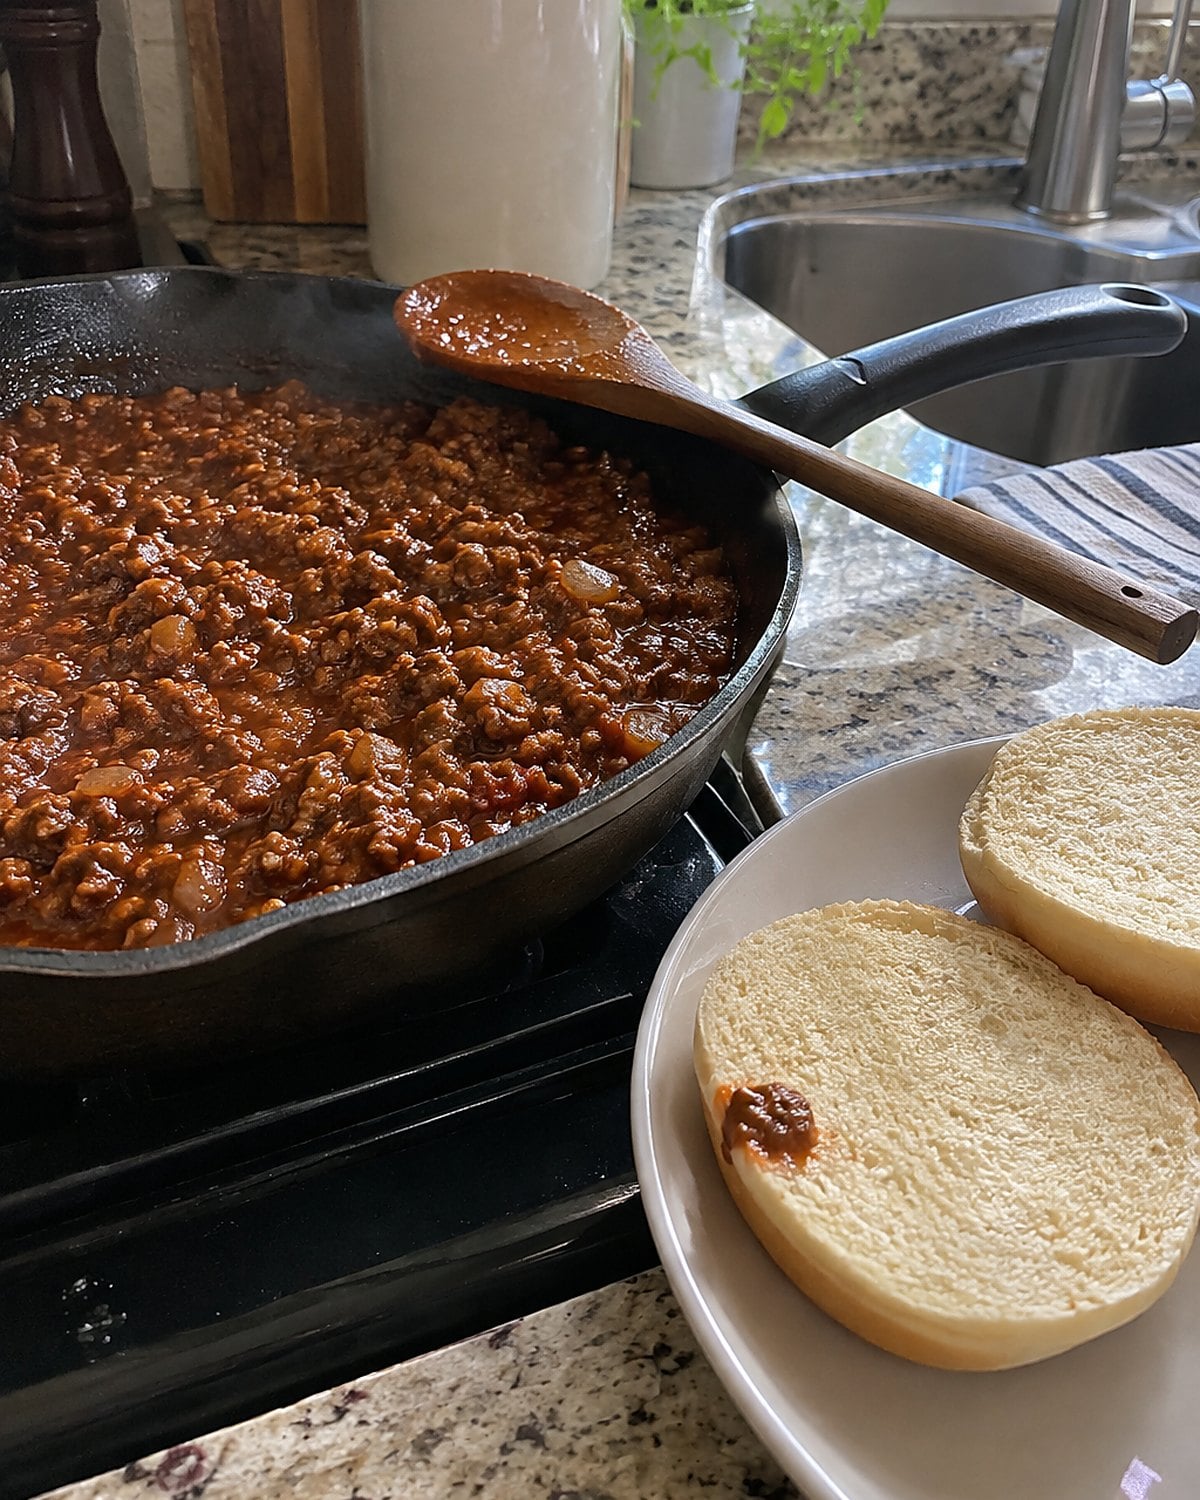
A sloppy joe should be messy in your hands, not watery in the skillet. That's the difference between meat that sits on the bun and meat that runs straight through it.
Brown the ground beef first. Break it into small pieces, then cook until the liquid in the pan has evaporated and the meat starts to sizzle again. Add onion and cook it in the pan before stirring in tomato sauce, a little sweetness, and something sharp, such as vinegar or mustard.
Simmer uncovered. Pull a spoon through the filling: the gap should close slowly. If the sauce races back, give it more time. Taste it on a piece of bread, not from the bare spoon.
Bread takes the edge off sweetness and acid, so the filling has to stand up to the bun. Toast the cut sides of the buns if they're soft. Set out napkins. You can make a neater sandwich, but nobody asked for one.
Try it: Instant Pot Sloppy Joes (Paleo, Gluten-Free)
#14 Peach cobbler under the oven light
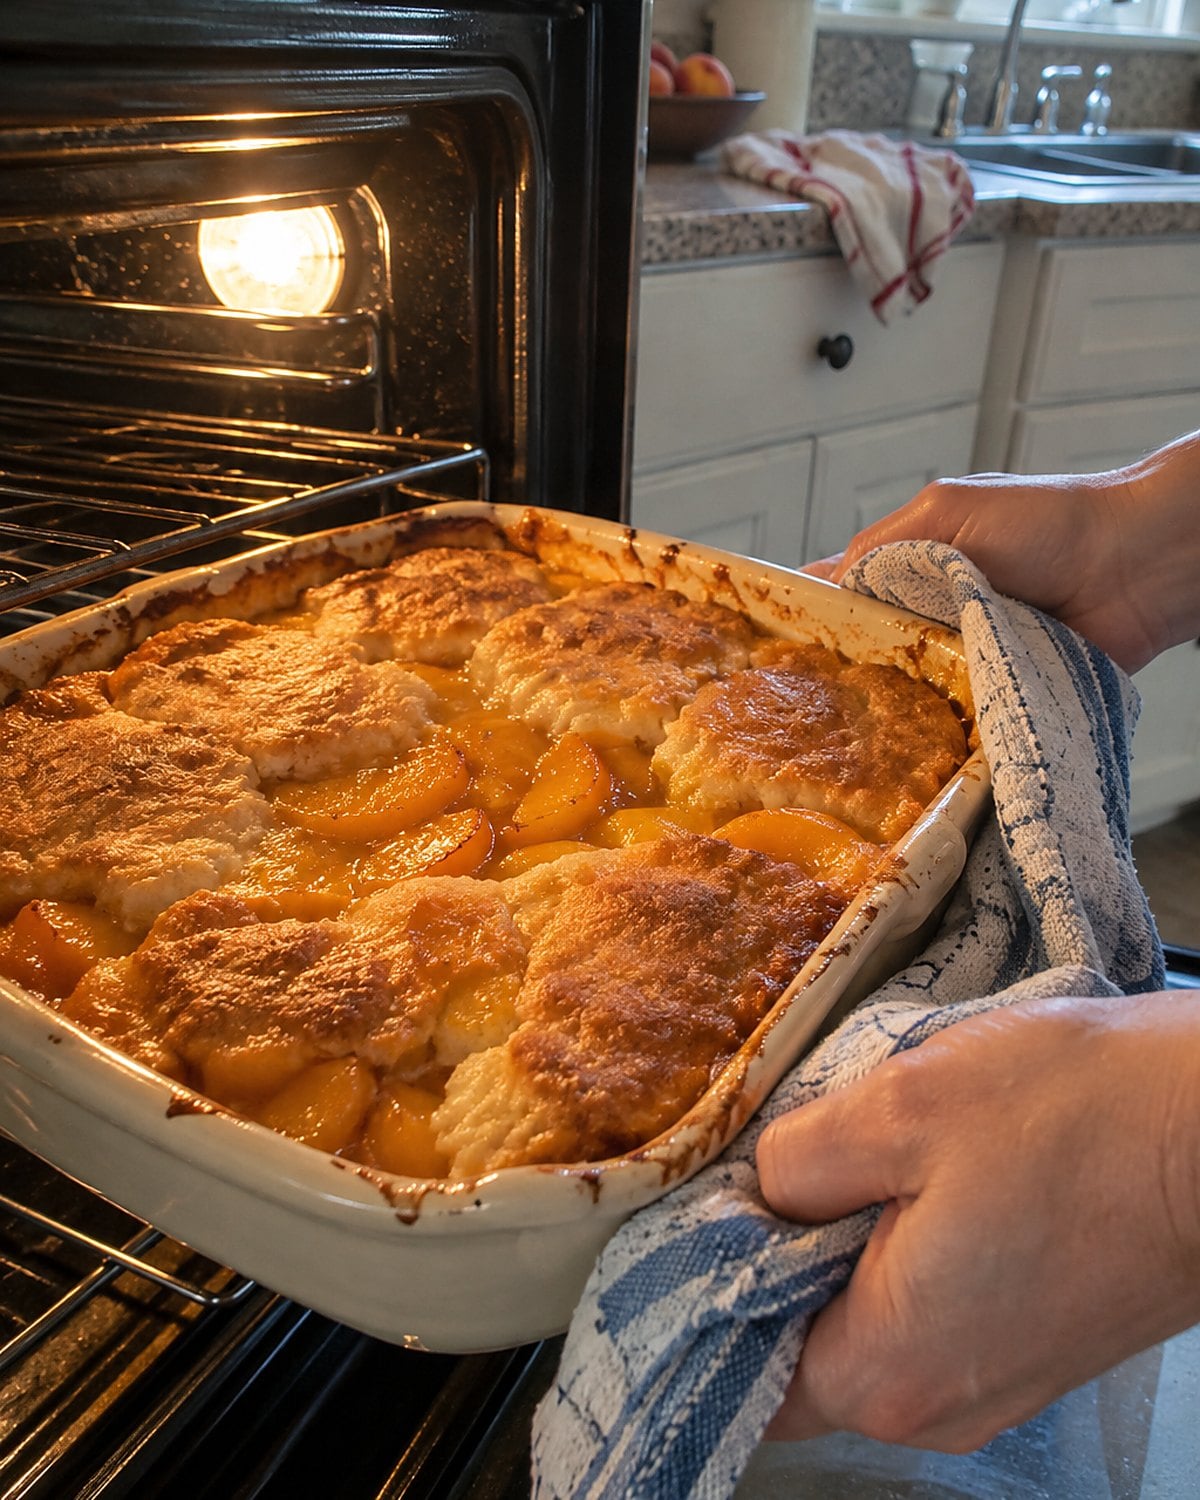
Cobbler has a habit of looking finished before its fruit is ready. The top turns brown and smells of butter while the peaches beneath it still give off thin juice.
Look for thick bubbles pushing up near the center, not only around the rim. Slip a spoon into one corner and check the fruit. It should give easily, with syrup coating the spoon rather than running off like water.
Let the dish stand before serving. The pause keeps the first helping from spreading over the whole plate.
If the peaches came from a can, taste them before adding more sugar. If they came from a market basket, taste those too. The fruit gets the deciding vote, not the old amount penciled into the margin of a cookbook.
#13 Ham and beans in the Dutch oven
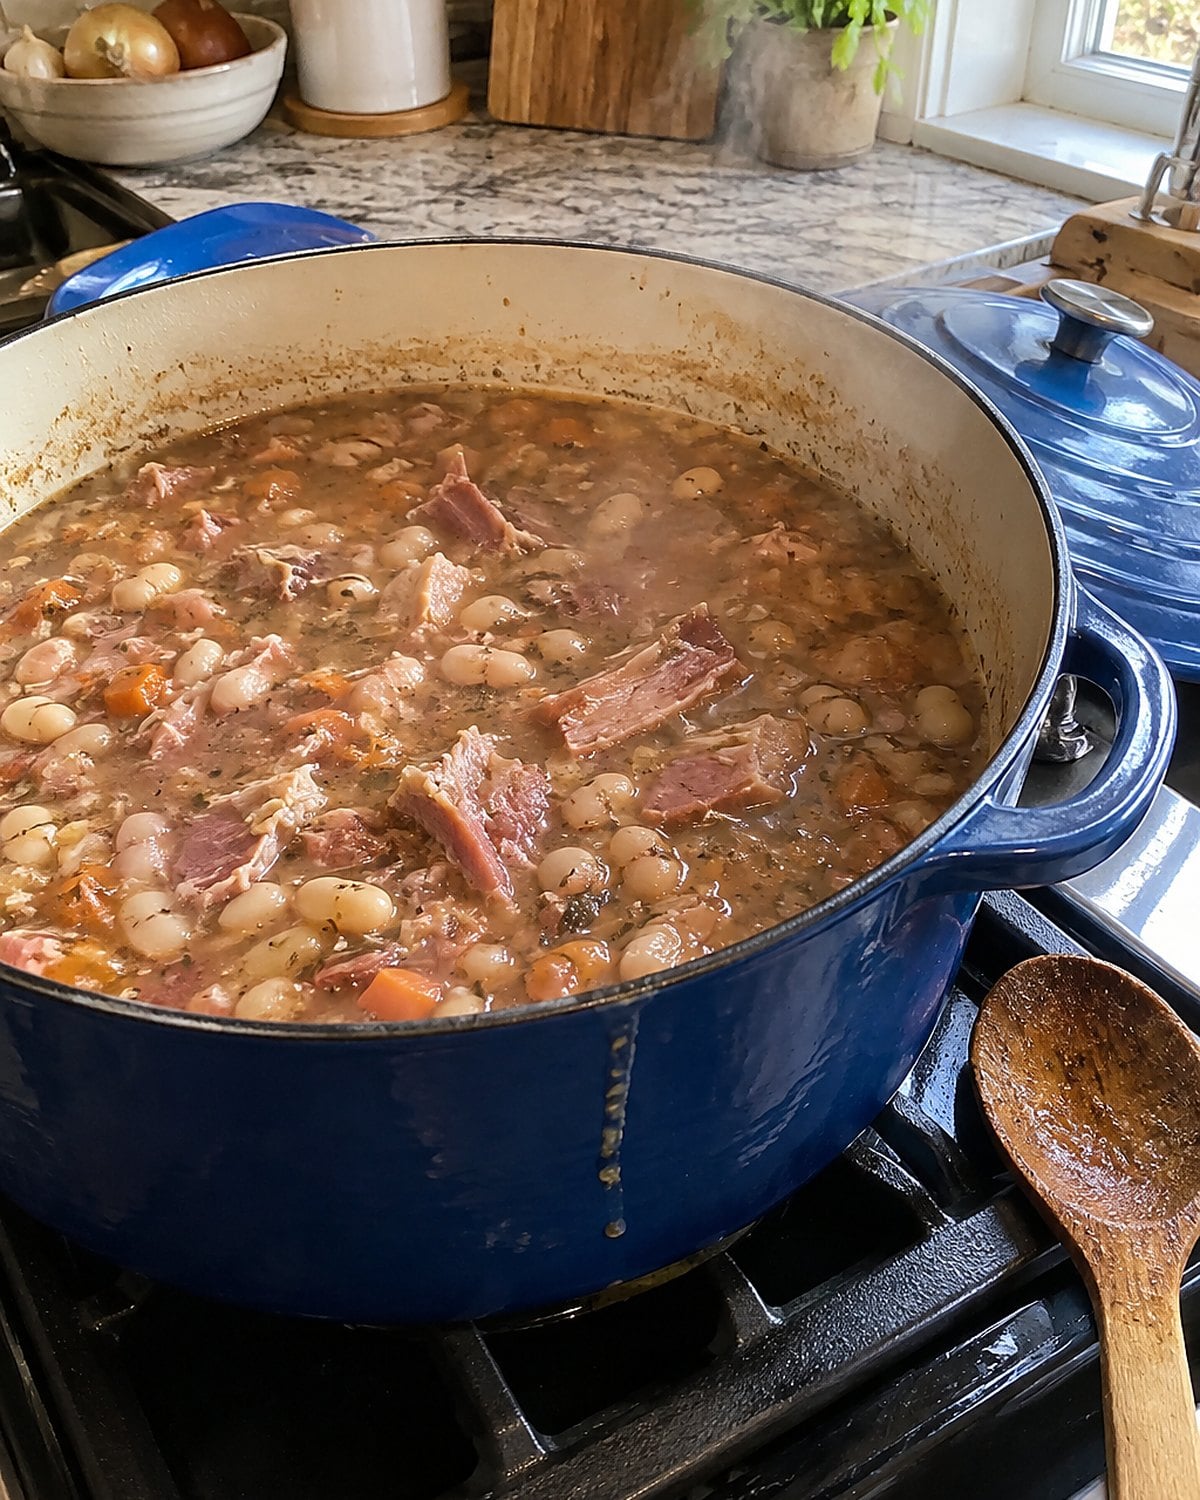
The lid rattles for an hour, and the beans still feel firm between your teeth. More heat won't fix that in a hurry.
Start dried beans in water or unsalted broth and let them simmer until they soften. Add tomato or vinegar later. Acid slows the softening of bean skins, so an early pour changes the afternoon's schedule. Salt isn't the culprit it was once made out to be; season the beans as they cook, then taste again after adding ham.
A ham bone gives the pot flavor, but pull it out before serving. Strip off the usable meat and return it to the beans.
Check carefully for little bones and gristle before setting bowls on the table, especially when a grandchild is there for supper. Cooked beans should be tender all the way through. Press one against the side of the pot with a spoon.
If its center stays chalky, keep the lid on and supper simple. Cornbread alongside will wait.
Try it: Instant Pot Ham And Beans
#12 Chicken-fried steak beneath white gravy
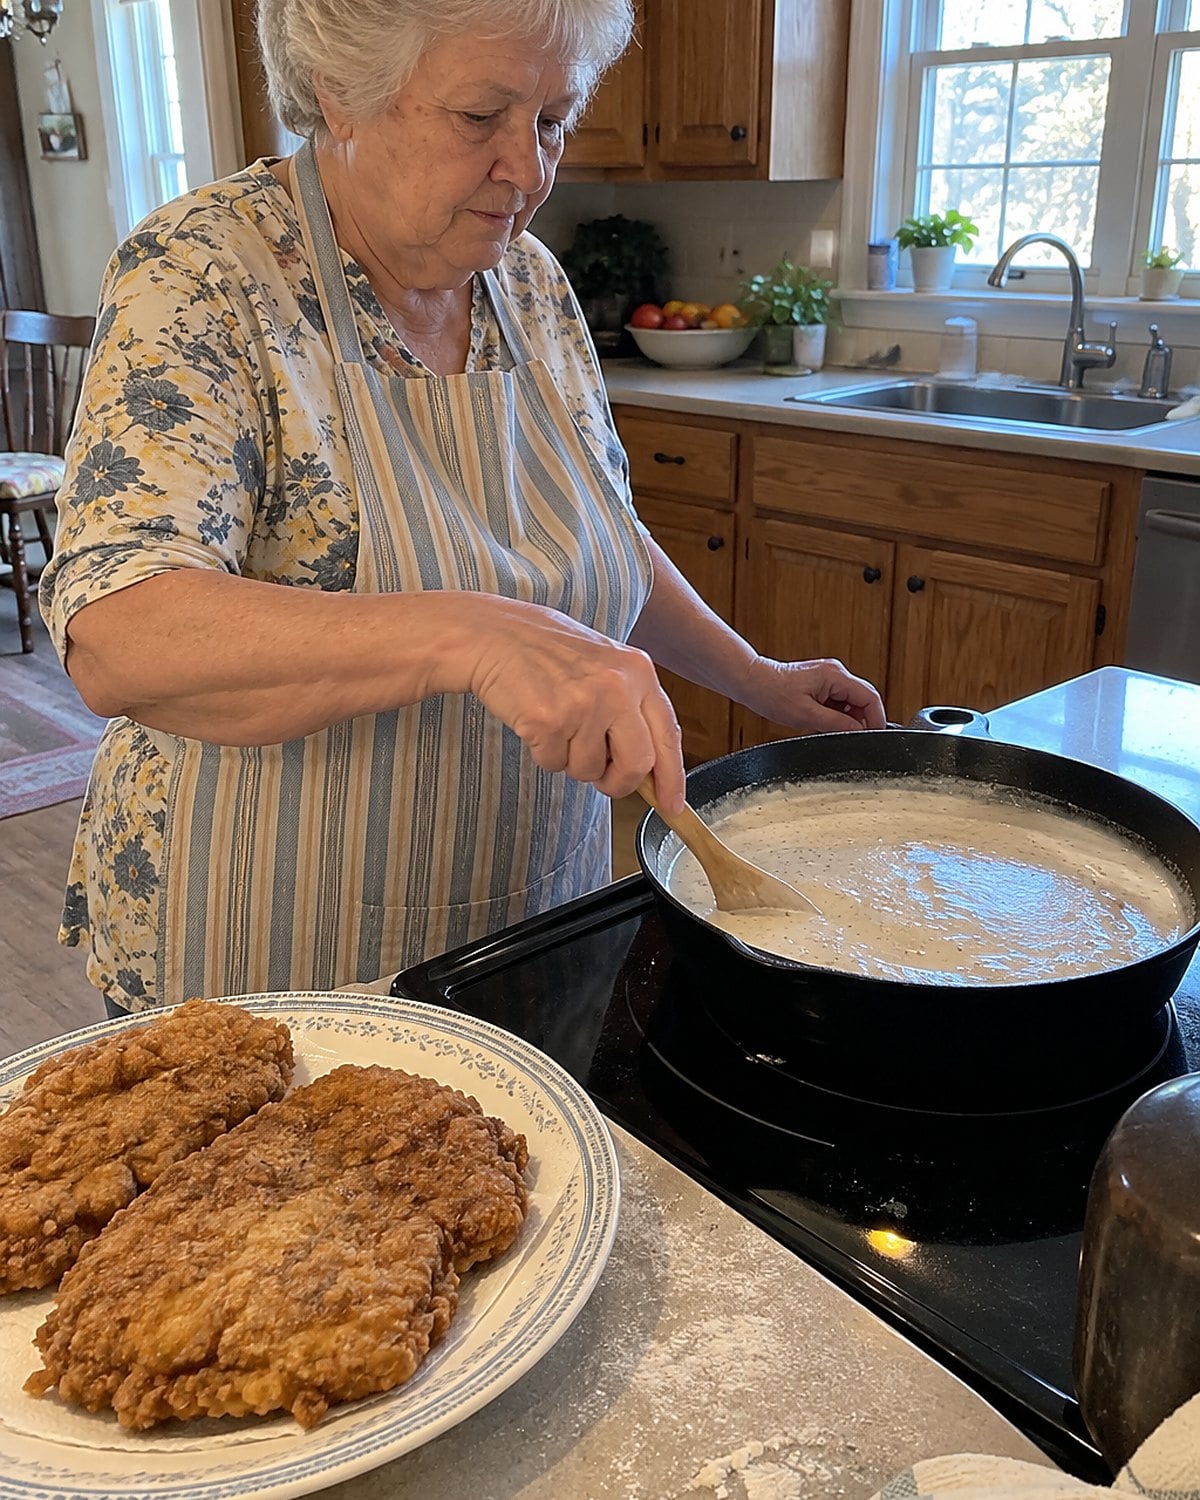
The gravy decides whether chicken-fried steak feels like supper or a plate of crumbs. It needs a skillet with browned bits left in it, not a clean pan and a wish.
After frying the steaks, pour off excess fat but keep enough to stir with flour. Cook that flour until the raw smell fades. Add milk a little at a time, whisking each addition smooth before the next. Pour it in all at once and lumps get a head start.
The gravy will thicken as it heats. Stop when it coats the back of a spoon; it thickens further as it stands. Taste for salt and give black pepper a generous turn.
If the coating slips off the steak, look back to the meat. Pat it dry before breading and leave the breaded pieces on a rack briefly before frying. The coating needs a chance to cling.
#11 Split pea soup beside the burner
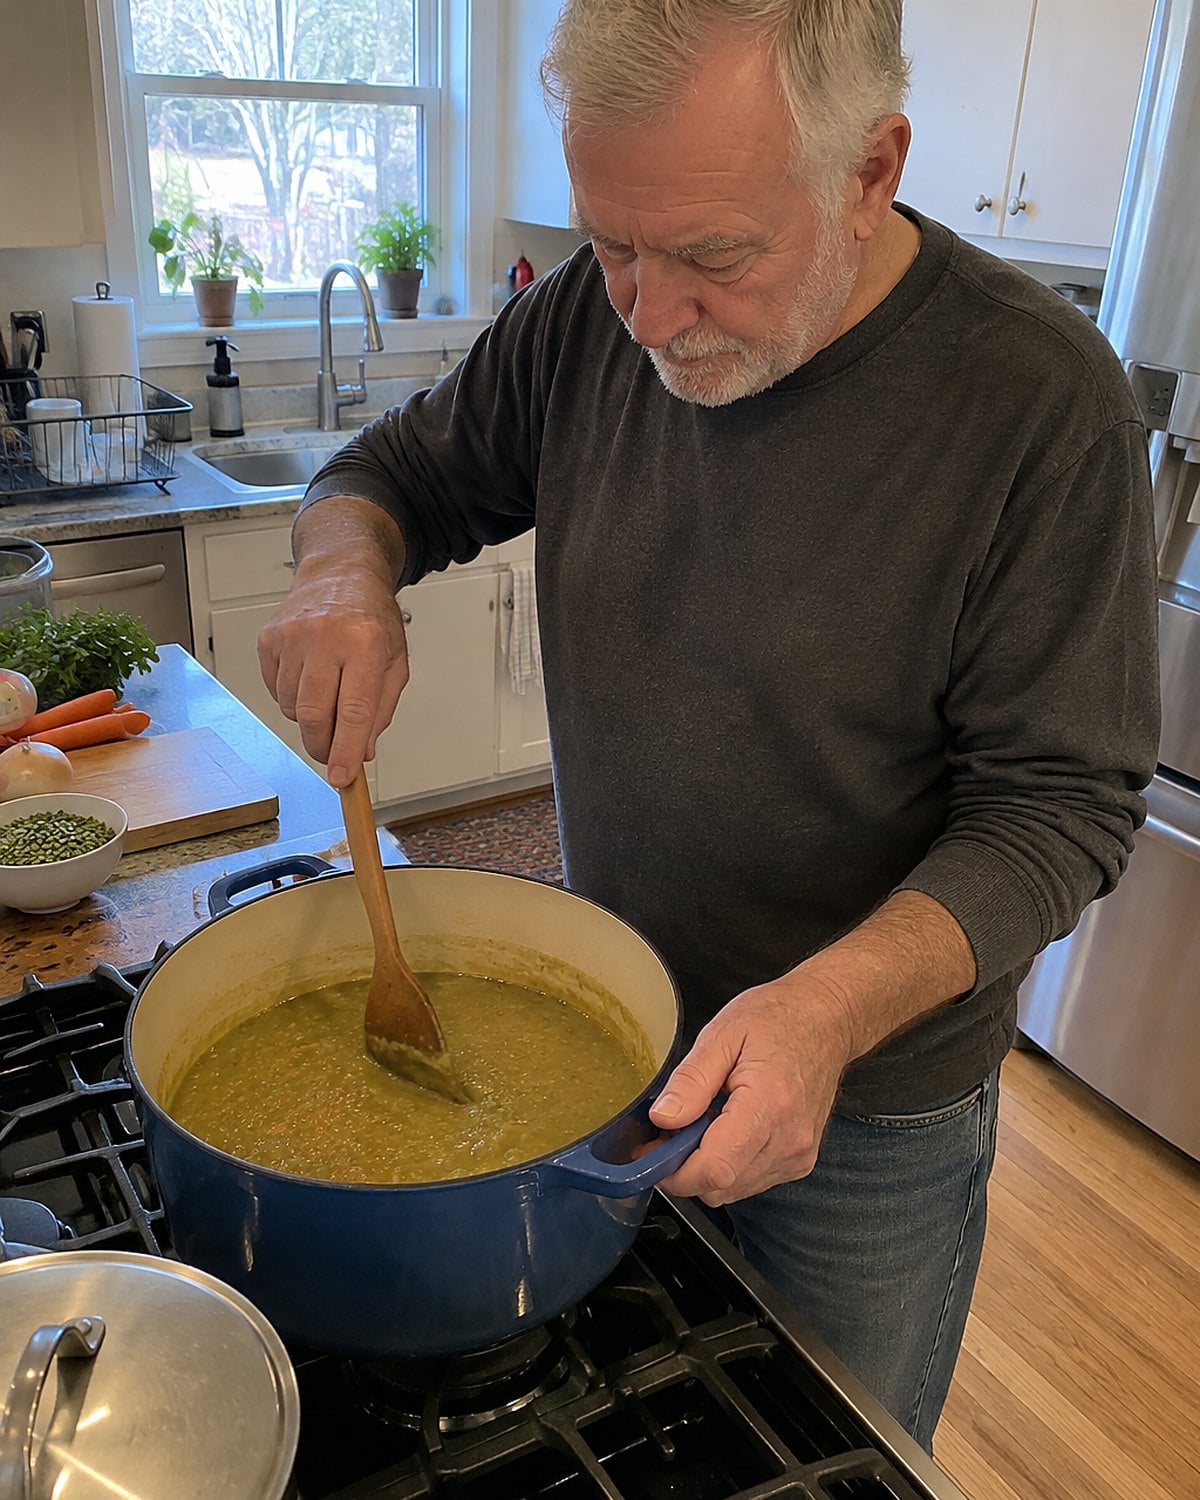
The split peas were soft at the top. At the bottom, where nobody had stirred, they had begun to stick.
That is the pot's rule: as split peas break down, soup grows thicker near the heat. Stir all the way across the bottom with a wooden spoon, especially late in cooking. Add a splash of water or broth when the spoon starts dragging. Keep the burner low enough for an easy simmer.
A smoked ham hock gives the soup depth. Lift it out when the meat pulls away, let it cool enough to handle, and return the meat without the skin or bones. Taste before adding salt; the hock has already brought some.
There is no prize for making the soup so thick it stands upright. You want a spoonful that settles back into the bowl. If the bottom smells scorched, don't scrape the burnt layer into the good soup. Pour the unburnt portion into another pot and finish it there.
Try it: Instant Pot Split Pea & Chorizo Soup
#10 Buttered cabbage with supper sausages
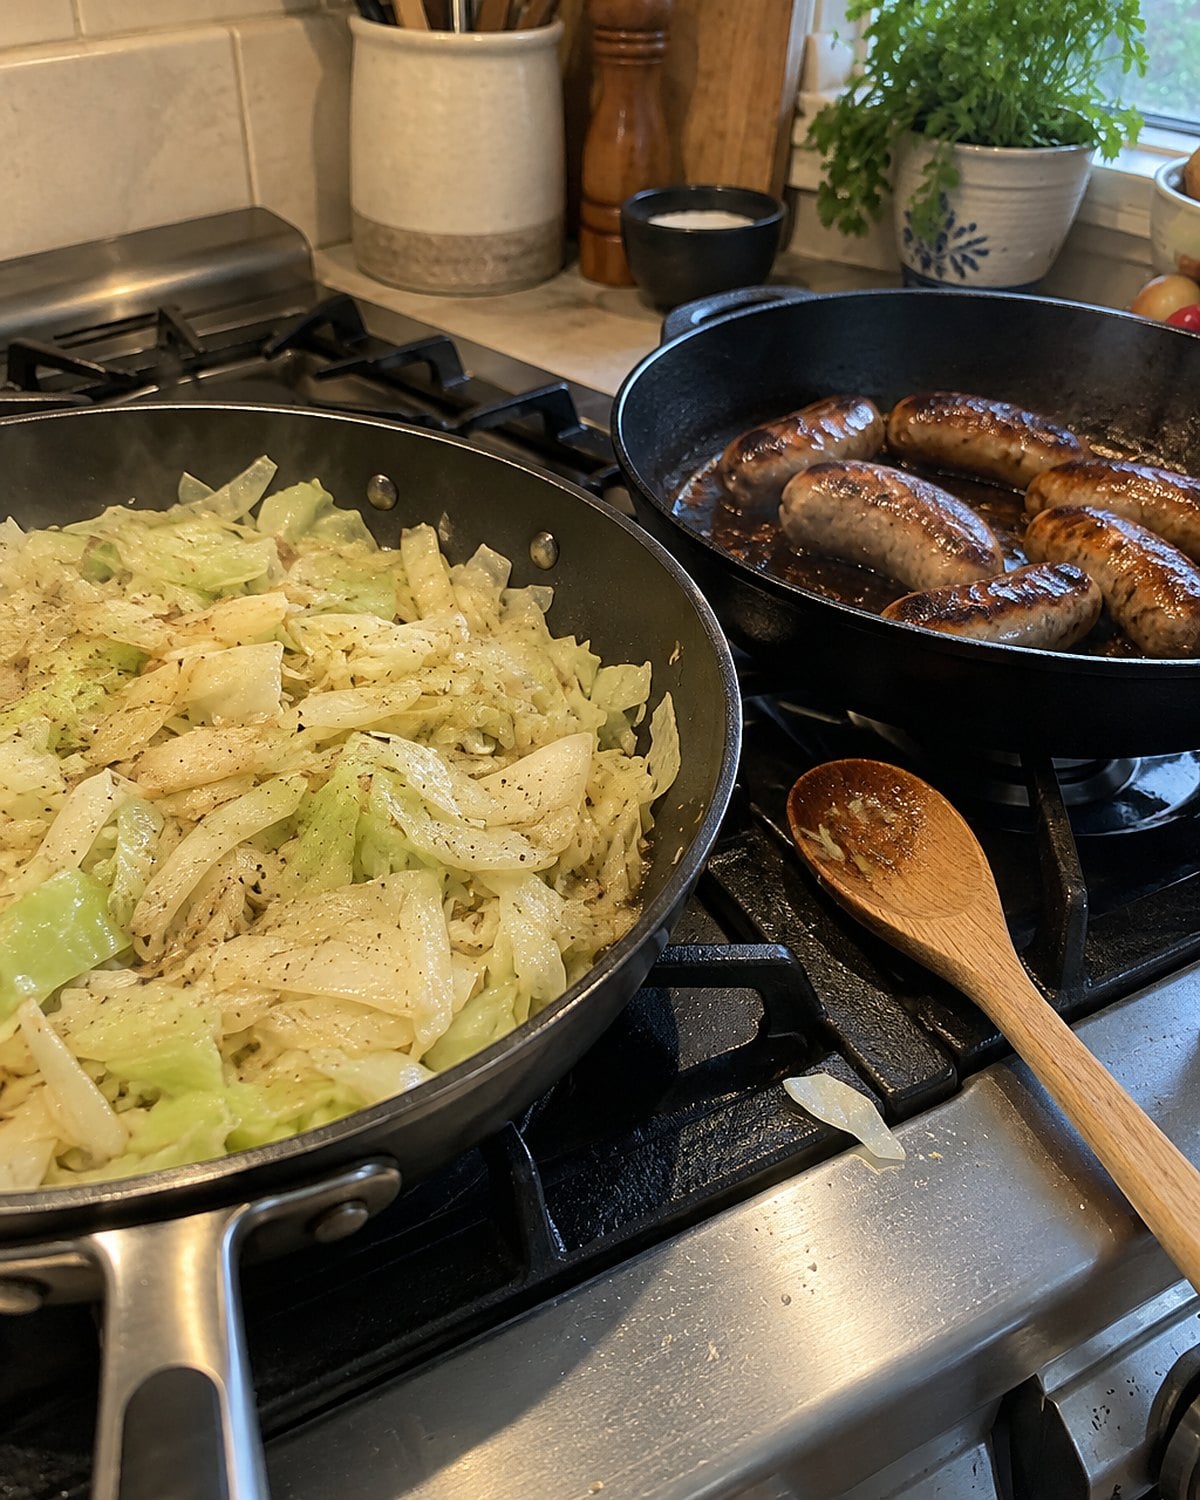
Cabbage waits patiently on a cutting board and cooks quickly once sliced thin. That's why it worked beside sausages on an ordinary weeknight.
Put the sausages on first. In another skillet, cook the cabbage in butter until the thick ribs lose their raw crunch while the leaves keep some bend. A splash of water helps the ribs along; leave the lid off afterward so the water cooks away.
Taste a piece from near the core before you call it done. If you've added apple, let it keep its shape rather than disappear into the pan. Serve the cabbage under the sausage juices, with mustard nearby.
The rule here is supper timing: don't make the cabbage wait until it's limp because the meat started late.
#9 Pork chops on the serving platter
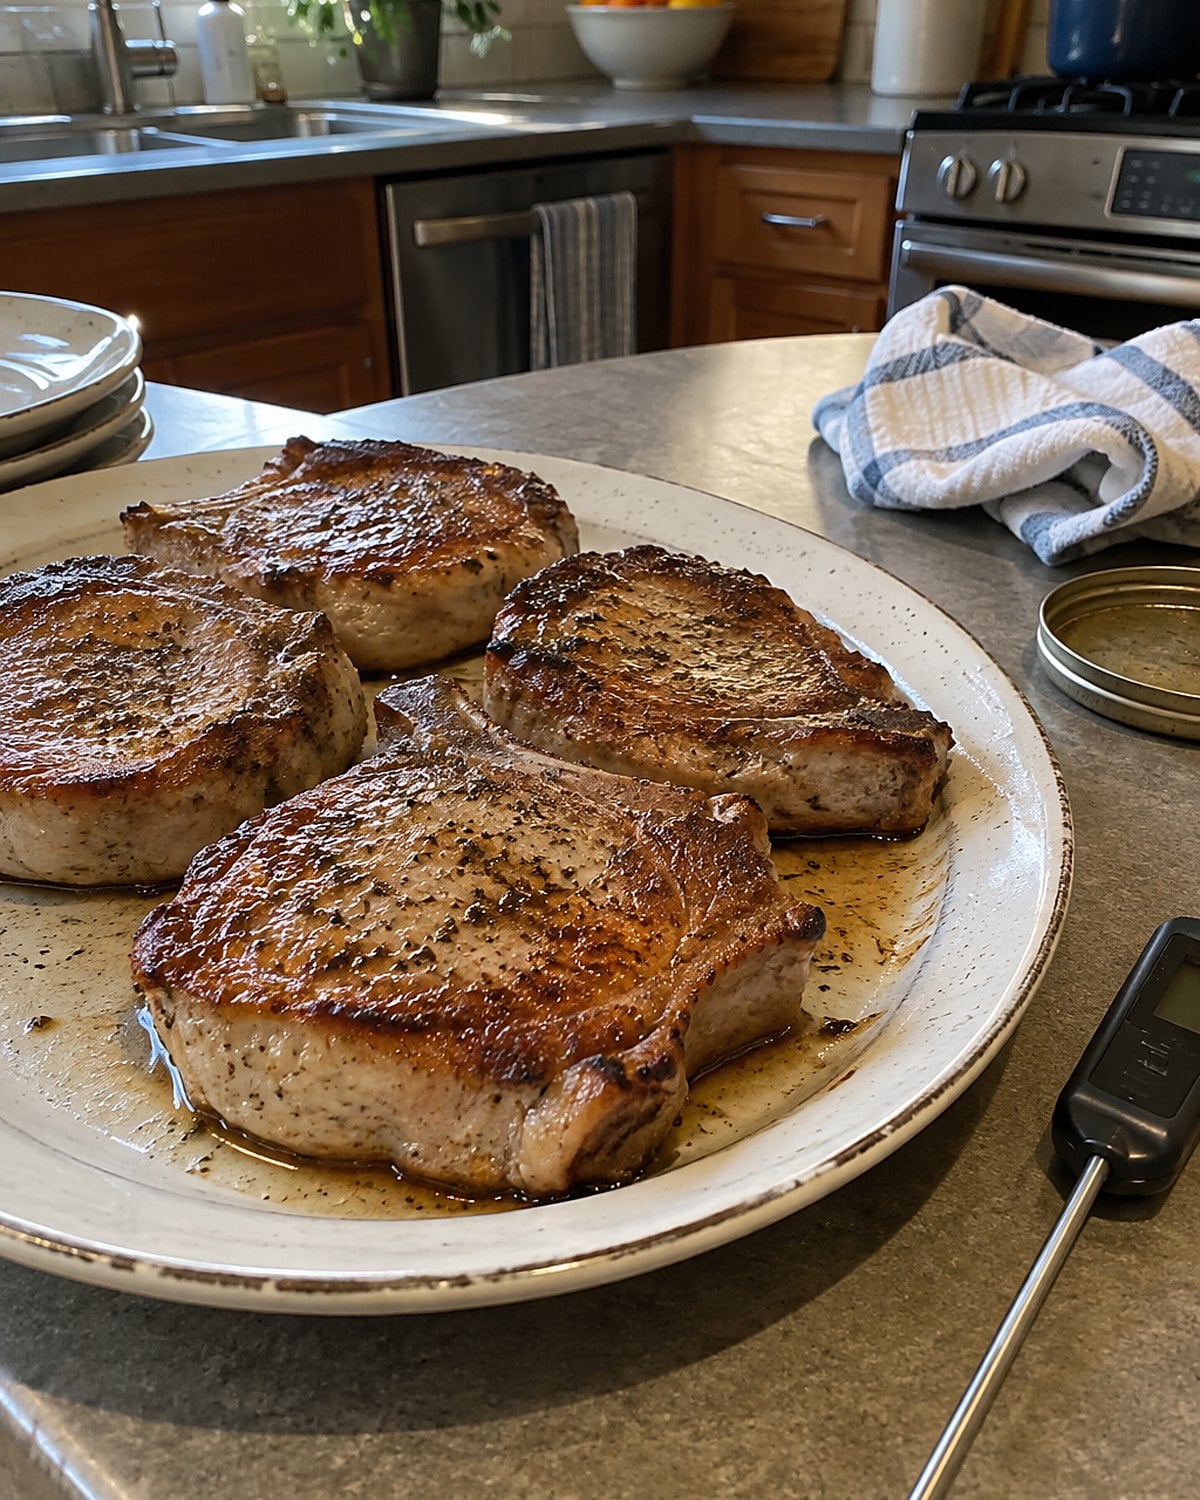
The pork chop on the platter looks done. Its browned face tells you what happened against the pan, not what happened near the bone.
For whole cuts of pork, USDA FSIS sets 145°F followed by a three-minute rest. Put the thermometer into the thickest part without touching bone. Then move the chops to the platter and give them that rest before cutting.
This rule replaced an older kitchen habit: cook pork until every trace of pink is gone. Color alone doesn't give a safe answer. A thin chop also keeps cooking quickly, so check before it turns dry. With a thick chop, brown both sides and lower the heat to finish the middle.
The platter has its own rule. Don't put cooked chops back onto the plate that held them raw unless you've washed it. Set out a clean platter before the pan gets hot, and you won't be searching for one while the meat rests.
#8 Stuffed peppers with tender rice
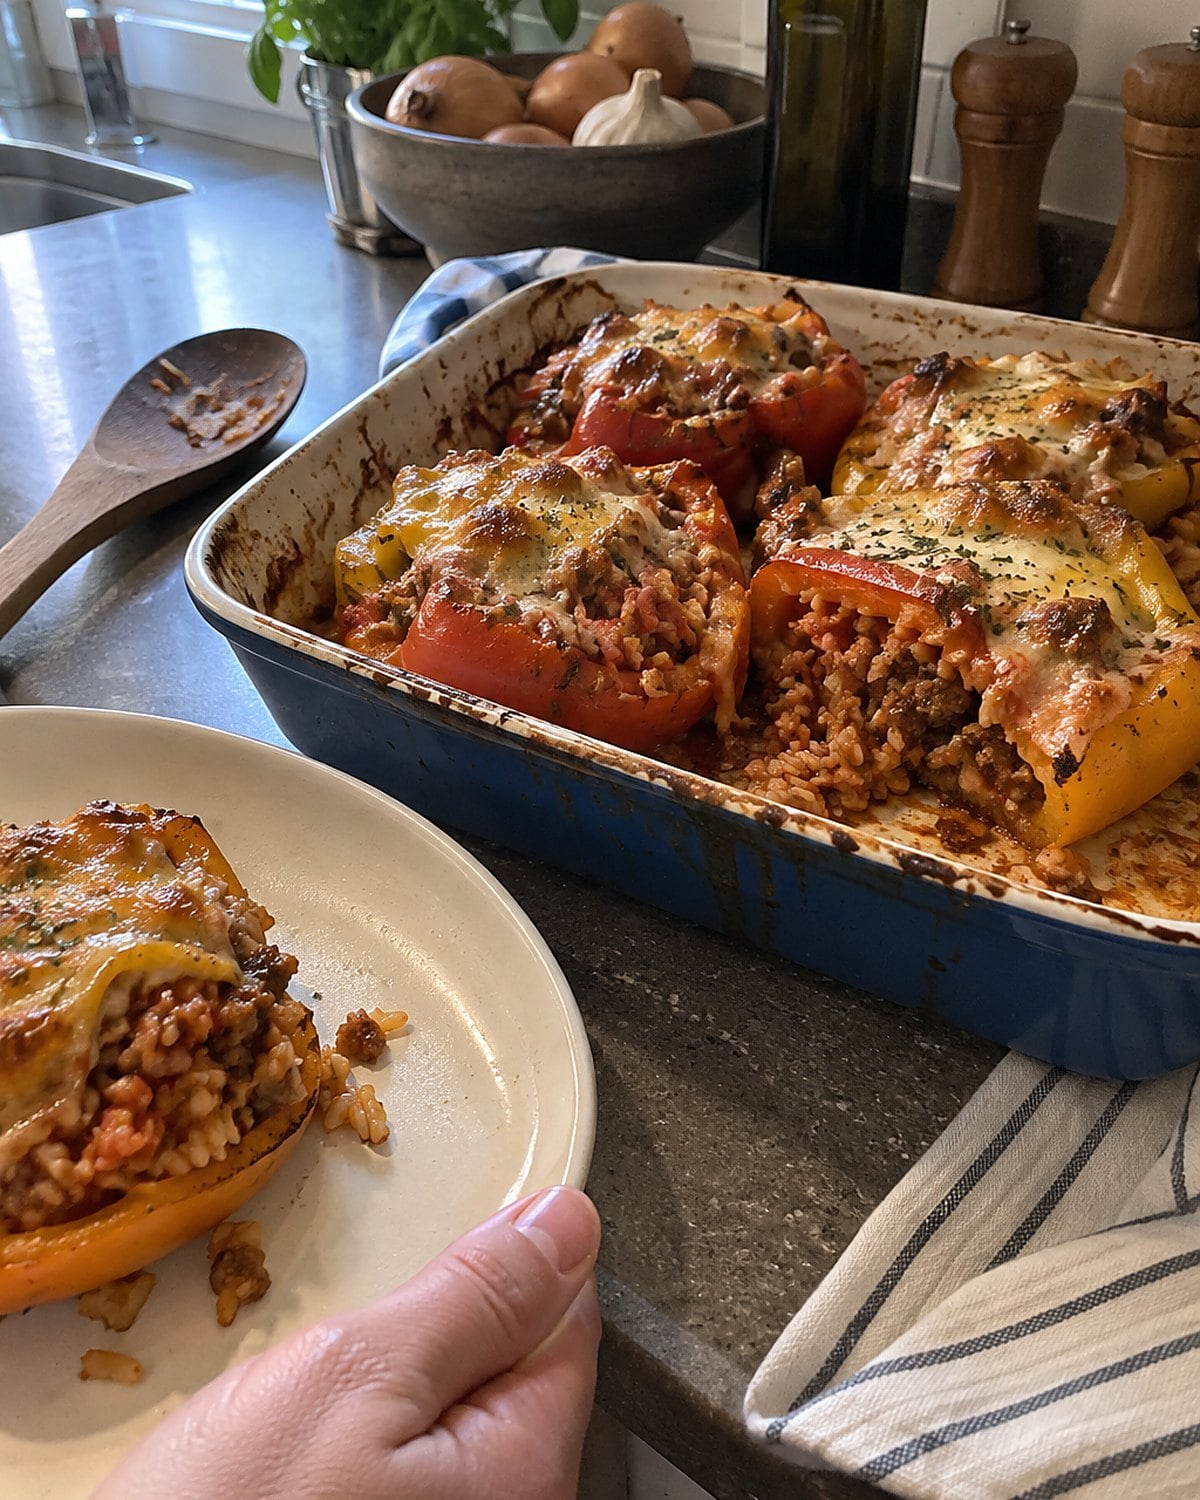
Stuffed peppers expose a kitchen disagreement at the first bite. One cook wants the pepper to stand upright; another wants it soft enough to cut with a fork.
Choose before you fill them. For a softer pepper, blanch the empty halves or bake them briefly, then add a cooked filling. For a firmer one, fill the raw halves and give them a longer covered bake.
Cook the rice before mixing it with meat and sauce; raw rice counts on moisture and time the filling won't always give it.
If the filling contains ground beef, check its center for 160°F. Don't rely on the pepper's wrinkled skin to tell you the meat is ready. Set a pepper on the plate and cut straight down. Its rice should be tender, with no hard grains hiding under the sauce.
Try it: Best Instant Pot Stuffed Peppers
#7 Sliced tomatoes on the kitchen counter
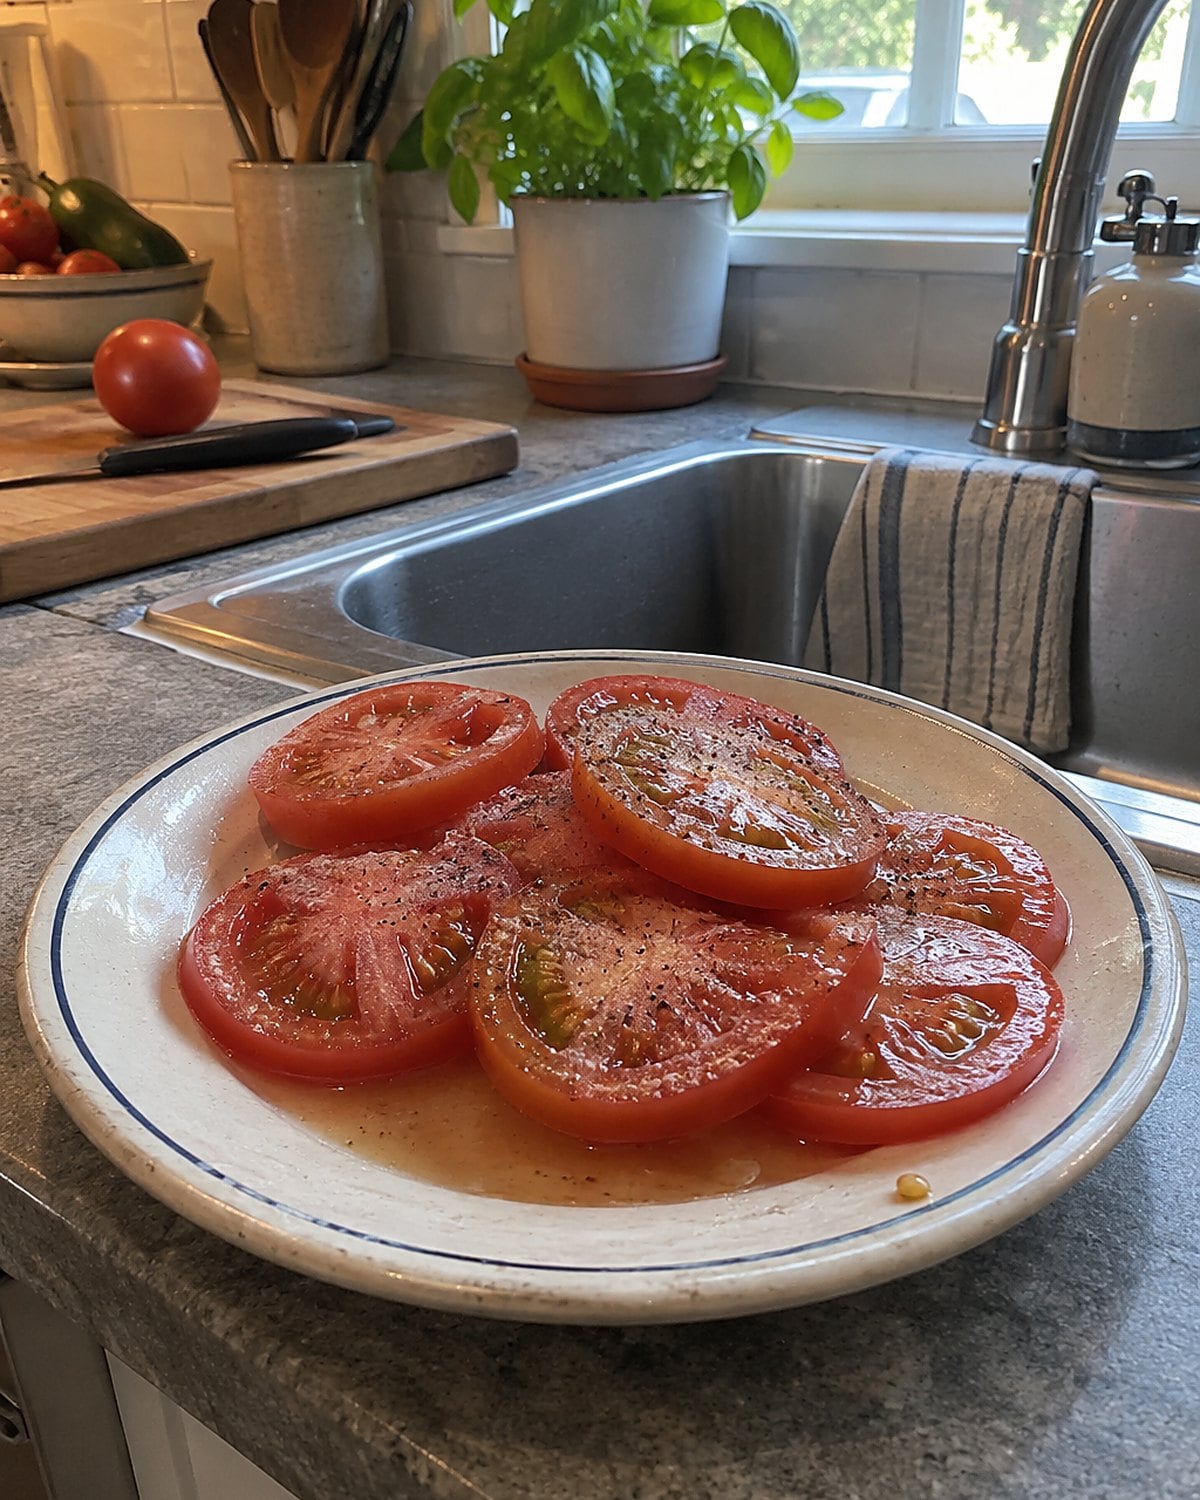
A garden tomato beside the sink carries its own supper plan. Slice it, add salt, and leave the slices on the counter just long enough for their juice to gather on the plate.
That juice belongs with the tomato. Drag a piece of buttered bread through it, or spoon it over cottage cheese. Refrigeration changes the texture of a whole ripe tomato, making the flesh less pleasant to bite.
If you've cut more than you need, cover the leftovers and refrigerate them. The FDA's produce guidance is worth checking when you prepare fruit and vegetables for a gathering.
Don't use the look of a tomato to judge its flavor. Lift it. A ripe one feels heavy for its size and smells like a tomato near the stem. An under-ripe one improves with time on the counter, away from direct sun.
The old rule to salt tomatoes at the table has a point: salt pulls out moisture. Put it on just before eating if you want a tidy sandwich. Salt a little earlier if you want those juices on your plate. Same tomato, two good suppers.
#6 Pot roast in the Sunday oven
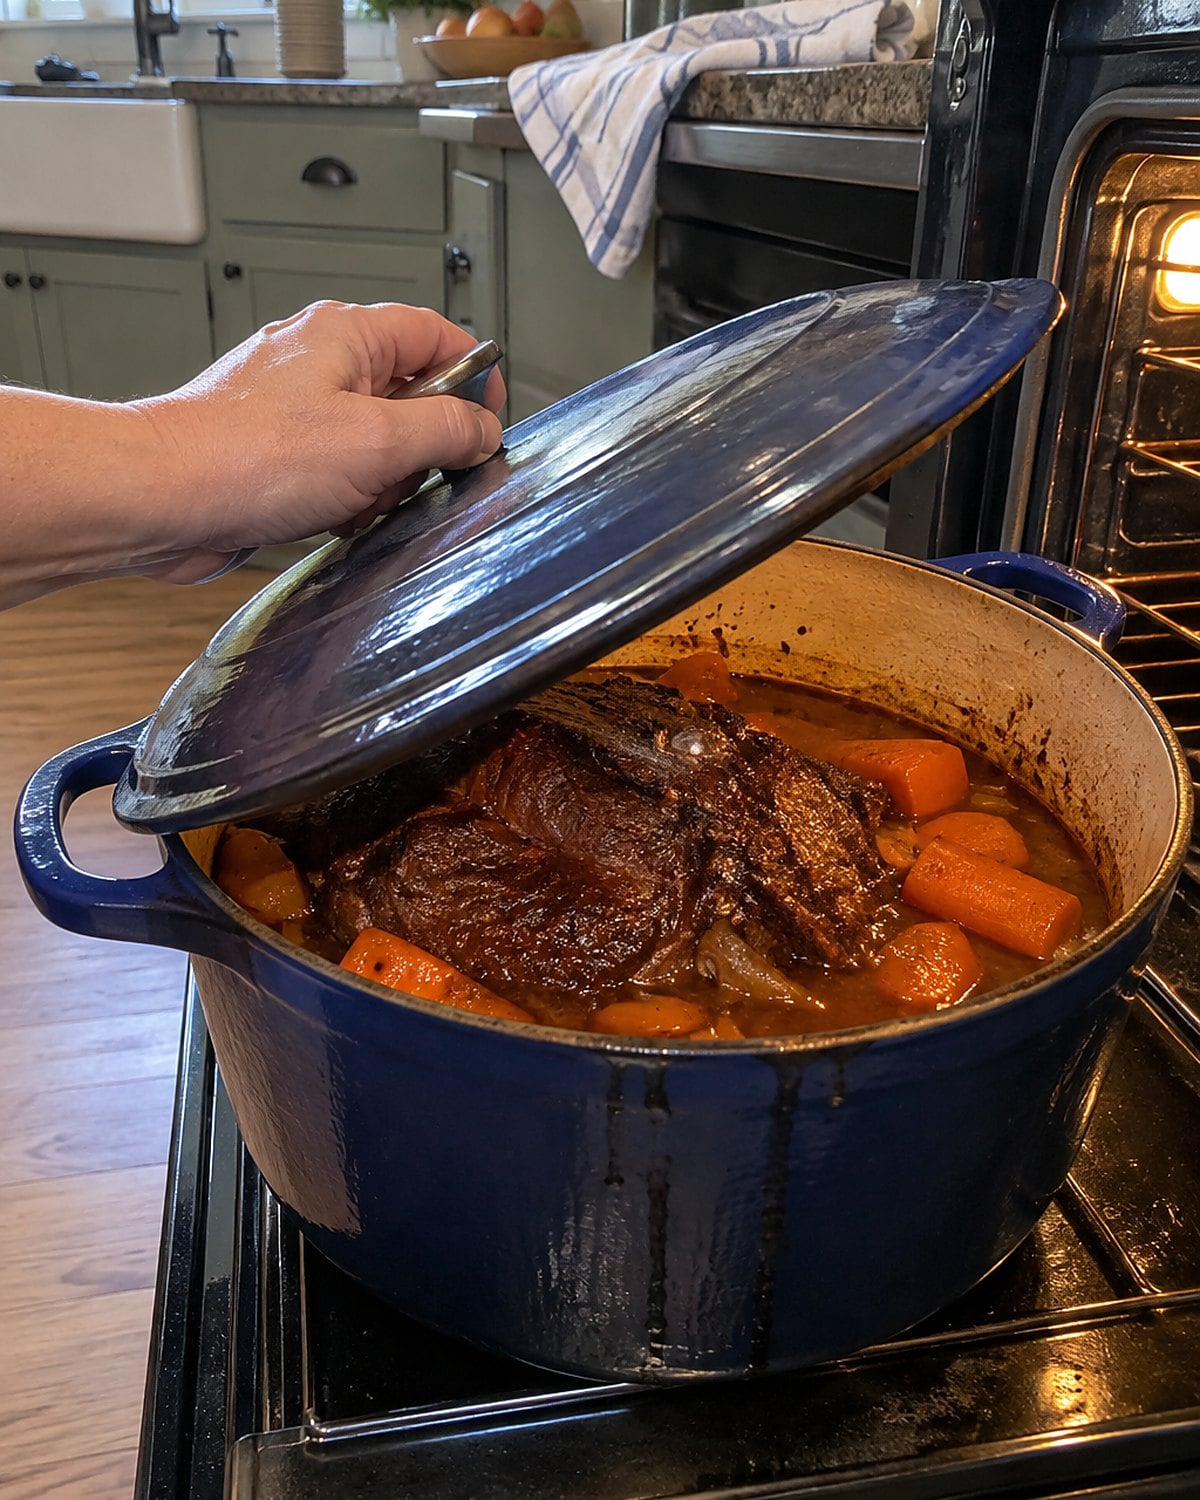
The roast went in before anyone changed out of church clothes. Hours later, the fork settled the question of dinner.
Chuck roast has connective tissue that needs a covered pot and slow, moist heat. Brown the meat first, then add liquid, cover, and cook until a fork twists easily in the thickest part. You'll know it needs more time when a slice resists the knife, whatever the clock says.
Put potatoes and carrots in later if you want them to hold their shape. Add them at the start and they give their flavor to the broth, but they come out soft. Both versions belong to somebody's family. The roast itself makes the call: when its tough fibers yield, dinner is ready.
Try it: Instant Pot Beef Pot Roast With Potatoes & Carrots
#5 Tuna noodle casserole with crushed crackers
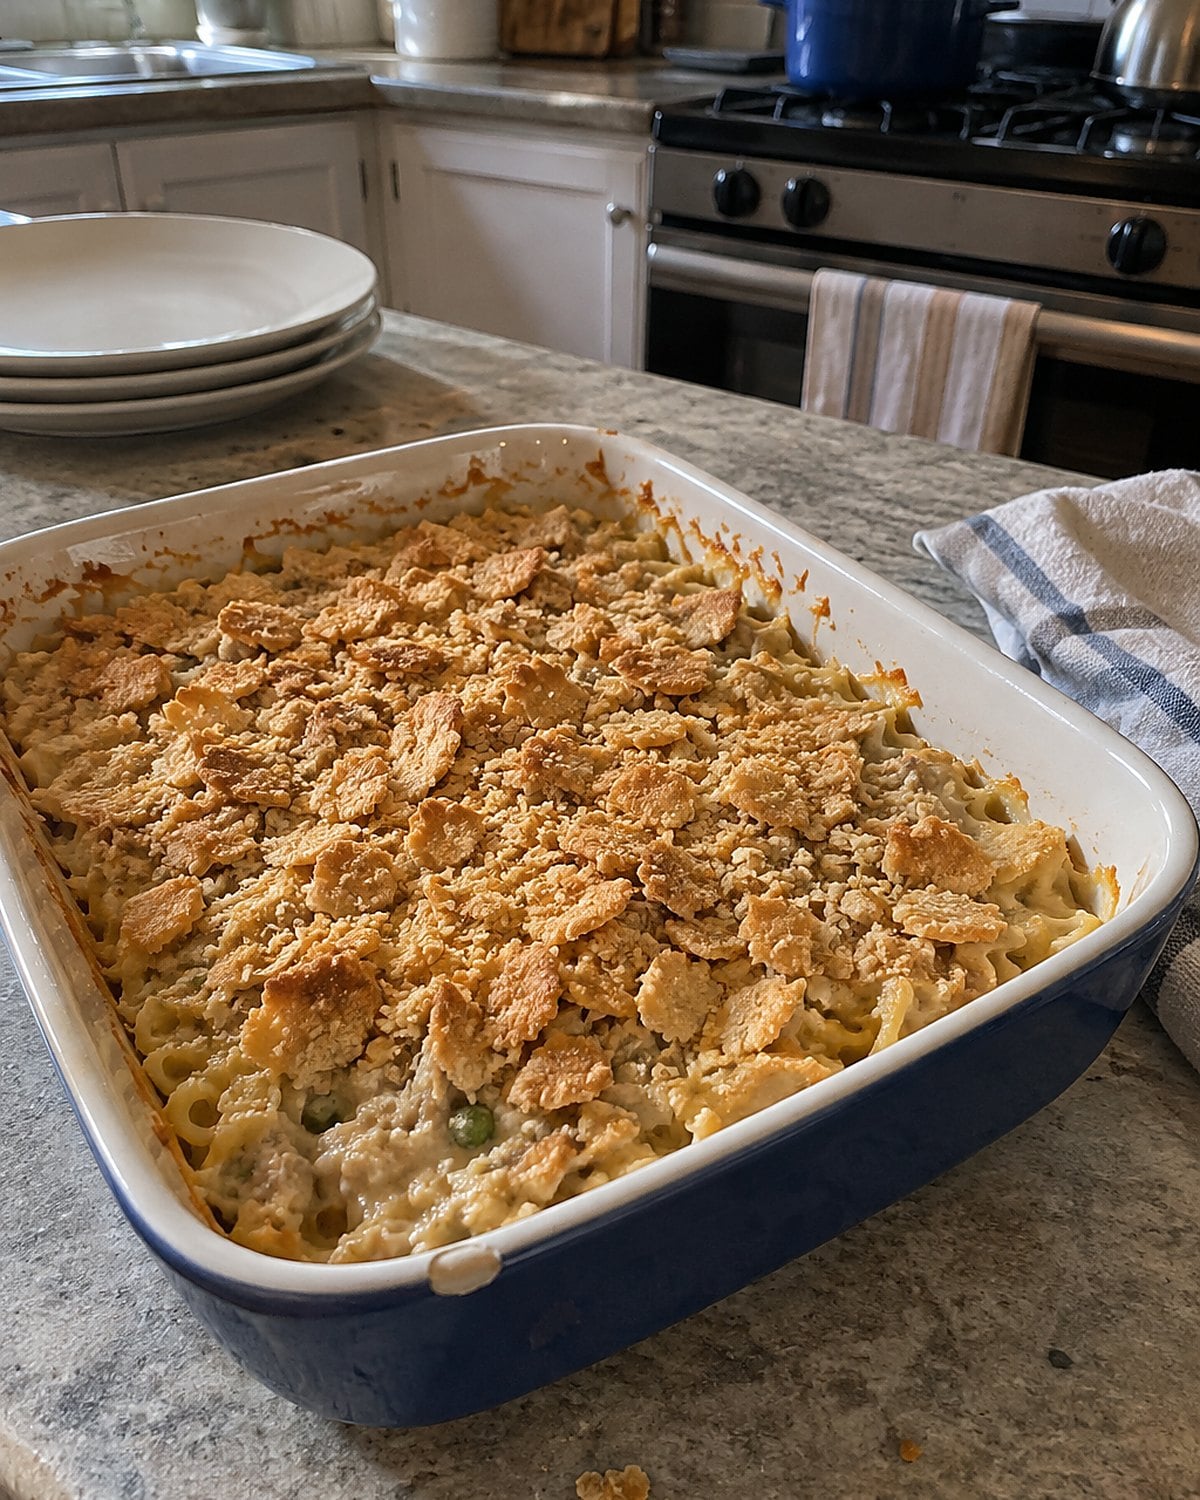
You opened the pantry for a quick supper and found tuna, noodles, a can of soup, and the sleeve of crackers somebody left folded shut. That's enough for the casserole you remember. The trick is keeping the noodles from drinking every bit of sauce.
Cook them until they're just shy of tender, then drain. They'll finish in the oven. Stir together the tuna and creamy sauce, fold in the noodles, and look at the mixture before it goes into the dish. It should seem a little looser than you want on the plate.
Crush the crackers by hand. Fine crumbs soak through; uneven pieces give the top its crisp spots. Toss them with a little melted butter and scatter them over the dish before baking.
Taste the filling first. Canned tuna and soup already bring salt, while peas add sweetness. A squeeze of lemon at the table wakes up a heavy bite. There is no need to make the whole pan to keep this supper in rotation: use a small baking dish and enjoy the corner piece.
Try it: Instant Pot Tuna Casserole
#4 Deviled eggs on the chilled platter
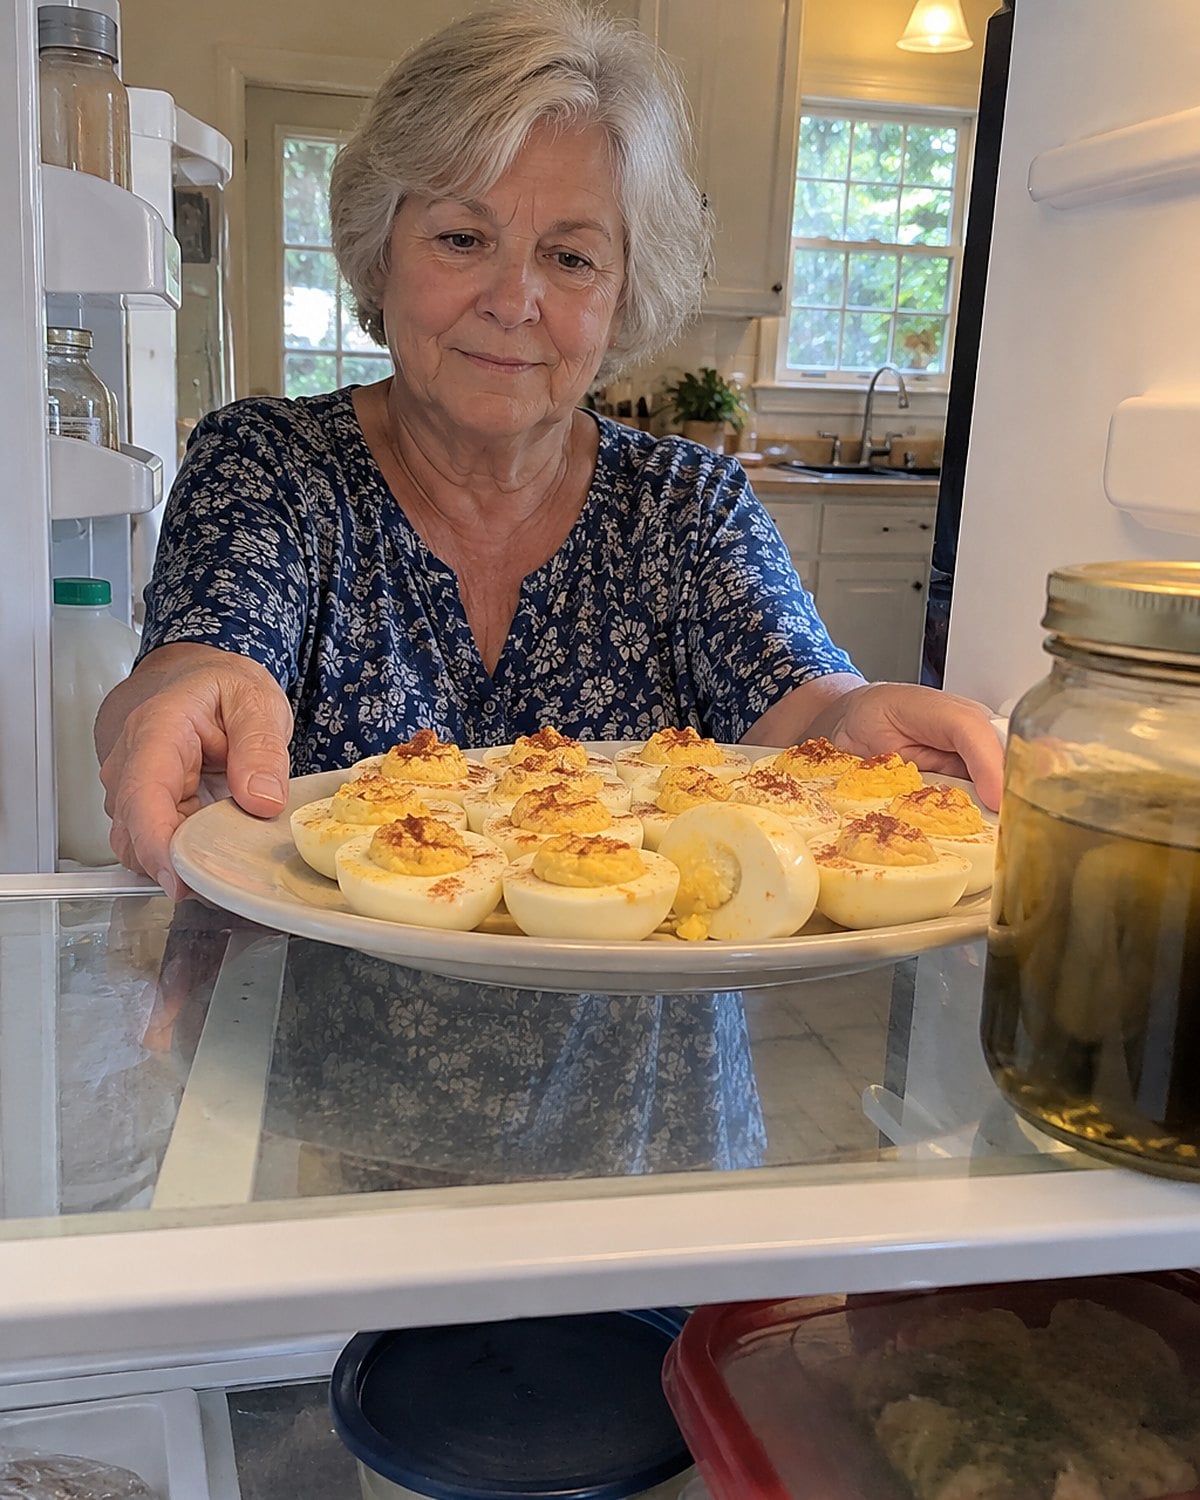
Deviled eggs travel badly when the filling is piled high and the platter slides across the car seat. The easiest fix starts at the cutting board.
Dry the cooked whites with a paper towel before filling them. Moisture under the yolk mixture makes the filling slip. Mash the yolks fine, then stir in mayonnaise and mustard until a spoon dragged through the mixture leaves a soft ridge. If it runs, hold back on the next spoonful of mayonnaise.
Keep the eggs refrigerated until serving, and set the platter back in the fridge when people finish picking from it. The FDA's egg guidance is the place to check handling advice before a long trip or outdoor gathering. Paprika belongs on top at the end, so it stays bright.
#3 Apple crisp beneath the oat topping
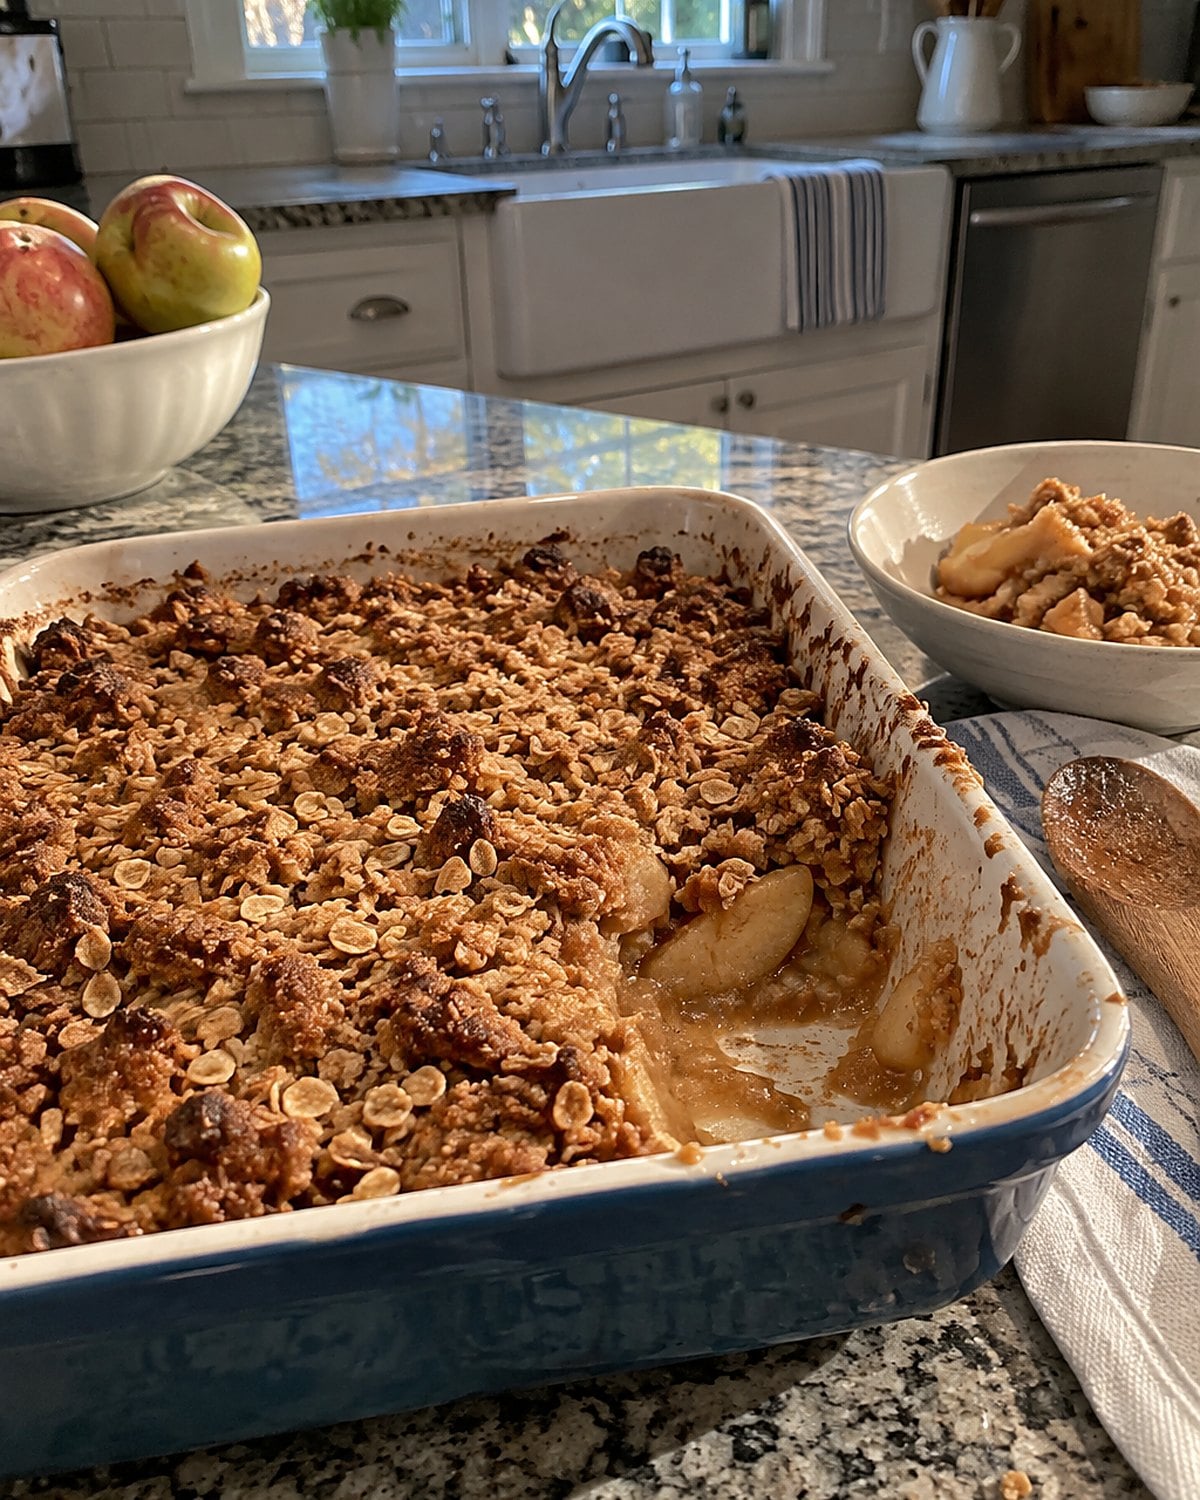
The last spoonful of apple crisp tells on the first step. If the oats are damp all the way through, the apples sent up more juice than the topping could handle.
Slice the apples to roughly the same thickness so they soften together. Taste one before adding sugar; a tart apple needs different help from a sweet one. Toss the slices with seasoning and a little thickener, then spread them evenly in the dish.
Use your fingers to work butter into the oat mixture until it forms uneven clumps. Those larger bits brown at the top while smaller crumbs settle against the fruit. Press everything down into a smooth layer and you lose that contrast.
Watch the center of the dish. Bubbling fruit there means the apples beneath the topping have cooked. Give the crisp a rest on the counter before serving, and the juices thicken enough to stay with each spoonful. Ice cream is welcome, but a spoon pulled through the dish should find apples first.
#2 Biscuit dough on the floured counter
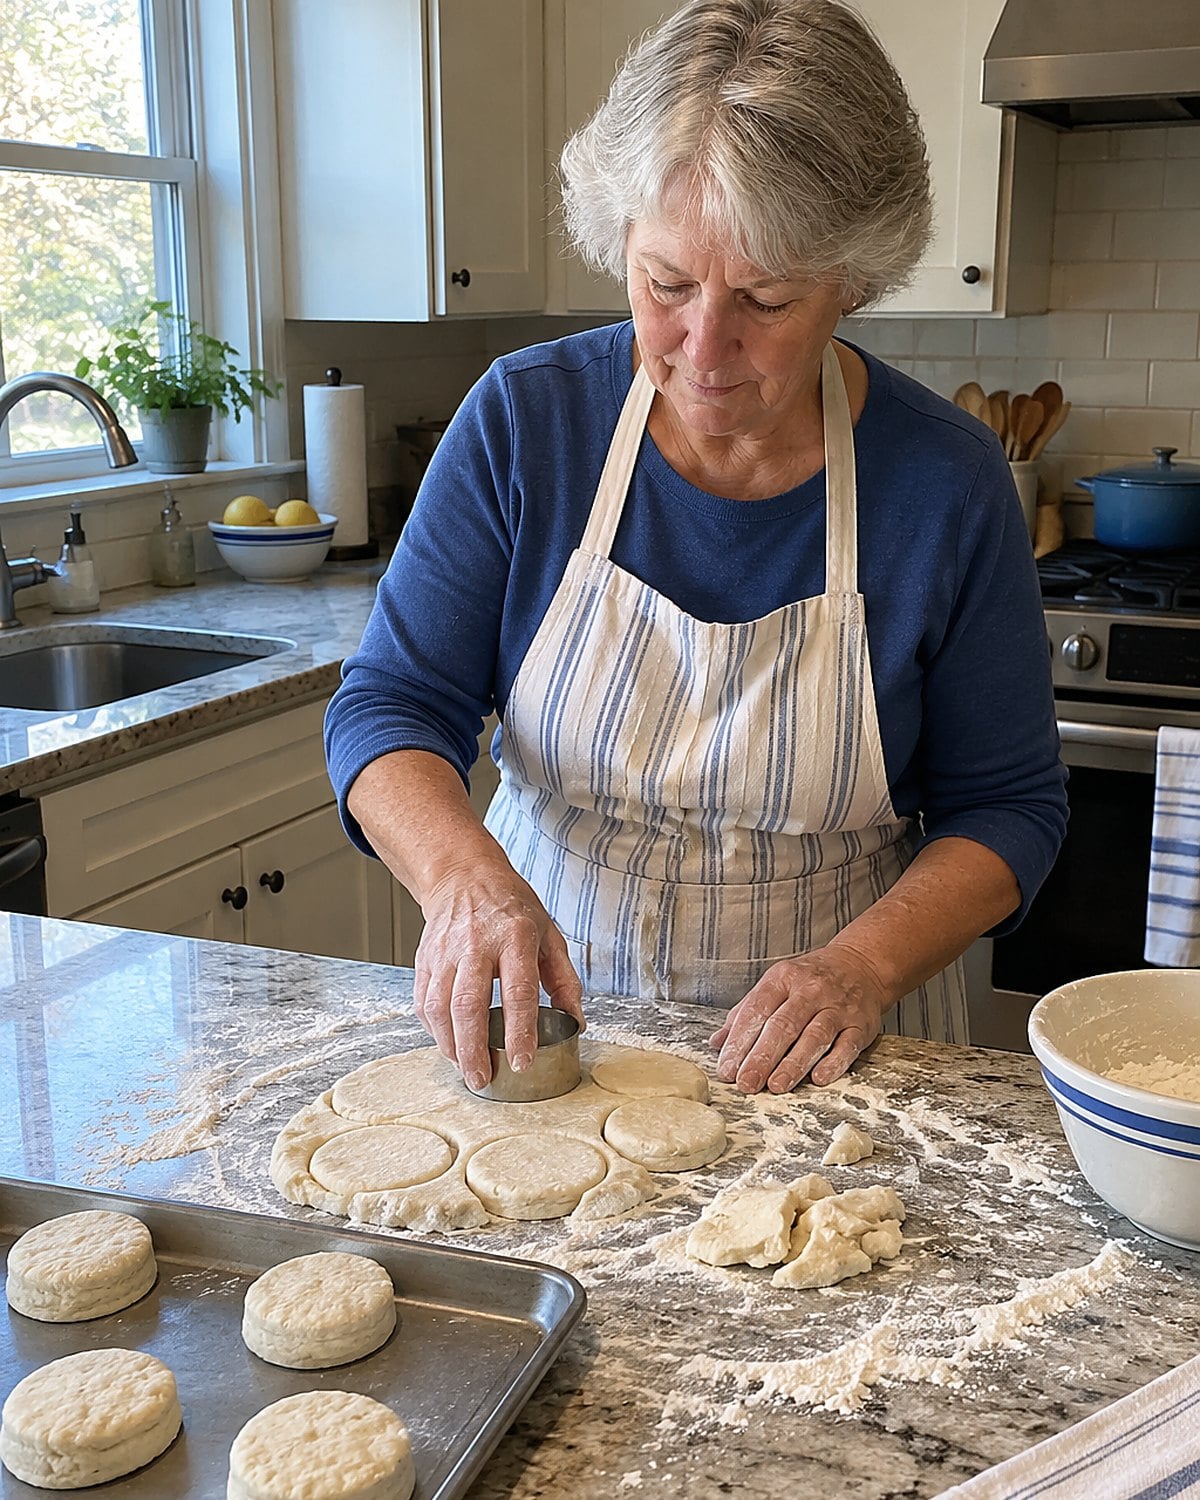
Biscuits remember how much you handled them. At the sink, you wash flour from your hands and see the dough scraps waiting for another round with the rolling pin. Those last biscuits turn out tougher.
Work cold fat into the flour until you see small pieces, then add liquid and mix only until the dough comes together. Pat it out instead of pressing it thin. Cut straight down with a sharp cutter; twisting seals the edges and gets in the way of a clean rise.
Set the biscuits close together for soft sides or farther apart for browned sides. That's a choice worth making before the tray goes in. Break one open while it's warm: the middle should pull into tender layers rather than crumble into dry sand.
#1 The instant-read thermometer in the drawer
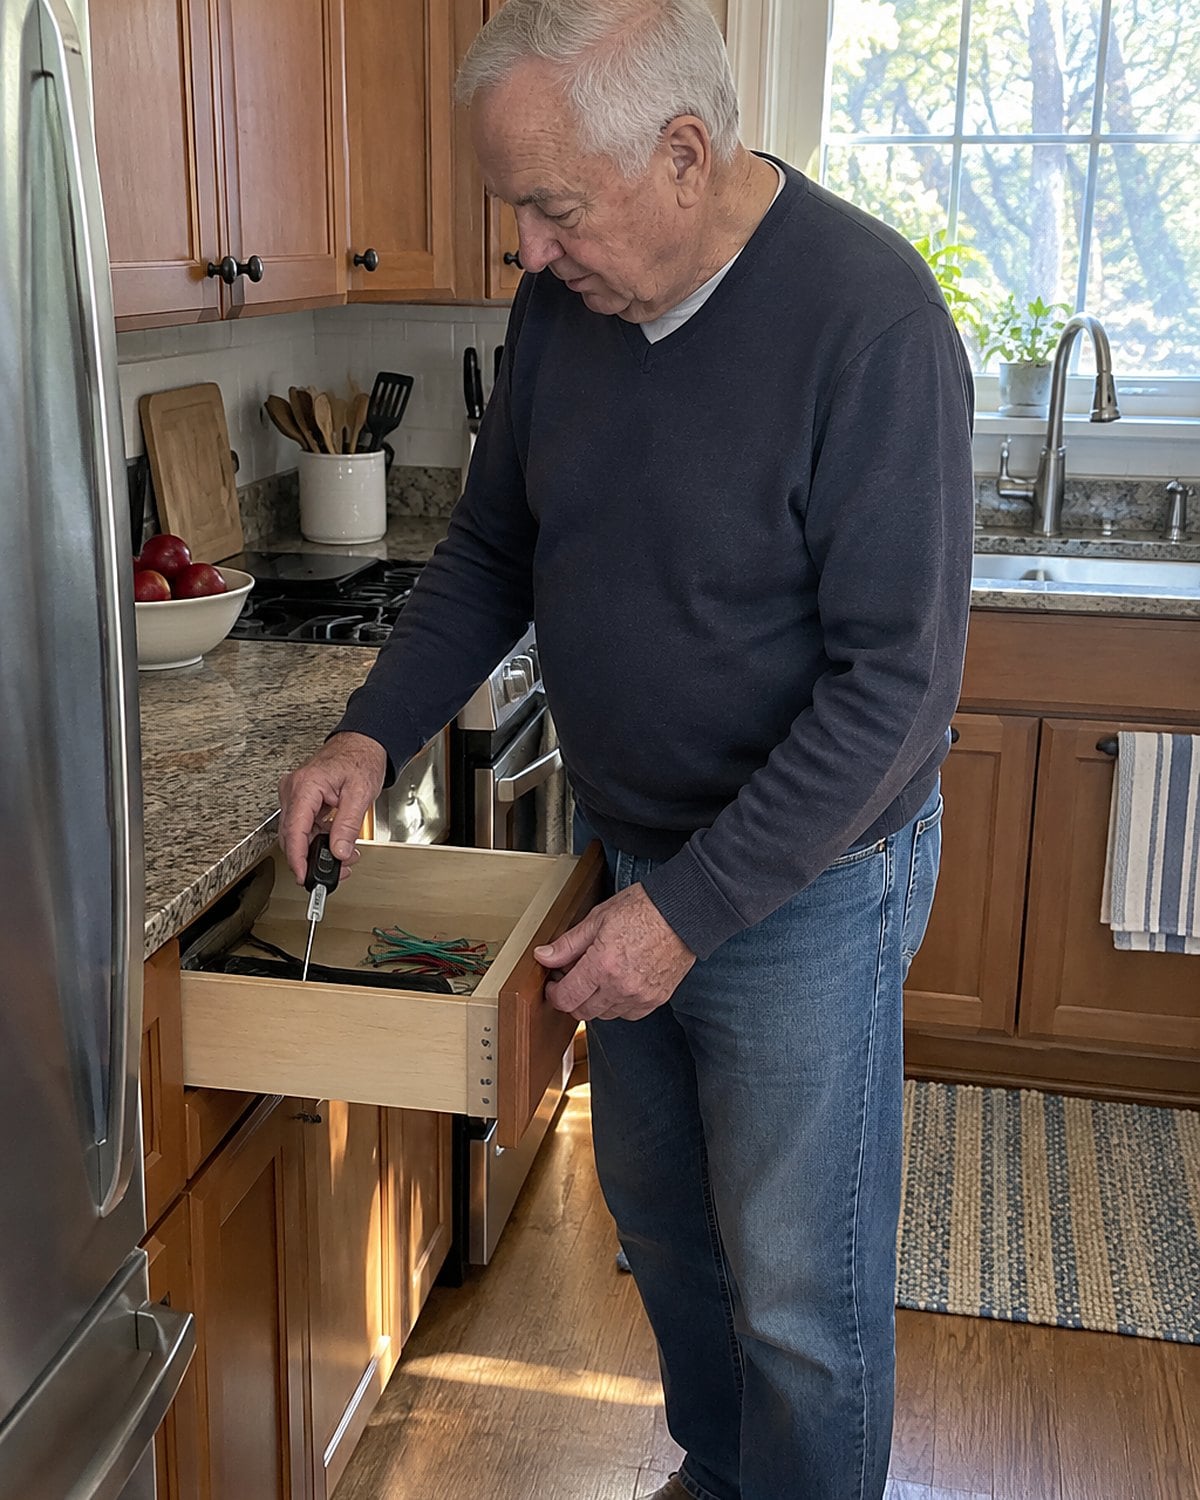
The drawer with the twist ties has room for a small tool that settles more supper arguments than a cookbook does. An instant-read thermometer doesn't tell you how to season dinner. It tells you when guessing is no longer necessary.
Keep it where your hand reaches without hunting. Before cooking, find its probe and check that the display works. When the pan is crowded or the roast is oddly shaped, test the thickest part. Avoid bone and the pan beneath the food. Check another spot if the first reading surprises you.
Clean the probe between checks of raw and cooked food. The USDA's safe temperature chart belongs near the recipes you use, not in a search you start while dinner cools.
Poultry needs 165°F. Ground meat needs 160°F. Whole cuts of beef and pork need 145°F, followed by a three-minute rest.
Those numbers don't replace the other good rules: smell the gravy, watch the pie bubble, feel the dumpling's center. They take one dangerous guess off your plate. Tonight, move the thermometer into the drawer that opens first.
The bottom line
The rules that lasted left something to check: a crisp edge, a tender bean, a thick bubble in the center of the pan. The loudest rule wasn't always the best one.
You've already kept the pan that browns cornbread, the small saucepan for a supper of two, and the clean platter ready for the meat. Now the thermometer has a place beside them.
Which rule in your kitchen has earned its place, and which one are you ready to test?
Leave a Reply