

The spoon scrapes the bottom of the skillet, and the onions finally turn sweet. Half a pound of ground beef waits on the cutting board. You've made dinner from less.
The old church cookbook calls for oats in meatloaf, bread under gravy, and enough potatoes to fill the pan. None of it was meant to fool anyone.
It put supper on the table with enough left for lunch. The habits still teach something: let meat season the pot, then give the rest of the meal its share of the work.
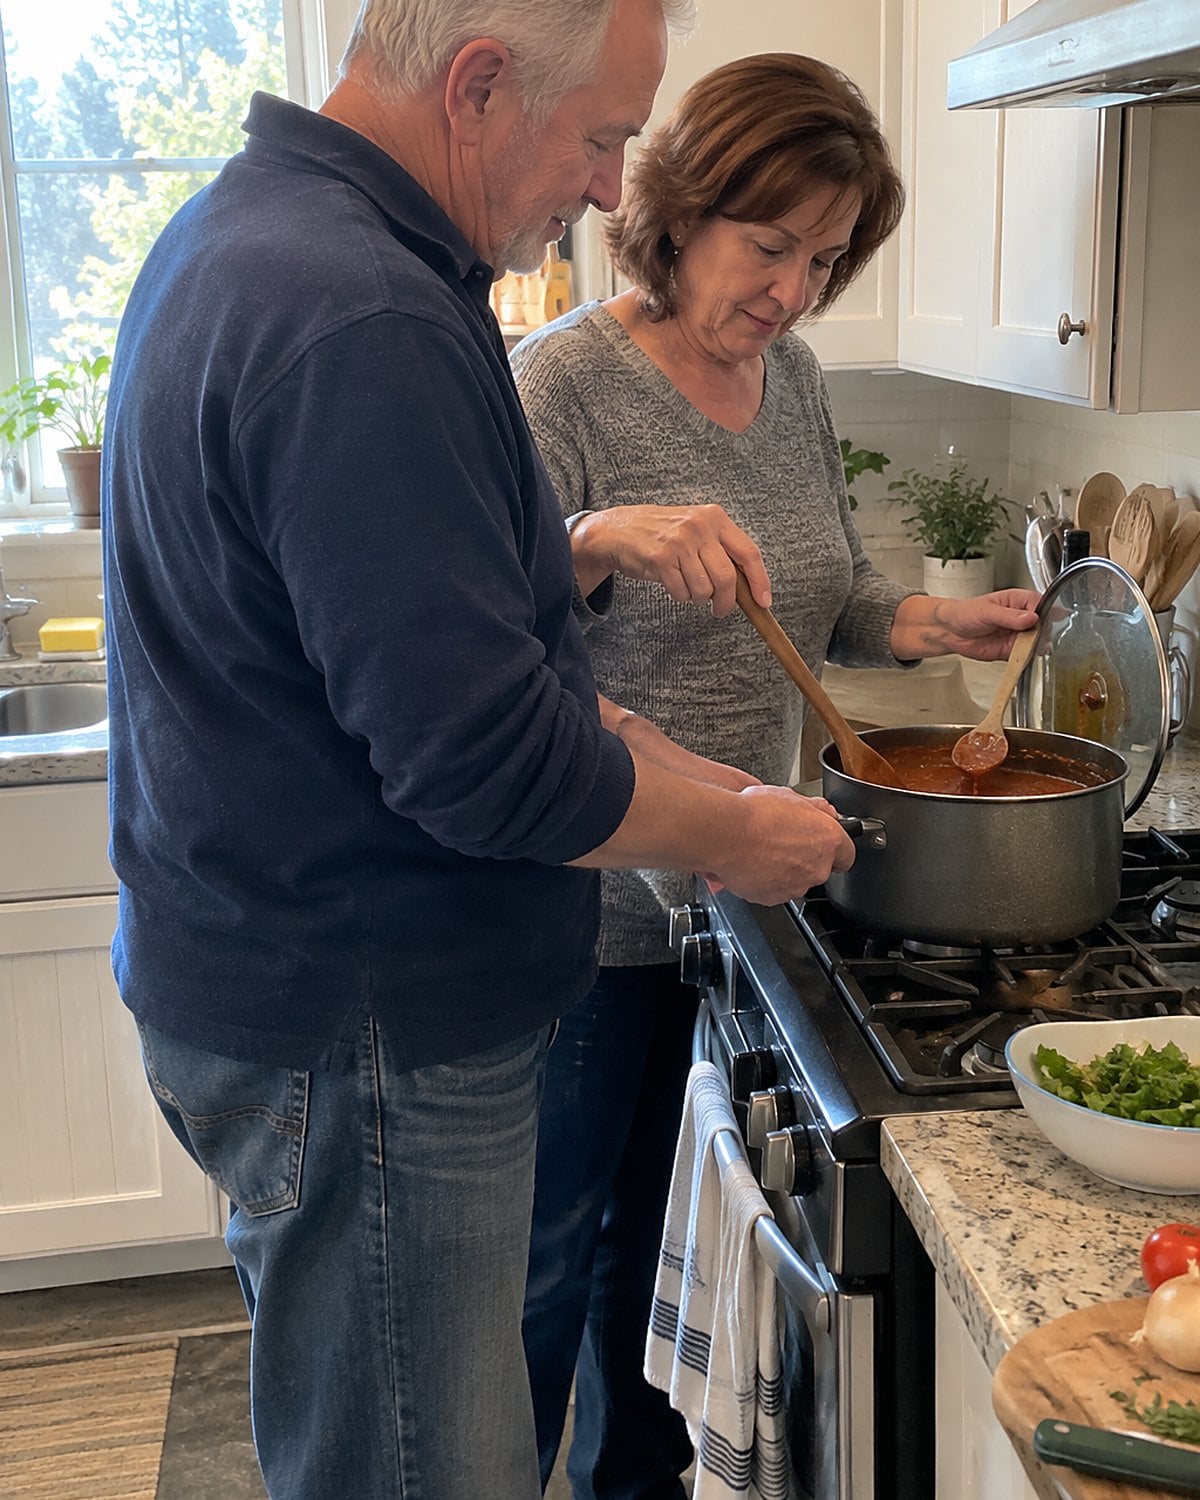
#23 The Oatmeal in Tuesday Meatloaf
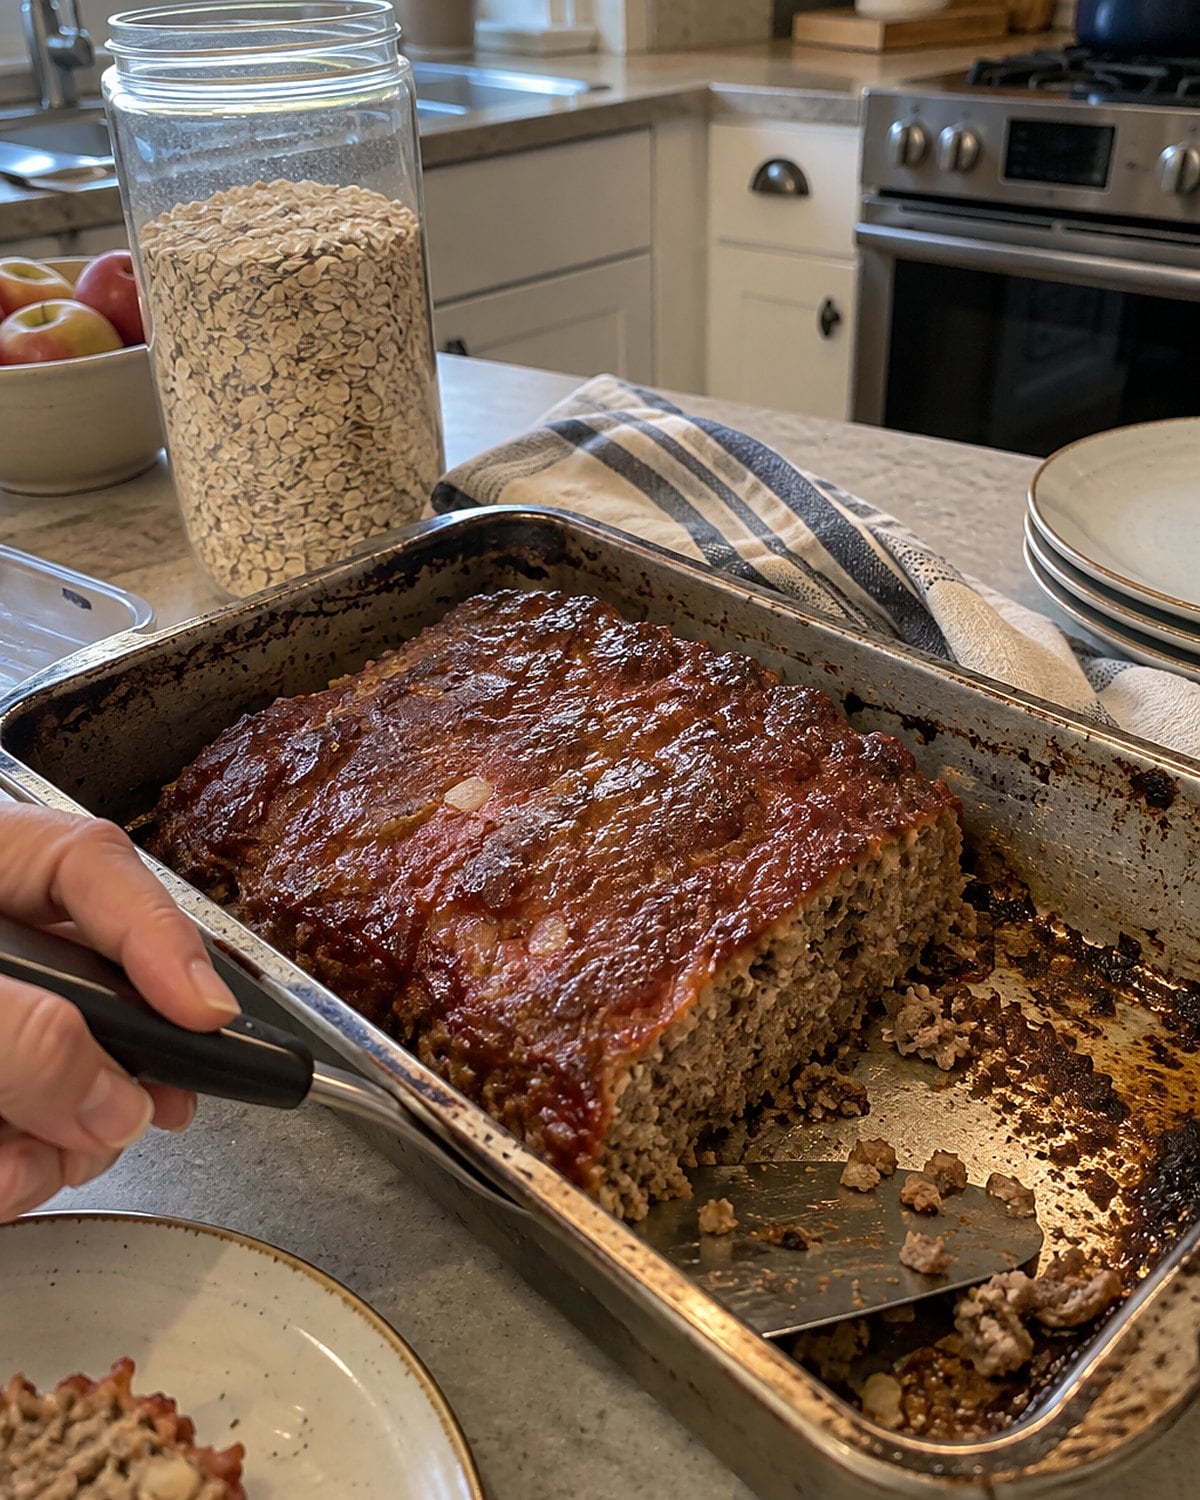
There was nothing secret about oats in meatloaf. The canister sat beside the flour, and a handful went into the bowl while the oven warmed. Oats absorbed the egg, onion juice, and meat juices. That gave the loaf a tender slice instead of a crumbly one.
Use old-fashioned rolled oats, not sweetened instant oatmeal. Start with about ½ cup for 1 pound of ground meat. Mix the oats with the egg and seasonings first, then fold in the meat.
You'll feel when the mixture holds together without turning stiff. Pack it into the pan with a light hand; pressing hard makes a dense loaf.
The oat taste fades behind onion, pepper, and a spoonful of tomato paste. What remains is dinner that slices neatly for sandwiches tomorrow. Put a thermometer into the center before you serve it. A loaf made with ground beef needs 160°F; ground poultry needs 165°F, as the USDA Food Safety and Inspection Service advises.
That pencil line beside the old cookbook recipe had a purpose: remember what worked. If your loaf slices cleanly tomorrow, write down how much oat you used.
Try it: Best Instant Pot Meatloaf Recipes (Classic & Creative Twists)
#22 Breadcrumbs from the Heel of Bread
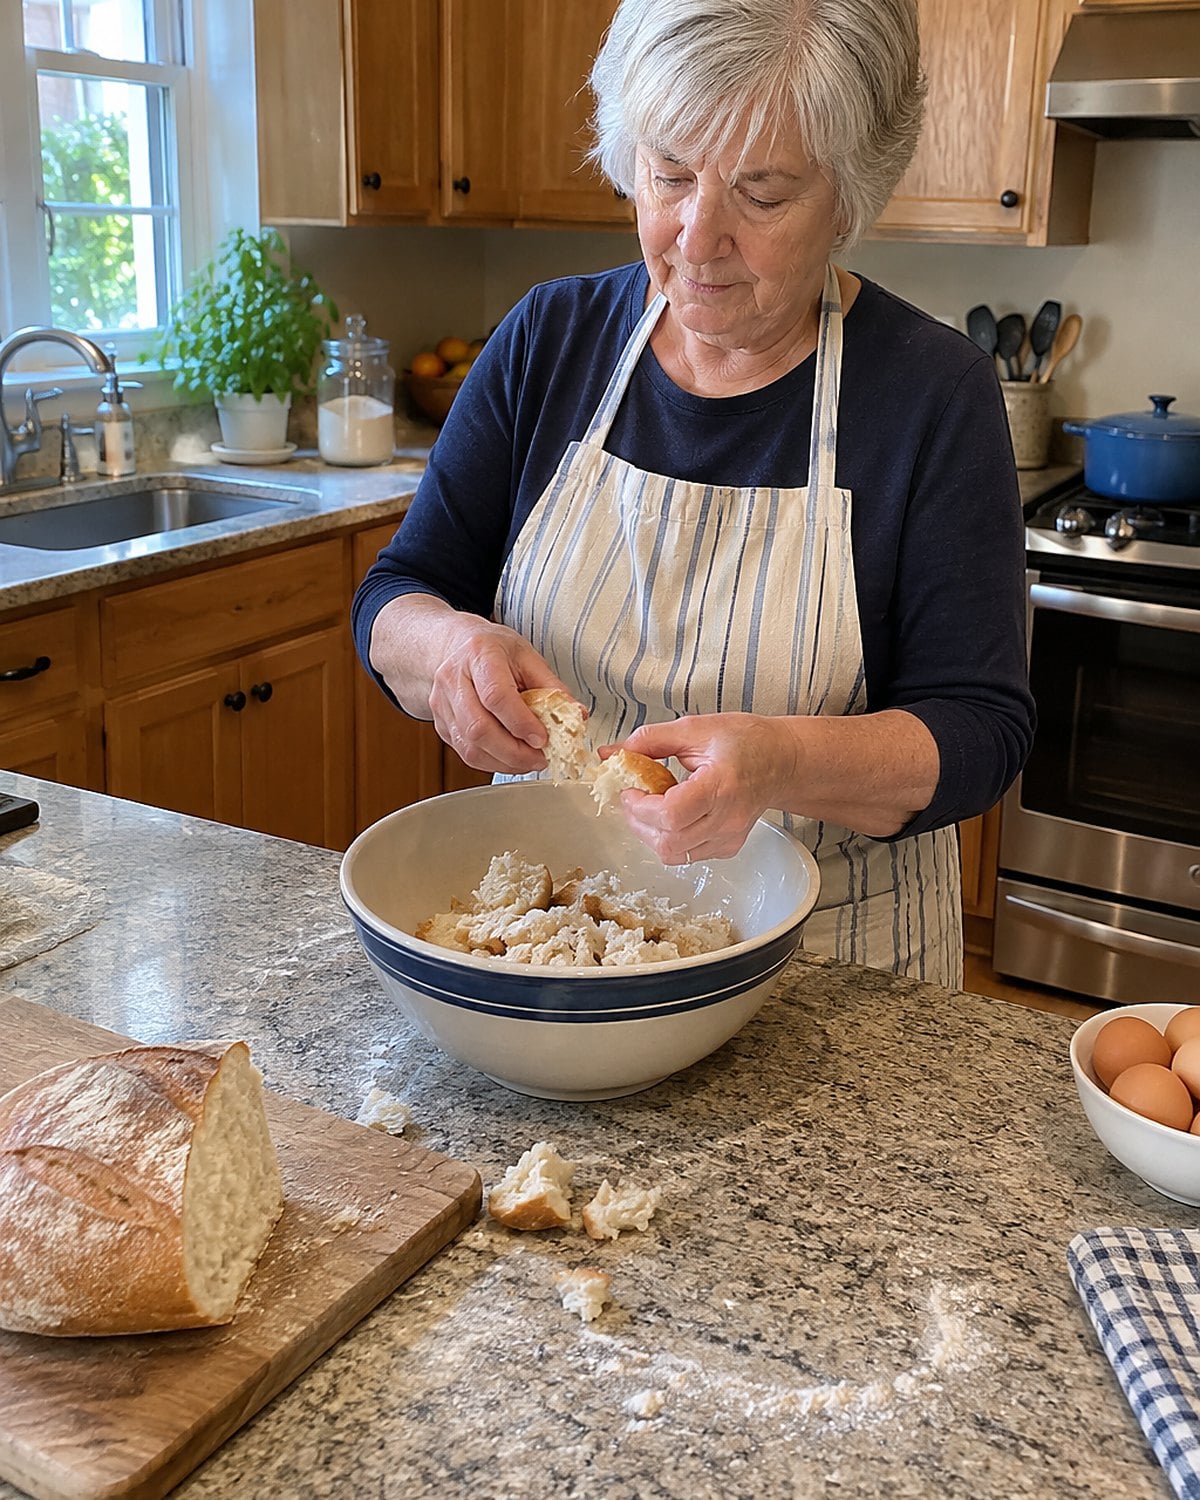
The heels nobody wanted for sandwiches had another job. Dry bread, torn small and soaked with milk, disappears into meatballs. It holds moisture while the meat cooks, so each bite stays tender.
For 1 pound of ground meat, tear up about 2 slices of bread and wet them just enough to soften. Squeeze out any free liquid before mixing. That damp bread has a name, panade, though nobody needs to say it at supper.
Here's the check: pinch a bit of the mixed meat between your fingers. It should hold its shape without sticking in heavy clumps. If it feels soupy, add dry crumbs a spoonful at a time. If it feels hard, stop mixing.
You get another supper out of meatballs when a few land in tomato sauce, but first give them space in the skillet. Crowding the pan steams their outsides. Browning makes the sauce taste as though it spent longer on the stove than it did.
Keep the next bread heel instead of tossing it. By dinner, it has a job.
#21 The Onion That Starts the Gravy
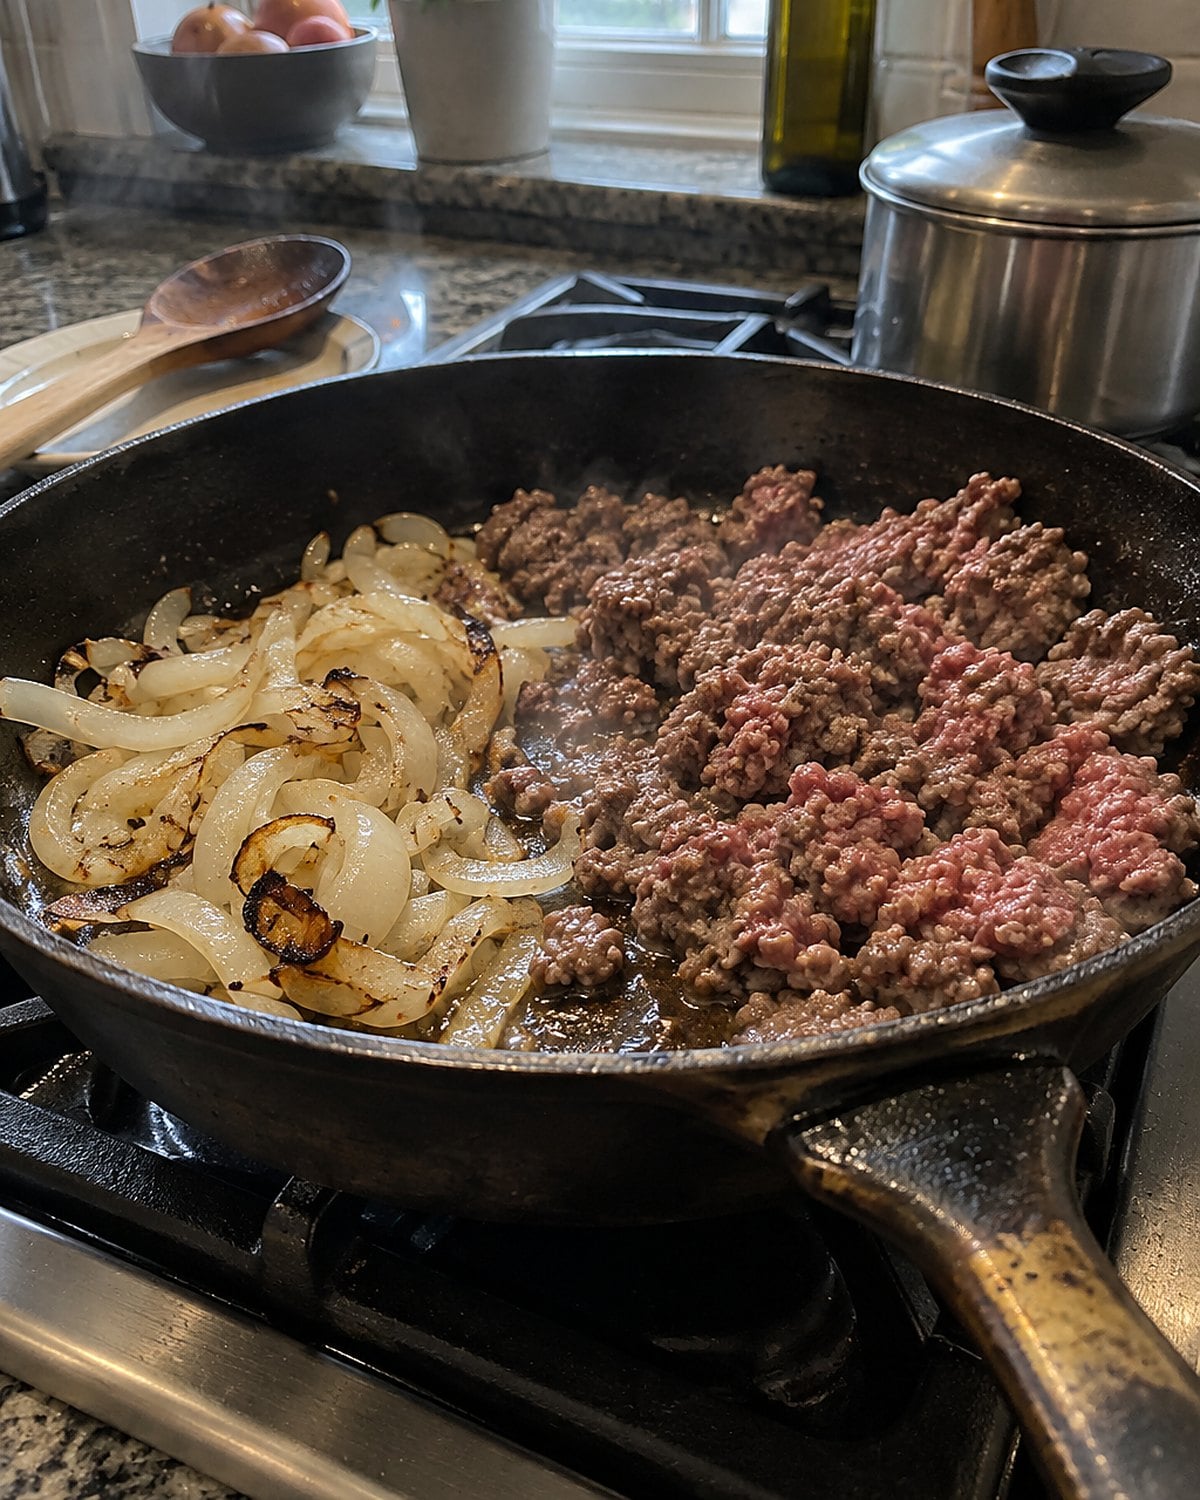
A large onion seems humble until it spends ten minutes in a skillet. It loses its sharp edge, browns at the edges, and leaves sweet bits on the pan. Those bits give a small amount of meat a head start.
Cook the onion before the meat. If both go into a crowded skillet together, the onion sheds water while the meat turns gray. Slide the onion aside, brown the meat in the cleared space, and stir everything back together. A spoonful of flour, stirred into the fat before liquid goes in, turns those browned bits into gravy.
Serve it over toast, rice, or potatoes. There is a reason old suppers put gravy on a starch: every bite gets meat flavor, even when the meat is scattered rather than piled. Taste after the gravy thickens, then decide on salt. Broth and drippings bring their own.
Try this tonight with the onion you were about to chop for a quick meat sauce. Give it its own time in the pan. You aren't buying another ingredient or learning a new dish. You're letting the first one earn its place.
#20 The Dried Mushrooms in Beef Broth
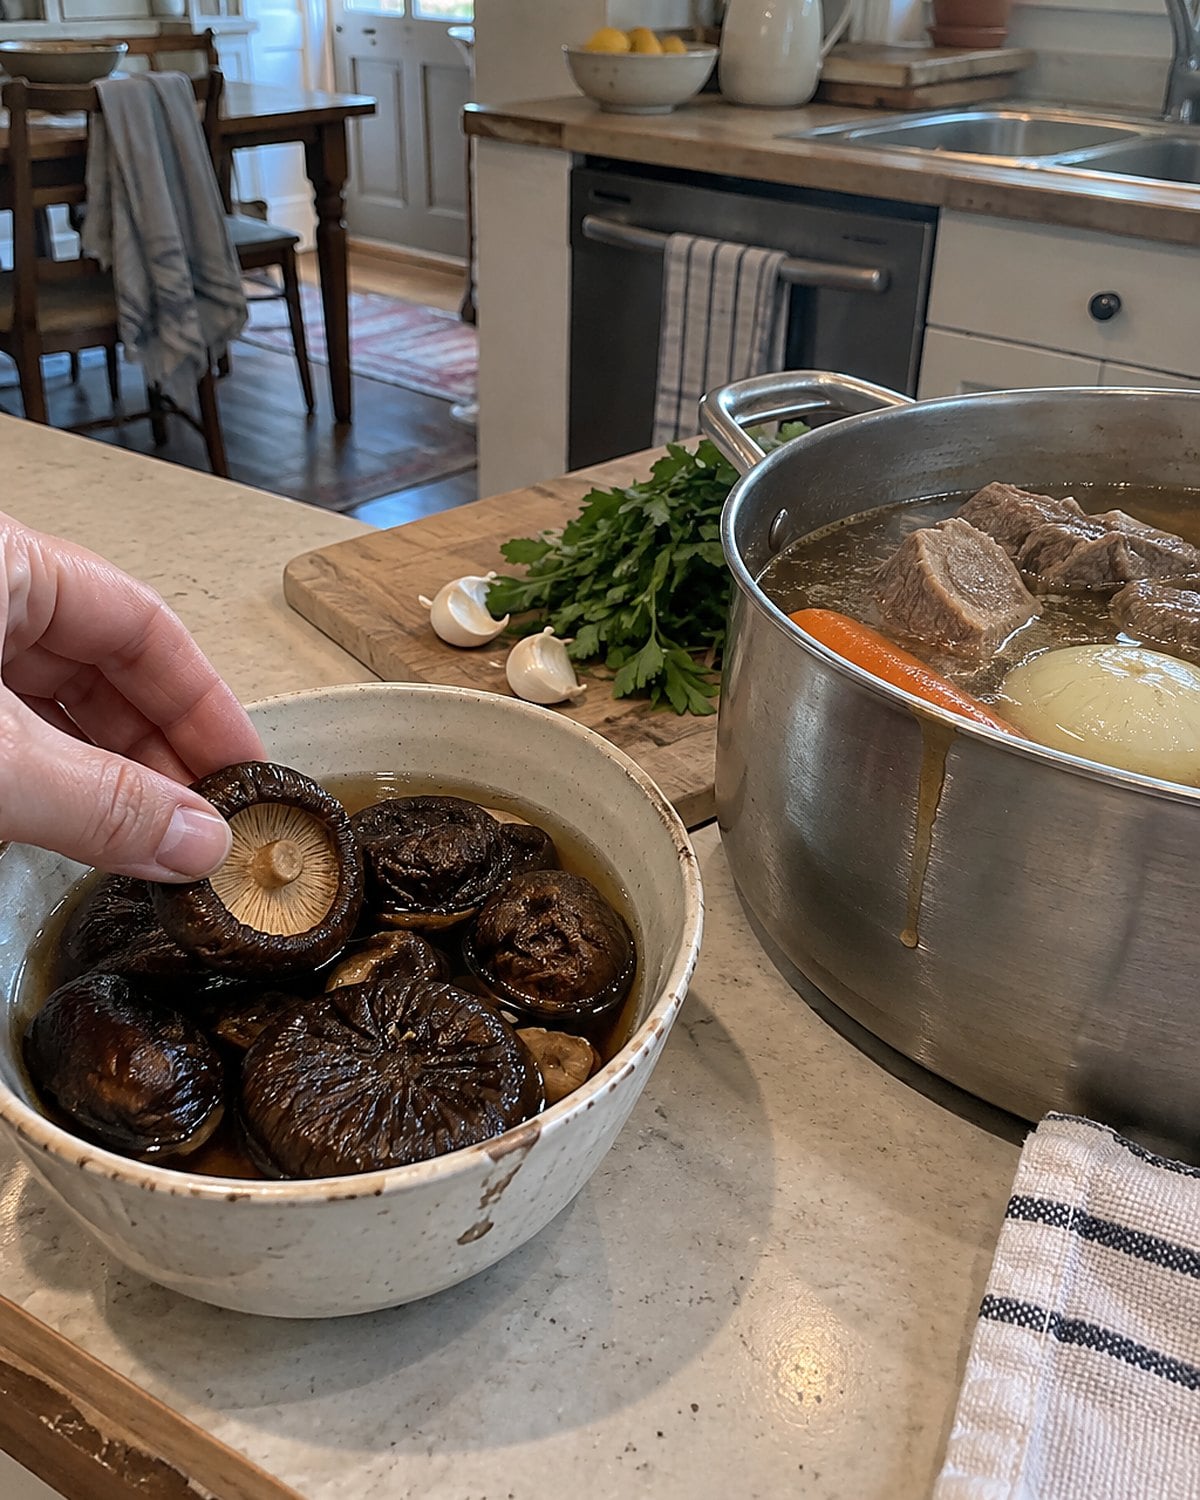
A few dried mushrooms at the back of the pantry look like a poor start to supper. Drop them into warm water, though, and that water turns dark and savory. It gives a modest amount of beef a deeper broth to work in.
Soak the mushrooms until they bend without cracking. Lift them out, chop them, and pour the soaking liquid through a fine strainer. Grit settles at the bottom of the bowl, so leave the last cloudy spoonful behind. Add the strained liquid to your pot.
The trick is to taste before salting. Dried mushrooms bring depth, not salt; boxed broth brings both. Stir the chopped mushrooms into a beef stew or a pan of leftover roast and noodles.
You don't need enough mushrooms to fill a bowl. You need enough broth to make each spoonful taste like supper. That little packet in the pantry earns its shelf space when the meat looks scarce.
#19 Dry Beans Beside a Ham Hock
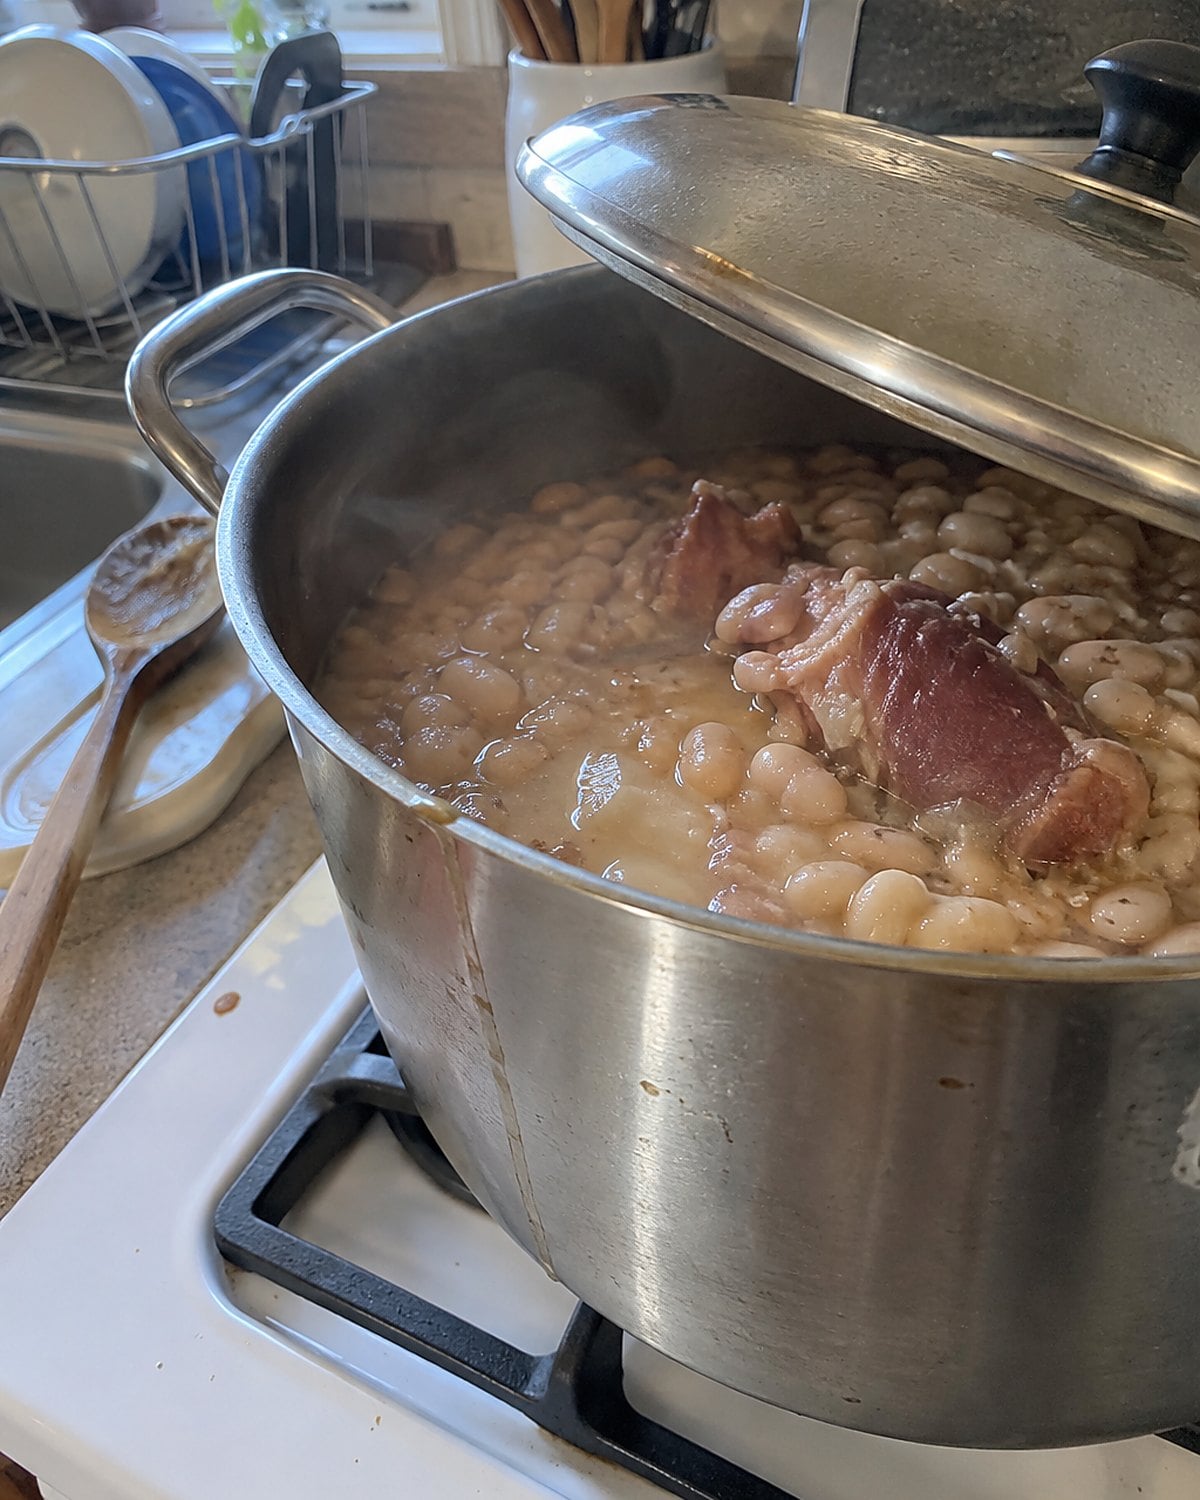
The lid rattles, the beans swell, and a ham hock gives the whole pot its smoky backbone. The meat on the bone is modest. Its flavor reaches every spoonful, which is why this supper lasted through so many long weeks.
Sort dried beans on a tray and rinse them. Stones are rare, but a quick look beats finding one with your teeth. Cook the beans until their centers are tender before adding acidic ingredients such as tomatoes. Acid slows softening, leaving a pot with tasty broth and stubborn beans.
Salt needs attention here. A cured hock releases salt into the liquid as it cooks. Wait to season until the beans are tender and you've tasted the broth. Pull the hock out, strip off the meat, and stir the shreds back in.
A little vinegar at the end sharpens the beans without making the pot taste sour. Taste a bean and a spoonful of broth together; either one alone gives you only half the answer.
Dried kidney beans need a separate step before they join any slow-cooker meal. Follow the FDA's Bad Bug Book guidance for boiling them first. For a weeknight pot, canned beans skip that question: rinse them, then let the hock season the liquid.
Try it: Instant Pot Ham And Beans
#18 Chopped Bologna in Macaroni Salad
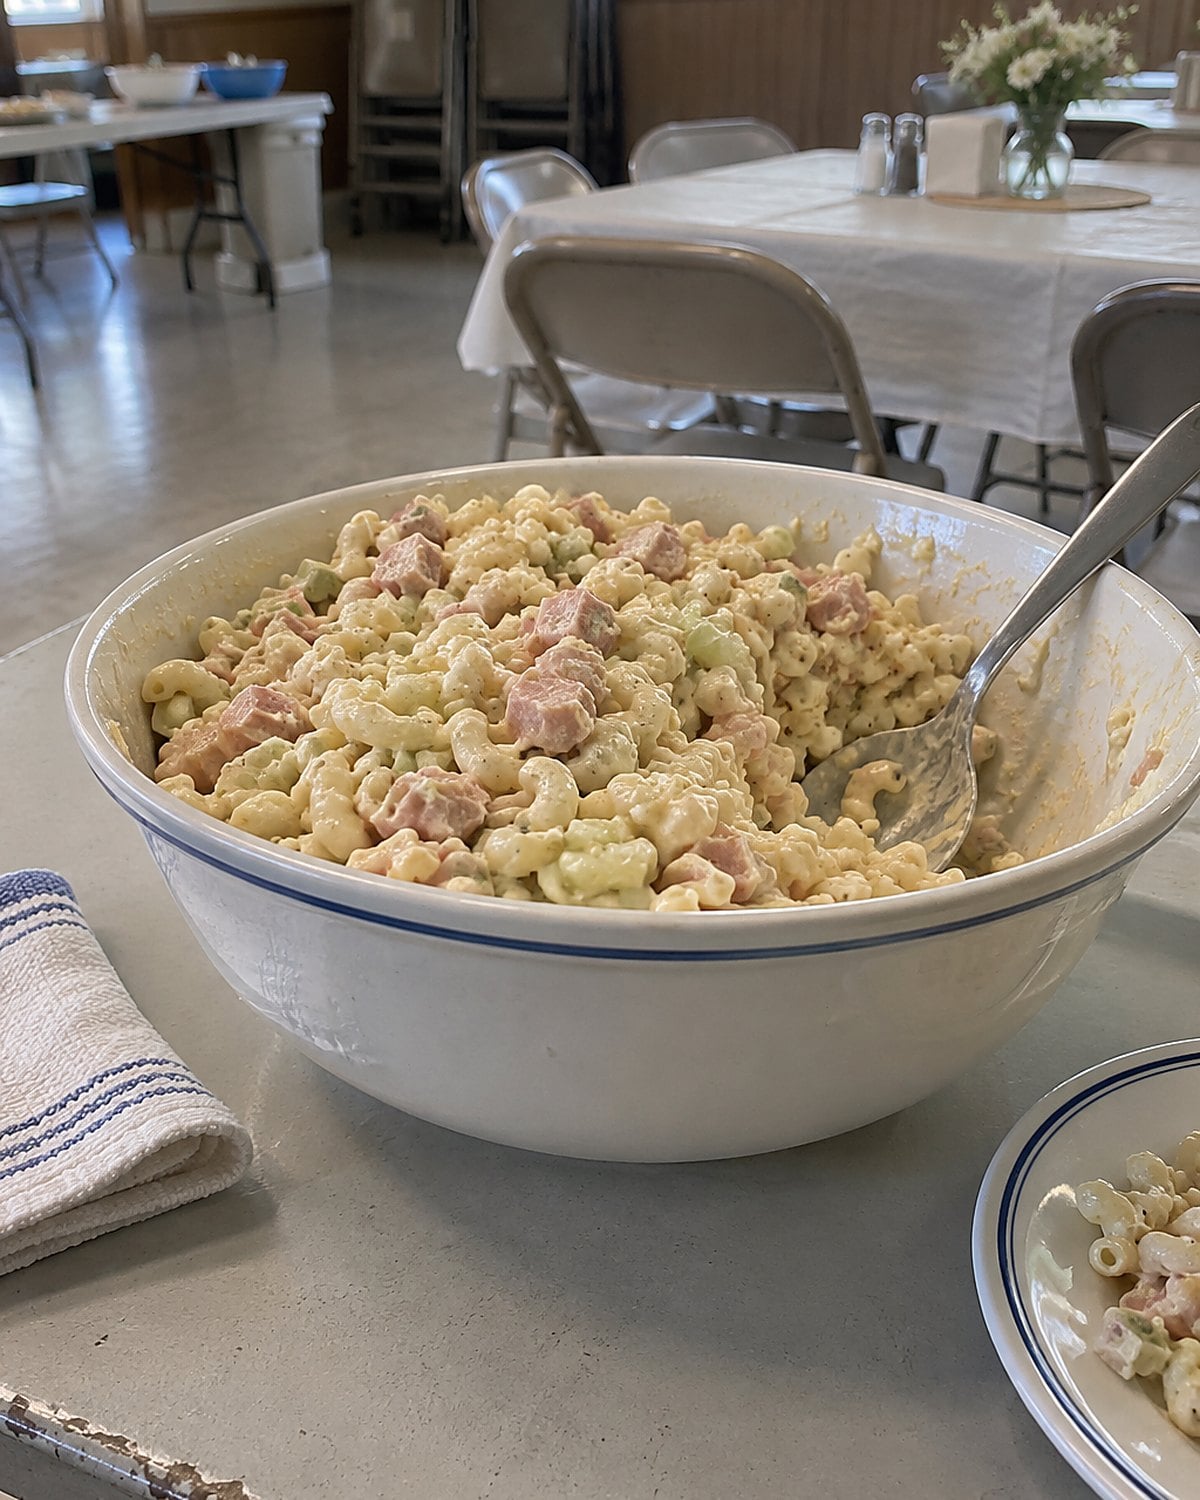
You remember the bowl: elbow macaroni, celery that snapped, and little pink squares of bologna. It was lunch after yard work, not a dish trying to impress anyone. Chopping the meat small meant each forkful found some.
The celery is doing more than adding crunch. It keeps the salad from feeling heavy. So do chopped pickles or a spoonful of pickle juice, added after the dressing is mixed. Taste the dressing before it meets the pasta. Cold macaroni dulls seasoning, and bologna already brings salt.
Cook the elbows until tender, then cool them before adding a mayonnaise dressing. Warm pasta drinks up the dressing and leaves the bowl dry by supper. You'll know the balance is right when the pasta tastes seasoned without the bologna taking over.
Keep the bowl chilled until serving, then put it away promptly. For a picnic or church hall table, follow the USDA's picnic food safety guidance. The old bowl belongs on the table for lunch, not in the afternoon sun.
Try it: Creamy Macaroni Salad With Peas & Ham (Instant Pot, Stovetop)
#17 The Cabbage Under Skillet Sausage
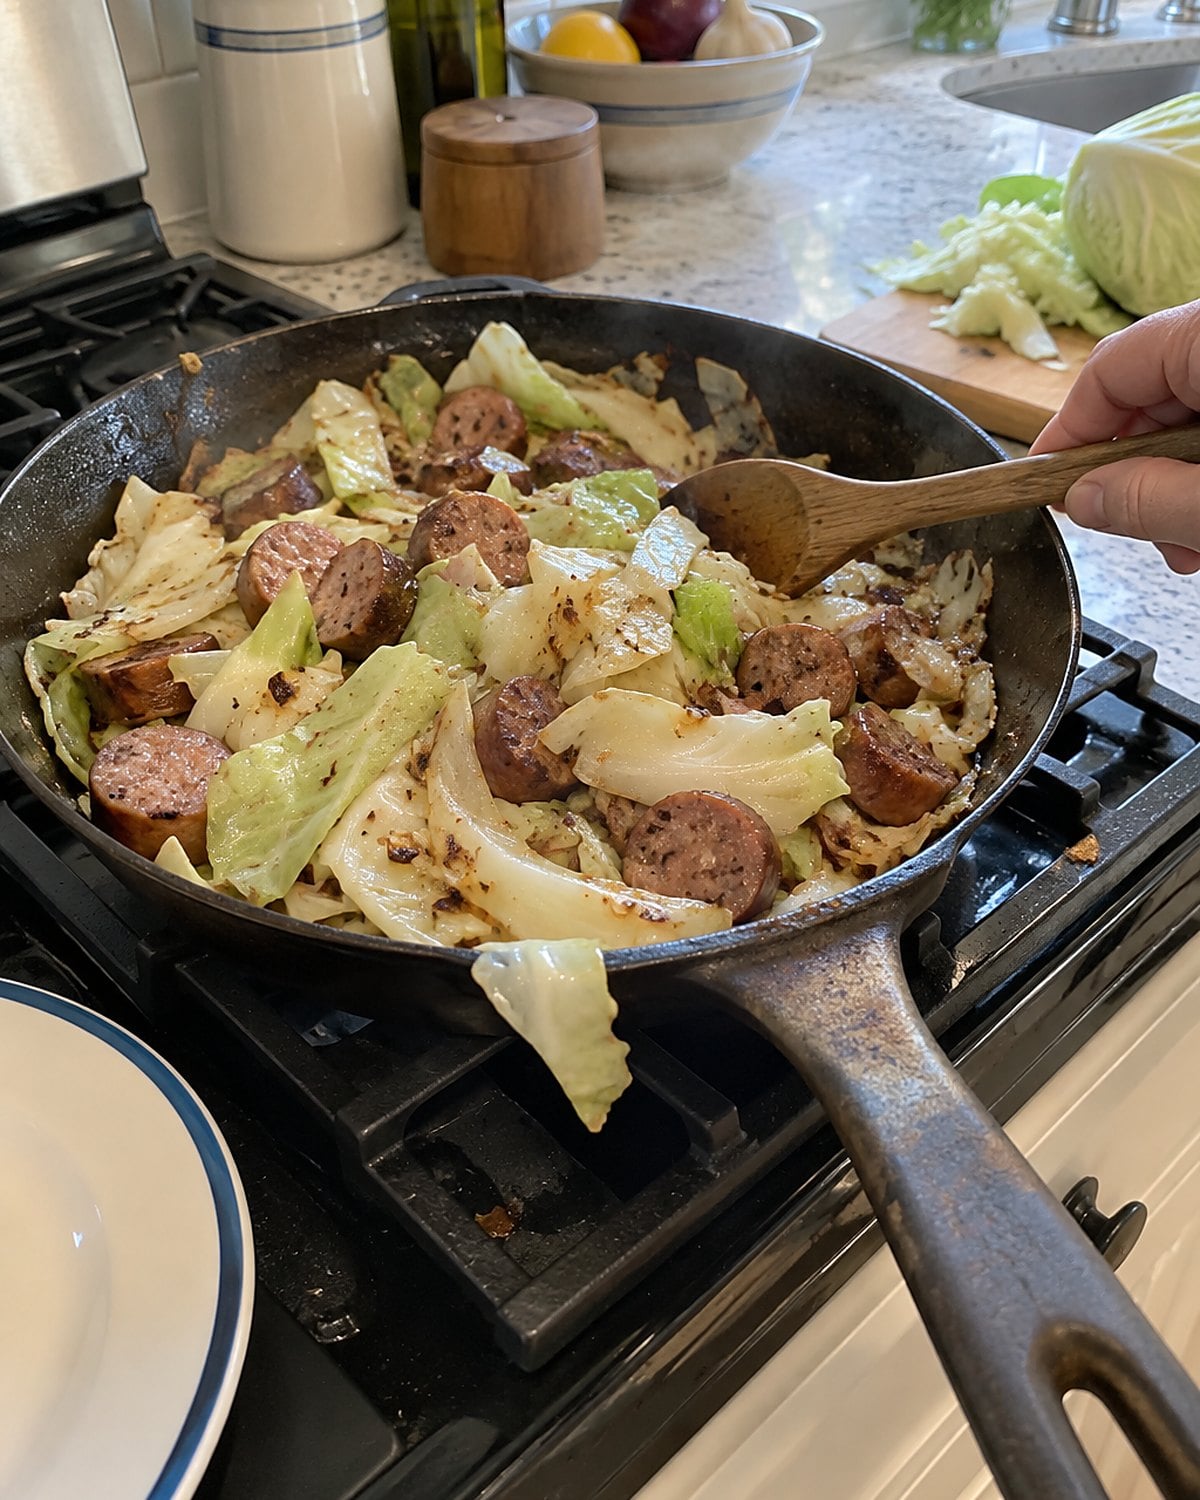
Brown the sliced sausage, then lift it out. That first turn in the skillet leaves seasoned fat and browned bits for the cabbage. A small amount of sausage reaches through a whole pan once the leaves pick up what's left behind.
Add cabbage with a splash of water. Scrape the skillet bottom as the leaves wilt, then let the water cook off. Return the sausage after the cabbage softens. It keeps its browned edges instead of boiling beside the vegetables.
Cut broad strips for some bite. Thin shreds soften fast and settle into the pan, which suits a filling for baked potatoes. Taste before adding salt; the sausage has already seasoned the fat.
Pick a cabbage that feels heavy for its size, with leaves held tight around the head. When the sausage packet looks too small for supper, you'll have the rest of the skillet waiting in the fridge.
#16 The Neck Bones at the Butcher Counter
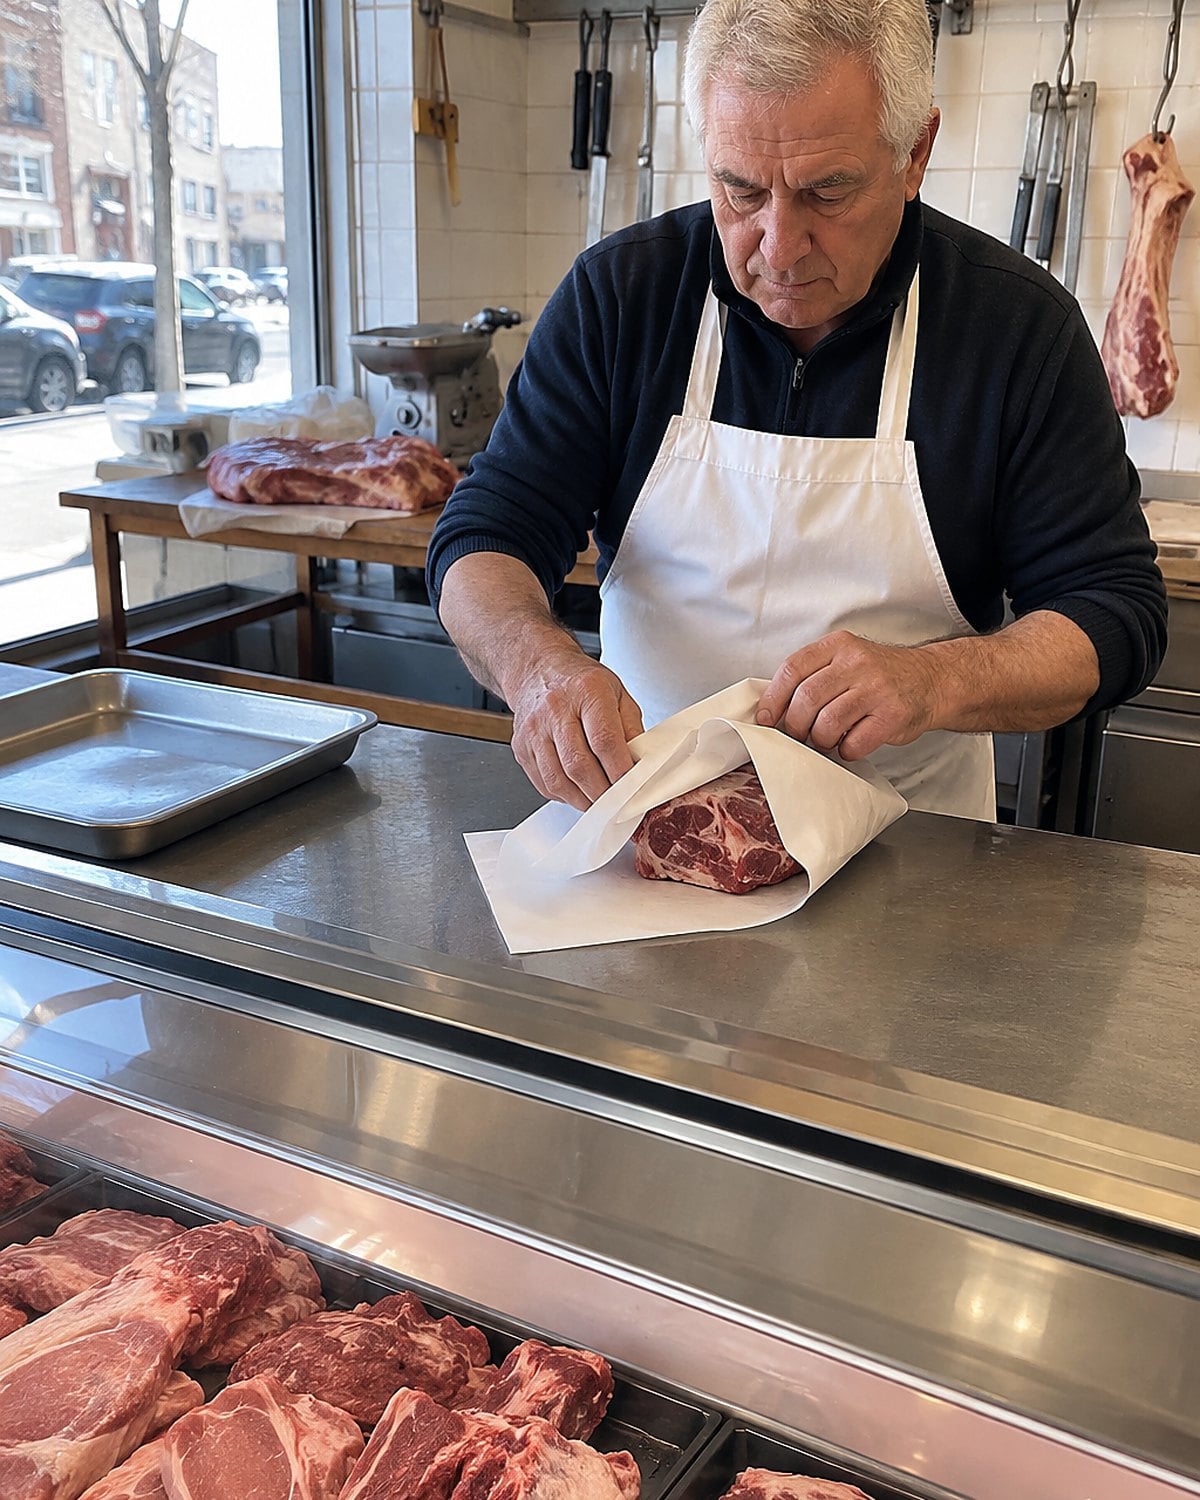
“Do you have pork neck bones with some meat on them?” Ask that while you can still see the counter. You want pieces with visible meat, not bare bones. The bones season the cooking liquid; the meat gives you something to stir back into supper.
Brown the pieces before adding water. A wide pot helps here. Give each piece contact with the bottom, turn it, then add onion and enough liquid for a simmer. The browned surface contributes flavor that plain water cannot pull from an unbrowned bone.
Let the pot simmer until the meat loosens. Strain the broth and pull the meat apart once it cools enough to handle. Check every shred for small bones and cartilage. Take your time with that part.
Pour the broth over greens or beans, then add the picked meat. Taste before salting, especially if the greens have cooked with another seasoned ingredient. A spoonful should carry broth, vegetable, and pork together.
No neck bones at the counter? Ask for another meaty cut suited to simmering. Look at what you're buying rather than trusting a name on a sign. Bare bones and meaty bones give you different suppers.
#15 The Church Hall Pan of Tamale Pie
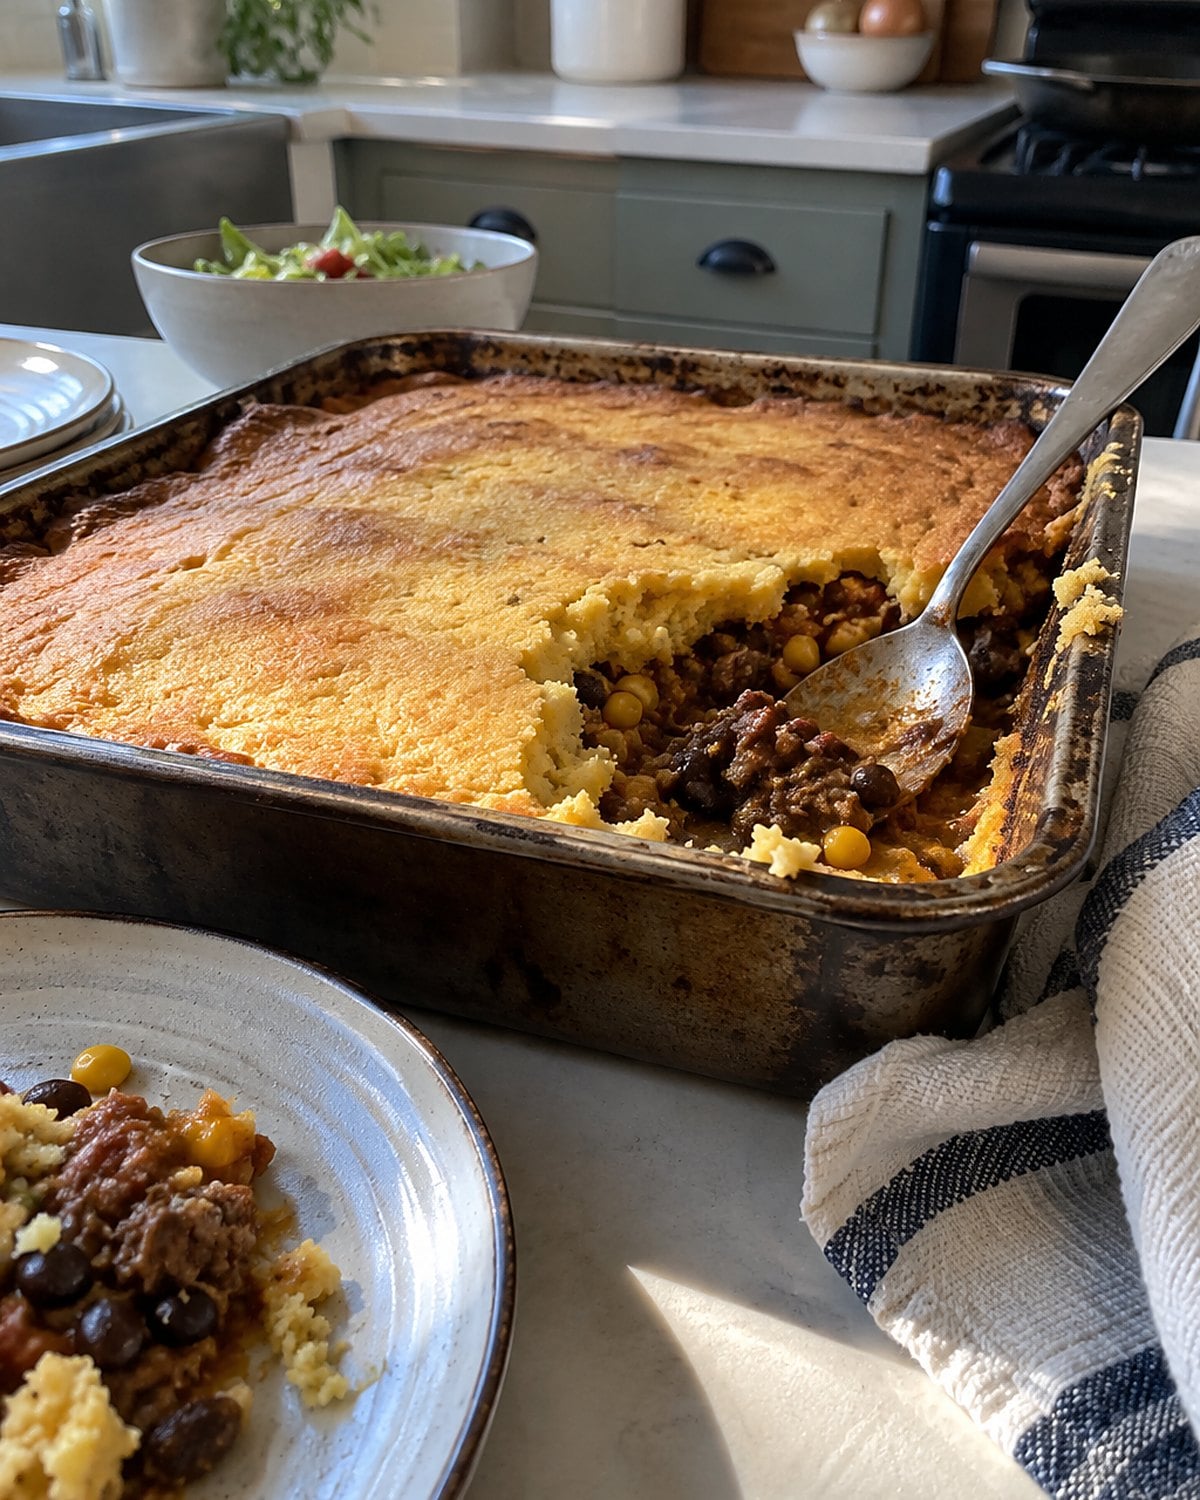
At a church supper, the pan with a spoon resting across its corner got attention before anyone asked what was in it. Tamale pie worked because the seasoned meat was a layer, not the whole pan. Beans and a cornmeal topping carried the rest.
Start the filling in a skillet. Brown the ground meat, drain excess fat if needed, and cook onion and chili powder in what remains. Stir in beans and tomato until the filling holds together. Loose filling bubbles around the topping and turns the edges soggy.
Cook the cornmeal topping until it thickens before spreading it over the filling. That's the step a rushed pan misses. Raw, watery cornmeal takes a long time to set over moist beans. You want a topping that mounds on the spoon, then bakes with firm edges.
A spoonful from the corner tells you plenty: soft cornmeal, thick filling, and enough seasoning to reach through both. If the middle tastes flat, add brightness to the filling next time with tomatoes or a little lime. The old pan was built to feed extra people without making anyone count the meat.
#14 The Grated Carrot in Meatballs
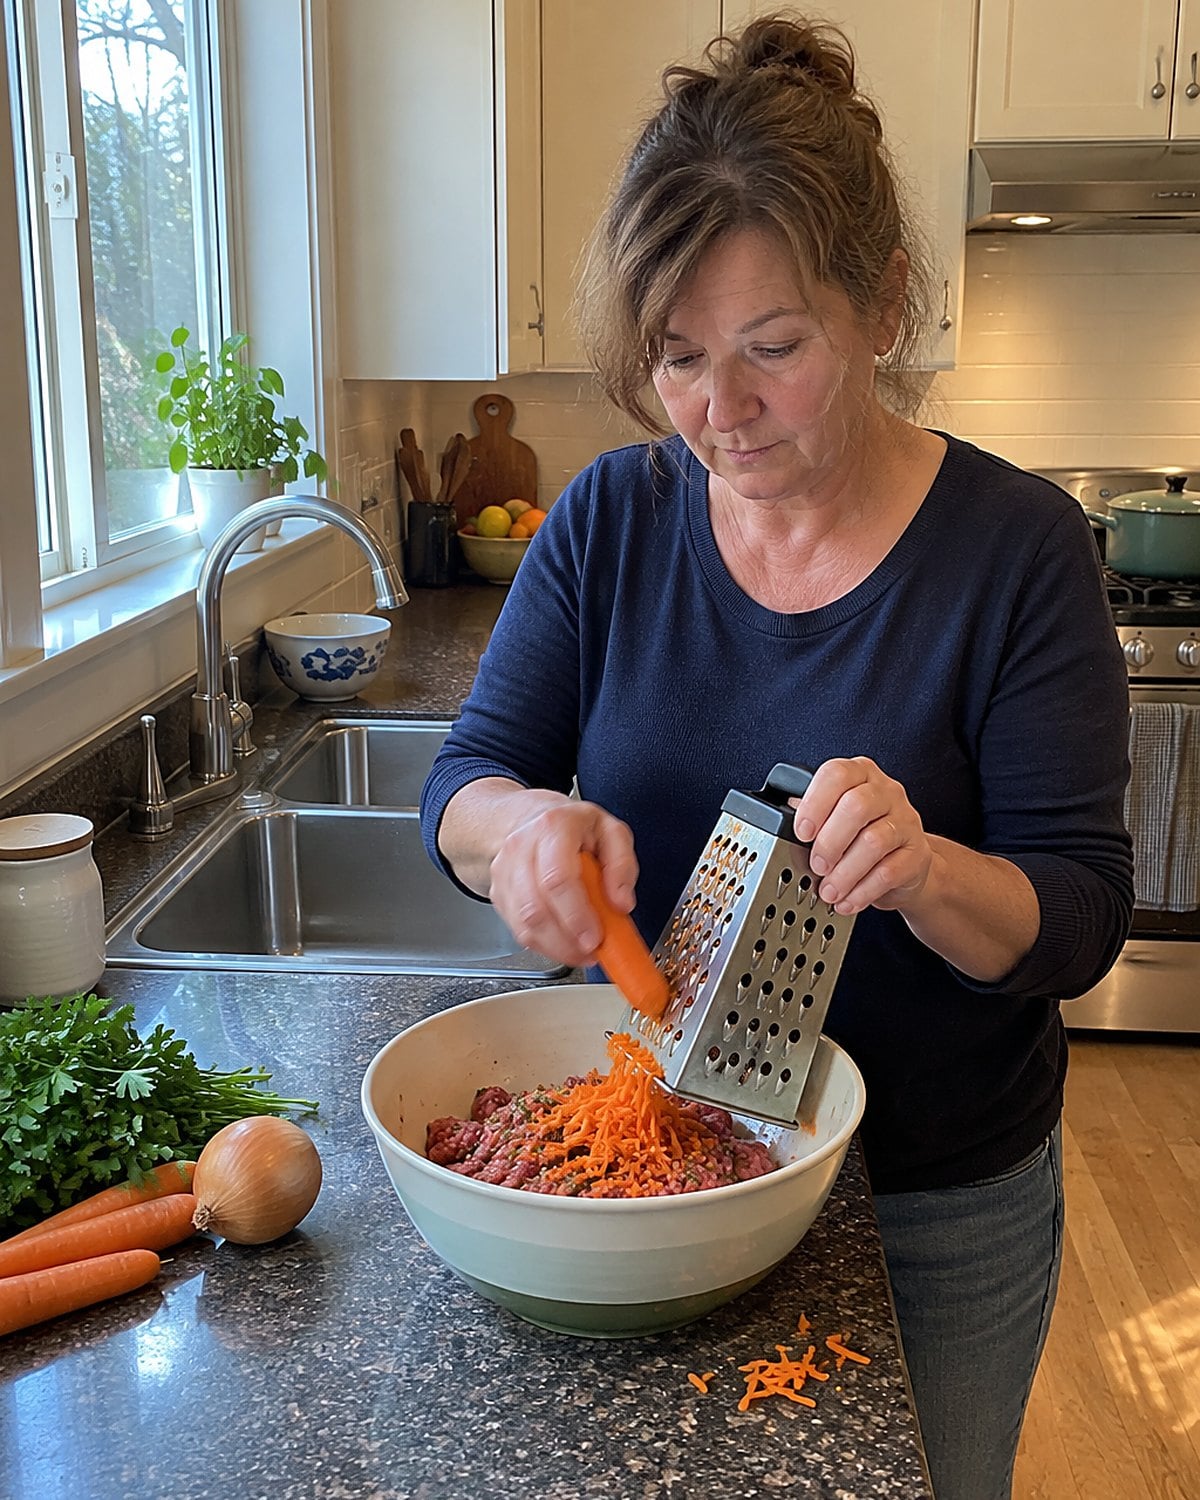
A carrot on the box grater disappears into meatballs, but only if the shreds are fine. Coarse pieces stand out and leave wet pockets. Fine shreds add moisture and a little sweetness beside garlic and onion.
Grate 1 small carrot for 1 pound of ground meat. Squeeze a handful lightly over the sink if it looks especially wet. Mix the carrot with the seasonings first, then add the meat. Stop when the mixture holds together. Kneading it like bread makes firm meatballs.
This is a good trick when you want the meatballs tender without adding a lot of bread. It is also a way to use the lone carrot at the bottom of the drawer. Neither reason needs a speech at dinner.
Brown a small test patty and taste it before shaping the whole batch. A raw mixture won't tell you whether it needs pepper or salt. The test patty will, and it belongs to the cook.
#13 The Leftover Roast in Potato Hash
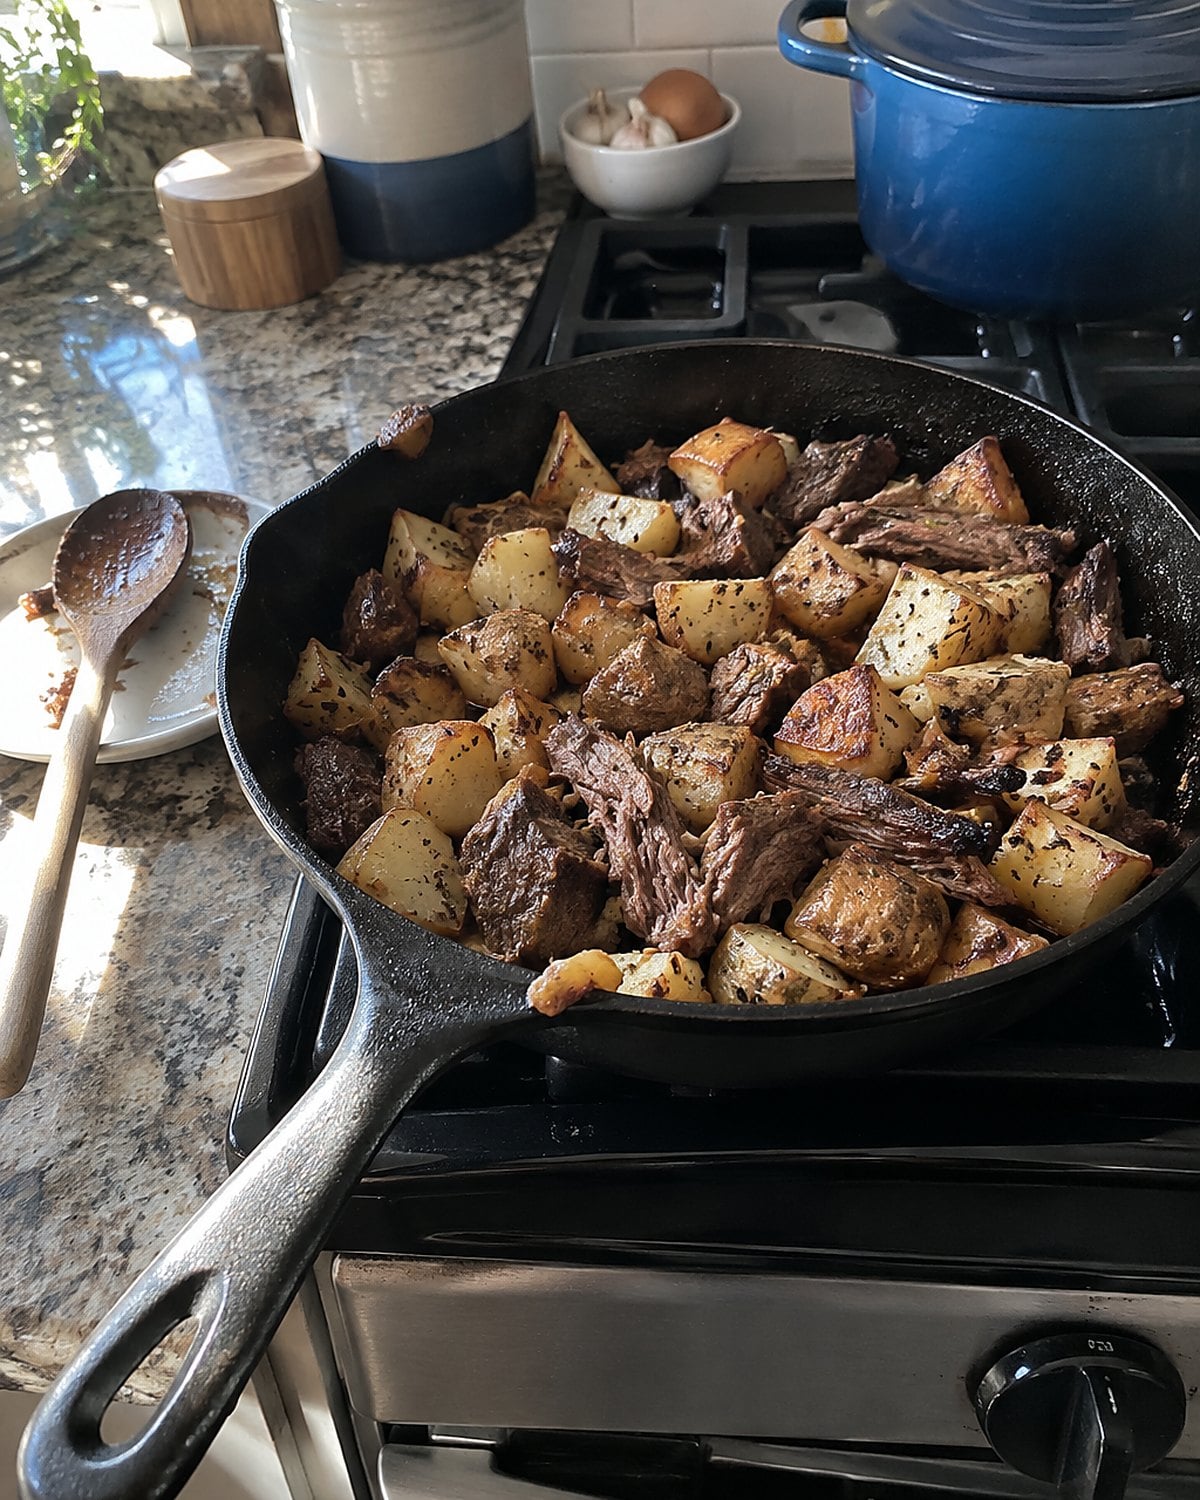
The old roast had a second life once someone chopped it beside the cutting board. Potato hash gave those scraps crisp edges and put the meat where a fork would find it. The order in the skillet decides whether supper browns or steams.
Cook the potatoes first. Leftover roast is already cooked, and a long turn in the pan dries it out. Dice the potatoes small, spread them in hot fat, and leave them alone long enough to form a crust. Turn them, add onion, and wait until the onion loses its raw bite. Fold in the chopped roast near the end.
A wide skillet beats a deep one. In a crowded pan, moisture stays trapped, especially after onion goes in. If you're feeding more people than the skillet holds, brown the potatoes in batches. That old cast-iron pan earned its space in the cupboard for work like this.
Taste a potato before you reach for salt. The roast's seasoning will join it once everything is warm. A fried egg on top changes the meal again, but the crisp potatoes and little pieces of roast are enough to make the leftover feel chosen.
#12 The Lentils in Sloppy Joes
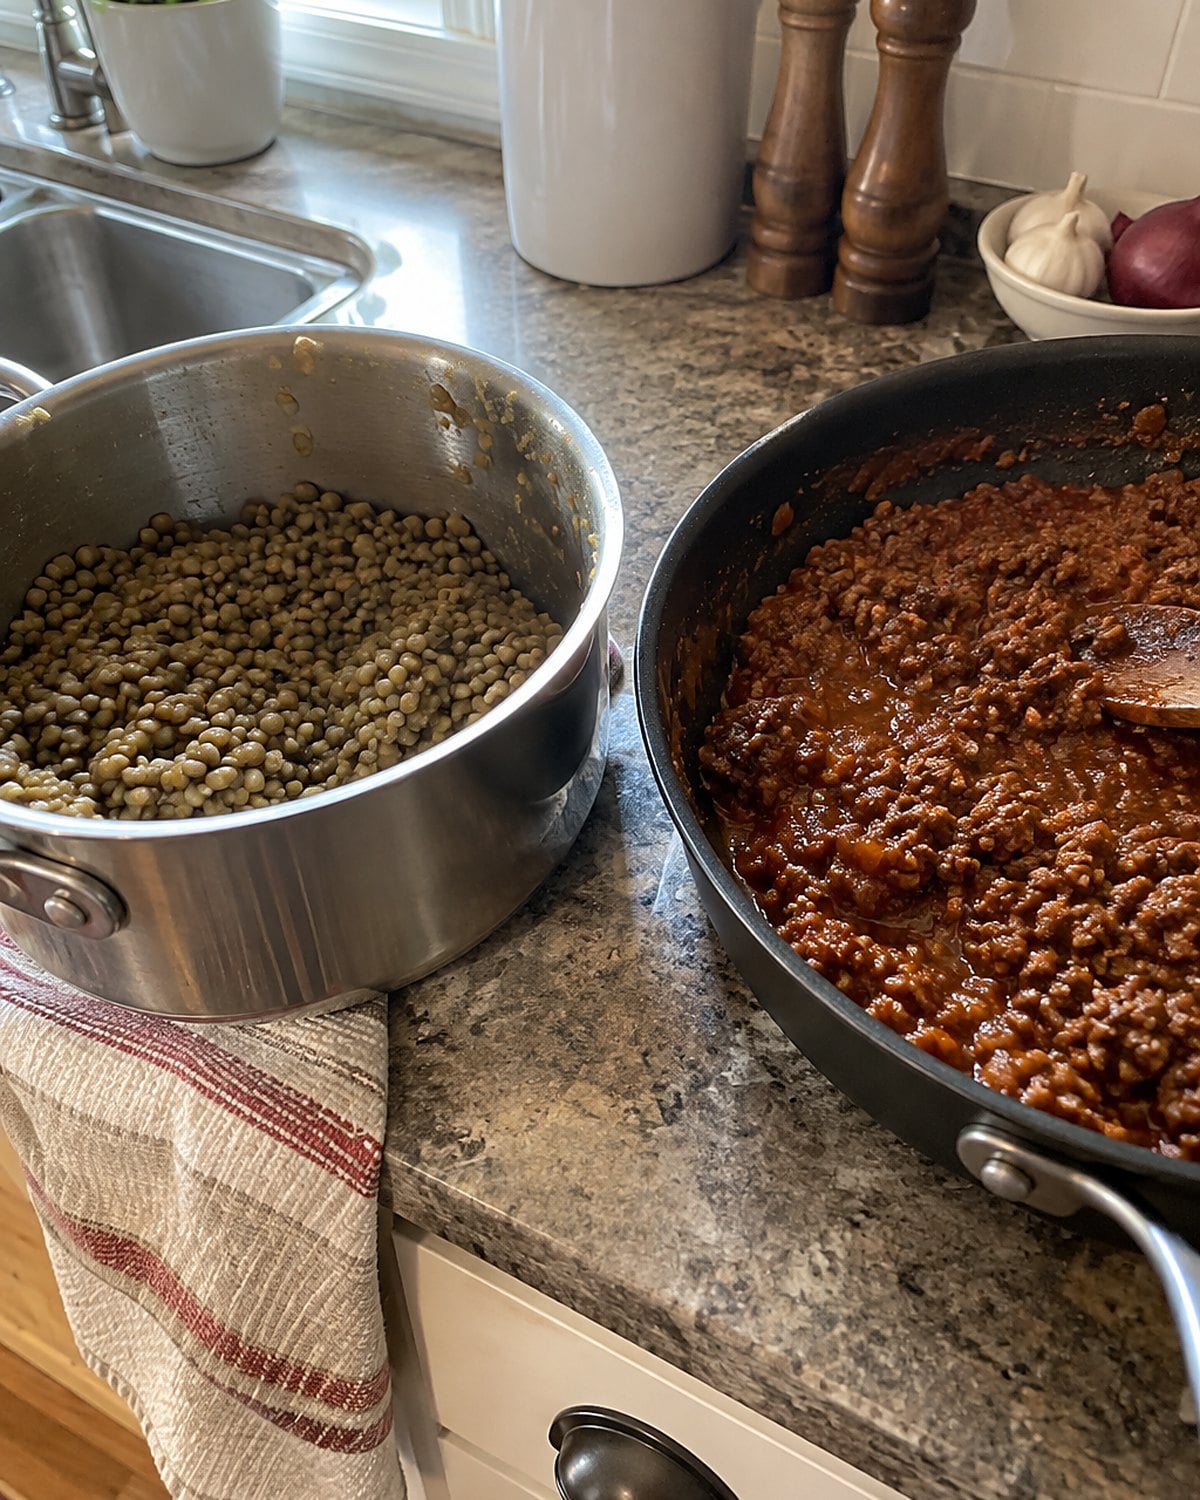
A pot of brown lentils waits patiently beside the canned tomatoes, and it has a job here. Cooked lentils have a soft, nubby texture that sits beside ground beef in sloppy joe sauce. They catch the sauce instead of thinning it.
Cook the lentils until tender and drain them well. Brown the beef with onion, then add tomato sauce, a little vinegar, and the seasonings you like. Stir the lentils in after the sauce thickens. If they go in wet, the filling runs straight through the bun.
Start with equal amounts of cooked lentils and browned beef. Taste a spoonful, not just the sauce around it. You want tang and enough salt to reach the lentils. Toast the buns while the filling rests; that small pause keeps the bread from dissolving under dinner.
This is the meal to make when you have ground beef in the freezer but fewer people at the table than the package suggests. Cook what you need, then put the rest away for another supper.
Try it: Instant Pot Sloppy Joes (Paleo, Gluten-Free)
#11 Chicken Pot Pie with More Vegetables
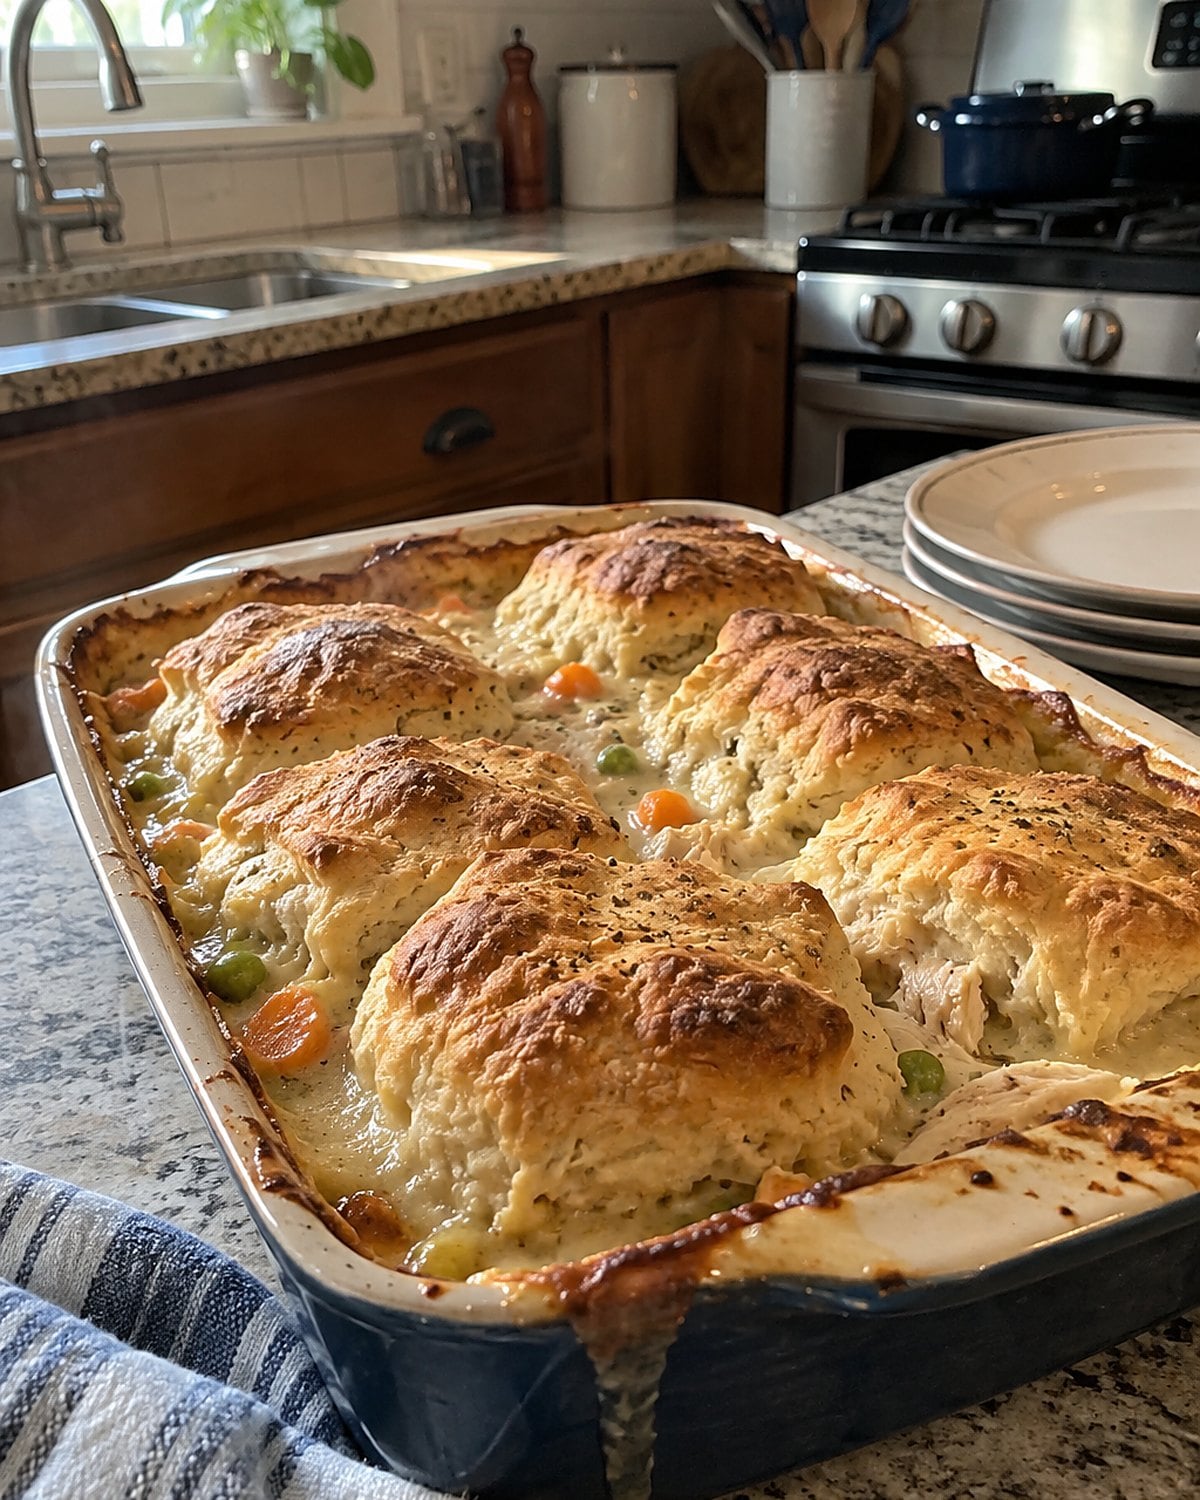
The Sunday chicken became Monday pot pie for a reason. Bits of meat, a thick sauce, and vegetables could fill the same dish without asking the chicken to do all the work.
Make the sauce thick enough to coat a spoon before it goes into the baking dish. Peas, carrots, and chicken release moisture as they heat. A thin sauce in the saucepan turns into soup under the crust. Taste it while it is still easy to fix. Pepper, thyme, and salt need to reach the potatoes or biscuits on top too.
Cut the cooked chicken into bite-size pieces instead of shredding it into threads. Pieces stay distinct against the vegetables. Put chicken throughout the filling, including near the edges, so the first serving doesn't claim it all.
A biscuit topping leaves room for sauce to bubble between the biscuits. A full crust feels more like the old Sunday pie. Either way, don't mistake a browned top for a hot center. Push a thermometer into the filling; reheated leftovers need 165°F under USDA reheating guidance. Then let the dish stand long enough for the sauce to settle on the serving spoon.
Try it: Instant Pot Chicken Pot Pie (Two Ways)
#10 The Peanut Butter Jar of Satay Sauce
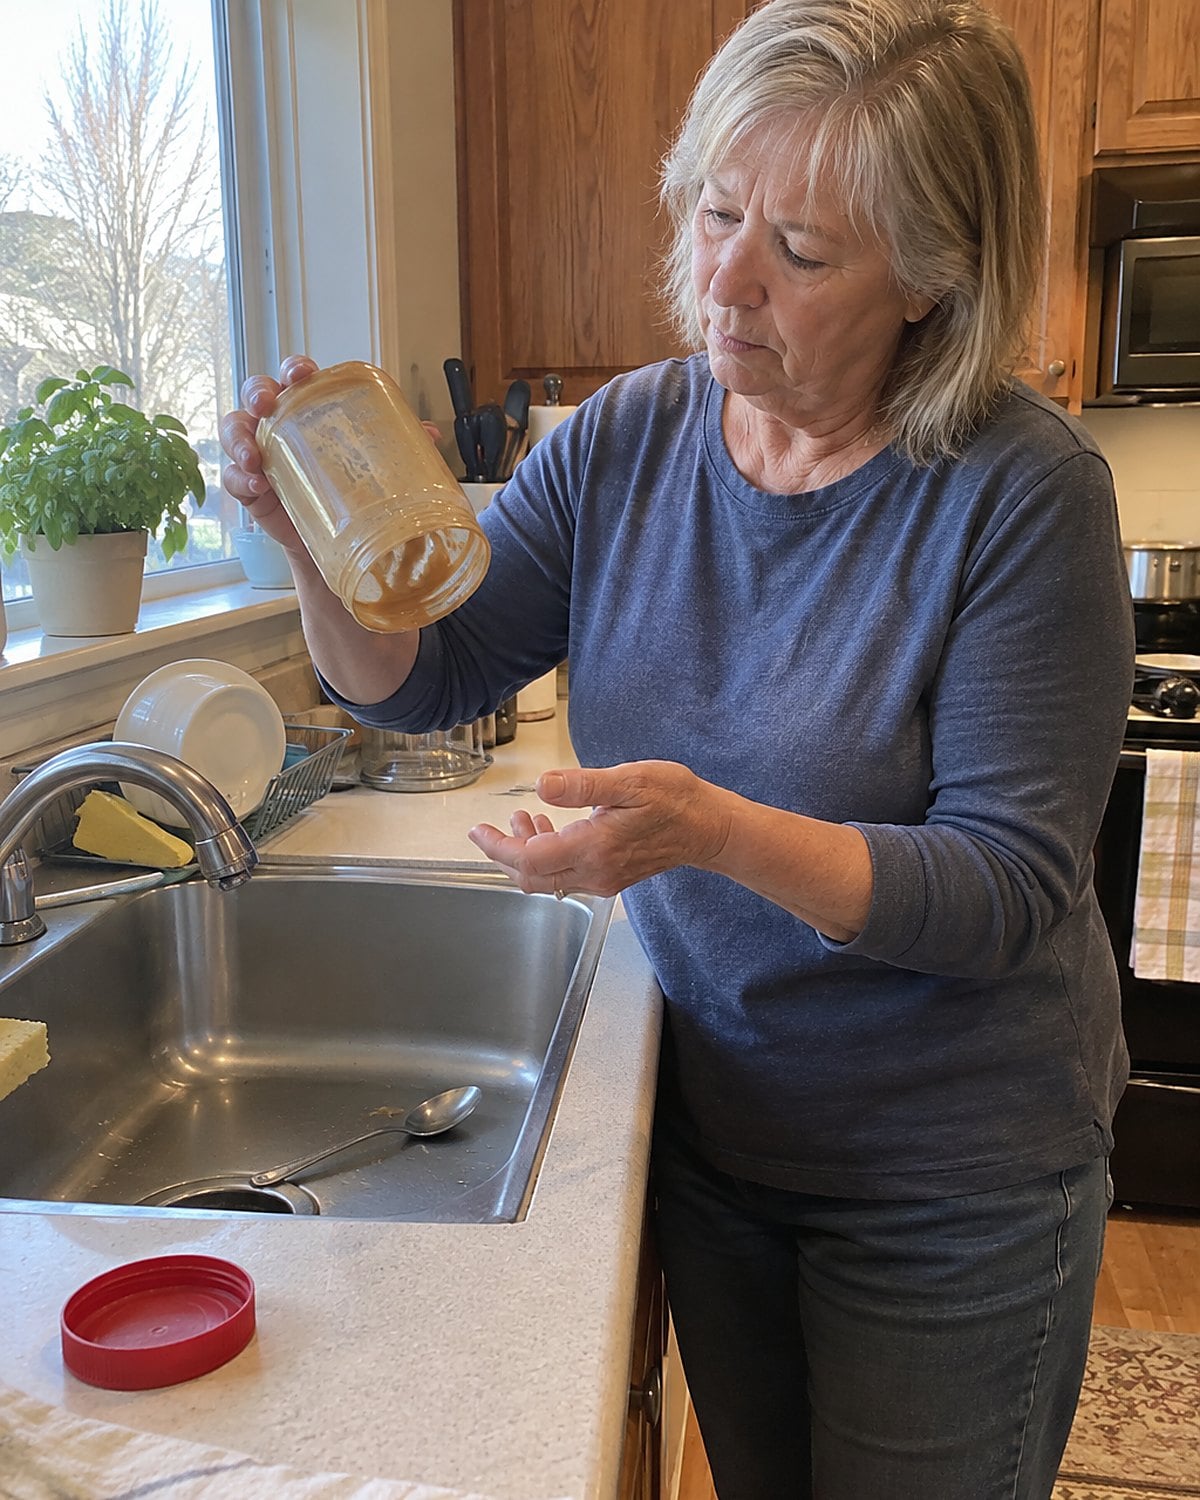
The nearly empty peanut butter jar has enough stuck to its sides to help make dinner. Add warm water, a little soy sauce, vinegar, and garlic. Close the lid and shake. The peanut butter loosens into a sauce that coats sliced cooked chicken.
Use the chicken sparingly over rice and quick-cooked vegetables. The sauce gives every bite the roasted taste that a larger pile of chicken would otherwise have to supply. Taste before adding more soy sauce; it brings salt along with flavor.
If the sauce looks thick, add water by the spoonful and shake again. You want it to fall from a spoon in a ribbon, not sit in a lump. Reheat leftover chicken to 165°F before mixing it with the sauce. Don't rely on warm rice to heat cold leftovers.
Rinse the jar when you're done. Saving the last spoonful is a kitchen habit, not a new set of dishes to wash.
#9 The Milk Gravy over Sausage Crumbles
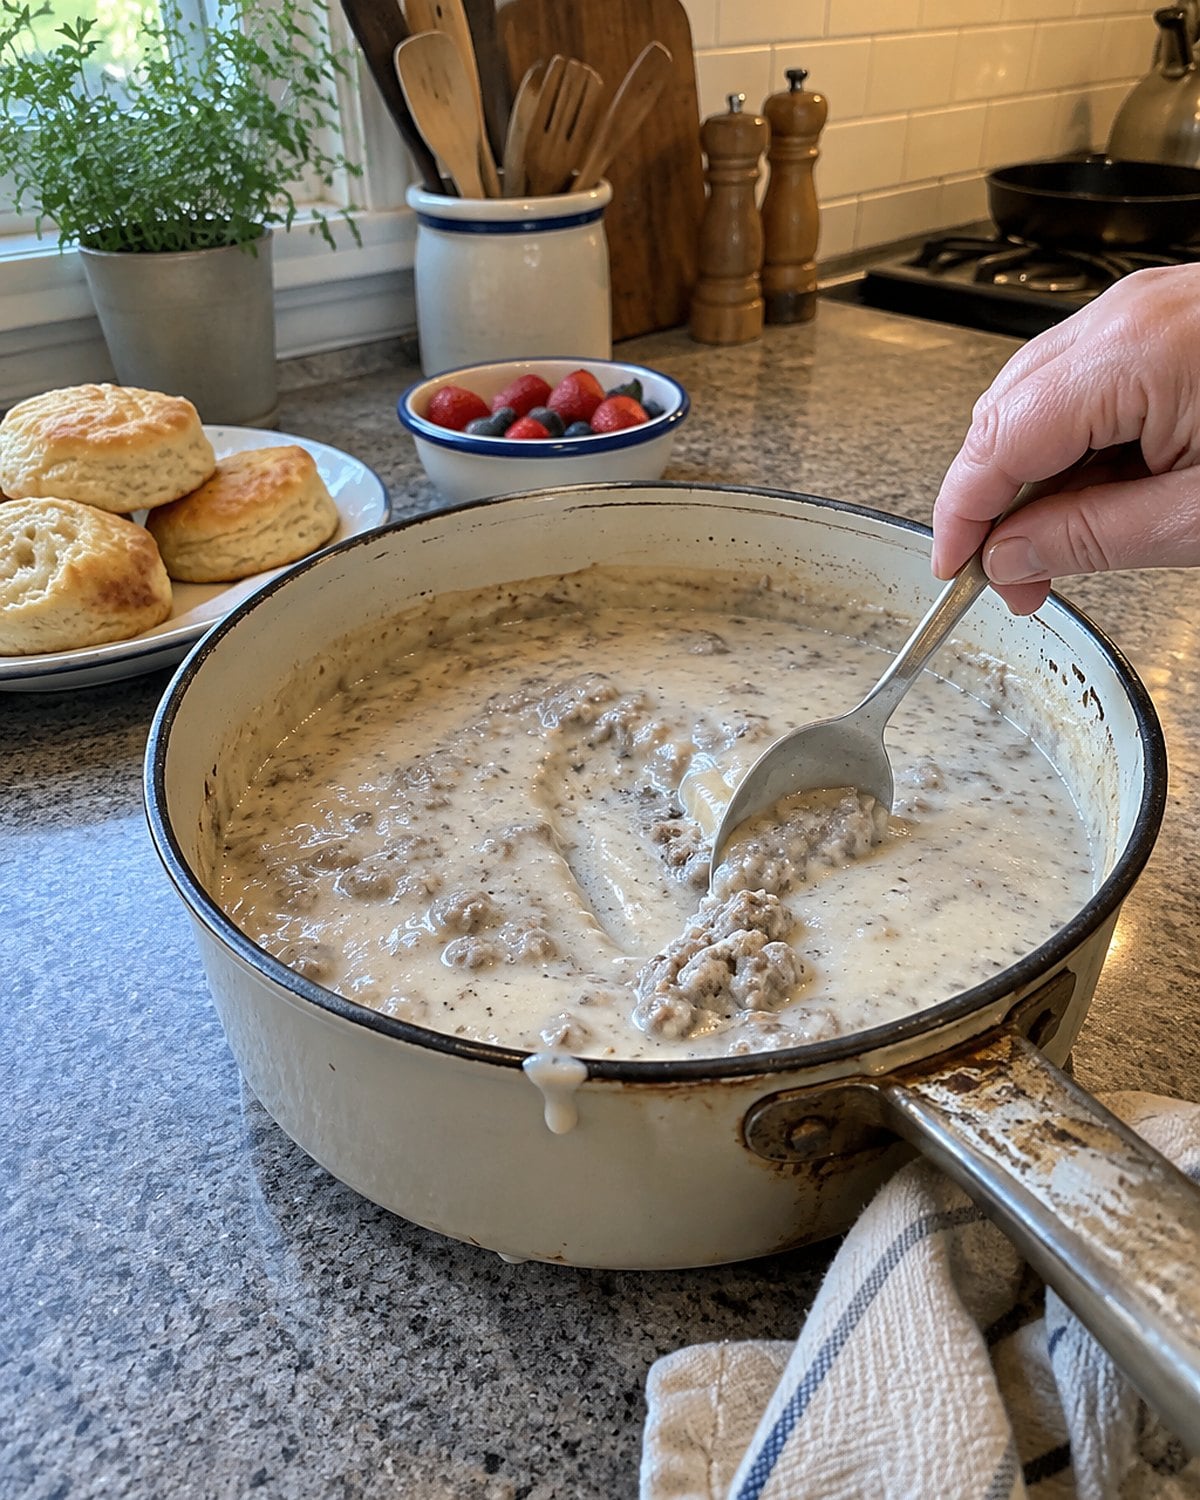
A little breakfast sausage makes a pan of milk gravy taste like sausage all the way through. That is why the crumbles go back into the skillet at the end, rather than sitting in one large patty on each plate.
Brown the sausage until you see browned bits on the pan. Leave enough fat to wet the flour, then stir the flour into that fat and cook until the raw flour smell fades. Pour in milk gradually, stirring across the bottom and into the corners. The gravy thickens as it heats.
Pepper belongs here. Add it, taste, and keep tasting as the gravy thickens. If the mixture turns too thick, more milk brings it back. If it stays thin, let it bubble while you stir. Flour needs heat to do its job.
Spoon it over biscuits, toast, or baked potatoes. The plate looks generous without pretending the sausage is anything other than the seasoning and substance of the gravy. On a morning with company, put the gravy in a warm bowl and let everyone decide how much to take.
#8 The Rice Inside Stuffed Peppers
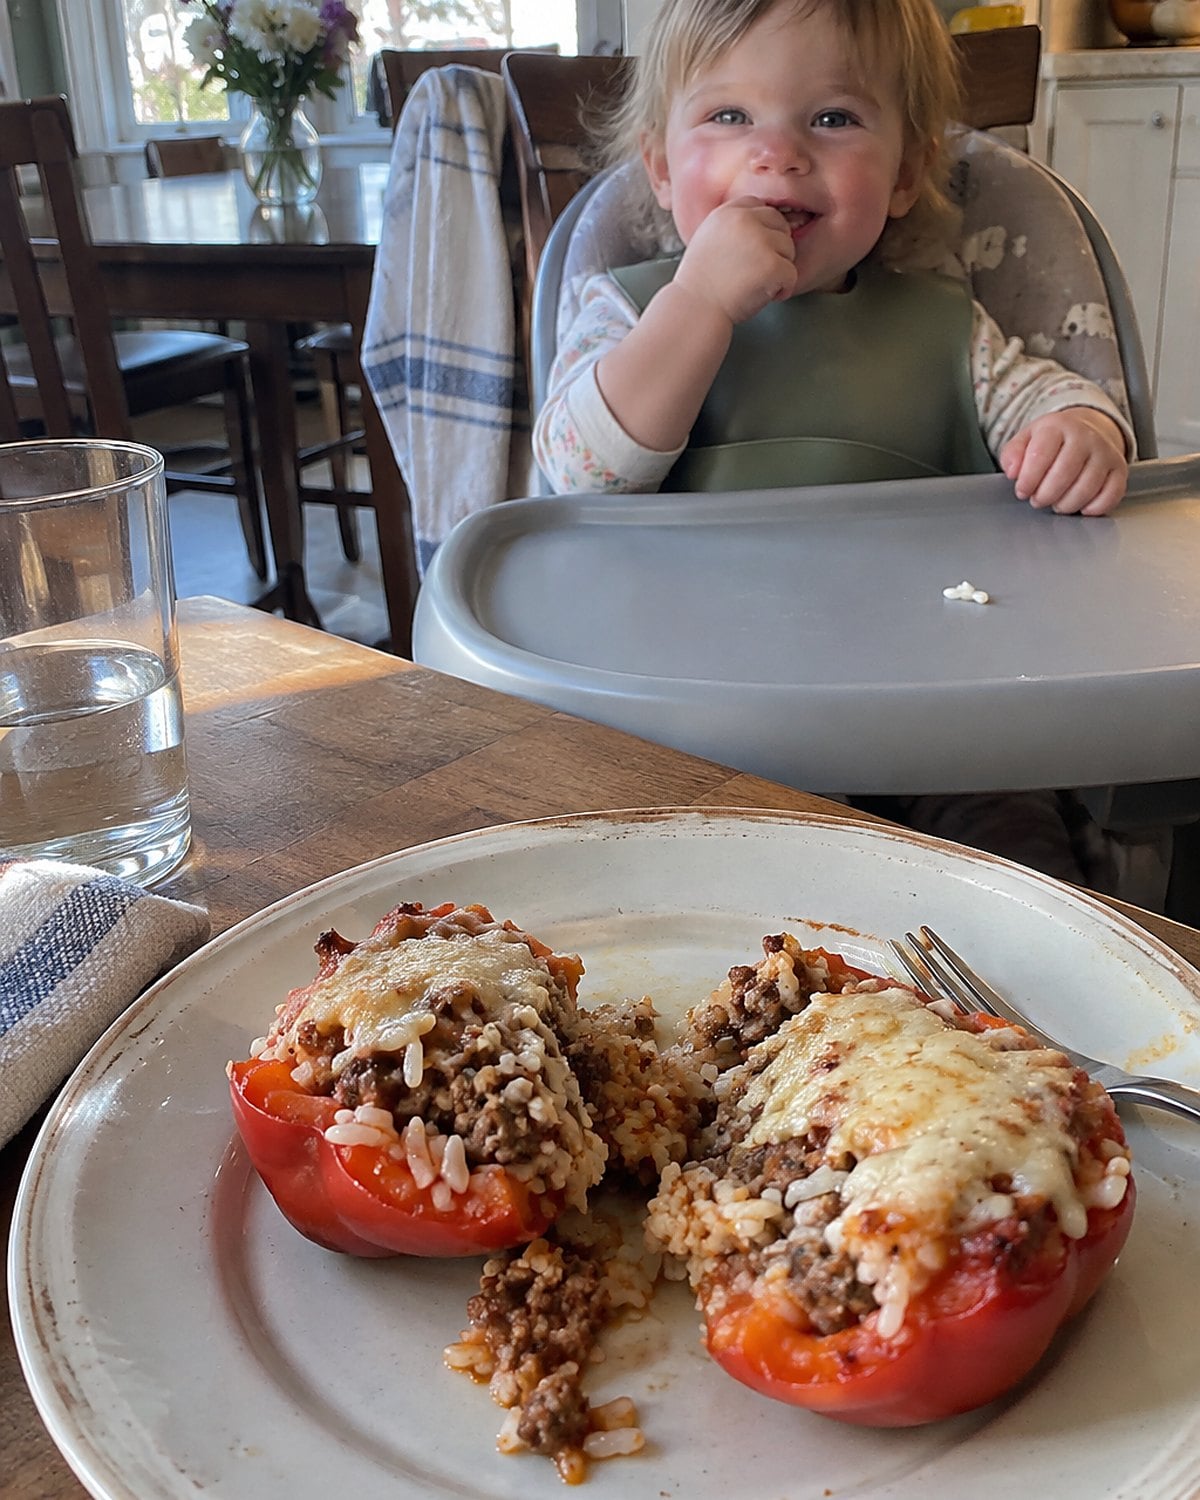
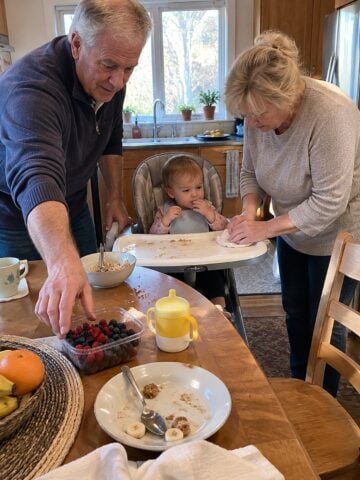
At the grandchild's high chair, a pepper cut open on the plate is easier to understand than a whole stuffed one. Inside, the rice and meat have cooked together, each grain picking up tomato and onion. That's the old stretch in plain sight.
Cook the rice before you mix the filling. Raw rice asks for liquid and time that the meat and pepper don't need. Brown the ground meat, stir in cooked rice and tomato sauce, and taste the filling. The pepper walls won't season it for you.
Set the peppers close together in a baking dish so they stay upright. Spoon a little sauce underneath to keep the bottoms from sticking. Don't pack the filling tight; it heats more evenly when a spoon can move through it.
Cut one open before serving. You want a tender pepper and a hot center, not a pepper collapsed around dry filling. For a young guest, offer the rice and meat separately from the pepper. Nothing about that changes the supper for everyone else.
Try it: Best Instant Pot Stuffed Peppers
#7 The Beans in a Taco Filling
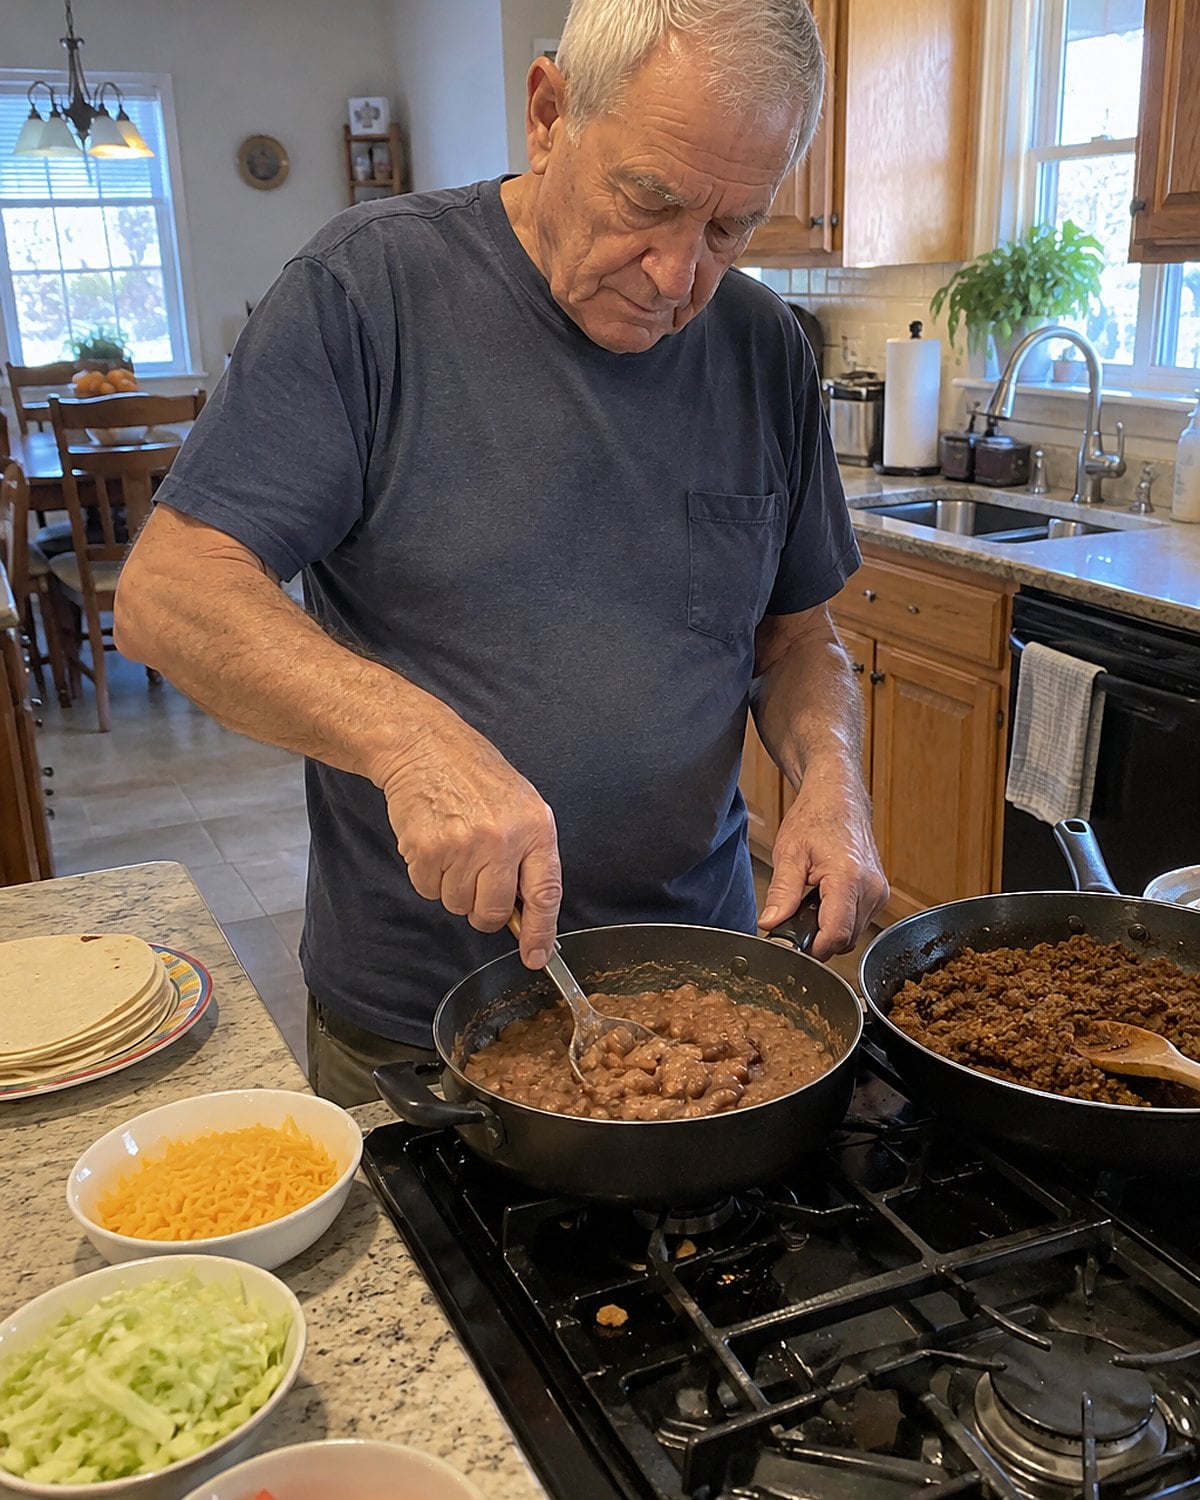
The taco meat left after supper looks skimpy beside a stack of tortillas. Put a skillet on the stove and open a can of beans. This time, the beans go into the filling, where they pick up the meat's seasoning.
Drain them first. Add the beans as the meat warms, then mash some against the skillet's side. The mashed beans hold the crumbles together. Whole beans keep the filling from turning to paste.
Taste a spoonful that has both. If the beans taste plain, stir in a little more of the taco seasoning you used for the meat. Add water by the spoonful only if the mixture catches on the pan.
Now the filling has a choice of places to go: a tortilla, a baked potato, or a bowl of rice. You aren't making the leftover meat look like a fresh full batch. You're giving a small amount of it a new job.
#6 The Chuck Roast Cut into Stew Cubes
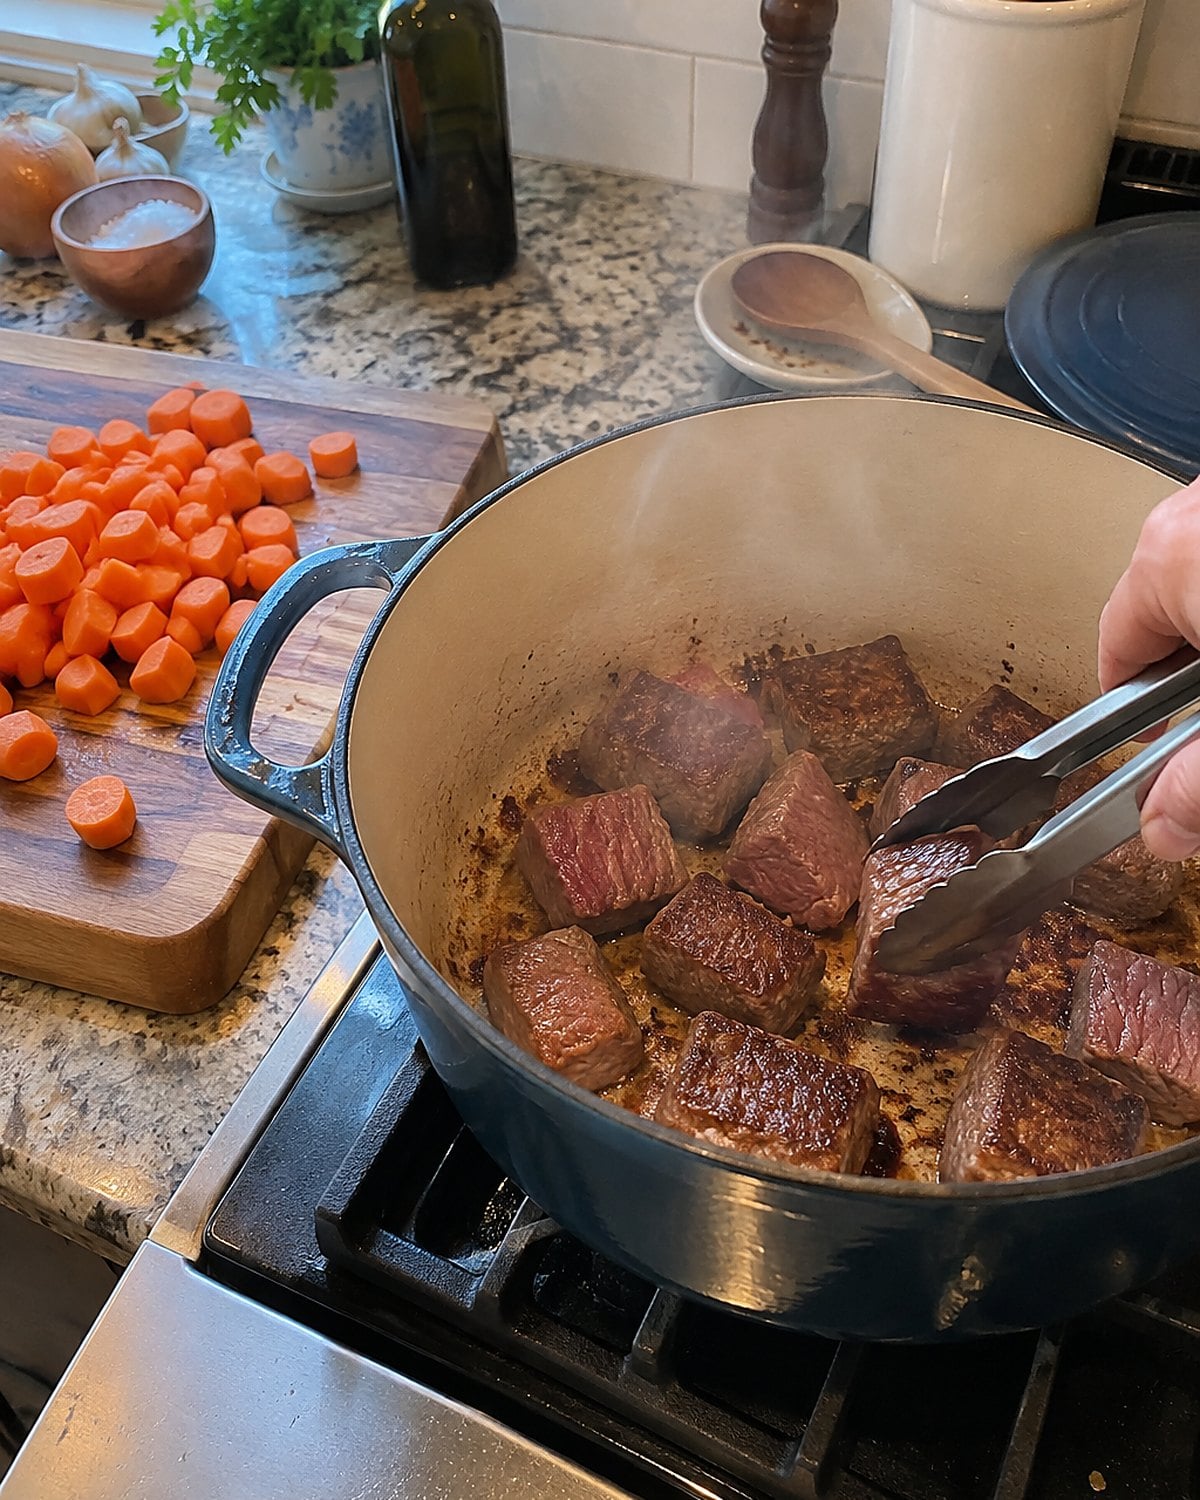
A chuck roast looks big on the counter. Cut into cubes and cooked with carrots, onions, and potatoes, it becomes a pot where the meat shares the spoon with everything else.
Chuck has connective tissue that needs time and moisture to soften. Brown the cubes in batches before adding liquid. If you pile them all into the Dutch oven, they steam and leave little browned flavor behind. Once browned, keep the liquid at a steady simmer. A hard boil makes the meat tighten before it turns tender.
Add potatoes later than the meat. They will fall apart if they spend the whole cooking time in the pot. When the chuck yields to a fork without a fight, check a potato and taste the broth. A little vinegar at the end wakes up a rich stew.
For an Instant Pot, follow the appliance's liquid minimum and a tested recipe for your cut. The browning and the order of ingredients still matter.
#5 The Chicken Bones That Become Noodle Soup
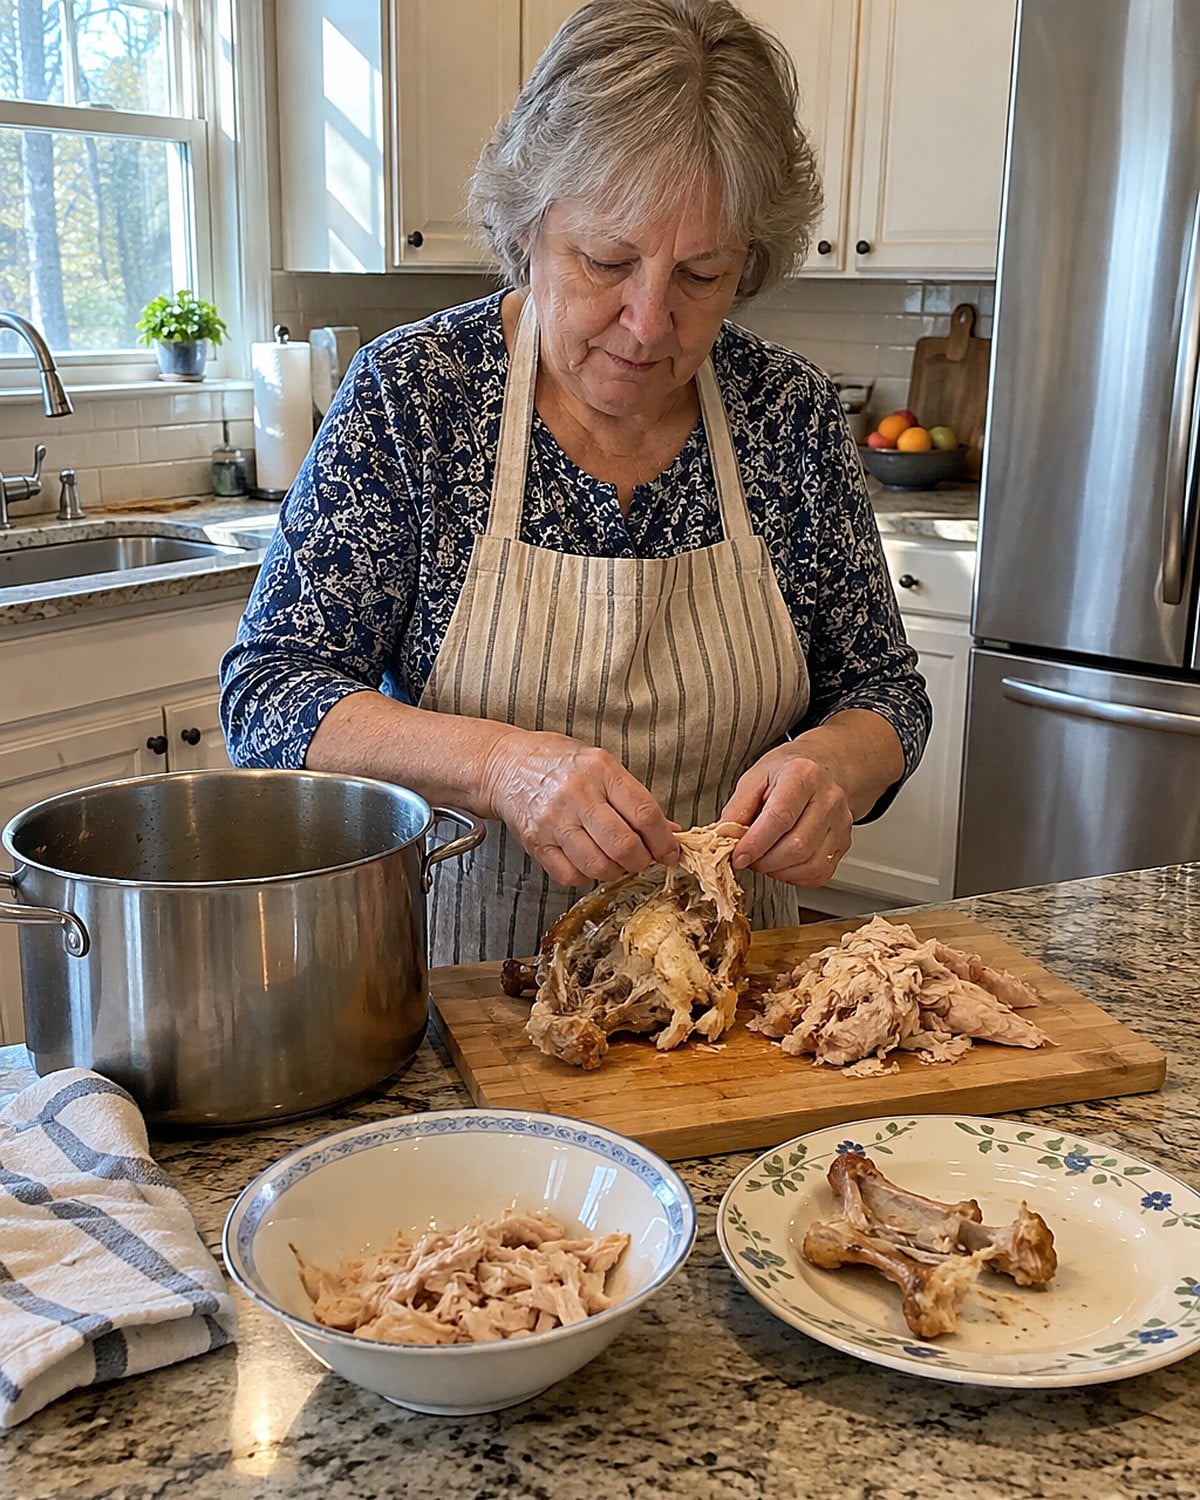
After a roast chicken dinner, the cutting board looks bare until you turn the carcass over. There are scraps along the back and around the joints, enough to matter in soup. Pull off the easy meat before making broth so it doesn't spend hours boiling into dry threads.
Put the bones in a pot with onion and water. Simmer, strain carefully, and discard the bones. Run a spoon through the strained broth and look for stray bits before you add noodles. The careful strain is worth more than squeezing every last drop from the pot.
Cook noodles in the amount of broth you'll serve now. Left in a full pot, they keep soaking up liquid until tomorrow's soup turns thick. Save the rest of the broth separately, then add fresh noodles when you warm another bowl.
The meat you set aside goes in near the end. Bring leftover soup to 165°F before serving, as USDA reheating guidance directs. Finish with parsley or lemon if the broth tastes flat. A chicken that fed dinner has given you the start of lunch.
Try it: Instant Pot Chicken Noodle Soup In 30 Minutes (with VIDEO)
#4 The Fried Egg on Leftover Chili
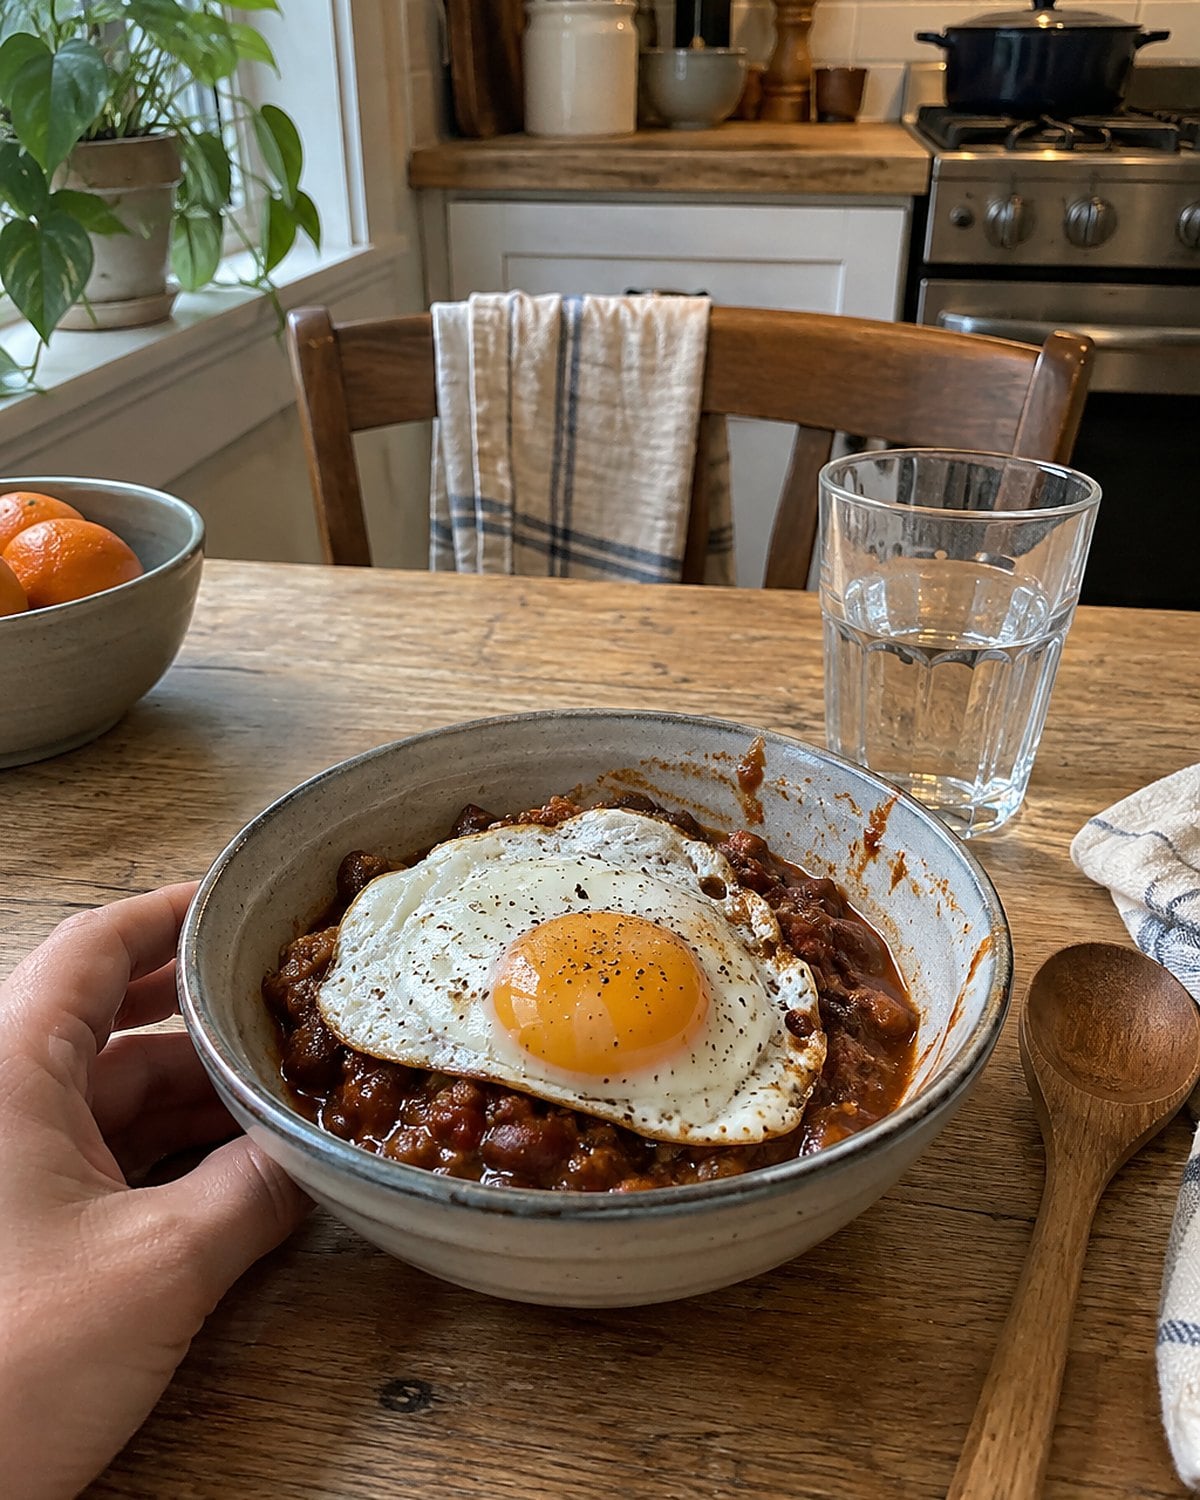
A bowl of chili left in the fridge looks small when you're planning supper for two. Set it beside eggs and the problem changes. A fried egg gives each serving its own center, while the chili seasons everything beneath it.
Warm the chili in a saucepan and stir from the bottom. Thick chili catches there before it looks hot on top. Reheat leftovers to 165°F, using a thermometer in the center of the chili. If it needs loosening, add a splash of water, not more tomato. Taste after it heats; cold chili hides its seasoning.
Slide a fried egg over each bowl of hot chili. Toast or a baked potato underneath gives the sauce somewhere to go. You don't need to stretch the chili until it looks like a fresh full pot. You need each plate to feel like dinner.
This works best with chili whose beans are tender and whose sauce has body. If yesterday's pot was thin, simmer it uncovered first. Then cook the eggs while it thickens.
#3 The Pan Drippings in Shepherd's Pie
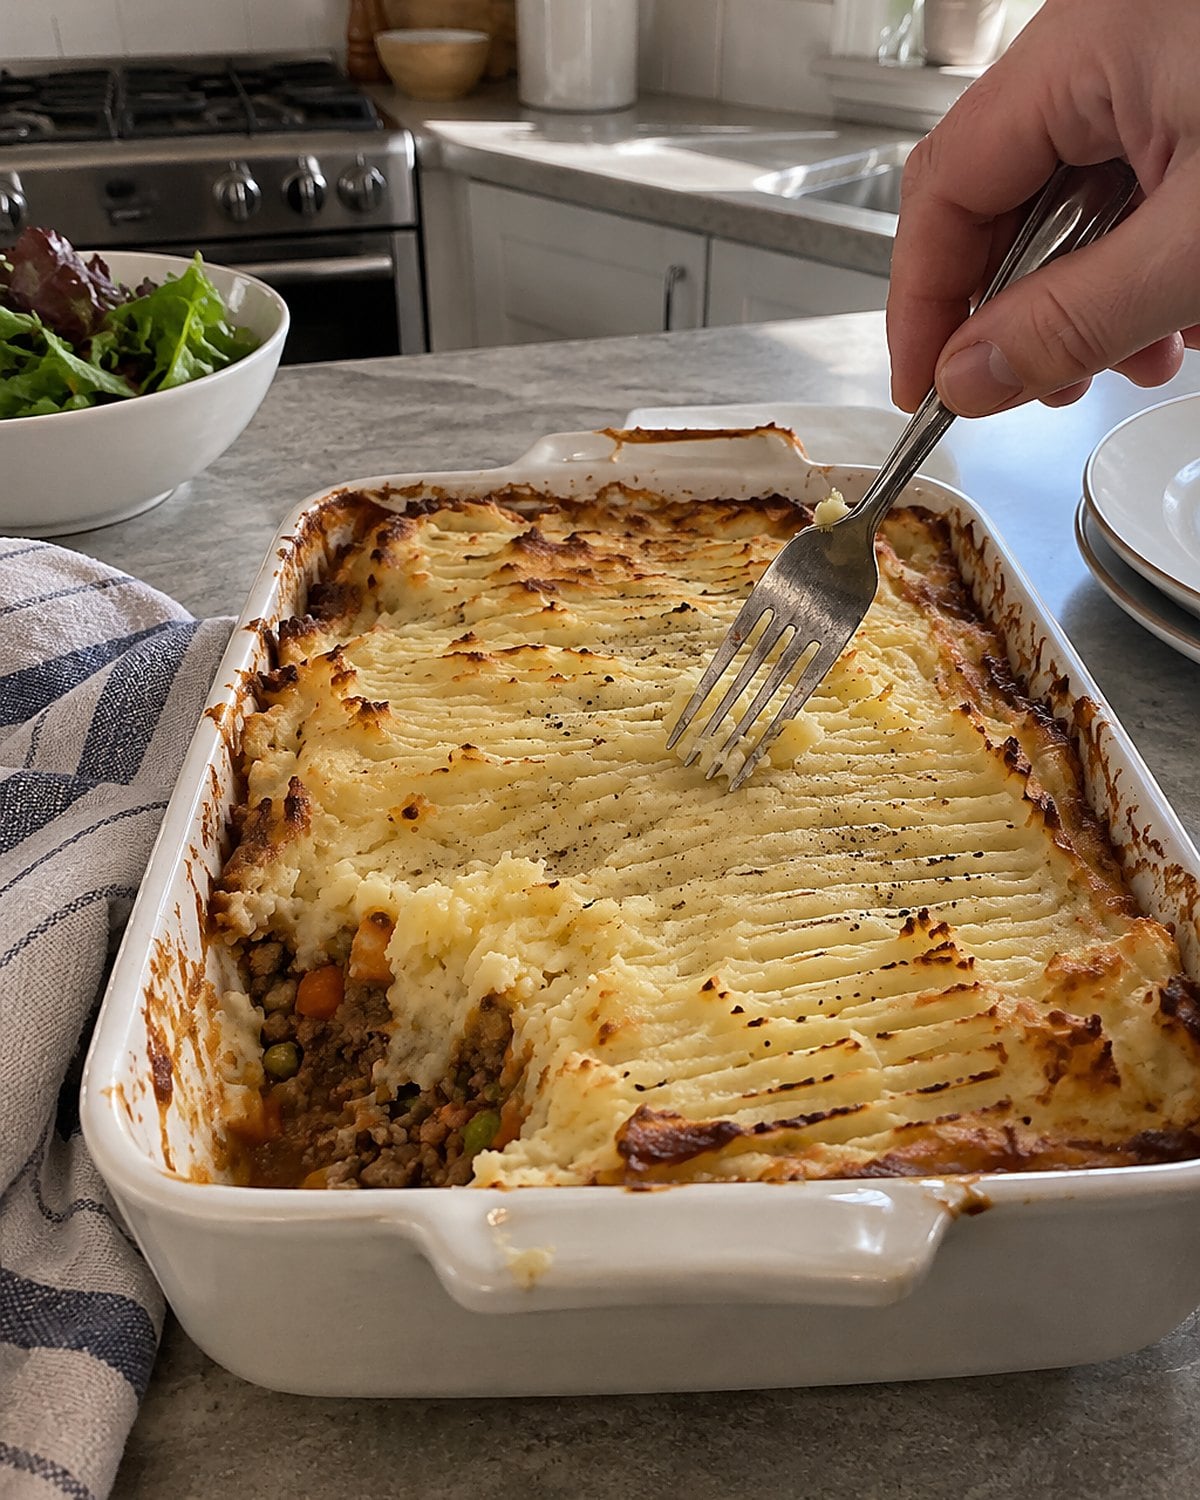
The roasting pan still has browned bits stuck to it after the meat is gone. Scrape those bits into a skillet with onion and leftover chopped roast, and shepherd's pie begins with the flavor you'd otherwise wash away.
For a classic shepherd's pie, use lamb; with beef, many cooks call it cottage pie. The name matters less at your stove than the filling. Add cooked vegetables and enough gravy to bind them. You want a spoonful that holds together, not a puddle under mashed potatoes.
Spread the filling in a baking dish and cover it with potatoes. Rough up the top with a fork so its ridges brown. Leave a small opening near the edge for bubbling sauce to show. That bubbling tells you the filling is hot, but use a thermometer for leftover filling: 165°F at the center.
The old trick is to keep the meat pieces small and the potato layer generous. Nobody gets a dry chunk of reheated roast, and the vegetables carry the pan. A spoon cut down through all three layers tells you when the balance is right.
Try it: Instant Pot Shepherd's Pie (or Cottage Pie)
#2 The Labeled Container on the Fridge Shelf
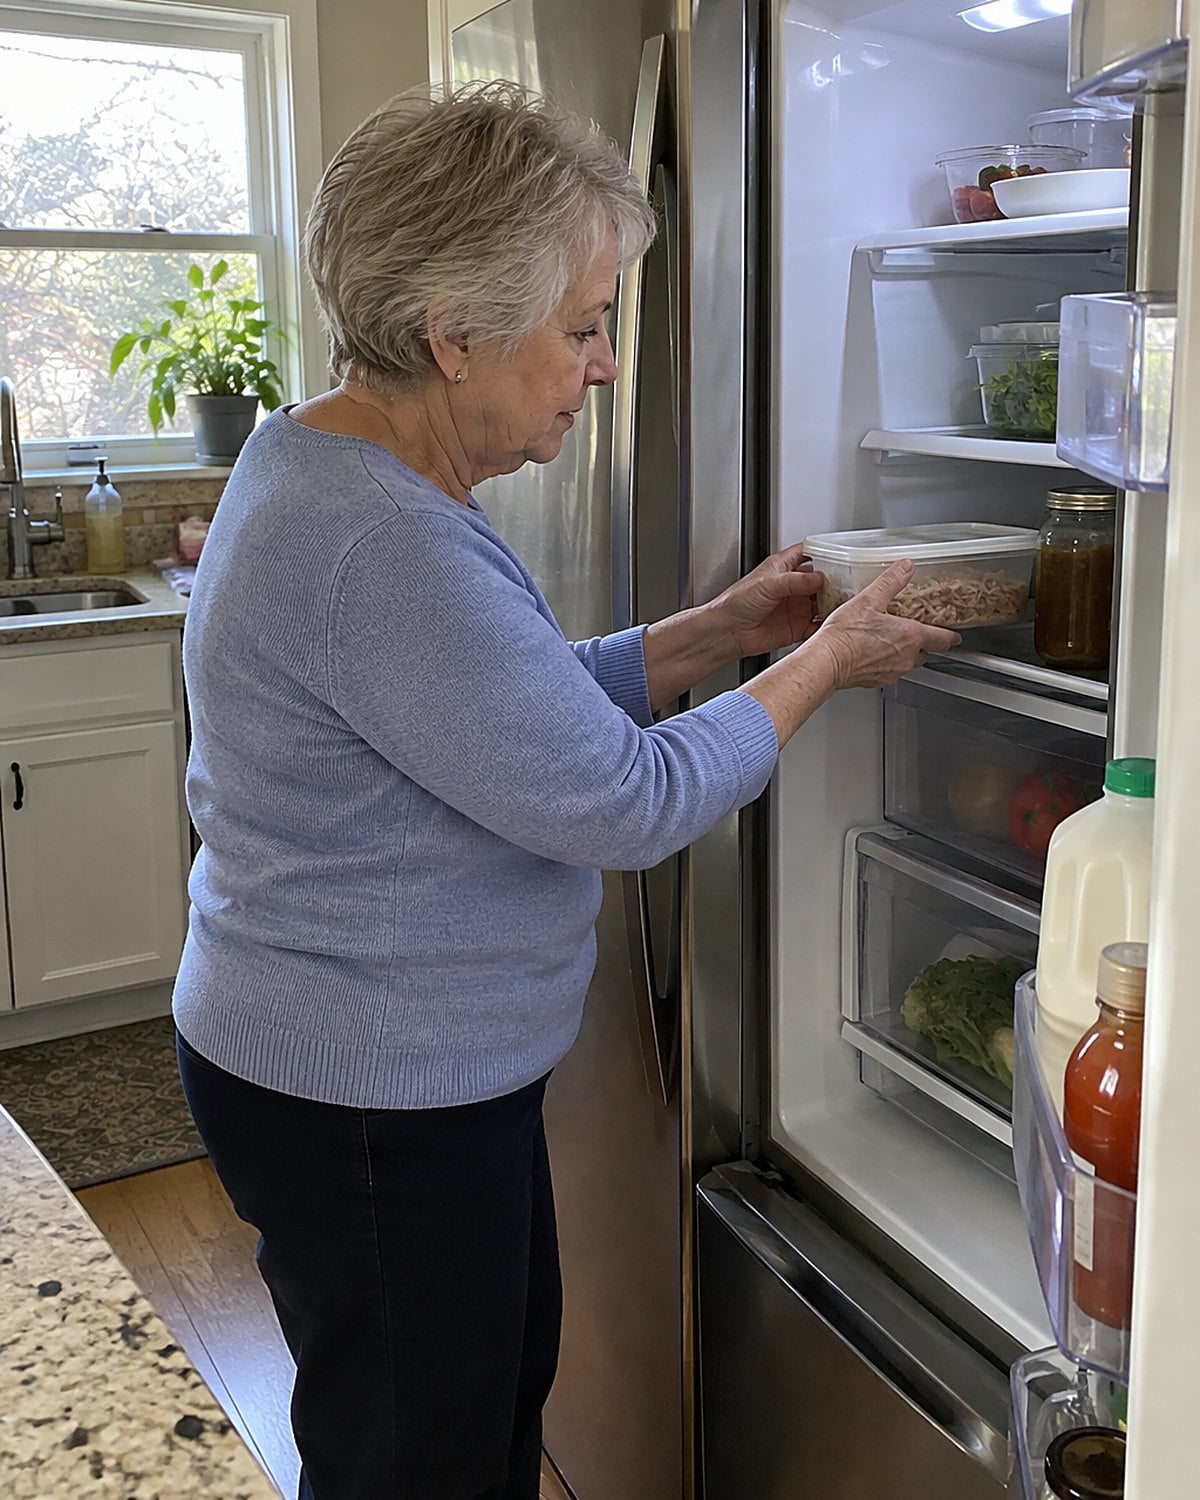
The leftover meat gets lost behind the milk when the container has no date. Then it becomes a question at the worst hour: Is this still supper, or is it going out?
Put cooked meat in a shallow container, write the date on the lid, and place it where you'll see it. Follow the USDA's cold storage chart: cooked meat leftovers get 3 to 4 days in a fridge at 40°F or colder. Freeze them promptly if you won't use them in that window.
A small container changes the next meal. Chopped pork becomes a topping for beans. A little chicken joins a pot of rice. You know what you have because you can see it, and you know when it went in because you wrote it down.
That felt-tip mark is less charming than the church cookbook's penciled notes. It does the same job. It gives tomorrow's cook an answer before the fridge door stays open too long.
#1 The Meat Spoonful at the Counter
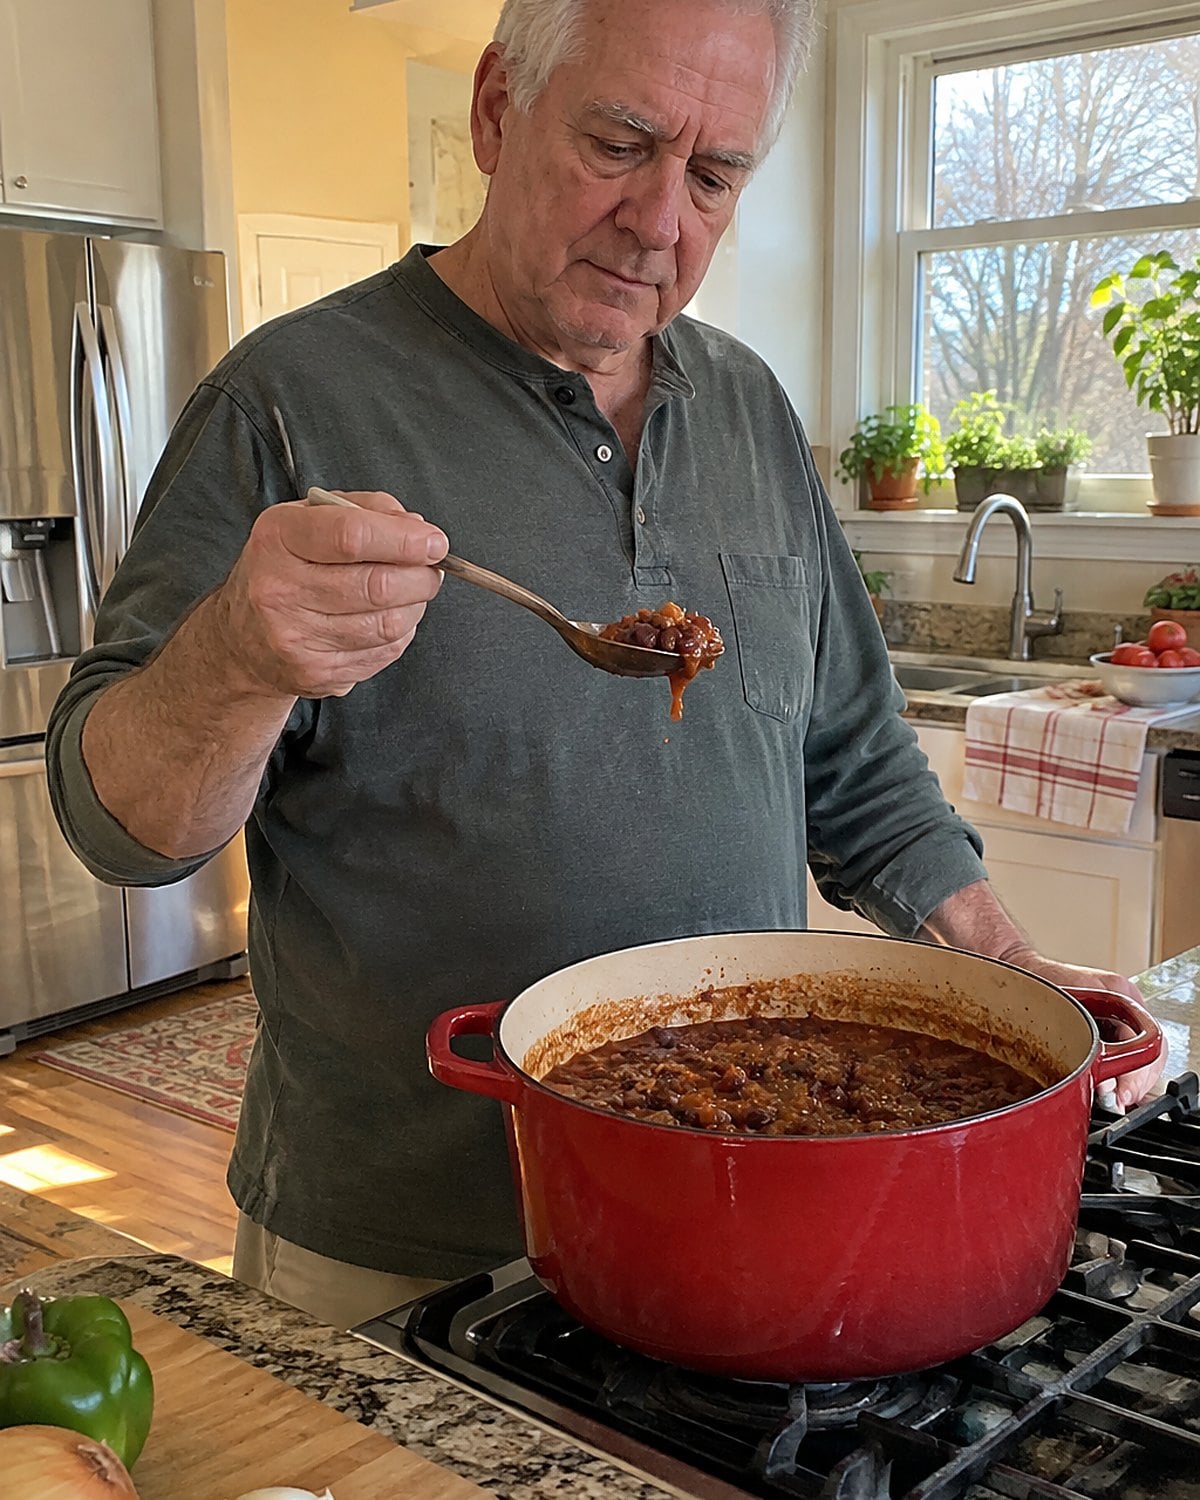
Before you call a meal finished, put its meat and its stretcher on the same spoon. That bite answers a better question than looking at the pan: does the rest of supper taste seasoned, or does the meat taste good by itself?
Try it with beans beside a hock, rice inside a pepper, or potatoes under gravy. Taste each part together. If the plain starch is bland, salt the whole dish after tasting it again. If the broth tastes thin, let it simmer before adding more meat. A little vinegar at the end gives a rich pot a sharper finish.
This is the old cook's test, done before anyone sits down. You aren't checking whether the pan looks full. You're checking whether each serving has the flavor you worked for.
Keep a clean tasting spoon by the stove tonight. When the meal seems short on meat, take that combined bite before you change it. Your answer is in the spoon.
The bottom line
The old stretchers worked because they gave meat a job: season the gravy, flavor the beans, or turn potatoes into supper. They still work when you cook for fewer people and want leftovers worth opening.
The well-prepared version of you has already browned the onion, labeled the container, and put the heel of bread to work. Which small bit in your kitchen will get the next turn?

Leave a Reply