

The oven door opens, your glasses fog, and the potatoes still look pale. Meanwhile, the roast smells done, someone has set out the good serving spoon, and the gravy hasn't started. You know how to cook this meal. You've cooked it for more people than are coming tonight.
That smaller table changes the timing. A roast and its sides still need their own space and heat, even when you're feeding two. The meal you remember didn't arrive all at once by luck. Someone made room for each pan, then knew what to do when one thing finished first.
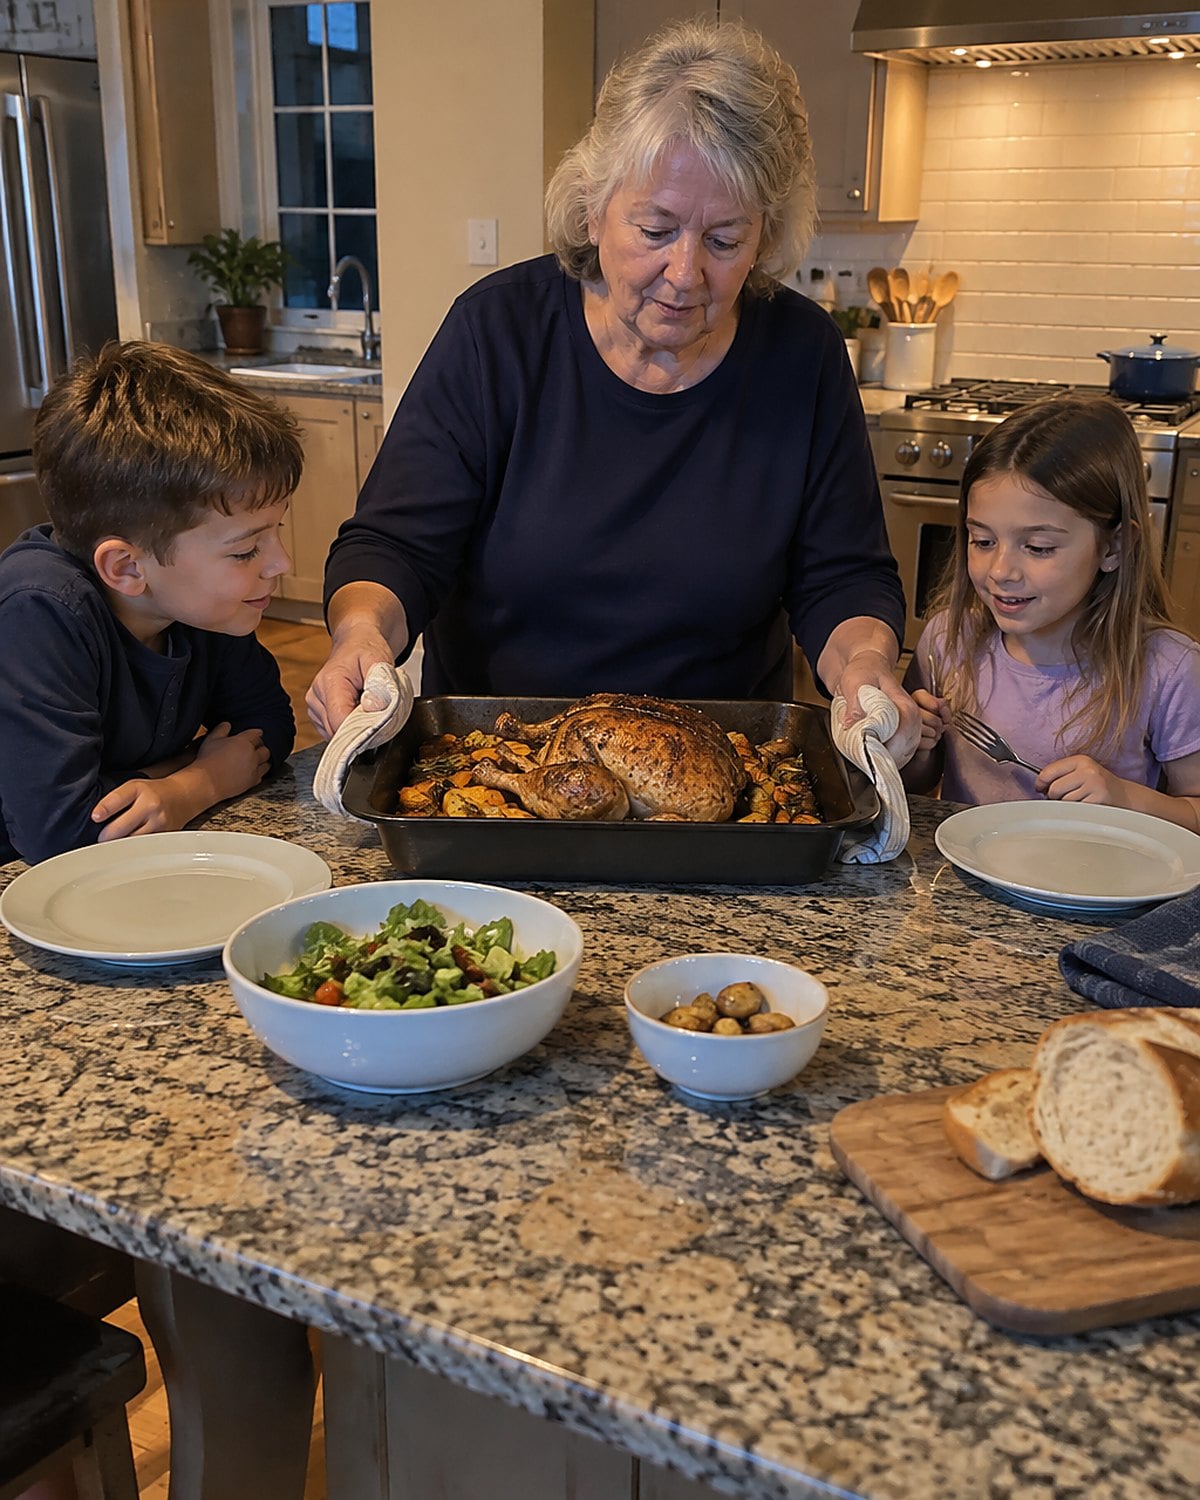
#24 The paper around a small roast
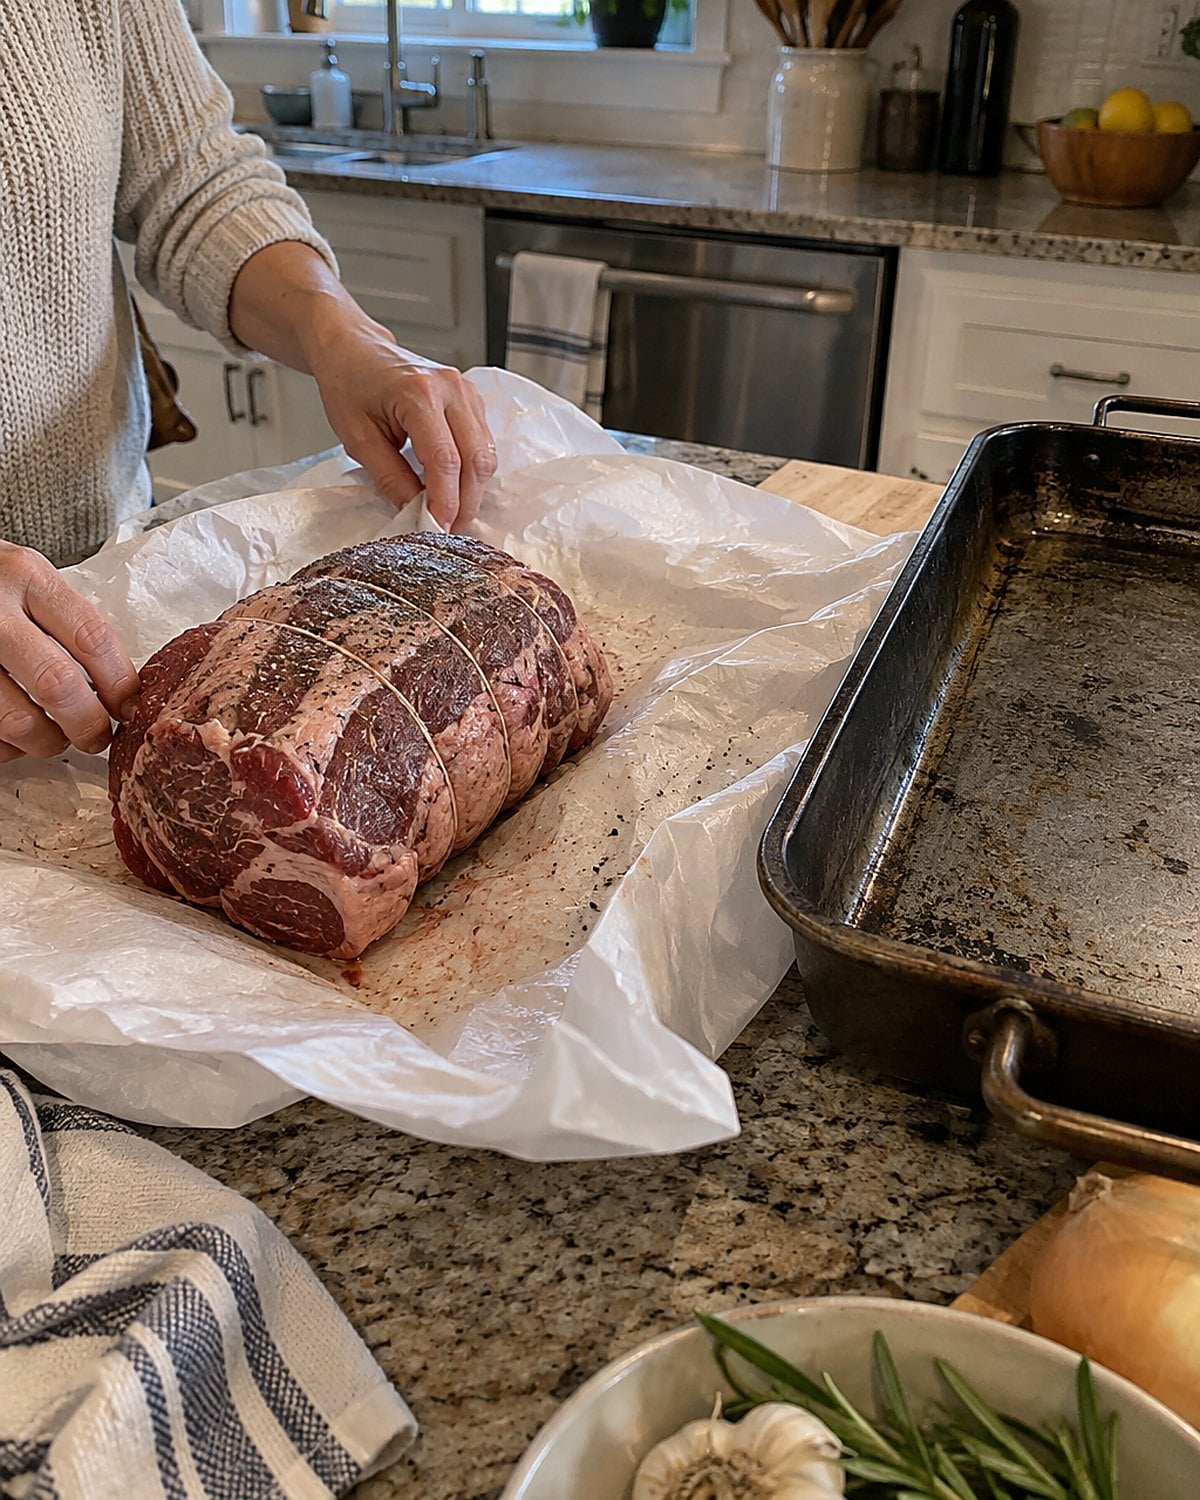
A small roast looks lonely in the butcher paper. If you're used to feeding a full table, buying less meat feels like the first compromise. It isn't. The trouble starts when the smaller cut gets the same oven time as the old Sunday roast.
Before you unwrap it, look at its shape. A thick, compact piece heats differently from a long, flat one. Time from an old recipe won't account for that.
Put the thermometer beside the roasting pan when you take the meat from the fridge. Then it's there when you need it, rather than in the drawer while dinner races ahead.
Leave space around the meat in its pan. That open patch is where the drippings brown. A crowded pan fills with steam, and those browned bits never form.
#23 The chuck roast at the butcher counter
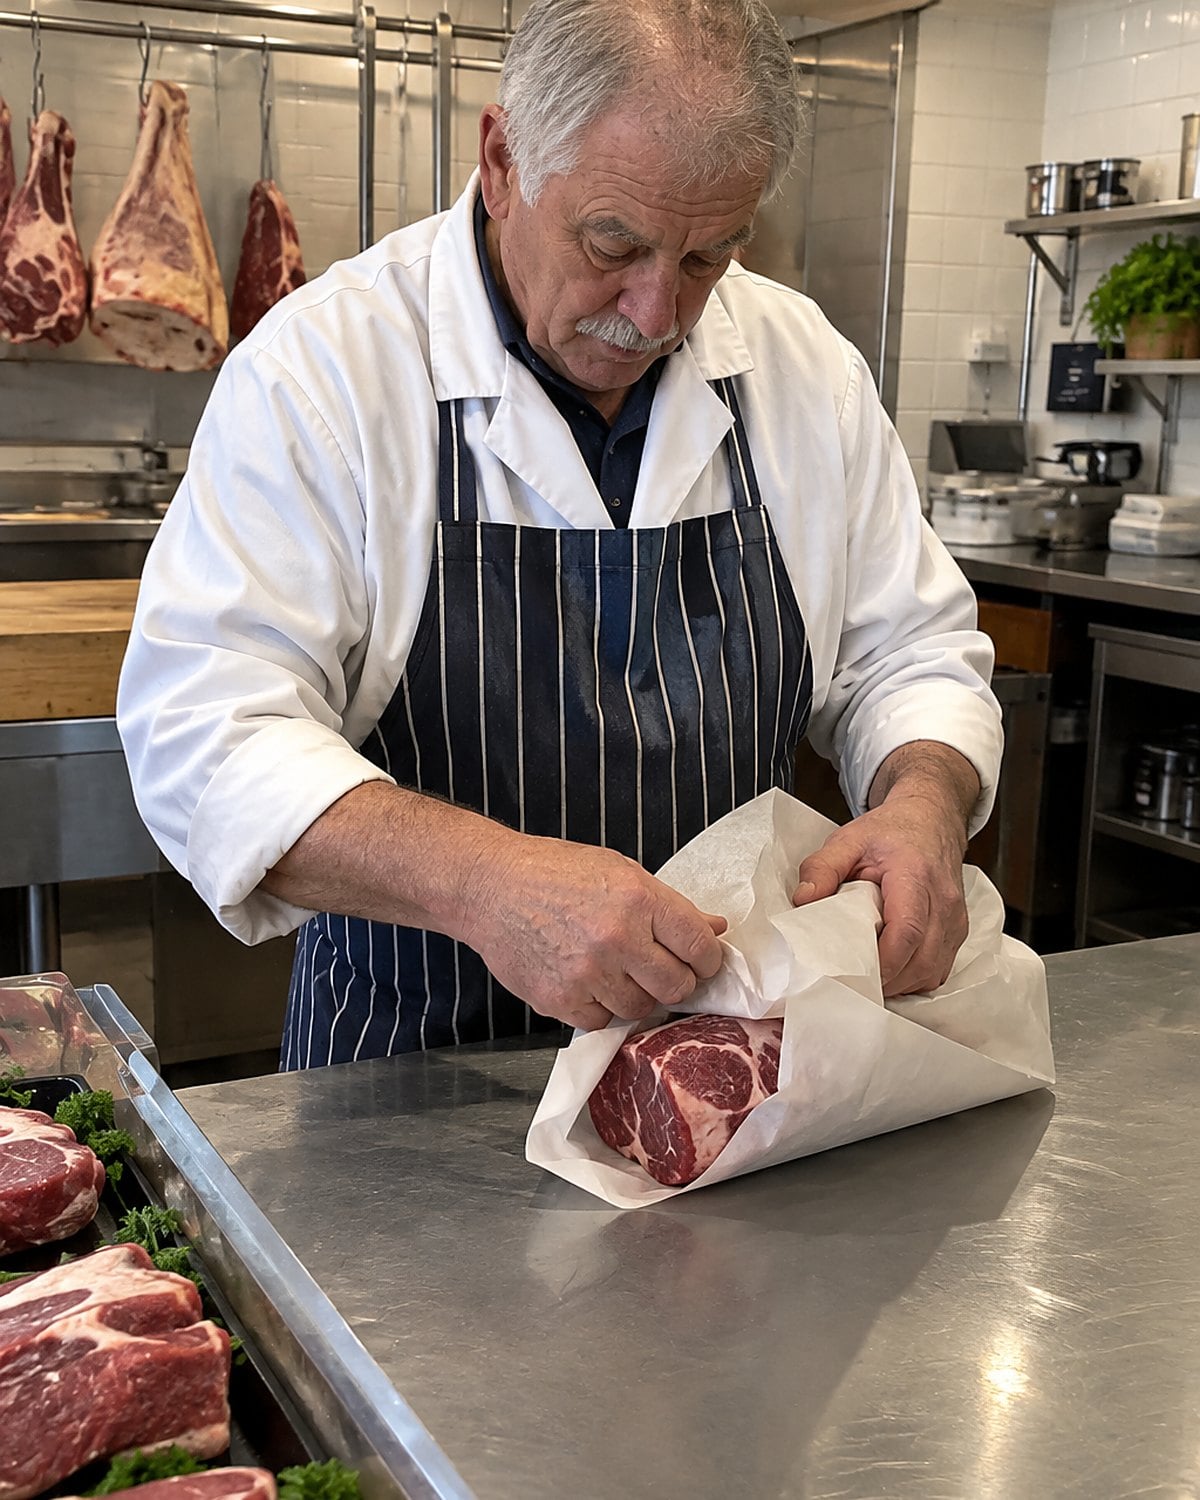
Chuck and rib roast aren't two sizes of the same Sunday dinner. Chuck has connective tissue that needs time and moisture to soften. A rib roast is tender before it goes into the oven, so it suits dry roasting.
If the label says chuck, give it a covered pot with some liquid and enough time for a fork to slip in without a fight. A bare chuck roast pulled from the oven at the temperature you'd use for rib roast will still feel tough. More carving won't fix it.
At the counter, say, “I want a roast I can slice after dry roasting.” That gives the butcher something useful to answer. If you already have chuck in the fridge, change the pan rather than the meat. A Dutch oven with a lid will get you closer to the tender roast you had in mind.
Try it: Instant Pot Beef Pot Roast With Potatoes & Carrots
#22 The dry surface on the meat
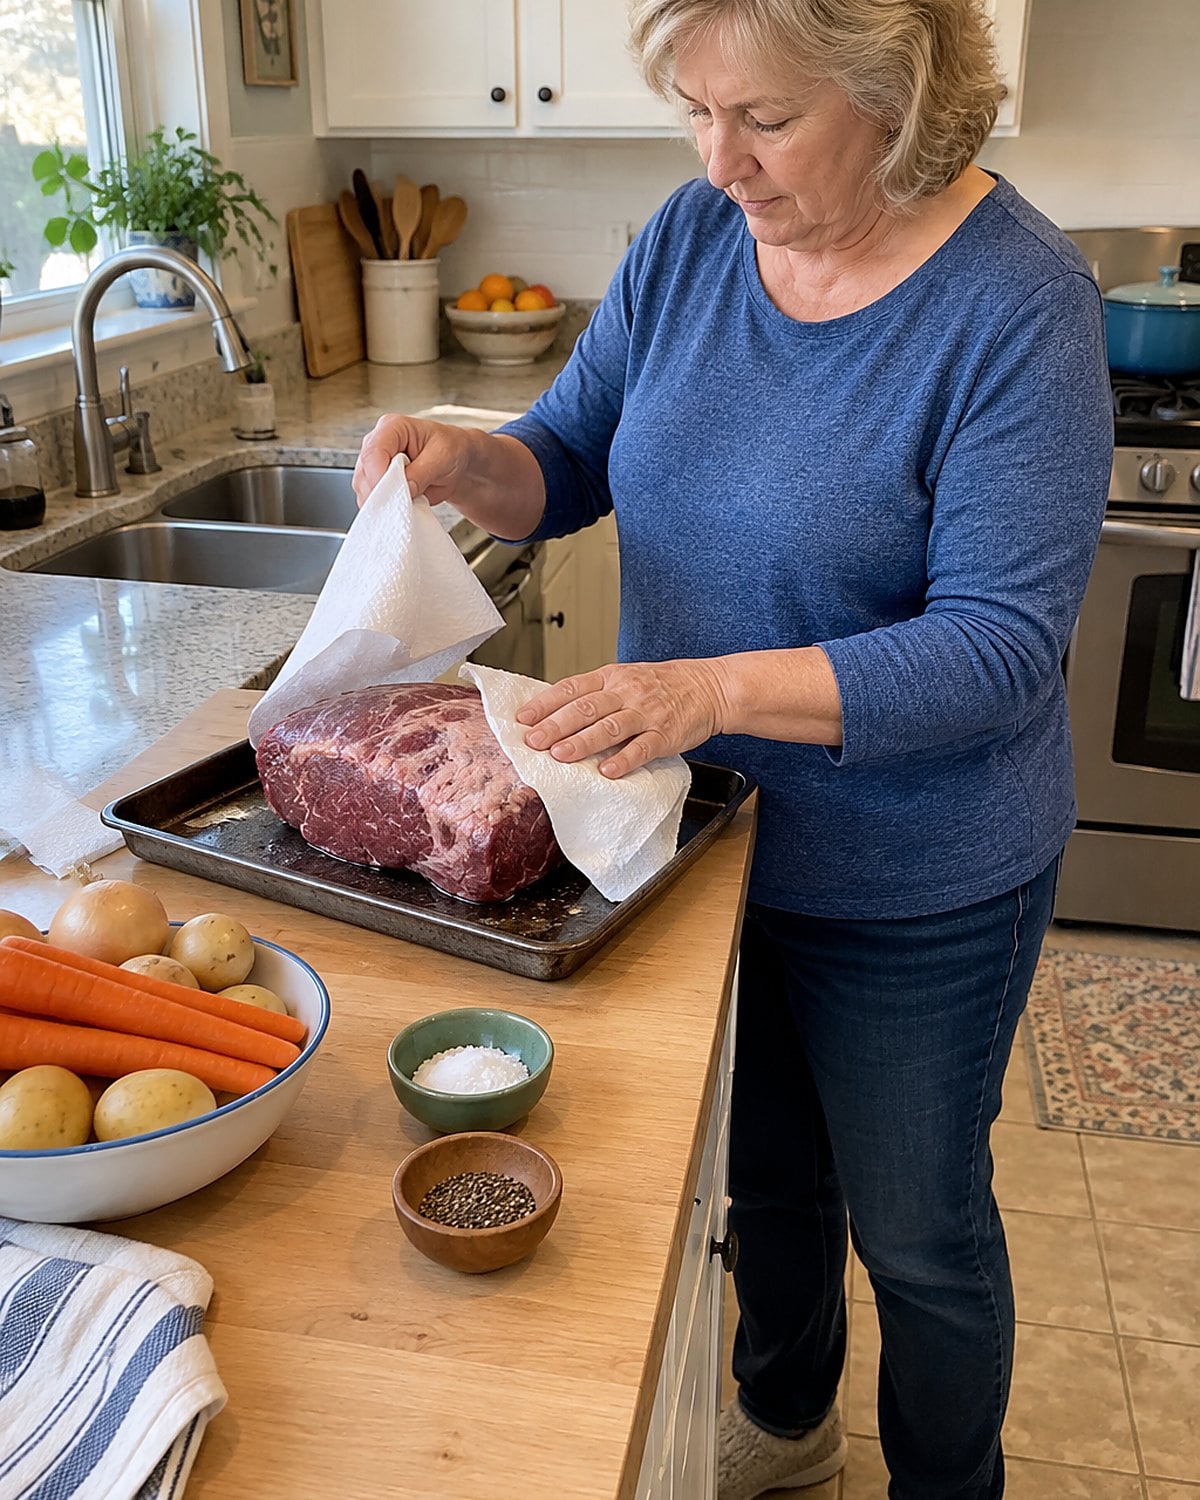
Watch what happens when damp meat touches a hot pan. The surface hisses, then sits in its own moisture. Browning waits until that water cooks away.
Pat the roast dry with paper towels before it goes into the pan. Pay attention to the folds and the underside, where moisture hides after unwrapping. A dry surface gives the oven less water to deal with and gives you better browned drippings for gravy.
There's no need to wash raw meat first. Washing splashes raw juices around the sink and counter. The USDA Food Safety and Inspection Service advises against it. Dry the meat, discard the towels, and wash your hands. Then let the pan do the browning.
#21 The crowded middle oven rack
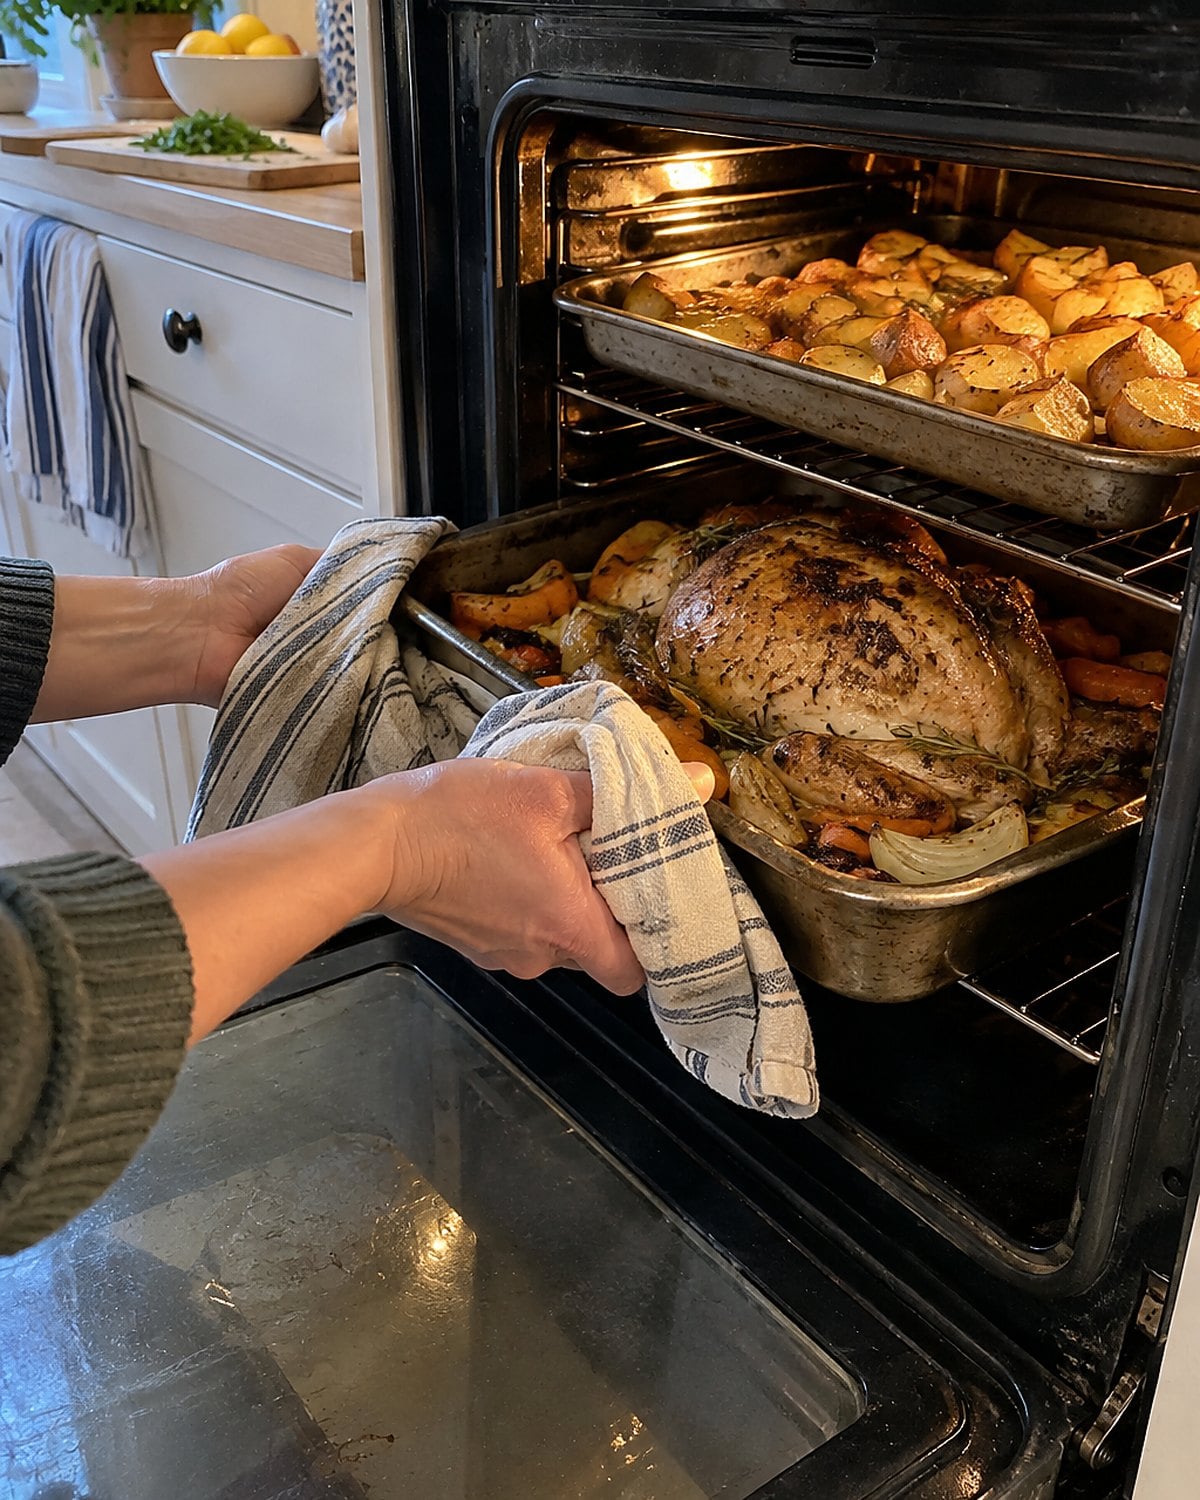
You know the moment: the roast is on the middle rack, potatoes are wedged beside it, and a casserole needs the spot underneath. The door closes with inches to spare. Later, one side of the pan looks browned while the other looks untouched.
Hot air needs a path around each dish. Set out the pans before turning on the oven and see how they fit. If the roast blocks the potatoes, plan to cook one dish earlier and warm it later. That is easier than rearranging hot racks with a towel in your hand.
Keep the roast away from the oven wall, too. A pan pressed against the side gets heat differently from a pan sitting clear of it. Halfway through cooking, turn the pan if your oven browns unevenly.
You'll learn more from the color of the drippings than from peering through the oven glass.
#20 The roasting pan that is too wide
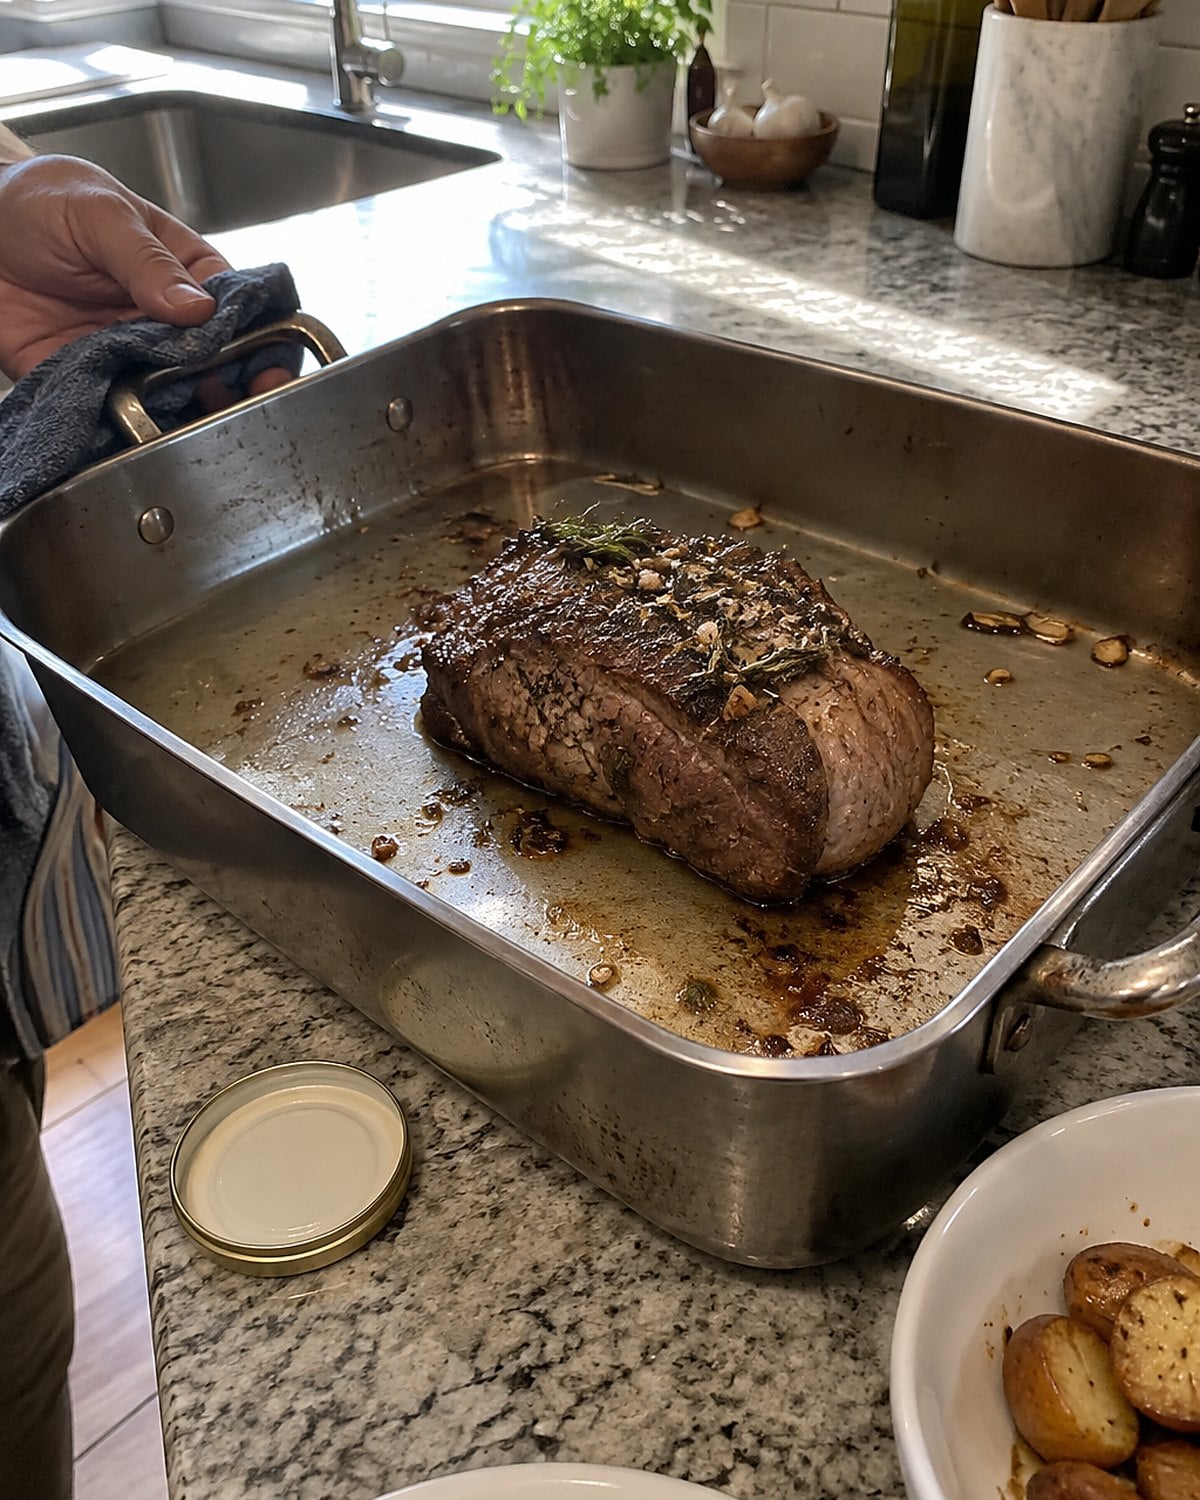
The big holiday pan comes down from the cupboard for a roast that feeds two. By the time dinner is ready, its thin layer of drippings has burned onto the bare metal.
Choose a pan with a little room around the meat, rather than a wide sheet of exposed metal. That space still lets the surface brown, but the juices aren't spread across the whole oven shelf.
If the pan starts looking dry, add a small splash of water to the bare area. Keep it away from the roast so the surface stays dry.
When you lift the meat out, check the bottom. Brown bits smell savory and make gravy. Black bits taste bitter. A different pan is easier to choose next Sunday than a burned gravy is to rescue tonight.
#19 The lid on the roasting pan
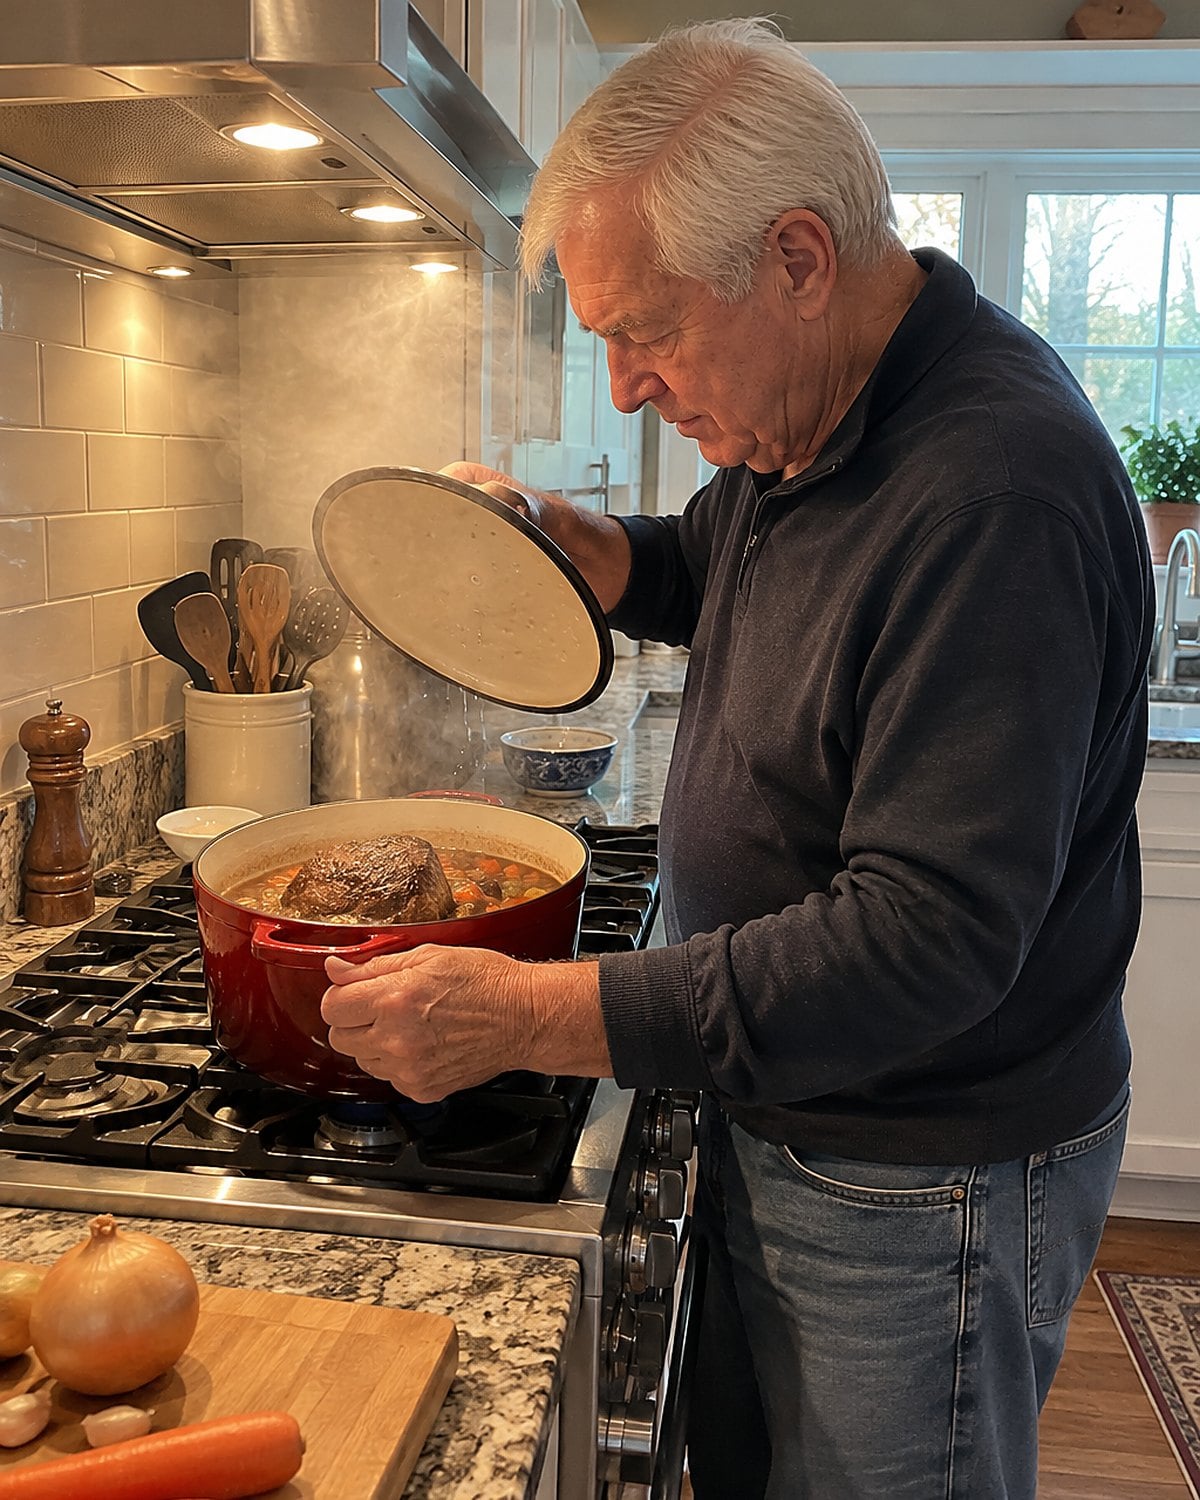
A lid changes what happens inside a roasting pan. It traps moisture, which is just what chuck needs as its connective tissue softens. Leave the lid off a tender beef roast when you want a browned outside.
Look at the meat label before reaching for the roasting pan. If the cut is unfamiliar, ask the butcher how it should be cooked. Don't wait until the oven is hot to find out you bought a pot roast for a dry-roasted dinner.
That small check matters more than an elaborate rub. Pepper, salt, and garlic won't change tough connective tissue into tender slices during a short roast. The right pan and cooking method will.
There's a place for both dinners on a Sunday. A covered chuck gives you tender meat in its cooking liquid. An open pan gives a tender cut a browned surface and drippings for gravy. Decide which one is on the counter before you lift a lid from the cupboard.
#18 Salt before the oven goes on
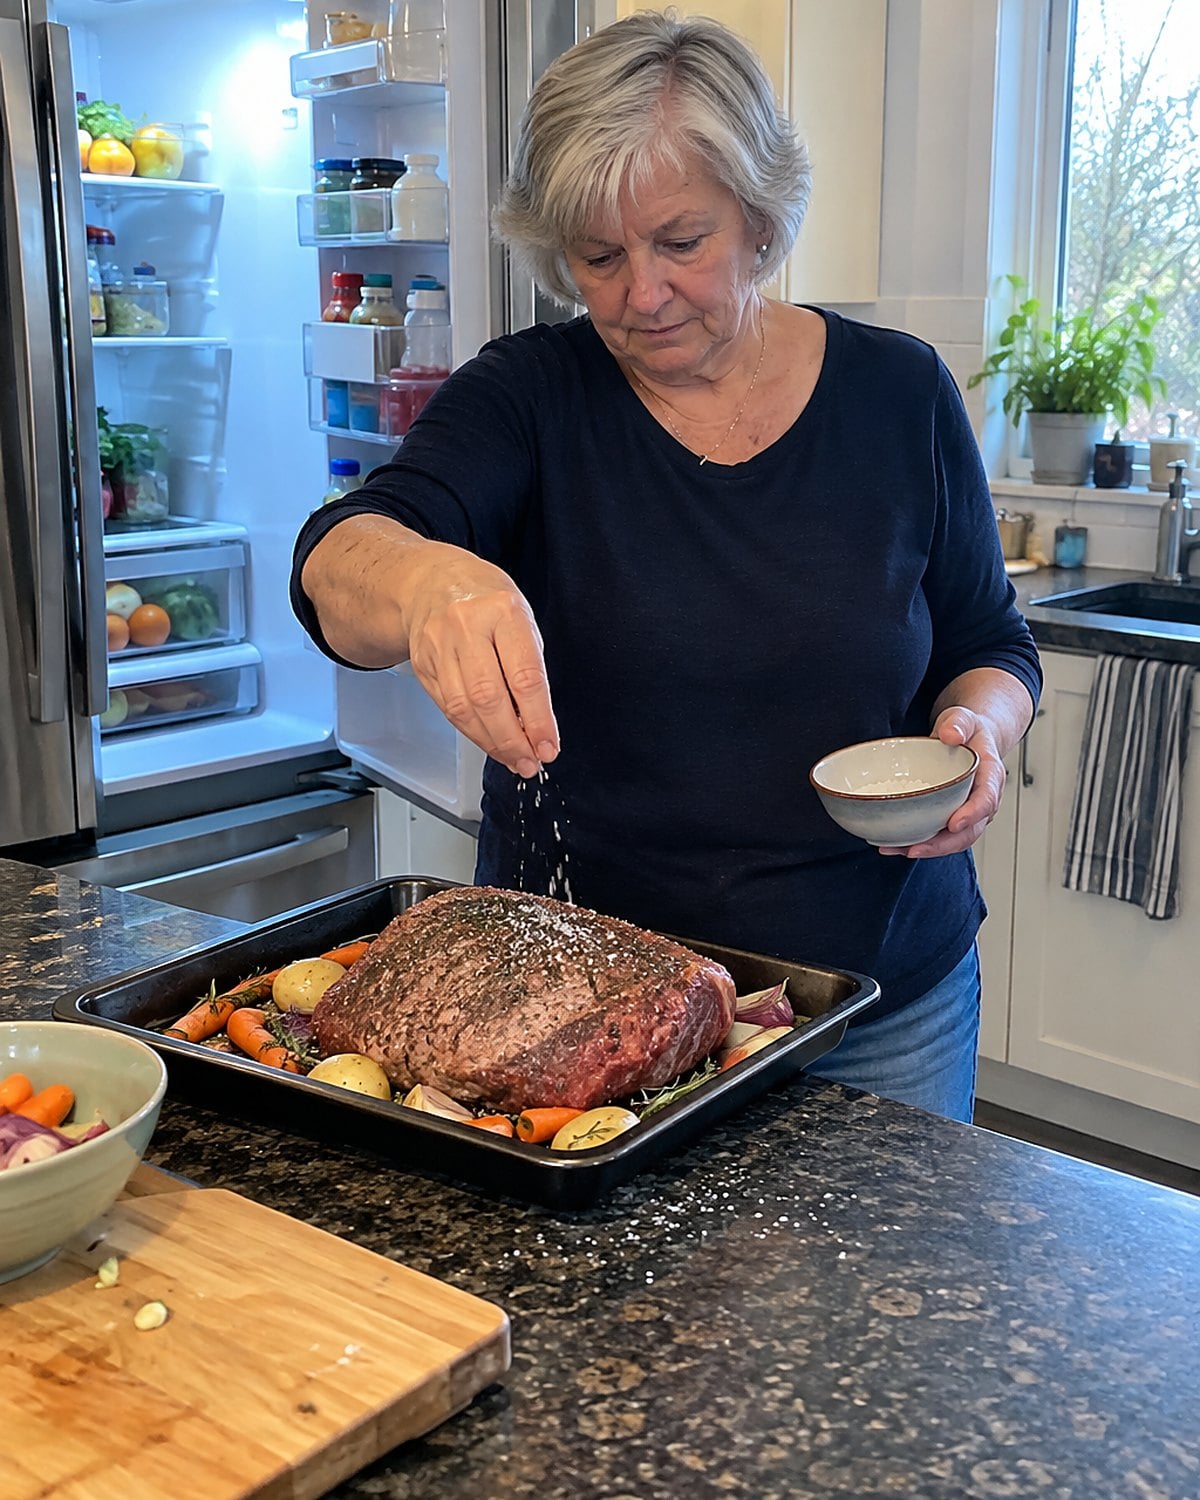
The roast is unwrapped, the potatoes are underway, and someone asks when dinner will be. That's when the salt gets scattered over the top and the meat goes straight into the oven.
Salt has a better chance to season the roast when it reaches the surface earlier. If there's time, salt it ahead and leave it uncovered in the fridge on a tray. The surface dries as it sits, which helps it brown.
Keep the tray below ready-to-eat food, where raw meat juices can't drip onto anything. The FDA's refrigerator guidance is worth a look if the fridge is packed for Sunday dinner.
If dinner is already moving, salt the roast now and carry on. Taste the gravy before adding more salt later. The drippings already carry some of what you put on the meat.
#17 The potato with ragged edges
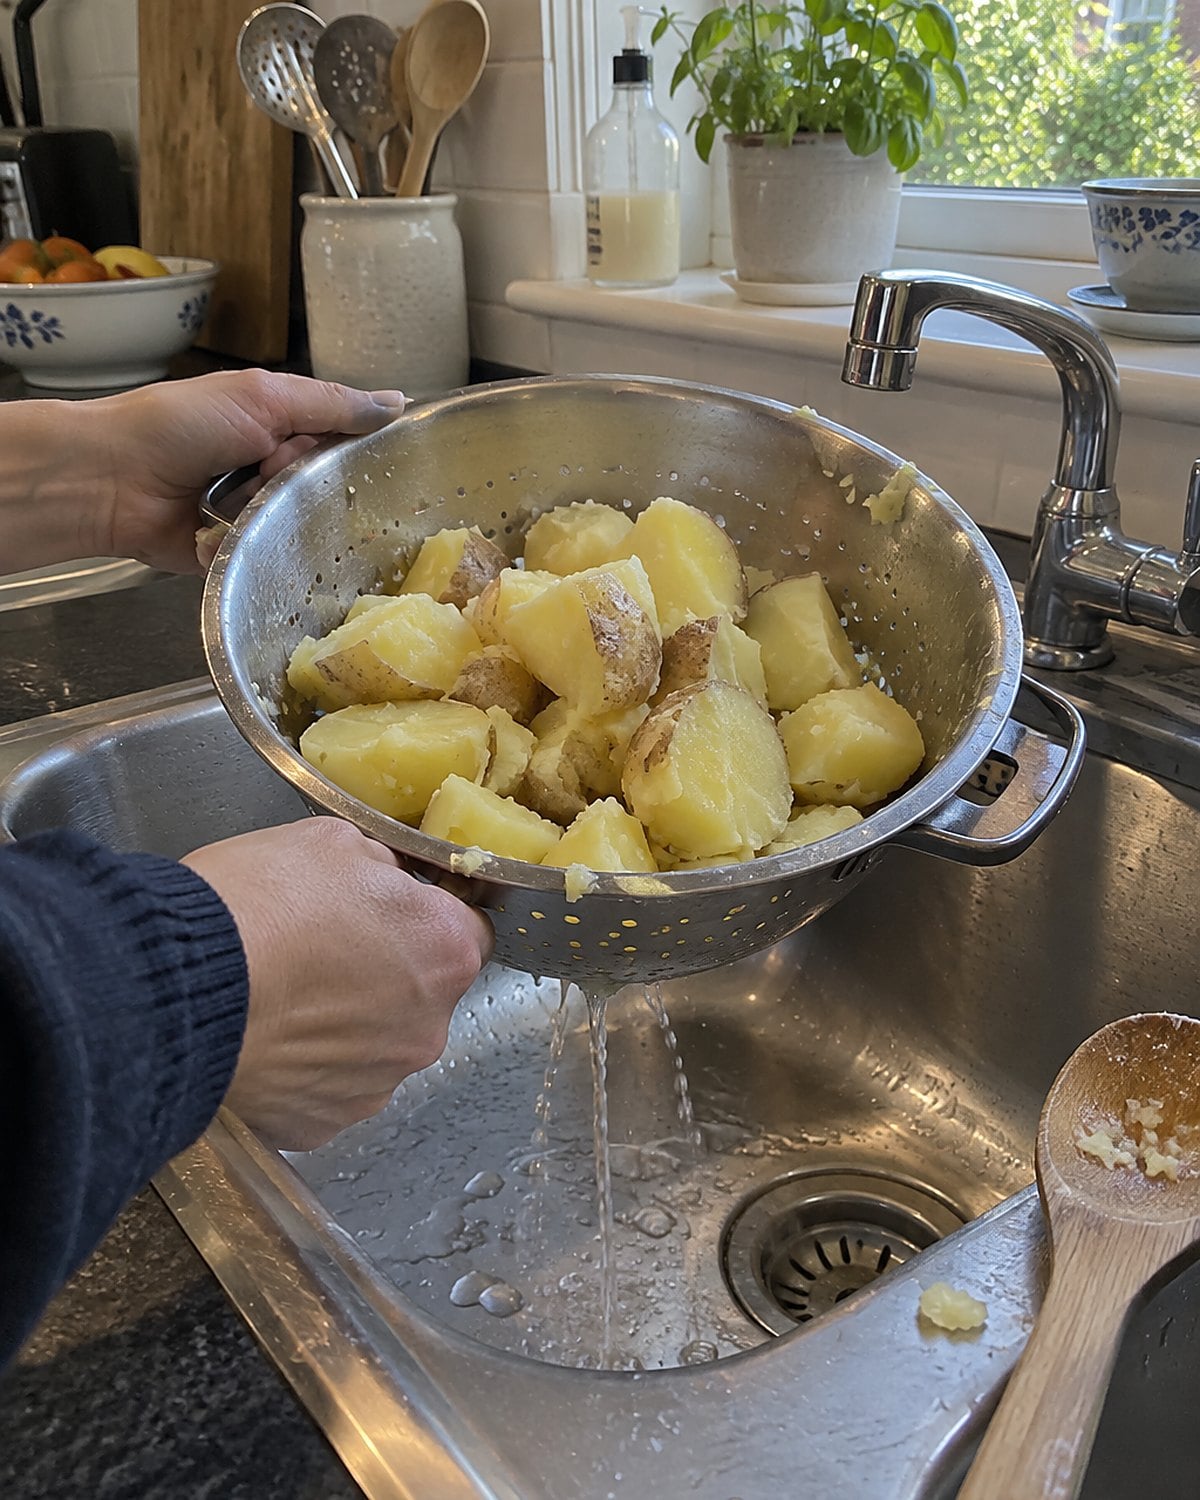
The best roast potato on the tray is rarely the smooth one. It's the piece with rough edges that turned crisp against the pan.
Cut potatoes into pieces close in size, then simmer them until the outside starts to soften. Drain them well. Give the pot a shake so the edges scuff up.
Those soft, ragged surfaces take on fat and brown in the oven. A piece that stays hard and glassy at the edge needs more time in the water.
Don't boil them until they fall apart. You want each potato to hold its shape when you lift the lid and shake the pot. Put them into a hot roasting pan with space between them. When the undersides release easily, turn them. If they cling, give the crust longer to form.
A pale potato beside a finished roast isn't a ruined dinner. Leave the potatoes in the oven while the meat rests. The timing is already on their side.
#16 The hot fat in the potato pan
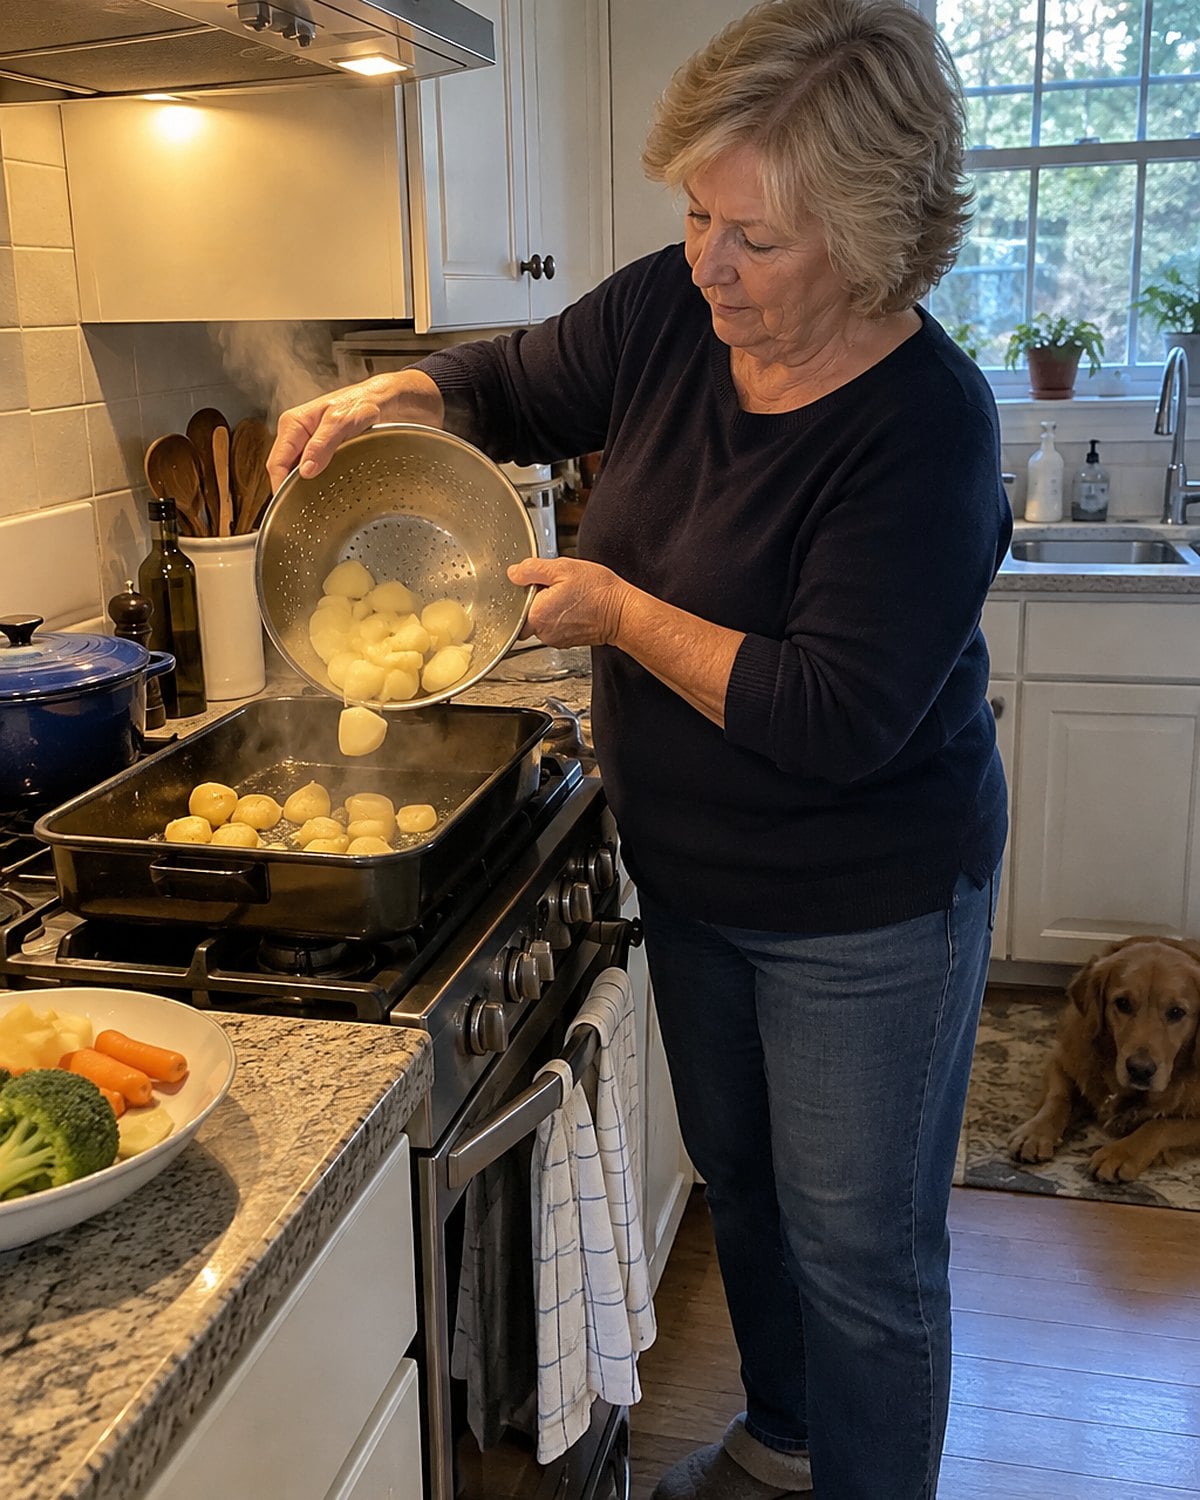
A cold pan with cold fat and damp potatoes takes a long route to a crisp edge. Heat the roasting pan first, then add the fat. Drain the potatoes well before lowering them in, away from your hands.
Listen for a sizzle. If the potatoes sit there without a sound, don't add the rest yet. Put the pan back in the oven for another minute. Then try a single piece before you commit the whole colander.
Spread them into a single layer and leave room to turn each piece without breaking its neighbor.
You don't need a deep pool of oil. Each potato needs contact with the hot pan and a coating of fat. Once they're in, close the oven door. Repeated checking lets out the heat they're counting on.
#15 The onion under the roast
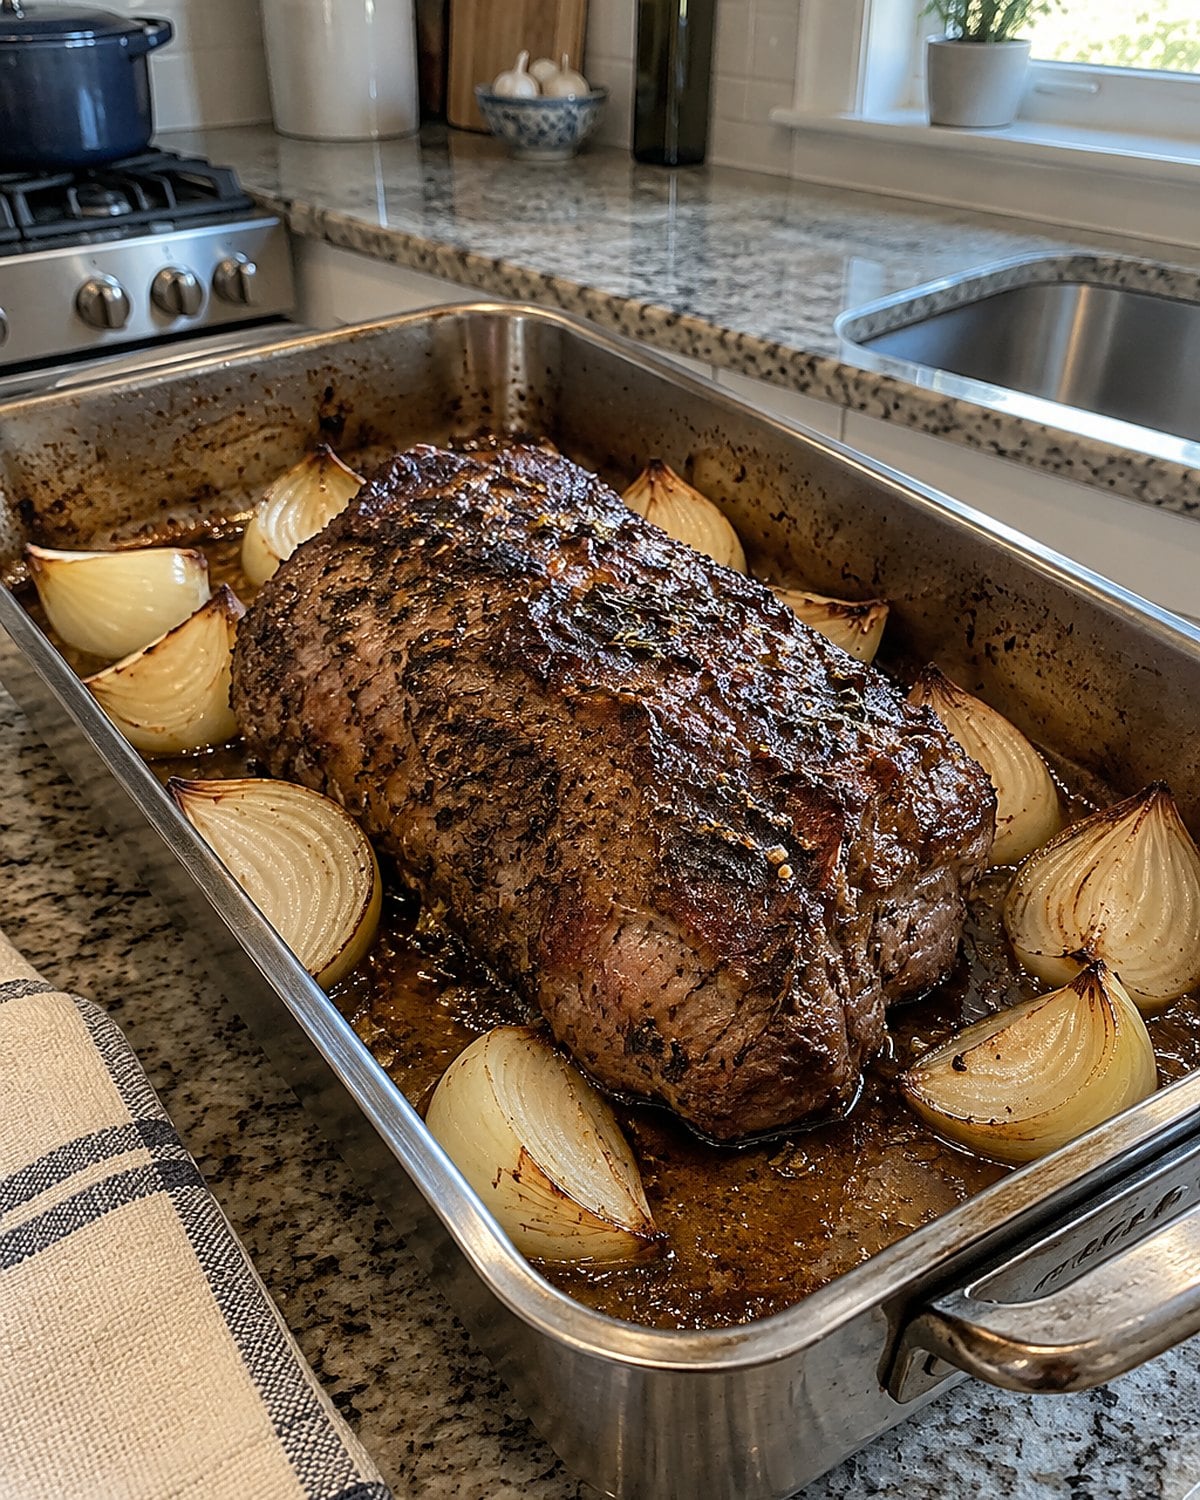
There's an old habit of setting a roast on a bed of onions. The onions smell wonderful, and they keep the meat off the pan. They also release water as they cook.
For a tender roast you're trying to brown, put the onions around it instead. Leave some pan bottom exposed so the drippings meet hot metal. If the onions darken too fast, move them toward a cooler corner of the pan. A spoon of tender, browned onion still belongs in the gravy.
Under a covered chuck roast, those same onions do a different job. They cook down into the liquid and become part of the sauce. It's worth deciding which dinner you're making before you cut them.
If you've wondered why the gravy you remember tasted deeper, look at what was in the pan. Meat juices, onion, and browned bits worked together. The onion wasn't the whole secret.
#14 The carrots beside the potatoes
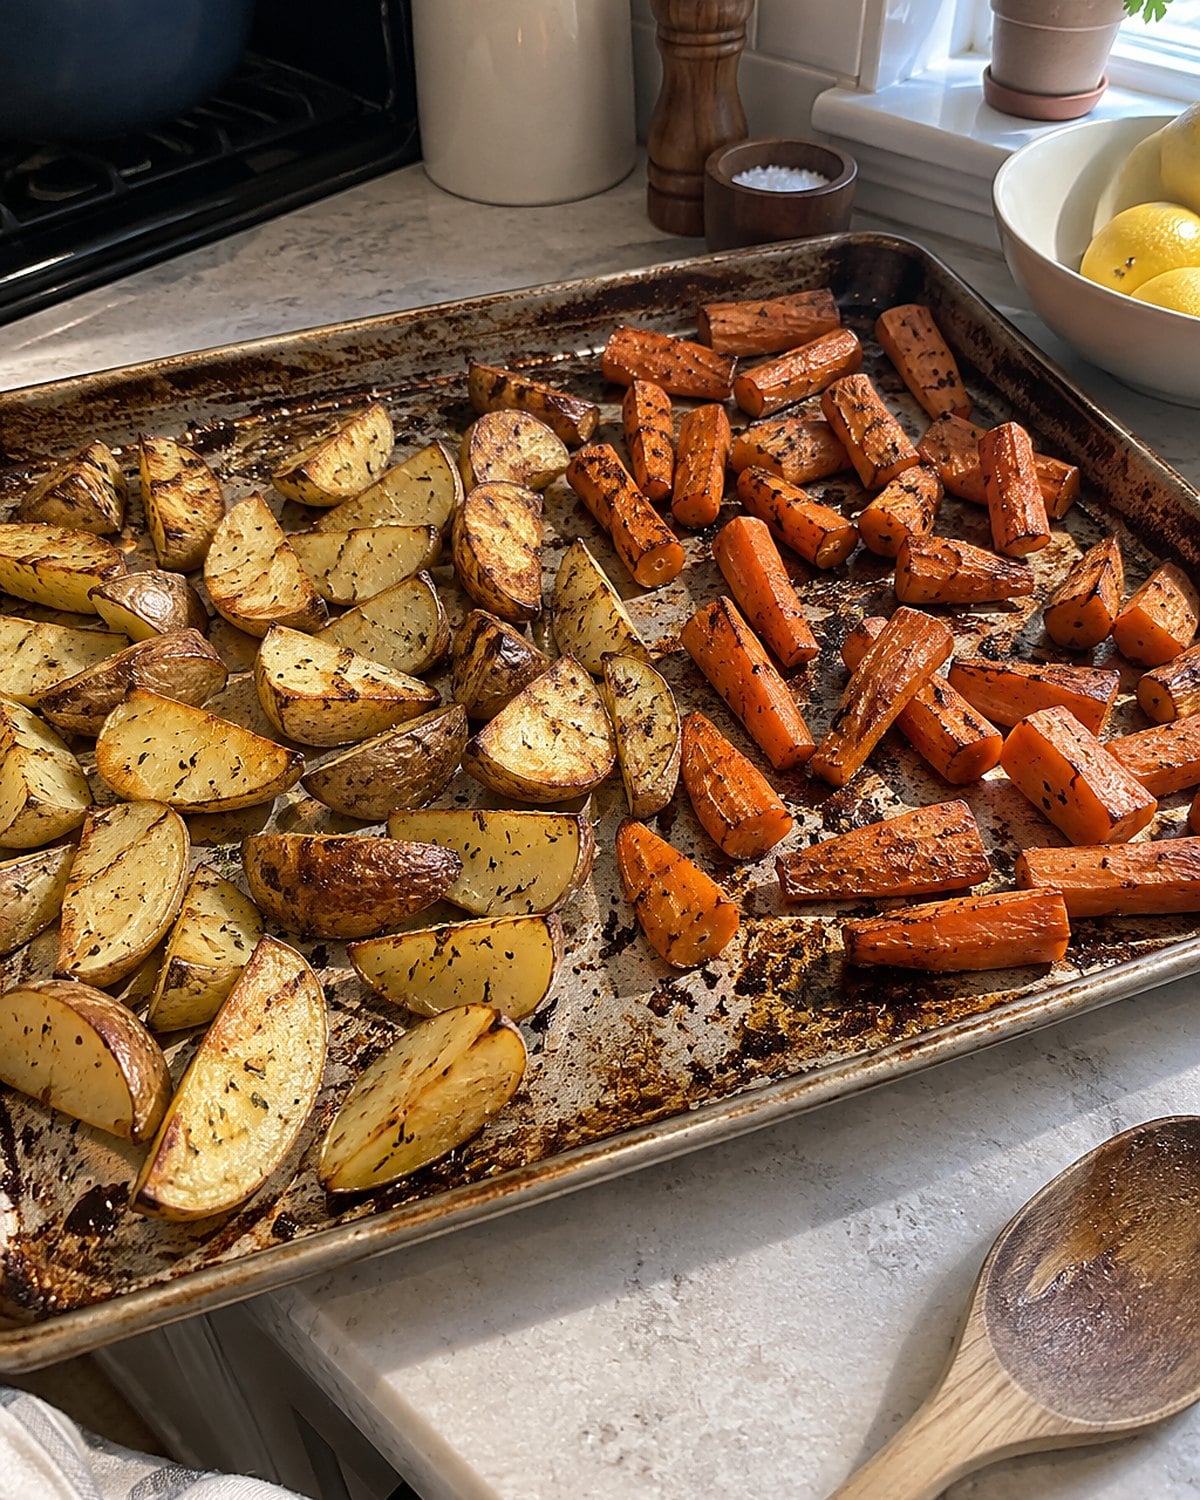
Carrots and potatoes don't finish the same way just because they share a tray. Thin carrot ends darken while thick potato pieces are still firm. Meanwhile, the crowded part of the pan steams.
Cut carrots into pieces with a similar thickness from end to end. Give them their own patch of pan, or add them after the potatoes have had a head start. A fork should go into the thickest carrot piece without forcing it. The edges should look browned, not shriveled.
Before serving, taste one. Carrots that have browned well need little help. If they taste flat, a small pinch of salt does more than another stretch in the oven. That leaves you free to pull them out while the potatoes finish.
#13 The cabbage pot on the back burner
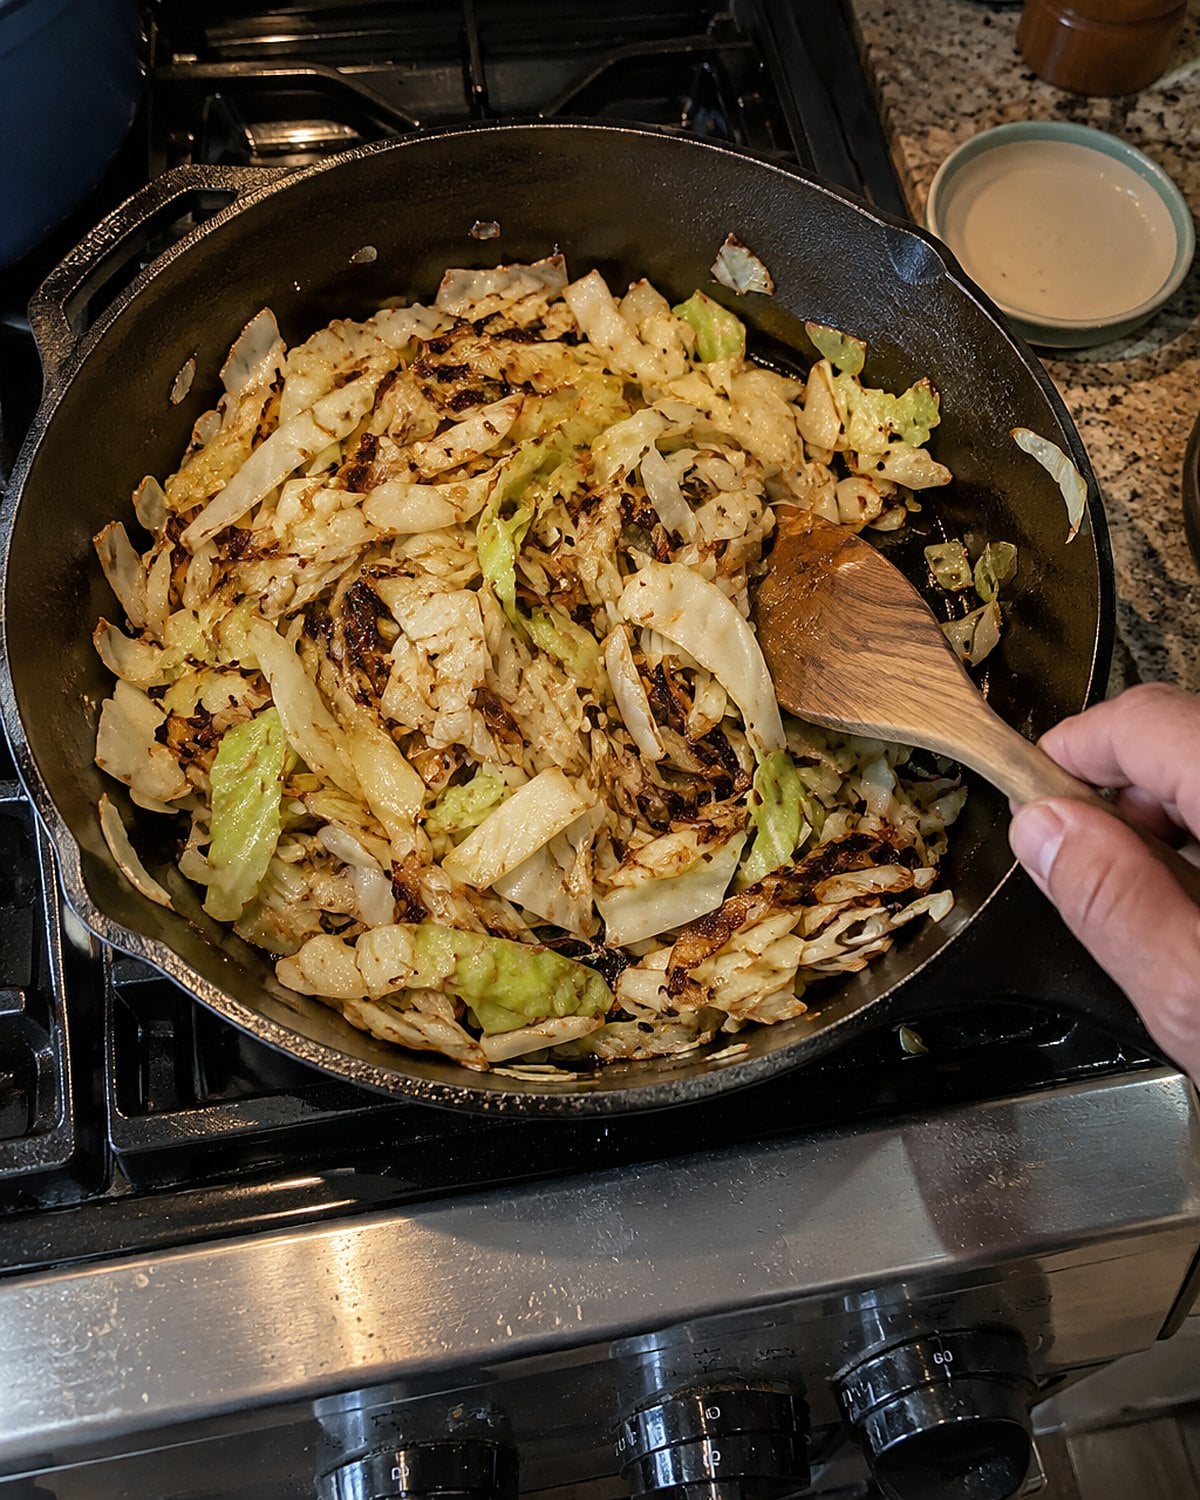
By the time the roast comes out, the cabbage has spent too long under a lid. Its color has dulled, and the kitchen smells like the pot rather than the meat.
Give cabbage the last part of dinner, not the first. Slice it so the pieces cook at the same pace. Start with a hot pan and a little fat, then turn the cabbage until it softens and gets browned edges.
If you prefer it tender throughout, add a splash of water and cover it briefly. Lift the lid before serving so excess liquid cooks off.
Taste for salt while it's still in the pan. A little vinegar at the end sharpens cabbage that tastes heavy beside beef and gravy. Add it by the spoonful and taste again.
There's no need to keep cabbage hot for the entire afternoon. Set the cut pieces aside in the fridge, then cook them when the roast is nearing the end.
Try it: 20 Instant Pot Cabbage Recipes
#12 The thermometer tip beside the bone
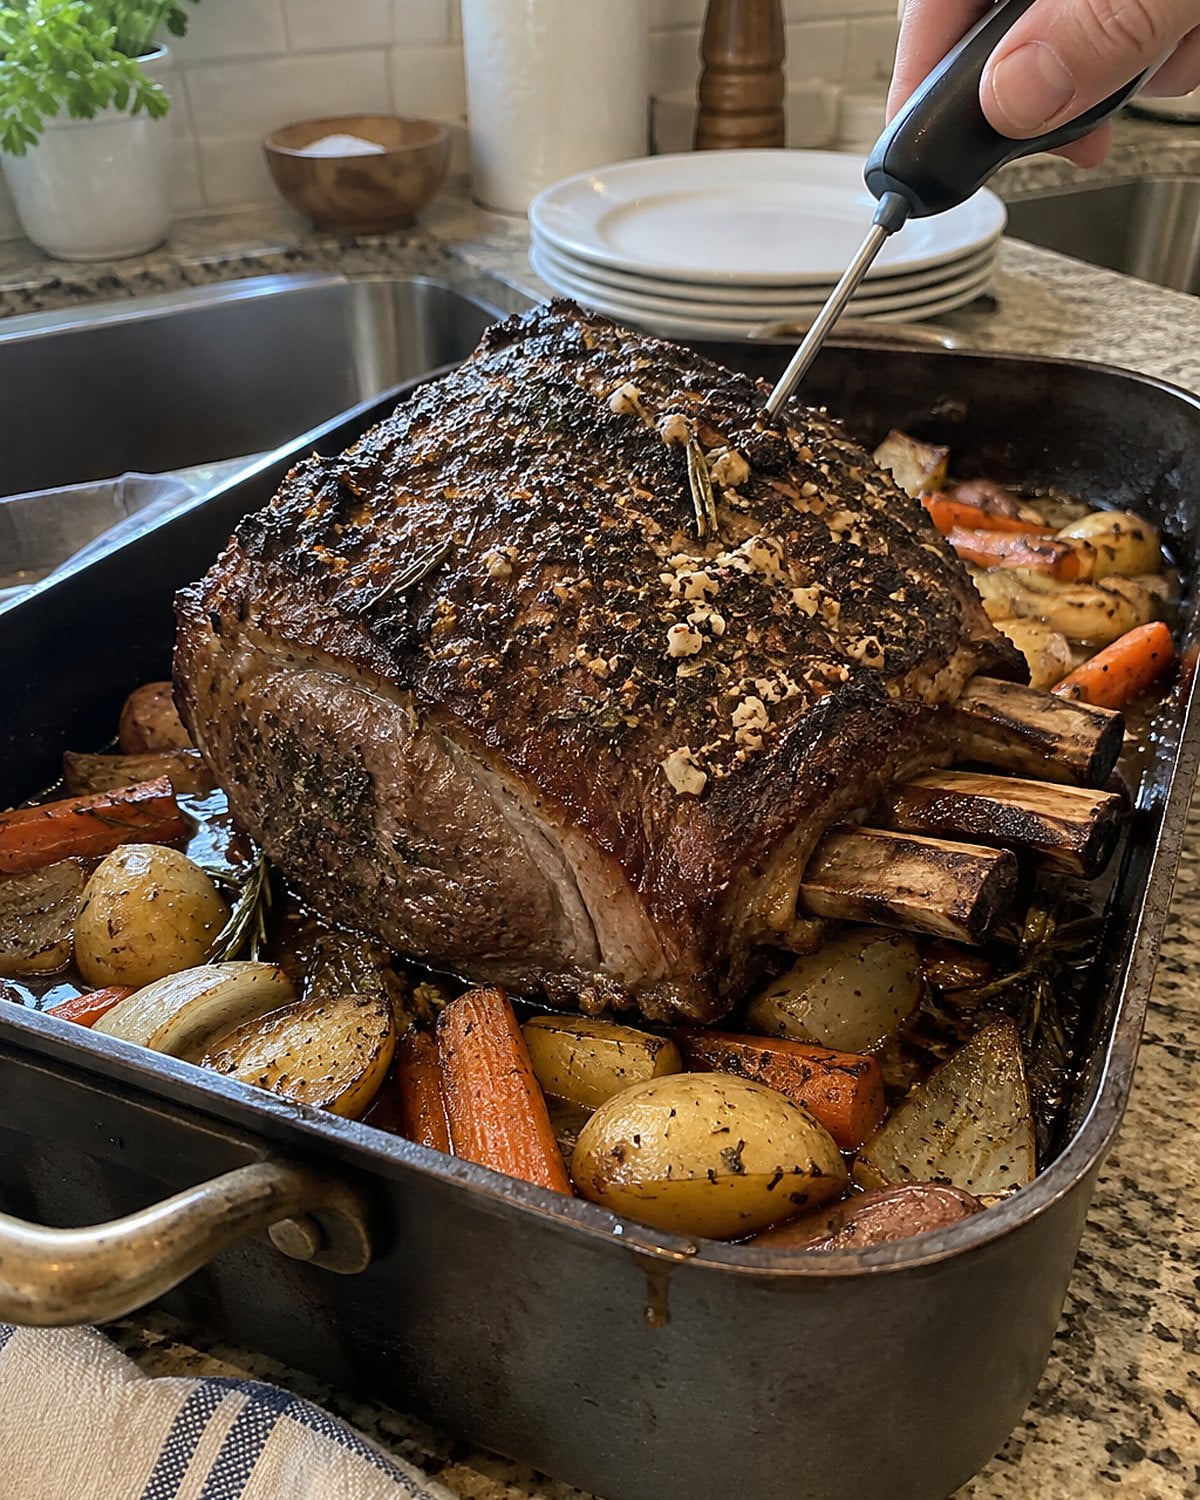
The outside looks ready. The clock agrees. Neither one tells you the temperature at the center.
Push an instant-read thermometer into the thickest part of the roast, keeping the tip away from bone and large pockets of fat. Check another spot if the reading surprises you.
For whole cuts of beef and pork, the USDA's safe minimum temperature chart gives 145°F with at least a 3-minute rest. Poultry needs 165°F.
Don't judge beef by the color of its juices. Color doesn't measure its center temperature. And if dinner is chicken, check the thickest part of the breast and the inner thigh, avoiding bone.
The thermometer gives you a reading while there's still time to act. It beats slicing into the roast, discovering a cool middle, then trying to put the pieces back together.
#11 The brown bits beneath the meat
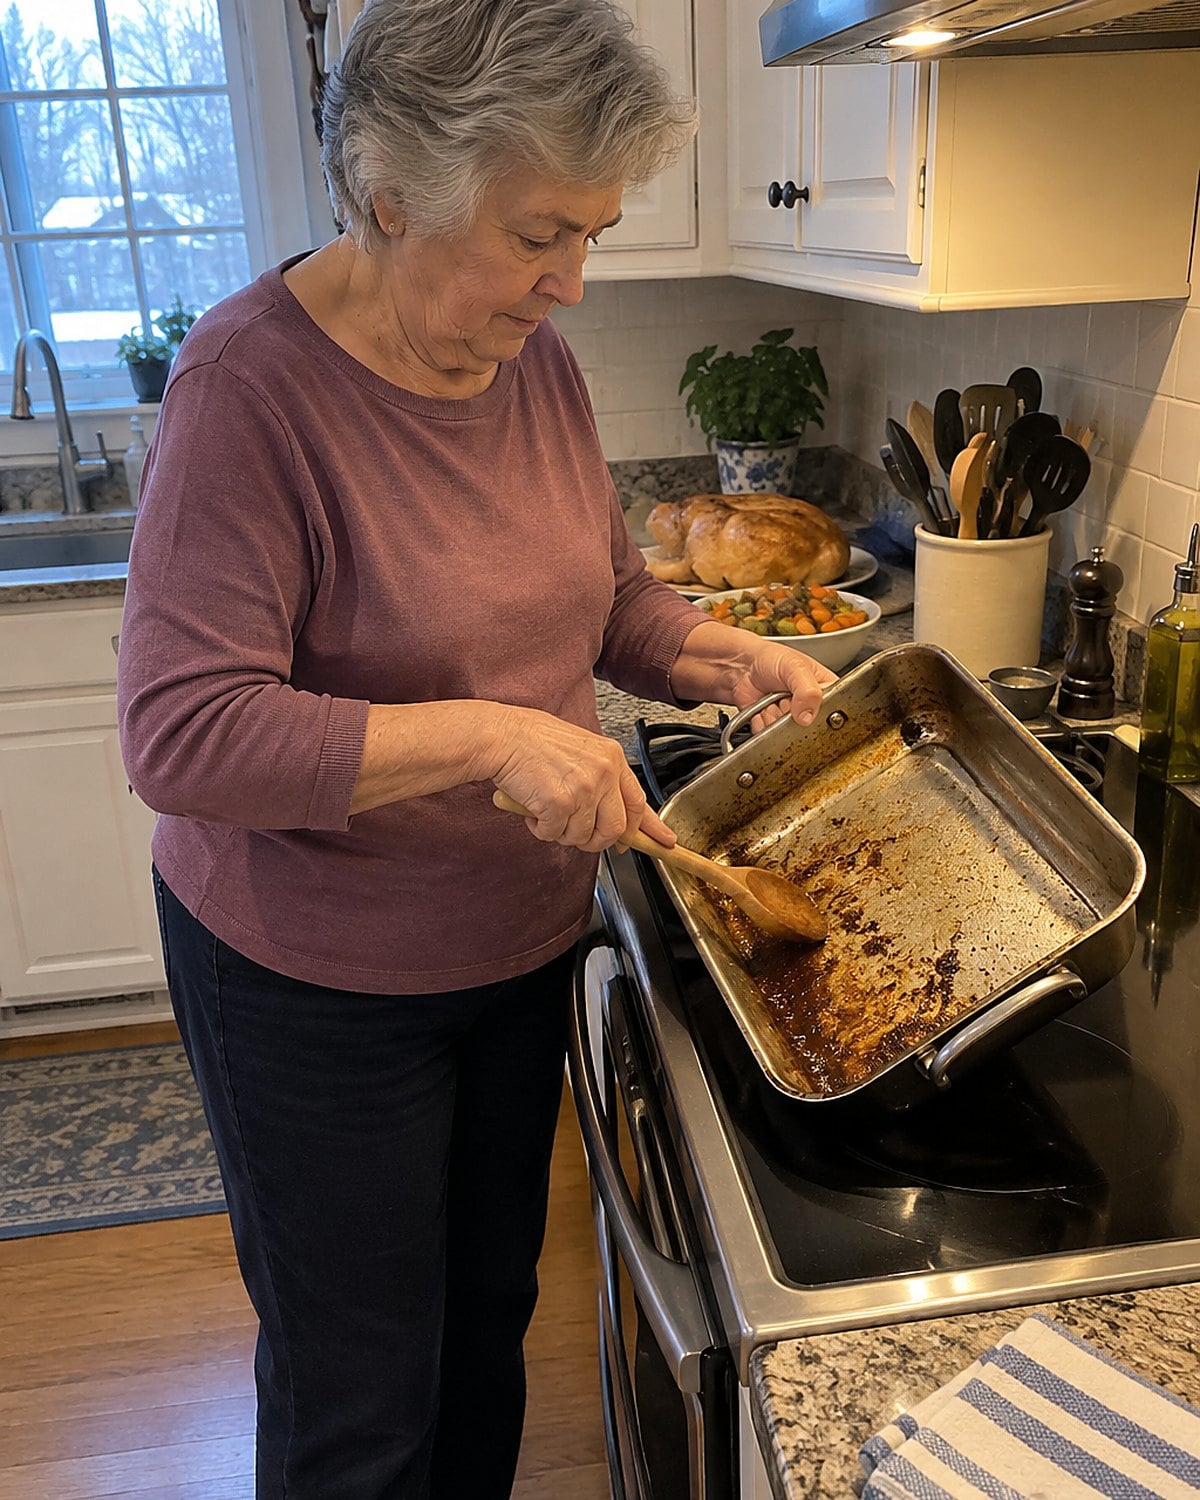
When the roast leaves the pan, the bottom looks messy. Keep it that way for a moment. The browned bits stuck to the metal hold the flavor your gravy needs.
Pour off excess fat, leaving a little behind. Put the pan over heat, add a splash of stock or water, and scrape with a wooden spoon. The browned bits should lift into the liquid. If a patch smells burned or looks black, leave it behind rather than scraping bitterness into the gravy.
Do this before flour goes anywhere near the pan. You want the browned meat juices in the liquid first, where you can taste them and leave any bitter patch alone.
A wooden spoon reaches the corners better than a whisk. Once the bottom feels smooth under it, pour that liquid into a cup. The pan is ready for the next part of the gravy, and you haven't lost what the roast left behind.
Try it: Instant Pot Roast Beef & Gravy
#10 The roast waiting on a board
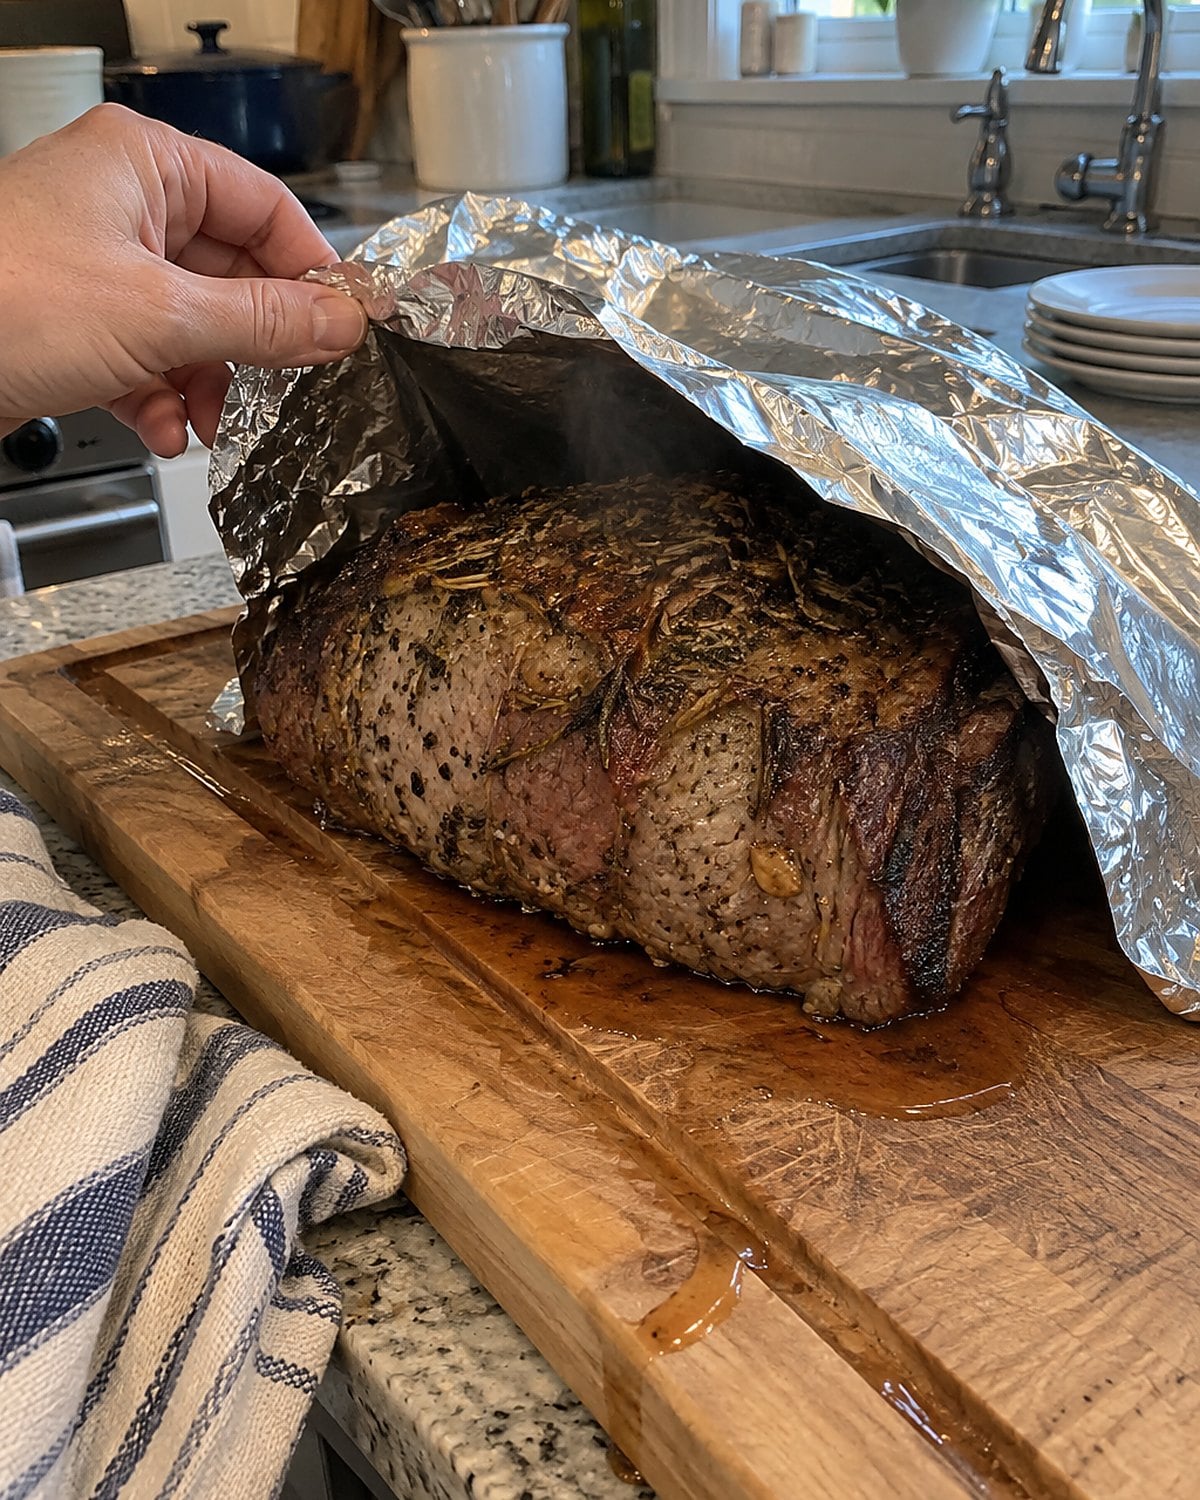
The roast comes out, the carving knife appears, and the first slice sends juice across the board. It's hard to wait when the potatoes are ready and everyone is standing in the kitchen.
Give the meat its rest. Cover it loosely with foil, leaving room for steam to escape.
The temperature inside continues to change after it leaves the oven, and the rest gives you time to finish the sides. For a larger roast, plan on roughly 15 to 20 minutes before carving.
Keep the thermometer handy. The USDA rest-time guidance still matters when you're deciding when to cut.
Use that pause for the gravy and serving dishes. The meat doesn't need you hovering over it with a knife. If juices collect on the board, tip them into the gravy before you bring it to the table.
#9 The carving knife across the grain
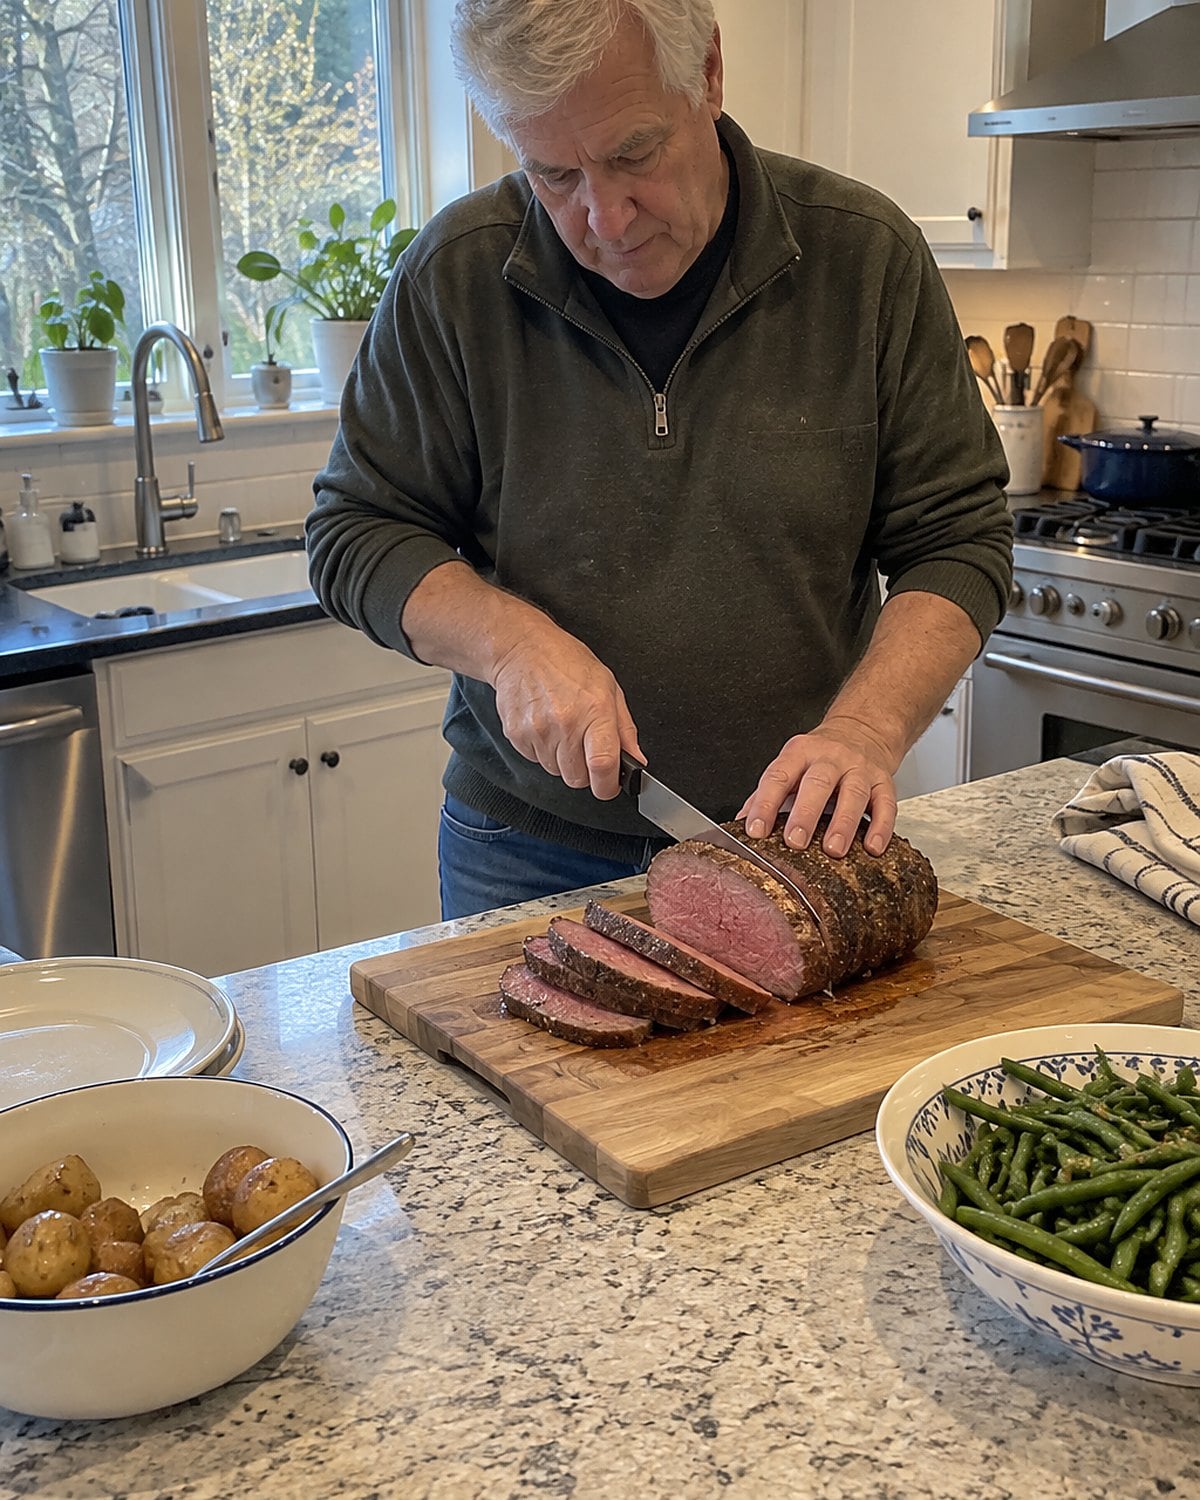
A roast is cooked through, rested, and still seems chewy. Look at the direction of the muscle fibers before you cut another slice.
On the cut face, the fibers show as lines. Slice across them, not along them. Each cut shortens those fibers, so the meat is easier to chew. Turn the roast on the board if that gives your knife a better angle.
A long slicing knife helps you make clean strokes without sawing.
Thickness counts, too. Cut a small first slice and taste it. If it feels chewy, try a thinner one across the grain. Keep the juices on the board; they'll belong in the gravy, not in a towel. One careful slice tells you more than carving the whole roast in a hurry.
#8 The gravy that tastes like flour
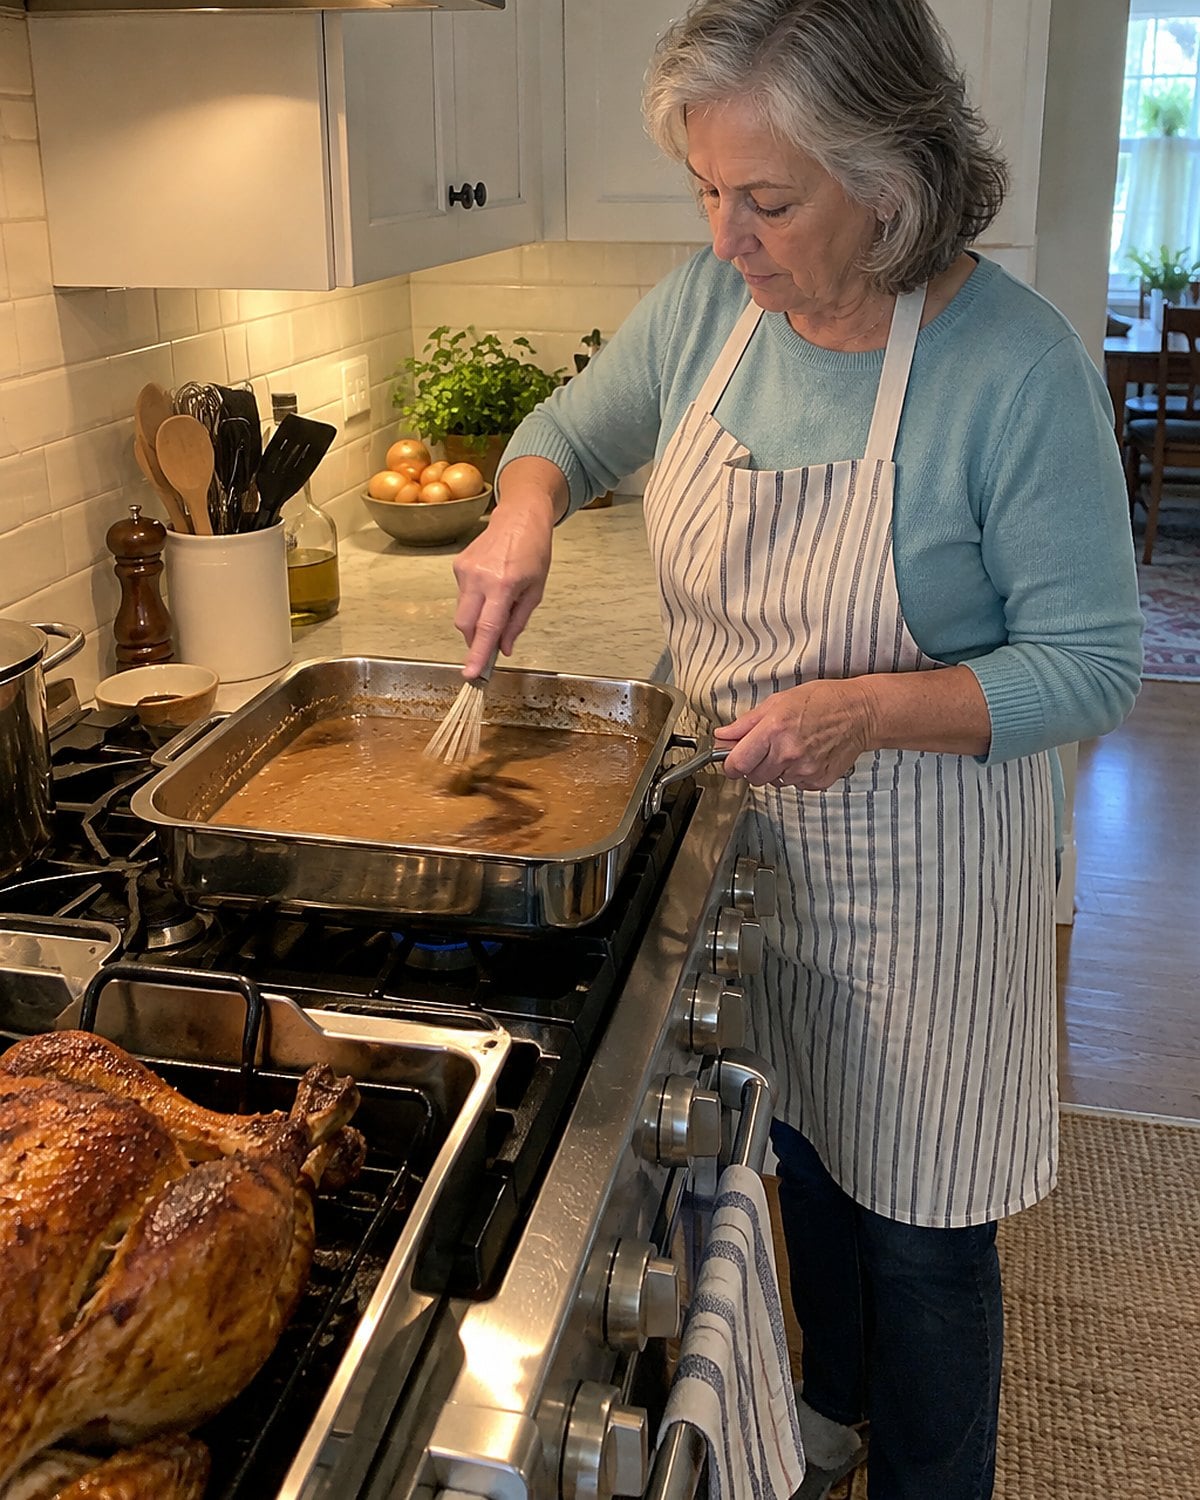
Flour needs time in the hot fat before the liquid goes in. Skip that short stretch and the gravy carries the taste of raw flour, no matter how good the roast was.
After you've lifted the browned bits into liquid, leave a little fat in the pan. Stir flour into that fat. Keep stirring until the flour darkens slightly and smells nutty.
Now pour in the reserved pan liquid, followed by stock in stages. The first addition looks thick and lumpy. Stir until it loosens before adding more. Taste the gravy before you reach for salt; the drippings and stock have already had their say.
If you've already poured in all the stock, don't throw the gravy out. Keep it at a simmer and whisk, then taste it again. A spoonful of pan juices from the resting board brings back the roast flavor.
The gravy doesn't have to match the one in your memory down to the last spoonful. It should taste of this roast, with no raw flour left behind.
#7 The plates beside the warm stove
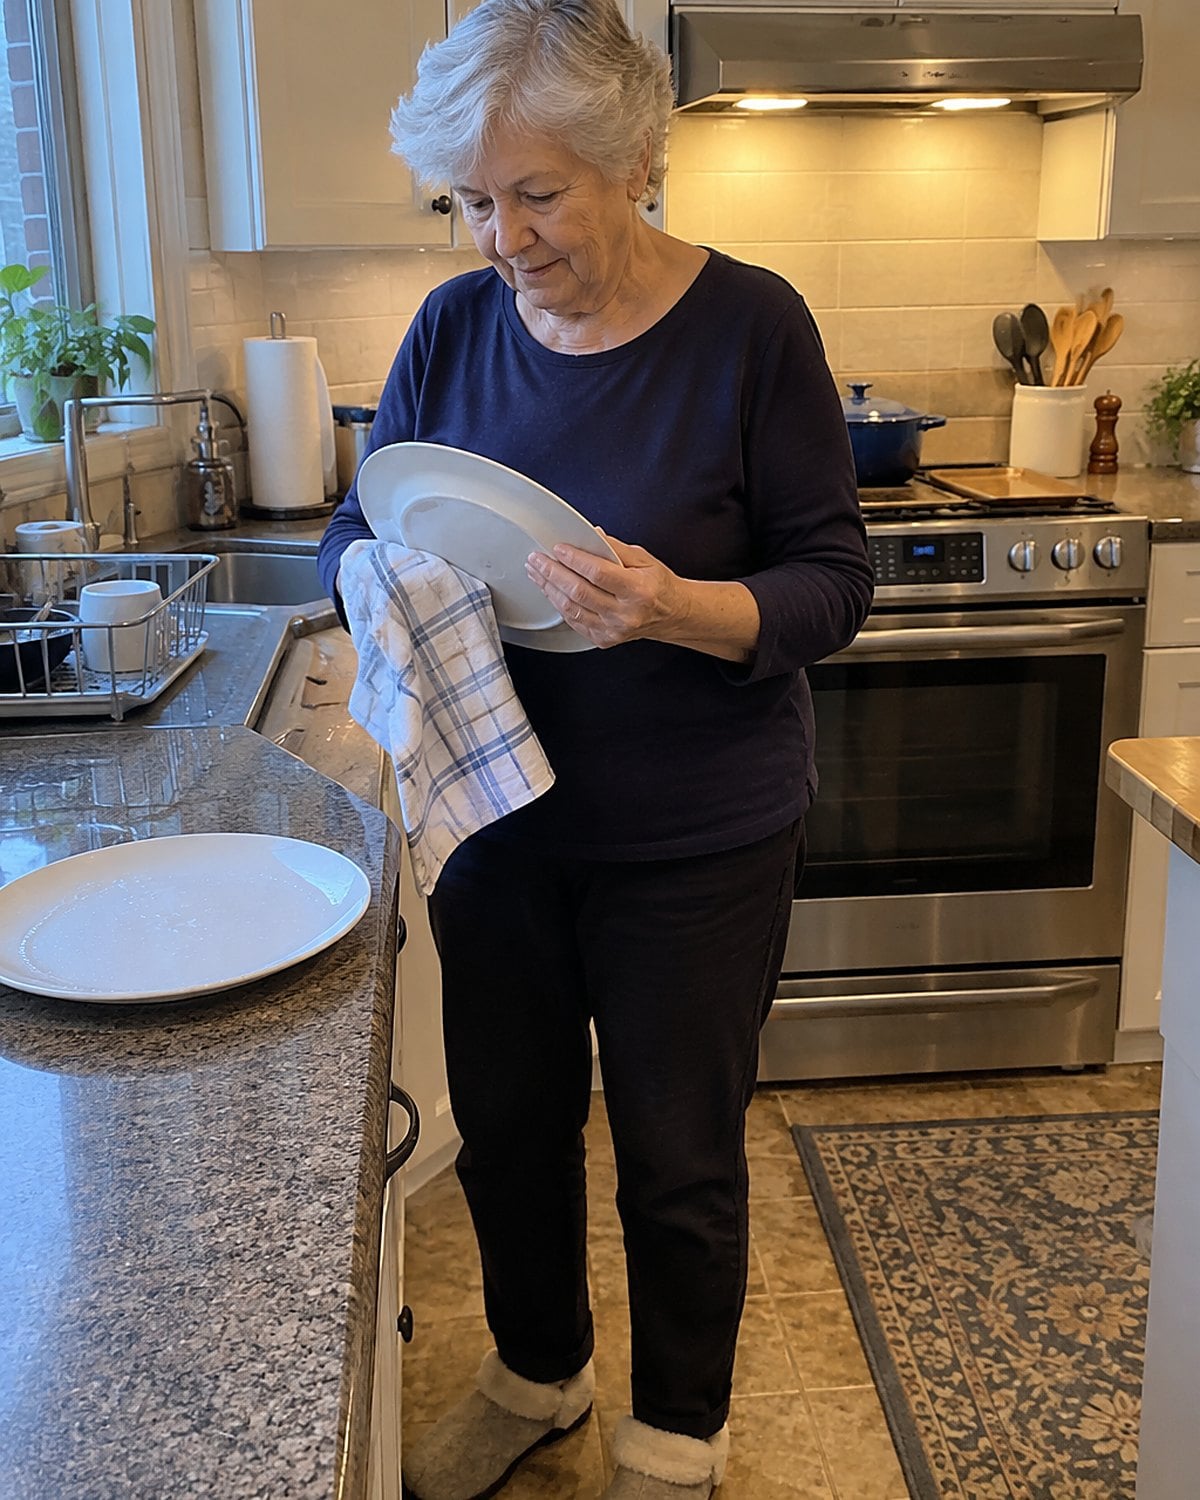
Hot gravy on a cold plate loses its warmth before you've sat down. You know it when the first person served is waiting while the last spoon of cabbage comes across the kitchen.
Put serving plates in a warm spot while you finish dinner. A low oven works if the plates are oven-safe. Otherwise, use warm water, dry them, and set them near the stove. Don't use a very hot oven; plates can be awkward to handle when dinner is moving fast.
Warm the gravy boat as well. Pouring hot gravy into a cold vessel spends heat before anyone gets a spoonful. It's a small detail, but it makes the roast and sides feel as though they arrived together.
#6 The rolls waiting for oven space
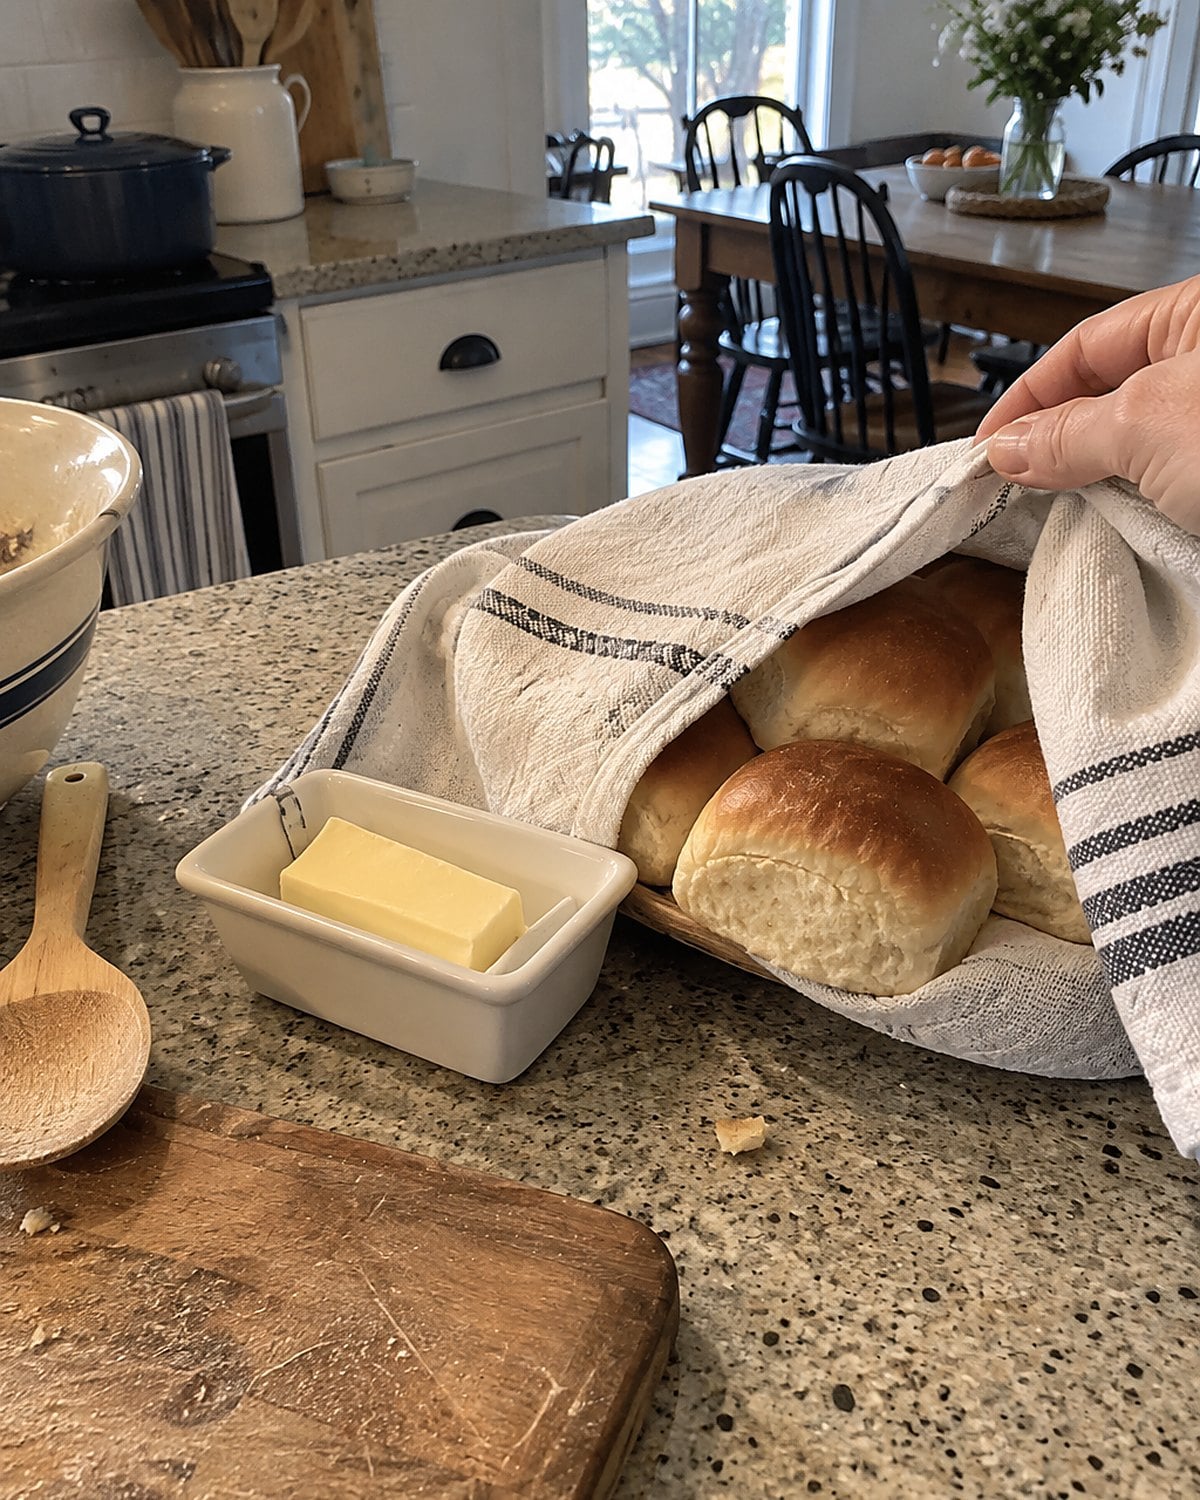
Bread is the flexible part of Sunday dinner. The roast gets checked for doneness. The potatoes need browned edges. Rolls need a brief turn in the oven, and they shouldn't take the space the other pans need.
For years, a full oven meant somebody solved that puzzle without saying much about it. You don't have to solve it with the oven door open and a hot tray in your hands.
Bake the rolls earlier if they don't need to be hot from the oven. Set them under a clean towel, then warm them briefly after the roast comes out. If they're already baked, watch them closely. Bread goes from warm to hard faster than a pan of potatoes does.
When the oven door finally closes on the last dish, put the butter on the table. Otherwise, everyone reaches for it while you're holding a hot pan.
#5 The table set for two
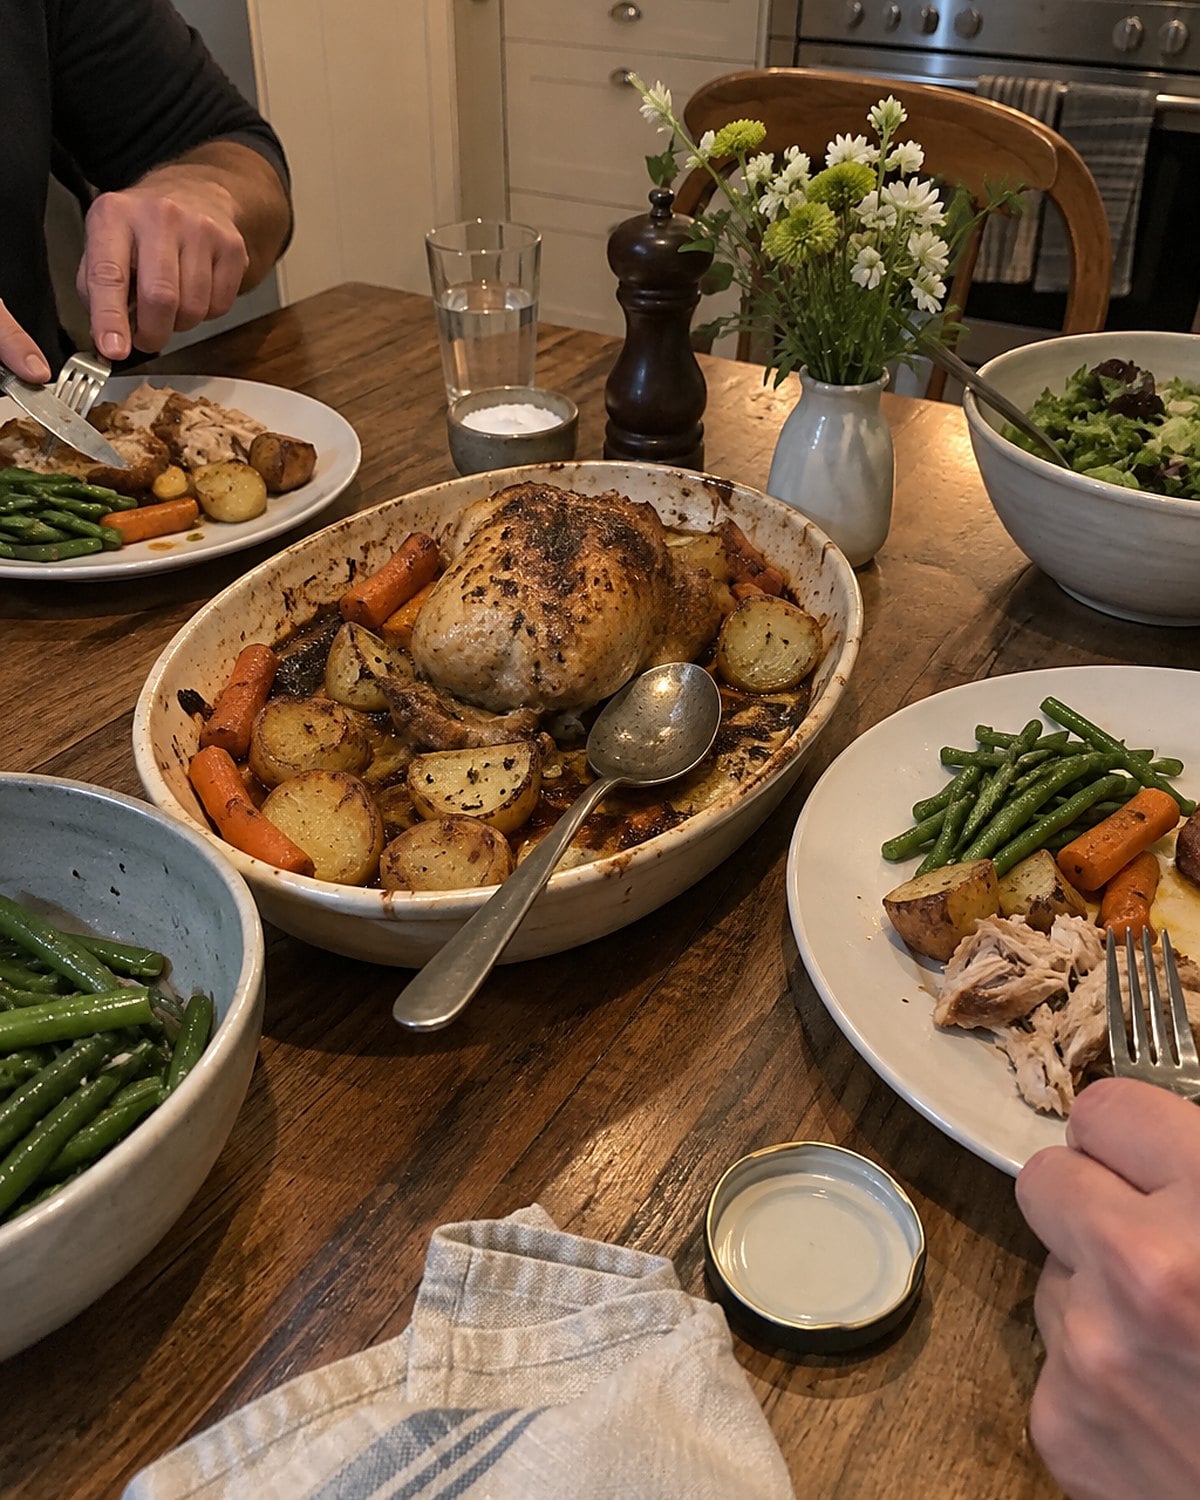
The old roasting pan still holds enough dinner for visitors who aren't coming. Keeping the meal familiar doesn't mean filling every serving dish.
Set out the plates you're using before you cook. That gives you a clearer picture of how much room the sides need in the oven and how much meat to slice.
Leave the rest of the roast whole until you're ready to pack it away. A single piece stays easier to carve for tomorrow than a pile of slices does.
If grandchildren arrive on weekends, you already know the table changes without warning. A roast dinner needn't be a test of whether everyone came. The good platter can hold a smaller cut. Put the potatoes where they brown properly, and let the meal fit the people eating it.
#4 The leftovers beside the sink
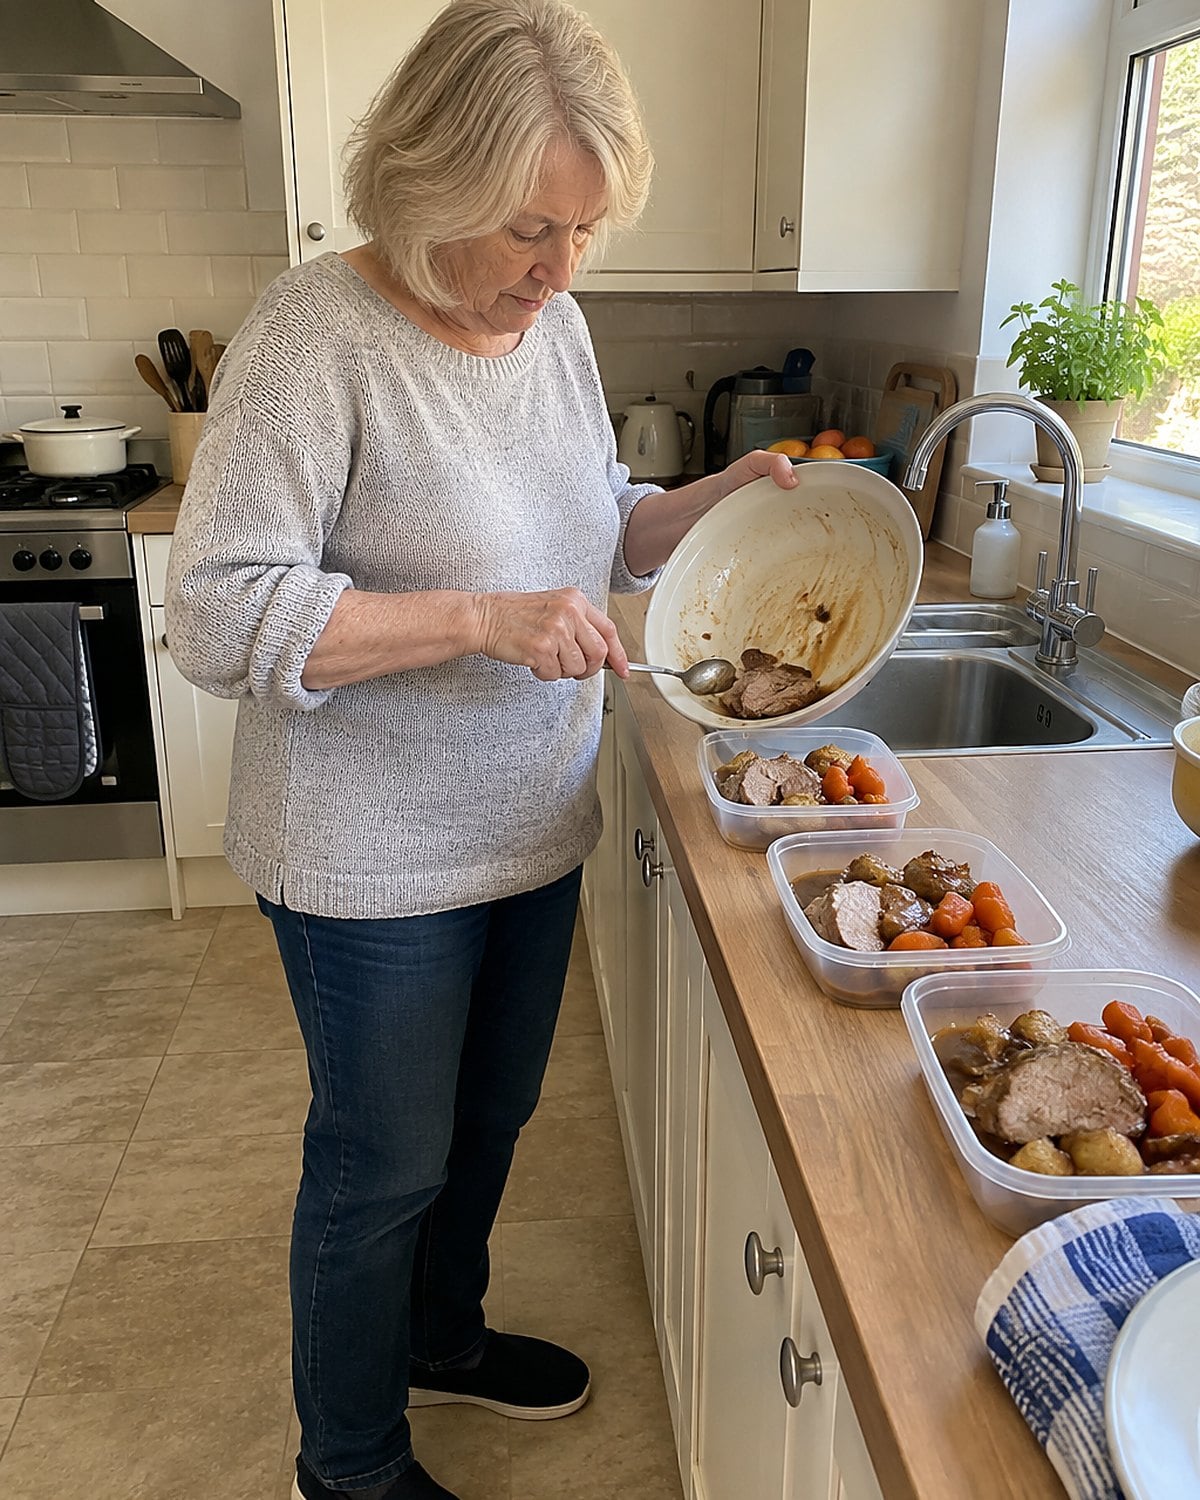
Dinner ends, and the pan stays on the stove while the dishes pile up. By the time the counter is clear, the meat and gravy have been sitting in a warm kitchen.
Pack leftovers before tackling the roasting pan. Divide meat and sides into shallow containers so they cool faster, then refrigerate them within 2 hours. Keep the fridge at 40°F or below.
The USDA cold storage chart gives cooked meat leftovers 3 to 4 days in the fridge.
Don't put a whole hot pot of gravy in the fridge and expect its center to chill quickly. Divide it into smaller containers first. Label them with the day if your week tends to fill up. That written date is more reliable than trying to remember which Sunday the roast came from.
The sink can wait a few minutes. Leftovers can't borrow extra time from the washing-up.
#3 The freezer bag with a date
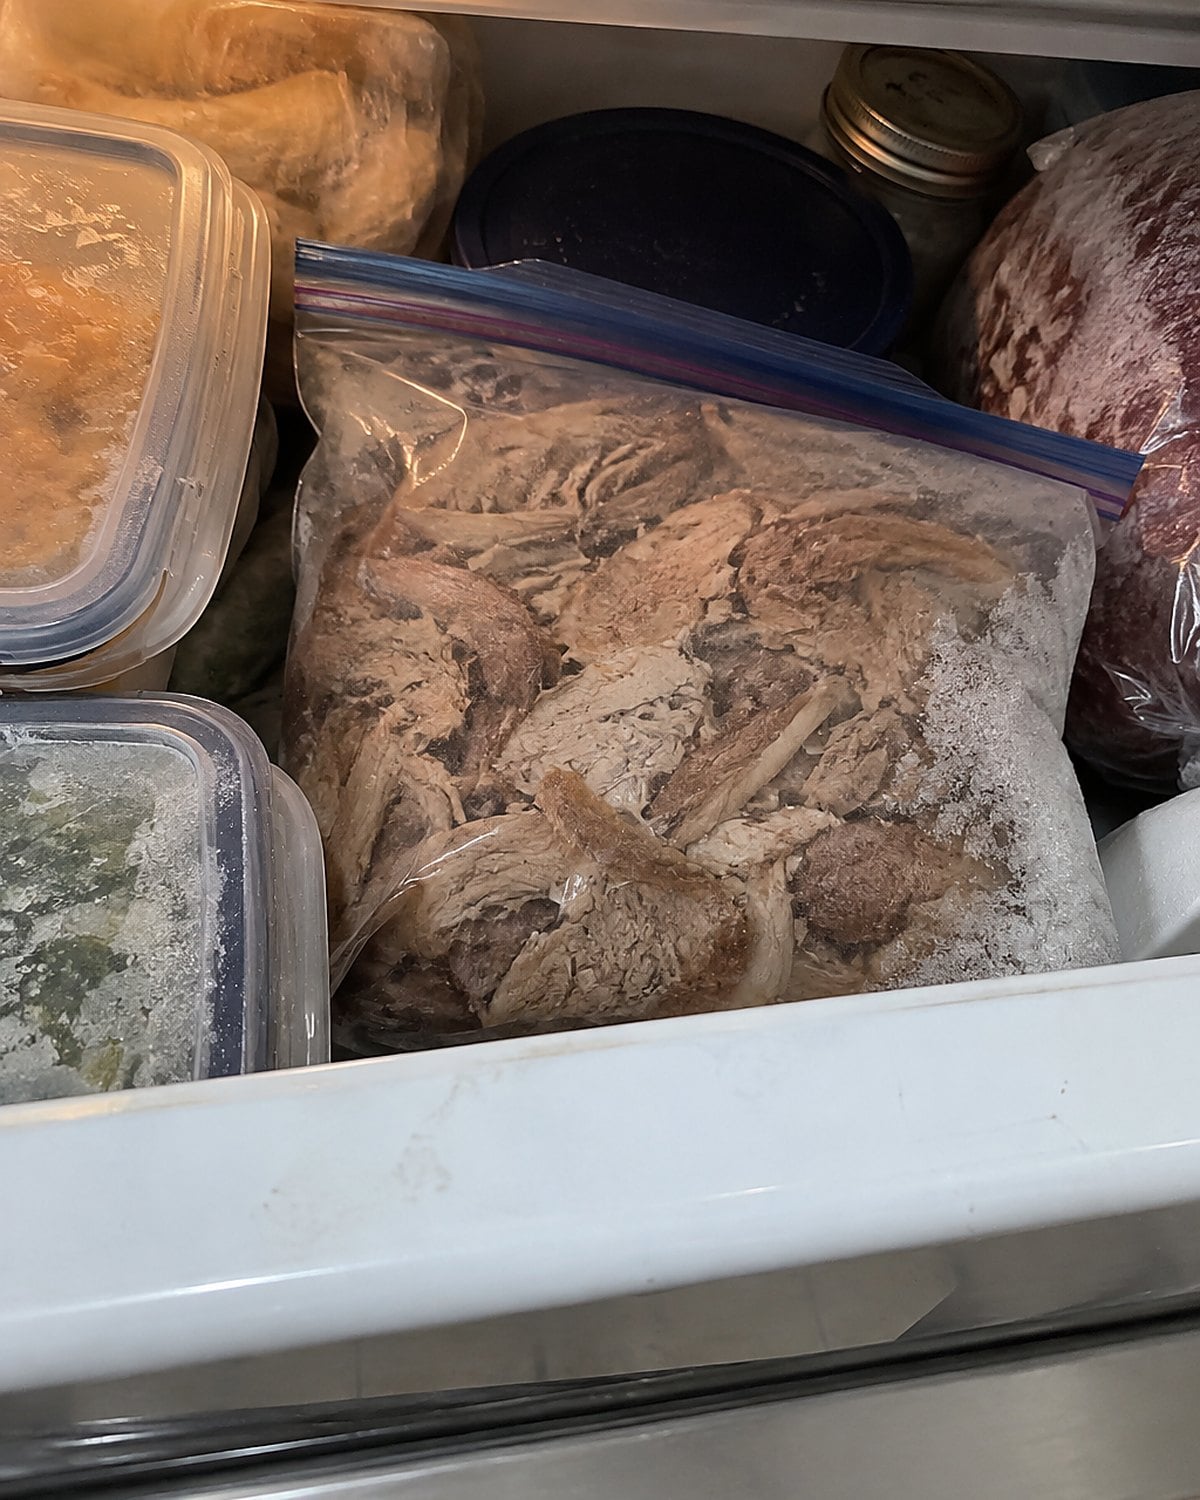
A roast meant to become another dinner needs a plan before it disappears behind frozen peas.
Pack leftover meat in portions you'll actually use. Press excess air from a freezer bag, write the date on it, and freeze it flat. Keep gravy in a separate container so you can thaw what you need. A thin, flat bag also leaves more room in the freezer drawer than a bulky container.
The USDA cold storage chart lists 2 to 6 months for cooked meat leftovers in the freezer for best quality.
Frozen food kept at 0°F or below stays safe longer, but flavor and texture decline. That date on the bag helps you use the roast while you still want to eat it.
#2 The sandwich after Sunday dinner
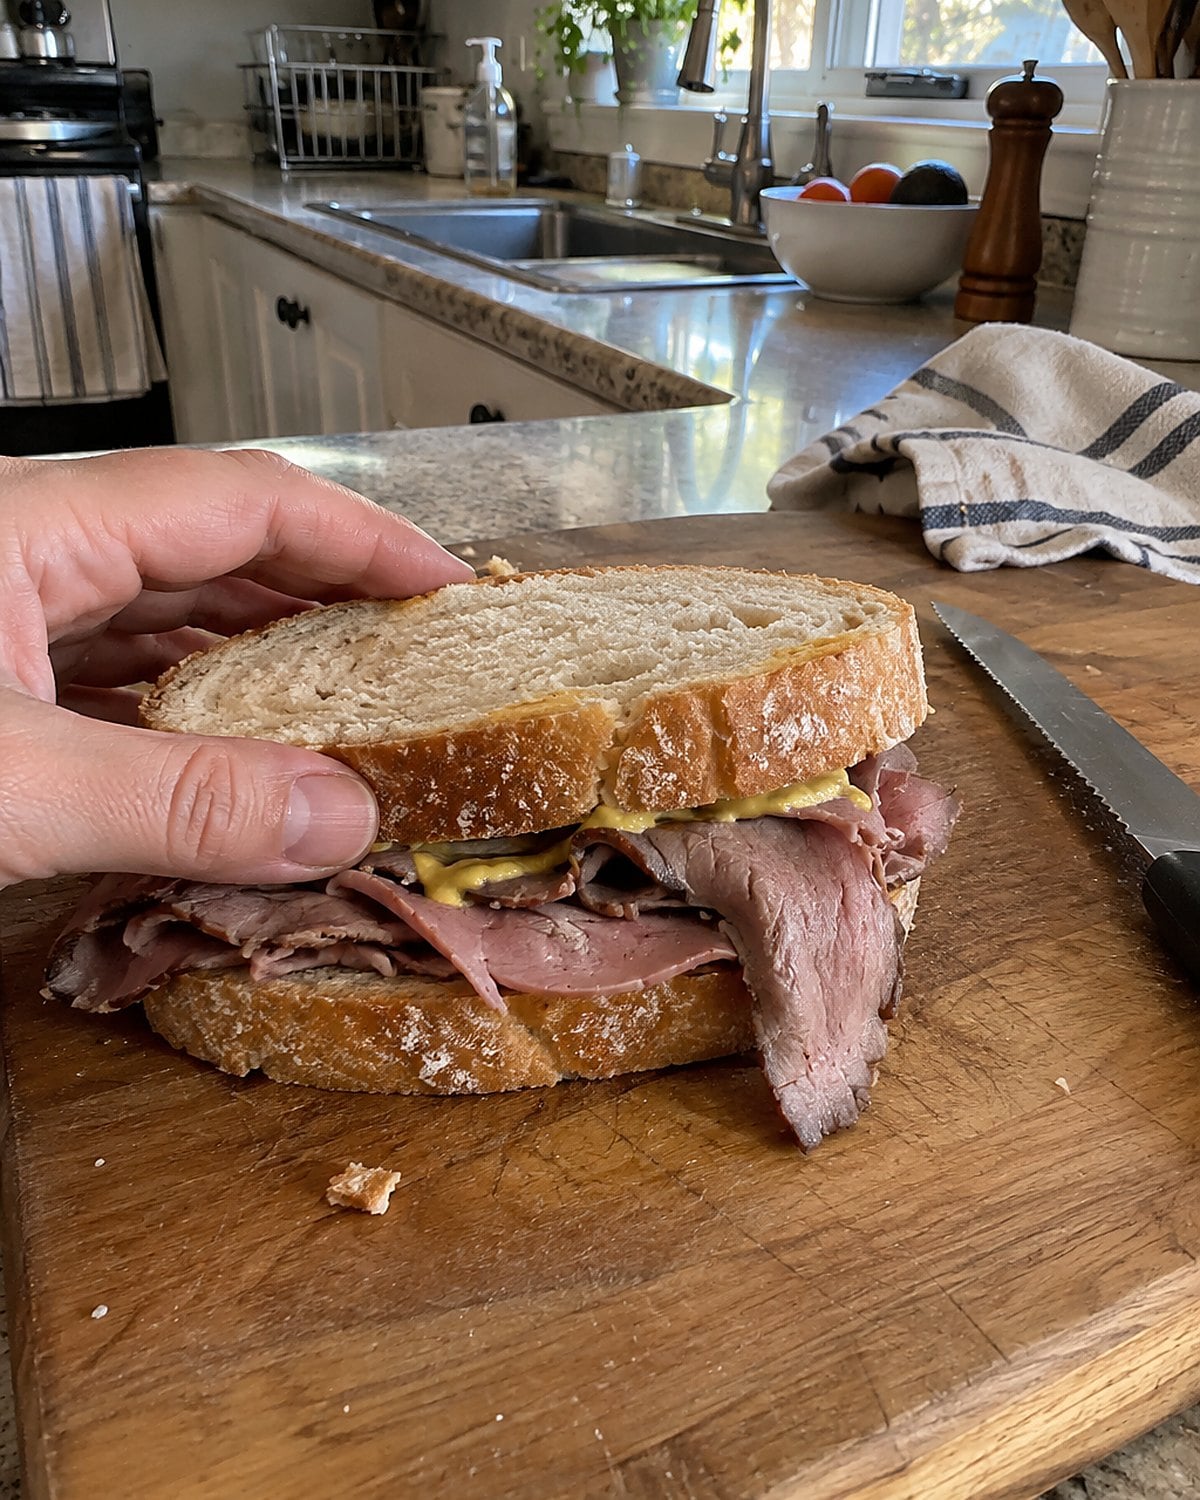
The next day's sandwich is worth protecting while the roast is still on the board. Before you carve every last piece for dinner, set aside enough for lunch.
Leave that portion whole and chill it promptly with the other leftovers. Tomorrow, slice it thin across the grain. Cold roast beef is easier to cut neatly than warm beef, and thin slices sit better in bread. A little mustard or leftover gravy brings back the Sunday flavor without turning lunch into another cooking project.
If you want the meat hot, reheat it thoroughly. The USDA's leftovers guidance says to bring leftovers to 165°F. Heat gravy until it boils.
That way the small meal gets the same care as the one you put on the good platter. Save the sandwich before the last eager fork reaches the board.
#1 The pause when the roast needs more time
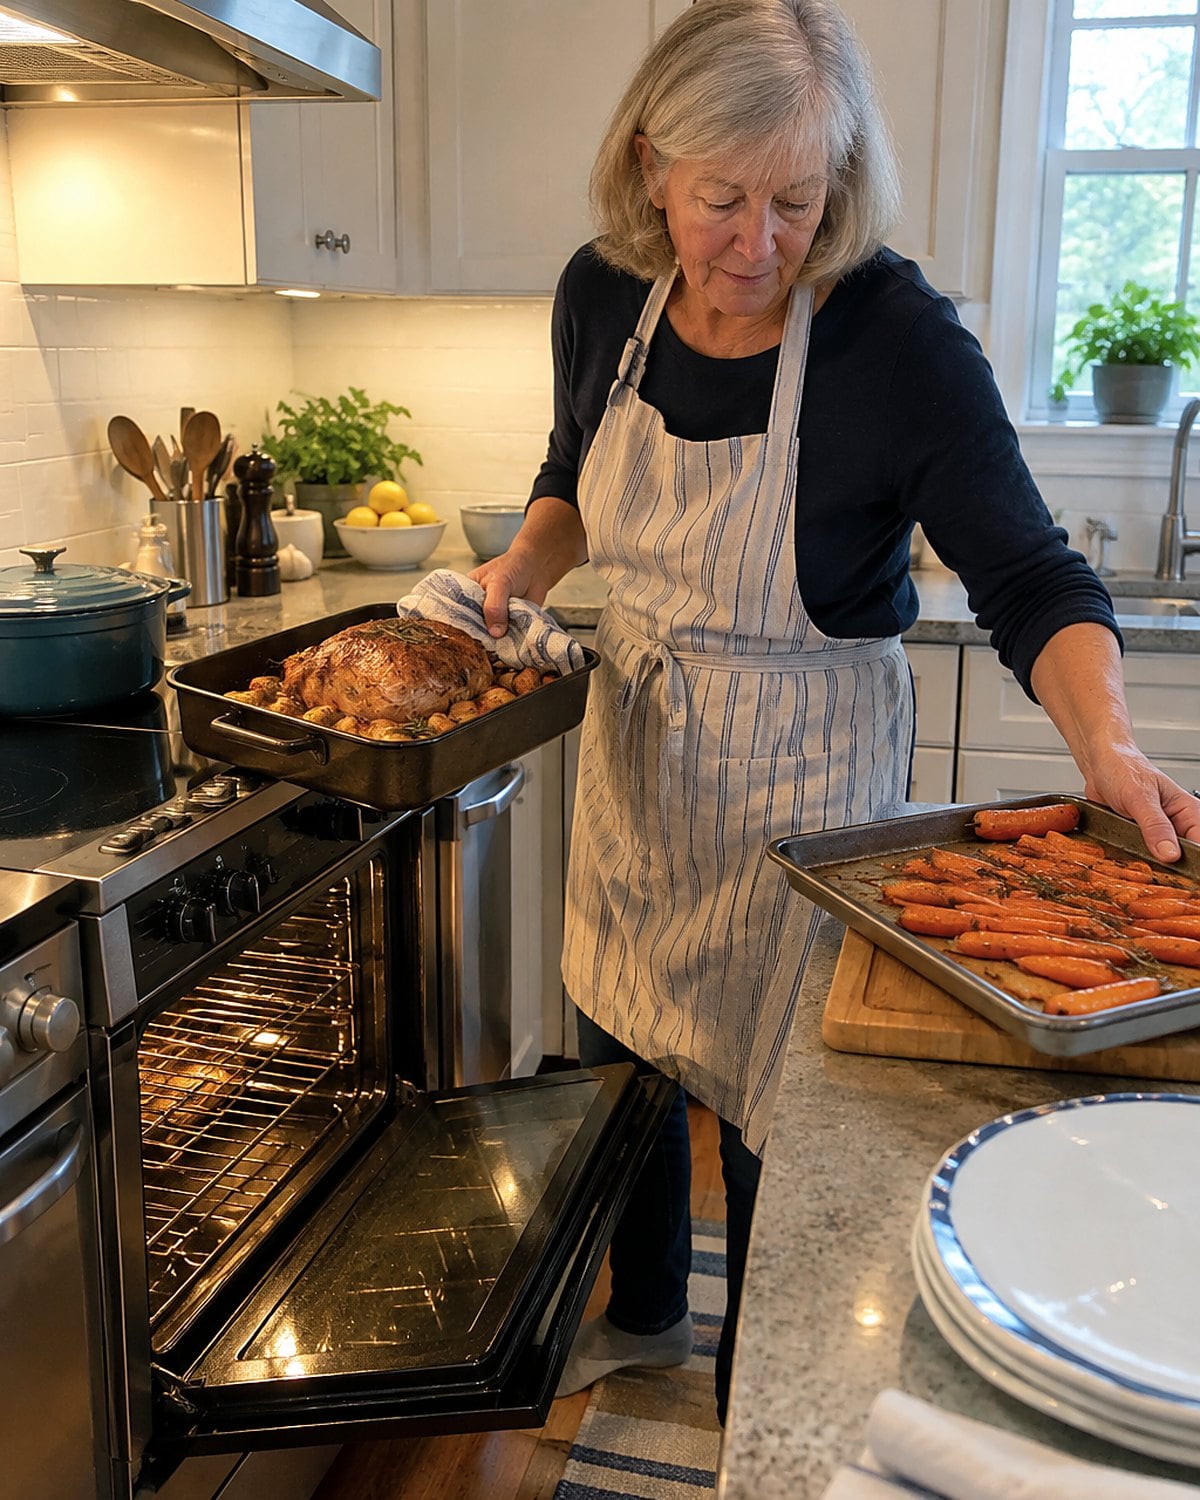
The potatoes are ready. Someone asks when to sit down. Then the roast needs longer in the oven.
This is the step worth planning for before dinner starts: give every other dish somewhere to wait. Leave the potatoes in if their edges need color. Move finished carrots out of the oven. Take the cabbage off the heat and finish it closer to serving.
Don't carve the meat to hurry it along. Return it to the oven, and keep the board clear for when it comes out. A sauce that thickens while it waits needs a stir and a splash of stock before serving. Rolls can have their turn after the roast leaves.
You aren't trying to make every pan finish together. You're making room for the roast to finish without spoiling what you've already cooked.
When the meat is ready, give it its rest. Bring the other dishes back into motion, then carve. That small change in order is what keeps a late roast from making the whole dinner feel late.
The bottom line
The roast, potatoes, and gravy don't share a finish line. Give each one the pan, heat, and time it needs, then bring them together at the end.
Before the oven gets crowded, you have room around the potatoes and a board ready for the meat. You know which sides can wait. Which pan in your kitchen still gets rushed when dinner runs late?
Leave a Reply