

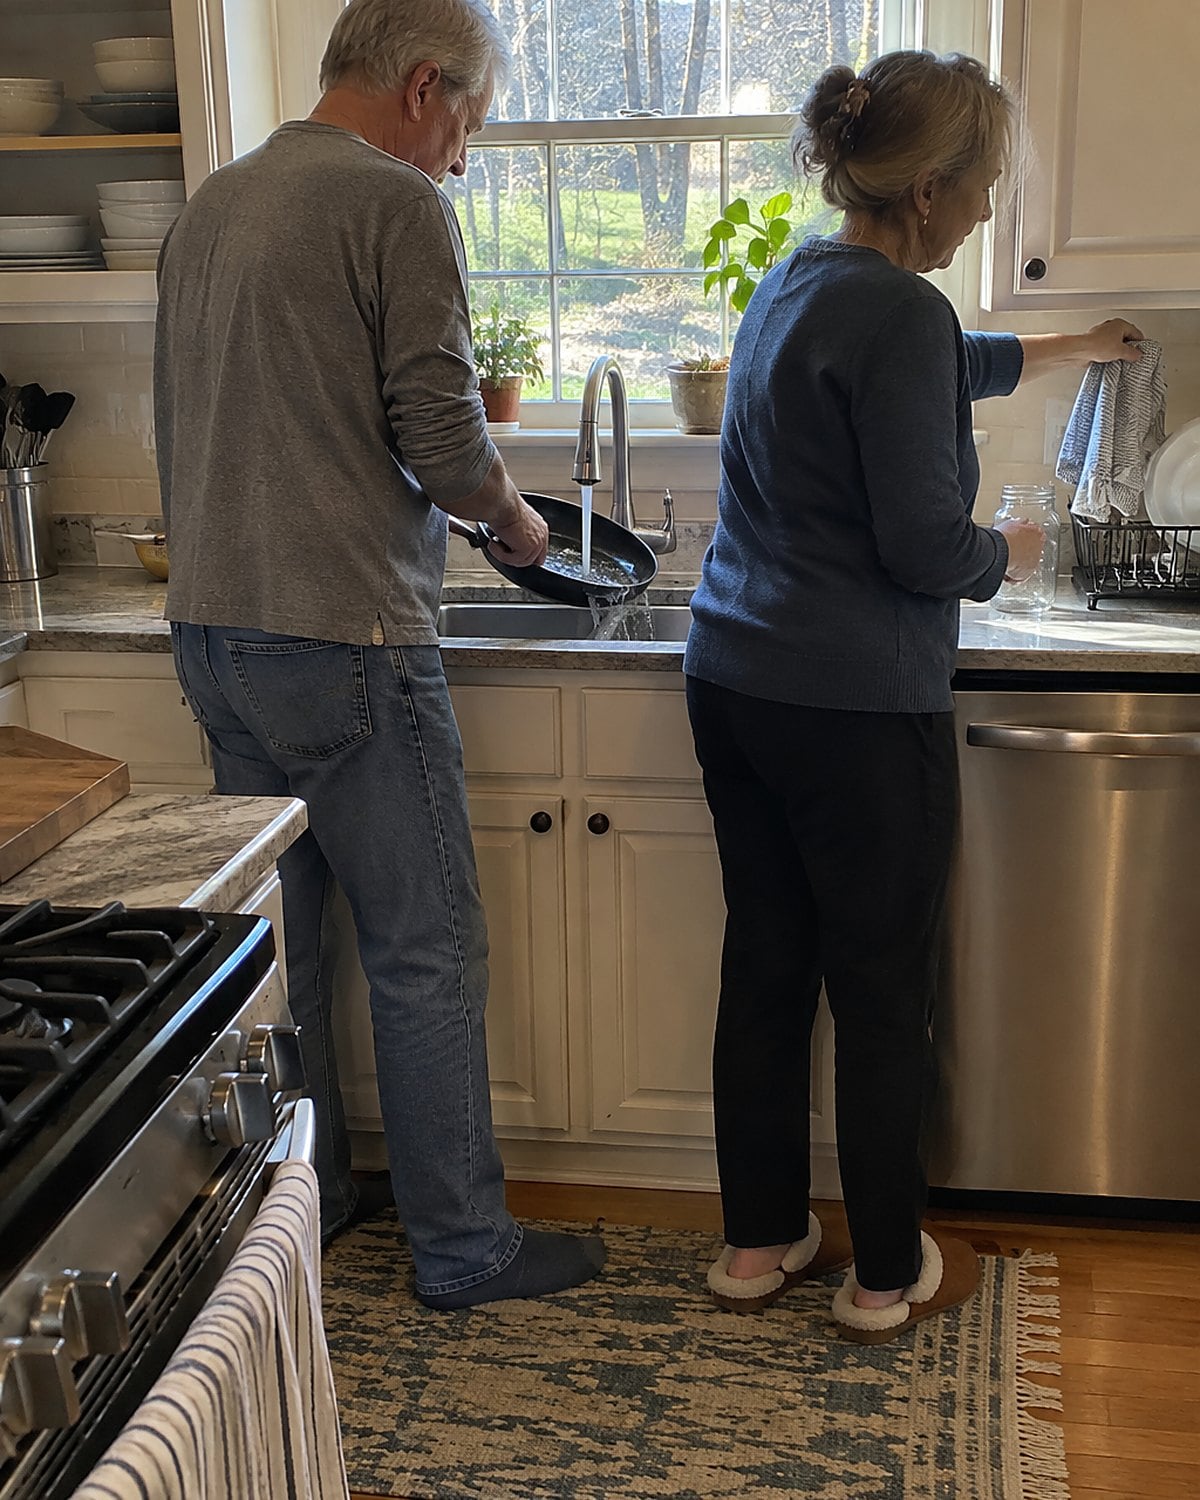
The lid on the little metal can clicked when a spoon hit its rim. Beside it sat a black skillet, a folded towel, and whatever was waiting for supper. Nothing on that stove looked decorative. The can held bacon grease because somebody had already paid for the bacon, and the next pan of cornbread was coming.
That kitchen had its own storage system. Some parts were clever, some were risky, and some disappeared when dinner stopped being for six. Open a drawer now and you’ll find a few worth bringing back.
#27 The coffee tin full of buttons
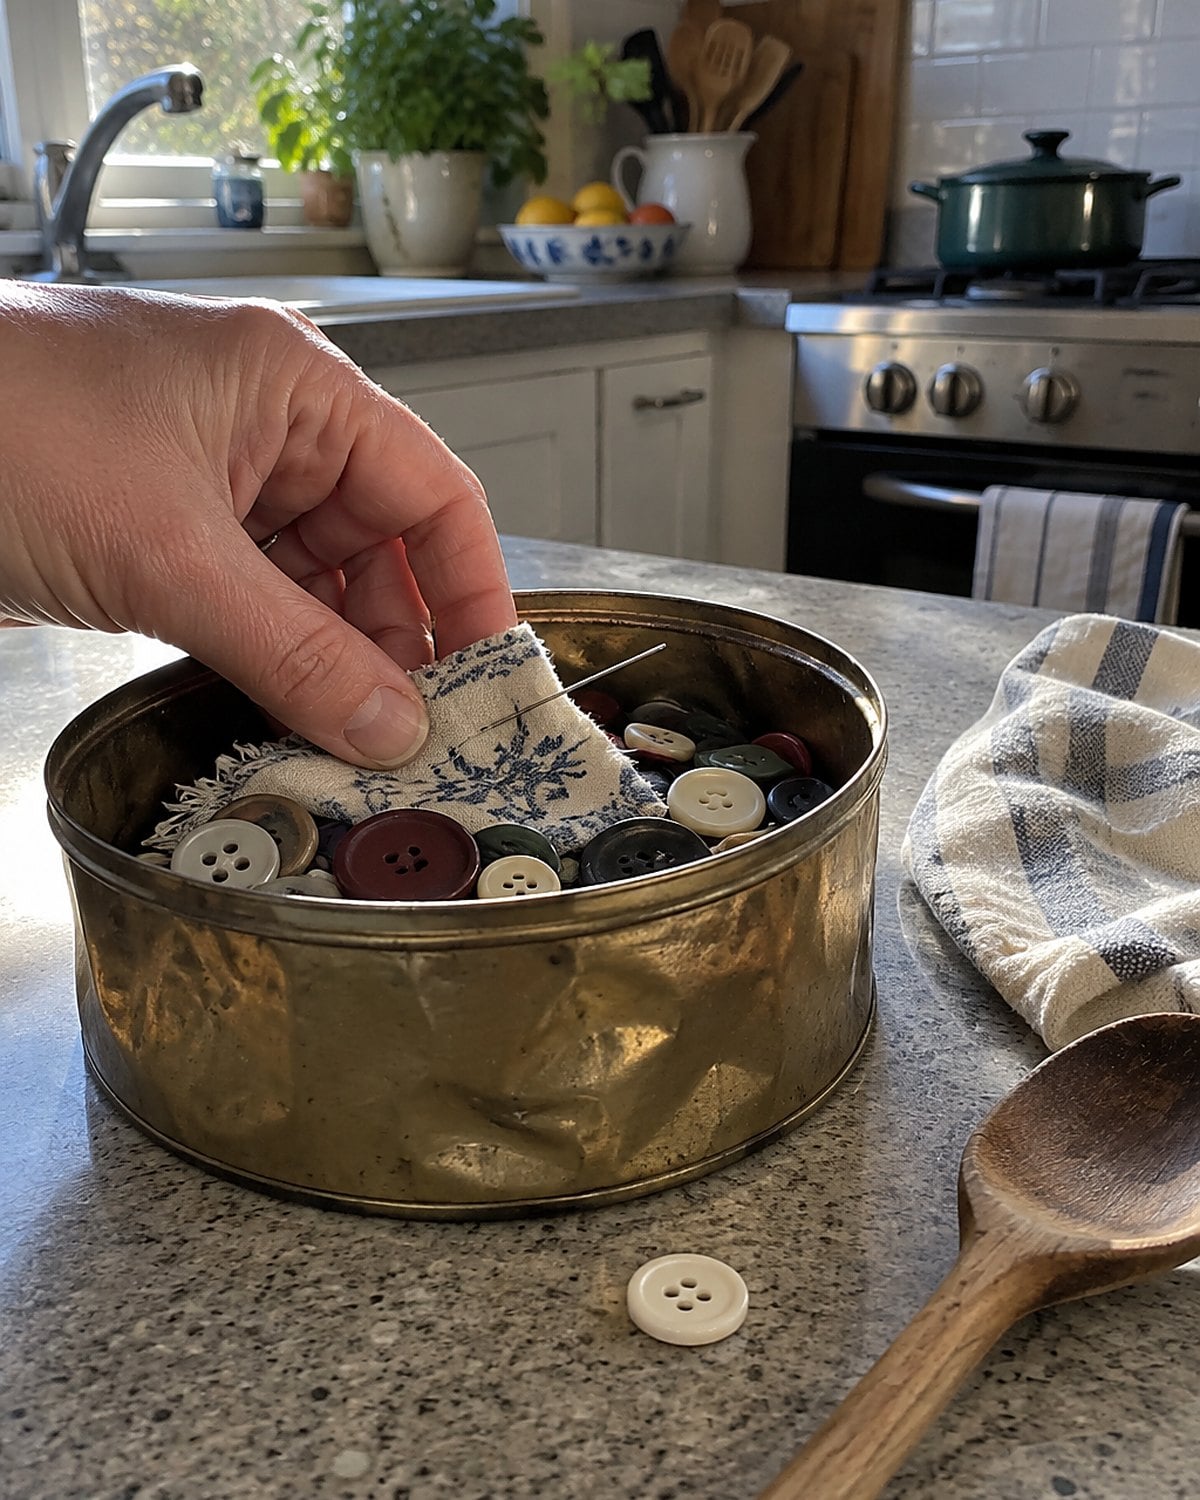
Open an old coffee tin and the contents rattle before you see them: shirt buttons, a bent needle, a spool with barely any thread left. The tin belonged in the kitchen because that was where a missing button got noticed, usually while someone was reaching for a coat.
Before you throw out the tin from your own drawer, check its lid. Old metal edges can cut a finger, and a rusty needle has no business mixed with loose buttons. Move the usable pieces into a small jar or box. Put a needle through a scrap of fabric so it stays visible.
Then sew the button back on before the coat goes into the closet. That was the tin’s real trick. It kept a tiny job close enough to finish.
#26 The flour sack cut into dishcloths
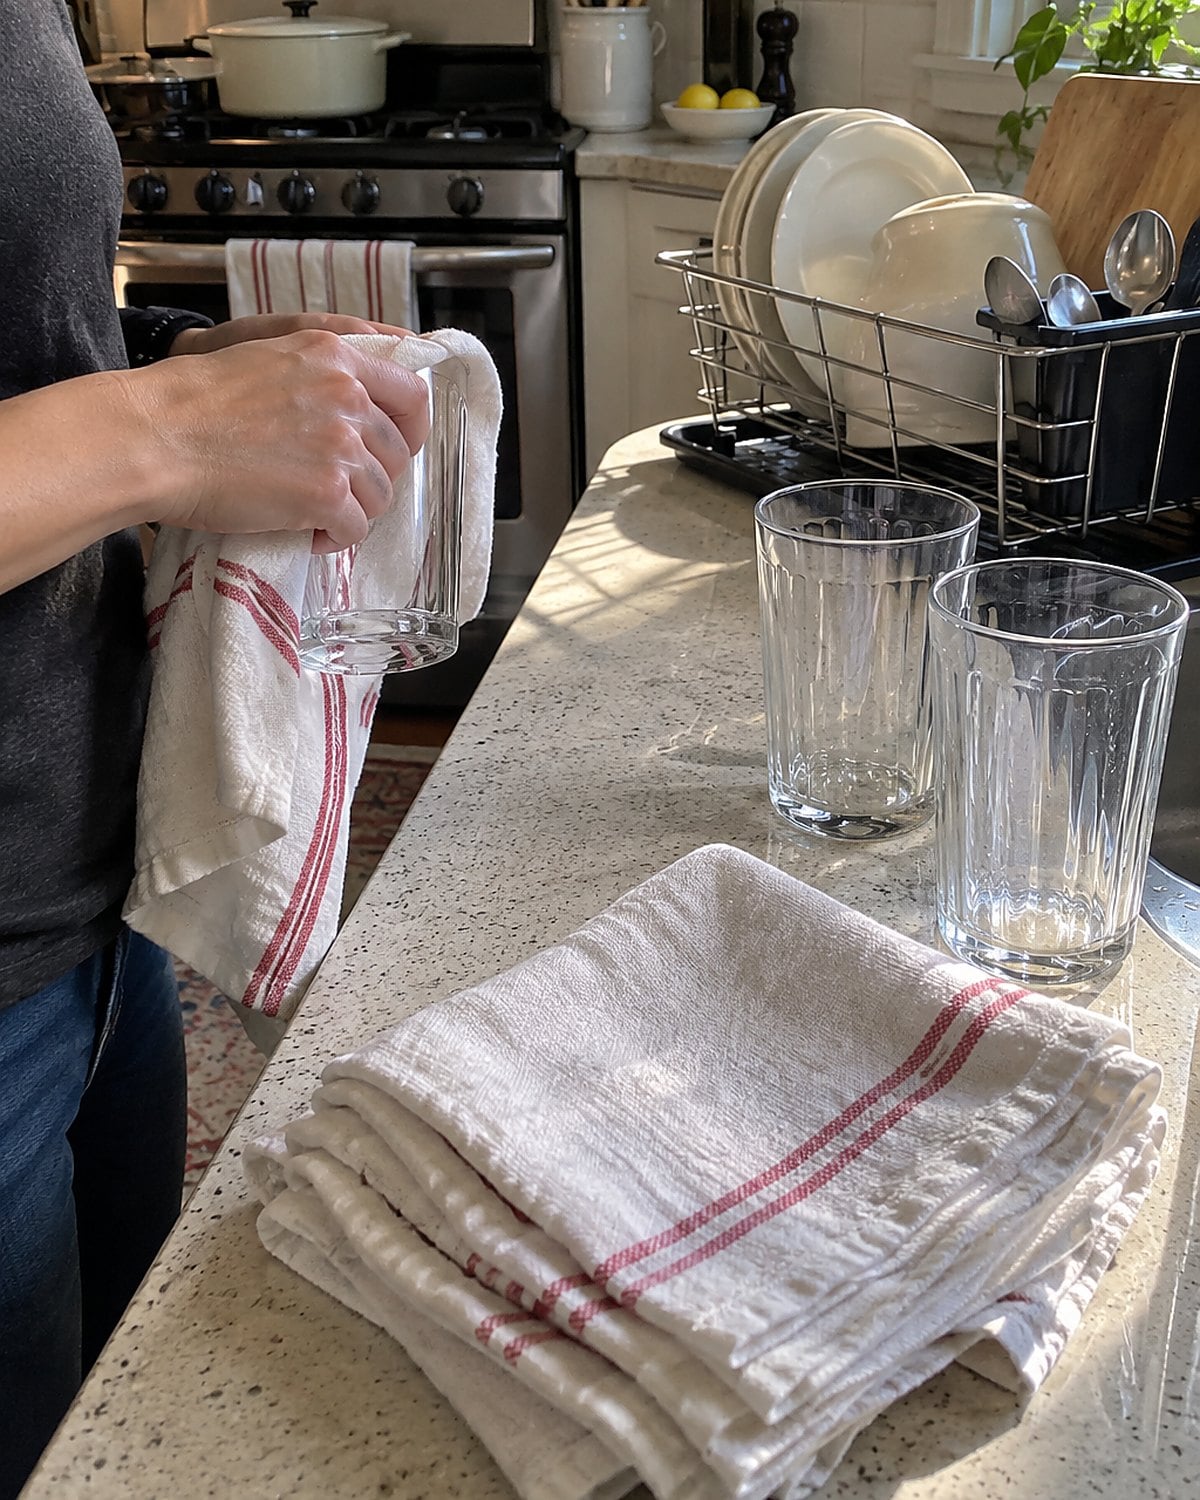
A flour sack cloth dried the good glasses without leaving fuzz. It also took flour off a board, covered rising dough, and hung from the oven handle between jobs. You didn’t need a special towel for each task, but you did need to know which cloth had touched raw meat.
That distinction matters more than the fabric. The USDA’s Clean, Separate, Cook, and Chill guidance calls for keeping raw meat and its juices away from ready-to-eat food. Once a cloth wipes up raw chicken juice, send it to the laundry. Don’t use it on the salad bowl.
Keep a stack of plain, washable cloths within reach of your counter. Assign one to clean dishes and another to messy work. When the grandkids help dry, they’ll know which one to grab.
#25 The cast-iron skillet on the burner
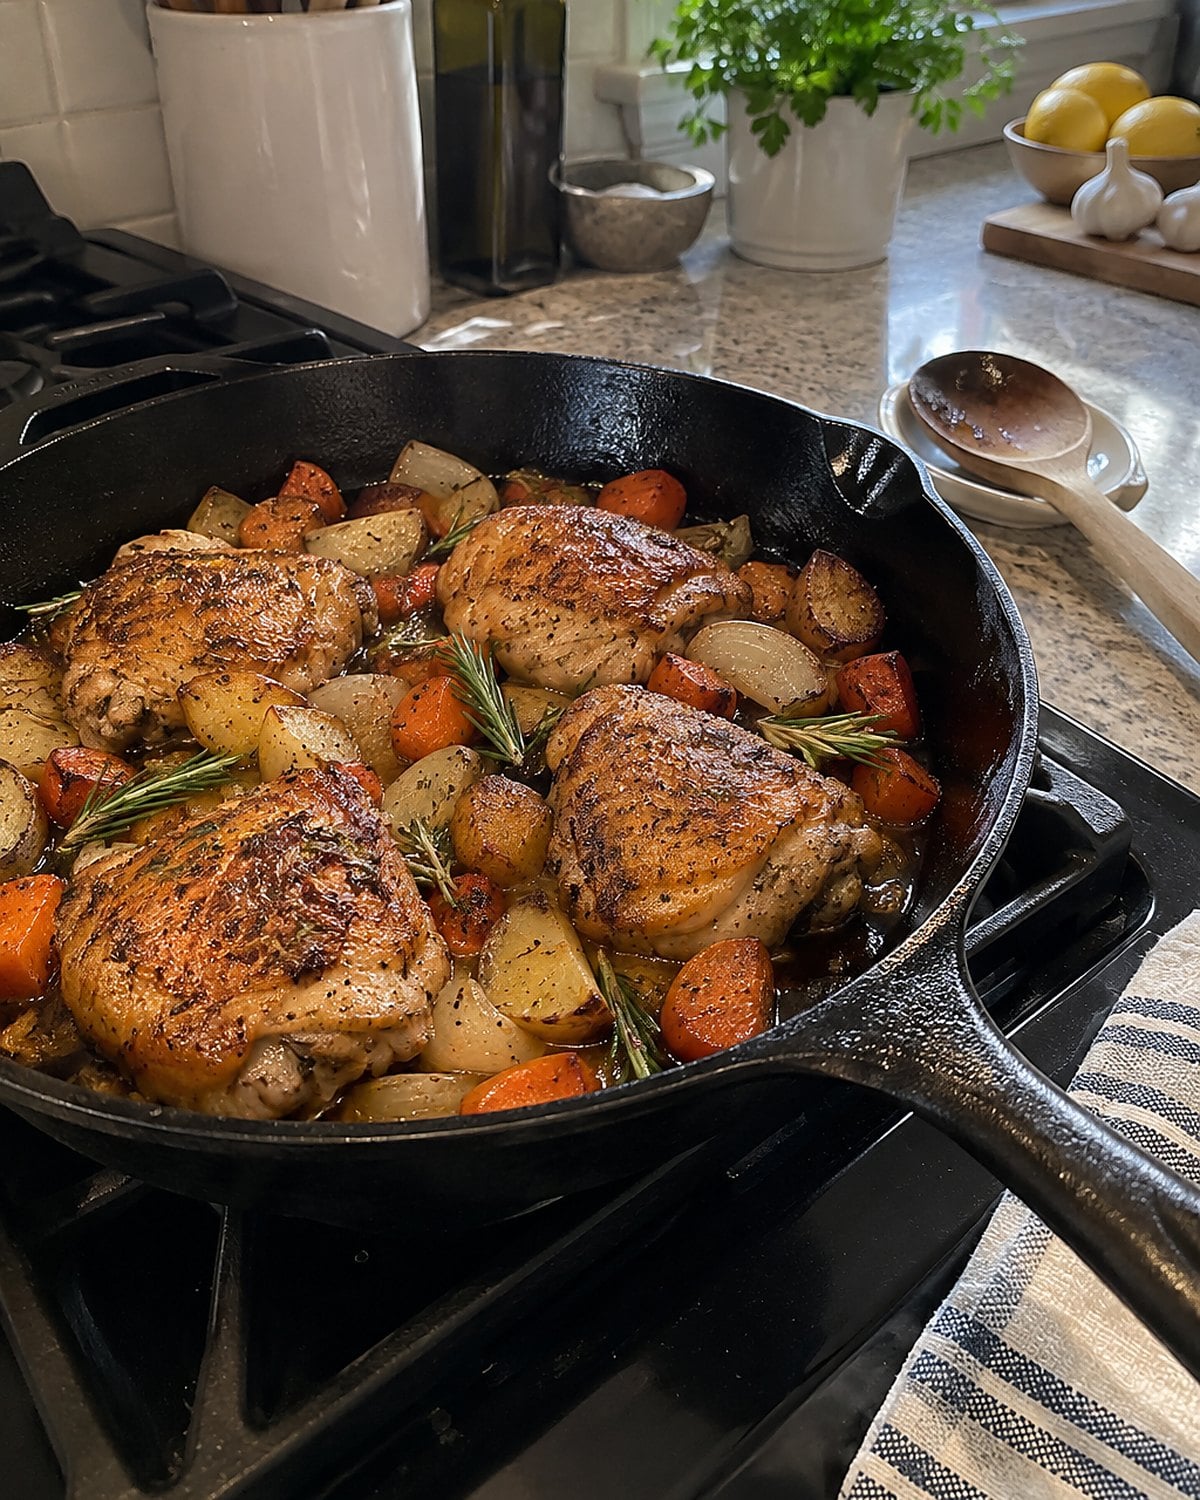
That skillet rarely went into a cabinet. Its weight made it awkward to lift from a high shelf, and the burner was where it worked.
A little rust doesn’t mean its cooking days are over. Scrub the rust away with steel wool, then wash and dry the pan. Put it over low heat until no damp spots remain. If the surface feels sticky, scrub that buildup away too.
To rebuild the finish, rub oil across the cooking surface and wipe until the pan looks almost dry. Heat it until the oil bonds to the iron. A thick coat stays gummy. Your fingers tell you more than the pan’s age does: the finished surface should feel smooth, not tacky.
Set the skillet where your hand can reach it. A pan used for supper has no reason to live behind the holiday platter.
#24 The rolling pin with worn handles
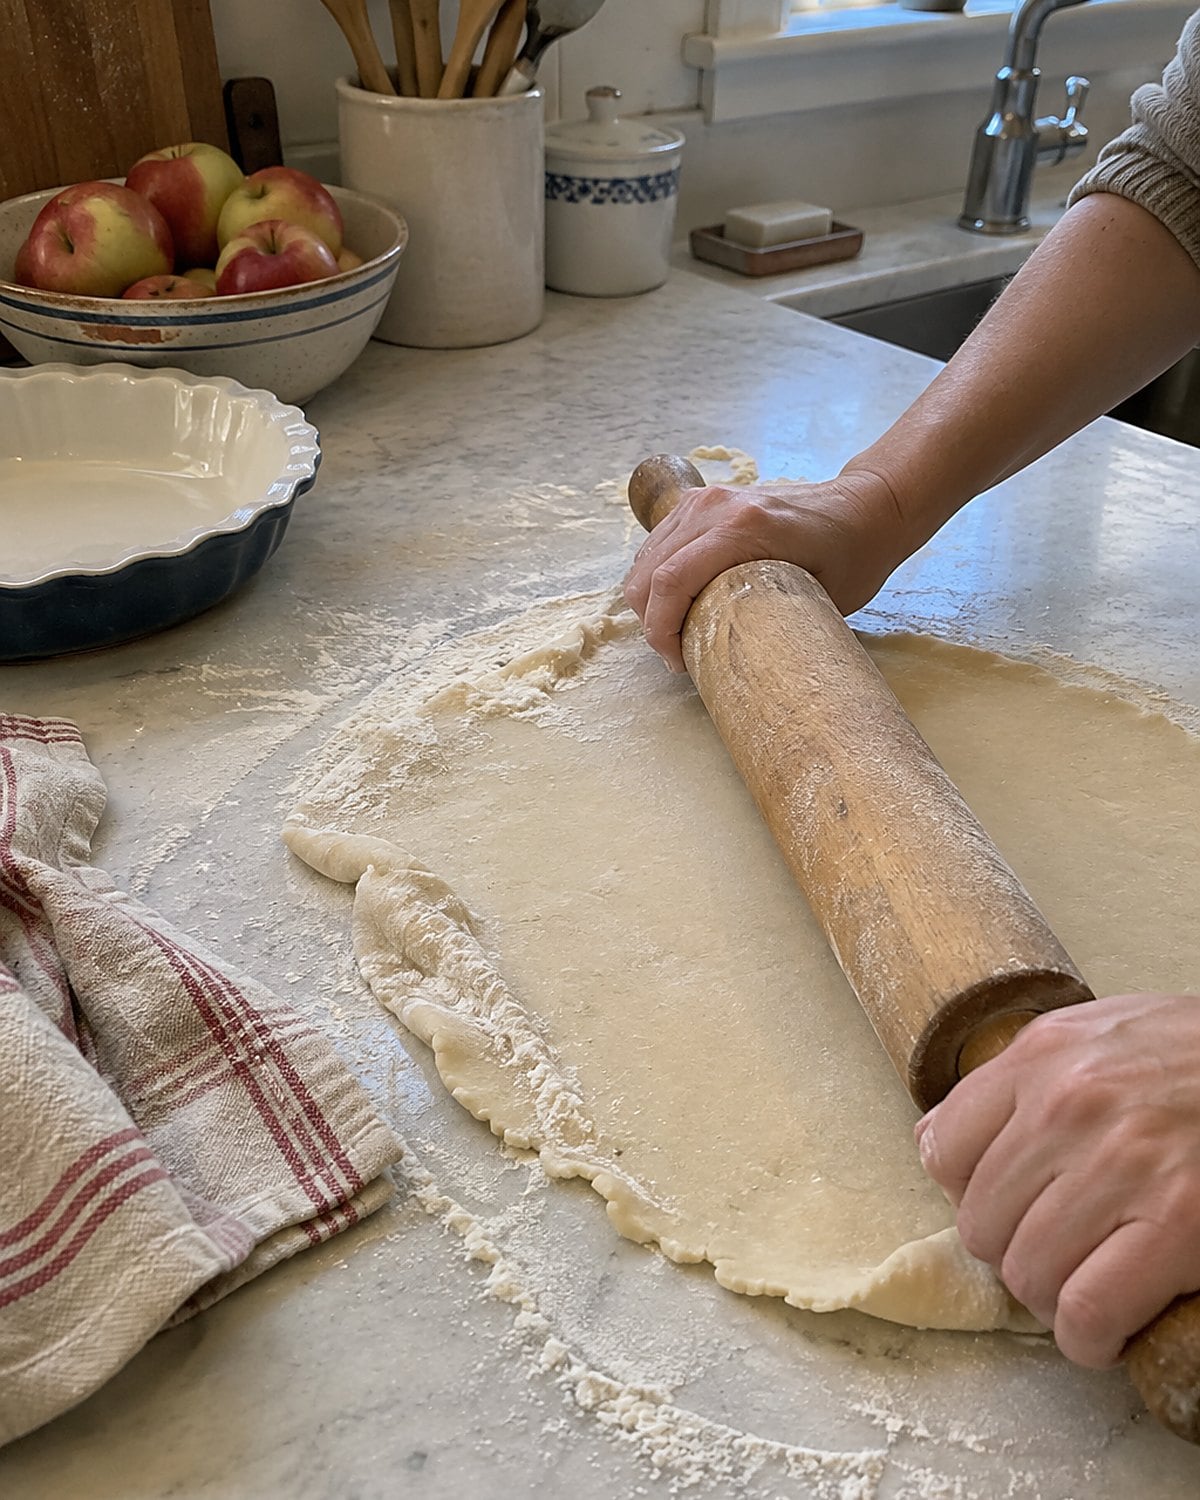
The handles told you how much work that rolling pin had done. Pie dough, biscuits, noodles: each asked for a different touch, but the pin stayed the same.
For pastry, the useful lesson is temperature. Cold fat leaves small pieces in the dough. Those pieces create pockets as the pastry bakes. Warm fat smears into the flour, and the crust loses that flaky bite. If the dough sticks to the pin, dust it lightly with flour. If it feels greasy and limp, stop rolling and chill it.
Roll from the middle toward the edge. Give the dough a small turn between passes so you spot sticking before it tears. A wooden pin doesn’t need to be a family heirloom to earn its drawer space. It needs to turn smoothly in your hands and come clean after use.
#23 The breadbox with a sliding door
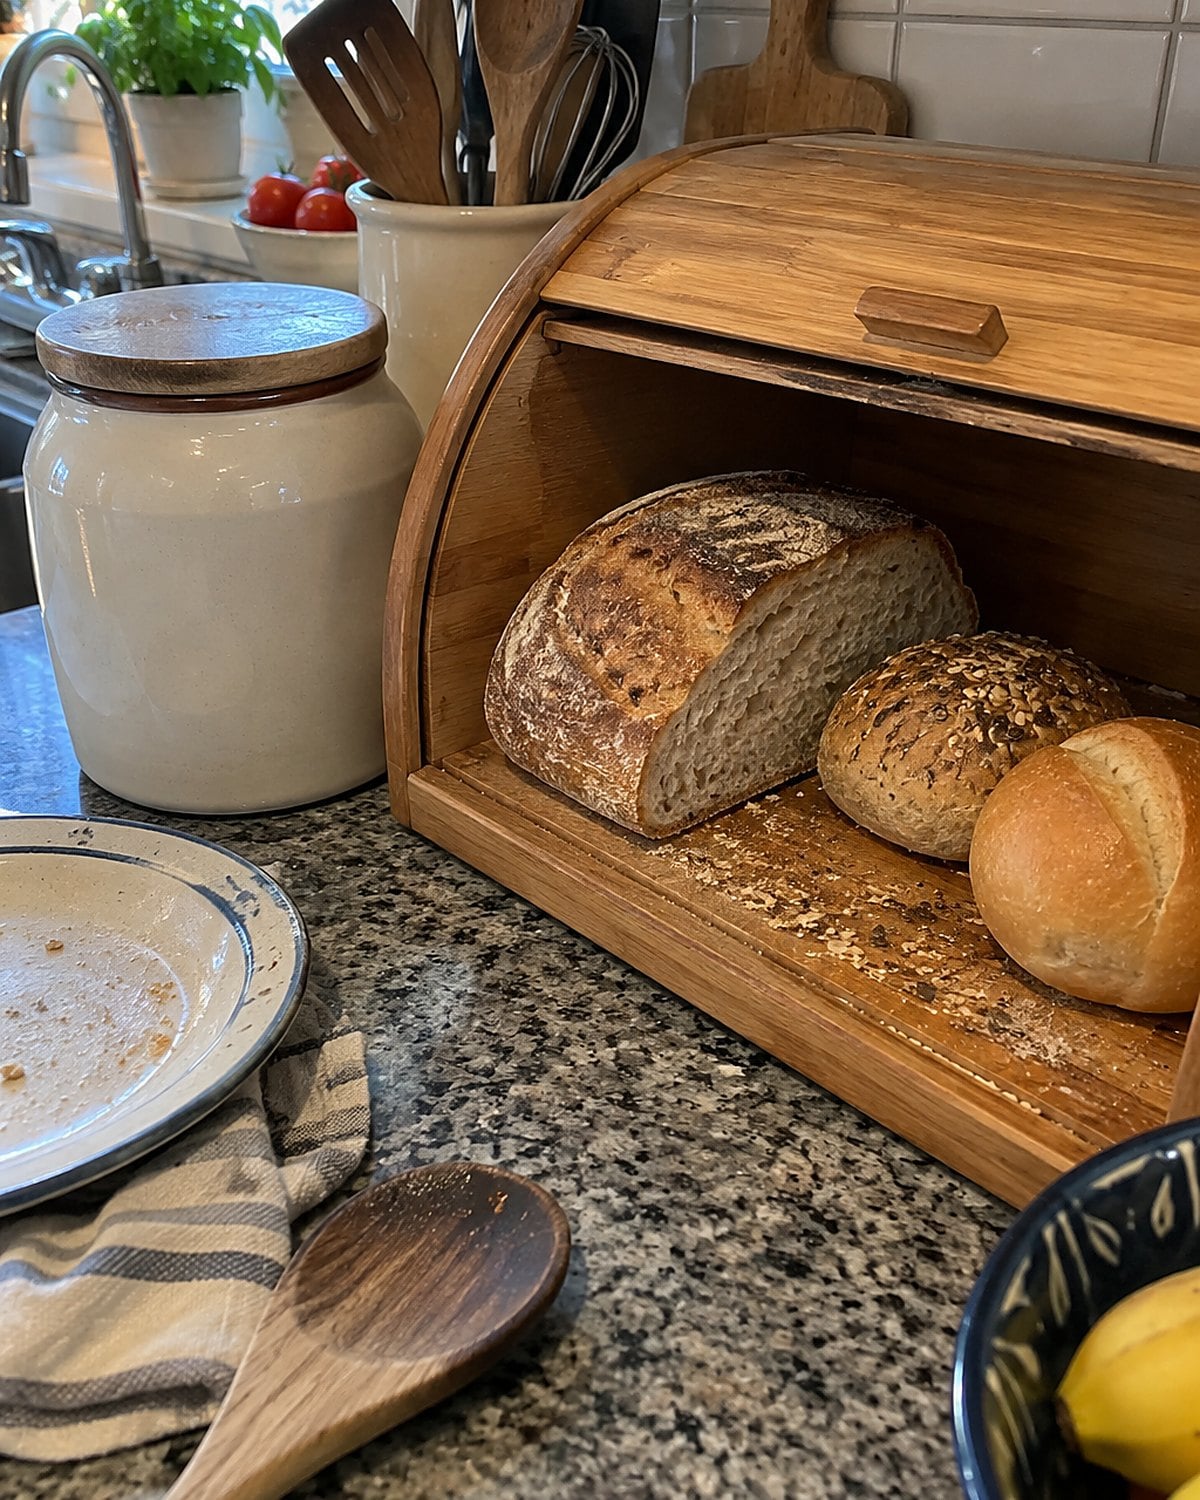
Where did the last heel of bread go? In the breadbox, with the half loaf and the rolls someone forgot to serve. It kept bread on the counter and out of sight, though the sliding door didn’t stop mold.
The USDA’s Molds on Food guidance says to discard moldy bread. Cutting off the visible spot doesn’t fix it; mold threads spread through soft food.
If a loaf is more than your household will eat, slice it and freeze part of it while it’s fresh. Pull out the slices you need for toast. You still get the breadbox’s best idea, a place for the loaf you’re eating, without asking one loaf to last through every change of plans.
#22 The porch shelf for cooling pies
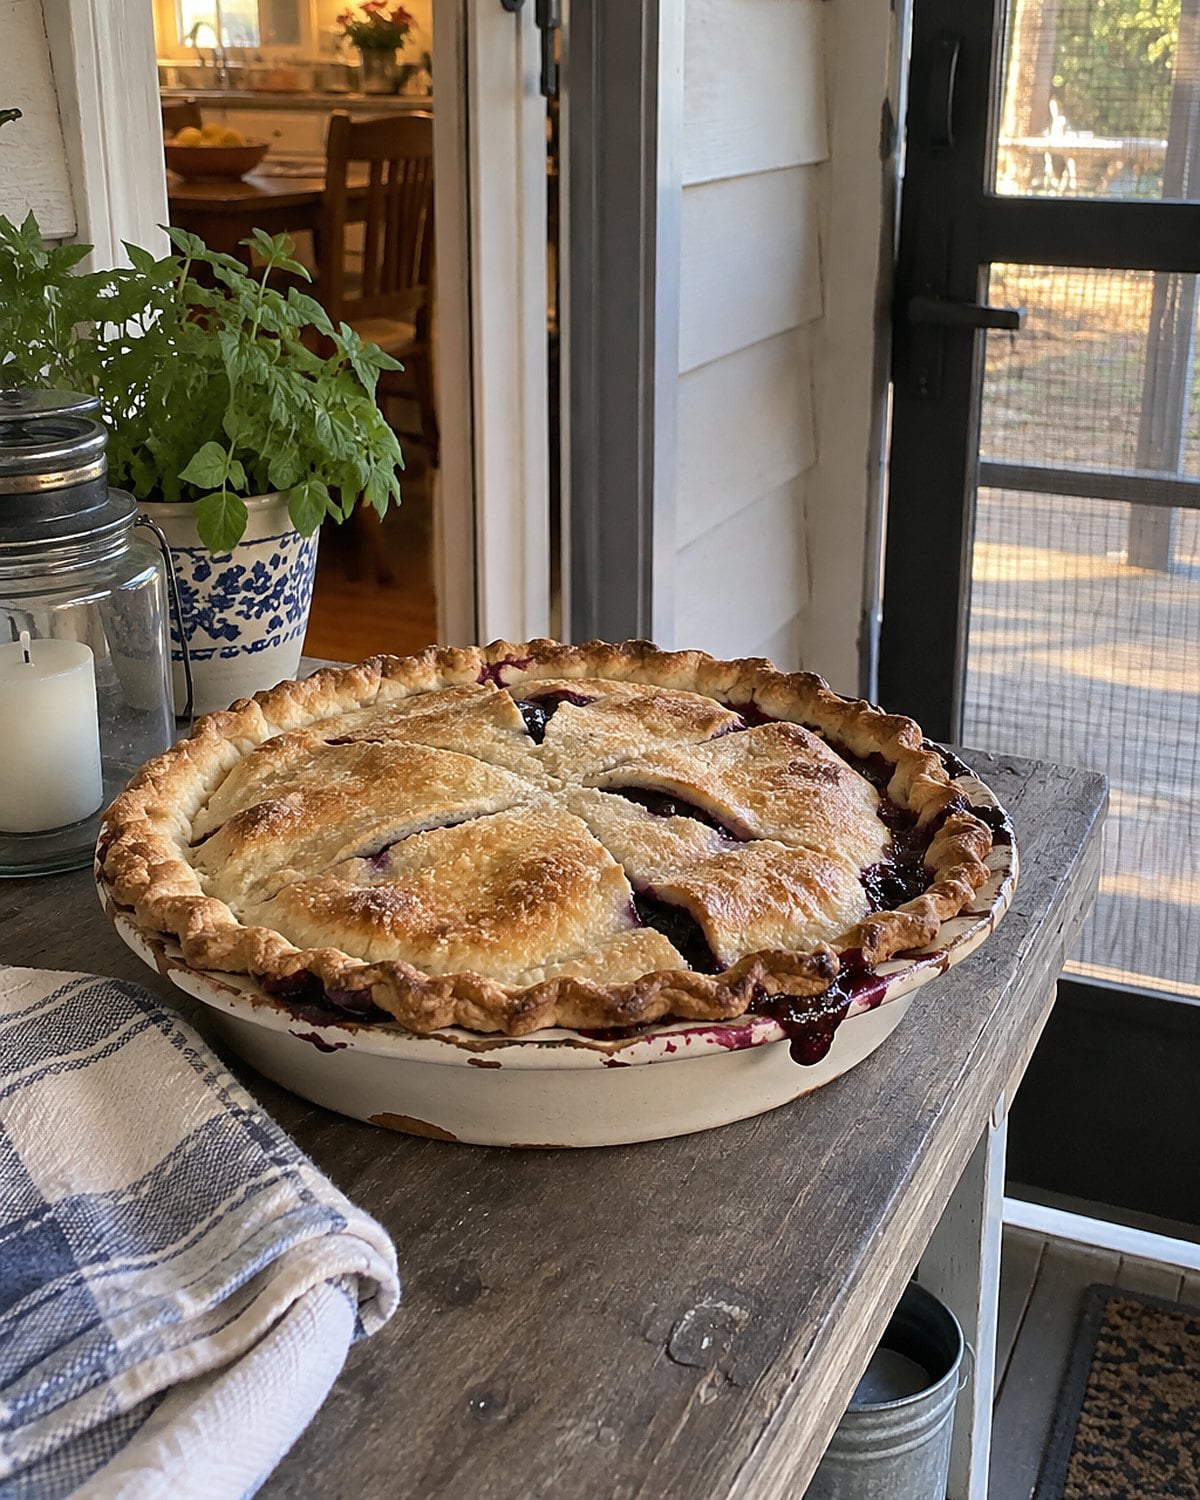
A pie on the porch told everyone dessert was coming. The screen door opened, somebody glanced at the crust, and somebody else was warned to leave it alone. Air moving around the dish helped the crust cool.
What was inside the pie changed the storage decision. A fruit pie and a custard pie don’t belong under the same rule. Eggs and dairy in a custard filling call for refrigeration; the FDA’s refrigerator advice sets the fridge at 40°F or below.
Give the dish room to cool where it won’t be knocked over, then put a custard or cream pie in the fridge. For another filling, check the USDA’s storage guidance instead of relying on the porch weather. That old shelf is still good for a pie cooling before supper. It isn’t a substitute for the refrigerator.
#21 The butter dish beside the toaster
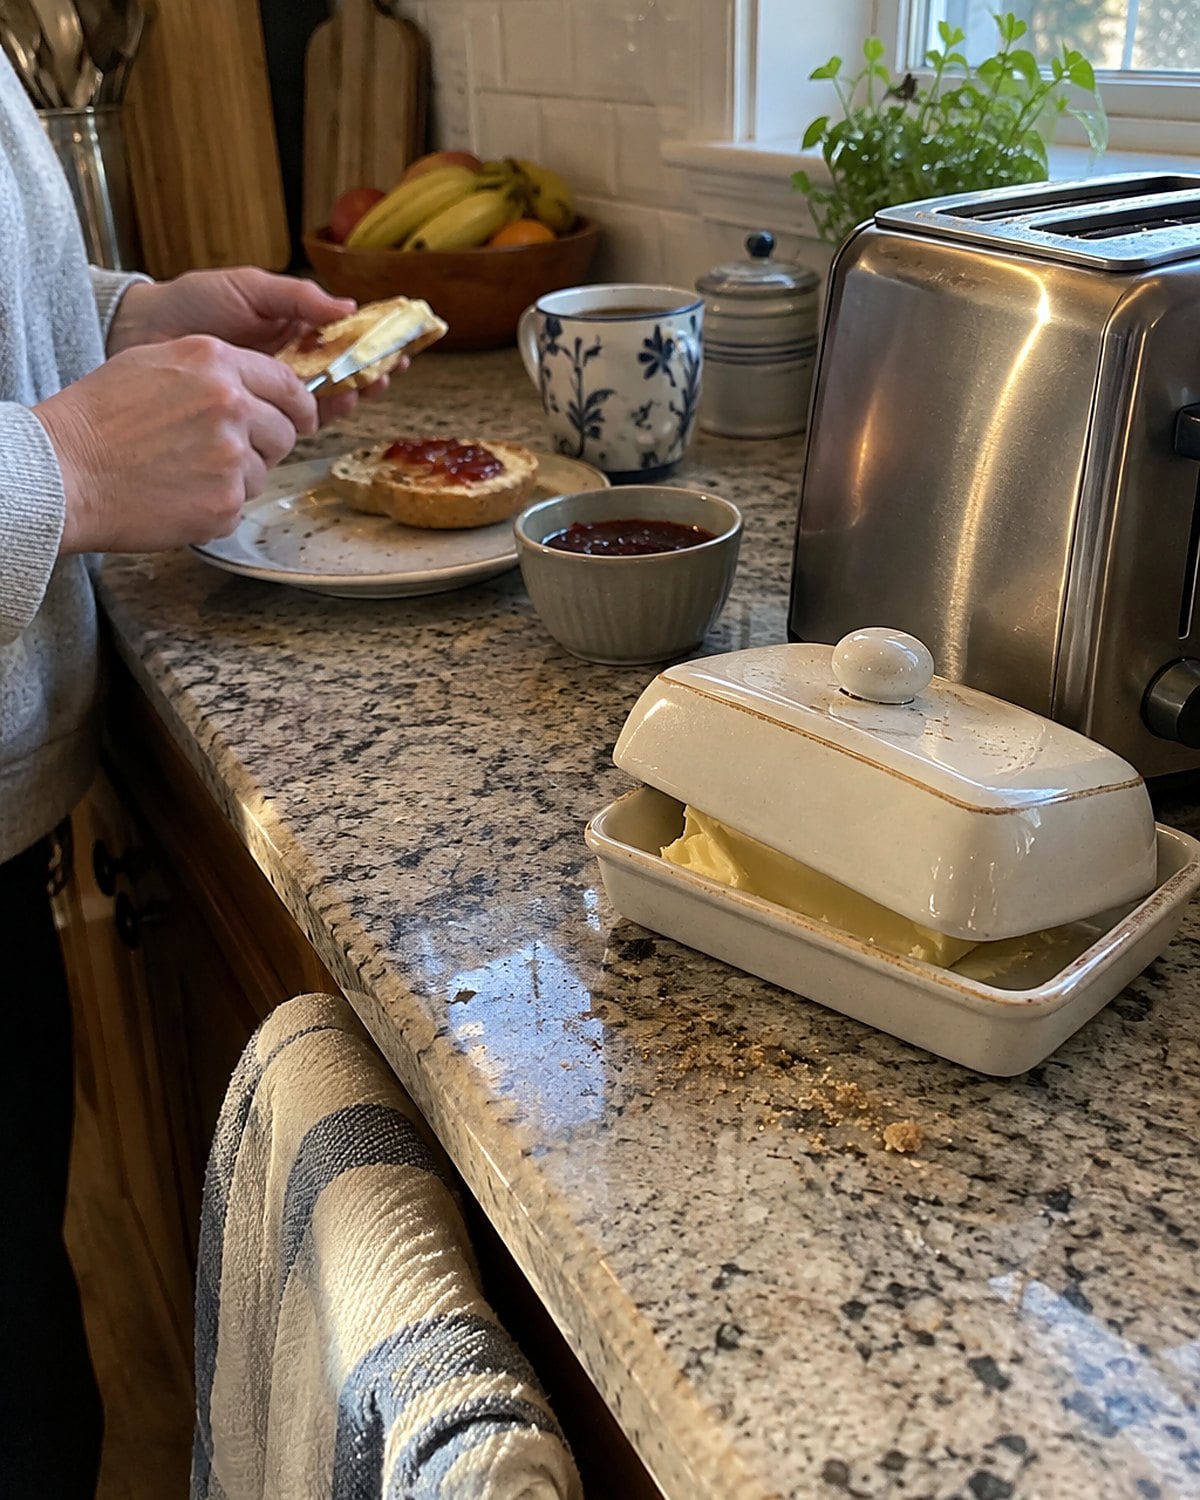
The butter dish sat where breakfast happened. Its lid kept crumbs off, and the butter was ready when toast came up. That convenience is easy to miss when a cold stick tears a warm slice apart.
How much butter do you actually need at breakfast? Put that portion in the dish and leave the rest in the fridge. Keep the lid clean, and use a knife that hasn’t touched toast or jam. Crumbs trapped under the lid change what’s sitting there between meals.
For countertop storage, follow the maker’s label rather than an old rule about how long butter keeps. A sunny windowsill and a cool counter give you different results. Light and heat also affect the taste. If butter smells rancid, discard it.
Take out dinner’s portion while you set the table. By the time the rolls arrive, it will spread without tearing them.
#20 The stoneware crock of pickles
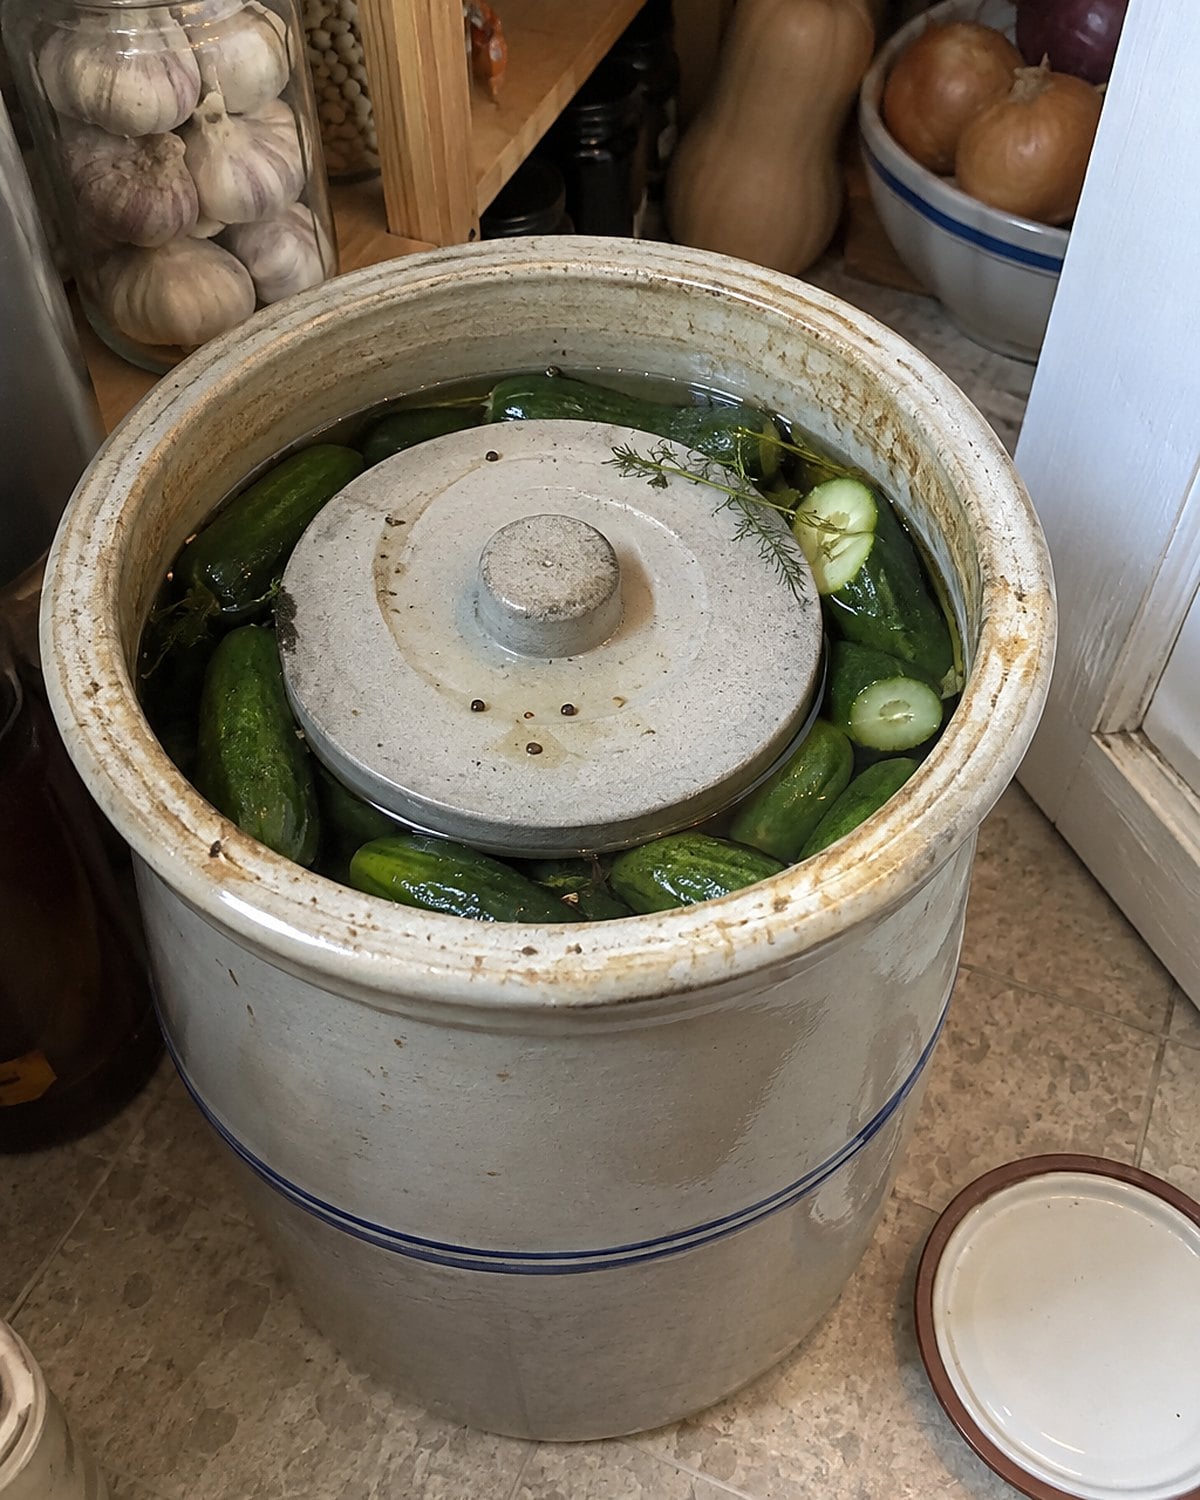
Start with the recipe, not the crock. Salt amounts, temperature, and handling differ by pickle method, so an unmarked scoop of salt won’t do. Choose tested directions from the National Center for Home Food Preservation before you buy cucumbers.
Then inspect the crock. Look for cracks, damaged glaze, and a lid that no longer fits. Check the recipe for the right weight to hold vegetables beneath the brine. Don’t substitute whatever happens to fit inside.
The old pantry crock looked still, even while the brine was changing. That’s why lifting the lid and guessing from the smell isn’t a safety test. If a batch looks questionable, don’t taste it to decide what to do. Go back to the tested directions.
There’s pleasure in smelling dill and garlic when you lift a sound crock. Its generous size meant pickles for the table and a jar to share. The measurements made that work repeatable.
#19 The stockpot saved for chicken bones
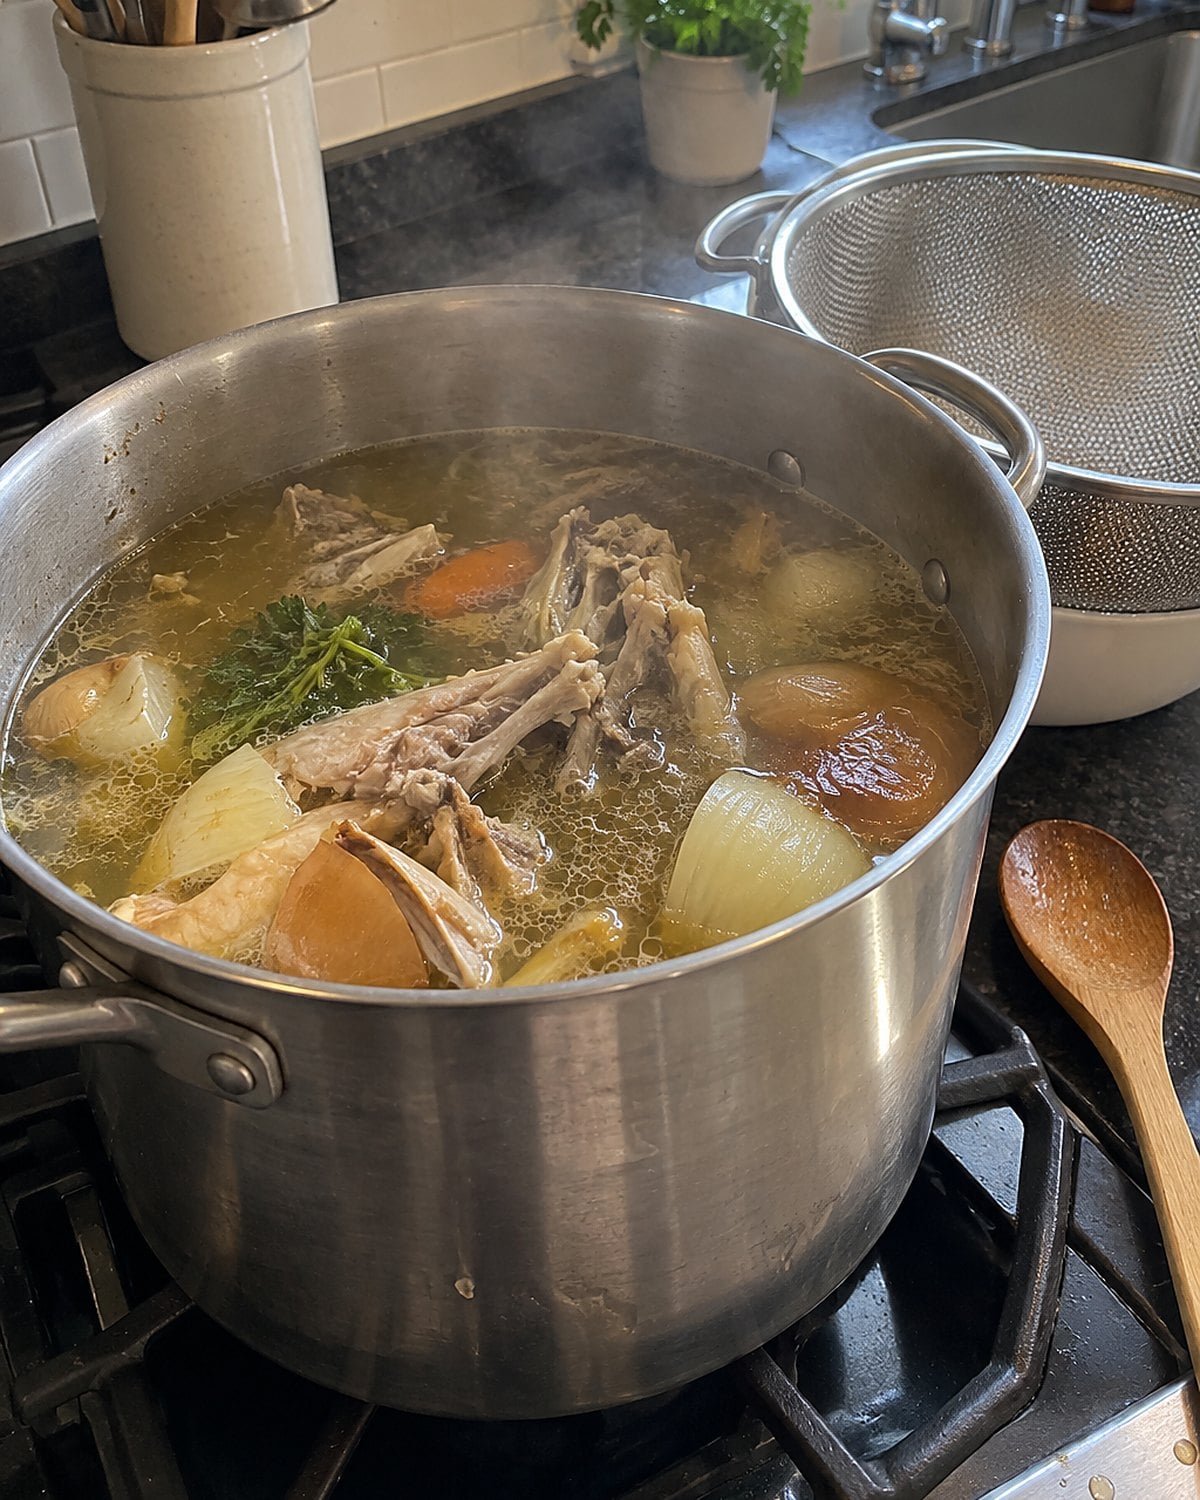
A roast chicken finished on Sunday, and the bones waited for stock. The pot filled with onion ends and water. Later, the kitchen smelled like supper again, though nobody had started a new dinner.
Stock gets its body from connective tissue in bones and skin. A long simmer draws gelatin into the liquid. You’ll see the result when chilled stock sets into a loose gel and melts again in the pan.
Strain the finished stock into smaller, shallow containers and refrigerate it promptly. Give the containers space so cold air reaches them. The USDA’s cold storage chart gives the storage time for cooked stock.
If tonight’s chicken has left you a carcass, freeze the bones for another day rather than leaving them on the stove. Label the package so it doesn’t become a mystery at the back of the freezer. The habit saved useful scraps, but somebody still had to decide when to make the pot.
Try it: Instant Pot Chicken Bone Broth In 3 Hours
#18 The hand-cranked food mill
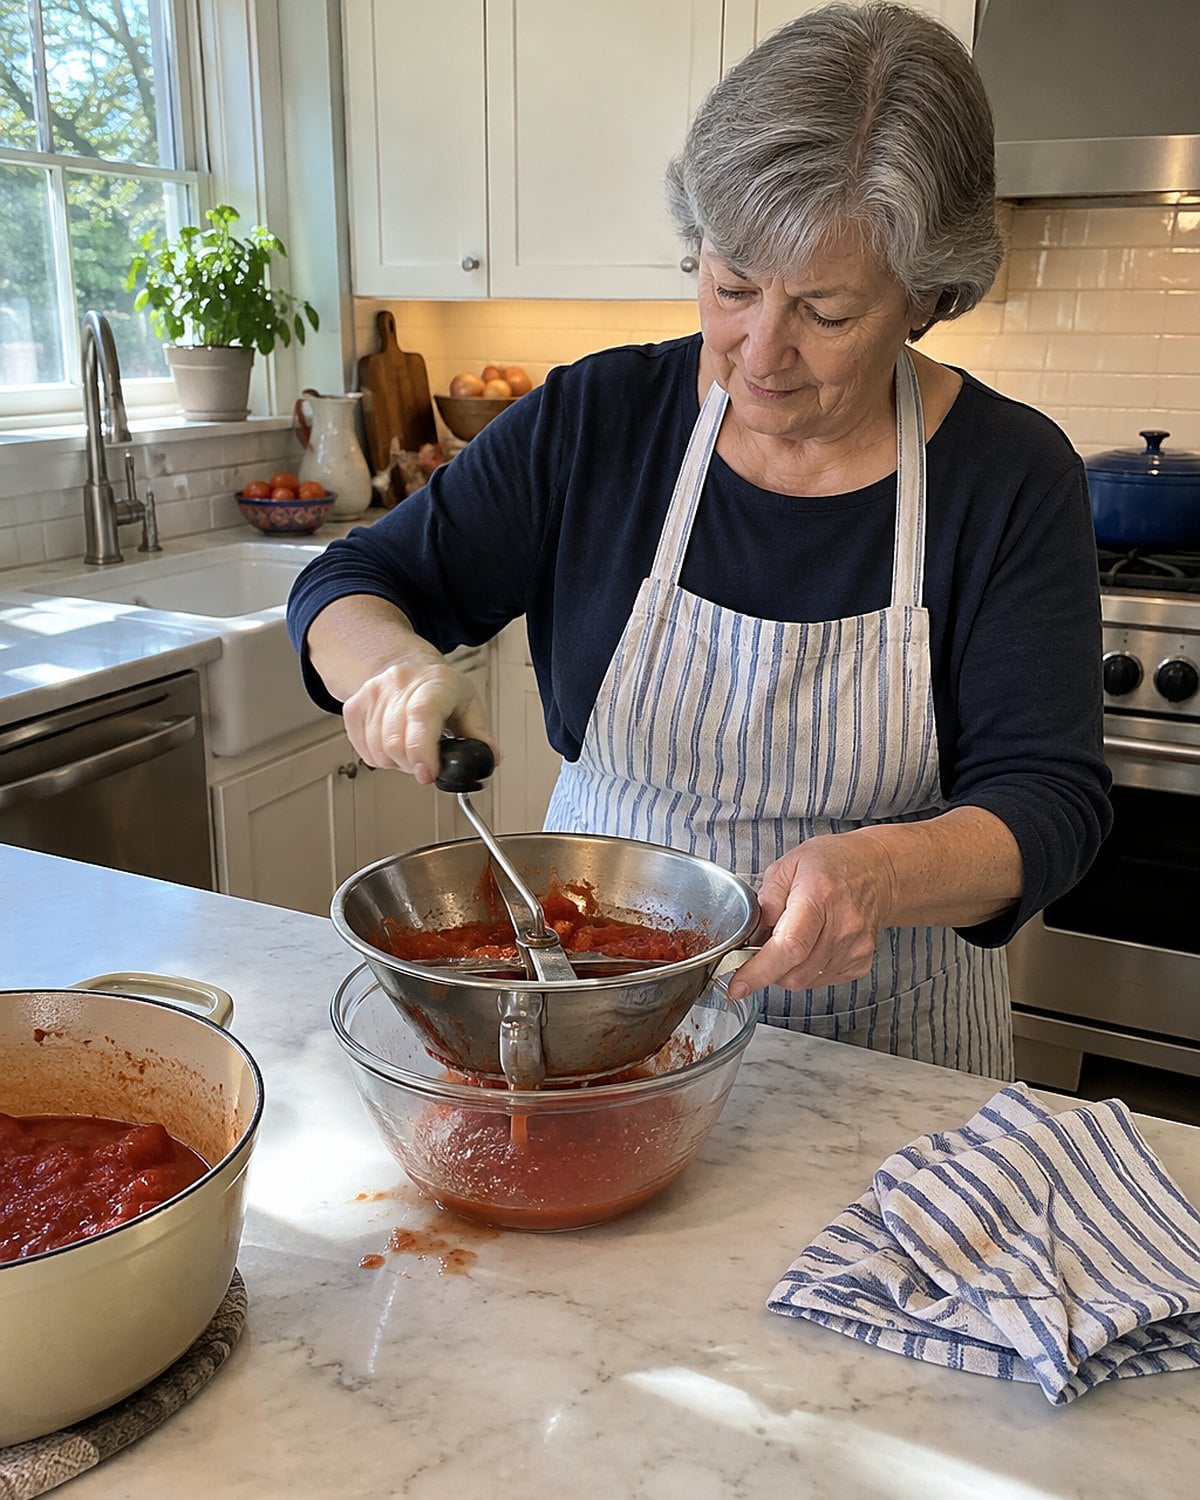
A food mill sat between a strainer and a saucepan in the old kitchen. Turn the handle, and cooked tomatoes passed through the screen while skins and seeds stayed behind. The same tool made smooth applesauce without peeling every apple first.
That difference matters if you want tomato sauce with some body. A blender breaks skins and seeds into tiny pieces and whips air into the sauce. A mill separates them. The result feels different on a spoon, even when both start with the same tomatoes.
Check that the plate sits firmly and the crank turns without scraping metal against metal. Work over a stable bowl, and scrape the underside when the pulp builds up. If you’ve kept a mill for years without using it, try it on cooked apples. The first turn explains why it had a place in that crowded drawer.
#17 The high-chair tray for dough scraps
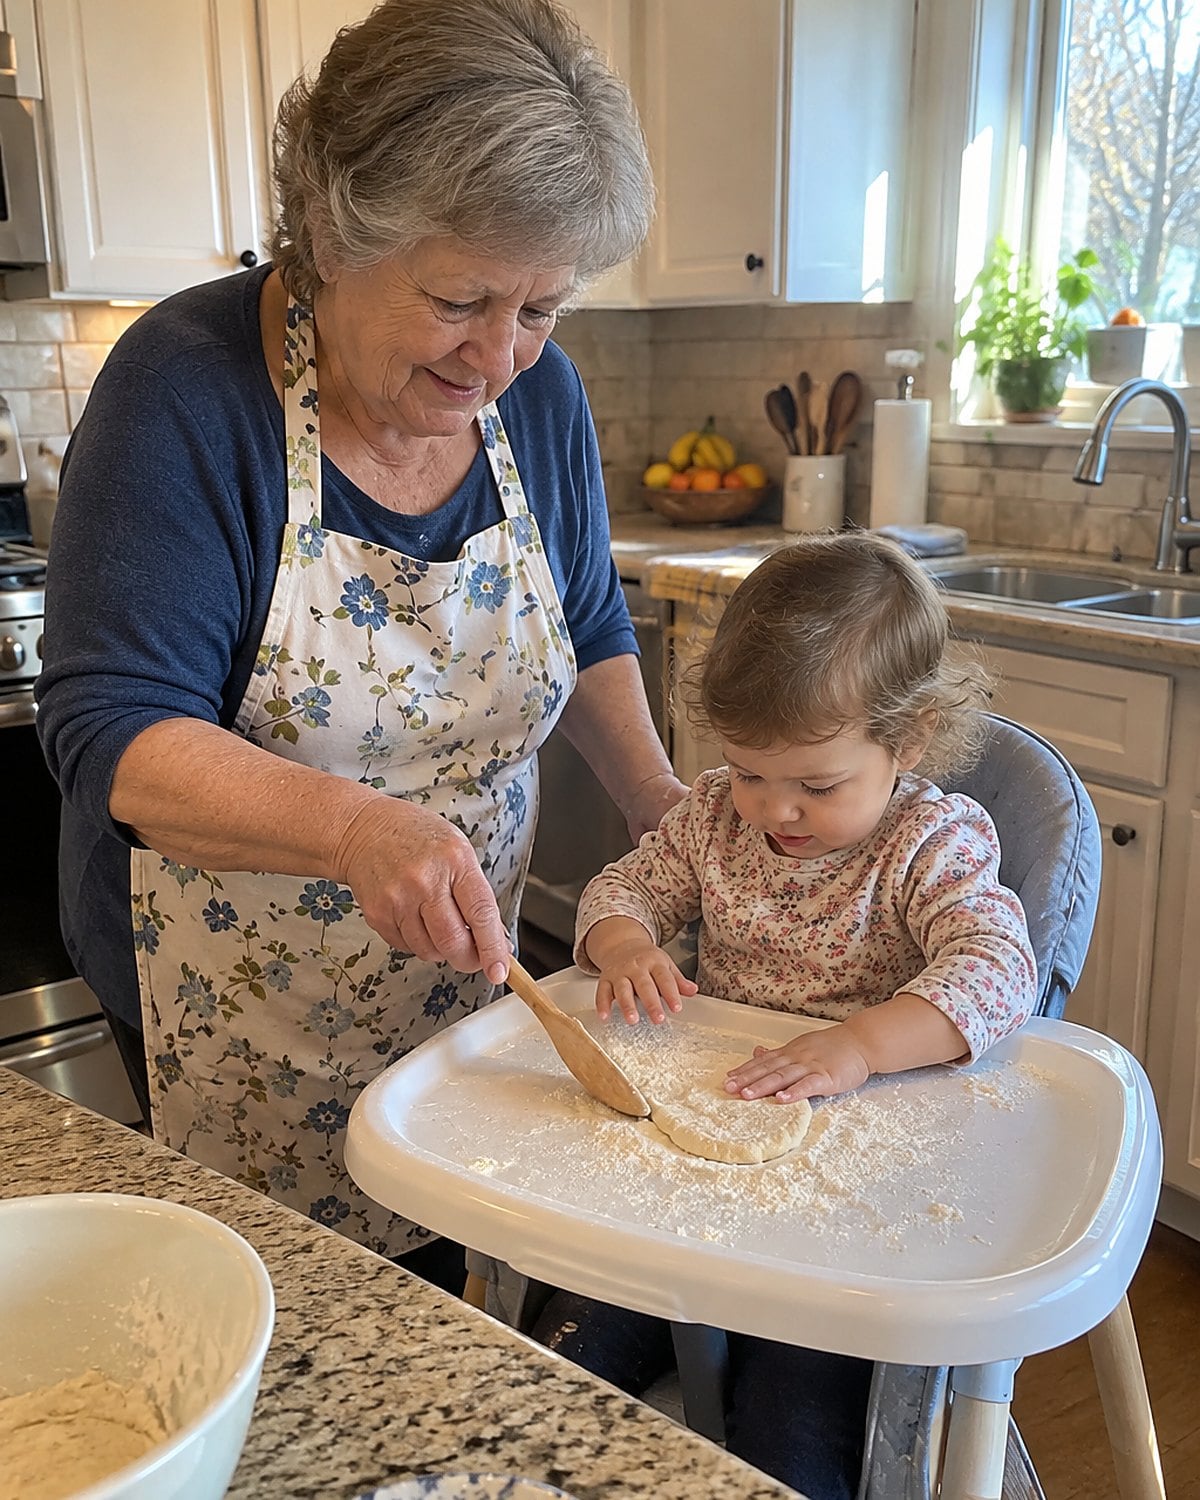
A child at the table didn’t need a perfect biscuit. A lump of leftover dough and a little flour bought time while the grown-up finished rolling. The tray caught most of the mess.
Raw dough stays out of mouths. Flour itself has been linked to foodborne illness, so the CDC’s food safety guidance says not to taste raw dough or batter. Wash little hands after shaping, and bake any dough meant for eating.
If raw meat touched the work area, clean the tray and start with a fresh piece. Give the child a separate scrap to shape so the main batch stays where you’re working. A spoon of flour on the tray is plenty for small hands; a whole bag ends up on the floor.
Hand over the dough to pat, not to sample. The finished biscuit will look uneven. Someone small made it that way.
#16 The jar of dried beans
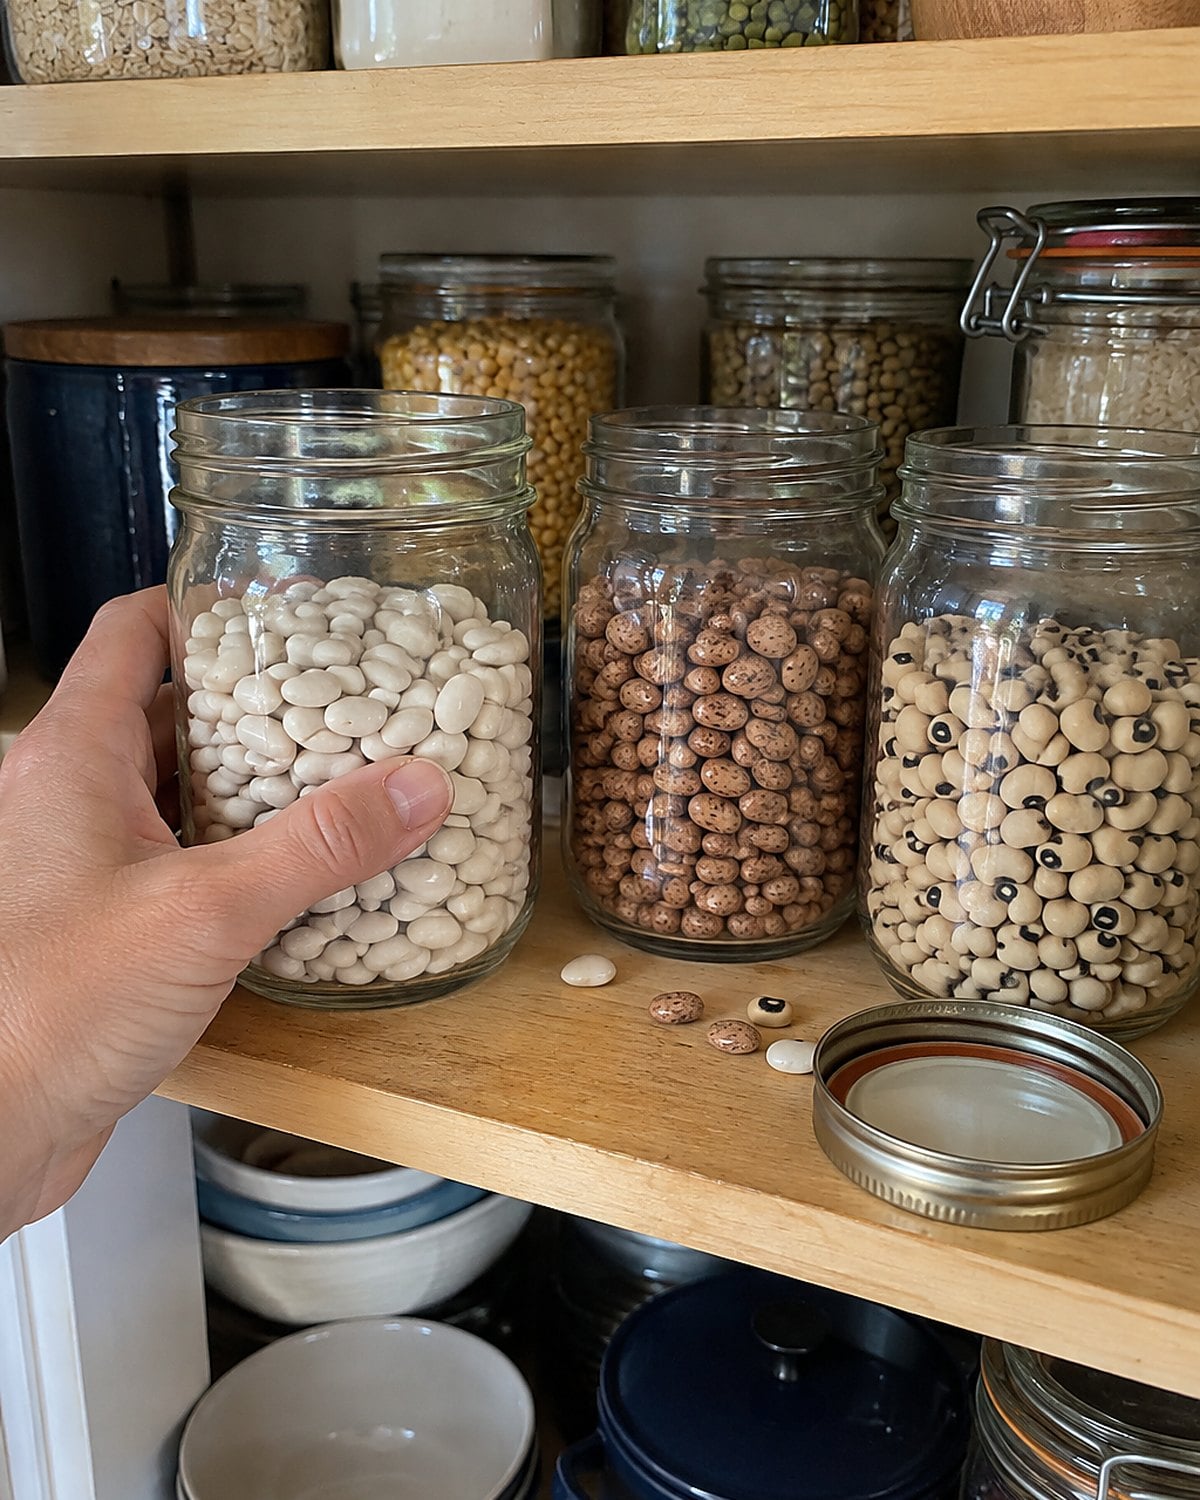
A jar showed what was left without opening a bag. White beans, pintos, or black-eyed peas sat within reach for a meal that didn’t depend on a trip to the store. The label mattered because dried beans don’t all cook the same way.
Sort them on a plate for small stones, then rinse. Many dried beans take roughly 1 to 2 hours of simmering after soaking, but age and variety change the timing. Split a bean and bite the center; it should be tender rather than chalky.
Kidney beans need special care. The FDA’s Bad Bug Book explains that raw and undercooked kidney beans contain a lectin that causes illness. Don’t put raw kidney beans straight into a slow cooker. Follow a tested preparation method that includes the required boil.
Season the finished pot to taste. If the jar has lost its label, identify the beans before choosing how to cook them. That little piece of paper mattered as much as the glass.
Try it: How To Cook White Beans In Instant Pot
#15 The saucer over rising dough
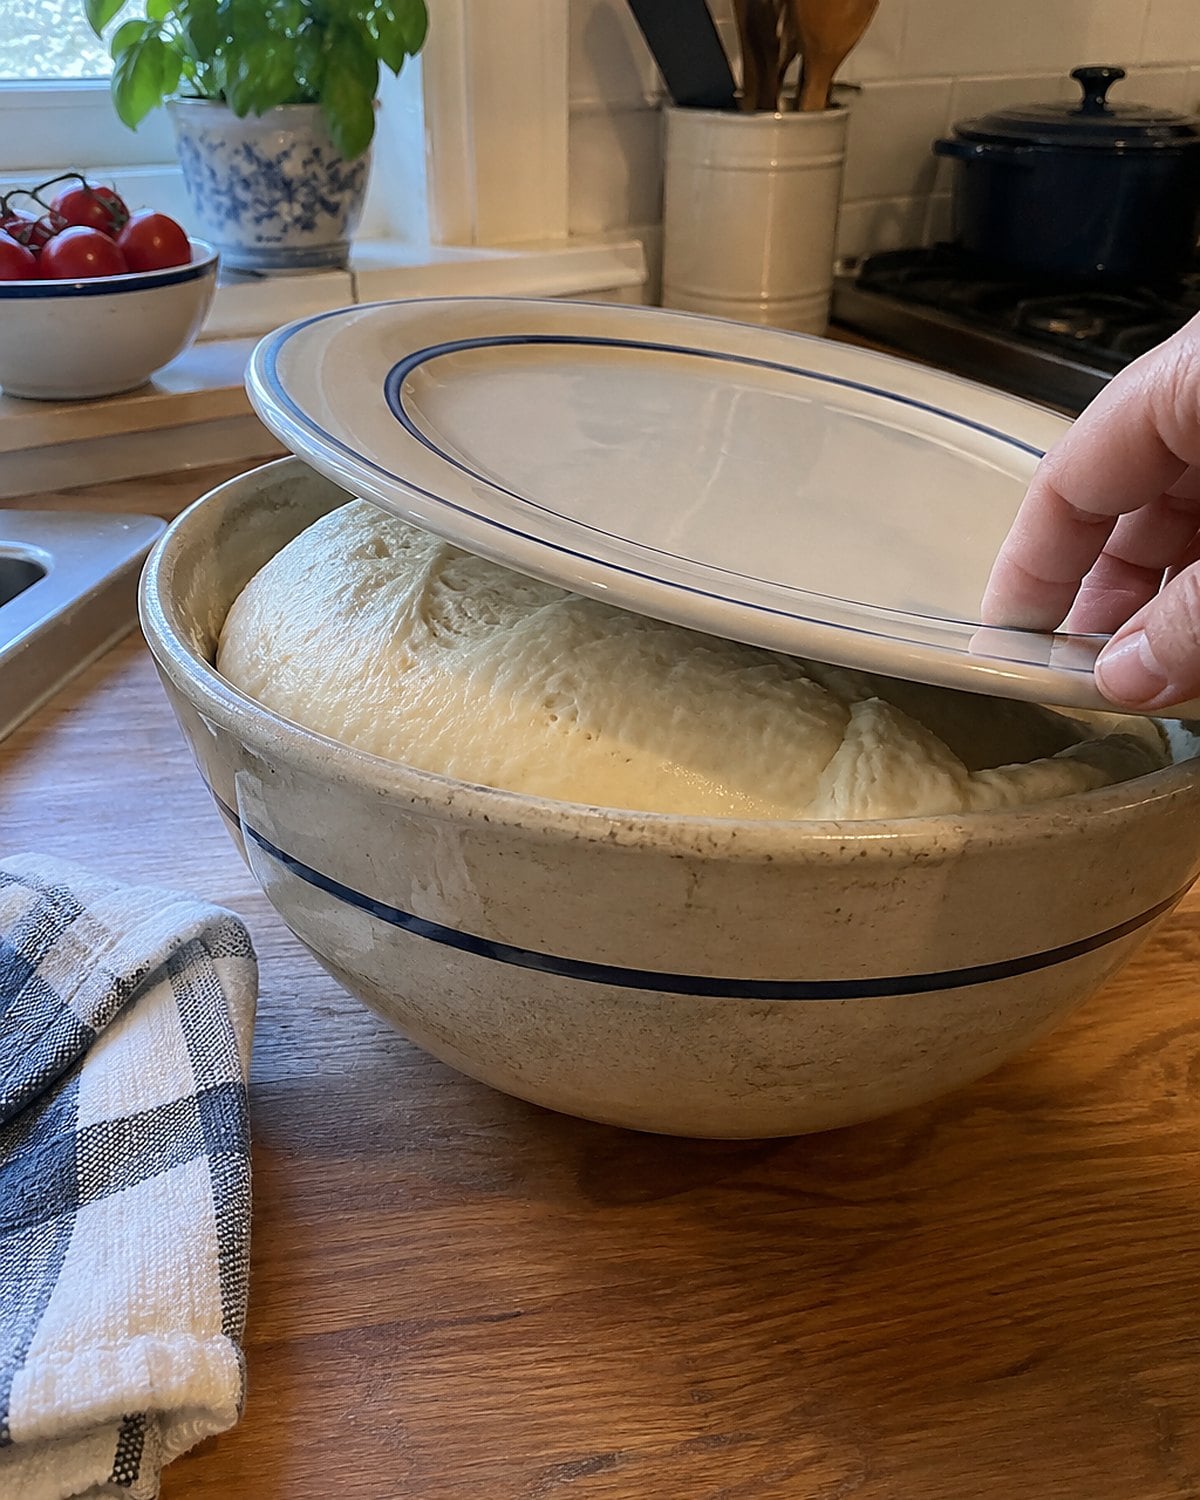
A bowl of dough tucked near the stove needed a cover, and a saucer did the job. It kept the top from drying out and lifted off without pulling dough along with it. A damp towel worked too, until it touched the rising surface and stuck.
Watch the dough instead of the clock. A cool room slows a yeast dough, while a warm one speeds it along. Press a floured finger into the surface. An indentation that eases back slowly tells you the dough is ready for shaping.
If it springs back at once, give it more time. If the dough collapses, it has risen too far; press it down and shape it rather than putting that loose bowl straight into the oven. The saucer lets you lift the cover for a look without peeling fabric off sticky dough.
Set the bowl away from direct burner heat. Yeast needs time, not a blast from the stove.
#14 The junk drawer of twist ties
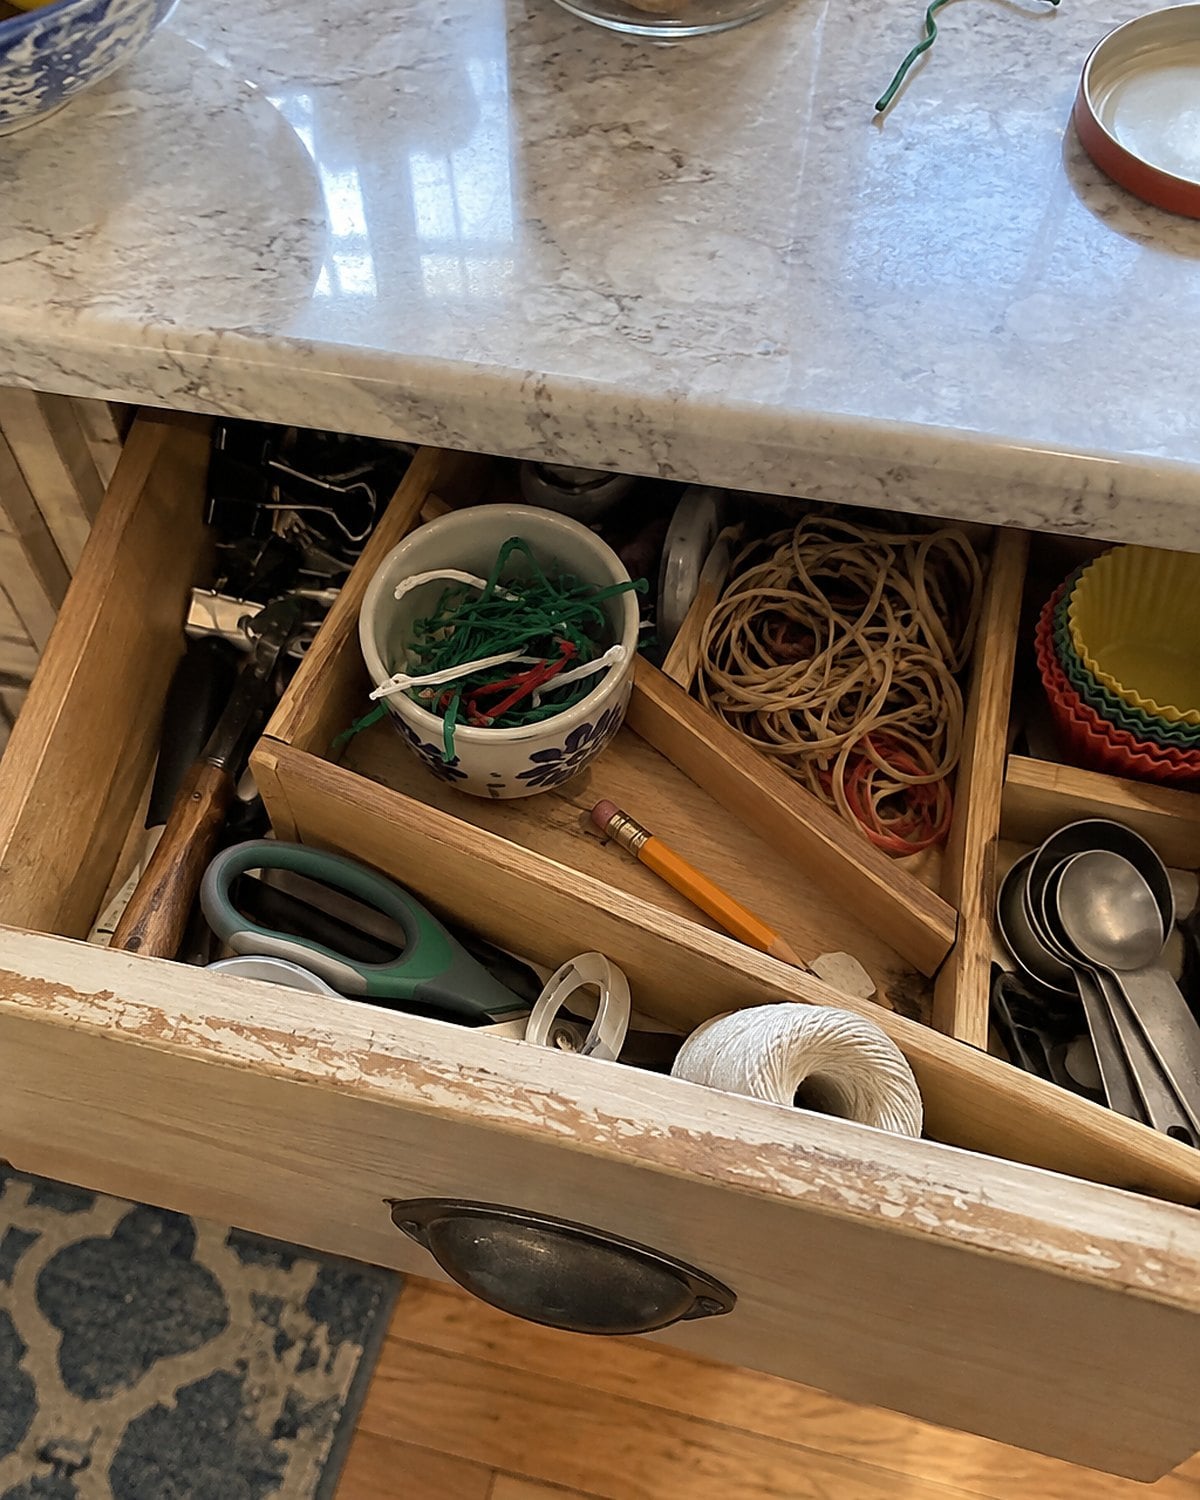
Open the drawer and a rubber band jumps out with a bread clip, a pencil stub, and the twist tie from a bag long gone. It looks like clutter until you need to close a bag of rice.
Keep the ties that still twist cleanly. Throw out any with exposed wire ends, especially if children reach into the drawer. A small cup stops the good ones from tangling around everything else. Washable clips work for bags you open every day, but a twist tie closes a freezer bag without taking up much room.
Then deal with the rest of the drawer. Test the pen. Put the spare key where you’d look for it. Toss the takeout packets you’ve pushed aside for years. The drawer earned its place by helping with small kitchen jobs; it doesn’t have to keep every small object that enters the house.
#13 The egg cup on the breakfast table
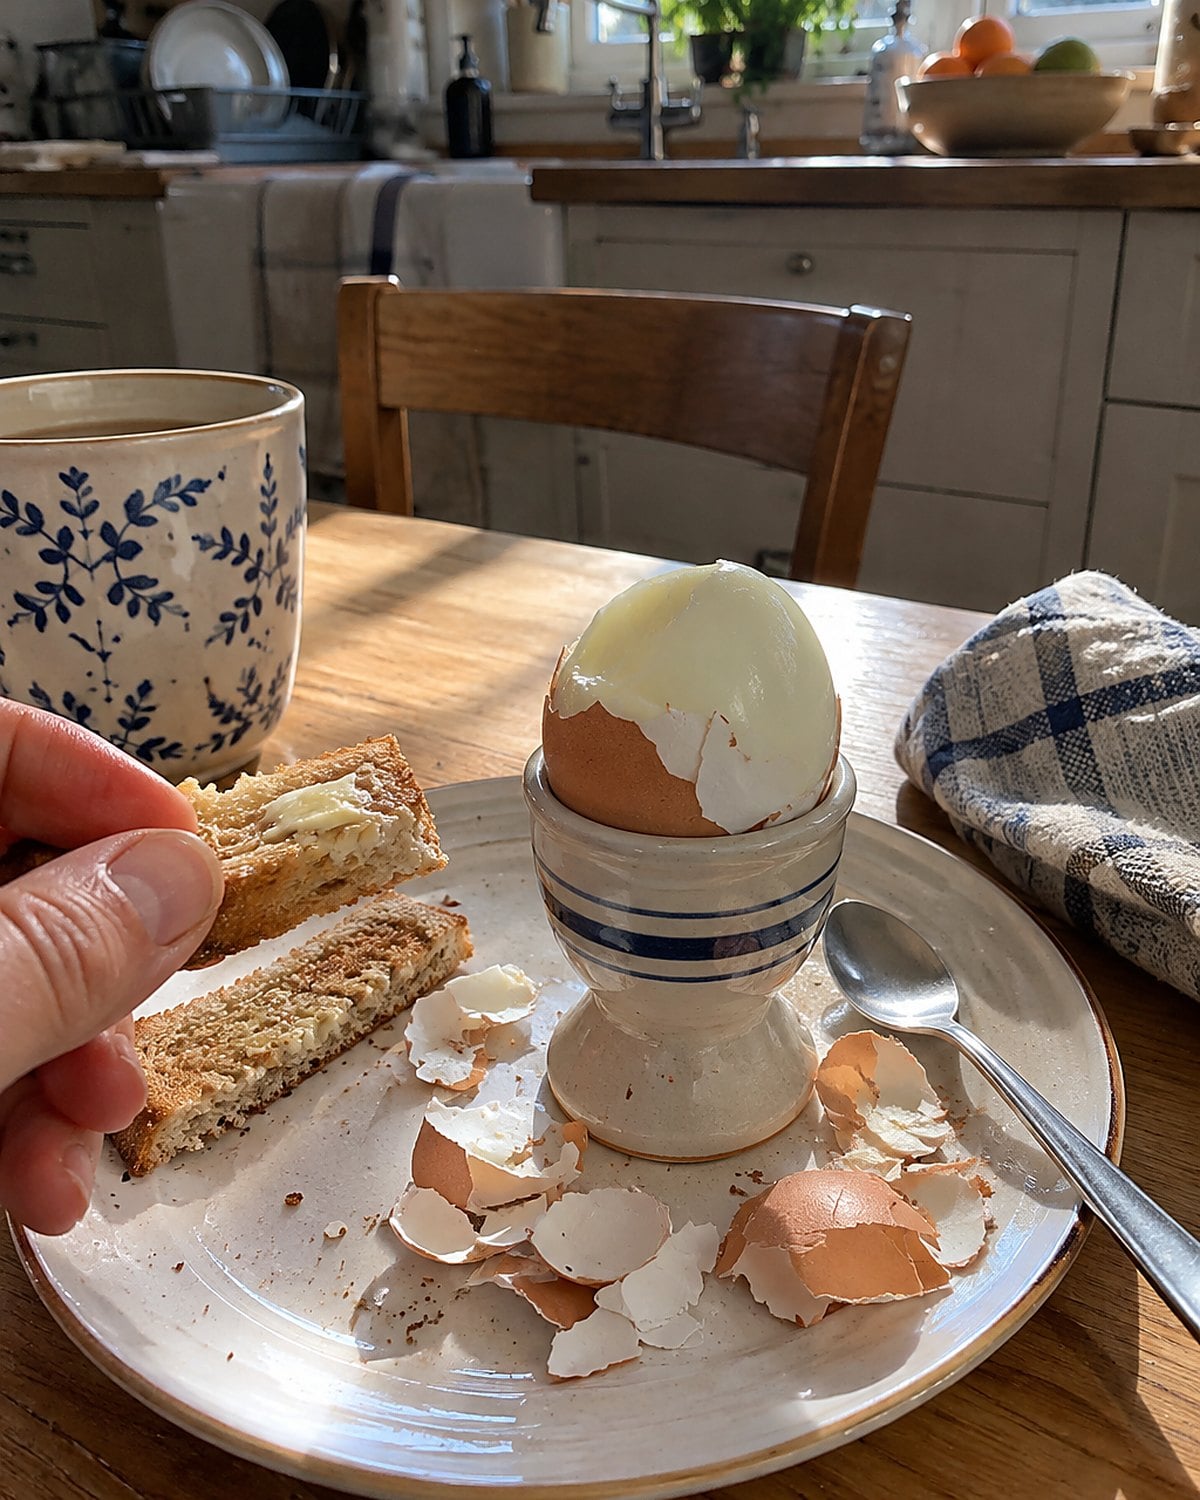
An egg cup held a soft-boiled egg upright while somebody tapped off the top. It made breakfast feel a little formal without adding work. The cup also kept the shell from rolling into the toast.
There’s another way to use those cups tonight. Set out hard-boiled eggs and let a grandchild peel one over an empty bowl. The cup steadies the egg while little fingers work under the shell, and the bowl catches the pieces. A clean spoon lifts out the egg once it’s peeled.
If you’re serving eggs with soft yolks, read the FDA’s egg safety advice first, especially when someone at the table faces higher risk from foodborne illness. A tap on the shell tells you where to open it, not whether the egg is safe.
The little cup still earns its shelf space. Bring it out instead of hunting for a way to keep breakfast from rolling away.
Try it: Instant Pot Boiled Eggs (Soft-Boiled, Jammy & Hard-Boiled)
#12 The biscuit cutter in the flour drawer
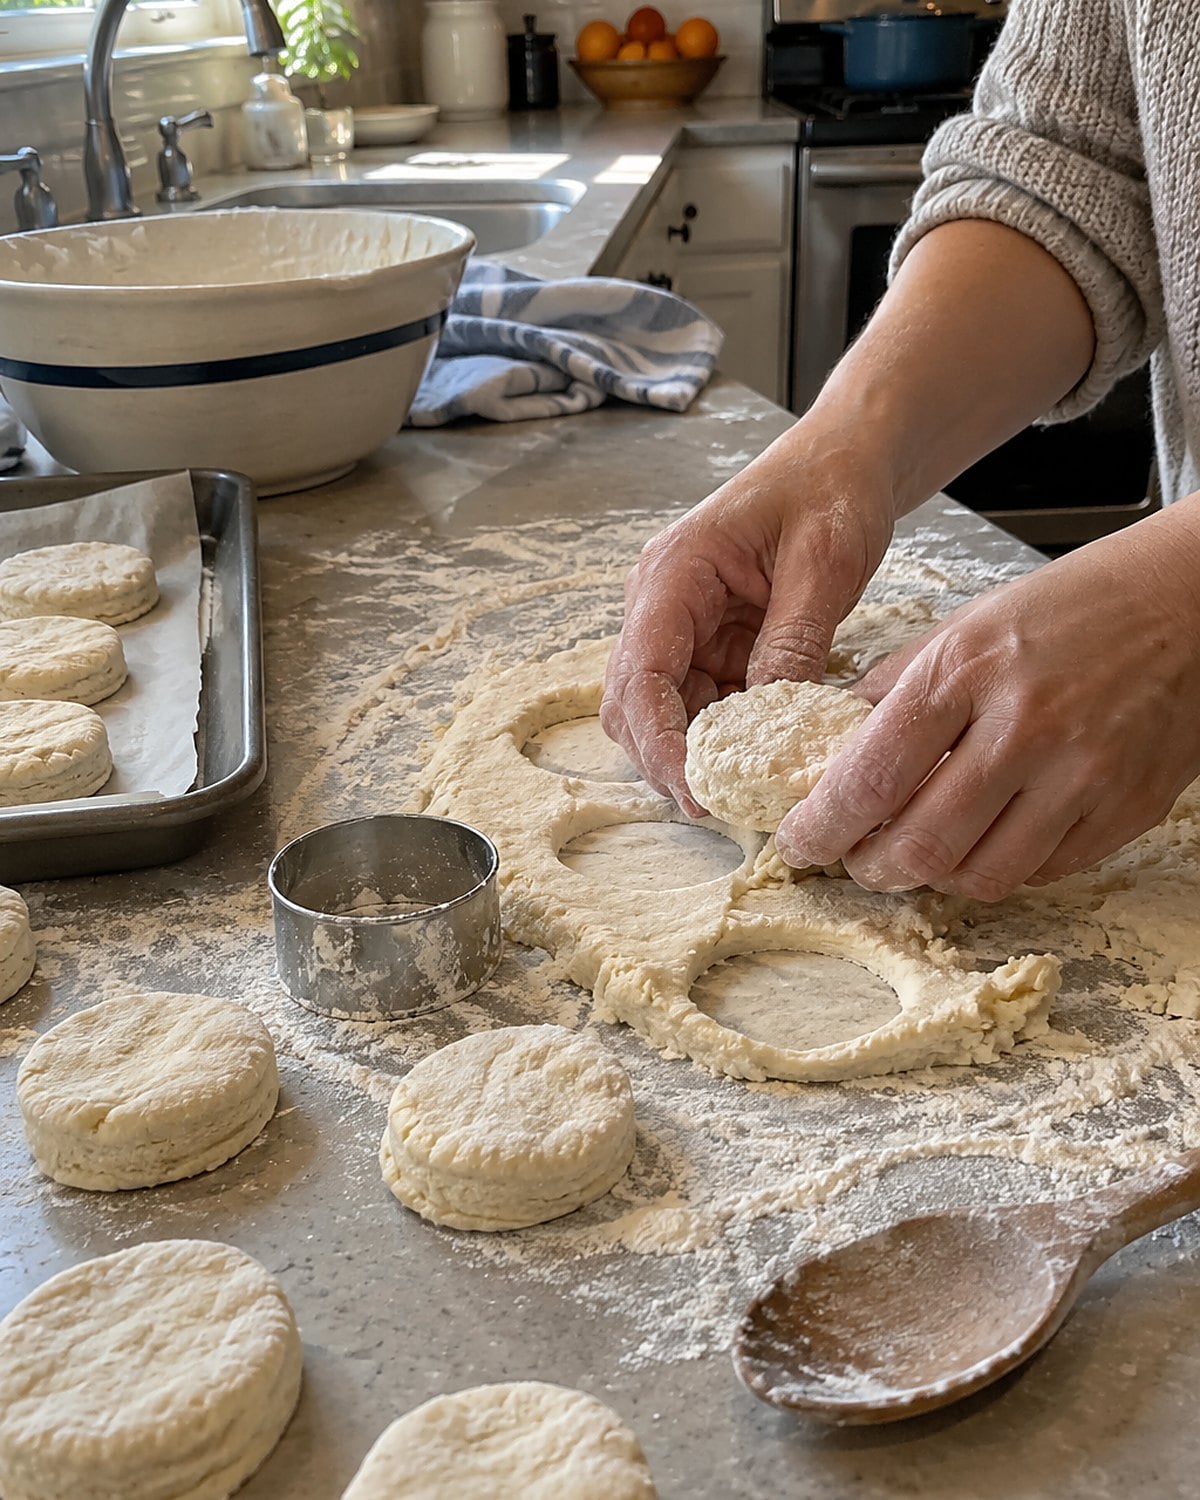
A drinking glass cut a circle, but the thin edge of a biscuit cutter went through dough cleanly. When an edge gets pressed and sealed, the layers have a harder time rising apart.
Flour the cutter, press straight down, and lift straight up. Don’t twist. Put the cut biscuits close together on the pan if you want their sides to support each other as they rise. Gather scraps with a light hand; each reroll works the dough more.
If biscuits come out tough, look at what happened before they reached the oven. Too much mixing builds gluten, and warm fat smears instead of leaving little pockets. Cut the fat into the flour, add the liquid, and stop once the dough holds together. The cutter’s part is quick. Knowing when to stop handling the dough does the rest.
#11 The chipped platter for Sunday roast
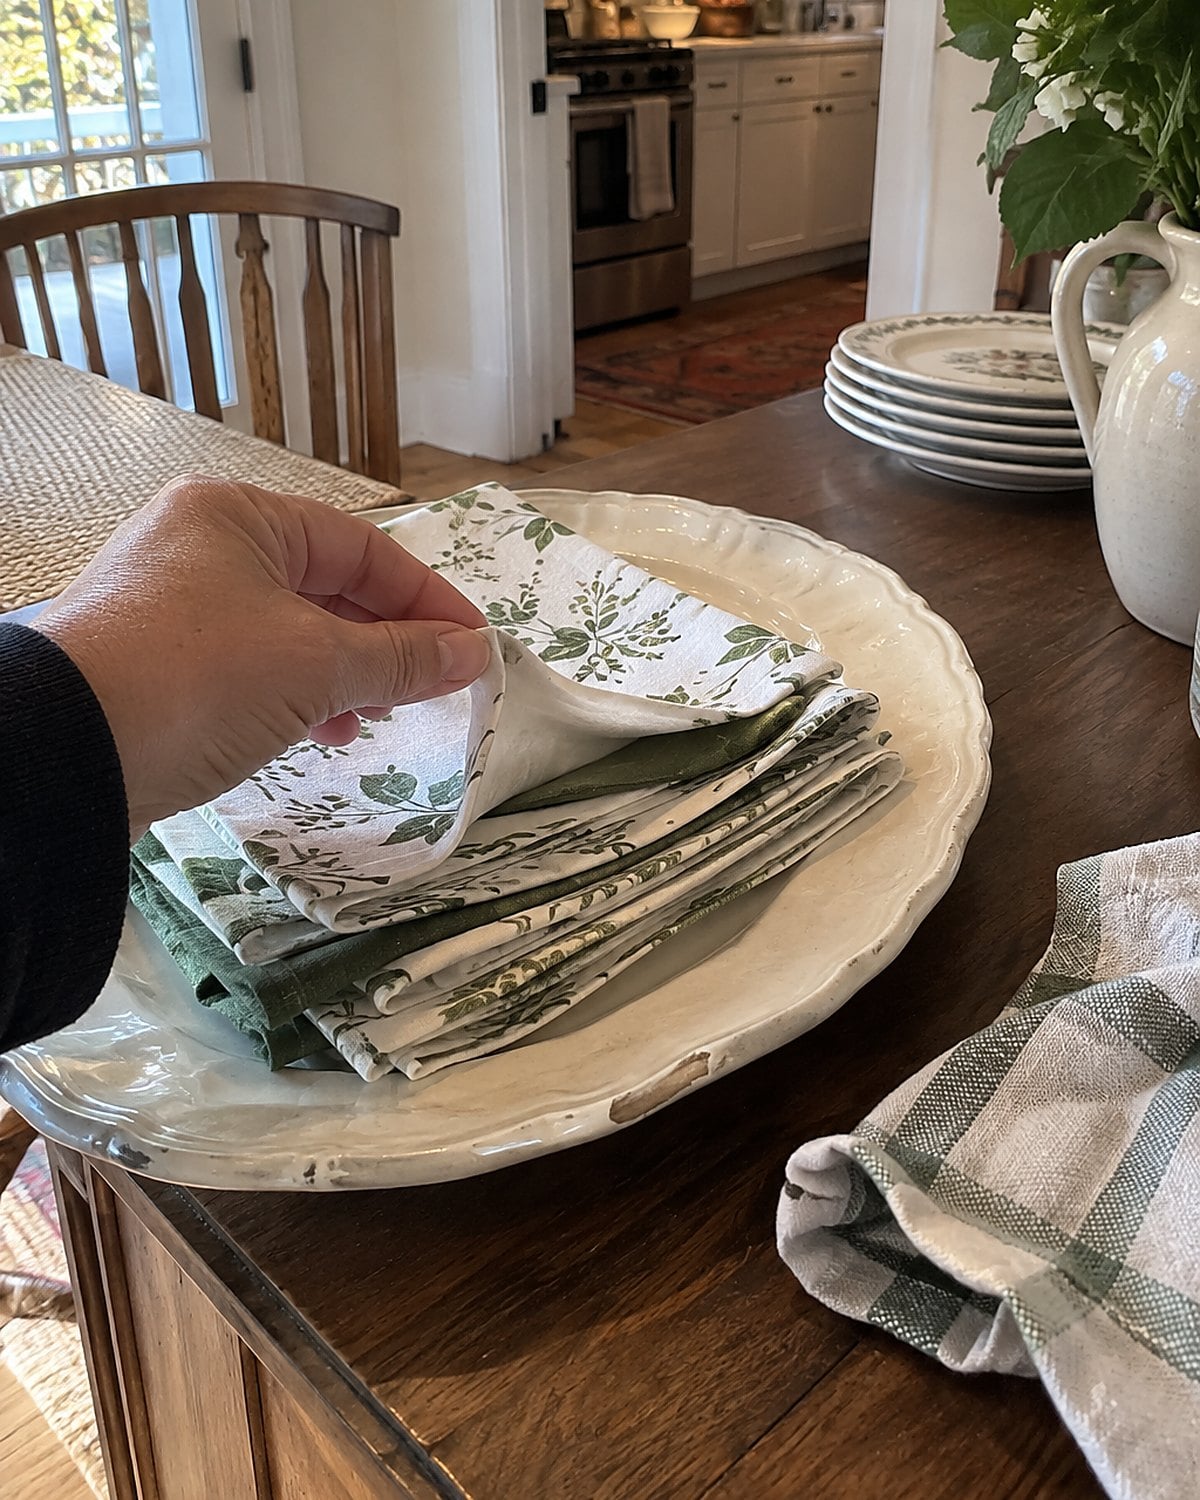
The platter came out for roast beef, a holiday ham, or a chicken large enough to need carving. Chips gave it a history. They also left rough places that were hard to clean, especially if a crack ran into the glaze.
Look closely before the next dinner. A cracked platter that held raw meat shouldn’t become the serving platter. Transfer cooked food to a clean dish, as the USDA’s separate-raw-from-cooked guidance advises.
Keep the old platter for wrapped rolls or a stack of napkins if you love seeing it on the table. Supper still gets the familiar dish, without asking a damaged surface to do a job it no longer suits.
#10 The market basket for loose produce
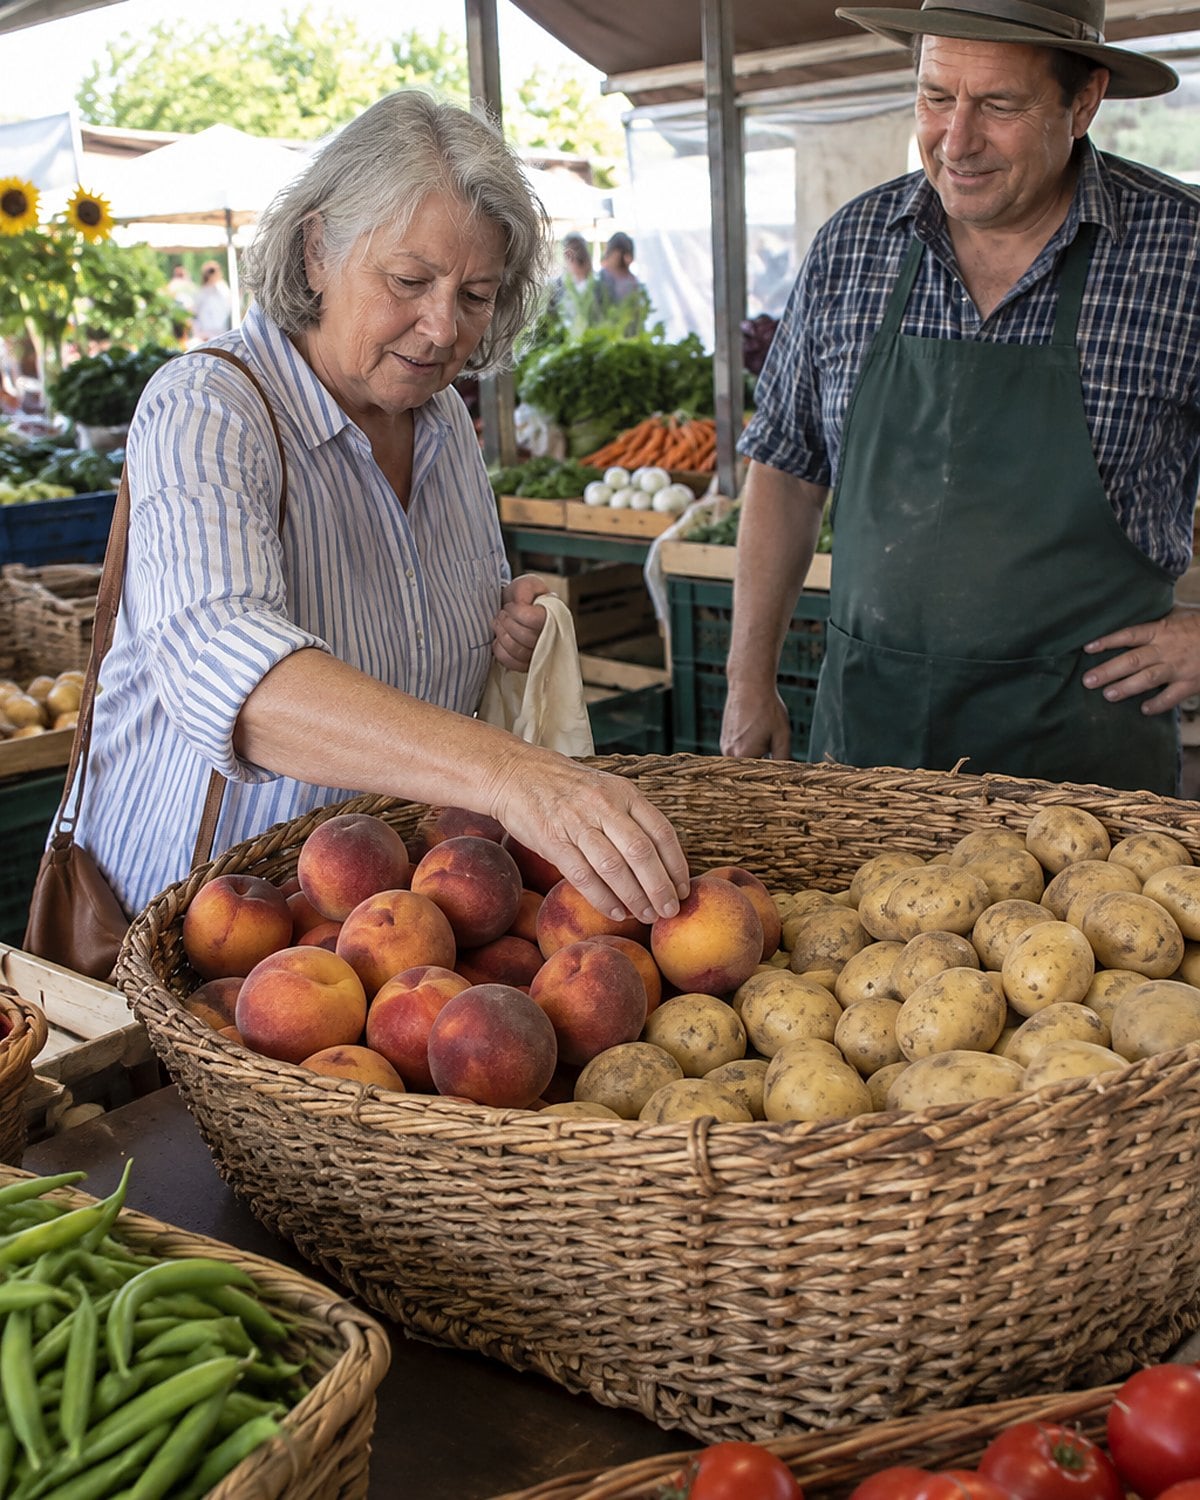
A basket made sense at a market stall: peaches on top, potatoes underneath, herbs kept where they wouldn’t be crushed. It also showed you what you had bought. A plastic bag hid the bruised peach until it was too late.
Before filling a basket, look for firm handles and a clean bottom. Keep raw meat in its own packaging and away from produce on the trip home. At the counter, unpack everything instead of leaving the basket by the door.
Use the basket for the next small shop, too. Buying for one or two changes the question. You need enough greens for the meals you have planned, not enough to fill the refrigerator drawer. A shallow basket makes that limit visible before you pay.
#9 The enamel pot for green beans
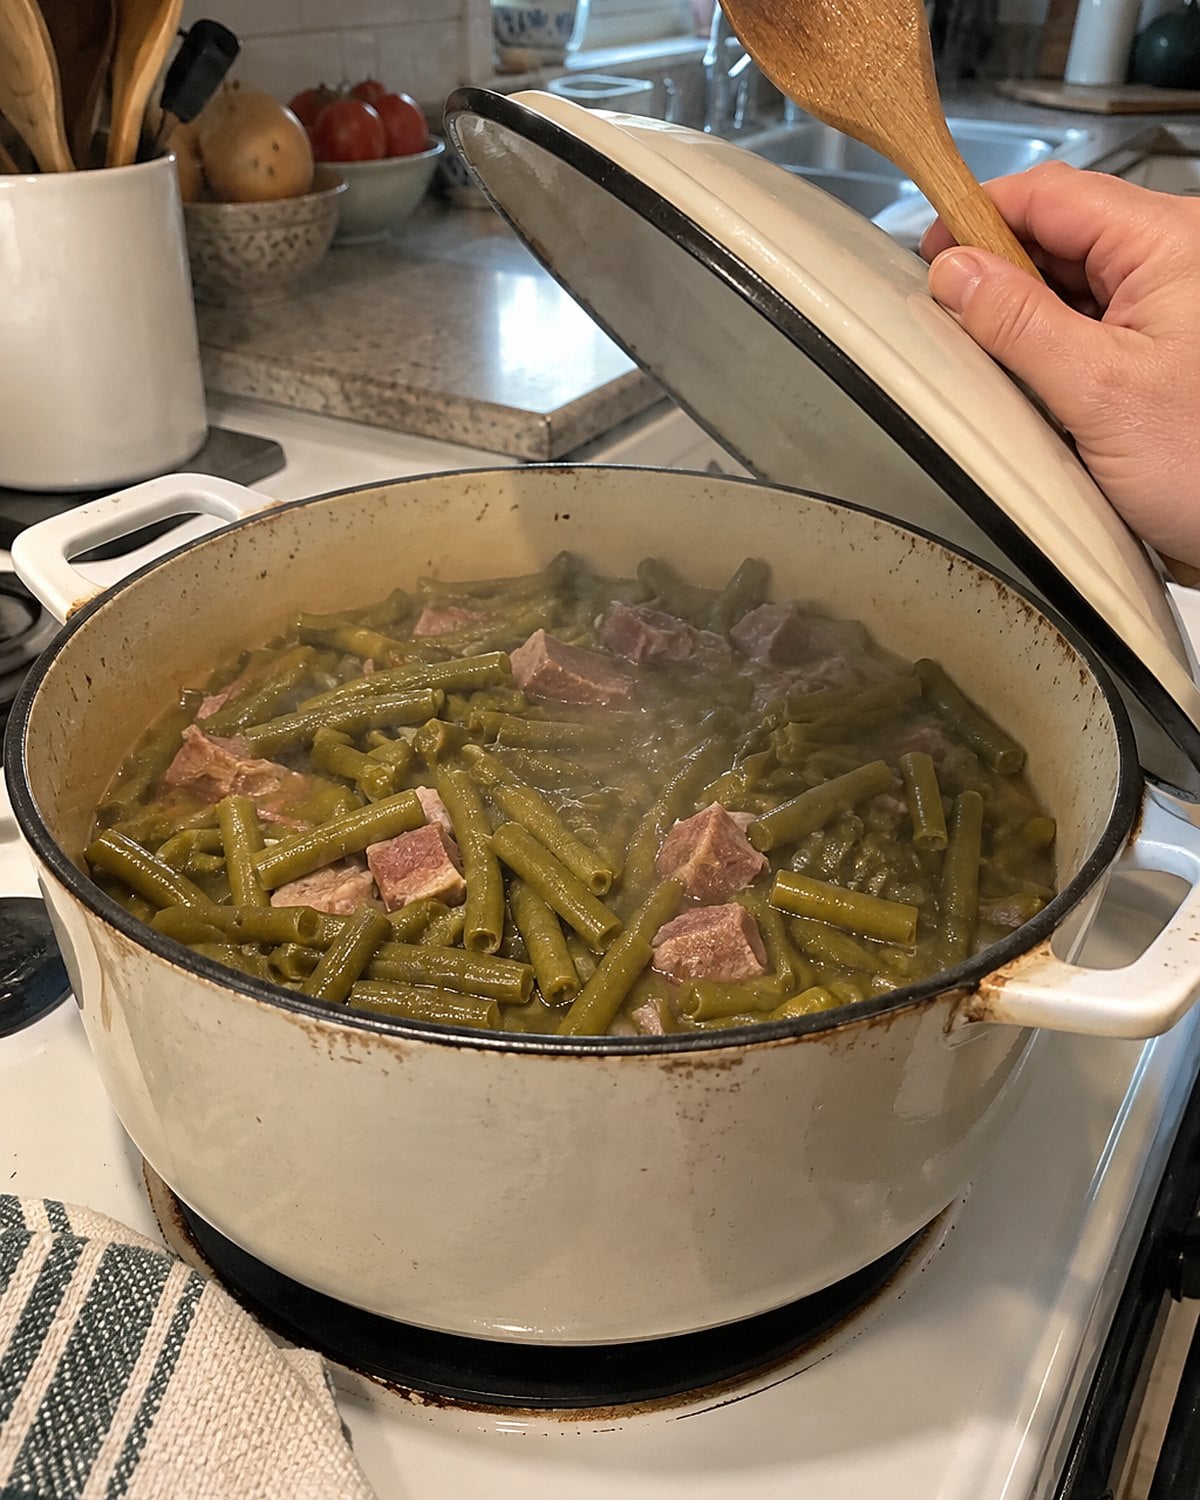
The lid rattled while green beans cooked with a piece of ham. Steam escaped, the liquid reduced, and someone checked the pot by smell before checking it with a spoon.
There are two worthwhile endpoints. A bean with a crisp bend tastes fresh and grassy. A long-cooked bean turns tender and takes on the flavor of the pot liquor. Decide which supper you’re making before you start, because stopping halfway gives you neither.
For the long-cooked kind, start checking after about 45 minutes. The size of the beans and the heat under the pot change the finish. Taste the liquid before adding salt: ham seasons it, and reducing concentrates that salt. Lift out a bean and bite near the stem end. If it still resists and you want it tender, put the lid back on.
The pot tells you more than a timer. Keep enough liquid in it to prevent scorching while the beans finish.
Try it: Instant Pot Green Beans With Butter & Pepper
#8 The wire rack under the cake
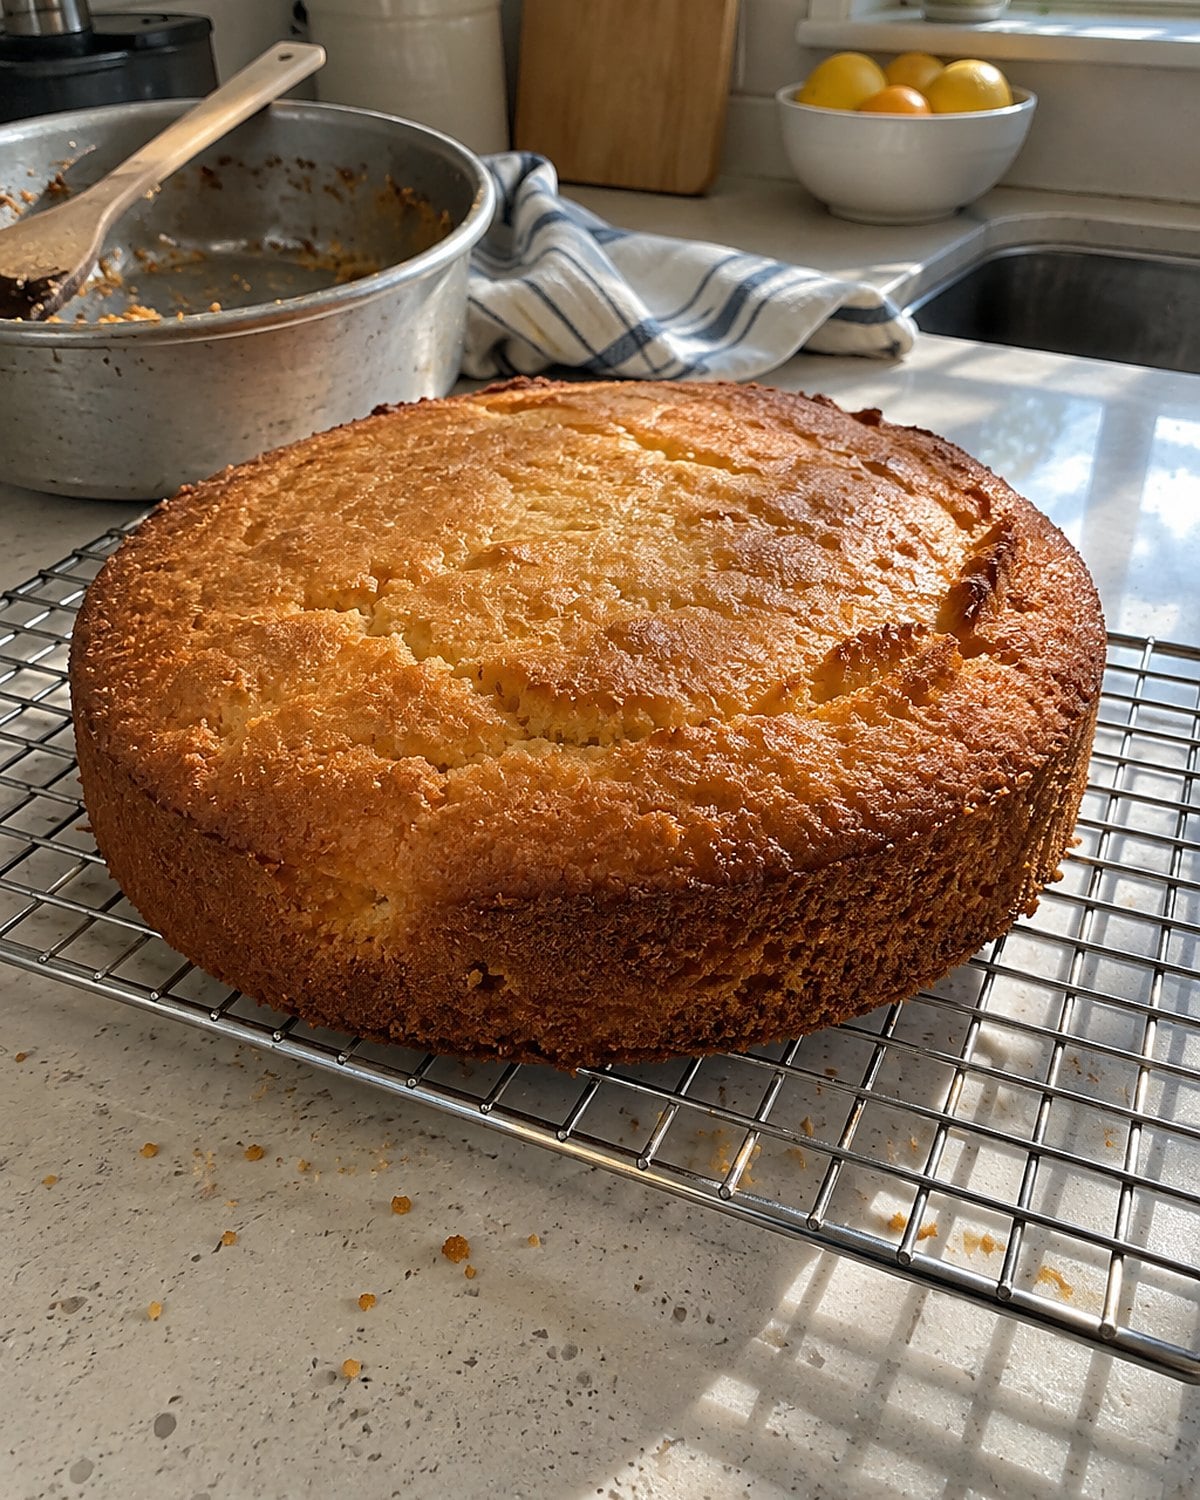
A cake left in its pan traps steam underneath. That steam softens the bottom crust. A wire rack lets air reach the pan, then the cake, as each cools.
First, check the cake itself. A tester pushed into the center should come out without wet batter, and the top should spring back when pressed lightly. Give the cake time to settle in its pan before turning it out. If you rush, the warm crumb breaks against the rack.
Set the rack over a clear counter, not beside a sink full of dishes. If you don’t own one, the oven rack can do the job after it’s clean and fully cool. That odd wire square earned its cabinet space because it solved a problem you couldn’t see from the top of the cake.
#7 The casserole dish with its own lid
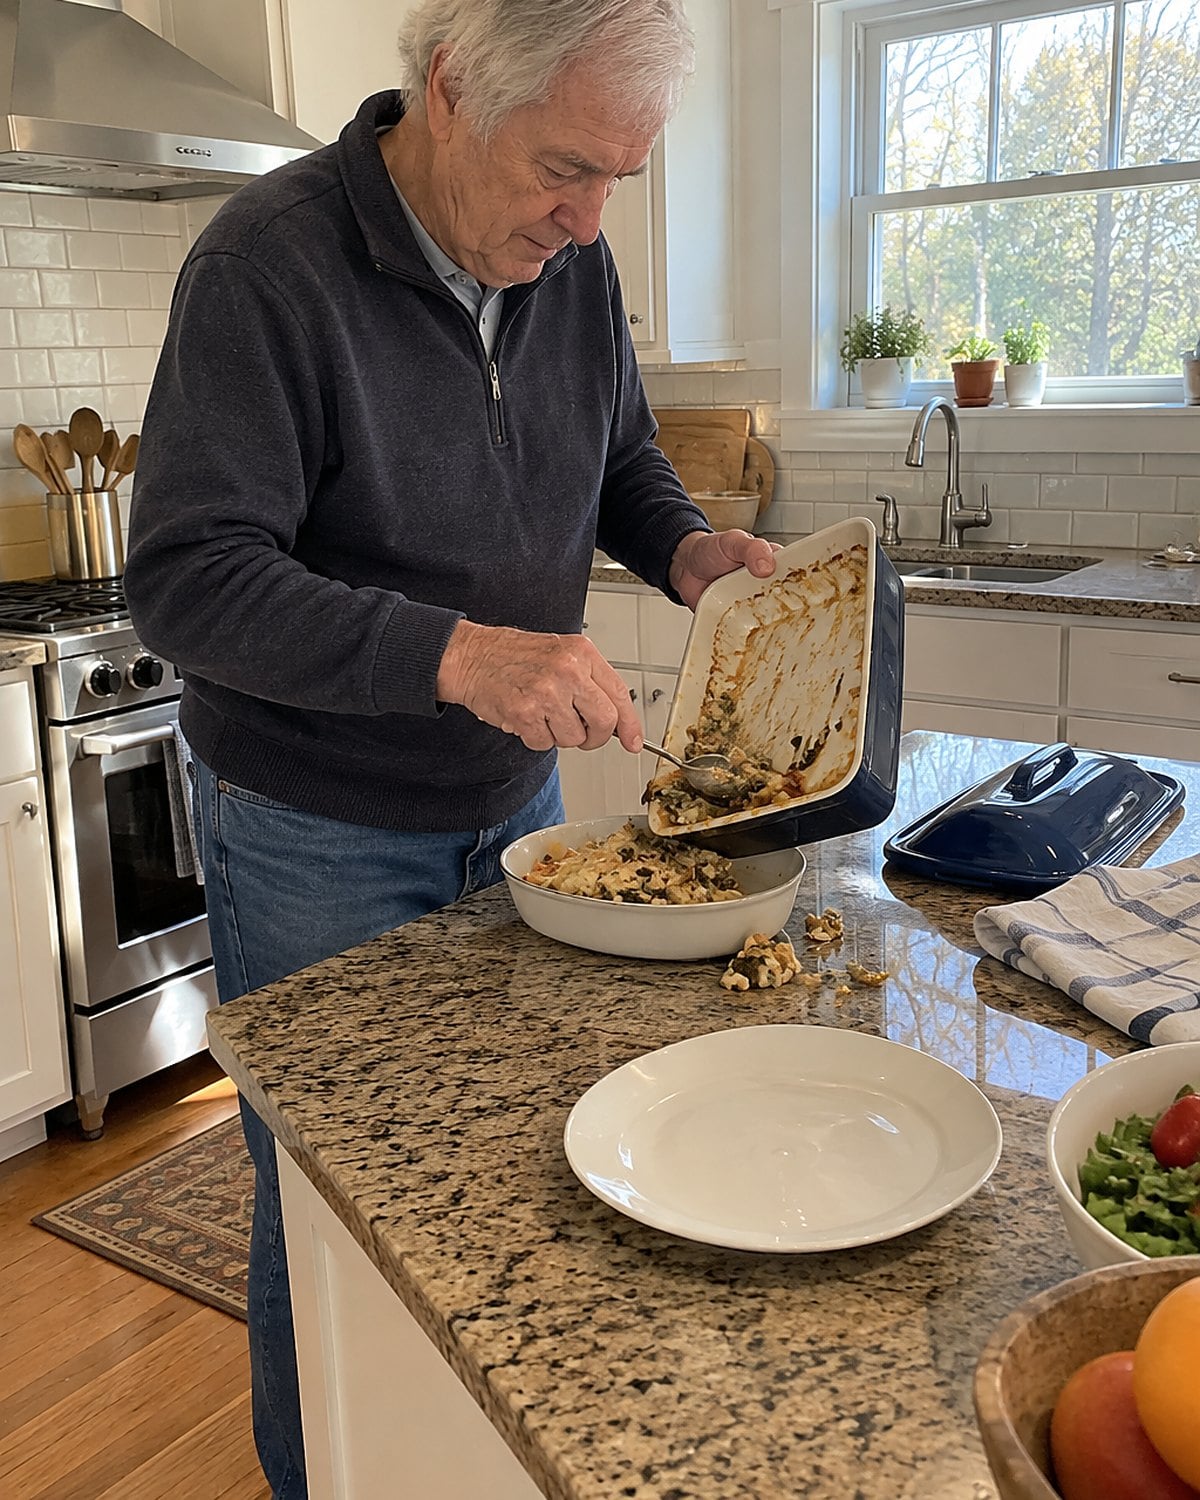
A lidded casserole went from oven to table and then into the refrigerator. It was built for a household that expected another serving tomorrow. Now the same dish can hold more supper than two people want to eat.
Use the dish that fits the meal, not the guest list you once had. For leftovers, transfer food into shallow containers and refrigerate promptly. The USDA’s leftovers guidance calls for reheating leftovers to 165°F.
Write the dish name on the container before it goes into the fridge. A familiar casserole deserves a second supper, but you shouldn’t have to lift every lid to find it.
#6 The pantry shelf of home-canned jars
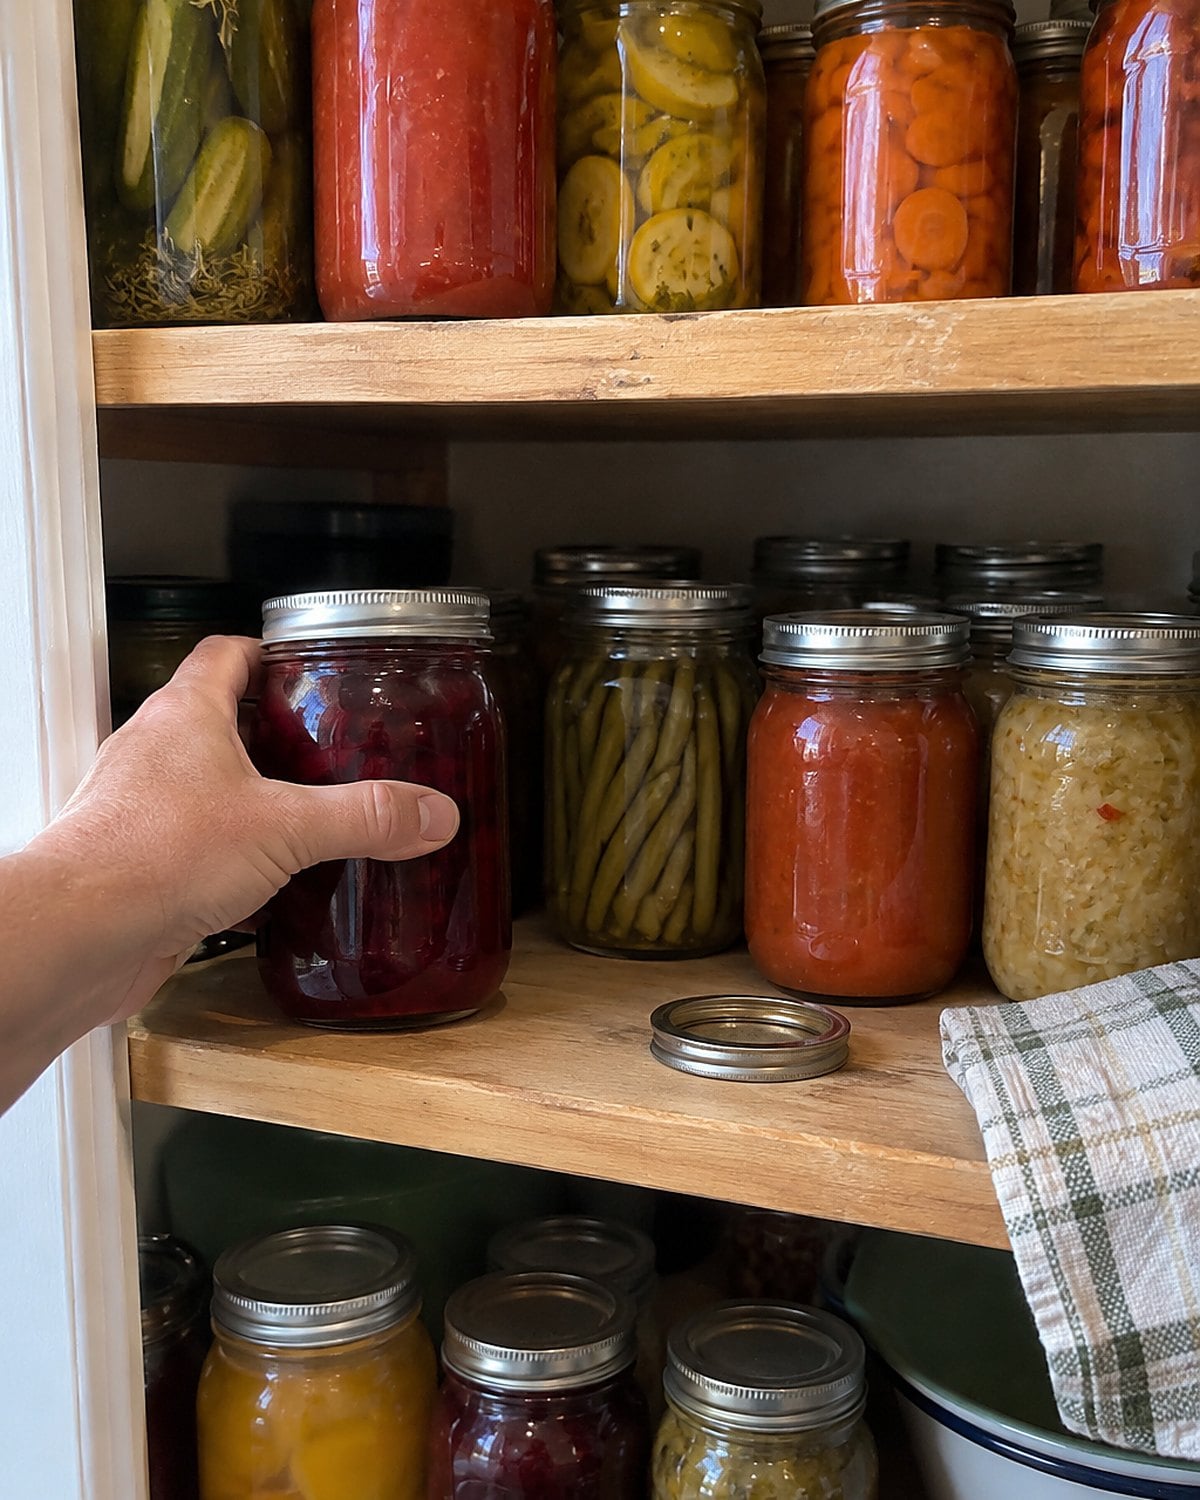
Rows of jars made a winter pantry look ready for anything. Each lid meant somebody had washed produce, packed jars, and cleared a long afternoon. That work deserves a method matched to what’s inside.
For low-acid vegetables and meat, use tested pressure-canning directions. A boiling-water bath cannot take the place of pressure canning. The National Center for Home Food Preservation lists methods by food and jar size. Check its directions before filling the first jar, rather than trusting a handwritten processing time.
Before opening an older jar, look at the lid and glass. A bulging lid, leak, or other sign that something is wrong means the jar stays closed. Don’t taste the contents. Ask your county extension office how to handle a suspect home-canned jar.
Keep the rows if you still put food up. Write the food and canning date where you’ll see them when you reach for supper.
#5 The pastry blender with bent wires
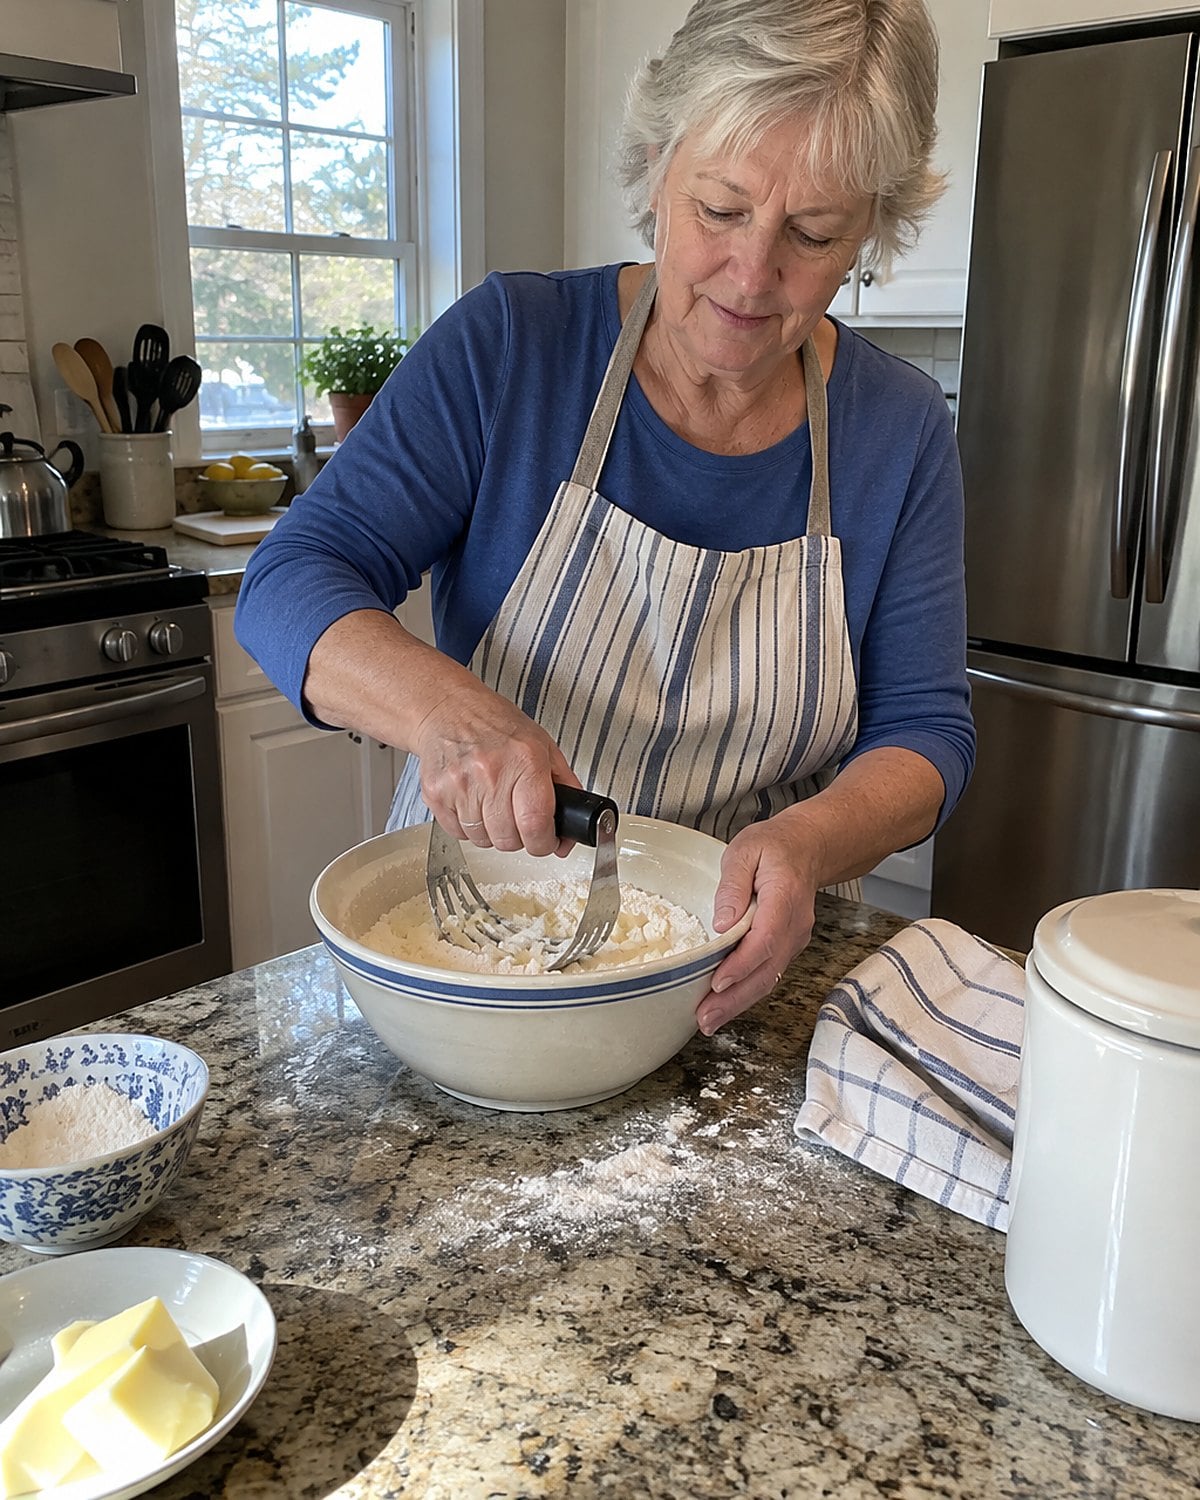
A pastry blender looked too small to matter until butter had to meet flour. Press its wires down through cold butter, lift, and repeat. The pieces get smaller without warming as fast as they do in your hands.
Stop before the flour looks smooth. For pie crust, visible bits of fat belong there. As the crust bakes, those bits leave spaces that help make flakes. For a crumb topping, work longer until you have clumps that hold when squeezed.
Straighten a wire that has slipped out of place, but retire a blender with loose metal that sheds into the bowl. You can do the job with two knives. If this tool is already in your drawer, though, put it beside the bowl before you start. Its best feature is that it tells your hands when to leave the dough alone.
#4 The church cookbook with stained pages
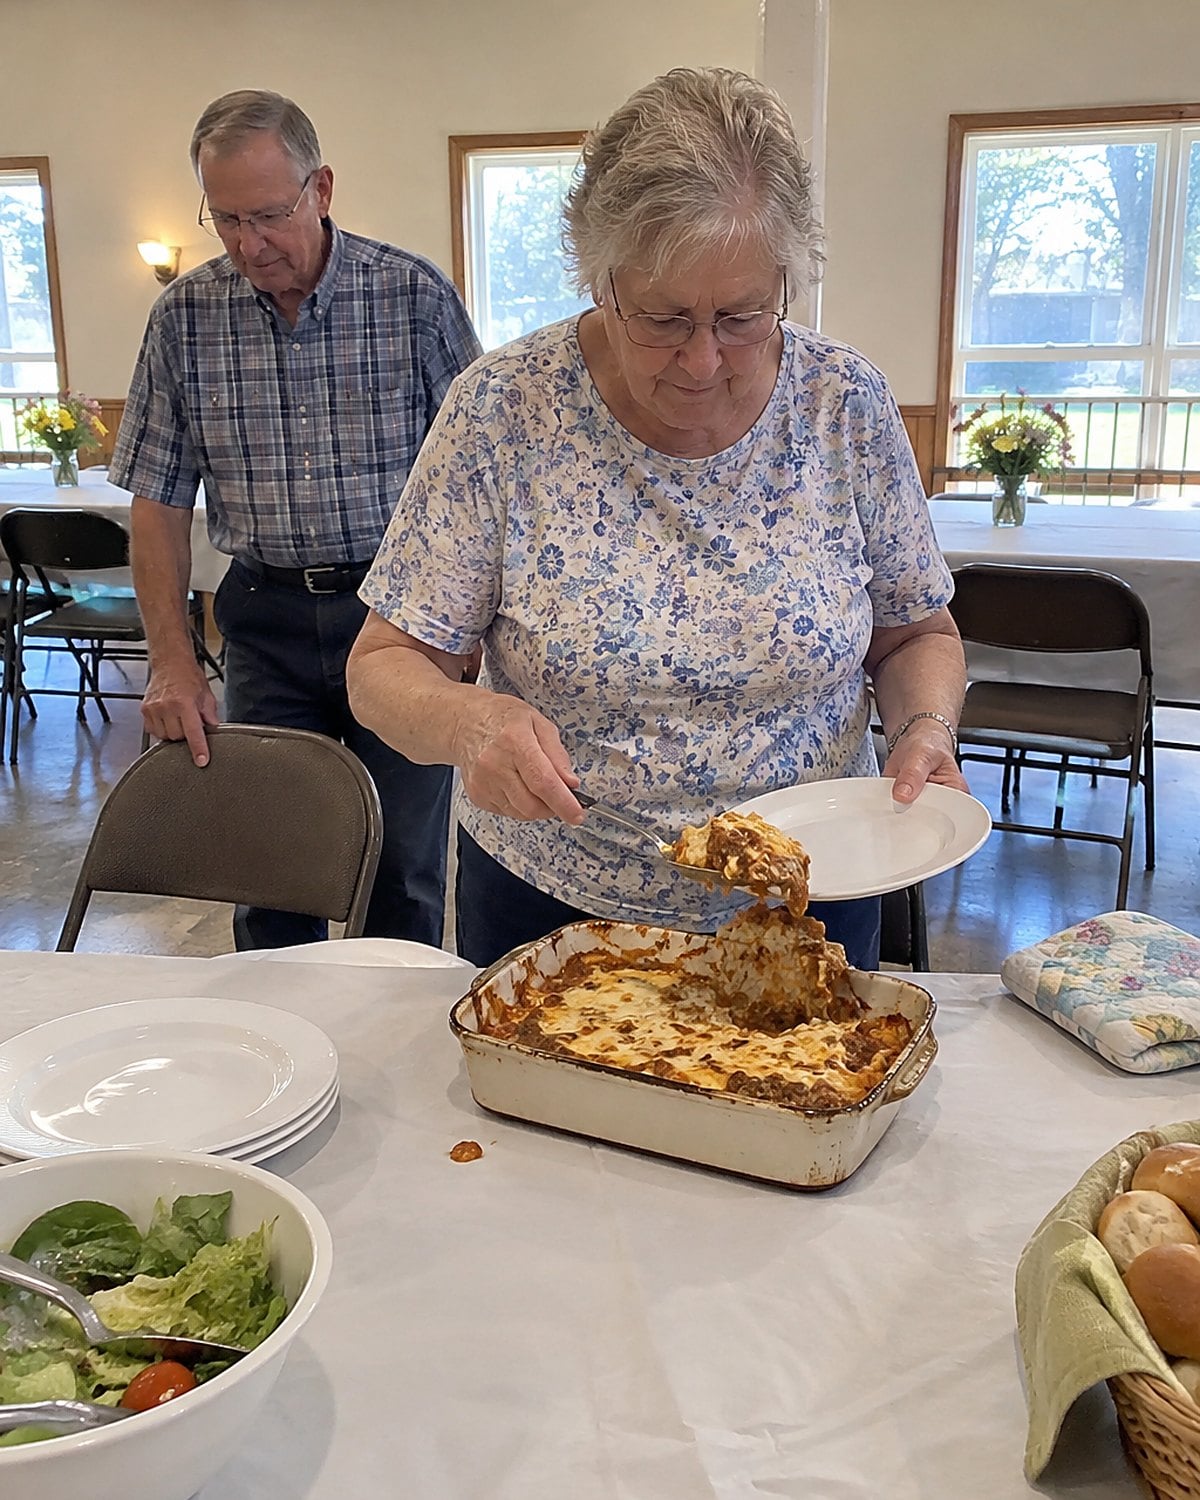
The book fell open at the recipe with a grease mark by the title. A contributor had written “bake until done,” as if every oven and every dish were the same. You still knew the casserole by sight: bubbling edges, a firm center, the smell reaching the hallway.
Keep the recipe, but add the detail it lacks. After you make a dish, write down which pan you used and the sign that told you it was finished. For a casserole with cooked ingredients, the question is heating it through. For one with raw poultry, use a thermometer; poultry needs to reach 165°F.
A church cookbook records how people fed each other, not a guarantee that every direction is complete. Leave a note for your future self in the margin. That’s how the good recipe stays useful when the original cook isn’t there to answer the phone.
#3 The freezer bag marked with pencil
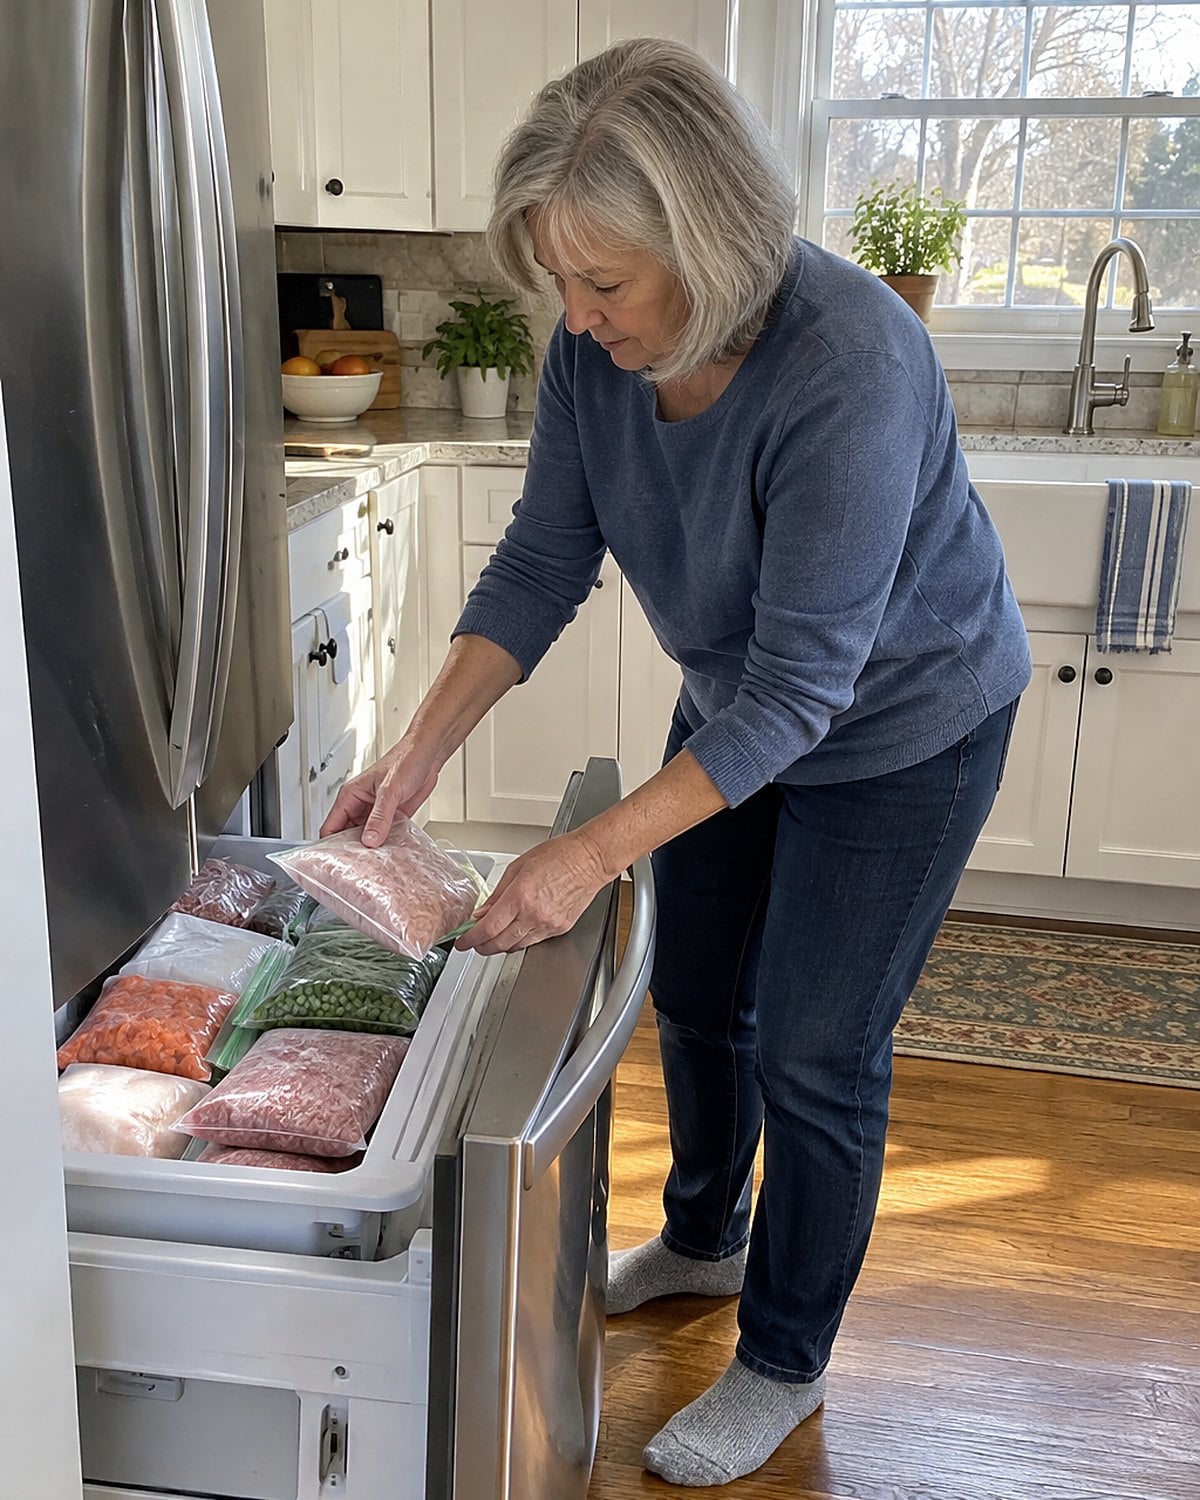
A bag of soup looked clear enough when it went into the freezer. Later, every frozen red sauce resembled every other frozen red sauce. The pencil mark saved you from thawing supper to identify it.
Write the food and the date on the bag before filling it. Press out excess air, close it, and lay it flat on a tray to freeze. Once firm, the bags stand together in a freezer drawer. Check the USDA’s cold storage chart when deciding how long to keep a particular food.
If you haven’t labeled the bags already in there, make a short list as you uncover them. Use what you can identify first. The next bag gets a name.
#2 The recipe box with crossed-out cards
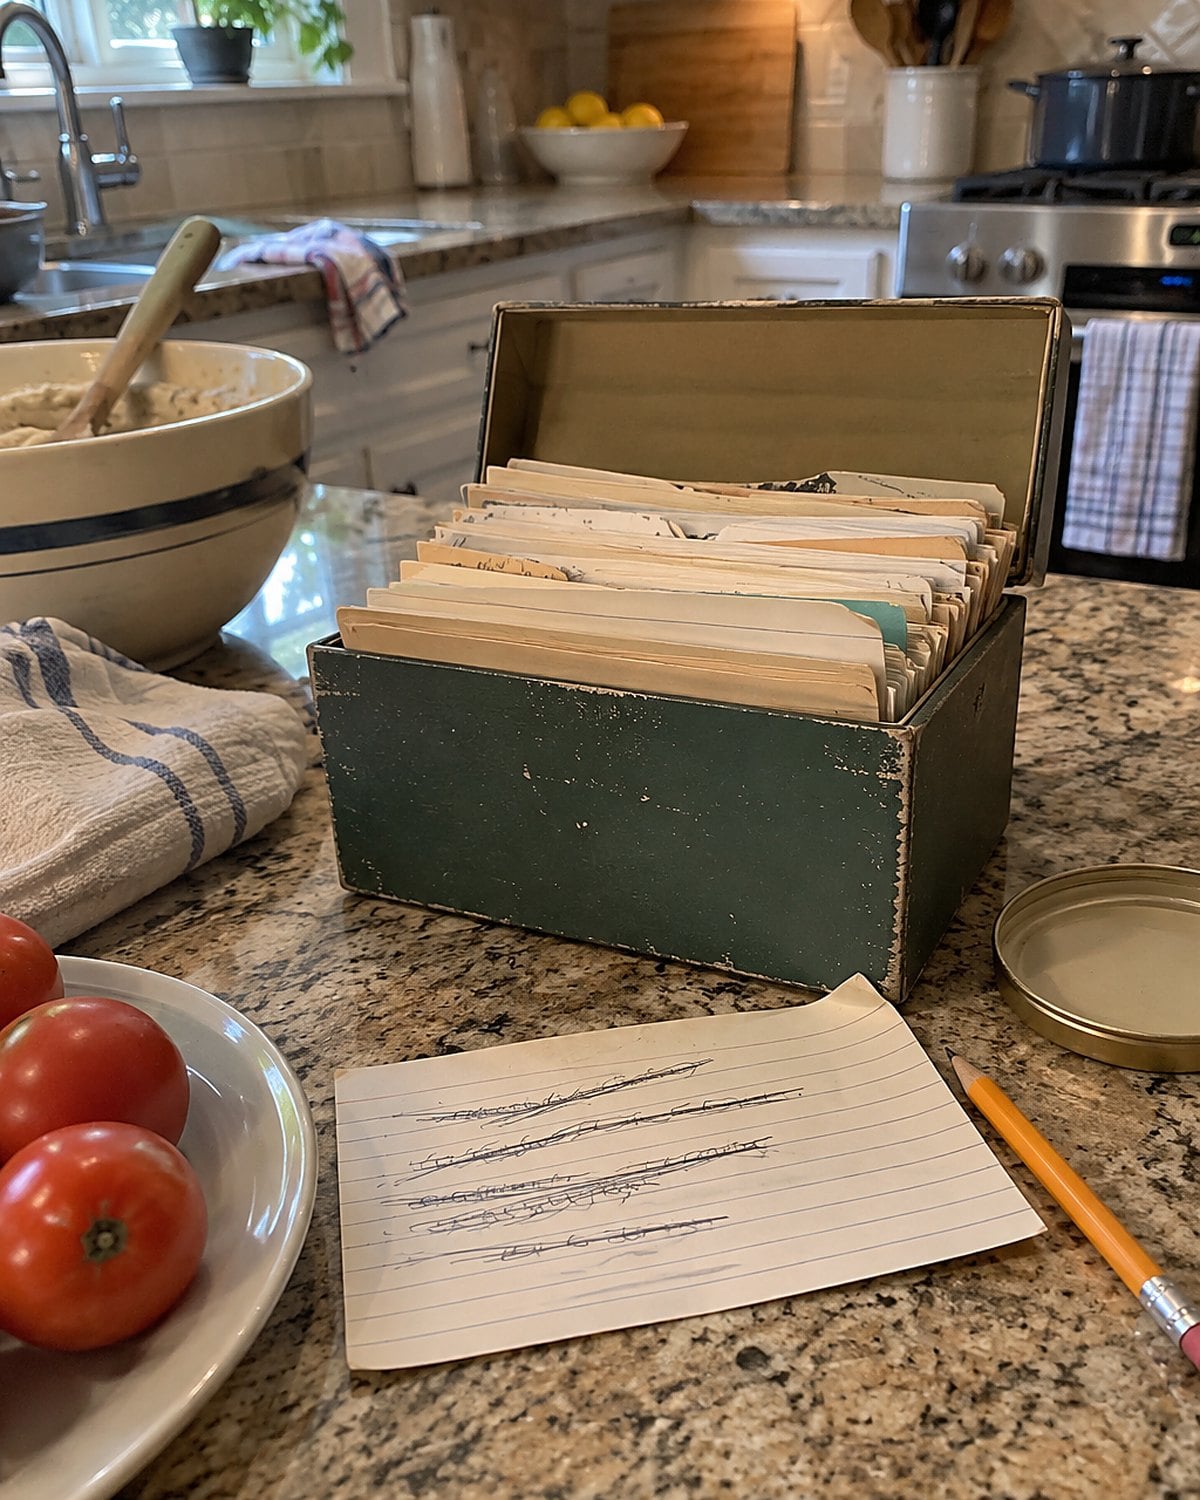
The card says “Mother’s meatloaf,” but the crossed-out onion amount tells a longer story. Somebody made it, tasted it, and changed it. A splash written in the margin became the version everyone remembered.
You don’t have to preserve every card to keep what matters. Pull out the recipes you still cook and make one tonight. Notice what the card leaves out: pan size, oven position, or how the center feels when done. Write the answer down while dinner is fresh in your mind.
For meatloaf made with ground meat, use a thermometer. The USDA’s safe minimum temperature chart calls for 160°F for ground meat. Push the tip into the center, away from the pan. Then mark that instruction on the card. The person who comes after you will have both the memory and a way to make supper.
Try it: Best Instant Pot Meatloaf Recipes (Classic & Creative Twists)
#1 The bacon-grease can by the stove
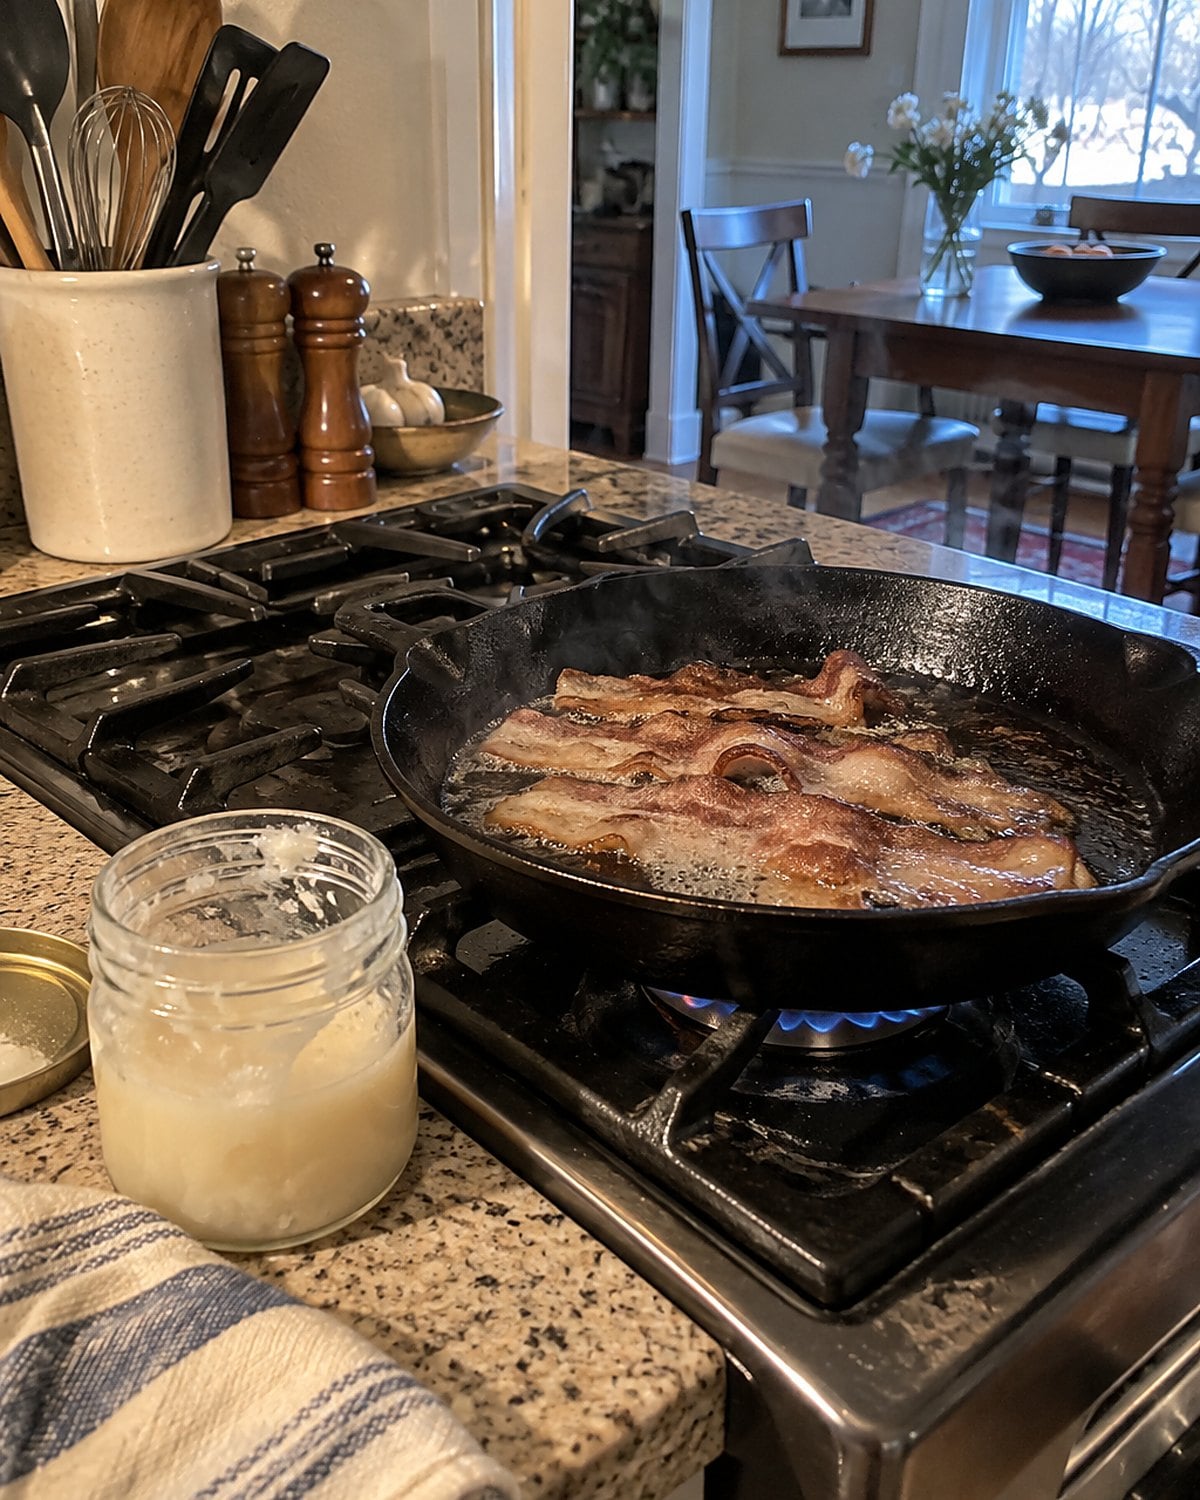
There it is: a little can with a spoon inside and a lid that never sat quite straight. The grease gave cornbread a browned edge and seasoned a pan of greens. It was a way of using what breakfast had left behind.
The old position by the burner is the part to change. Fat collected from cooked bacon contains bits of food, and a warm stove isn’t a storage plan. Strain the grease into a clean container, cover it, and refrigerate it promptly. Keep your refrigerator at 40°F or below, as the FDA advises. If it smells off or shows mold, throw it away.
For tonight’s cornbread, put a little of the chilled fat in the skillet as it heats. When the batter hits the hot pan, listen for the sizzle. The edge will start cooking before the skillet reaches the oven.
You can keep the flavor and retire the can’s old address.
The bottom line
Those kitchens kept useful things close: the pan that worked, the card with a correction, the jar whose contents had a name. Keeping track was part of making dinner.
You’ve likely got a version of that system already. The freezer bag is marked, the pan is within reach, and you know which recipe needs a note.
What’s still in your kitchen because it works, and what’s there because nobody ever moved it?
Leave a Reply