

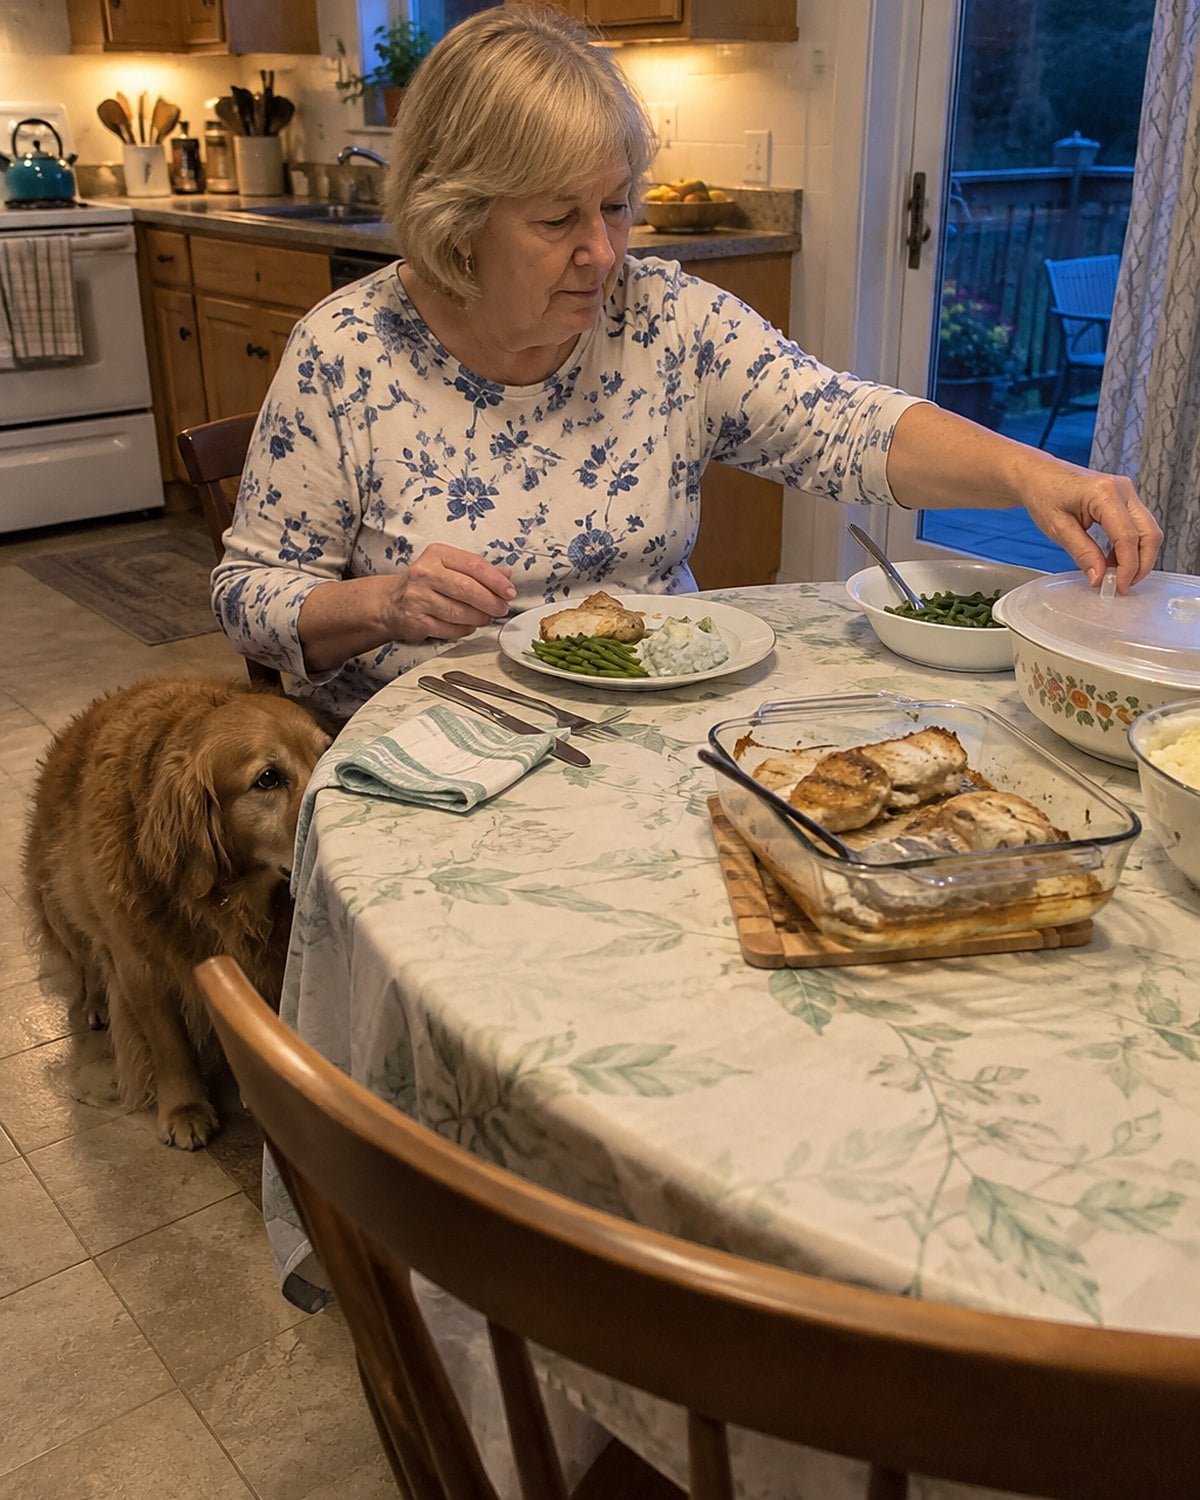
The pan comes off the stove, and those dark bits stuck to its bottom look like a washing-up job. Then someone asks for gravy.
You’ve cooked dinner for years, yet the order of flour, fat and liquid still feels oddly easy to forget. There’s no shame in that. A packet gives instructions; a pan gives clues. The first clue is a smell: browned meat smells savory, while scorched fat smells bitter. Once you know which you have, dinner takes a different turn.
#27 The Smell Left in the Roasting Pan
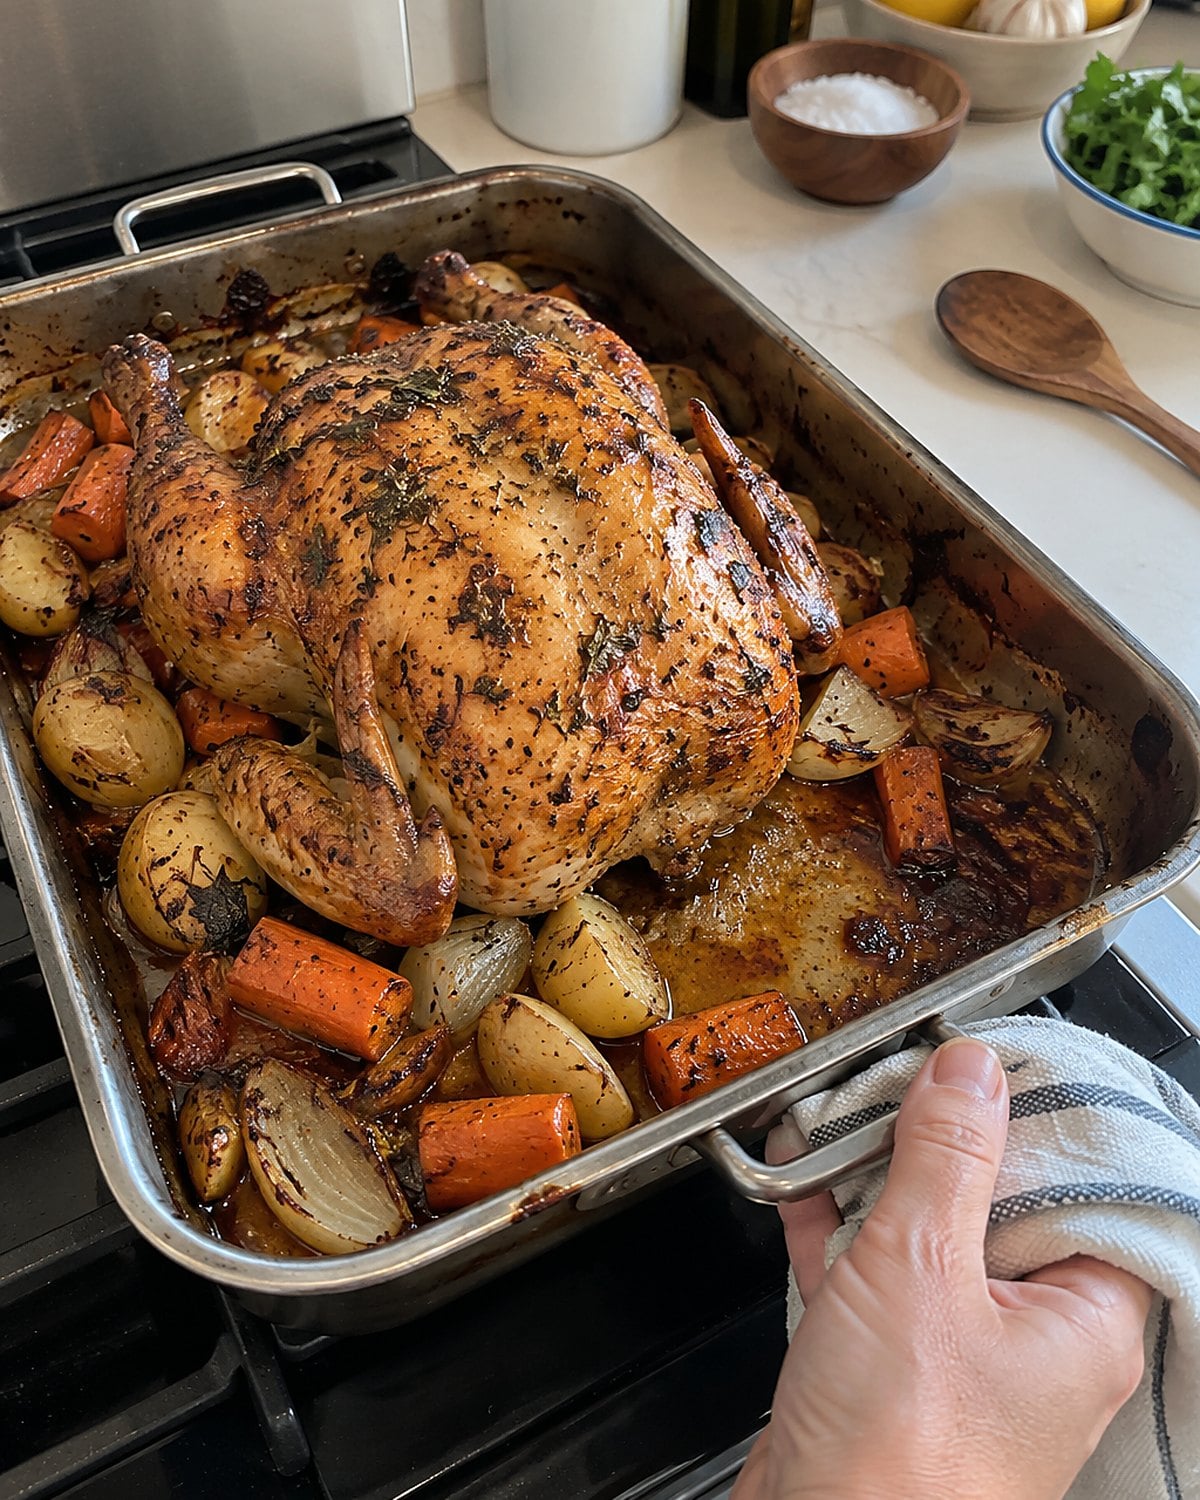
Before reaching for flour, lean over the pan. Deep brown drippings smell like supper. Blackened drippings smell sharp and bitter. Stirring the black bits into gravy spreads that taste through every spoonful.
Pour off the clear fat, then look at what remains. A few dark spots aren’t a disaster; scrape a bit into warm water and taste it. If it tastes burnt, leave the stuck layer alone. You still have the meat juices and another clean saucepan.
This is the part no packet explains. Gravy starts with a decision about what’s worth keeping. Hold your hand above the pan and notice what rises from it. The smell of a roast is worth following; an acrid smell is your cue to start with a clean pan.
Your nose makes that decision before a measuring spoon comes out.
#26 The Spoon Dragged Across the Pan
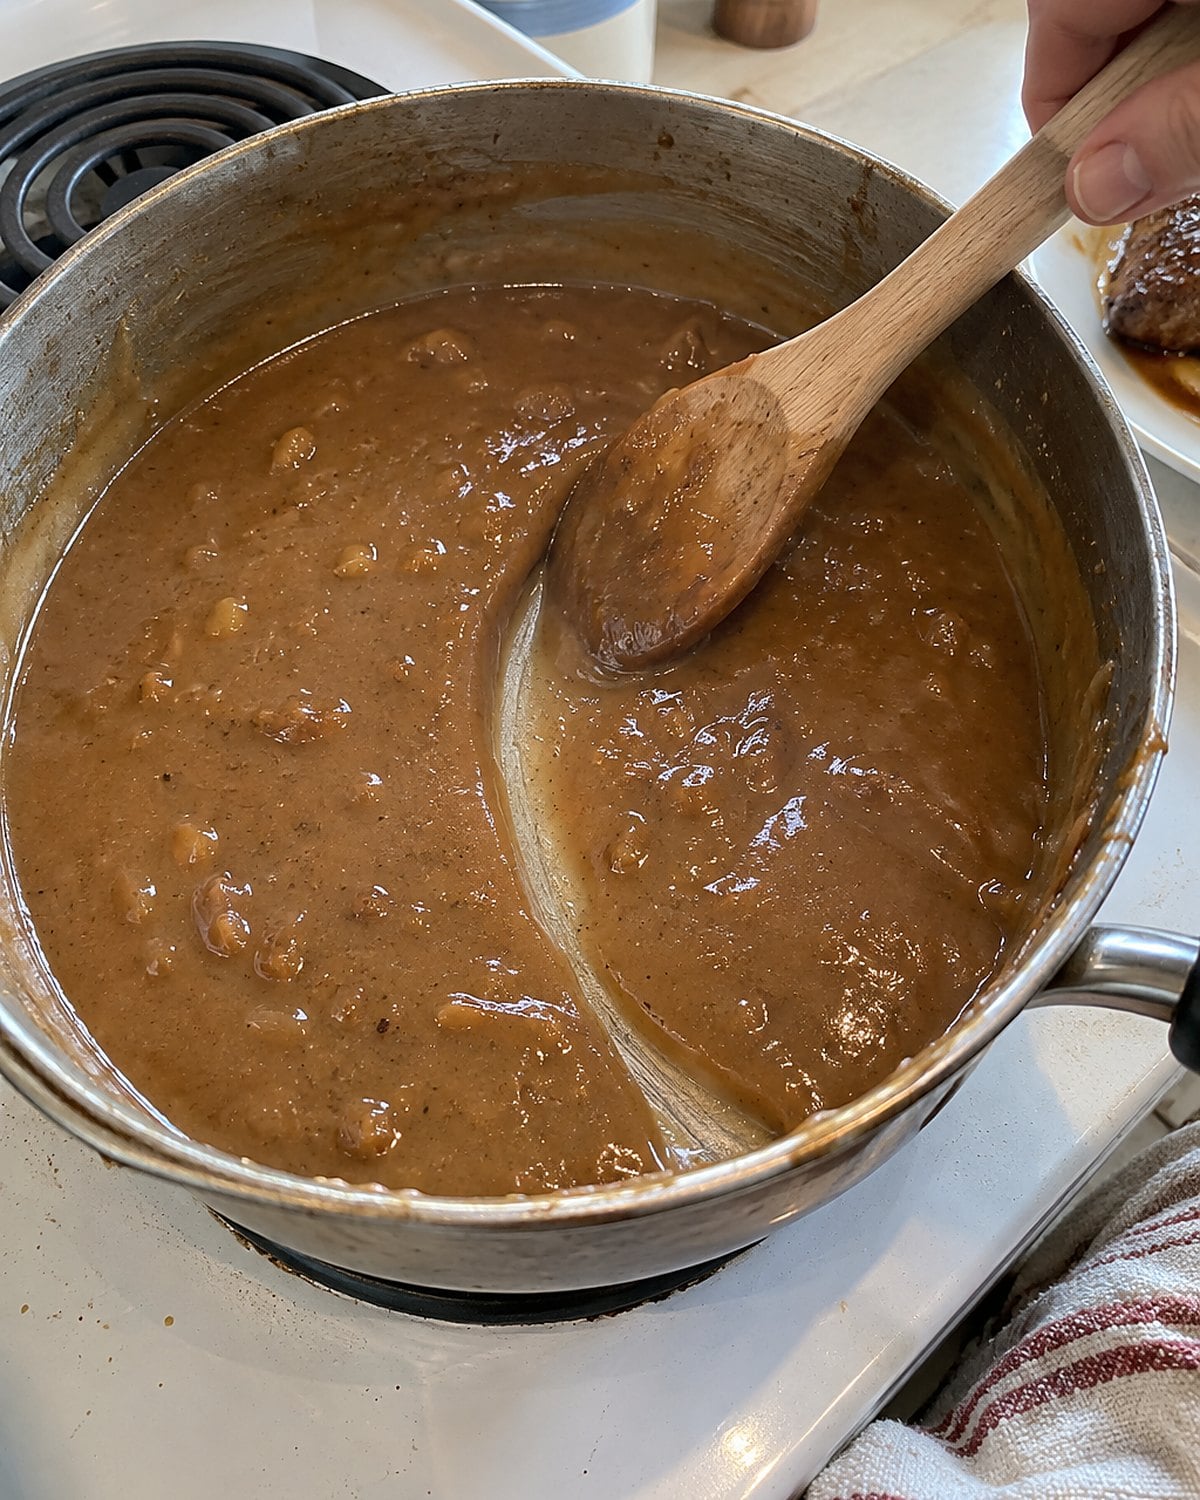
A wooden spoon tells you more about gravy thickness than the clock. Draw it across the bottom of the pan. A finished gravy should leave a brief trail before the liquid flows back.
If the trail stays open, the gravy is thick enough to sit on potatoes like paste. Add warm stock a splash at a time and stir. If the trail vanishes at once, let the pan simmer, uncovered, while you stir and watch.
Check again after the gravy has bubbled. Flour thickens as it heats, so judging it the moment you pour in stock leads to one more round of fixes. Keep the spoon beside the stove. It’s the tool that tells you when to stop.
#25 The Brown Bits Beneath the Chops
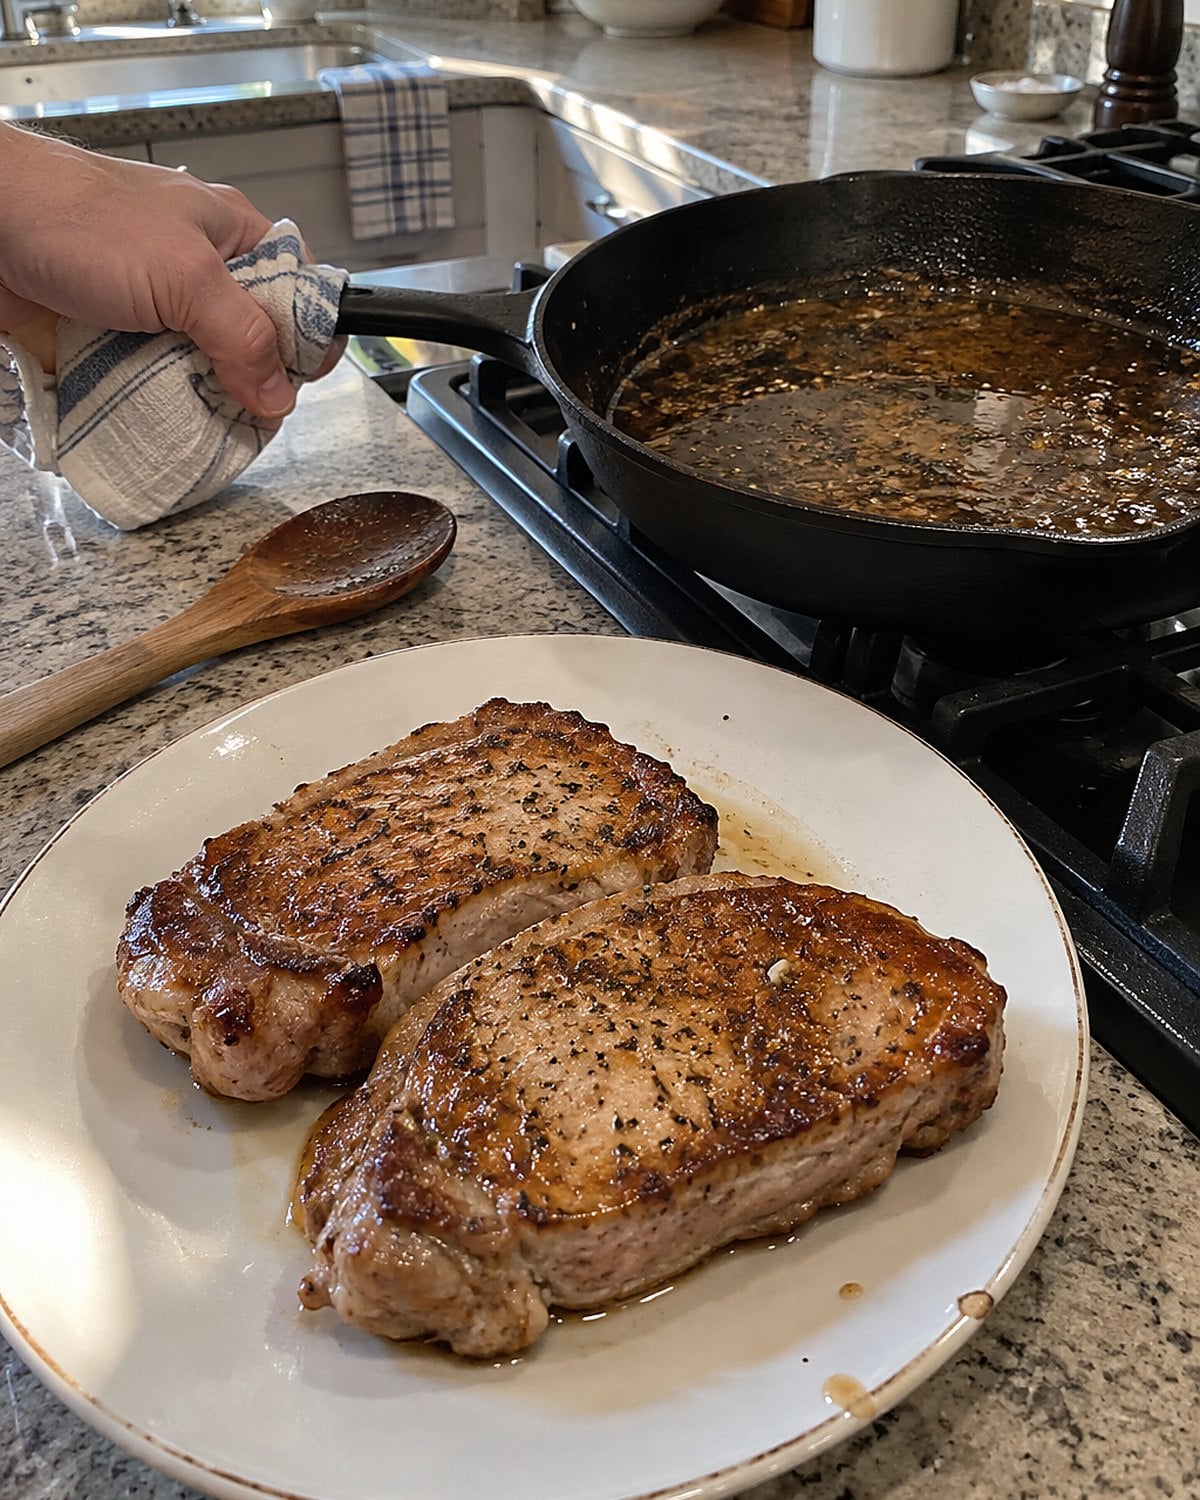
A skillet that held pork chops already holds the start of a sauce. Lift the chops onto a plate. Pour off excess fat, leaving about 1 tablespoon in the pan, then set it over medium heat.
Add a splash of water or unsalted stock. It will hiss. Scrape with a wooden spoon until the brown bits release and the liquid turns dark. That step has a name, deglazing, but you’ve likely done it while trying to make a pan easier to wash.
Now let the liquid reduce until it tastes like pork, not warm water. Take the pan off the heat and stir in a small piece of butter if you want a glossier finish. Taste before adding salt, especially when the chops were seasoned well.
The useful habit is lifting the meat first. Leave it in the skillet while you scrape, and its browned surface sits in liquid instead of staying crisp for supper.
#24 The Flour Tin Beside the Stove
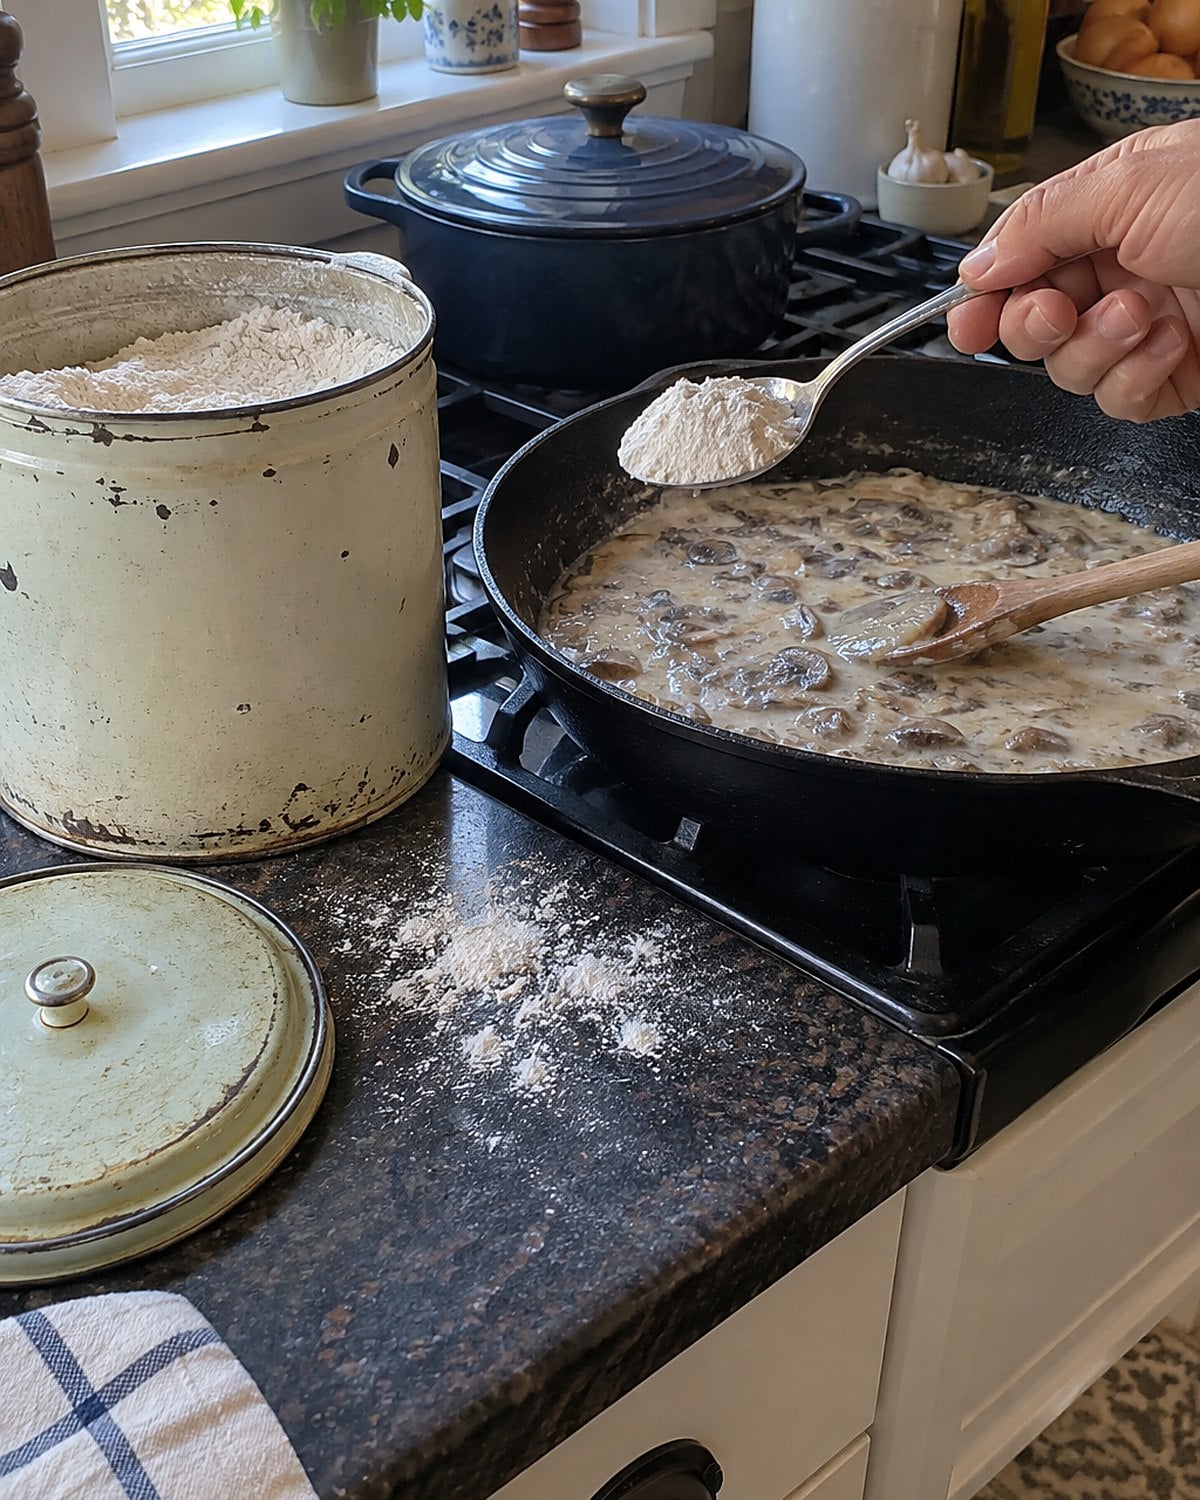
Why does flour clump in hot stock? Its outer starch turns sticky before the whisk reaches the dry middle. You get pale knots that resist stirring, right when dinner is ready.
Coat the flour in fat first. Use fat left from the roast, or add butter if the pan is dry. Stir until every white patch disappears, then give the flour a minute over the heat. Its raw smell should fade.
If the pan looks dusty, keep stirring. Flour caught along the rim needs to join the fat too. Once the mixture looks even, you’ve removed the easiest source of lumps.
You don’t need a special flour or a long memory of someone else’s recipe. Keep the tin within reach and let the pan show you when the flour has been coated.
#23 The Flour Cooked Until It Smells Toasty
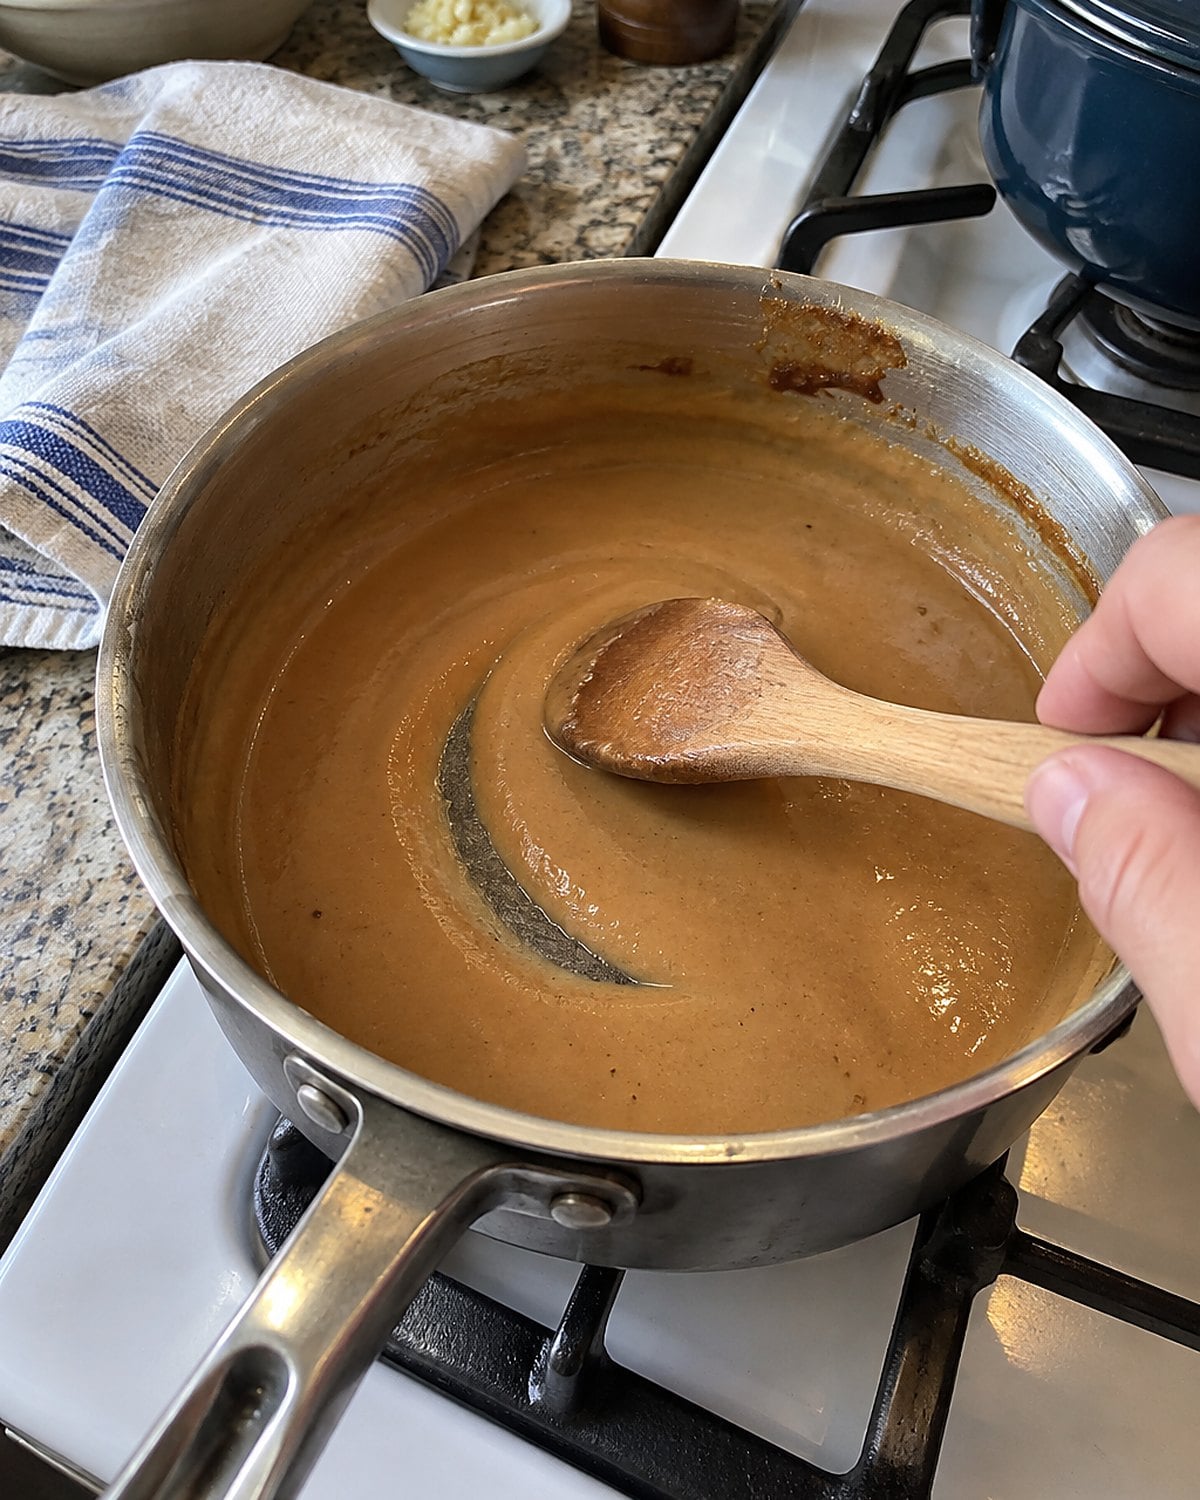
A roux is flour cooked in fat. Its color changes what it does. Pale roux gives a sauce more thickening power; darker roux brings a toasted taste but thickens less.
For a pale gravy, stir the flour and fat until the mixture bubbles and loses its raw smell. For a brown gravy, keep stirring until it looks like peanut butter. Lower the heat if specks at the edge begin to blacken. Burnt flour won’t improve with more stock.
Think of the church cookbook with “brown flour” penciled beside the gravy. The note means watch the pan, not the clock. A wide skillet colors flour faster than a small saucepan, and the smell changes before the shade looks dramatic.
If you’ve already gone too dark, start again with clean fat and flour. The few minutes spent doing that beat carrying a burnt taste to the table.
#22 The Whisk and the First Splash
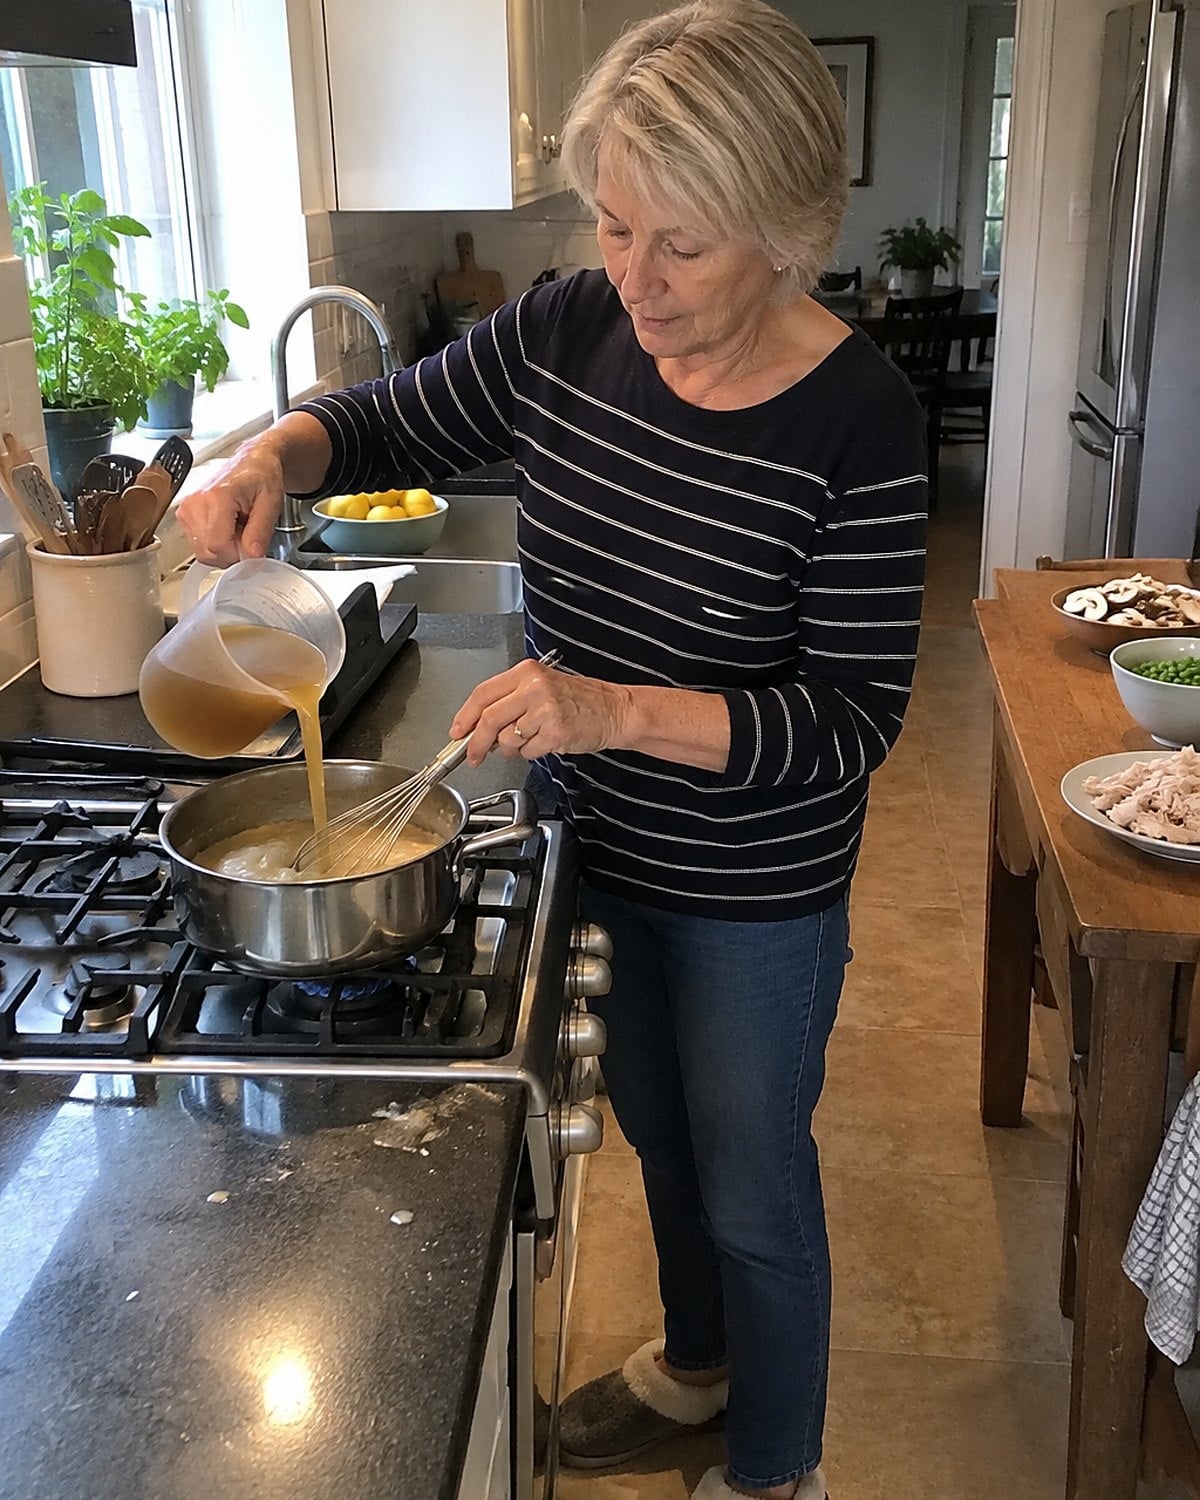
The moment stock meets roux looks wrong. A little liquid turns the flour mixture into a thick paste, and the whisk suddenly has work to do. Keep whisking.
Add the first splash, work it smooth, then add more stock in stages. Each addition loosens the paste until it becomes gravy. Dumping in the whole pitcher at once leaves flour lumps harder to chase around the pan.
If lumps remain, press them against the side with a spoon or pour the gravy through a fine sieve. There’s no need to announce a rescue. Set the smooth gravy back over the heat and taste it.
The trick isn’t speed. It’s giving flour and liquid a chance to meet before you ask them to fill the pan.
#21 The Clear Fat Above the Roast Juices
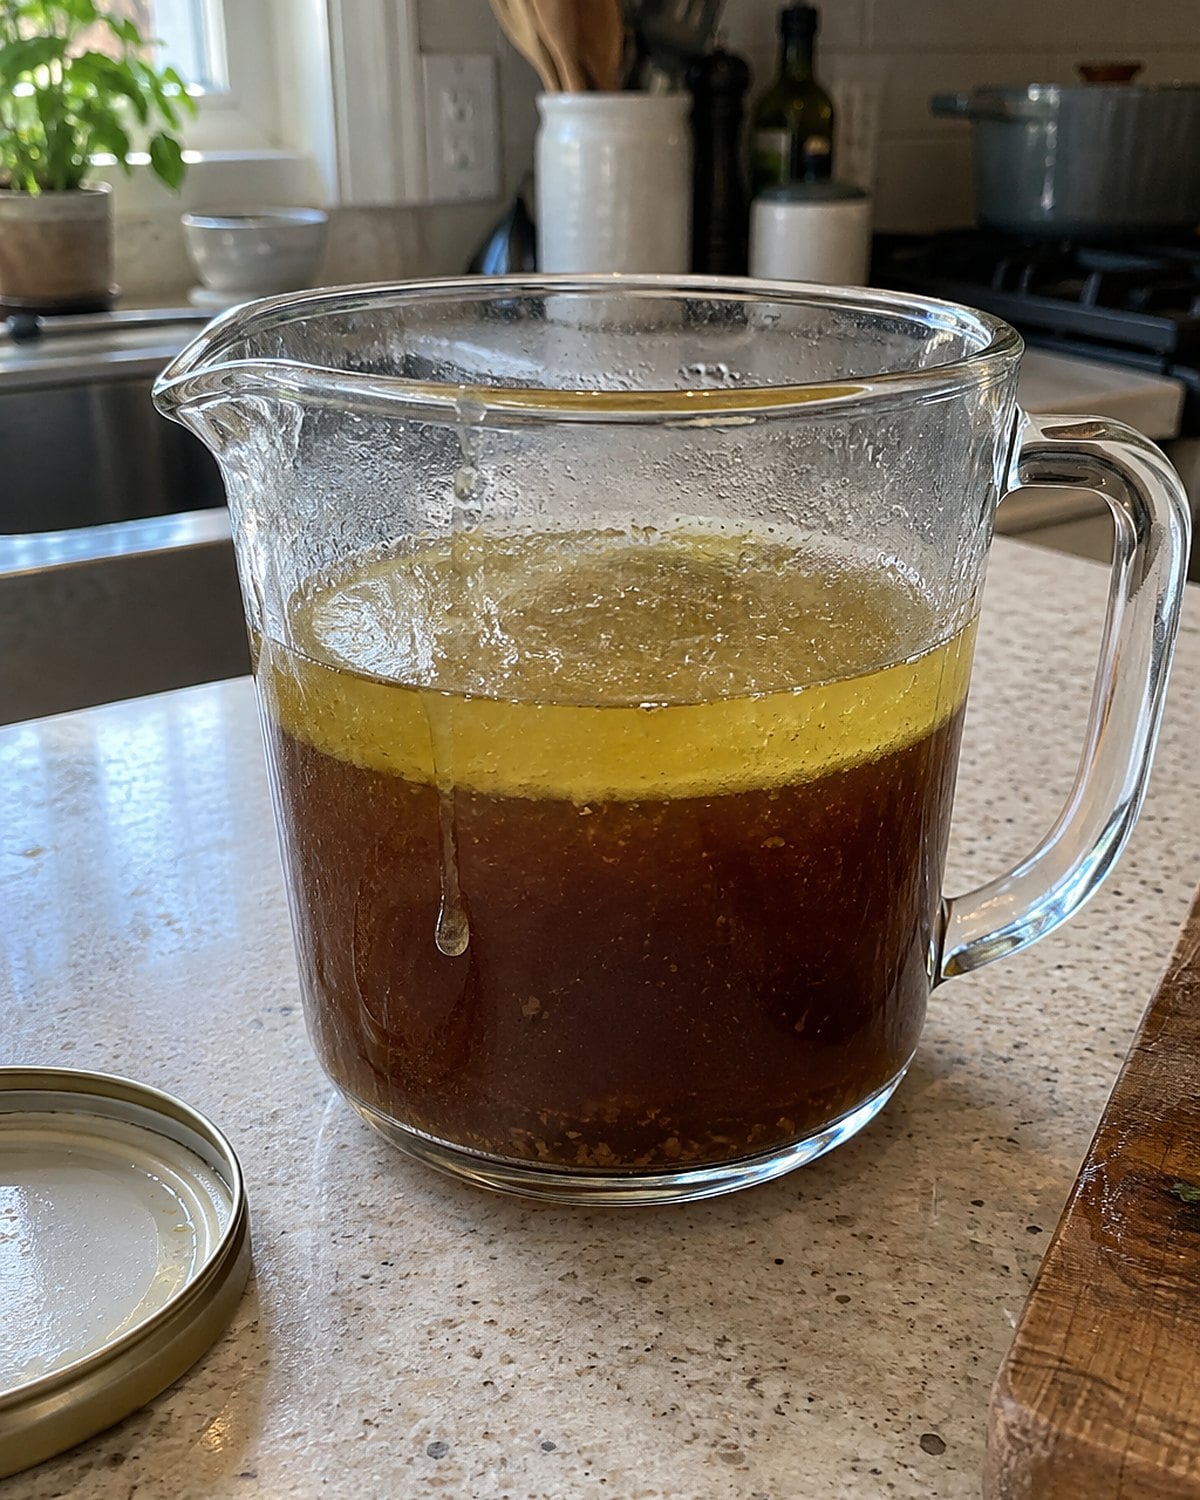
After a roast rests, the pan holds two valuable things: fat and juices. Let the drippings stand in a heatproof cup. Clear fat rises; darker juices settle below.
Spoon off the fat for your roux and save the juices for the liquid. They have different jobs. Fat coats flour. Juices bring the flavor of the roast. Pouring everything into the flour tin’s waiting pan makes it harder to tell how much fat you have.
No separator jug? A spoon works. Tip the cup slightly and skim from the top. If the drippings are scant, add butter to the measured fat; if the juices are scant, add unsalted stock to the liquid.
Taste the finished gravy before salting. Pan juices carry the seasoning that went onto the meat. The same roast that gives you little liquid also gives you a strong, concentrated taste at the bottom of the cup.
#20 The Strainer Set Over the Sink
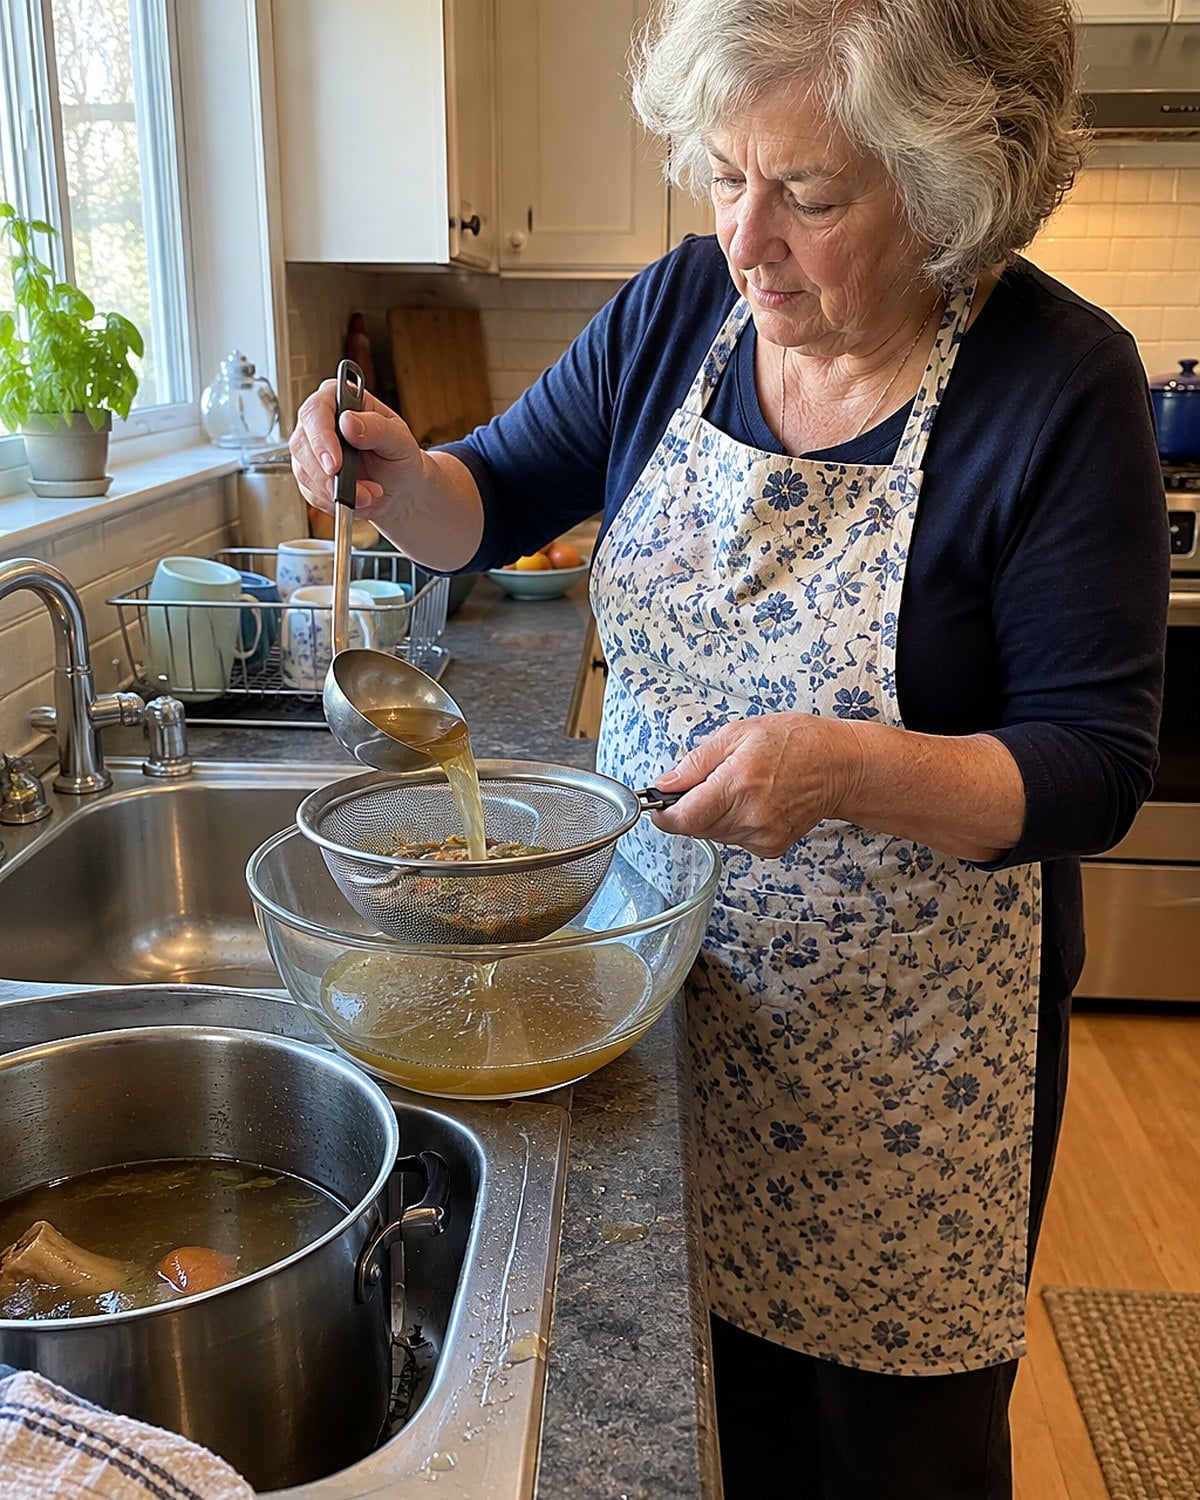
Keep the good liquid. When you strain stock, set the strainer over a large bowl or another pot, not over the drain.
It sounds obvious until the stockpot is heavy and the colander is already waiting in the sink. Pour in stages if the pot strains your wrists. A ladle moves hot liquid without asking you to lift the whole thing at once.
Let the stock drain; don’t mash every cooked vegetable through the mesh. Pressing hard sends cloudy pulp into the bowl. Cloudiness isn’t a failure, but the clean flavor is easier to judge without vegetable mush.
Leave room at the top of the receiving bowl. You need a safe grip when it’s time to move hot stock away from the sink.
#19 The Chicken Bones After Sunday Dinner
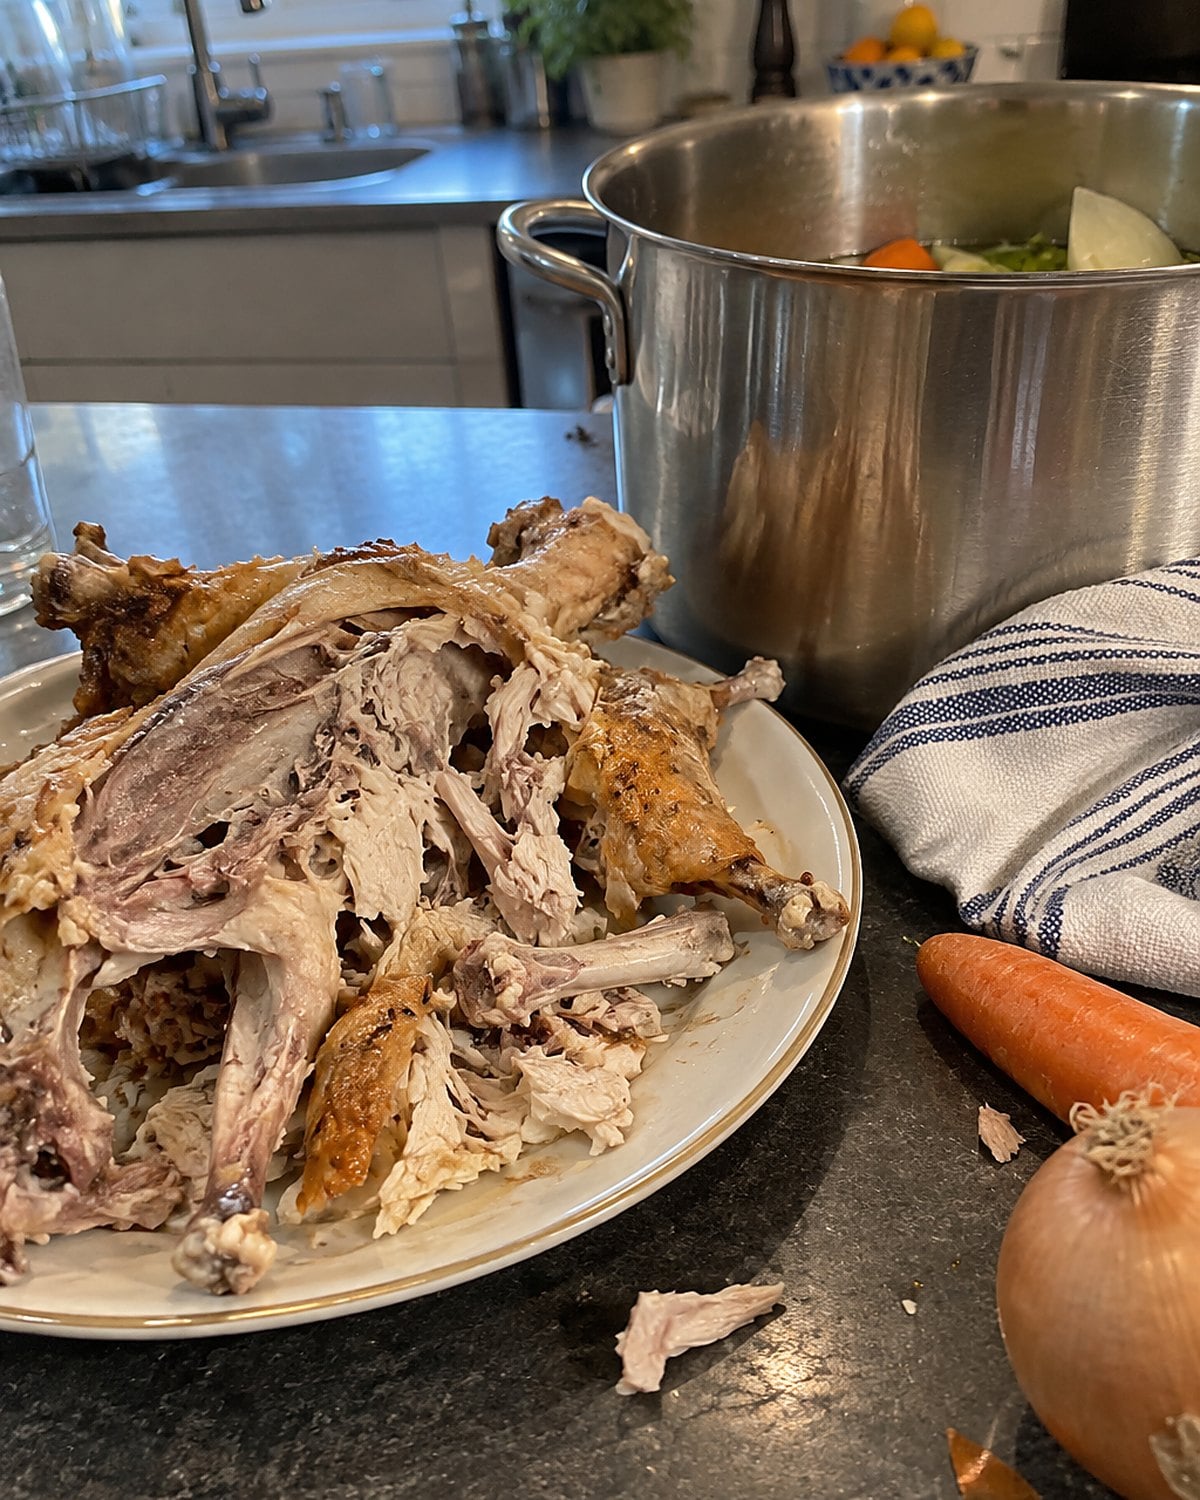
The bird has been carved, and the remaining bones look like scraps. Put them in a pot with an onion, a carrot and enough water to cover. Bring the pot to a simmer, then lower the heat so bubbles rise without a rolling boil.
Stock is a good use for that last bit of supper, but it won’t taste finished straight from the pot. Strain it and taste a spoonful. If it seems thin, simmer the strained stock uncovered to concentrate it. Salt later, when you know its final strength.
Don’t leave a large pot sitting on the stove overnight. Transfer hot stock into shallow containers and refrigerate it promptly. The USDA Food Safety and Inspection Service says perishable food belongs in the refrigerator within 2 hours, or within 1 hour when the temperature is above 90°F.
The work you’ll thank yourself for tomorrow is writing “chicken stock” on the container before it disappears behind the milk.
Try it: Instant Pot Chicken Bone Broth In 3 Hours
 You might also like27 Things Nobody Under 40 Knows How to Make From Scratch
#18 The Bare Simmer Under the Stockpot
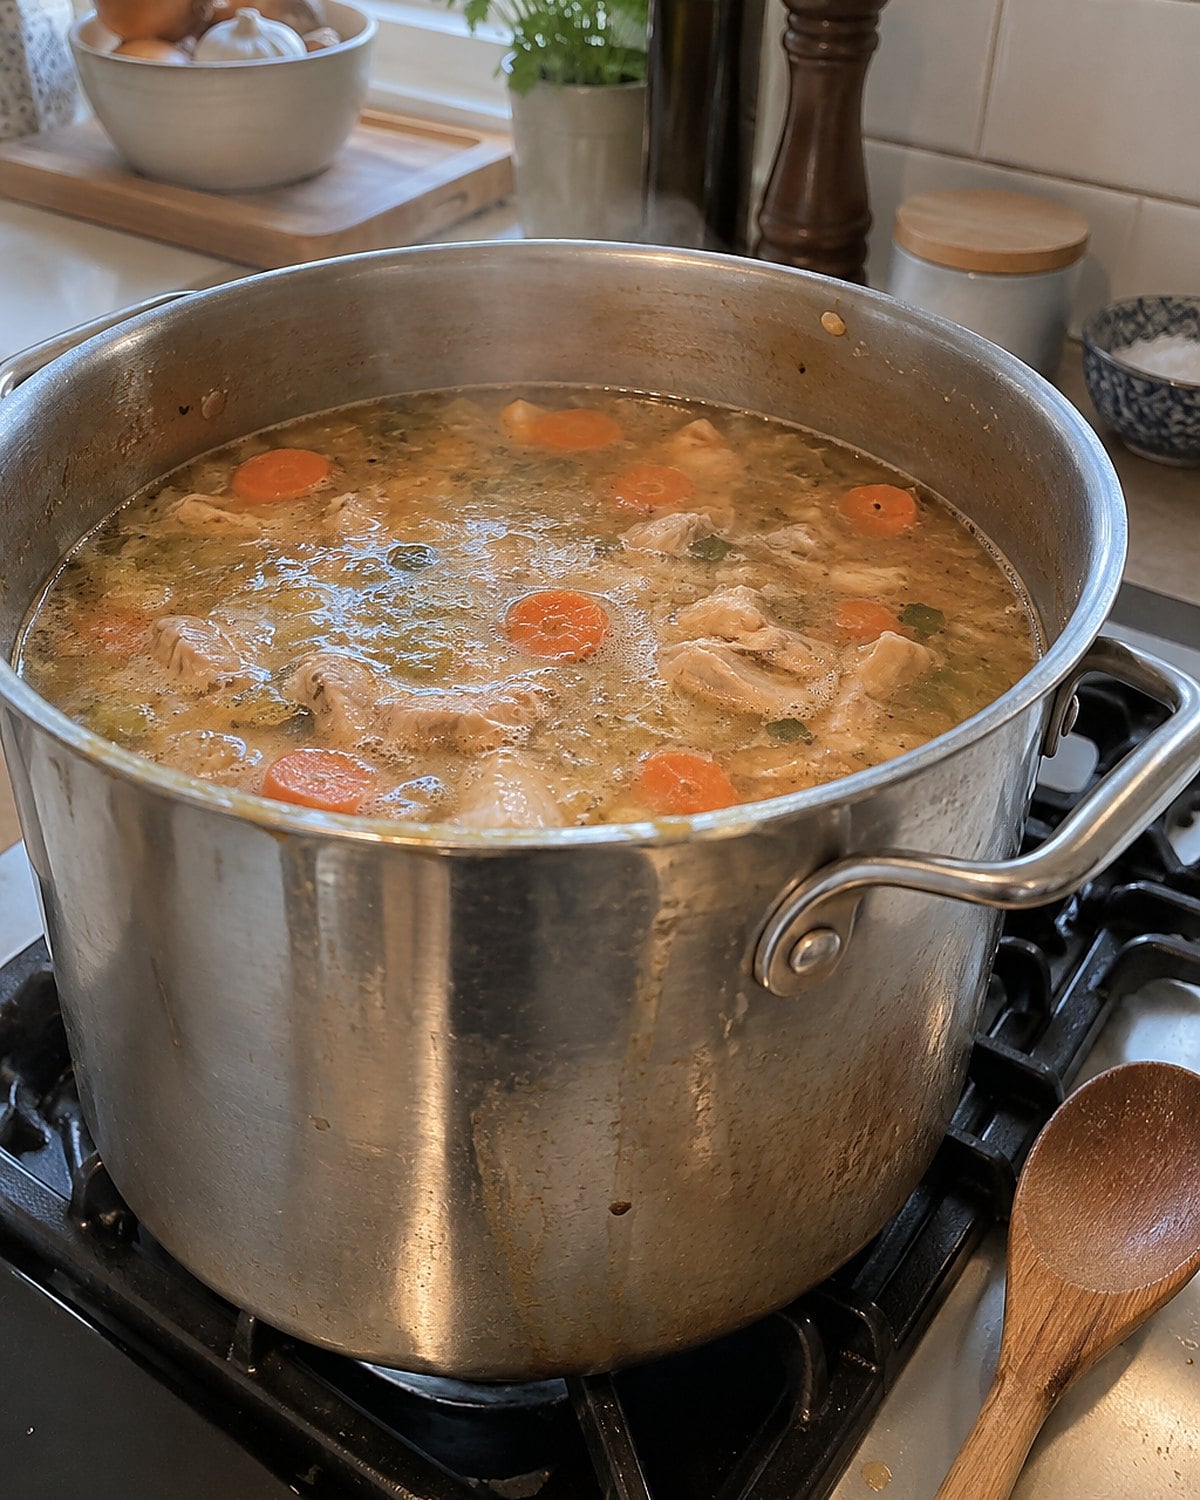
Look at the surface of the pot. For stock, you want a few bubbles breaking through, not a lid rattling over a rolling boil.
Boiling churns fat and tiny particles into the liquid. The stock still has flavor, but it turns cloudy and makes a greasier sauce. Lower the burner until the movement settles. Skim foam from the surface with a spoon if it gathers there.
This is an easy correction to make halfway through. You haven’t ruined dinner because the pot boiled while you answered the door. Turn it down and carry on.
Your stove’s lowest setting is the right one only if the pot actually simmers on it. Watch the bubbles rather than the dial.
#17 The Sheet Pan of Browned Bones
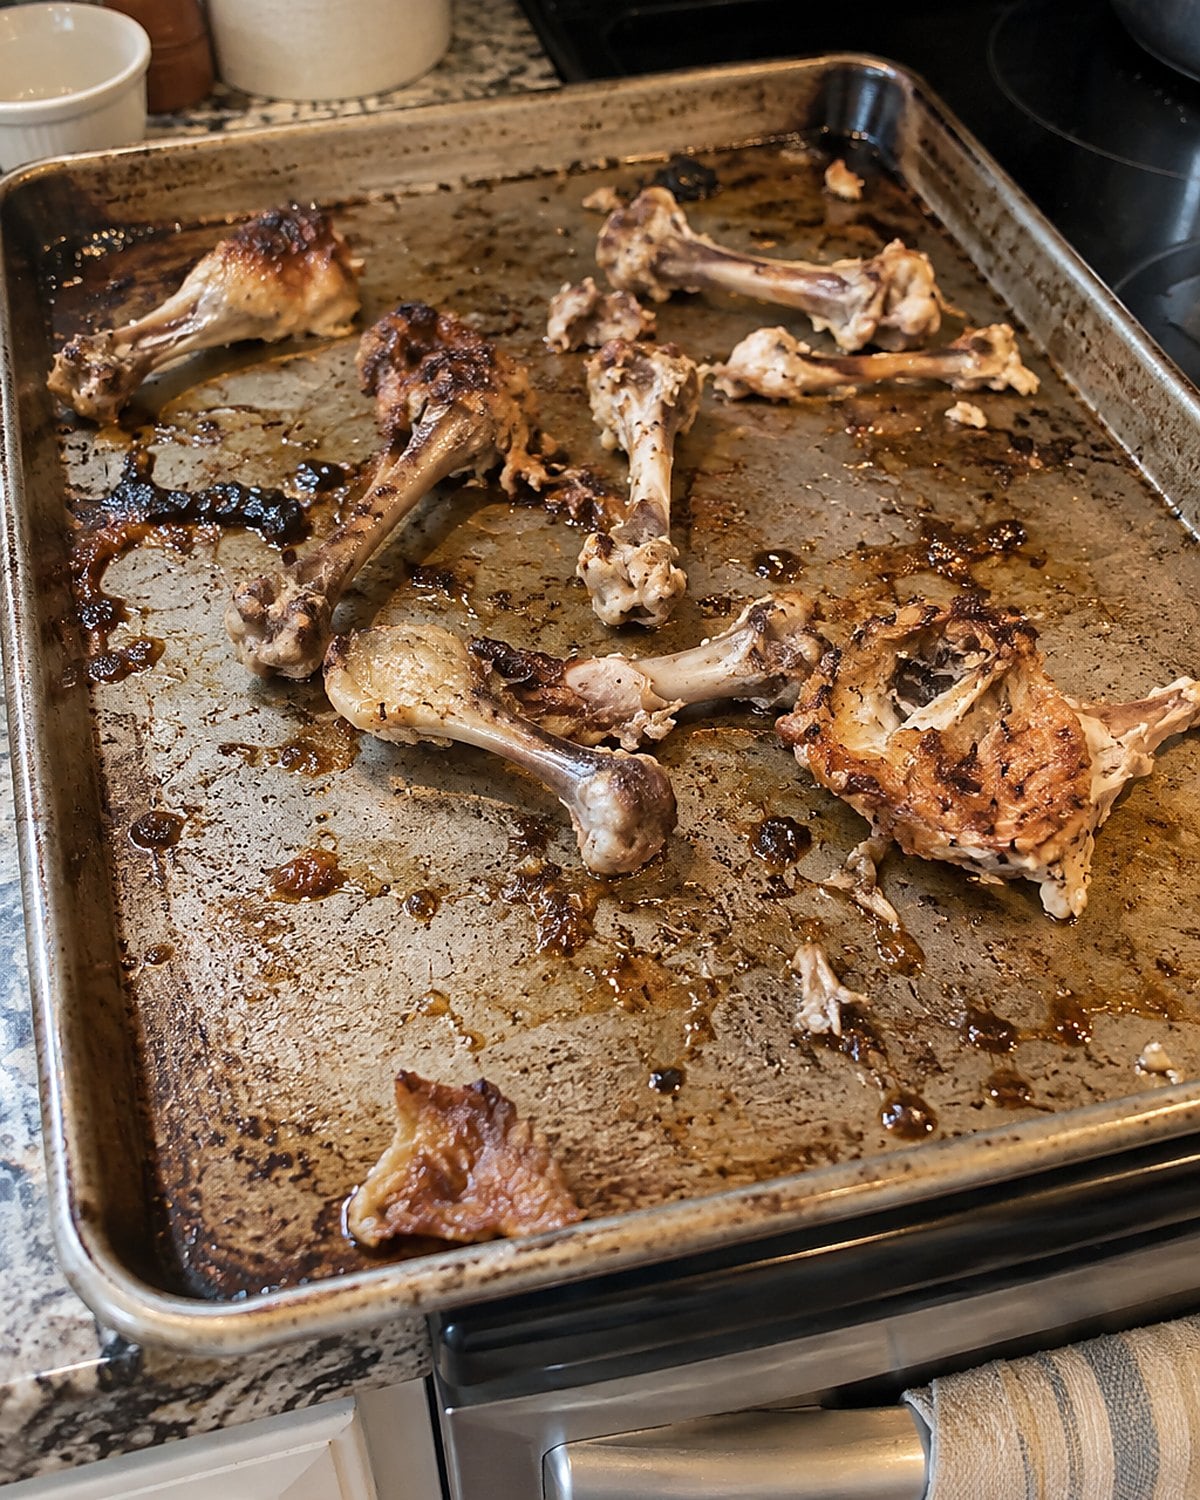
Stock made from raw bones and stock made from roasted bones taste different. Roasting builds browned flavor before water enters the picture.
Spread chicken bones in a single layer on a sheet pan and roast at 400°F until browned, about 30 to 45 minutes. Transfer them to the stockpot. Pour a little water into the still-warm pan, scrape up the brown bits and add that liquid too.
Check the pan while it roasts. Brown is useful; black brings bitterness. There’s no prize for pushing the bones one minute past the point where they smell roasted.
Choose this route when you want a darker gravy for roast meat. For a lighter soup, skip the roasting. It’s a choice about flavor, not a test of whether you know the “proper” way to make stock.
#16 The Salt Shaker Near the Soup Pot
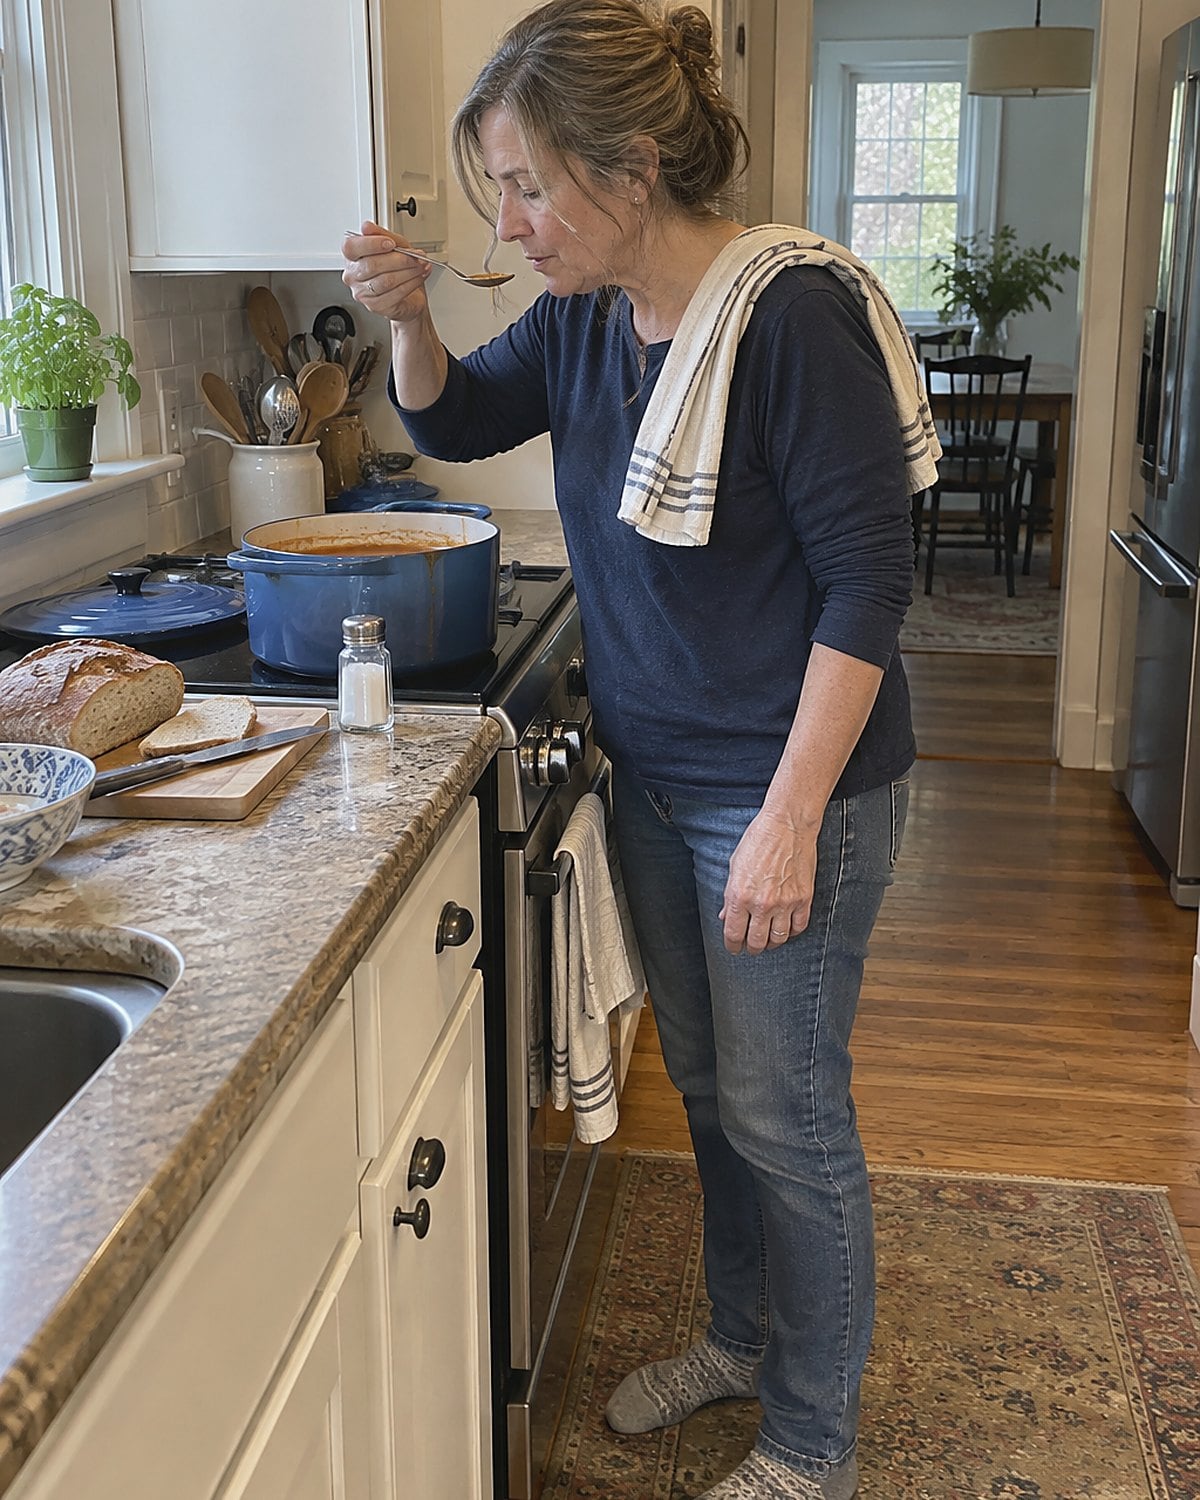
Stock loses water as it simmers. Salt stays behind. That’s why stock salted heavily at the start tastes too salty after reduction.
Leave the salt shaker alone until the stock is strained and you know what it’s for. Soup needs different seasoning from gravy, and gravy made with salty pan drippings needs room for adjustment.
If you’re serving dinner now, taste a spoonful after the stock has met the rest of the dish. Then add salt, stir and taste again. A squeeze of lemon belongs later still, once you know whether the flavor needs brightness rather than more salt.
You’ve probably seasoned pots by instinct for years. This is the same instinct, with one extra pause before the shaker comes out.
#15 The Onion Skins in the Stockpot
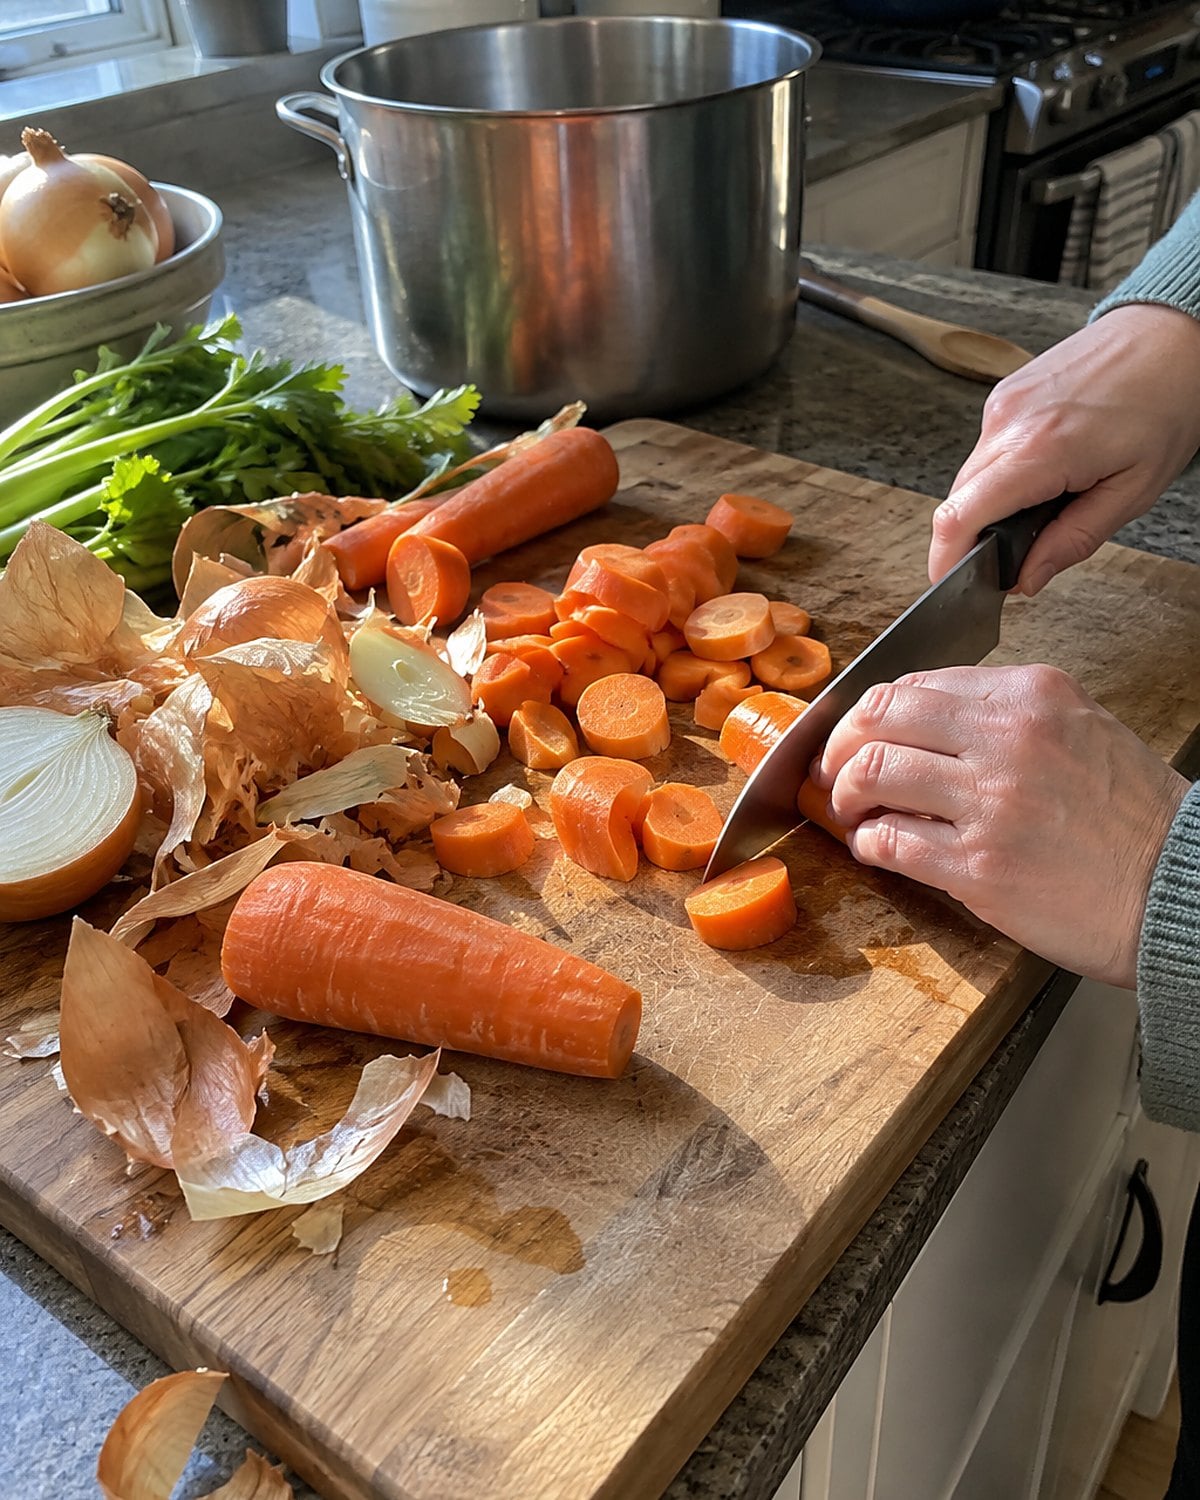
The papery skin on a clean yellow onion gives stock a deeper amber color. Use some with the onion itself, after washing away dirt. Leave out moldy or spoiled parts; a stockpot doesn’t redeem them.
Carrot brings sweetness. Celery brings a green, savory note. None needs to be chopped neatly when the liquid will be strained. Cut them into pieces large enough to lift out without fishing through the pot.
Put vegetables in after you’ve decided what stock you want. A strong, sweet carrot taste is lovely in soup and distracting in a delicate pan sauce. Taste the simmering liquid before adding more.
That drawer with the twist ties doesn’t need a new system for storing stock vegetables. Keep clean scraps in a labeled freezer bag, and use them while they still smell fresh. The pot should smell like vegetables you’d eat.
#14 The Lemon Wedge Beside the Gravy Boat
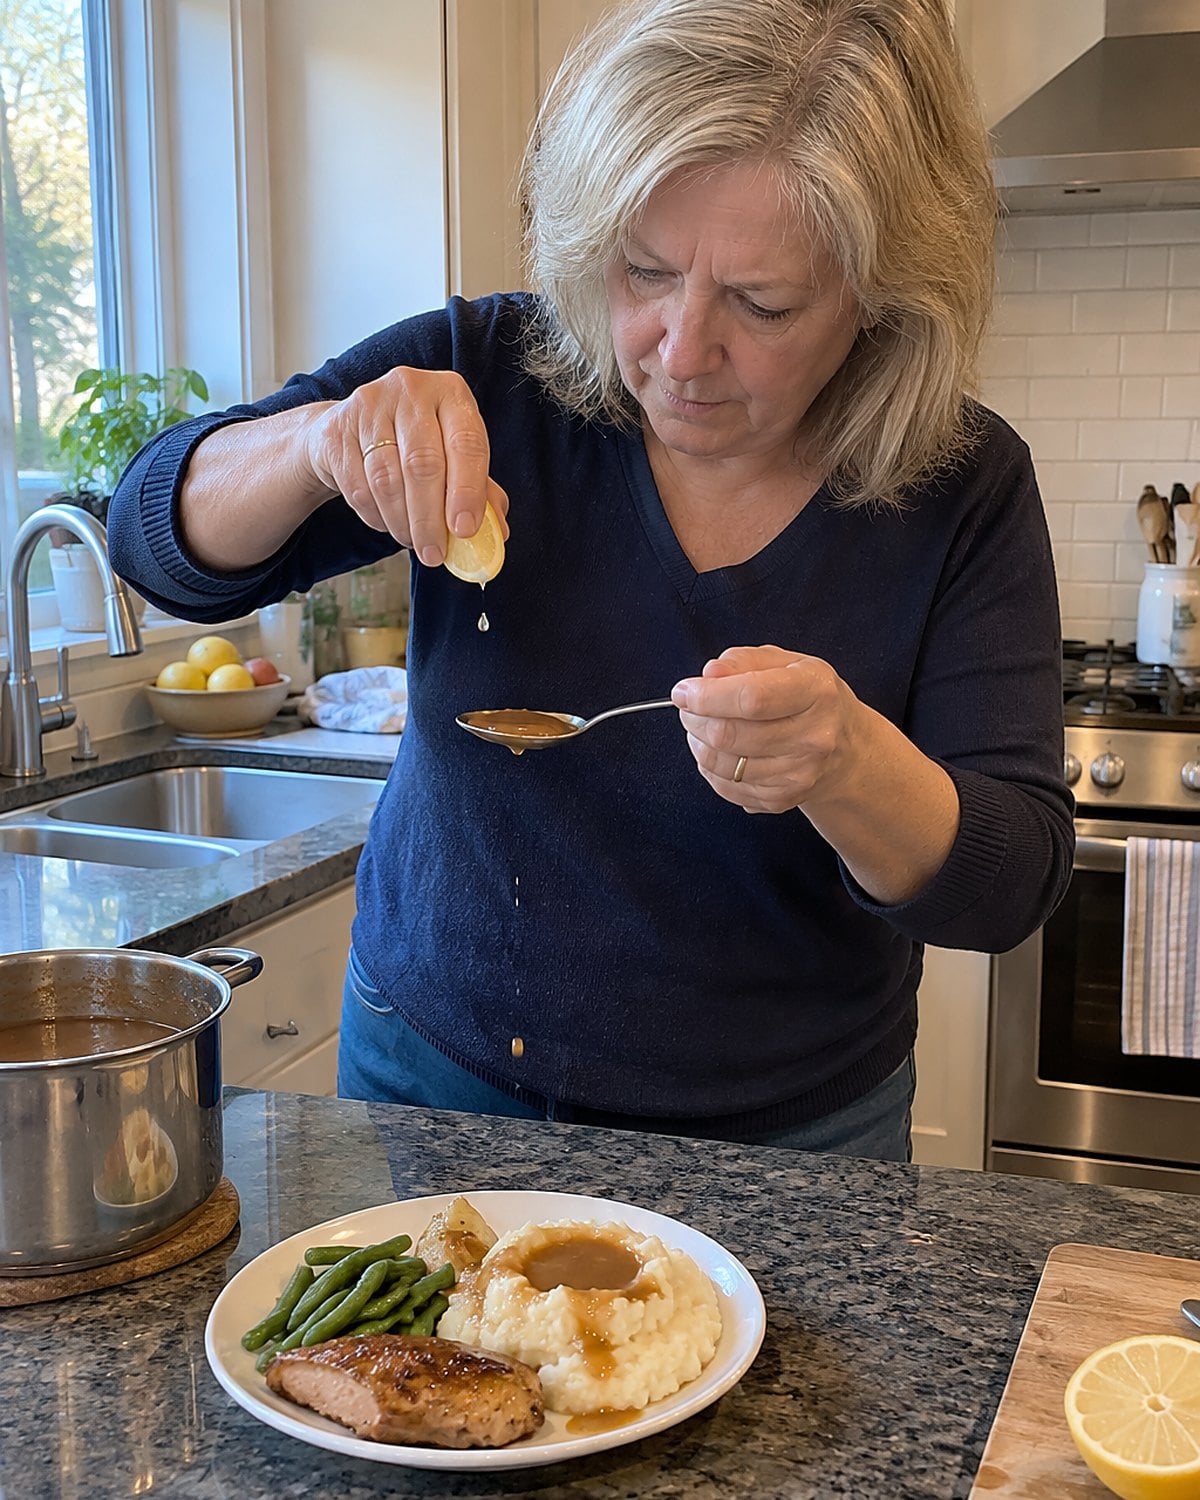
A gravy can taste dull even after you’ve added enough salt. Before shaking in more, put a little gravy in a spoon and touch it with a drop of lemon juice. Taste that spoonful beside one without lemon.
If the first tastes more like the roast, stir a small squeeze into the pan. If it tastes like lemon gravy, stop. The point is to lift what’s already there, not introduce a new main flavor.
Vinegar does the same job in a pinch. Add it by drops, then taste. You’ve seen this happen with stew: the pot has plenty of meat and onion, yet a little acid wakes up both.
Make the test in a spoon first. It costs less than trying to pull too much lemon back out of a full gravy boat.
#13 The Mushroom Stems Beside the Cutting Board
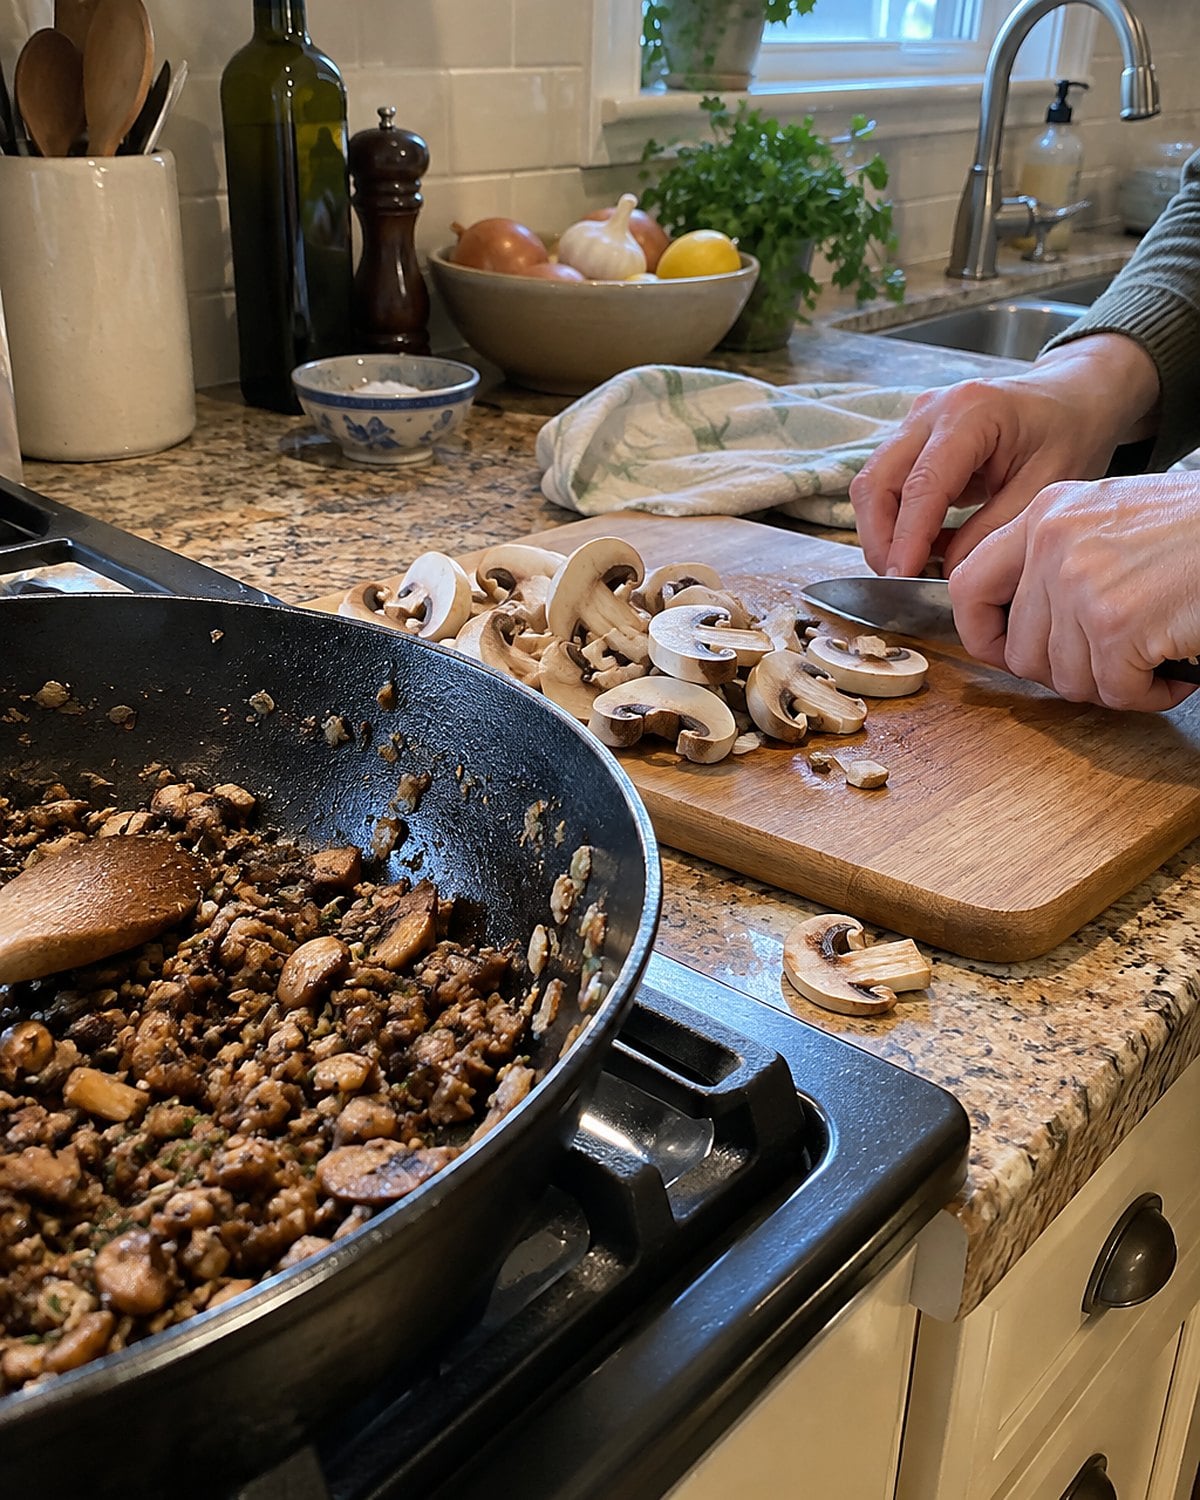
Those firm mushroom stems left after you slice the caps have a job. Chop them small and cook them in butter until their moisture evaporates and the pan starts to brown. Add stock and scrape up the browned pieces.
You’ve made the base of a mushroom sauce without opening a packet. Let it simmer until the mushroom taste is clear, then stir in a little cream or finish with butter. Taste before adding pepper; too much hides the mushrooms.
Wet mushrooms need time in the pan. If stock goes in while they’re still steaming, their flavor stays faint. Listen for the sound to change from wet bubbling to frying. That’s your cue.
Spoon the sauce over chicken, pork or mashed potatoes. Keep a few mushroom pieces visible. They tell everyone what’s in the sauce, which is helpful when a grandchild eyes the pan with suspicion.
#12 The Cornstarch Jar for a Clear Sauce
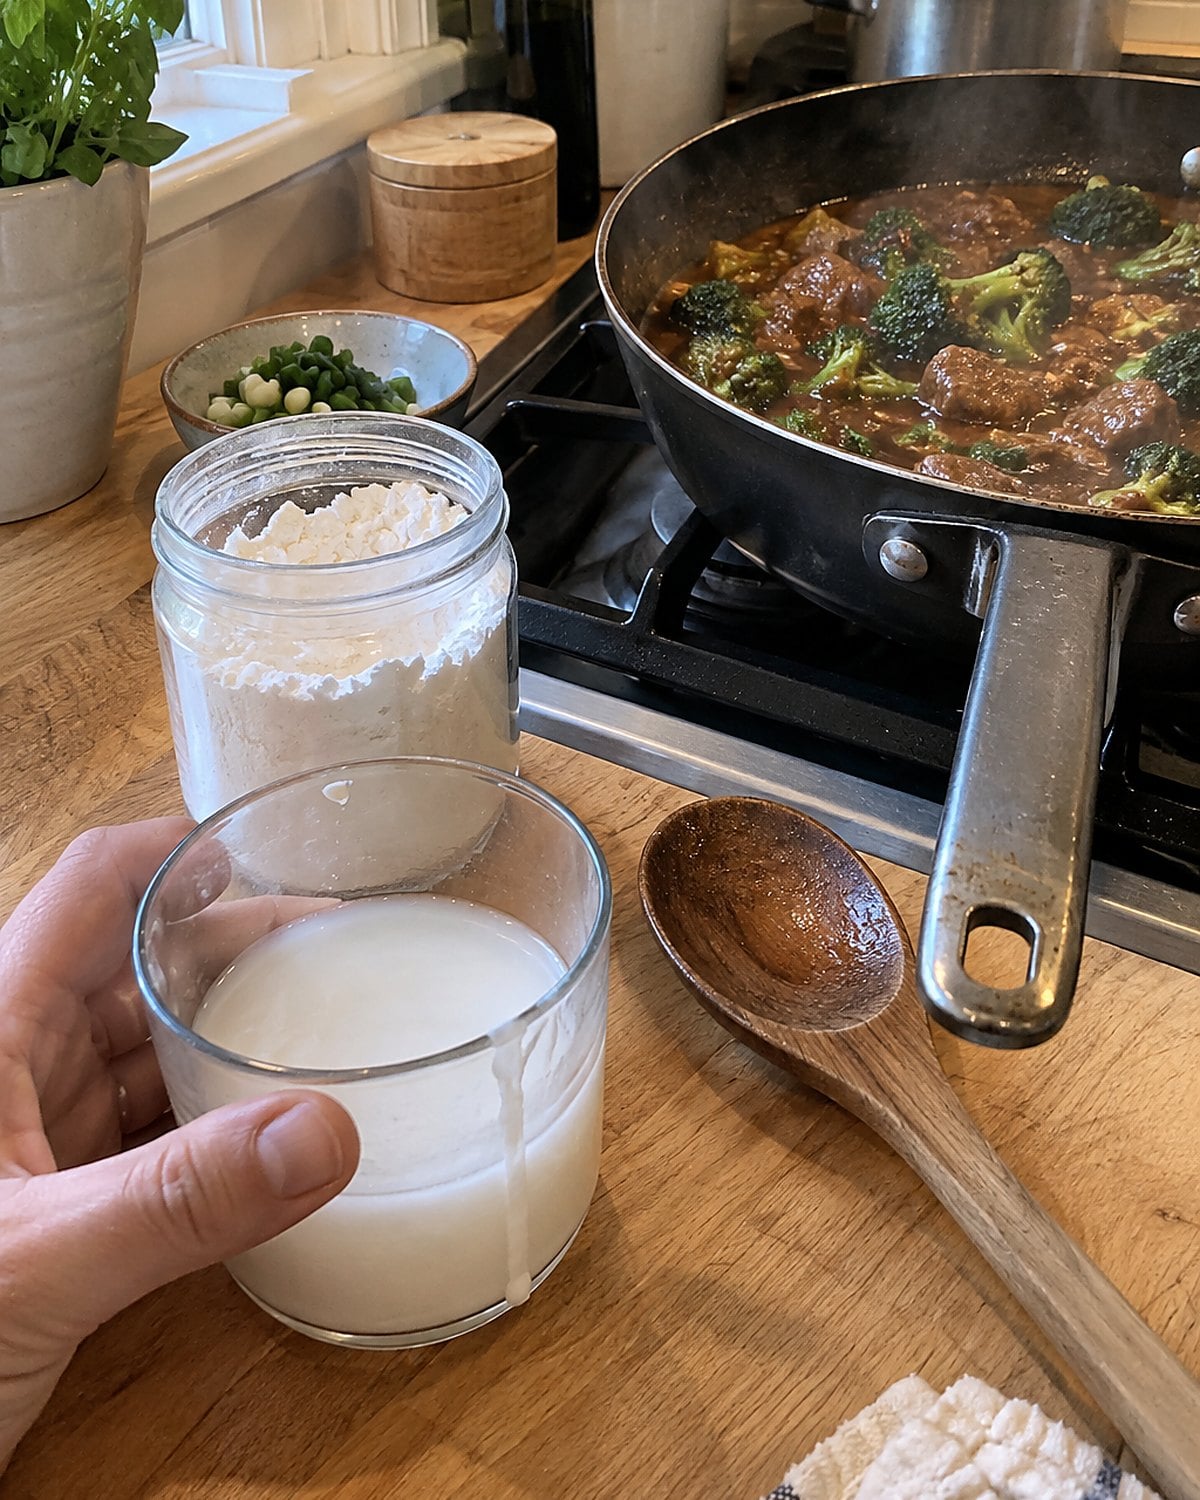
Flour gives gravy body and an opaque finish. Cornstarch makes a glossier sauce when you don’t want a roux.
First stir cornstarch into cold water until smooth. Pour that mixture into hot liquid while stirring, then bring it to a simmer. Adding the dry starch straight to the pan creates little white knots.
Start with about 1 tablespoon cornstarch for 1 cup liquid. Stop adding slurry once the sauce coats a spoon; the amount changes with the liquid already in your pan. Give it a moment at the simmer before judging the thickness.
Use this for a quick sauce from stock and pan juices. Save the flour tin for the familiar, fuller gravy you want beside a roast.
#11 The Beef Bones at the Market Counter
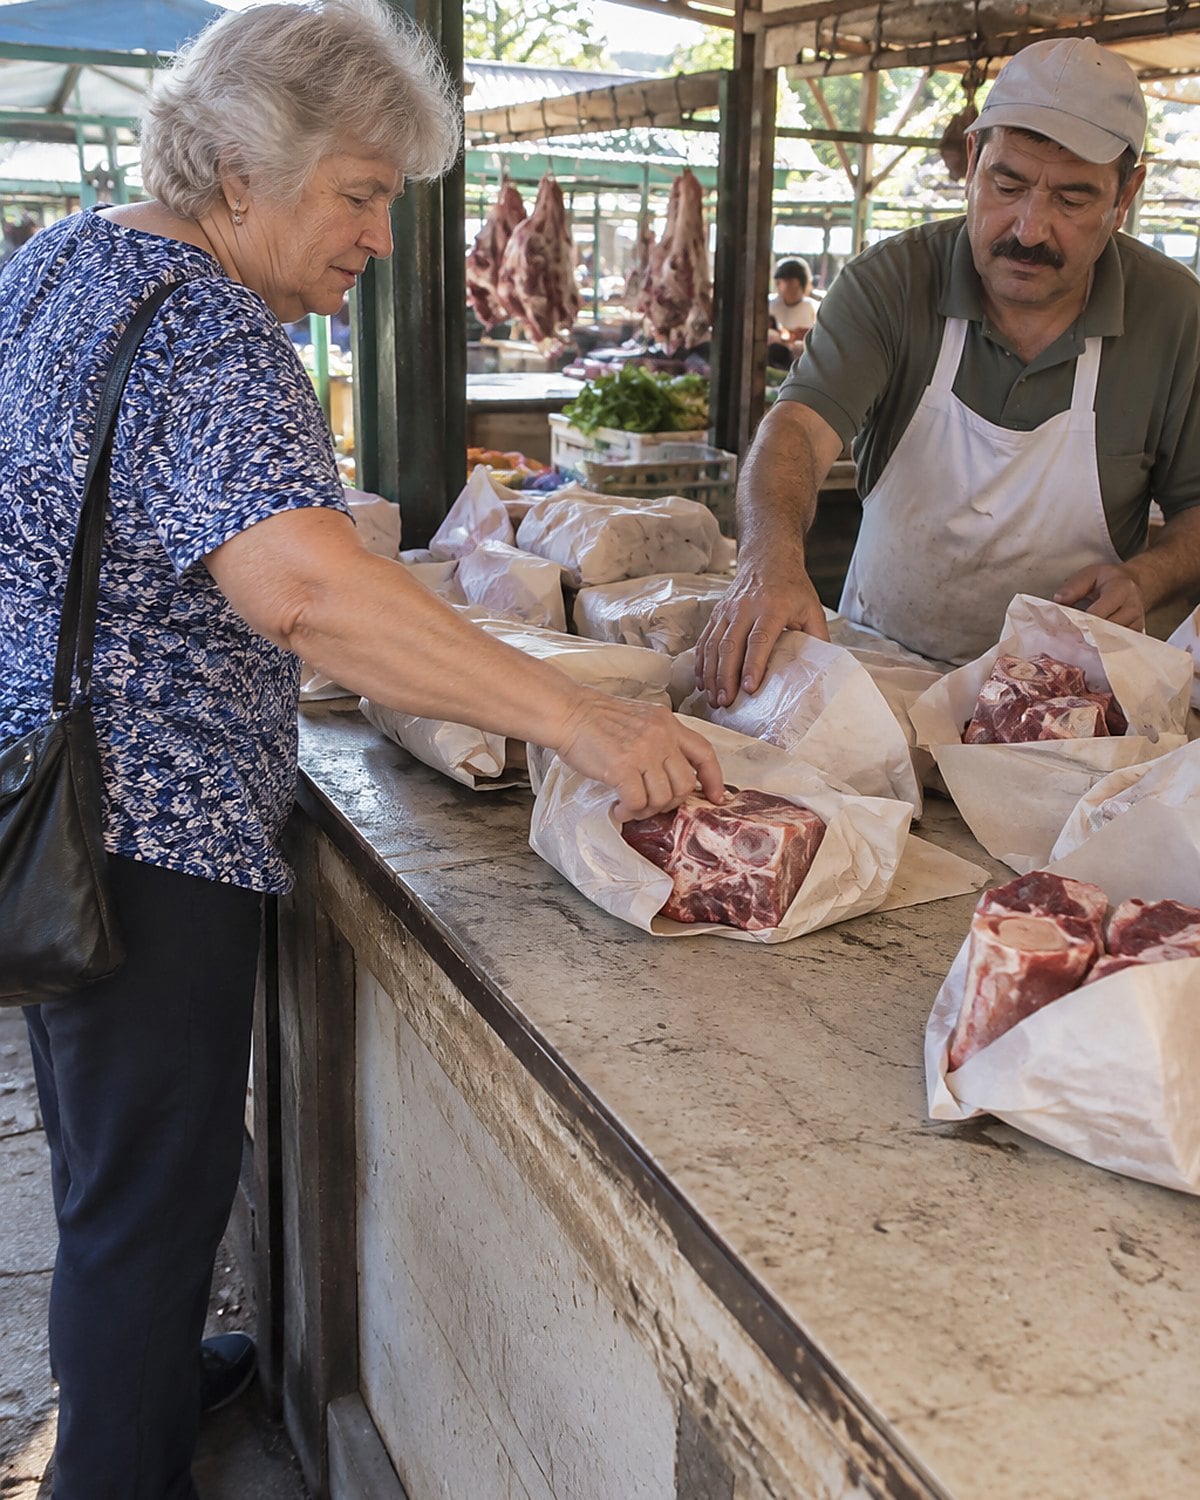
Ask the butcher for soup bones with some meat still attached. Bones alone lend body; browned meat gives the stock a fuller beef taste.
At home, brown the bones and attached meat in a heavy pot or roast them until the surfaces take on color. Add water, then simmer. Scrape the browned marks from the pot into the liquid. That’s the part worth carrying home from the market.
Beef stock takes patience, but taste tells you more than an exact hour count. Dip out a spoonful, cool it and ask whether it tastes like beef or merely hot water. If it’s weak, keep simmering or reduce it after straining.
Don’t add a fistful of salt to make weak stock seem stronger. Concentrate the liquid first. Then you’ll know what seasoning it needs when it becomes gravy.
Try it: Instant Pot Beef Bone Broth
#10 The Butter Whisked into Warm Sauce
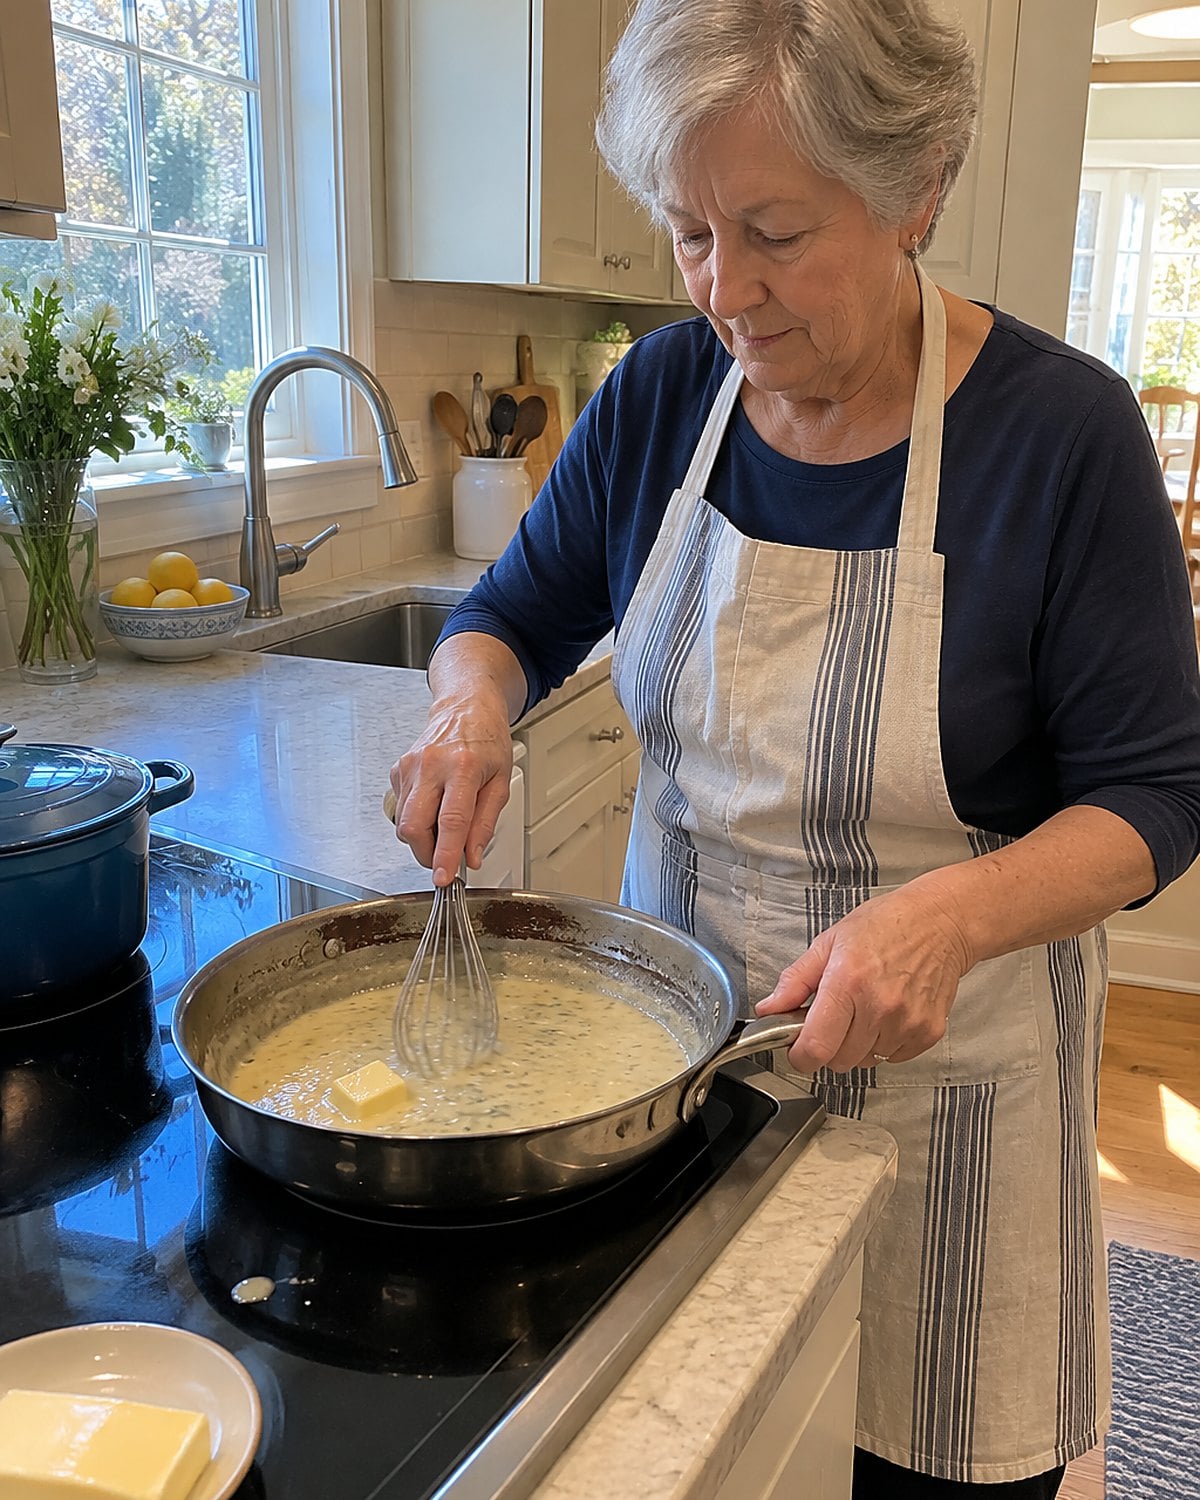
A small piece of cold butter changes the finish of a pan sauce. Whisk it in after taking the pan off the heat. The sauce turns glossy and feels fuller on the tongue.
Keep the butter moving as it melts. If the sauce boils hard afterward, the sheen fades and butterfat separates at the edges. Move the pan off the burner rather than turning the heat higher to hurry dinner along.
This works best when the sauce already tastes good. Butter rounds it out; it won’t replace browned bits, stock or seasoning.
Try a spoonful before and after the butter goes in. You’ll hear the difference described as “richness,” but tasting both tells you what that word means in your own pan.
 You might also like24 Dishes That Died With the Woman Who Made Them
#9 The White Sauce in the Small Saucepan
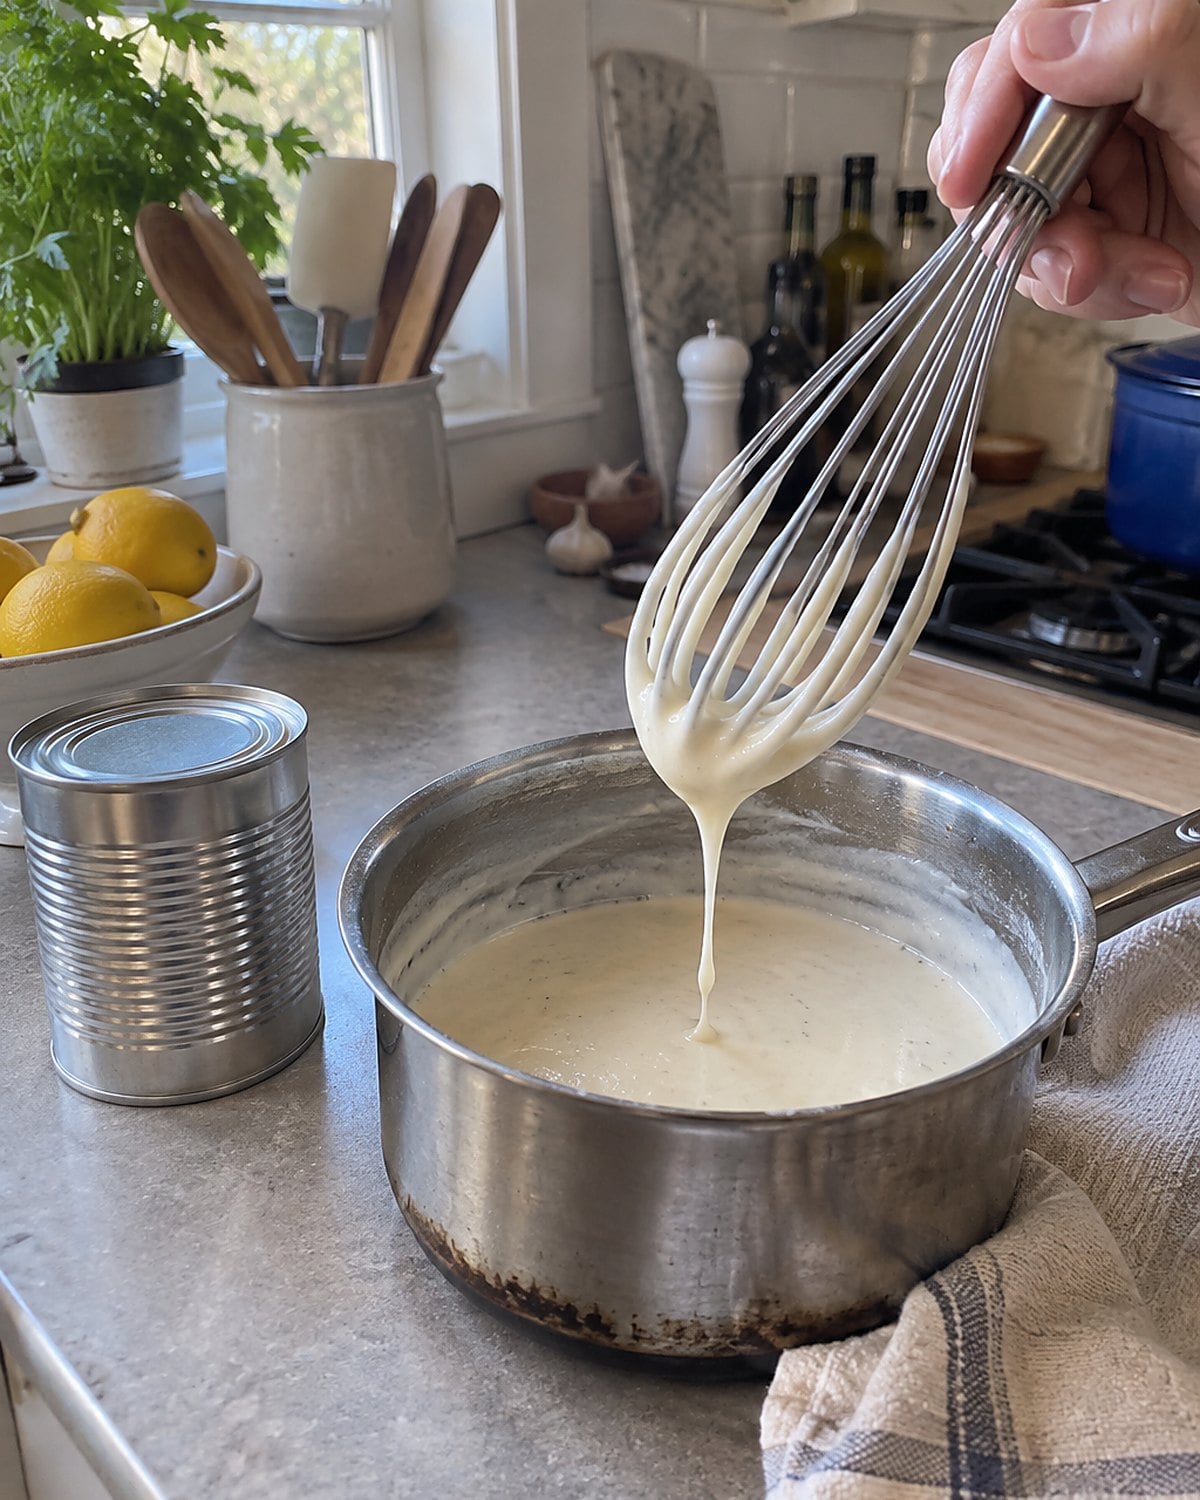
A white sauce starts the same way as gravy: butter, flour, then liquid. Use milk instead of stock and keep the flour pale. Once the milk is in, whisk until the sauce simmers and thickens.
For a familiar middle thickness, start with 2 tablespoons each of butter and flour for 1 cup milk. Warm milk blends in with less fuss, though cold milk works when you add it steadily and whisk. Taste after the flour has cooked through.
This is the sauce beneath baked macaroni, creamed vegetables and the casserole from a church cookbook with a cracked spine. If cheese is going in, take the pan off the heat first. Stir until it melts, then taste for salt.
You don’t need a packet labeled “cheese sauce.” You need a saucepan large enough for your whisk and a little time before the dish goes into the oven.
#8 The Gravy Lumps in the Sieve
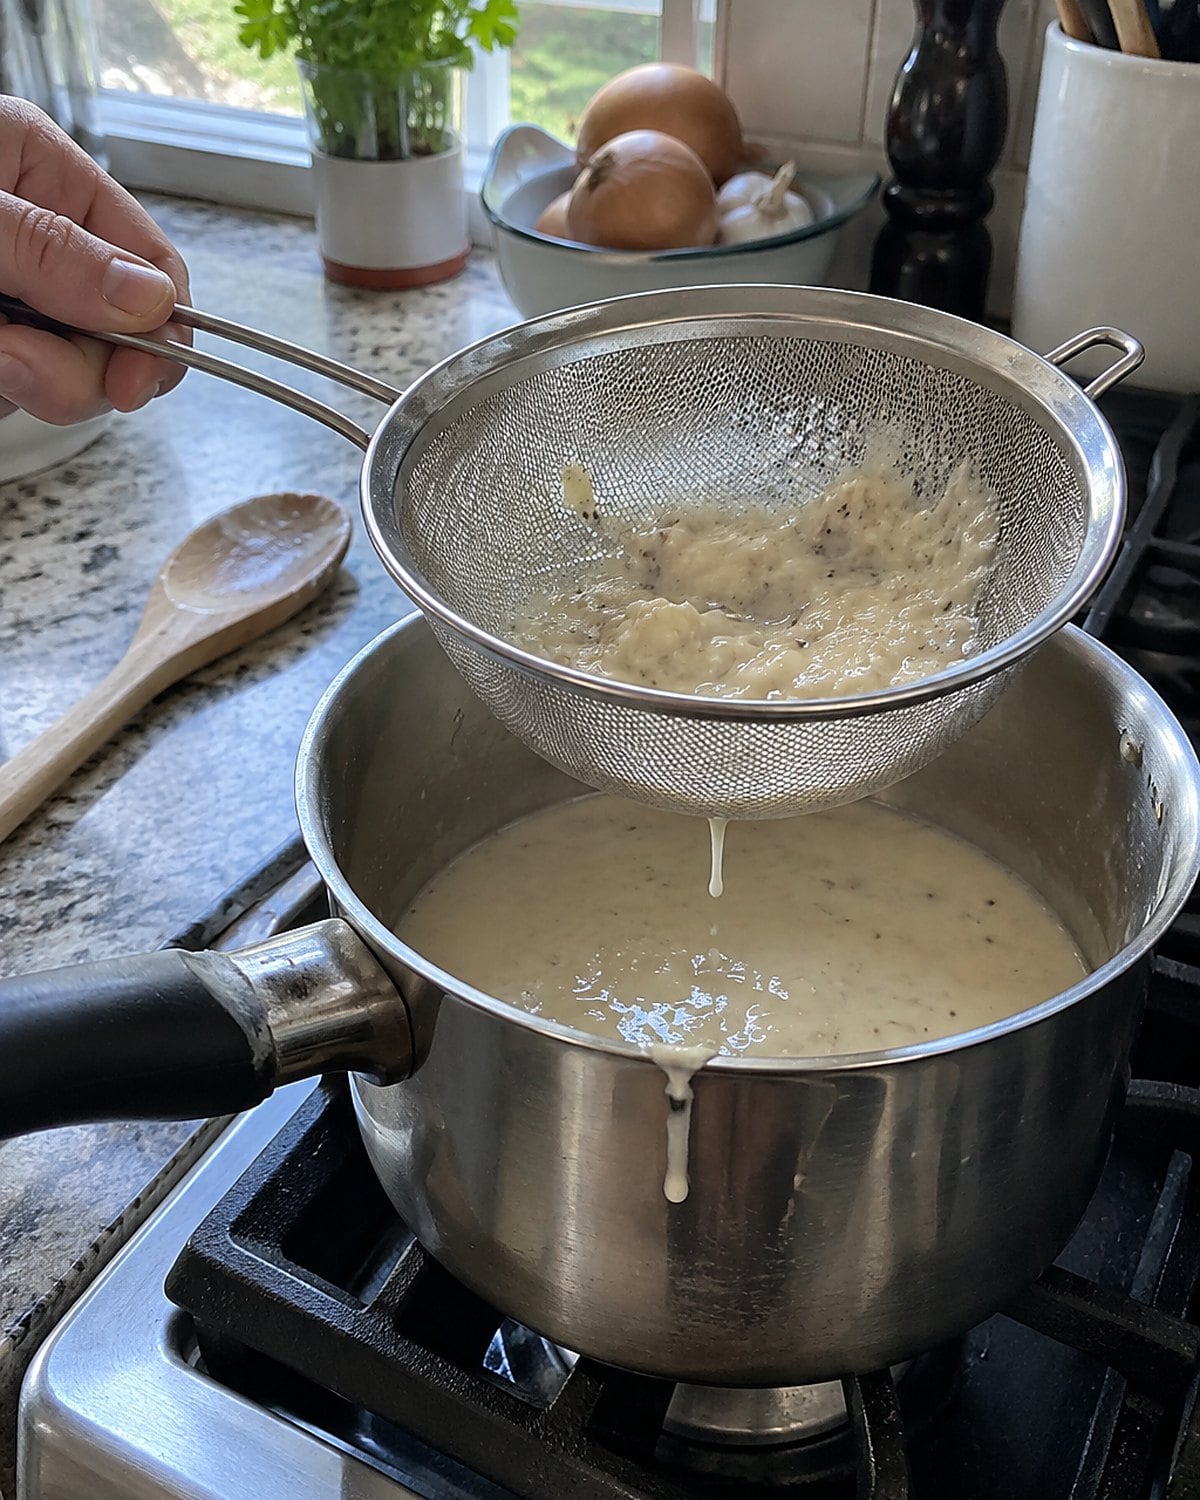
Lumpy gravy doesn’t need to go down the drain. Set a fine sieve over a clean pan and pour the gravy through it. Press the lumps with the back of a spoon.
The lumps formed when liquid hit flour faster than you could work it smooth. Then taste. Straining fixes texture, not raw flour flavor. If the gravy tastes floury, simmer it for a few minutes, stirring so the bottom doesn’t catch.
For next time, whisk liquid into the roux in small additions. For tonight, put the rescued gravy in a warm serving jug and move on.
There’s a particular relief in knowing a mistake has a tool-sized solution. Keep the sieve where you can find it, not buried under the holiday platters.
#7 The Stock Container Behind the Milk
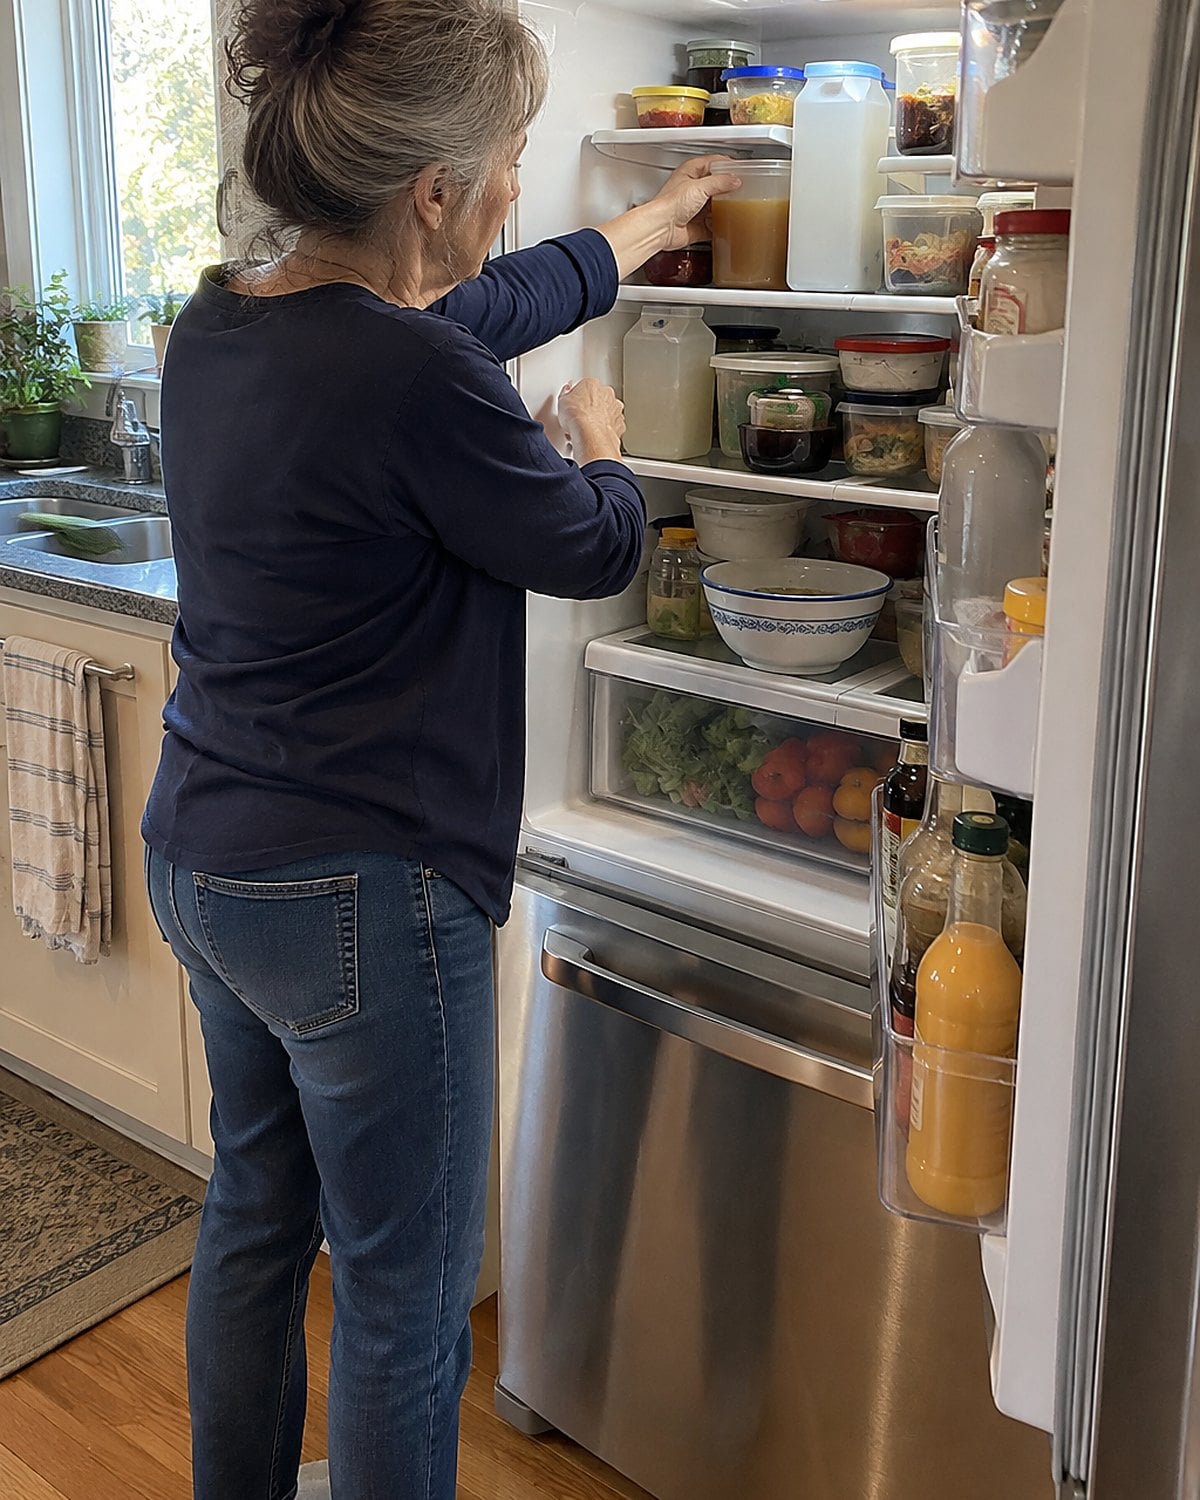
A container of homemade stock looks like every other brownish leftover once it slides behind the milk. Label it with the contents and date before it goes in.
Keep the refrigerator at 40°F or below. The USDA’s cold storage chart gives cooked meat and poultry leftovers 3 to 4 days in the fridge; use that conservative window for meat stock. If dinner plans change, freeze it rather than waiting for a smell test.
Cool a big batch in shallow containers. A tall, full pot holds heat in its center longer than a few small containers do. You want the stock cold and ready when you pull it out for gravy, not an overnight pot still warm in the middle.
When you find an unlabeled container and can’t say when it went in, throw it out. Your freezer bag with a date written on it is a much better bargain.
#6 The Tomato Paste in the Hot Pan
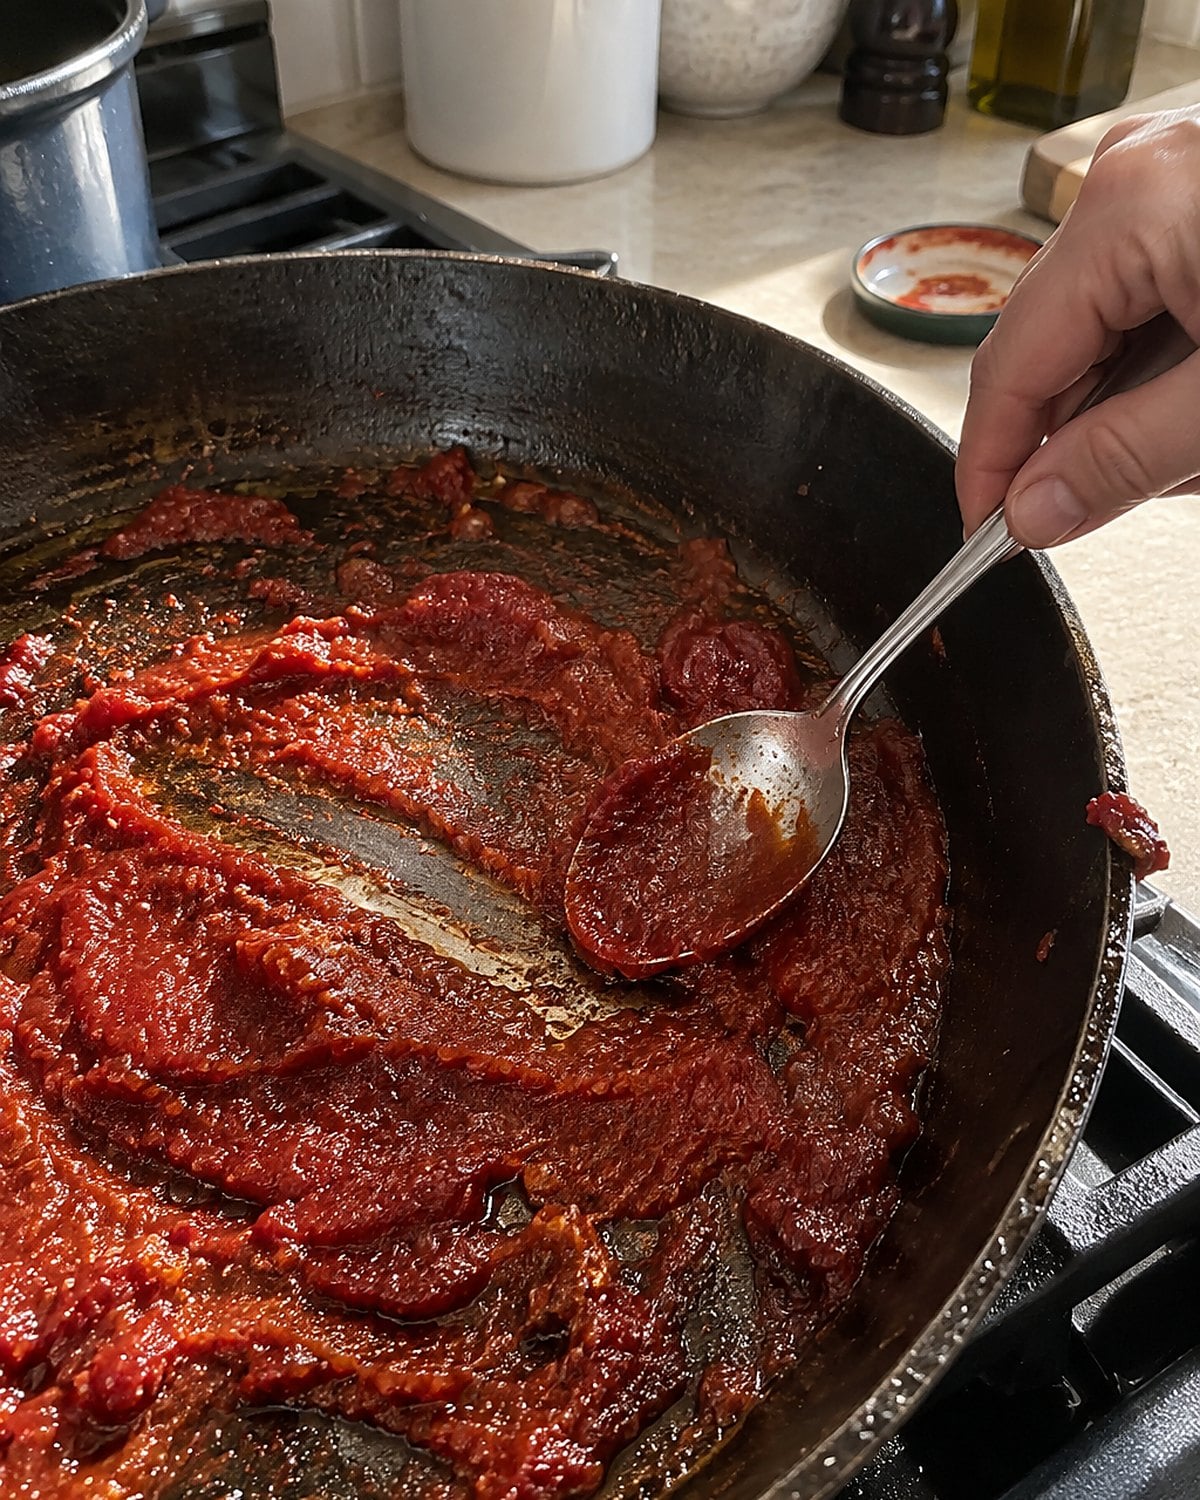
Tomato paste tastes sharper straight from the can than it does after a turn in hot fat. Stir a spoonful into a skillet after browning meat or mushrooms. Let it darken slightly before adding stock.
Watch the color. Brick red is the goal; black flecks mean you’ve gone too far. Scrape the paste across the pan so it catches the browned bits without sitting in one scorching spot.
The sauce won’t taste like tomato soup. A modest amount adds depth and color, especially to beef gravy. It also gives you something to work with when the pan has fewer drippings than you expected.
Taste before adding more. The paste should support the roast, not announce itself ahead of it.
#5 The Ice Cube Tray of Stock
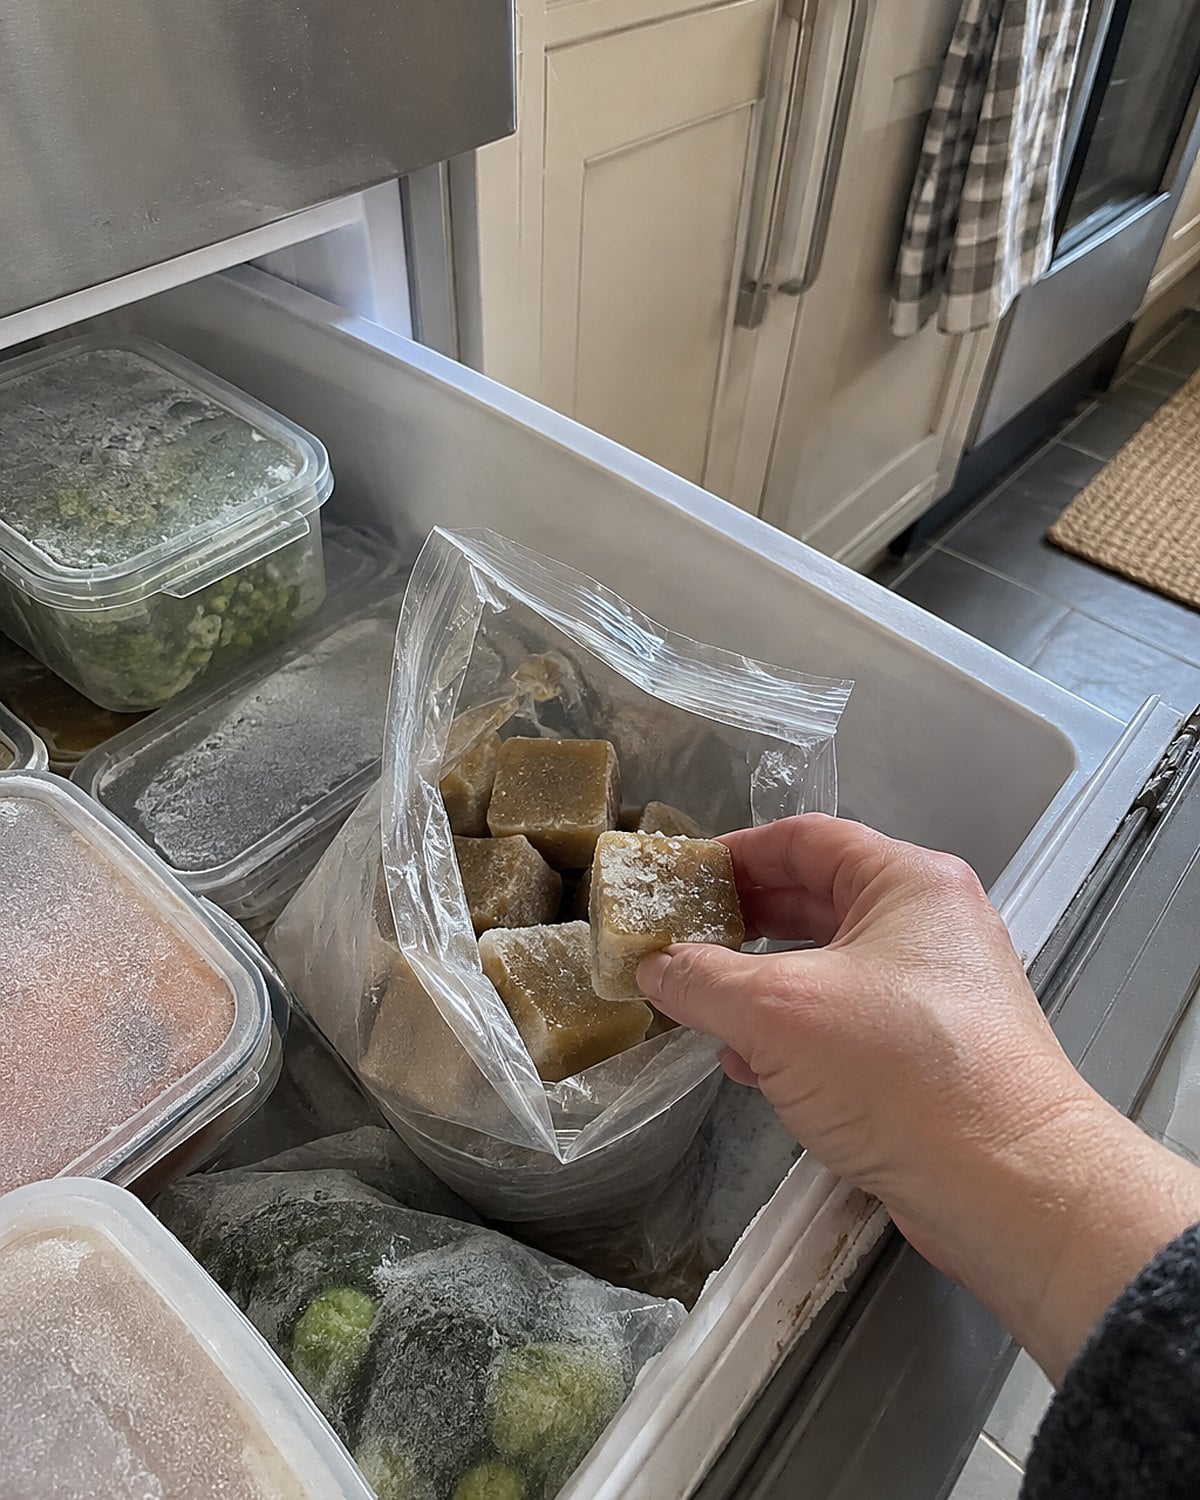
A whole container of stock is too much when all you need is a few spoonfuls to loosen a pan sauce. Pour cooled stock into an ice cube tray, freeze it, then move the cubes into a dated freezer bag.
Now the skillet tells you how much to use. Drop in a cube, scrape the pan and taste after it melts. Add another if the sauce is too strong or the pan is drying out.
This works well with concentrated stock. Reduce the strained stock first, cool it, then freeze it. The cubes take less freezer space and give a sauce more flavor without adding a potful of liquid.
Keep the tray separate from ice meant for drinks, or wash it well before putting it back. Chicken-flavored lemonade isn’t the lesson you wanted from making stock ahead.
#4 The Mustard Jar After the Roast
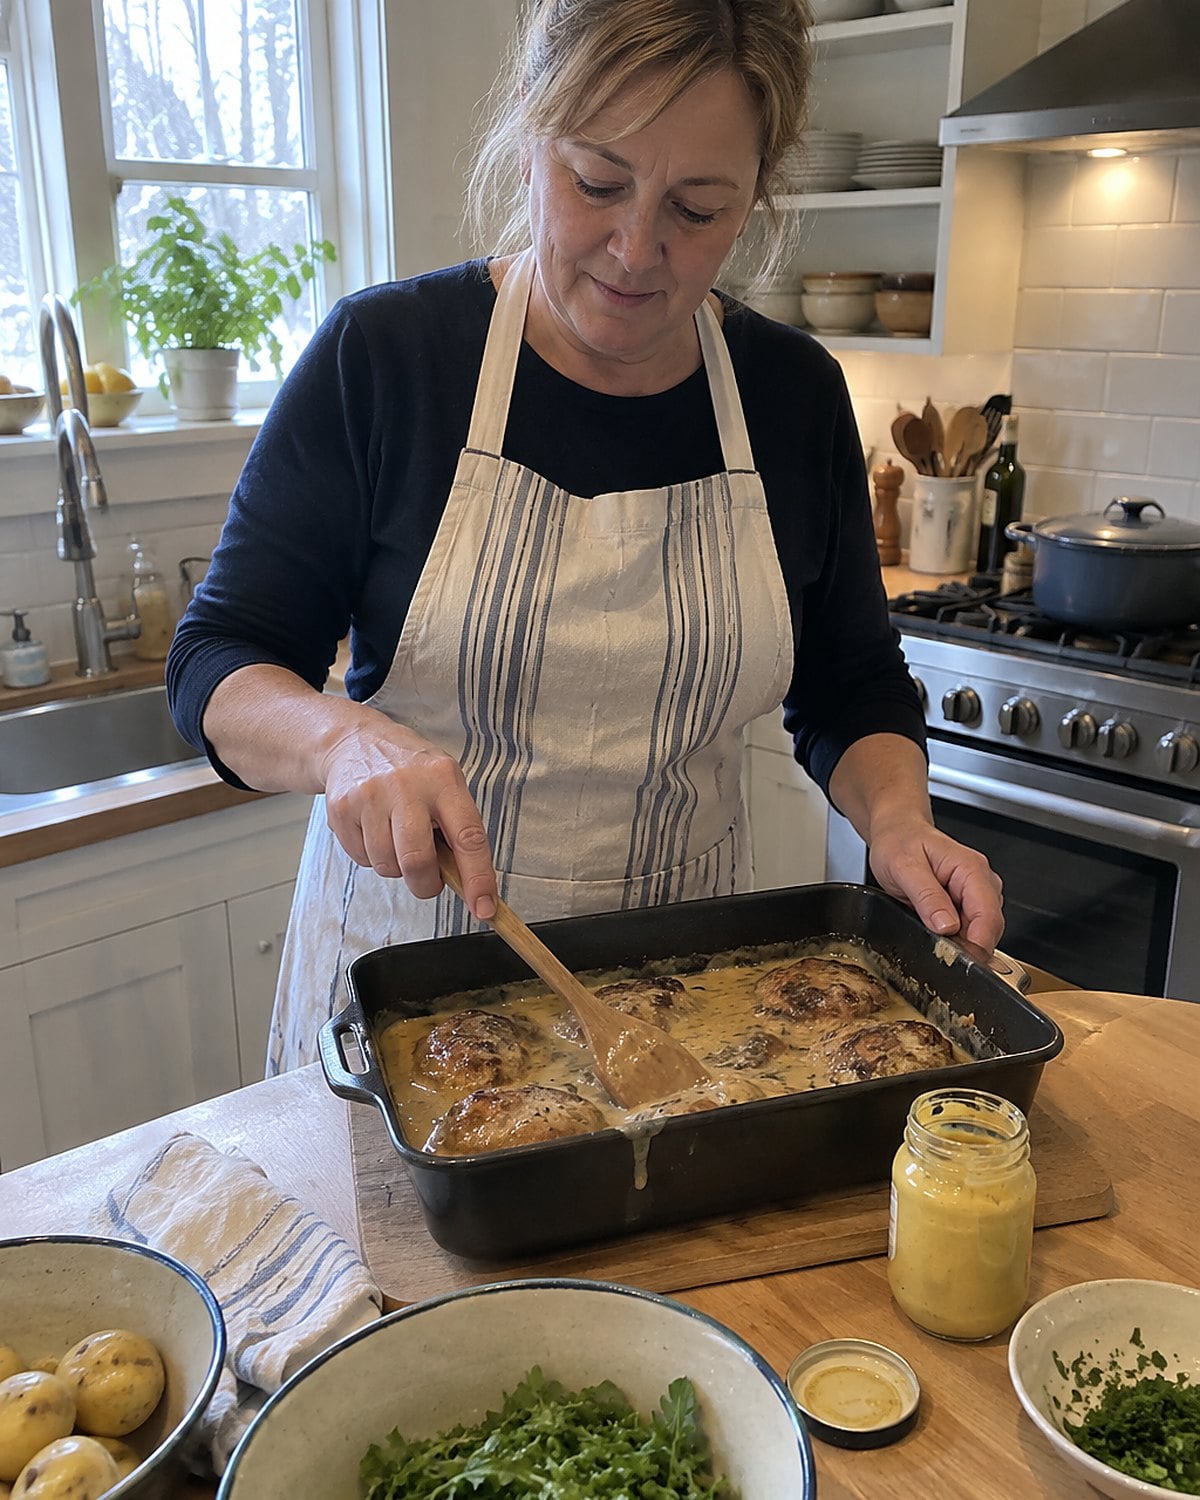
What gives a plain pork pan sauce some bite without turning it into mustard sauce? A small dab from the jar, stirred in after the pan comes off the heat.
Start with the liquid from the deglazed roasting pan. Let it reduce until it tastes savory. Stir in mustard, then taste. Dijon blends in smoothly; whole-grain mustard leaves visible seeds and a different texture.
Add the mustard near the end. Long boiling dulls its sharp edge, which is the reason you reached for it. A spoonful of cream rounds out the sauce if the mustard feels too pointed.
Put the jar back in the fridge, then taste the sauce with a bite of meat. Sauce on its own tells only half the story.
#3 The Turkey Drippings at the Holiday Stove
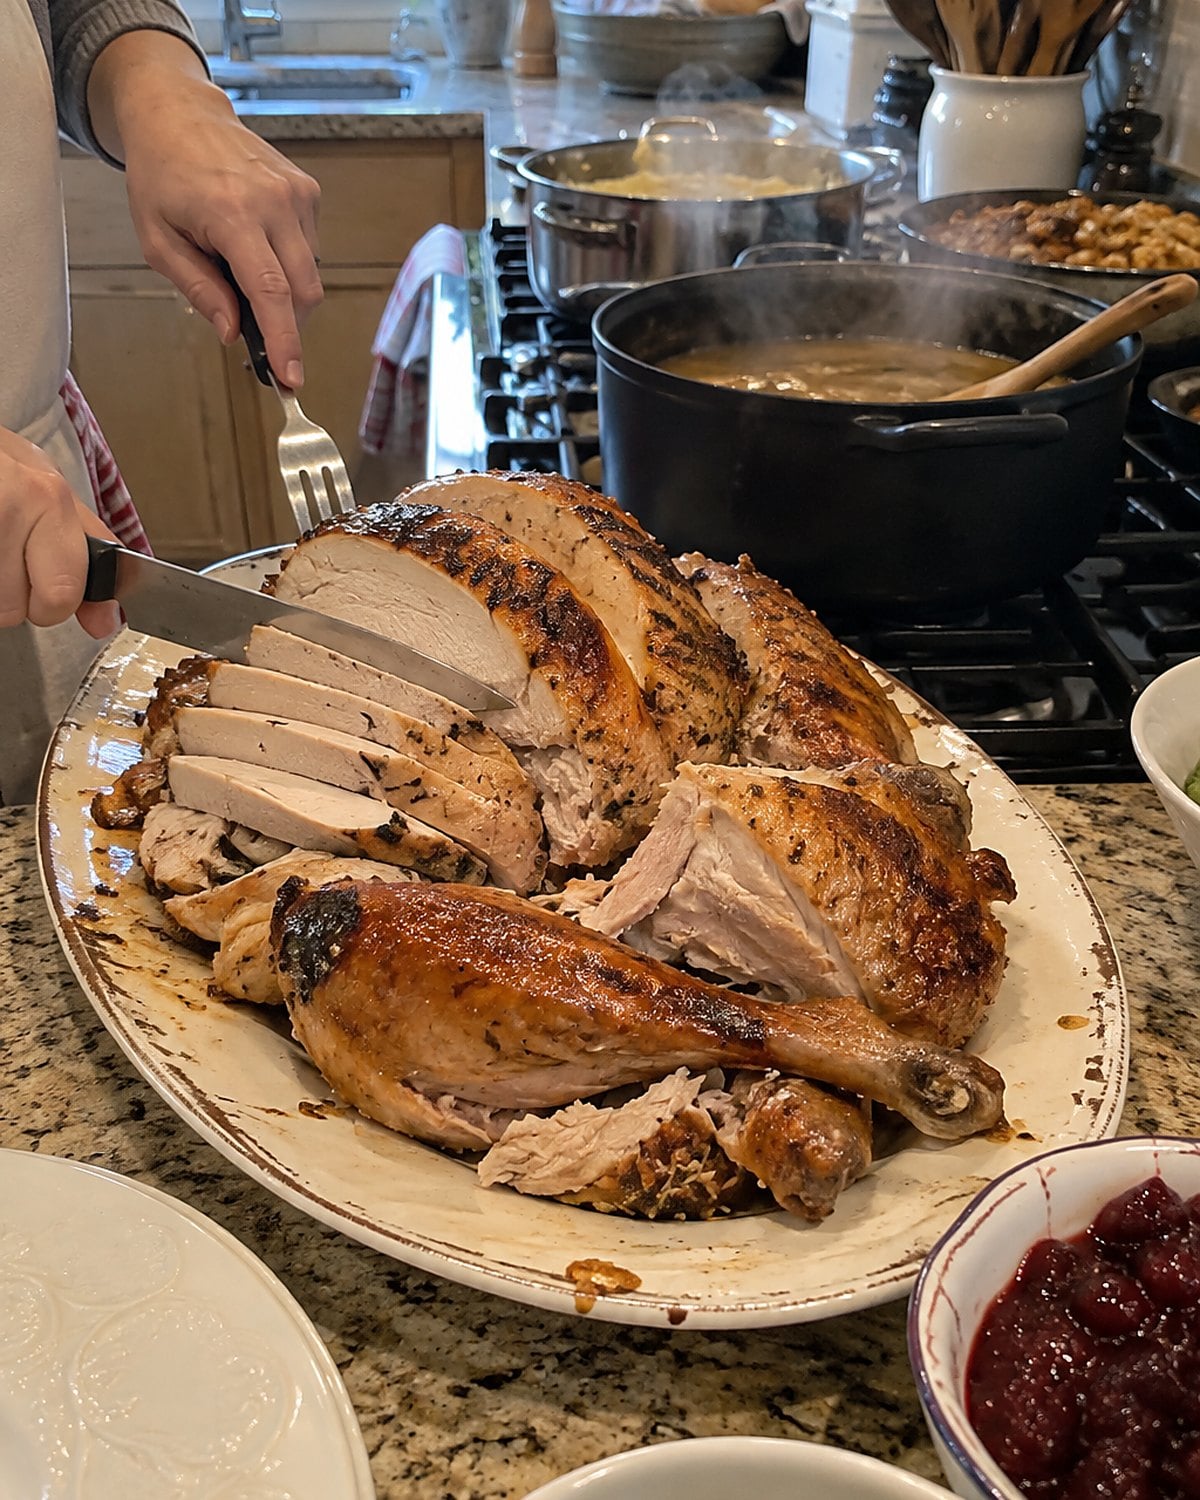
A holiday roast leaves plenty happening at once: the bird resting, potatoes waiting and a pan of drippings that nobody wants to waste. Start by separating the fat from the juices. Don’t guess at the salt until the juices are back in the gravy.
Use the fat to cook flour, then whisk in stock and those saved juices. If you have less fat than expected, add butter. If the juices taste very strong, begin with unsalted stock and add the juices gradually.
Keep the gravy at a low simmer while you finish the table. Stir along the bottom so it doesn’t stick. A skin on top means it has sat uncovered; whisk it back in before pouring.
For poultry, the USDA safe temperature chart lists 165°F. Check the thickest part with a thermometer, away from bone. Gravy is worth making, but the roast gets checked first.
#2 The Leftover Gravy with a Splash of Stock
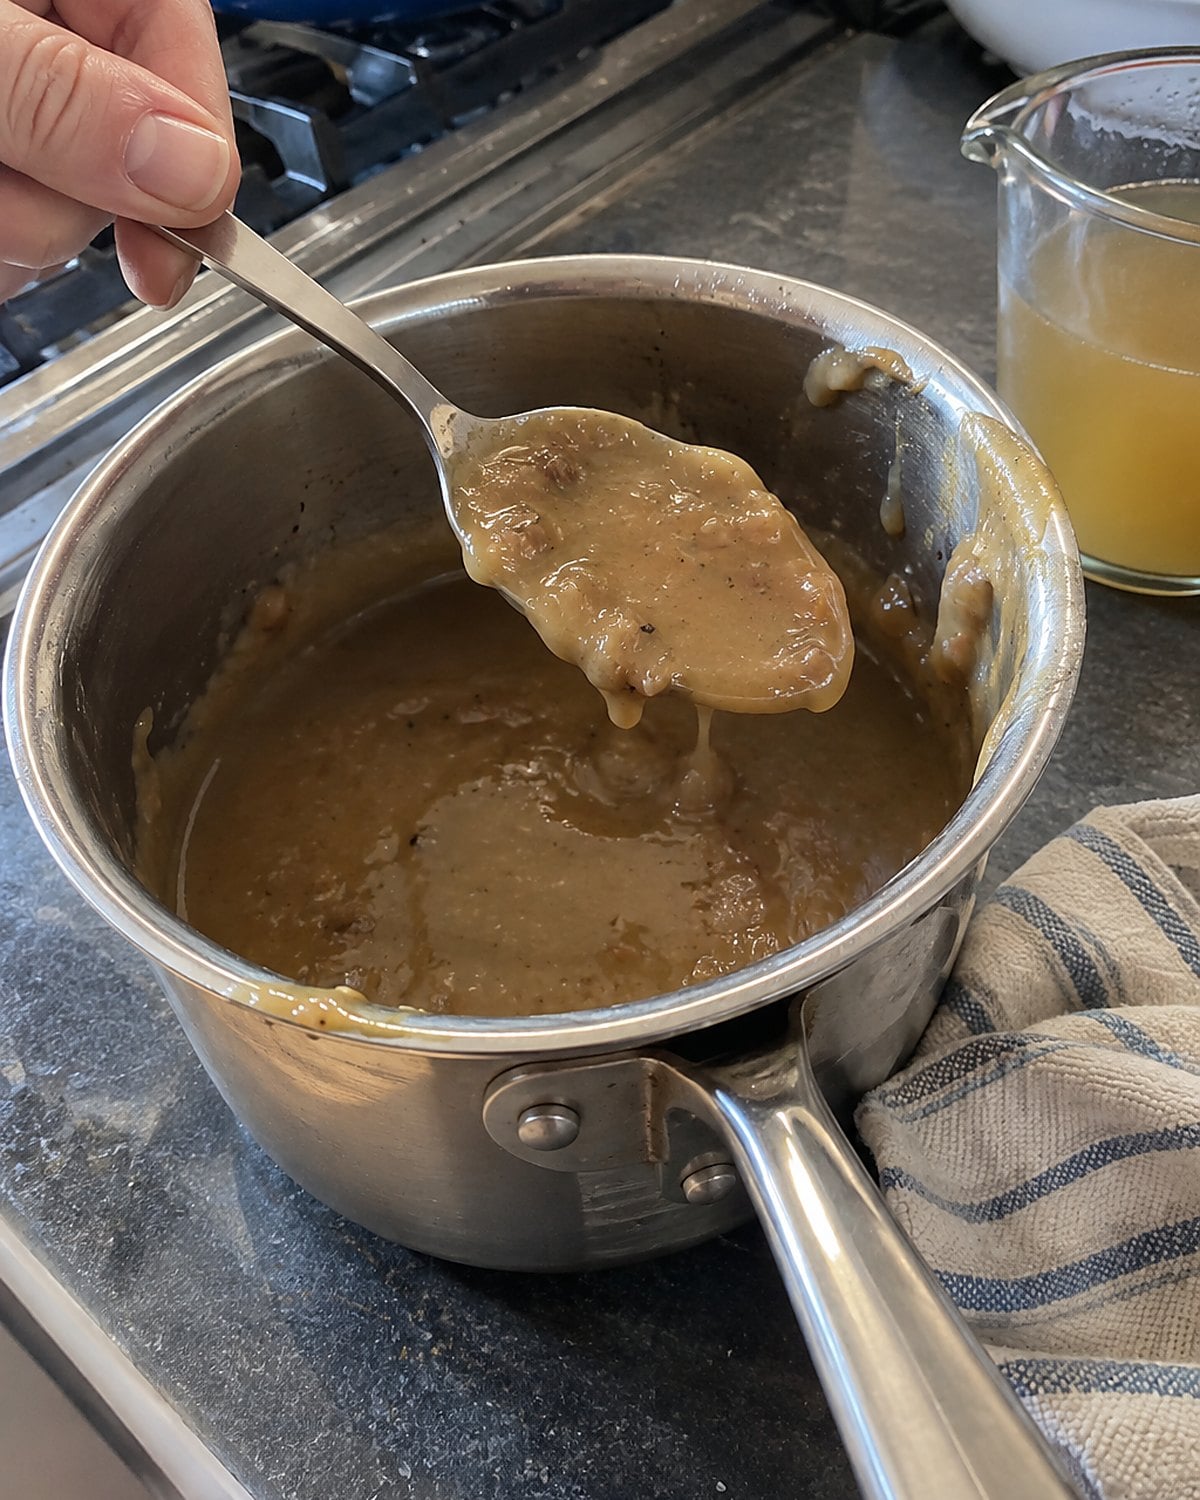
Cold gravy sets up thick. That firm spoonful in the fridge hasn’t failed; the flour and fat have cooled.
Spoon it into a small saucepan with a splash of stock or water. Heat it while stirring, then add more liquid until it flows from the spoon the way you want. Taste after it’s hot. Leftover gravy brings yesterday’s salt and seasoning with it, so wait before adding either.
If it was made with meat or poultry drippings, reheat it thoroughly. The USDA’s reheating guidance says to bring gravy to a boil. Stir throughout so the center and edges heat together.
That last bit of gravy gives leftover meat a better second dinner. Save enough stock to loosen it, and yesterday’s pan work keeps paying for itself.
#1 The Small Saucepan Gravy You Know by Heart
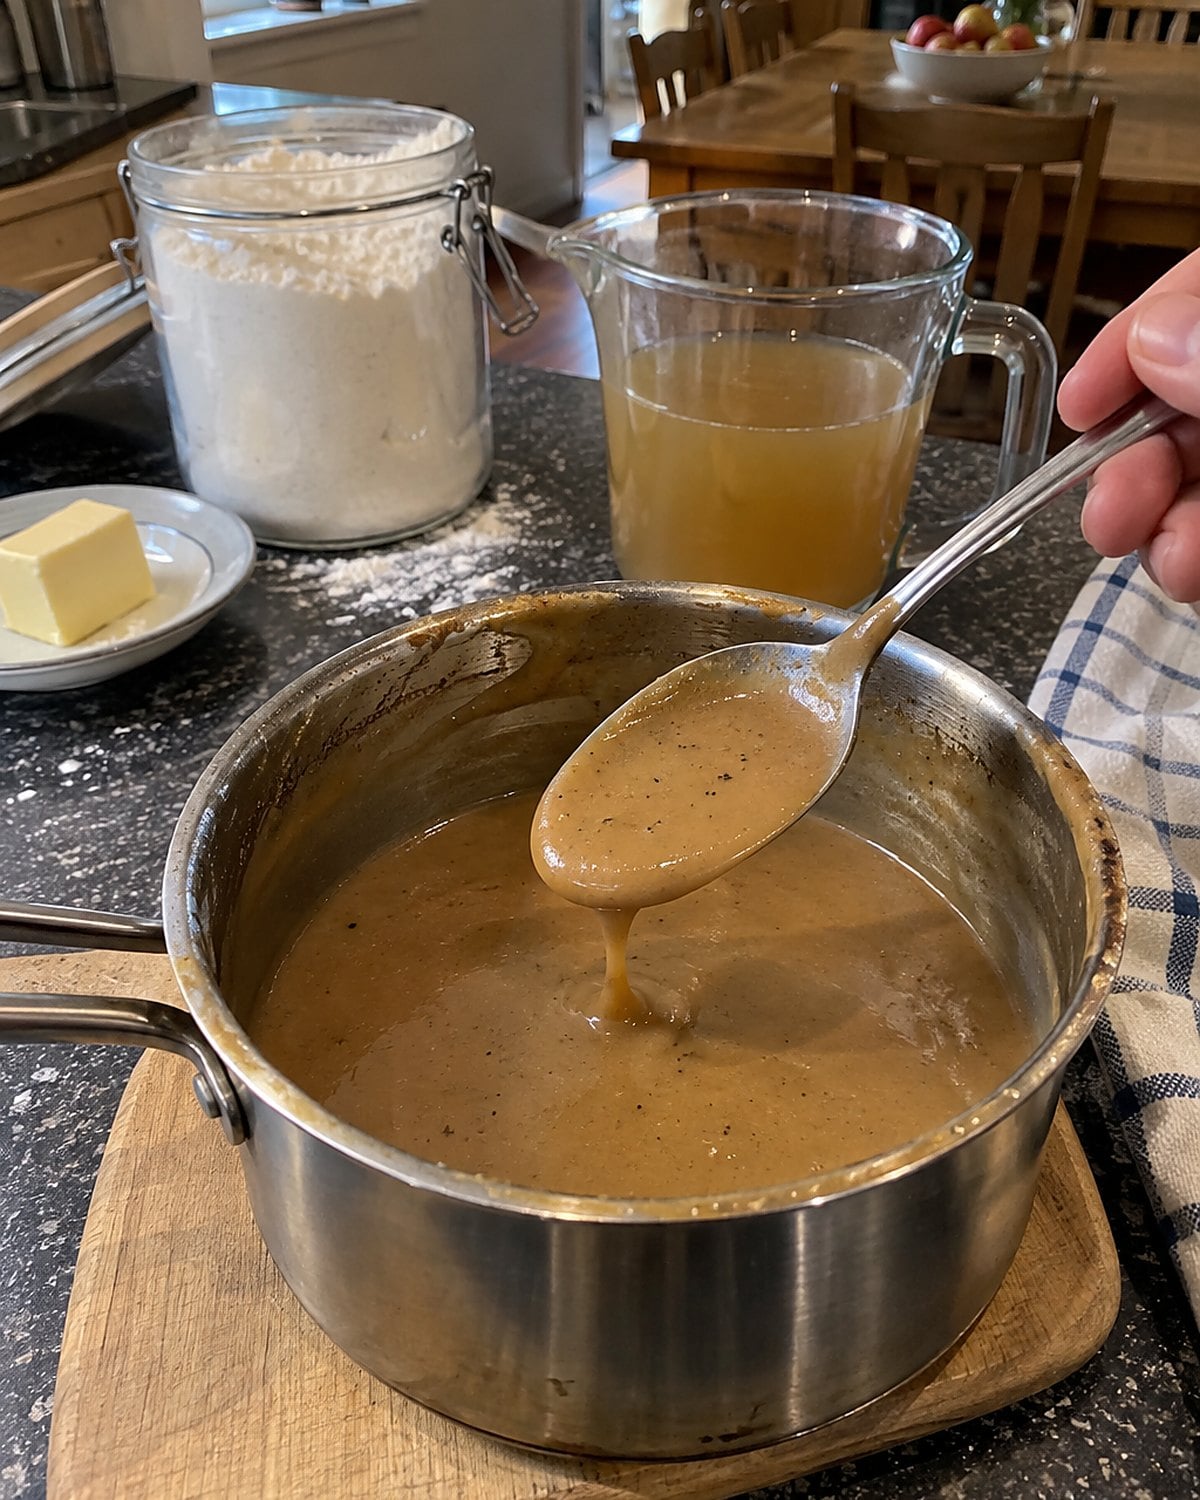
Here’s the ratio to keep: 2 tablespoons fat, 2 tablespoons flour and 1 cup liquid. It makes a small saucepan of gravy, enough to learn the motion without committing the whole roast to it.
Melt butter or warm reserved roast fat over medium heat. Stir in the flour and keep it moving until the raw smell fades. Whisk in a splash of warm stock. The mixture will thicken into a paste. Add the rest in stages, whisking smooth each time, then simmer until it coats a spoon.
Taste it. Stock brings flavor, while pan juices make it taste like this dinner. Add either before reaching for salt. Too thick? Stir in more warm liquid. Too thin? Simmer a little longer and check it with the spoon again.
Make this once beside a weeknight meal, even when nobody has asked for gravy. After that, the three measures live in your hands rather than on a packet. When the roasting pan comes out on a busy Sunday, you’ll know where to begin.
Try it: Best Instant Pot Gravy (Quick & Easy, No Drippings!)
Keep reading
 27 Things Home Cooks Over 60 Do Without Thinking That Chefs Would Never Do
See all 27 →
More you’ll remember
 24 Soups That Started With Nothing and Fed Six
 23 Foods That Were Made at Home Until the Store Started Selling Them
 27 Dishes Your Mother Made From Nothing That You've Never Managed to Copy
The bottom line
Good gravy follows what’s left in the pan. Good stock follows what you save from dinner. A sauce comes together when you taste before reaching for another ingredient.
The well-prepared version of you has a dated container in the freezer and a whisk within reach. Which pan in your kitchen is waiting for the same treatment tonight?
Leave a Reply