

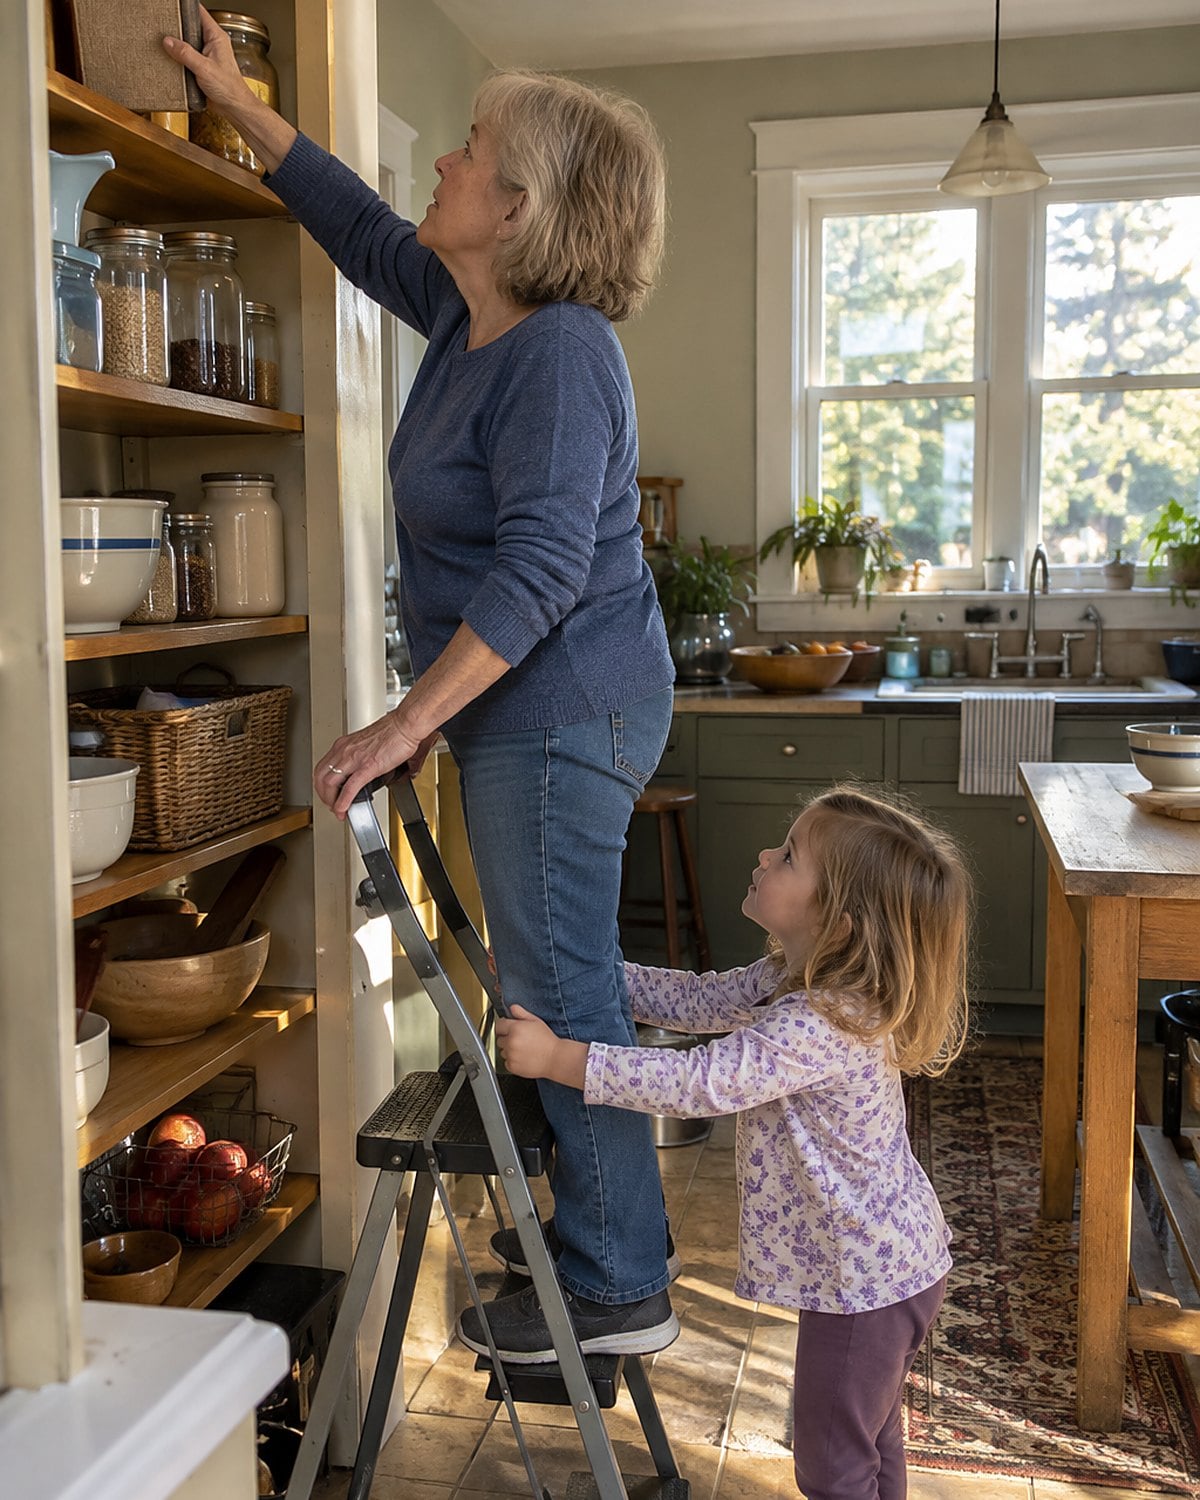
The pantry door catches on the step stool, and there’s that cookbook again. Its pages fall open to recipes you once knew by heart. Some earned their place. Others spent years under a blanket of melted cheese or boiled until nobody wanted seconds.
Ambrosia salad can stay gone.
The better dishes deserve another turn. They need a hotter pan, a lighter hand, or someone willing to taste before the lid goes on. You’ve got the experience to tell which is which. Start with the one whose name still sounds good.
#25 Rice Pudding From the Back Burner
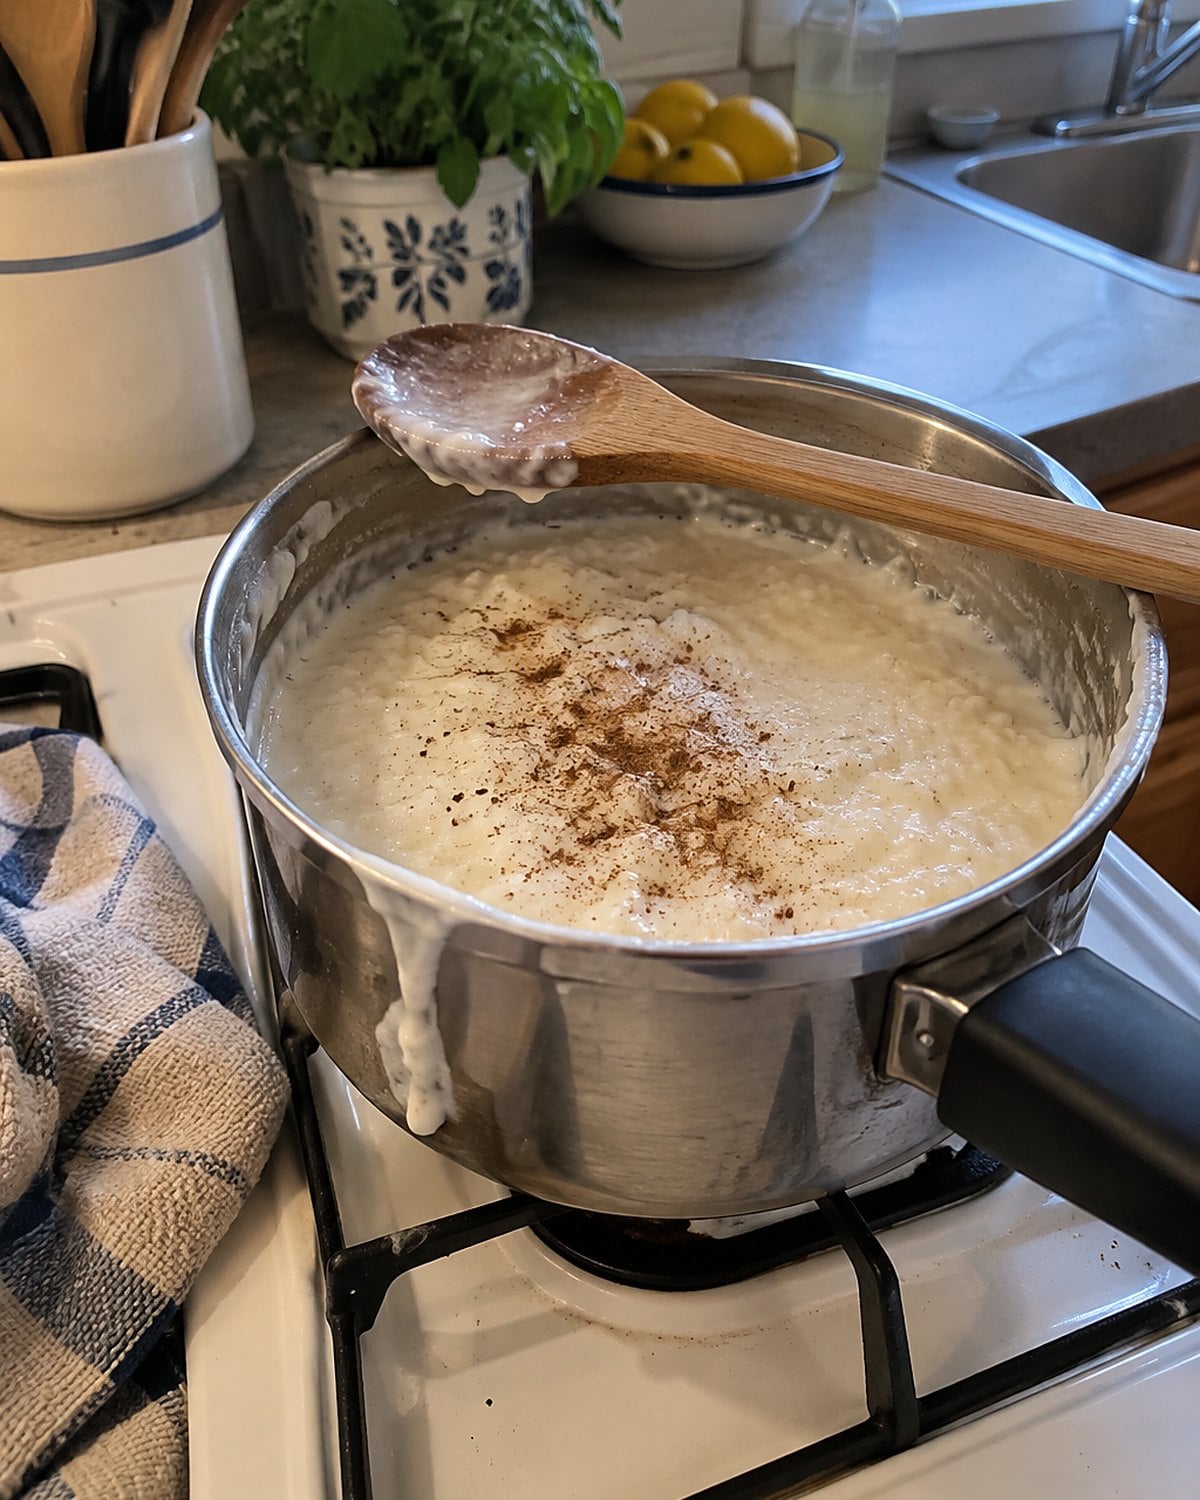
A pot of rice pudding asks for attention right when dinner dishes are waiting in the sink. That’s how it acquired its reputation for burned bottoms and a skin nobody wanted.
Use cooked rice, milk, sugar, and a pinch of salt. Keep the heat low enough for an occasional bubble, and scrape the bottom with a wooden spoon. The rice has already softened; you’re waiting for the milk to thicken around it. Stop while it still slips from the spoon. It will firm as it cools.
Cinnamon belongs on top if that’s how you remember it. Raisins are your call, not a condition of admission. Taste a warm spoonful before reaching for either. If it tastes flat, another small pinch of salt does more than another shower of sugar.
Set your spoon down for a moment and watch the surface. When the pudding settles back into place, take the pot off the heat. You can always serve it warm; you cannot scrape a scorched bottom out of the flavor.
Try it: Instant Pot Rice Pudding (+10 Delicious Variations)
#24 Green Bean Casserole Without the Gray Beans
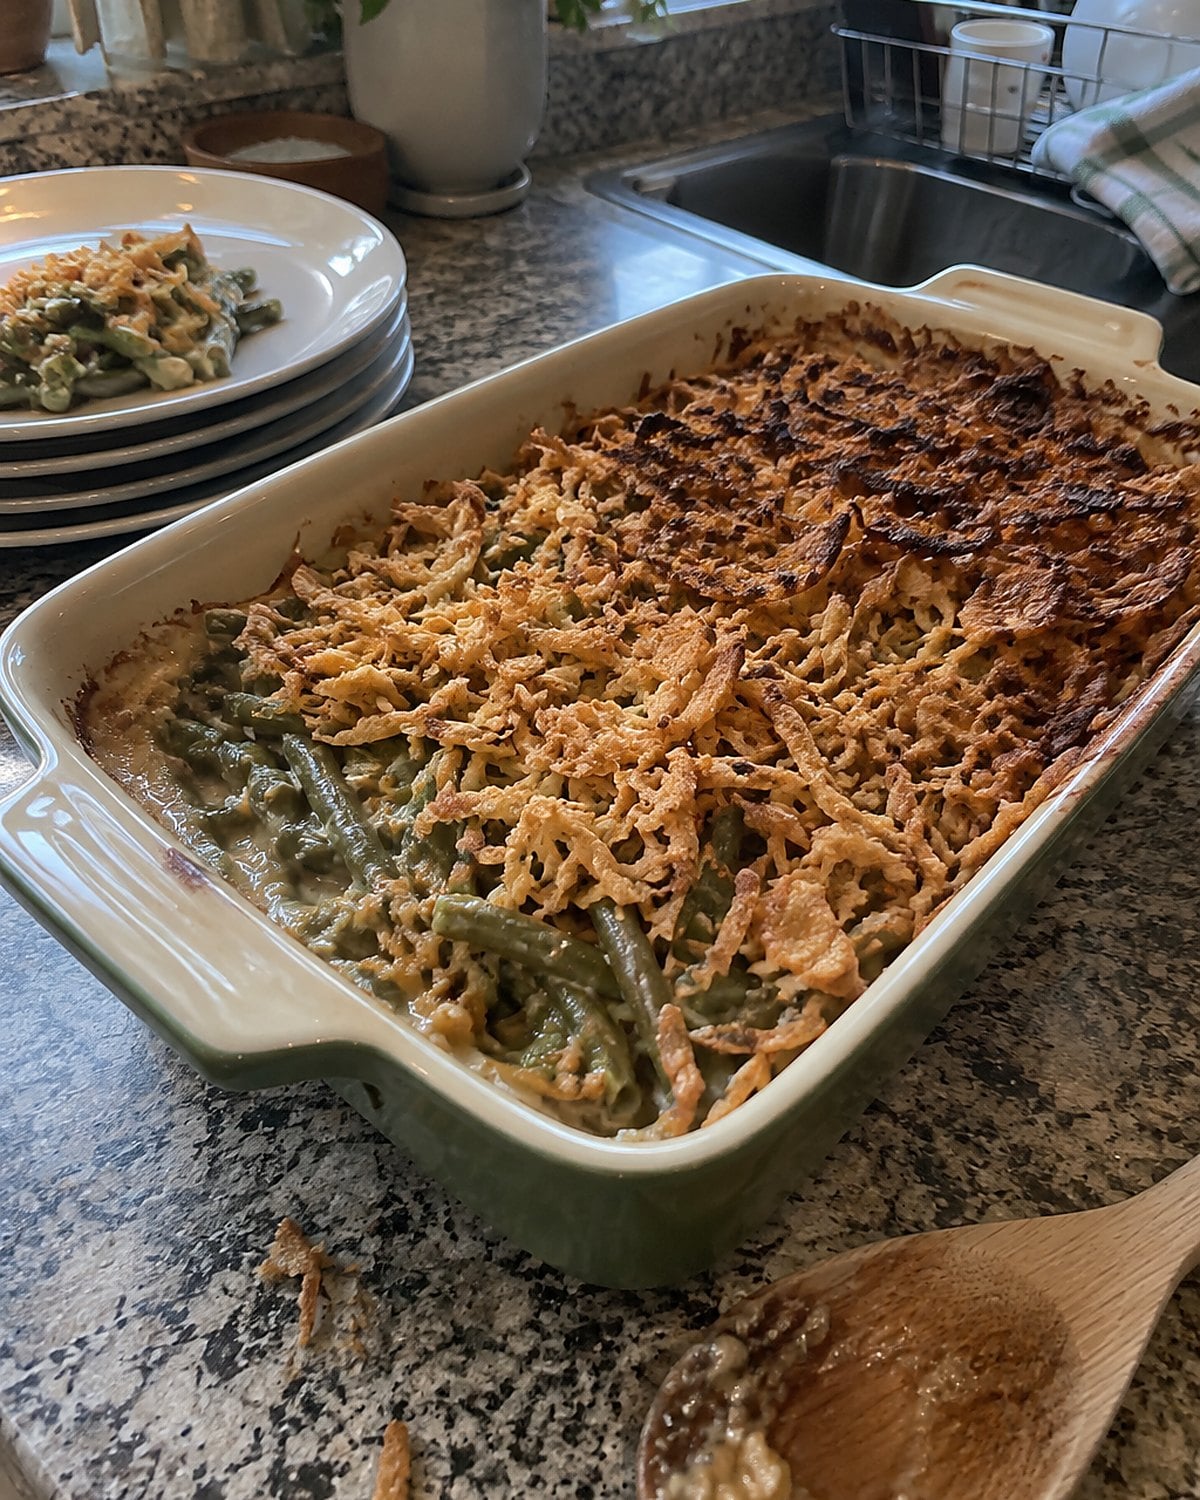
The crisp onions were never the problem. The beans underneath spent too long in the oven, giving up their color while the topping waited for its turn.
Blanch fresh green beans for 3 to 4 minutes, just until they’re bright and still have a bend. Cool and drain them. Give the mushroom sauce enough body to coat a spoon. Wet beans thin that sauce, so take a minute with a clean towel before mixing everything together.
Bake until the casserole bubbles at the edges, then add the onions. They belong on top near the end, where they toast instead of sinking into the sauce.
If you use canned beans, skip the blanching and drain them thoroughly. They’ve already been cooked, so the oven’s job is to heat the casserole, not tenderize the beans. Use a shallow dish so the edges bubble before the center turns heavy.
Take a bean from near the middle before carrying the dish out. You want the familiar crisp topping followed by a bean that still tastes like a bean. That’s reason enough to bring it back next Thanksgiving, or next Tuesday at your own table.
Try it: Creamy Air Fryer Green Bean Casserole
#23 Tuna Noodle Casserole With a Crisp Top
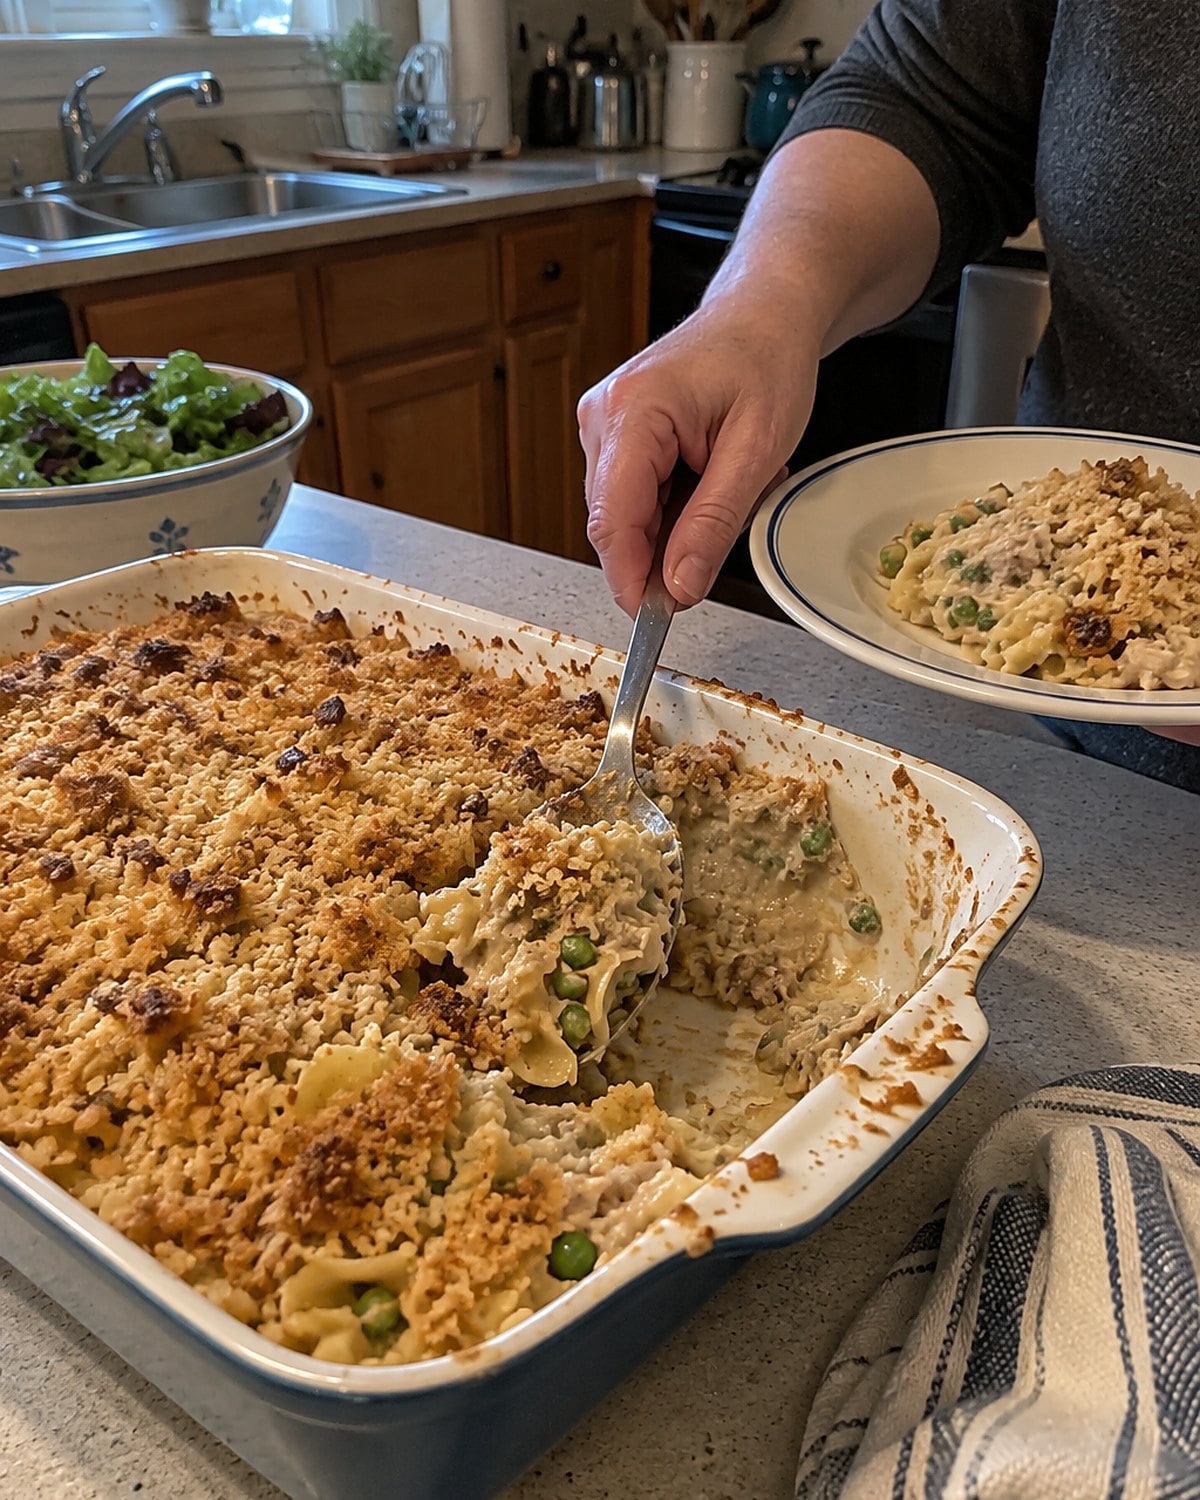
The box of noodles went into boiling water. Then the phone rang, and by the time the casserole came out, each noodle had cooked twice. A soft center under a dry breadcrumb lid was the result.
Pull the noodles while they still have a firm center. They’ll finish in the sauce. Drain the tuna well, too. Oil-packed tuna brings richness; water-packed tuna needs a little help from butter or a fuller sauce.
Either way, taste the mixture before it goes into the baking dish. It should taste seasoned already, since the oven won’t add salt. If the sauce barely coats the noodles now, add more before baking. The pasta will take some up.
Save the crumbs for the top. Toss them with melted butter so they brown instead of turning dusty. A shallow baking dish gives you more crisp surface and less of the heavy middle that made this dinner feel endless.
Make a smaller dish if there are two of you. The recipe does not require the pan you once used to feed a full house. A fork dragged through the center should meet sauce, noodles, and a little resistance, not a solid block.
Try it: Instant Pot Tuna Casserole
#22 Liver and Onions in a Hot Skillet
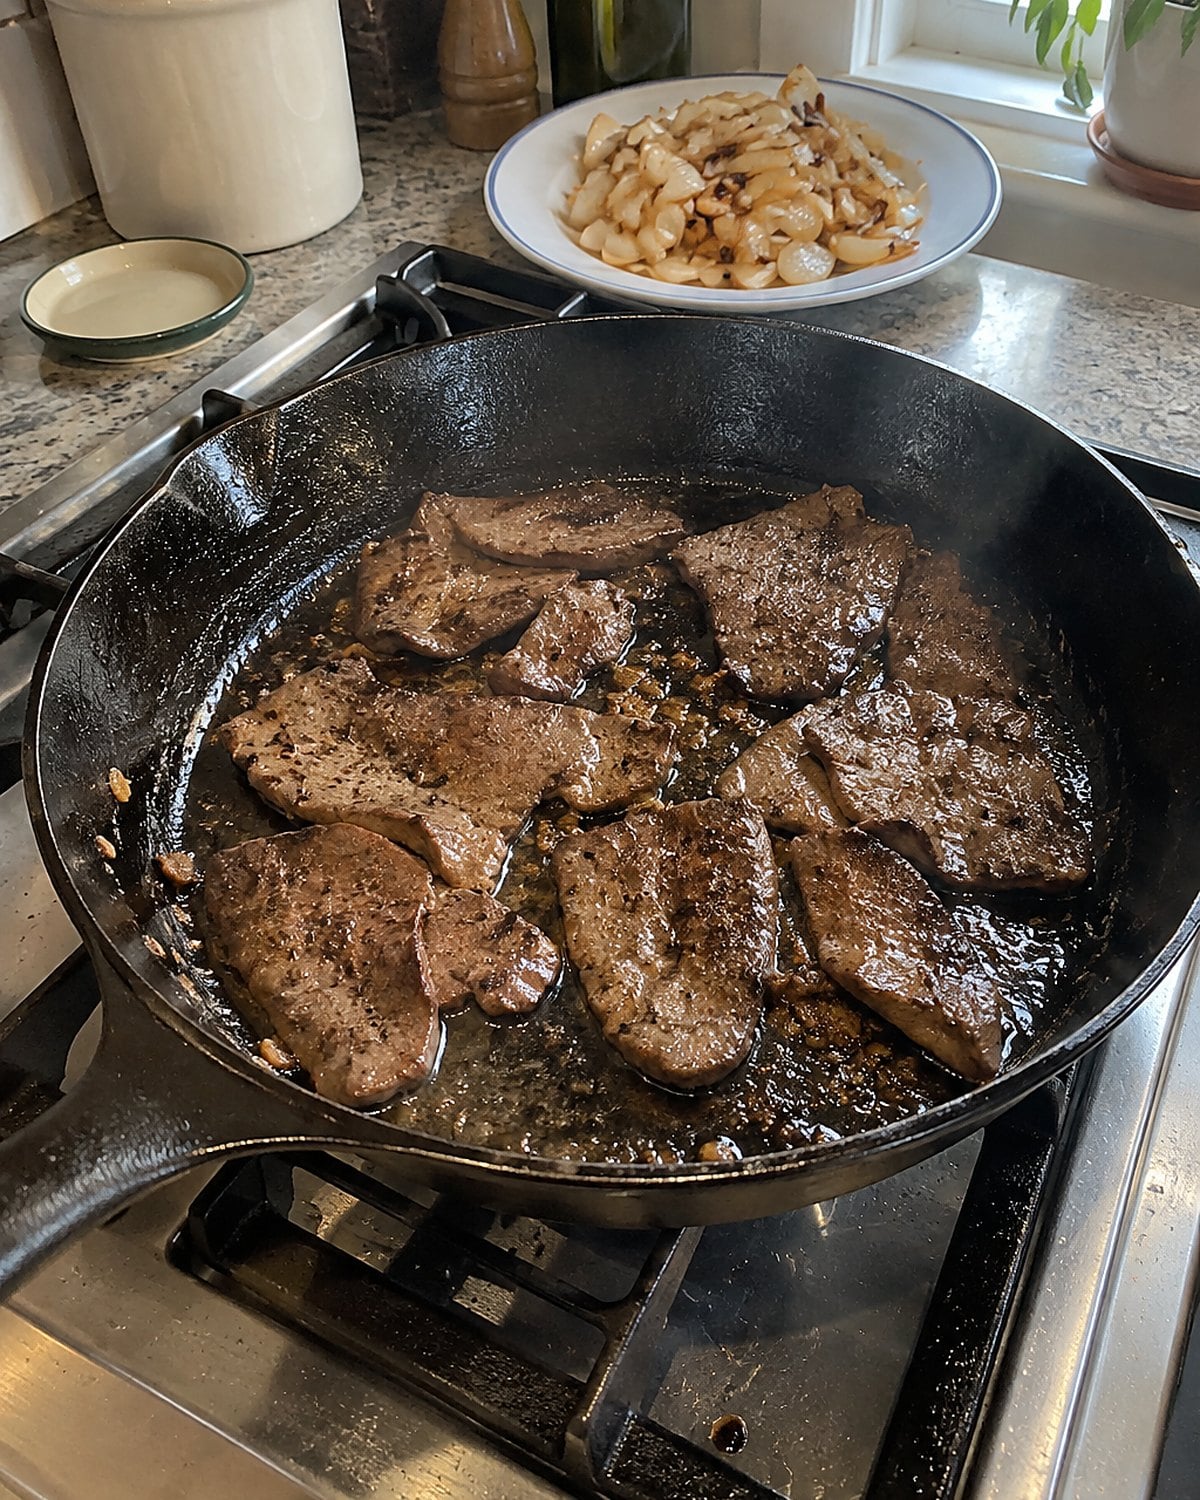
The smell reached the hallway before dinner did. Liver stayed in the pan while the onions caught up, and the whole plate tasted like a punishment.
Give the onions their own time first. Cook them in butter or oil until browned and sweet, then move them to a plate. Dry thin pieces of liver with a towel and put them in a hot skillet without crowding. Turn them once they’ve browned; don’t ask the liver to wait for the onions.
If you’re buying it fresh, ask for thin slices rather than taking a thick package home and fighting it with a knife. Put the onions back only when the liver is nearly done. A little sharp mustard on the side cuts the richness.
A crowded skillet steams the surface, which brings back the gray color you remember. Cook in batches if your pan is small. If liver has always tasted too strong to you, buy a small portion for this trial. You’ll know at the stove whether this memory deserves another turn.
#21 Creamed Spinach Without a Floury Aftertaste
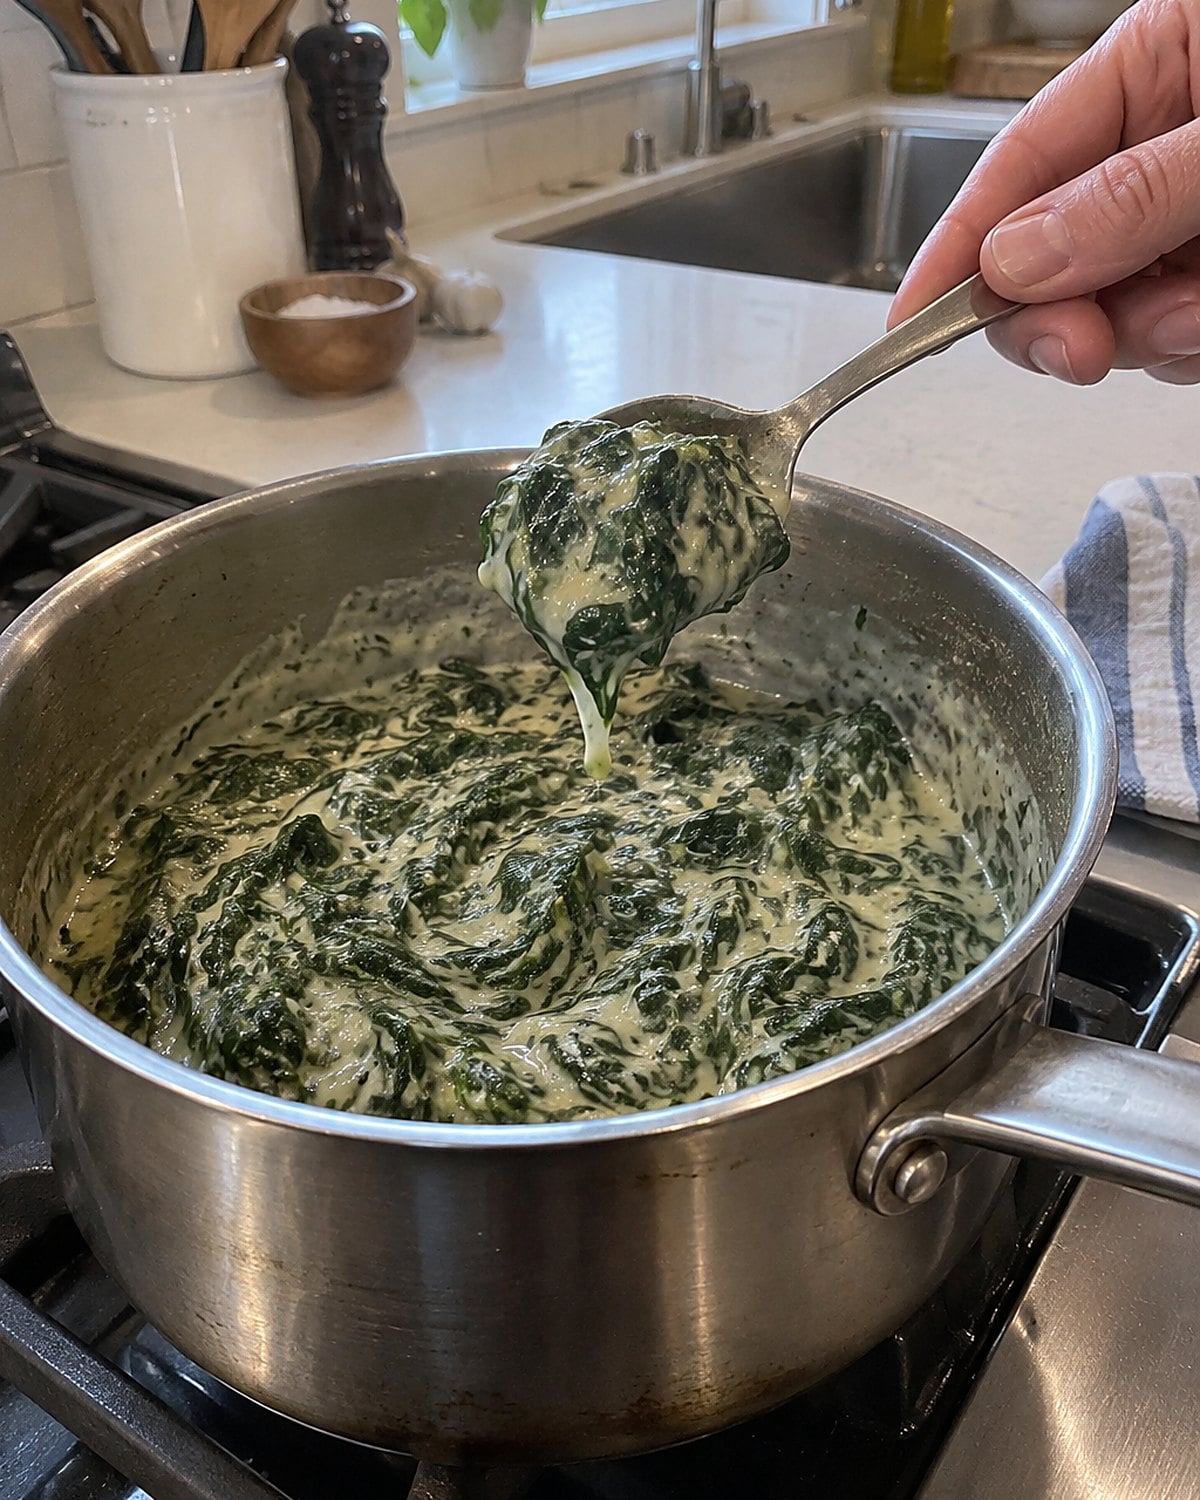
Why did creamed spinach taste like wallpaper paste beside a good steak? The greens were seldom at fault. The sauce went into the pan before the flour had cooked, and the spinach brought along more water than anyone planned.
Start with butter and flour, using about 1 tablespoon of each for 1 cup of milk. Stir the butter and flour over medium heat until the raw flour smell leaves. Then whisk in the milk a little at a time.
Once the sauce coats the back of a spoon, add spinach that has been cooked and squeezed dry. Frozen chopped spinach works here, provided you press out the water. Squeeze it over the sink first, then press it again in a towel. The second press keeps your sauce from turning thin.
Nutmeg needs a light hand. Salt and a squeeze of lemon do the work you actually want: they keep the cream from flattening the spinach. If the pan looks stiff, loosen it with a spoonful of milk rather than another pat of butter.
The first taste should be spinach, followed by cream. If you get flour first, leave the pan on the heat and stir a little longer before serving.
#20 Baked Apples for a Smaller Table
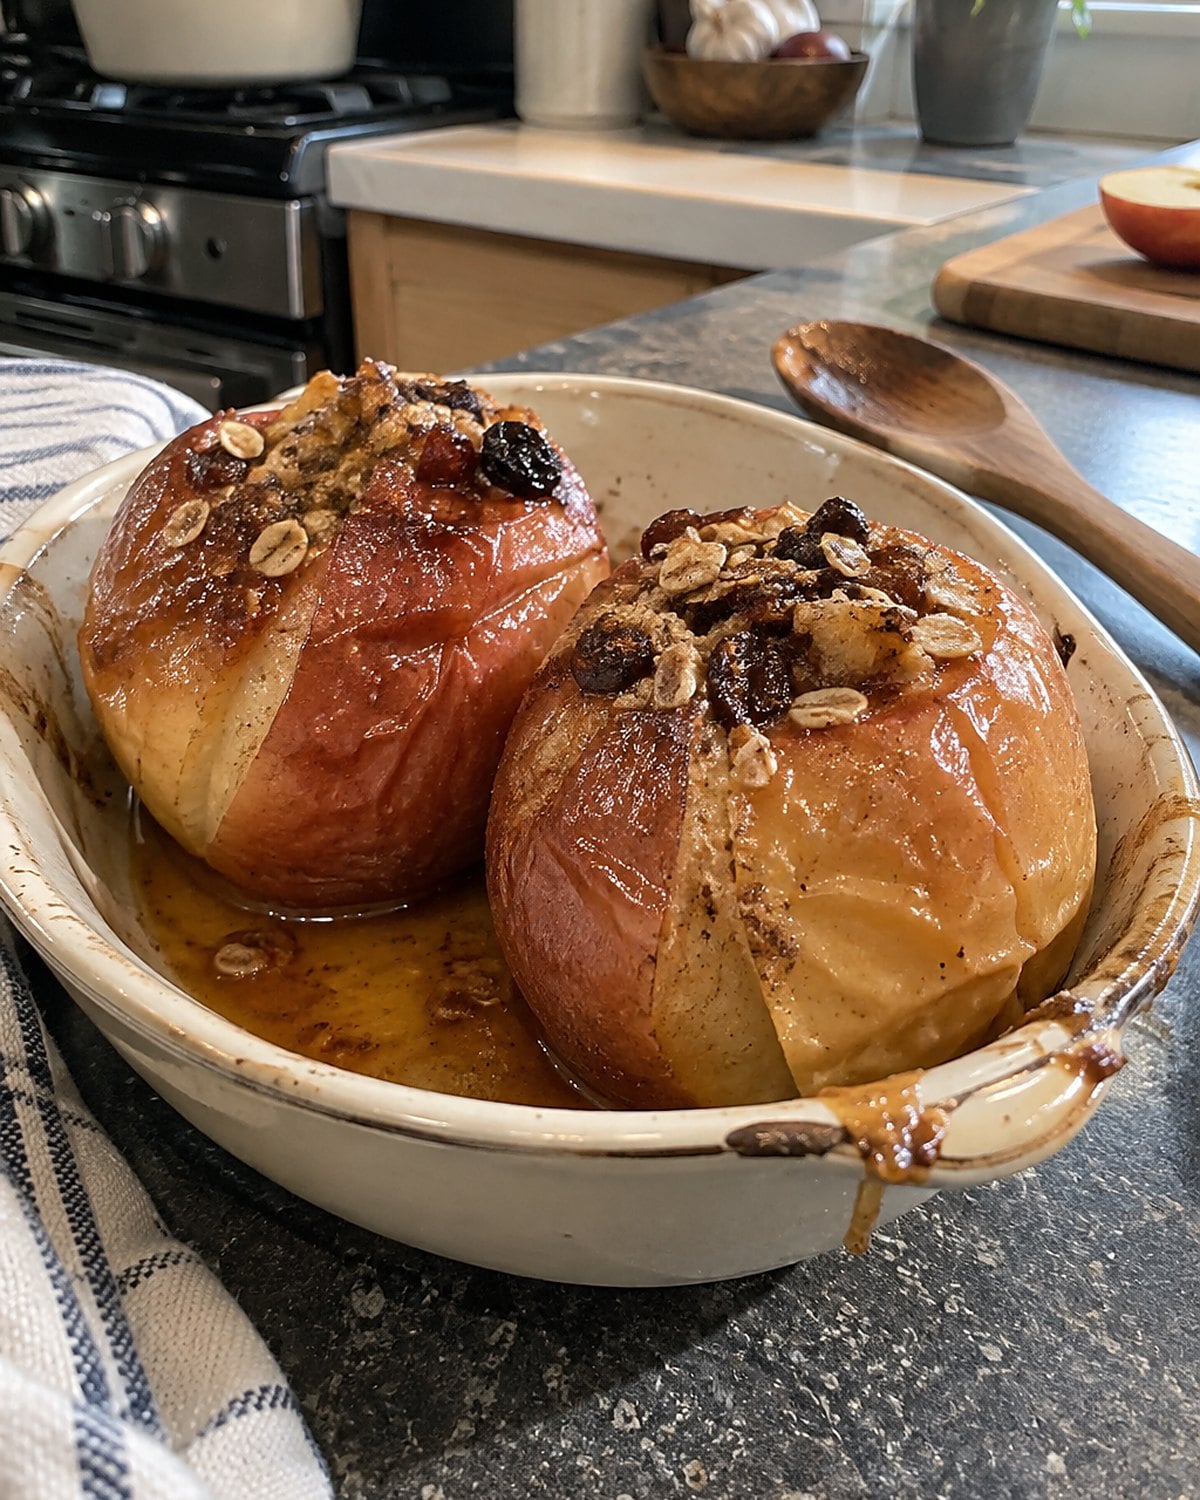
There was a time when baked apples arrived after a large roast, too full of sugar and too tired to hold their shape. They’re better as a small dessert on a night when you want the oven to do most of the work.
Choose apples that feel firm in your hand. Core them without cutting through the bottom, then tuck a little butter, brown sugar, and cinnamon into the hollow. Set them in a baking dish with a splash of water. That water keeps the juices from burning on the dish.
Roast until a knife tip slips into the flesh but the apple still stands. Set the dish on the counter before you make coffee; the syrup thickens as it cools. One apple each is plenty, especially with a spoonful of plain yogurt beside it.
If your apples split, use the spoon instead of trying to lift them whole. Next time, check earlier with the knife tip. You’re after tender fruit, not applesauce in its skin.
#19 Scalloped Potatoes With Sauce Between Layers
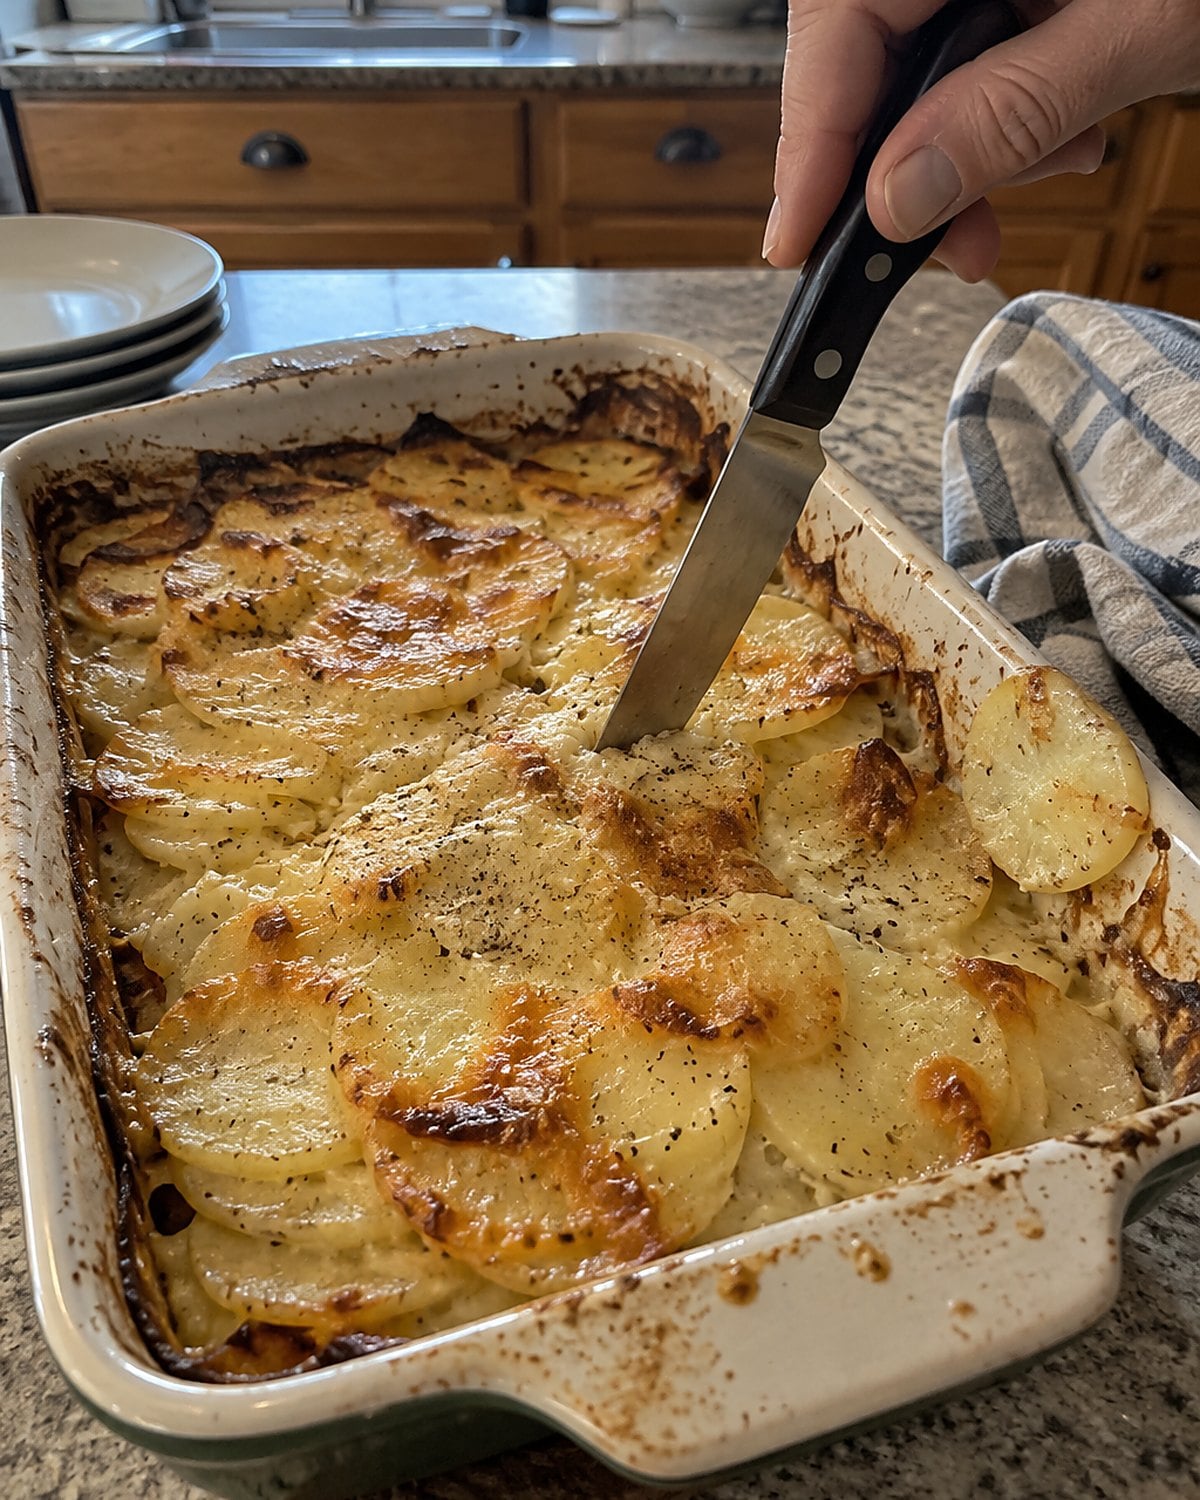
The top browned, the serving spoon went in, and the potatoes underneath were still firm. Scalloped potatoes earned plenty of complaints that way. Thick slices and a shallow pour of milk left the center waiting for heat.
Slice the potatoes thinly and keep the slices close in thickness. A mandoline helps, but your good knife does the job. Warm the milk or cream before pouring it over the layers. Press the potatoes down so liquid reaches between them.
Cover the dish for the first part of baking, then uncover it to brown the top. A knife tells you more than the clock. Push it through the middle, not the browned edge. It should meet no hard layer.
You don’t need cheese for scalloped potatoes to feel rich. Starch from the potatoes thickens the liquid as they cook. Taste that liquid for salt before it goes into the oven.
Once the potatoes are done, let the dish stand while you set the table. The sauce will settle onto each slice instead of running across the plate. If the top browns before the middle softens, cover it again and keep baking.
Try it: Instant Pot Scalloped Potatoes & Leeks (Au Gratin)
#18 Waldorf Salad Without the Sweet Dressing
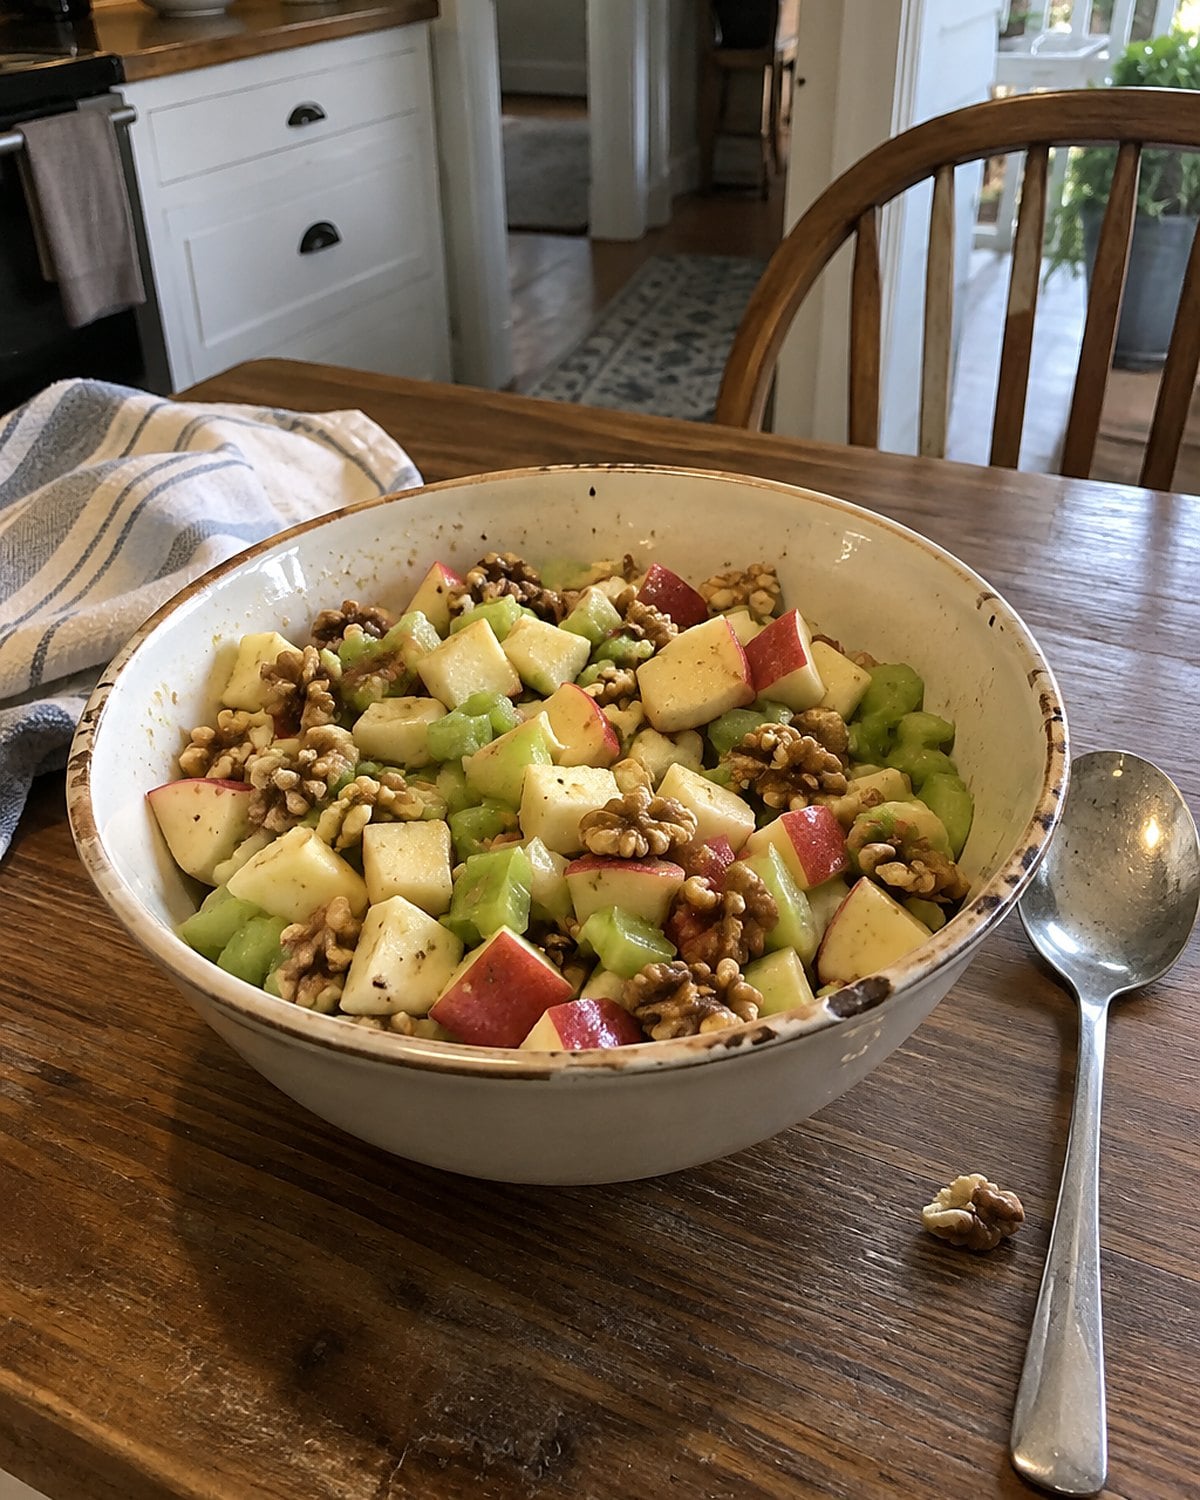
At some holiday tables, Waldorf salad crossed over from lunch into dessert. Apples, celery, and walnuts disappeared under sweet dressing, sometimes with extra fruit added for good measure.
Bring back the crunch. Start with 2 apples, 2 celery stalks, and a handful of walnuts for a small bowl. Cut the apple just before mixing so its edges stay fresh. Slice the celery thinly across the stalk, and toast the walnuts until they smell nutty.
Dress the bowl with a little mayonnaise loosened with lemon juice. Add salt before you decide it needs anything sweet. The dressing should cling to the apple, not collect at the bottom of your bowl.
The useful test is a bite containing all three: apple, celery, walnut. Each should register. If all you taste is dressing, fold in more apple and celery rather than making a larger bowl of the same problem.
It belongs beside chicken or a sandwich. It doesn’t need to impersonate the dessert you were going to serve anyway.
#17 Quiche Lorraine With a Dry Bottom Crust
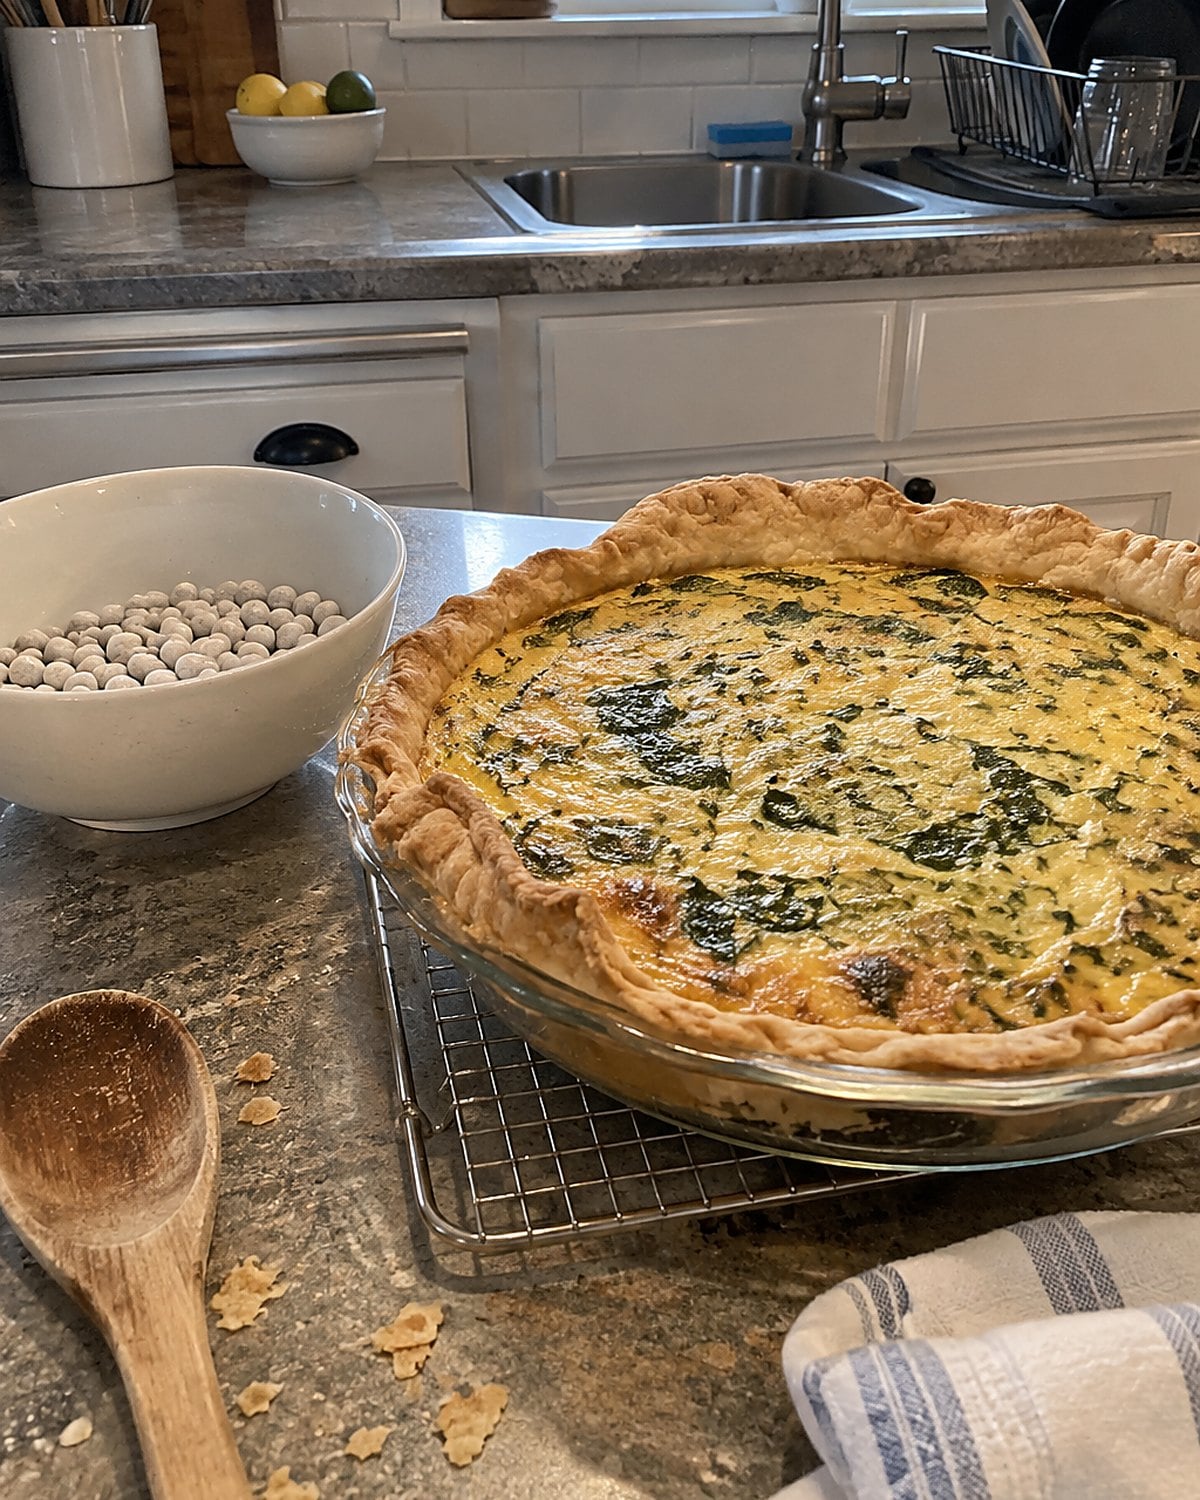
A quiche looked lovely from above, then lifted out with a pale, damp bottom. The filling got blamed, though the crust never had a chance to cook before the custard reached it.
Set the dough in its pan and chill it. Line it with parchment, add pie weights or dry beans, and bake until the sides hold their shape. Remove the weights and give the bottom more oven time. That second stretch matters. You want the crust to look dry before any egg goes in.
Cook the bacon and drain it. Then add it with the cheese and custard. Pour slowly, so the filling settles around the bacon instead of floating it to one side.
Pull the quiche when the center still has a slight wobble. It finishes setting out of the oven. Cut too soon, and even a well-baked crust sits under loose custard. Give yourself enough time to put a salad together while it rests. Lunch will still be warm.
If your crust shrinks during its first bake, press the dough firmly into the corner of the pan next time. That corner needs support, not a stretch of dough pulled thin over the rim.
#16 Stuffed Tomatoes That Hold Their Shape
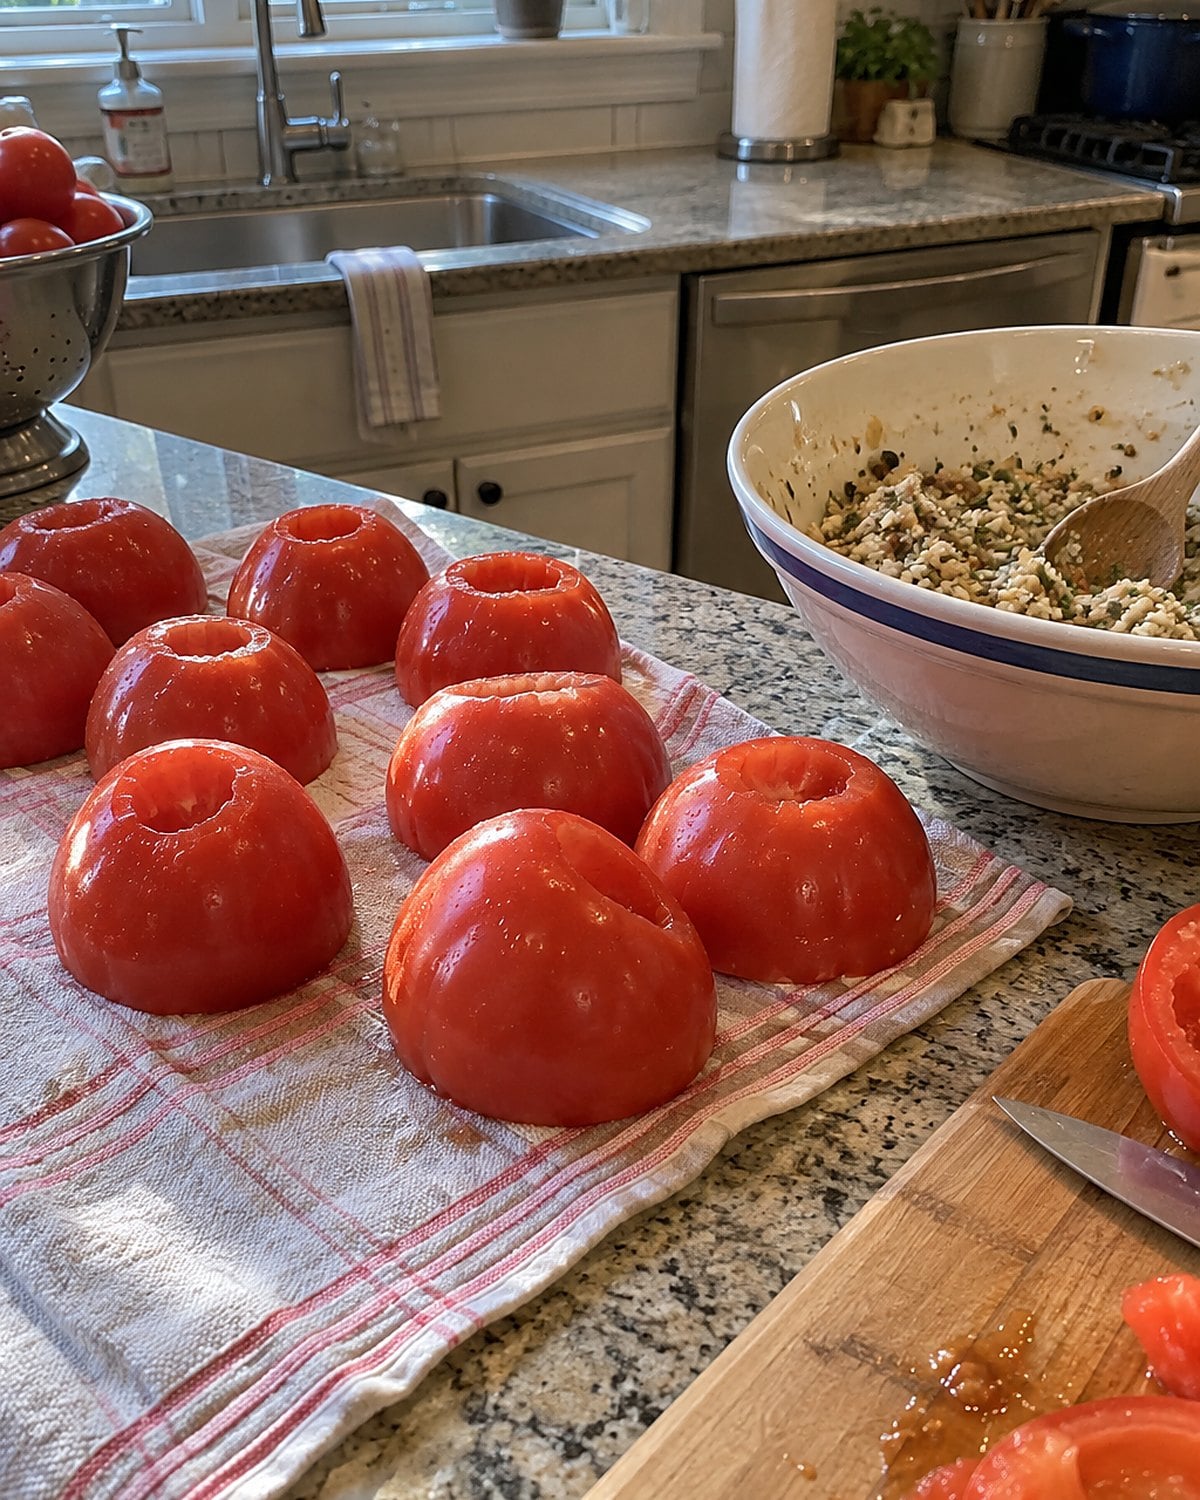
Stuffed tomatoes look promising on the counter. In the oven, their own juice turns the filling wet and the shells collapse.
Start with firm tomatoes. Scoop out the seeds and watery center, then turn the shells cut side down on a towel while you make the filling. Breadcrumbs, cooked rice, or both belong inside, along with herbs and something savory.
Don’t pack the shells hard; the filling needs room to heat through. A spoonful of grated cheese on top will brown, but a thick cap traps steam against the stuffing. Keep the top loose enough for the crumbs to toast.
Set the tomatoes snugly in a baking dish so they support each other. Take them out when the tops brown and the sides begin to soften. If you wait for the skin to look roasted, the stuffing will already be swimming.
Spoon one onto your plate and check the bottom. It should leave a little juice, not a puddle. When you cut in, the filling should stay inside the tomato instead of sliding across the plate.
#15 Salisbury Steak With Real Pan Gravy
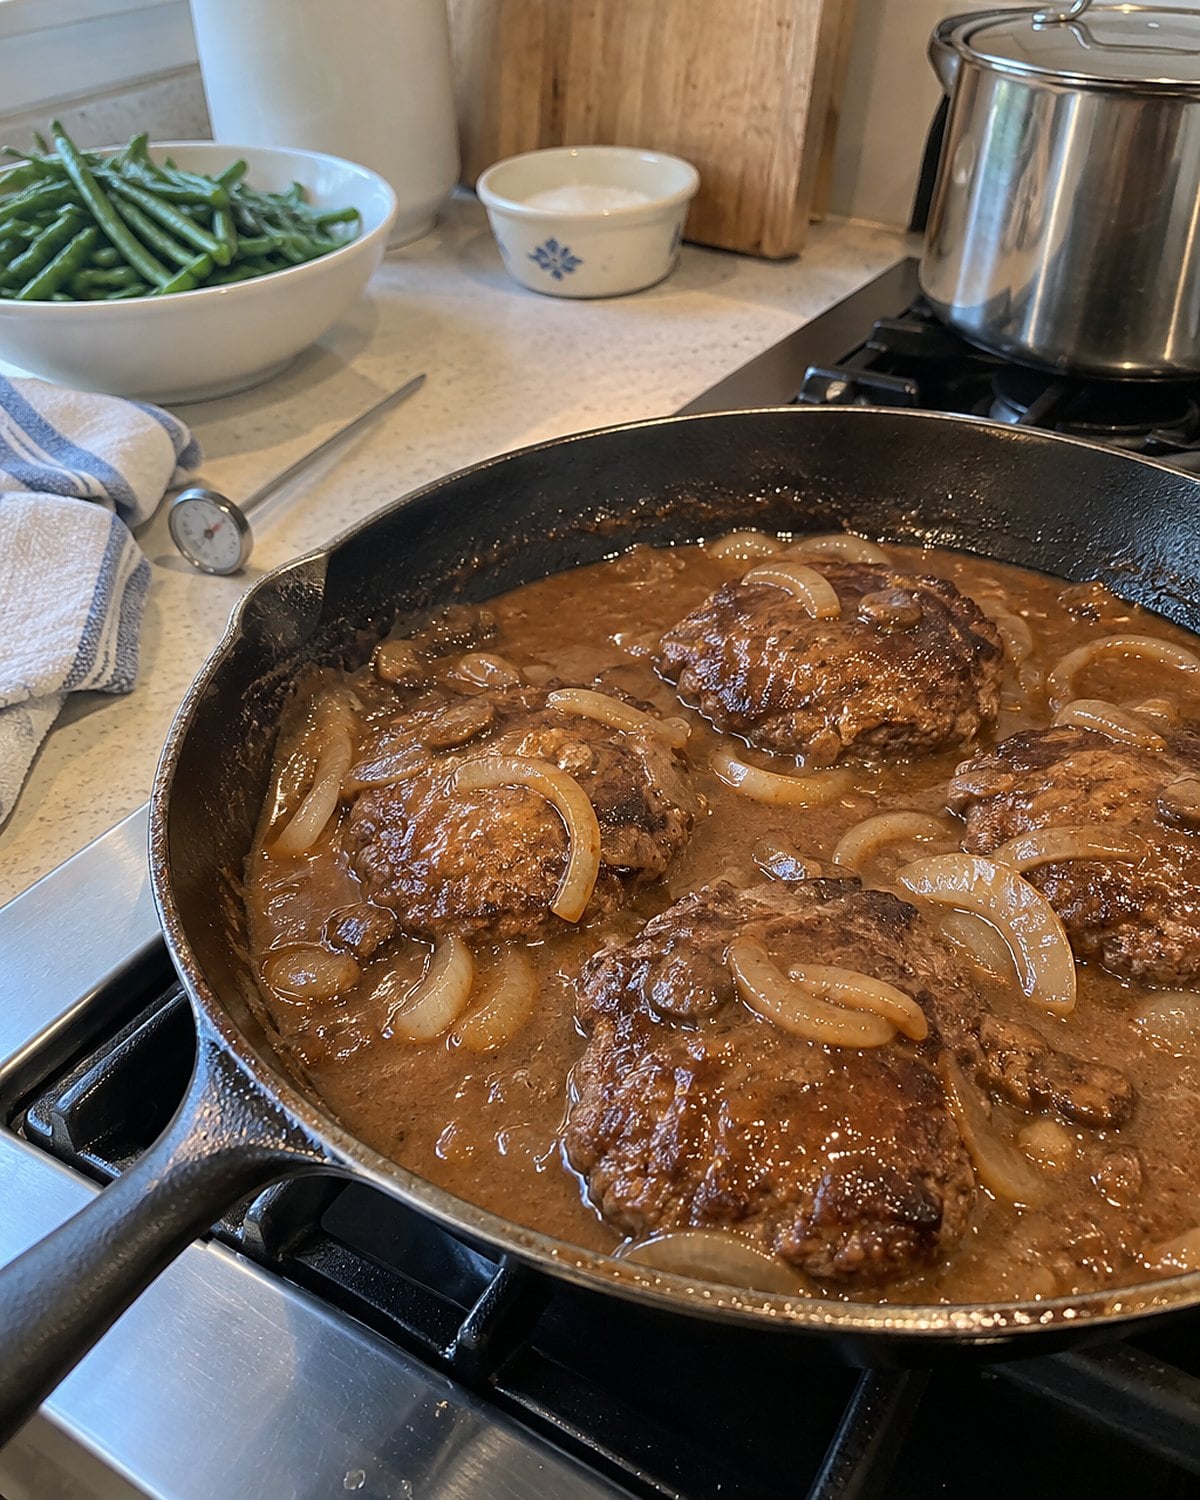
The old freezer-tray version had a particular texture: a tight patty in gravy too thick to run. Made in your own skillet, Salisbury steak is a good reason to keep ground beef in the freezer.
Mix the beef with seasoning and enough breadcrumbs and egg to hold the patties together. Use a light hand. Pressing and kneading makes the meat dense. Brown the patties in a hot skillet, then move them to a plate. They aren’t done yet; they’re making the browned bits for the gravy.
Cook sliced onions or mushrooms in that same pan. Add broth and scrape the bottom. A little flour, cooked briefly with the vegetables before the broth goes in, thickens the gravy without lumps.
Return the patties and cook until a thermometer reads 160°F in the center, as the USDA advises for ground beef. Put the probe into the thickest patty from the side, away from the hot skillet. The USDA FSIS safe temperature chart is worth keeping handy when you change the meat.
Taste the gravy before it reaches the plate. A dash of Worcestershire or a little mustard gives it depth. If the sauce tastes only of salt, add a splash of water and let it simmer. Mashed potatoes will know what to do with the rest.
#14 Three-Bean Salad Without the Syrup
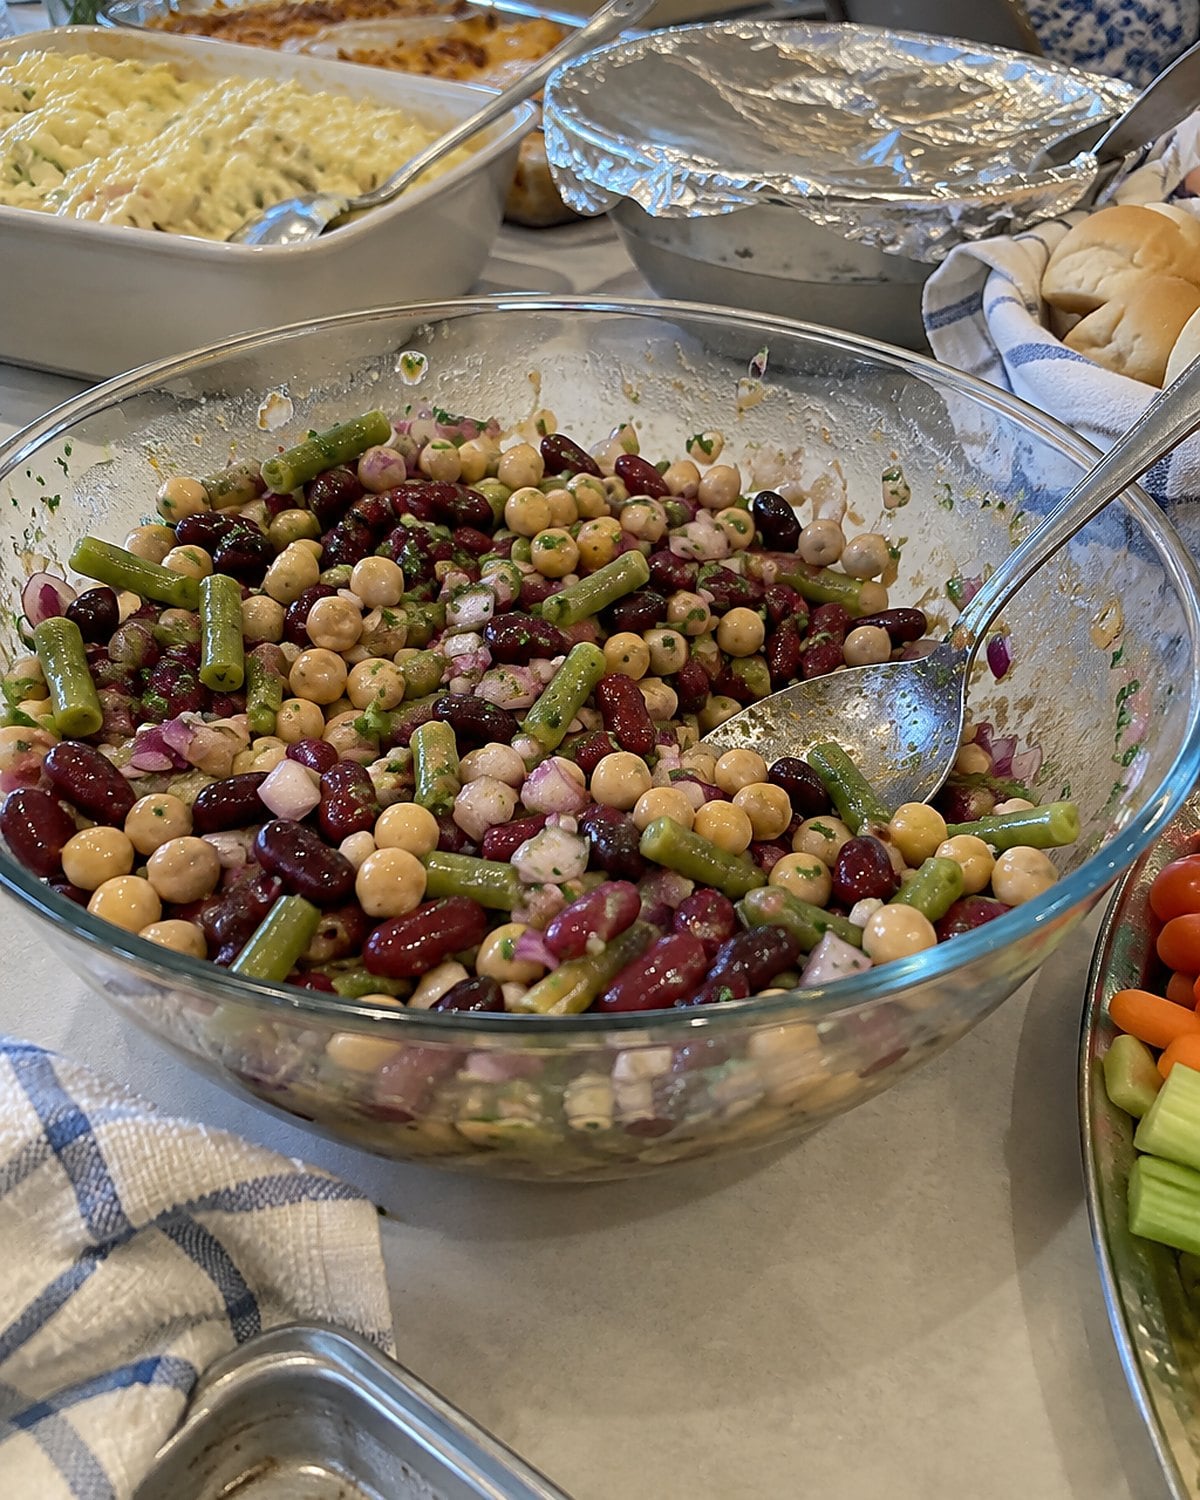
The bowl stood on the church hall table, each bean shining under a thick, sweet dressing. The idea was sound. Beans hold their shape, travel well, and welcome a sharp vinaigrette. The sugar was doing too much talking.
Rinse and drain canned beans until they stop dripping. Slice the onion thin, then toss everything with vinegar, oil, salt, and a little sugar. Taste a bean after the salad has sat in the fridge, since it takes time to absorb the dressing.
If you use fresh green beans, cook them first and cool them before mixing. They should still offer a little resistance when you bite one. That texture gives the bowl something the canned beans alone cannot.
For a potluck, follow the FDA’s two-hour rule for perishables: keep the salad chilled until serving, and don’t leave it out longer than 2 hours. At home, make a small bowl. Save the giant serving dish for the hall.
#13 Swiss Steak With Tomato Pan Sauce
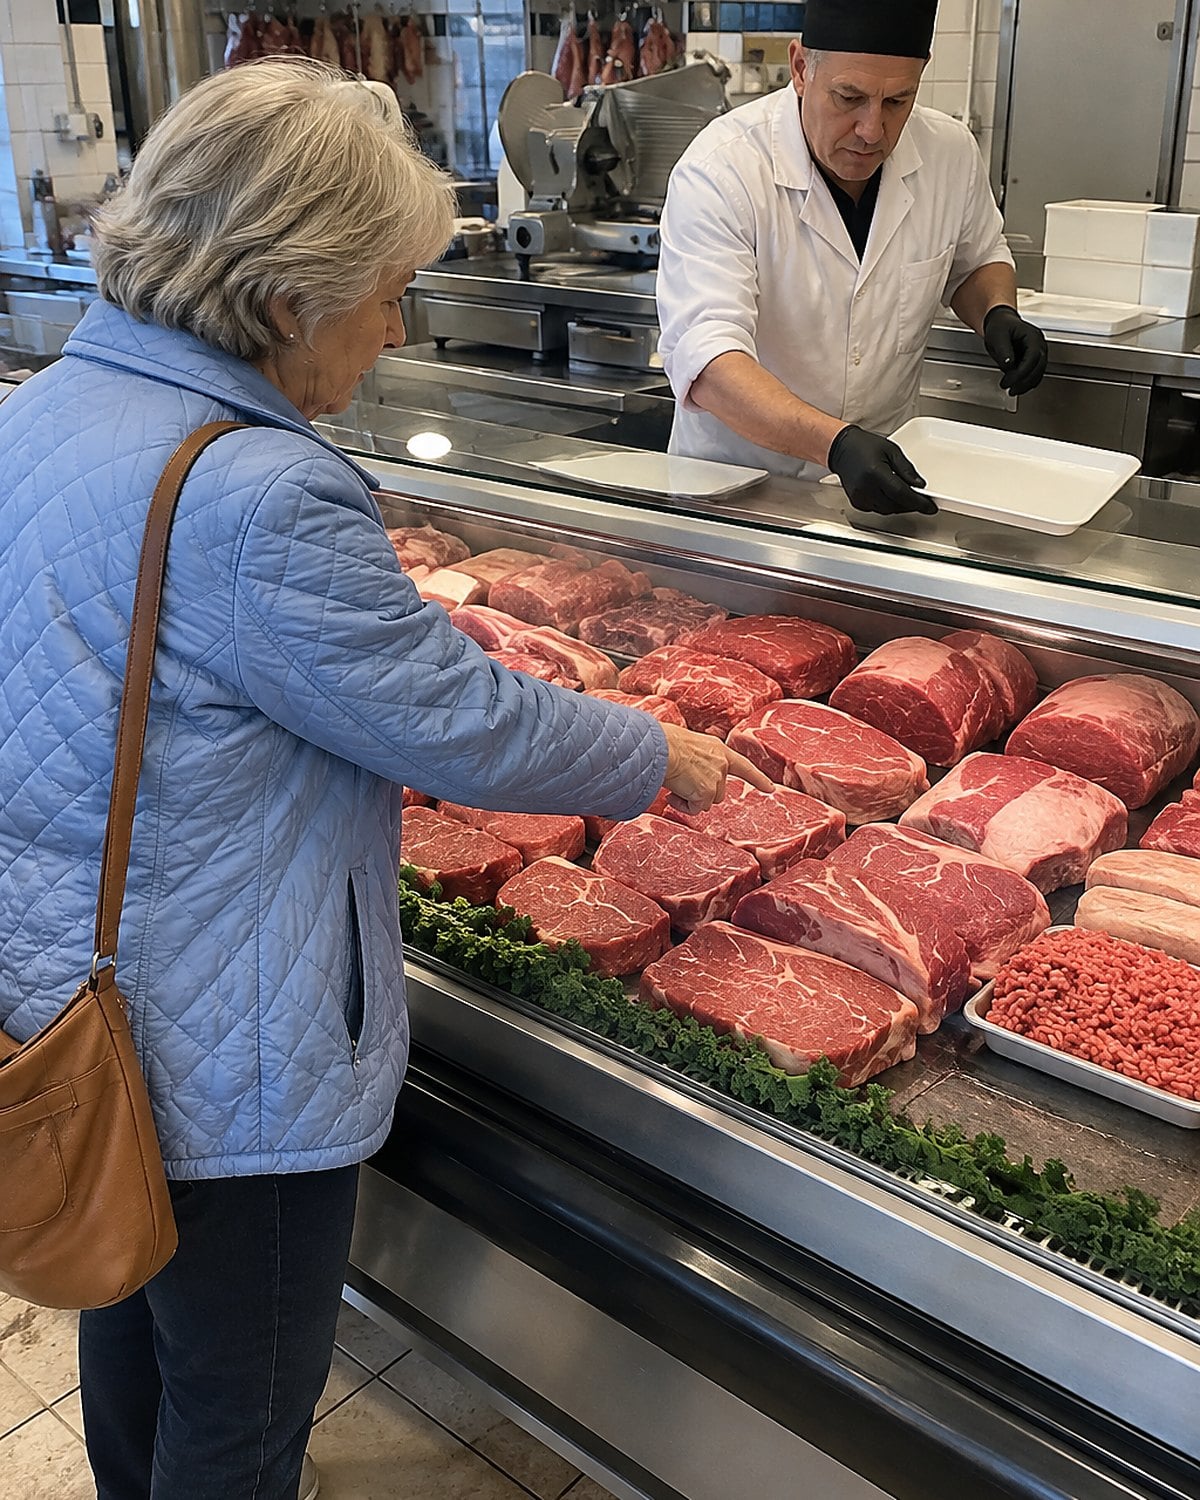
At the meat counter, say, “I’m making Swiss steak. Do you have beef round I can braise?” That gives the butcher a better direction than asking for a tender steak.
Swiss steak gets its character from beef round that has been pounded or tenderized, then cooked in tomato sauce. If you bring home a thick piece, pound it to an even thickness before browning. That step breaks up the firm texture you remember struggling through with a knife.
Brown the beef, then cook onion and tomato in the same pan. Scrape up the browned bits before adding liquid. Keep the sauce at a low simmer under a lid until the beef yields to a fork. A hard boil reduces the tomato before the meat is ready.
Now give the sauce its own attention. Move the tender beef to a plate and simmer the tomato mixture uncovered if it looks thin. Taste it for salt and a little vinegar. You want sauce that clings to the meat rather than flooding the mashed potatoes.
That last uncovered stretch is what separates this dish from pot roast. The beef is done, but your tomato sauce still gets a turn at the stove.
Try it: Instant Pot Swiss Steak
#12 Corn Pudding With a Soft Center
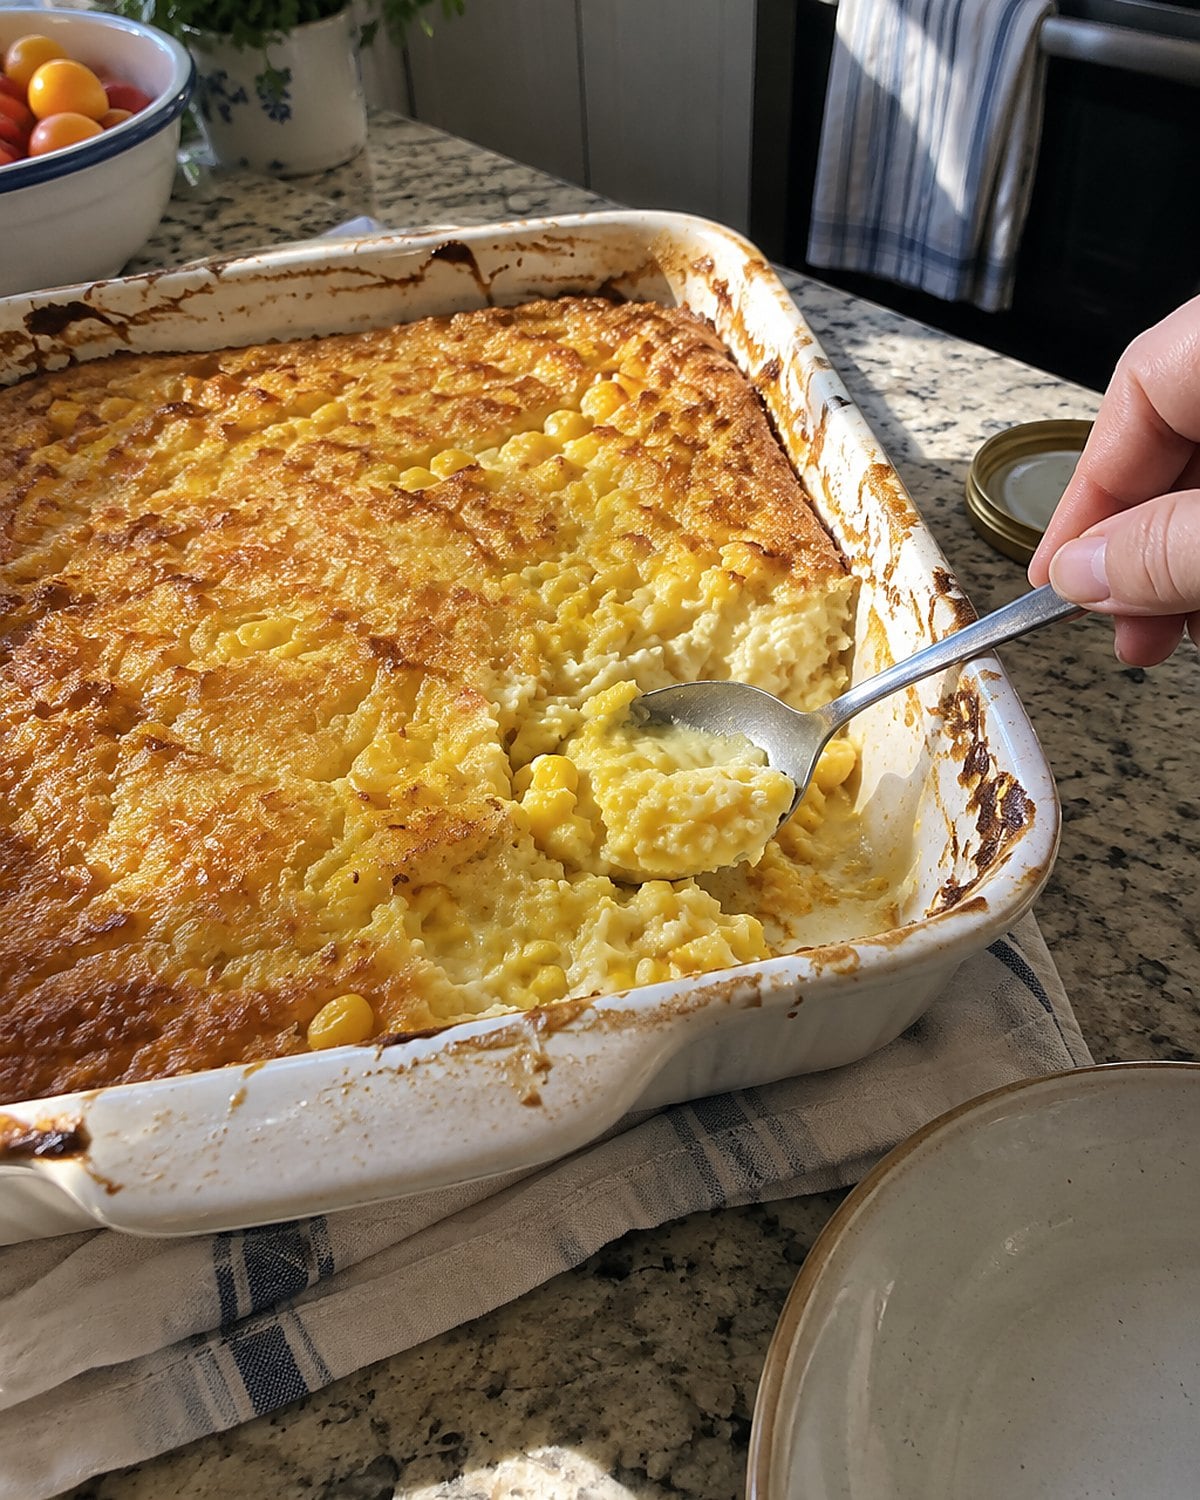
Corn pudding suffered from two opposite instructions in old cookbooks: bake it until set, then bake it longer to make sure. That last stretch took it from tender to rubbery.
Mix the custard thoroughly before adding the corn. Scrape your bowl’s bottom so no pocket of unmixed egg remains. Bake in a dish that gives the pudding some depth; a thin layer overcooks before you notice it.
Look for edges that hold and a center that moves as one soft piece when you nudge the dish. Let it rest before scooping. The first serving should hold together without feeling firm all the way through.
Fresh corn has its season, but frozen corn is worth using here. Thaw and drain it first. Press the kernels in a towel if they’ve shed plenty of water. Extra moisture changes the custard before it ever reaches the oven.
The point is the contrast between sweet kernels and a tender custard, not a search for corn before its time. When you taste a spoonful, the corn should still have a distinct bite.
#11 Chicken Divan That Tastes Like Broccoli
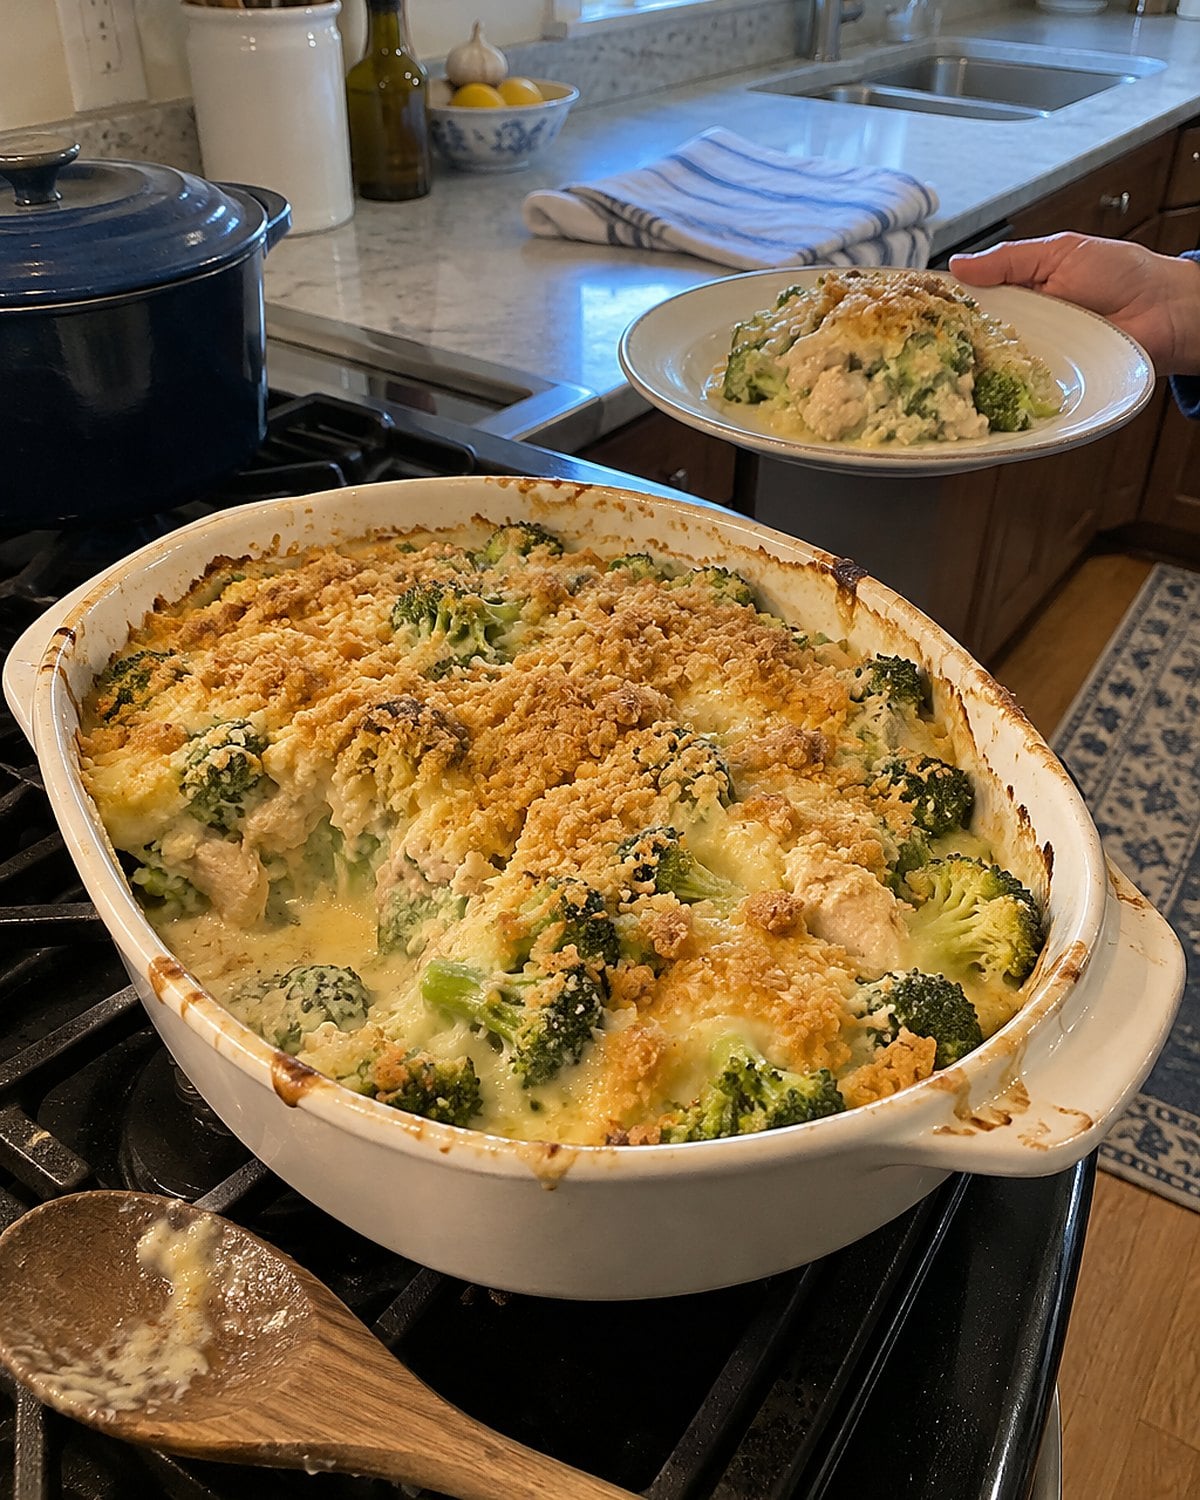
Chicken Divan once arrived as a pale casserole with broccoli buried under sauce. By the time anyone found a floret, it had lost its bite.
Cook the broccoli only until bright green, then drain it well. If steam is still pouring off, let it escape before assembly. Use cooked chicken in generous pieces rather than tiny shreds. You want distinct bites of chicken and broccoli beneath a sauce that coats them, not fills every gap.
A homemade white sauce earns its place here because you control its thickness and salt. Stir in a little cheese, if you like, and taste it before it meets the chicken. A squeeze of lemon at the end brings the broccoli forward.
Spread the casserole in a shallow dish. Bake until the edges bubble and the top browns. Check that the chicken reaches 165°F in the center, following the USDA’s poultry guidance. Put the thermometer into a thick piece, away from the dish.
Serve it with rice if that’s the dinner you remember. This time, the broccoli gets its share of the plate. If you see water around the edges, drain the broccoli more thoroughly before your next batch.
#10 Sloppy Joes With a Toasted Bun
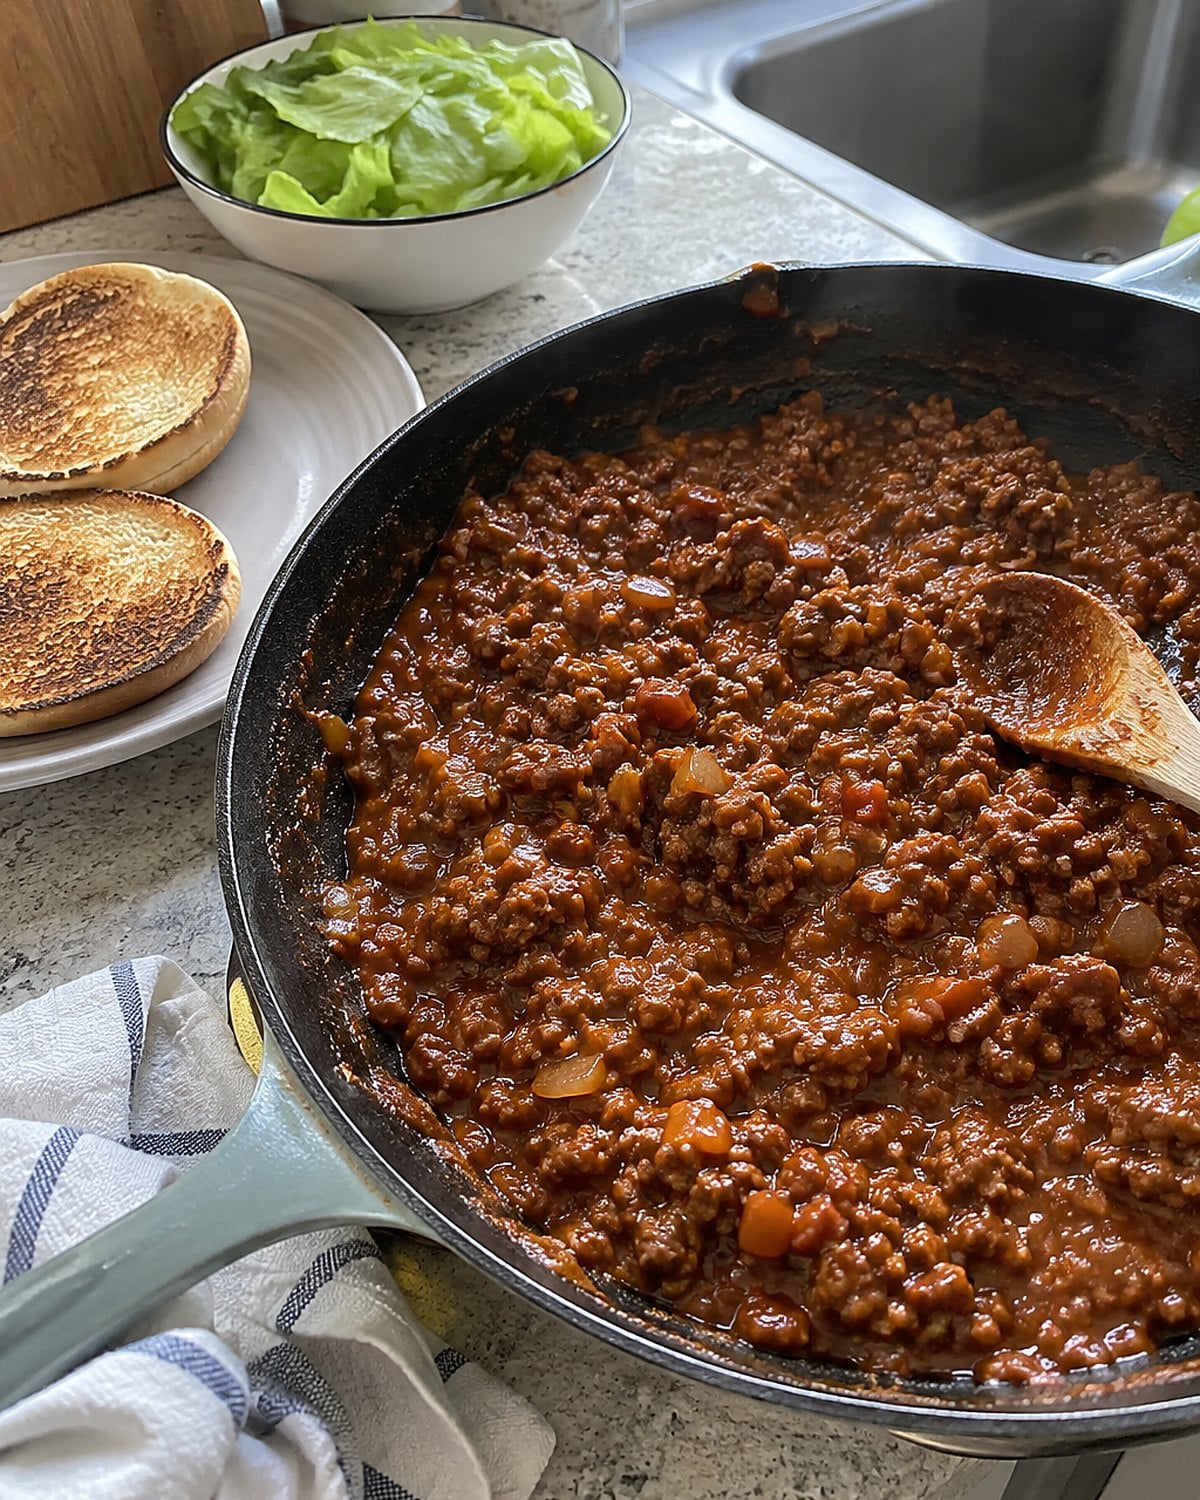
A sloppy Joe ought to require a napkin. It shouldn’t dissolve its own bun before you reach the table.
Brown the ground beef in a wide skillet so the water cooks off and the meat gets some color. Drain excess fat, then add onion and the tomato-based sauce. Simmer until a spoon drawn through the pan leaves a track that closes slowly. That test is better than guessing by the clock.
Taste for vinegar and salt. Brown sugar belongs in the background, if it belongs at all; too much turns the filling into sweet tomato syrup. Check that the ground beef reaches 160°F, the USDA safe temperature, before serving.
Toast the cut sides of the buns in a dry skillet. Set them toasted side up until it’s time to fill them, so steam from the filling doesn’t reach the bread early. Put pickles on the table and let everyone settle that question for themselves.
Try it: Instant Pot Sloppy Joes (Paleo, Gluten-Free)
#9 Stuffed Cabbage Rolls Worth Unwrapping
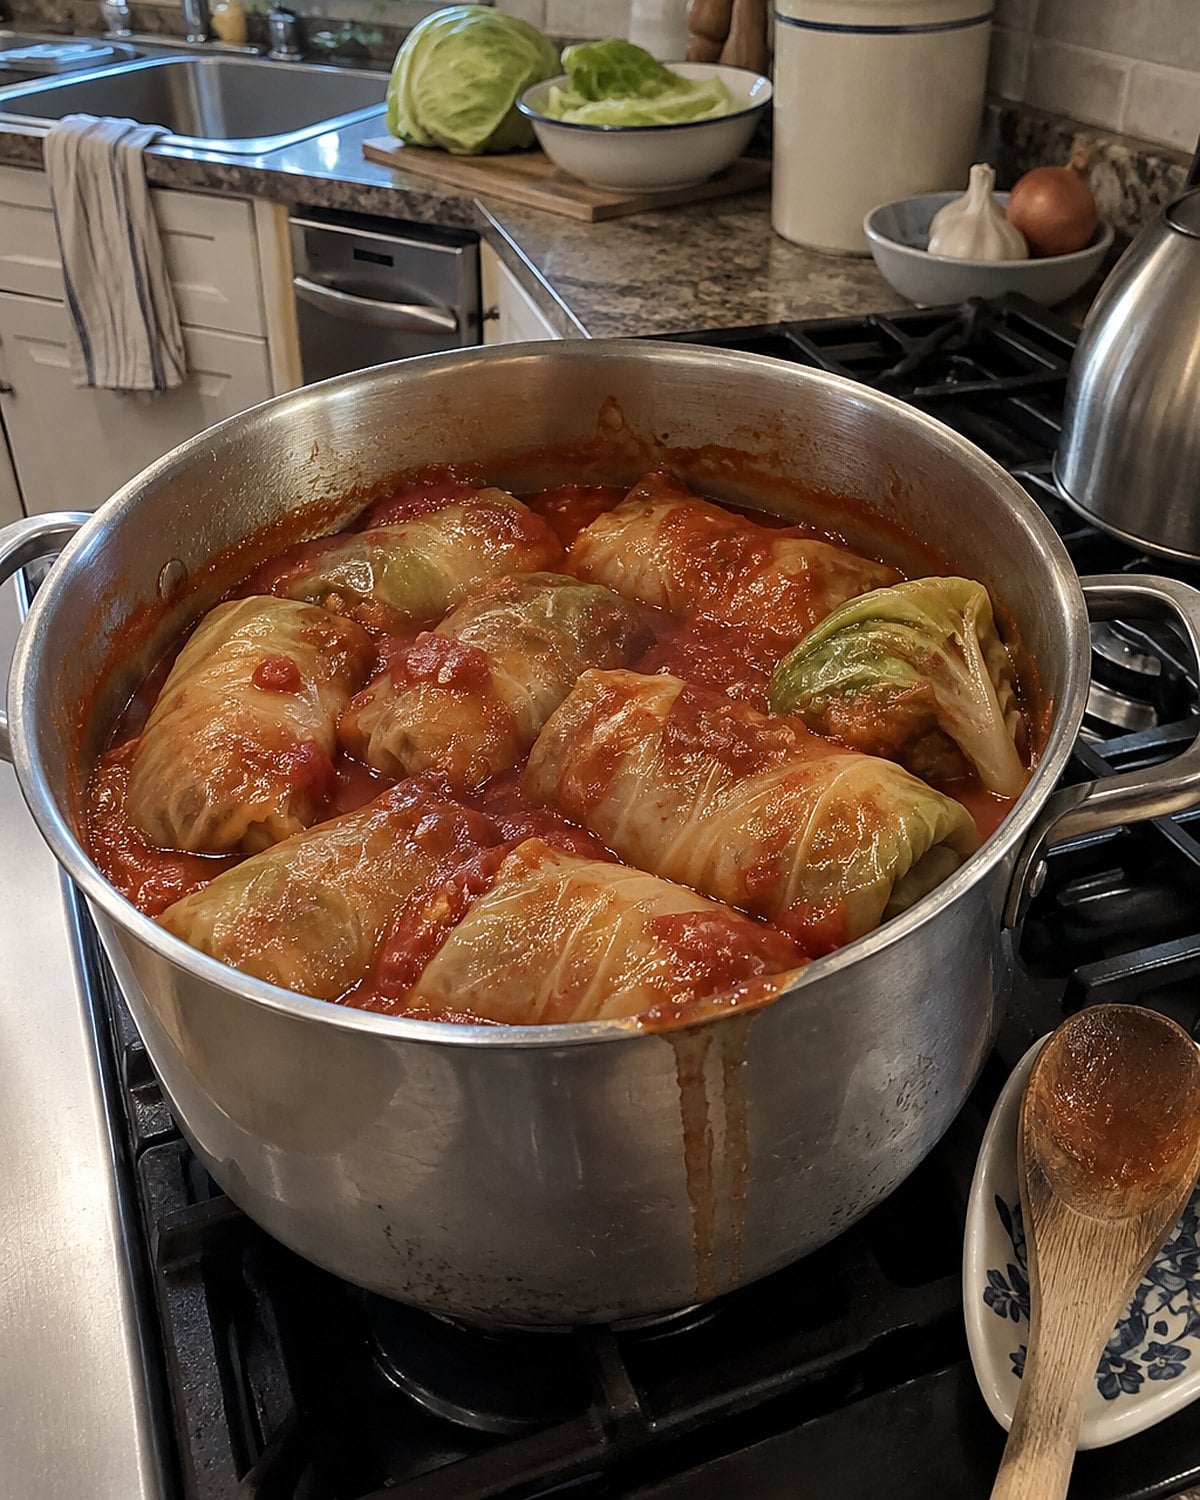
Did you ever take a careful cabbage roll only to find hard rice inside and cabbage that needed a knife? The filling and wrapper were cooking on different schedules.
Soften the cabbage leaves before rolling. Cut down the thick rib on each leaf so it folds without snapping. Use cooked rice in the filling; raw rice pulls moisture from the meat and sauce while it cooks. Roll firmly enough to hold the filling, but leave the bundle some room.
Set the rolls seam side down in a covered pot with tomato sauce. The sauce should reach partway up the rolls. A low simmer keeps the cabbage tender without throwing the rolls around.
For ground-meat filling, check the center with a thermometer. Follow USDA guidance: 160°F for ground beef or pork, 165°F for ground poultry. Push the probe through the cabbage into the thickest part of the filling.
Then taste the cabbage itself. It should yield to the side of a fork. If the filling has reached temperature but the leaf is still firm, keep the pot covered at a low simmer. The wrapper deserves to finish its work.
#8 Split Pea Soup With a Bright Finish
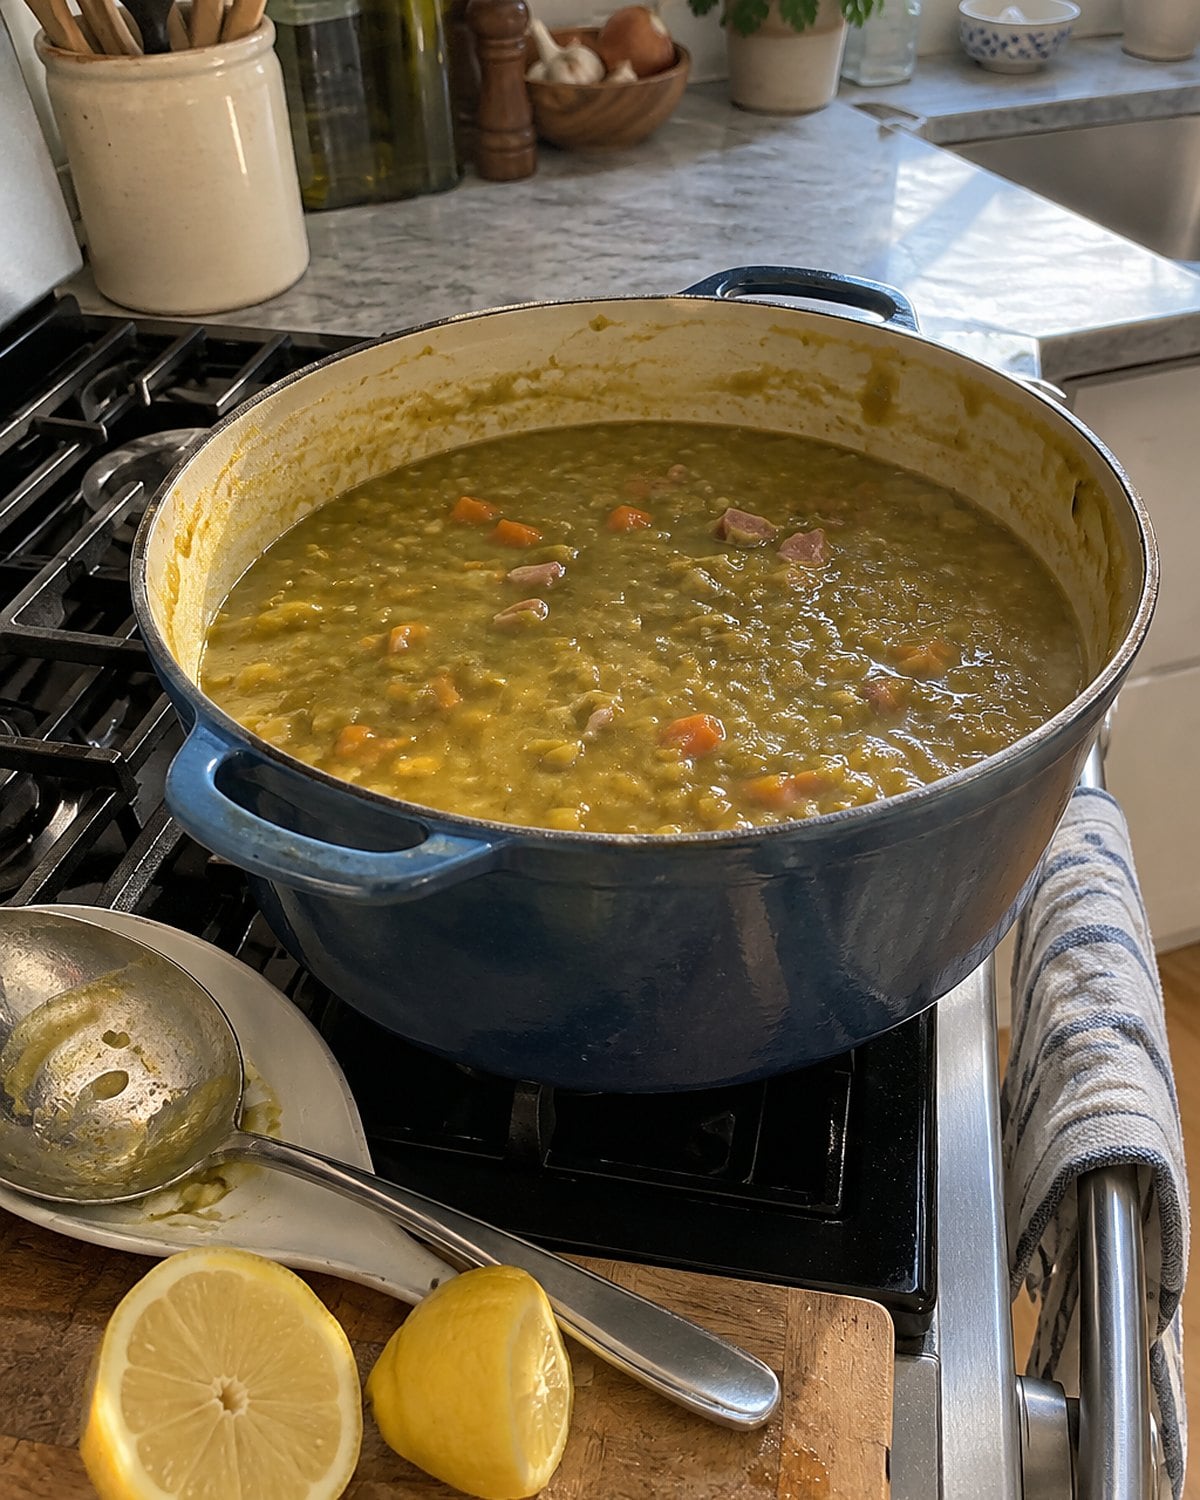
The soup looked done. The peas had fallen apart, the ham had given up its flavor, and still the bowl tasted dull. More salt didn’t solve it.
Start with onion, carrot, and celery in the pot, then add split peas and water or broth. Keep the pot at a steady simmer and stir along the bottom as it thickens. If you use a ham bone, lift it out before serving and pull off any meat you want back in the soup.
Wait until the peas are tender before adding anything acidic. Acid slows their softening. Once they’ve broken down, add a squeeze of lemon or a small splash of vinegar. Taste again. That bright finish clears a path through the smoky, thick soup.
Don’t judge the pot by its thickness while it’s boiling. Soup thickens further as it sits. Add hot water until a spoon moves through without standing upright, then bring it back to a simmer.
If you’ve poured the soup into bowls and it already looks too thick, stir a little hot water into each serving. The last spoonful should be as easy to eat as the first.
#7 Bread Pudding With Custard in Every Corner
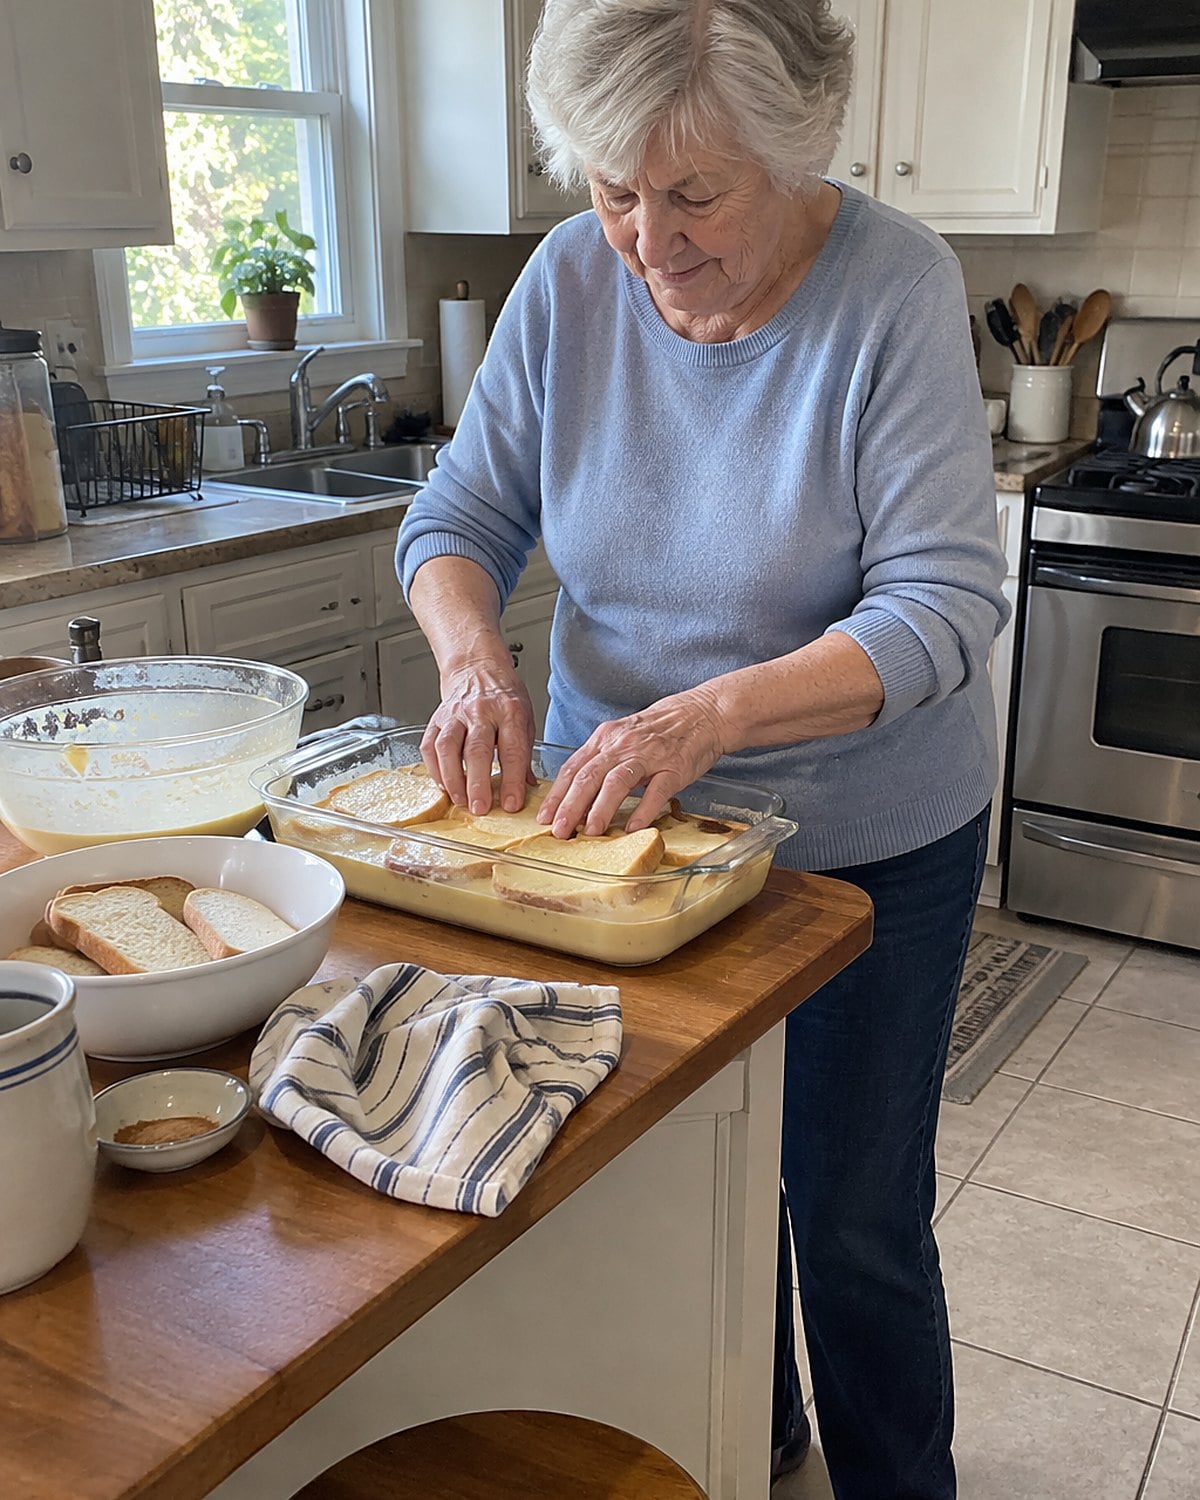
The corners were dry. The middle was wet. Bread pudding got filed under “use up the loaf” and served as though uneven soaking were part of its charm.
Cut the bread into pieces that fit together loosely in the dish. Whisk the milk, eggs, sugar, and salt until no streak of egg remains. Pour it over the bread, then press down with a spoon so the top pieces drink some custard.
Give the dish a pause before baking. Dry bread needs that time. Press the top once more before it goes into the oven; if you find a dry patch, spoon custard from the dish over it.
The loaf matters less than its condition. Bread that has lost its fresh softness absorbs custard without disappearing into paste. Very soft sandwich bread turns the middle gummy.
Bake until the center no longer looks liquid when you part the bread with a spoon. The top should have browned ridges, while the center stays tender. If raisins are unwelcome, leave them out. Orange zest or a little cinnamon brings interest without starting the old argument at the table.
#6 Succotash From the Freezer Drawer
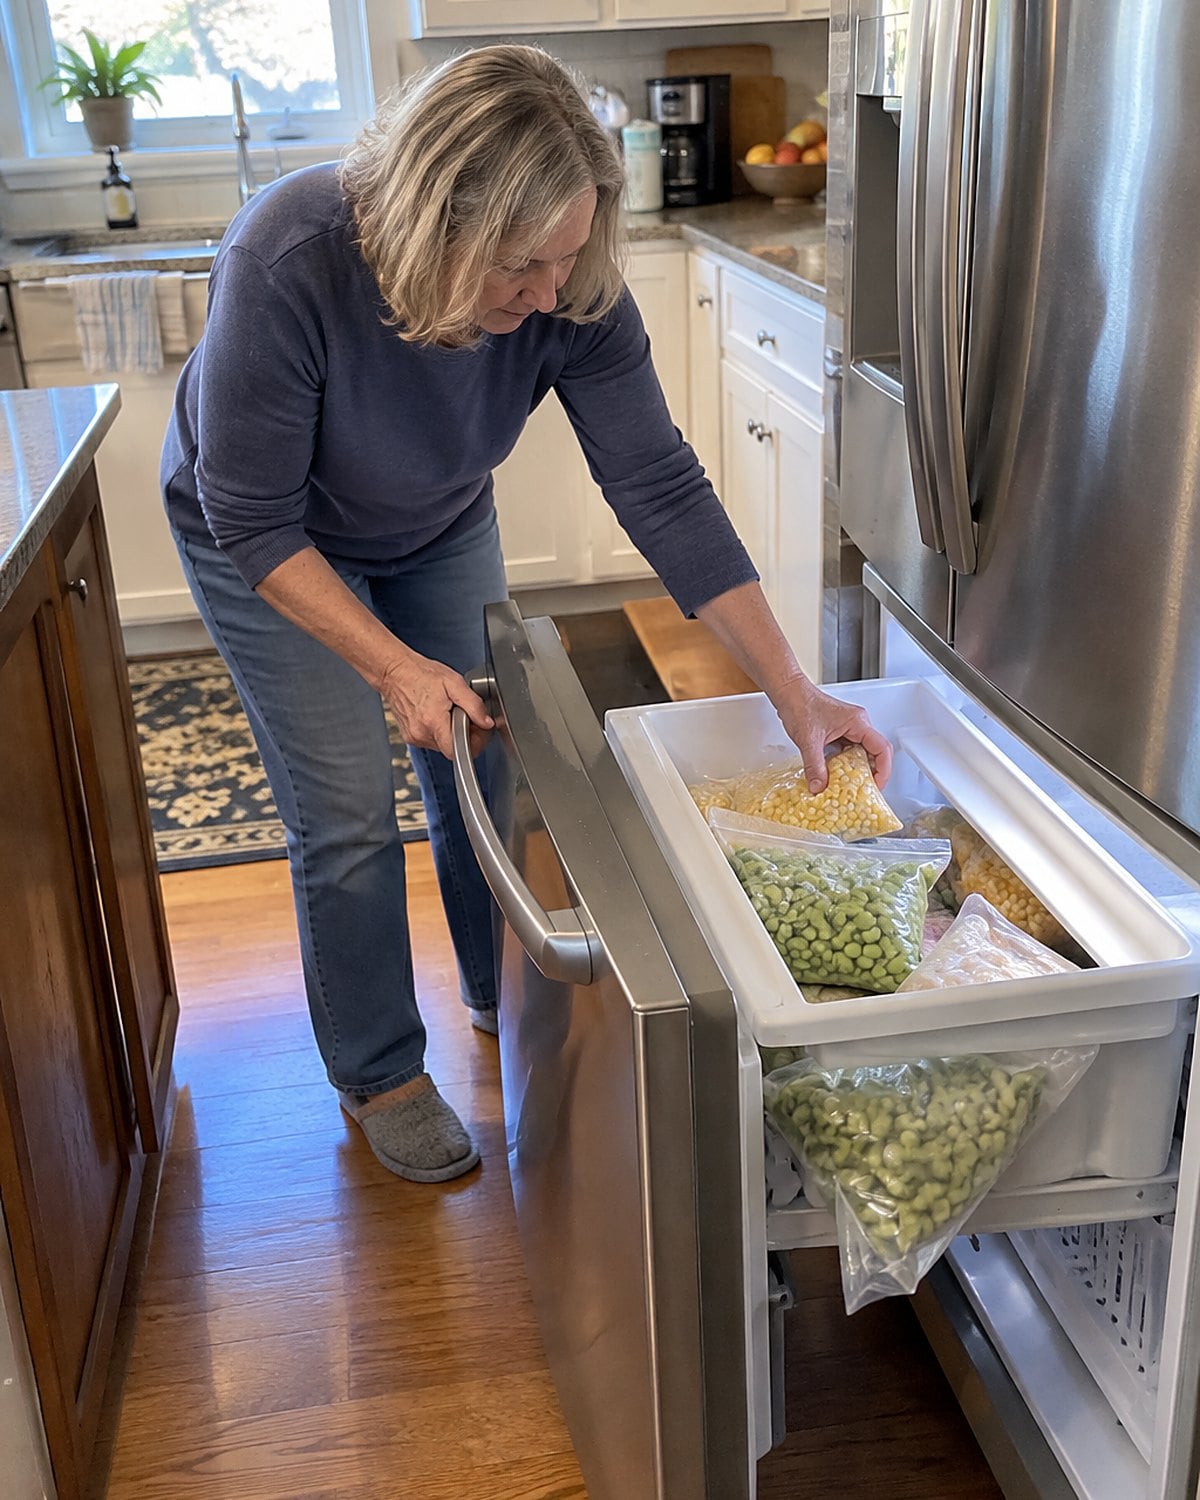
A bag of frozen lima beans and a bag of corn once meant a side dish cooked until both tasted alike. Succotash deserves a pan, not a long boil.
Cook chopped onion in butter, add the lima beans with a splash of water, and cover until they’re tender. Then uncover and let the water cook away before adding corn. The corn needs heat, not a prolonged bath. A spoonful of cream at the end gives the vegetables a light coat.
Taste a lima bean before serving. Its center should be creamy, not chalky. If it still feels firm, give the beans more time under the lid before the corn goes in. Your spoon tells you more than a timer here.
Salt and black pepper finish the pan; chopped parsley earns a place if it’s already in your fridge. For a sharper finish, taste the vegetables before adding cream. You may find they need only butter.
This is the rare old side dish that gets easier when you’re cooking for fewer people. Tip out what you need from each freezer bag, close them, and put them back.
#5 Pot Roast With Vegetables Added Later
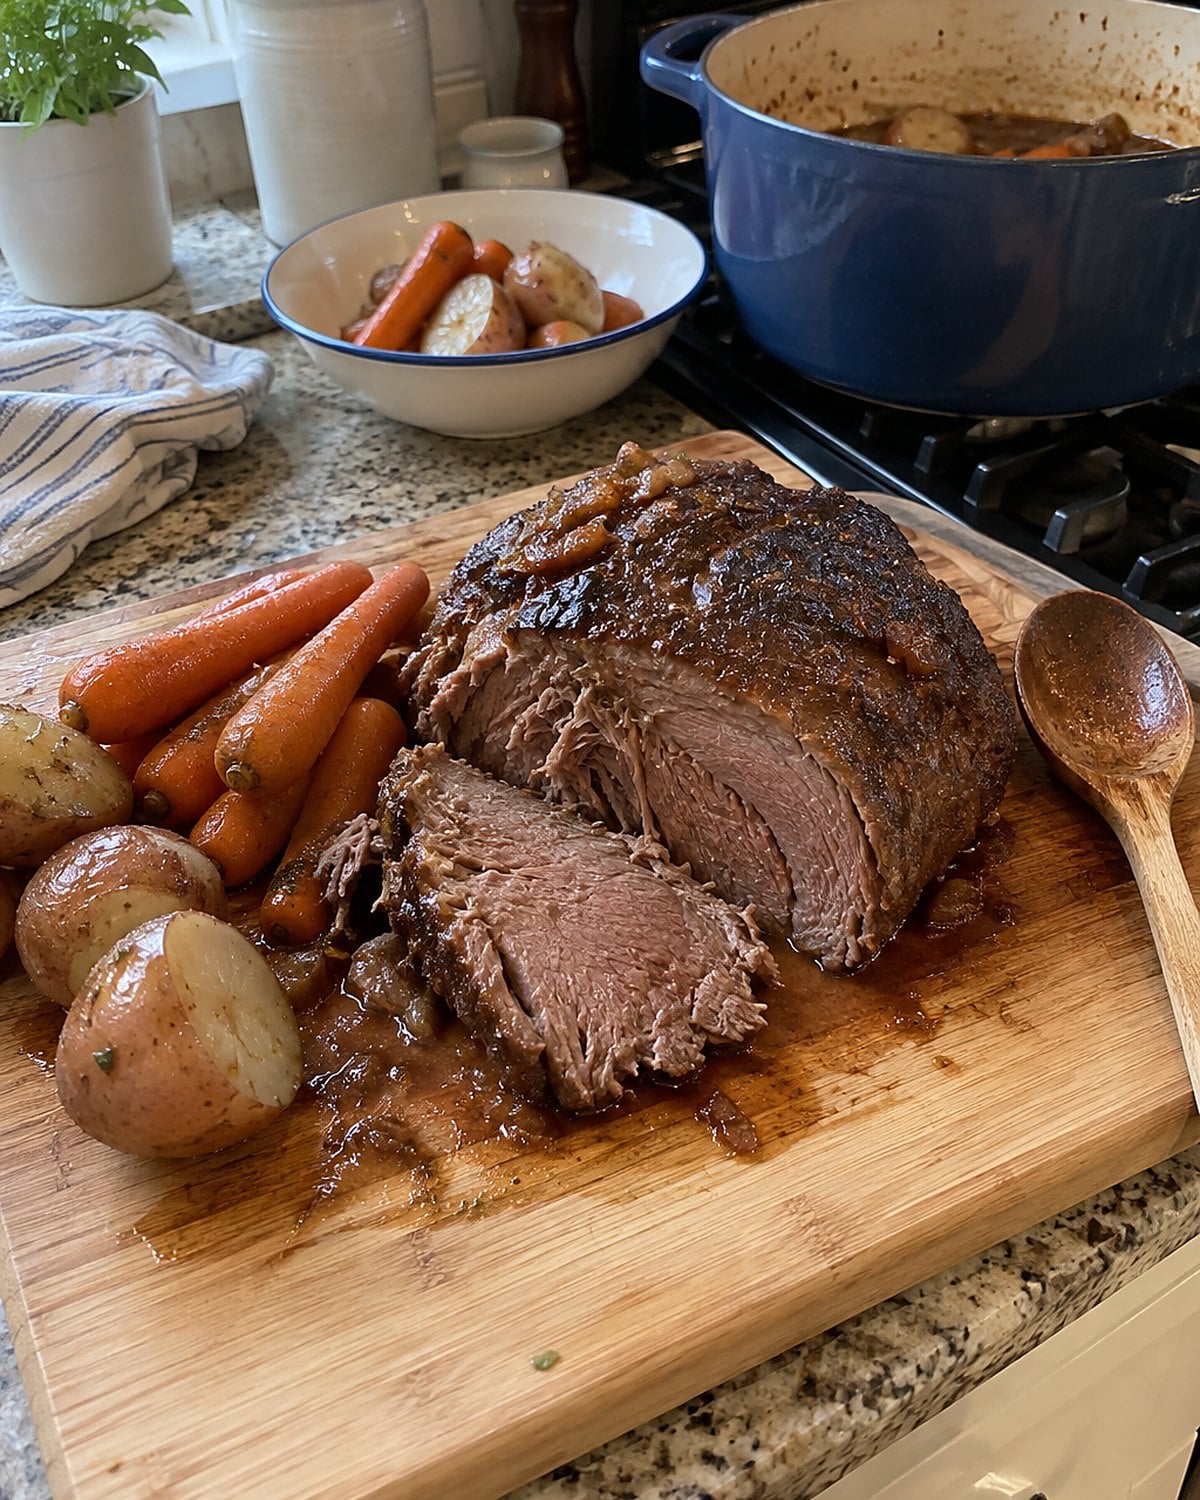
The lid came off, the beef was tender, and the carrots had vanished into the gravy. Pot roast wasn’t asking you to give every ingredient the same hours in the pot.
Brown the roast first, giving each side time against the hot surface. Add onion and enough broth to come partway up the meat, then cover and cook low. Chuck roast is built for this treatment. Its connective tissue needs time to soften, which is why an early knife check tells you so little.
Add carrots and potatoes when the meat is nearing tenderness. They’ll take on the cooking liquid without spending the whole afternoon in it. If the roast resists a fork, keep cooking the beef rather than turning up the heat.
The vegetables have their own test. Your knife should slide into a carrot without crushing it, while a potato should lift out in one piece. If the vegetables finish first, take them out and leave the roast under its lid.
Lift the finished beef onto a board while you taste the gravy. Skim fat from the surface if there’s more than you want. Put the vegetables back beside the sliced meat. This time, they still look like vegetables.
Try it: Instant Pot Beef Pot Roast With Potatoes & Carrots
#4 Deviled Eggs With Smooth Filling
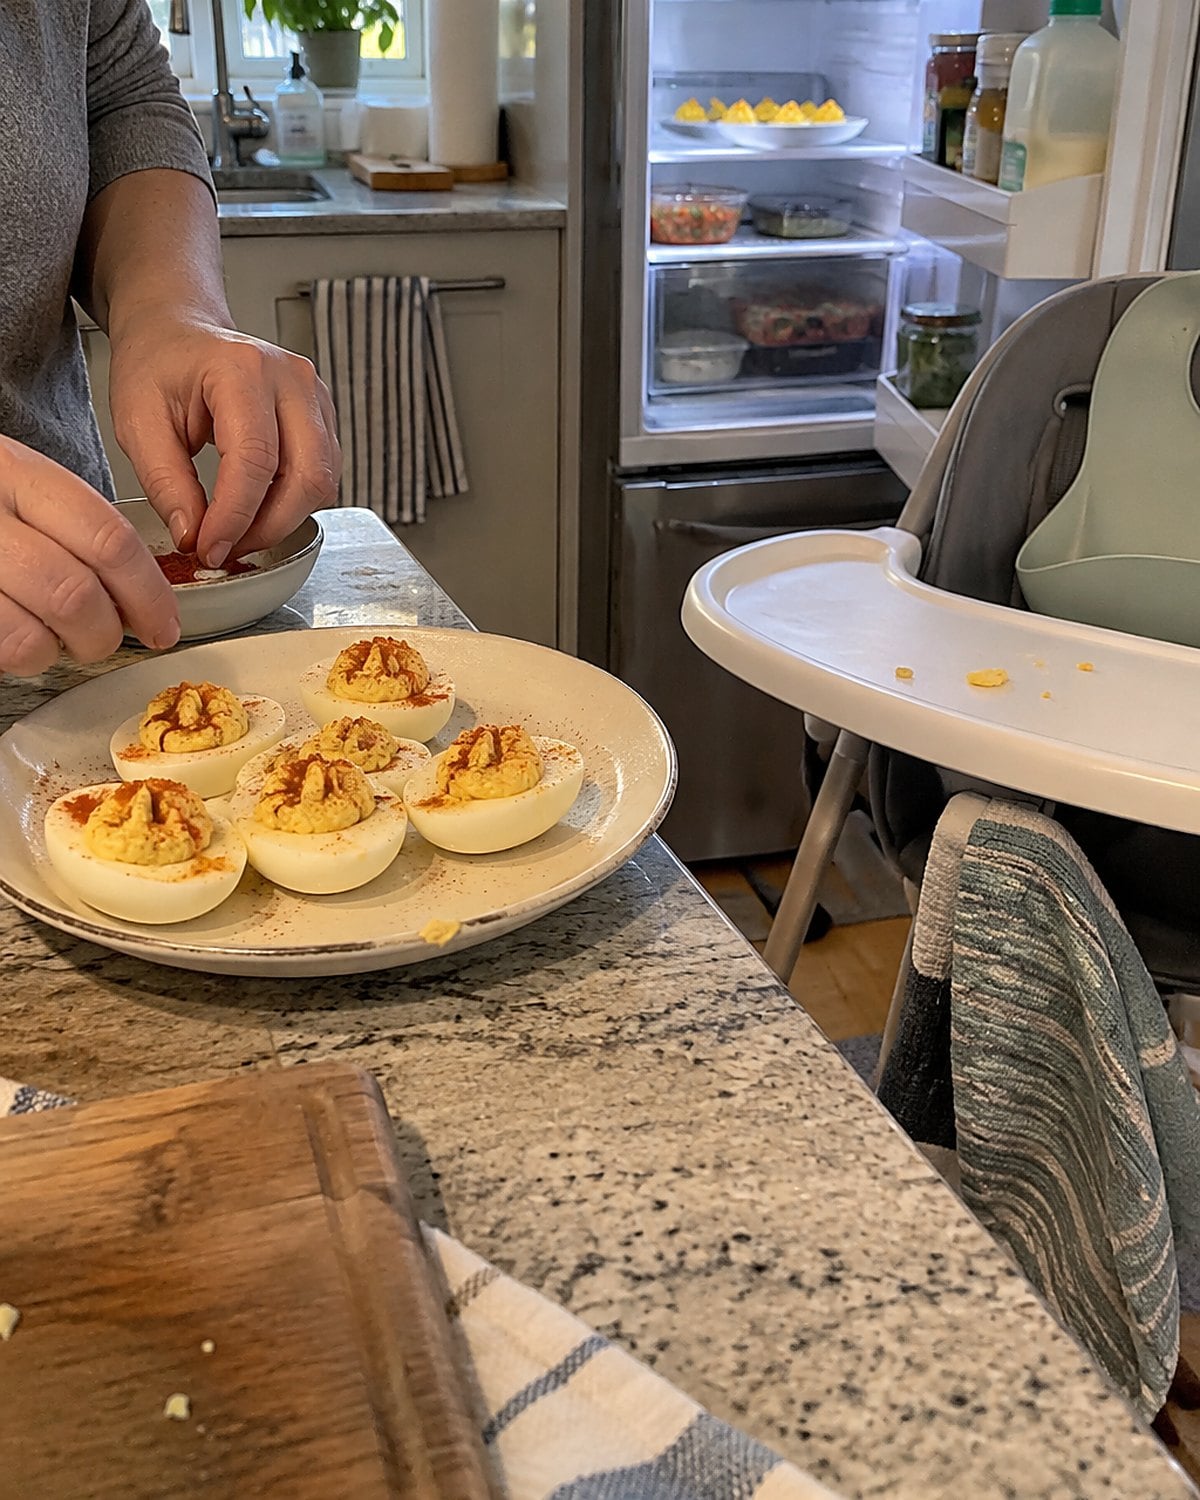
There was always one deviled egg whose filling still had a lump of yolk. On a tray of carefully piped swirls, it stood out.
After cooking and cooling the eggs, cut them lengthwise. Put the yolks through a fine-mesh sieve or mash them thoroughly with a fork before adding mayonnaise and mustard. That small step gives you a smooth filling without pouring in extra mayonnaise to hide the lumps.
Add the mayonnaise a spoonful at a time. You want filling that holds a mound, not one that slides off the white. Taste it before it goes into a bag or onto a spoon. A little pickle juice or vinegar sharpens the yolk; paprika goes on just before serving.
Keep the eggs chilled until they go out. The FDA’s buffet guidance puts perishable dishes under the two-hour rule. For a weekend visit, set out a small plate and leave the rest in the fridge.
If the filling seems too stiff when you stir it, add a little mayonnaise and stir again. You’re looking for a clean ridge left by your spoon, not a filling that runs.
#3 Stuffed Bell Peppers Without Crunchy Rice
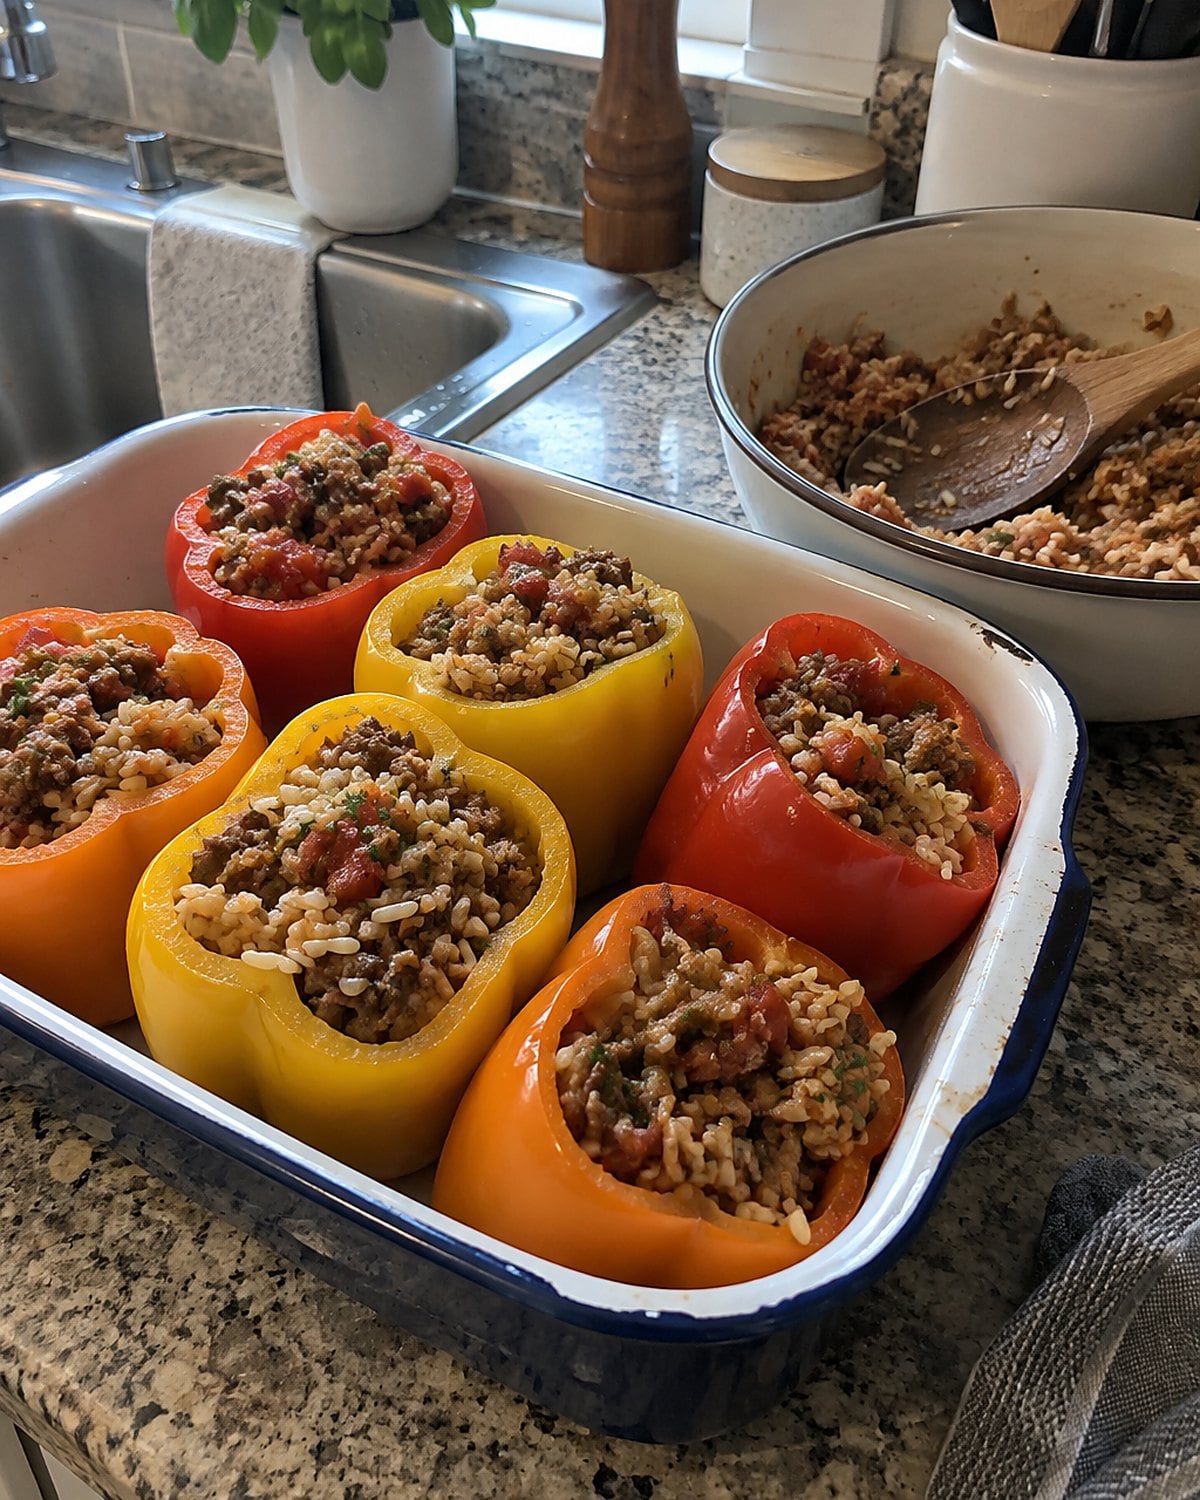
A pepper standing upright in a baking dish looks ready for company. Cut into it, though, and the rice is hard while the pepper wall is still too firm to eat with a fork.
Cook the rice first. Brown ground meat and onion, drain the pan if needed, then stir in the rice and tomato sauce. Taste the filling before you stuff the peppers. It needs enough seasoning to stand up to the sweet pepper around it.
Give the empty pepper shells a short head start in the oven, cut side up with a splash of water in the dish. Then fill them, cover the dish, and bake until the peppers yield to a knife tip. Uncover near the end if you want a browned top.
Check meat filling in the center with a thermometer: 160°F for ground beef or pork, 165°F for ground poultry, per USDA guidance.
Choose peppers that sit steadily in the dish, or trim a sliver from the bottom without cutting through. No one needs dinner tipping over while you carry it to the table.
Before serving, cut into one pepper and look at the rice near the bottom. It should be tender and coated with sauce. If the pepper tastes good but the filling seems dry, spoon a little warm tomato sauce over your serving.
Try it: Best Instant Pot Stuffed Peppers
#2 Prune Whip With Actual Tartness
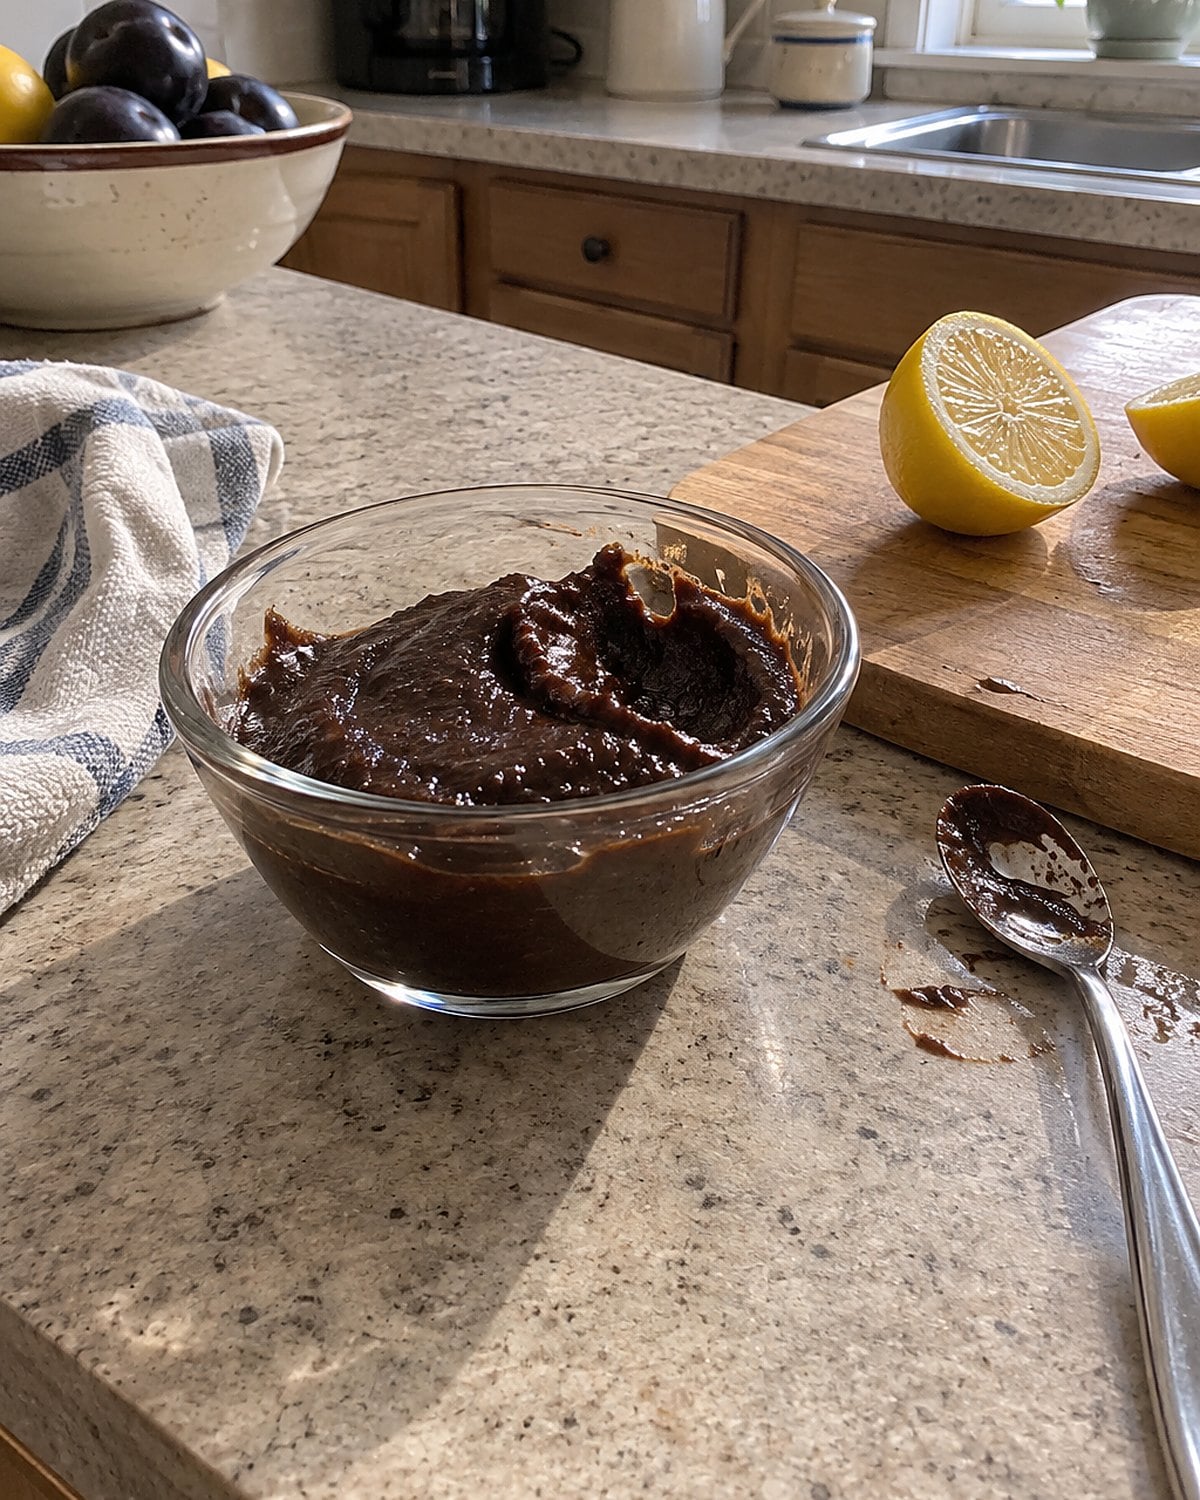
Prune whip had a name that worked against it. Then the version on the table was too sweet, which left the fruit tasting flatter still.
Use soft, cooked prunes and blend them until smooth. Taste the puree before folding it into whipped egg whites or whipped cream, according to your old recipe. Start with a small squeeze of lemon juice. Add more until the fruit tastes tart enough to carry the cream, then check whether it needs sugar at all.
For a version made with raw egg whites, use pasteurized eggs or egg whites, as the FDA advises for uncooked egg dishes. Or choose whipped cream and leave eggs out of the bowl.
Fold with a wide spoon until no plain streaks remain. Stirring hard knocks out the air that makes a whip worth its name. Serve a small scoop in a bowl you like. It’s rich, tart, and much better judged with a spoon than by its name.
#1 Meatloaf Made for a Smaller Household
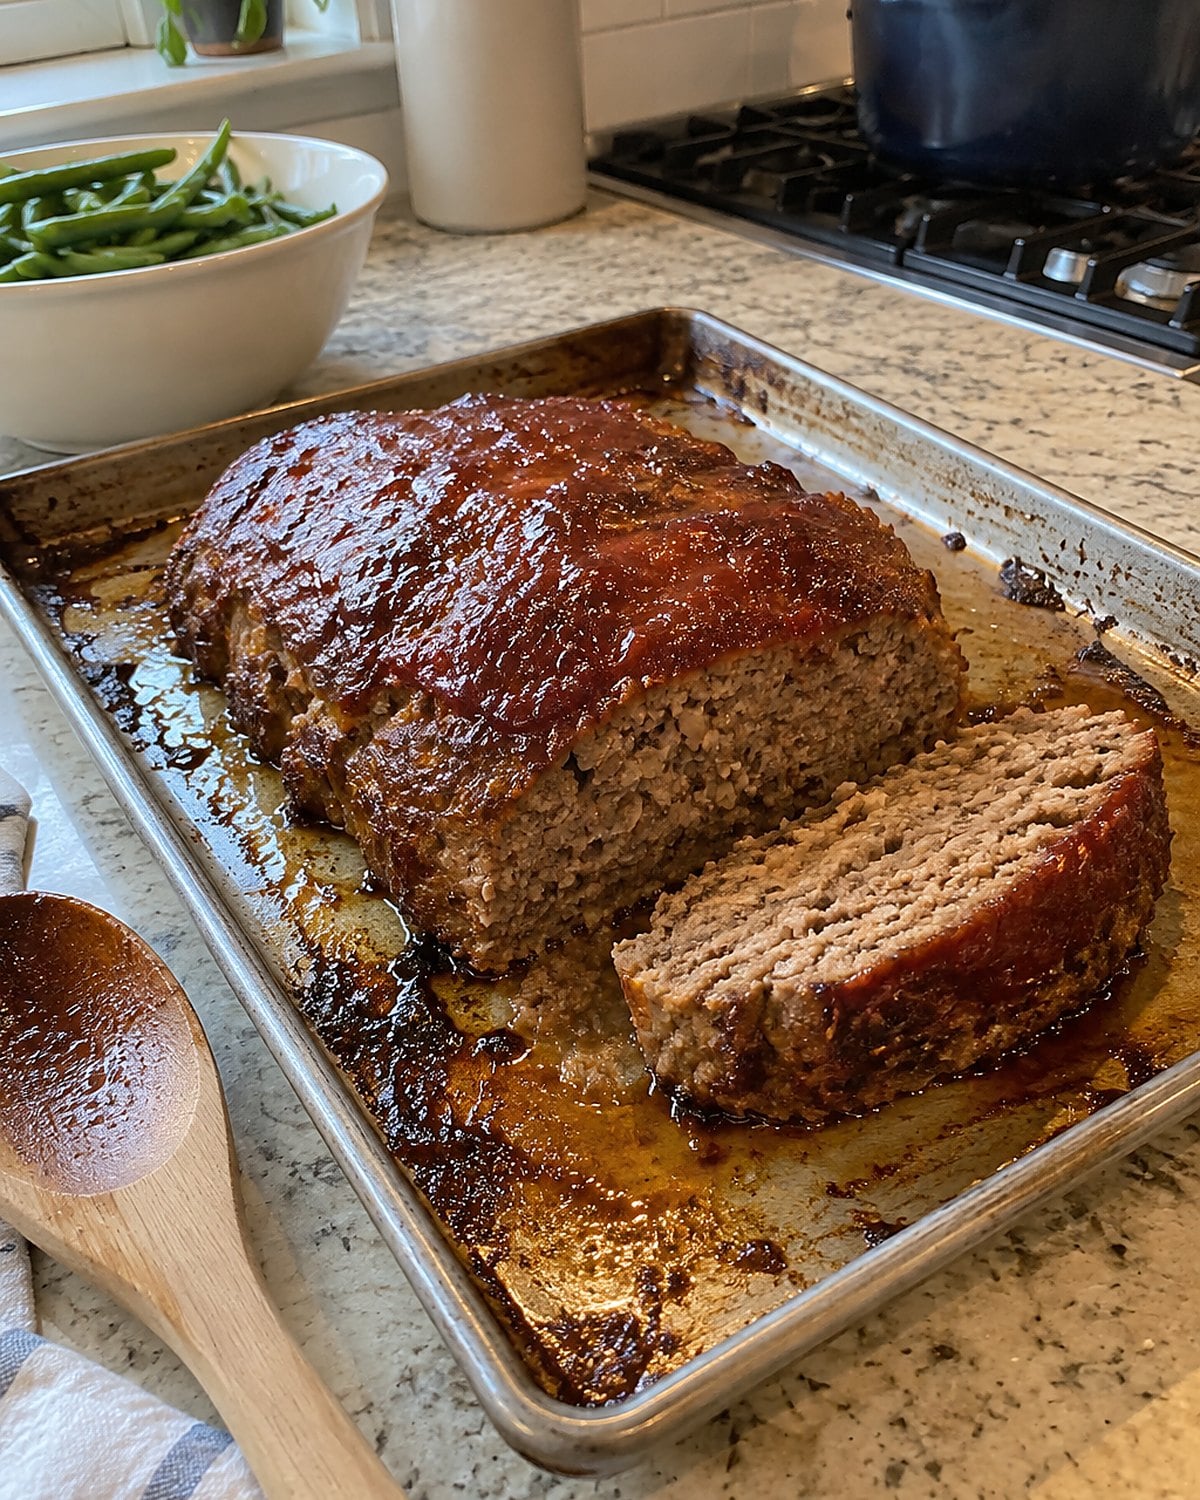
Meatloaf used to mean a long loaf in a deep pan, with grease gathered at the edges and a dry end piece saved for someone who didn’t complain. It still solves dinner and the next day’s lunch. The pan was working against it.
Shape the mixture into a free-form loaf on a rimmed sheet pan. Air reaches the sides, fat runs away from the meat, and the glaze gets more surface. Use breadcrumbs soaked with a little milk to hold moisture. Mix only until the ingredients come together; a tight squeeze gives you a tight slice.
Make the loaf as small as your household needs. That’s the part many old recipes never considered. Keep its thickness even, and use a thermometer instead of cutting into it to guess.
The USDA says ground beef and pork need 160°F in the center. A loaf made with ground poultry needs 165°F. Insert the thermometer into the thickest part without touching the pan.
Let it stand before slicing so the juices stay in the meat. Tomorrow, put a cold slice between two pieces of toasted bread with mustard and a pickle. If you’re making meatloaf for two, that sandwich is reason to make a little extra.
The bottom line
These dishes didn’t all fail for the same reason. Some needed less time, some needed more, and several needed the cook to stop following a pan size meant for a full table.
The well-prepared version of you has already picked a dish, checked the cupboard, and made room on the counter. What old instruction will you set aside in your kitchen tonight?
Leave a Reply