

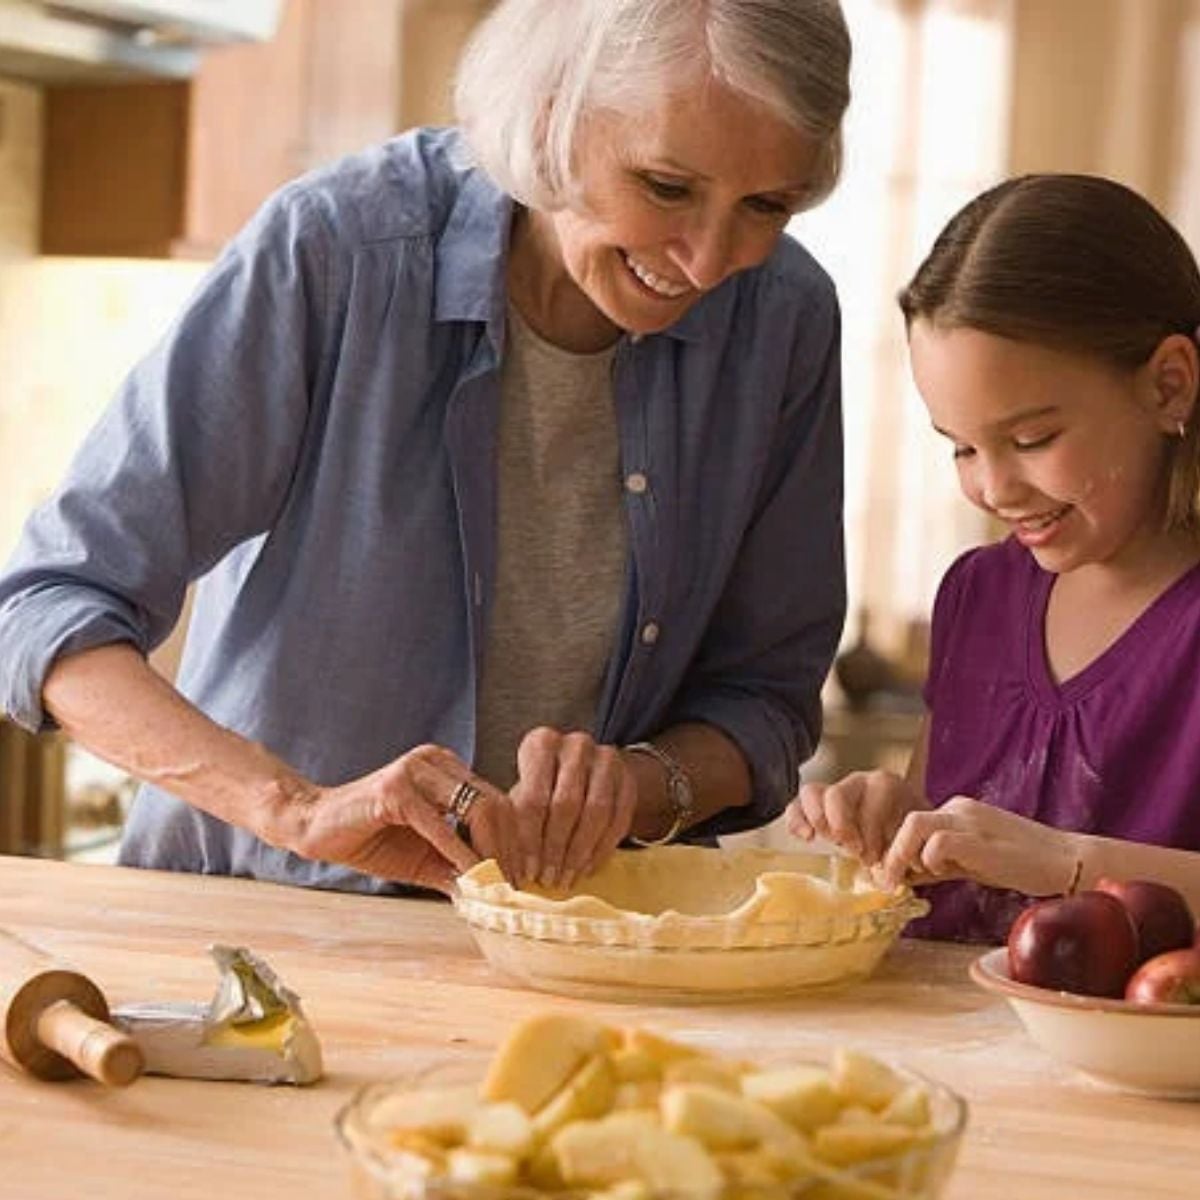
Remember watching Grandma make a pie without measuring a single thing? She'd grab a handful of flour, add some fat, splash in a little water, and somehow end up with the flakiest crust you'd ever tasted. Those grandmothers' pies without recipes weren't magic, although they certainly seemed that way when we were children.
I've tried making pastry the same way, and let's just say my first few attempts weren't exactly worth showing off! Our grandmothers learned by watching, touching, and tasting. They knew when the dough needed more water and when a filling was ready simply by looking at it. Here are 27 old-fashioned pie-making lessons that explain how they got such wonderful results without constantly checking a recipe.
#27 The Lard Tin Beside the Flour
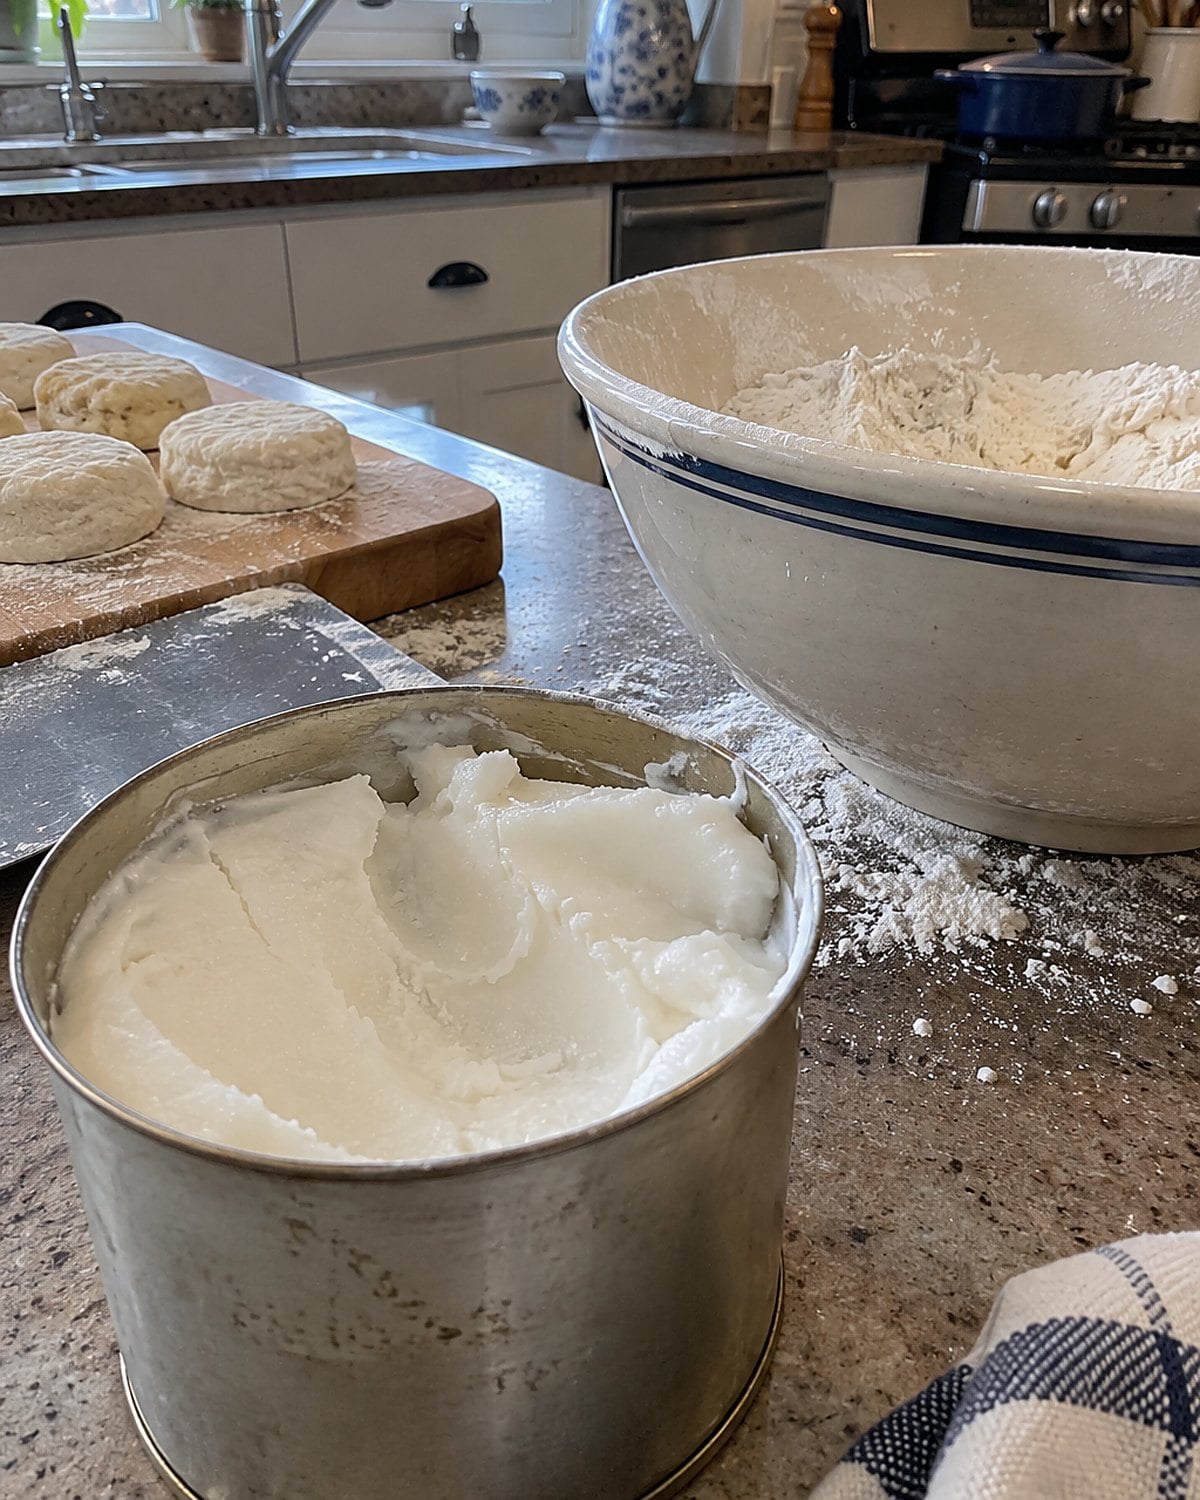
Remember that little tin of lard sitting near Grandma's flour? She didn't need fancy equipment to make a tender, flaky pie crust. She knew that the type of fat mattered, and lard was a favorite in many kitchens.
Lard coats some of the flour, helping limit gluten development. That gives the pastry a tender texture rather than making it chewy like bread. The trick is to work the fat into the flour without completely blending it away. Those small pieces of fat create flaky layers as the crust bakes.
If you're trying lard for the first time, choose one intended for baking and check its smell before using it. Some varieties have a stronger flavor than others. Grandma might not have explained the science, but she certainly knew what worked.
#26 Cold Water From the Measuring Cup
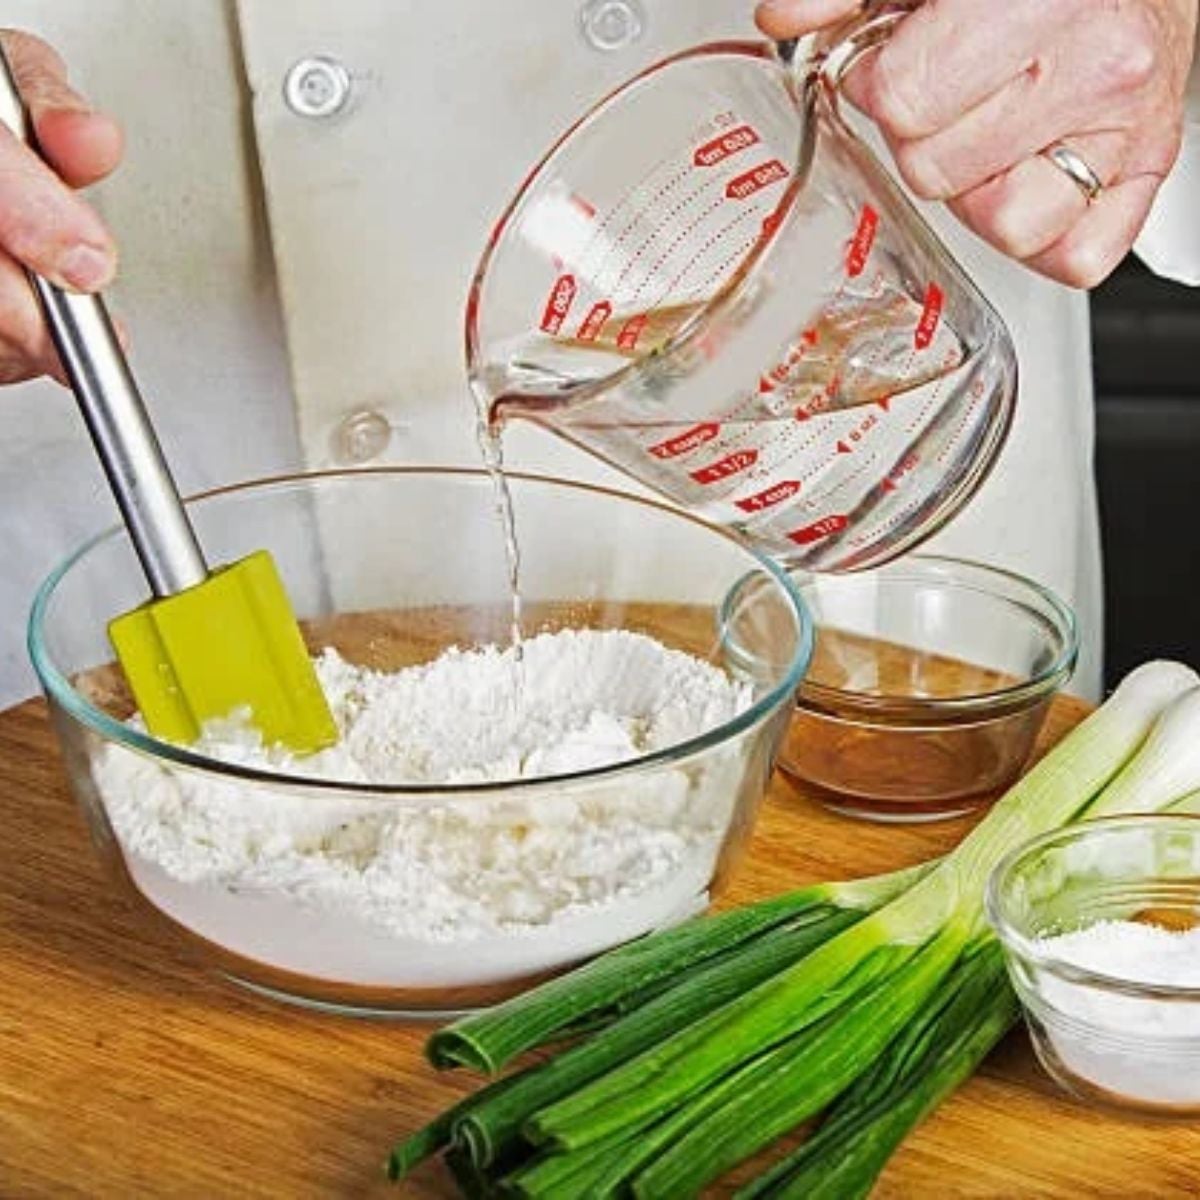
One of the biggest mistakes I made when learning to make pie crust was adding too much water. I wanted the dough to look smooth and perfect before rolling it. But that's exactly what Grandma knew to avoid.
Add cold water a little at a time, tossing the flour mixture gently with a fork. Then squeeze a small handful. If it holds together, you've probably added enough. The dough should still look slightly rough and shaggy.
For a double-crust pie, divide it into two flat disks before refrigerating. Cold dough is much easier to work with, especially when you're trying to keep those little pieces of fat intact. Smooth pastry starts with knowing when to stop adding water.
#25 Apple Pie on the Windowsill
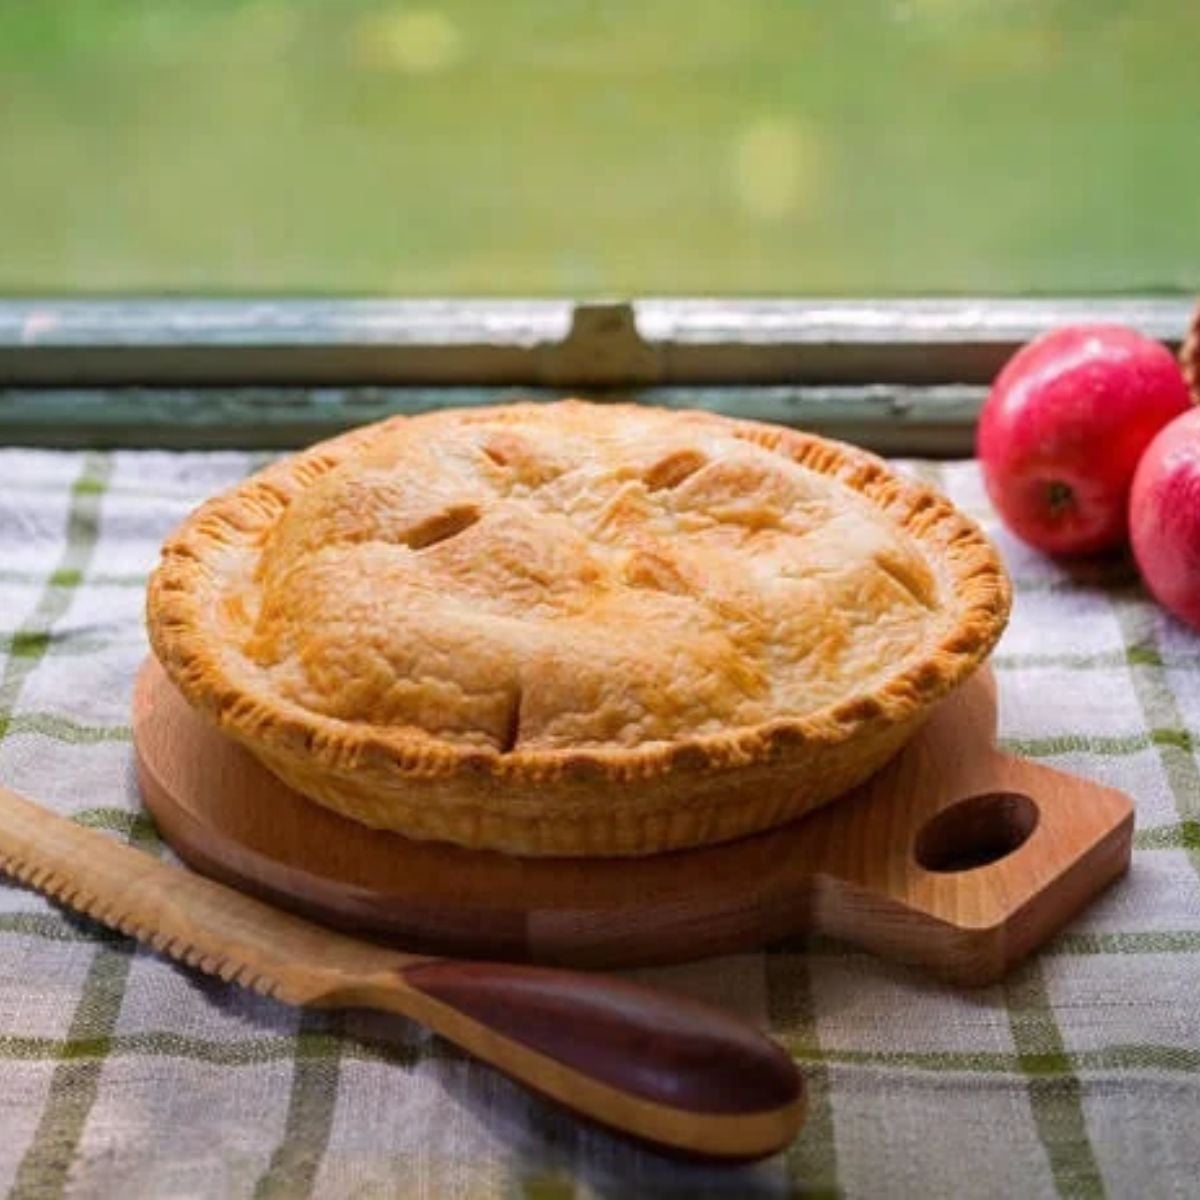
There's something about the smell of homemade apple pie that instantly reminds me of an old-fashioned kitchen. But getting that perfect slice isn't always easy.
Apples release moisture while baking, which is why a pie that looks generously filled before going into the oven can sink as it cooks. Use firm apples sliced to a similar thickness so they soften evenly. A combination of tart and sweet apples gives the filling more flavor without relying entirely on sugar.
And here's the part nobody likes waiting for; letting the pie cool before cutting it. The filling thickens as it cools, helping each slice hold together. Grandma had a reason for making everyone wait.
#24 The Bottom Crust Under Custard

Have you ever baked a beautiful custard pie, only to discover the bottom crust was soggy? I've been there, and it's disappointing. Grandma knew that wet fillings needed a little extra preparation.
For many single-crust custard pies, blind baking the crust first helps prevent a soggy bottom. Fit the pastry into the pie plate, chill it, then line it with parchment paper and pie weights. Bake until the sides hold their shape, remove the weights, and continue until the base looks dry.
Then add the custard according to your recipe. A glass pie plate makes it easier to check whether the bottom is browning. Don't judge a pie by its top crust alone. A soggy bottom can ruin an otherwise lovely pie.
#23 Fork Marks Along the Rim
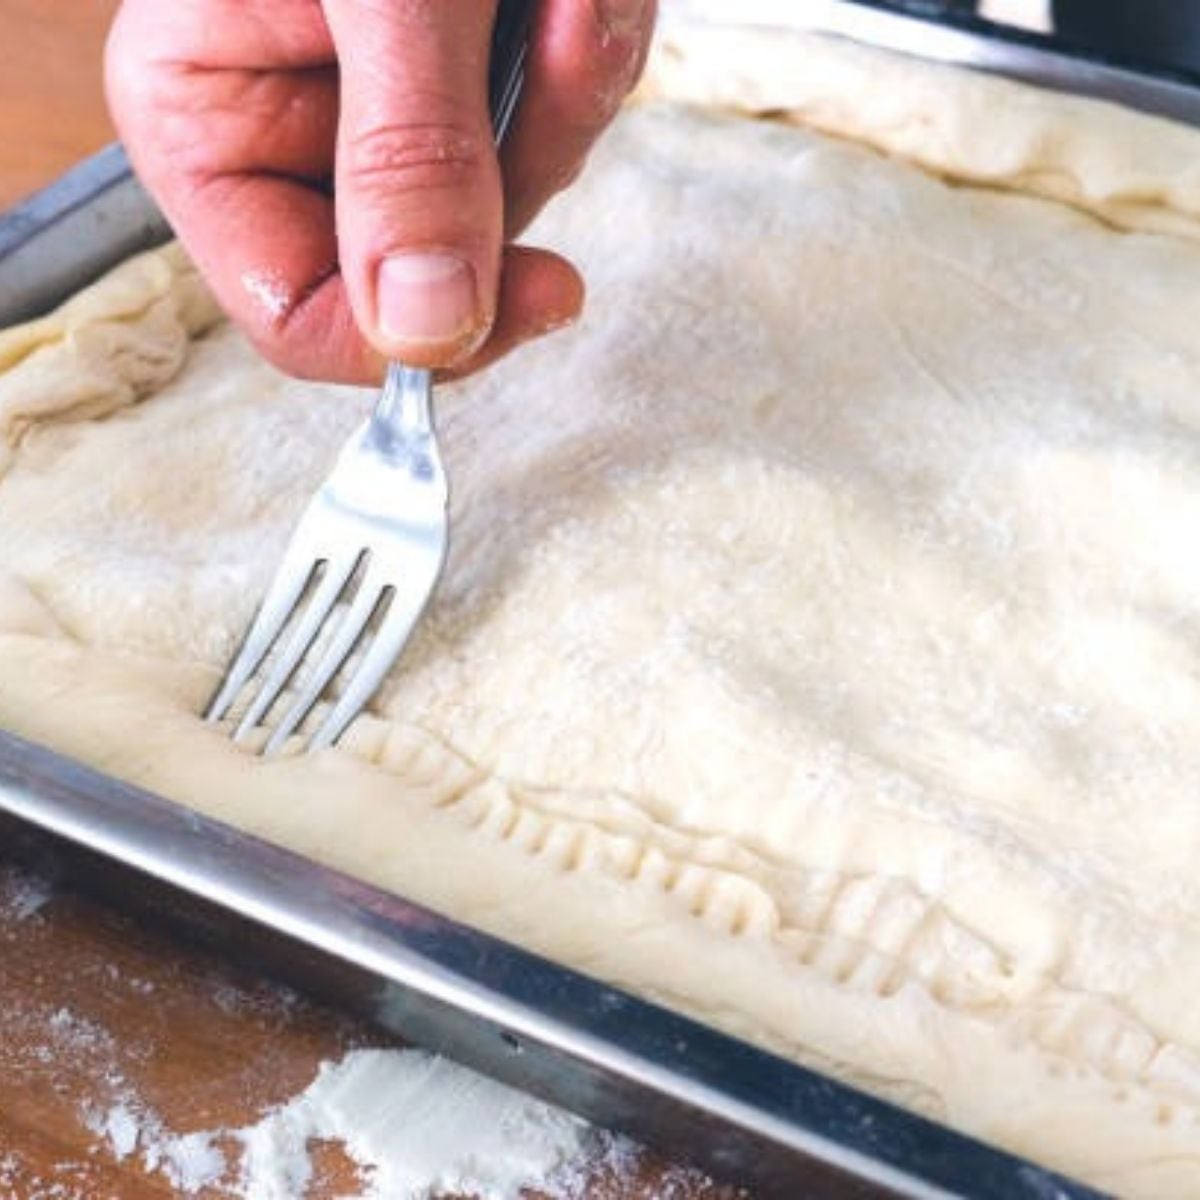
Not every homemade pie needs an elaborate decorative edge. Sometimes Grandma simply pressed a fork around the rim, and it looked perfectly fine.
Those fork marks weren't just decorative. They helped press the folded pastry together. Leave enough dough hanging over the edge of the pie plate to fold it underneath, then press the fork gently but firmly into the doubled pastry.
If the fork sticks, dip the tines into a little flour. The marks don't need to be perfectly even. A good homemade pie should look homemade, and there's nothing wrong with a slightly crooked edge. Nobody complains about uneven fork marks when they're enjoying a delicious slice.
#22 Peach Pie After the Market
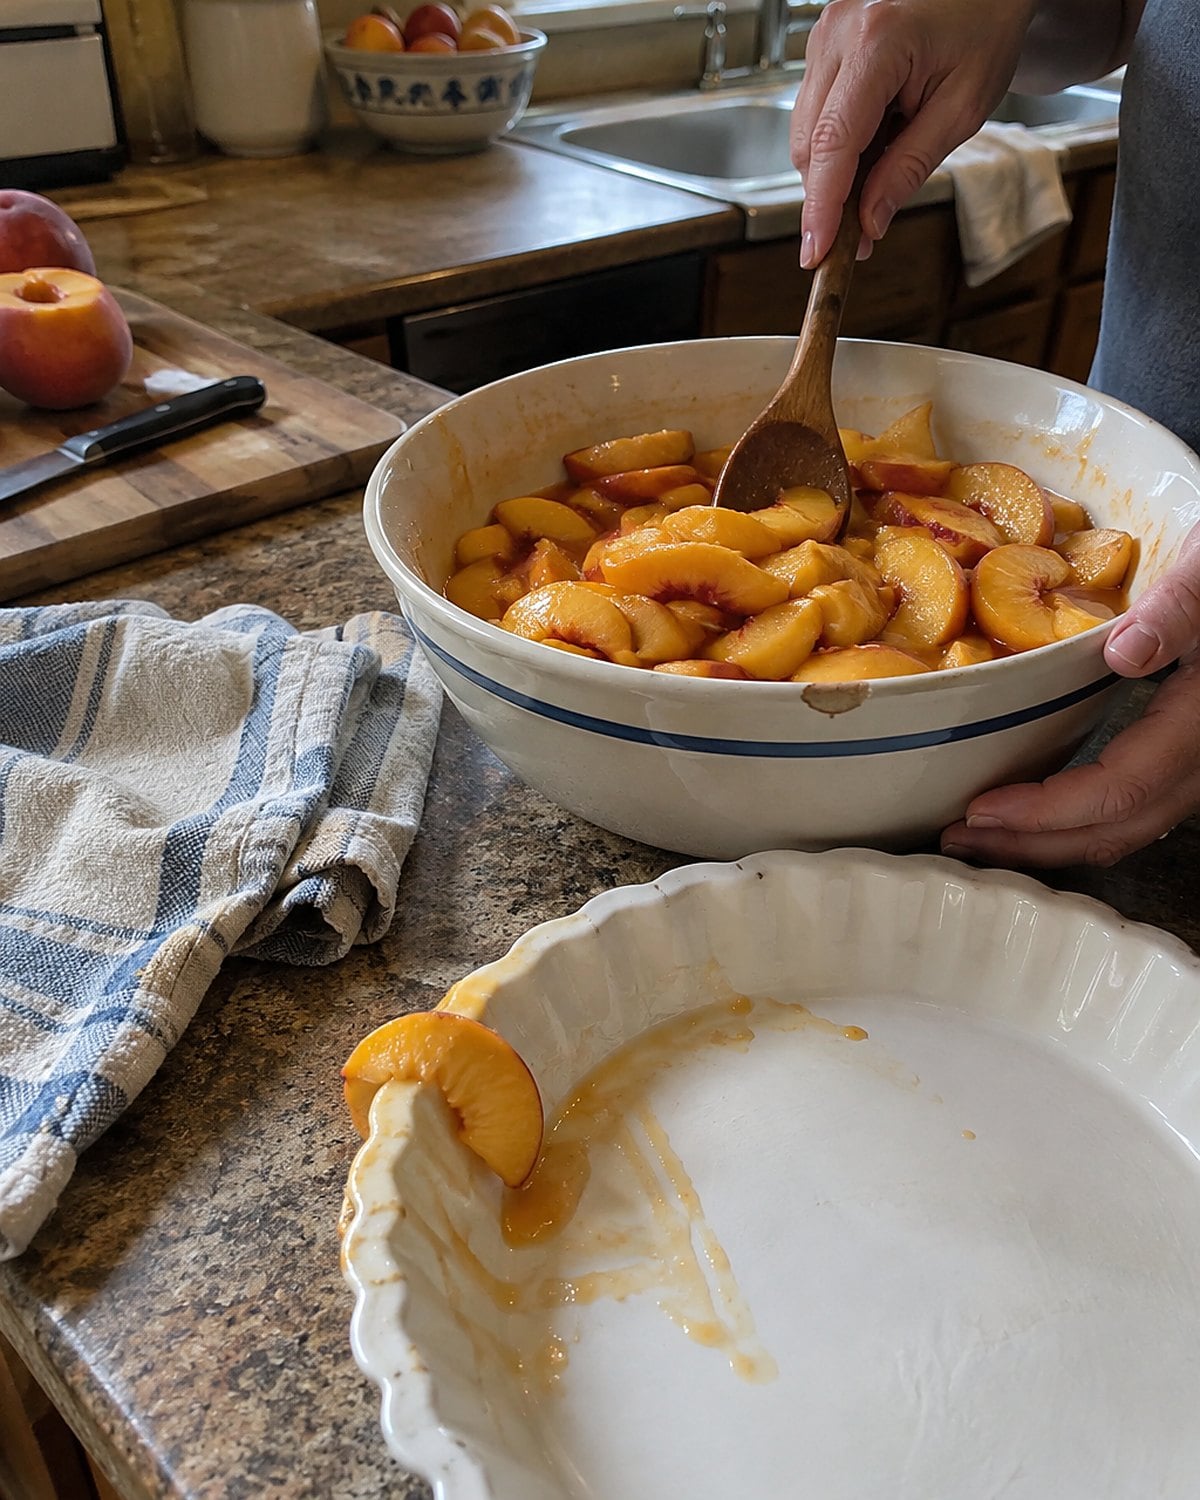
Fresh peaches make a wonderful pie, but they can also release an incredible amount of juice. And if you've ever had peach filling spill all over the oven, you'll know exactly what I mean.
Slice the peaches into a bowl and sprinkle them with sugar. Let them sit for about 20 minutes, then check how much liquid has collected. Toss the fruit with an appropriate thickener and leave behind excess juice if necessary. Taste the peaches before adding extra sugar, because ripe fruit often needs very little help.
Don't judge the pie by its golden crust alone. Look for thick bubbles rising near the center to know the filling has heated properly. I also recommend putting a baking sheet underneath. Cleaning burnt peach syrup from the oven is not my idea of a relaxing afternoon.
#21 The Rolling Pin With Floury Handles
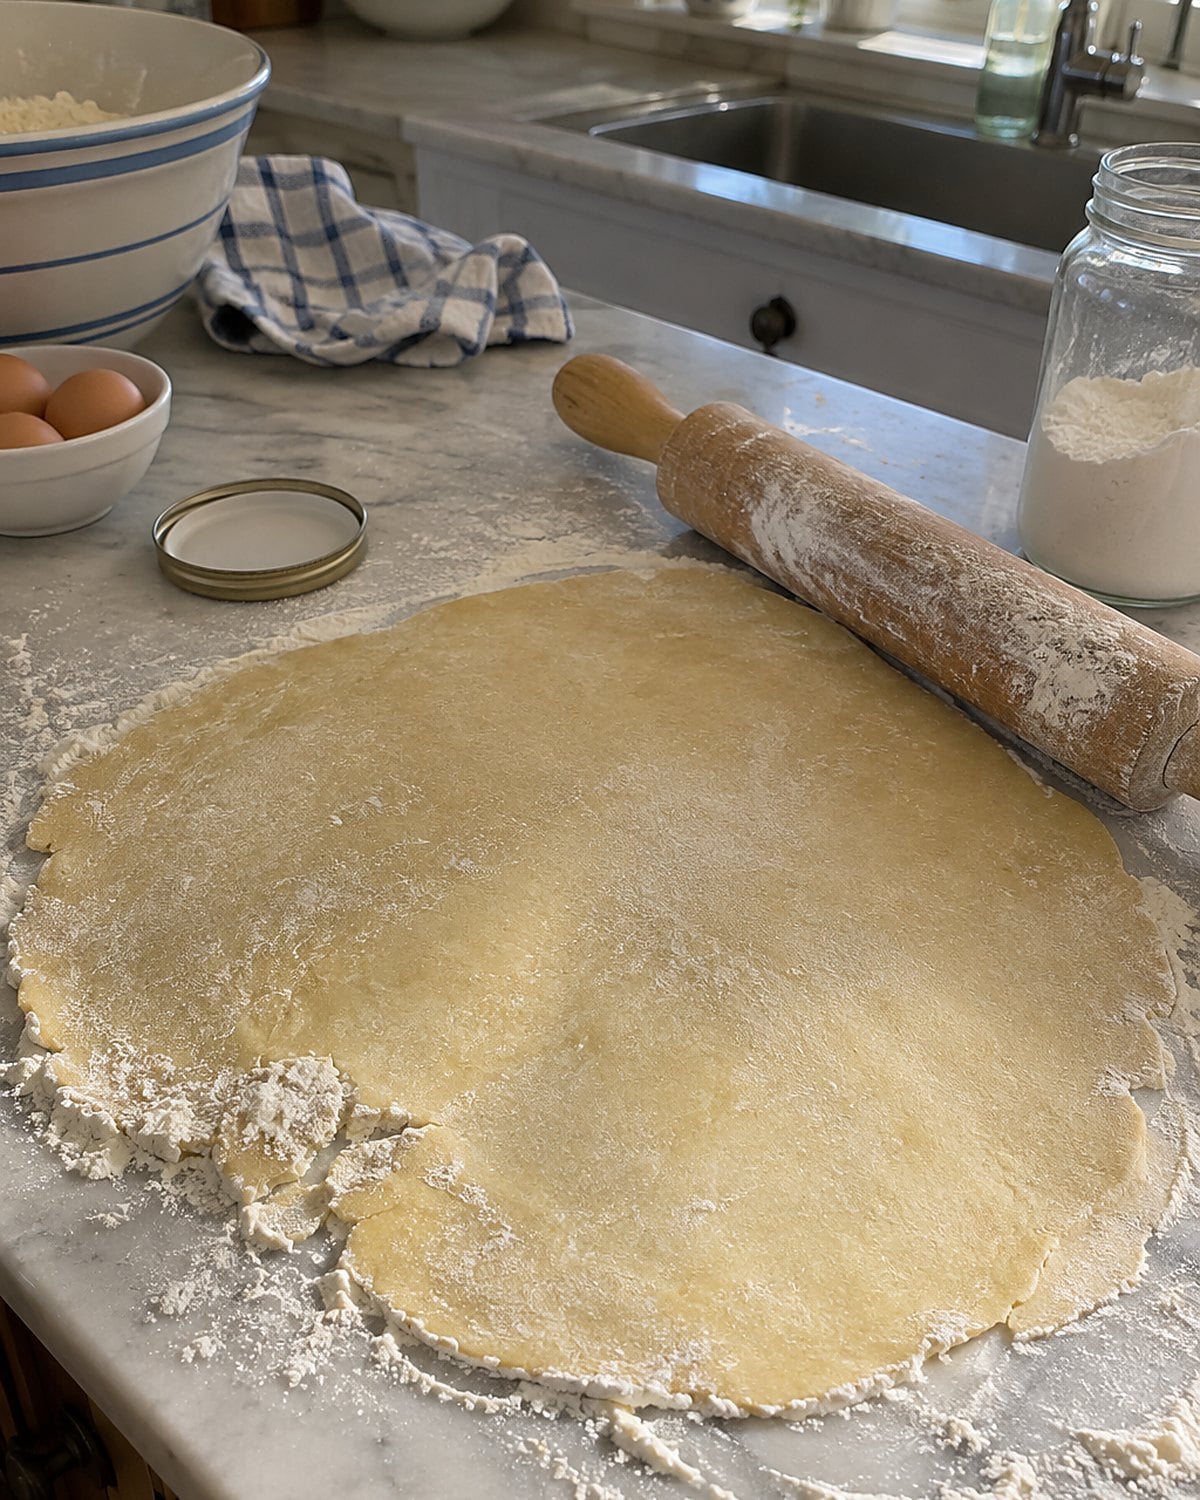
Grandma could roll out pie dough without it sticking to everything in sight. Meanwhile, I remember my first attempts ending with pastry stuck to the counter and flour practically everywhere.
The secret is using just enough flour and keeping the dough moving. Lightly dust the counter, roll from the center outward, and turn the dough between passes. If it starts sticking, lift that section and add a little flour underneath.
Don't keep adding flour unnecessarily, though. Too much can make the pastry dry. To transfer the crust, loosely roll it around the rolling pin or fold it carefully into quarters. Never stretch the dough to make it fit. It can shrink back during baking. That's one lesson worth remembering before the rolling pin comes out.
#20 Rhubarb Pie at the Church Supper
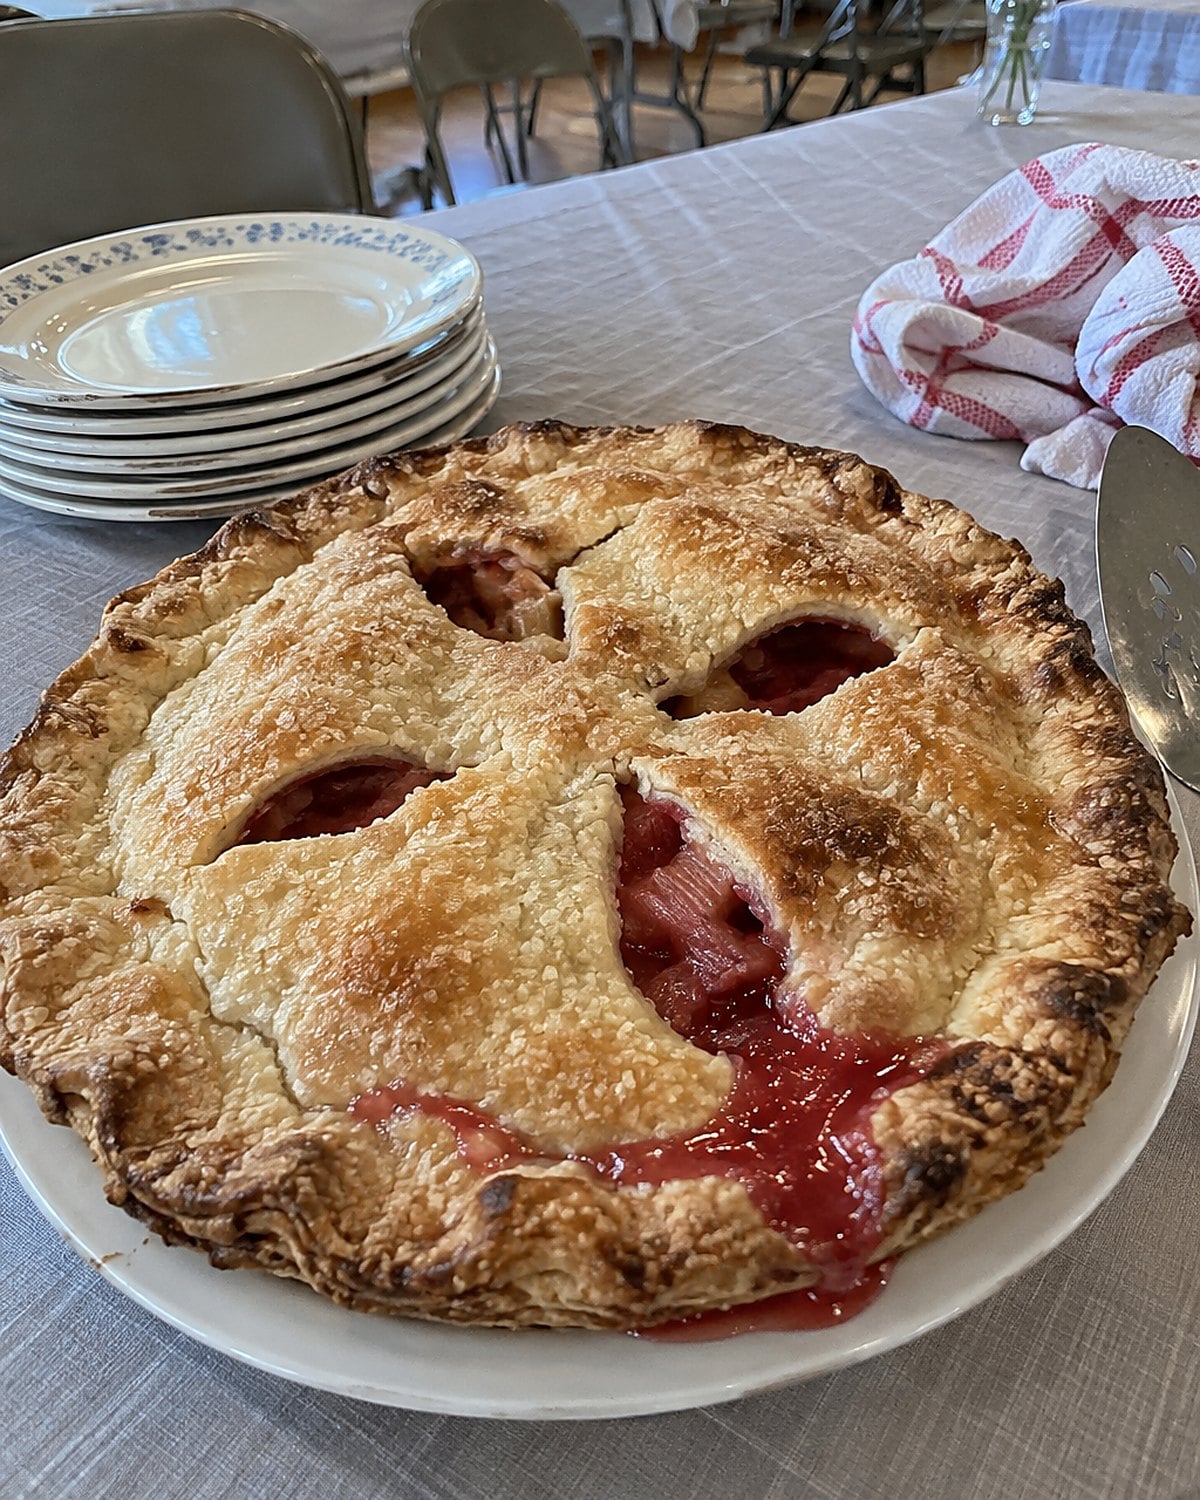
Rhubarb pie was one of those old-fashioned desserts that always seemed to appear at church gatherings. And if you've ever tasted raw rhubarb, you'll understand why Grandma added sugar!
Rhubarb is naturally tart and releases moisture as it cooks. Cut the stalks into even pieces and toss them thoroughly with sugar and thickener. Use only the stalks because rhubarb leaves are toxic.
The filling should still have a little tartness, even after sweetening. That's what gives rhubarb pie its distinctive flavor. Cut vents in the top crust and bake until thick bubbles appear near the center. Don't cover up all that lovely tartness with sugar. A good rhubarb pie should make you pucker just a little.
#19 A Spoonful of Flour in the Fruit
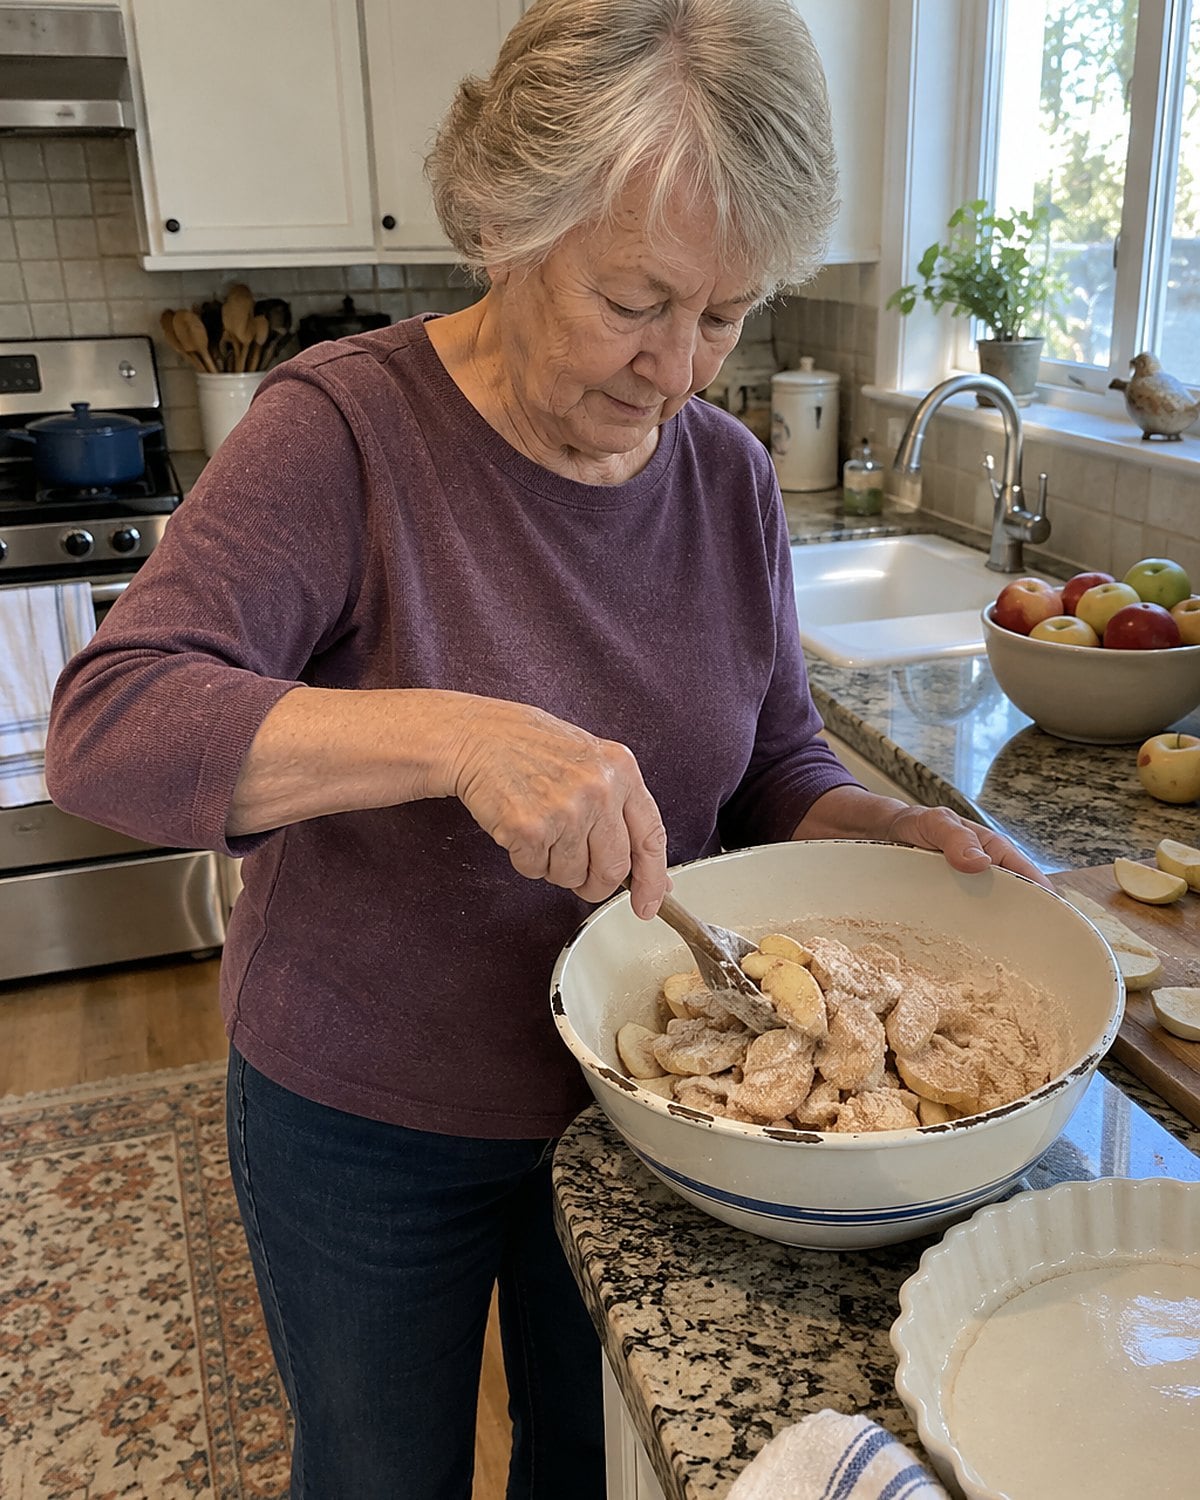
Grandma didn't always measure the flour she added to fruit pie filling. She'd sprinkle in a little, give everything a toss, and somehow know it was enough.
Flour helps thicken the juices released during baking, but adding it all in one spot can create lumps. Mix the flour with the sugar first, then toss it through the fruit so everything is evenly coated.
Different fruits release different amounts of liquid, so the amount of thickener may need adjusting. Juicy peaches and berries usually need more attention than firmer fruit. Don't forget the sugary mixture at the bottom of the bowl. That's part of the filling, not something to leave behind.
 You might also like27 Dishes From Church Suppers That Nobody Makes Anymore
#18 Cherry Pie With a Lattice Top
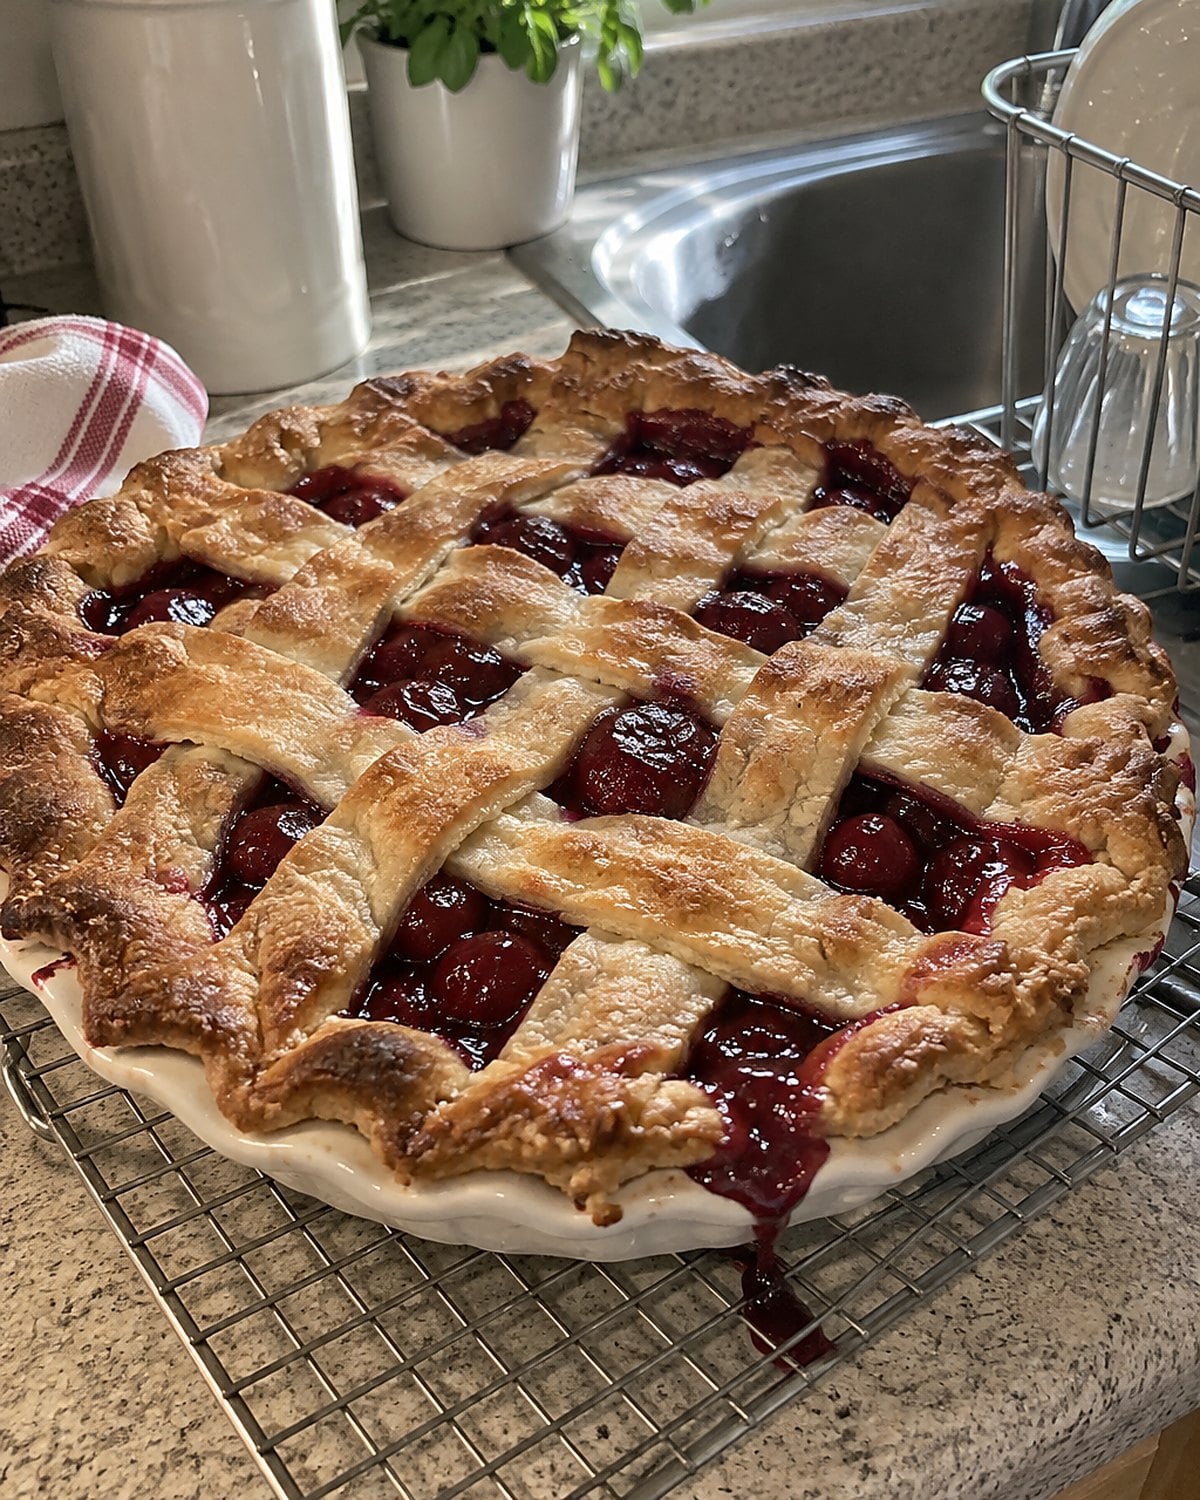
A homemade cherry pie with a lattice crust always looks impressive. But the lattice isn't just there to make the pie pretty. Those openings let steam escape and make it easier to see when the filling is bubbling.
Remove the cherry pits before preparing the filling, and check carefully for any you've missed. If you're using frozen cherries, remember that they can release extra liquid. Keep the pastry strips cold while working so they hold their shape.
Brush the lattice with beaten egg if you want a golden, shiny finish. Then wait until the filling bubbles thickly near the middle. Let the pie cool before slicing. The hardest part is keeping everyone away from it while it sets.
#17 Brown Sugar in the Pecan Bowl
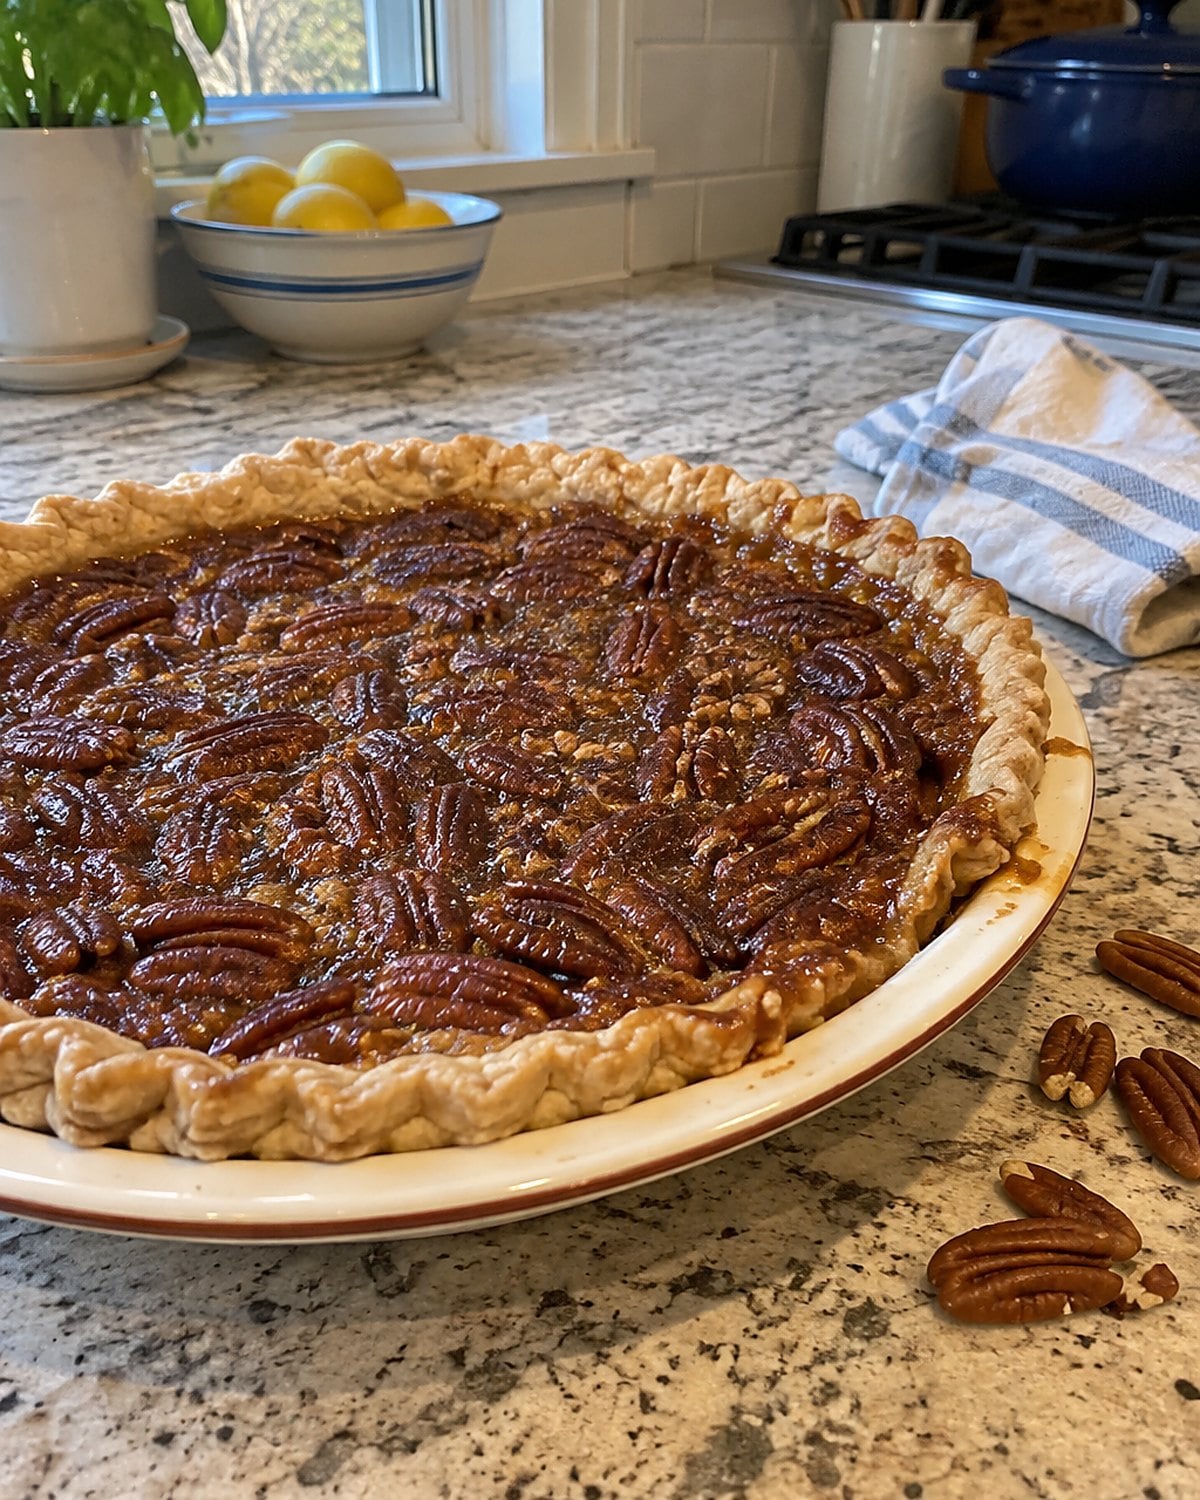
Pecan pie is one of those desserts that looks simple but can be surprisingly tricky. The edges might look ready while the middle is still too liquid.
Brown sugar adds a deeper molasses flavor that works beautifully with pecans. Stir the filling thoroughly so the sugar is evenly distributed, then add the nuts.
When checking the pie, gently move the plate. The center should have a gentle, unified wobble rather than moving like liquid. Remember that pecan pie continues to firm as it cools. Give it enough time before slicing. A hot pecan pie can turn into a sticky mess faster than you can find the dessert plates.
#16 The Foil Ring in the Oven
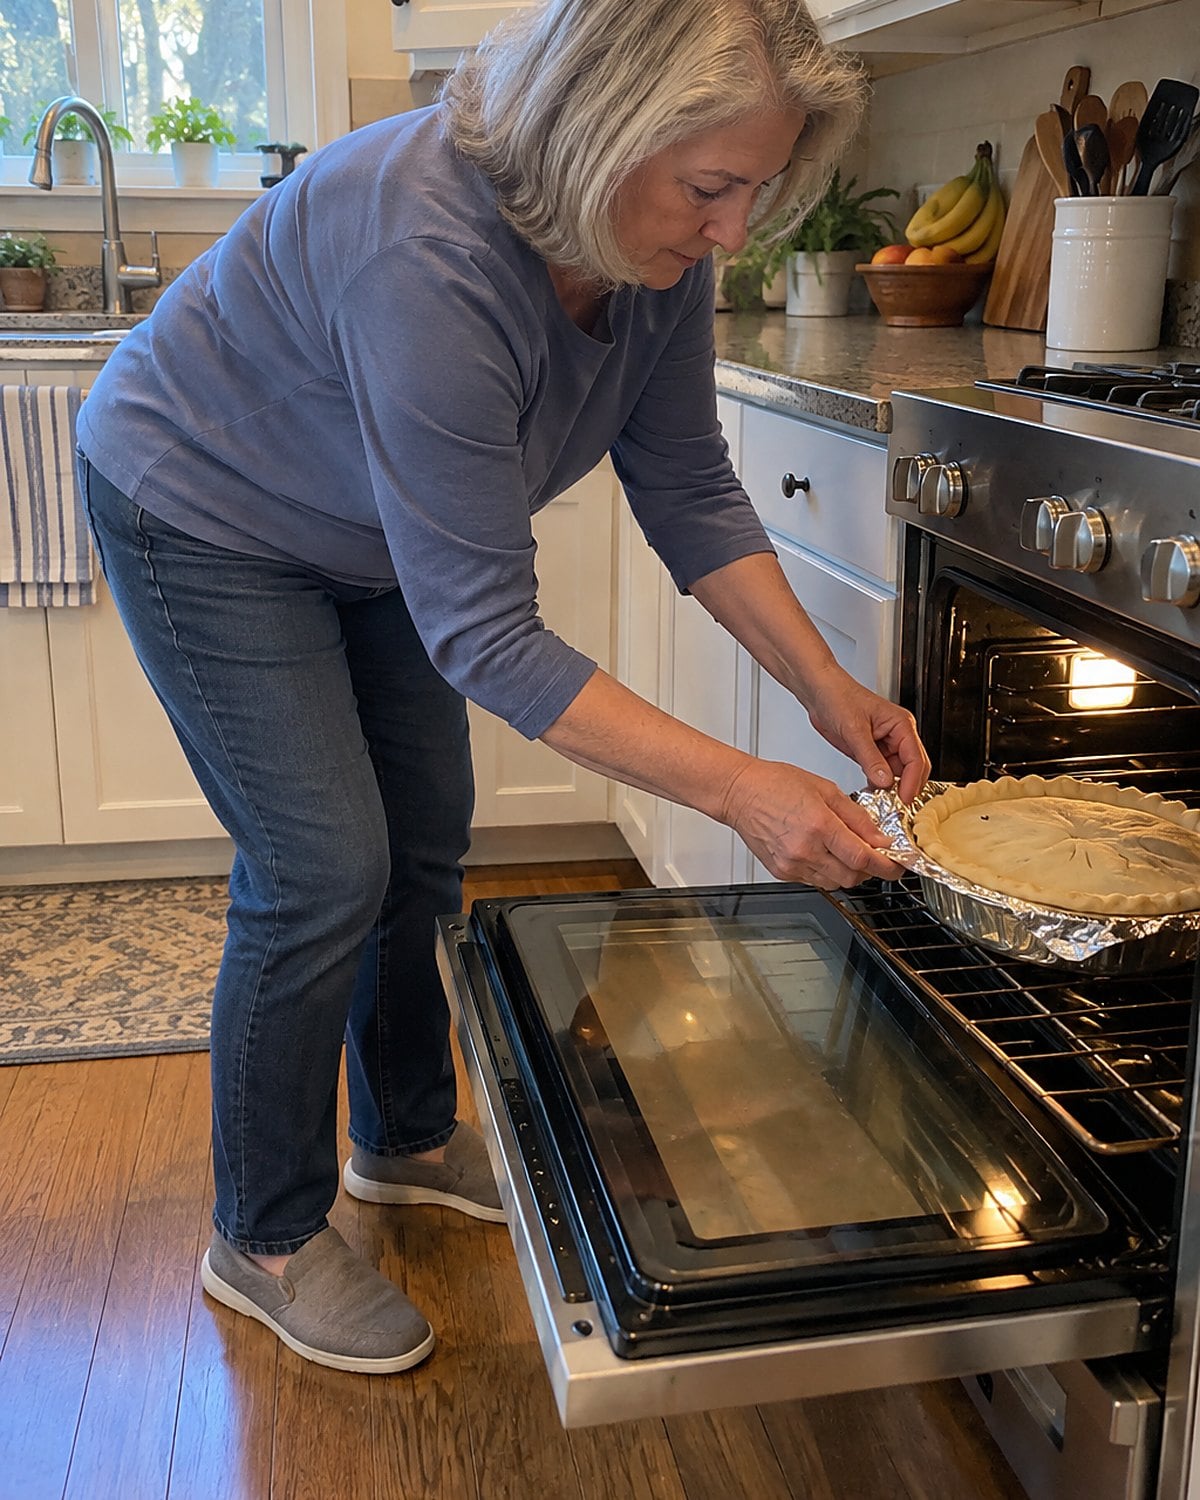
Ever had a pie crust turn too dark while the filling was still cooking? Grandma had a simple solution: aluminum foil.
Once the edges are nicely browned, loosely cover them with a ring of foil. This helps prevent the exposed pastry from getting too dark while the center finishes baking.
For fruit pies, baking on a lower oven rack can also help the bottom crust cook properly. Place a baking sheet underneath to catch any spills. A golden crust doesn't always mean the filling is ready.
Check for thick bubbling in fruit pies or the appropriate set in custard pies. Sometimes a little foil is all you need to save dessert.
#15 Pumpkin Puree From the Can
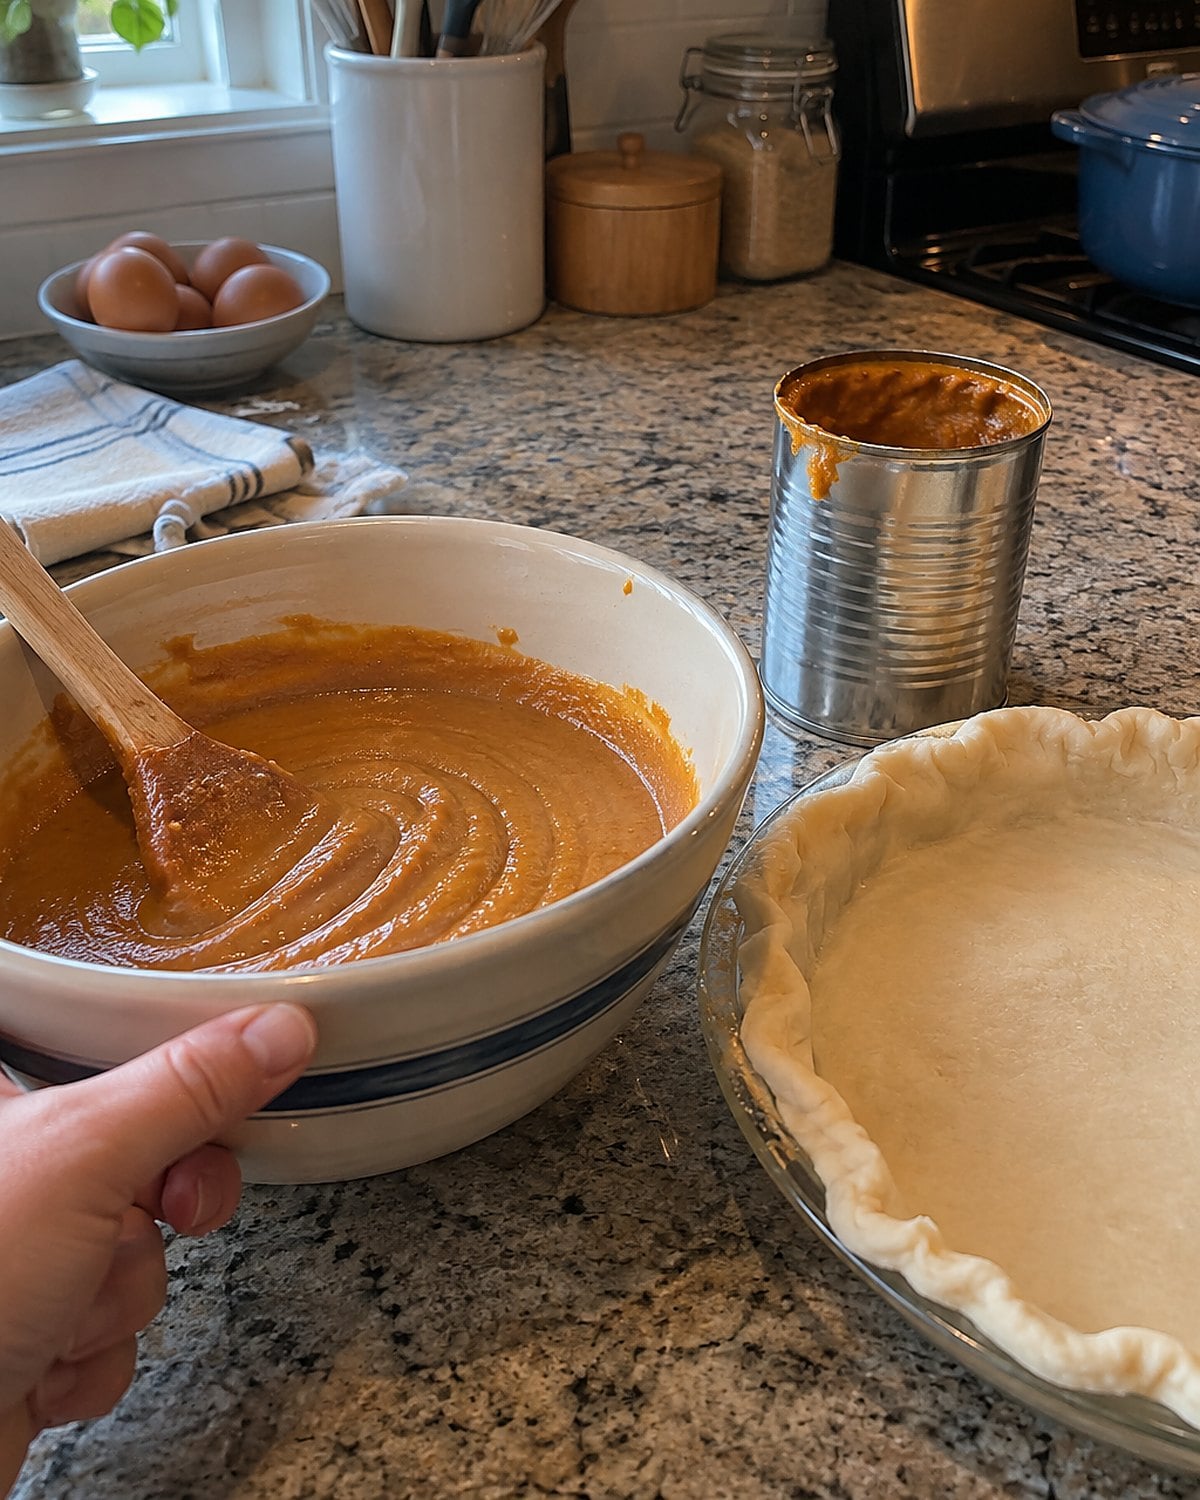
One mistake that's easy to make is confusing pumpkin puree with pumpkin pie filling. They're not the same thing.
Plain pumpkin puree contains cooked pumpkin, while prepared pumpkin pie filling already includes sweeteners and spices. If your recipe calls for puree, check the can carefully before adding anything else.
Once the filling is mixed, place the pie plate close to the oven before pouring it in. A full pumpkin pie is surprisingly easy to spill. Bake until the edges are set and the center still has a slight wobble. Avoid repeatedly poking the middle with a knife if you want a smooth surface. Nobody wants a cracked pumpkin pie after all that work.
#14 Blackberry Pie From the Porch
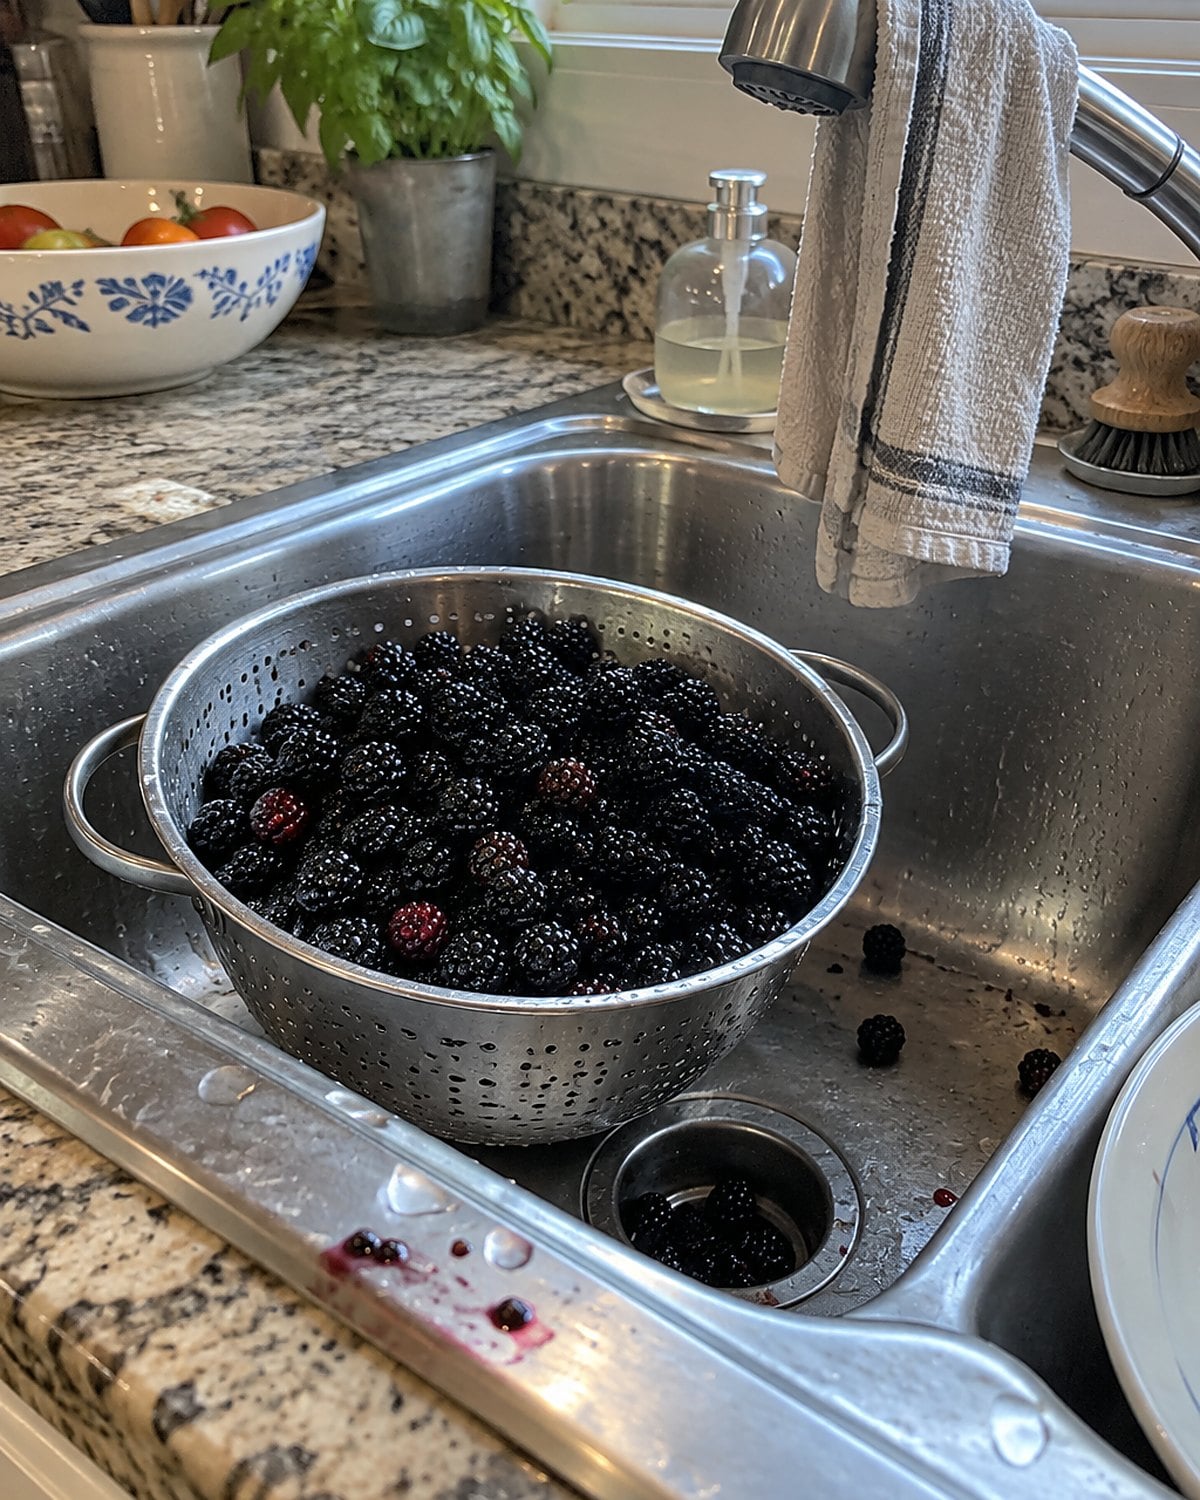
Fresh blackberries make one of my favorite old-fashioned pie fillings. They're juicy, slightly tart, and full of flavor. Unfortunately, they're also very good at staining everything purple.
Rinse the berries gently, remove any stems, and drain them thoroughly. Too much extra water can make the filling runny. Toss the berries carefully with sugar and thickener so you don't crush them.
Taste before adding more sugar because some blackberries are naturally sweeter than others. A little lemon juice can help brighten the flavor. Wait until the filling bubbles thickly before removing the pie. Then let it cool. Blackberry juice has an impressive ability to escape from even the neatest-looking pie.
#13 The Pastry Blender in the Drawer
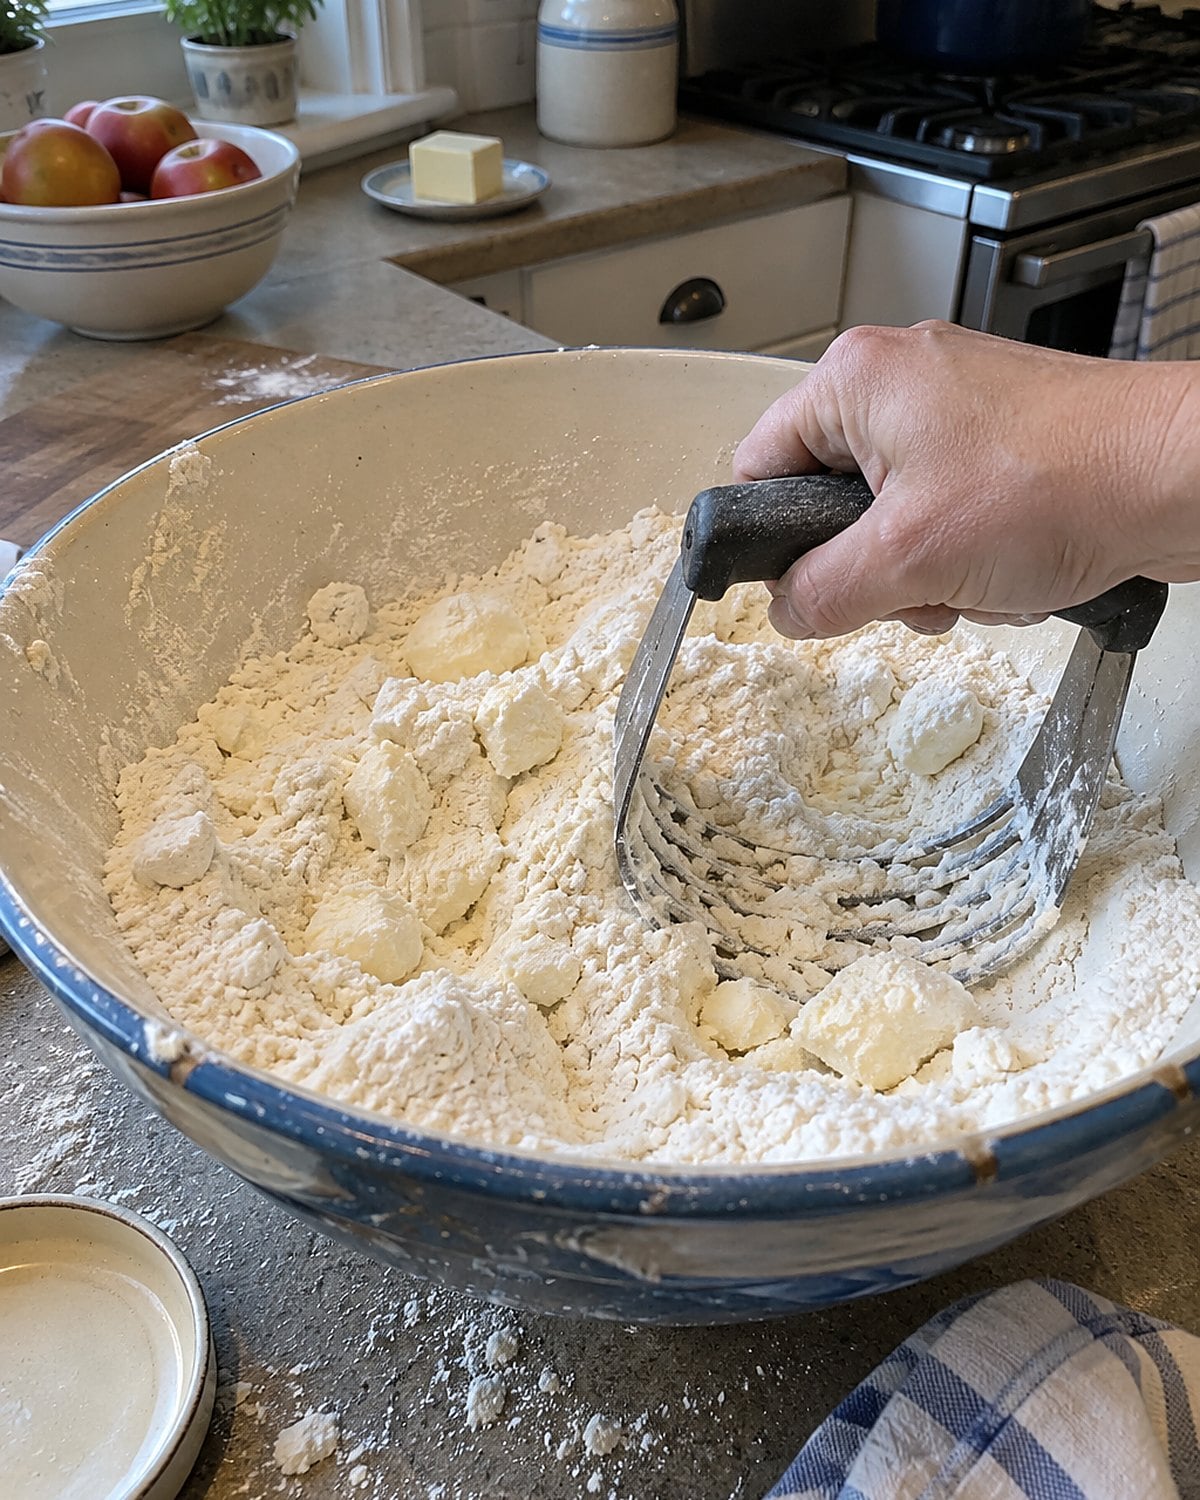
Remember that strange wire tool Grandma kept in the kitchen drawer? The pastry blender was one of her most useful baking tools.
It cuts cold fat into flour without warming it as much as prolonged mixing with your hands. Press it through the mixture until you have small crumbs with some larger pieces of fat remaining. Don't keep working until everything looks like fine sand.
Those larger pieces help create flaky pastry. If you don't have a pastry blender, two knives or your fingertips can work. Just move quickly so the fat stays cool. The real skill is knowing when to stop mixing. And that's something Grandma seemed to understand better than most of us.
#12 Sweet Potato Pie at Thanksgiving
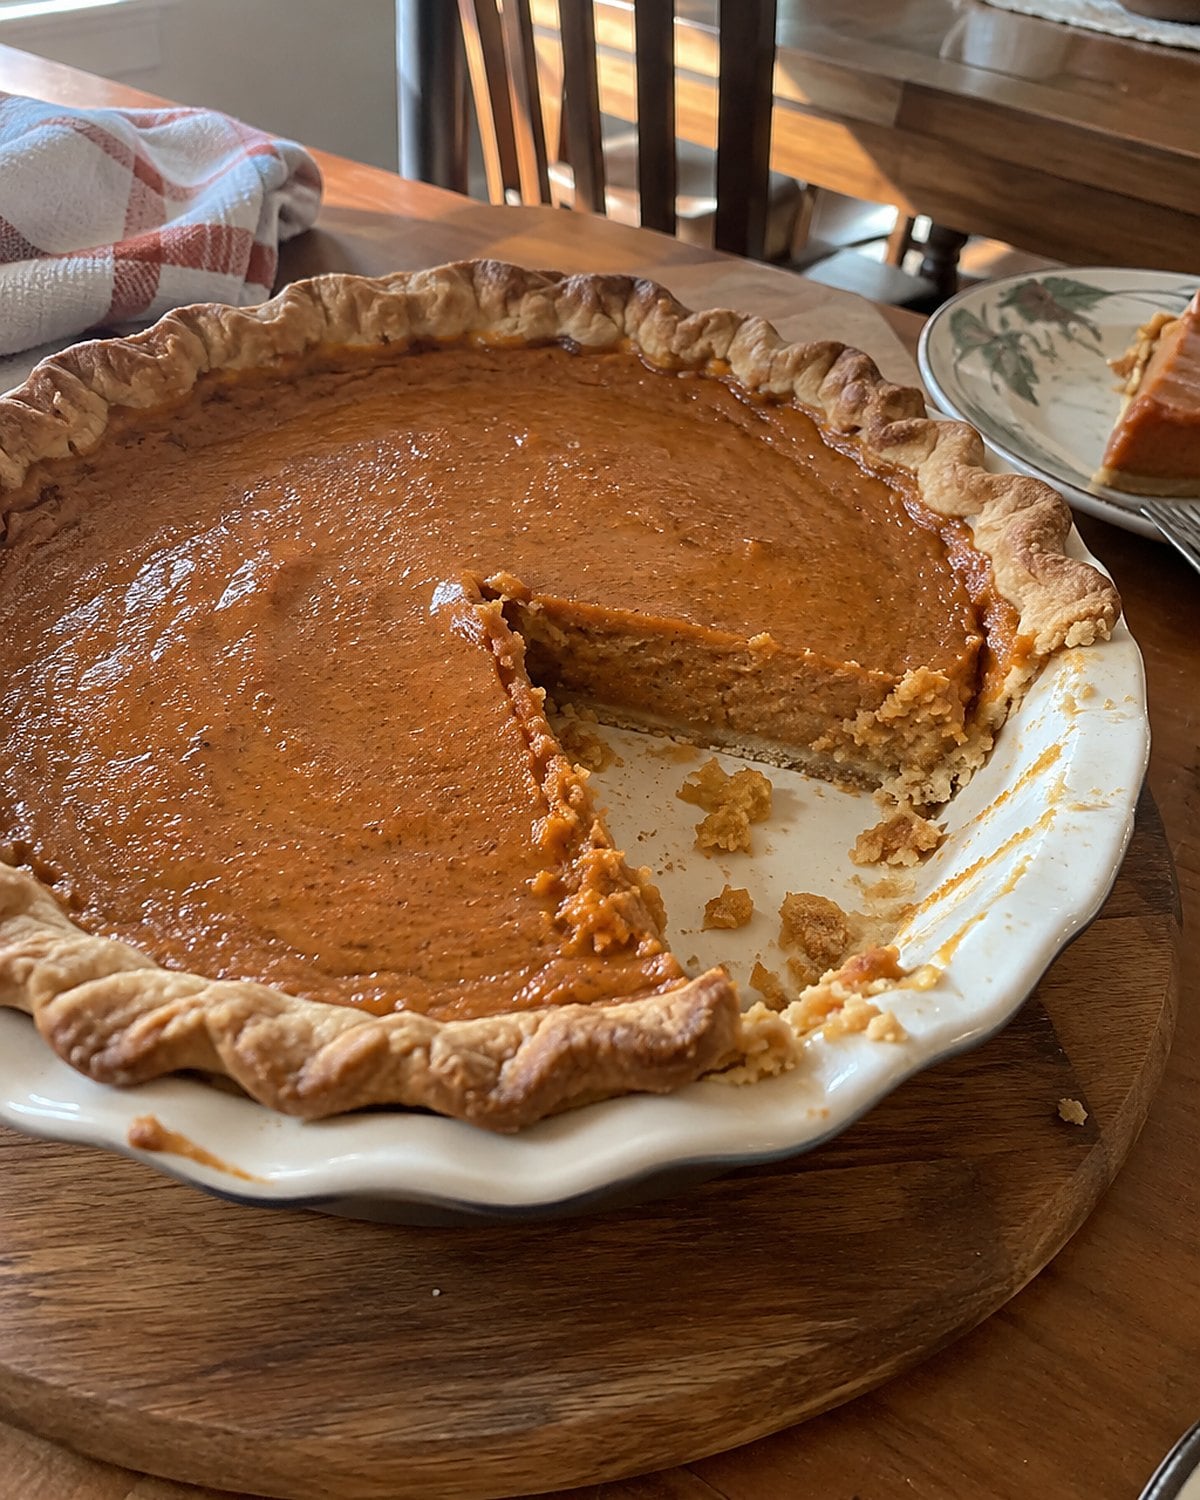
Sweet potato pie has always been a wonderful alternative to pumpkin pie. And the way you prepare the sweet potatoes can make a noticeable difference.
Baking them rather than boiling helps keep excess water out of the filling. Pierce the sweet potatoes and roast until tender, then let them cool, remove the skins, and mash until smooth.
Taste the sweet potatoes before adding sugar because their natural sweetness varies. Use spices like cinnamon and nutmeg carefully so they don't overpower the flavor. The finished pie should have set edges and a gently trembling center. Let it cool before serving. A clean slice of sweet potato pie is worth waiting for.
#11 Shoofly Pie at the Church Hall
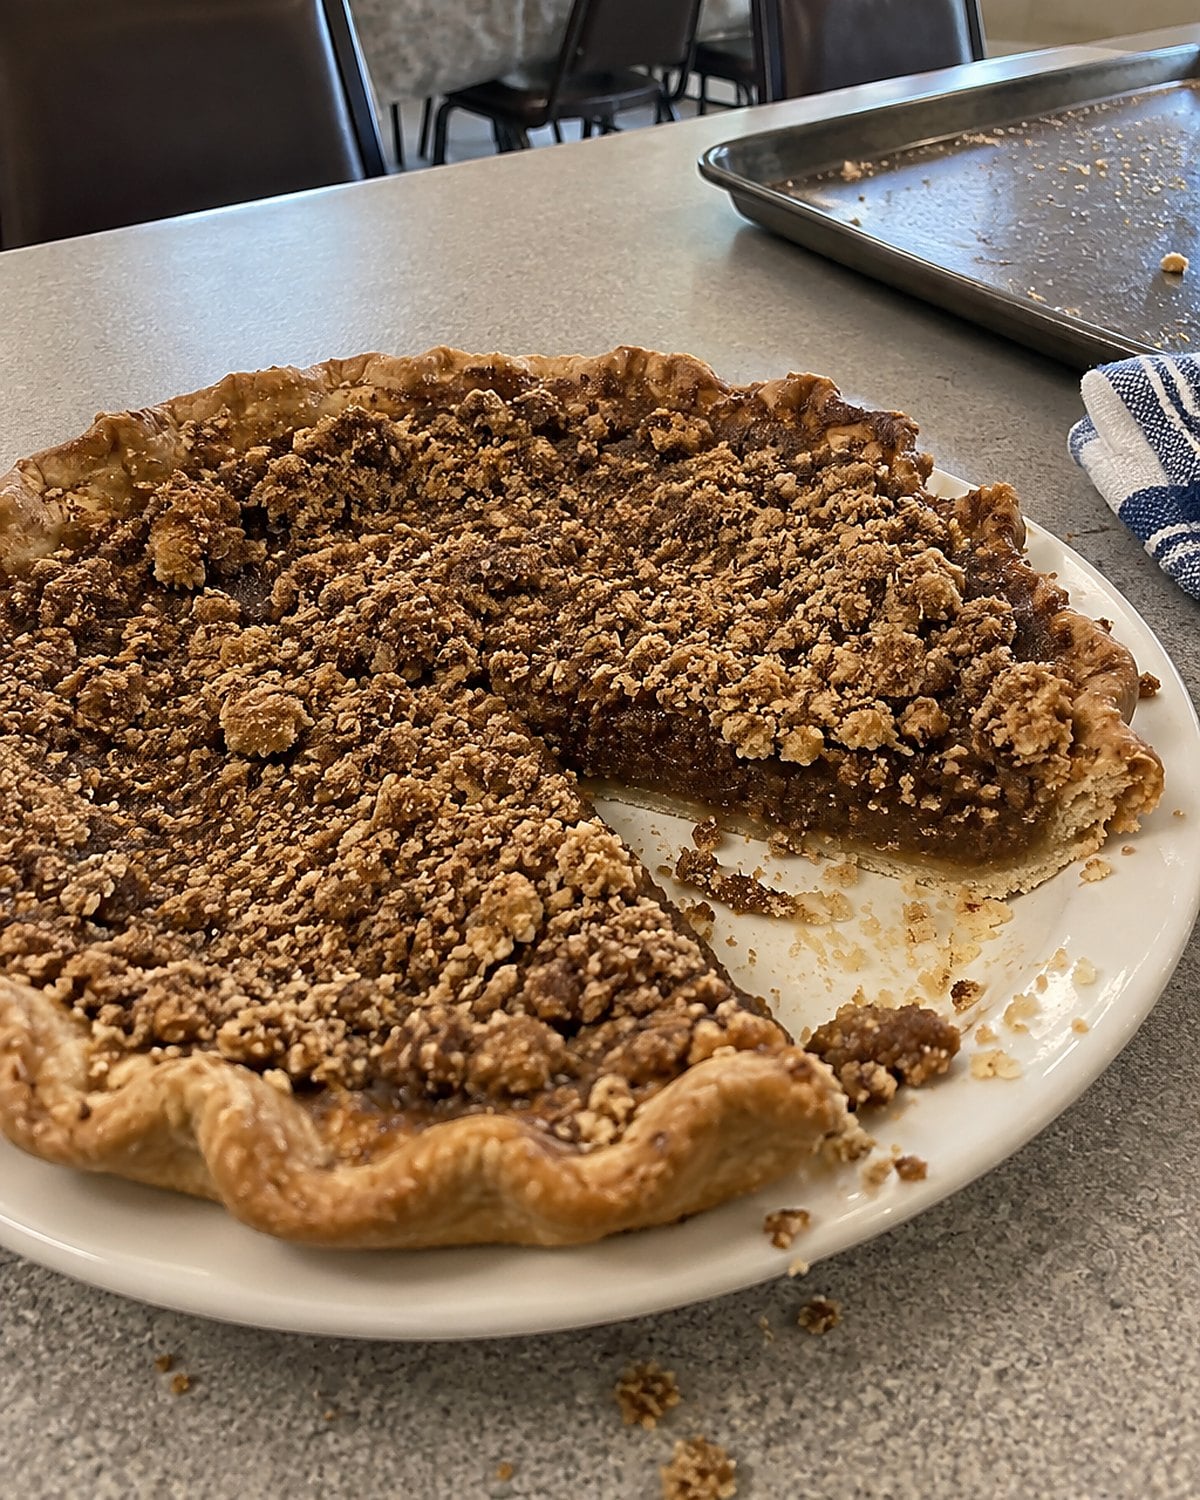
Shoofly pie is one of those old-fashioned desserts that deserves more attention. With its rich molasses filling and crumb topping, it's quite different from a typical fruit pie.
Molasses is the main flavor, so choose one you enjoy. Make the crumb topping with rough, buttery pieces rather than mixing it into a smooth dough. Scatter the crumbs over the filling and let them settle as the pie bakes.
Place the pie plate on a baking sheet to catch any spills. Molasses is not something you want baked onto the bottom of your oven. Let the pie cool before serving. And if you enjoy coffee with dessert, this is one pie that practically asks for a cup alongside it.
#10 The Dough Disk in the Refrigerator
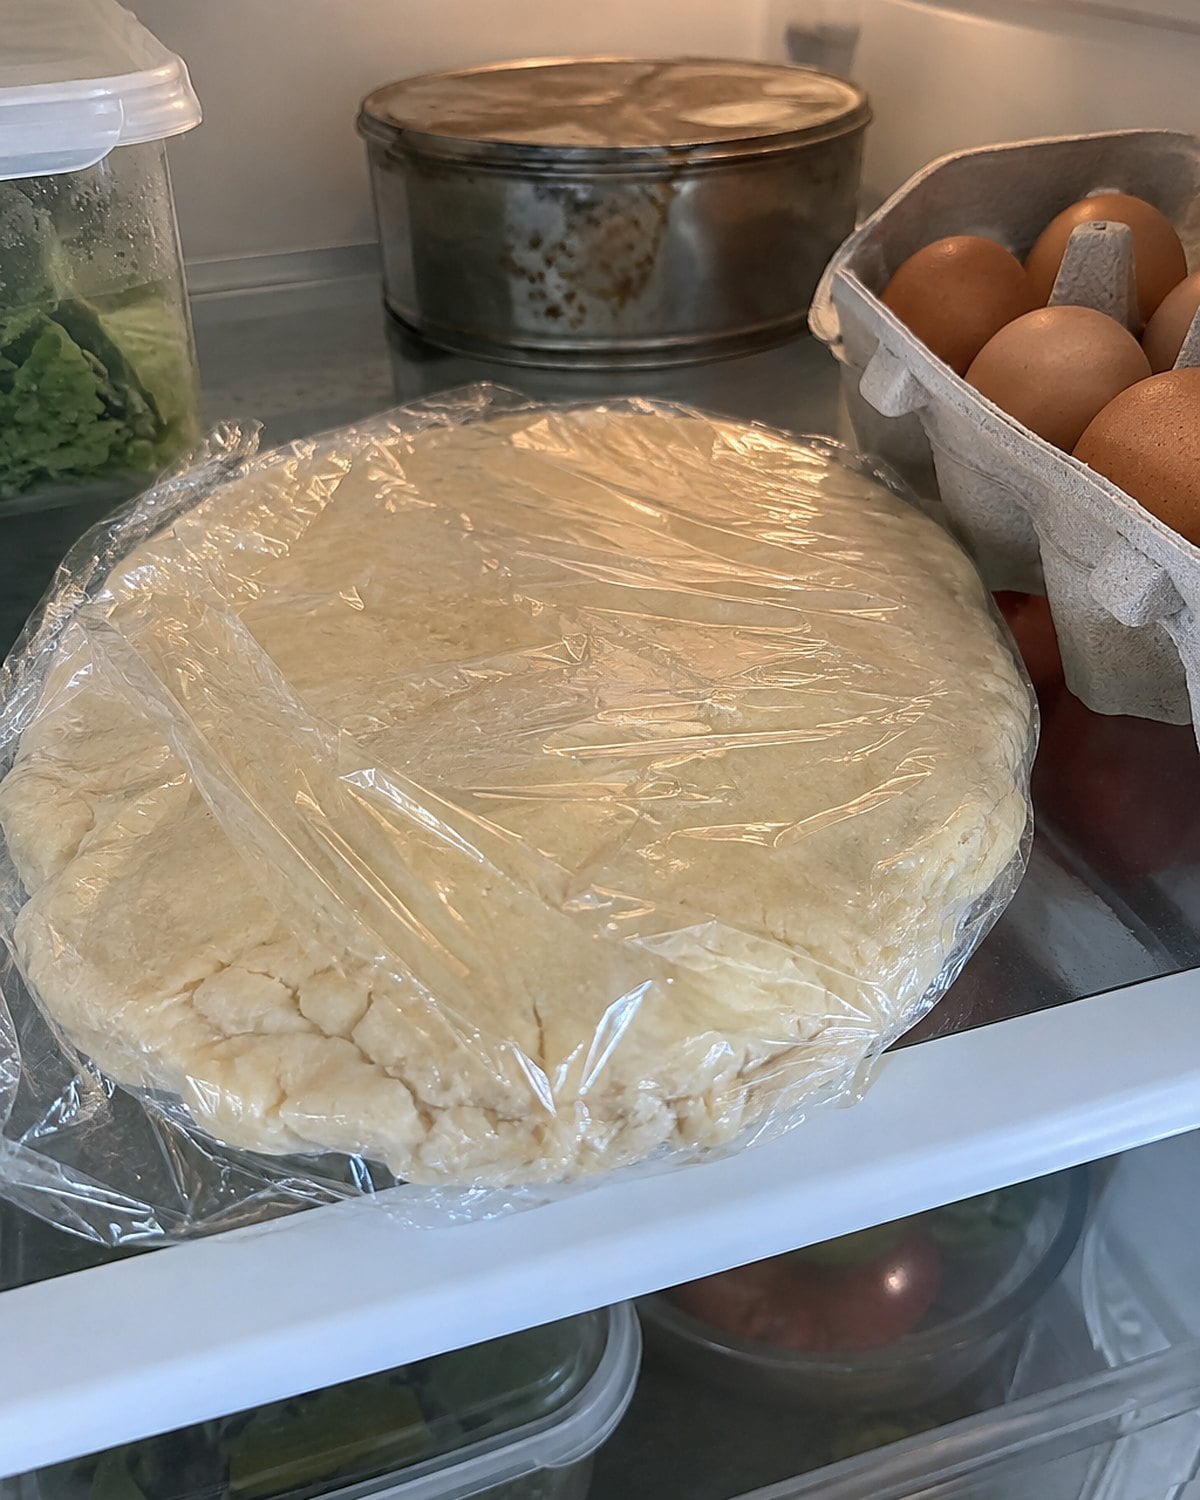
One of Grandma's best pie-making habits was letting the dough rest. Freshly mixed pastry might look ready, but rolling it immediately can cause problems.
Resting gives the flour time to absorb moisture and allows the gluten to relax. Wrap the dough in a flat disk and refrigerate it for at least 30 minutes.
If it's too firm when you take it out, let it sit briefly until it's workable. Roll from the center and turn the dough between passes. If it starts resisting or shrinking, stop and chill it again. Don't fight the dough. That's one baking lesson I wish I'd learned much earlier.
 You might also like27 Foods Grandmothers Make That Mothers Won't Allow
#9 The Vinegar Bottle by the Pantry
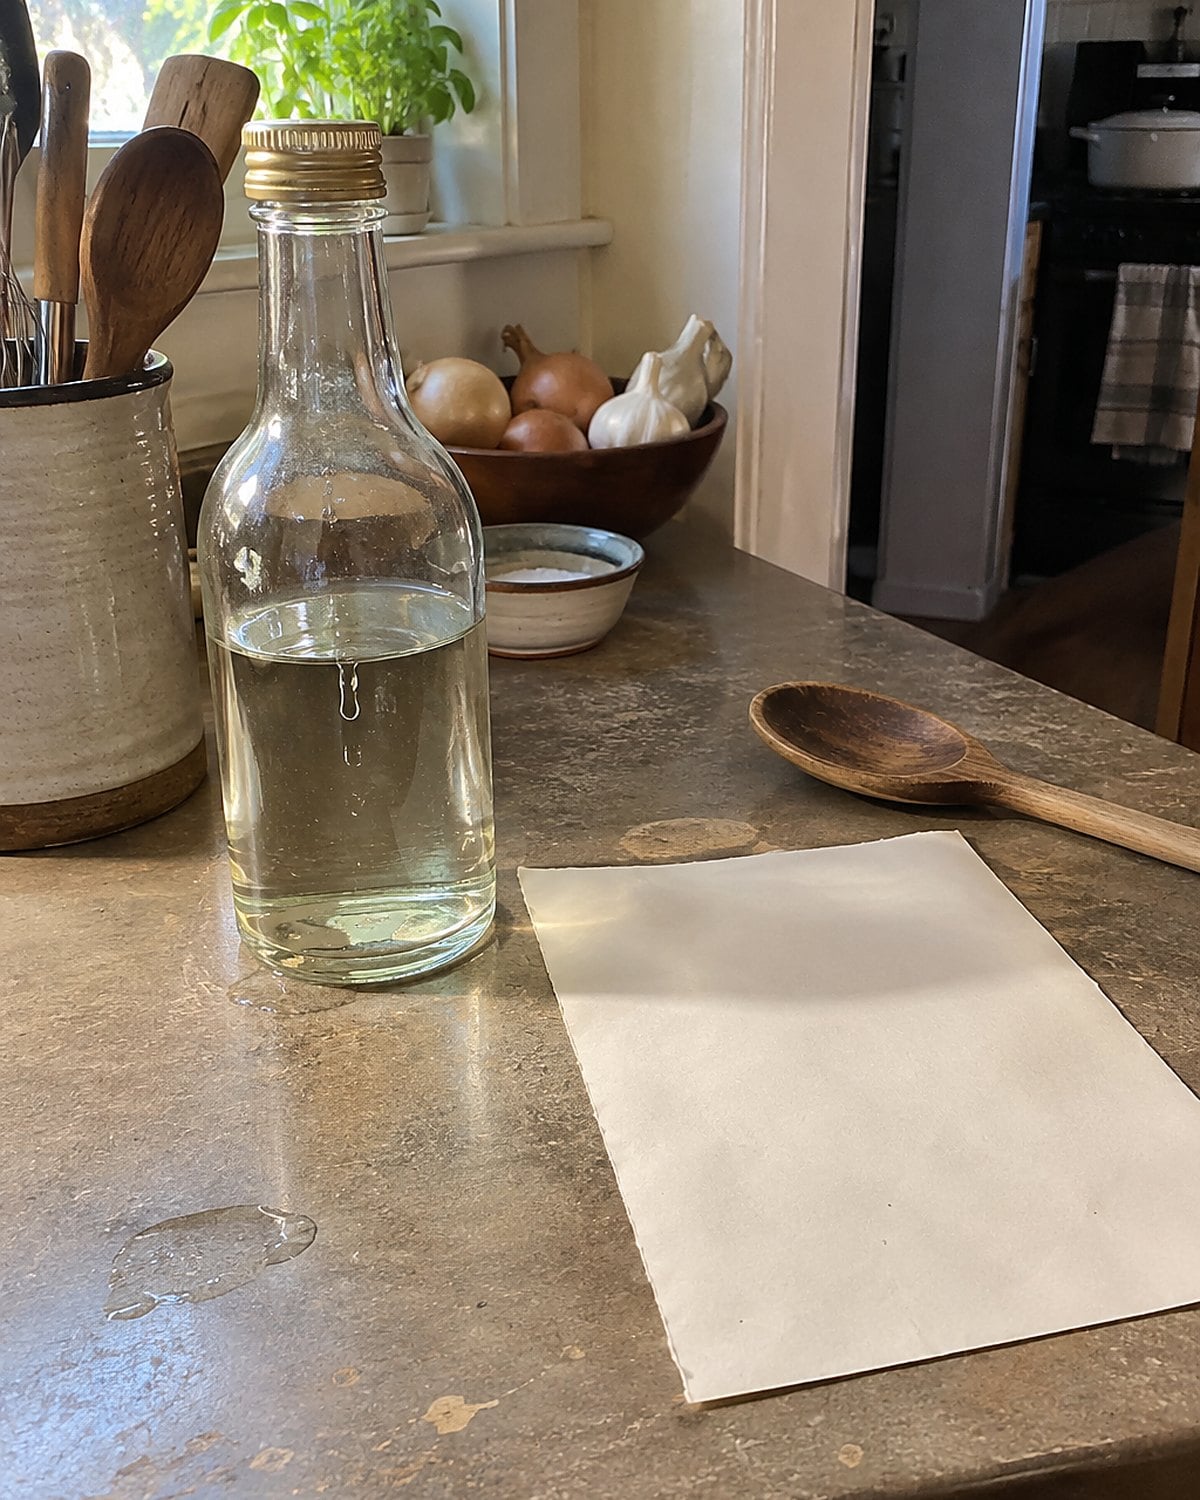
Some old-fashioned pie crust recipes include a splash of vinegar. And if you've ever looked through a handwritten family recipe book, you might have seen instructions that simply say "a little."
Vinegar adds acidity, which can help limit gluten development in pastry. But it isn't a miracle ingredient. Cold fat, careful handling, and the right amount of water still matter.
If your family recipe includes vinegar, count it as part of the liquid rather than adding extra moisture. Then squeeze a little dough to check whether it holds together. The goal is tender pastry, not a perfectly smooth ball. Grandma's secret was probably just knowing when she'd done enough.
#8 Lemon Meringue Pie Under the Broiler
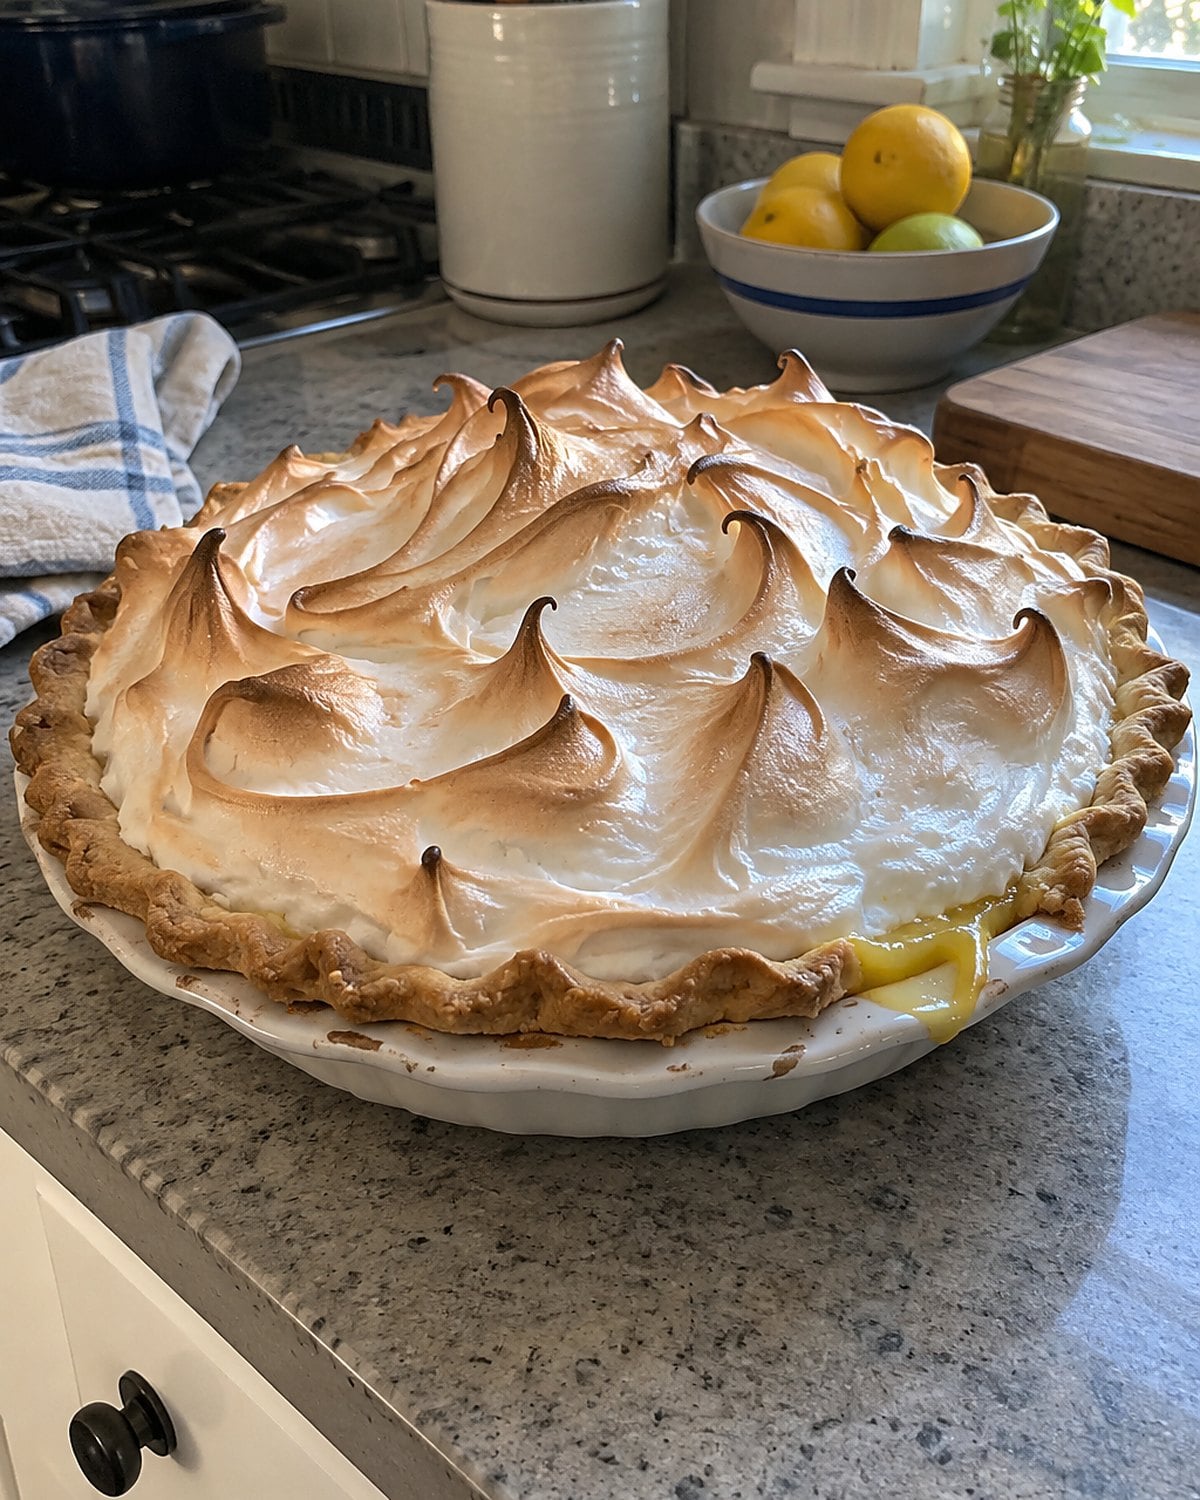
Lemon meringue pie looks beautiful when it has those golden peaks on top. But making it properly takes a little patience.
The lemon filling needs to be thick and hot before adding the meringue. Spread the meringue all the way to the crust edges so it seals against the pastry. This helps prevent the topping from shrinking away during baking.
Use a spoon to create peaks, then brown the meringue according to your recipe. If you're using the broiler, watch it closely. Meringue can go from golden to burnt very quickly.
The USDA’s food safety guidance is the place to check storage advice for pies made with eggs and dairy.
Let the pie cool before slicing, and refrigerate leftovers promptly because the filling contains eggs. And don't be surprised if someone asks for the slice with the tallest meringue.
#7 The Pinch of Salt in the Crust
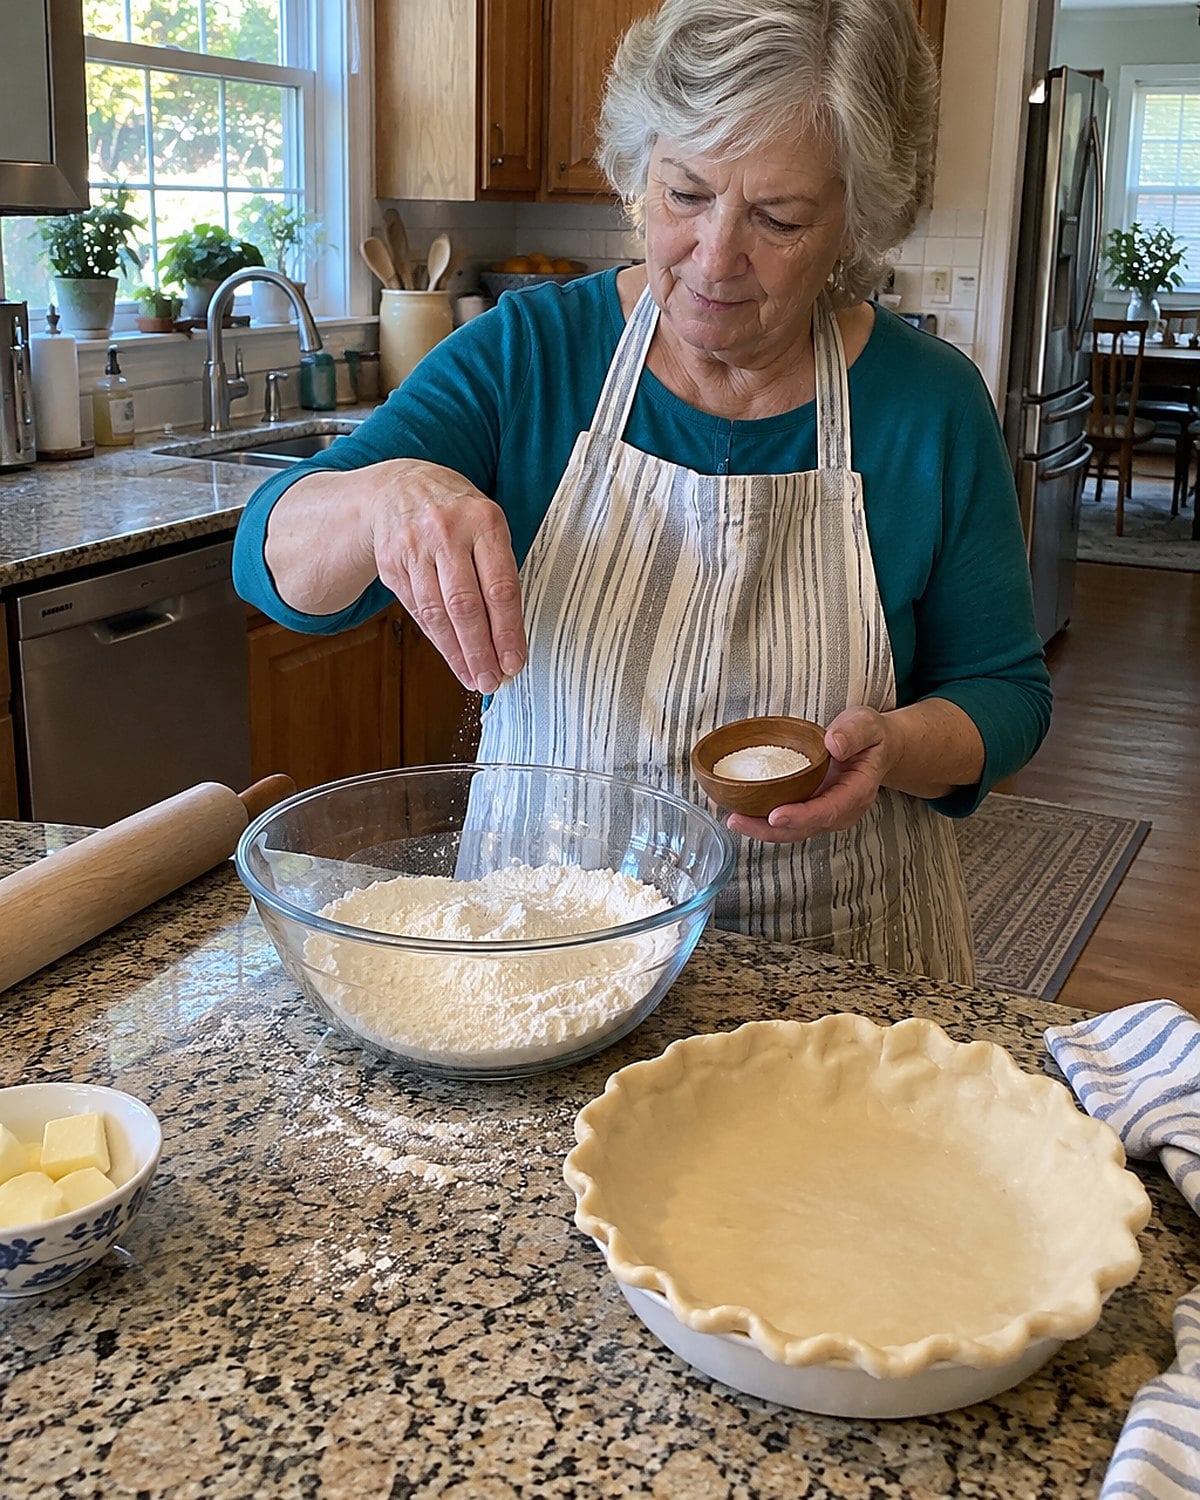
Salt might seem like a tiny ingredient in pie crust, but it makes a real difference. Without it, the pastry can taste flat, even when the filling is delicious.
Mix the salt into the flour before adding the fat so it's distributed evenly throughout the dough.
If you're learning to make pastry without measuring everything, write down how much salt you used. Then taste a baked piece of the crust without filling.
A good pie crust should taste delicious on its own, not just when it's covered in apples or cherries.
Even Grandma's best fruit filling couldn't rescue a completely bland crust.
#6 Chicken Pot Pie After Sunday Dinner
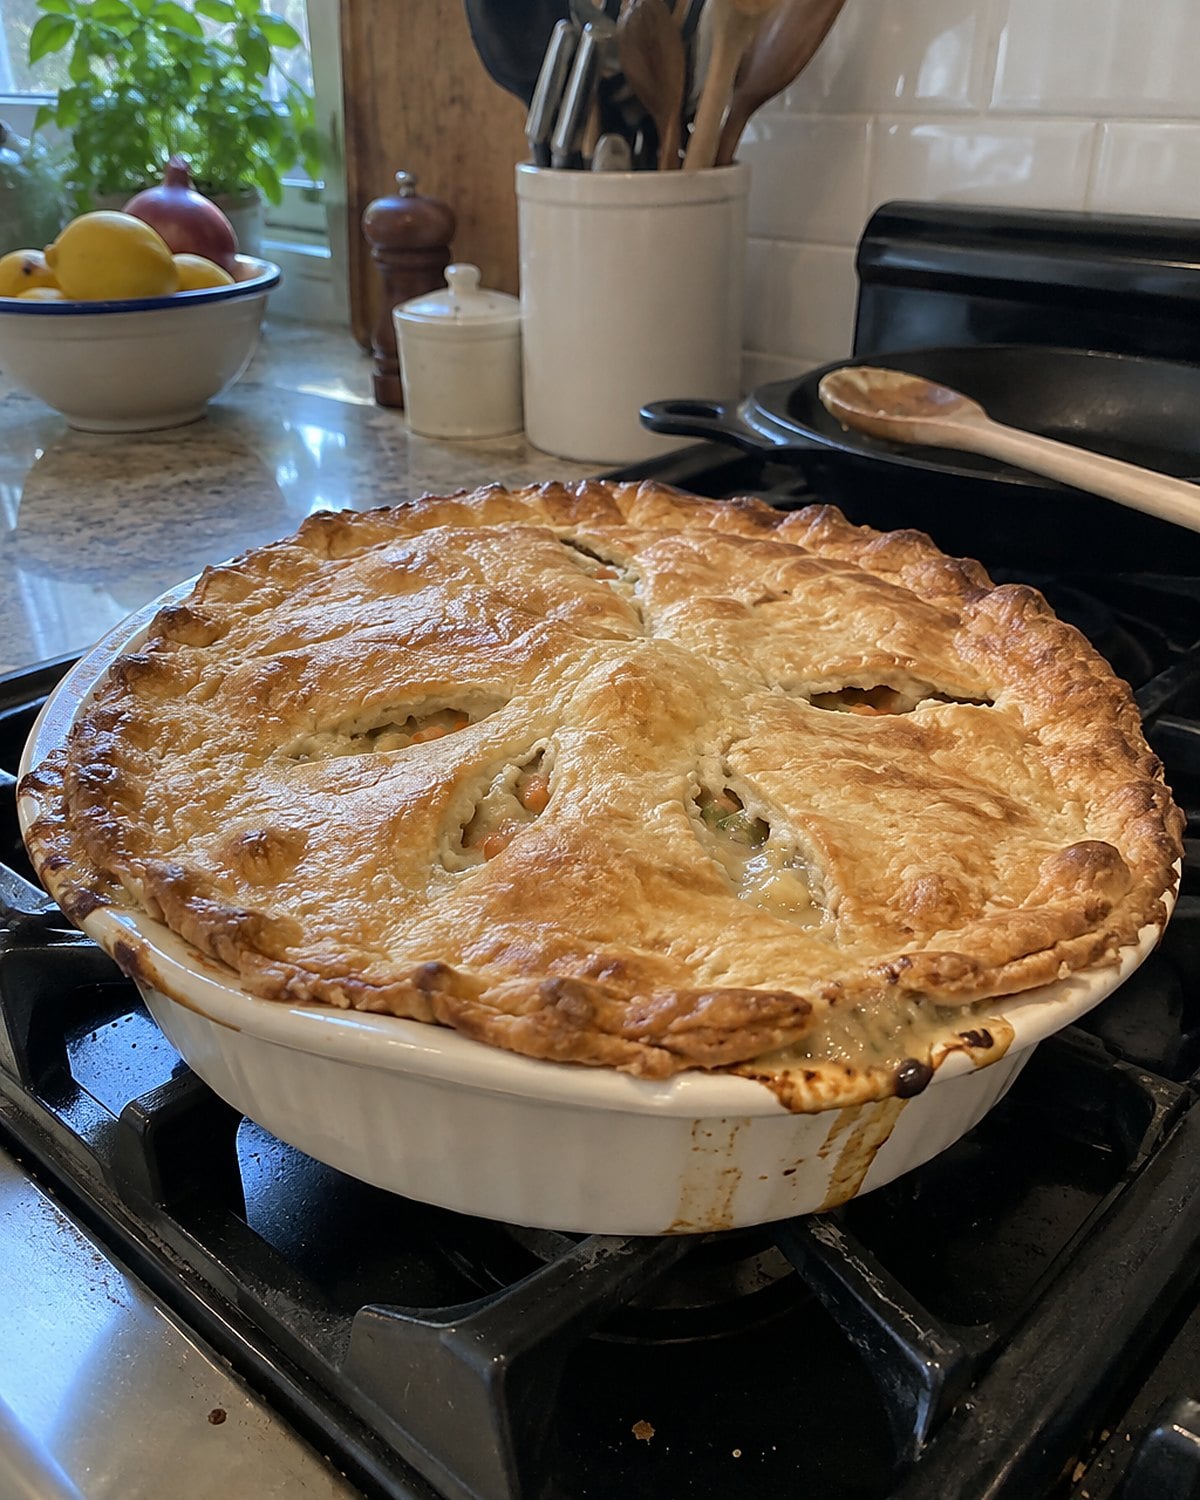
Chicken pot pie is one of those practical meals that makes excellent use of leftover roast chicken. But getting the filling right is important.
Too little gravy makes the pie dry, while too much leaves the pastry sitting on soup. Cook the vegetables, then combine them with chicken and thick gravy. Taste the filling before covering it with pastry.
Let it cool somewhat before adding the crust so steam doesn't soften the dough while you're working. Cut vents in the top and bake until the pastry is golden and the filling is heated through.
Use a thermometer to confirm the center reaches 165°F. Let the pie rest before serving so the gravy settles. It's a wonderful way to turn leftovers into another proper family dinner.
Running out of dinner ideas? I've got this for you: Instant Pot Chicken Pot Pie (Two Ways)
#5 The Spare Crust in the Freezer
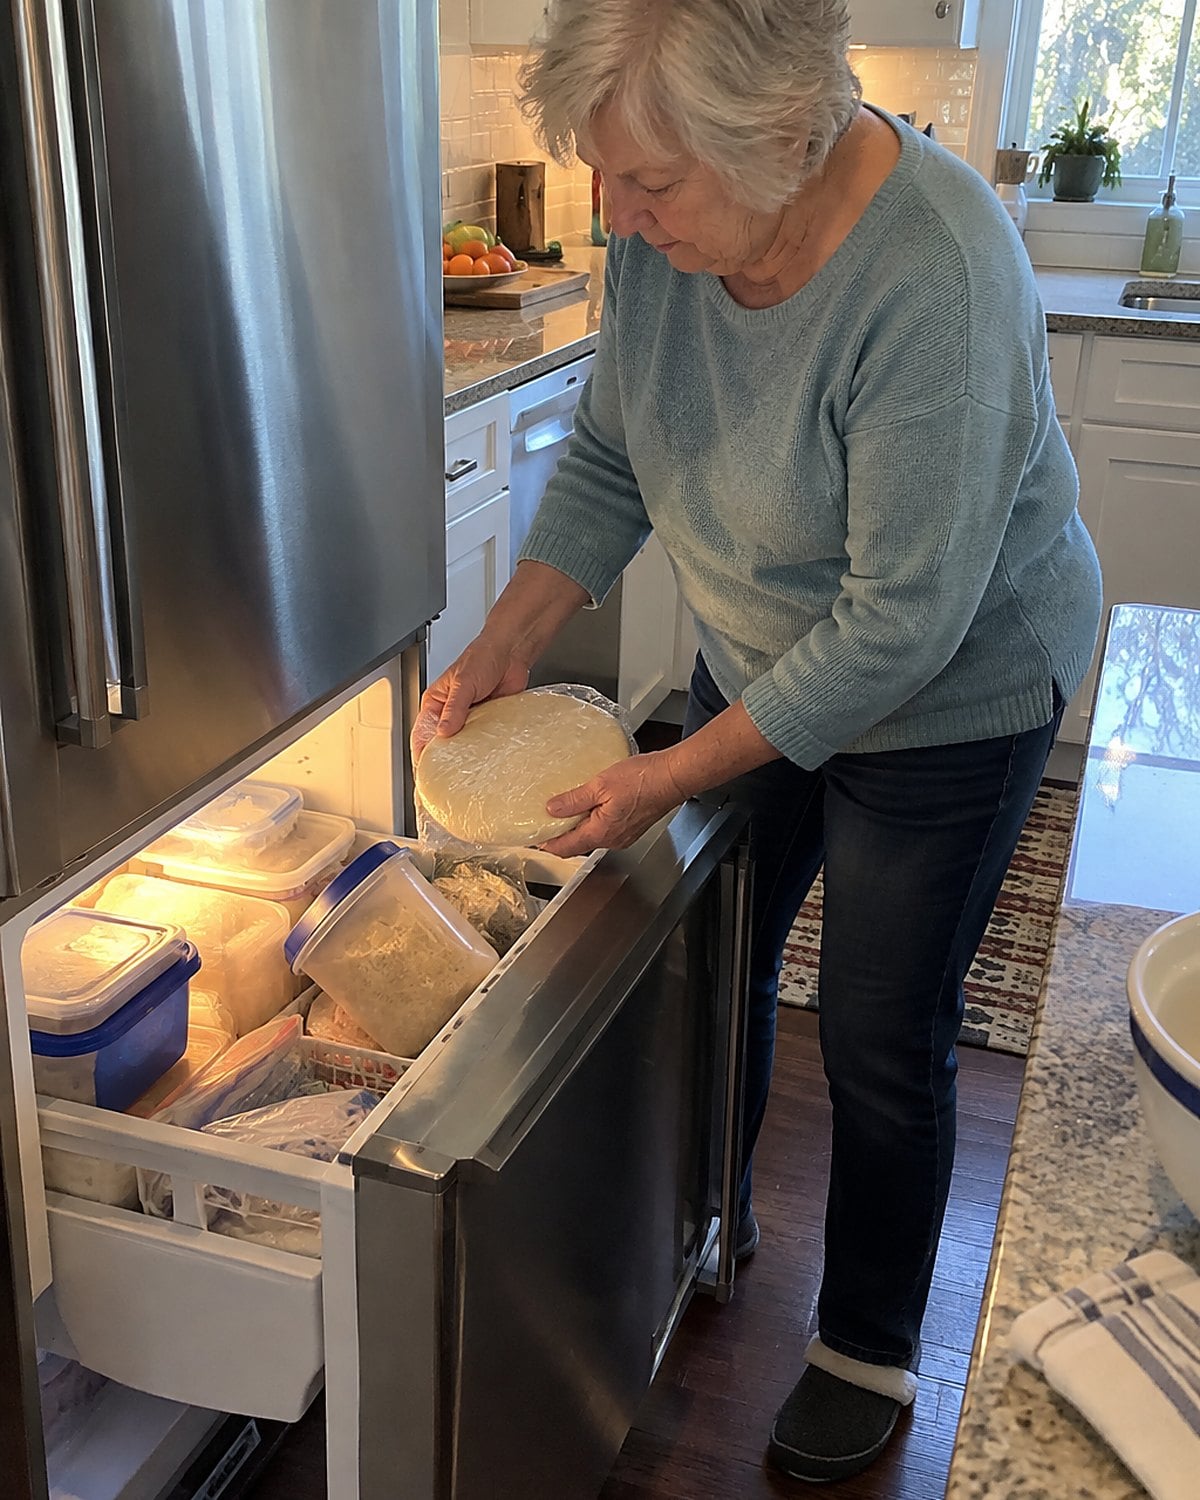
Grandma always seemed prepared when someone arrived with fresh fruit or asked for pie. One reason might have been that spare pastry waiting in the freezer.
Making extra dough is a wonderful time-saver. Flatten it into a disk, wrap it well, and label it with the date. Store it somewhere it won't get crushed.
When you're ready to bake, thaw it in the refrigerator until it's flexible enough to roll. You can even freeze a little extra dough for patching cracks or tears.
Having a spare crust means you're already halfway to dessert. And I love anything that saves me a little work on a busy afternoon.
#4 The Empty Shell That Slumped
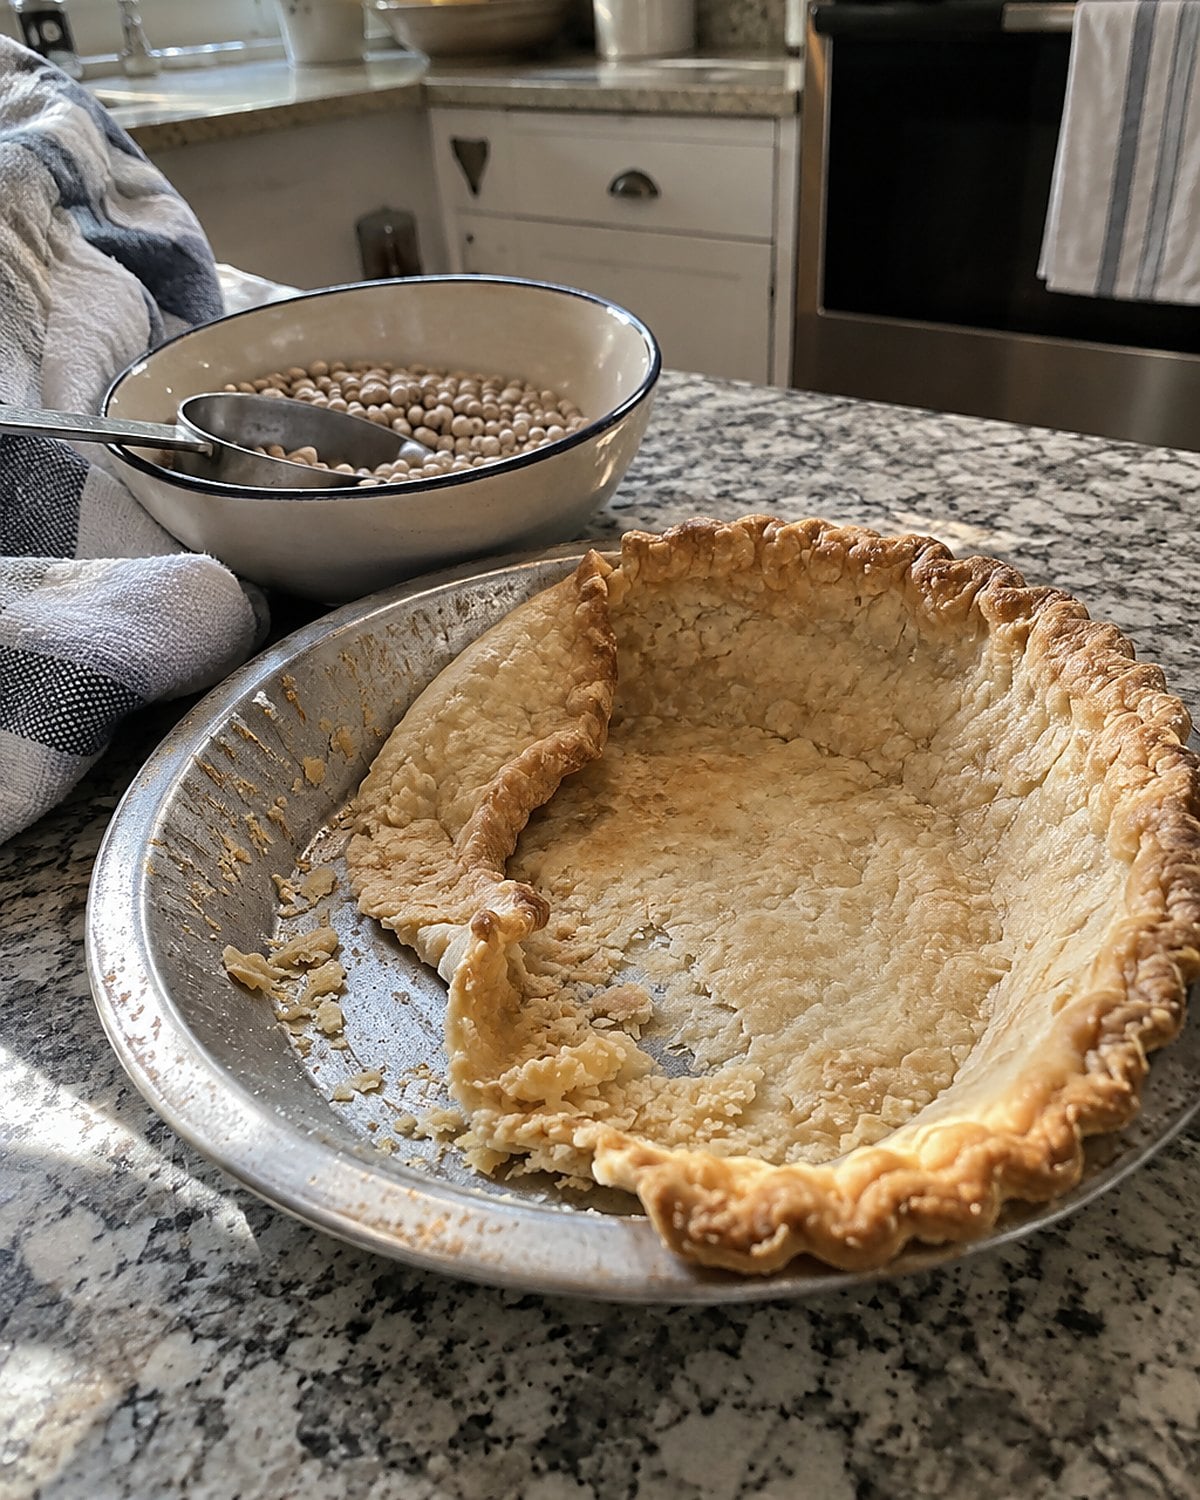
There's nothing more frustrating than carefully shaping a pie crust, only to watch the sides slide down during baking. Usually, the problem starts before the crust reaches the oven.
Don't stretch the pastry to fit the pie plate. Ease it gently into the corners and leave enough dough for a sturdy edge.
Chill the shaped crust before blind baking. Line it with parchment and fill it with pie weights, making sure they support the sides. A few beans scattered in the middle won't do much to prevent shrinking.
Once the weights are removed, continue baking if the bottom still looks damp. A firm, properly baked shell makes all the difference, especially with wet fillings. It's worth taking a little extra time before adding the good stuff.
#3 A Pinch of Dough Between Fingers
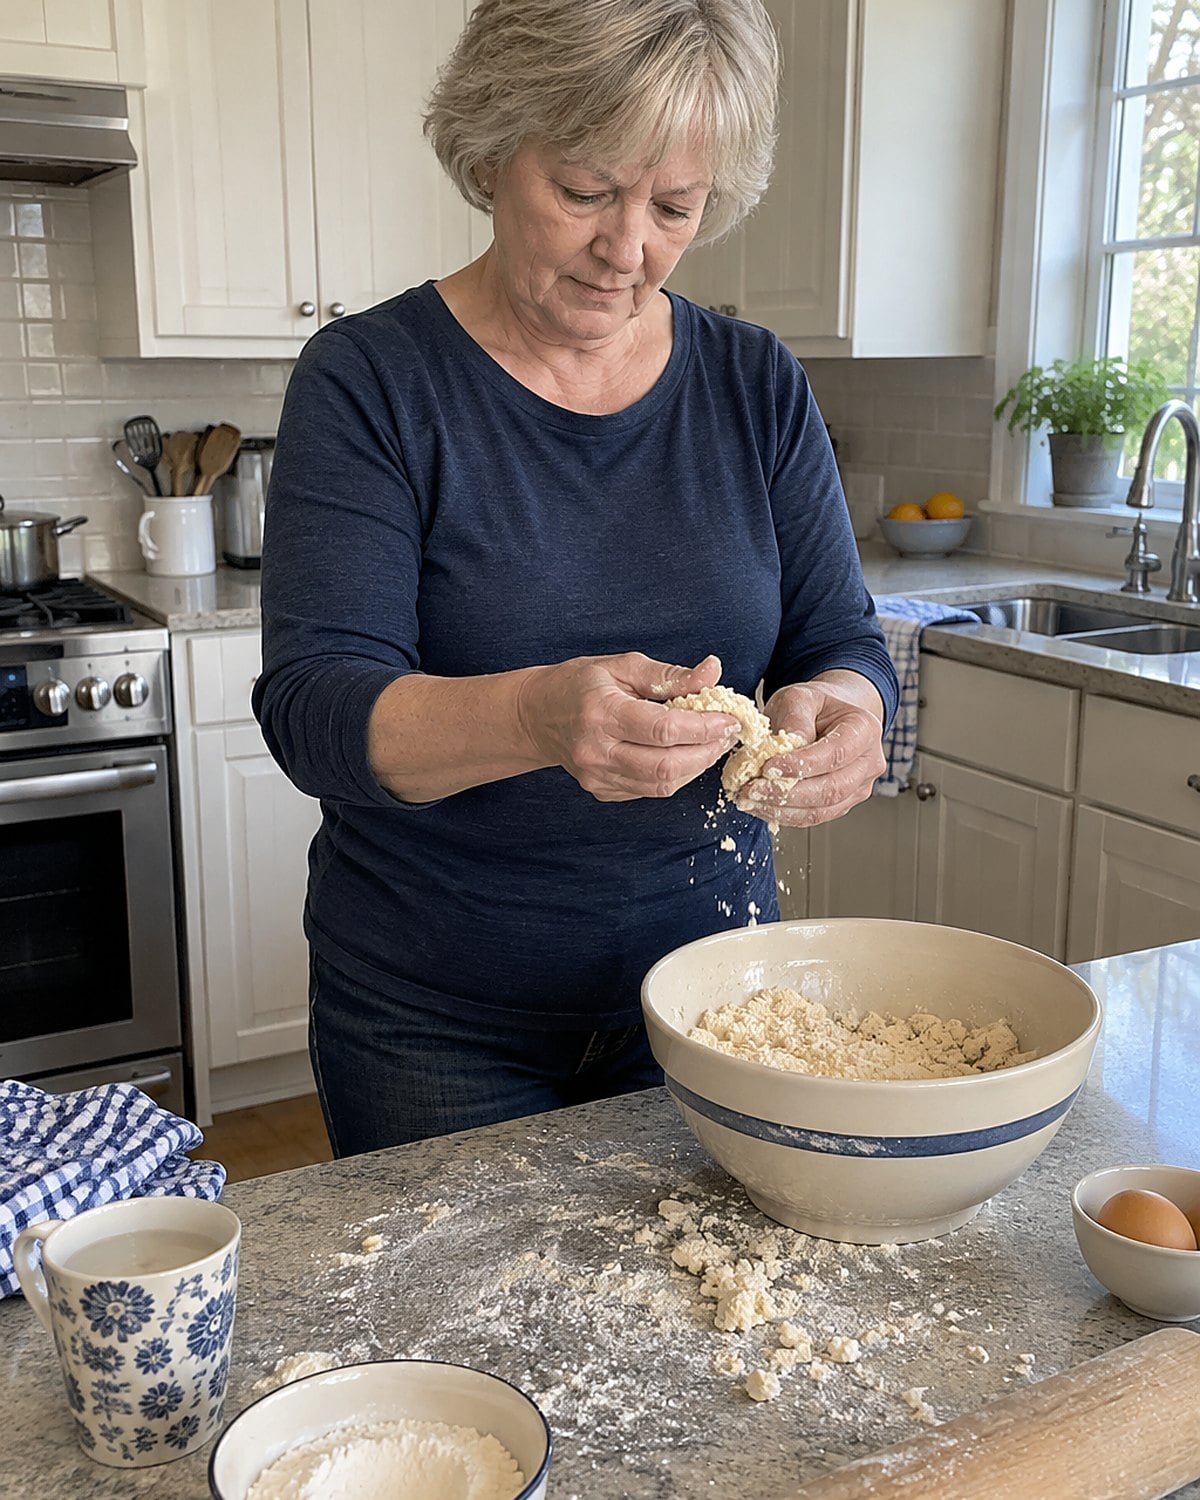
Grandma didn't need a timer to tell her when pie dough was ready. She used her hands.
Before adding water, rub a little of the flour-and-fat mixture between your fingers. You should still feel distinct pieces of fat. After adding water, squeeze a small handful.
If it holds together but breaks into rough pieces, you're on the right track. If it's sticky, stop and assess it before adding more flour.
The amount of water needed can vary depending on the flour and conditions in your kitchen. That's why those old handwritten instructions often said add enough water. It wasn't very helpful when you were learning, but Grandma knew exactly what it meant.
#2 Thick Bubbles Through the Top Crust
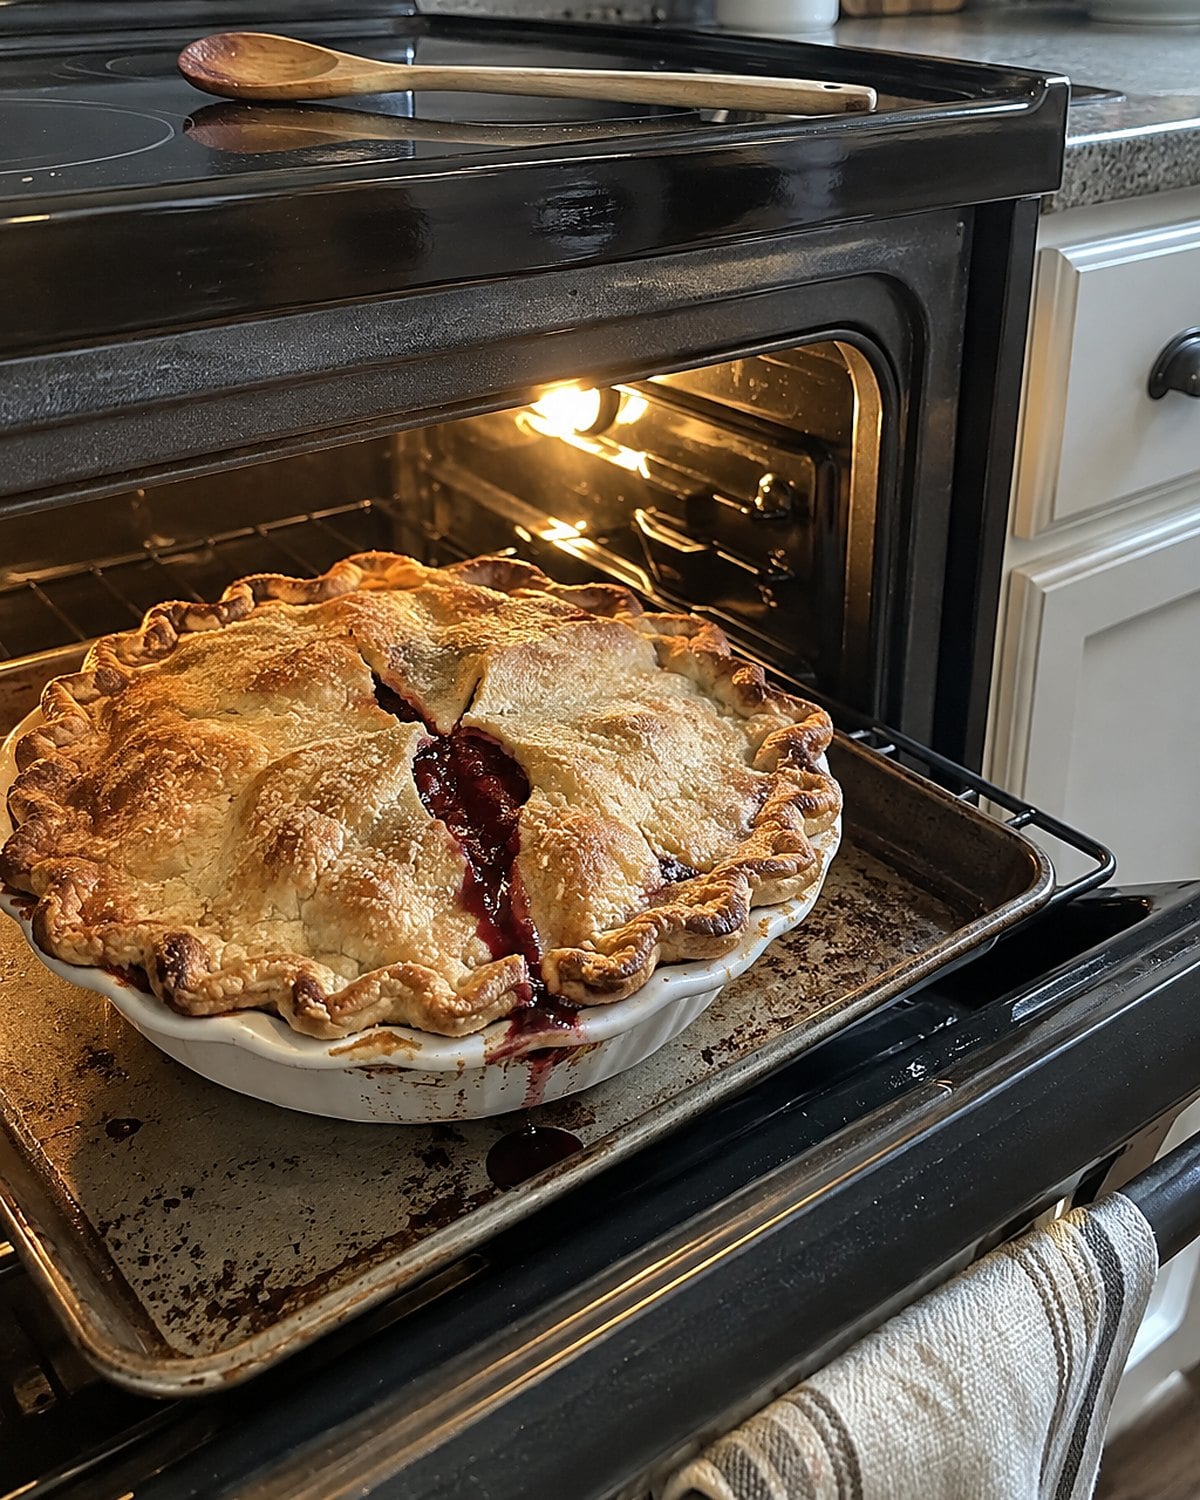
A beautiful golden crust doesn't always mean a fruit pie is ready. The filling needs enough heat to thicken properly.
Look through the vents or lattice near the center of the pie. Thin bubbling around the edges means the outside is hot. Thick bubbles rising near the middle are a better sign that the filling has cooked through.
If the crust edges are getting too dark, cover them loosely with foil. Always place a baking sheet underneath fruit pies to catch drips. Once baked, let the pie cool on a rack.
I know it's difficult to wait when the kitchen smells so good. But cutting a fruit pie too early often means watching all that lovely filling run across the plate.
#1 Her Recipe Written in Your Hand
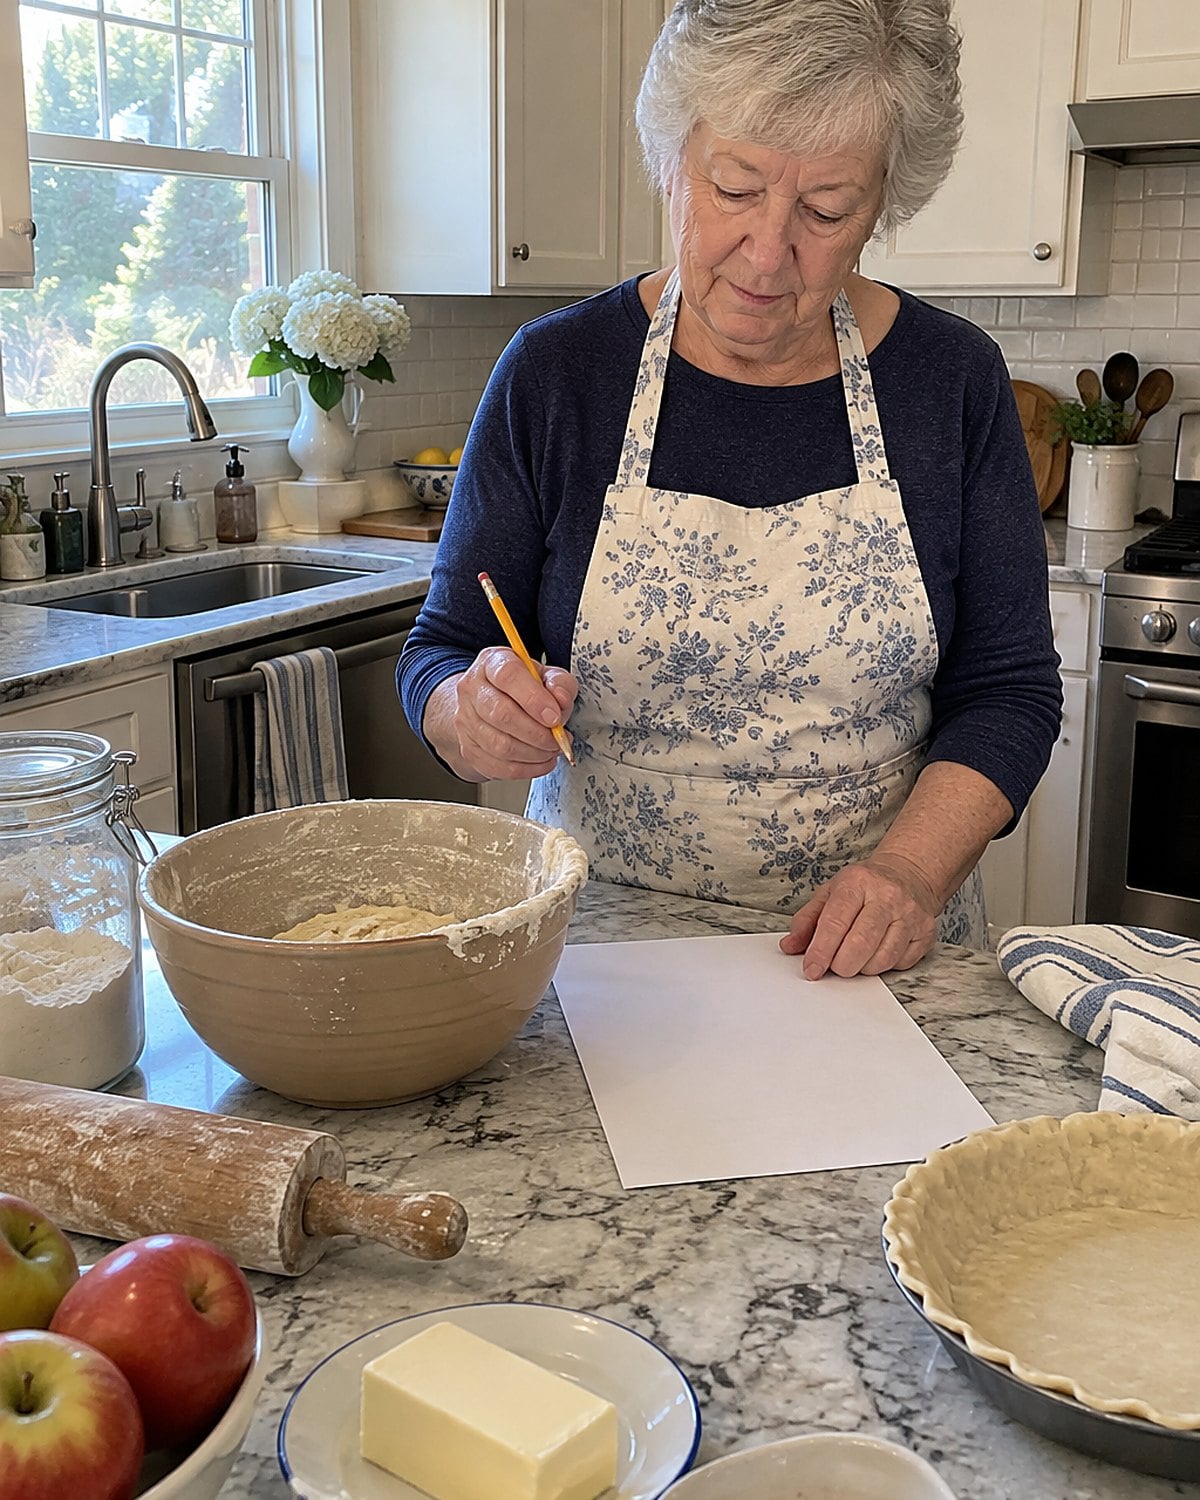
Of all the pie-making lessons Grandma could teach us, I think this might be the most important: write down what works.
She might have made her pies entirely by feel, but that doesn't mean you have to guess every time. Keep a notebook nearby and record the ingredients, amounts, and little adjustments you make.
Write down how the dough felt, which apples you used, and what the filling looked like when it was ready. If something goes wrong, make a note of that, too. A cracked crust or runny filling isn't a complete failure. It's information you can use next time.
And if you're lucky enough to have one of Grandma's handwritten recipes, keep it safe. Add your own notes beside hers. That's how family recipes continue from one generation to the next.
Keep reading
 27 Old-Fashioned Desserts That Deserve a Comeback
See all 27 →
More you’ll remember
 24 Dishes That Died With the Woman Who Made Them
 26 Church Cookbook Lessons That Fed a Whole Town, and Why They Worked
 27 Dishes Your Mother Made From Nothing That You've Never Managed to Copy
The Bottom Line
Her pies weren’t made by luck. She watched the dough, the filling, and the oven, then changed course when one of them asked her to.
The well-prepared version of you has a cold dough disk, a baking sheet under the plate, and a pencil beside the flour tin. You don't need to get everything right the first time. With practice, you'll start recognizing those same little signs Grandma knew so well.
Which pie did your grandmother make that you've never quite been able to recreate?
Leave a Reply