

The church cookbook falls open to the page with a butter stain. You don't need the instructions anymore. Your hand reaches for the same pan, the same spoon, the same knob on the stove.
That's what forty years of dinners gives you: speed without thinking. It also means a small mistake gets forty years of practice.
A restaurant cook has habits too, but the useful ones leave clues you can see, smell, or measure. You don't need a new kitchen to borrow them. Start with the pan already on the stove.
#27 The smoking cast-iron pan
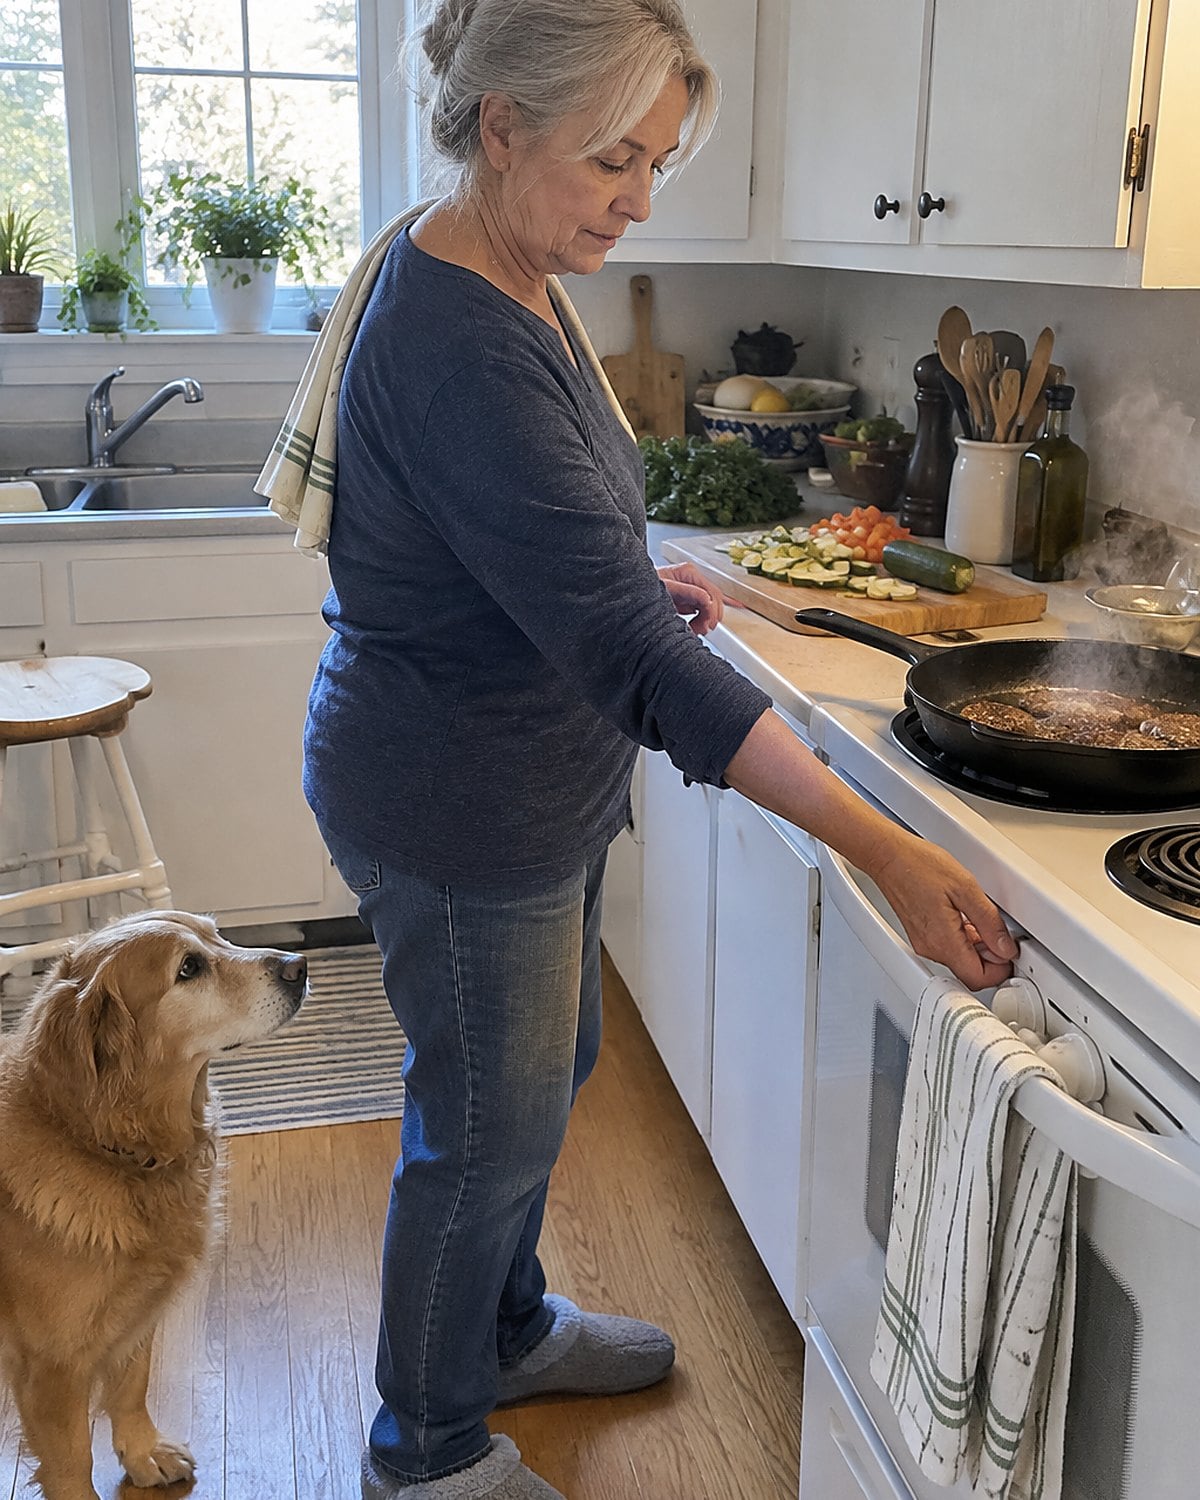
You set a cast-iron skillet over high heat while you chop the onion. By the time you return, a thin thread of smoke rises from the surface. It feels like proof that the pan is ready. Then the oil goes in, the onion scorches at its edges, and you spend dinner turning down a burner that has already done its damage.
Cast iron holds heat well. Once the pan gets too hot, lowering the flame doesn't cool it at once. Start over medium heat and give the pan time to warm. Add a little oil, then watch it: it should shimmer and move freely, without smoking. If smoke appears, lift the skillet off the burner and let it cool before you add food.
Keep the high heat for the job that calls for it. Your onions want time to soften; a hard sear wants a hot pan. The knob doesn't know which dinner you're making.
#26 The lettuce in the sink
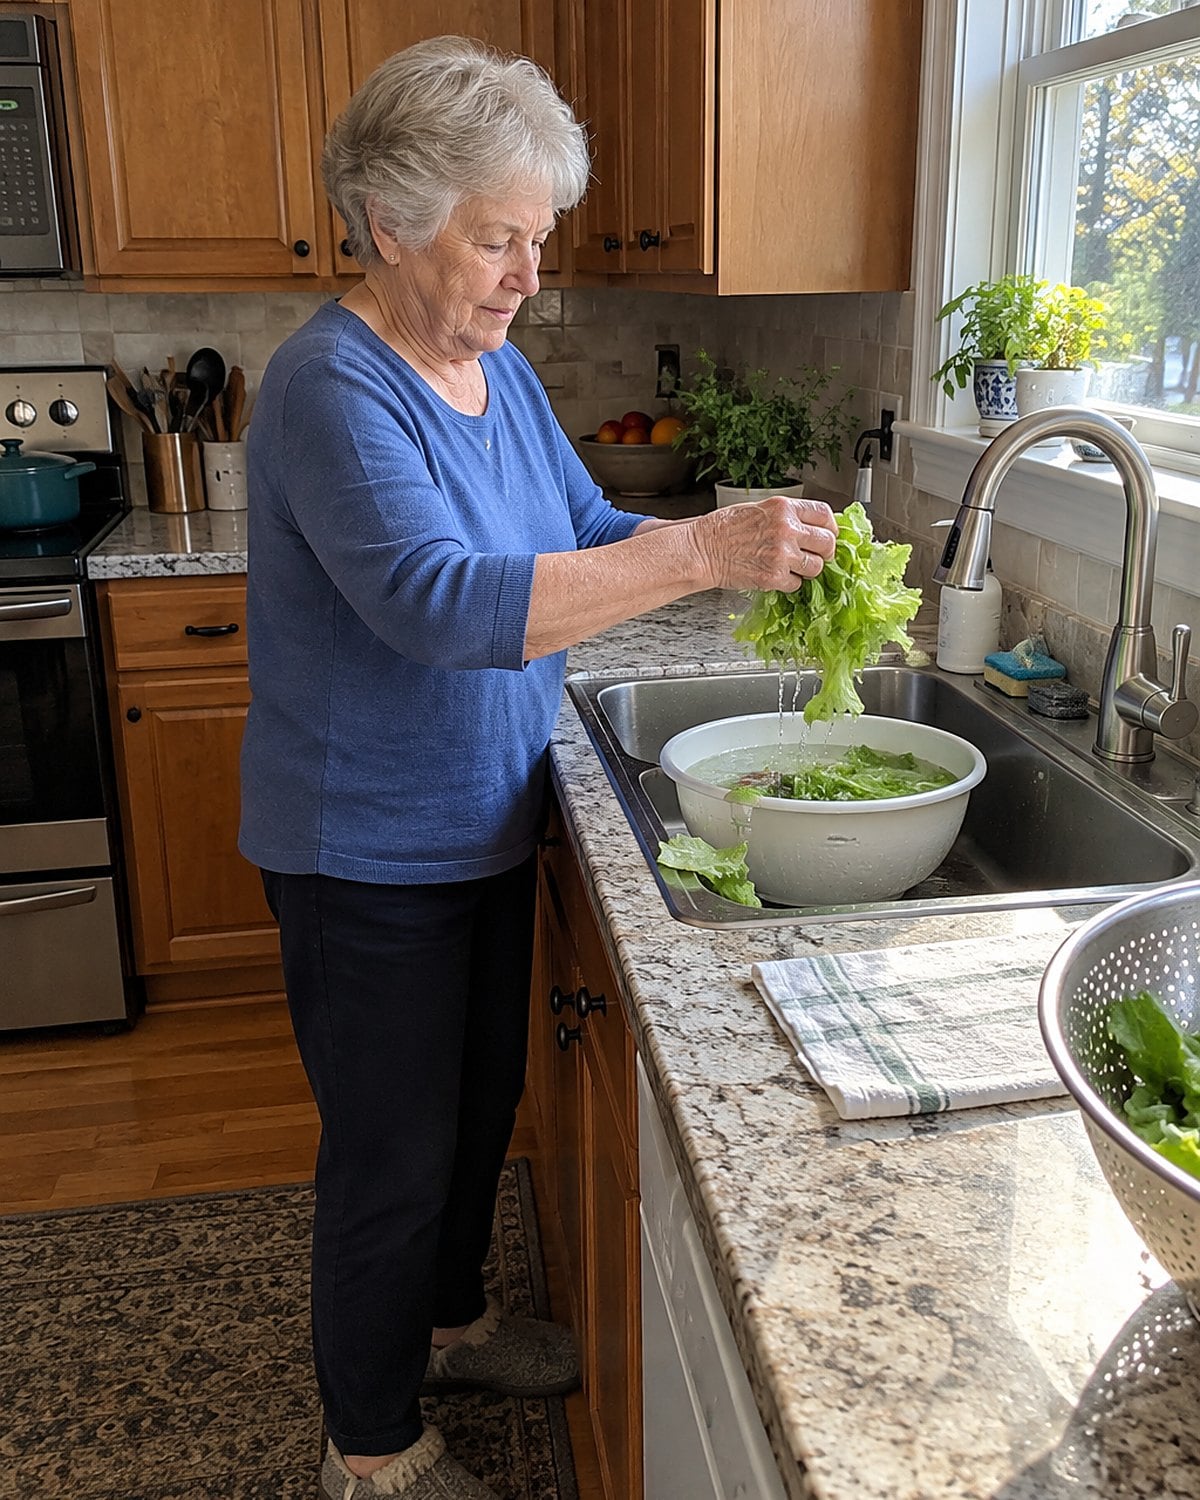
A bowl of water looks like a good way to wash greens. The grit settles, and the leaves float clear. Then you lift the bowl to the colander and pour everything out together. The sand you just removed runs straight back through dinner.
Lift the leaves out instead, leaving the dirty water behind. Repeat with fresh water until there's no grit at the bottom. Dry the greens before dressing them. Water clinging to each leaf thins the dressing and leaves a puddle beneath your salad.
If you use a spinner, stop it and feel a leaf before you put the bowl away. A dry leaf tells you more than the number of turns you gave the handle.
#25 The casserole shoved into a cold oven
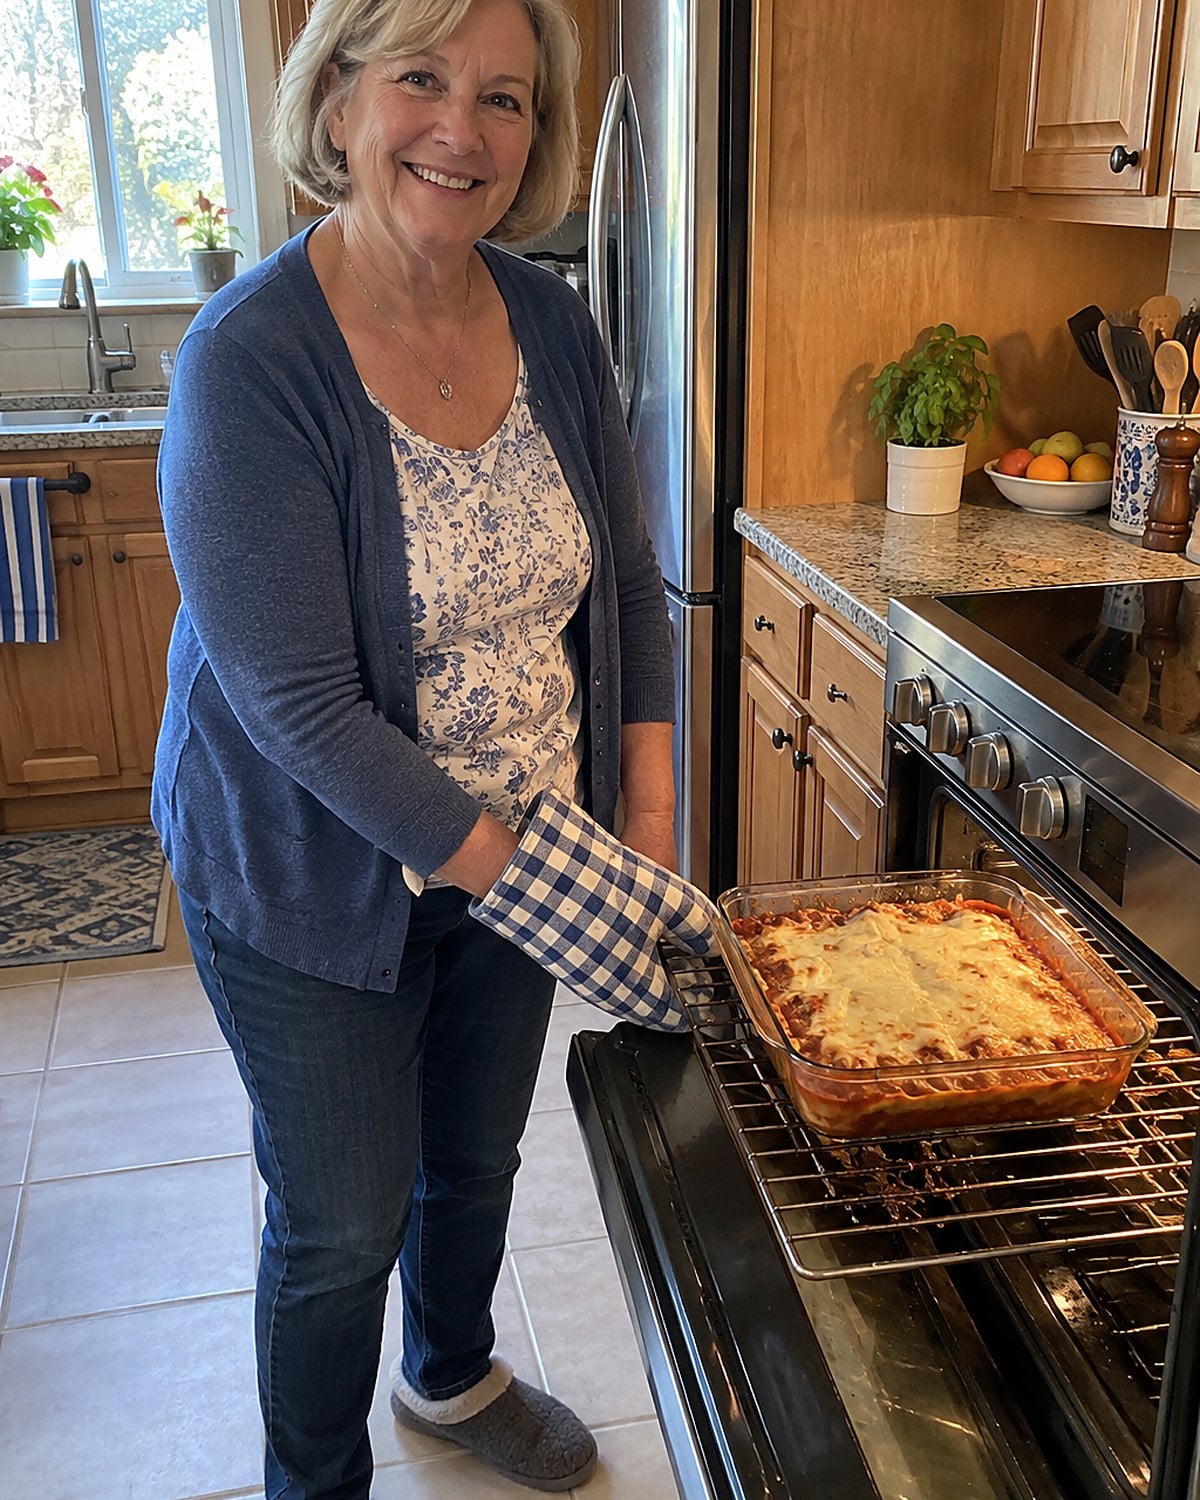
You've made that casserole so many times you know where its dish sits in the cupboard. You turn on the oven, slide the dish in at once, and start counting from the time printed in the church cookbook.
The printed time assumes an oven that's already hot. During preheating, the dish warms while the top sits in heat too weak to brown it. A deep, cold casserole then needs extra time in the center. Its edges keep cooking while you wait for that center to catch up.
Preheat first. Set the dish on the middle rack, where hot air has room to move around it. Near the end, look past the cheese: bubbling at the edges tells you little about the middle.
Push a knife into the center, leave it there for a moment, then touch the blade to check that the center is hot. For a casserole containing meat or poultry, use a food thermometer and follow the USDA's safe temperature chart. A browned top isn't a reading from the middle.
#24 The flour scooped with its measuring cup
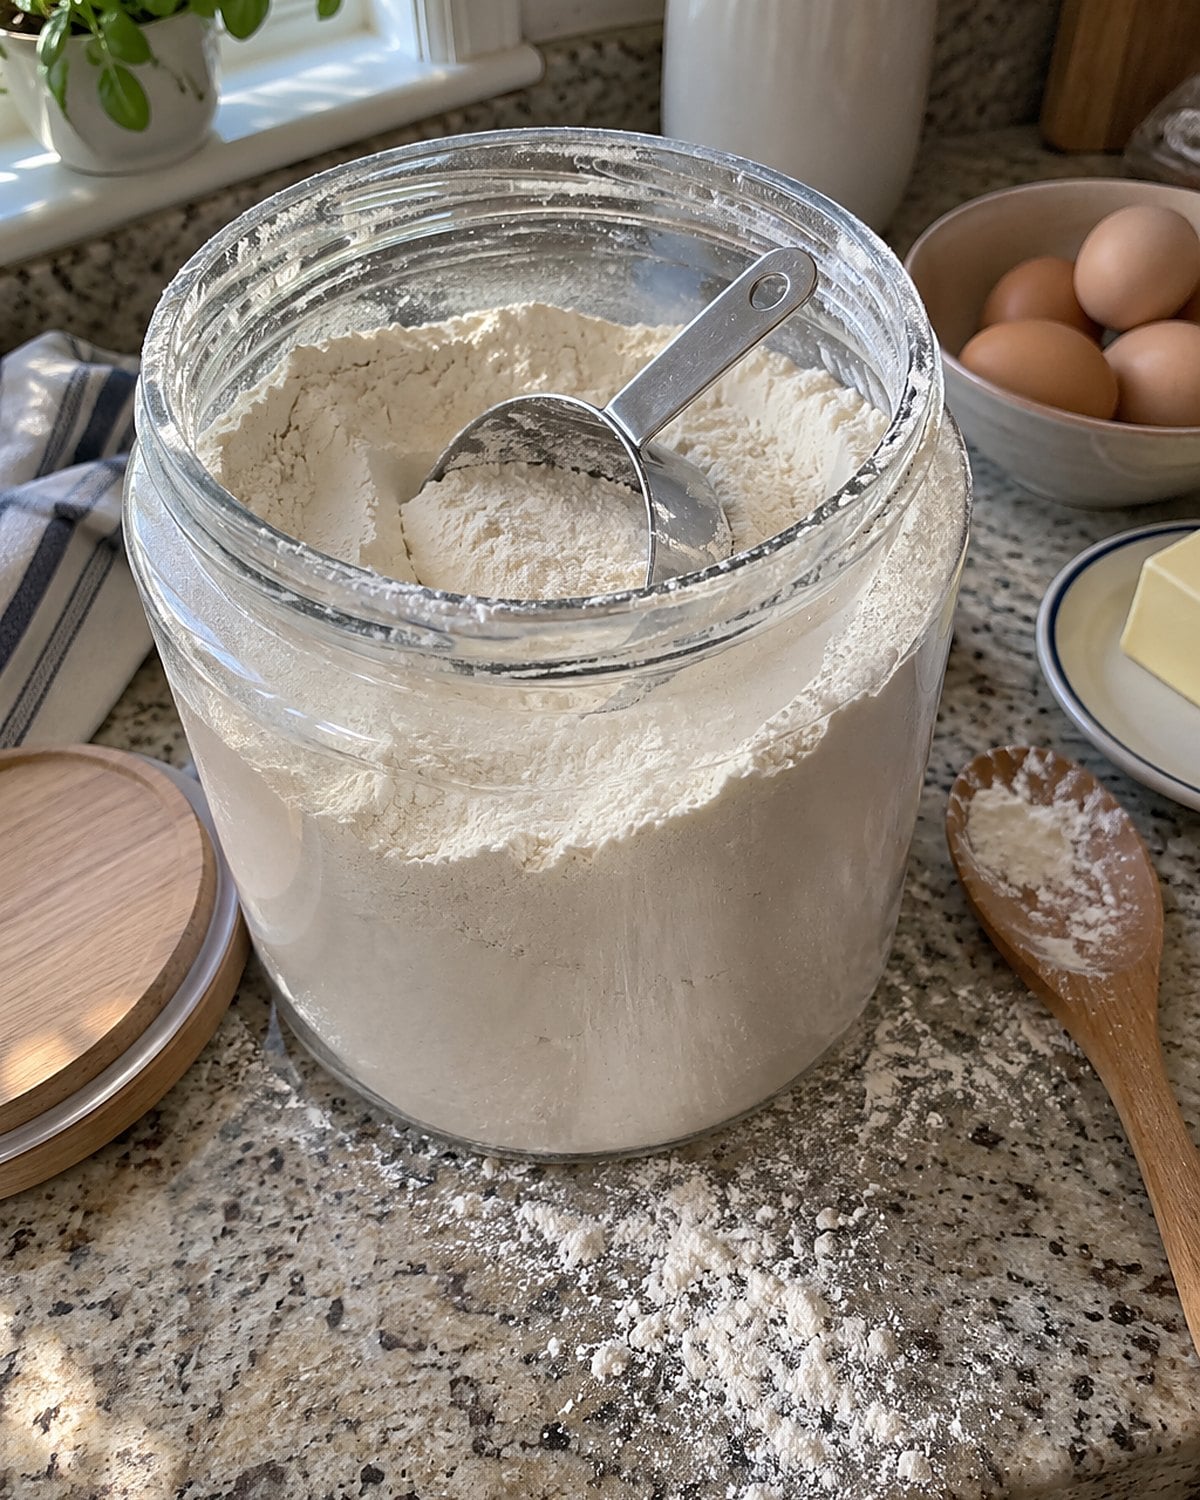
The metal measuring cup lives in the flour canister, handle sticking out. You plunge it down, drag it up the side, and level off the top. That firm scoop packs flour into the cup. Your familiar cake batter turns stiff, though you followed the card exactly.
For a recipe written in cups, stir the flour in its container. Spoon it into the measuring cup without pressing, then sweep the excess off with a straight edge. Do it the same way each time, and the batter becomes easier to judge.
If a recipe gives flour by weight, use a scale. You won't have to wonder how hard the last person dug into the bag.
#23 The garlic dropped in before the onion
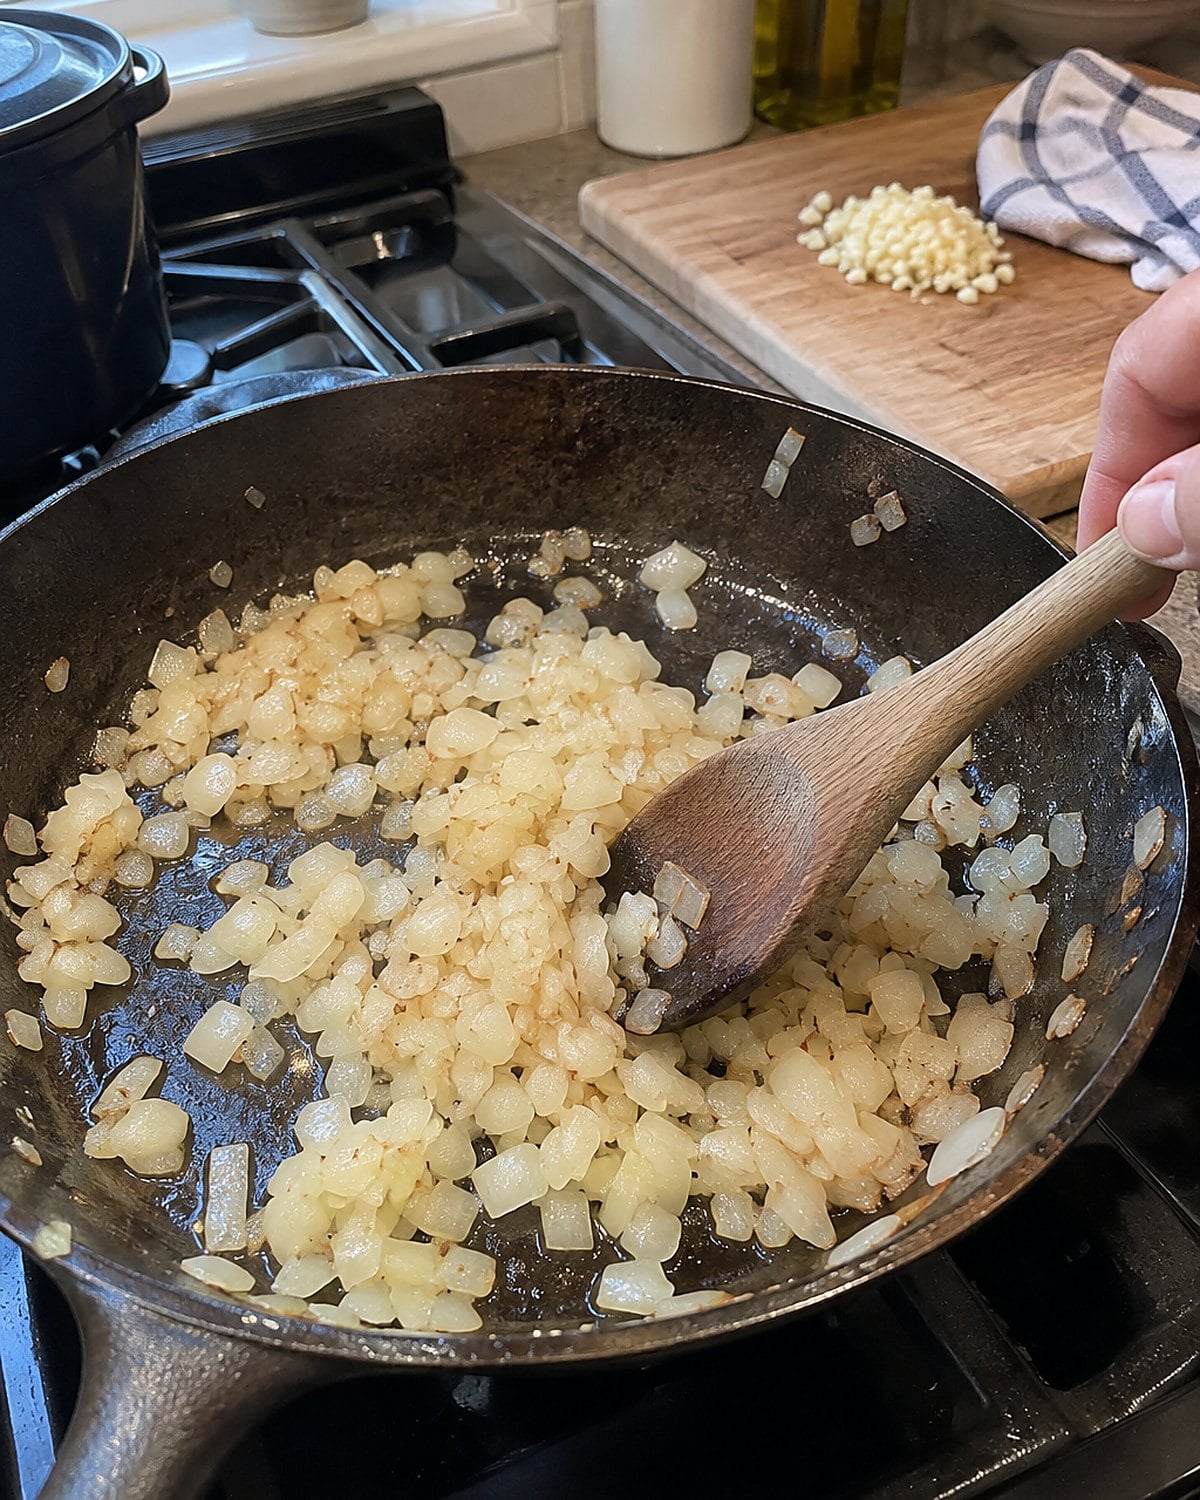
Oil hits the pan. Garlic goes in because its smell means dinner has begun. Next you add the onion and wait for it to turn tender. Before that happens, the garlic has gone brown and bitter.
Onion holds a great deal of water. It needs time in the pan to shed that water and soften. Chopped garlic cooks much faster, especially in a thin layer of hot oil. Put the onion in first with a pinch of salt. Stir until it loses its raw, sharp smell. Then make a space in the pan and add the garlic.
Stir until you smell it, and move on with the recipe. If tomato or broth comes next, have it ready beside the stove. Adding liquid stops the garlic from sitting against the hot metal while you hunt through the cupboard.
Try that order in your next pot of sauce. The garlic will still announce dinner, just closer to the moment dinner needs it.
#22 The meatloaf packed into its pan
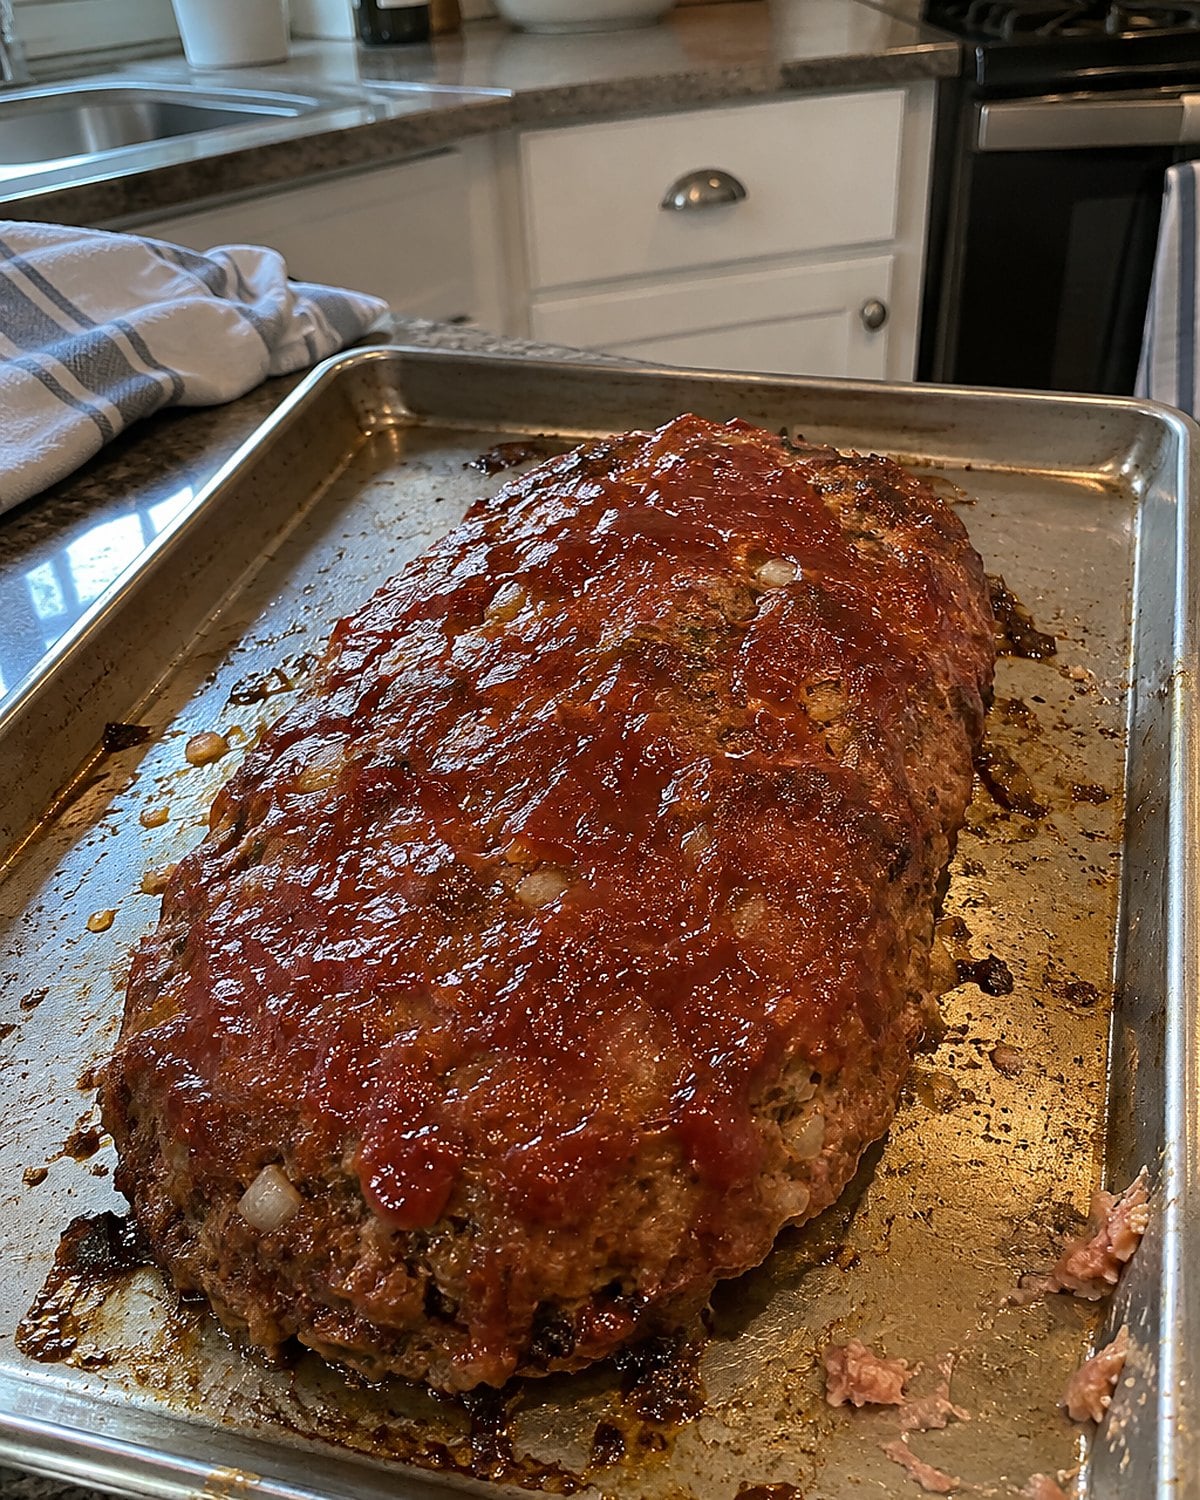
The old loaf pan makes a neat shape and catches every drip. So you press the meat mixture into each corner, smooth the top, and wait for dinner. At the table, the slices are firm enough to remind you of the pan.
Mix meatloaf only until the ingredients hold together. Heavy stirring makes a dense loaf. For more browned surface, shape it by hand on a rimmed baking sheet instead of pressing it into a loaf pan. Leave room around the sides for heat to reach them.
That won't turn a family meatloaf into a different dish. It gives you a softer center and edges worth eating. The USDA safe temperature chart gives 160°F for ground beef and 165°F for ground poultry; the thickest part must reach the right temperature.
Try it: Instant Pot Meatloaf With Barbecue Bacon
#21 The steak that sticks to the skillet
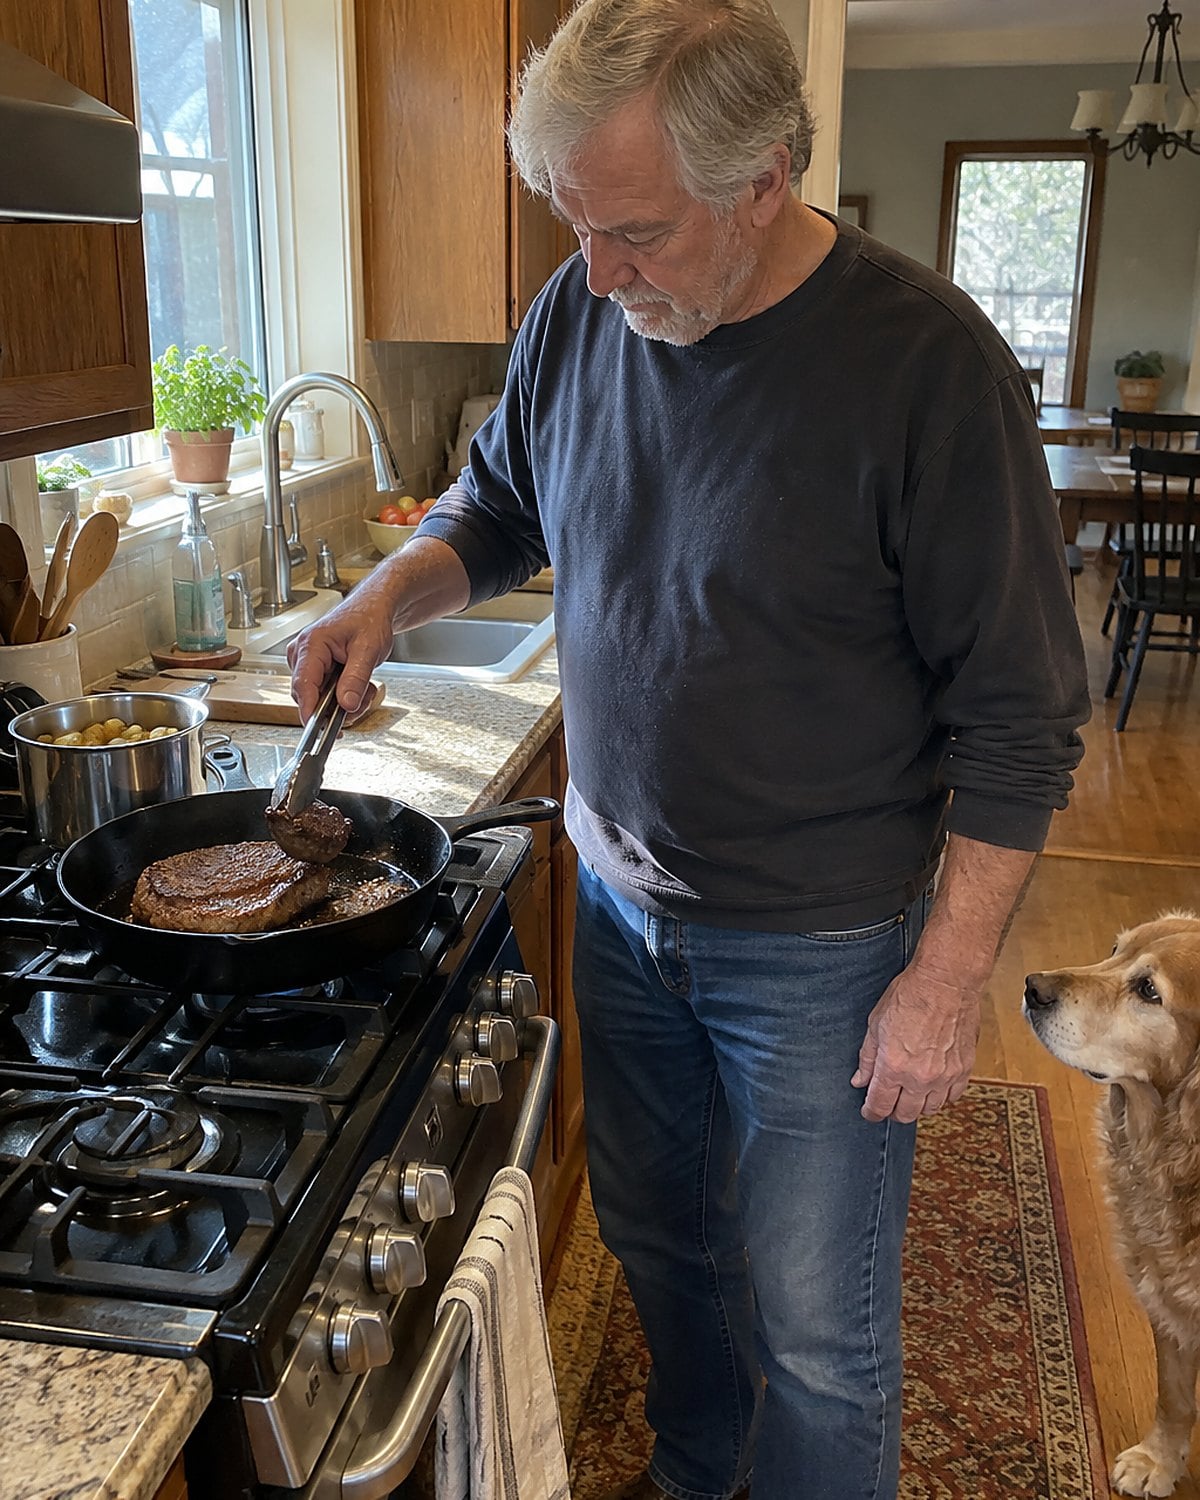
You slide a steak into the skillet and reach for the tongs almost at once. It won't budge. So you pull harder, tear off part of the crust, and tell yourself the pan needs more oil.
Give the steak time. As its surface browns, it releases more readily from a properly heated pan. Test one edge with the tongs. If it clings, leave it alone and check again. Tugging doesn't speed browning; it leaves the browned part behind.
Before the steak goes in, pat its surface dry with a towel. Moisture has to evaporate before browning begins. Then keep space around it. A crowded skillet fills with steam, and the meat changes color without building much crust.
For a whole cut of beef, the USDA gives 145°F with a 3-minute rest as the safe minimum. The tongs tell you when to turn; check the thickest part for doneness.
#20 The milk on the fridge door
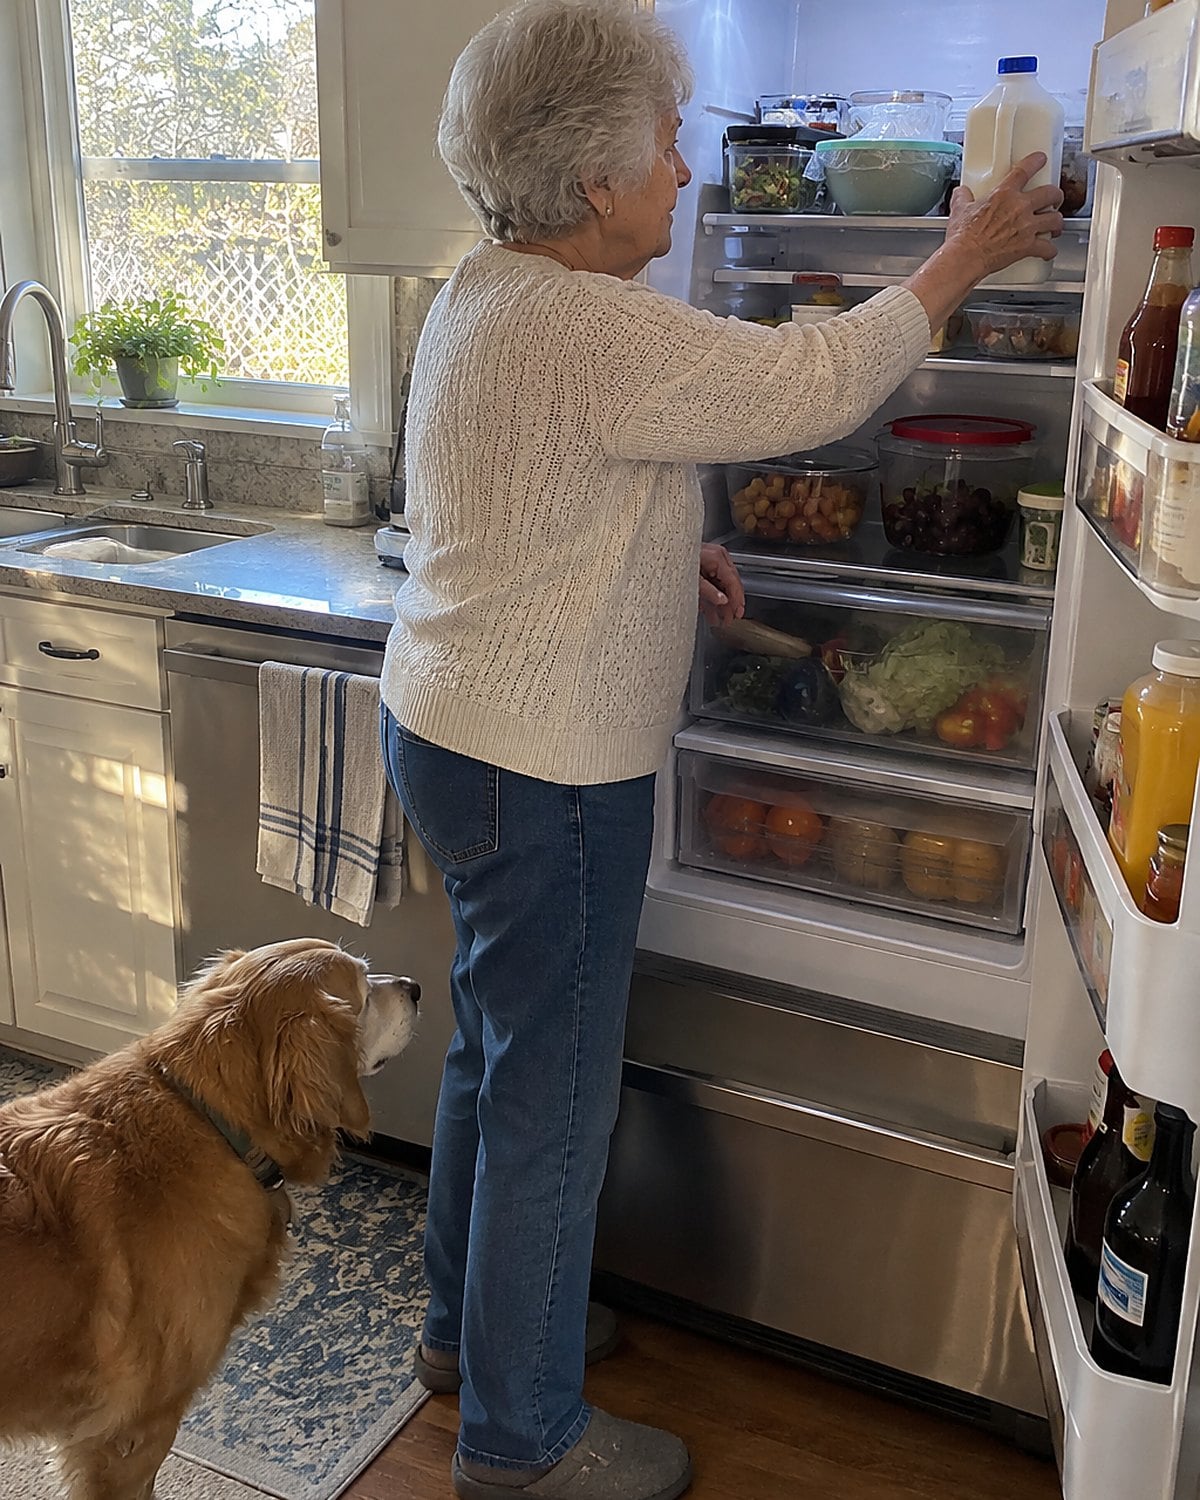
You get home from the store and put the milk where it has always gone: in the rack on the refrigerator door. It's easy to reach there, especially when someone wants a splash in coffee.
The door gets a rush of warm kitchen air every time it opens. The back of a shelf holds a steadier chill. Move the milk there and leave the door rack for condiments. If the fridge is crowded, don't block the vents while making room.
Put a refrigerator thermometer where you can read it. The FDA's refrigerator guidance calls for 40°F or below.
The dial gives you a setting. The thermometer tells you what happened.
#19 The soup salted before it simmers
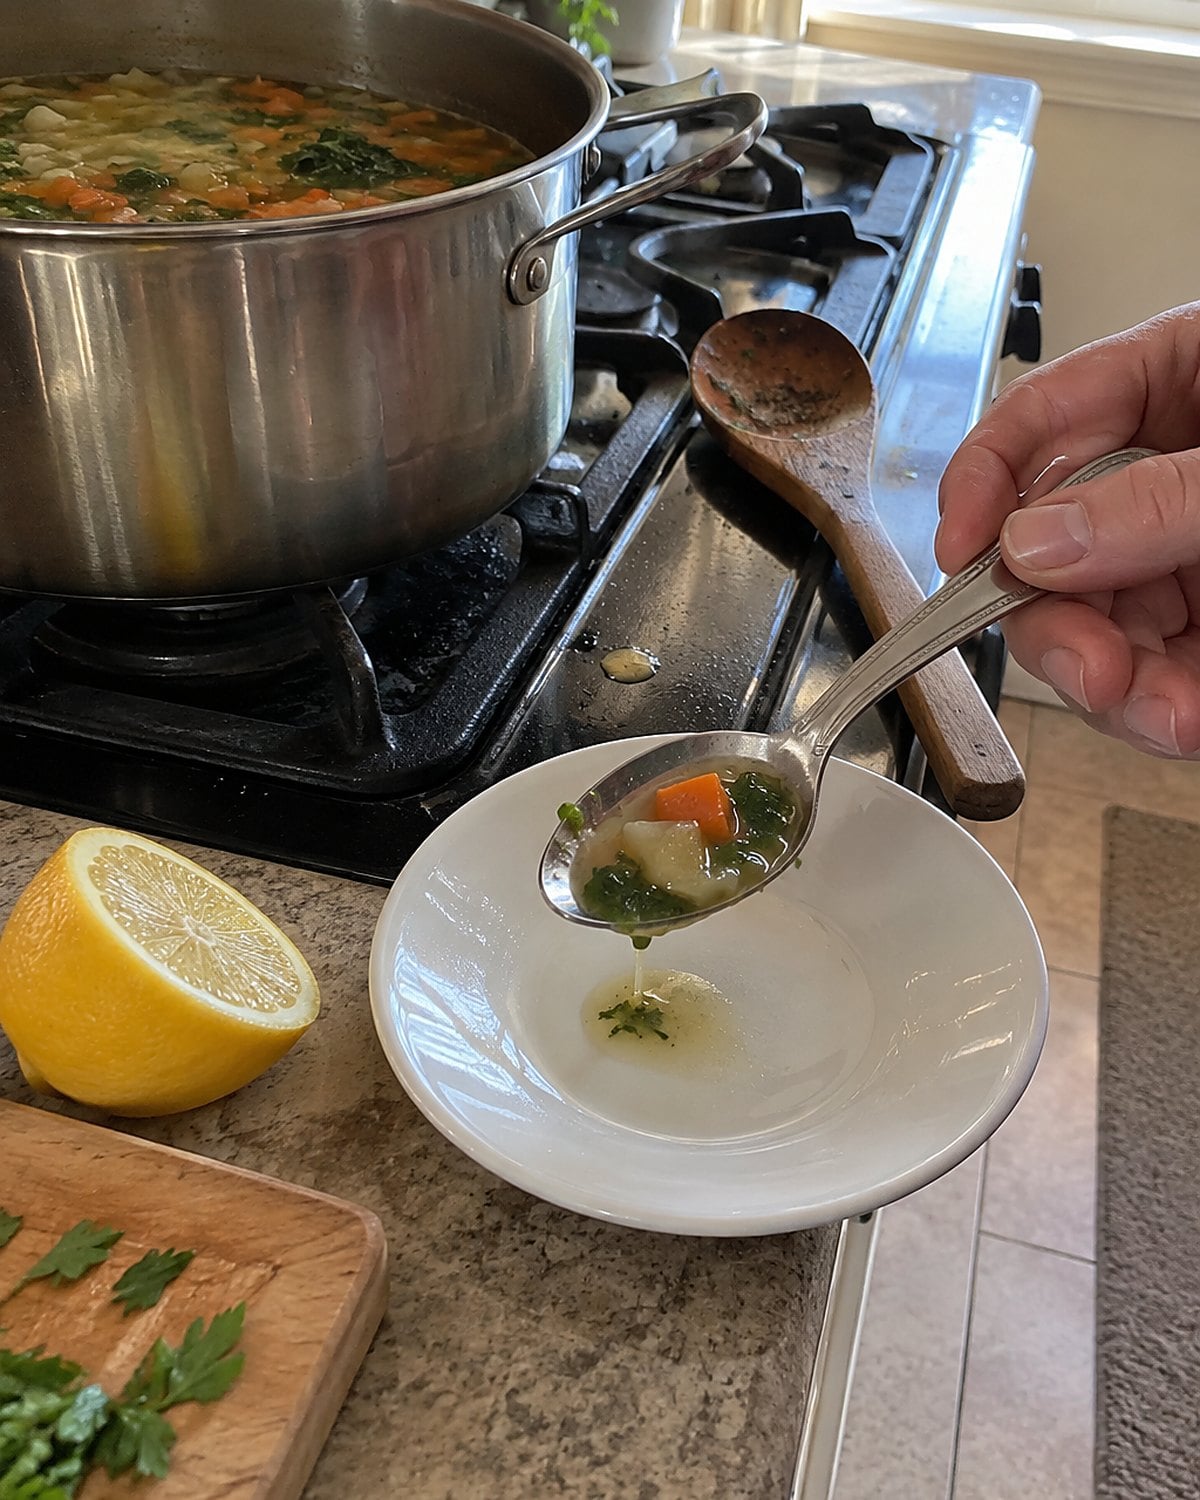
A pot of vegetable soup tastes faint, so you add salt. Then it simmers while you answer the phone, set the table, and find the good bowls. By supper, the broth tastes far saltier than it did at the start.
As soup simmers, water leaves as steam. The salt stays behind. Give the onions and other vegetables their seasoning as they cook, but hold back on the final adjustment until the broth has reached the thickness you want.
Now take a spoonful and let it cool enough to taste. Does it need salt, or does it taste flat because it needs acid? A small squeeze of lemon brings out flavor without another shake of the salt cellar. Add it near the end, then taste again.
If you've already oversalted the pot, a raw potato isn't a magic eraser. Add unsalted broth or water to dilute it, then bring the soup back to a simmer. Dinner might fill an extra bowl. That's better than hoping the potato will eat the salt for you.
Try it: Instant Pot Vegetable Soup (Italian Farmhouse)
#18 The thick pork chop at the counter
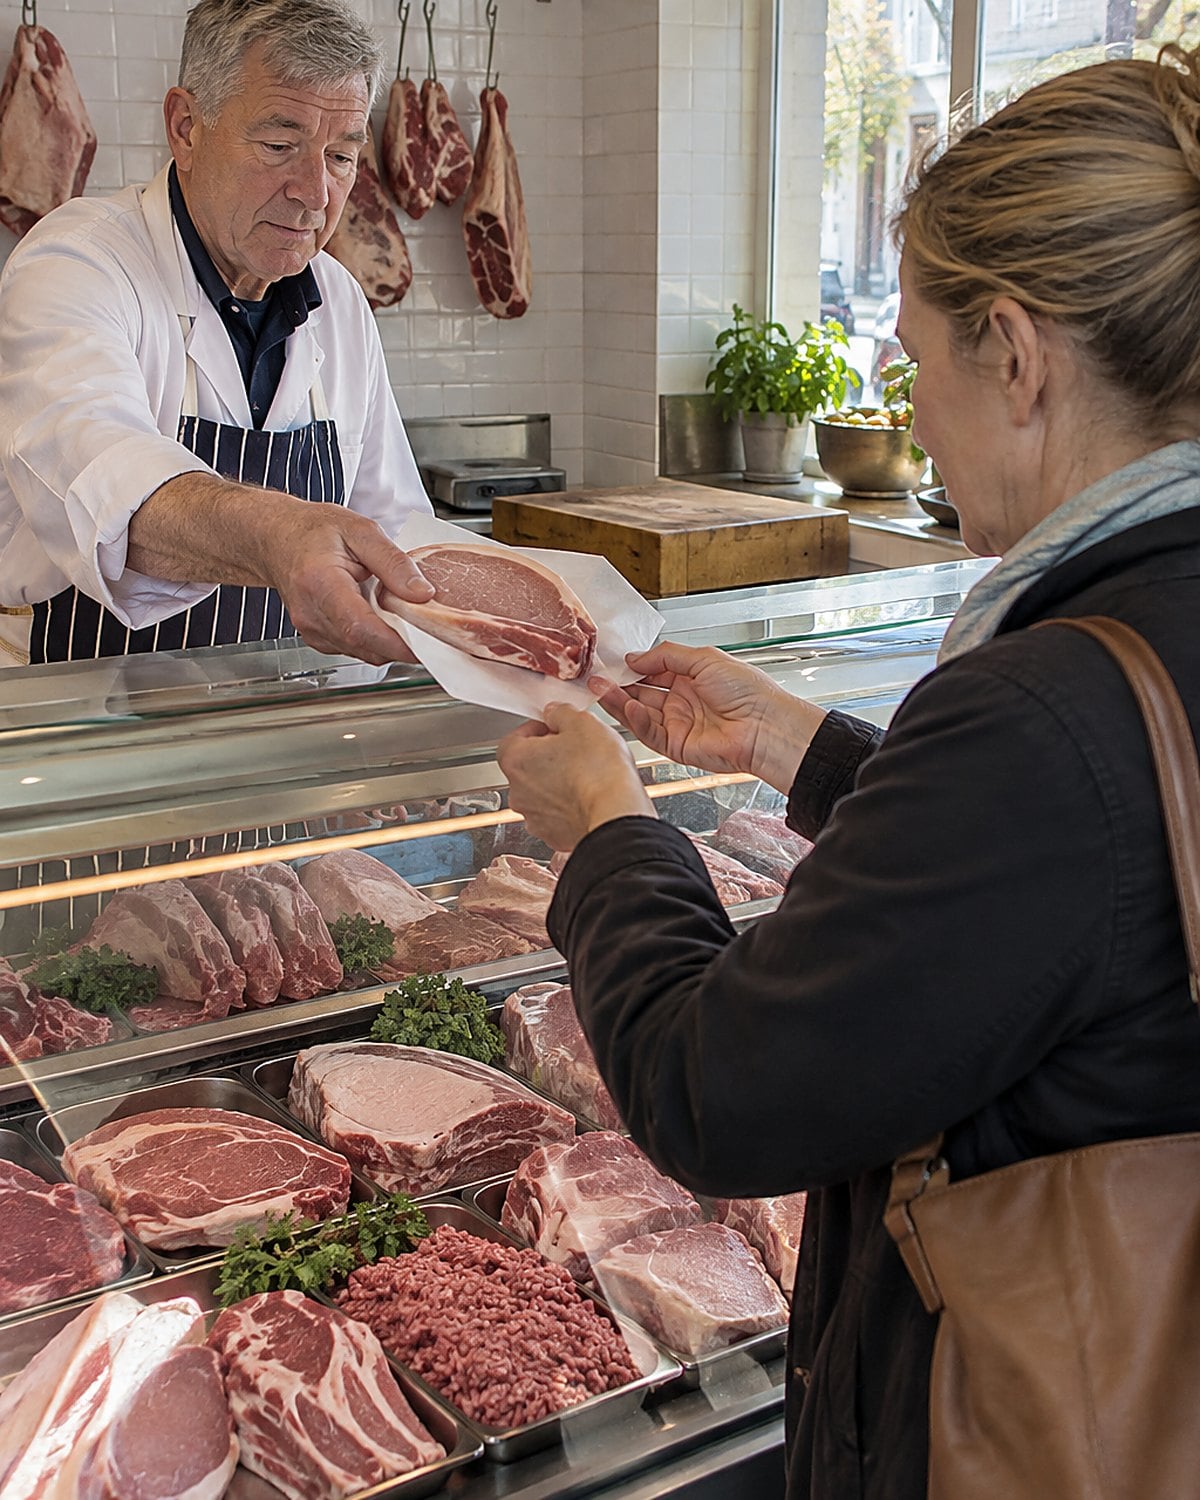
The thin pork chops in the case look familiar. You've bought them for years because they cook fast. Yet by the time they brown, the middle has turned dry, and you cover the plate with applesauce.
Ask the butcher for a thicker chop. You get more room between a browned outside and a finished middle. At home, dry the surface, sear it, then lower the heat rather than leaving it over a roaring flame.
The USDA's safe minimum for a whole pork chop is 145°F, followed by a 3-minute rest. Let it sit before cutting, so you aren't chasing its juices across the plate.
"A thick chop, please." That's enough to change dinner.
Try it: Instant Pot Air Fryer Pork Chops With Maple Mustard Glaze (No Breading)
#17 The cookie sheet greased by habit
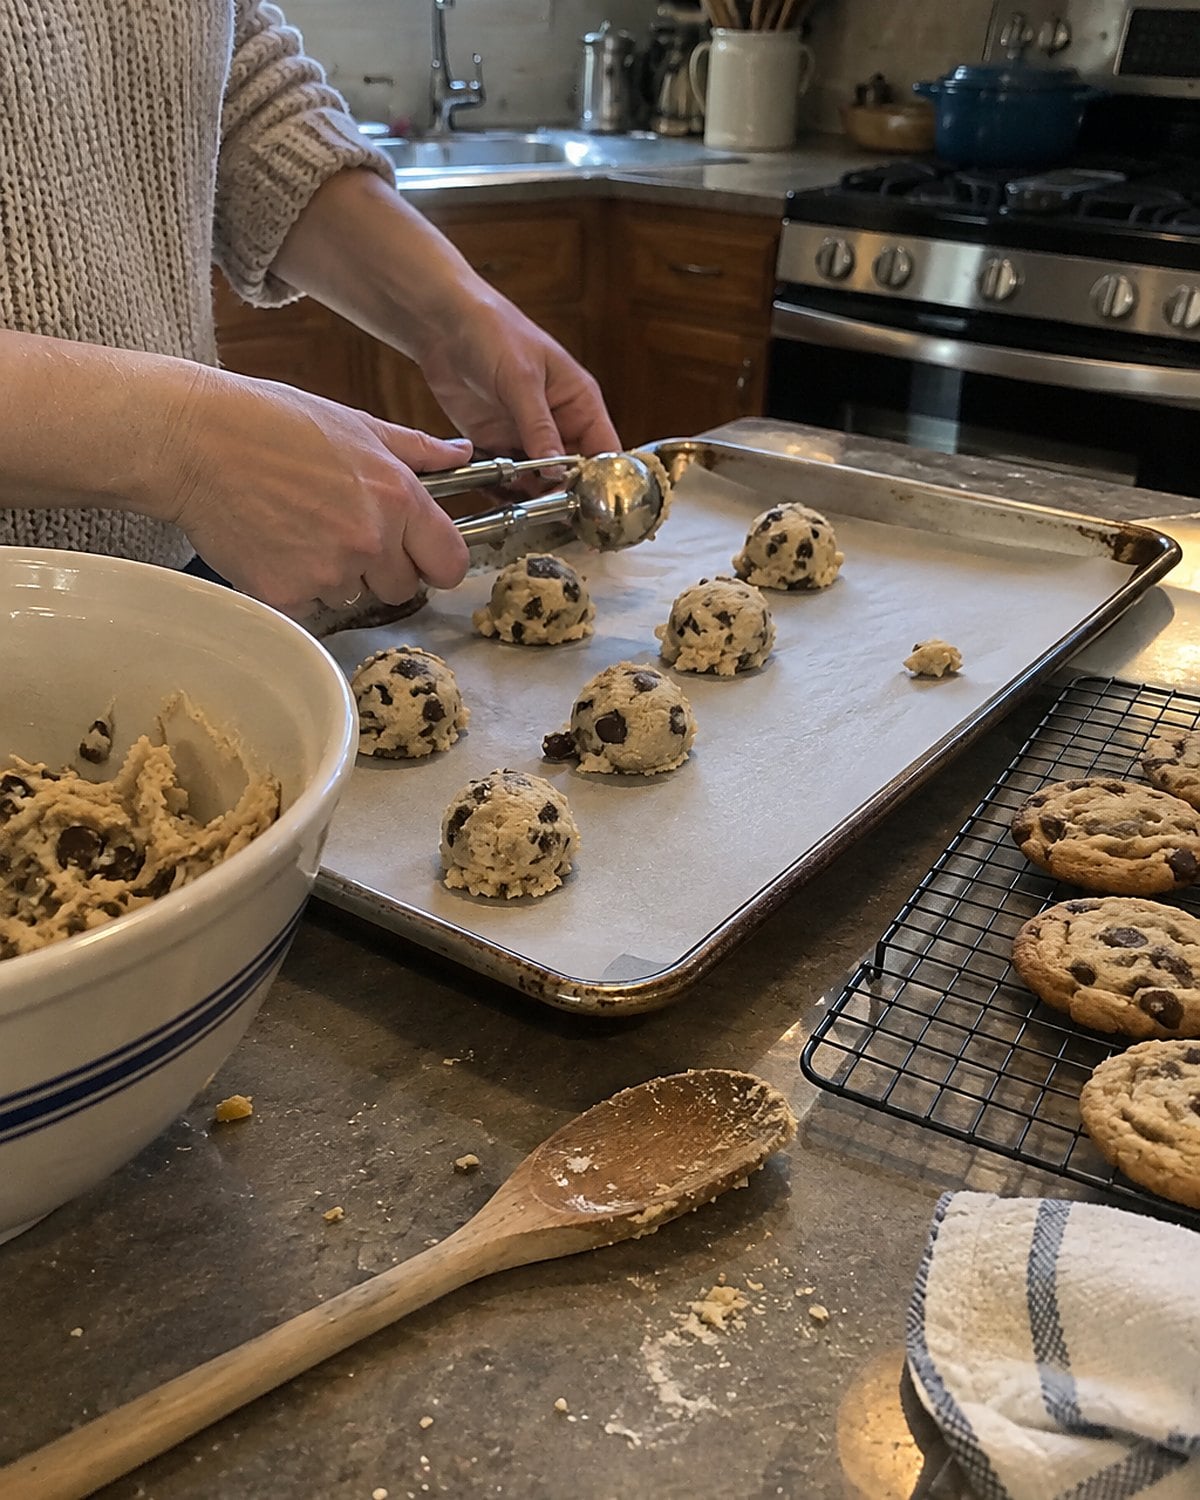
The cookie card has a thumbprint beside the butter stain. You know the dough by feel, and you grease the sheet because that's what the card says. This time the cookies spread thin and meet each other before the timer rings.
Grease changes how the dough grips the pan. So does a warm baking sheet. If the card was written for an ungreased sheet, follow that instruction. When it calls for a greased one, don't substitute parchment and expect the same spread. Old recipes deserve their details, even the ones that look fussy.
Let the sheet cool before you load another batch. A dab of dough set on warm metal starts losing its shape before it reaches the oven. Keep the remaining dough away from the stove while you wait.
When cookies spread unexpectedly, look at the pan before you change the recipe. You might have measured every ingredient right and given the dough a head start it didn't need.
#16 The dull knife in the drawer
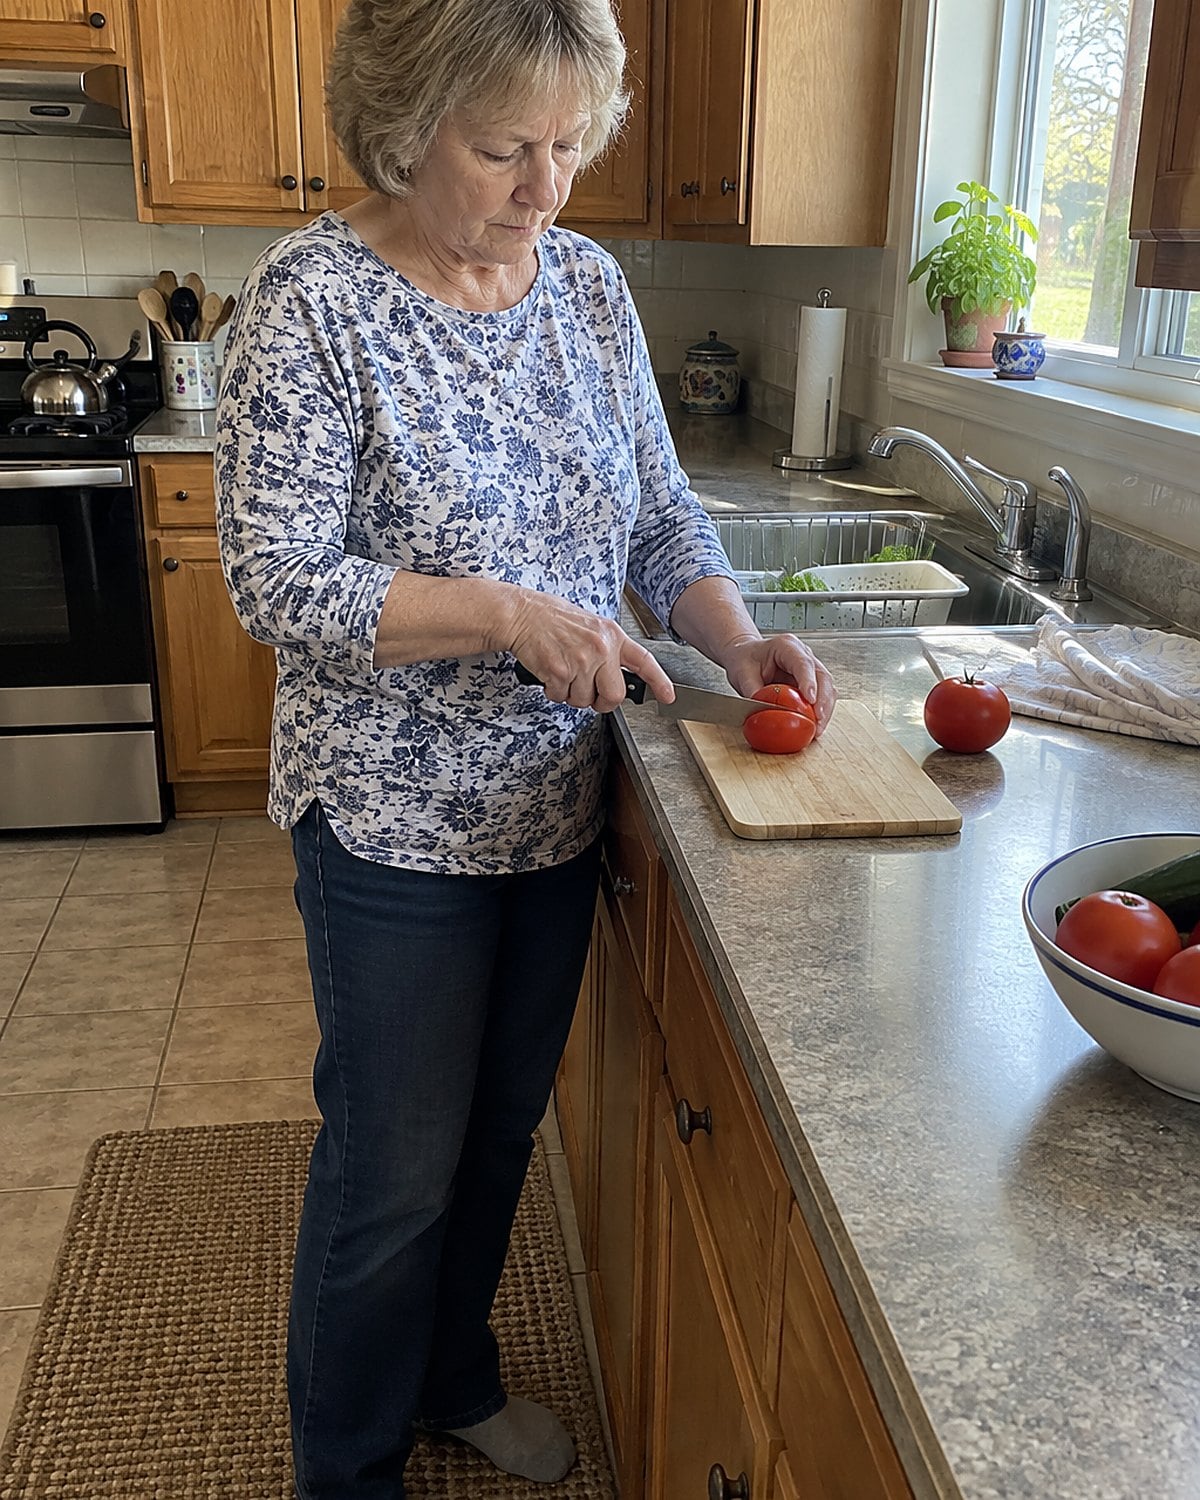
The good knife still looks good. It lives in the drawer beside the twist ties, and you've learned to push harder when it meets a tomato skin. Then the blade slips sideways across the tomato.
Use the knife's behavior as your warning. A sharp edge enters the skin with little pressure and follows the cut you choose. Sharpen a dull blade, or have it sharpened, rather than bearing down harder. A honing steel helps maintain an edge; it doesn't replace sharpening when that edge has worn away.
Give the knife room, too. A board that slides on the counter makes even a sharp blade awkward. Put a damp towel under the board, then try the tomato again.
#15 The roast sliced straight from the oven
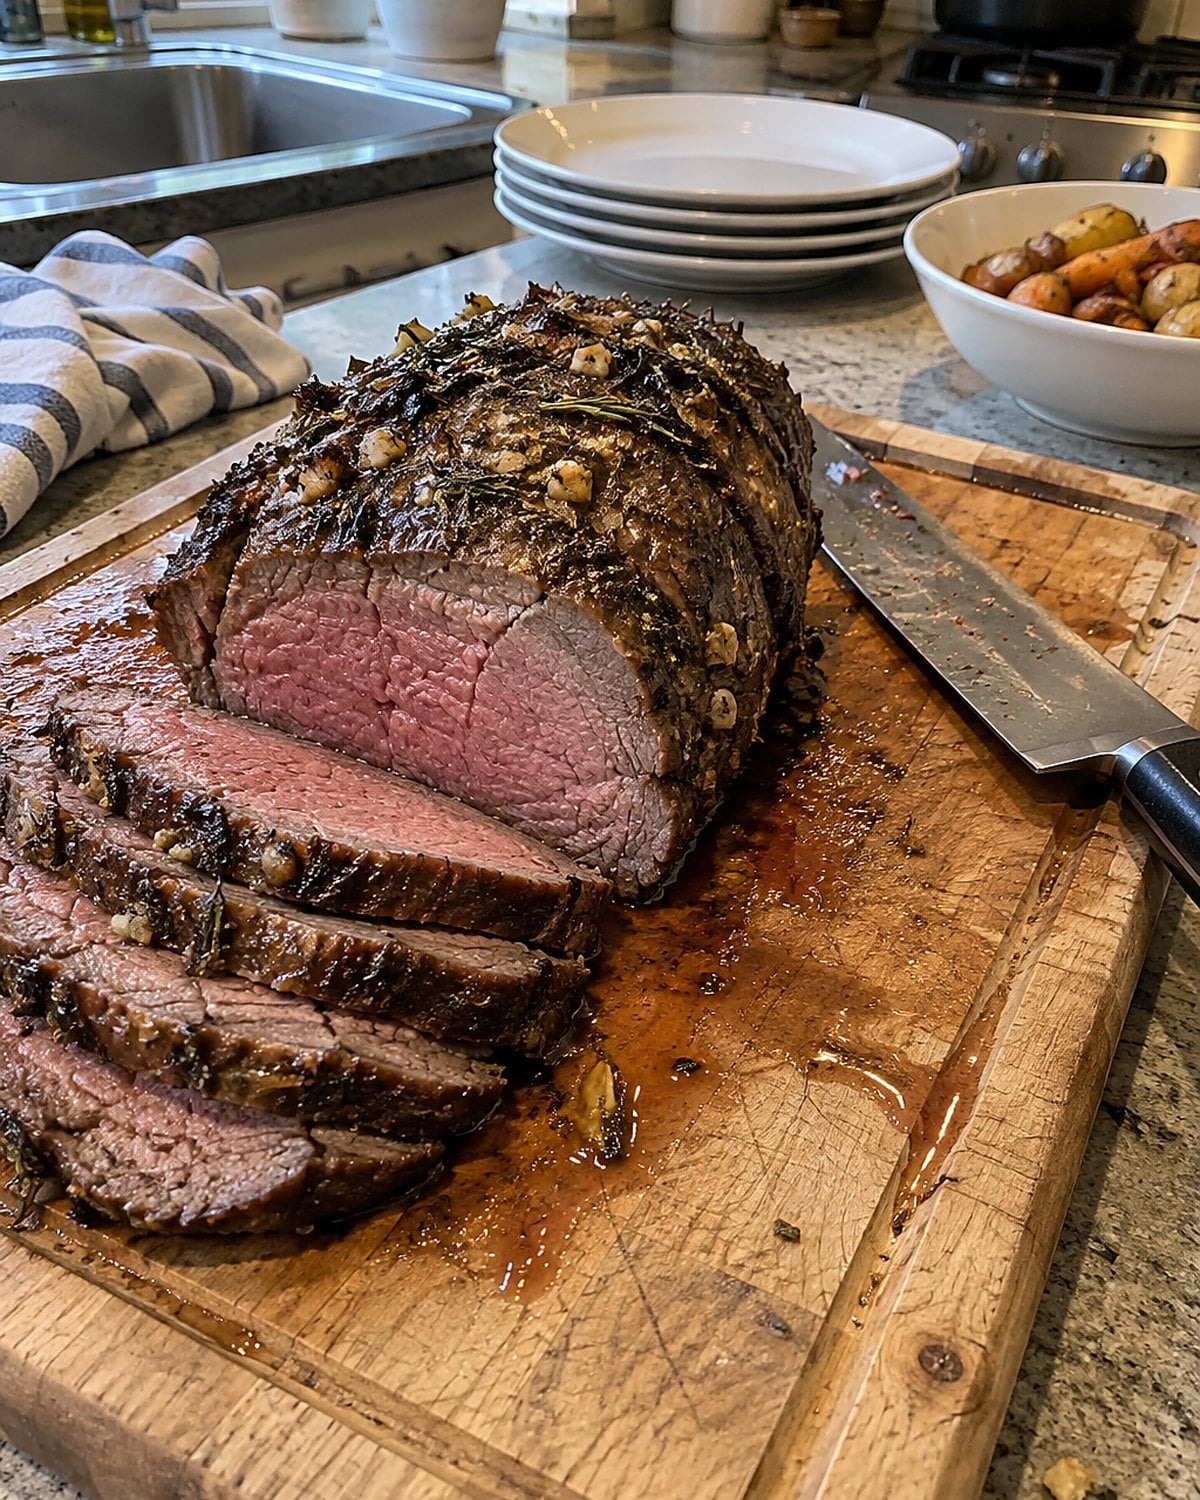
There's the roast, browned and smelling like Sunday dinner. Everyone is ready, and you take the knife to it while it still hisses on the board. A stream of juices runs toward the counter's edge. By the time you serve, the cutting board has more of them than the slices do.
Let the roast rest before carving. Heat keeps moving through the meat after it leaves the oven, and its juices need a pause before you cut across them. Tent it loosely if the kitchen is chilly. A tight foil wrap holds steam against the crust you worked to brown.
Use that pause to make gravy, warm the serving dish, or find the knife that carves cleanly. For a whole beef or pork roast, the USDA calls for a safe minimum of 145°F and a 3-minute rest. A larger roast deserves more carving patience than that minimum rest.
Cut across the grain when you serve. Shorter muscle fibers make each slice easier to chew, which matters far more at dinner than how perfectly the roast looked on its way out of the oven.
#14 The baking powder behind the spices
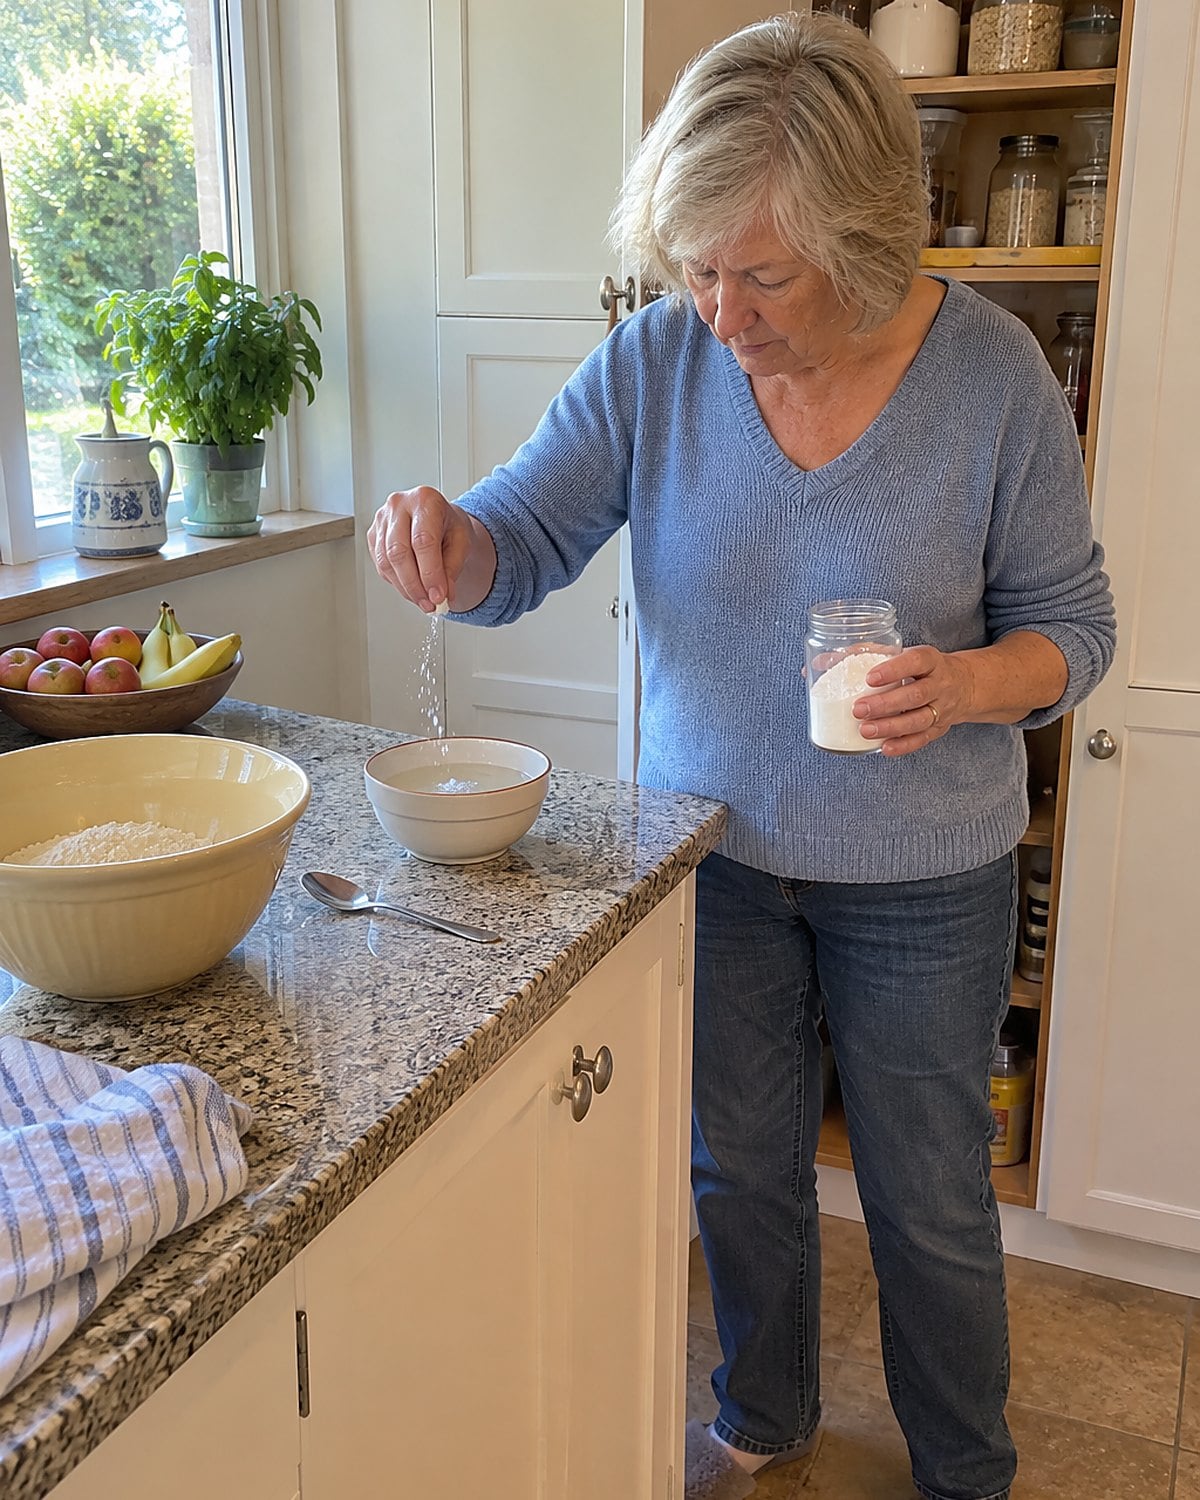
The can sits behind the cinnamon, just where you put it after holiday baking. When biscuits turn out heavy, you blame the weather or the flour. Before changing either, look at the baking powder.
Put a little in a bowl and add hot water. It should bubble promptly. If it barely reacts, replace it. Baking powder supplies the gas that lifts the dough; an old can leaves the biscuits to do that work alone.
Write the opening date on the lid of the new can, then put it where you'll see it. Next time a trusted biscuit recipe comes out flat, you have a quick check before you blame your hands.
#13 The mushrooms heaped in one skillet
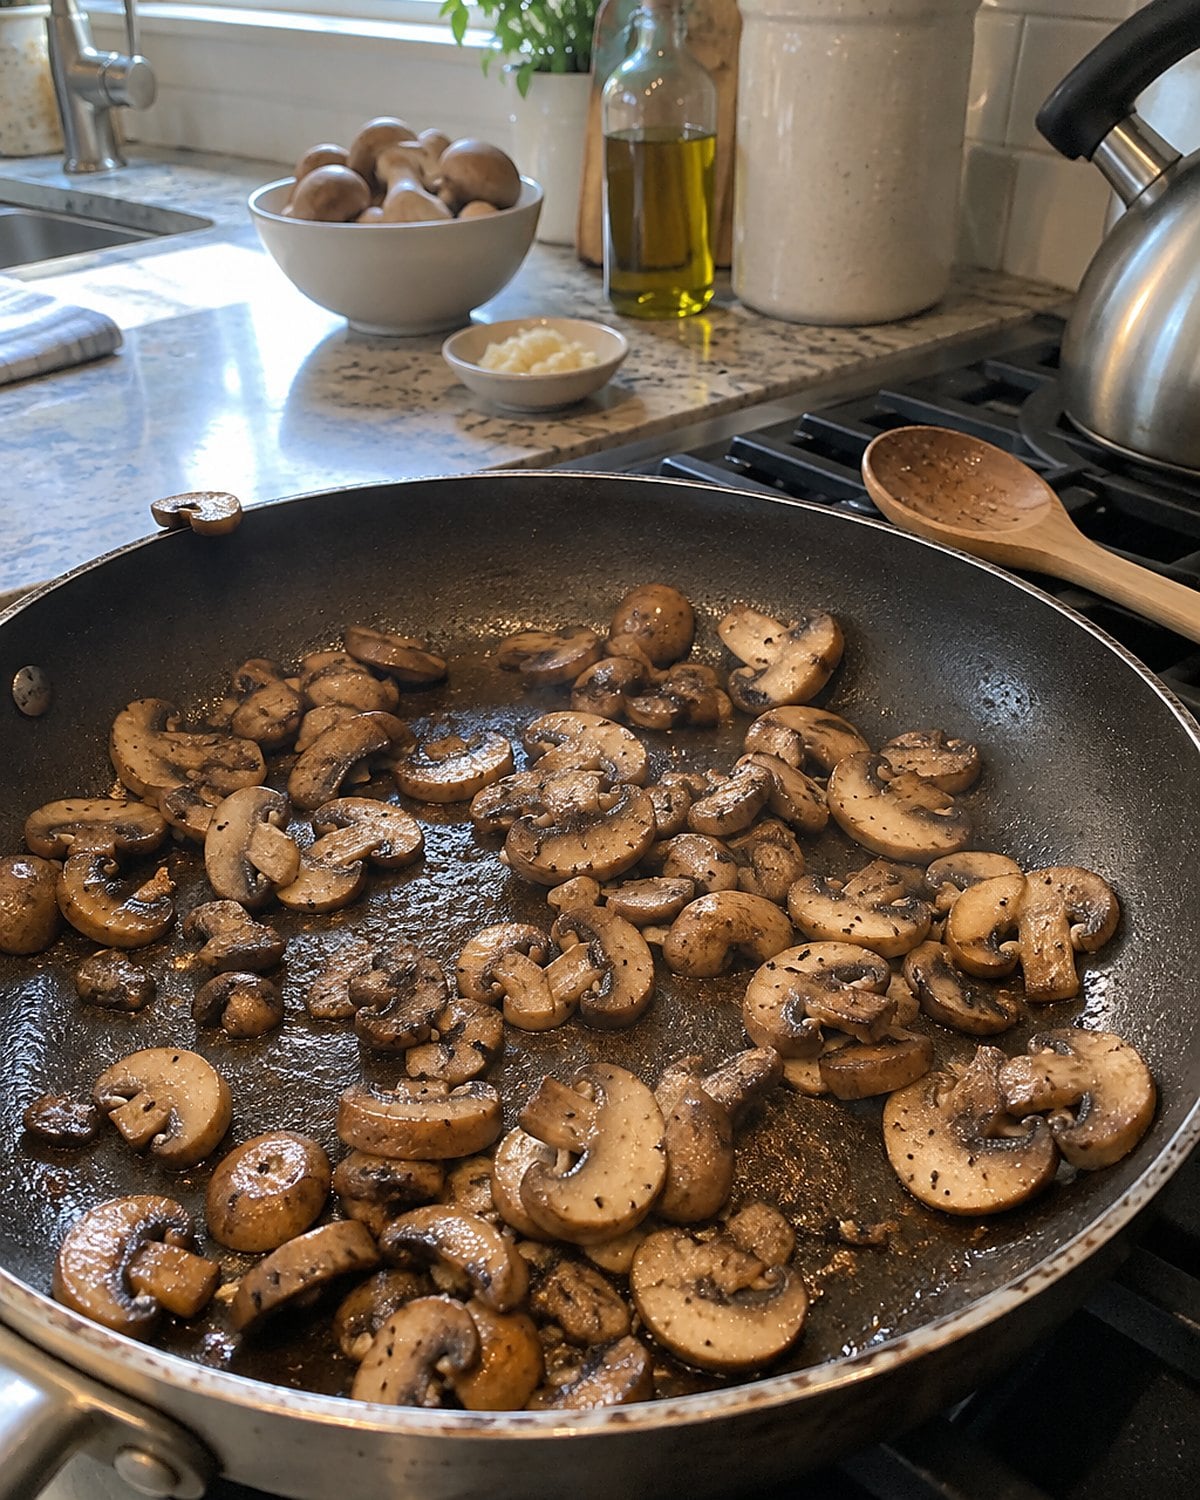
You tip a whole carton of sliced mushrooms into the skillet. They make a tall pile, then shrink into a wet one. You wait for brown edges while the pan fills with liquid.
Mushrooms give off water as they heat. When they're heaped together, that water has nowhere to go quickly. They steam in their own juices. Cook them in batches, leaving bare pan between pieces. Let one side take on color before you stir.
A wide skillet helps more than a hotter burner under a crowded one. If liquid gathers anyway, keep cooking until it boils away. Then the mushrooms meet the hot surface again and start to brown. Salt them as they cook, and taste one before they leave the pan.
The browned bits left behind are worth keeping. Add a splash of broth and scrape the skillet before starting a sauce. That's the mushroom flavor you were looking for when you turned the burner up.
#12 The tasting spoon returned to the pot
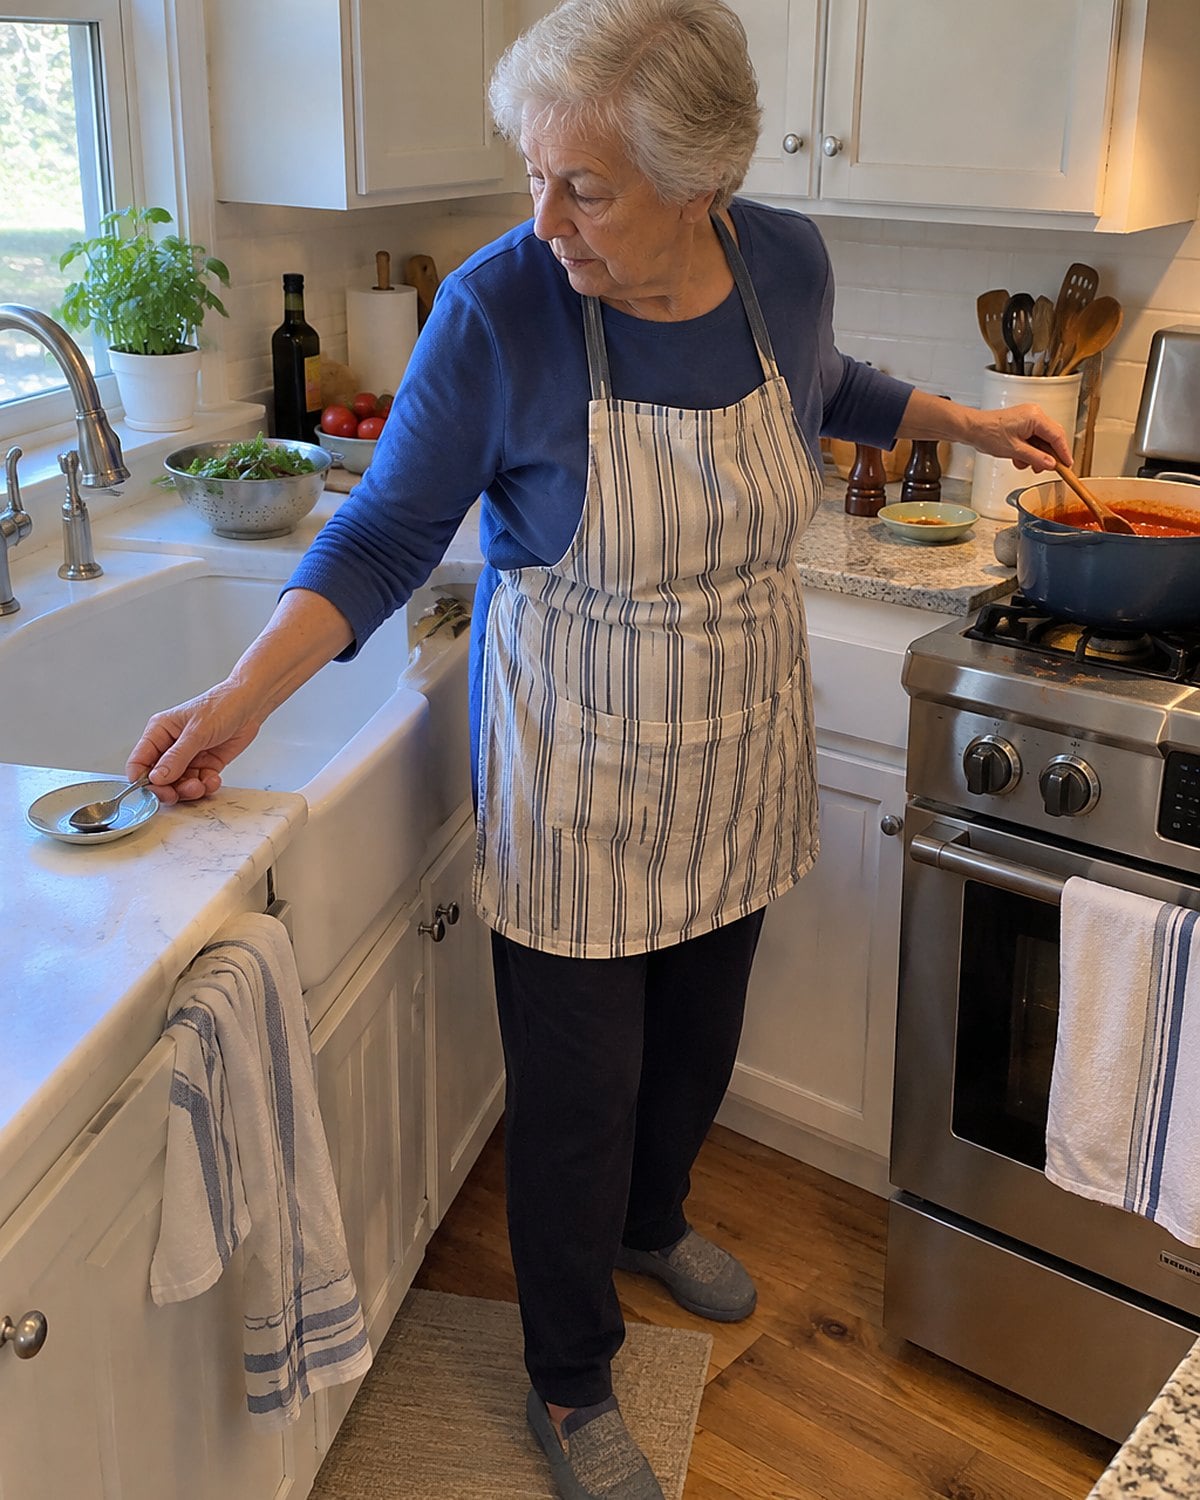
You taste the sauce, decide it needs pepper, and dip the same spoon back in. At home, that move barely registers. At a church hall table or during a weekend with grandchildren, the pot is feeding more people than the cook who tasted it.
Keep a clean spoon beside the stove. Dip, taste, and set it by the sink. For another taste, take another spoon or ladle a little sauce into a small dish. You get a clean sample and don't put saliva back into shared food.
The same pause helps your judgment. Hot sauce dulls the details on your tongue. Let the spoonful cool before deciding what to add. You'll have fewer frantic shakes of pepper just before serving.
#11 The green beans boiled until gray
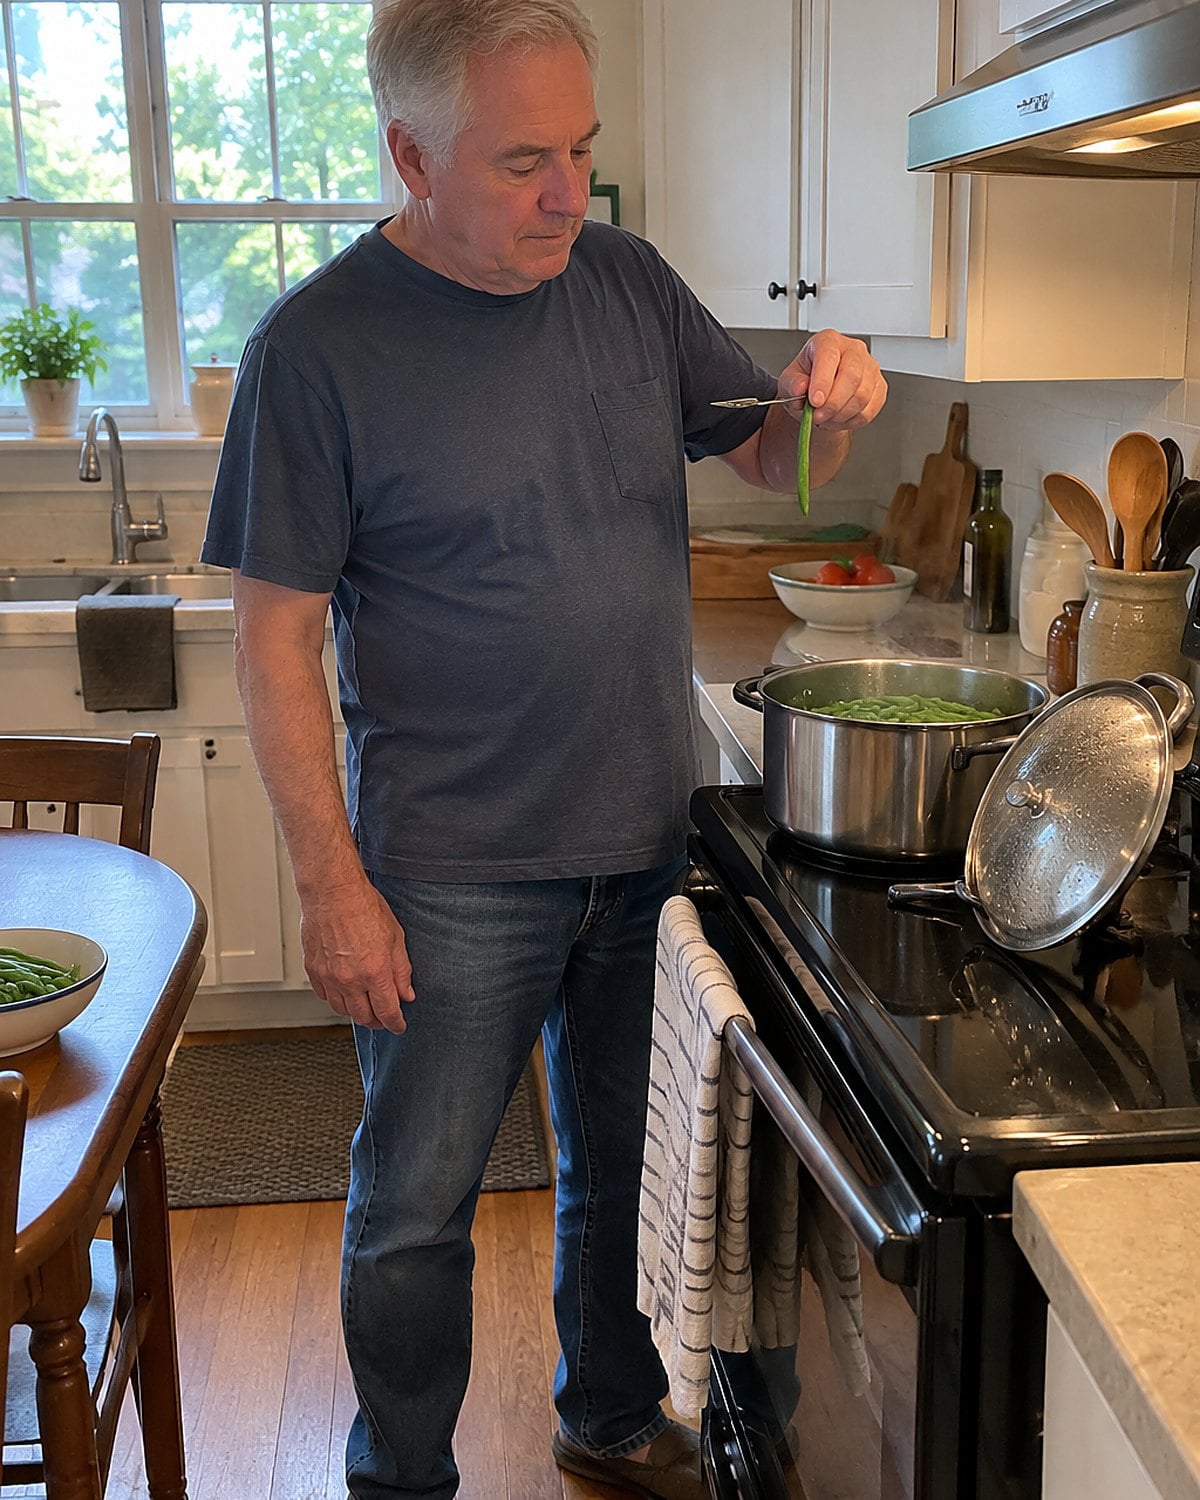
The lid rattles on the pot while you finish the rest of dinner. The beans were bright when they went in. When you lift them out, they bend without resistance and have lost that fresh snap.
For a quick side, cook green beans in boiling, salted water and test one as they go. Bite through the middle. You want it tender enough to eat, with a little resistance left. Lift the beans out when they taste right, rather than waiting for the potatoes or chicken to be ready.
You don't have to give up the long-cooked beans with ham that belong at another meal. Those are cooked for a different result. The trouble comes from treating a quick green side like a pot that has all afternoon.
If the rest of dinner runs late, drain the beans and spread them out so they stop sitting in hot water. Finish with butter or a little lemon at serving time. The beans should taste like beans, not like the water they left behind.
Try it: Instant Pot Green Beans With Butter & Pepper
#10 The chopped onion for tomorrow's dinner
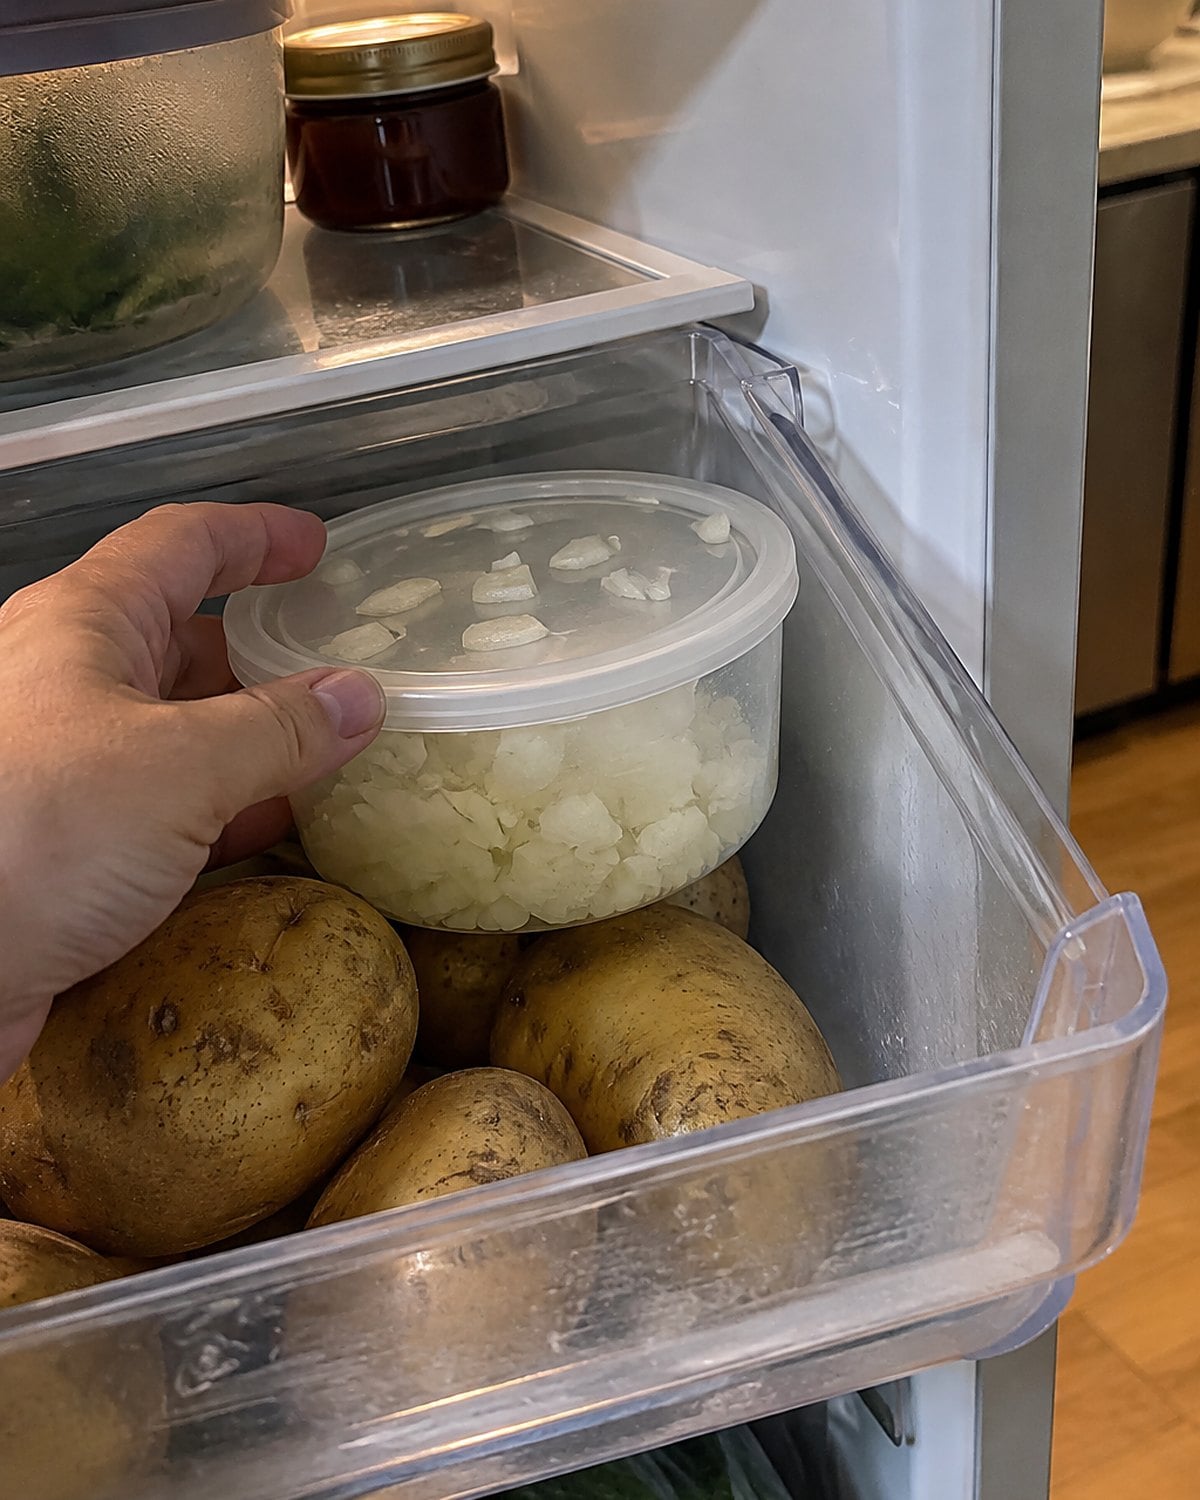
How much of tomorrow's dinner needs chopping tonight? The cutting board is already out, so you cut the onion, then reach for the garlic, potatoes, and herbs. By tomorrow, the potatoes have darkened and the chopped herbs have lost their fresh smell.
Prep the pieces that hold up well, and leave the fragile ones whole until you need them. Chopped onion belongs covered in the refrigerator. Keep potatoes whole until cooking time unless your recipe gives you a clear reason to cut ahead. Chop tender herbs close to serving.
You still get a head start. Put the pan, cutting board, and shelf-stable ingredients where you can reach them tomorrow. The first move at the stove is easier when you haven't spent tonight cutting food that was better left alone.
#9 The leftover chicken left in its roasting pan
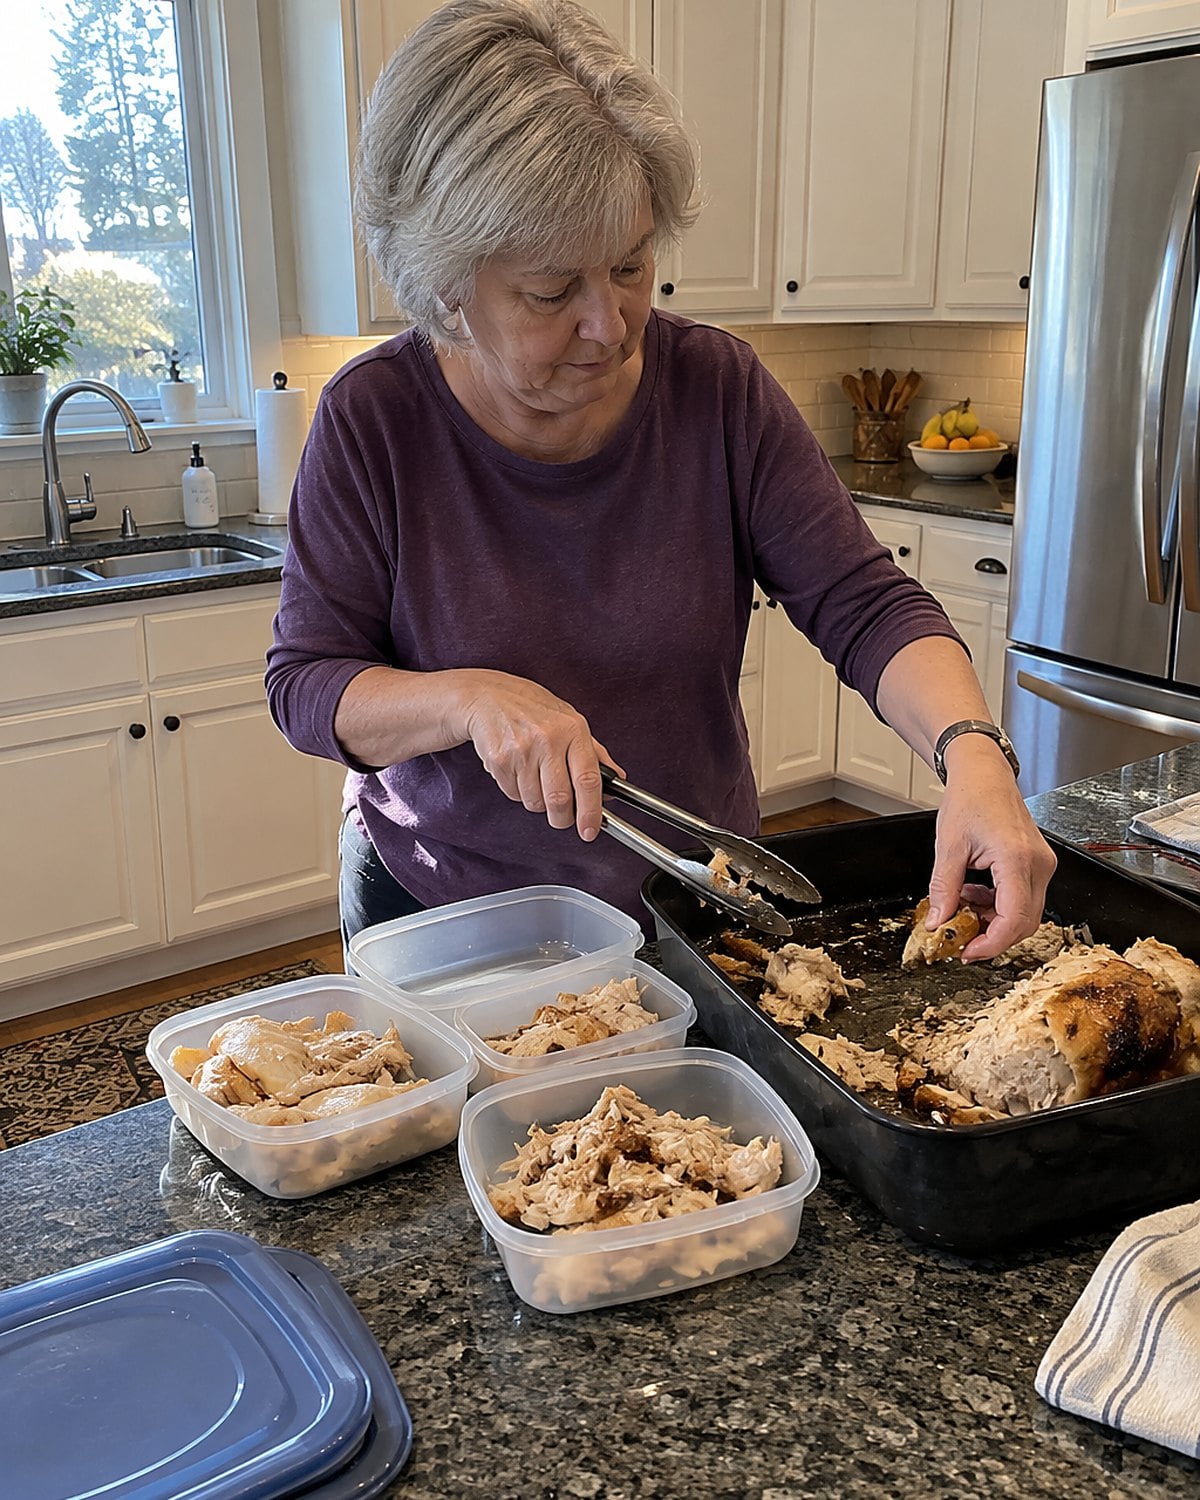
Dinner's over. The roasting pan is still warm, and the chicken looks easier to deal with after the dishes. So it waits on the counter while the kitchen empties.
Move leftovers into shallow containers and refrigerate them promptly. A deep pan holds heat in the middle; smaller portions cool faster. The USDA's leftovers guidance says to refrigerate perishable food within 2 hours, or within 1 hour when it's above 90°F.
That same guidance gives cooked leftovers 3 to 4 days in a refrigerator at 40°F or below. Reheat leftovers to 165°F. If the chicken has been sitting out too long, reheating it doesn't turn that lost time into safe storage. Throw it out.
Write the date on the container before it goes into the fridge. You won't have to stand at the open door later, trying to remember whether the roast was Sunday dinner or the Sunday before.
#8 The ground cumin beside the stove
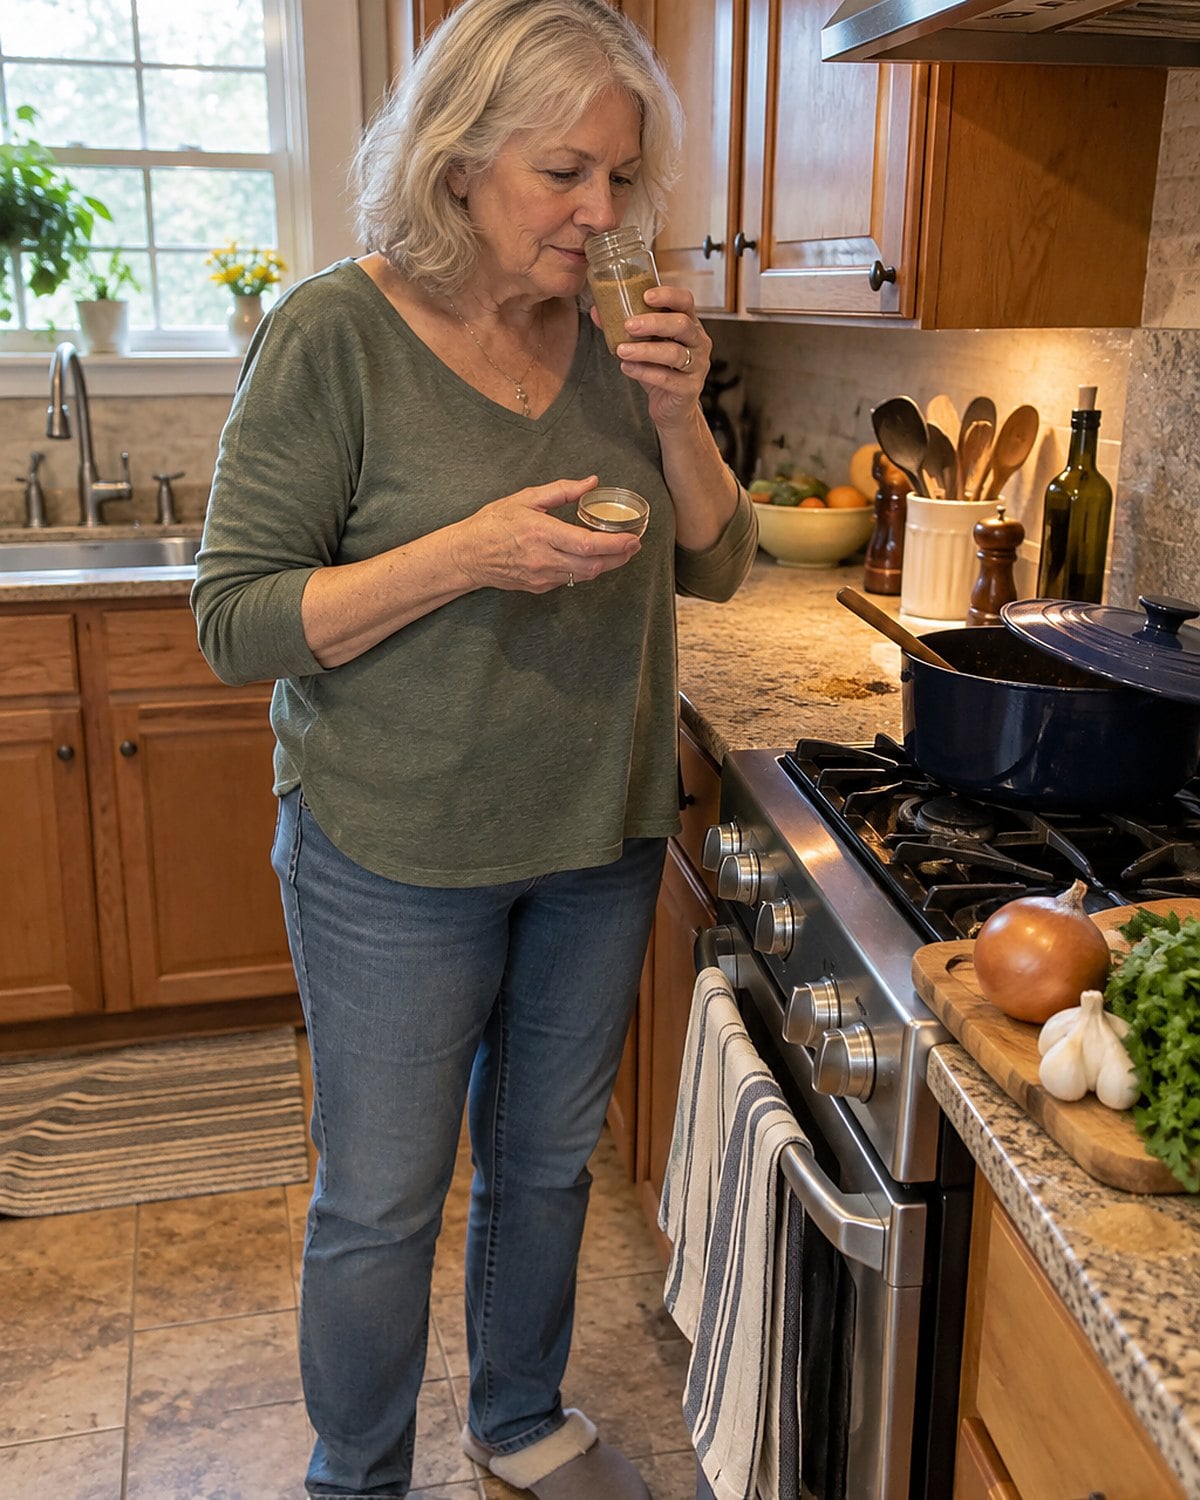
The spice jars line the ledge beside the burner. They're handy there. They're also in the path of heat and steam every time you cook.
Open the cumin and smell it. You want its warm, earthy scent right away. If you have to put your nose into the jar and search for it, a bigger spoonful won't restore what the jar has lost. Replace it, and move the fresh jar to a cool cupboard away from the stove.
Whole spices give you another choice. Toast cumin seeds briefly in a dry pan, then crush them when you need them. Your old spice rack doesn't need replacing all at once. Start with the jar that no longer smells like dinner.
#7 The pressure cooker filled past its line
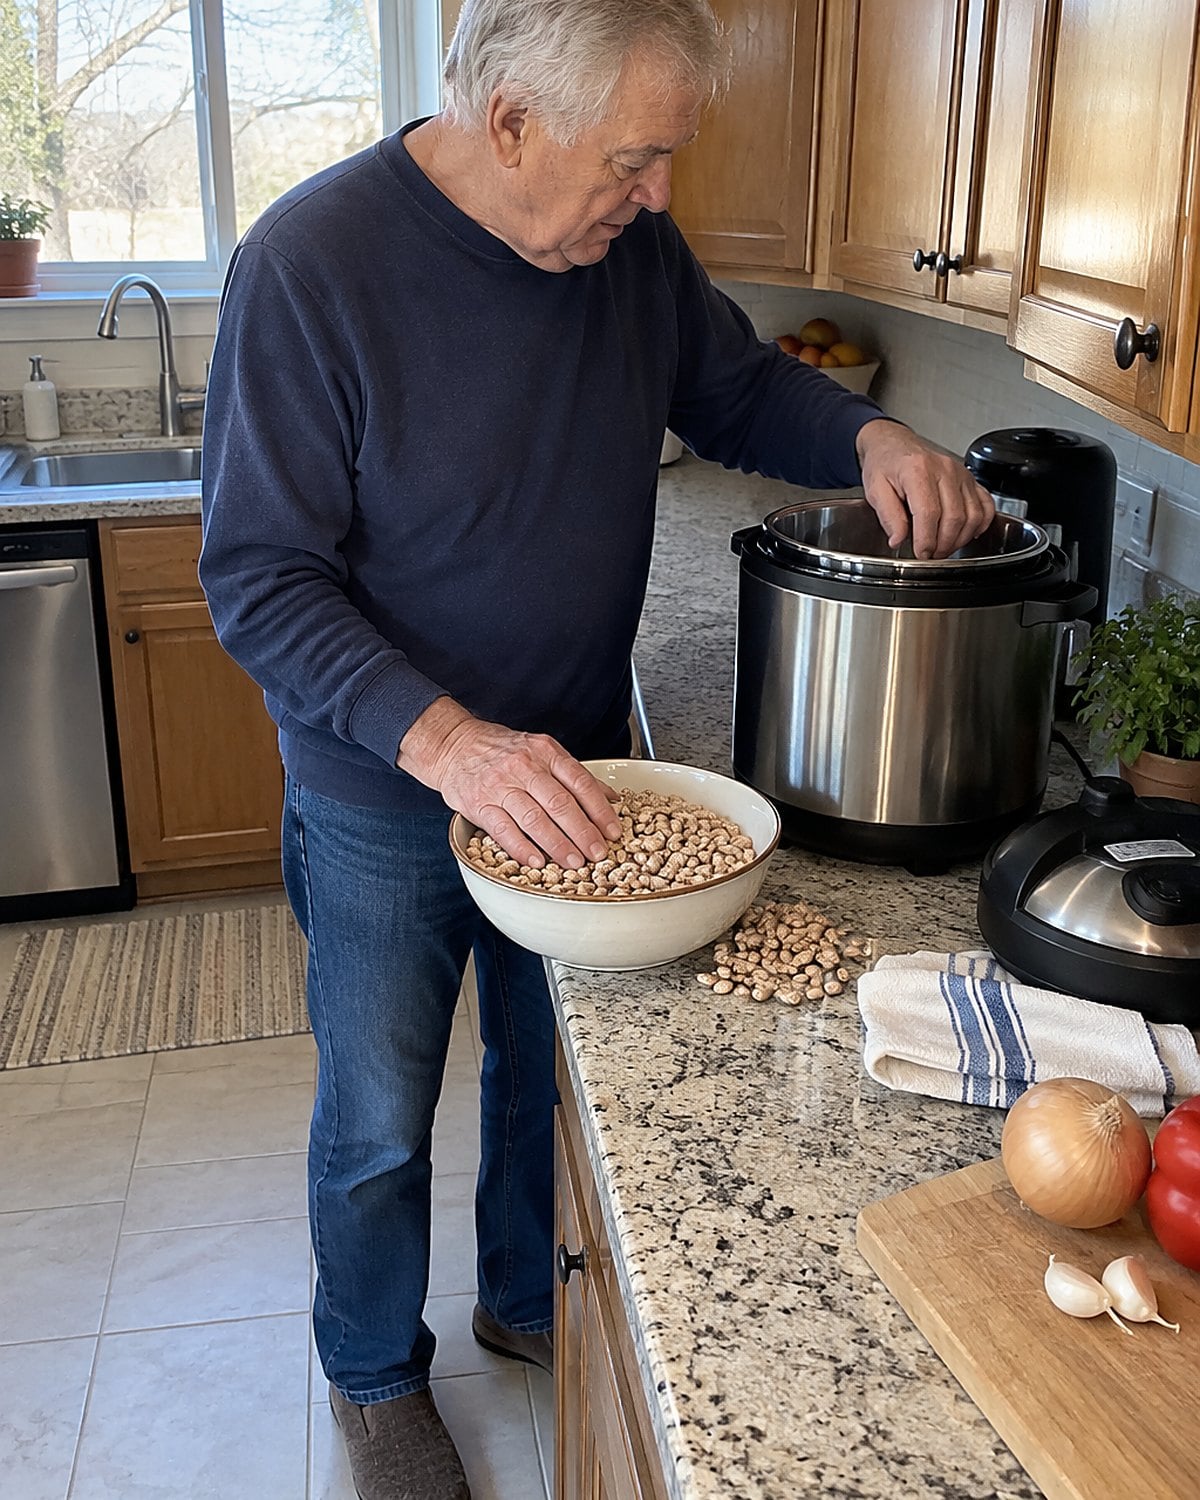
The family chili used to feed a full table. Now you make the same batch in the Instant Pot because you want supper and leftovers. The beans swell, the pot looks crowded, and you press the lid into place anyway.
Stop and check the fill markings inside the cooker. Follow the lower limit in your model's manual for foods that expand or foam, including beans and grains. Those markings leave space for pressure to build and for food to stay away from the vent. A full pot isn't proof of a thrifty evening if dinner can't cook as intended.
For a large batch, divide it. Refrigerate the portion you plan to cook later rather than holding it on the counter. Before pressure cooking, check that the sealing ring sits properly and the vent is clear. The pressure cooker's own manual settles the fill question for your machine.
You don't have to shrink every family recipe. You do have to give that recipe a pot with enough room to work.
#6 The dark cake pan from the cupboard
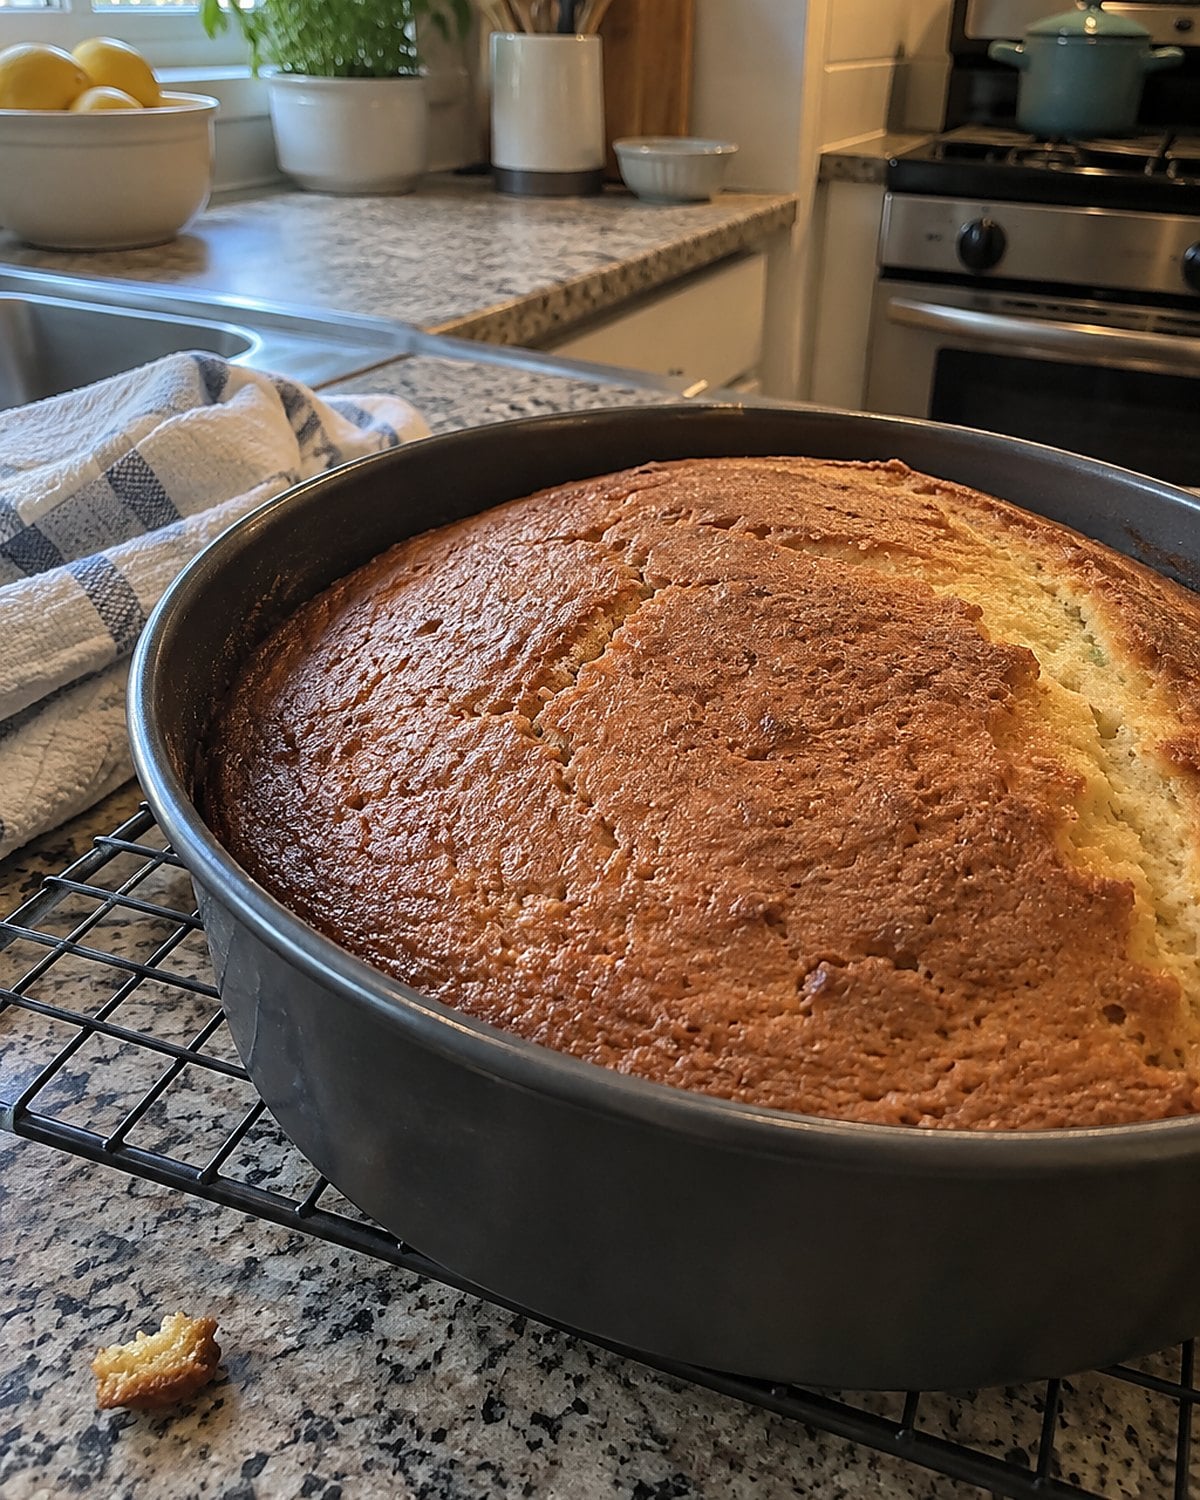
You pull out the dark metal cake pan you've owned for years. The recipe picture shows a pale, even cake. Yours comes out with firm brown edges and a middle that needs another minute.
Dark metal absorbs heat readily, so the edges brown sooner than they do in a light-colored pan. Pan size matters too: batter spread thin cooks differently from batter poured deep. Check the size the recipe names before you fill your old favorite.
Keep using the pan you know, but start watching the cake before the printed finish time. Insert a toothpick near the center. It should come out without wet batter. The useful habit isn't memorizing a new time; it's checking what this pan does in your oven.
#5 The raw chicken under the faucet
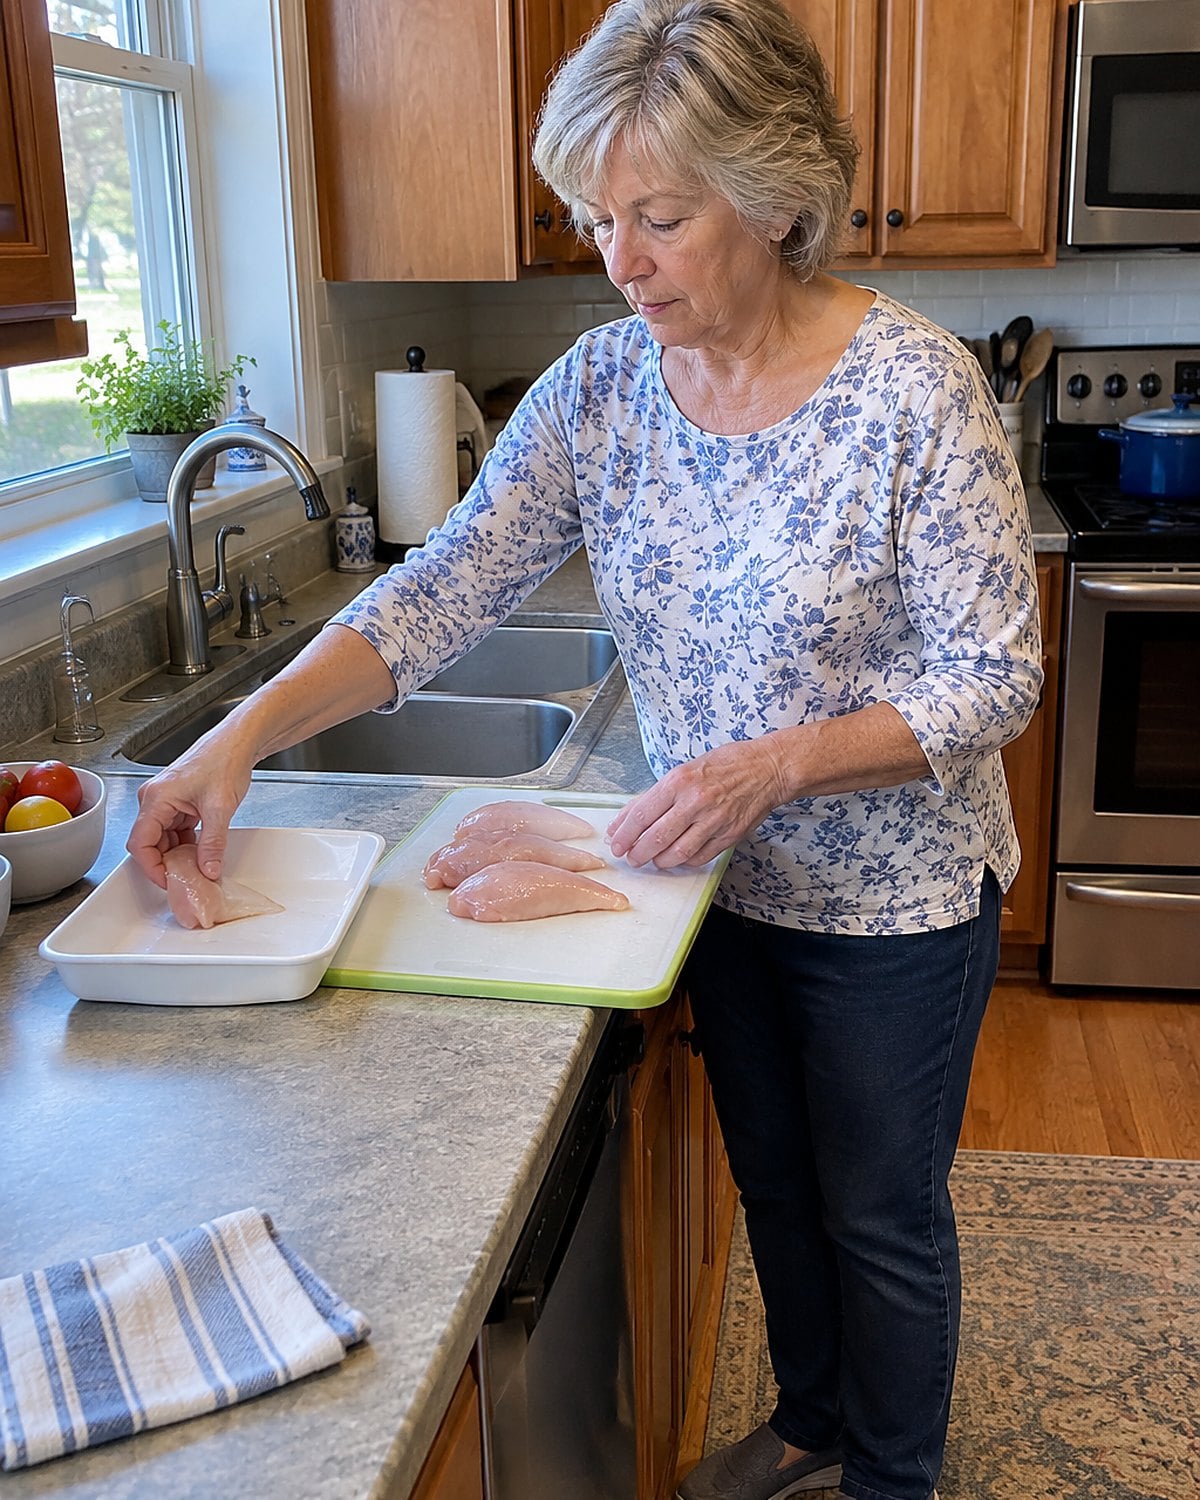
You set chicken in the sink and turn on the tap, a step you learned long before anyone questioned it. The water hits the skin and splashes across the sink rim. Now the faucet handle and nearby counter need attention, too.
Washing raw chicken doesn't make it safe. Cooking it to 165°F does. The CDC's chicken safety guidance says not to wash raw chicken because the splashes spread germs around the kitchen.
Move the chicken straight from its package to the pan or cutting board. Pat it dry with paper towels if the surface needs drying for browning, then throw the towels away. Wash your hands and clean surfaces that touched the raw chicken.
If you're following a cherished recipe that begins with "rinse chicken," skip that instruction. Keep the seasoning, the pan, and the memory. Let the water stay off the bird.
#4 The undated bag in the chest freezer
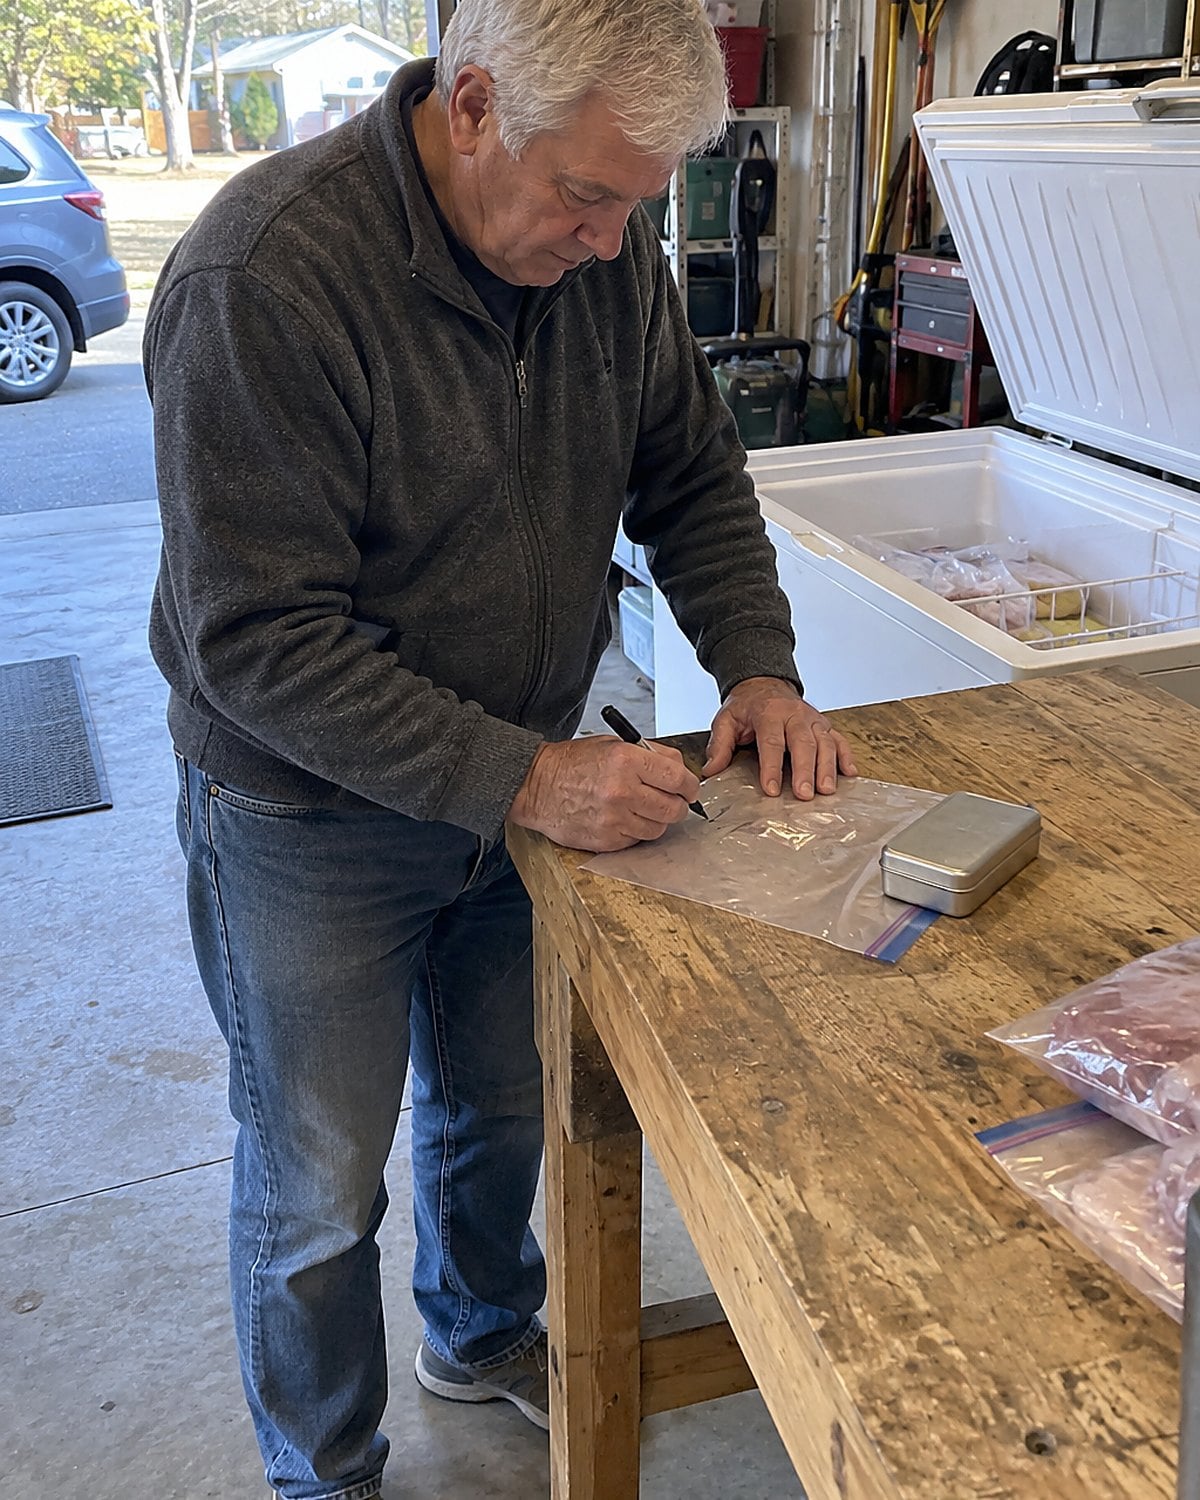
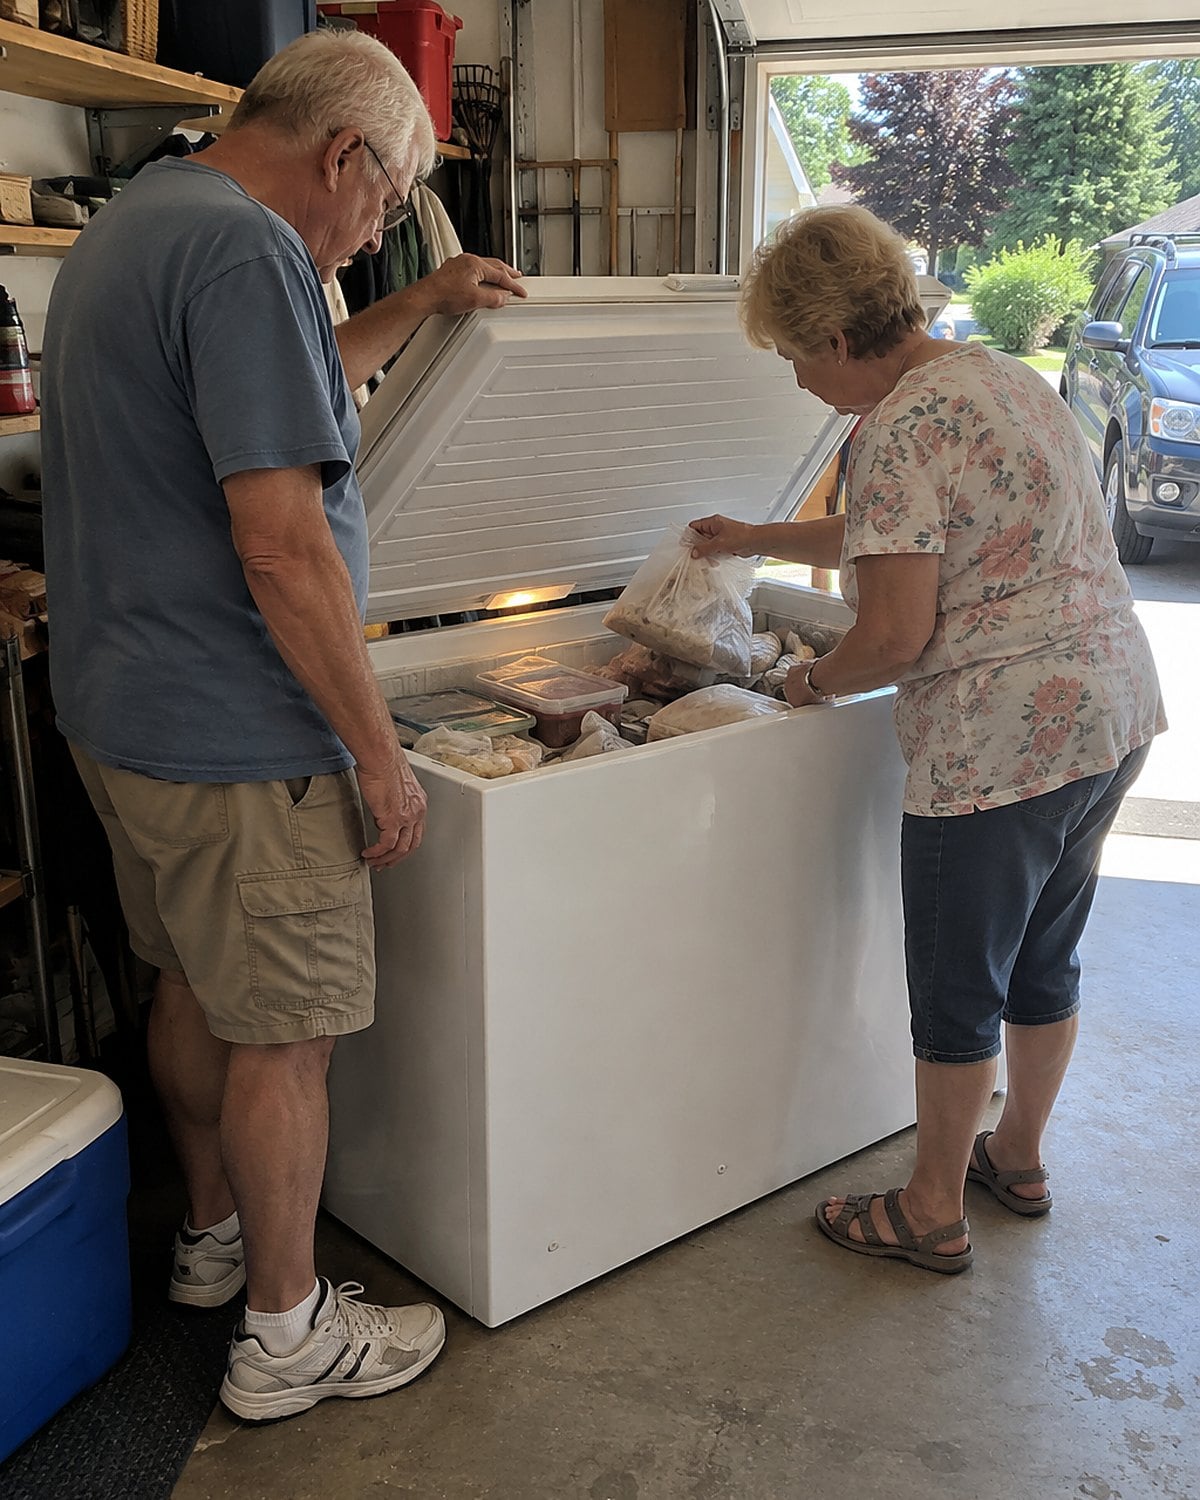
You lift the chest freezer lid and find three bags that look like stew meat. Or perhaps cooked beef. Frost has covered the part where you meant to write a date.
Label food before it freezes, while the bag still lies flat and the pen works on the surface. Write what's inside and the date. Press out extra air, seal the bag, and freeze it flat if the food allows. Flat bags stack better, and you can see what you've got without pulling everything out.
A date won't answer every food safety question. It will stop a good dinner from disappearing under newer bags. The next time you open that freezer, you'll know what to thaw.
#3 The tomato added before the beans soften
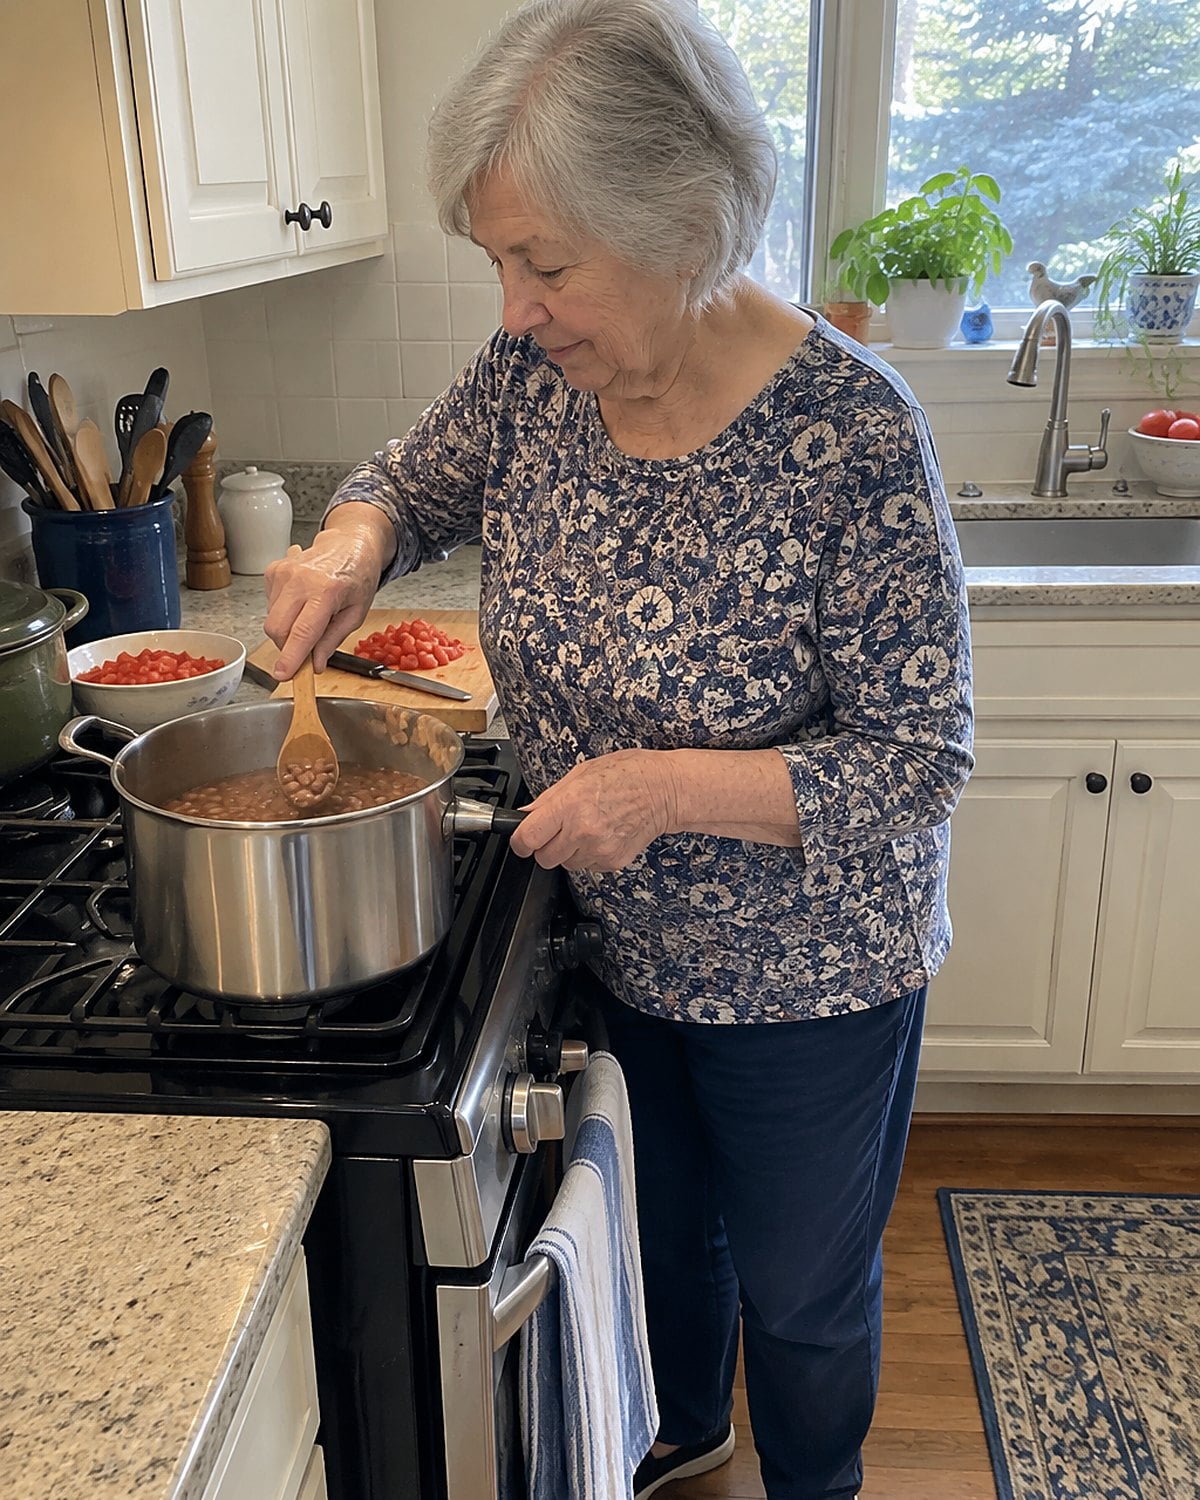
The pot of dried beans is going well, so you add tomatoes early to get the flavors together. Later, the broth tastes good, but the beans still feel firm under your teeth.
Acid from tomatoes slows the softening of beans. Cook the beans in water or broth until they're tender first. Then add the tomatoes and give the pot time for the flavors to meet. Take a bean out and press it against the side of a spoon. Its center should give rather than stay chalky.
There's a safety detail worth keeping separate from texture. Dried kidney beans need a full boil before slow cooking; the FDA's Bad Bug Book covers the toxin in undercooked kidney beans. Follow tested directions for the beans you're using, especially with a slow cooker.
Once the beans are tender, you can add the tomato, adjust the seasoning, and let the stew finish. Changing that order saves you from wondering why another hour hasn't fixed the center.
Try it: Instant Pot White Beans With Rosemary & Garlic
#2 The family-size pot of rice
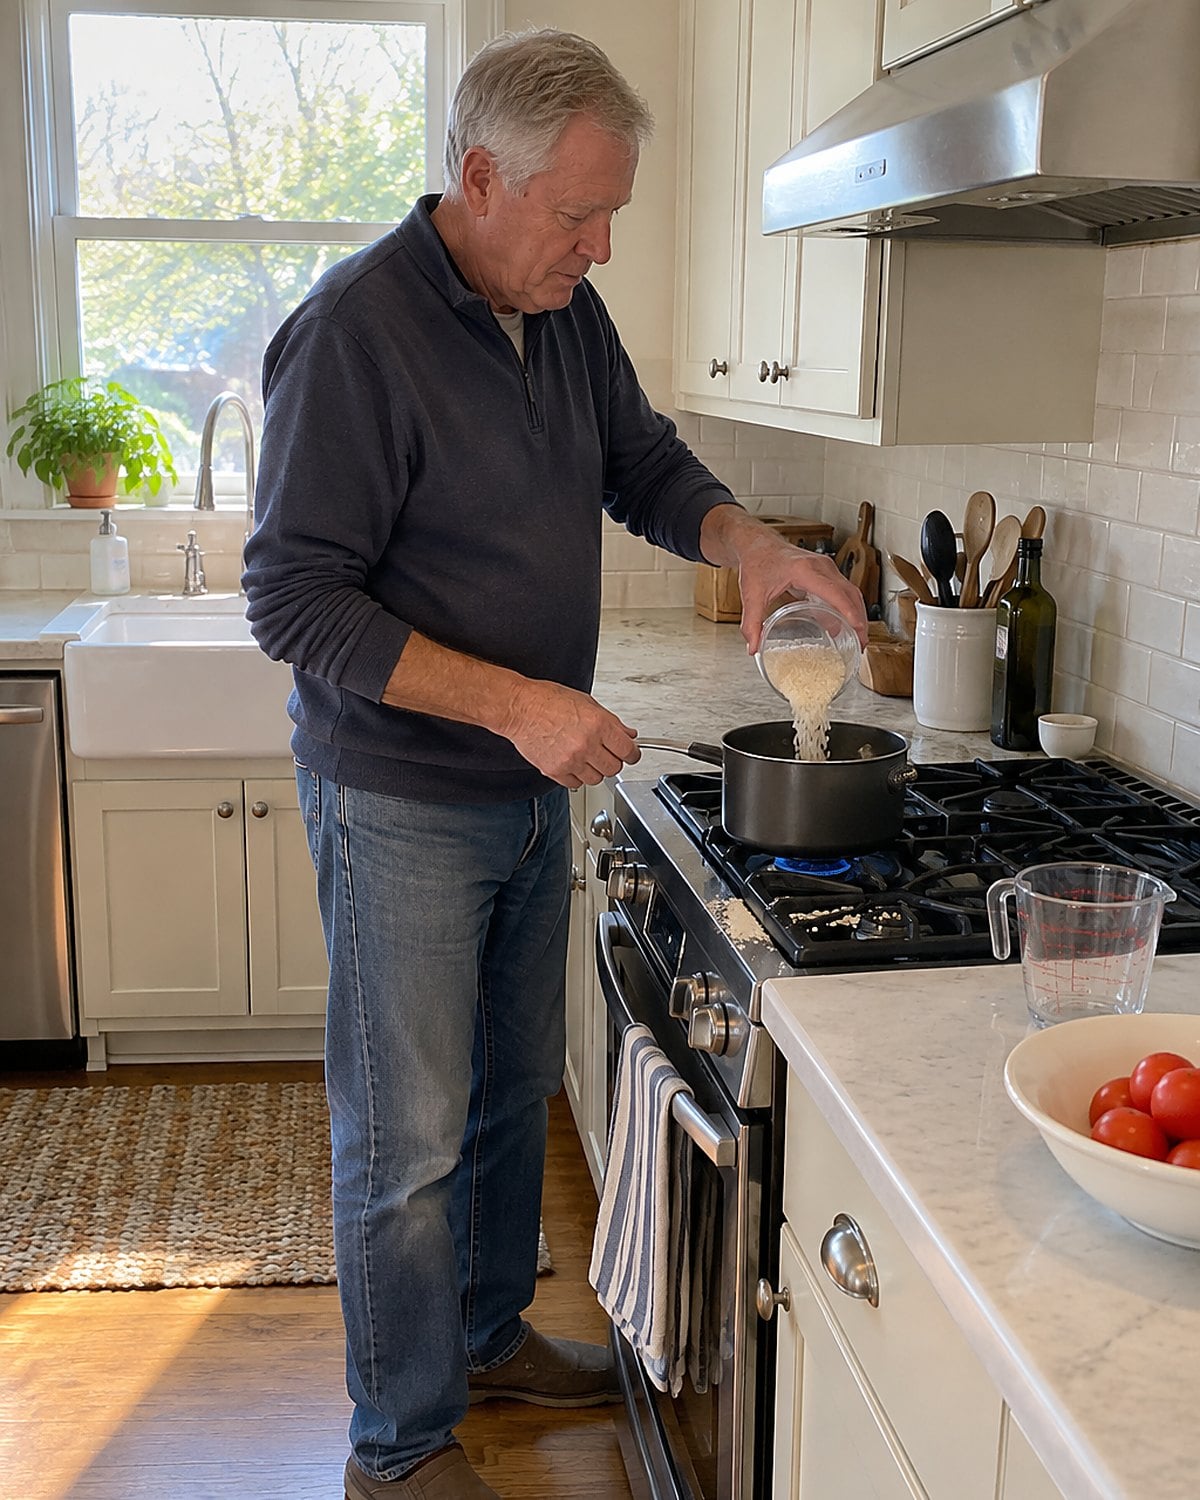
Your hand still measures rice for the table you used to set. The pot comes off the stove, and there's enough left for several meals. You didn't mean to cook so much; the old amount lives in your wrist.
Use the measure that suits tonight's table. Check the rice package for its water ratio, since different rice needs different amounts. Put the cup you use beside the pot before you begin. That small change interrupts the familiar pour without asking you to relearn dinner.
For cooked rice you won't eat now, get it into the refrigerator promptly in a shallow container. Don't leave the pot on the stove for tomorrow's lunch. The habit worth keeping is having rice ready; the part to change is how much sits cooling after supper.
Try it: How To Cook Rice In Instant Pot
#1 The thermometer left in the drawer
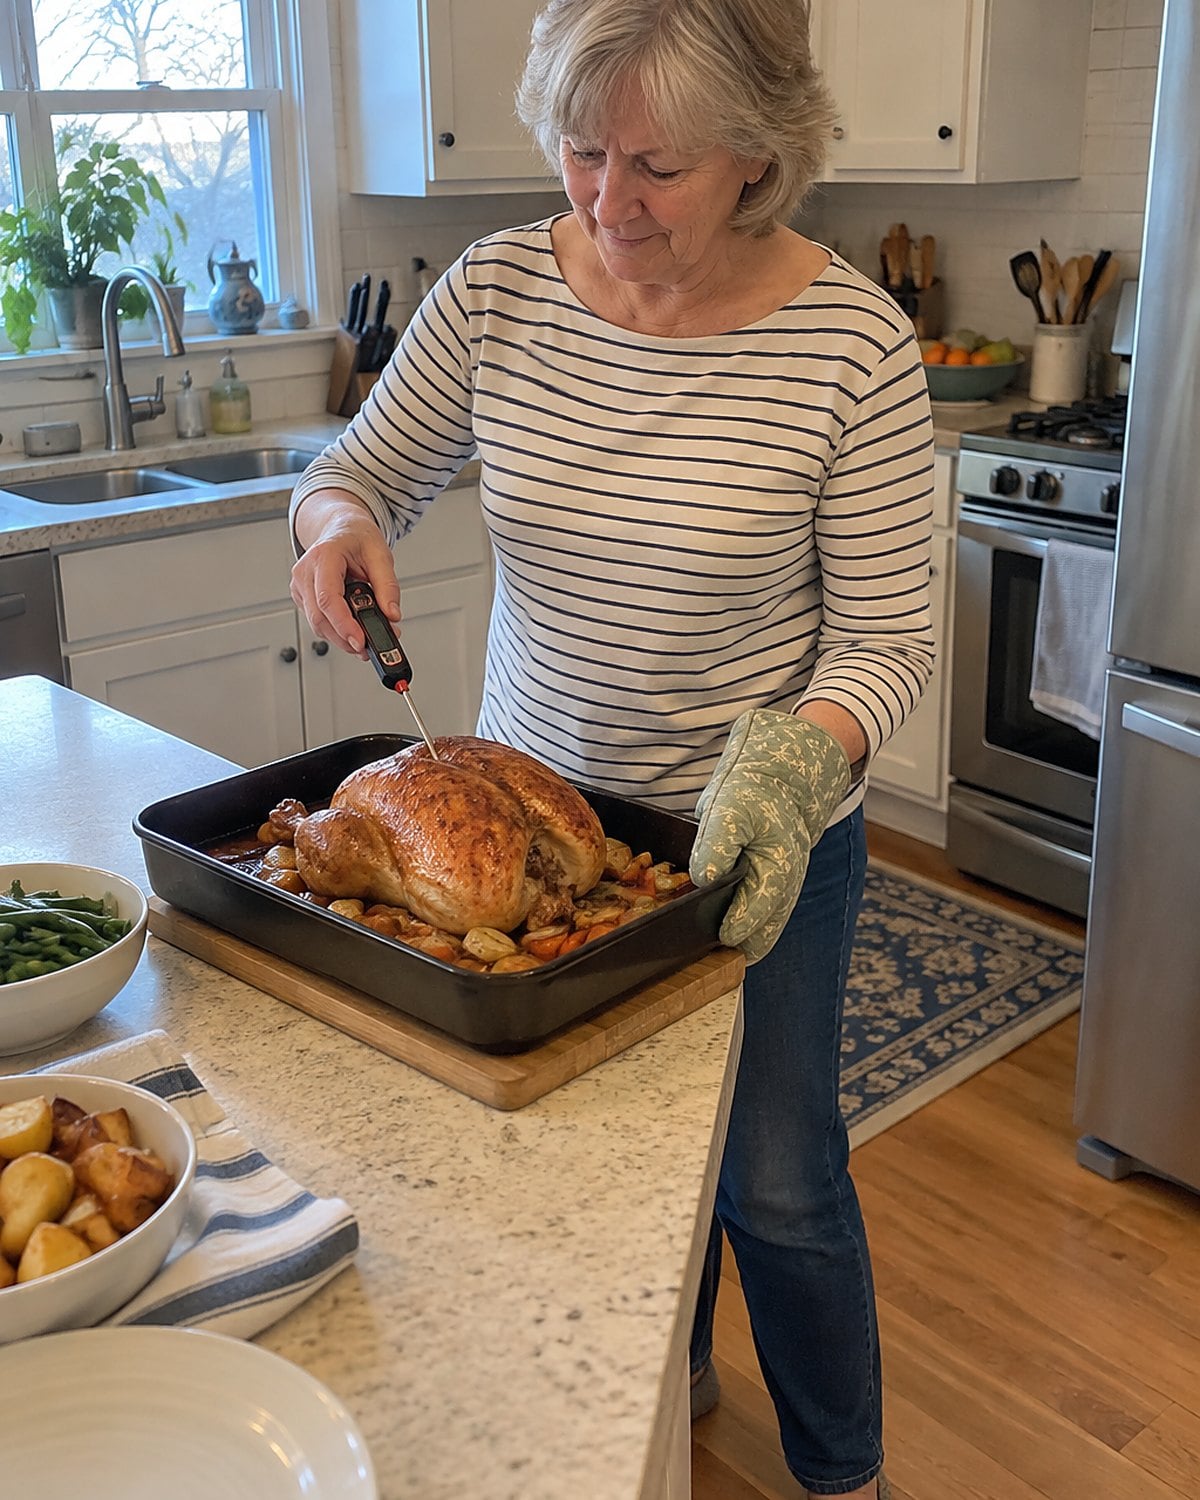
You've cooked chicken since before anyone put a digital thermometer beside the checkout lane. You know the sound of a hot pan and the feel of a roast under the knife. Yet the part you need to judge is buried inside the meat, where neither sound nor knife can tell you its temperature.
Put a food thermometer within reach before you start cooking. Near the end, slide its tip into the thickest part, away from bone. Wait for the reading to settle. For a burger, insert it from the side so the tip reaches the center. Check another spot if the first reading looks unlike the rest of the meat.
The USDA safe temperature chart gives 165°F for poultry and 160°F for ground beef. Whole cuts of beef and pork need 145°F, followed by a 3-minute rest. Keep those numbers near the stove until they're familiar.
A thermometer also keeps you from cooking a chop past the point it needed. Put it back in the same reachable place after washing it. The next dinner is where a good habit starts.
The bottom line
The habits that last are the ones that save a move. Sometimes they also hide what happened in the pan, the fridge, or the middle of a roast.
The well-prepared version of you already has the thermometer in reach, a date on the freezer bag, and enough room left in the skillet for dinner to brown. Which old move in your kitchen deserves a second look tonight?
Leave a Reply