

The spiral binding catches on the drawer handle. Inside, somebody circled a bake time and wrote “use the big pan” beside a recipe that never gave a pan size. You remember the church hall version: foil folded over the corners, serving spoon already in place, an empty spot on the table waiting for another family’s supper.
Those books kept far more than recipes. They recorded what survived a drive across town, what held together on a serving line, and what someone bothered to make again. The names matter because every page belonged to a real cook who had to get dinner on the table.
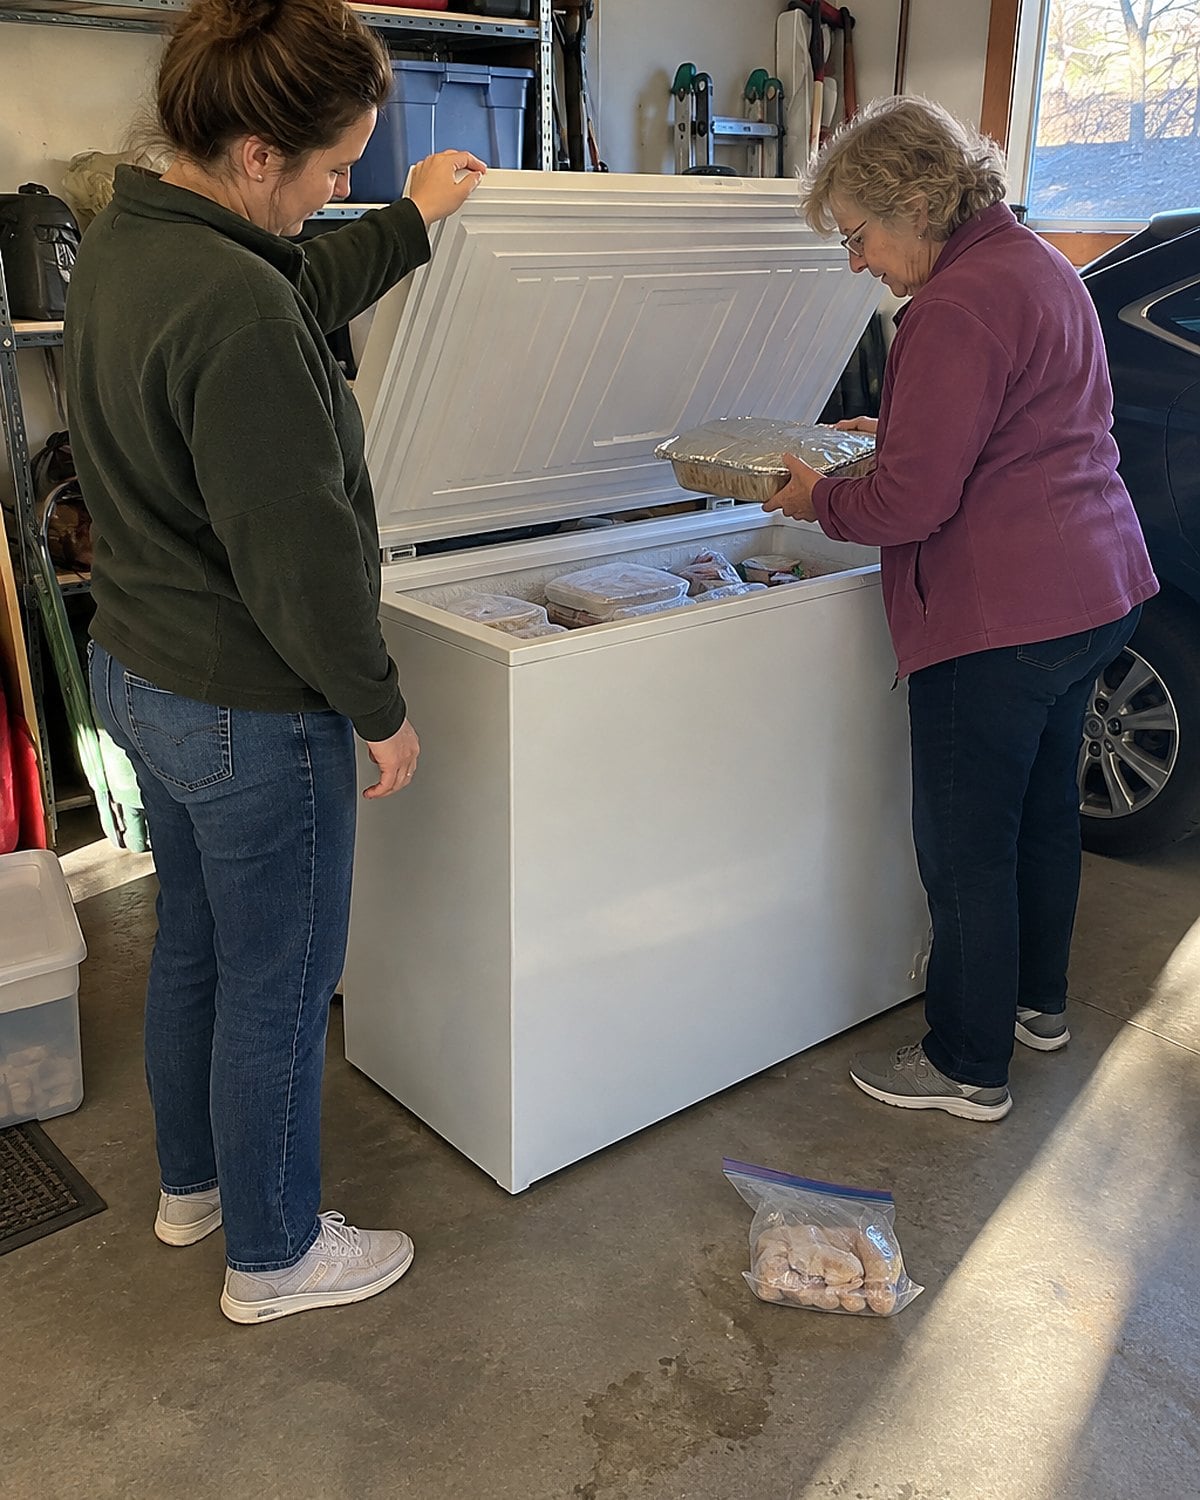
#26 Chicken and Rice in One Pan
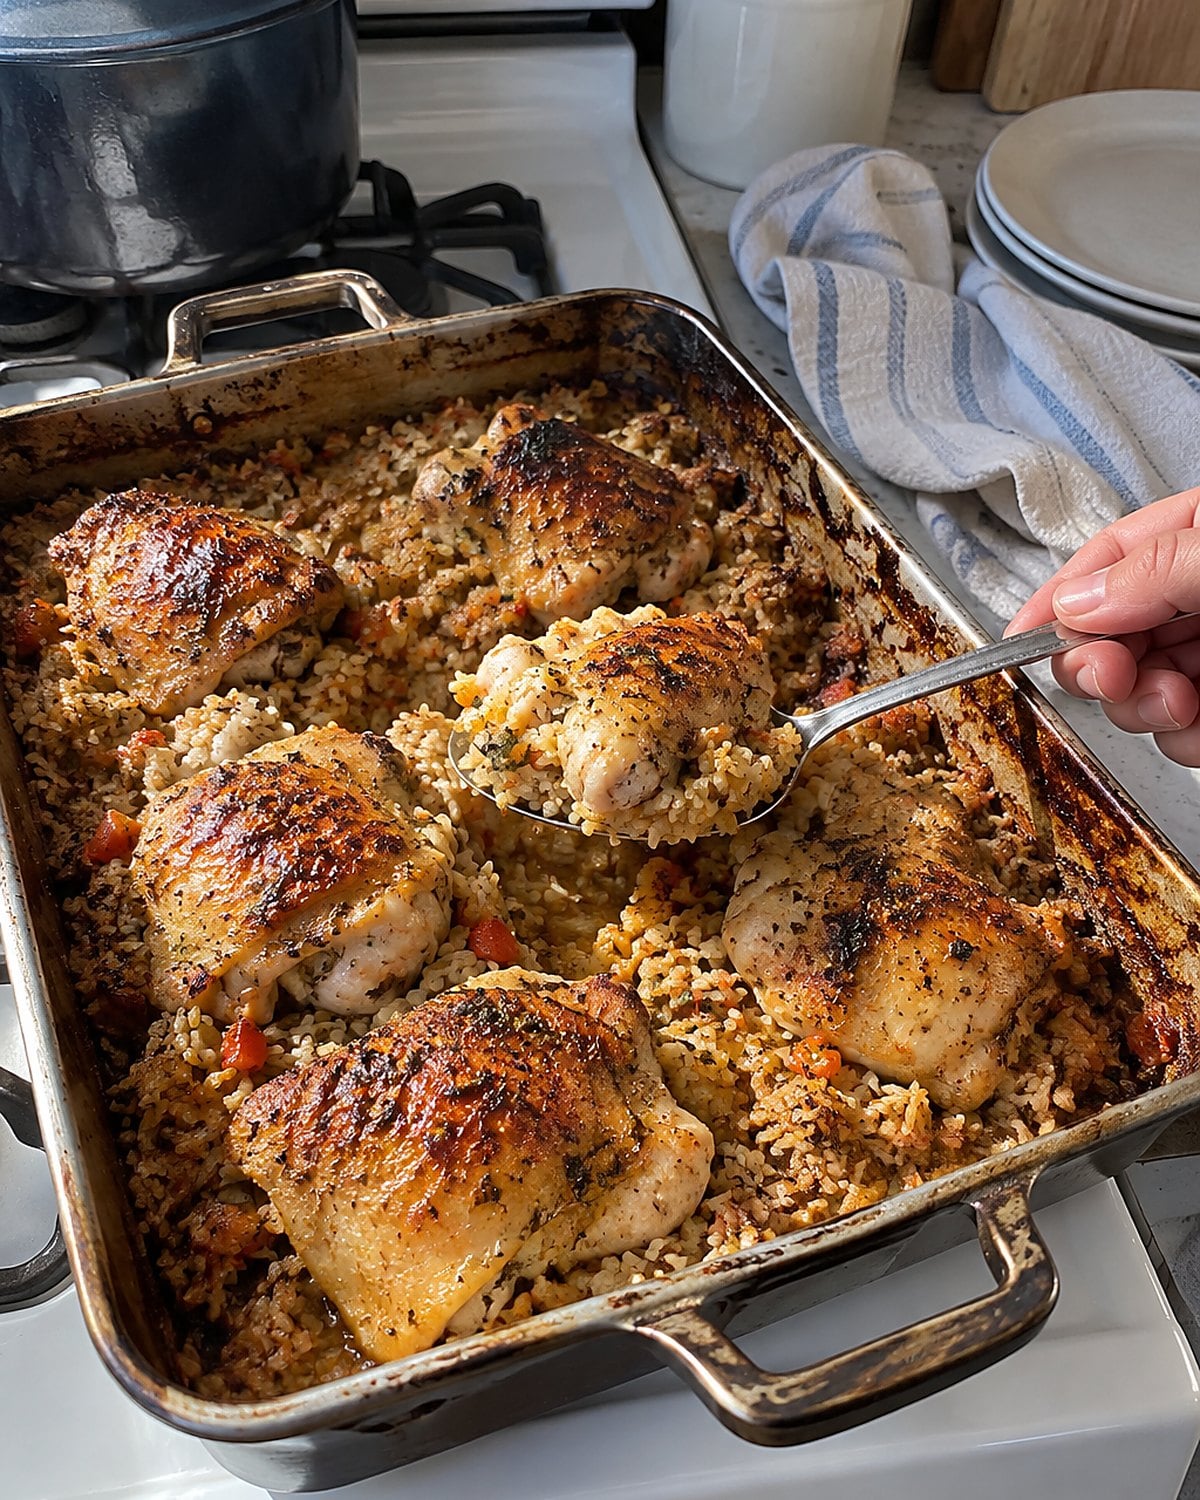
A chicken and rice casserole had a job: fill the pan, travel in it, and serve without a second pot. The trouble shows up when the top looks done and the rice underneath still has a hard center. Rice needs enough liquid and a tightly covered pan to absorb it.
Before serving, lift a spoonful from the middle. Bite a grain. If it’s firm, put the cover back on and give the pan more time. Don’t try to fix it with a shower of cheese. Cheese gives you a nice lid over the same unfinished rice.
Many church cookbook versions call for cooked chicken. Treat that as a different starting point from raw chicken, even when the finished pans look alike. If you use raw poultry, check its thickest pieces with a thermometer. The USDA Food Safety and Inspection Service gives 165°F as the safe internal temperature for poultry.
That little note beside a recipe, “chicken already cooked,” saves a lot of guessing at the stove.
Try it: Instant Pot Chicken Broccoli & Rice Casserole
#25 Corn Pudding with a Wobbling Center
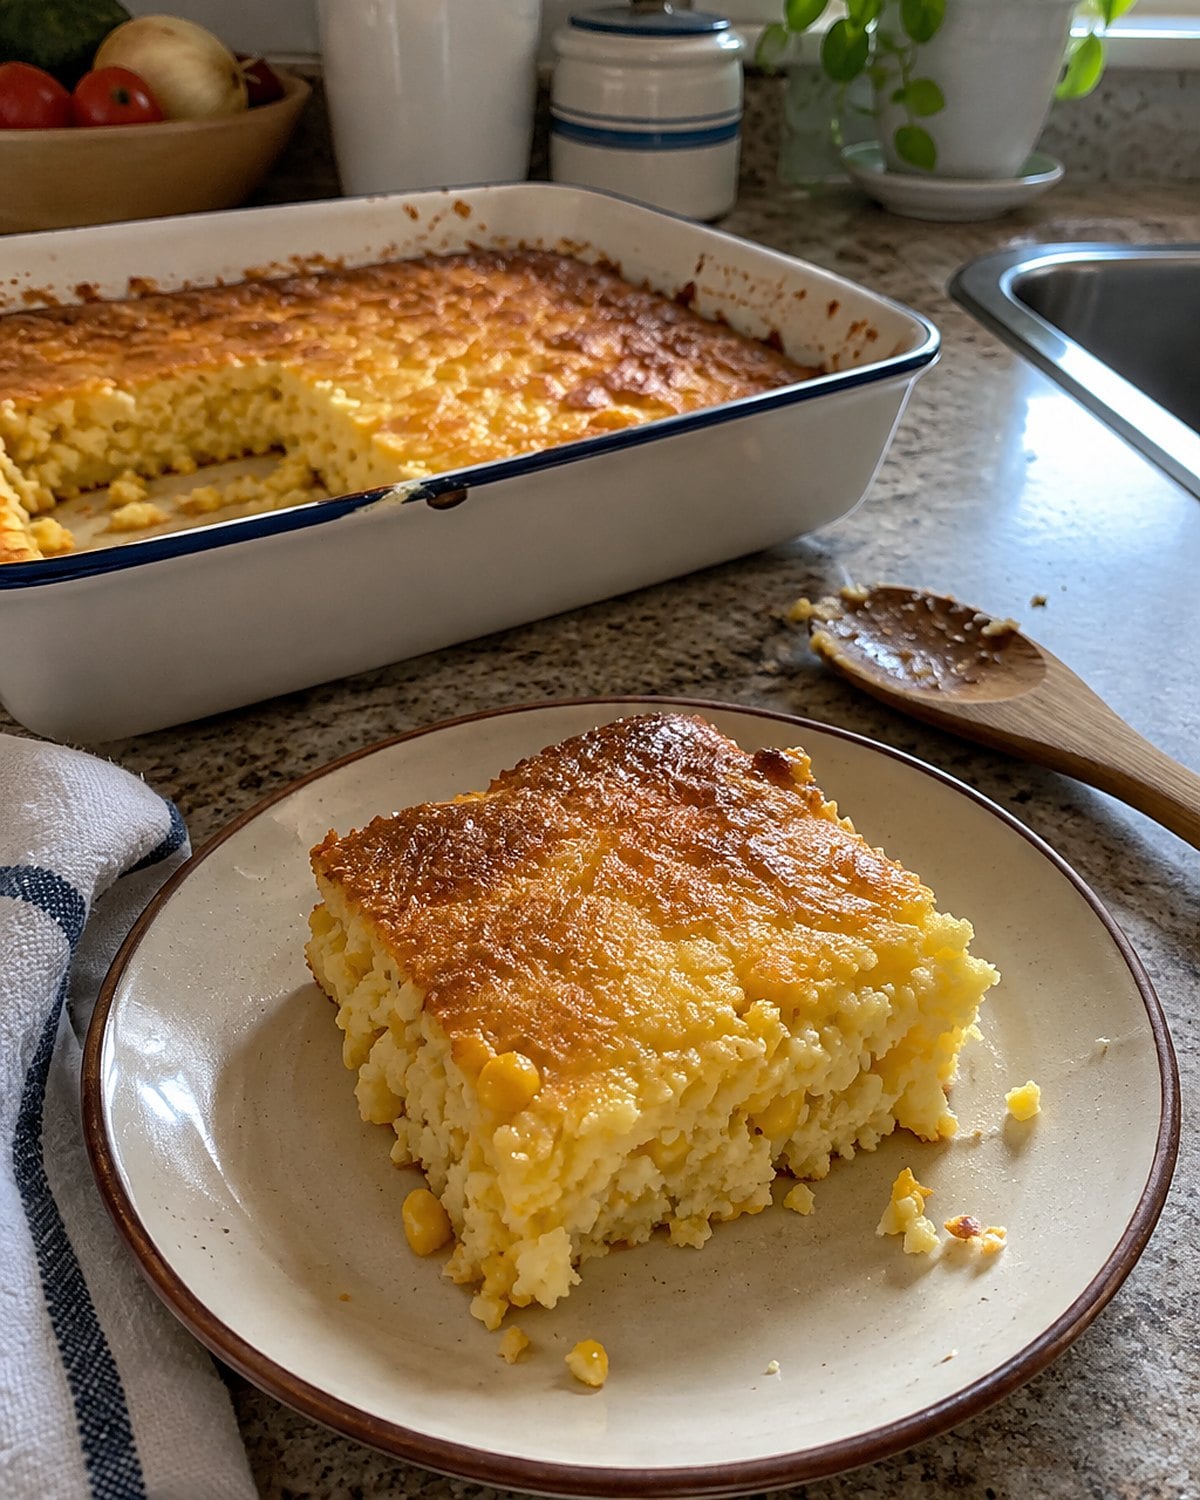
Corn pudding looked steady enough on the church hall table. Cut into it too soon, though, and the first square slid off the spoon. The eggs needed time to set, and the dish needed a pause after leaving the oven.
Give the pan a small nudge while it’s still on the oven rack. The center should wobble as one piece, without a loose pool moving beneath the surface. Then let it stand before you cut. That pause gives the warm custard time to settle into slices.
If your old recipe says “bake until done,” write the wobble test beside it. It travels better than a time copied from a different oven and a different baking dish. A shallow pan and a deep one won’t reach the same center at the same moment.
Save the first soft spoonful for yourself. Someone had to check it.
#24 Lasagna Cut into Church Hall Squares
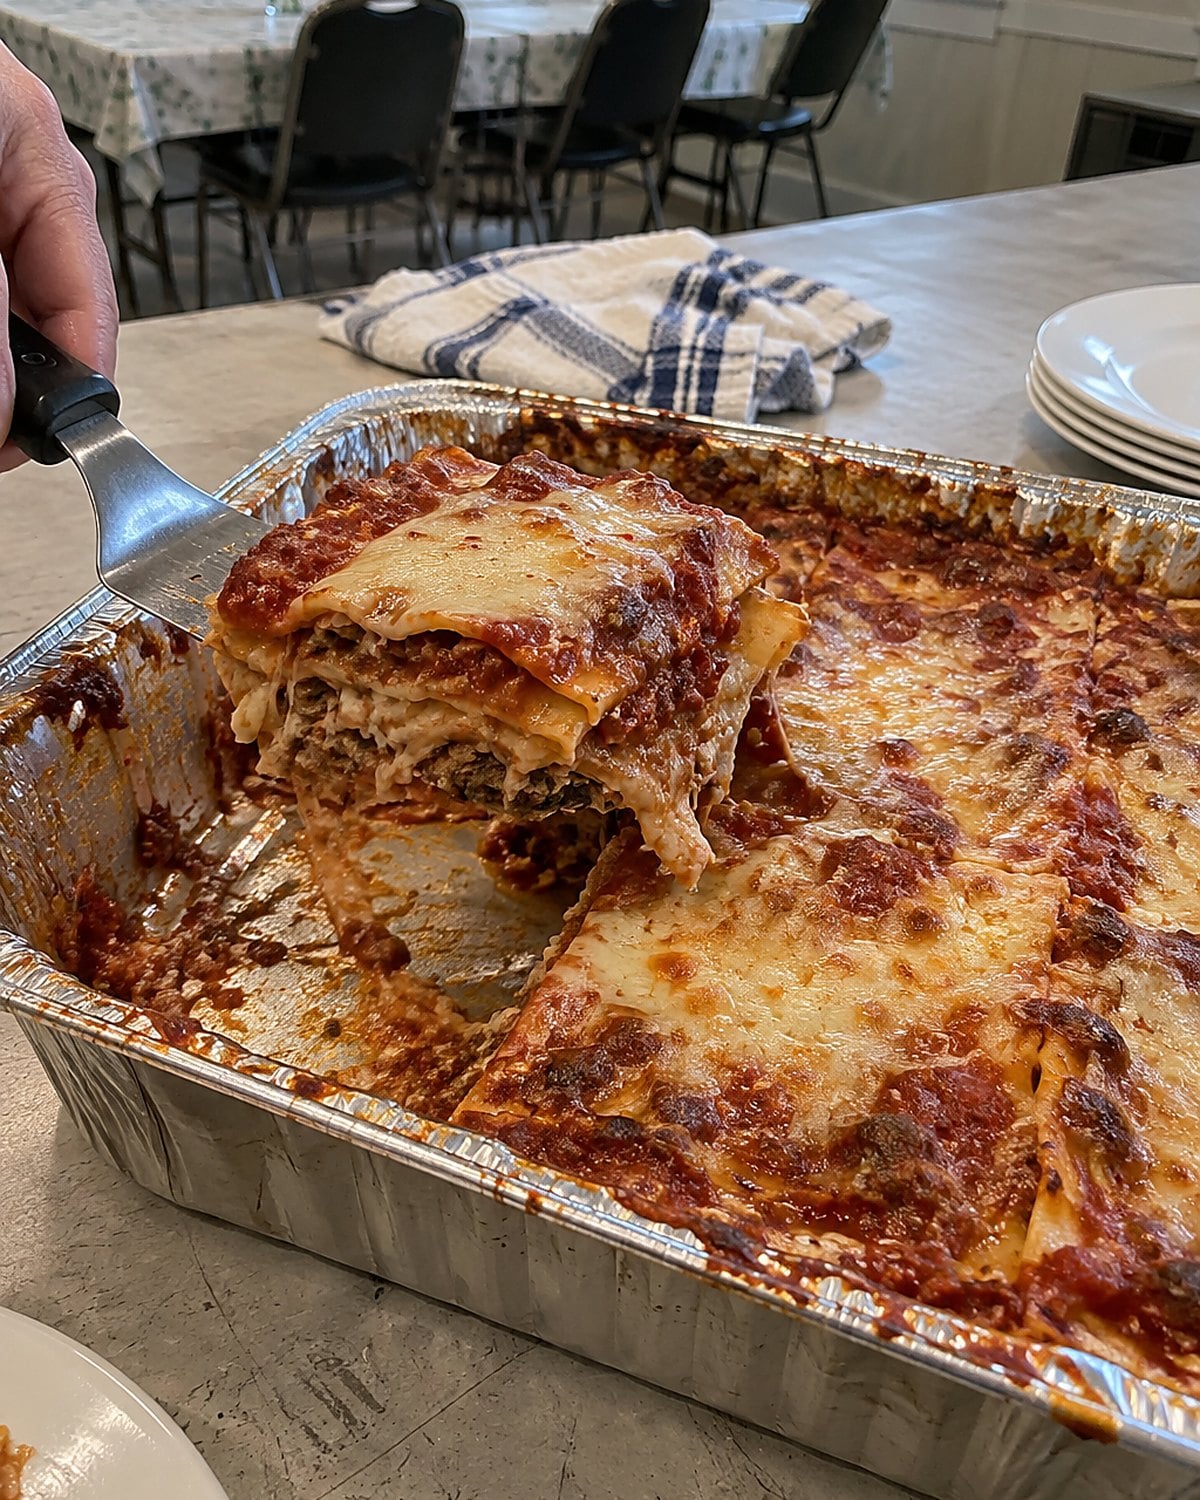
Lasagna needed to do more than taste good. It had to leave the pan in squares while a serving line waited. A wet sauce or a thick mound of uncooked vegetables made that difficult, no matter how carefully somebody layered the noodles.
Cook mushrooms or spinach until their extra water is gone. If you’re using thawed frozen spinach, squeeze it over the sink first. Spread sauce all the way to the corners, where dry noodle edges otherwise stay tough. Then keep the layers fairly even. A mountain of filling in the middle pushes the first serving apart.
The hardest step comes after baking: leave the pan alone. A hot lasagna scooped at once slides back into the space you just made. Once it has rested, draw the knife through to the bottom and lift with a broad spatula.
You know the casserole someone cut in the kitchen before carrying it out? That cook had already solved the serving line. At home, the same trick lets you put a tidy square on a plate, even when there are only two plates.
#23 Biscuits from the Floury Counter
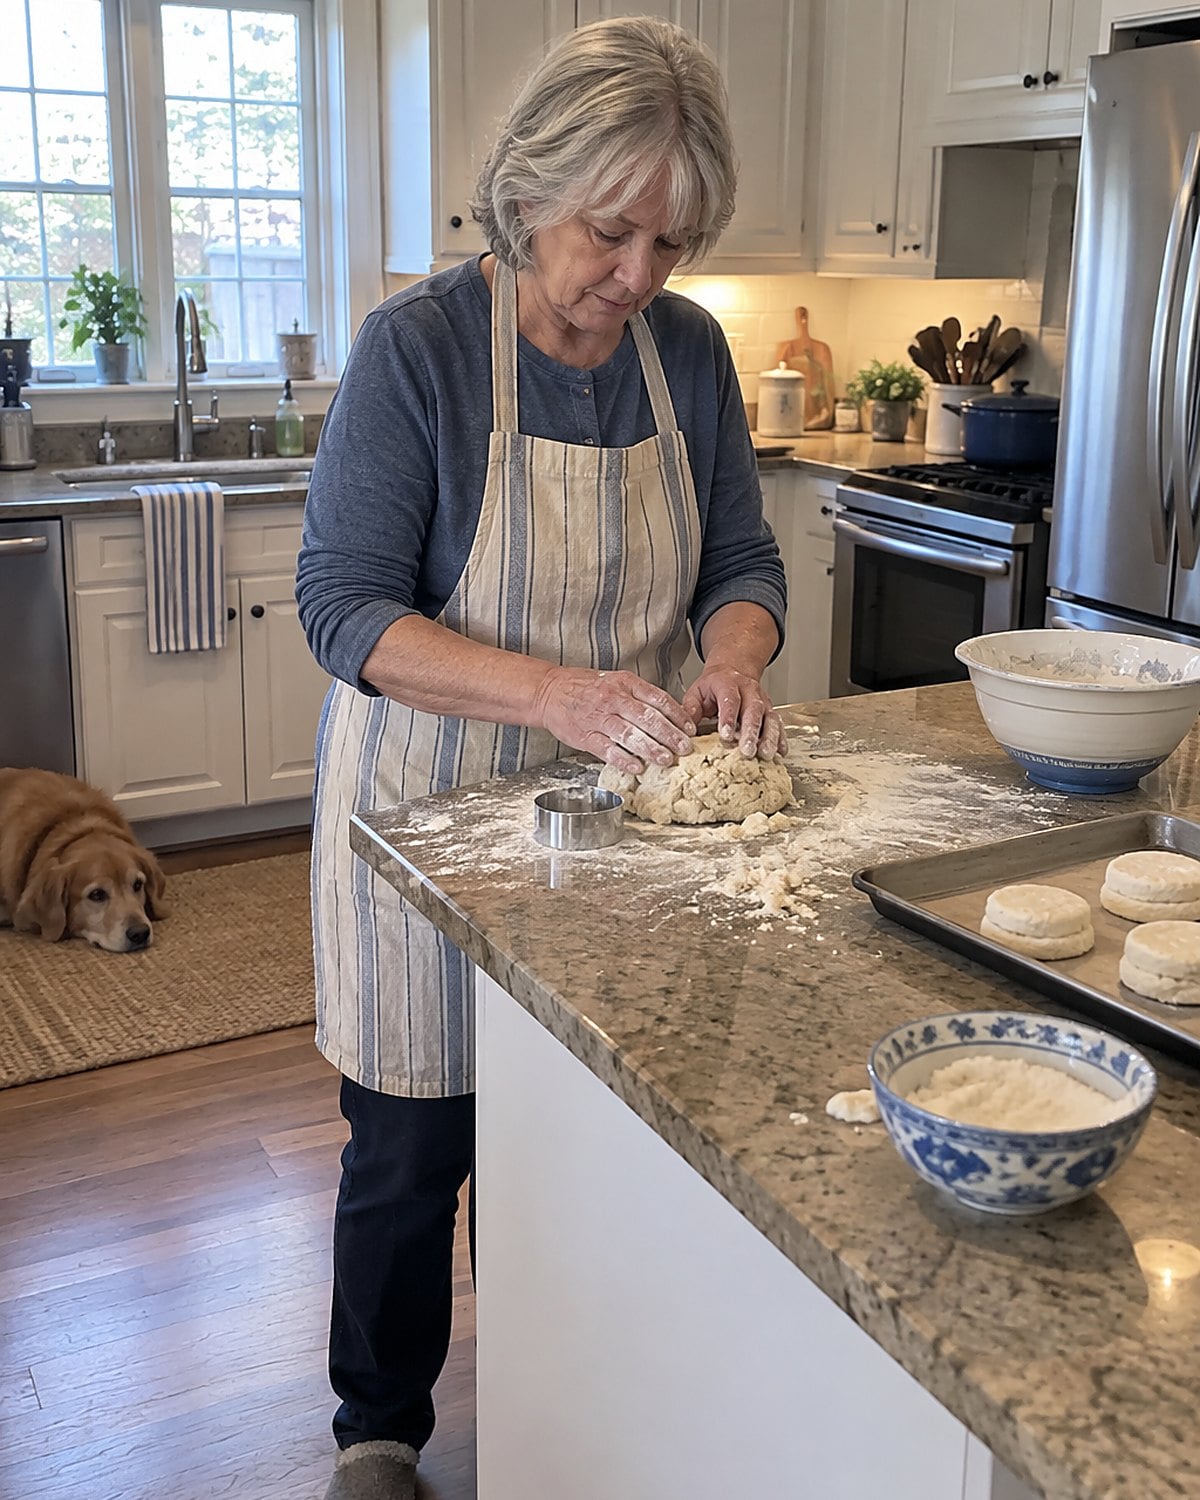
The biscuit recipe is short enough to fit on an index card. The space between “mix” and “bake” carries most of the skill. Work the dough until it looks smooth, and the biscuits lose the tender layers you wanted.
Keep the fat cold and stop stirring when the dry flour has disappeared. Turn the dough onto the counter and press it together with your hands. Sticky patches are easier to manage with a little flour on your fingers than with another round of hard kneading.
When you cut the biscuits, press straight down. Twisting the cutter seals the edges you want to rise. Set the scraps together without grinding them into a new ball; those last biscuits will still be welcome beside gravy.
If the book says “handle lightly,” the writer trusted you to know a feel that’s hard to fit in a recipe box. The dough should hold together when pressed, yet still show a few rough edges. Leave it looking homemade.
#22 Green Beans with a Ham Hock
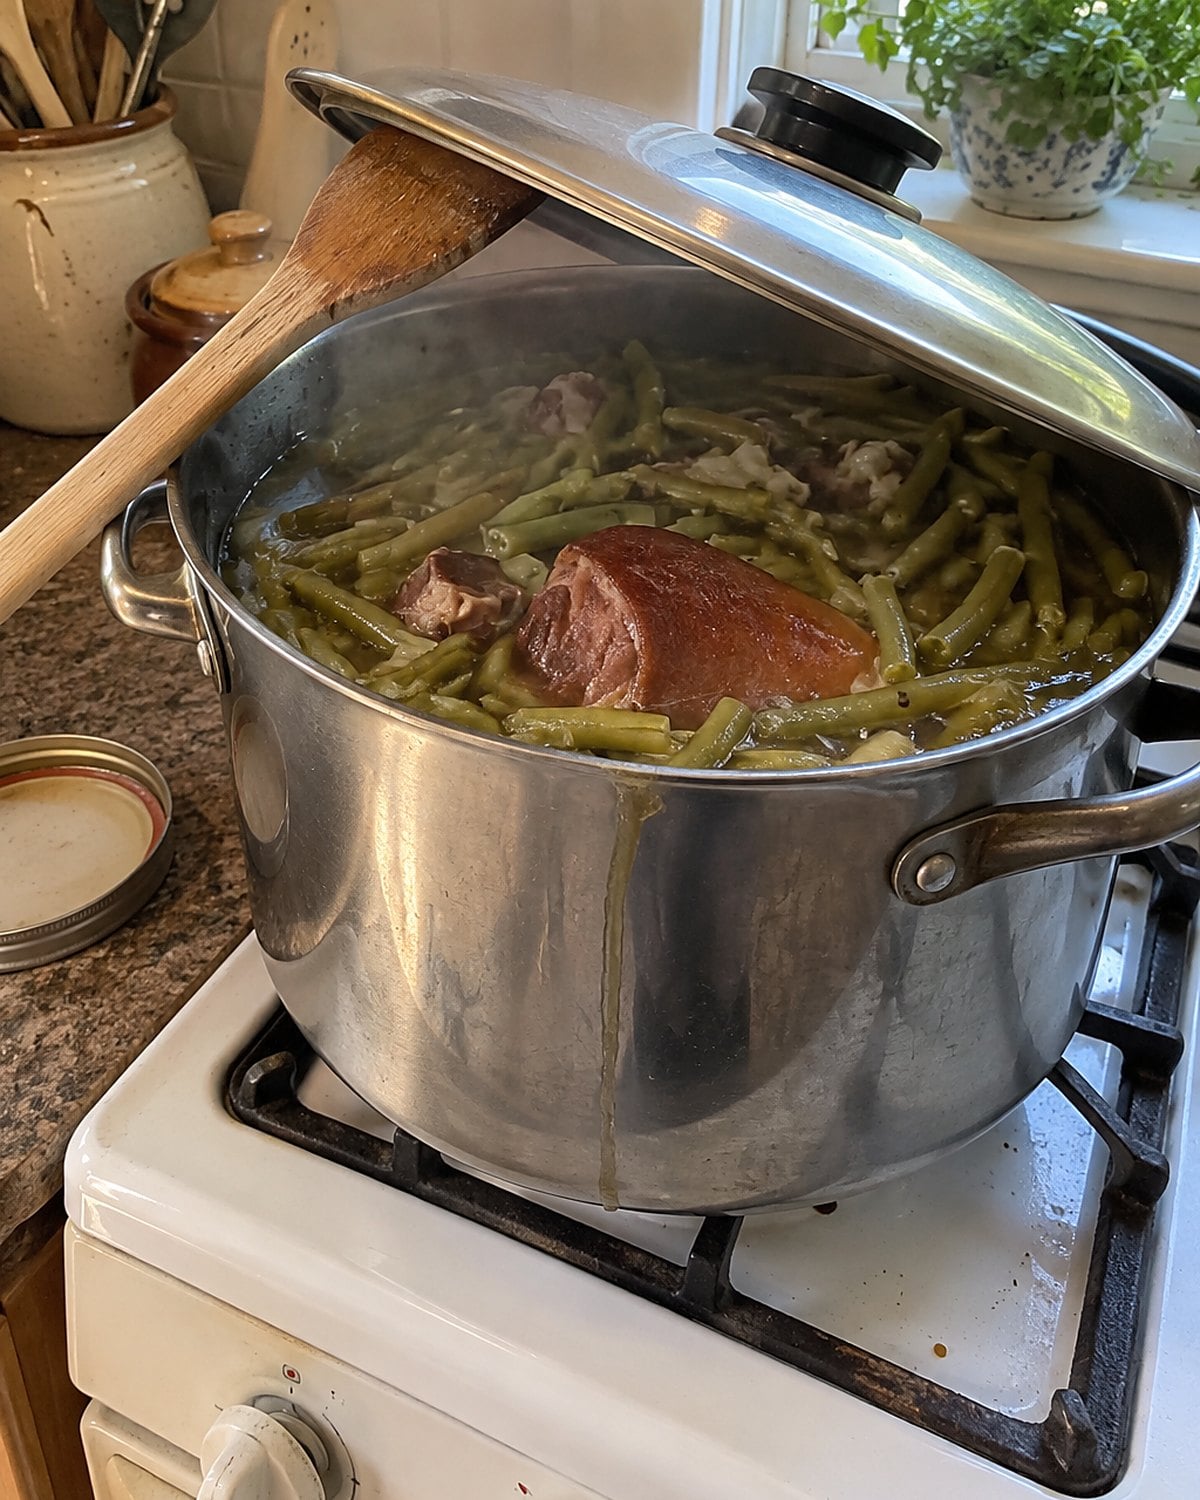
There was a pot at the end of the church hall table that smelled like somebody had started supper early. Green beans and a ham hock need that head start for a reason. The hock gives the cooking liquid its rich, smoky taste; the beans take it in.
Begin with the hock and liquid, then add the beans once the pot smells savory. Give the beans a simmer, not a hard boil that batters them against the pot. A good result for this dish is tender beans and broth worth spooning over potatoes. Crisp beans belong to another supper.
Taste the liquid before adding salt. A cured hock brings its own, and a pot that tastes balanced at the start grows stronger as liquid cooks away. If the broth has gone too salty, adding more beans and unsalted liquid helps more than another seasoning.
That serving spoon was rarely dry. People came back for the broth, even after the beans were gone.
#21 Pineapple Cheese Casserole in the Serving Line
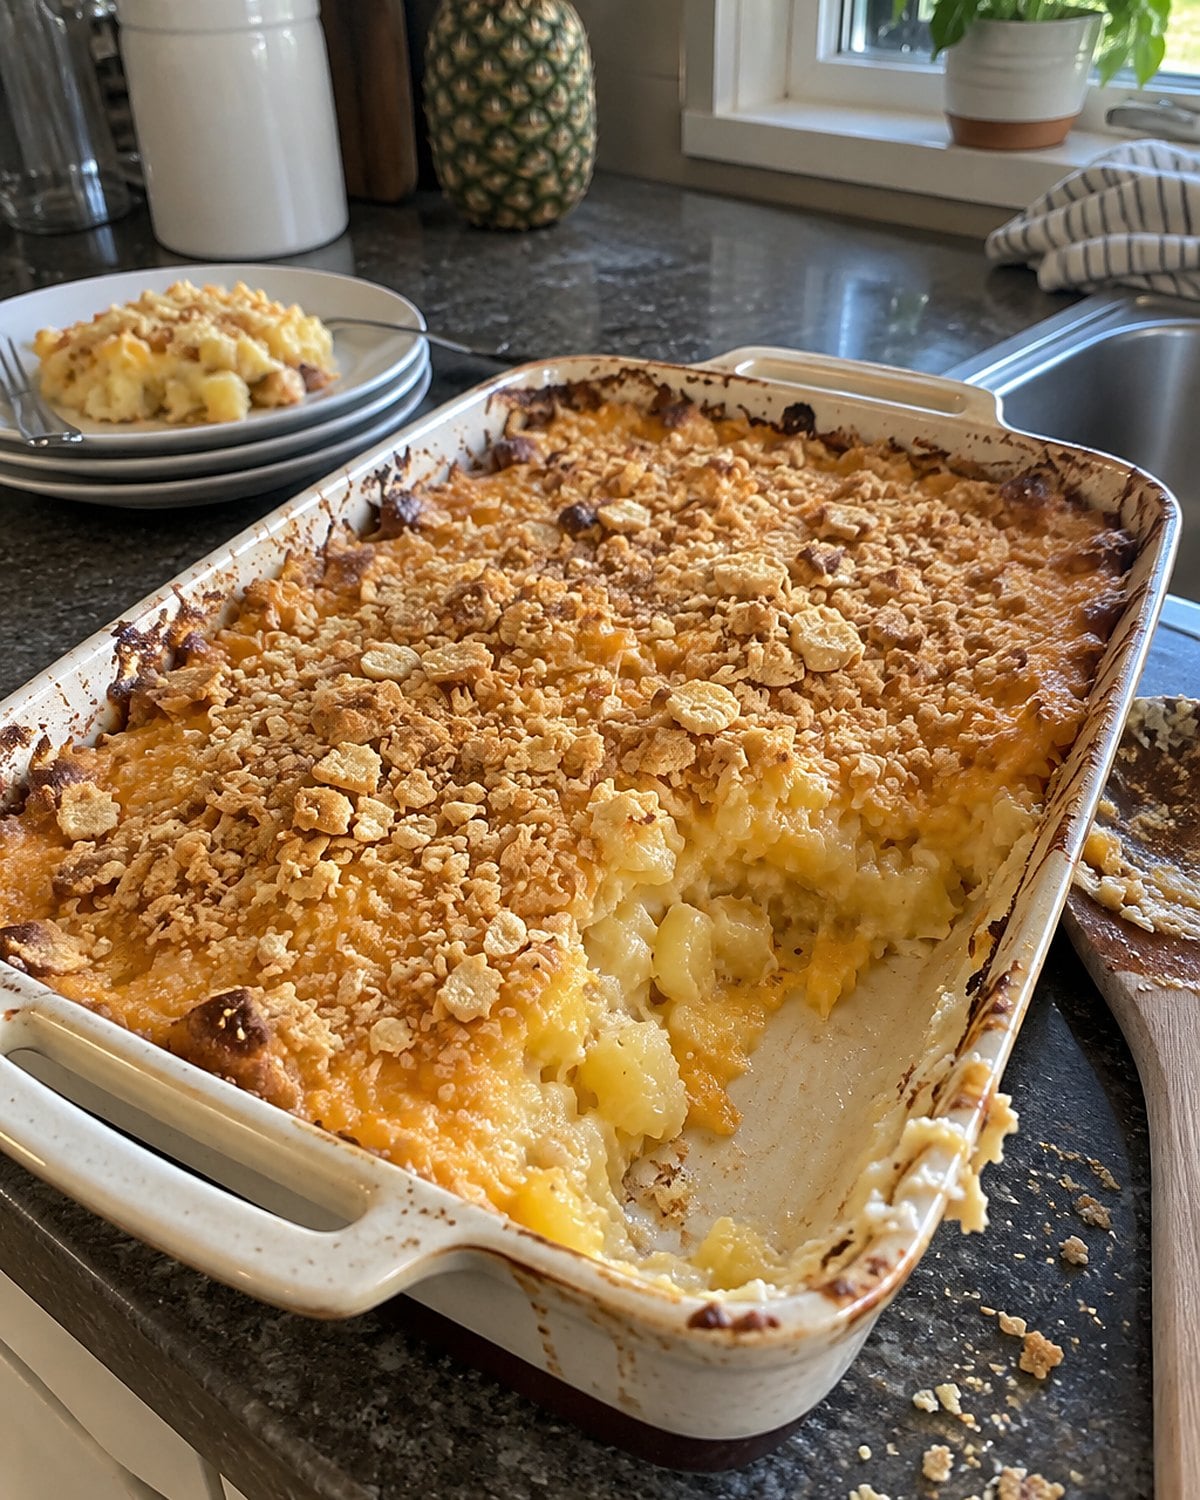
Pineapple and cheese in the same baking dish still gets a raised eyebrow from anyone meeting it for the first time. On a church table, it earned its space beside ham. Sweet fruit cut through the salty meat, while sharp cheese kept the side from tasting like dessert.
Drain the pineapple before it goes into the dish. Extra juice turns a baked topping soggy and leaves a puddle around the first scoop. If your version uses crushed crackers, scatter them over the top shortly before baking so they stay distinct from the filling.
Take a bite with the ham it was meant to sit beside. Alone, the pineapple tastes sweeter; together, the plate makes sense. That pairing explains why somebody submitted the recipe instead of keeping it at home.
The printed name underneath told newcomers whose pan to look for next time. It also gave you someone to ask when your topping came out damp.
#20 Beef and Vegetable Soup from Sunday
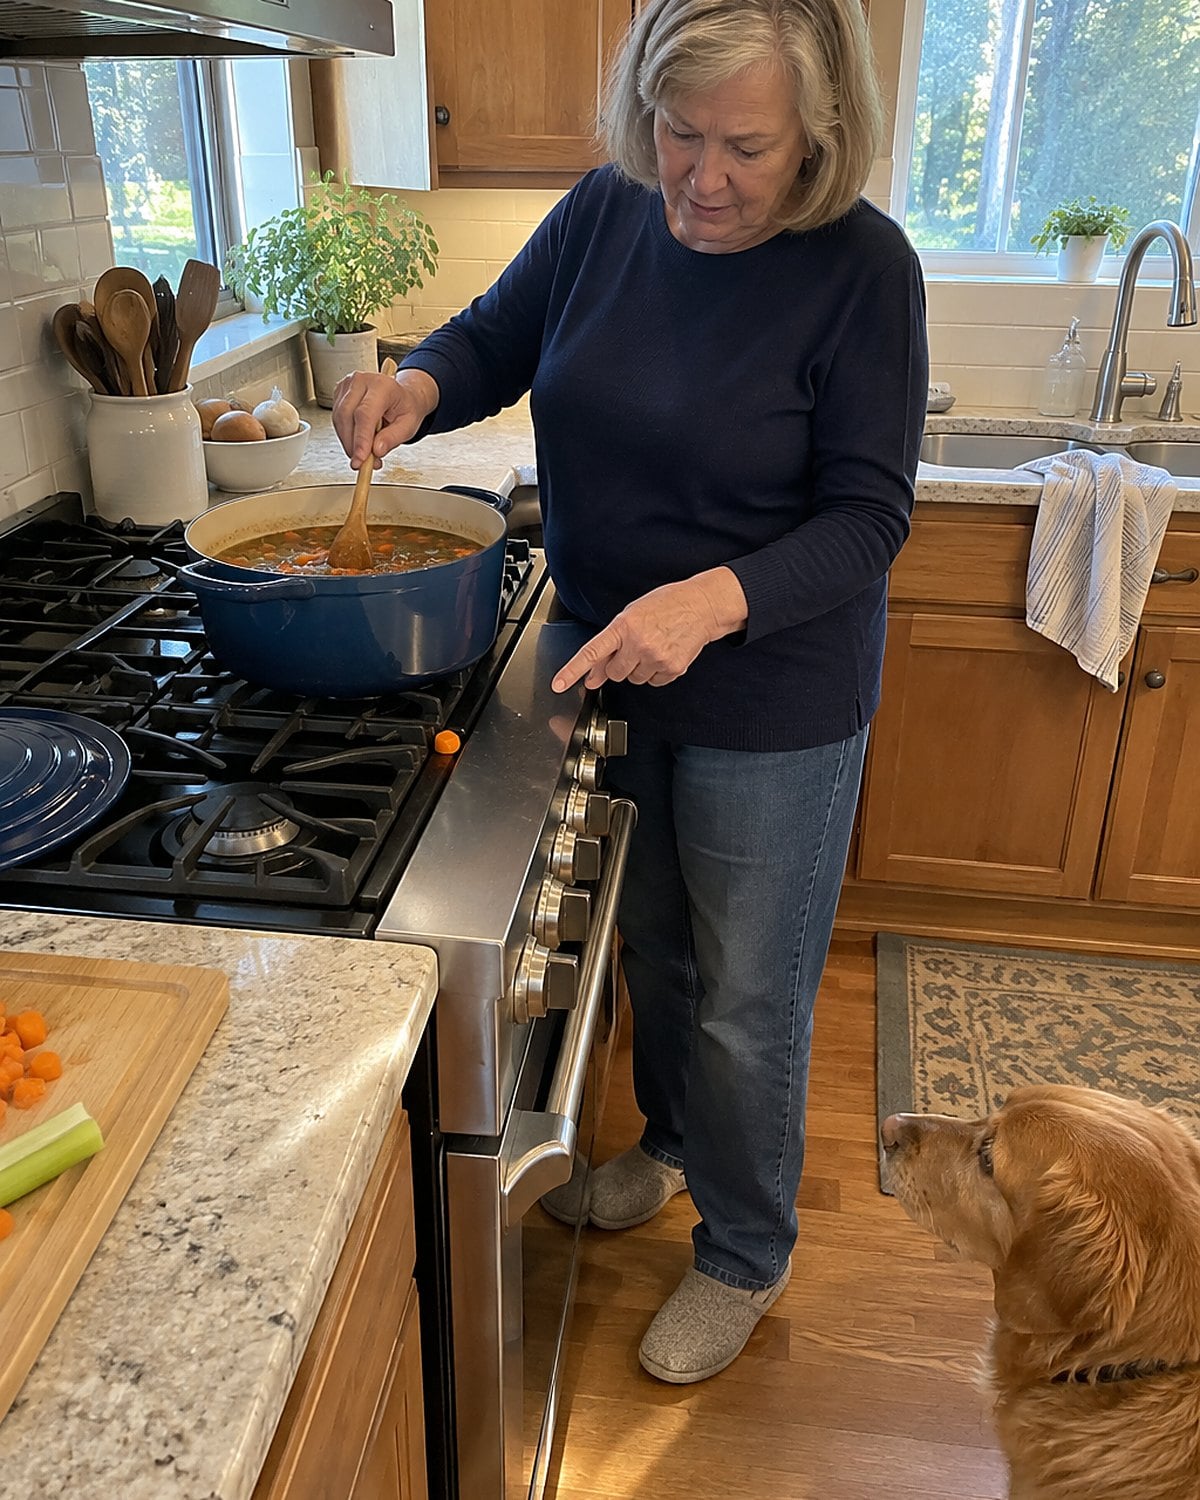
Soup fed late arrivals without making anybody feel late. A pot of beef and vegetables held on the stove while chairs were added and coats were hung over them. The useful lesson in the old recipes is the order of the pot, even when the instructions skim past it.
Brown the beef in batches if the bottom of your pot is crowded. Crowded meat steams, and those browned bits are part of what gives the broth depth. Add the cooking liquid and scrape the bottom. Give tougher pieces time to soften before dropping in quick-cooking vegetables.
Potatoes and carrots need more time than peas. Put everything in at once, and the peas lose their color while you wait for the carrots. Stir in tender vegetables near the end, then taste the broth. A little acid, such as a squeeze of lemon, wakes up a flat pot without making it taste lemony.
If you’re saving some, cool it promptly and refrigerate it at 40°F or below. The USDA’s cold storage chart is the place to check how long a particular leftover belongs in your fridge. First, though, decide if it needs one more pinch of salt before the bowls go out.
Try it: Instant Pot Beef Vegetable Soup
#19 Tomato Aspic on a Chilled Plate
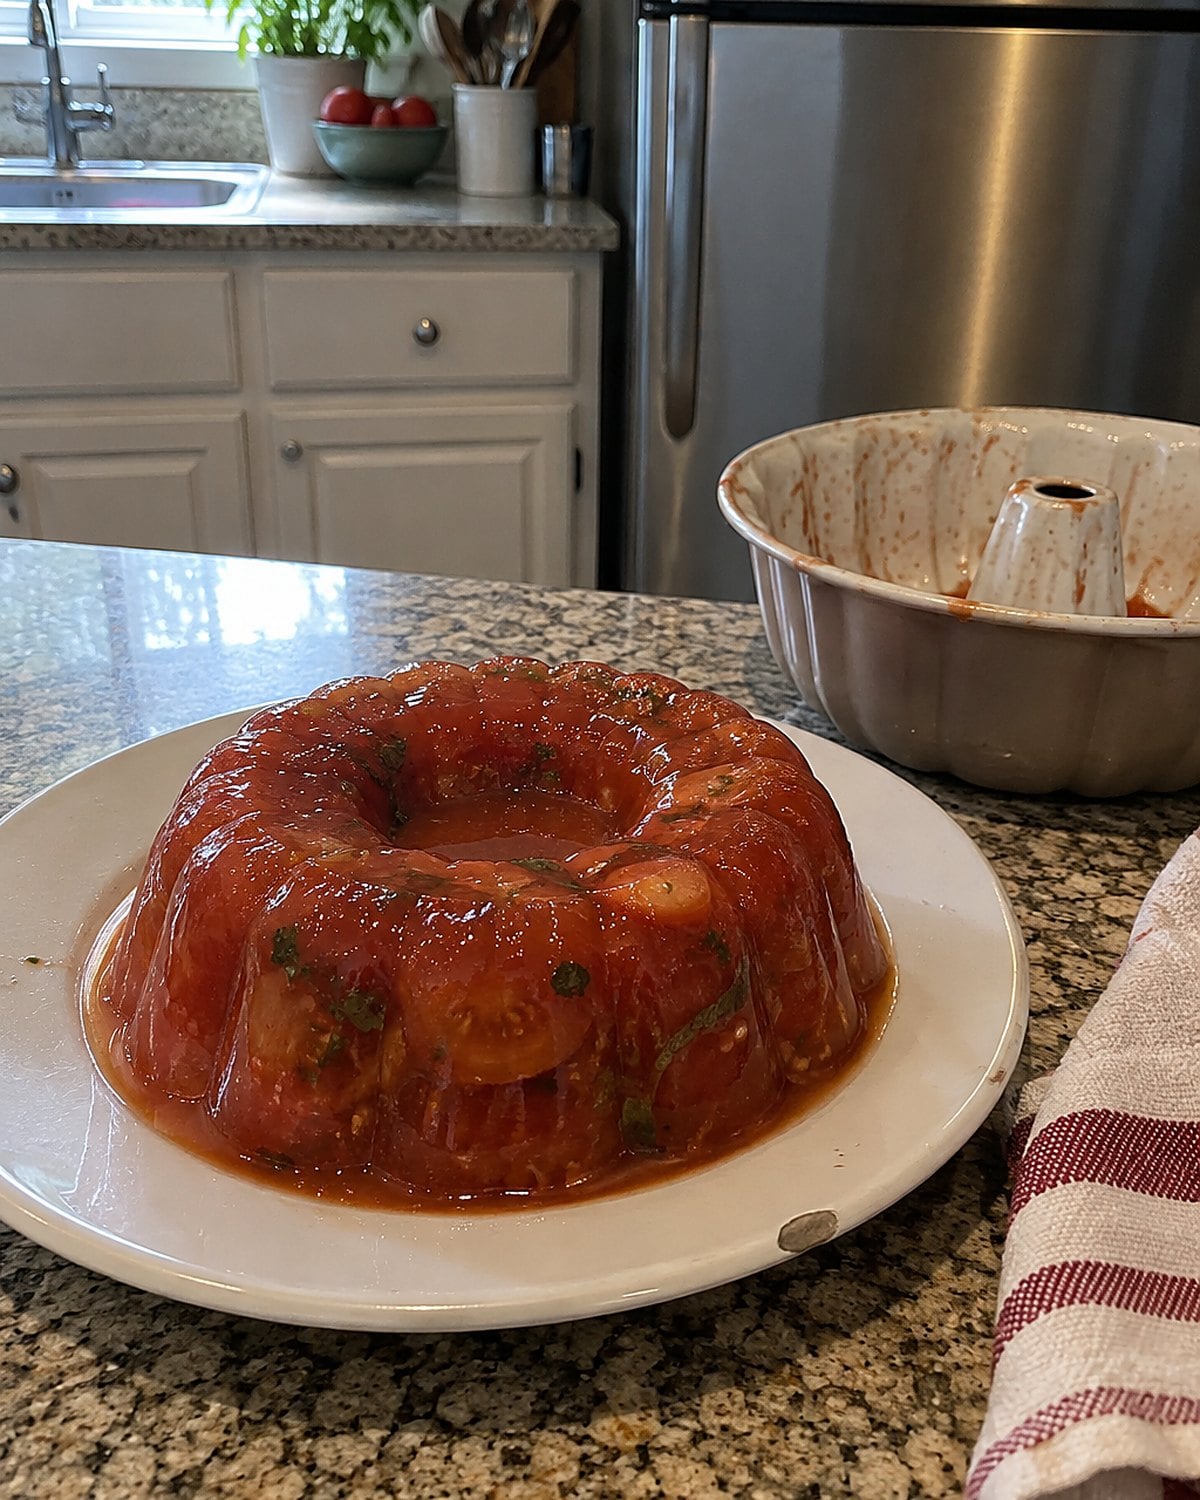
A tomato aspic announced that somebody had planned ahead. It had to set before dinner, come out of its mold, and hold its shape on the serving table. No last-minute scramble at the stove would make up for a rushed chill.
The thing to check is the gelatin. Powdered gelatin needs time in cool liquid before it meets the warm tomato mixture. Pour it straight into heat and you risk small, stubborn lumps.
Once it has dissolved, taste the tomato mixture while it’s still liquid. Cold food dulls seasoning, so a bland mixture won’t gain flavor in the fridge. For gelatin questions that go beyond the handwritten page, the Knox gelatin FAQ explains blooming and setting.
To unmold it, loosen the edge and briefly dip the outside of the mold in warm water. Then turn it onto a chilled plate. Don’t leave the mold in the water while you answer the phone; the outside starts to melt.
You don’t have to bring aspic back to dinner. Its place in the book still tells you which dishes asked for tomorrow’s work today.
#18 Mashed Potatoes Waiting for Gravy
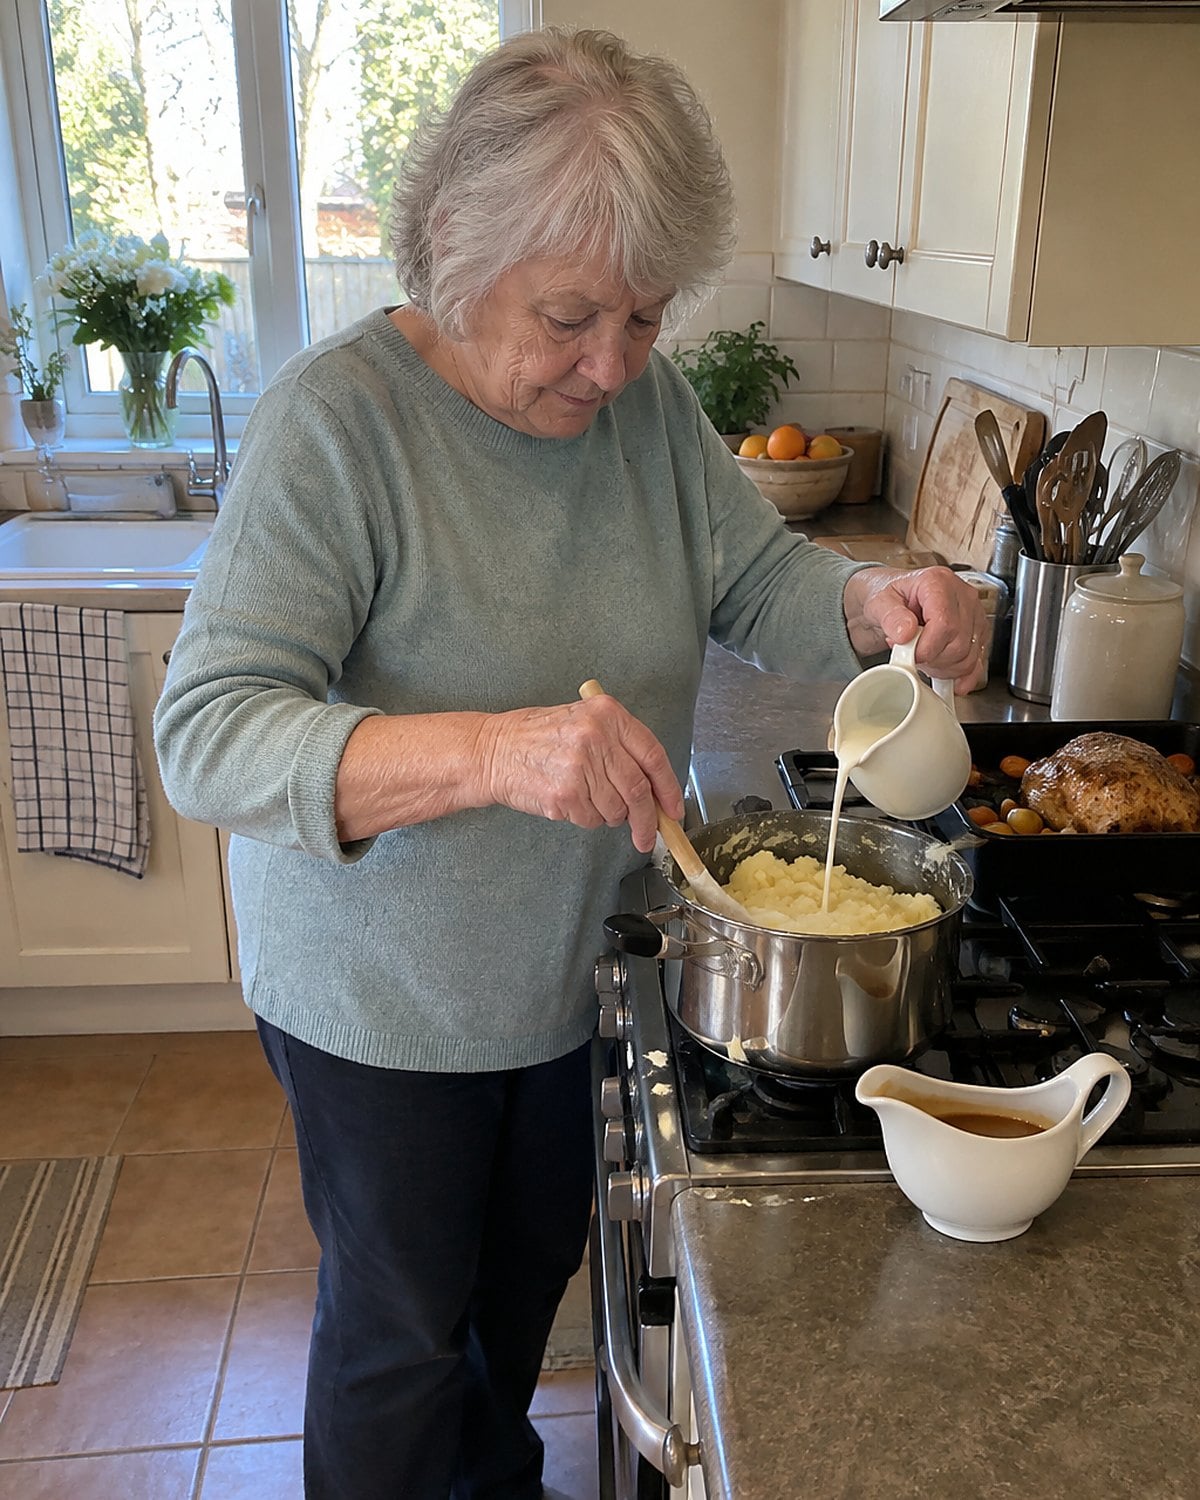
“Are the potatoes ready?” You’ve answered that question while the roast was still being carved and the gravy was still thin. A hot serving pan dries the surface of mashed potatoes while the center stays fine.
Keep some warm milk nearby if you’re holding a pot for dinner. Stir in a splash when the potatoes tighten. Then stop. Too much stirring after mashing draws out starch and leaves a gluey texture.
Taste a forkful before adding much salt. Ham gravy and roast drippings bring salt of their own, so judge the potatoes with the gravy they’ll meet. A plain forkful should still taste good.
For two at your table, leave the gravy in a small pitcher. The potatoes won’t need to wait under it while somebody finds a chair. That question from the stove has a better answer when you taste the two together.
Try it: Sour Cream Mashed Potatoes (Instant Pot Step-By-Step Recipe)
#17 Deviled Eggs on a Wobbly Tray
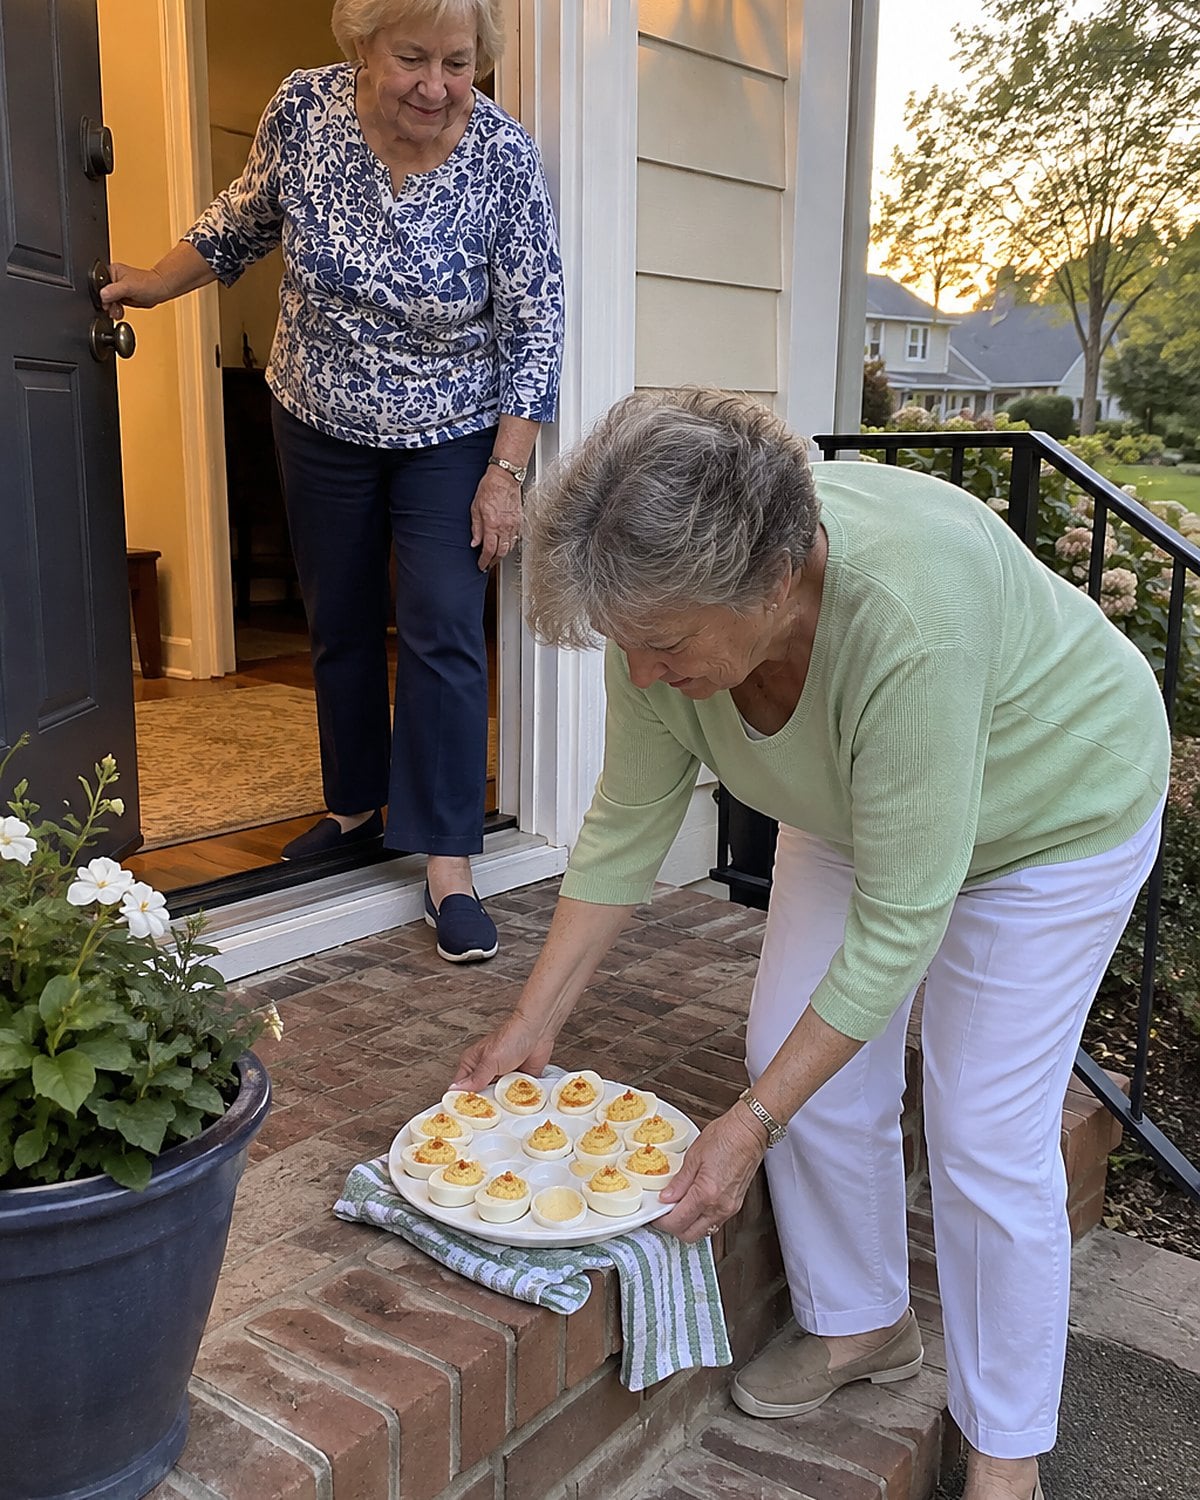
There’s always a moment when the tray tips and every deviled egg looks ready to slide. A church cook solved that before leaving the kitchen: an egg plate, a snug container, or a towel laid beneath the dish for the ride.
The filling has its own travel problem. Add mayonnaise a little at a time. A loose filling slumps long before the tray reaches the table. Taste it before piping or spooning it into the whites; the finished egg shouldn’t need rescuing with paprika.
Keep the eggs cold while you wait to serve them. The FoodSafety.gov serving guide says to refrigerate perishables within 2 hours, or within 1 hour when it’s above 90°F.
When you’re making them for home, sit an egg white in a spoonful of filling before you commit to the whole tray. If the filling holds a little mound, you’re ready. If it runs flat, fix the bowl first.
#16 Tuna Noodle Casserole with Crisp Edges
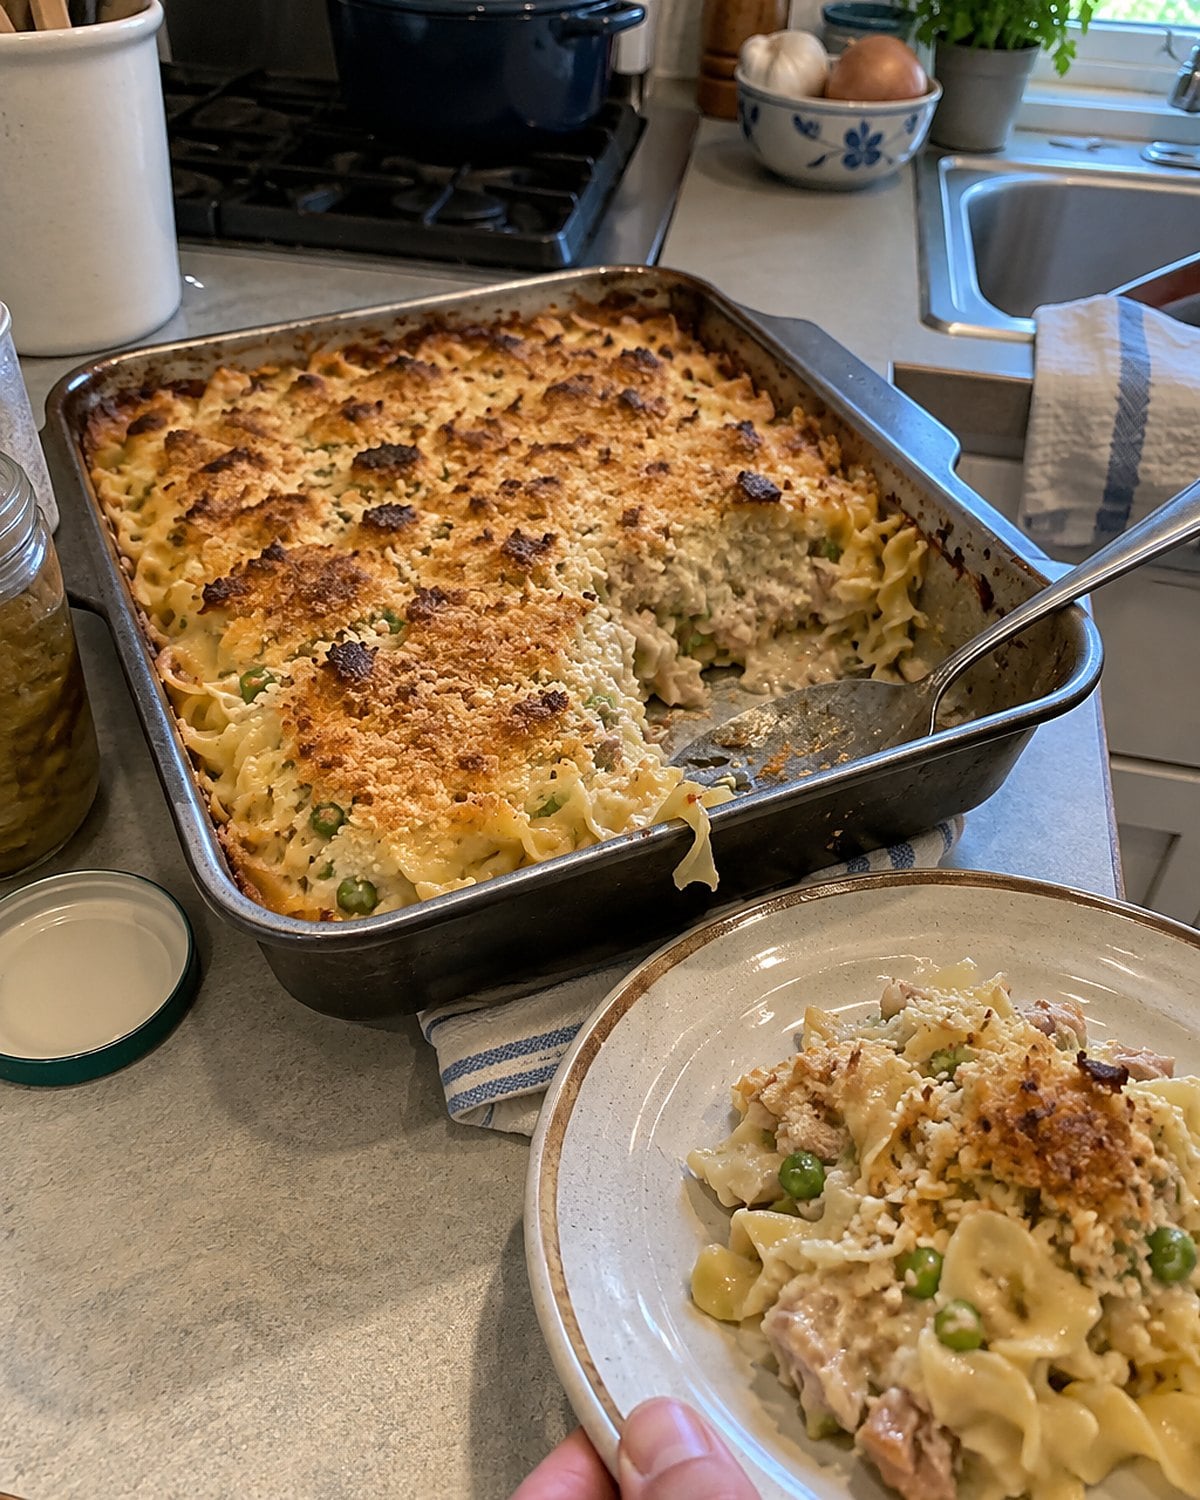
A tuna noodle casserole worked because the pantry could supply most of it. The noodles filled the dish, tuna gave it substance, and a creamy sauce carried both. Its best part was often the edge where the top browned against the pan.
Cook the noodles shy of the texture you want on the plate. They’ll keep taking in liquid while the casserole bakes. If they go into the dish fully soft, the middle loses its shape by the time the top is browned. Drain them well, too; noodle water thins a sauce you had already judged.
Taste the sauce before it meets the noodles. Tuna and canned ingredients bring salt, so wait until they’re mixed in before reaching for more. If your cookbook calls for peas, add them frozen and spread them through the pan rather than leaving a green patch in one corner.
That recipe belonged to a household with a full table and a spare can in the pantry. For a smaller supper, use a smaller baking dish and look for the same signal: bubbling edges and a hot center. The crisp bit is still yours to claim.
Try it: Instant Pot Tuna Casserole
#15 Scalloped Potatoes Beneath the Brown Crust
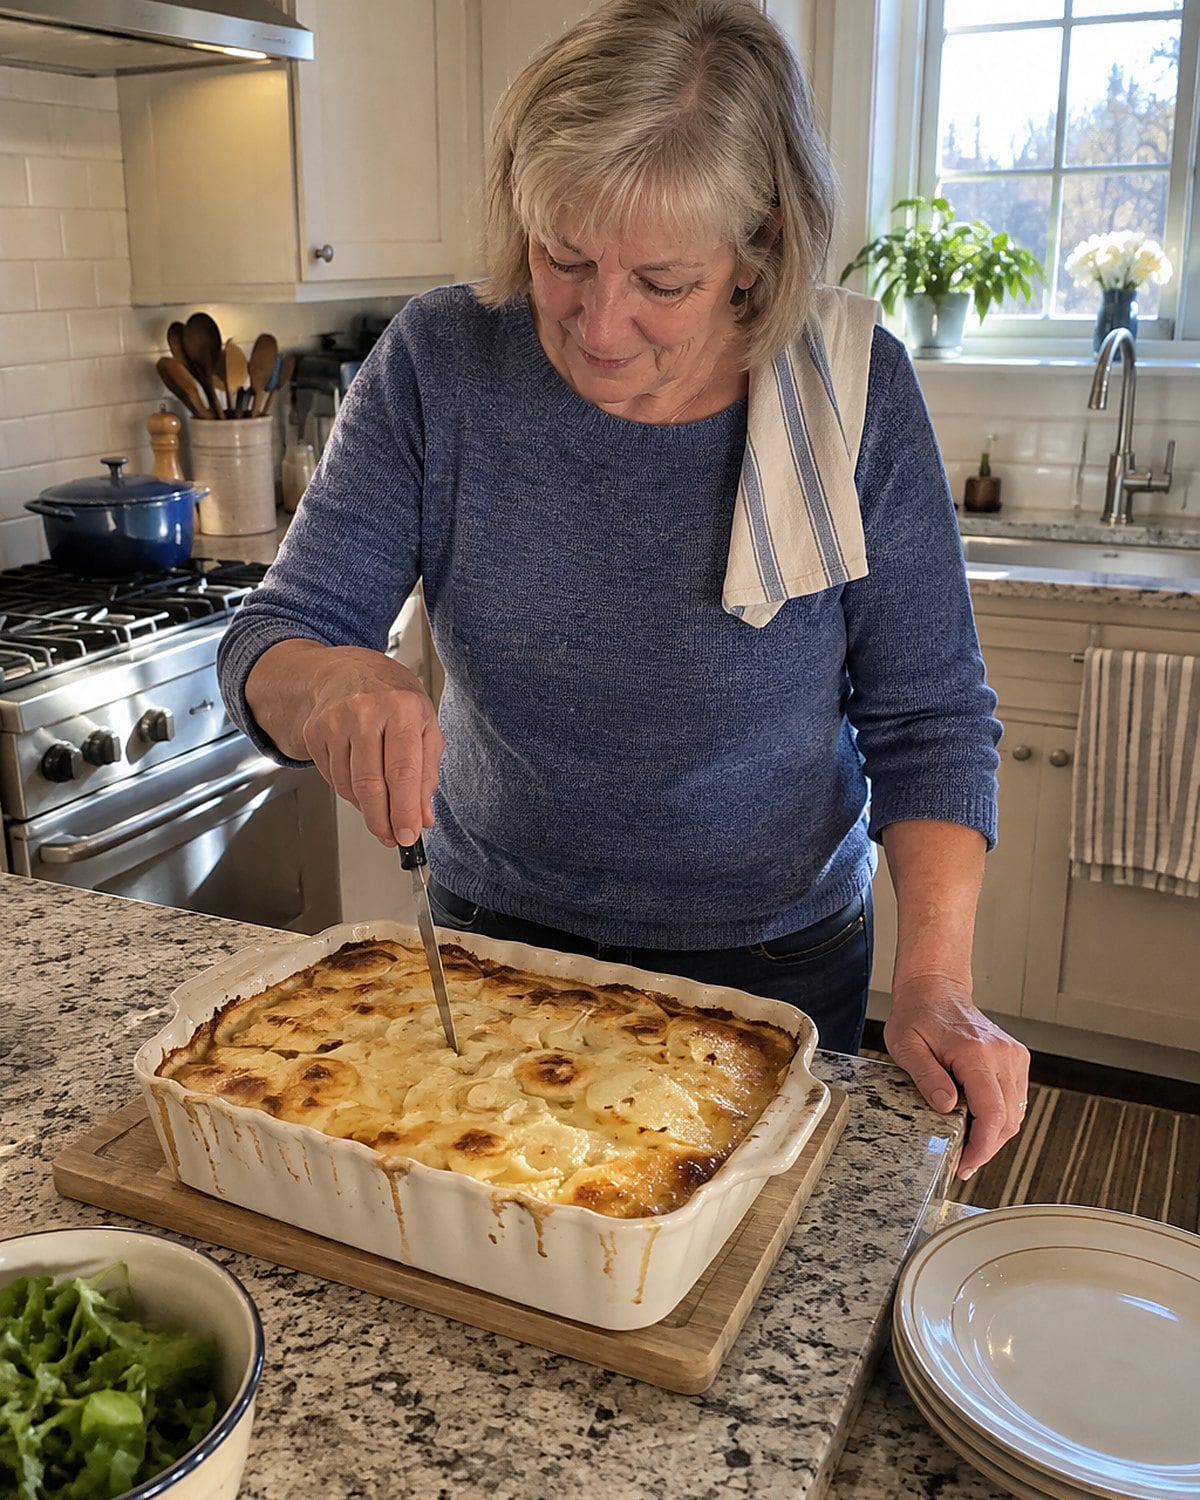
A brown top tells you very little about the potatoes under it. Slices at the center of a deep dish need time in hot liquid before they soften. That’s why the old pan spent longer in the oven than anyone wanted to wait.
Cut the slices to a similar thickness. Then tuck them into the sauce instead of leaving dry pieces standing above it. Near the end, slide a knife tip through the center. If you feel a firm catch, the crust has finished ahead of the potatoes.
Cover the dish while the potatoes cook through. Uncover it to brown the top after the knife slips in without resistance. You’ll protect the surface from getting too dark while the middle catches up.
If you’re bringing the dish elsewhere, check it before wrapping it in foil. The next cook shouldn’t have to guess whether those potatoes need more oven time.
Try it: Instant Pot Scalloped Potatoes & Leeks (Au Gratin)
#14 Gelatin Salad with Canned Fruit
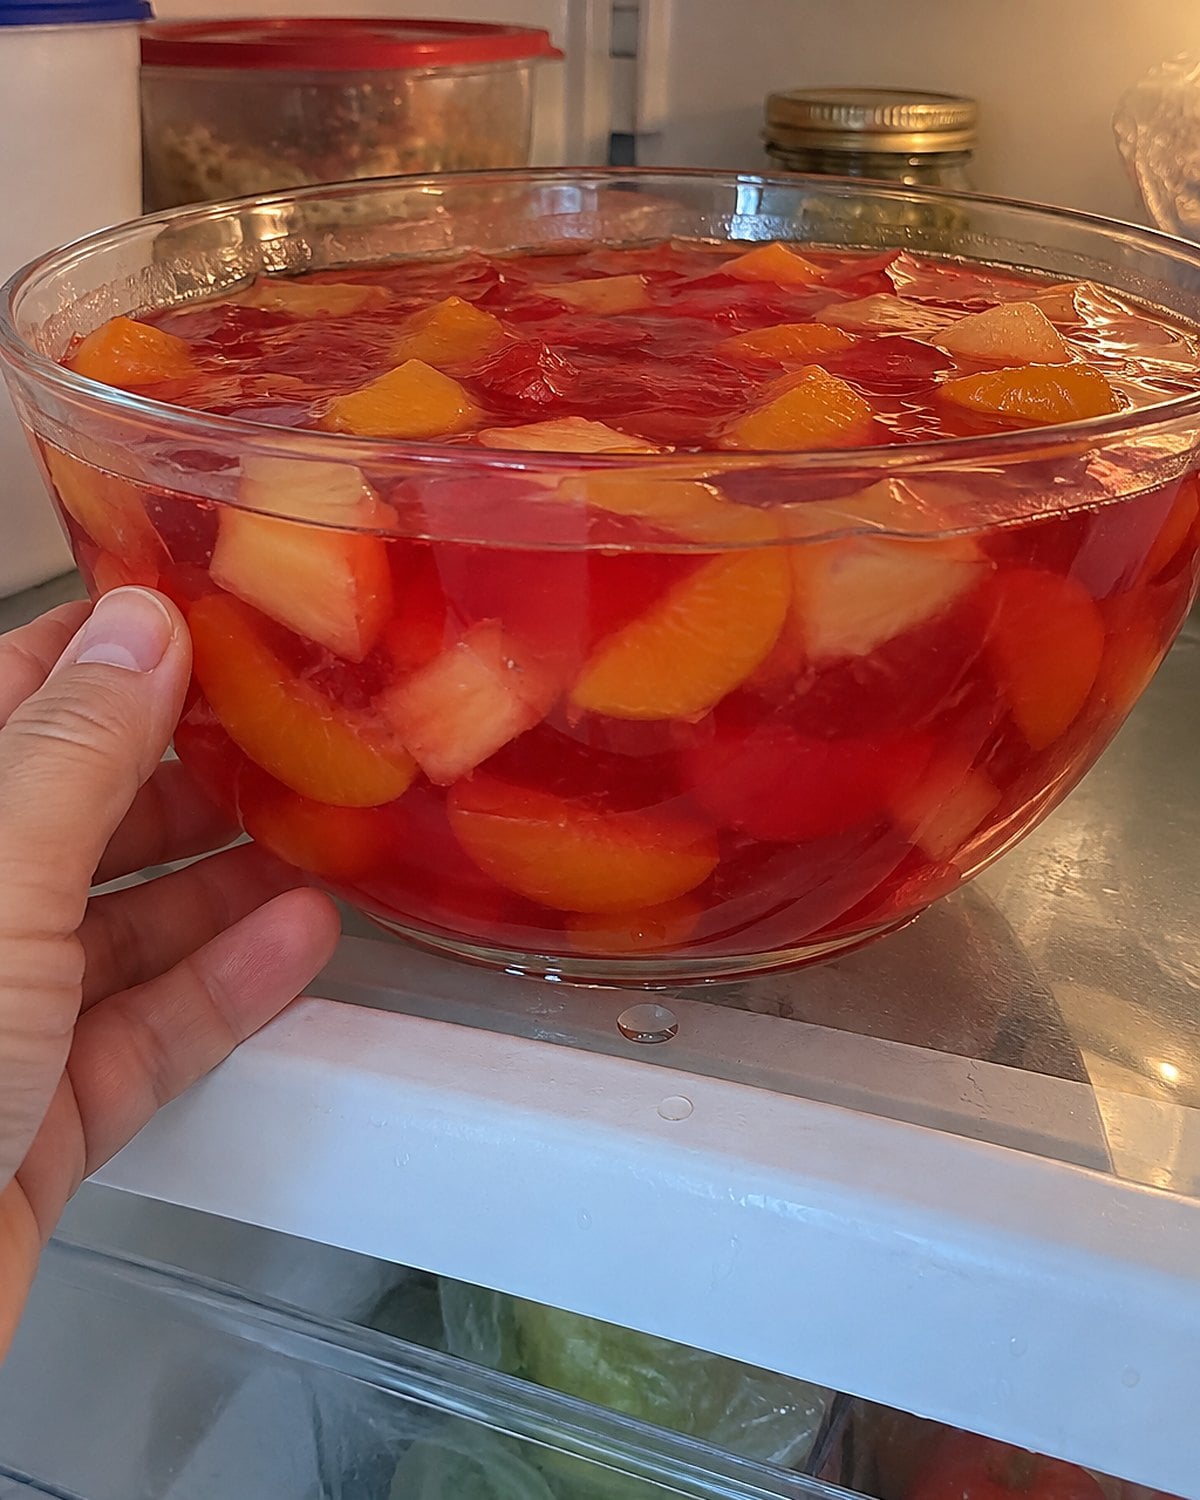
The chilled salad came out of the refrigerator in a bowl nobody used for weekday supper. It looked easy beside the roasts and casseroles, yet it asked for a little planning. The fruit needed to stay suspended instead of sinking in a heap at the bottom.
Let the gelatin thicken before stirring in well-drained canned fruit. A mixture that still pours like water won’t hold the pieces where you put them. Stir once, look through the side of a clear bowl if you have one, and chill it until set.
Fresh pineapple belongs in a different bowl. Its enzymes interfere with gelatin setting; canned pineapple has been heated, which changes that behavior. For the reason behind that old potluck rule, see the University of Nebraska-Lincoln Extension’s gelatin explanation.
You remember the serving spoon pressing through the top and finding fruit all the way down. That happened because somebody waited at the counter before the dish ever reached the fridge.
#13 Cornbread Baked in a Hot Skillet
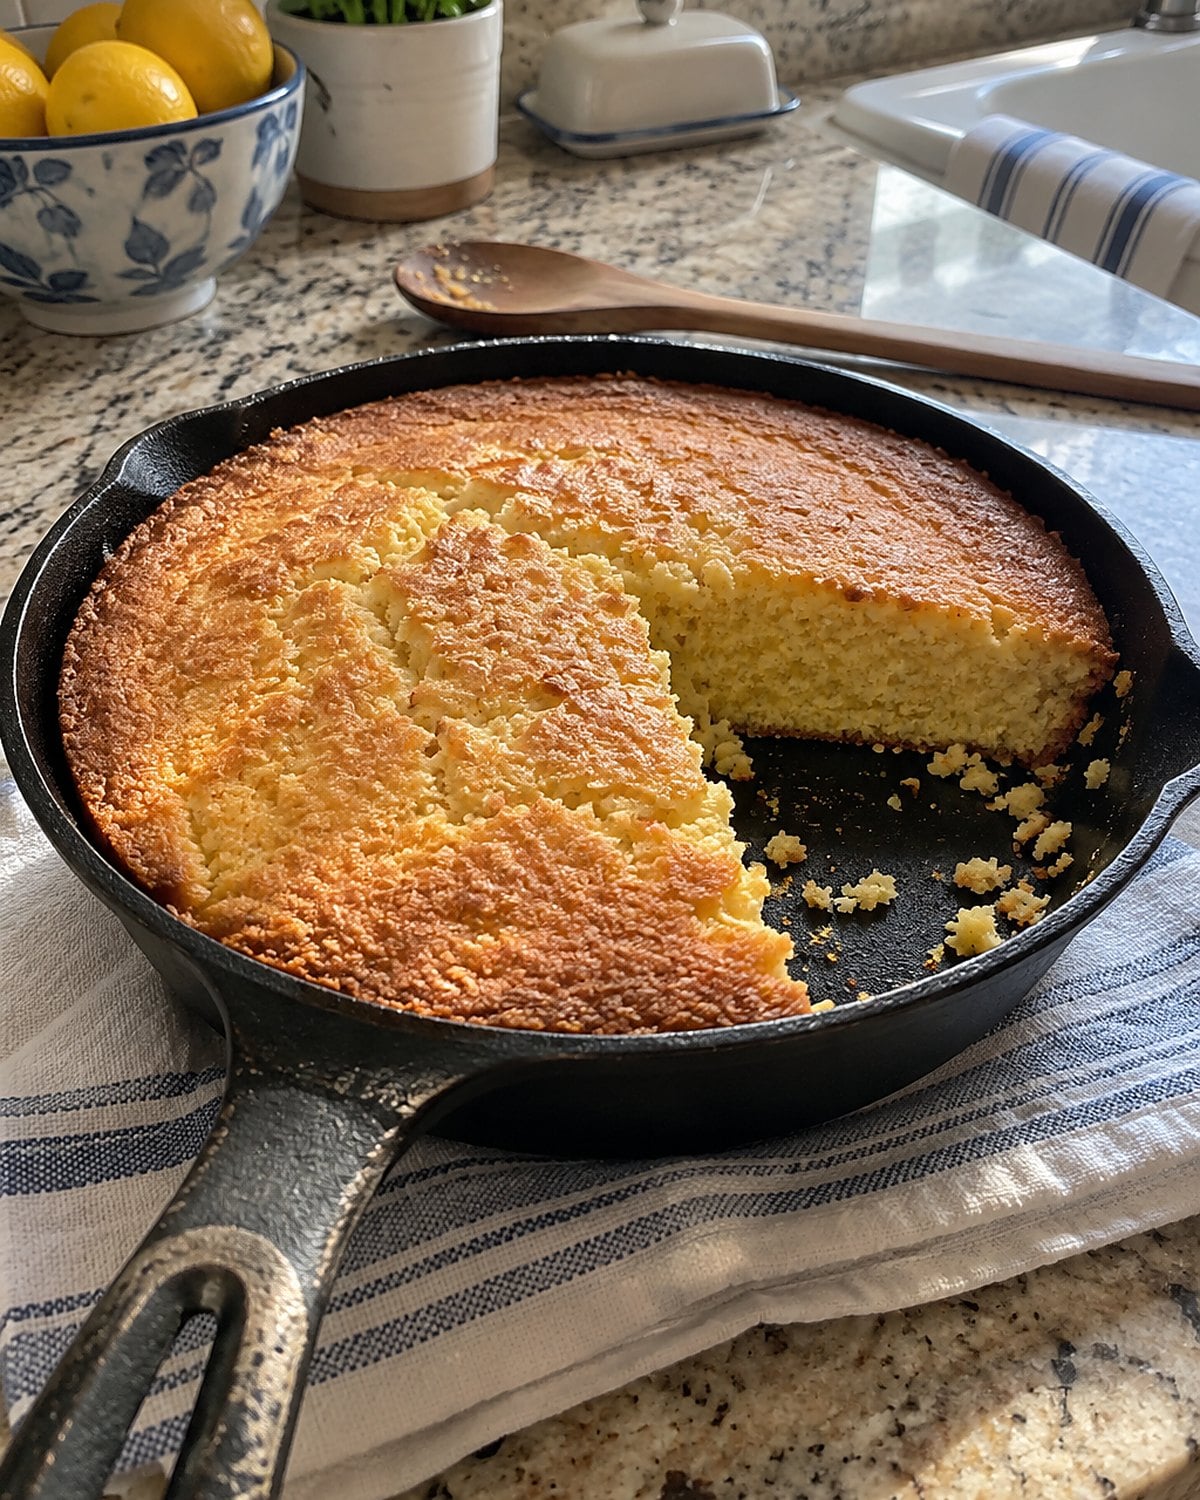
The cast-iron skillet gave cornbread an edge you could hear under the knife. Heat the pan with a little fat before the batter goes in. When batter touches the hot surface, the outside starts setting at once and forms that prized crust.
Have the batter ready before you lift the skillet out. A hot pan left waiting on the counter loses the advantage you heated it for. Pour carefully, then return it to the oven. Use a dry towel or oven mitt on the handle after baking; it stays hot long after the cornbread reaches the table.
Check the center with a toothpick. A few moist crumbs are fine; wet batter calls for more time. Then cut a wedge while the crust still crackles.
Some church books print a sweet version, others a plain one. The skillet lesson works for either. If the margin says “heat pan first,” don’t skip the words that got squeezed beside the recipe.
#12 Baked Beans under a Foil Lid
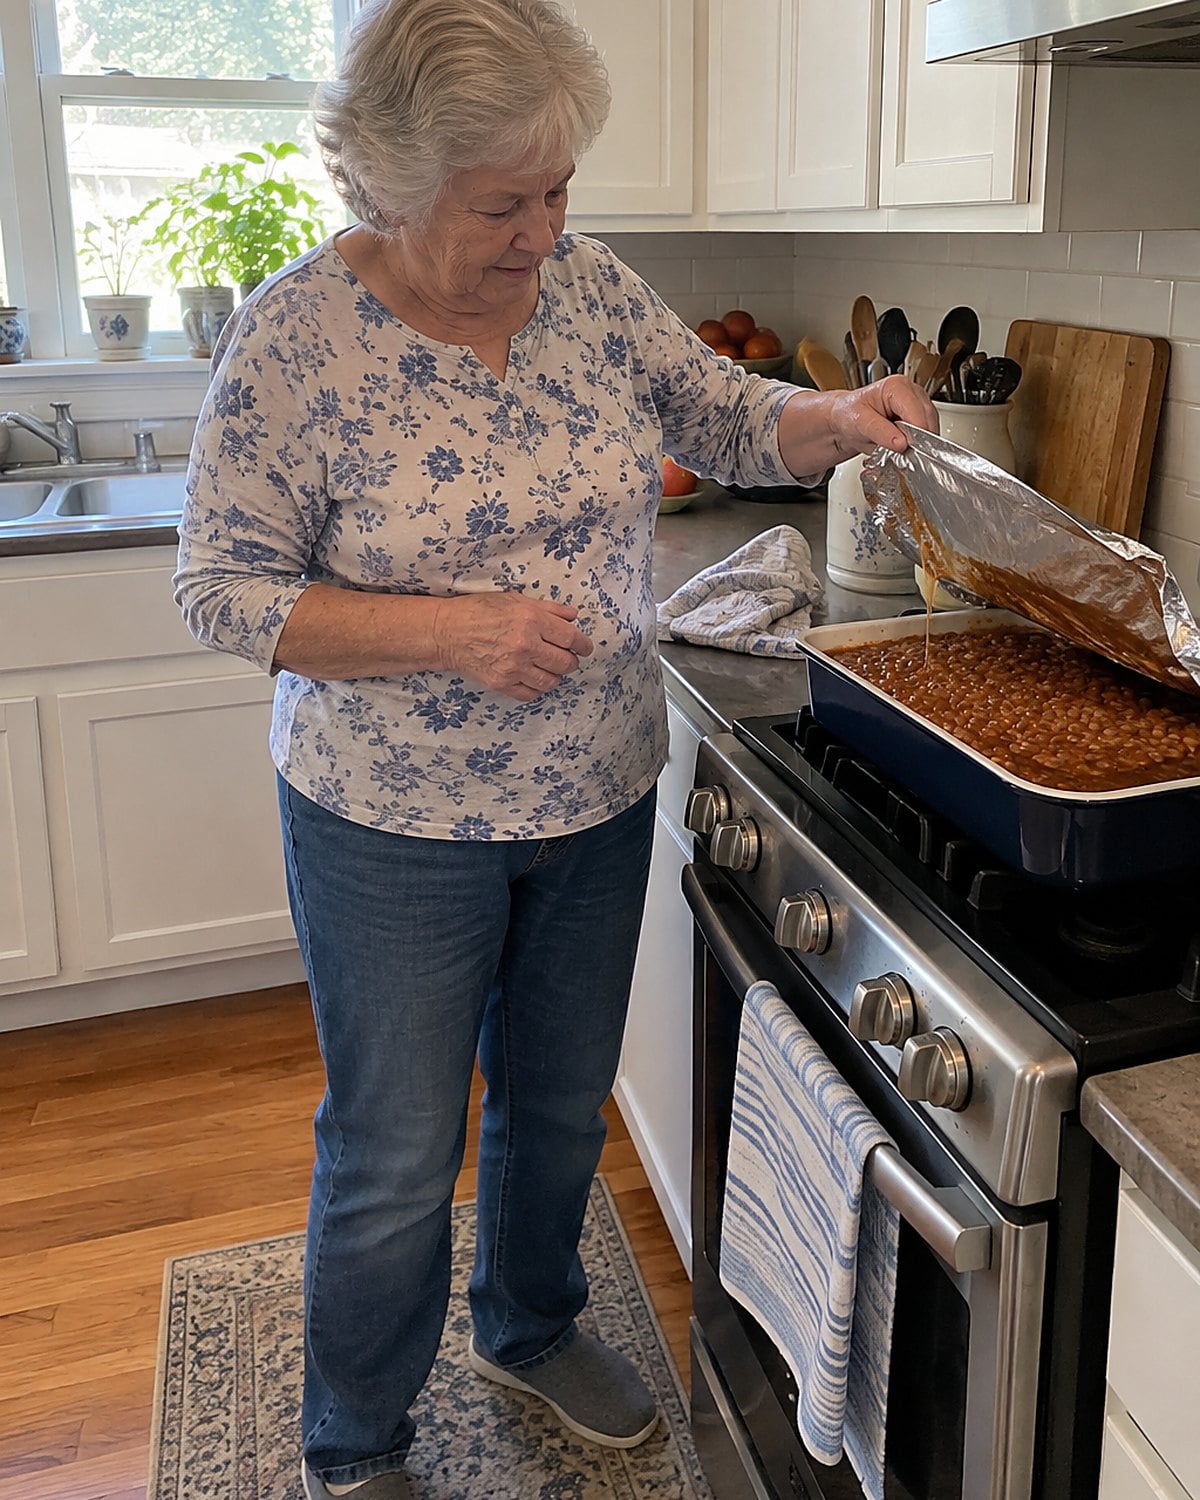
Baked beans kept their place at a gathering because they asked little of the serving line. A spoonful sat beside barbecue, ham, or a hot dog without spreading across the plate. In the oven, though, a pan left uncovered too long turns thick at the edges before the center tastes finished.
Cover the dish for most of its time in the oven. Lift the foil near the end to let the surface darken. Stir from the bottom when you check it; a sweet sauce collects heat against the pan and can catch there. If the beans seem dry, add a splash of water before they go back in.
Taste for a balance of sweet, tangy, and salty. Brown sugar gives the old recipes their familiar sweetness, but a bit of vinegar or mustard keeps the sauce from tasting like syrup. Add either a little at a time, then taste a bean rather than a spoonful of sauce.
The folded foil corners on the traveling pan did real work. They held in moisture until the cook reached the hall and lifted the lid.
Try it: Instant Pot Baked Beans (Vegan & Gluten-Free)
#11 Ham Salad for the Next Lunch
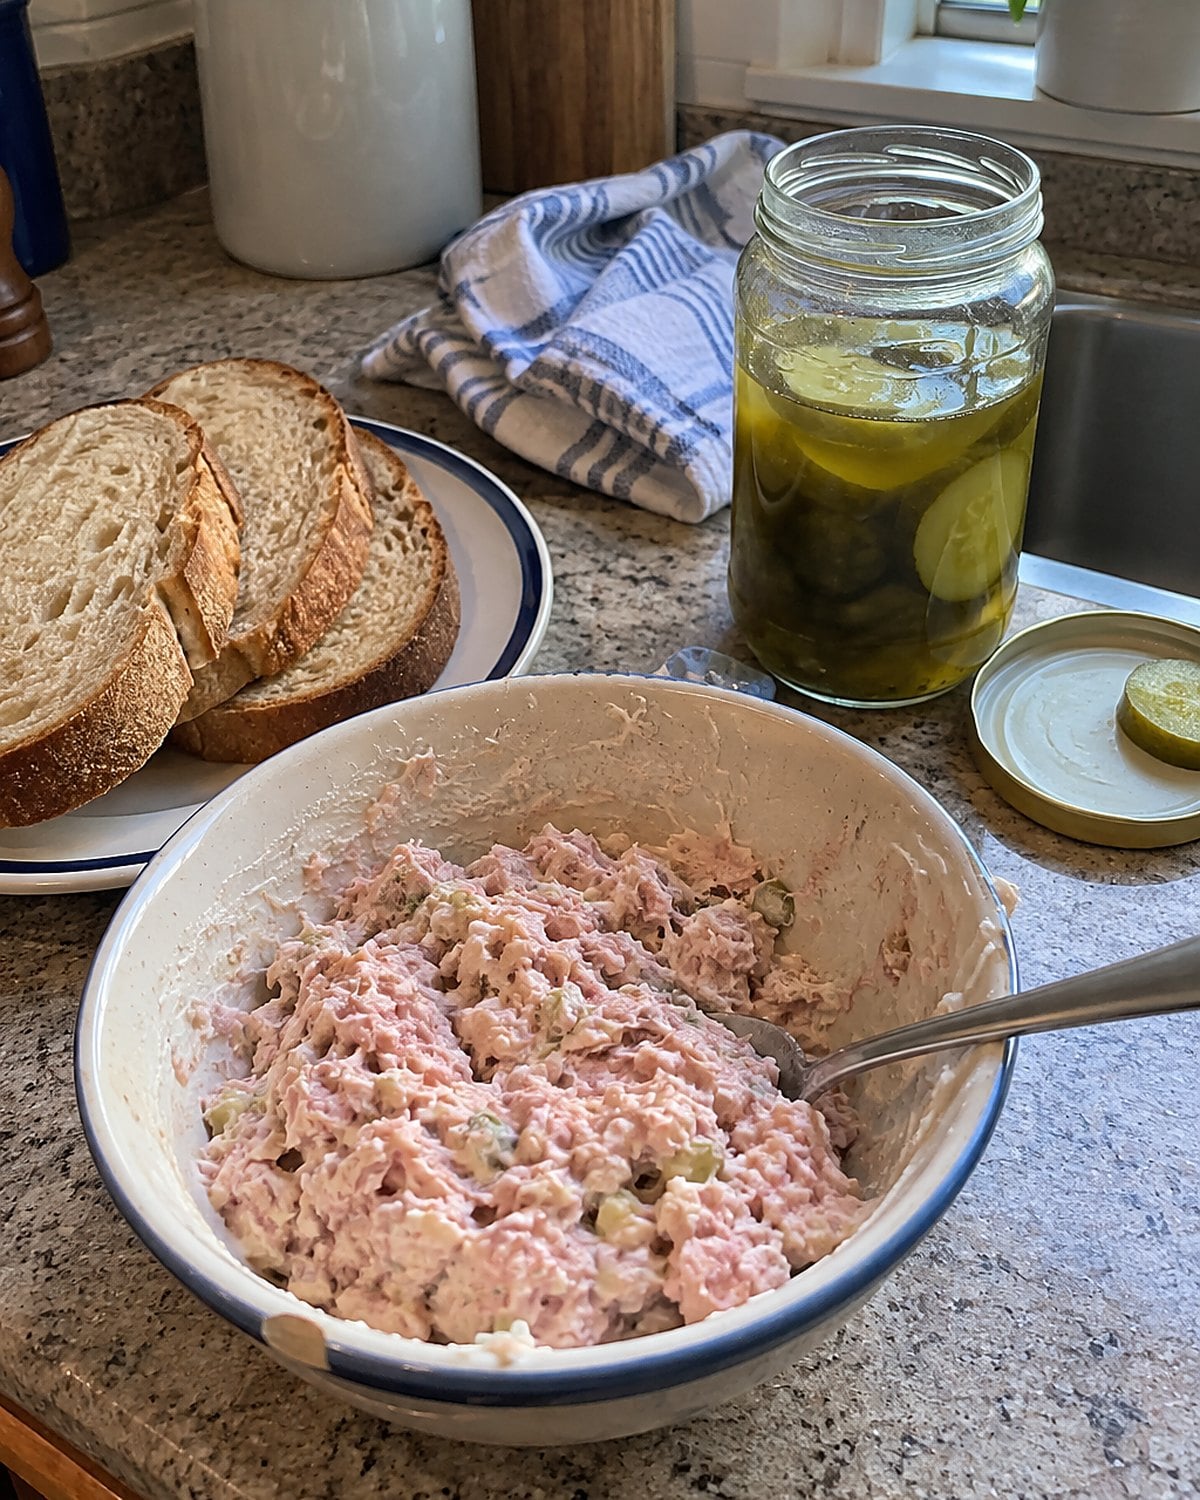
After a ham supper, the cookbook’s ham salad looked less like a separate project and more like the answer to a crowded refrigerator. Chopped ham, something crisp, and enough dressing to hold it together made sandwiches for the next meal.
Start with the ham before adding salt. Its seasoning has already been decided for you. Chop the celery or pickles small enough that a spoonful stays on bread, but leave some bite. A processor makes quick work of the ham; stop before it becomes a paste.
Make a small bowl first if you’re feeding one or two. It’s easier to mix more than to find room for a large batch of prepared salad. Keep it chilled, and check the USDA cold storage chart for the leftover ham you started with.
Try a forkful on the bread you plan to use. A mixture that tastes fine alone needs a little more zip once it’s tucked between slices.
#10 Carrots Shining in the Church Hall
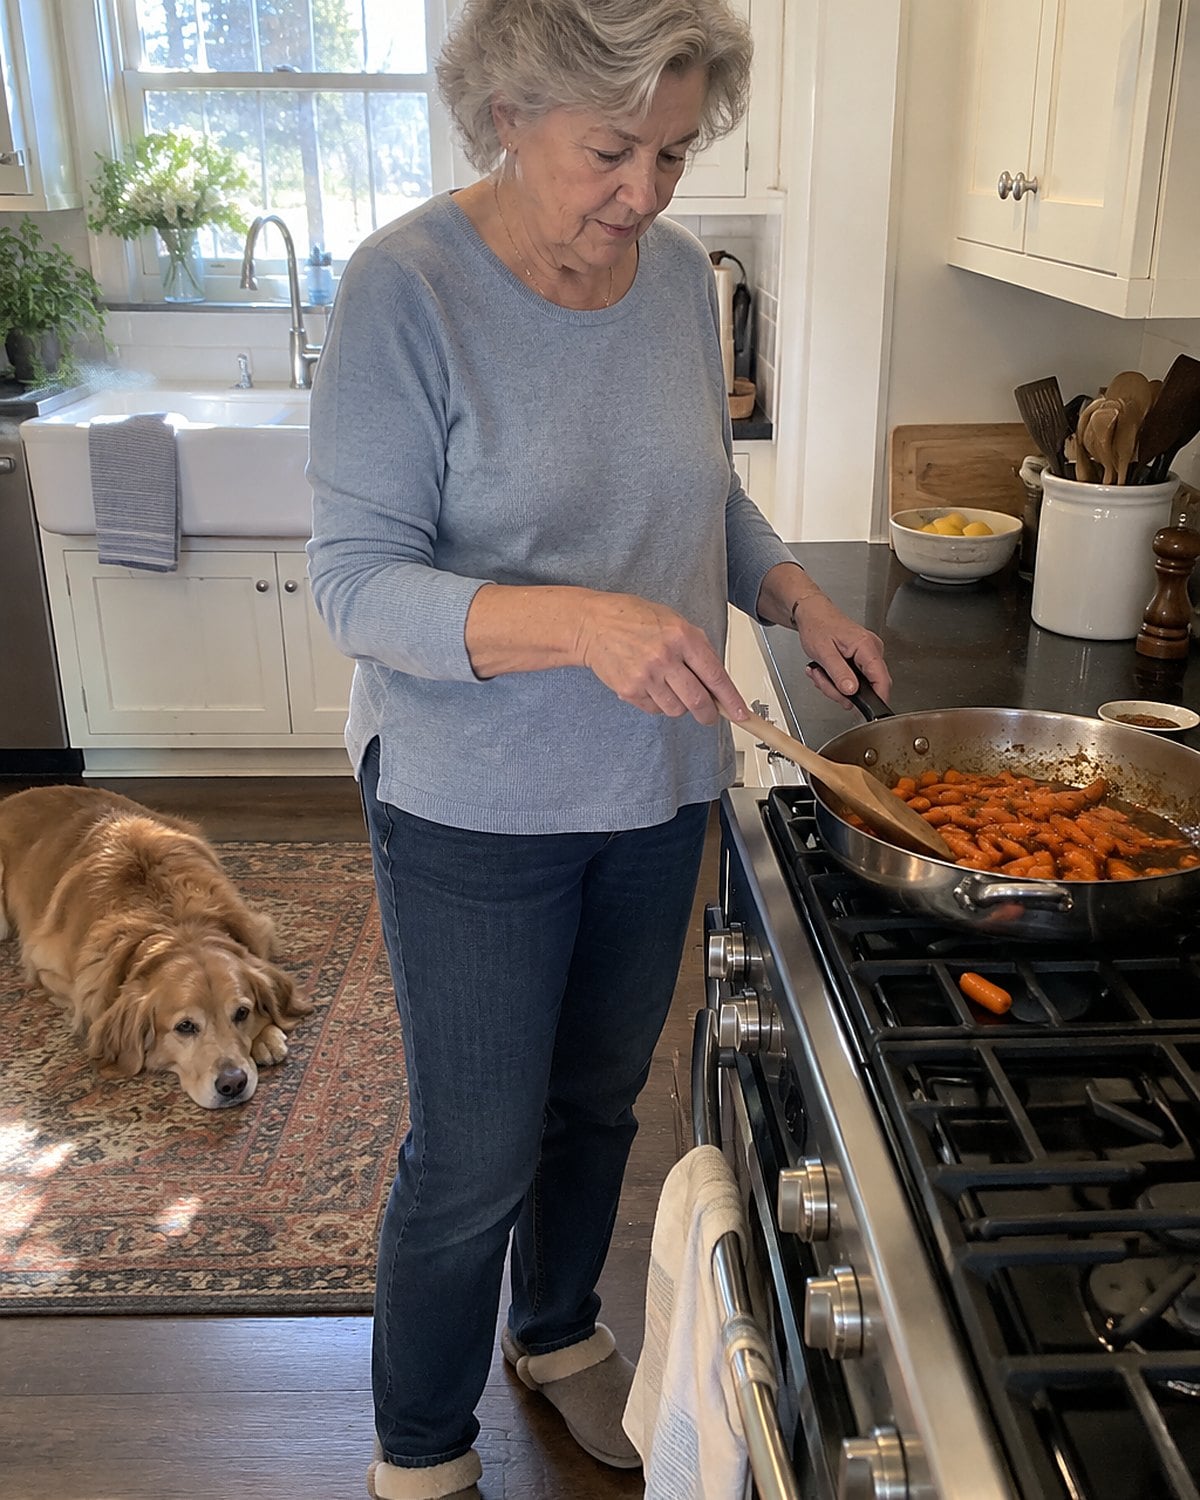
Glazed carrots brought color to a table full of brown crusts and cream sauces. Their shine came from a small amount of liquid cooked down around tender carrots, rather than a thick sauce poured on top.
Cook the carrots until a fork enters with a slight resistance. Then add butter and your sweetener, if the recipe calls for one, and toss them as the liquid reduces. A crowded pan traps steam, leaving watery glaze at the bottom instead of a coating on each piece. Use a wider pan when you have it.
Look at the pan when you draw the spoon across the bottom. If a trail appears briefly before the glaze runs back, it’s ready to cling. Stop before the liquid disappears and the sugar starts sticking.
You’ve seen the carrots that sat untouched while everything else went back for seconds. A squeeze of lemon at the end cuts through the sweetness and gives someone a reason to take a few. Taste one first; the old printed measure tells you what went in, but the carrot tells you what came out.
Try it: Instant Pot Carrots With Honey Soy Glaze
#9 Macaroni and Cheese from the Oven
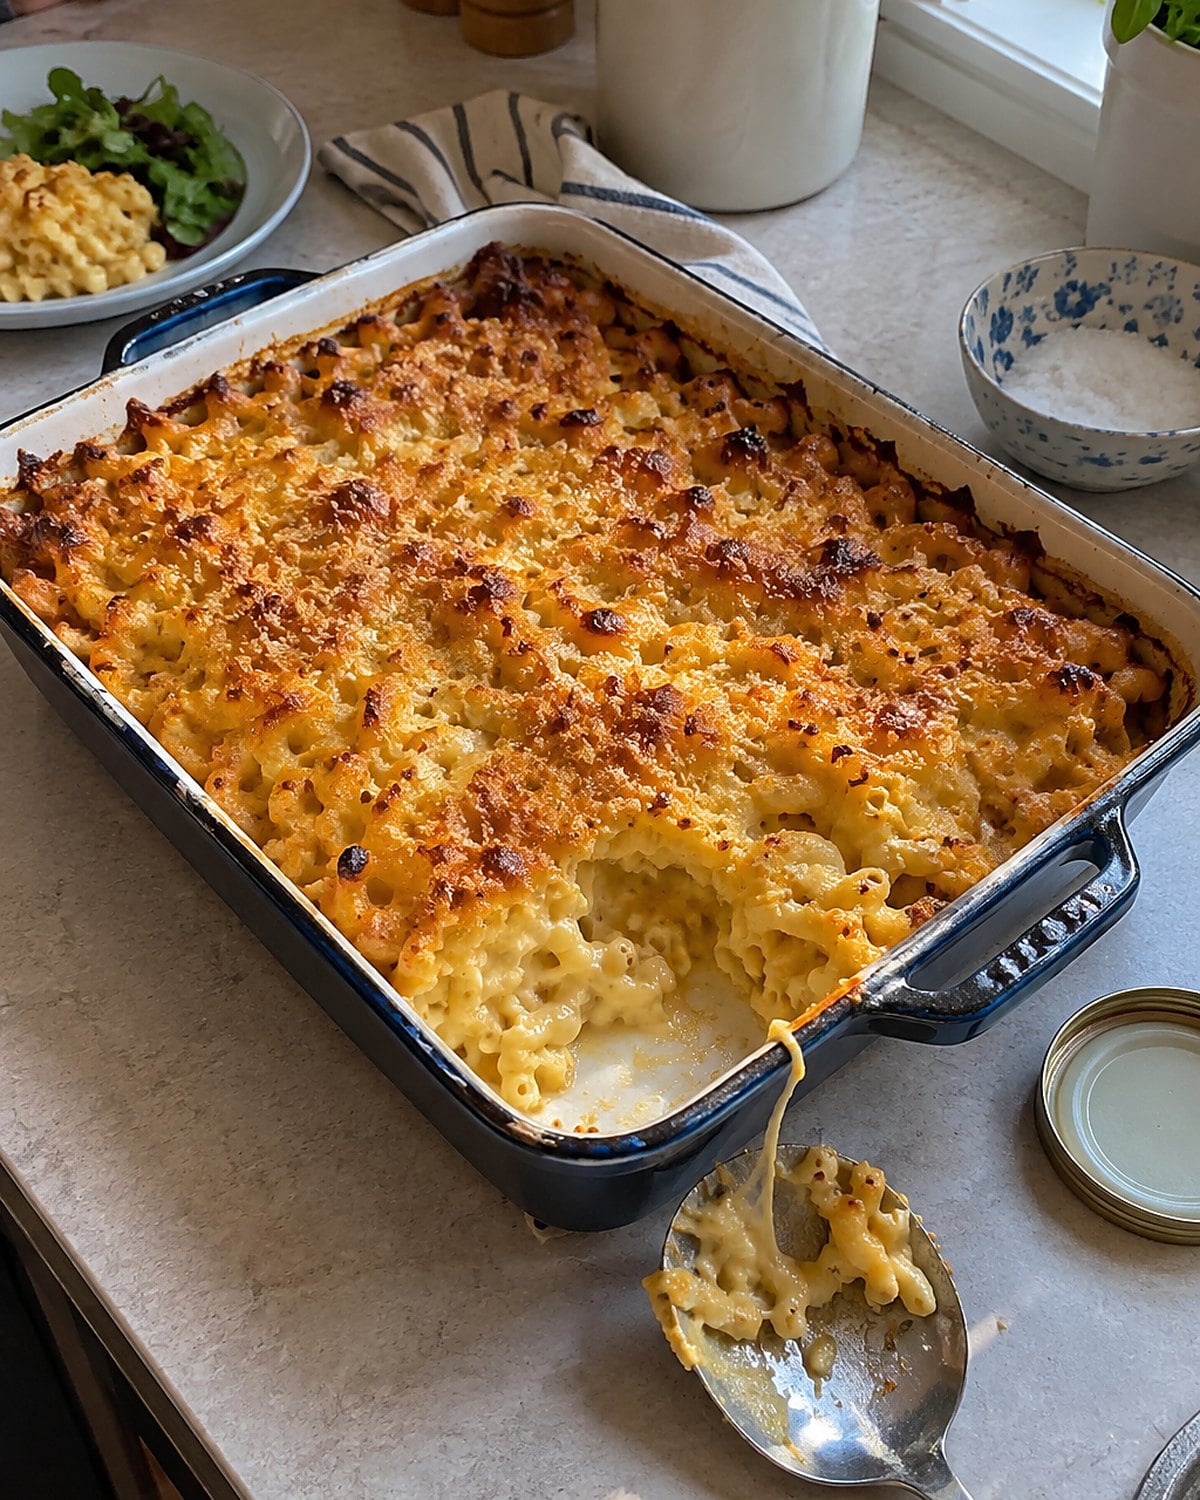
The oven baked a crust onto macaroni and cheese, but it also took moisture from the noodles. That trade mattered when the pan had to wait for the next wave of people through the church hall.
Start with a sauce that looks slightly looser than you want on the plate. The pasta absorbs some as it bakes. Stir the cheese into warm sauce off the strongest heat, and stop once it melts. Hard boiling after that leaves the sauce grainy instead of smooth.
Before the pan goes in, push any bare macaroni below the sauce. Exposed ends turn hard while the center is still creamy. A crumb topping protects some of that surface and gives you the toasted bite people remember.
At dinner for two, a small dish gets you the edge without a week of leftovers. Spoon into the center and check that the pasta is hot all the way through.
#8 Coffee Urn Beside the Dessert Table

A church supper wasn’t finished when the last casserole came out. Somebody still had to make coffee, find cups, and clear a place for the pies. The urn stood beside a stack of saucers, taking up room that looked empty until everyone headed toward it at once.
Stand where the next guest will stand. Reach for an empty cup, pour, then set it down. If your hand crosses the hot spout to reach the milk, move the milk. Leave a clear landing spot beside the urn for a filled cup.
That little trial run catches a problem before people crowd around the table. Put sugar and milk farther along, so the person pouring isn’t blocked by the person fixing a drink. You can say, “Cups here, milk at the end,” without stopping to direct traffic all evening.
Try the same check when grandchildren come for supper. Set out glasses and a pitcher before carrying over the hot dish. Feeding people includes the space their hands need around the food.
#7 Chicken Potpie with a Dry Bottom
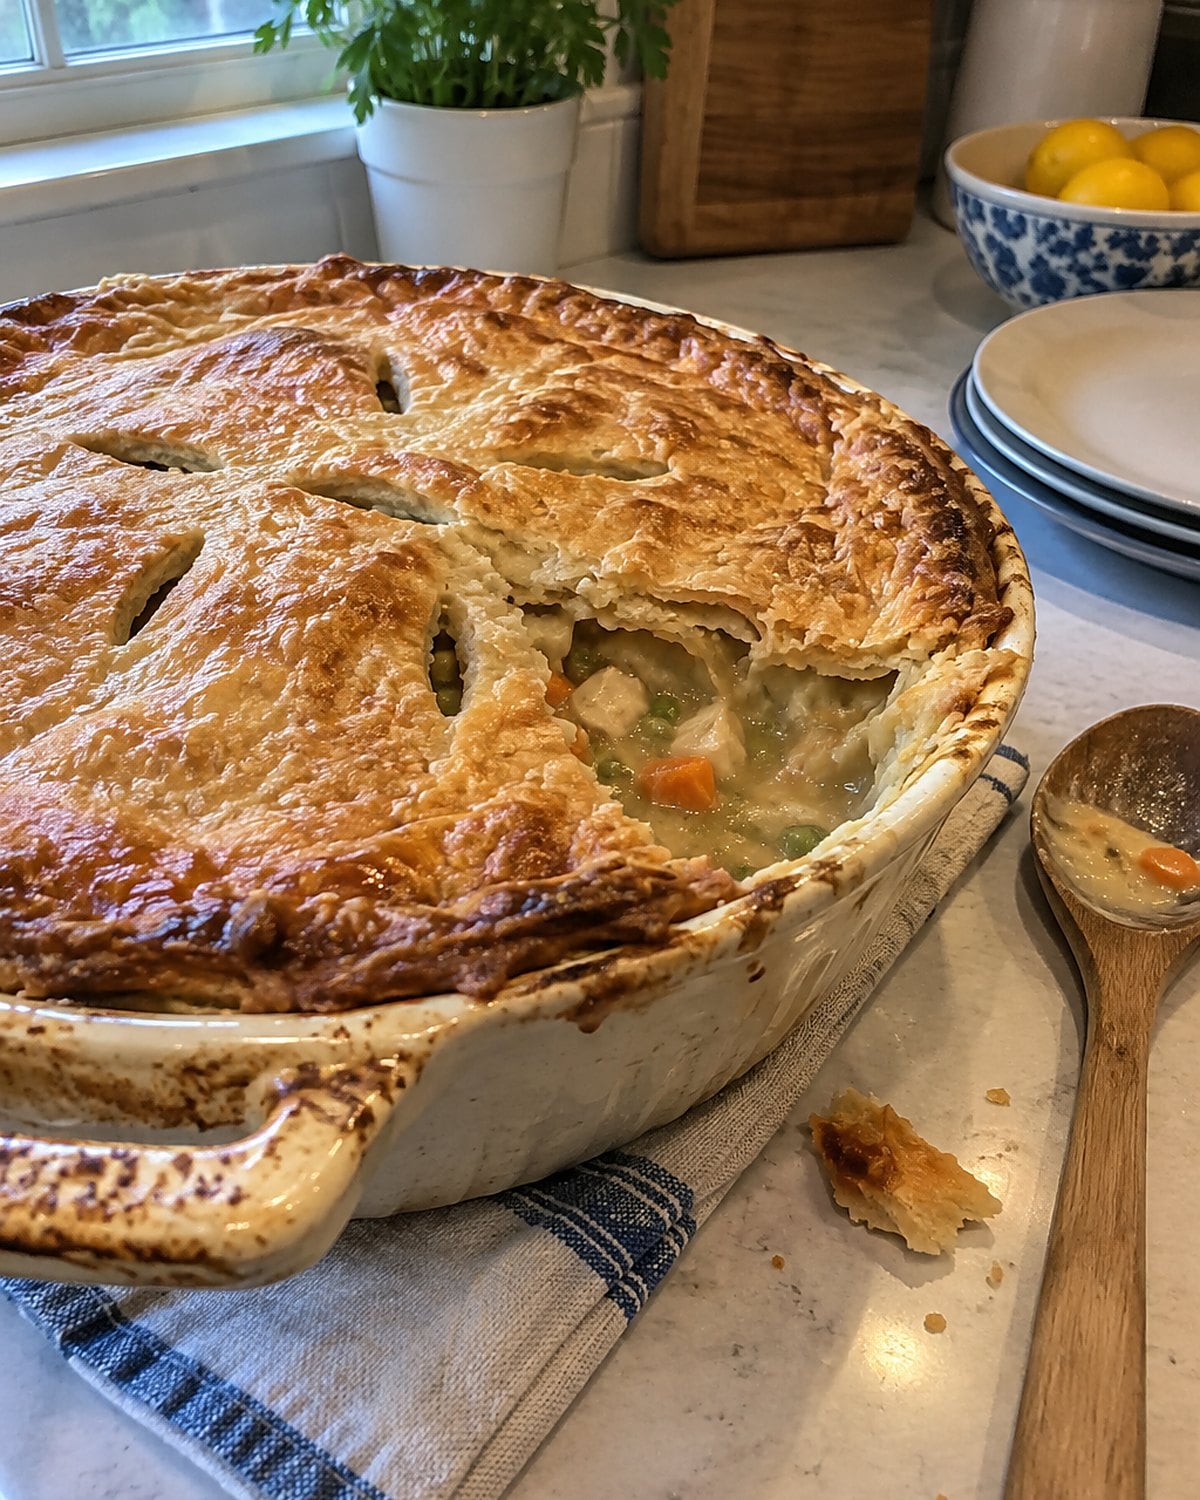
The promise of chicken potpie is a spoonful that holds together: tender chicken, vegetables, gravy, and a crust that hasn’t dissolved underneath. A filling that goes into the dish thin and hot asks too much of the pastry.
Thicken and taste the filling before it meets the crust. Drag a spoon through it. You want the gravy to close behind the spoon slowly, not flood back like broth. Letting the filling lose some heat before adding a top crust also gives you time to seal the edges without fighting steam.
Cut vents in the top. Steam needs a path out, or it dampens the pastry from beneath. If your recipe uses only a top crust, that’s a sensible choice for a dish headed across town: fewer soggy layers to worry over.
The name printed below the recipe was useful when the pan came back empty. You knew whom to ask whether she used a bottom crust at all.
Try it: Instant Pot Chicken Pot Pie (Two Ways)
#6 Sheet Cake Cut into Small Squares
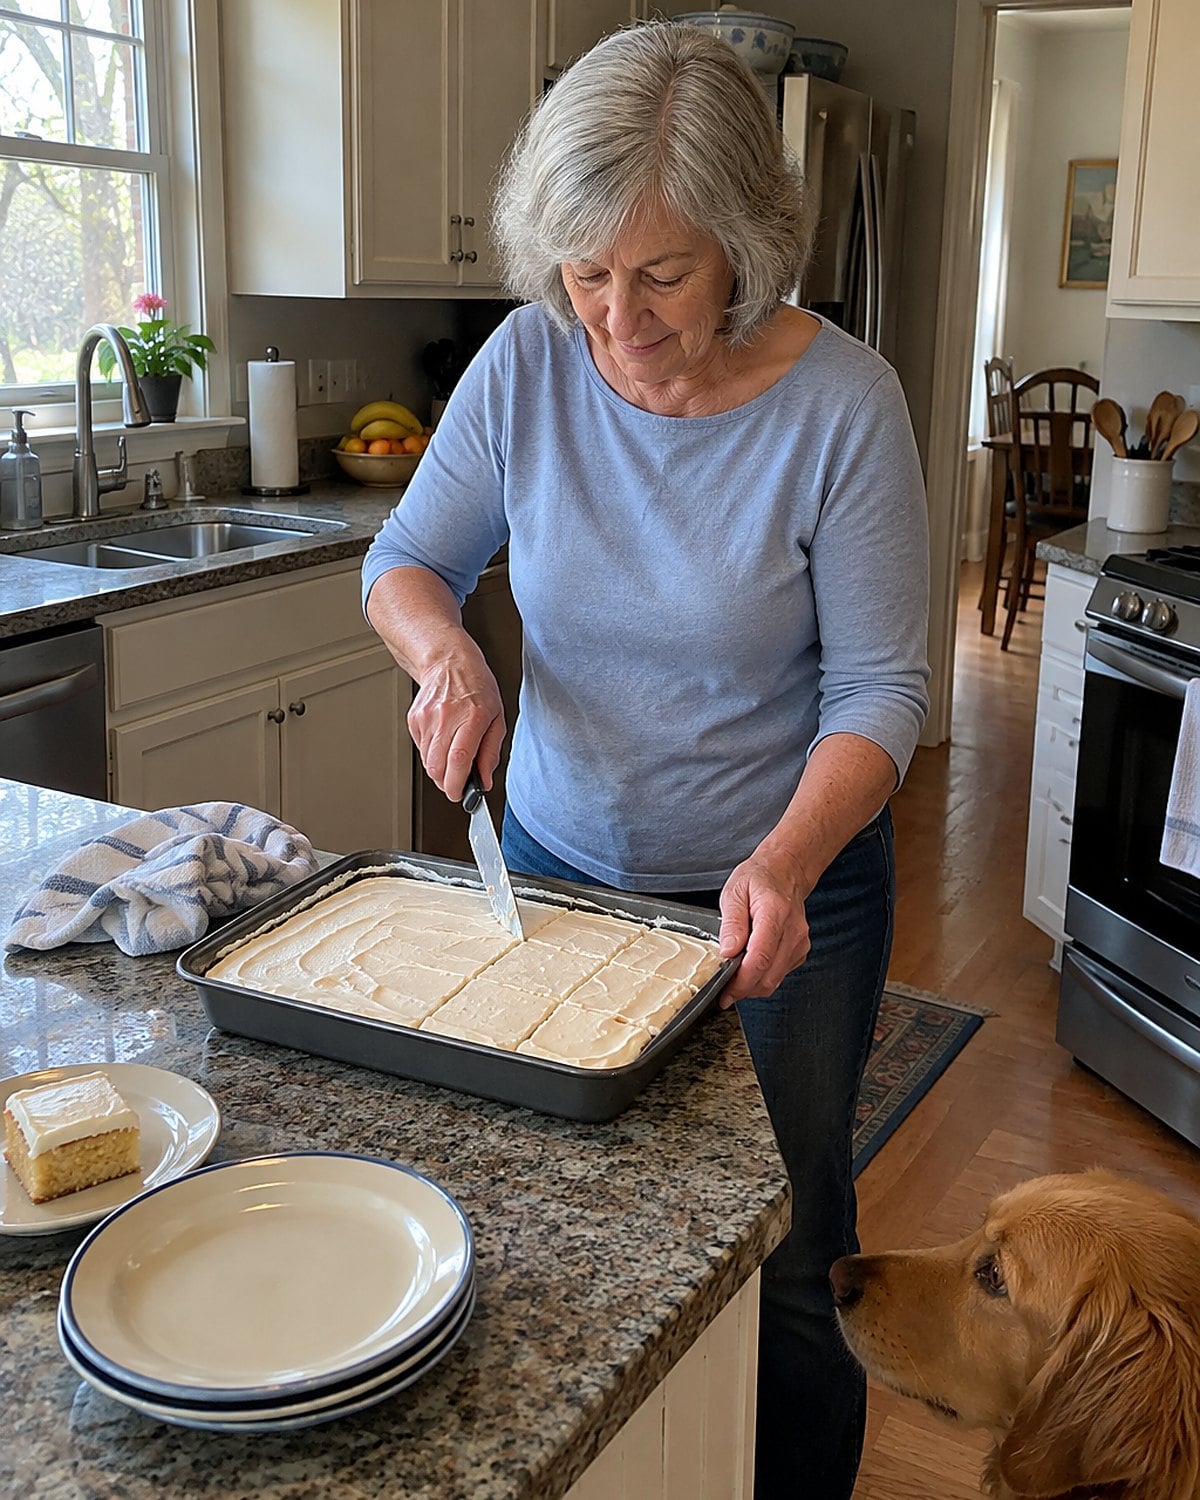
A sheet cake served a whole room because nobody had to balance a tall slice on a paper plate. The shallow pan also cooled faster than a deep layer cake, leaving time to frost it and take it out the door.
Grease the corners of the pan, where the first squares otherwise cling. If the frosting recipe says to pour it over a warm cake, have it ready while the cake bakes. That instruction changes the finish: the frosting spreads into a thin layer instead of sitting in thick swirls on top.
Decide on the cut before people reach the dessert table. Smaller squares let somebody take cake beside a piece of pie without juggling plates. Draw the knife through, wipe it, and cut again. Even pieces are easier to lift when the frosting isn’t dragging crumbs along with it.
For a smaller gathering, keep the same idea and choose a pan that gives the batter similar depth. A deep pan changes the bake; a shallow one keeps the square everybody remembers. And if you’re the person who likes the corner, you know which piece to lift first.
#5 Pickles in the Refrigerator Door
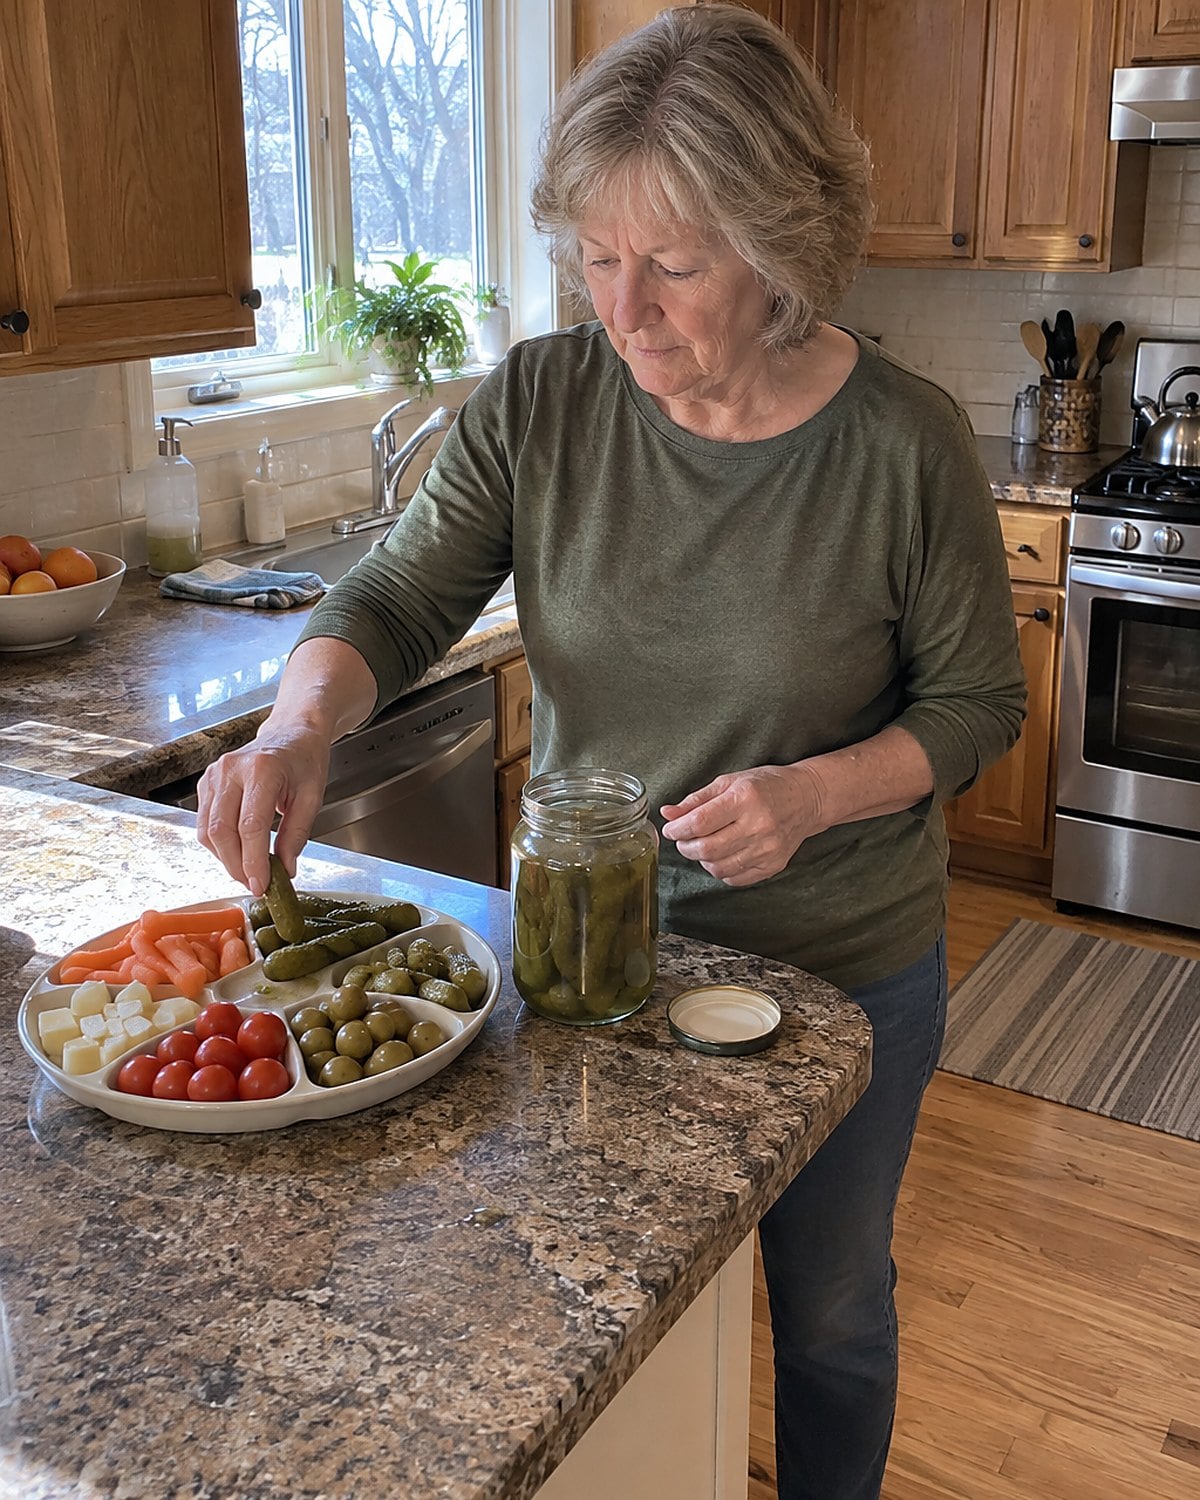
The pickle tray looked like an afterthought until the rich dishes arrived. A crisp, sour bite beside ham, baked beans, or cheese gave your tongue a break. Somebody had opened jars, drained the pickles, and found the divided dish before the guests walked in.
Don’t confuse those refrigerator-door jars with instructions for putting up a shelf-stable batch. Old cookbooks carry canning recipes written under older guidance. Before you use one, compare it with the National Center for Home Food Preservation or your county extension office. Acidity, jar size, and processing method matter more than a family note saying a batch always kept.
For tonight, you need no canning project. Put a few pickles on the plate with a rich casserole and notice which bite you reach for next. The tray earned its place by changing how the rest of supper tasted.
#4 Serving Spoon Tied to the Handle
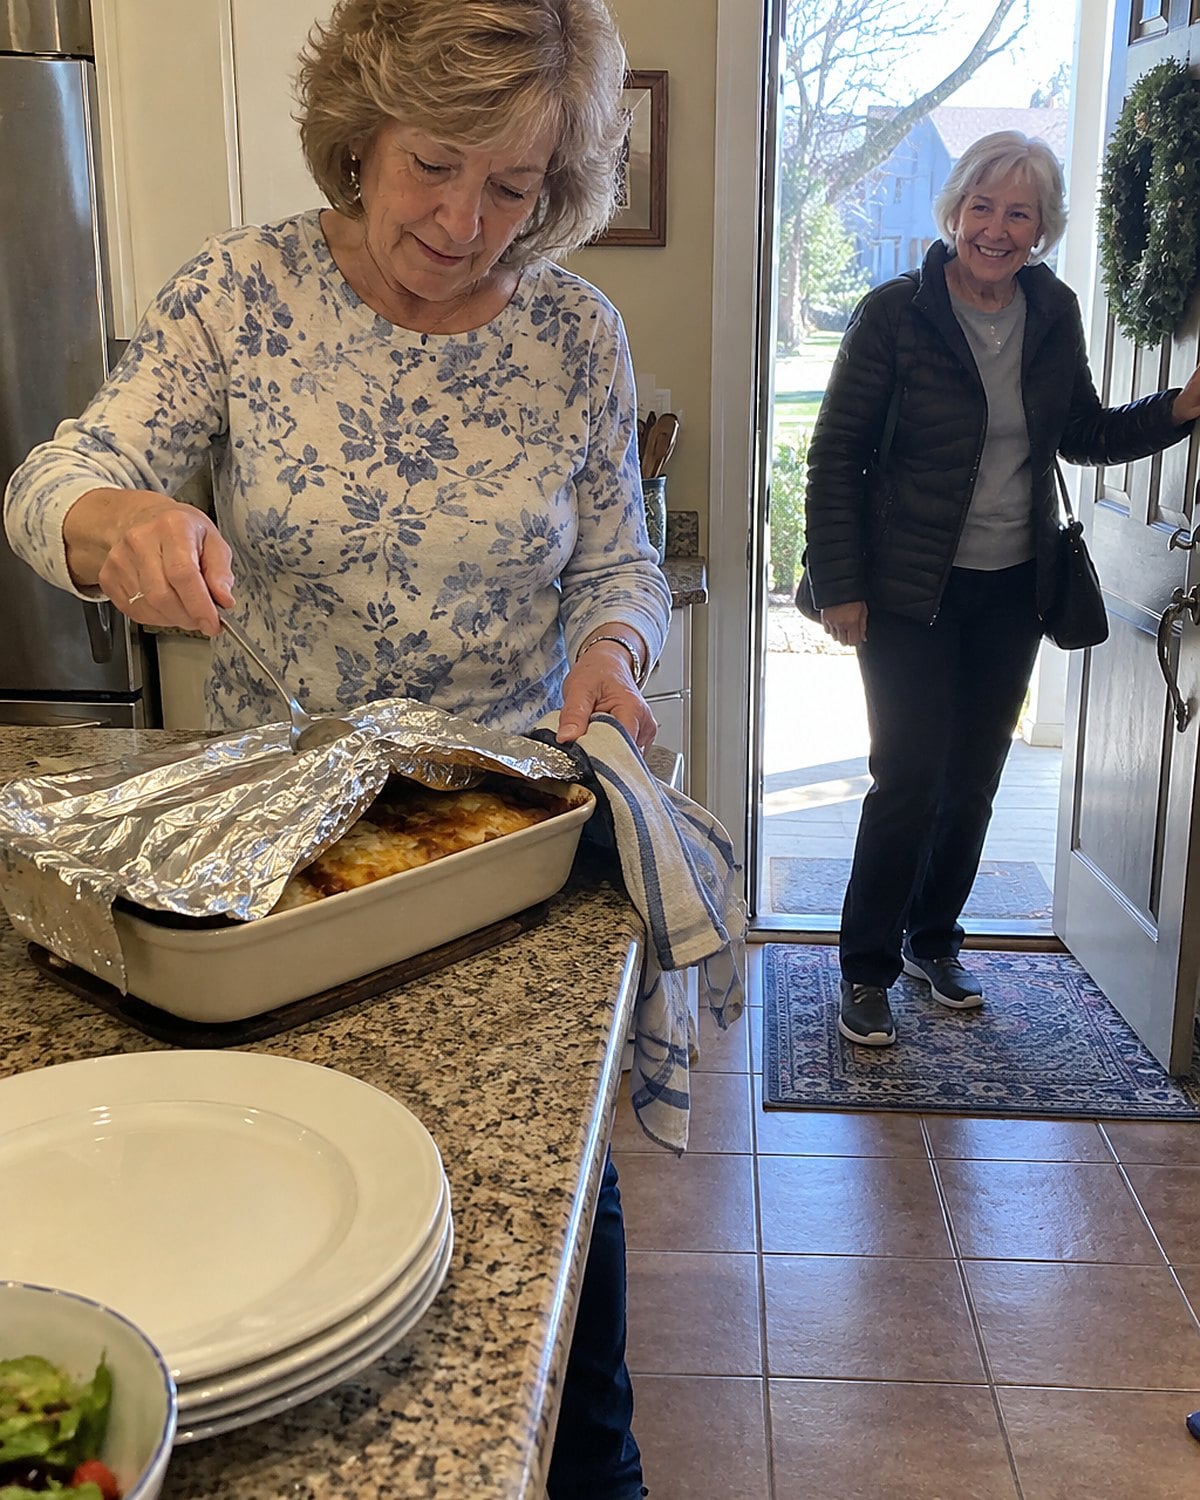
One missing serving spoon can hold up a room. The dish arrives, the foil comes off, and somebody has to search the hall kitchen while a line forms behind the potatoes. Church cooks learned to travel with the utensil their pan needed.
Set the spoon beside the dish before you cover it. For a casserole you cut into squares, bring a knife and a broad spatula instead. A deep spoon tears through lasagna; a flat server leaves the next portion intact. The tool tells you how the cook meant the dish to leave the pan.
At home, lay the serving utensil out while you set plates. You’ll spot the saucepan that needs a ladle and the salad bowl that needs tongs. No one has to stand at the stove holding a hot lid while you search the drawer with the twist ties.
The volunteer behind the serving line remembered the cooks who brought a spoon. You can borrow that habit for any meal that leaves your kitchen, even if it only travels to the porch.
#3 Handwritten Name beneath the Recipe
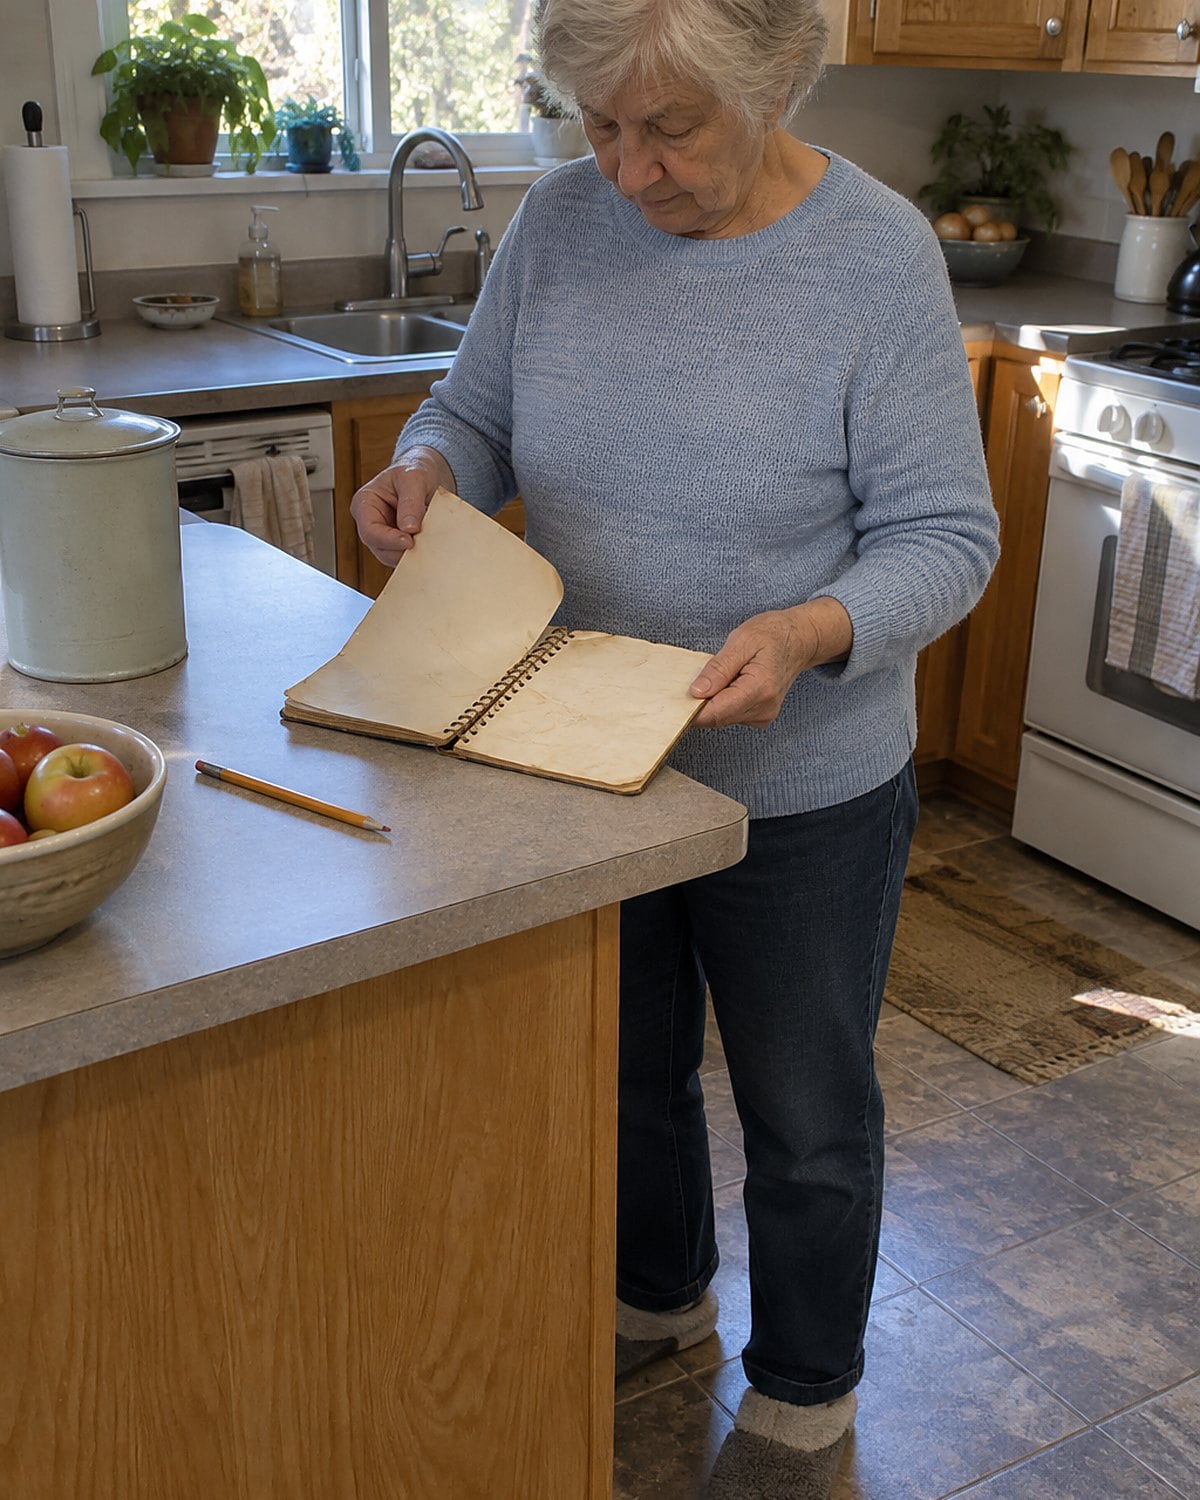
The names beneath church cookbook recipes made the book feel different from a stack of clipped pages. If the directions stopped at “bake until ready,” the name gave you a person to ask. If the dish worked, it gave you someone to thank.
Take a look at the recipes with marks in the margin. A check, a changed baking dish, or a penciled “less sugar” tells you what happened after printing.
Write your own useful note while you still remember it. “Used frozen peaches; drained first” helps the next cook more than “good.” Leave the original name visible. It connects the adjusted recipe to the cook who put it in the book.
Your note records the next supper. That’s how a spiral-bound page keeps working after the hall has emptied. Which name do you still look for when you open yours?
#2 Foil Pan on the Passenger-Side Floor
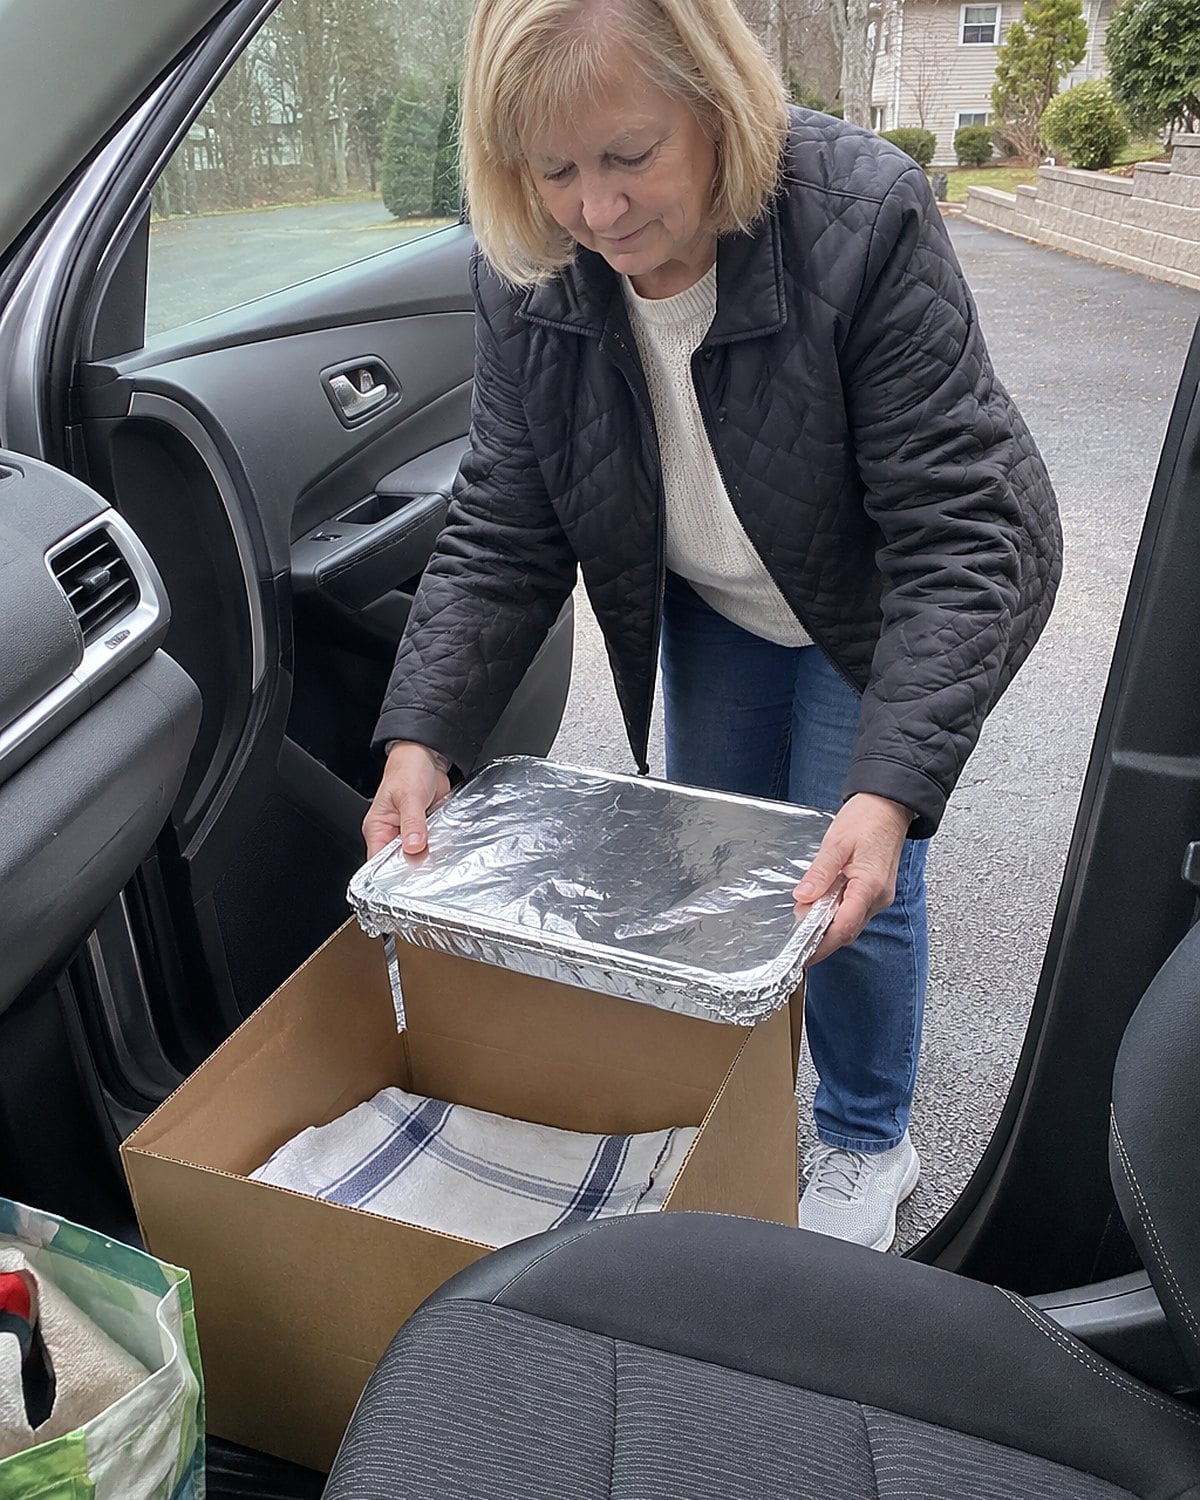
The casserole was ready, the foil was folded tight, and the car keys were in your hand. Then came the part the recipe left out: carrying a hot, heavy pan without letting it tip.
Before you leave, set the covered dish inside a sturdy box or carrier with a flat bottom. Place it on a level spot in the car where it won’t slide. A towel around the outside helps steady the pan, but it doesn’t make the food safe to leave sitting out.
Ask the host when the dish will be served. If it’s going straight onto a table, arrive near serving time. For a longer gap, agree on a refrigerator or a way to keep the dish hot before you set off. The FoodSafety.gov guidance on serving food gives the time and temperature rules for perishables.
Now picture the walk from the car to the door. Do you have a hand free to open it? Put the keys in your pocket before you pick up the pan. The cook whose foil reached the church hall without a spill had thought about that walk, too.
#1 Freezer Label with the Missing Step
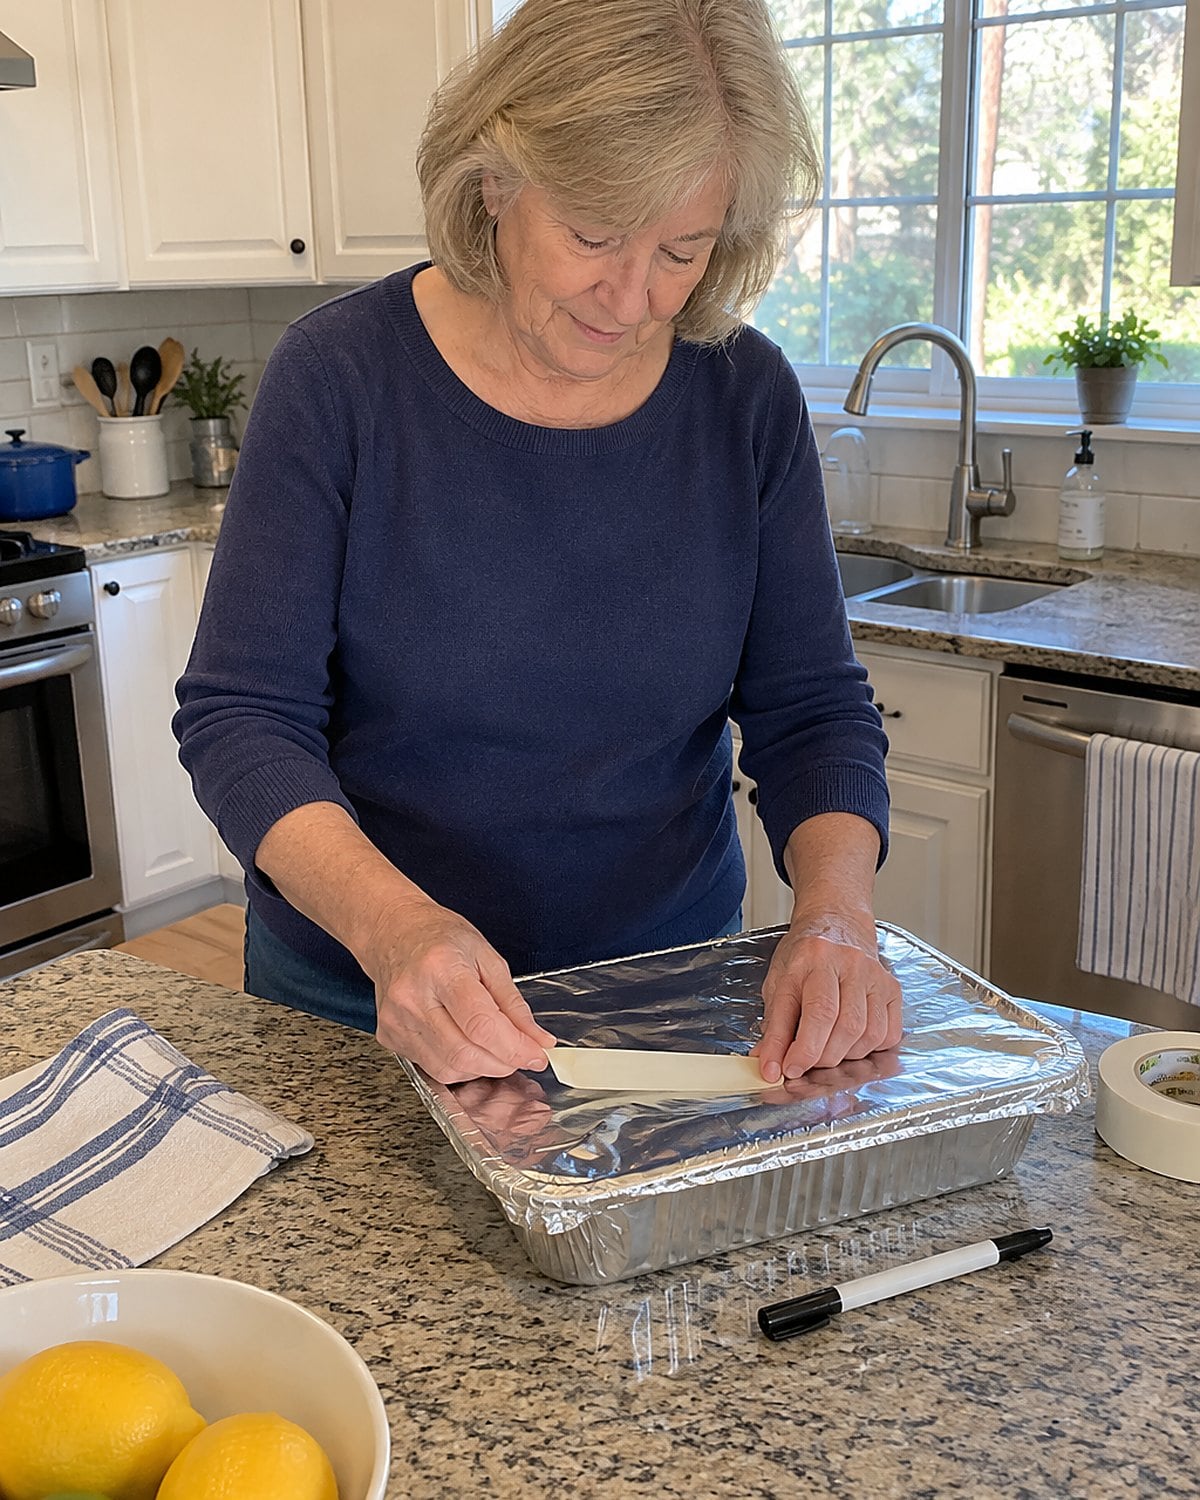
A useful freezer label tells the next cook what to do first. “Chicken casserole” names the pan. “Thaw in the refrigerator before heating” answers the question that stops dinner when a frozen pan comes out at five o’clock.
Write that first step, then add what the dish contains and whether it was fully cooked before freezing. If you cooked the chicken separately, say so. If the pan went into the freezer unbaked, say that instead. The person holding it shouldn’t have to infer its history from the foil.
The date belongs there, too. It lets you check the FoodSafety.gov cold storage chart for freezer quality guidance rather than guessing from a frosty corner. Write the date before the pan goes in, while you still know exactly what you made.
Leave space for a final check. The USDA guidance for leftovers says to reheat leftovers to 165°F. Push a thermometer into the center of a casserole, away from the pan, rather than judging it by bubbling edges.
The church cookbook kept a cook’s name under the recipe. Your label keeps the directions with the food. Tonight, look at the pan already in your freezer: what would somebody else need to know before turning on the oven?
The bottom line
Those recipes worked because the cooks thought past the mixing bowl. They knew what would travel, where a spoon belonged, and which dish needed a pause before anyone cut into it.
You’ve already done plenty of that thinking in your own kitchen. The well-prepared version of you has the right pan, a marker near the freezer, and a note in the book where the printed directions fell short.
Write that note tonight, while the meal is still warm in your memory. It will be waiting the next time you open the book.
Leave a Reply