Instant Pots are so reliable. It's why I love them.
They very rarely experience technical issues. But is your Instant Pot not sealing? That feels like a problem.
Does this prevent the pressure valve from working properly? Do you need to clean the sealing ring? What's going on?
This complete guide explains all you need to know to get your Instant Pot working at 100%!
Jump to:
- Understanding Your Instant Pot: Key Terminology
- Common Issues with Instant Pots: Not Sealing or Building Pressure
- Troubleshooting Steam Leaks from Your Instant Pot
- Dealing with Burn Messages on Your Instant Pot
- Understanding and Resolving Error Code Messages
- Properly Sealing Your Instant Pot Lid
- Maintaining Your Instant Pot: Cleaning and Replacing Parts
- Resolving Common Instant Pot Problems Through Customer Service
- Instant Pot Not Sealing: Frequently Asked Questions
- The Bottomline
Understanding Your Instant Pot: Key Terminology
Perhaps you're new to this kitchen gadget. Gotten yourself an Instant Pot and now staring at it like it’s a spaceship?
Fear not. Let's break down some key terms that’ll make you an instant (pun intended) expert.
Instant Pot Terminology
The world of Instant Pots can feel like learning a new language.
But once you get the hang of these terms, you'll be whipping up meals in no time. Here are a few to start:
- Sealing Ring: This silicone ring plays hide and seek under your lid. Its job? To keep steam from playing escape artist during cooking.
- Float Valve: A tiny but mighty part that says "Yay" or "Nay" to building pressure inside the pot by popping up or staying down.
- Steam Release Valve: Think of this as your pot's way of letting off steam, literally. It controls when and how much steam gets released manually.
Related: 14 Best Instant Pot Accessories
The Role of the Sealing Ring and Float Valve
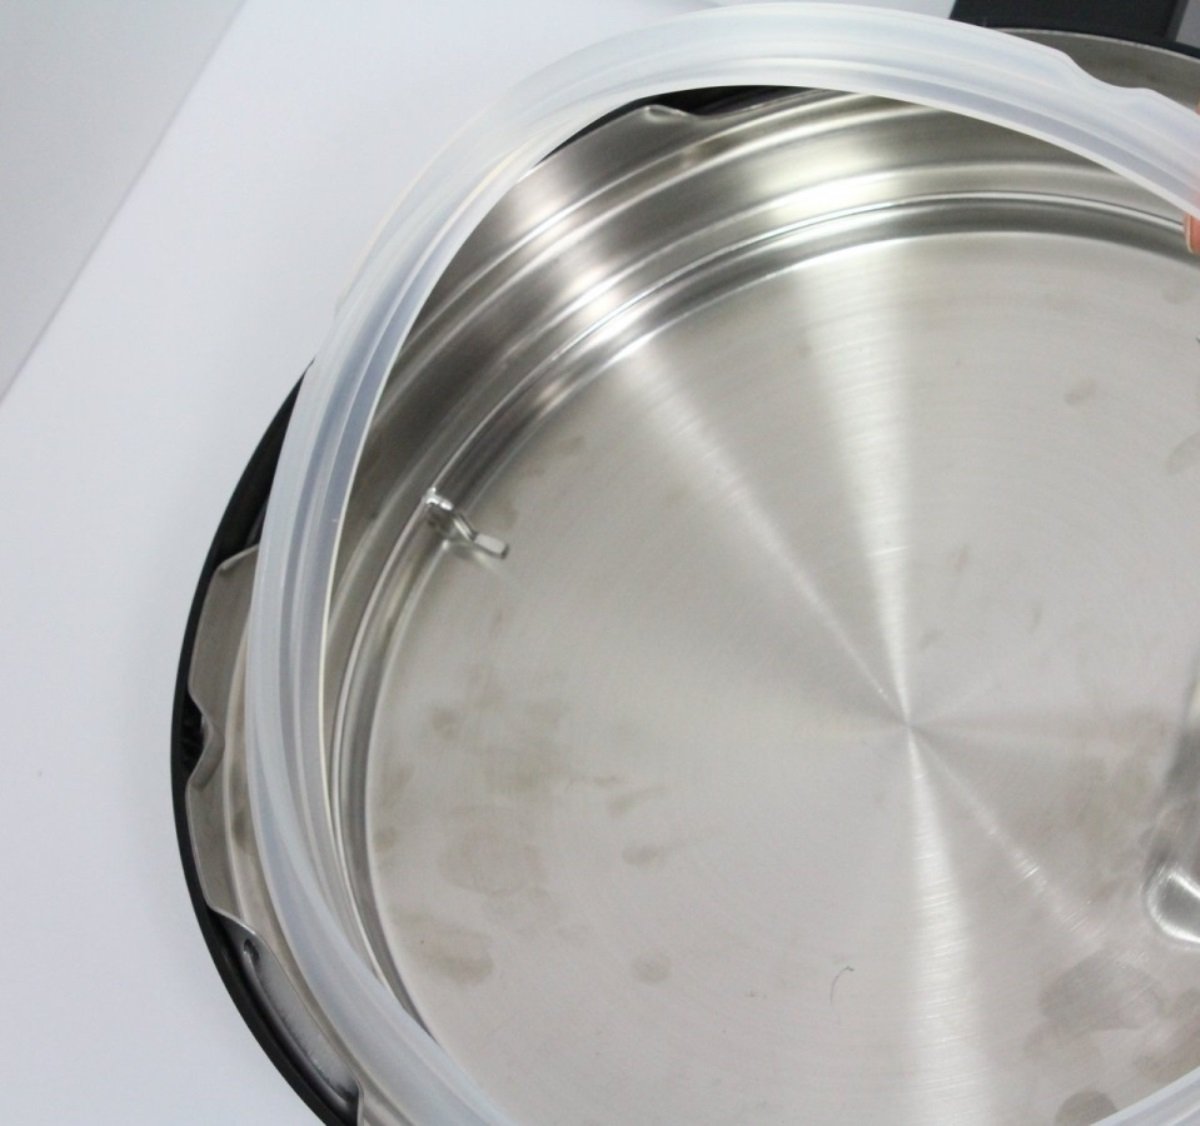
Two of the most critical components of your Instant Pot are the sealing ring and float valve.
The sealing ring’s mission, should it choose to accept (and it always does), is creating an air-tight seal around the lid. This means all that precious steam stays inside where it belongs – helping cook your meal faster than traditional methods would allow.
The float valve has its own superpower - sensing when enough pressure has built up inside so cooking can begin in earnest; then signaling us mere mortals with its ascent or descent about what’s going on in there without having to open the lid (because who wants to face a mini geyser?)
In harmony, they make each journey through flavors in your Instant Pot a secure and remarkably swift affair.
But here's something important.
If either one isn't happy (think damaged sealing rings or mischievous debris caught near valves), they won’t shy away from showing signs – usually through unsealed lids or prolonged heating times before pressurization occurs.
So treat them well because their happiness equals tasty meals such as my prized Instant Pot Mongolian beef recipe ready at lightning speed.
Common Issues with Instant Pots: Not Sealing or Building Pressure
If your Instant Pot isn't sealing or building pressure, you're not alone. This is a common hiccup that many users face, but don't worry; it's often an easy fix.
Pressure isn’t building in my Instant Pot
So, you've thrown everything into the pot, set your timer, and... nothing. The pressure doesn't seem to be building. Before visions of dinner going up in smoke cloud your mind, let’s troubleshoot.
- The Lid. It sounds obvious because it is. Make sure the lid is properly sealed. A slight misalignment can prevent pressurization.
- Liquid Levels. Pressure cooking needs liquid to work its magic. Too little juice? You'll get no steam and hence no pressure.
- The Sealing Ring. This silicone ring plays a huge role in locking in steam. If it's damaged or improperly placed – bingo. No pressure for you.
Glancing over these details might just rescue your dinner and swap out a scowl for a smile.
Also read: Pressure Cooker Recall: Is Your Pressure Cooker Among Them?
Instant Pot is Not Sealing Instant Pot is Not Building Pressure
You’ve checked everything above but still find yourself staring at an uncooperative pot? Let’s dig deeper.
"Is the steam release valve closed?" This might sound like another no-brainer moment but trust me; sometimes it’s the simplest things we overlook.
"I’m sure I did everything right..." If this thought crosses your mind while troubleshooting, consider checking if there are any food particles blocking the float valve - those tiny bits can be sneaky saboteurs.
If all else fails… It might just be time to replace parts like the sealing ring which tends to wear out over time.
No matter how frustrating it seems when our beloved kitchen gadgets betray us by refusing to seal or build pressure as they should, remember patience and persistence (and maybe a bit of sleuthing) will see us through almost every tech glitch known to culinary mankind.
Then you'll be right back to whipping up some stunning Instant Pot asparagus and fennel rice.
Digging into these issues shows us that most problems can often be traced back to a few root causes. By grasping and tackling these fundamental elements, we stand a good chance of overcoming the hurdles before us.
Troubleshooting Steam Leaks from Your Instant Pot
So, you're standing there, watching steam hiss out of your Instant Pot like it's trying to communicate in Morse code.
Before you start decoding messages or calling for backup, let’s tackle the most common head-scratchers: steam leaks.
Steam Is Leaking from the Float Valve
So you've noticed a little steam show at the float valve? It happens. Often, it's just part of the pressure-building concert.
But if your personal kitchen concert seems more like a never-ending encore, we might need to tweak the playlist.
- Culprit #1: Food debris hanging out on that tiny silicone plug inside your lid. Give it a clean sweep.
- Culprit #2: The silicone ring around said plug has decided it’s time for retirement. No worries. You can easily snag a replacement.
Steam Leaks from the Side of the Lid
If steam is making an escape artist act on the sides of your pot lid, put down that spoon and listen up because this one's all about our good old friend: the sealing ring.
The first thing you'll want to do is check if Mr. Sealing Ring took off for an impromptu vacation (i.e., missing or not seated correctly).
Silicone rings aren’t forever; they age gracefully but lose their mojo over time. If yours looks more ‘vintage’ than ‘functional’, consider getting a fresh one.
A handy tip? Silicone doesn't have nine lives – swap them out every 12-18 months.
And hey, discoloration and peculiar smells are totally normal with these guys; think of them as badges of honor.
All set now? Great.
Remember: when troubleshooting any appliance - patience is key but so is knowing when to call in reinforcements (aka checking those user manuals). Happy cooking.
Dealing with Burn Messages on Your Instant Pot
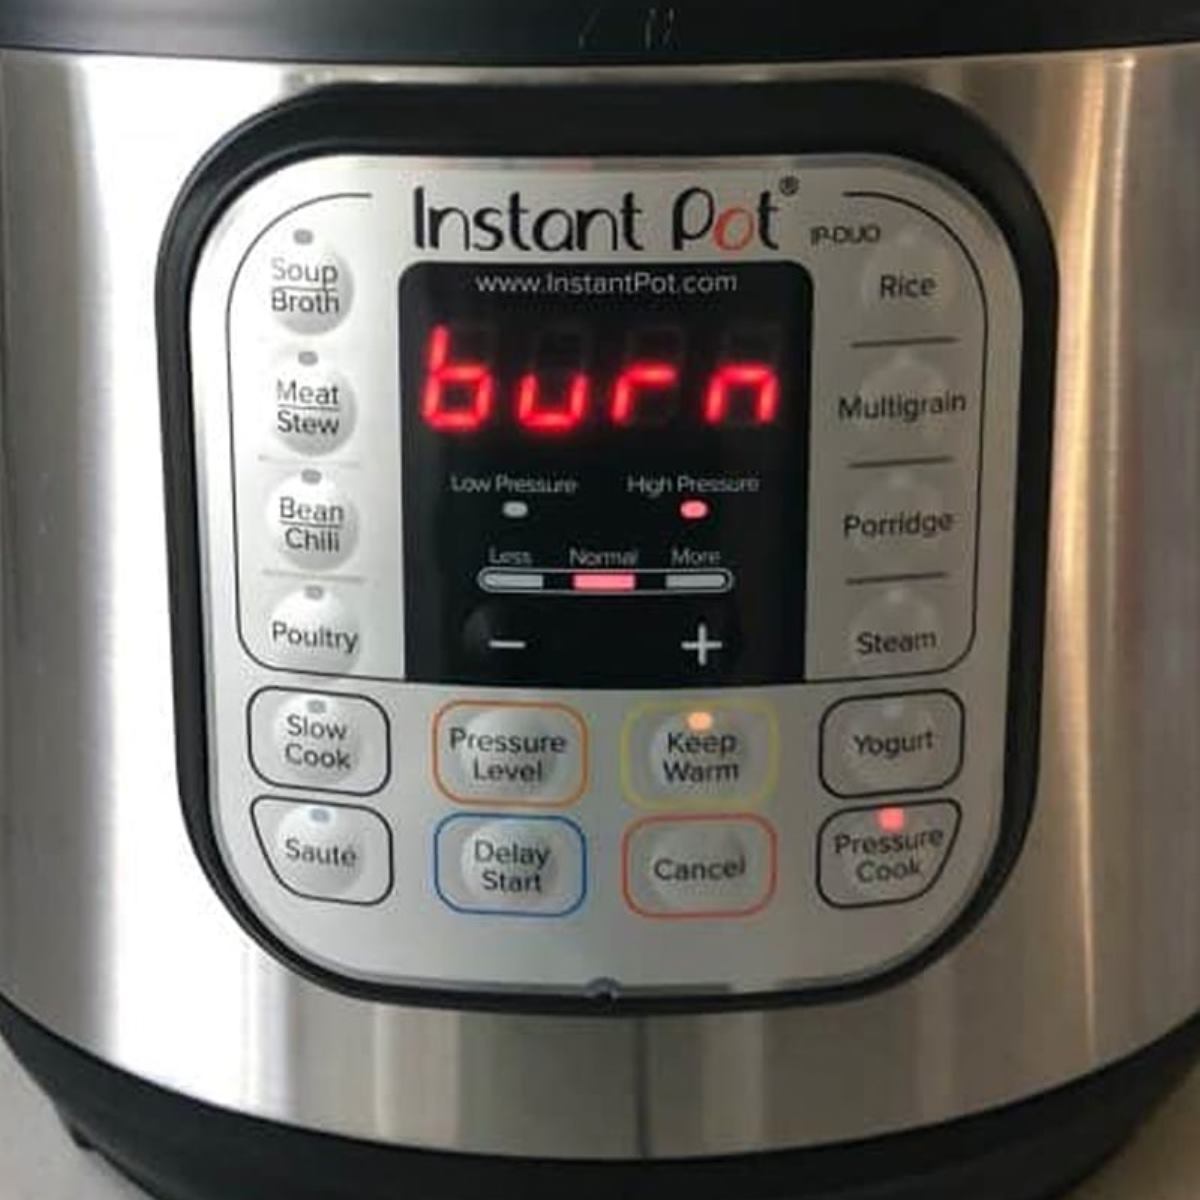
So, you've hit a snag in your culinary adventure: the dreaded "burn" message on your Instant Pot display. Before you consider giving up or reaching for your phone to order food, let's decode this situation and figure out a strategy to flip the script.
Related: Instant Pot Burn Message Decoded: Tips for Quick Fixes and Prevention
Update on the Burn Message
The "burn" alert pops up when your Instant Pot senses that its bottom is getting too hot.
Don't panic! This doesn't necessarily mean that dinner's ruined.
Often, it's just an indication that something inside needs a little adjustment. It could be as simple as not having enough liquid or perhaps food sticking to the bottom of the pot.
Here are a few ways to fix the “burn” message:
Add more liquid
Sometimes all it takes is adding at least 1 cup of thin liquid (think water or broth) into the mix. The newer models especially can be picky about needing enough moisture to get things going.
See my complete guide to the Instant Pot Ultra for more tips and tricks if this is the model you own!
Distribute evenly
If stirring didn’t cross your mind earlier, now’s a good time. Even distribution of ingredients helps the pot sense what's going on inside.
Give everything a good mix to ensure even heat distribution and prevent food from clinging to the pot base.
Rinse and repeat
If you're still seeing steam after checking for sealing issues or adjusting liquids, don't hesitate to do a quick reset—release pressure carefully, open up, give it another stir (or add more fluids), and then go again.
Cleanliness matters
Last but certainly not least – check if there’s anything stuck at the bottom before starting over; sometimes, residue from previous meals might cause these alerts, too.
Above all else? Don’t consider this a failure.
The burn message isn’t signaling defeat; rather, it's merely suggesting adjustments need making.
I know firsthand - I once got so wrapped up trying new recipes that my own pot flashed me those words several times in one week. I persevered, and now I can share with you my recipe for Instant Pot firecracker pulled pork: it was worth the struggle!
For further troubleshooting tips specific to common Instant Pot problems like sealing issues or error codes alongside 'the burn', check out our complete guide to Instant Pot for beginners.
Understanding and Resolving Error Code Messages
Staring at your Instant Pot display and seeing an error code flashing back can be like trying to understand a message from outer space.
Don't worry. We're here to decode these cryptic signals together.
I’m getting an error code message
First things first, take a deep breath. An error code doesn't mean your Instant Pot has gone rogue.
Most of the time, it's just trying to tell you something important in its own digital language.
Instant Pot Display Screen is Showing Error Code
- Lid: This one’s easy – your lid isn’t happy where it is. Make sure it’s properly positioned.
- Burn: Uh-oh. It thinks something might get burnt. This usually means there isn’t enough liquid in the pot or that the bottom of the inner pot needs a quick scrape due to food sticking.
- Ovht: Your Instant Pot is feeling too hot right now and needs some cool-off time.
- NoPr: This one says pressure hasn’t built up as expected - check if there's enough cooking liquid or if the steam release valve is correctly sealed.
- The mysterious sensor errors like C1, C2, etc., are saying hello from inside your pot indicating potential issues with temperature sensors which might require more technical assistance or contacting customer support for help.
All these codes have their quirks, but fear not! they’re often easier to fix than deciphering alien communication would be.
Related: Instant Pot Natural Release - A World Of Flavor Awaits!
Properly Sealing Your Instant Pot Lid
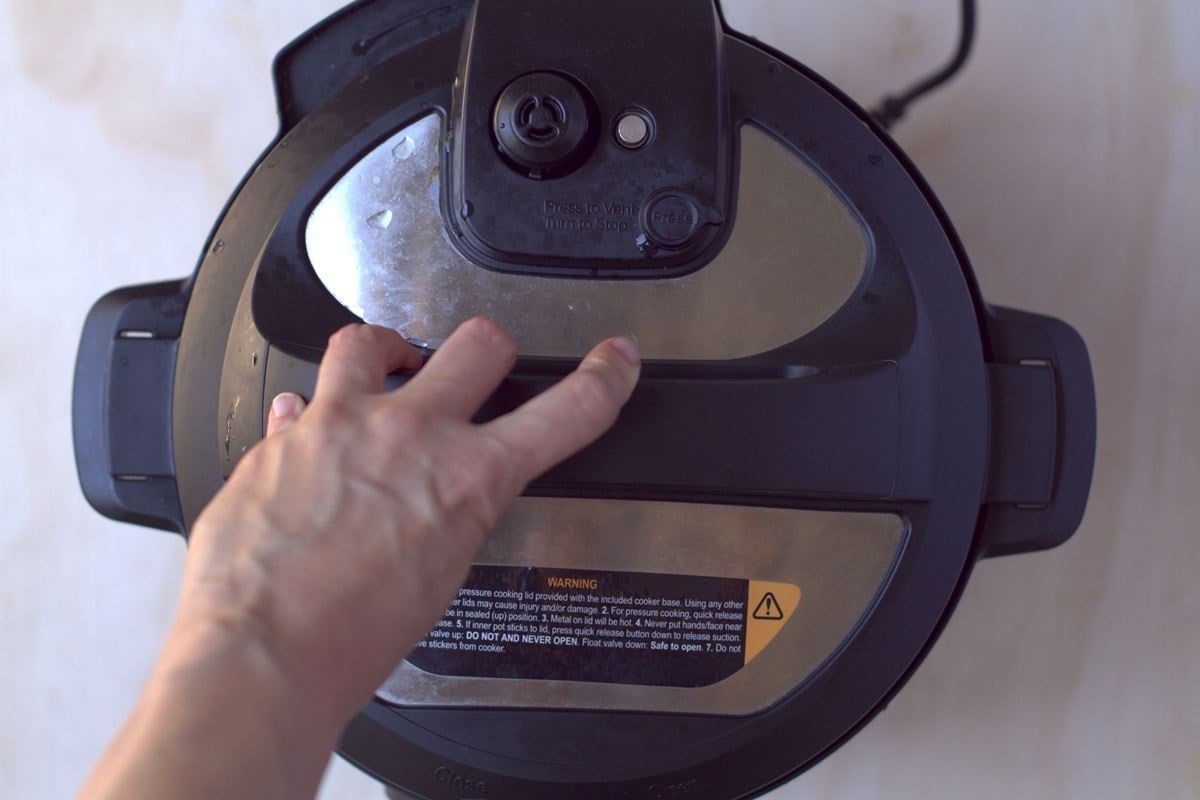
Ever felt like you're wrestling with your Instant Pot lid, trying to get it to close right? You're not alone.
Sometimes it's a technical problem. Sometimes it's less technical and more a case of gently reminding the lid that its job is to be sealed by pushing it into place.
Let's talk about how to seal that stubborn lid and turn pressure cooking from a struggle into a breeze.
I can’t seal my Instant Pot lid
A common hiccup for many, but fear not. The solution is often simpler than you think.
First off, check the sealing ring. It’s like the secret agent of successful pressure cooking - when it’s out of place, nothing works as it should. The usual culprits are:
- The power supply: Make sure your Instant Pot plug is fully engaged in both the outlet and base unit.
- The sealing ring: Is it sitting snug under that wire rack? If not, give it some love. Adjust until even all around.
If there's food on the rim or if your sealing ring has seen better days (they do need replacing every 12-18 months, after all), those could be culprits too.
Also read: Does Instant Pot Use Induction? Discover the Cooking Mechanism
Difficulty with closing the lid
Sometimes, closing an Instant Pot feels like solving a Rubik's cube—tricky but totally possible once you know how.
Sometimes it just takes a bit of trial and error, and you'll be back to cooking up your favorite Instant Pot recipe for Thai red lentil soup.
- Cleanliness is next to godliness: Ensure no debris is on either the pot rim or inside lid area; they can mess up closure big time.
- Dance of the sealing ring: Double-check its position; these guys tend to wander off their designated path.
- Lid Lock Tango: Align then twist clockwise till you hear that satisfying click – music to an Instant Potter’s ears.
The sealing ring isn't working
This is a common problem with older Instant Pots. An Instant Pot not sealing could, unfortunately, just be an indicator of its age.
The Instant Pot sealing ring is made from food-grade silicone. It's extremely durable: the team at The Spruce Eats explains all about silicone bakeware here.
But silicone doesn't last forever. And when it's repeatedly exposed to minor wear and tear from locking onto the pot, it'll degrade over time.
Take the silicone ring out and inspect it.
First, check for dirt and grime. It can sometimes be as simple as a crumb in the wrong place. Give it a good wash and make sure there's no debris clogging up the ring.
The sealing ring is dishwasher safe, but I'd advise hand-washing it if you're looking for stubborn spots. Dishwashers are great for removing grease, but baked-on crumbs or herbs from that Instant Pot white beans with rosemary and garlic you made might require personal attention.
Once you're 100% sure it's clean, inspect the ring for any signs of wear and tear. These could look like:
- Holes in the silicone
- Fraying along the edges of the ring
- A lack of suppleness: the ring will be naturally floppy, but if it feels like overcooked pasta, it may be degrading
If you find any of these issues, it could just mean that you need to get a new ring. Then you'll be back to whipping up your famous chicken souvlaki rice in time for the next time you have guests over.
If you can't identify any issues, it might be time to reach out to customer services to troubleshoot the problem.
Also read: Sealing vs Venting Instant Pot: What You Need to Know
Cleaned & Sealed
Gone are days of wrestling with lids thanks to these quick checks. Remember, "A well-sealed pot makes for happy cooks."
So, let's keep the frustration at bay and ensure our kitchen experiences remain joyful and efficient.
Maintaining Your Instant Pot: Cleaning and Replacing Parts
Keeping your Instant Pot in tip-top shape isn't just about making it last longer. It's about ensuring every meal comes out as delicious as intended.
Delving into the details, let's zero in on maintaining the pot's crown jewel - its lid - spotless and functional.
The Instant Pot Lid Area is Dirty
A dirty lid can be the silent saboteur of your cooking adventures. Bits of food or residue lurking around the sealing ring or steam release valve might not only affect taste but also prevent proper sealing.
Here’s a simple fix: after each use, give that lid a good wash with soap and water, paying extra attention to nooks and crannies.
Sealing Ring has Expanded Too Much and Won’t Seal Properly
Sometimes, our trusty sealing rings get a bit too comfortable in their home. They expand over time due to heat exposure, which means they don't fit snugly anymore.
The solution? Soak it in cold water for 5 minutes before popping it back in; this often does the trick by shrinking it back down.
Sealing Ring is Damaged or Torn
If you’ve noticed steam escaping where it shouldn’t or if your meals are taking longer than usual to cook, inspect that sealing ring closely.
Any signs of damage, like tears or cracks, mean it’s time for a replacement. Remember, an intact seal is non-negotiable for pressure-building magic to happen.
Cleaning your Instant Pot, especially focusing on areas like the lid and sealing ring, ensures everything works as expected when you're ready to whip up your next feast.
And while dealing with a damaged pot can seem daunting at first glance—fear not.
With these easy fixes under your belt (or apron), maintaining peak performance becomes part of the fun culinary adventure rather than a chore.
Resolving Common Instant Pot Problems Through Customer Service
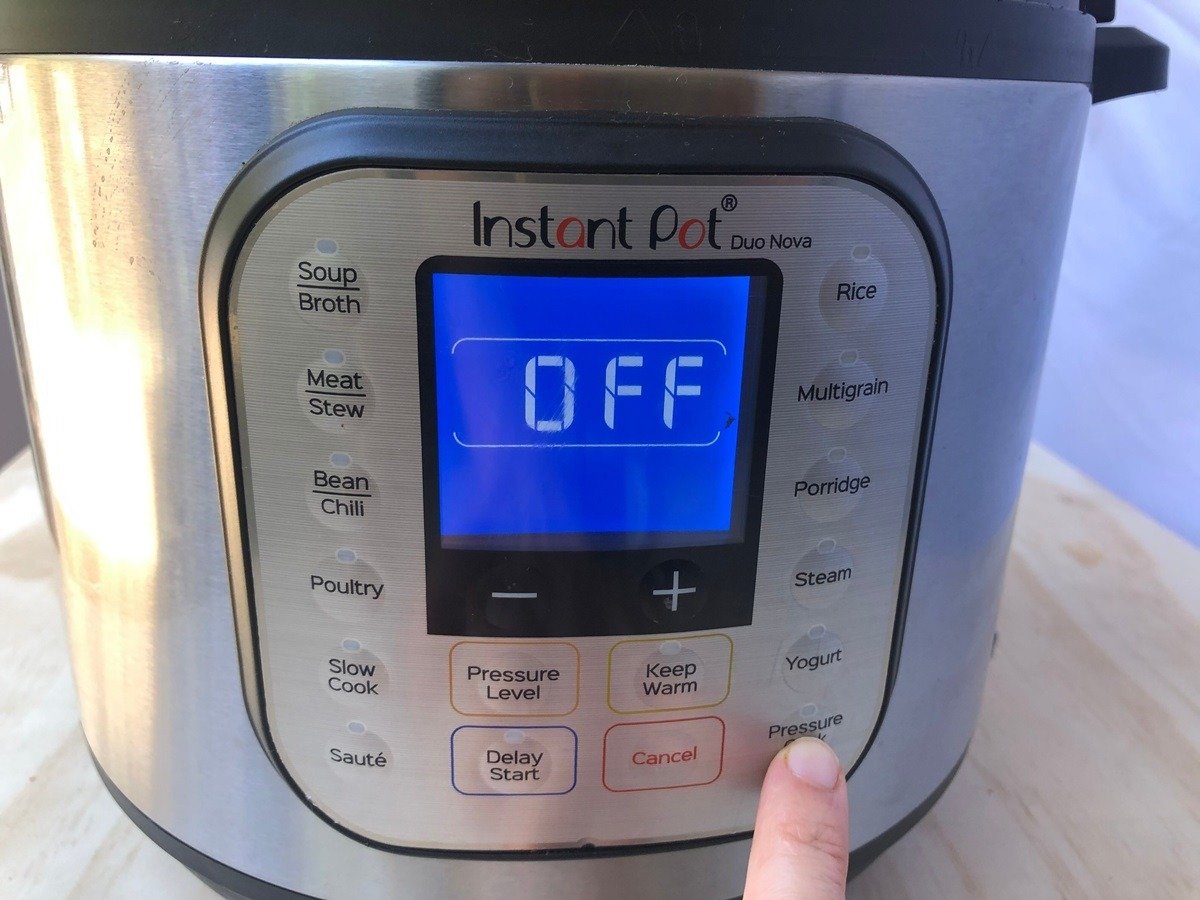
If you keep getting error messages, or you can't figure out why a new silicone ring isn't sealing properly, it may be time to contact Instant Pot customer service. You can find them here.
You'll need to let them know what it's saying on your Instant Pot display and may have to provide information about when you bought the Instant Pot.
If your Instant Pot warranty is still valid, you may be able to get the pot repaired or replaced for free.
If you've had the device for a few years, you may simply need to buy a spare sealing ring.
These are affordable and while you may have to find alternatives to electric pressure cookers for a few days, your pot will be back up and running before long!
RELATED: All You Need to Know About Your Instant Pot Warranty
Instant Pot Not Sealing: Frequently Asked Questions
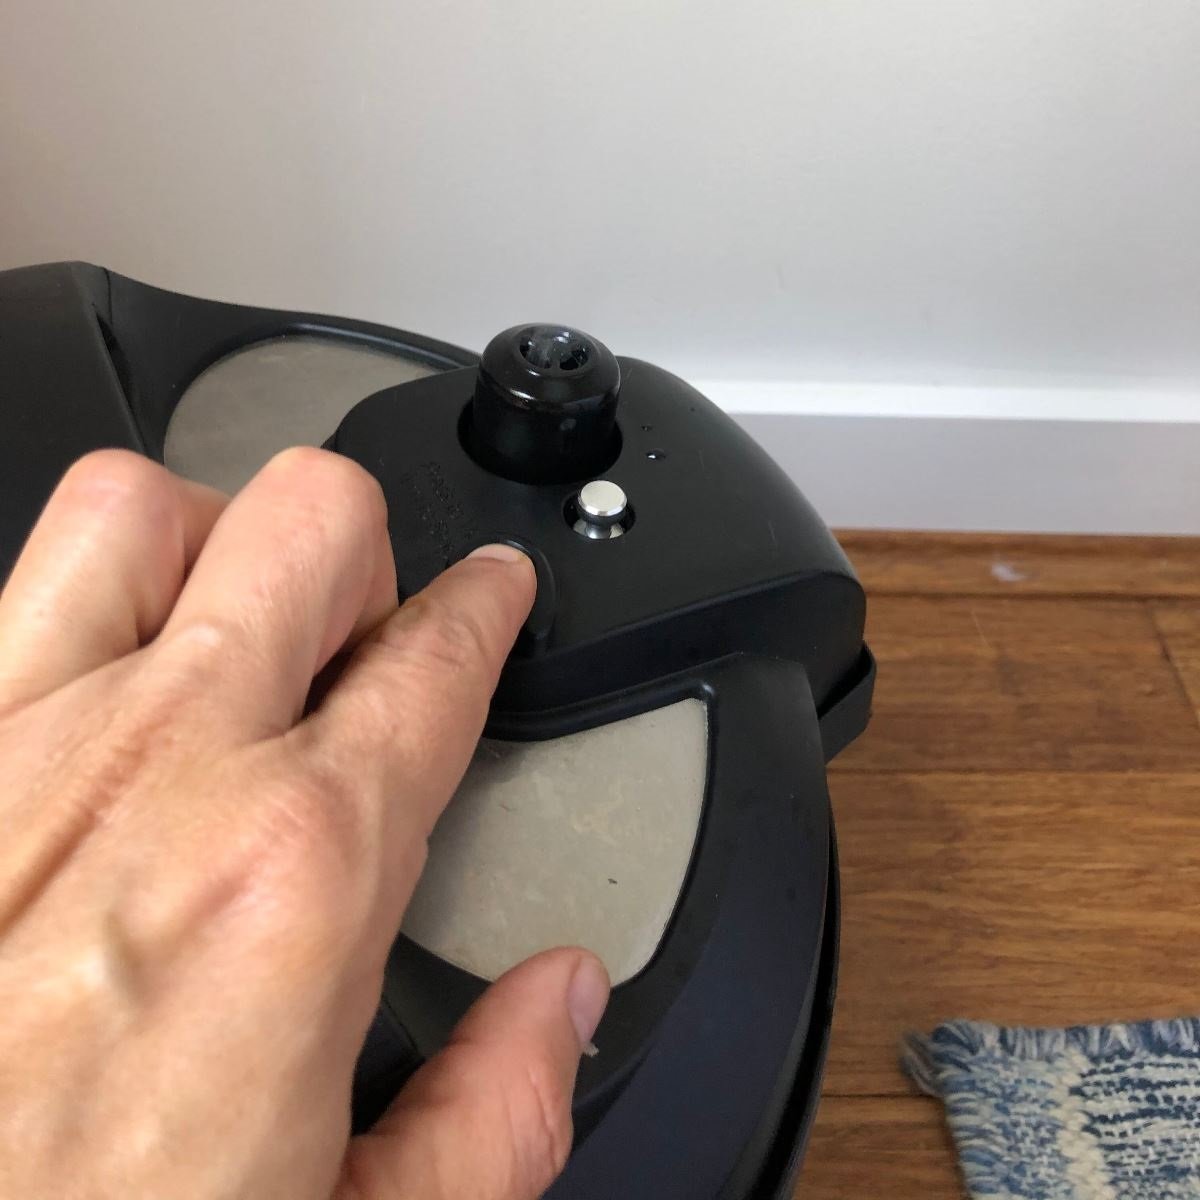
The sealing ring is the most likely culprit. It may need replacing if it's over 12 months old. Otherwise, you could try holding down the handles until the button releases, indicating that the pot is now sealed: it may be that the sealing ring just isn't in proper contact with the pot.
Common reasons for the Instant Pot not pressurizing include overfilling your pot or adding too much liquid. If you've added a lot of frozen food to the pot, you may need to defrost it or cook it in smaller batches.
The Instant Pot shouldn't usually be steaming when the pressure release valve is in the sealing position. If you're using an older Instant Pot model, the sealing ring may have degraded slightly, which could allow steam to escape. This may need to be replaced.
The most likely explanations for your Instant Pot hissing are that the steam release handle is still slightly open or that the sealing ring isn't fully in position. Make sure the steam valve is shut and if the hissing continues, switch your electric pressure cooker off and inspect the ring for wear and tear.
The Bottomline
If your Instant Pot has been misbehaving in Pressure Cook mode, don't panic. First, check that the pressure valve is properly closed.
If it is, give the silicone ring a clean and inspect it for signs of degradation.
Even the food-grade silicone used for Instant Pots doesn't last forever. You may have to wait a few days for a new one, but these can be replaced for most models.
If the pot is getting on in years, perhaps it's time to upgrade your old Instant Pot Duo to a new model. This could be an opportunity to discover a whole new world of pressure cooking.
If you're seeing Instant Pot error codes, you may have to contact customer service. But don't fret: Instant Brands is very reliable when it comes to repairing or replacing faulty devices.
Want to learn more Instant Pot tips and tricks? Check out our complete guide on How to Use the Instant Pot for Beginners!




Leave a Reply