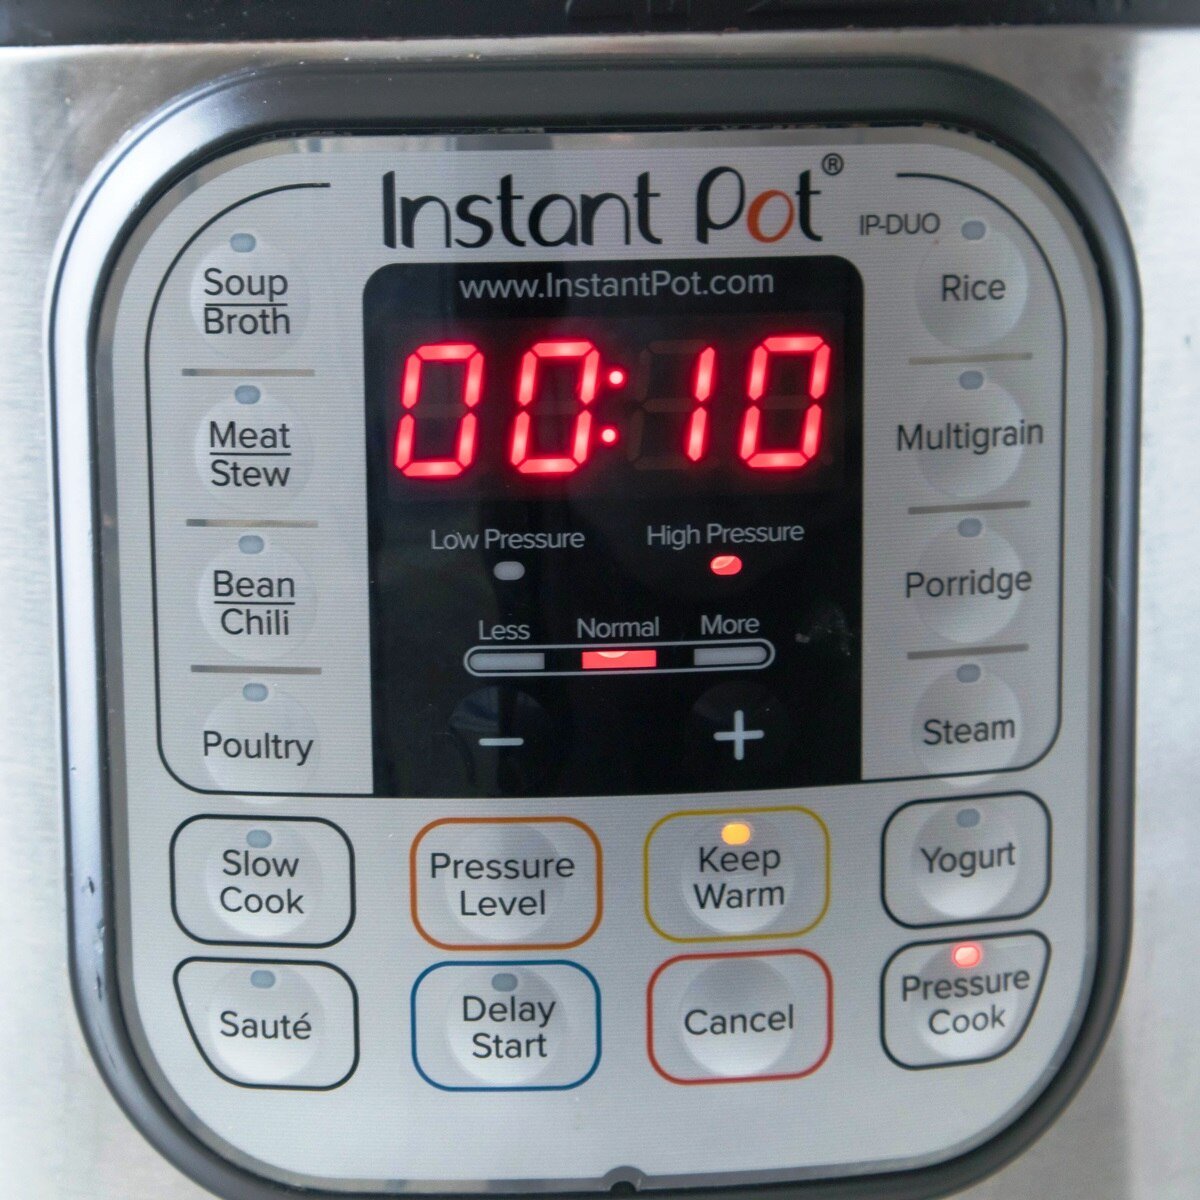
So you're hungry, excited to try out a new Instant Pot recipe, but find yourself impatiently staring at the display, asking yourself "Why Is My Instant Pot taking so long to come to pressure?". You're not alone.
This is a common question that has many home cooks baffled. Let's break down the reasons why this might be happening and what you can do to speed things up so you can get dinner on the table faster:
Jump to:
- Why Won't My Instant Pot Pressurize? Understanding the Basics
- Exploring the Most Common Culprits
- Tried-and-True Tips to Make Your Instant Pot Pressurize Faster
- Why Is My Instant Pot Taking So Long to Come To Pressure: Quick Recap
- Addressing Other Common Instant Pot Concerns
- Decoding the Secrets: Why is my Instant Pot Taking so Long to Come to Pressure
- Taking Care of Your Pressure Cooking Hero
- FAQs
- Conclusion
Why Won't My Instant Pot Pressurize? Understanding the Basics
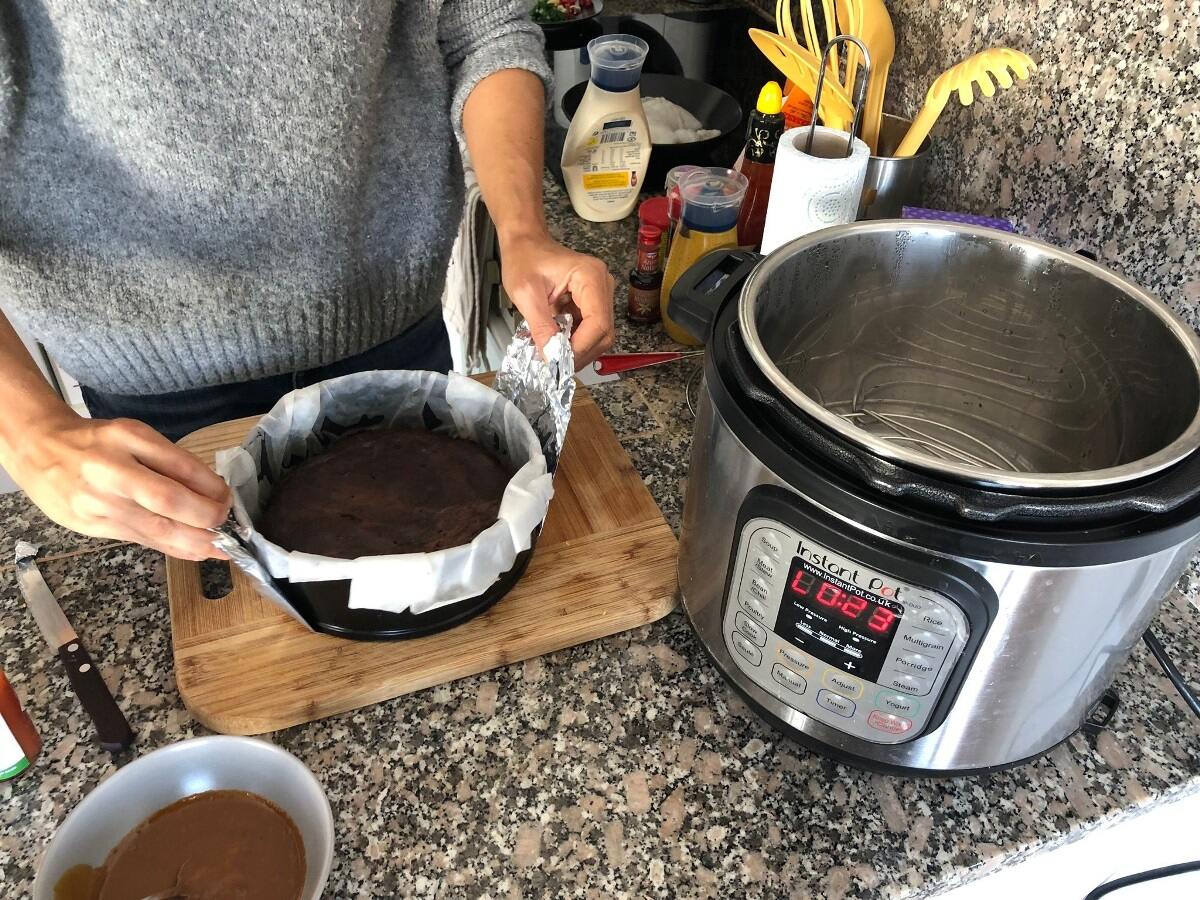
Before we jump into troubleshooting, it’s important to have a basic understanding of how an Instant Pot builds pressure. Think of it as a sealed system. The heating element brings the liquid inside to a boil, generating steam.
Since the lid is locked, the steam can’t escape and creates pressure. This pressure is what cooks food quickly. A few key components are essential for this process: a proper seal, adequate liquid, and a functioning pressure release valve.
During the pressure cooking cycle, ensure the pressure valve is functioning properly and the lid and sealing ring are correctly positioned to prevent steam from escaping, which could indicate potential problems with the pressure cooking system.
The Importance of the Sealing Ring
That rubber ring on the underside of the lid? It's called a sealing ring, and it plays an important role in creating an airtight seal. If this ring isn't properly installed, or it is damaged, or dirty, steam will escape.
Even the smallest amount of food or grease trapped in the ring can prevent a proper seal, which leads to that dreaded delayed pressurization. First things first, ensure the sealing ring is properly seated in the lid.
Wash it with warm, soapy water after every use and examine it for any cracks or tears. Replace the sealing ring if it's worn out. You can easily purchase sealing rings in multi-colored packs or buy them individually. This way, you can use separate ones for savory versus sweet dishes to avoid lingering smells.
The Pressure Release Valve
Another usual suspect is that pesky pressure release valve. Always check to make sure it is set to “sealing” to ensure a proper pressure cooking cycle. You would think that setting the valve to “sealing” would be intuitive, but it is something that is often overlooked and many have made that mistake - myself included.
If the pressure release valve isn’t set to “Sealing,” then the steam created during cooking can freely escape, and therefore, adequate pressure won’t build. This means your Instant Pot won’t pressurize, which leads to longer cook times.
Occasionally, the steam release handle can get clogged with food or debris, especially after making starchy dishes. Check it after every use and give it a good clean if needed.
Liquid Levels Matter
Why is the Instant Pot taking so long to come to pressure when I've followed the recipe instructions? Well, using too little or even too much liquid can throw things off. Remember that Instant Pots rely on steam. If you don't have enough, there's nothing to generate pressure.
Always add at least 1 cup of liquid, usually water, broth, or stock, to the inner pot before pressure cooking. This provides ample liquid for steam generation and helps regulate temperature and pressure.
For larger batches or recipes requiring more liquid, increase it proportionally but make sure not to exceed the maximum fill line.
Exploring the Most Common Culprits

Now that we've gone over the basics let's take a closer look at the reasons behind those delayed pressure woes. Understanding the reason helps us troubleshoot and prevents it from happening again.
Cold Ingredients: A Recipe for Delay
You pull a frozen chunk of meat straight from the frosty depths of your freezer, toss it into the Instant Pot, and hit start. No wonder it's taking its sweet time. Your Instant Pot needs to defrost that mammoth block of ice before it can even think about building pressure.
If possible, let frozen ingredients thaw in the fridge overnight or use the Instant Pot's "Sauté" function to thaw them more quickly before starting the cooking cycle.
Altitude Adjustments: A Breath of Fresh Air
Live in a high-altitude area? Your Instant Pot might need a little more time to reach the same pressure as it would at sea level. The lower air pressure at higher altitudes means water boils at a lower temperature.
So naturally, you might need to increase cooking times slightly to make up for the difference. Refer to your Instant Pot's manual or search online for altitude adjustment guidelines. This typically involves slightly increasing the cooking time or liquid ratio, or both.
Ingredient Quantity: Don't Overload the Pot
Enthusiasm for large-batch cooking is awesome, but don't go overboard with your Instant Pot. Overfilling prevents proper heat distribution and steam circulation, making it work harder to come to pressure.
Most Instant Pot models have a maximum fill line etched on the inner pot. Stick to those guidelines. They're there for a reason.
Recipe Requirements: Some Things Just Take Time
Not all recipes are created equal. Some dishes, like those hearty stews or those tender pulled pork recipes, inherently require a longer cooking time to break down tougher cuts of meat or fully develop flavors.
Always refer to trusted Instant Pot recipes from reputable sources, like this recipe, which specifies an expected cook time.
Tried-and-True Tips to Make Your Instant Pot Pressurize Faster
Let’s be honest. No one wants to wait any longer than they have to, especially with a growling stomach. So, how about we explore some proactive strategies that go beyond the call of duty, making your Instant Pot a true speed demon in the kitchen?
1. Preheat with Sauté: Get a Head Start
Think of this as preheating your oven. Selecting the "Sauté" function helps raise the inner pot’s temperature, especially for larger quantities of colder ingredients. This speeds up the process.
Add your ingredients, close the lid, and switch from the "Sauté" setting to "Pressure Cook" for a smoother, faster pressure-building journey.
2. Room Temperature Ingredients: Take the Chill Off
Just like preheating helps, removing ingredients from the refrigerator a little while before cooking can cut down on the Instant Pot's workload. Allowing them to come closer to room temperature, especially with large or dense foods, can shave off precious minutes from the preheating time required by the appliance.
Also read: How Does Instant Pot Work And What Is It?
3. Warm Up Your Liquids
Starting with hot liquids can make a difference. Instead of using cold ingredients, try using warm or hot liquids like stock or water whenever possible.
Using liquids warmed on the stove or heated in the Instant Pot using the Sauté function will expedite the pressurization process. Think of it like giving your Instant Pot a head start. It'll reward you with a quicker cooking process.
Why Is My Instant Pot Taking So Long to Come To Pressure: Quick Recap
Here’s a table summarizing the common reasons and suggested fixes to keep handy. Hopefully, you can now address "Why is my instant pot taking so long to pressurize?".
| Reason | Solution |
|---|---|
| Improperly Sealed Lid | Double-check for proper lid closure, correct sealing ring placement, and cleanliness. |
| Clogged Steam Release Valve | Clean the valve using a damp cloth, soft brush, or a toothpick to remove debris. |
| Insufficient Liquid | Ensure there's at least 1 cup of liquid (water, stock, etc.). Increase proportionally for larger quantities, but stay within the max fill line. |
| Frozen or Cold Ingredients | If possible, defrost overnight in the fridge or use the "Sauté" function for faster thawing. |
| High Altitude Cooking | Refer to your appliance manual for altitude adjustments; generally, involves increasing cook time or liquids, or both. |
| Overfilled Pot | Follow recommended max fill lines provided for your specific Instant Pot model; ensure adequate space for steam circulation. |
| Recipe Requires Longer Cooking | Adhere to tested Instant Pot recipes from reliable sources like the Instant Brands website; cooking time varies by recipe and ingredients. |
Addressing Other Common Instant Pot Concerns
Let’s tackle other common Instant Pot questions. Knowledge is power, especially when it comes to getting the most out of your beloved electric pressure cooker.
My Instant Pot Display Won’t Turn On
This is usually due to an electrical problem. Make sure the power cord is plugged in correctly. If that's not it, try plugging it into a different outlet. If that fails, you’ll want to create a support ticket with their customer service department for further assistance. You could also test the outlet you were using with another small appliance using an electrical outlet tester.
Related: Air Fryer Won't Turn On When Plugged In? 7 Easy Fixes to Try
I Can't Get the Lid Off

First, don’t panic; it’s designed for safety. It just means there's still pressure inside. Never try to force it open. It’s a pressure cooker after all, and forcing it could lead to hot food splattering, causing burns. Why Is My Instant Pot taking so long to come to pressure and for the pressure to release and the lid to unlock?
It's designed to be extra safe. If you manually release the pressure, be patient. Allow adequate time for it to release. Typically, after 10-15 minutes, the pin will drop, and you should be able to open the lid. Make sure enough steam has been released.
Try not to use the quick release if at all possible, especially when cooking recipes such as soups that tend to sputter.
Help! My Instant Pot Smells
The silicone sealing ring tends to absorb strong odors. The most frequent complaint is that it ends up smelling like garlic. Consider getting two sealing rings, one for savory dishes, and one for sweets.
If the smell persists, try washing the sealing ring in the dishwasher. You could also try soaking it in warm water and baking soda.
Also see: How To Get Smell Out Of Instant Pot Ring - 5 Easy Hacks
Why Is the Timer Not Counting Down?
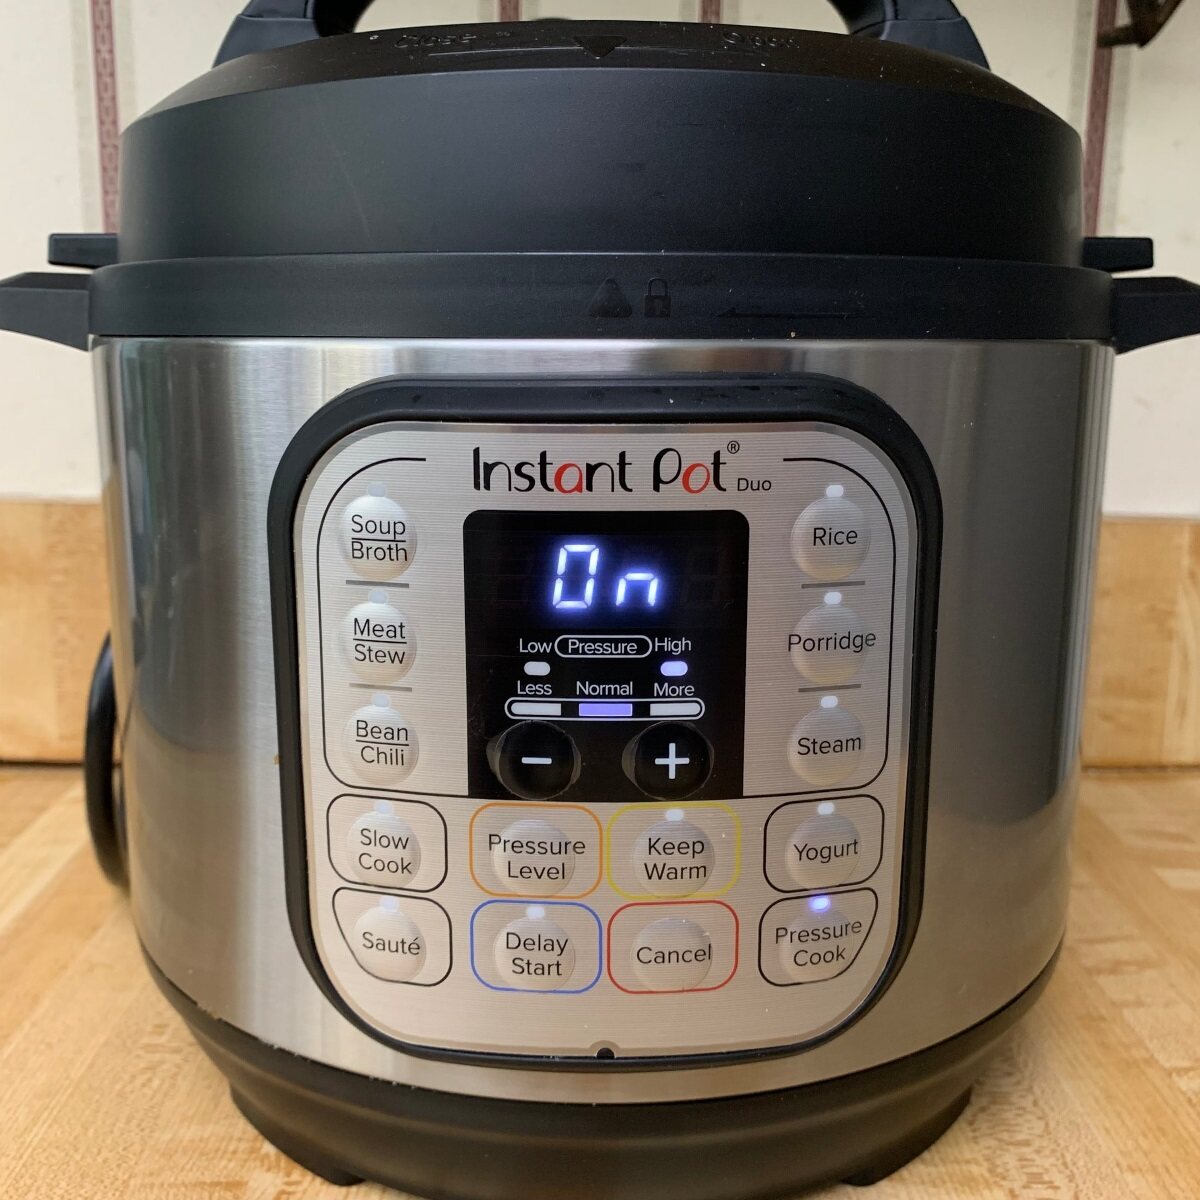
Remember the preheating cycle we talked about? That's why. The cooking timer starts once your Instant Pot has reached pressure, not a second before. The countdown won't start until those magical words—"On" or "Pressure Cook"—grace the display. That's when you know the cooking party has truly begun.
Embrace this time by prepping your sides, gathering serving dishes, or just basking in the anticipation of the delicious meal to come. If using your 8-quart Duo, be mindful of this as natural pressure release can sometimes take 30 minutes or longer depending on what you are cooking.
You also don’t want to leave food on the “Keep Warm” function for too long. This could dry out your dish. Why Is My Instant Pot taking so long to come to pressure in the first place when using my 8-quart?
It’s because there is simply a bigger area to heat to bring up to pressure. An 8-quart Instant Pot has more space to heat, impacting cooking duration. Keep this in mind if switching between Instant Pot sizes, especially if downscaling a recipe.
Also read: How To Reheat Soup In Instant Pot Quickly in 3 Easy Steps
Decoding the Secrets: Why is my Instant Pot Taking so Long to Come to Pressure

We’ve journeyed through various potential roadblocks. Now, let’s demystify a few other things to consider:
The Type and Quantity of Your Ingredients
This one's all about physics. Different foods conduct heat at different speeds, which impacts pressure build-up. A pot brimming with a massive roast or dense root vegetables needs more time to heat compared to a smaller batch of diced veggies.
Consider this – a whole chicken or a large batch of dried beans will generally take longer to heat than a pot of soup. Experiment. Over time, you'll develop an intuition about which foods require more or less time to come to pressure.
Is it a Power Struggle?
Your Instant Pot might not be to blame; sometimes it is the electrical outlet. Make sure your Instant Pot is plugged into a dedicated outlet that's in tip-top shape. Overloaded circuits or faulty wiring could be the secret culprits behind the delays. Don’t rule this out as this one is easy to remedy.
Taking Care of Your Pressure Cooking Hero
Keeping your Instant Pot clean isn’t just about hygiene; it directly affects its efficiency and lifespan. Imagine trying to cook a gourmet meal with rusty pots and pans.
It wouldn't turn out as tasty, would it? Cleaning your Instant Pot properly is a small act of love and appreciation for the countless delicious meals it churns out. So, why not treat it with the respect it deserves?
Instant Pot Cleaning 101
- Wash the Removable Parts: Most Instant Pot parts are dishwasher-friendly. Embrace the ease. Just pop the lid (without the sealing ring.), the inner pot, the steam rack, and the condensation collector right into the dishwasher for a hands-free cleaning session.
- Tackle That Sealing Ring: After each use, hand-wash the silicone sealing ring with soapy water. Pay extra attention to the nooks and crannies where food particles love to hide. Give it a sniff – if lingering odors persist, sprinkle on a dash of baking soda or try soaking it in a vinegar solution to neutralize those stubborn smells. This will make you much happier.
- Show That Inner Pot Some Love: Stainless steel, while resilient, needs some TLC. Those stubborn, baked-on bits? Soak them with some warm, soapy water. A gentle scrub with Barkeeper’s Friend and a non-abrasive sponge can work wonders in tackling those without damaging the pot's surface.
If any components become worn out or damaged (especially that workhorse, the sealing ring), don't hesitate to replace them. The Instant Pot company website is the best source, or you can generally find what you need online at retailers like ebay.com. A small investment in replacement parts keeps your culinary companion running smoothly, and who doesn’t love a well-maintained kitchen appliance?
Check out these Instant Pot recipes for delicious meals: All Instant Pot Recipes
FAQs
Check that your cooking cycle has at least half an hour to build enough steam pressure. Make sure the instant pot lid is properly sealed to maintain pressure.
Ensure the instant pot lid is correctly sealed and that there's enough thin liquid for building pressure during the cooking cycle.
Factors such as the amount of food and liquid inside can affect how long it takes to release pressure after cooking.
Yes, recipes with thicker liquids or larger quantities of ingredients may require more time to come to high pressure compared to those with thin liquids and smaller portions.
If your float valve isn't rising, it indicates that your Instant Pot is not reaching the proper pressure for cooking. This is often caused by issues like a dirty or improperly sealed sealing ring, a blocked vent, or insufficient liquid in the pot.
Make sure the sealing ring is clean and properly installed, the vent is clear, and there is enough liquid in the pot. For specific troubleshooting steps, consult your Instant Pot manual.
Conclusion
So there you have it, your ultimate guide on why your Instant Pot might take so long to come to pressure. You’ve mastered those quick fixes, explored deeper reasons, and learned the power of prevention.
Armed with all this, go ahead, get your Instant Pot out, and try those adventurous Instant Pot recipes. You're in total control, and the results – worth every minute of the wait, trust me!








Leave a Reply