Sweet and tangy, this Instant Pot raspberry lemonade cheesecake is inspired by the old-fashioned summer drink and is perfect for a special occasion or to enjoy with the family on the weekend. Made with fresh raspberries and citrus, this cheesecake is a fabulous summer dessert.
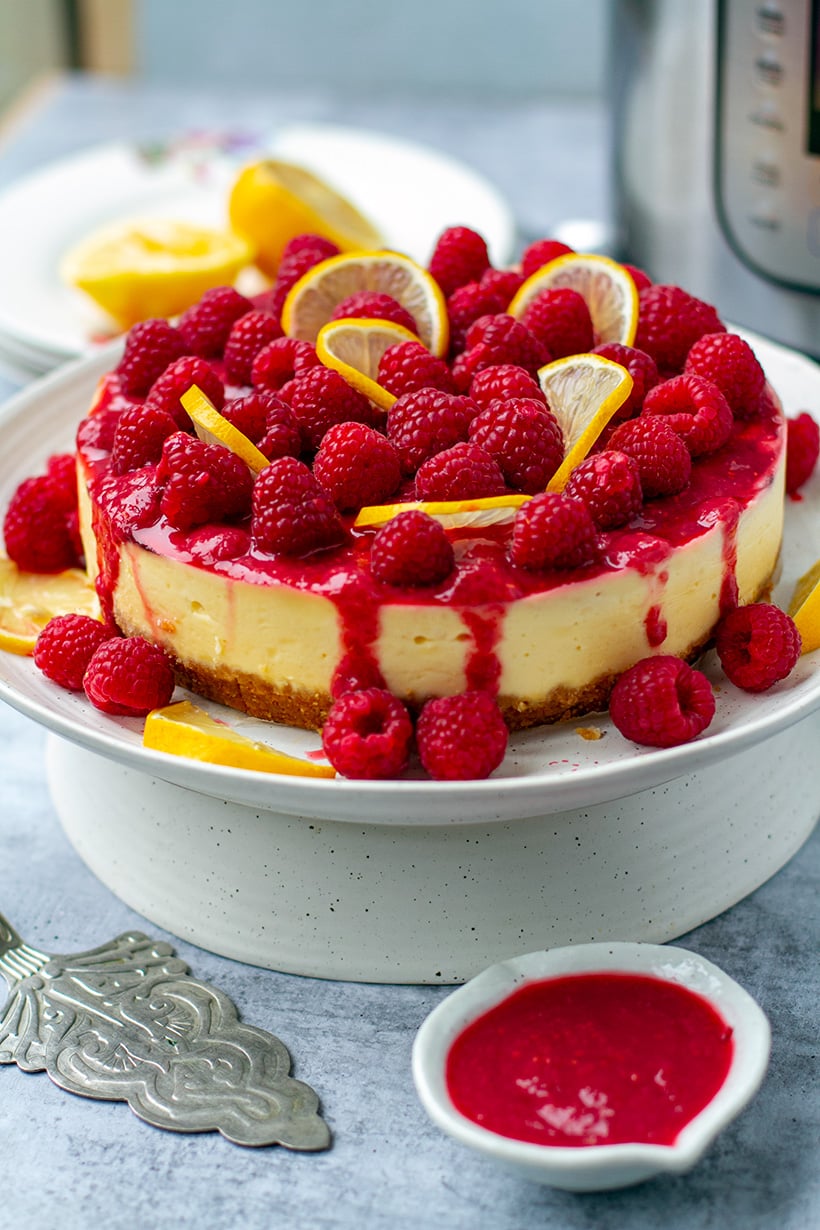
This Instant Pot raspberry lemonade cheesecake is inspired by that wonderful freshly-squeezed summer drink that's sweet and tart with vibrant pink color. A hint of lemon in the cream cheese filling is complemented by fresh raspberry puree, giving this pressure cooker cheesecake a taste of childhood summers.
So, what does raspberry lemonade taste like?
You might have tried the old-fashioned, freshly squeezed lemonade with real raspberries or perhaps your acquaintance with raspberry lemonade flavor comes in a form of a fruit cordial drink. In either case, it is a wonderful summer combination of tart lemons and sweet berries that has inspired this Instant Pot cheesecake recipe.
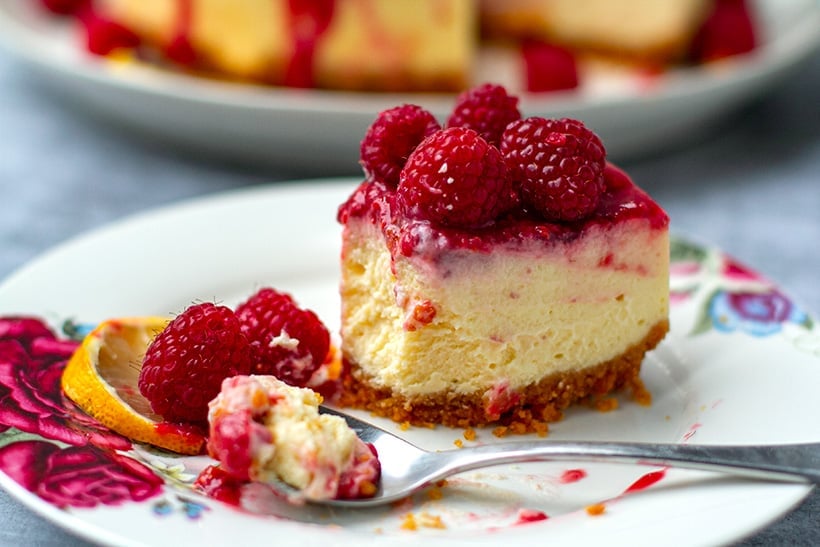
The cheesecake filling is creamy and has just the right amount of lemon flavor without being too tart; some of the raspberry puree is cooked into the cheesecake and the rest is smothered over the top, dripping delicious pink goodness over the sides. Fresh raspberries garnish the cake and make it look gorgeous and colorful.
Ingredients For Raspberry Cheesecake
Before you begin, here is a snapshot of the ingredients you need to make this raspberry lemon cheesecake.
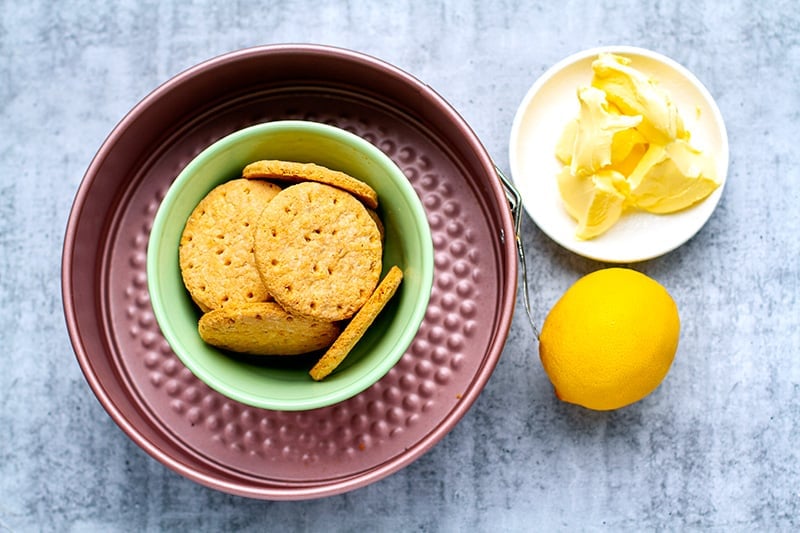
- Crust: graham crackers or other biscuits, sugar (if you want to use any) and melted butter go in the crust – classic combo, really! A little lemon zest is added for that special citrus hint.
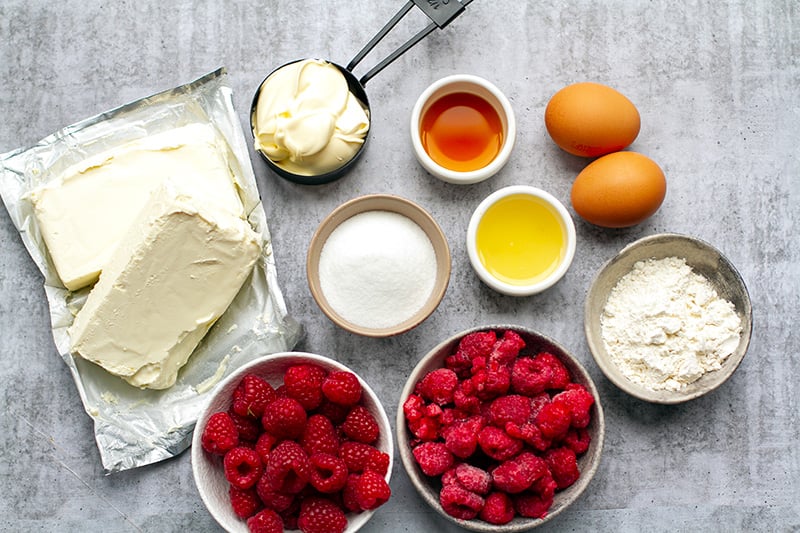
- Cheesecake Filling: cream cheese, eggs, flour, cream, lemon juice and vanilla make up the main cheesy filling with some fresh raspberry puree swirled into the top.
- Topping: frozen raspberry puree and fresh berries decorate the top with a few lemon slices for visual effect.
You will find the recipe for this lentil stew just below or you can jump to detailed step-by-step photo instructions under the recipe card. These are especially handy if you’re an Instant Pot beginner.
You might like more Instant Pot cheesecake recipes:
- Instant Pot Strawberry Vanilla Cheesecake (Step-By-Step Recipe)
- Instant Pot Pumpkin Pecan Cheesecake (With Step-By-Step Photos)
- Instant Pot Peach Cheesecake (Light & Healthy)
- Instant Pot Eggnog Cheesecake With Gingersnap Crust
- 35 Instant Pot Desserts That Are Totally Drool-Worthy

Rate This Recipe
Instant Pot Raspberry Lemonade Cheesecake
Ingredients
For the crust
- 6 oz. graham crackers 175-180 g or 1.25-1.5 cups of crumbs or other biscuits, see notes
- 6 oz. butter 60 g or 4 tablespoons, softened
- Zest of ½ lemon
- 2 tablespoons sugar brown or white, if the crackers used aren't sweetened
For the cream cheese filling
- 16 oz. cream cheese about 500 g or 2 packages, at room temperature
- ½ cup white sugar
- 2 eggs large, at room temperature
- ½ cup heavy cream double cream
- 3 tablespoons all-purpose flour
- 2 tablespoons lemon juice
- 1 tablespoon vanilla essence
For the topping
- 1 cup raspberries frozen
- 1 tablespoon water
- 1 tablespoon white sugar
- 1 cup fresh raspberries
- A few thin lemon slices
- You will also need: foil and a springform cake pan
Instructions
Make the cheesecake crust
- Butter a 7-7.5” springform cake pan (check that it fits inside the pot), bottom and sides and set aside. You can line the bottom with parchment paper (cut out a circle), which will make it easier to detach the springform tin bottom once it is cooked. This is optional as you can serve the finished cheesecake on the metal piece of the cake pan without removing it.
- If using graham crackers, process them into crumbs using a food processor or by using a rolling pin and a Ziploc bag. The flat side of a meat tenderizer also works well. You can also use store-bought crumbs.
- Combine graham cracker crumbs, softened or melted butter, lemon zest and sugar (if using) in a mixing bowl. Stir with a fork or your hands to form wet crumbs. You can also combine the crumb mixture in a food processor.
- Transfer the crumb mixture to the bottom of the springform pan. Use a flat-bottom glass or your fingers to press the crust onto the bottom, spreading evenly to the sides. Place the pan with the crust in the freezer while you make the filling.
- Make the cream filling
- In a large mixing bowl, beat cream cheese with a hand mixer for 30 seconds. Add sugar (gradually) and mix well.
- Add eggs (one at a time) and whisk briefly just until combined. Do not overmix.
- Add flour and cream to the filling and mix just until combined. Add lemon juice and vanilla and stir in with a spatula. Set aside.
Prepare the raspberry coulis
- Place frozen raspberries in a microwave-safe container together with a tablespoon of water and 1 tablespoon of sugar. Defrost/heat on HIGH for 2 minutes, then transfer to a blender/food processor or use an immersion stick blender to puree the mixture.
Assemble the cheesecake
- Remove the cake pan with the crust from the freezer. Pour the cheesecake filling over the prepared crust and spread the top evenly. Drizzle a few tablespoons of the raspberry puree over the top and use a fork, knife or bamboo stick to swirl it into the cream filling (see pics). Reserve the rest for later.
- Cover the cake tin tightly with foil, this will catch any condensation drops.
- Set the trivet inside the Instant Pot and add 1 cup of boiling water to the bottom. You can also use cold water but adding hot water allows the Instant Pot to come to pressure quicker building up less condensation in the process.
Pressure cook the cheesecake in the Instant Pot
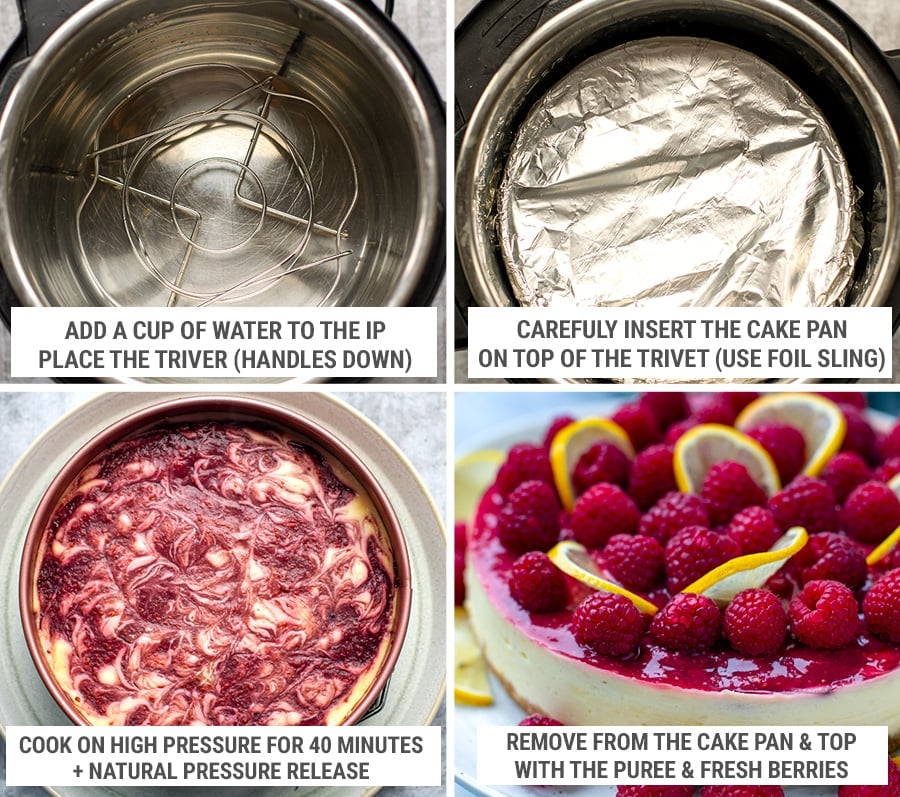
- Place the pan carefully on the trivet in your Instant Pot. You can use a foil sling to do this (makes it easier to get it out too). Close the lid and set the valve to “Sealing” position (on Classic Duo).
- Secure and lock the lid; make sure the pressure handle is pointing to Sealing on Duo Classic. Select Manual/Pressure Cook and adjust the timer to 40 minutes on HIGH pressure. After a few beeps/seconds, the ON sign will come on indicating the pot is heating up and the pressure is building; pressurizing will take about 10-12 minutes and then the 40-minute timer will begin.
- Once the timer is up, do not release pressure but let it release naturally. When the valve is dropped, carefully open the lid away from your face and let any remaining steam escape. Using a towel or the foil sling inside, remove the cheesecake pan from the pot. Remove the foil. It might feel wobbly at this stage but it will set in the fridge.
- Let the cheesecake cool completely, cover and place in the fridge to chill for at least 2-3 hours, to overnight.
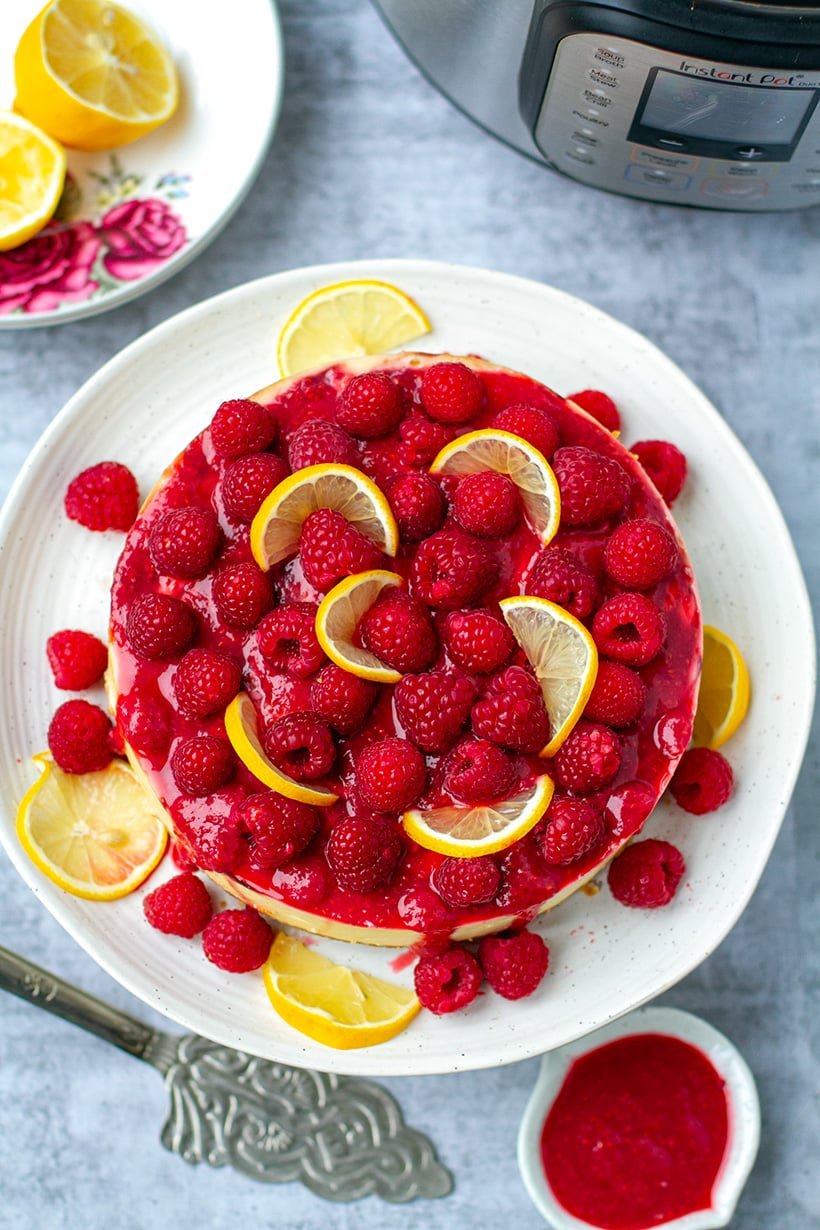
- Top cheesecake with the remaining raspberry puree, fresh raspberries and a few slices of lemon (for presentation). You can also dust it with some icing sugar.
- To cut perfect slices, clean the knife after each cut (you can keep a glass of warm water for that).
Notes
Nutrition
How To Raspberry Lemonade Cheesecake
Here are step-by-step instructions for making vanilla cheesecake in the Instant Pot. We made it in the Instant Pot Duo Classic & Nova 6-quart pressure cooker.
Make the cheesecake crust
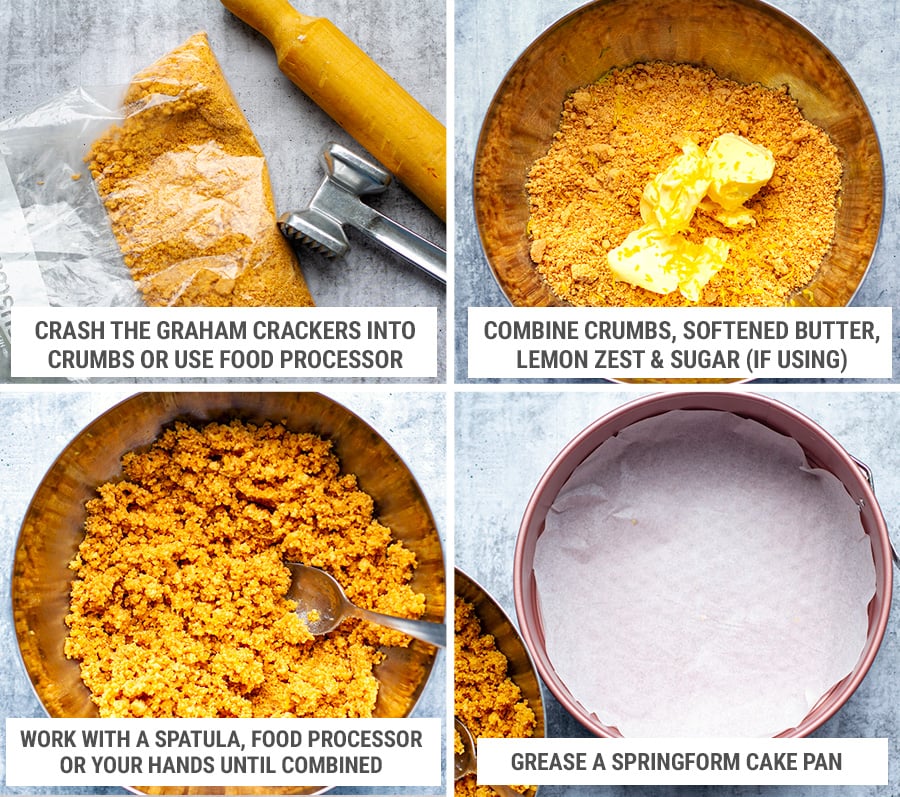
- If using graham crackers, process them into crumbs using a food processor or by using a rolling pin and a Ziploc bag. The flat side of a meat tenderizer also works well. You can also use store-bought crumbs.
- Combine graham cracker crumbs, softened or melted butter, lemon zest and sugar (if using) in a mixing bowl. Stir with a fork or your hands to form wet crumbs. You can also combine the crumb mixture in a food processor.
- Butter a 7-7.5” springform cake pan (check that it fits inside the pot), bottom and sides and set aside. You can line the bottom with parchment paper (cut out a circle), which will make it easier to detach the springform tin bottom once it is cooked. This is optional as you can serve the finished cheesecake on the metal piece of the cake pan without removing it.
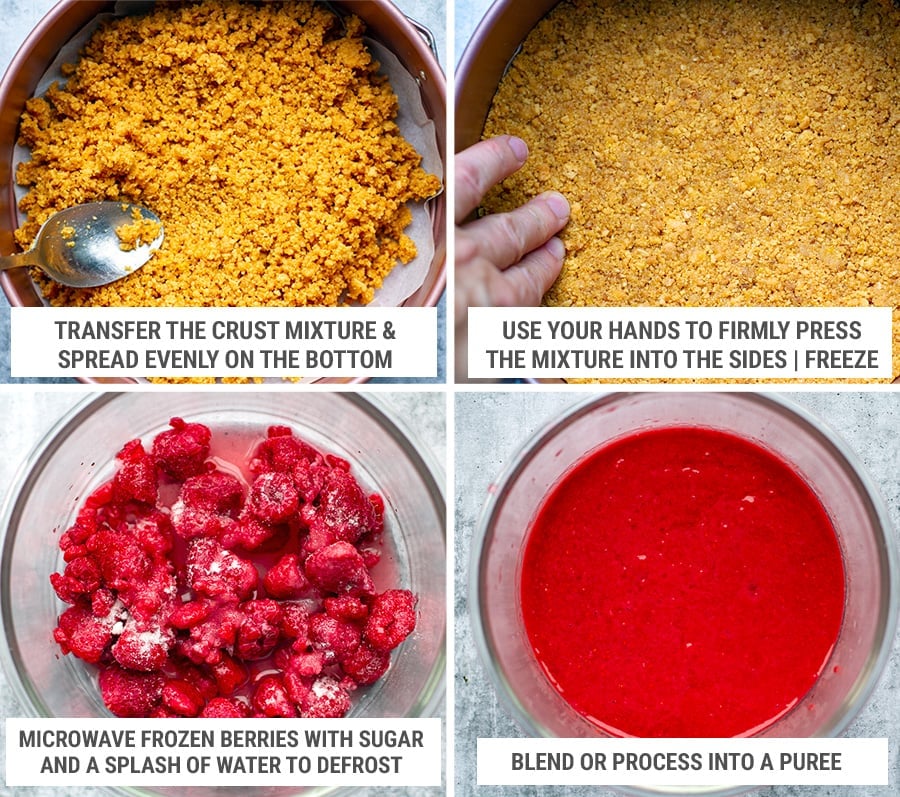
- Transfer the crumb mixture to the bottom of the springform pan. Use a flat-bottom glass or your fingers to press the crust onto the bottom, spreading evenly to the sides. Place the pan with the crust in the freezer while you make the filling.
Prepare the raspberry coulis
- Place frozen raspberries in a microwave-safe container together with a tablespoon of water and 1 tablespoon of sugar. Defrost/heat on HIGH for 2 minutes, then transfer to a blender/food processor or use an immersion stick blender to puree the mixture.
Make the cream filling
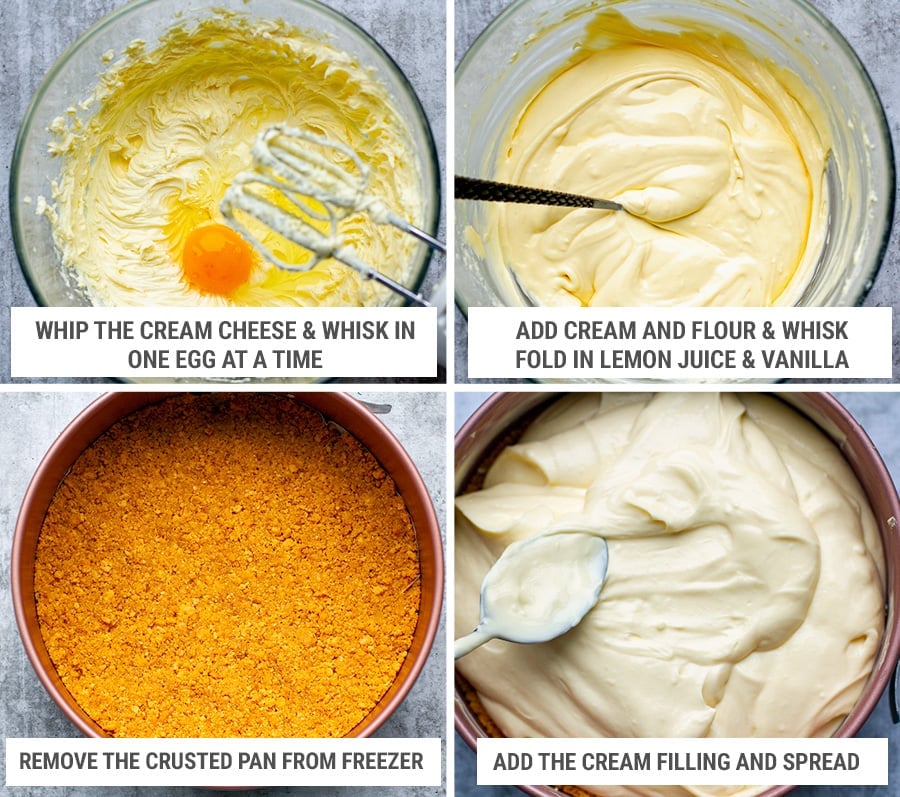
- In a large mixing bowl, beat cream cheese with a hand mixer for 30 seconds. Add sugar (gradually) and mix well.
- Add eggs (one at a time) and whisk briefly just until combined. Do not overmix.
- Add flour and cream to the filling and mix just until combined. Add lemon juice and vanilla and stir in with a spatula. Remove the cake pan with the crust from the freezer. Pour the cheesecake filling over the prepared crust and spread the top evenly.
Assemble the cheesecake
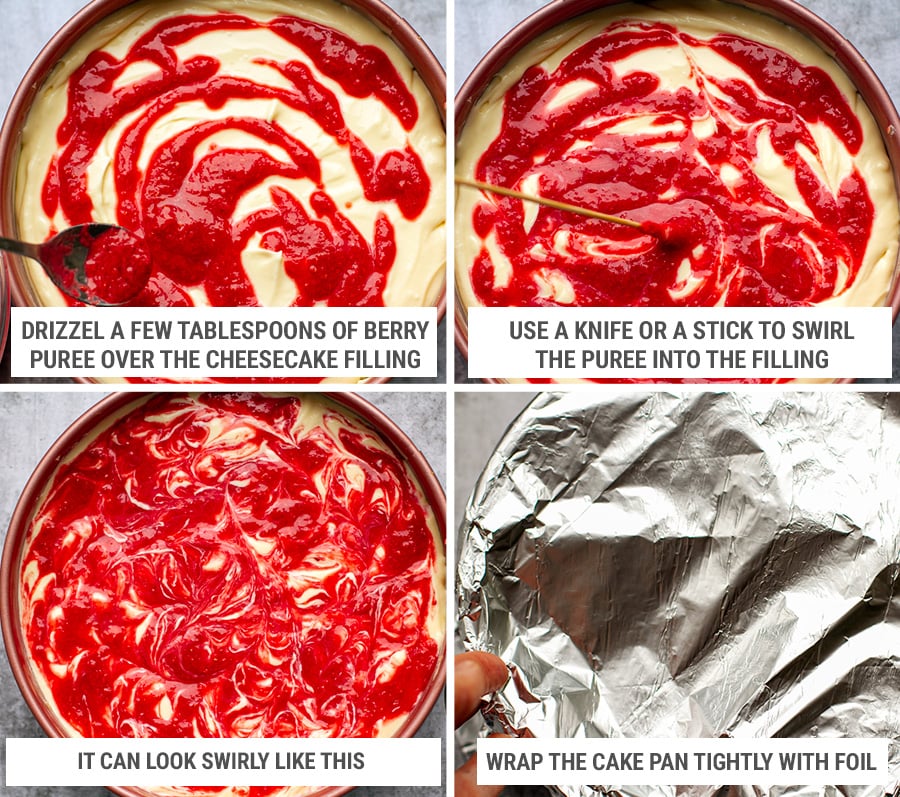
- Drizzle a few tablespoons of the raspberry puree over the top and use a fork, knife or bamboo stick to swirl it into the cream filling (see pics). Reserve the rest for later.
- Cover the cake tin tightly with foil, this will catch any condensation drops.
Pressure cook the cheesecake in the Instant Pot
- Set the trivet inside the Instant Pot and add 1 cup of boiling water to the bottom. You can also use cold water but adding hot water allows the Instant Pot to come to pressure quicker building up less condensation in the process.
- Place the pan carefully on the trivet in your Instant Pot. You can use a foil sling to do this (makes it easier to get it out too). Close the lid and set the valve to “Sealing” position (on Classic Duo).
- Secure and lock the lid; make sure the pressure handle is pointing to Sealing on Duo Classic. Select Manual/Pressure Cook and adjust the timer to 40 minutes on HIGH pressure. After a few beeps/seconds, the ON sign will come on indicating the pot is heating up and the pressure is building; pressurizing will take about 10-12 minutes and then the 40-minute timer will begin.
- Once the timer is up, do not release pressure but let it release naturally. When the valve is dropped, carefully open the lid away from your face and let any remaining steam escape. Using a towel or the foil sling inside, remove the cheesecake pan from the pot. Remove the foil. It might feel wobbly at this stage but it will set in the fridge.
Finish the cheesecake
- Let the cheesecake cool completely, cover and place in the fridge to chill for at least 2-3 hours, to overnight.
- Top cheesecake with the remaining raspberry puree, fresh raspberries and a few slices of lemon (for presentation). You can also dust it with some icing sugar.
- To cut perfect slices, clean the knife after each cut (you can keep a glass of warm water for that).




Ralph Jensen
I made this recipe today, but haven't eaten it at this point. The recipe calls for 6 8oz. packets of cream cheese, which I questioned in my mind, as I couldn't see how I was going to get that much into the springform pan. Well, I was correct. It made way too much cream cheese filling. I wasn't going to let it go to waste, so we filled another oven proof bowl and put it in the oven. Could you check on the recipe and let me know what is the correct proportions. It seems to me that this recipe was for a much larger cheese cake.
Ann Fabrizio
2 x 8 oz packets of cream cheese (about 500 g) at room temperature. glad you didn't let it go to waste.
Anonymous
You need to change the ingredients scaling to x1. You used the cream cheese quantity at x3 scale so actually made enough for 3
Karen O'Connell
Can I make this in a 6" pan and if so, do I cook for 40 minutes? Thanks
Instant Pot Eats
Yes, and yes the same cooking time. The cheesecake will be a bit taller.