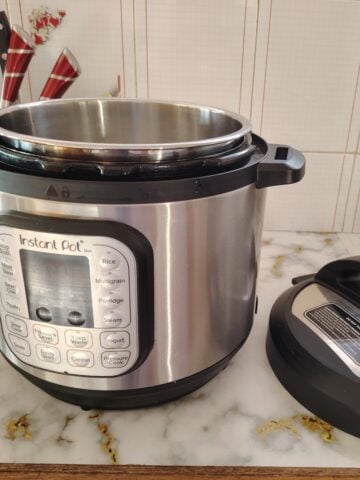
I’ve had my Instant Pot for years, and it’s become part of the family to be honest. Lately, I’ve been focusing on how to sterilize my Instant Pot effectively, especially for yogurt and canning. This goes beyond a quick rinse; it’s a deep clean. I did some research, and I’m sharing my findings on how to sterilize Instant Pot.
Many think a simple wash is sufficient. However, sterilizing kills almost all bacteria, which is so important when it comes to eating healthy without the risk of contaminated food. Read on below for more!
Jump to:
Sterilizing Your Instant Pot
Sterilizing your Instant Pot is about food safety and avoiding contamination. Whether canning, making yogurt, or being cautious, you need to understand that proper sterilization is important.
Why Sterilize?
Consider everything you cook in your Instant Pot: stews, desserts, even baby food. Leftover food and bacteria can stay behind, impacting taste and safety.
Sterilizing removes this problem. This is especially important for yogurt starter cultures, as bacteria can interfere with fermentation. Using the proper water level helps to maintain a clean and sterile environment for starter cultures.
What to Sterilize?
You may think that just cleaning the inner pot is important, but other components need attention, too. The cooker lid, sealing ring, float valve, and the lid itself can be a hazard when it comes to bacteria and food residue.
Methods for Sterilizing Your Instant Pot
1. Using the Steam Function
Here's how to sterilize jars in an Instant Pot with some modified steps:
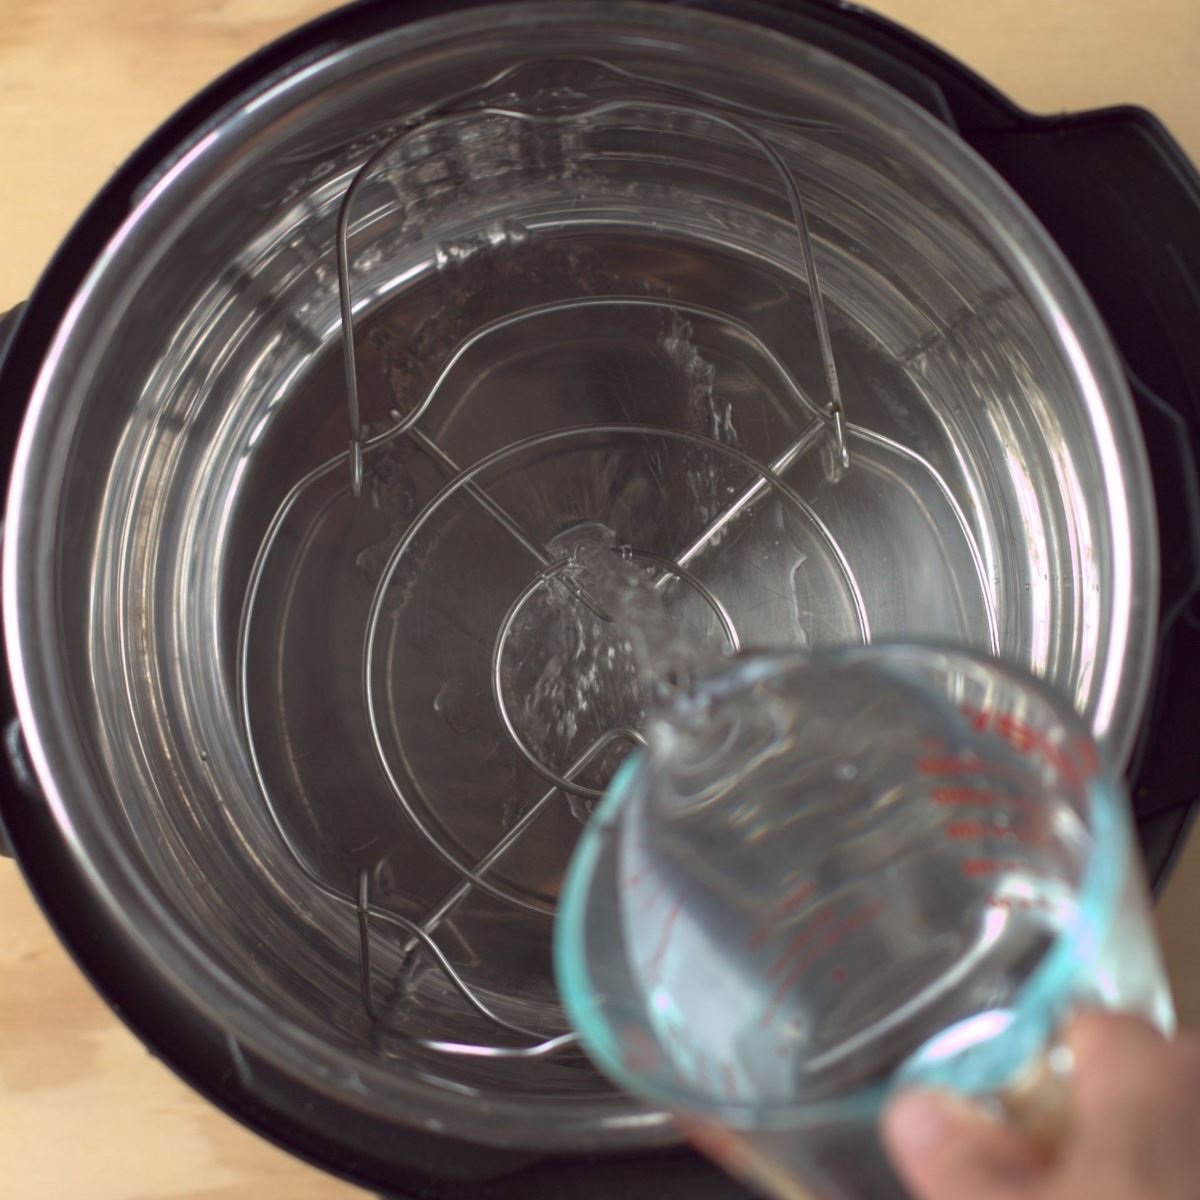
- Add 1 cup of water to the inner pot.
- Place thetrivet or steamer rack inside.
- Secure the lid and set the steam release handle to "Sealing".
- Press "Steam" and set the timer for 5 minutes.
- Let the pressure release naturally for 10 minutes to cool down the instant pot quicker, then use quick release to let out the excess steam.
- Carefully open the lid. Allow the Instant Pot to cool down completely. Never submerge the main unit in water; wipe it with a damp sponge.
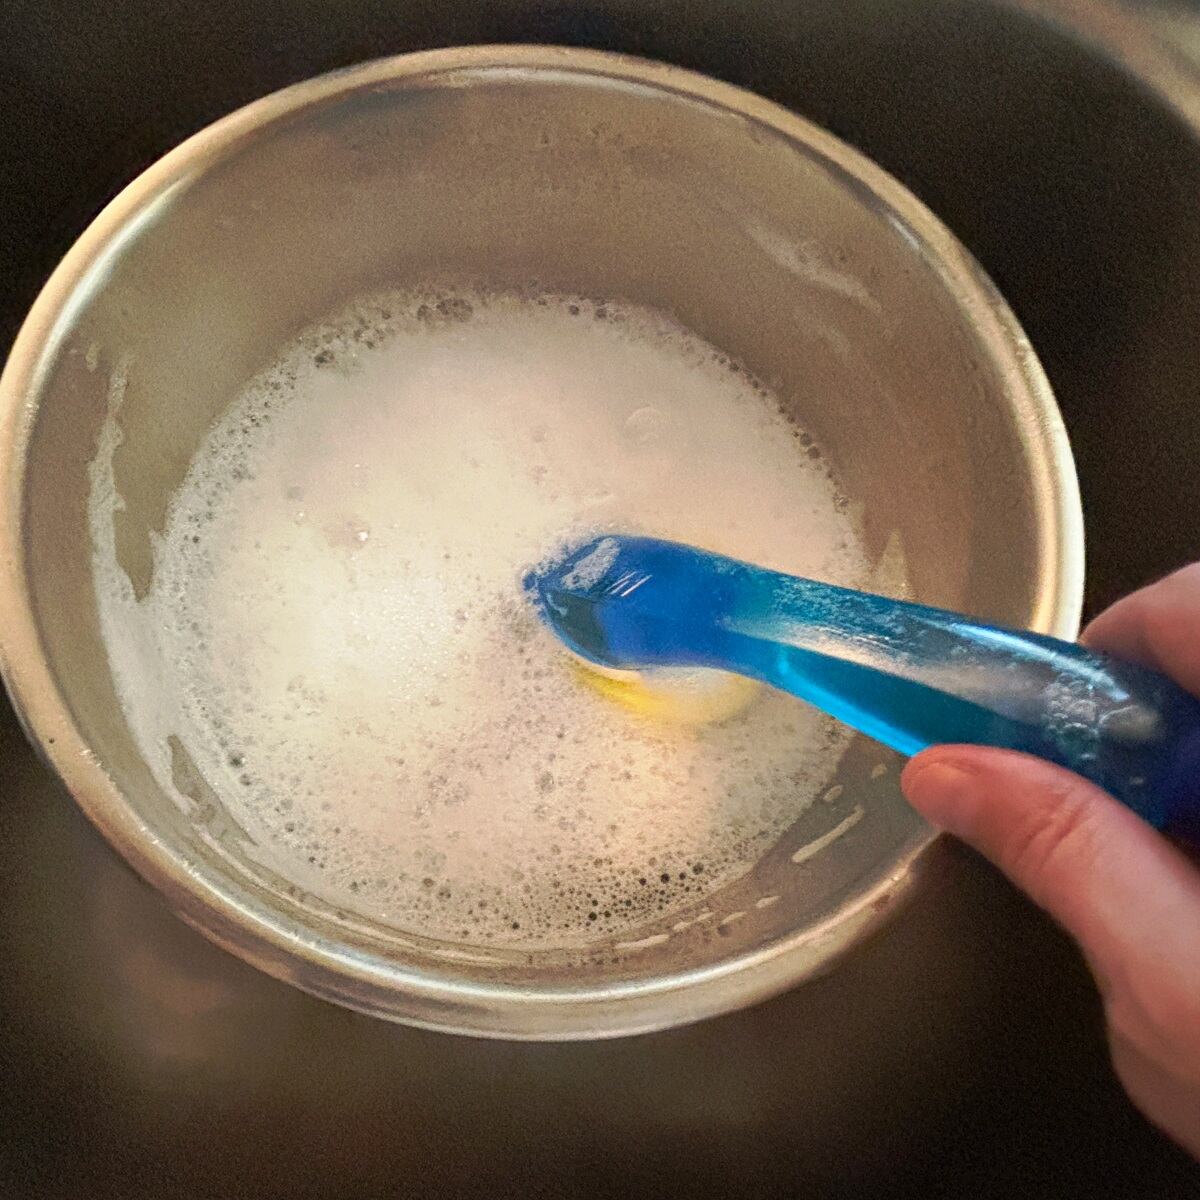
2. White Vinegar and Lemon
Sometimes, steam isn't enough. This method removes trapped food, sealing ring odors, and steam valve issues:
- Mix equal parts water and white vinegar (about 1 cup each). Add baking soda for tough stains.
- Add half a sliced lemon to the mixture.
- Follow steps 2 through 6 from the steam cleaning method. Make sure that the valve is clean and has no bits and pieces before use.
3. Dishwasher-Safe Components
Many parts, like the inner pot and steam release handle, are dishwasher safe. The stainless steel inner pot, trivet, sealing ring, and lid can usually go in the dishwasher. You should always do a quick wash before loading them to make sure there are no additional food particles.
Also see: Is Your Instant Pot Dishwasher Safe? Find Out Here!
How To Sterilize Instant Pot Accessories

Regular cleaning and sterilizing of all the Instant Pot's accessories is important. This helps keep your cooker lid and sealing rings clean for a proper seal.
Sealing Ring
Remove the silicone sealing ring between uses.
Clean the silicone sealing ring with warm soapy water and let it dry completely. You can remove odors with soap and water, white vinegar, or a lemon rind.
Lid
The lid can harbor food residue, especially after sticky dishes. Remove any odors from the lid before cleaning.
Hand-wash or lightly wash the lid in the dishwasher after rinsing. A small brush can help remove food bits. Always make sure that any sealing rings on the lid are cleaned as well.
Make sure that you properly dry the lid with a clean towel and that the release handle is in good working order.
Related: Mealthy Multipot vs Instant Pot: Which Reigns Supreme?
How to Sterilize Instant Pot for Medical Purposes
Instant Pots are not medical-grade sterilizers. True sterilization requires higher temperatures and pressures, like those achieved by laboratory autoclaves, reaching at least 132 degrees Celsius.
While Instant Pots can sterilize baby bottles and jars for canning, they don't reach the temperatures needed for medical sterilization. When canning mason jars, using a steam rack and letting them cool naturally helps ensure a secure seal.
Remember that you have to follow manufacturer instructions for pressure release to prevent damage and make sure that you are using your Instant Pot safely. Check room temperature if making homemade yogurt or canning.
Also read: How To Make Yogurt In Instant Pot Without Yogurt Button
How To Sterilize Jars In An Instant Pot
Sterilizing jars is very important for safely preserving foods like jams, pickles, and sauces. Using an Instant Pot for this task is reliable and keeps your jars cleans. Here’s a step-by-step guide on how to sterilize jars using your Instant Pot:
1. Gather Your Supplies
Before starting, make sure you have the following supplies:
- Jars with lids
- Instant Pot
- Steam rack (usually included with your Instant Pot)
- Dish soap
- Water
- White vinegar
- Silicone sealing ring (if your Instant Pot has one)
- Clean, slightly damp cloth
2. Prepare Your Instant Pot
- Clean the Instant Pot: Make sure your Instant Pot is clean and dry, especially the stainless steel inner pot and the sealing ring.
- Insert the Steam Rack: Place the steam rack inside the stainless steel inner pot. This rack will keep the jars lifted during sterilization.
- Add Water: Pour about 1-2 cups of hot water into the stainless steel cooking pot. The exact amount depends on your Instant Pot’s size and the number of jars you have.
3. Prepare the Jars
- Wash Thoroughly: Wash the jars, lids, and any removable parts (like rubber seals) with hot, soapy water. Use a dishcloth or sponge to scrub off any food particles.
- Inspect for Damage: Check the jars for cracks or chips. Damaged jars should not be used for canning as they may not seal properly.
- Optional Step - Baking Soda Scrub: For a deep clean, scrub the jars with a paste of baking soda and water using a soft cloth or steel wool. Make sure that you rinse thoroughly.
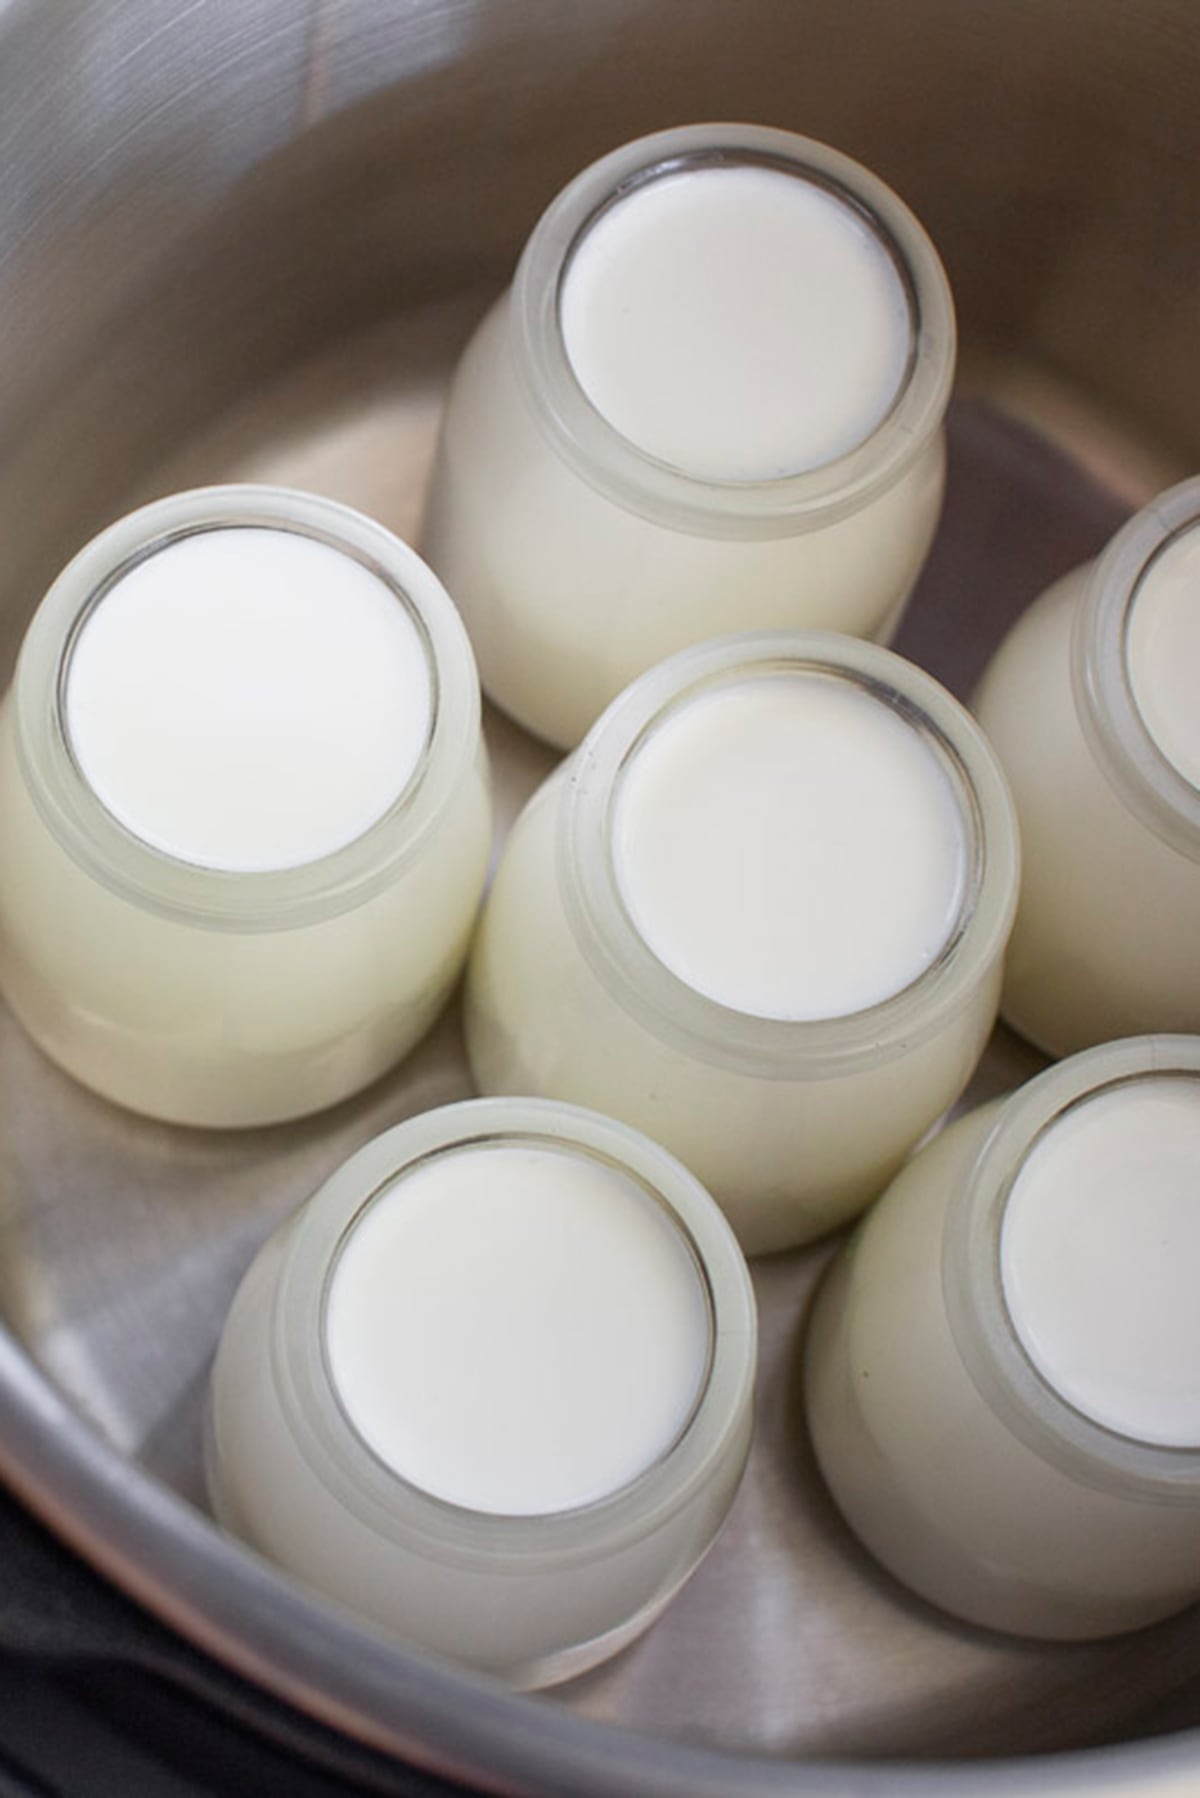
4. Load the Jars into the Instant Pot
- Place Jars on the Steam Rack: Carefully arrange the washed jars on the steam rack inside the Instant Pot. Make sure that they are stable and not touching the sides of the pot.
- Close the Lid: Secure the lid onto your Instant Pot, making sure that the steam release handle is set to the sealing position.
5. Start Sterilizing
- Set the Instant Pot: Depending on your Instant Pot model, select the "Pressure Cook" or "Manual" mode. Adjust the pressure level to high.
- Adjust Cooking Time: Set the timer for 5 minutes. This is the ideal time as it allows the steam to thoroughly sterilize the jars.
- Allow Natural Release: Once the cooking cycle completes, allow the Instant Pot to naturally release pressure for about 10 minutes. Then, carefully switch the steam release handle to the venting position to release any remaining steam.
6. Remove and Cool
- Carefully Open the Lid: Use caution when opening the Instant Pot to avoid steam burns. Lift the jars out using oven mitts or jar lifters and place them on a heatproof surface.
- Cool Down: Let the jars cool naturally to room temperature. This process helps prevent thermal shock, which could crack the jars and cause a great mess.
7. Final Steps
- Inspect and Use: Check the jars for signs of condensation inside. They should be dry completely before using them. If not, use a clean, barely damp cloth to wipe away any moisture.
- Store or Use Immediately: Once dry, fill the jars with your preserves or other foods, making sure they are properly sealed.
8. Clean Your Instant Pot
- Clean the Inner Pot: After sterilizing, wash the stainless steel inner pot and steam rack with warm, soapy water. Rinse thoroughly and air dry.
- Clean the Sealing Ring: If your Instant Pot has a silicone sealing ring, remove it and wash it separately in warm, soapy water. Rinse well and make sure it is completely dry before reassembling.
Tips for Maintenance
- Regular Cleaning: To maintain your Instant Pot's performance, clean it thoroughly after each use. Pay attention to the steam release handle, pressure valve, and heating element.
- Deep Cleaning: Periodically deep clean your Instant Pot by soaking the inner pot and accessories in a mixture of warm water and white vinegar to remove any stubborn residue.
- Storage: Store your Instant Pot with the lid off to allow air circulation, preventing any odors or mold growth that may happen.
Remember, always refer to your specific Instant Pot model’s instructions for any unique features or safety precautions you may need to use.
FAQS
While the steam rack helps lift the jars and ensures that they don’t sit directly in the water, it is technically possible to sterilize jars without it. However, using the steam rack is highly recommended to allow proper steam circulation around the jars. This method helps make sure that the jars are evenly sterilized without direct contact with the water, which could result in improper sterilization.
After sterilizing jars, it’s important to clean your Instant Pot thoroughly. First, remove the stainless steel cooking pot and wash it with warm, soapy water. Wipe down the interior, including the heating element, with a slightly damp cloth to avoid moisture buildup. Clean the anti-block shield and pressure valve, making sure that no food particles remain. Don't forget to hand wash the silicone sealing ring to prevent lingering odors.
If your Instant Pot isn’t building pressure, you can check a few things. Making sure that the sealing ring is properly inserted, and the pressure release valve is set to sealing. If there are no blockages, you can also check the anti-block shield for any debris or food particles that may be obstructing the pressure cooking process. If the issue continues, inspect the heating element to make sure it's functioning properly, as it is an important aspect when it comes to the pressure cooker’s operation.
Conclusion
Knowing how to sterilize your Instant Pot is important for a clean and safe cooking environment. This impacts your health and the taste of your food. Whether you are a beginner or experienced Instant Pot user, I hope these tips have been helpful. Happy pressure cooking!


Leave a Reply