

Pull open the high cupboard and something bumps the step stool. There’s the bread machine, wrapped in a grocery bag, its cord tucked underneath. Behind it sits the box for an appliance that promised dinner would feel like an event.
You remember the event. You also remember washing the parts.
Those gadgets entered a kitchen with more people at the table and more room for a machine devoted to one job. Your table has changed shape. Before anything goes back on the counter, it has to earn that space from the skillet you already use.

#23 The dust-coated coffee bean grinder
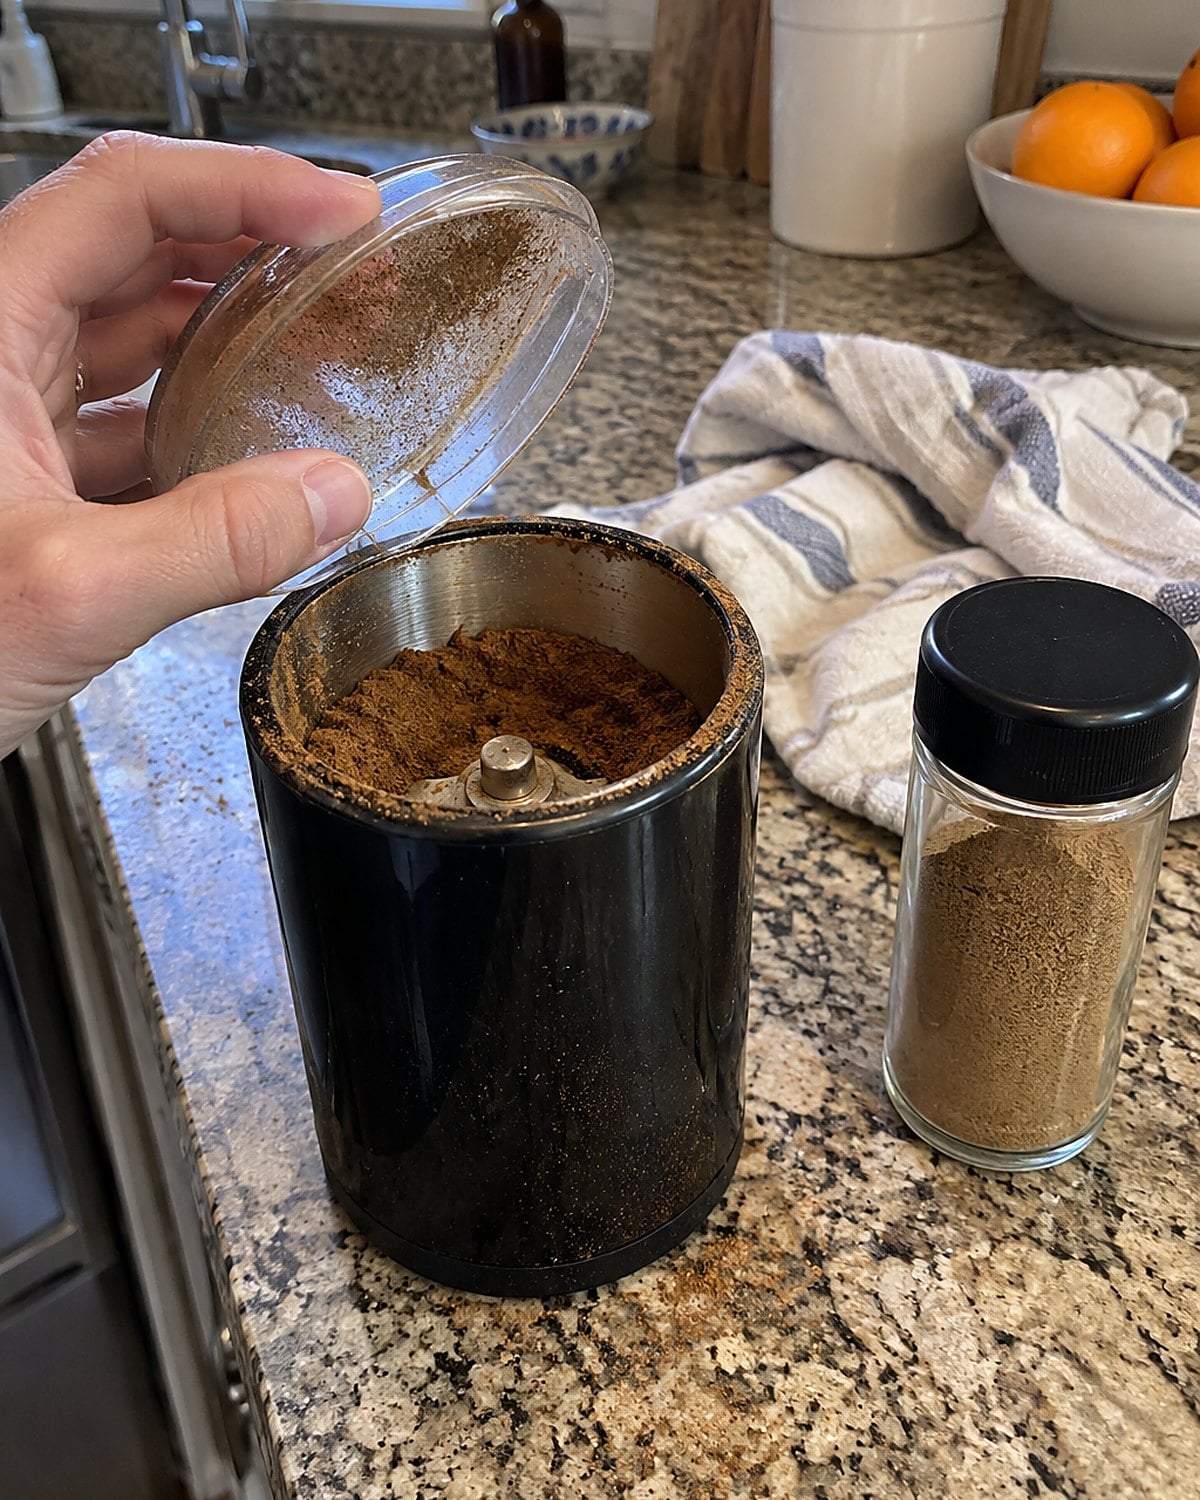
The little blade grinder smelled wonderful until coffee dust settled under its lid and across the counter. Then a larger bag of ground coffee took its place. If yours is still in the cupboard, give it a modest job: grind a spoonful of whole spices for chili.
A blade chops rather than crushing evenly. Stop the motor, shake the closed grinder, and pulse again. That moves the larger bits back toward the blade. A grinder used for coffee will leave coffee oils behind, so taste a tiny pinch before committing those spices to dinner.
Unplug it before wiping around the blade. Never pour water into the motor base. If the lid is cracked or the switch sticks, the bargain ends there. A fresh jar of ground cumin takes less room than a repair project.
#22 The bread machine in the garage
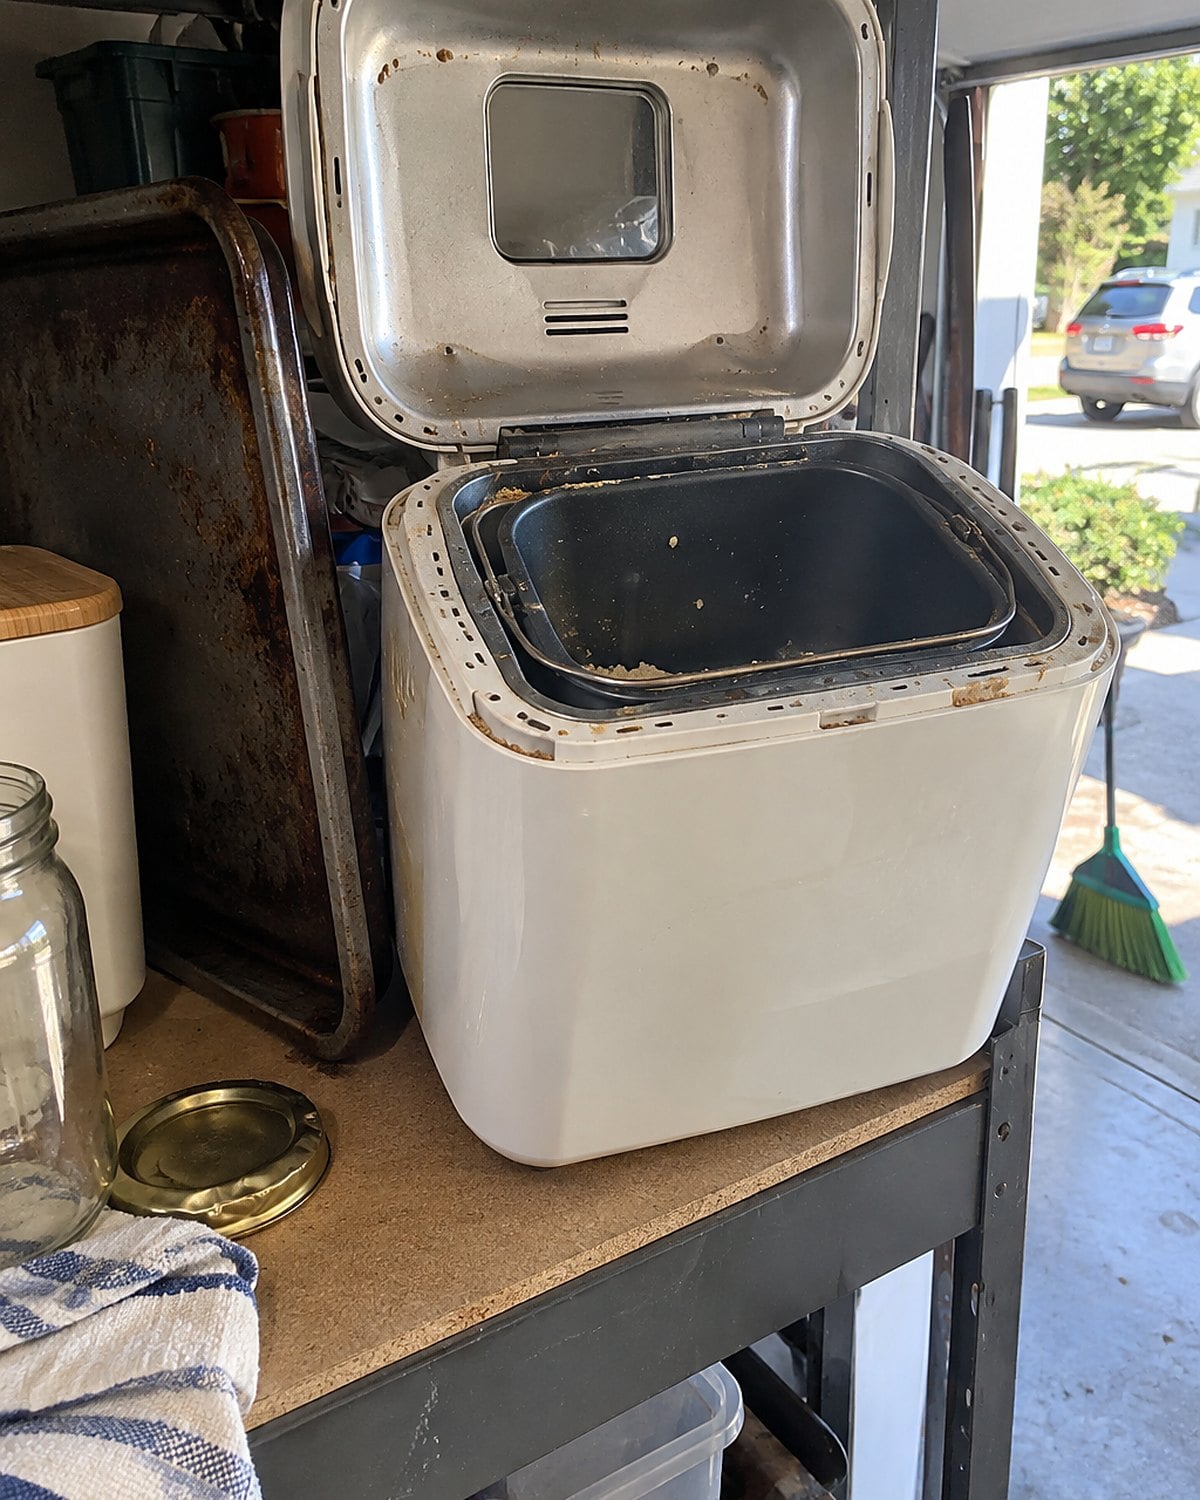
There it is: a loaf-shaped machine behind the holiday roasting pan, with the paddle rattling somewhere in the bottom. The first loaf filled the house with the smell of a bakery. The next one needed the instruction book, a clean paddle, and a place to cool. Life went back to buying bread.
If you want to give it another loaf, find the paddle before you measure flour. Then check the pan’s seal and coating. A leaking pan or badly flaking surface belongs out of food service.
Use the manual for ingredient order because machines differ, and watch the dough during the first knead. It should gather into a soft ball rather than smear around the pan or thump like a brick.
That first look saves a disappointing loaf later. Too wet? Add flour by the spoonful. Too dry? Add water the same way. Wait for the dough to absorb each addition before deciding it needs another.
Keep the machine for bread you’ll make again, not for the loaf you remember. If the garage is the only place it fits, that tells you something useful.
#21 The countertop electric egg cooker
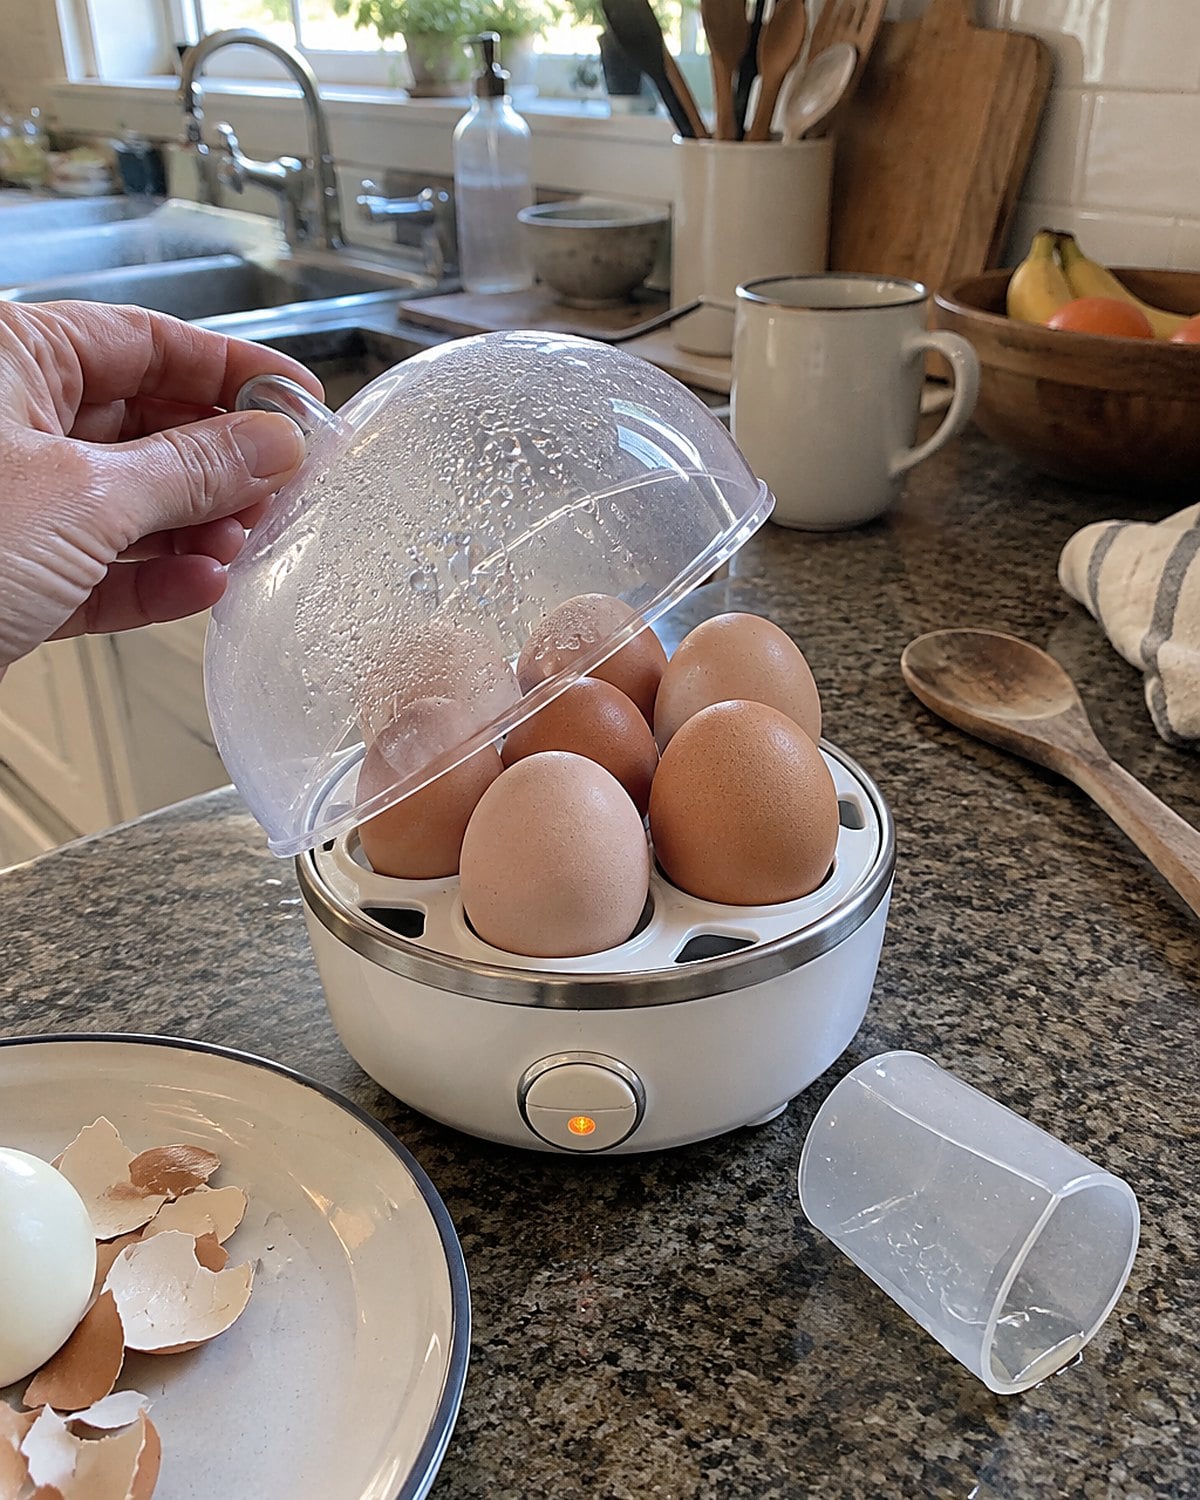
The egg cooker came with a tiny measuring cup, a piercing pin, and a promise: breakfast without watching a pot. You tried it once, misplaced the cup, and returned to the saucepan that had never asked you to find a pin.
Before plugging it in, look at the cord and heating plate. Mineral marks on the plate call for cleaning according to the manual. A cracked tray or damaged cord ends the trial. Check the U.S. Consumer Product Safety Commission recall database if you find a model number but know nothing about the machine’s history.
The little cup matters because it measures water for the cooker’s steam cycle. Different machines use different markings. Don’t borrow a cup from another model and trust its lines. Find your instructions, fill the base as directed, and keep your hands clear when you lift the hot lid.
If the cup and instructions have vanished, your saucepan is ready now. That’s a better breakfast than another hunt through the drawer with the twist ties.
#20 The electric wok on the top shelf
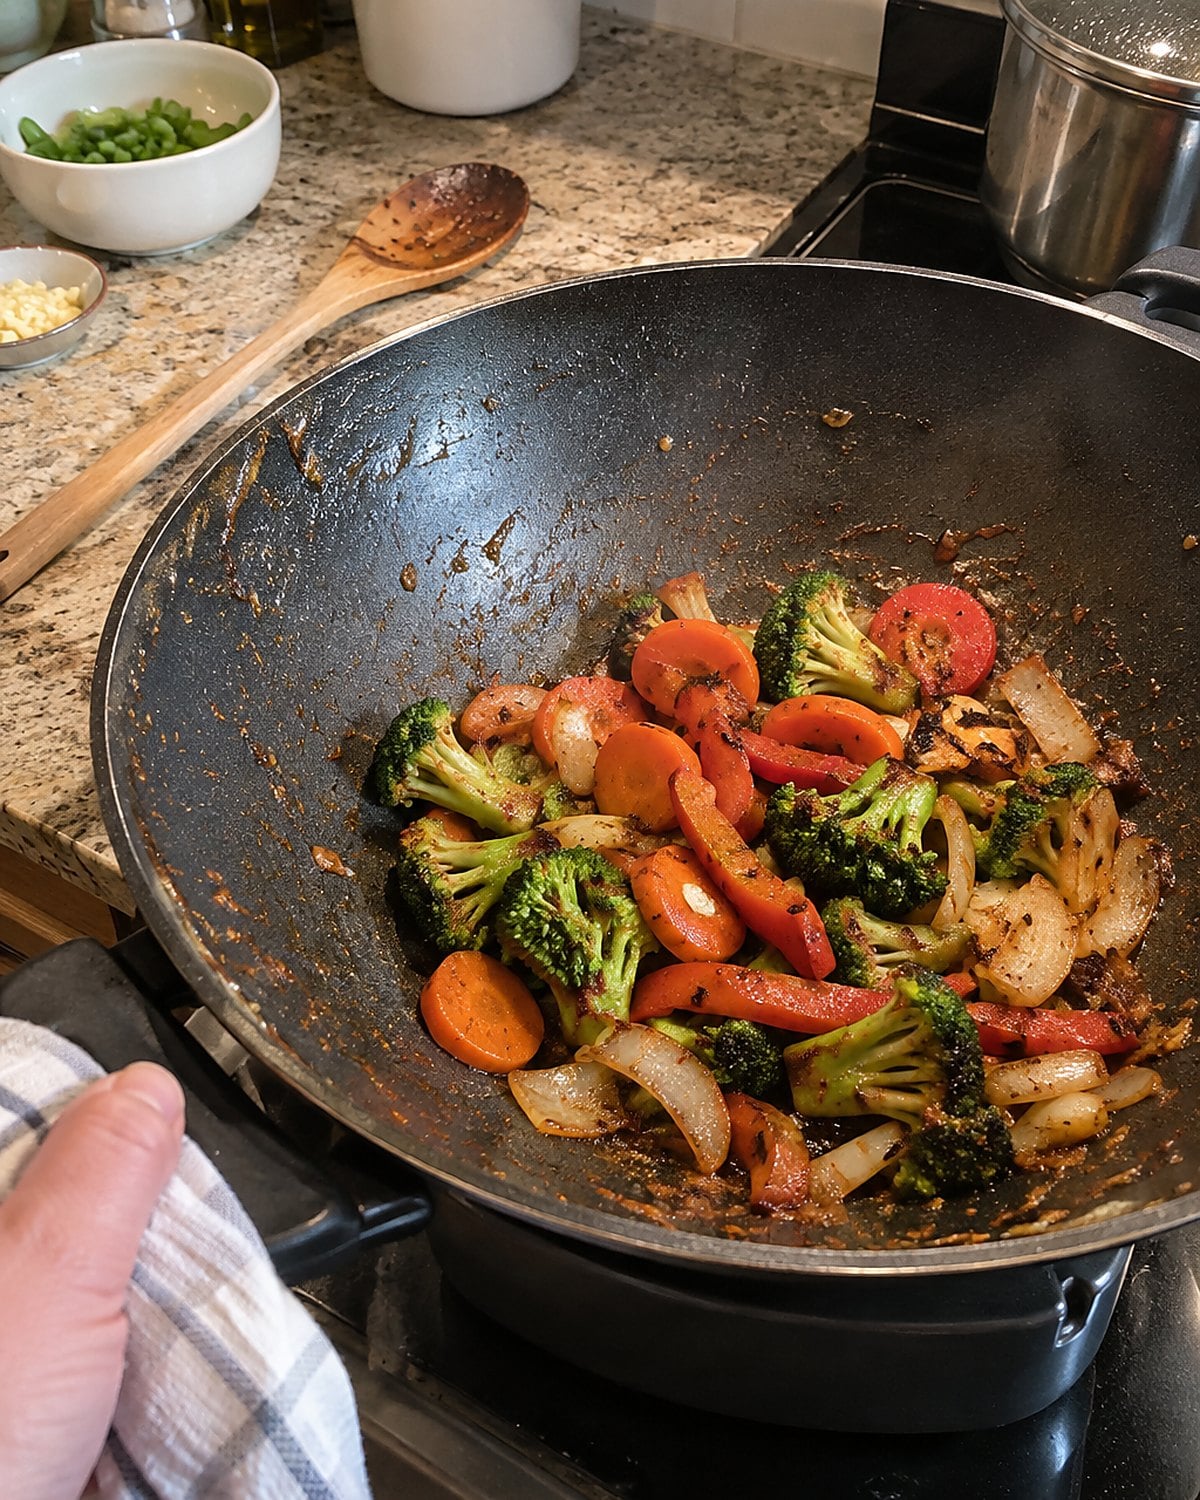
An electric wok looked like a way to bring takeout night home. In practice, that tall, curved pan took up half a shelf and needed its own outlet. Your regular skillet stayed close to the stove.
The trouble shows up when cold food goes in all at once. Stir-frying needs a hot cooking surface and room for moisture to escape. Crowd the pan with sliced chicken and vegetables, and the food steams. The curve alone won’t fix that.
Try a small batch of vegetables first. Dry them after washing, let the cooking surface heat, then add the vegetables in an even layer. Lift and turn them once they begin to brown. Cook poultry to 165°F, checking the thickest part with a food thermometer.
If the electric wok holds heat well and your stove is busy, it has a job. If it struggles to brown a handful of vegetables, the heavy skillet already answered the question.
#19 The fondue pot from dinner club

The fondue forks survived every move. The evening they came from is harder to pin down: friends around the table, a bowl of bread cubes, somebody fishing for a lost piece.
A fondue pot still makes sense for a slow meal. It makes less sense as a last-minute supper while people wait for you to grate cheese. Cheese sauce needs low heat and patient stirring. Boiling makes it grainy; a splash of liquid and steady warmth keep it loose enough to cling to bread.
Check the heat source before inviting anyone over. An old fuel burner needs its proper fuel and the instructions that came with it. If those are gone, don’t improvise with something flammable. Melt the cheese on the stove and pour it into a warmed serving bowl instead. The forks will still have their evening.
#18 The sandwich press with cheese in the hinge
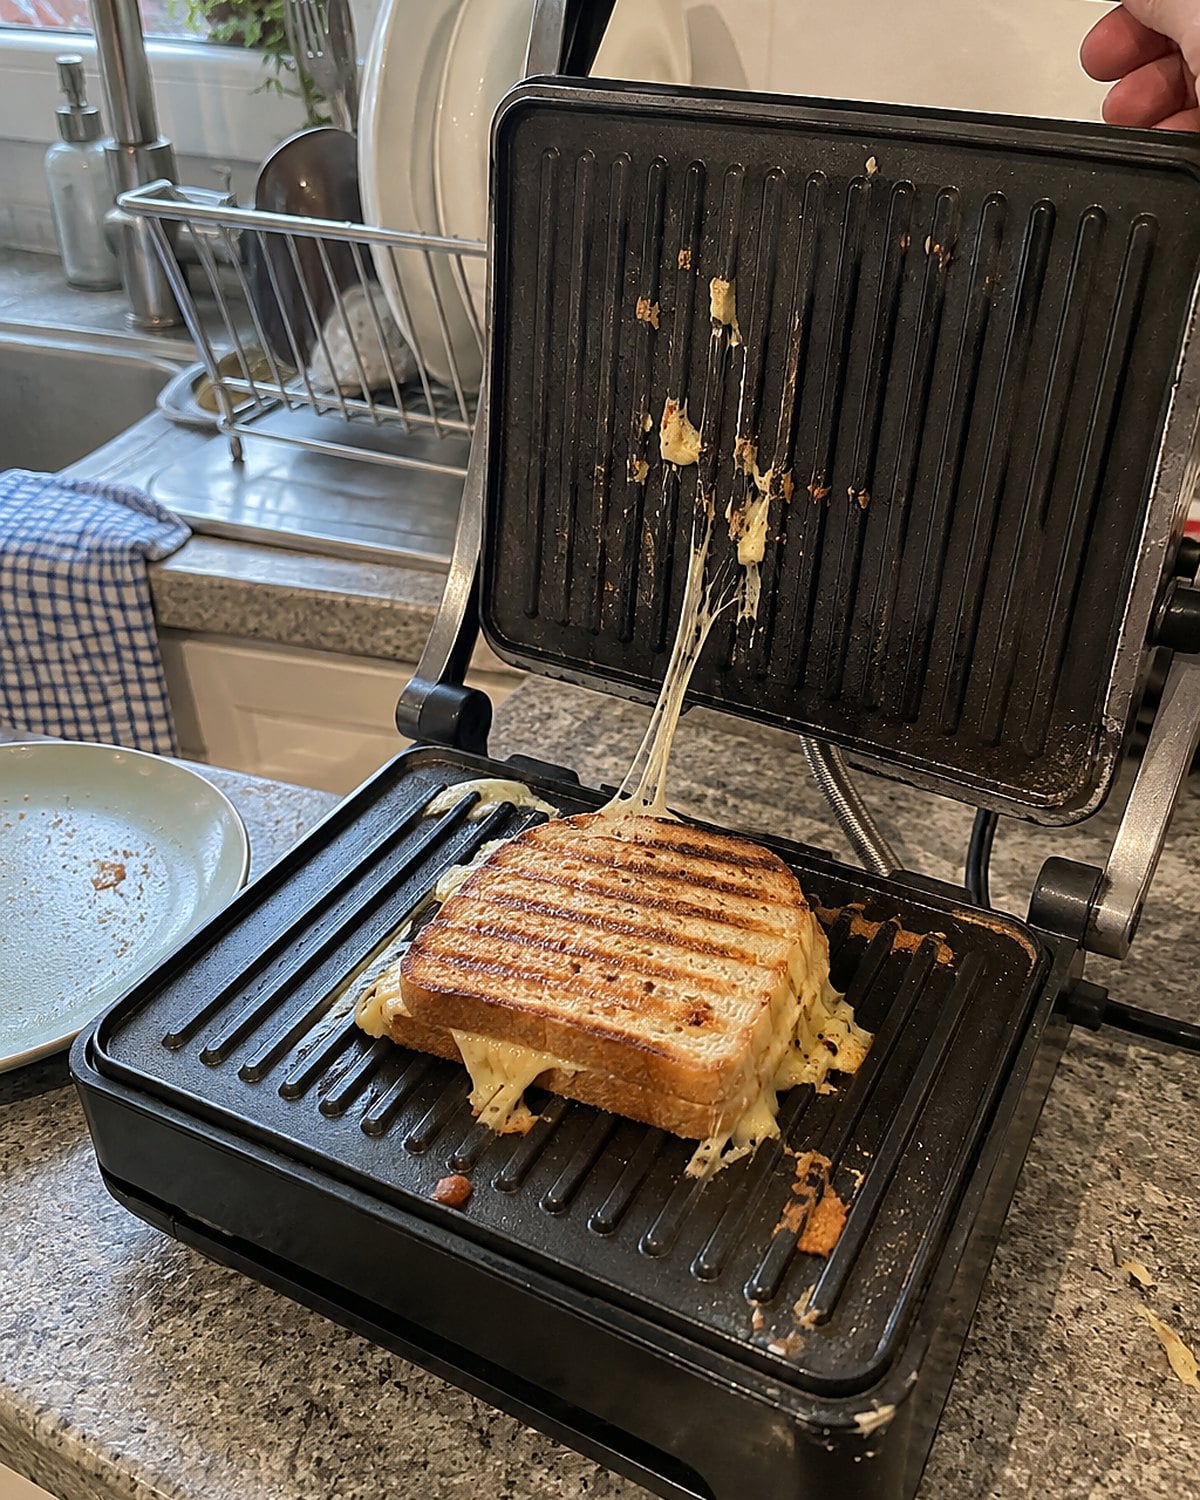
The promise was lunch without turning on the stove. The result was a triangle-shaped pocket with cheese welded into the hinge. You used it once, scrubbed it twice, and put it away while it dried.
Look at the plates before plugging it in. Deep grooves and a nonremovable hinge demand more work than a smooth skillet. If the coating is peeling, retire it from cooking. If the plates are sound, give it a simple sandwich before risking tomato slices and loose shreds of cheese.
Butter the outside of the bread lightly, keep the filling inside the edges, and close the lid without forcing it. That last part matters. A thick sandwich squeezed flat pushes hot filling toward the hinge and your fingers. Let the sandwich rest on a plate before cutting; molten cheese holds heat longer than the crust suggests.
A clean result earns the press a spot within reach. Another long session with a damp cloth tells you to make grilled cheese in your cast-iron pan.
#17 The waffle iron for Sunday mornings
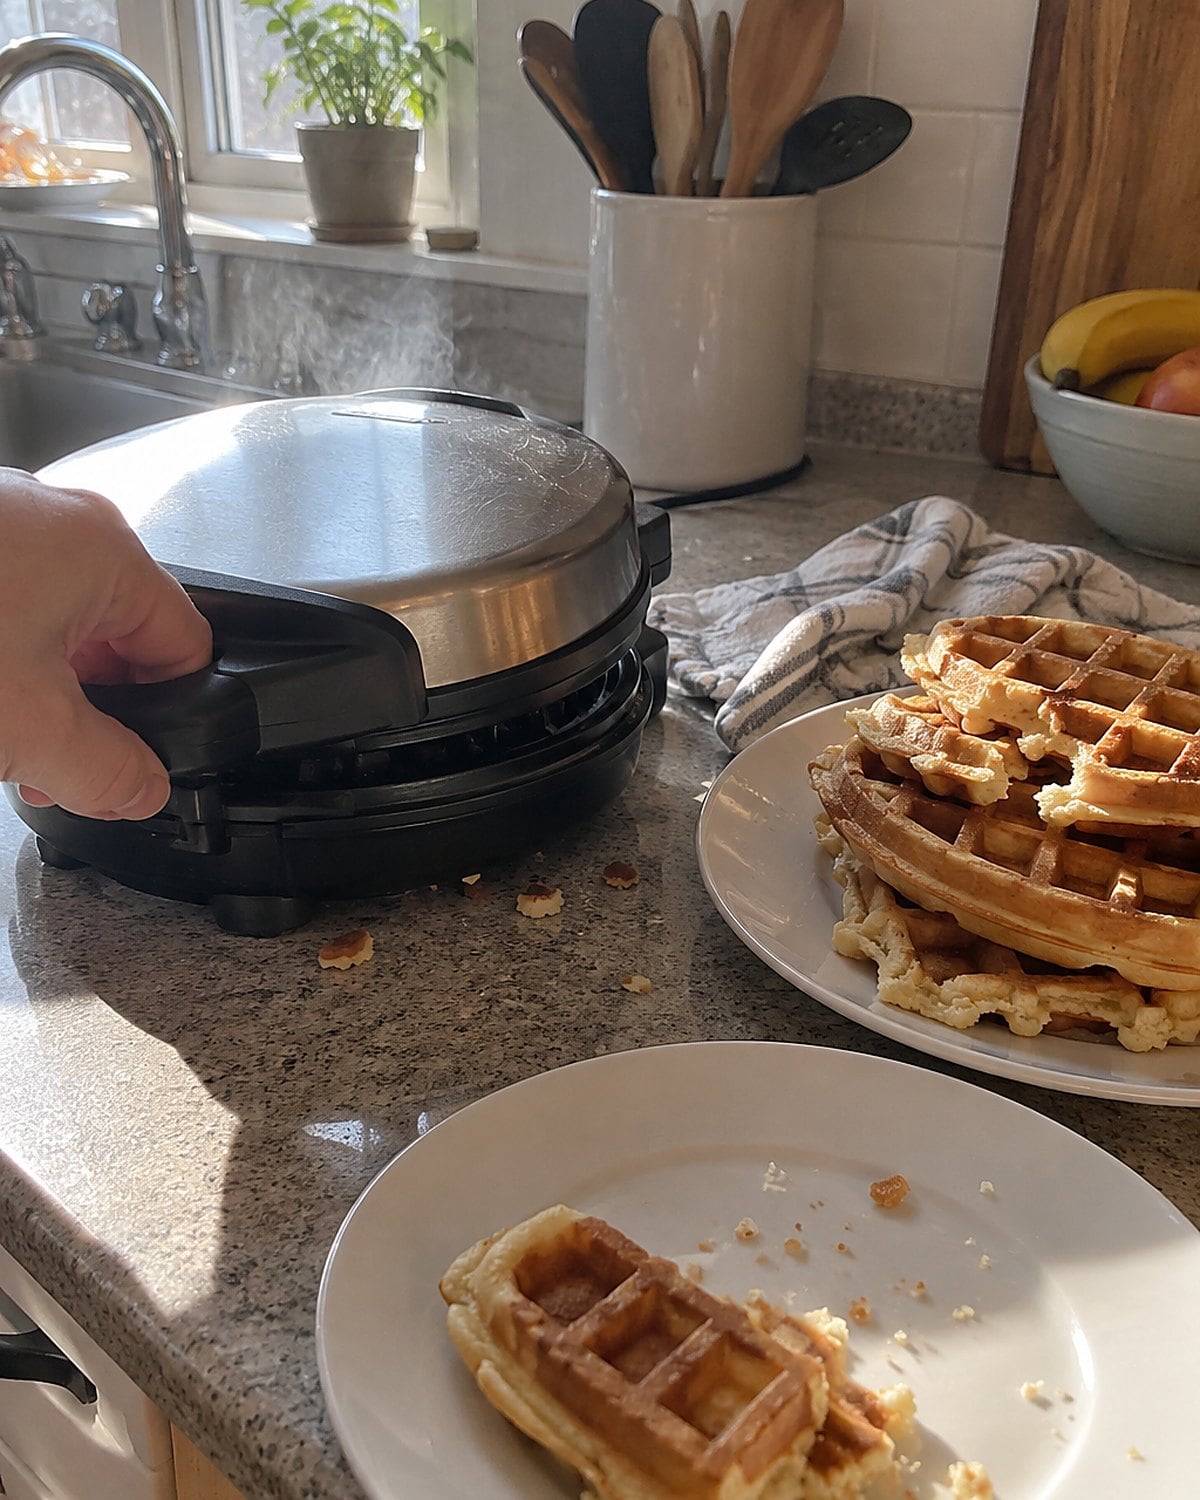
The waffle iron came out when breakfast had an audience. Now it has a cord wrapped around it and a few dried crumbs trapped near the latch. That’s a fixable kind of neglect, provided the cord and plates are sound.
Heat the iron fully before adding batter. When the lid closes, steam escapes. Wait until that steam slows before lifting; opening early pulls the waffle apart and leaves its middle stuck to both plates.
Make the first waffle your test. If it tears, give the next one more time rather than adding more batter. If it browns unevenly, check where the batter lands. A spoonful near the center spreads farther than you expect. Warm waffles go straight to a plate or rack, not under a tight lid that traps steam and softens them.
#16 The ice cream maker buried behind pans
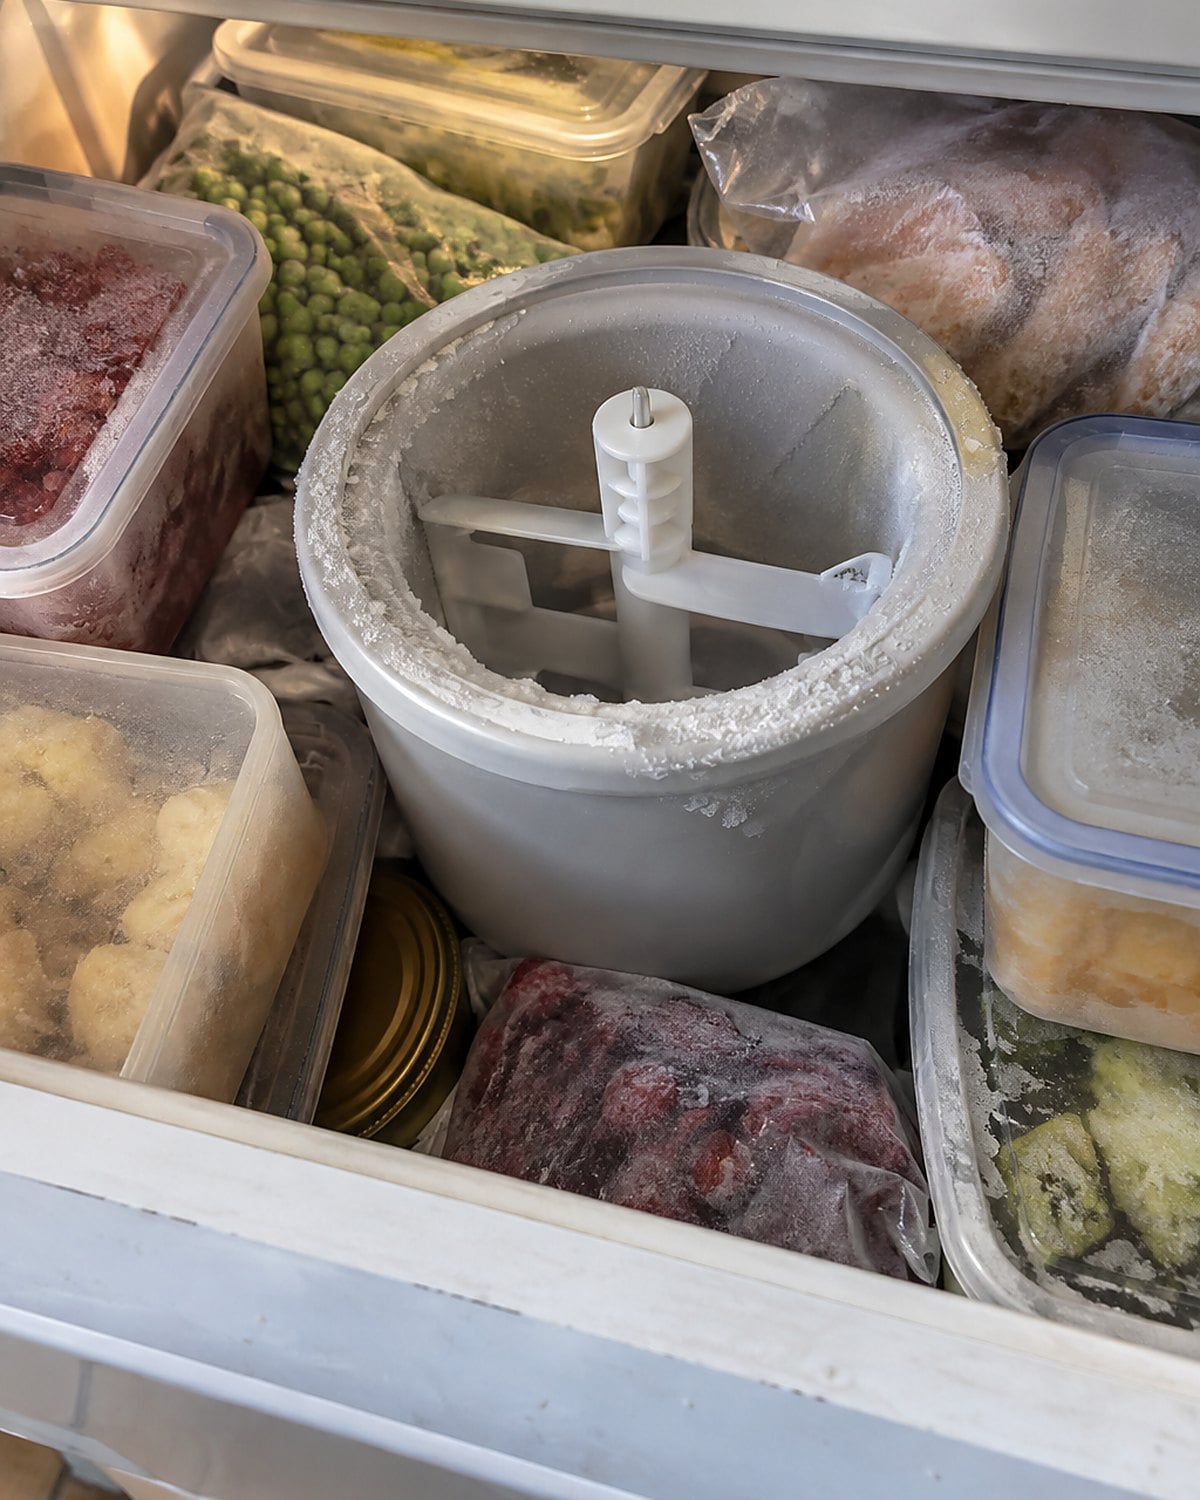
That ice cream maker arrived with visions of peach ice cream after supper. Its bowl had to be cold before you started. By the time anyone remembered that, dessert was already over.
Find out which kind you own before planning another batch. A freezer-bowl model needs its bowl frozen according to its instructions. A model that uses ice and salt needs both ready before the mixture goes in. The motor churns the base while it freezes, keeping large ice crystals from taking over.
For a first return trip, make the base ahead and chill it in the refrigerator. Pouring a warm mixture into a cold bowl spends the bowl’s cooling power before the ice cream thickens. Stop churning when it looks like soft-serve; freezing it further is a separate step.
No room for the bowl in your freezer drawer? There’s your answer. You don’t have to reorganize dinner for a dessert you make once every few summers.
#15 The yogurt maker and its little jars
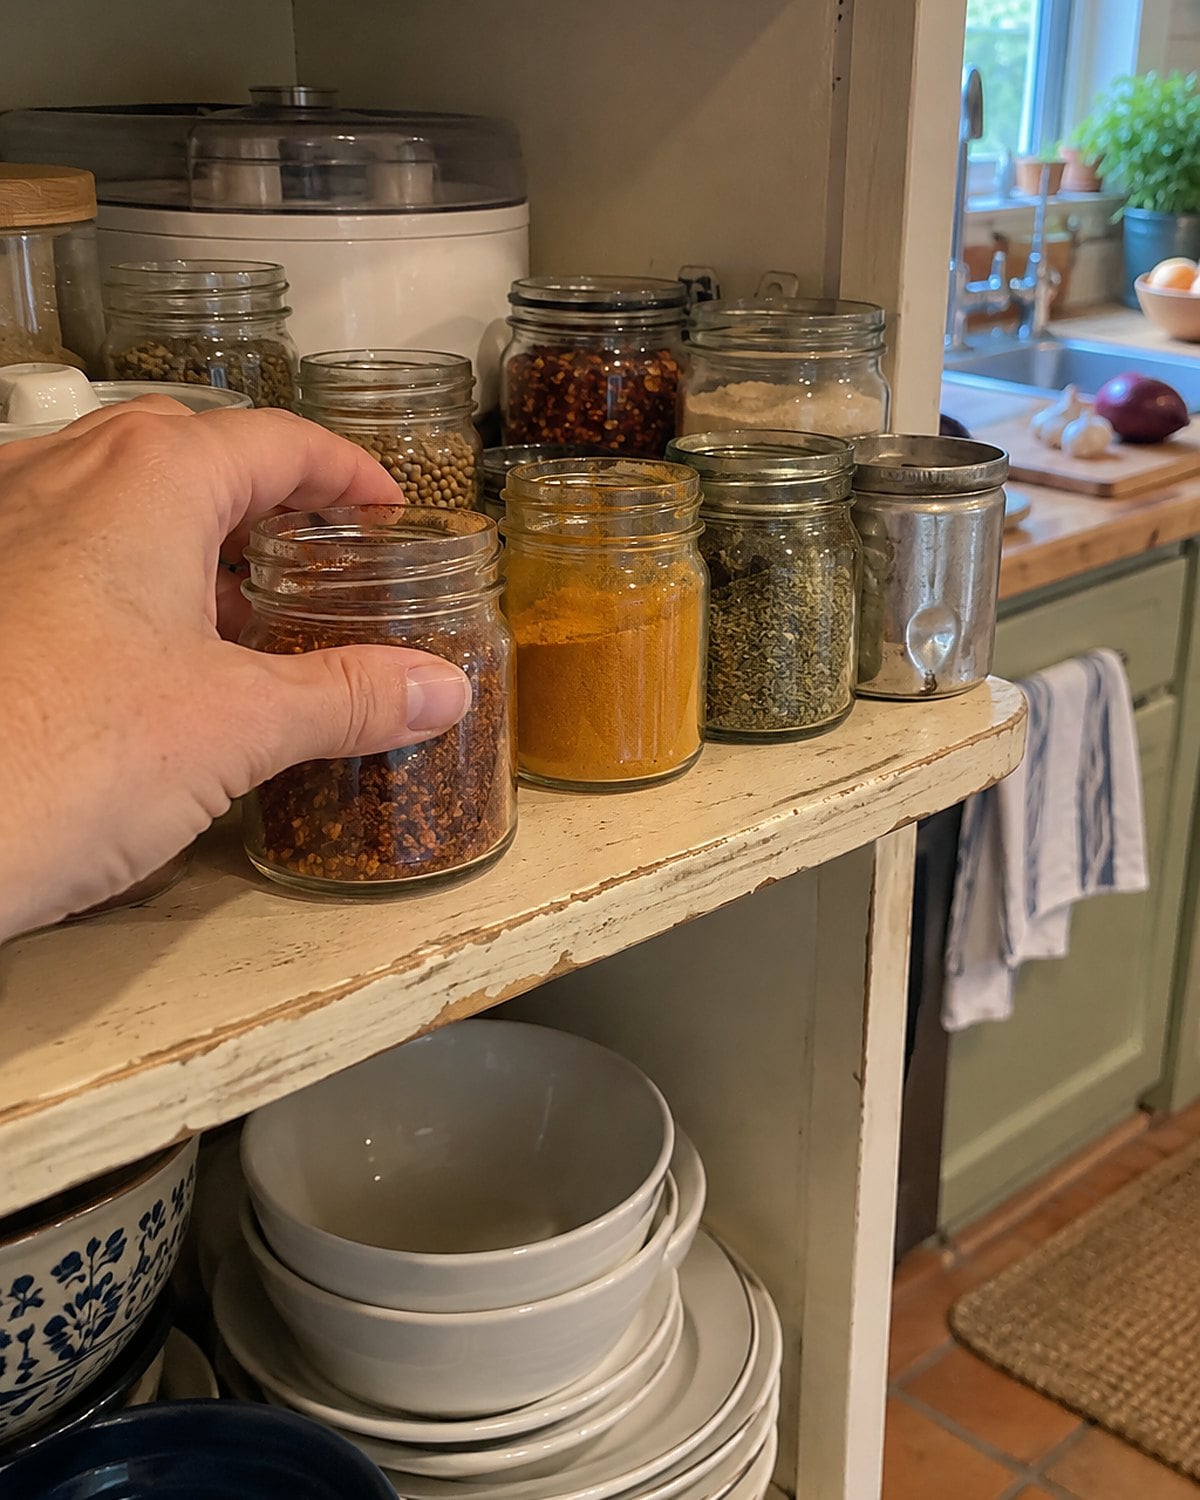
Those little glass jars were appealing even after the yogurt maker lost its place on the counter. You saved them for spices, buttons, and the occasional spoonful of leftover sauce.
Yogurt making asks for more than clean jars. The milk needs heating, cooling, and a starter culture, followed by steady warmth for fermentation. Temperature matters to the culture. Guessing by touching the outside of an old appliance isn’t a sound plan.
If you want to start again, find the model’s instructions and use a food thermometer for the milk. Follow the stated temperatures and times rather than borrowing settings from a different maker. Ask your county extension office for yogurt-making guidance if the instructions leave questions about handling milk.
If the manual and temperature control are gone, keep the jars. They’re doing useful work without taking up an outlet.
#14 The electric skillet for crowded dinners
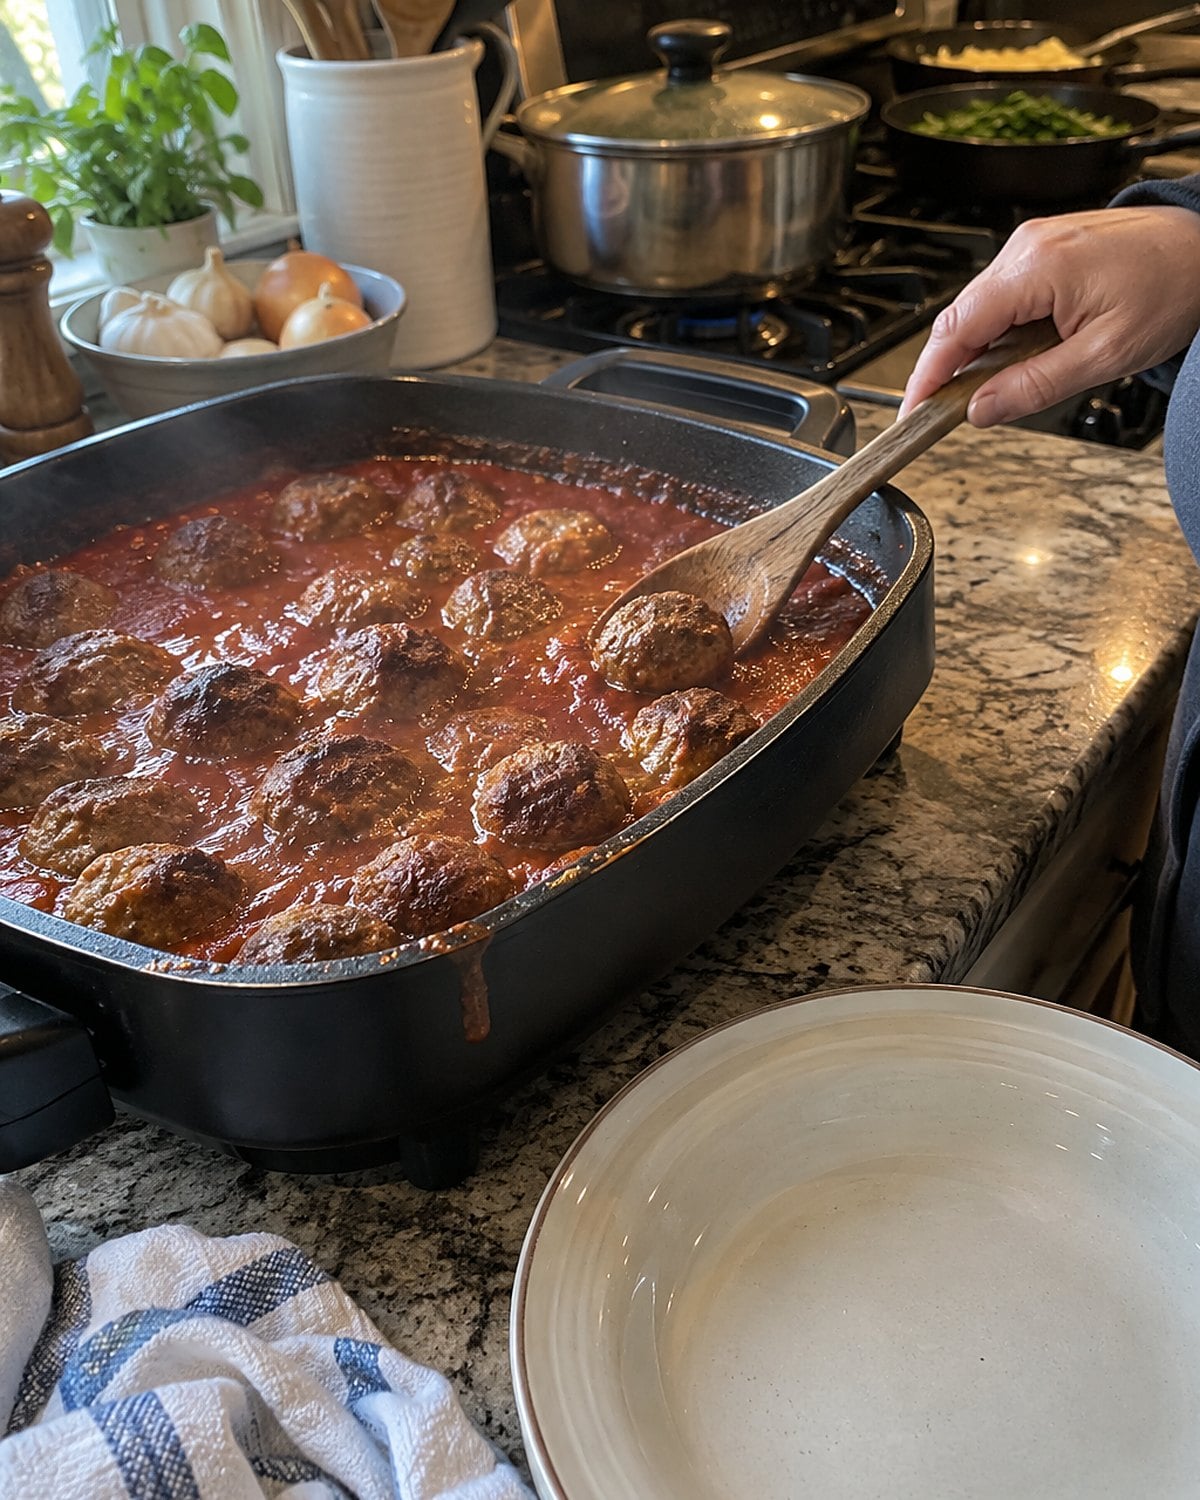
When every stove burner held a holiday side dish, the electric skillet took the meatballs. It sat on the counter near an outlet while you carried the potatoes to the table. That was a real job.
It still has one if your kitchen fills up on weekends. Set it on a clear, steady counter, away from the sink and wandering hands. Don’t let the cord hang where a child can catch it.
Let the skillet preheat, then add food in batches. An overloaded pan loses heat and turns browned edges into pale, wet ones. Use a thermometer for ground meat instead of trusting the color of the sauce. The USDA calls for 160°F for ground meat and 165°F for ground poultry.
The USDA’s safe temperature chart has the full list. When dinner is smaller, the skillet’s worth changes. If a stovetop pan handles tonight’s portion and washes faster, leave the electric one ready for the next crowded Sunday.
#13 The pasta maker with the stiff crank
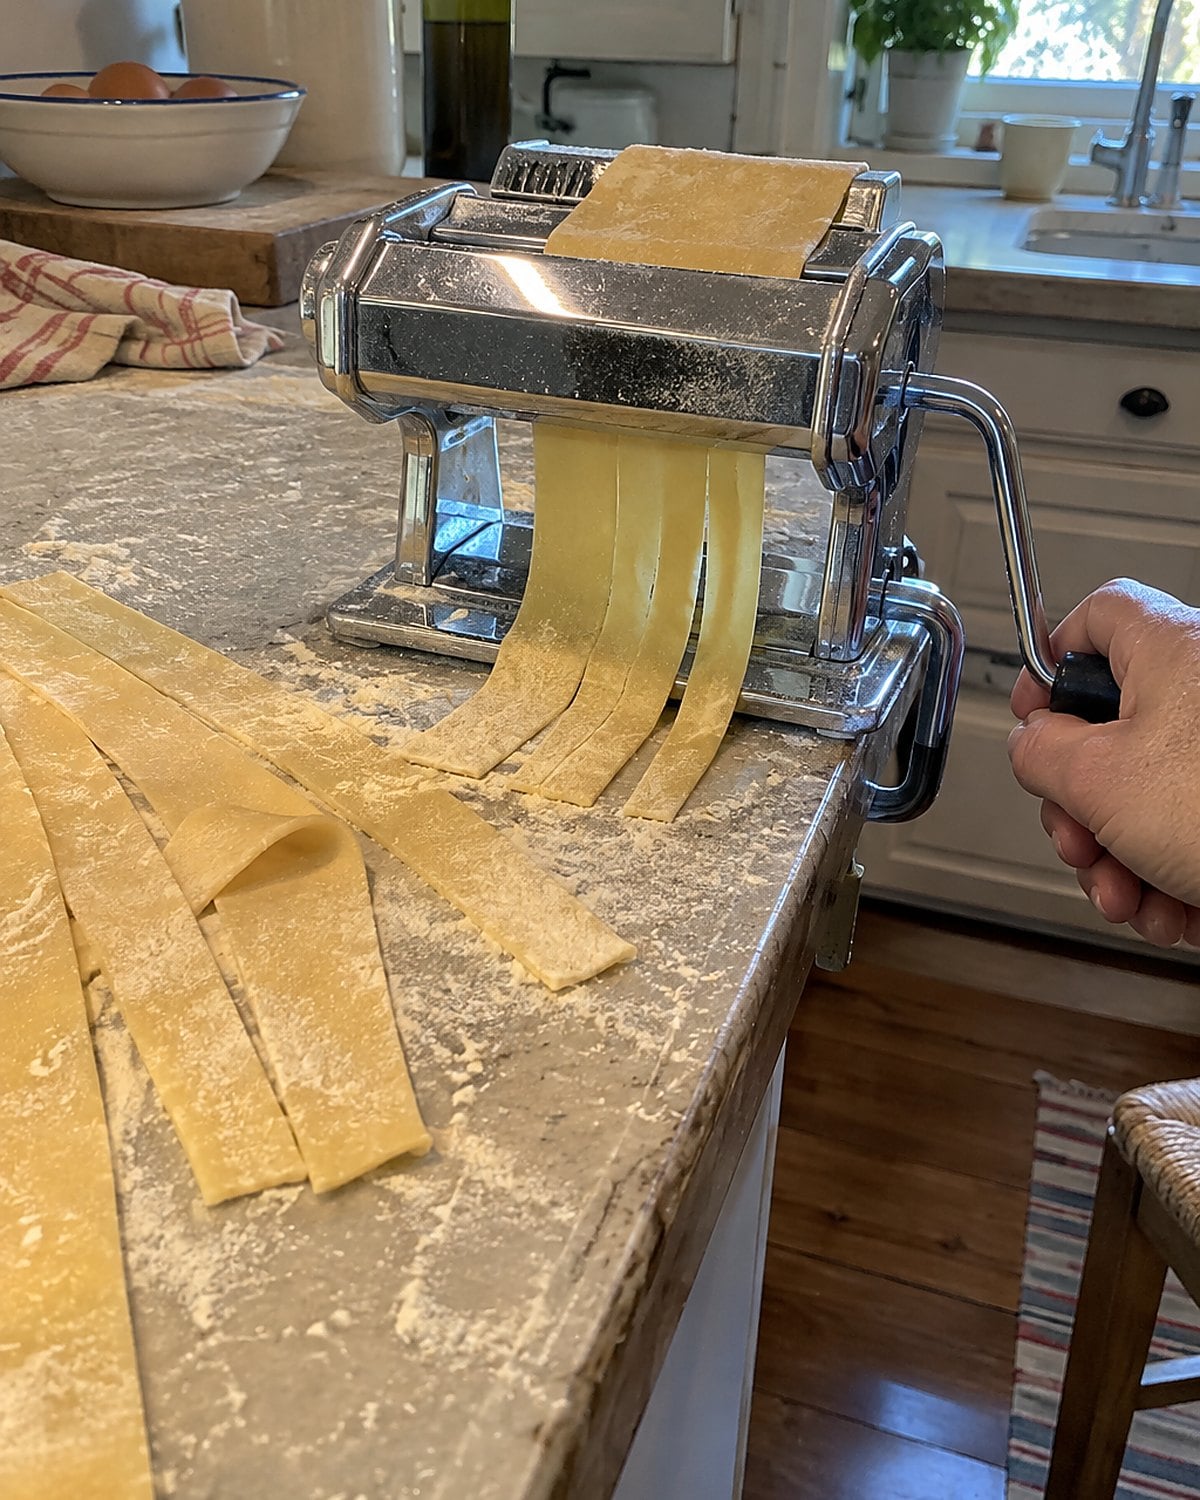
The pasta roller promised flour-dusted afternoons. The first batch produced long ribbons, a crowded counter, and flour inside places no sponge could reach.
Fresh pasta needs dough firm enough to pass through rollers without sticking. If a sheet clings or tears, fold it, dust it sparingly with flour, and pass it through a wider setting before thinning it again. Forcing damp dough through the narrow setting creates a cleanup job before supper even starts.
A clamp matters as much as the crank. Tighten it to a sturdy counter edge so the machine doesn’t travel while you turn it. Follow the maker’s cleaning instructions; water damages some roller mechanisms. If you’d rather spend the afternoon making sauce, dried pasta is ready when you are. There’s no medal for cranking.
#12 The dehydrator trays under the pantry shelf
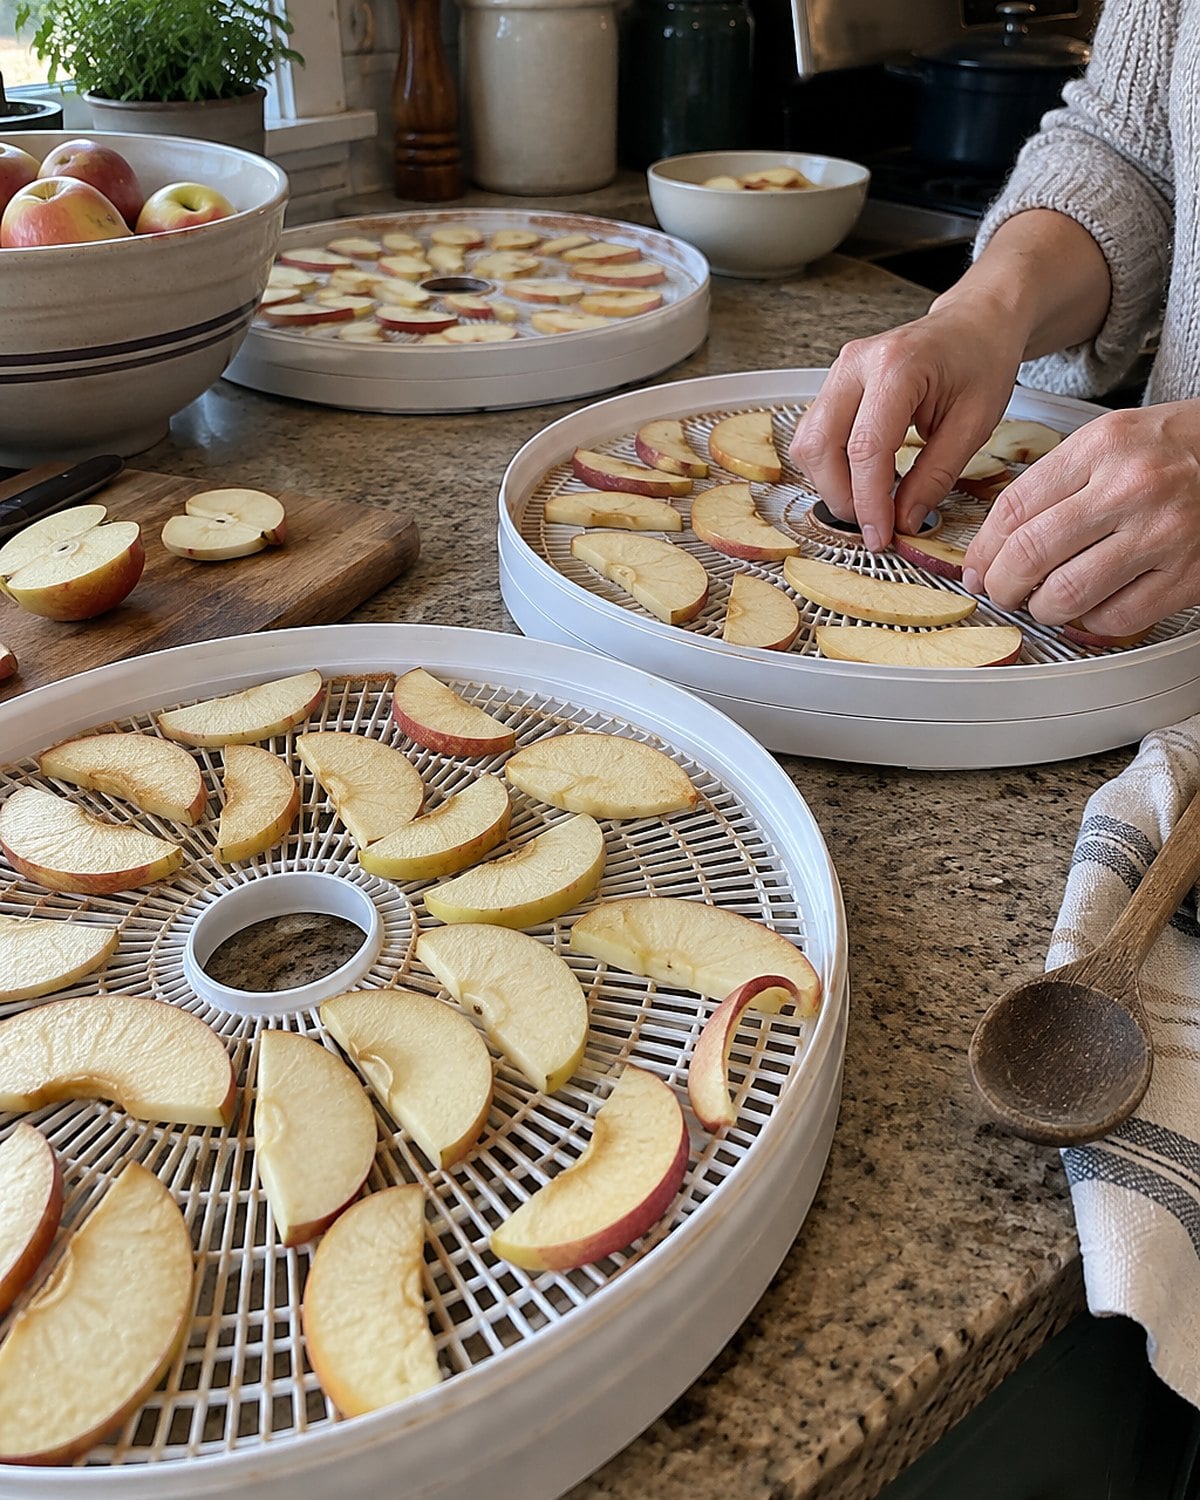
The dehydrator made a persuasive case when apples were plentiful. Then the trays needed washing, stacking, and somewhere to live. One tray went missing, and the rest stayed under the pantry shelf.
There’s a reason slices have to be even. Thin pieces finish first, while thick centers hold moisture. A mandoline gives neat slices, but its blade demands a hand guard. A good knife and a steady cutting board work fine. Arrange the pieces so air travels between them, then follow your machine’s instructions for that food.
Finished fruit should feel leathery rather than wet or sticky in the center. Cooling a piece before testing helps; warm fruit feels softer than it will after it rests. For storage guidance, turn to the National Center for Home Food Preservation rather than guessing from appearance.
If the machine runs loudly for a snack nobody reaches for, let it go. If apple chips vanish from the jar, find that missing tray.
Try it: How to Dehydrate Apples in the Air Fryer
#11 The electric knife with the wobbly blades
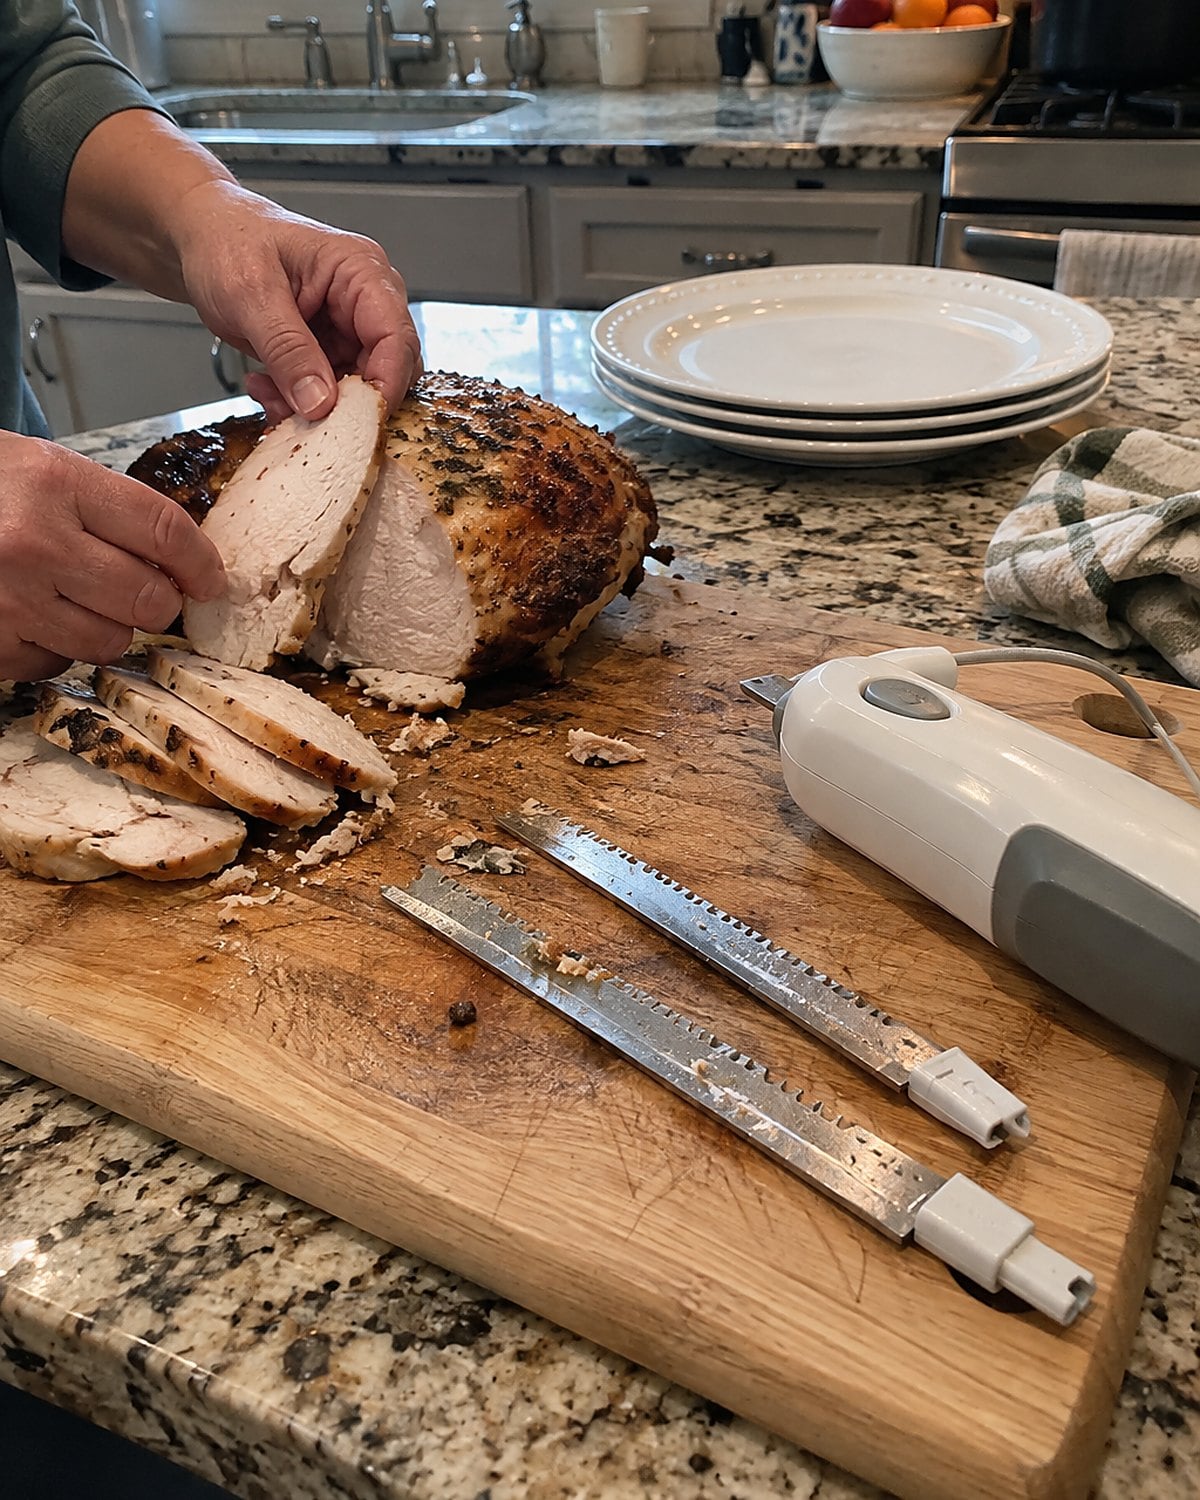
The electric knife came out for a roast and made a noise everyone remembered. Afterward, its blades lived in a cardboard sleeve at the back of a drawer.
Before using it again, inspect the cord, plug, blade locks, and handles while it’s unplugged. Blades that won’t seat securely end the test. If everything fits, set the roast on a board that won’t slide and let the knife cut without pushing hard. Pressure turns neat slices into torn ones.
Resting the meat first helps any knife. Cut into a roast immediately and the juices run across the board instead of staying in the slices. If your regular carving knife feels steadier in your hand, use it. The electric one never needs a ceremonial appearance.
#10 The countertop rotisserie for a roast chicken
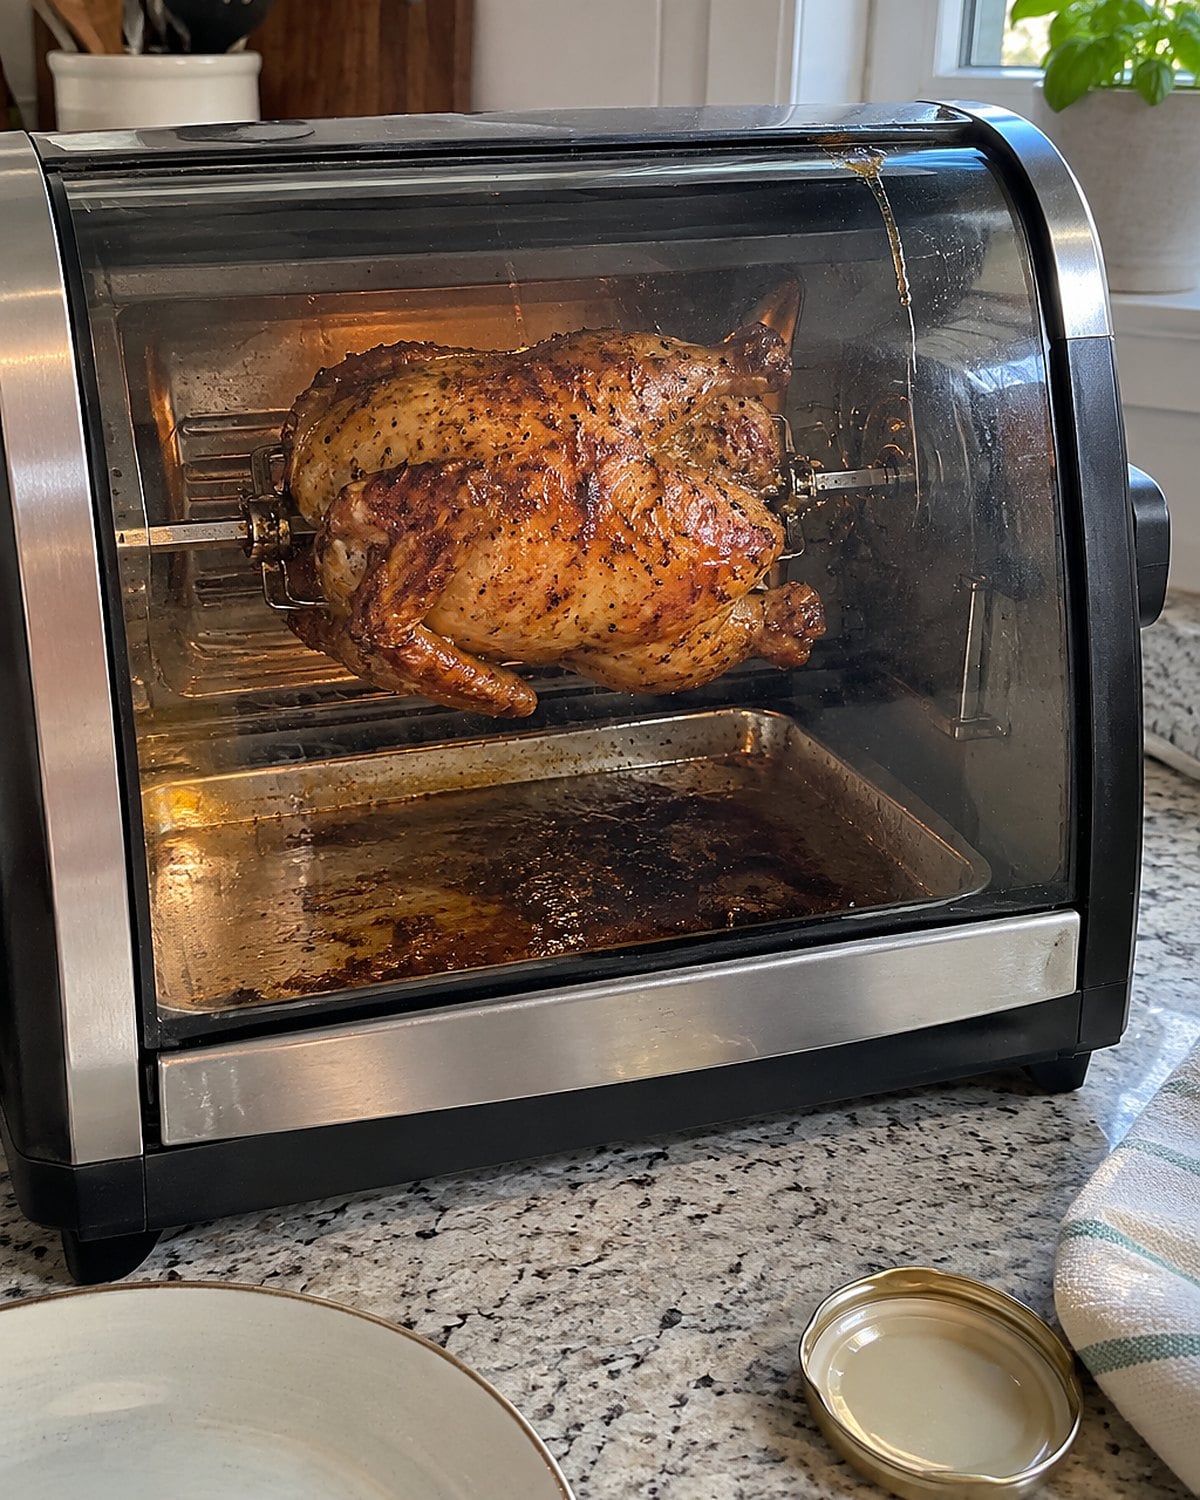
The rotisserie made chicken look like a store display. It also left a spit, forks, drip pan, and greasy walls to wash. That collection explains why the machine moved from counter to basement shelf.
Rotation helps fat drip away and exposes the bird to heat from different sides. It doesn’t tell you when dinner is safe to serve. Push a food thermometer into the thickest part of the thigh without touching bone, and check for 165°F. The USDA’s poultry guidance uses temperature, not the color of the juices, as the test.
If you use the rotisserie again, secure the bird as the manual directs. Loose wings and legs catch on the machine and throw off its turn. Put the drip pan in place before switching it on. That sounds obvious until hot fat lands on the counter.
For a smaller table, a pan-roasted chicken serves the same dinner with fewer parts. Keep the rotisserie if the turning and browning still make you happy. Don’t keep it because a box once promised effortless cleanup.
#9 The crêpe maker with its dipping pan
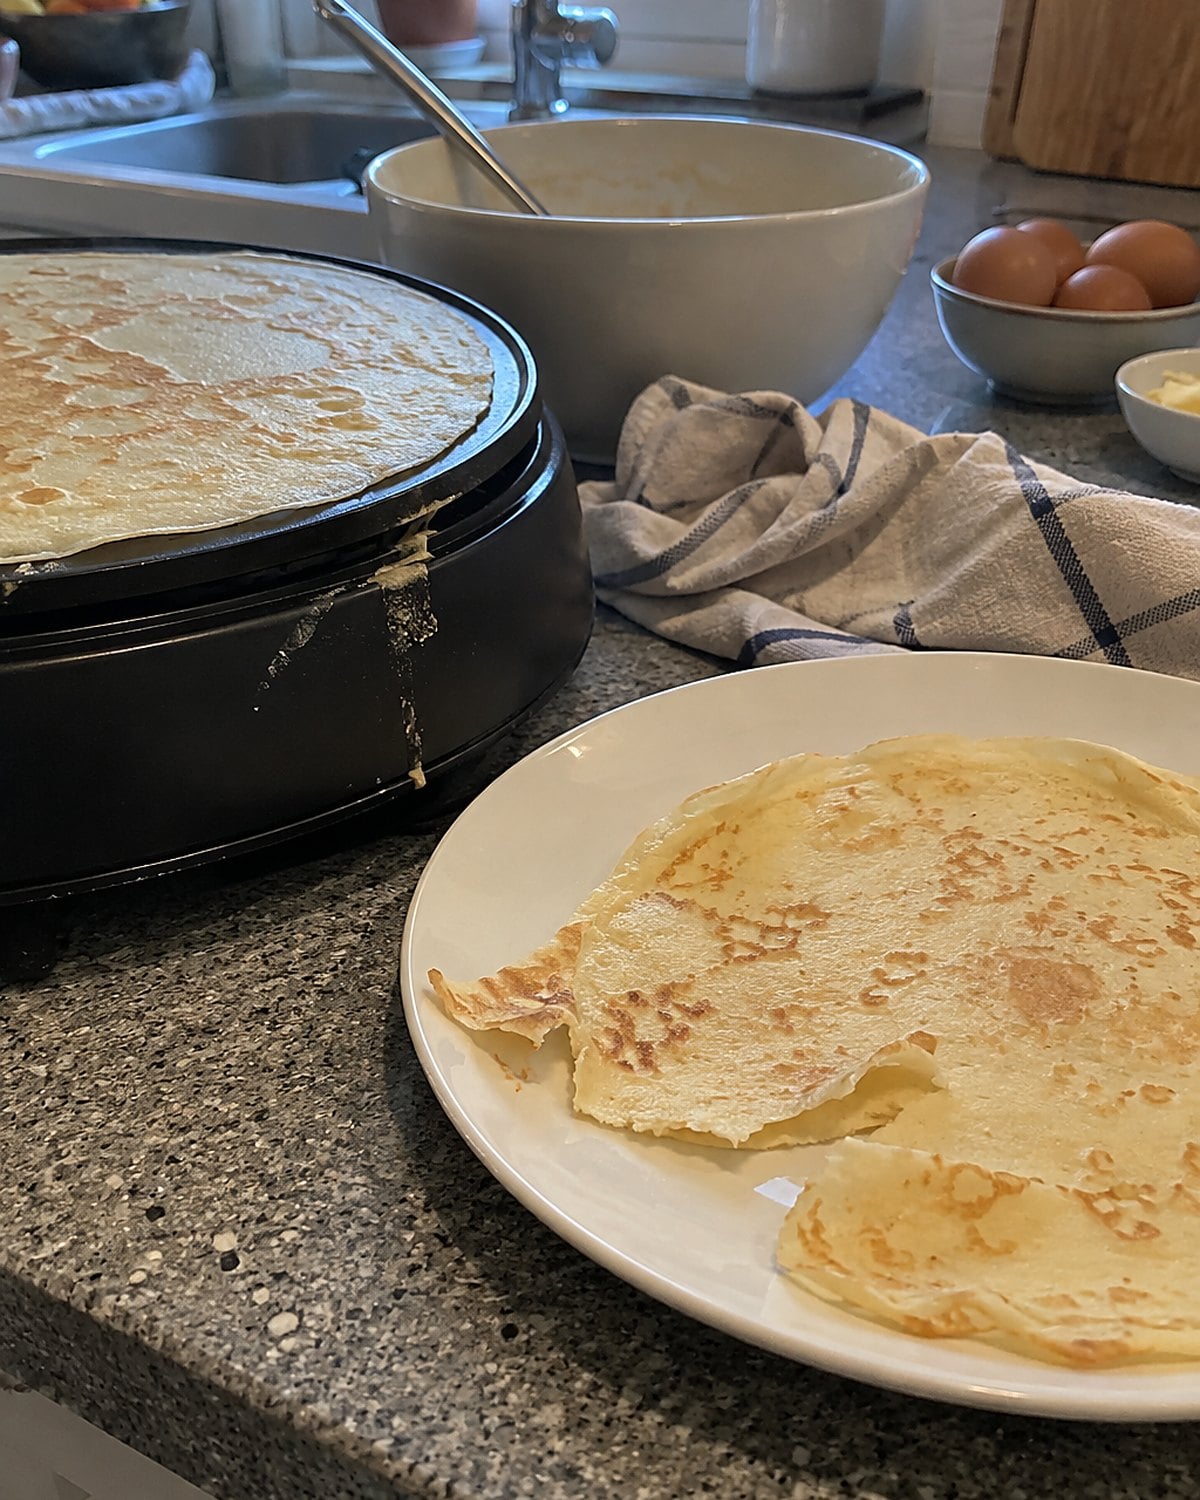
The electric crêpe maker asked you to dip a hot surface into batter, flip it upright, and hope for a thin round. The first few looked like lace with holes. The pan went back into its box.
Batter thickness changes the whole attempt. It should coat the hot surface thinly rather than cling in a heavy layer. Rest the batter before cooking so the flour hydrates and the bubbles settle. Then try one crêpe and adjust the batter if it leaves bare patches.
A crêpe doesn’t need a dedicated machine. Your nonstick skillet gives you room to pour, tilt, and see the edges lift. Make one with jam tonight and decide which tool you’d reach for again. The answer matters more than the box.
Try it: 31 Sweet & Savory Crepe Filling Ideas
#8 The food processor with every attachment
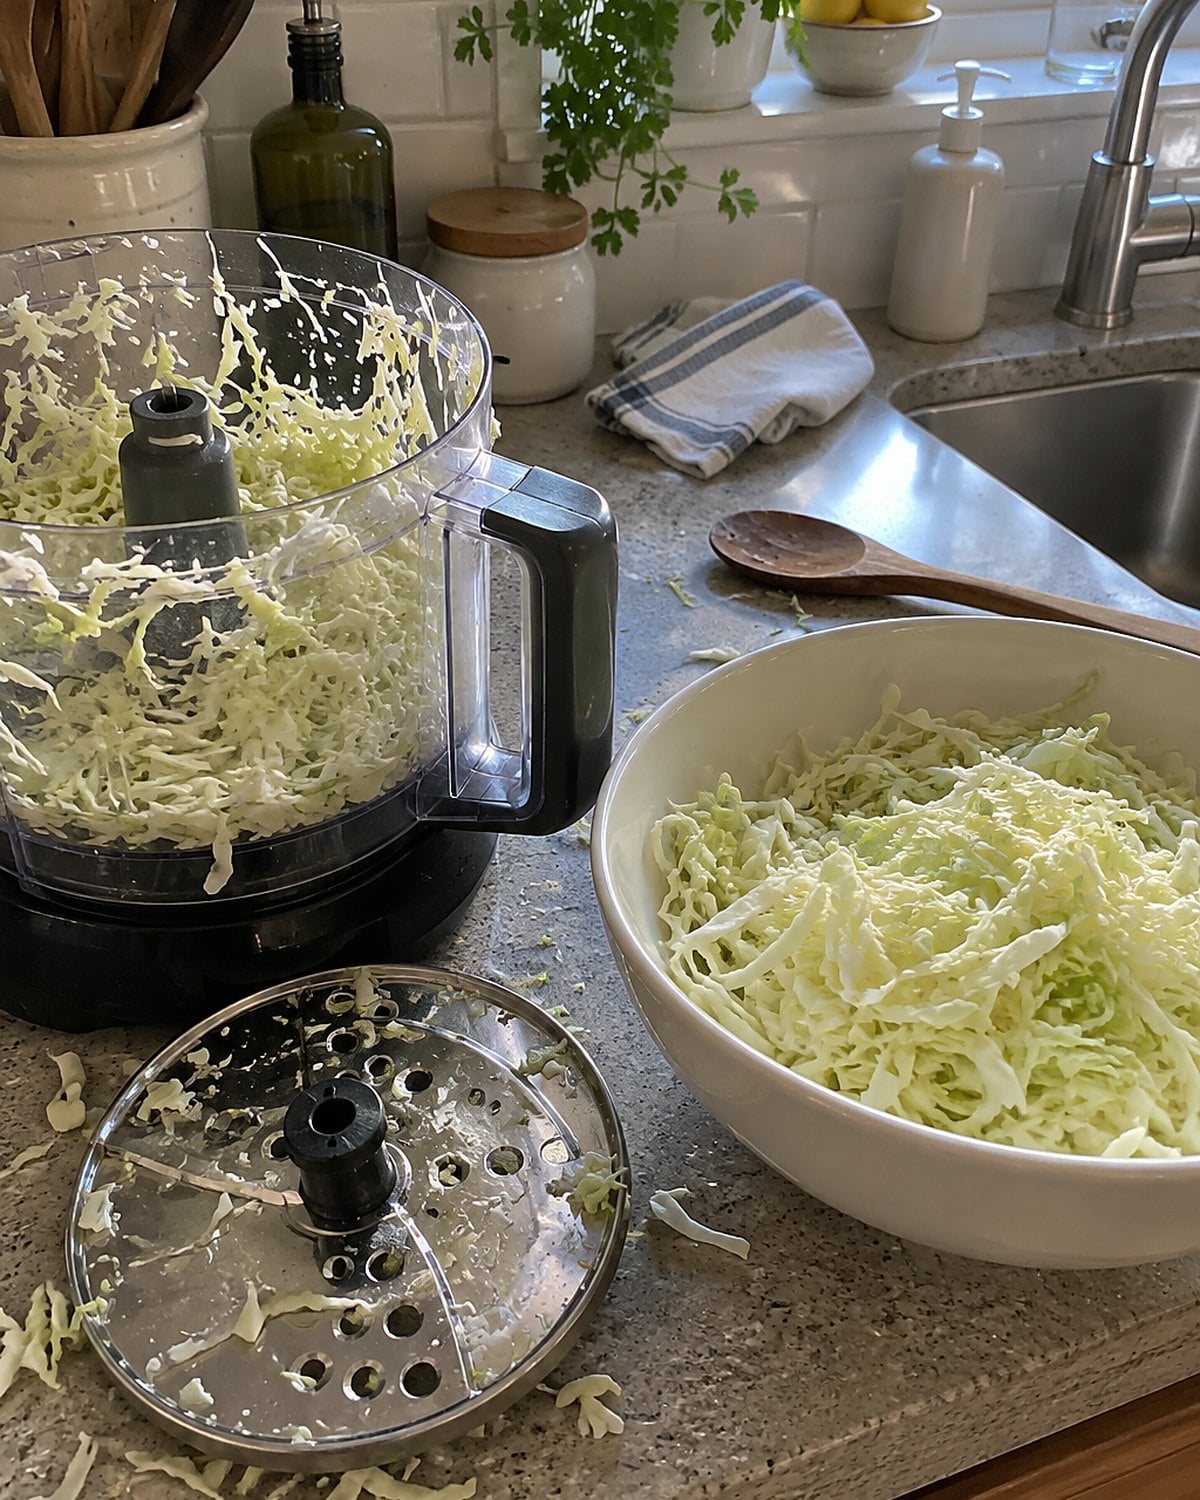
The food processor arrived with a slicing disc, a shredding disc, a blade, a pusher, and a promise that holiday prep would fly. Then you had to remember which piece did what. The bowl took almost as long to wash as the cabbage took to slice.
For a big batch of slaw, it earns its space. Cut the cabbage into pieces that fit the feed tube, and use the pusher. Keep your fingers away from the opening. A disc shreds quickly, but it also leaves a few stubborn chunks near the end. Save those for the knife rather than forcing them through.
Small jobs are different. Chopping an onion for supper with the processor leaves a bowl, lid, blade, and counter to clean. Use the knife already on the board. If you find a cracked bowl or a lid that won’t lock, don’t bypass the safety catch.
Check an old model against the U.S. Consumer Product Safety Commission recall database before putting it back to work.
#7 The juice extractor after the first carrots
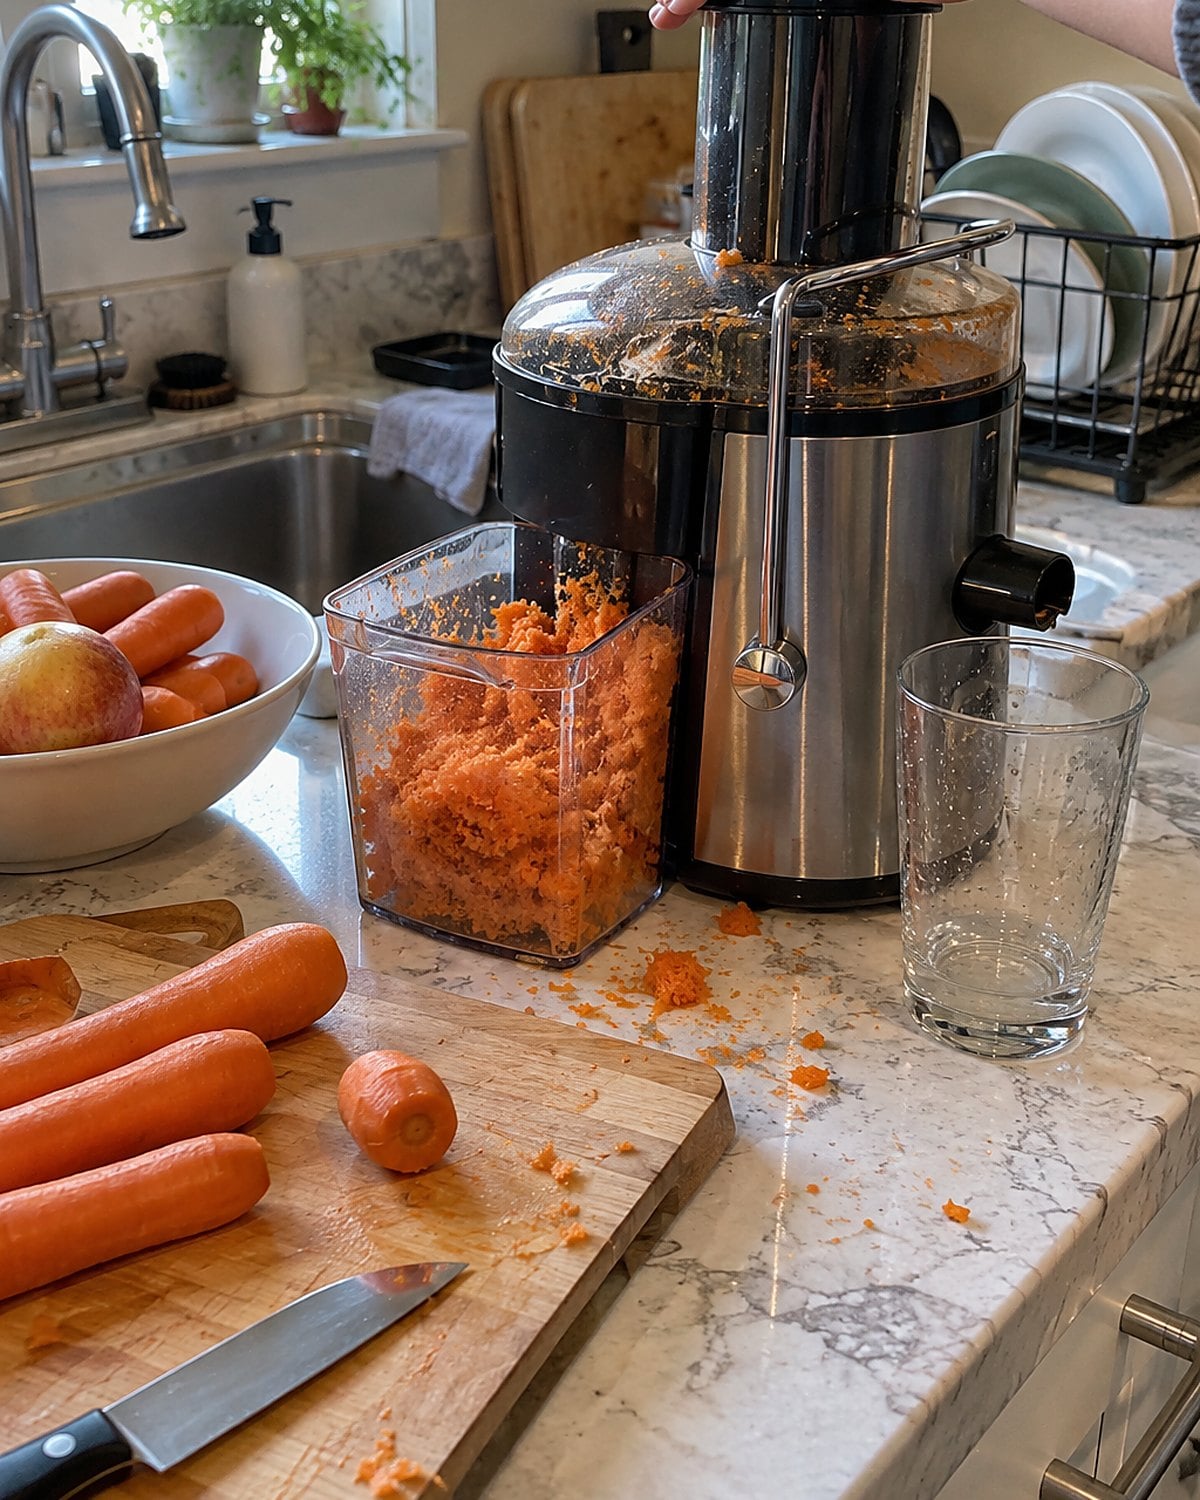
The first glass of carrot juice looked splendid. The pulp basket afterward looked like half the carrots you bought. You rinsed the screen, found fibers still caught in it, and left it on the drying rack.
A juice extractor separates liquid from pulp. That’s why its screen needs cleaning before the fibers dry. If yours has been idle, inspect the screen and plastic parts before feeding anything through it. Cracks, broken locks, or a damaged cord end the experiment.
Start with produce you already have rather than buying a special bag. Wash it, cut it to fit the feed tube, and use the pusher. Taste the juice right away. If you enjoy it enough to clean the screen again, the machine has found a place. If you’d rather eat the carrot with lunch, that’s a useful finding too.
#6 The pressure cooker behind the roasting pan
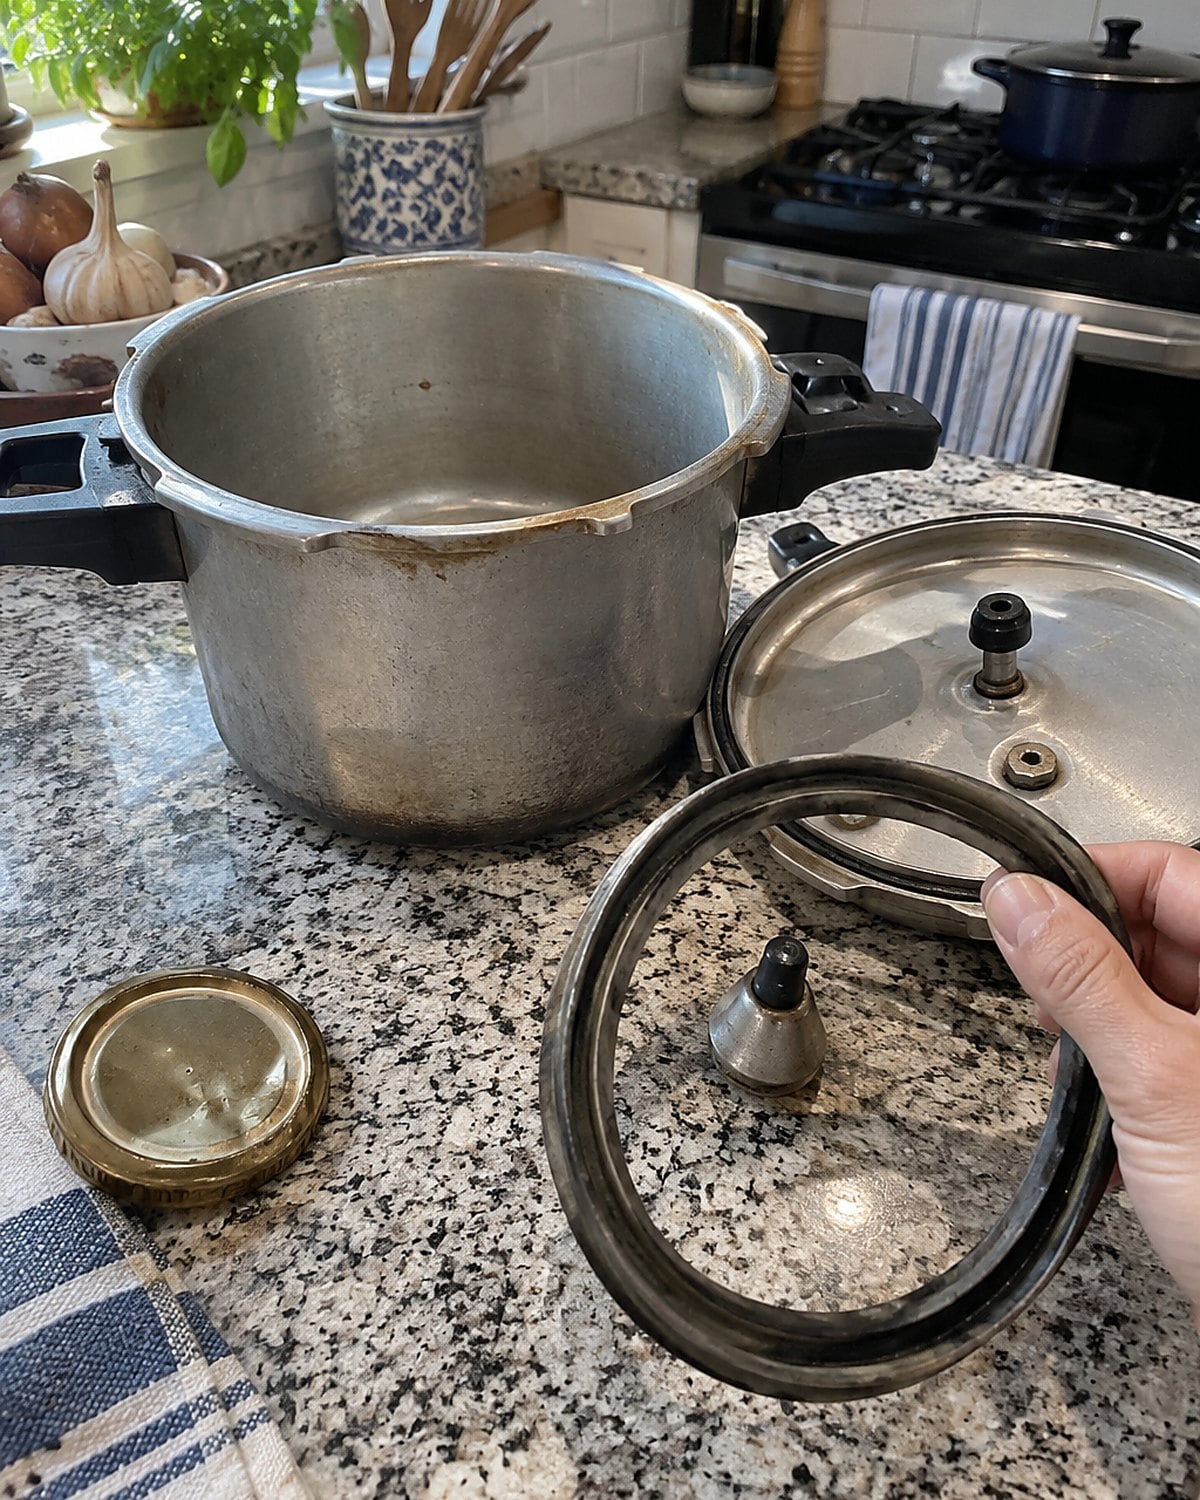
A stovetop pressure cooker has a particular sound: a hiss that pulls you back to check the burner. Yours once made beans in a hurry. Then the gasket stiffened, the little weight went into a drawer, and other pots took over.
This is one machine that needs a complete inspection before a comeback. Find the exact model and its manual. Check the gasket, pressure regulator, vent, and handles against the maker’s instructions. Replace worn parts with parts made for that model. Don’t use a lid that won’t seal or a vent you cannot clear.
Pressure changes boiling conditions, so timing from an ordinary pot doesn’t transfer directly. The cooker also has fill limits, especially for foods that foam. Follow the manual’s limits and release directions, not an old memory of watching someone else use it.
If you can’t identify the model or get the right replacement parts, leave it off the stove. A newer pressure cooker in your kitchen doesn’t make an old stovetop lid safe to improvise with.
Try it: How To Cook White Beans In Instant Pot
#5 The battery-operated flour sifter
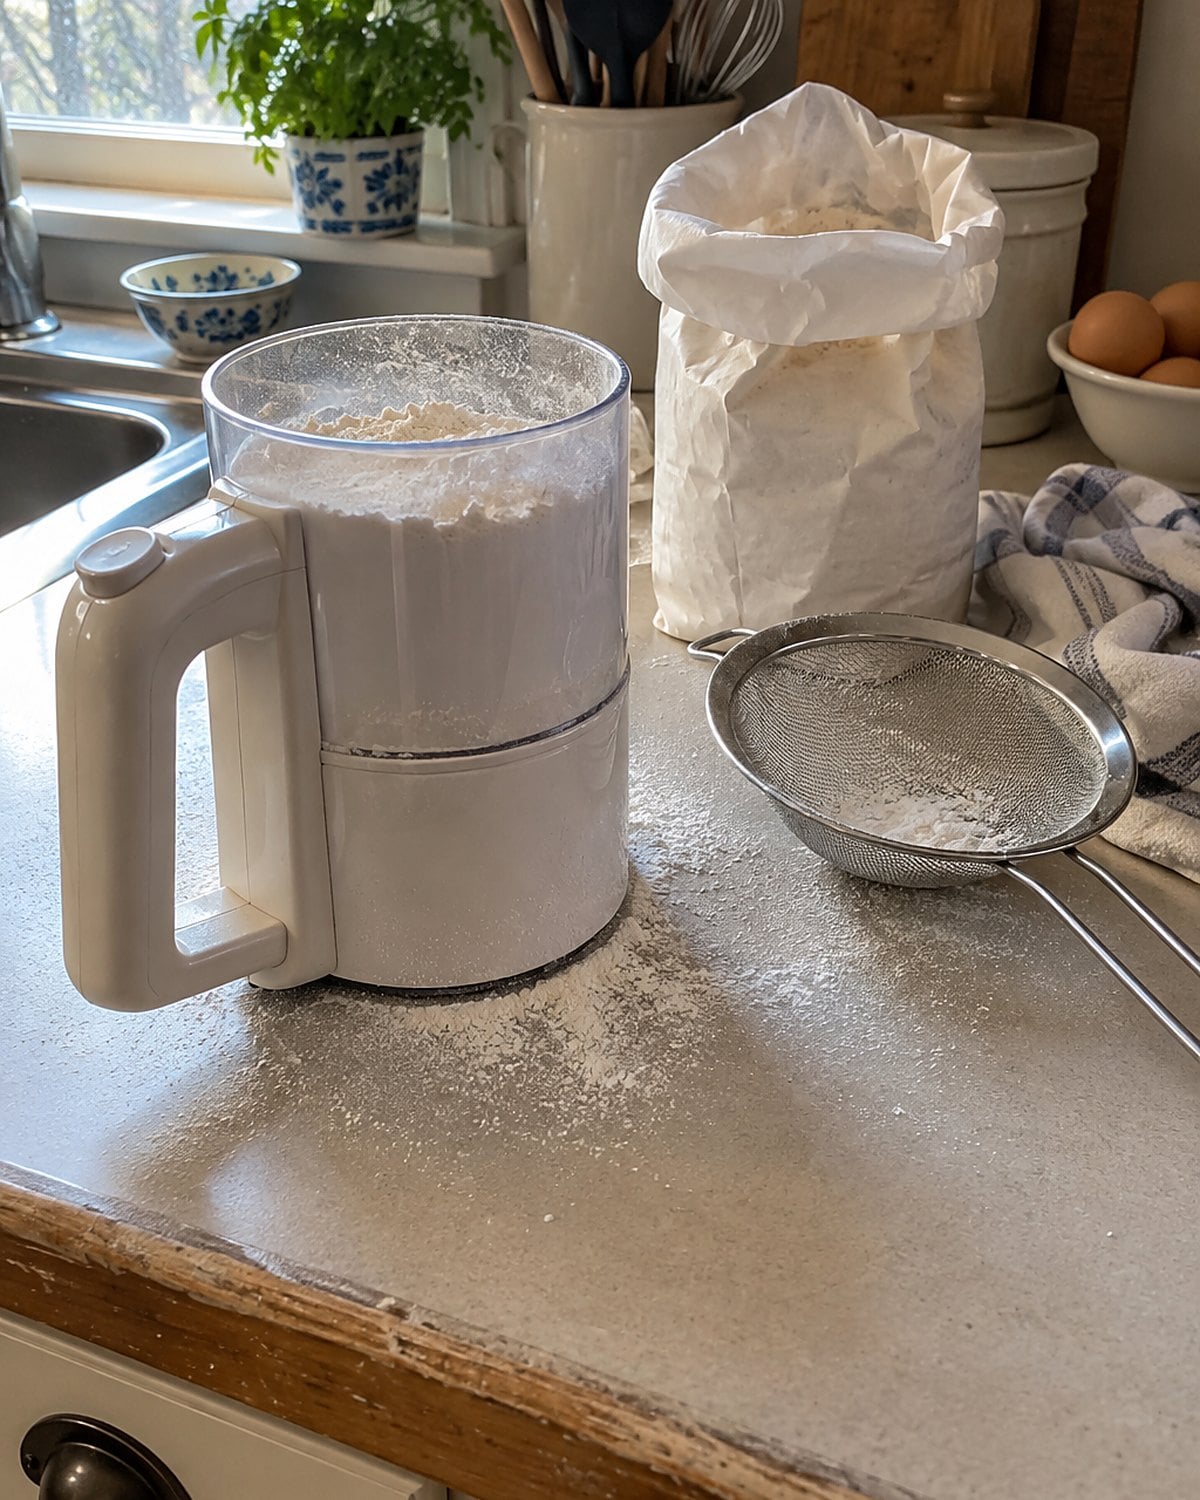
The battery sifter sounded like a shortcut until its compartment seized and the flour still landed on the counter. The hand sifter in the same cupboard kept working without a search for batteries.
Sifting has a purpose when flour or cocoa is lumpy, or when a cake calls for a lighter mixture. It isn’t a required ceremony for every batch of biscuits. For cocoa, a fine-mesh sieve and a spoon break up clumps with less fuss.
For flour, follow the recipe’s order: measure first if it says to sift measured flour, and sift first if it says to measure sifted flour.
Open the battery compartment on the old gadget. Corrosion means it stays away from food. If it’s clean and the motor runs, give it a cake to earn its keep. Otherwise, keep the sieve.
#4 The vacuum sealer in the freezer drawer
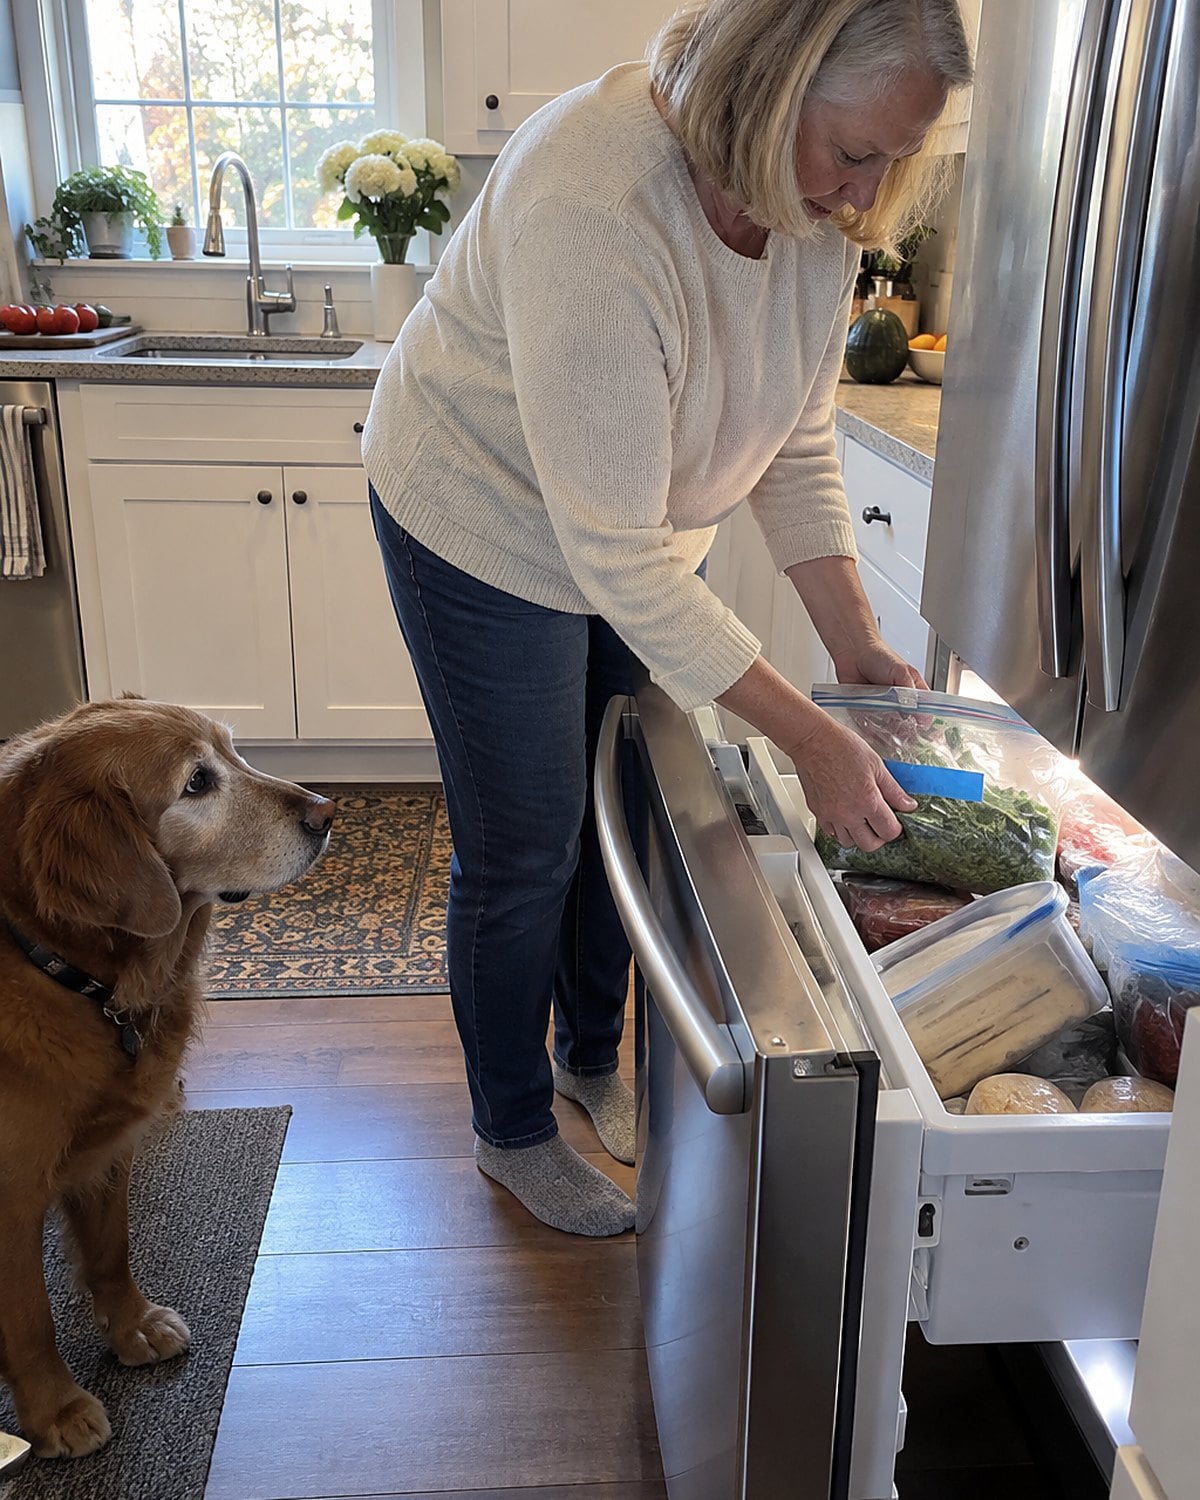
The vacuum sealer sounded like an answer to freezer burn. Then the bags ran out, the cutter hid, and a package of chicken spent months behind the ice trays anyway.
Vacuum sealing pulls air from a bag, which slows the drying that leaves pale, tough patches on frozen food. It doesn’t make food safe forever. Start with food handled and chilled properly, label the package, and freeze it promptly. Use the USDA’s cold food storage chart when you’re sorting packages you can’t place.
Try sealing one portion you know you’ll use. If the machine fails to close the bag evenly, check its sealing strip and follow the manual before wasting more bags. If a plain freezer bag pressed flat and labeled serves your household better, use that.
The win is finding dinner again, not owning the tightest package in the drawer.
#3 The hot-air popper with the butter tray
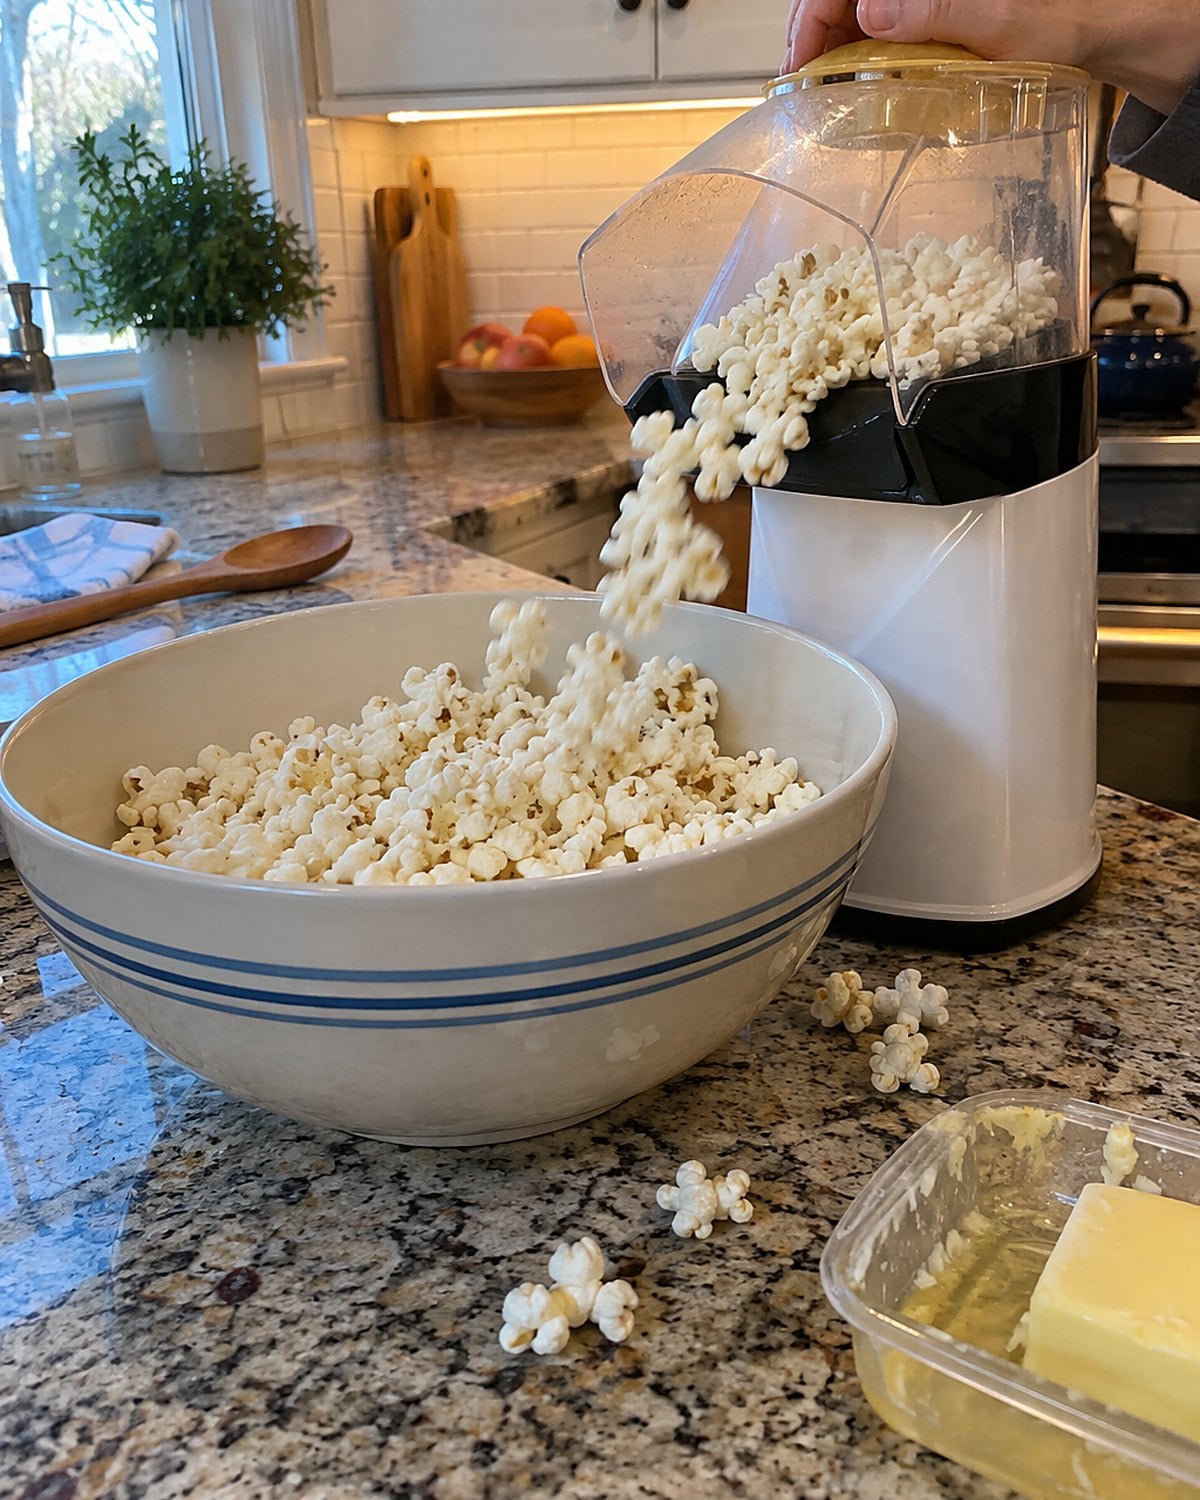
The air popper had one splendid trick: hot popcorn in a bowl before the movie settled down. Then the measuring scoop disappeared, the butter tray became another piece to wash, and kernels started bouncing past the bowl.
Find the fill line on the machine or use its manual. Overfilling sends unpopped kernels after the finished corn. Keep the chute aimed into a deep bowl, and leave the hot end alone until it cools. An air popper needs air moving through it, so don’t cover the vents with a towel to catch strays.
For tonight, you need only the popper, plain kernels, and a bowl. Toss the corn with melted butter afterward. If your grandchildren like making their own snacks, this one earns a second try. If the cord is brittle, skip the show and reach for a pan.
#2 The electric chocolate melting pot
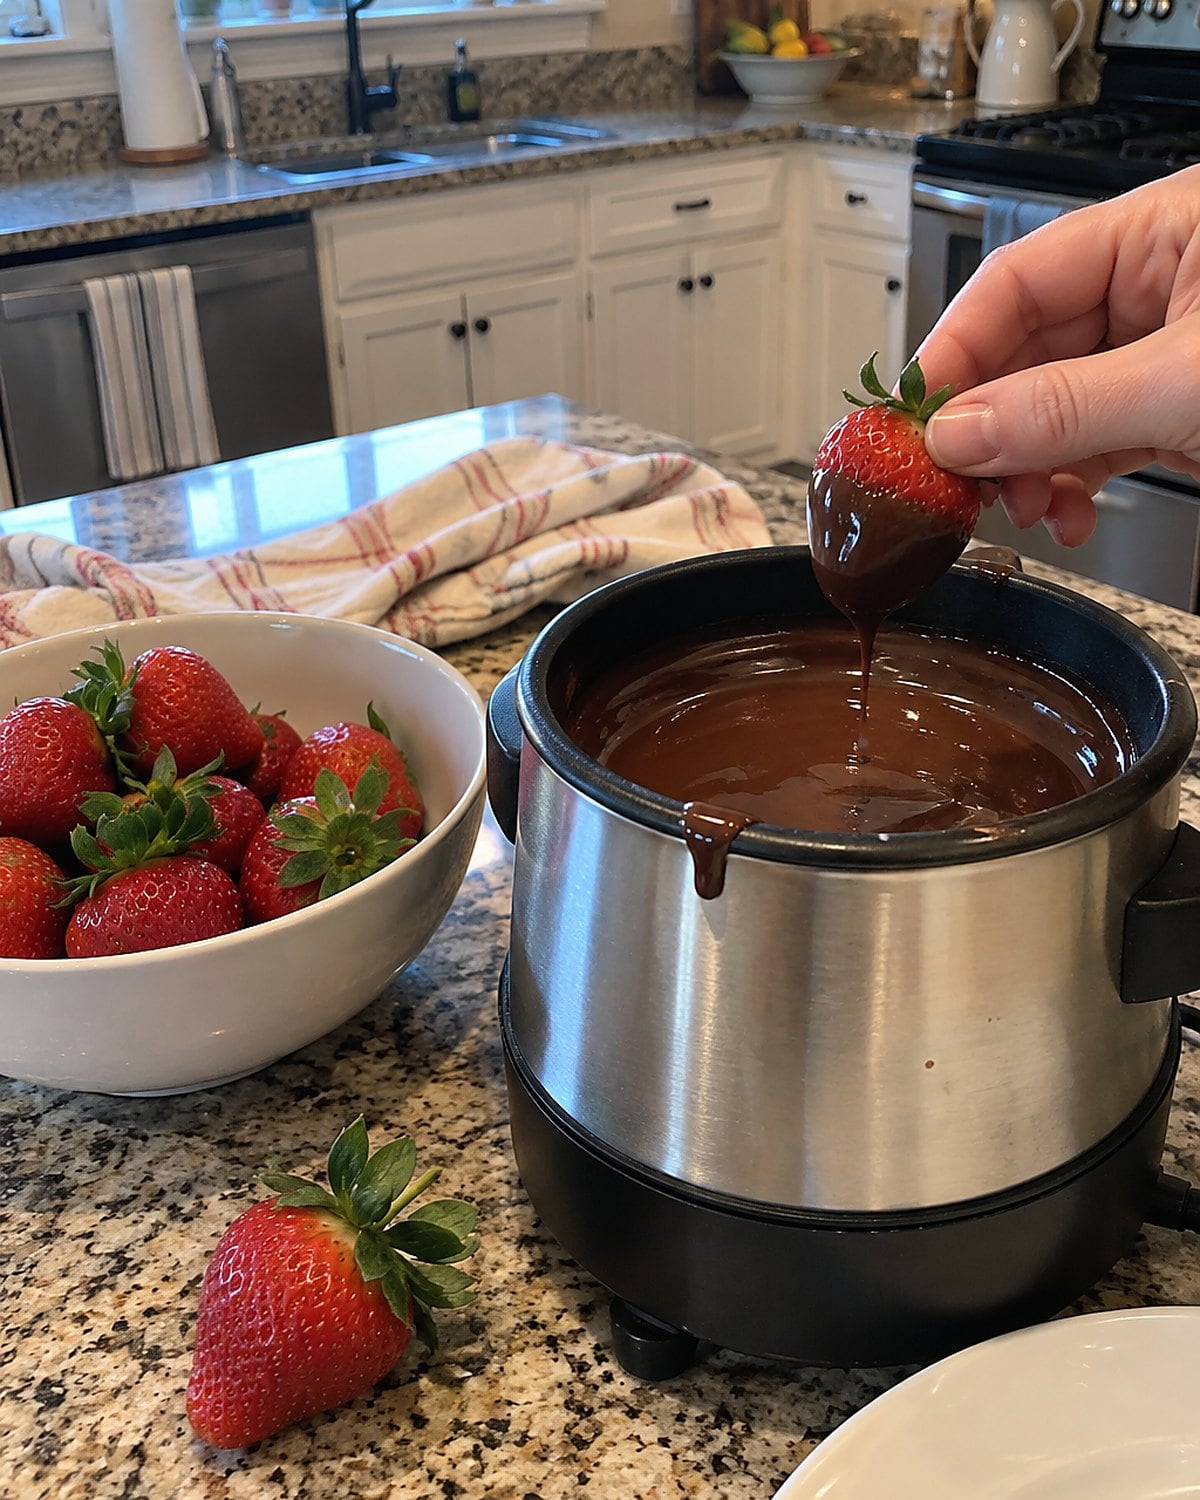
The chocolate pot appeared when someone wanted dipped strawberries for a birthday. It held the chocolate warm, but a spoon and a small pan handled the job next time.
Chocolate dislikes direct, fierce heat. It turns thick and grainy when overheated, and even a little water in the bowl makes melted chocolate seize. That’s why a dry bowl set over barely simmering water works so well. Keep the bowl above the water, stir, and take it off the heat while a few small pieces remain. Stir until they melt.
If you still own the electric pot, inspect its cord and clean, dry insert. Melt a modest amount and see if it holds a smooth dipping texture without scorching. If the dial runs too hot, stop rather than trying to rescue the chocolate with more heat.
For the birthday tray, the useful gadget is whichever leaves you time to dip the berries before the guests arrive.
#1 The countertop can opener beside the sink
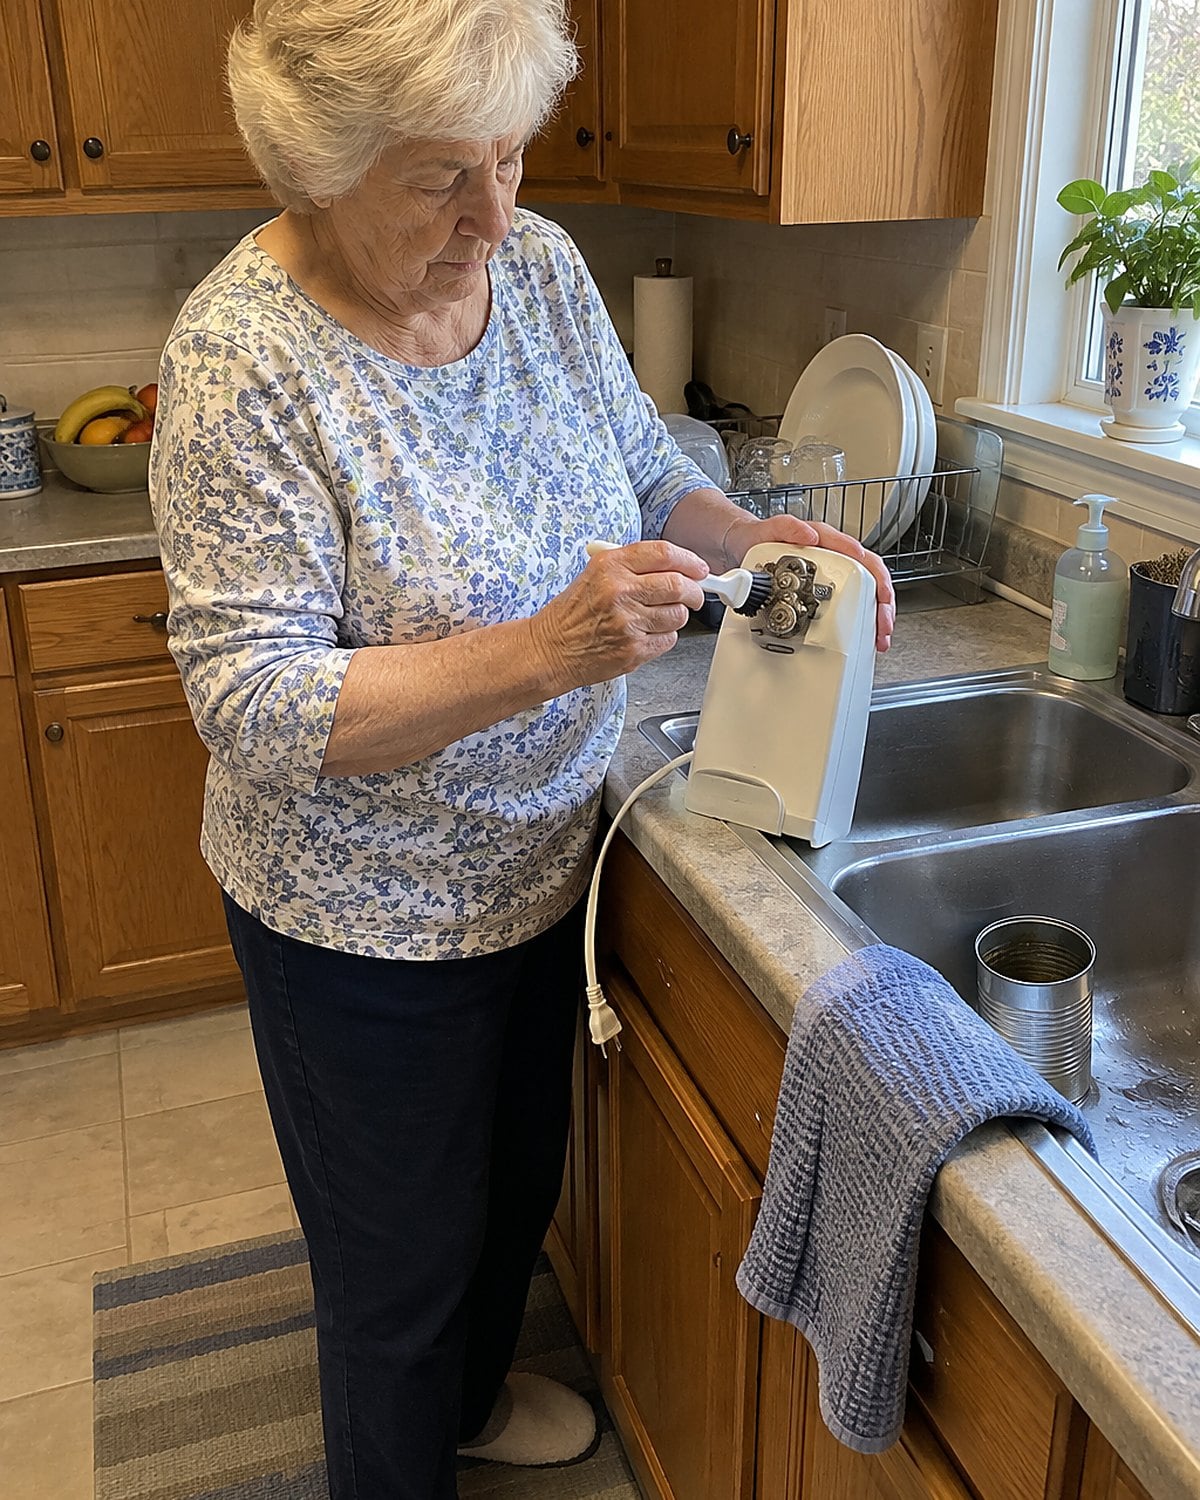
The electric can opener stayed plugged in because it once saved your wrist at the end of a long cooking day. Then its cutting wheel collected tomato paste, its cord crowded the sink, and someone moved it behind the toaster. You kept reaching for it out of habit.
Give this one a fair test tonight. Unplug it and look closely at the wheel and magnet. Clean them according to the maker’s instructions, dry them, and check the cord for cracks. Plug it into a clear counter outlet, away from water, and open a can you actually need for dinner. Watch the lid: it should turn cleanly and stay under control when the cut finishes.
A tool that makes an ordinary task easier earns its place. If the opener slips, leaves ragged metal, or asks you to wrestle a can into position, replace it or use a sturdy hand opener. Don’t put a questionable cutter back beside the food.
The point of this cupboard trip isn’t to empty the kitchen. It’s to leave the helpful things where your hand reaches first.
The bottom line
A gadget earned its spot when it solved a problem you had then. The question now is whether that problem still shows up at supper, and whether the cleanup fits your evening.
You’ve already done the useful part when you test the cord, find the missing piece, and make one ordinary meal before giving a machine shelf space again.
Which appliance would you pull down first, and which one has been holding your best cupboard hostage?




Leave a Reply