If you're an Instant Pot enthusiast, you've probably stumbled upon the heated debate surrounding sealing vs venting Instant Pot. But what's the big deal, right? Well, let me tell you, it can be the difference between a perfectly cooked meal and an absolute catastrophe.
You see, getting the sealing and venting right is like the secret sauce to pressure cook perfection. It's the difference between a mouthwatering, tender meal and a mushy, overcooked disaster. And trust me, no one wants to be the one serving up a pot of disappointment!
Let's demystify the Instant Pot's sealing and venting functions so you can savor delicious meals without the hassle.
Jump to:
What is the Difference Between Sealing and Venting on an Instant Pot?
If you’re new to the world of pressure cooking, the Instant Pot can seem a bit intimidating at first. Unlike traditional stovetop pressure cookers, Instant Pot pressure cookers offer greater convenience and safety, making it essential to understand the difference between sealing and venting your electric pressure cooker.
Understanding the Instant Pot's Pressure Release Methods
The Instant Pot has two main pressure release methods - natural release and quick release. Natural release allows the pressure to dissipate gradually on its own, while quick release involves manually turning the venting knob to rapidly release the steam and pressure.
What's cooking and how you want it to turn out determine which pressure cooking method to use. Get this step right and you'll be on your way to culinary success.
Also see: Natural Release & Quick Release video
How to Properly Seal and Vent Your Instant Pot
To properly seal your Instant Pot, make sure the sealing ring is in place and the venting knob is turned to the "Sealing" position. This ensures that pressure can build up inside the pot during the cooking cycle.
After cooking, you can either let the pressure release naturally or carefully turn the knob to "Venting" for a quick pressure release. Just keep your hands and face away from the steam.
The Role of the Float Valve in Sealing and Venting
The Instant Pot's float valve is like a safety sentinel, warning you when pressure is building inside. When it pops up, you know the pot is locked and loaded, and the lid is securely fastened.
As the pressure drops, the float valve slowly sinks, signaling it's safe to open up and reveal your perfectly cooked meal. The quick release method makes it a breeze.
How to Safely Release Pressure from Your Instant Pot
Before you start whipping up delicious meals in your stainless steel Instant Pot, it's important to know how to safely release pressure. Trust me, I learned this the hard way with a chili incident that left my kitchen ceiling splattered.
Performing the Initial Water Test
When you become an Instant Pot owner, perform a water test to familiarize yourself with the pressure release methods. Add 3 cups of water, seal the lid, and set it to "Manual" or "Pressure Cook" for 5 minutes.
Once it's done, practice using both the natural release and quick release methods. This will give you a feel for how the steam releases and how long each method takes.
Checking the Sealing Ring and Anti-Block Shield
Before each use, always check that the sealing ring is properly seated in the lid and free from debris. The anti-block shield should also be clean and in place to prevent food particles from clogging the steam release valve.
With these simple checks, you'll be cooking like a pro in no time - and more importantly, your Instant Pot will be sealing and pressurizing like a charm.
Related: How Do I Know If My Instant Pot Is Cooking: Key Signs to Check
Quick Release vs. Natural Release: When to Use Each Method
The choice between quick release and natural release depends on what you're cooking. For delicate foods like vegetables, seafood, and pasta, use the quick release method to prevent overcooking.
For tougher meats, soups, and recipes with high liquid content, let the pressure release naturally. This allows the flavors to develop and the pressure to dissipate gradually, resulting in tender, flavorful dishes.
Troubleshooting Common Sealing and Venting Issues
Even with the best intentions, sometimes things can go wrong when sealing or venting your Instant Pot. Here are some common issues and how to troubleshoot them:
Ensuring the Venting Knob is in the Correct Position
One of the most common mistakes is forgetting to set the venting knob to "Sealing" before cooking. If your Instant Pot isn't building pressure, this is the first thing to check.
Always double-check the knob's position and adjust it if needed. After cooking, make sure it's turned to "Venting" for a quick pressure release or left in "Sealing" for a natural pressure release.
Checking for Obstructions in the Steam Release Valve
If your Instant Pot is taking longer than usual to build or release pressure, check the steam release valve for any obstructions. Food debris can sometimes clog the valve, preventing proper venting.
Carefully clean the valve, making sure it moves freely. A clean toothbrush or pipe cleaner can help remove any stubborn bits.
Properly Placing the Sealing Ring and Lid
A misplaced or damaged sealing ring can cause leaks and prevent the Instant Pot from sealing properly. Always make sure the sealing ring is properly seated in the lid groove and free from cracks or deformities.
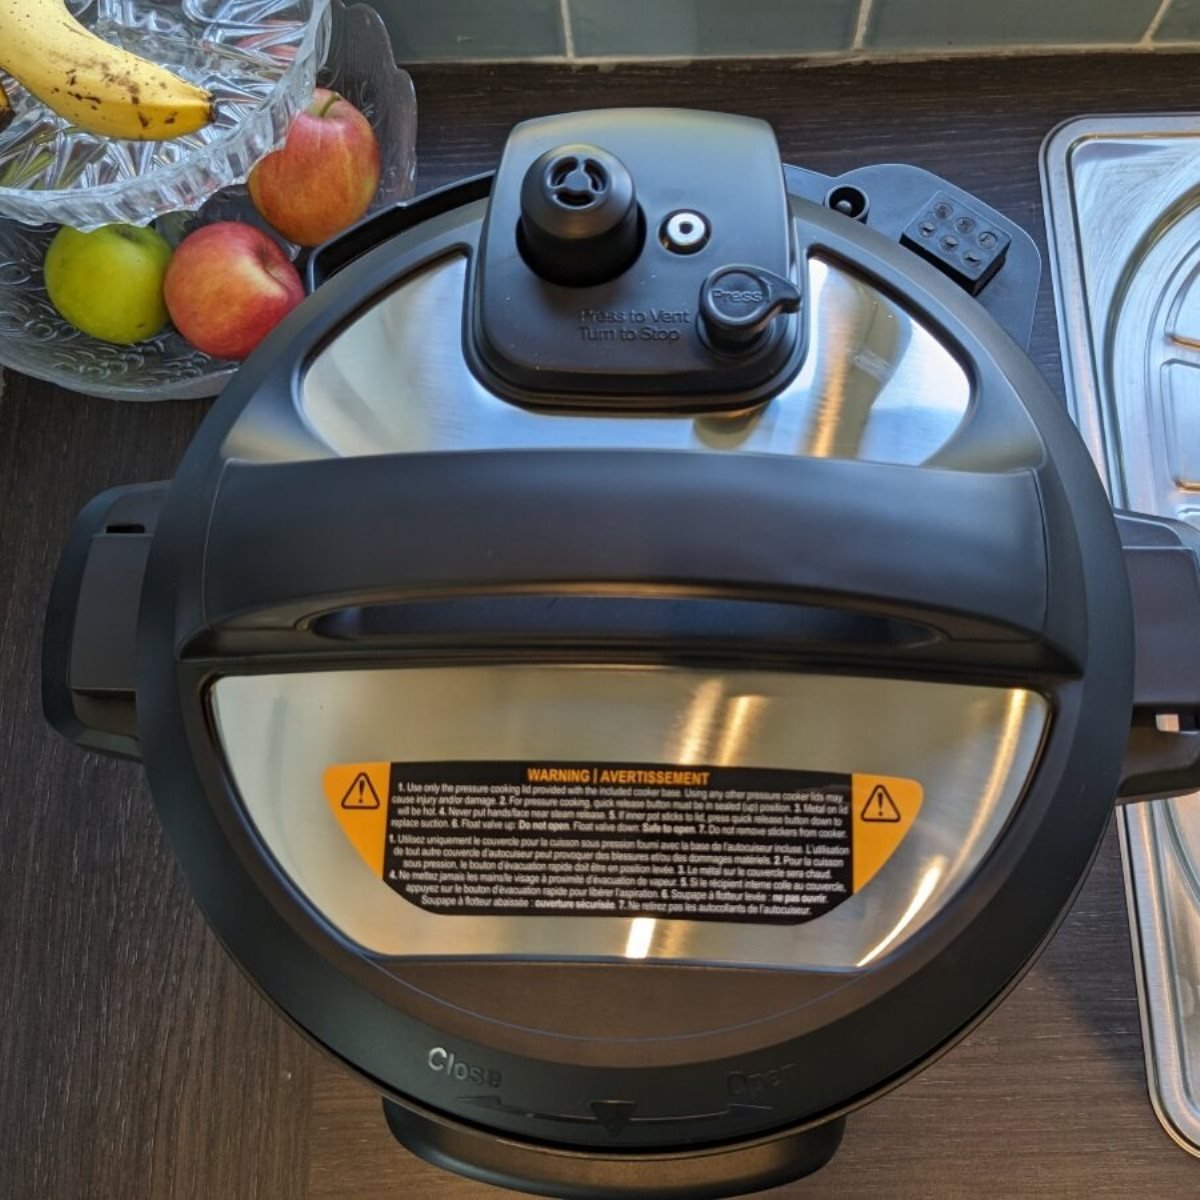
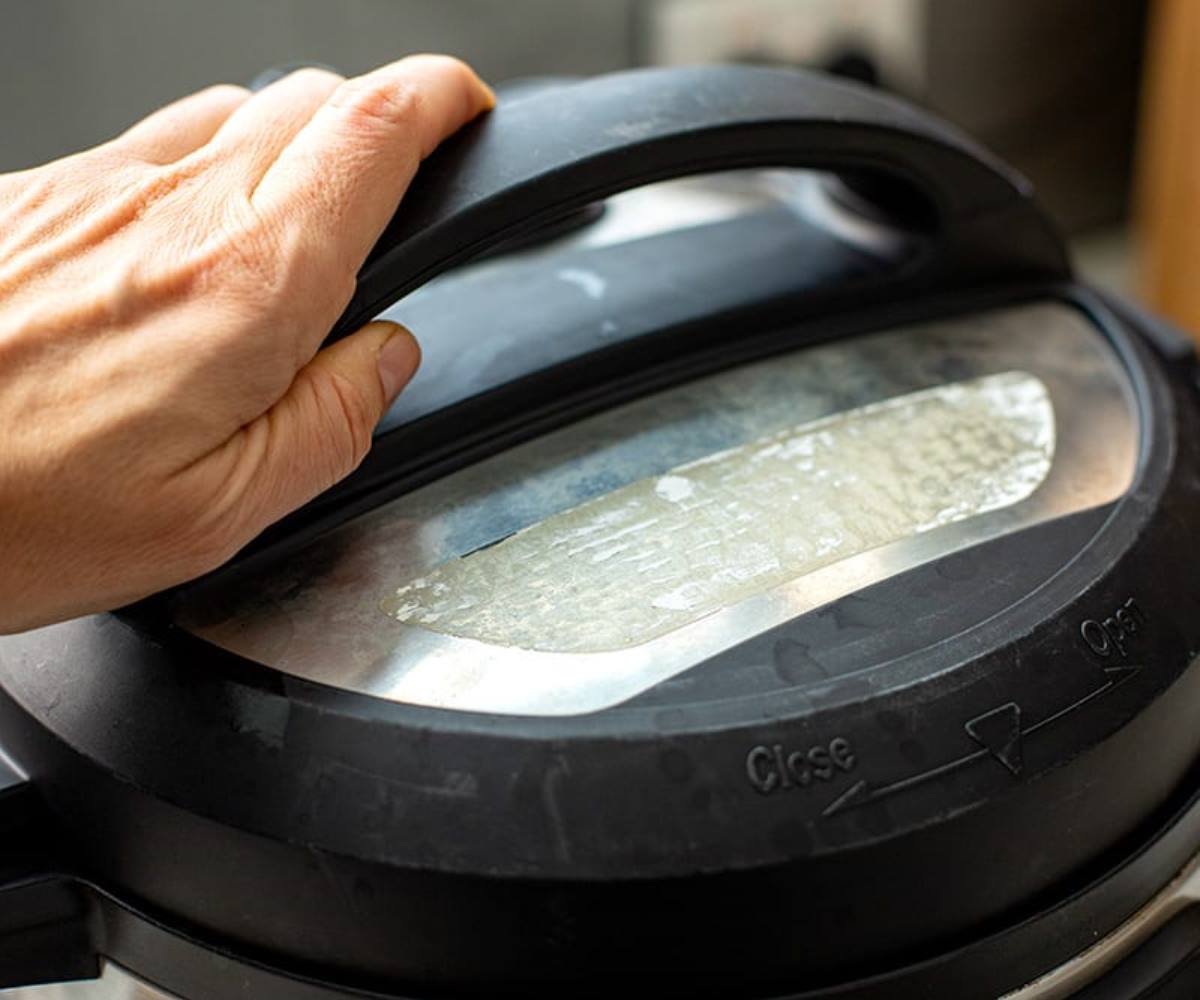
When closing the Instant Pot lid, align the arrow on the lid with the "Open" mark on the cooker base, then twist clockwise until it locks into place. You should hear a chime indicating the lid is secure.
By understanding these common issues and how to troubleshoot them, you'll be able to confidently seal and vent your Instant Pot for perfectly cooked meals every time.
Tips for Optimal Cooking with Your Instant Pot
When it comes to mastering the art of sealing vs venting in Instant Pot, there are a few key things to keep in mind. As someone who’s been using an Instant Pot for years, I’ve learned a thing or two about how to get the best results every time.
The Instant Pot display can help monitor the cooking cycle and indicate the remaining time. Utilizing the built-in cooking functions and adjusting the cook time based on the recipe requirements can help you achieve optimal cooking results.
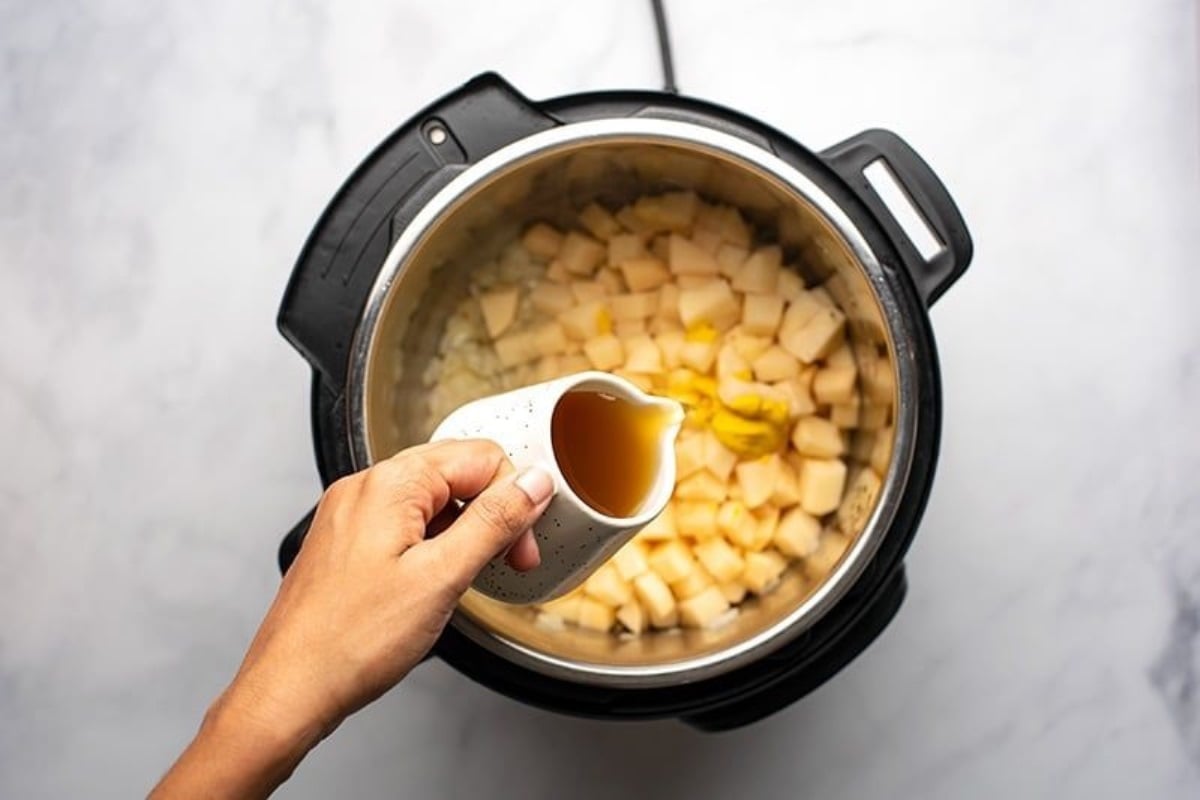
Adding the Right Amount of Liquid
Here's the general rule of thumb I follow: for a 6-quart Instant Pot, you need at least 1 cup of liquid. For an 8-quart, bump that up to 1.5 cups minimum. This ensures that enough steam is generated to build and maintain pressure throughout the cooking cycle.
But don't go overboard. You never want to fill your pot more than ⅔ full with food and liquid combined. Trust me, I've made that mistake before and ended up with quite a mess on my hands. Overfilling the pot can lead to food particles clogging the steam release valve or the pressure release naturally taking much longer than expected.
Also read: Is Instant Pot Worth It? Find Out Why You Should Invest In One
Adjusting Cook Times Based on Recipe Requirements
Nailing that sealing vs venting in Instant Pot balance can be done by adjusting your cook times based on the recipe you're using. Not all foods are created equal when it comes to cooking under pressure. Dense ingredients like large cuts of meat will require a longer cook time compared to delicate vegetables or seafood.
For example, if you're cooking something dense like a big hunk of meat, you'll need to increase the cook time. But for delicate veggies or seafood, err on the shorter side to avoid turning them to mush. The cooking time will also depend on the size and thickness of the ingredients being cooked.
See these recipes: All Instant Pot Recipes
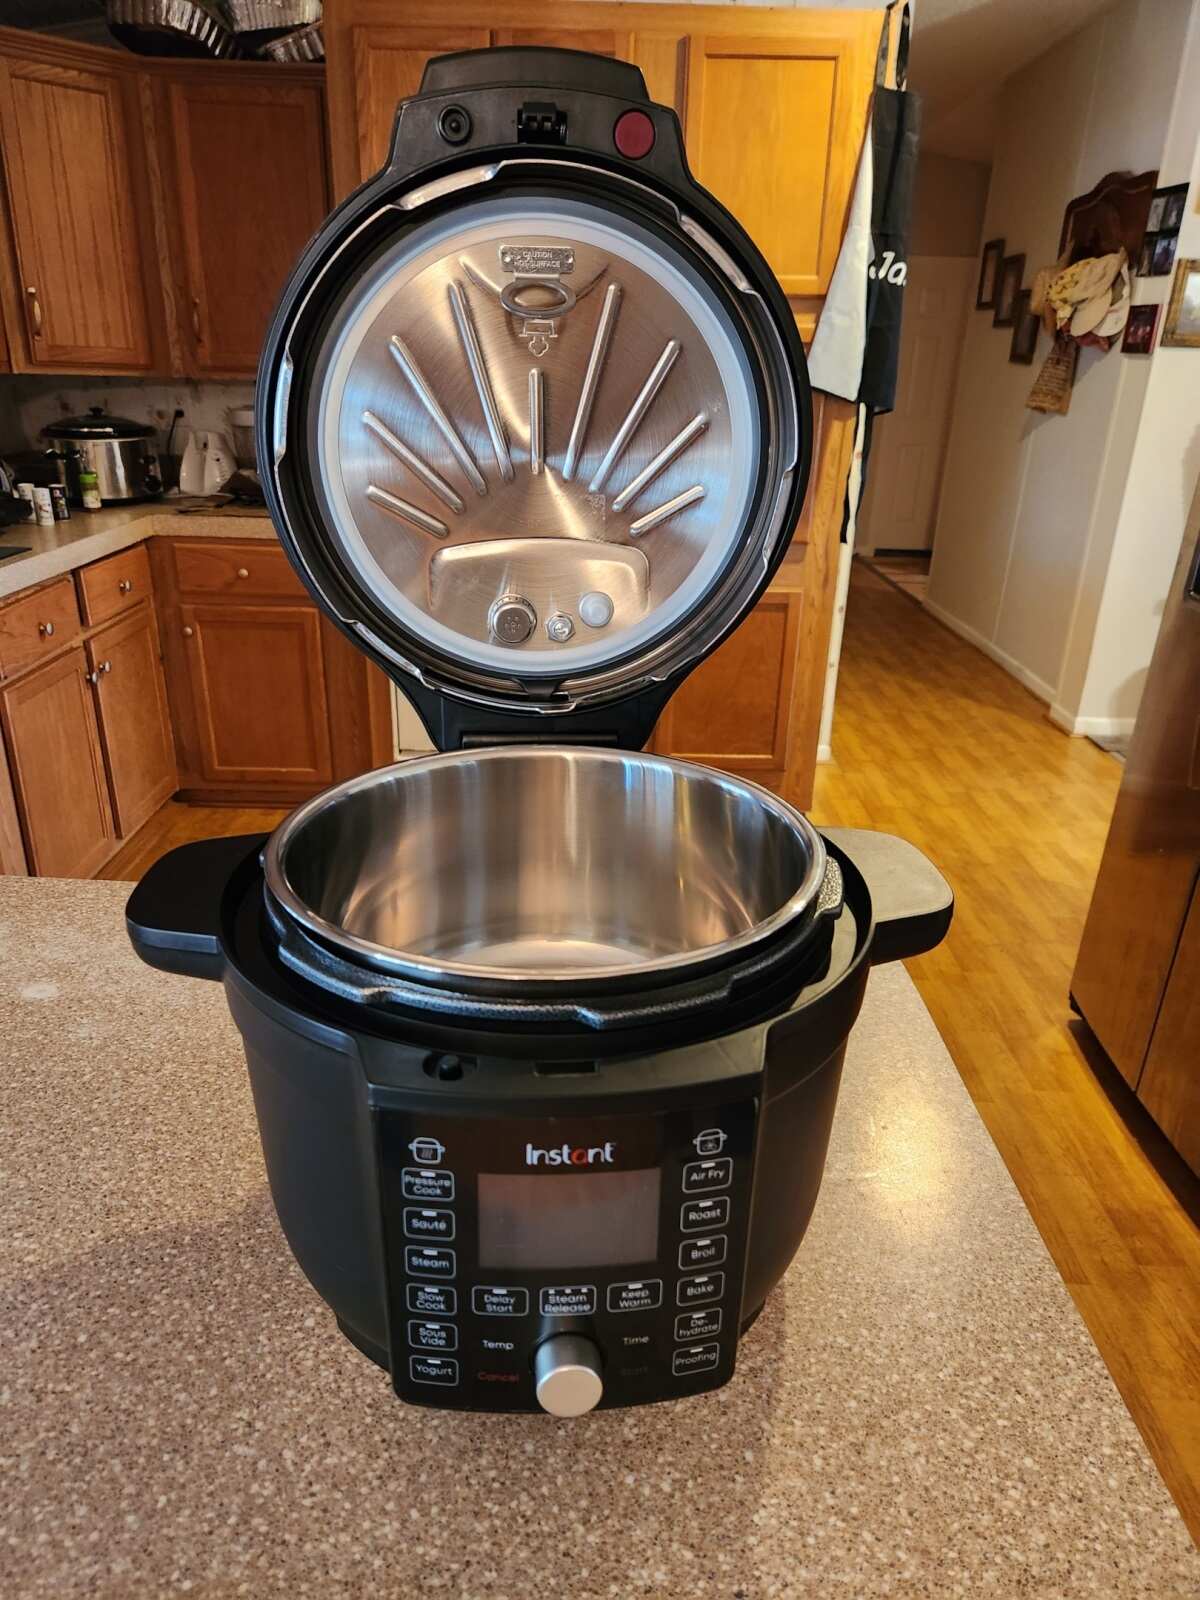
Utilizing the Instant Pot's Built-in Cooking Functions
One of the best things about the Instant Pot is all the preset cooking functions it comes with. These can be a lifesaver when you're first starting out and aren't quite sure how long to cook things for.
From the "Rice" button for perfect fluffy grains to the "Meat/Stew" setting for fall-apart tender proteins, these functions take the guesswork out of pressurized cooking.
Just make sure to adjust the time and pressure level based on your specific recipe. The manual setting can also be used to customize the cooking time and pressure level to suit your needs.
Don't forget to consult the Instant Pot cooking time chart to ensure you are using the appropriate settings for the type of food you are cooking.
Mastering the Art of Sealing vs Venting in Instant Pot
Now that you've got the basics down, let's talk about the most important aspect of using an Instant Pot: sealing vs venting. This is where a lot of people get tripped up, but once you understand how it works, it's really not that complicated. The key is to ensure that the sealing ring is properly installed and the venting knob is in the correct position for the desired pressure release method.
The Importance of the Sealing Ring
First things first: make sure your sealing ring is properly installed and in good condition. This little silicone ring is what creates an airtight seal between the pot and the lid, allowing pressure to build up inside. If the sealing ring is not seated correctly or is damaged, the Instant Pot may not be able to build and maintain pressure.
If your sealing ring is old, stretched out, or not seated correctly, you may have trouble getting your pot to pressurize. I like to keep a spare on hand just in case, and I always make sure to clean it thoroughly after each use to prevent any funky smells from lingering.
A clean sealing ring is essential for ensuring that your Instant Pot functions properly and your food tastes great.
Venting: When and How to Do It
Once your cook time is up, it's time to release that pressure. This is where the venting knob comes into play. If your recipe calls for a quick release, you'll want to turn the knob to the "venting" position right away to let all that steam out. This allows the pressure to release rapidly and stops the cooking process immediately.
But be careful. That steam is hot and can cause burns if you're not cautious. I always use a long-handled spoon or tongs to turn the knob, and I make sure to keep my face and hands away from the steam vent. It's also a good idea to place a towel over the steam release valve to prevent any splatters or spills.
If your recipe calls for a natural release, simply let the pot sit until the pressure releases on its own. This can take anywhere from 10-20 minutes depending on how much liquid is in the pot. A natural pressure release is ideal for foods that benefit from a slower, gentler release of pressure, such as tough cuts of meat or delicate seafood.
The Float Valve: Your Pressure Indicator
Another important component of the Instant Pot lid is the float valve. This little metal pin pops up when the pot is pressurized and drops back down when the pressure is released. It's a visual indicator of whether the pot is safe to open or not.
If the float valve is still up, that means there's still pressure inside the pot and it's not safe to open the lid. Wait until it drops down on its own, or release any remaining pressure using the venting knob before attempting to open the lid. Never force the lid open if the float valve is still in the upright position.
With practice and patience, you'll soon be a pro at sealing vs venting your Instant Pot. Just remember to always follow the recipe, and trustworthy guidelines.
FAQ's
Forgetting to seal the Instant Pot can result in prolonged cooking times and improperly cooked food. It's important to ensure the pressure release valve is set to the sealing position to build pressure inside the pot for pressurized cooking.
It's not recommended to open the Instant Pot lid before it has finished releasing pressure naturally, as this can lead to unsafe conditions and food that's not fully cooked. Always follow the recipe instructions for pressure release methods.
Use the sealing function when you want to build pressure inside the pot for cooking. This is typically done at the beginning of the cooking process when you're using pressurized cooking or other modes that require pressure buildup.
Use the venting function to release pressure from the Instant Pot when cooking is complete or to stop the cooking process quickly. Venting is also used for recipes that require a quick pressure release to prevent overcooking certain foods.
Conclusion
Sealing vs venting in an Instant Pot - who knew such a small detail could make such a big impact? But now you're armed with the knowledge to take your pressurized cooking to the next level.
You've mastered the art of sealing and venting, and you know the tricks to avoid common mistakes. Now, you can confidently decide when to use quick release or let pressure release naturally, and get the best results every time.
So go forth and conquer your instant pot fears. Impress your friends and family with perfectly cooked meals every time! And most importantly, enjoy the fruits of your labor - because you've earned it!


Leave a Reply