Zesty and summery, this Instant Pot lemon cheesecake is not only delicious but is also keto-friendly. Made with low-carb crust and creamy filling with a hint of lemon and vanilla, this is a dessert you can enjoy with the whole family and they won’t even know that it’s sugar-free. This cake is a guest recipe from Catalina Castravet of Sweet & Savory Meals.
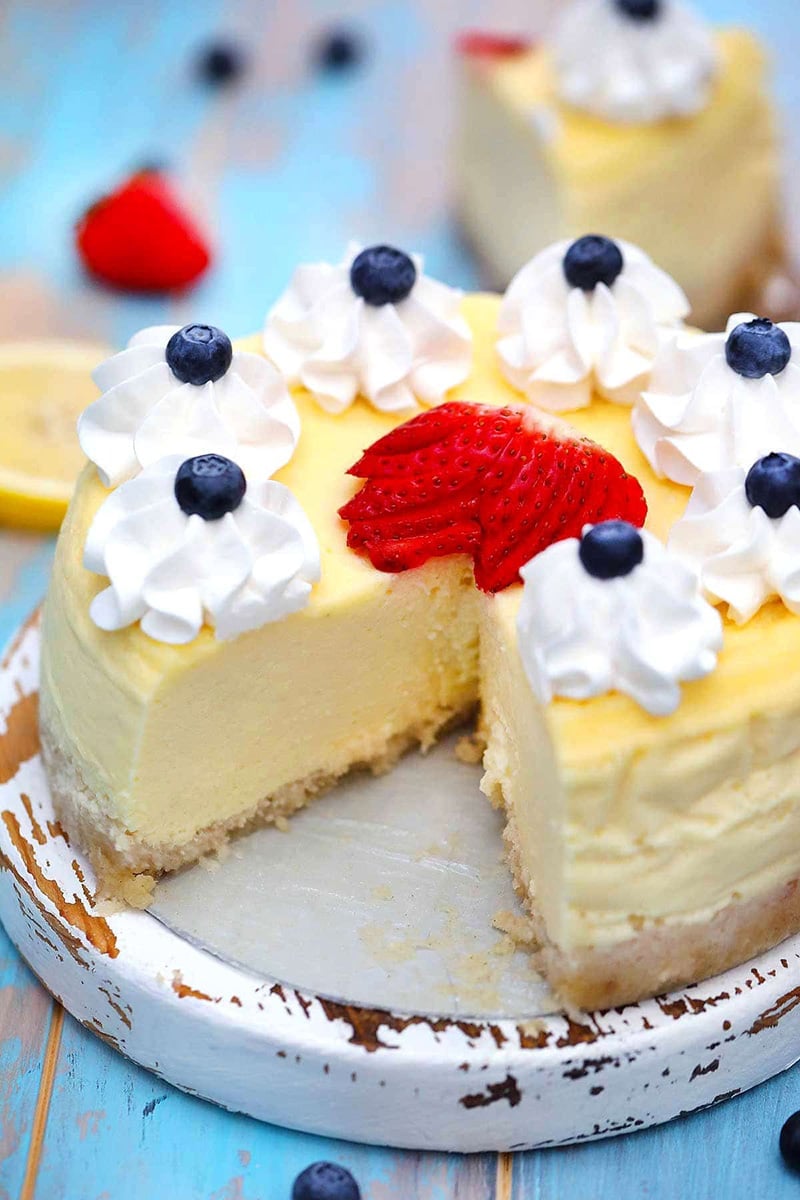
Cheesecake is a traditional and classic dessert that is pretty much loved by everyone. There are dozens of variations of cheesecakes that you can make, starting from the classic vanilla all the way to caramel pecan cheesecake or even Rafaello sweets inspired creations.
They are all delicious and super flavorful. You can serve the cheesecake pretty much on any occasion, such as birthday parties, or Valentine’s Day. I am a huge keto fan, and in this recipe, I will share with you how to make an amazing and easy keto Instant Pot lemon cheesecake.
WHY MAKE THIS KETO LEMON CHEESECAKE
There are a few reasons why I personally love this Keto version over any other.
Firstly, it is a low-carb dessert that is also sugar-free. It can be enjoyed by anyone on a keto diet but also those that want a cake that won’t shoot their sugar levels through the roof, leaving them feeling like a nap half an hour later. Even though it’s low-carb, it tastes just as delicious and super flavorful and your kids and family will never know that it’s sugar-free!
Another reason - it is made in the Instant Pot! It is super simple, and very fast compared to the traditional method. Because the cake is cooked under pressure, the cooking time is drastically reduced.
The Instant Pot has a more stable and accurate temperature than the oven. Therefore, you do not need to guess and watch the temperature. The end result will speak for itself. In addition, you do not need to worry about water bathing the cake, because the Instant Pot has a water batch by default.
Even if you do not intend to go keto, I highly recommend you try this recipe. I have been using the Instant Pot for about 5 years now, and this recipe is well worth the try. It is ready in no time, and just as good as the classic one. I will share with you below how to make this dessert, as well as some recipe tips.
You can also check out my other Instant Pot desserts such as this creme brulee and my key lime cheesecake recipe.

How To Make Instant Pot Lemon Cheesecake
This recipe first appeared on my website and for this guest feature I have amended the recipe to be a little more lemony. You will find the full list of ingredients, instructions and a nutritional breakdown below and if you want to see the video for how to make this Instant Pot cheesecake, you can visit the original recipe post here. But the general steps are the following:
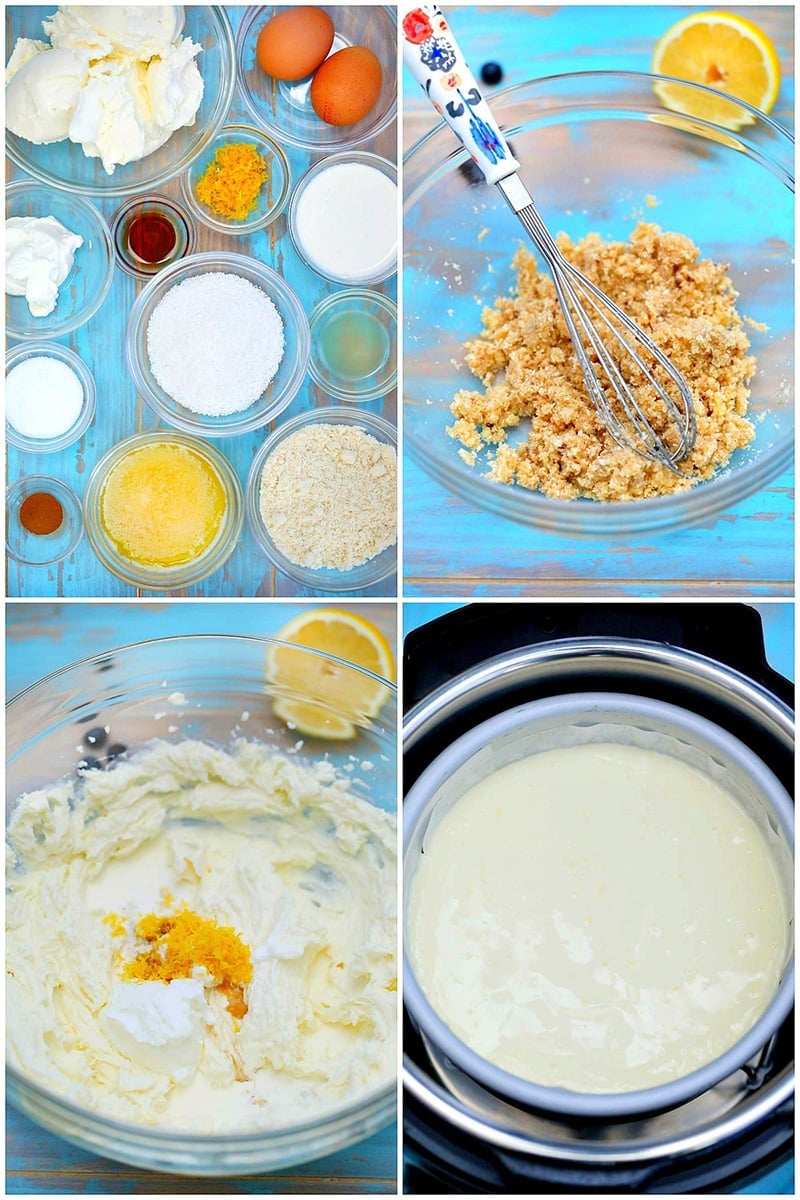
- Get the ingredients ready: Because the Instant Pot cooks everything fast, you want to ensure to have all the ingredients ready to go.
- Make the crust: Combine the crust ingredients, and press it down into the pan. Then, chill the crust in the refrigerator.
- Make the filling: Beat the filling ingredients together, until smooth.
- Assemble: Add some water to the bottom of the pot, and then pour the filling over the crust.
- Cook: Close the lid, and cook on High for 30 minutes, followed by Natural Pressure Release.
- Cool: Once cooked, cool the cake, then serve.
You can top it with whipped cream and blueberries for a more festive look. Another trick is to pan-fry a few lemon slices in butter to give them that lovely burnt, caramelised look and place them on top.
What makes this cheesecake keto & sugar-free?
This keto cheesecake crust uses low-carb and high-fat ingredients like almond meal and coconut, while the filling is made with high-fat fat cream cheese and sour cream. Erythritol is a sugar-free sweetener and is used instead of refined white sugar or a natural sweetener. You won’t be able to tell the difference! Choosing lemon and vanilla allows for plenty of flavour without added carbohydrates or sugar.

Rate This Recipe
Instant Pot Lemon Cheesecake (Keto, Grain-Free)
Ingredients
For the low-carb crust:
- ½ cup almond flour blanched
- ½ cup coconut shredded, unsweetened
- 4 tablespoons butter unsalted, melted
- 1 tablespoon powdered erythritol sweetener
- ¼ teaspoon cinnamon powder
Sugar-free Cheesecake Filling:
- 16 oz. cream cheese softened to room temperature (450 g)
- ⅔ cup powdered erythritol sweetener
- 2 large eggs room temperature
- ¼ cup heavy whipping cream room temperature
- ¼ cup sour cream
- 1 tablespoon lemon zest
- 2 tablespoons fresh lemon juice
- 1 teaspoon vanilla extract
Garnish:
- 2 cups heavy cream
- 2 tablespoons powdered erythritol sweetener
- 1 teaspoon vanilla extract
- Blueberries and/or strawberries
Instructions
Cheesecake Crust:
- Prepare springform pan with parchment paper
- Lightly coat a 7x3-inch springform pan with nonstick spray and set aside.
- Add all the crust ingredients to a large bowl and stir until well combined.
- Press the mixture into the prepared springform pan.
- Press the crust and try to line the sides about to the middle of the pan edges.
- Freeze for at least 20 minutes.
Make the filling:
- Add cream cheese and erythritol to a large bowl. Use a hand mixer to beat on low speed until well-mixed.
- Add heavy cream, sour cream, lemon juice, lemon zest, and vanilla extract. Beat on low speed until smooth, about 30 seconds. Stop to scrape the sides and bottom of the bowl.
- On low speed, add the eggs one at a time, beating until just combined, careful to not over-mix.
- Pour the batter over the crust, and flatten the top with a spatula.
Cook the cheesecake in Instant Pot:
- Place the metal trivet into a 6-qt Instant Pot and add 1 ½ cups water.
- Gently transfer the cheesecake pan on top of the trivet.
- Select manual setting and adjust the pressure to high. Set time to 30 minutes.
- When finished cooking and the Instant Pot beeps, release pressure naturally for about 20-30 minutes. Manually release any remaining pressure by gradually turning the release knob to its venting position.
- Carefully open the pot and transfer cheesecake to a cooling rack. The cheesecake should be jiggly, but not liquidy.
- Let it cool for 1 hour, after which run a paring knife around the edges.
- Transfer cheesecake to the refrigerator for at least 12 hours or overnight.
Serving the cheesecake:
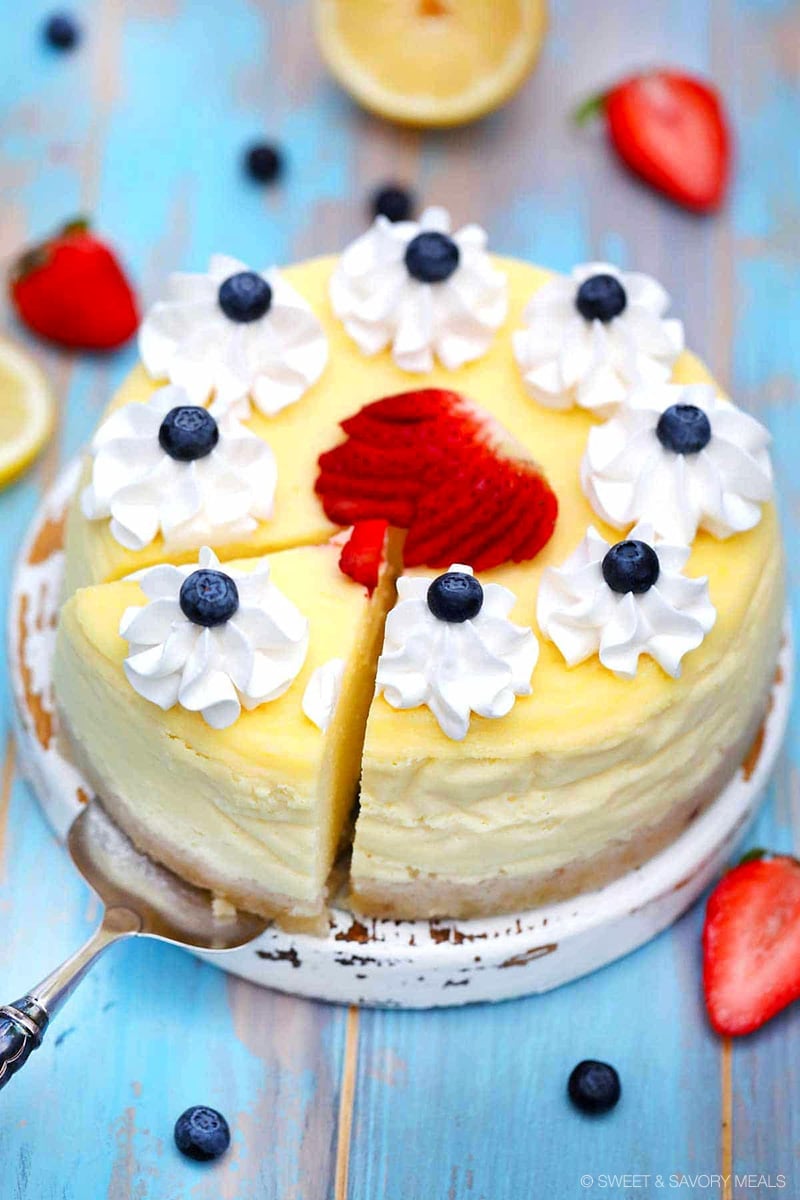
- Beat heavy cream, erythritol, and vanilla until stiff peaks form. Pipe on the cheesecake, garnish with blueberries and a few strawberries in the center.
- Carefully remove the chilled cheesecake from the pan. Peel off the parchment paper. Slice and serve.
Nutrition
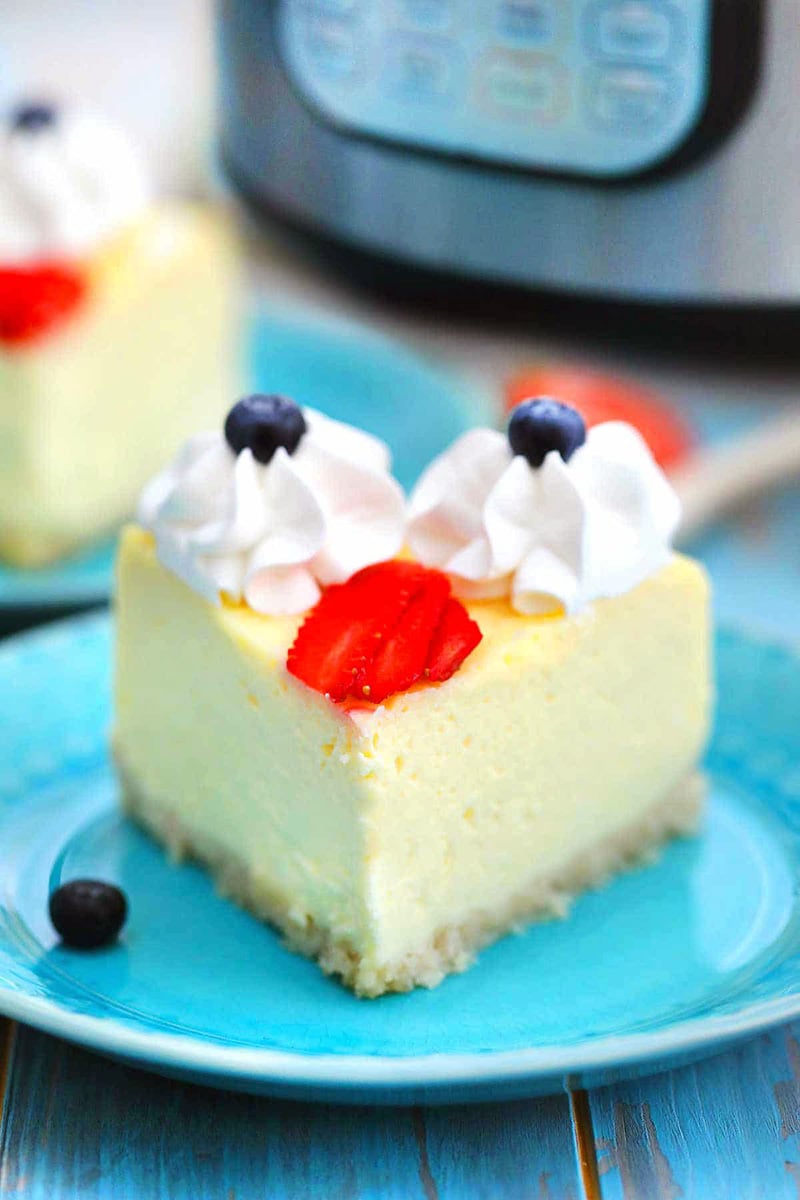
Can you make it in advance?
Absolutely! This is a great recipe to make ahead and store it in the fridge for days to come. Actually, it will taste better this way, as the cake cools, and incorporates all the flavors together. Simply cook it according to the instructions, and then transfer it to the fridge. It is best to store the cheesecake in the fridge for up to 4 days.
In addition, you can easily freeze it. Just ensure to use a freezer-safe dish, and freeze it up to 3 months. To thaw it, remove the cheesecake from the freezer, and let it thaw on the counter overnight. Or, transfer it from the freezer to the fridge, and let it stay overnight.
About the recipe author

Catalina Castravet is the creator of Sweet and Savory Meals. She is a professional chef and food blogger who is always on the lookouts for tasty and delicious recipes. Over the past 10 years, her team have created well over one thousand recipes, starting from quick breakfasts, to delicious dinner meals. All the recipes are shared for free with their followers and readers. Follow Catalina on Instagram here.
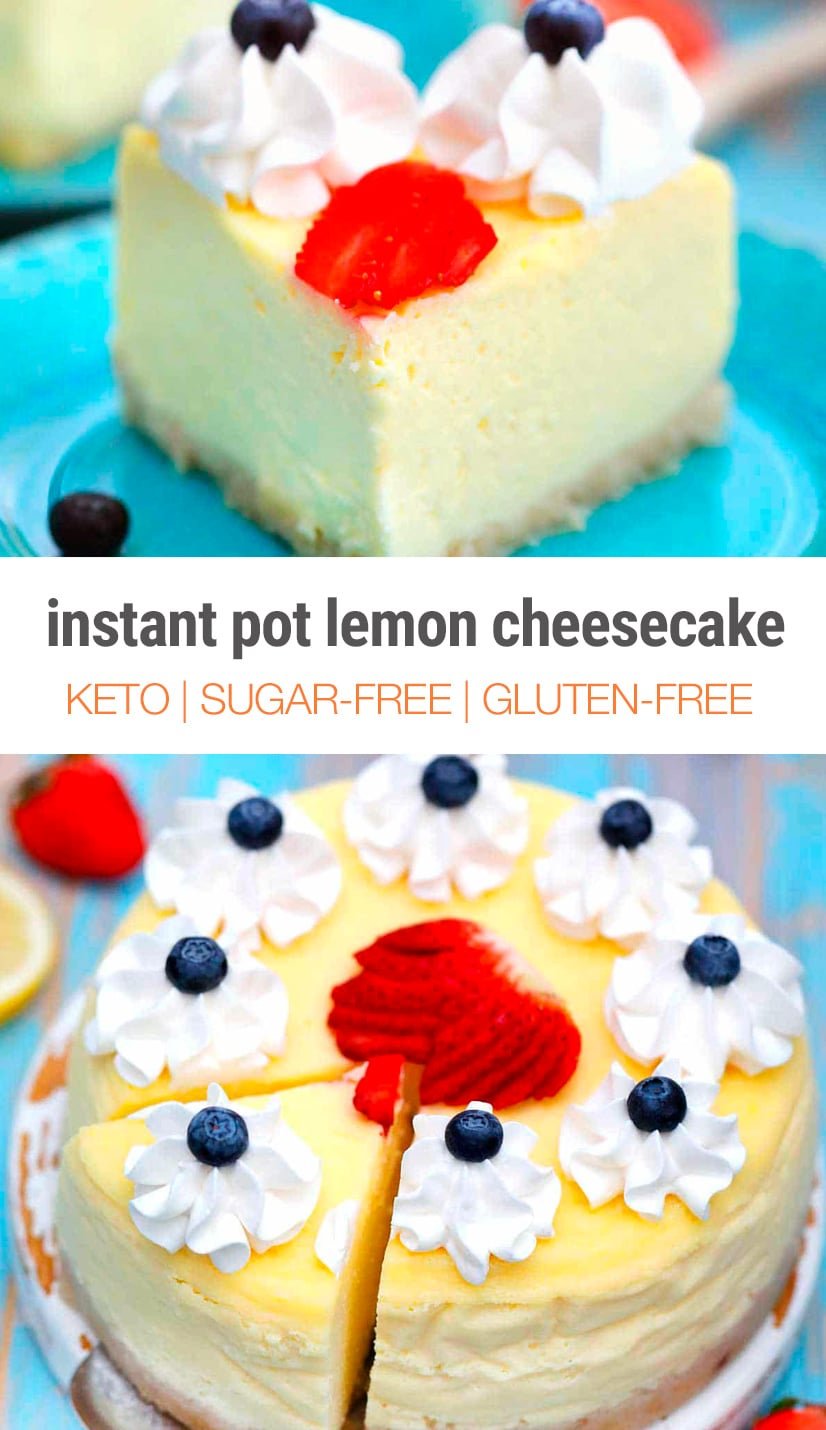
SAVE THIS INSTANT POT CHEESECAKE TO PINTEREST





Vicky Rafn
If I don't wish to purchase and use erythritol, how much sugar would I use instead? It sounds wonderful and want to try to make it with dairy-free ingredients.
Instant Pot Eats
1-2 tablespoons of sugar in the crust (depending on how sweet you like it) and 2/3 of a cup to 1 cup of sugar in the filling as well (again, depending on your sweet tooth preferences).
Kimberly
I detest shredded coconut. Wondering if I can just up the almond flour or what would you recommend?
instantpoteats
Yeah, just use extra almond flour or even add some peanut flour if you can find some.
Mary-Ellen Hodder
Plan to make this recipe tomorrow. Read the recipe carefully and find that I need to remove the chilled cheesecake from the pan then peel off the parchment paper. Nowhere in the recipe does it instruct me to put on the parchment paper. At what point do I do this?
Ann Fabrizio
Sorry about that. Prep springform pan with parchment paper at the start. This is an optional step but it will make your life easier when it is time to take out of the pan. Cut a circle shape for the bottom and a long strip for the sides.