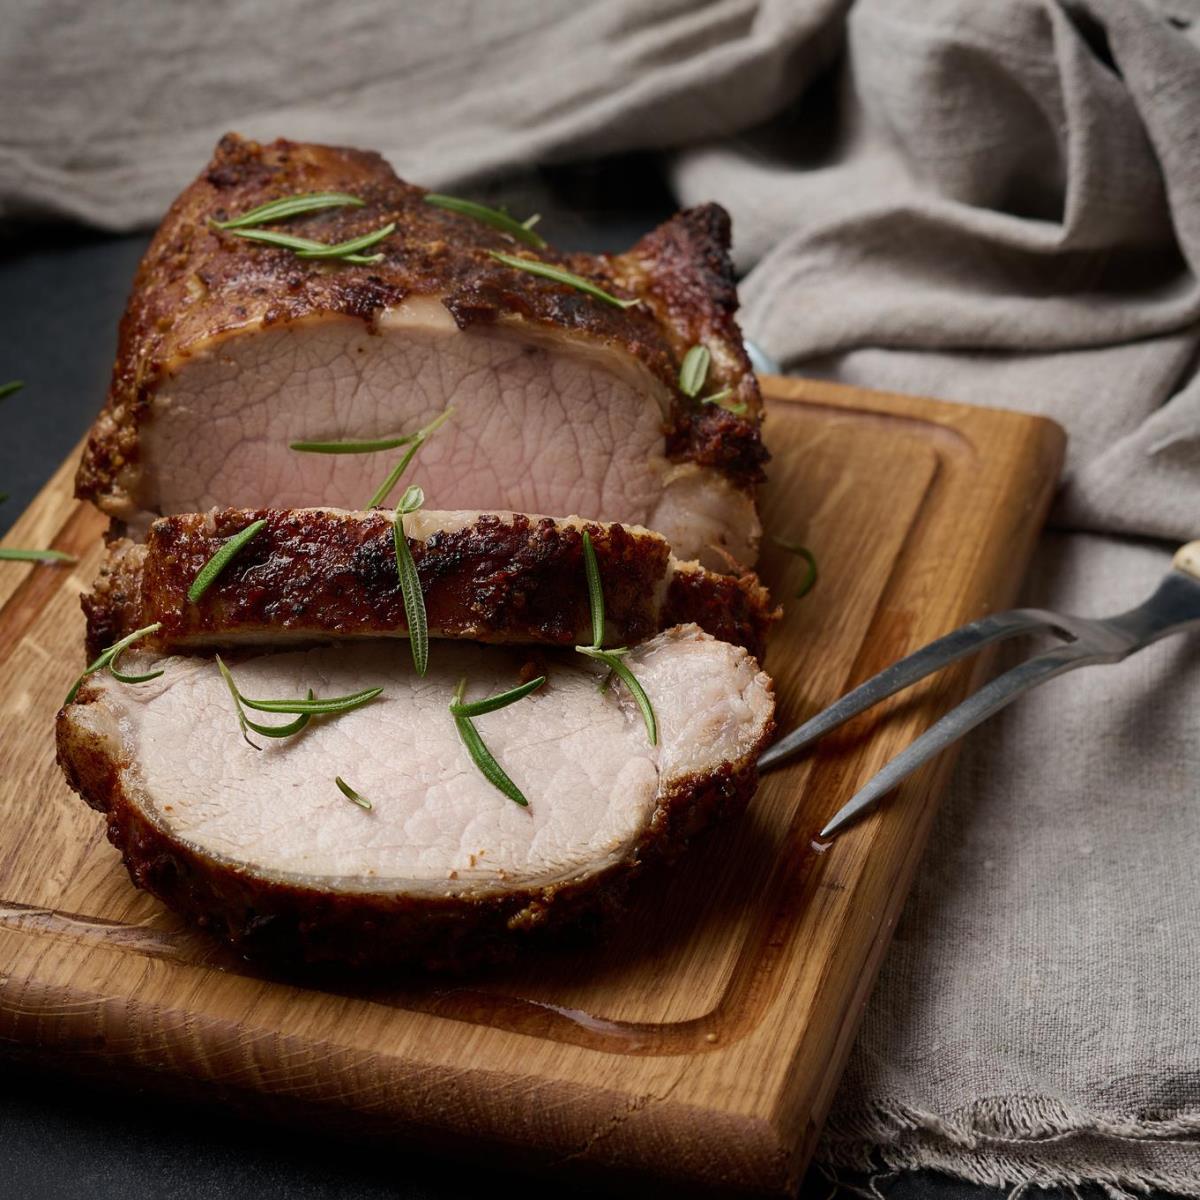
Hey there! So, you've got your Instant Pot ready and you're itching to whip up something delicious. Well, let me tell you, learning how to brown meat in Instant Pot is like unlocking the gateway to flavor town! But hold on just a sec, because there's more to it than just tossing meat in and hitting a button!
With the Instant Pot's unique design and multiple functions, it can be tricky to know exactly how to achieve that perfect sear. Stick with me, and I'll walk you through the secrets to achieving that perfect golden-brown sear that'll take your dishes from good to gourmet!
Jump to:
How To Brown Meat In Instant Pot
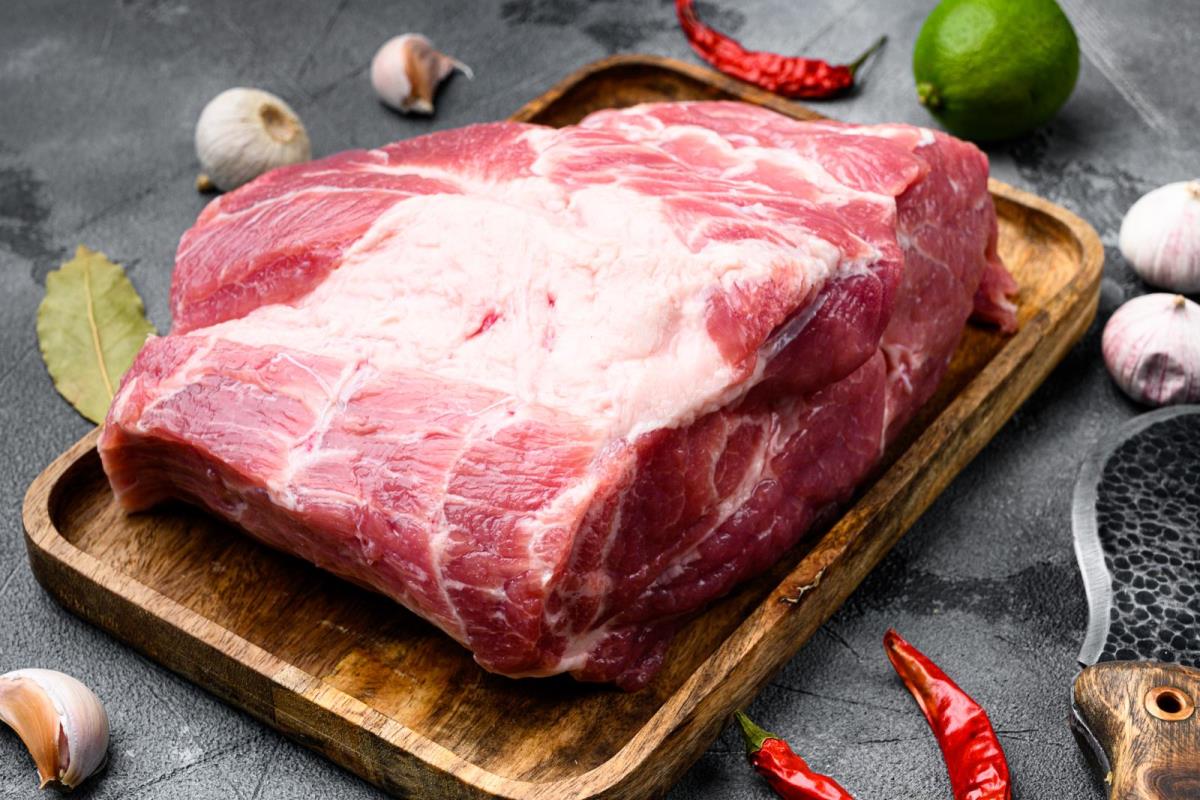
Browning meat in an Instant Pot takes longer compared to cooking on the stove, but the convenience of not having to transfer food between pots makes it worth the small inconvenience. You’re not just browning the meat to develop rich flavors, but doing it all in one pot. Less mess, less cleanup - always a win in my book.
Choosing The Right Cut Of Meat
When it comes to browning meat in your Instant Pot, not all cuts are created equal. You want to choose cuts that can withstand the high heat and pressure of the Instant Pot cooking process.
My go-to choices? Chuck roast, stew meat, pork shoulder, and chicken thighs. These cuts have enough fat and connective tissue to stay moist and tender, even after browning and pressure cooking.
Preparing The Meat For Browning
Next, cut the meat into evenly sized pieces. This ensures consistent cooking and browning. Finally, season the meat generously with salt, pepper, or your favorite spice blend. Don't be shy - this is your chance to build flavor.
Setting Up Your Instant Pot's Saute Function
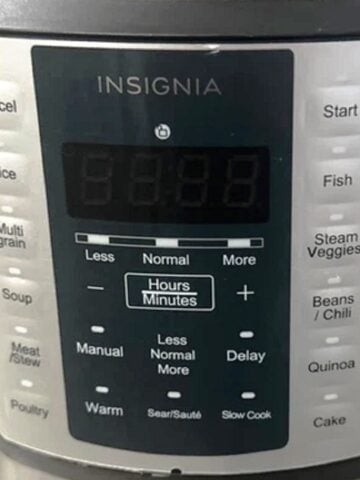
Now it’s time to get your Instant Pot ready for action by using the sauté function. Set it to the “Saute” function on high heat and let it fully preheat. You’ll know it’s ready when the display reads “Hot.” This usually takes about 5 minutes.
Note: Preheating is crucial for proper searing and developing that flavorful crust on your meat. Don’t skip this step!
Adding Oil To The Pot
Once your Instant Pot is nice and hot, it's time to add some cooking oil. Choose an oil with a high smoke point, like canola, vegetable, or coconut oil. You just need enough to coat the bottom of the pot - about 1-2 tablespoons should do the trick. Avoid using olive oil, which has a lower smoke point and may burn at high temperatures.
Browning The Meat In Batches
Carefully place your seasoned meat pieces in the Instant Pot or any electric pressure cookers with a brown or sauté function, making sure not to overcrowd the pot. Leave some space between each piece so they can brown evenly. Work in batches if needed.
Sear the meat undisturbed for 3-5 minutes per side, until a deep golden crust forms. Then remove the browned meat and set aside. Repeat with remaining batches, adding more oil if the pot looks dry. Patience is key here - don’t rush the browning process!
Deglazing The Pot
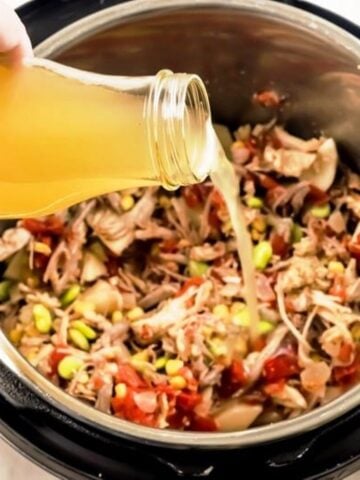
After browning the meat, you'll likely see some browned bits stuck to the bottom of the pot. These are flavor gold. To prevent a burn warning and incorporate those tasty bits into your dish, deglaze the pot. Simply add a splash of cooking liquid (water, broth, wine) and scrape up the bits with a wooden spoon.
Now you're ready to pressure cook the browned meat if your recipe calls for it. Or, use the saute function to finish your dish right in the Instant Pot.
Also read: How Long Does Instant Pot Take to Preheat? Quick Guide
Best Cuts Of Meat For Browning In An Instant Pot
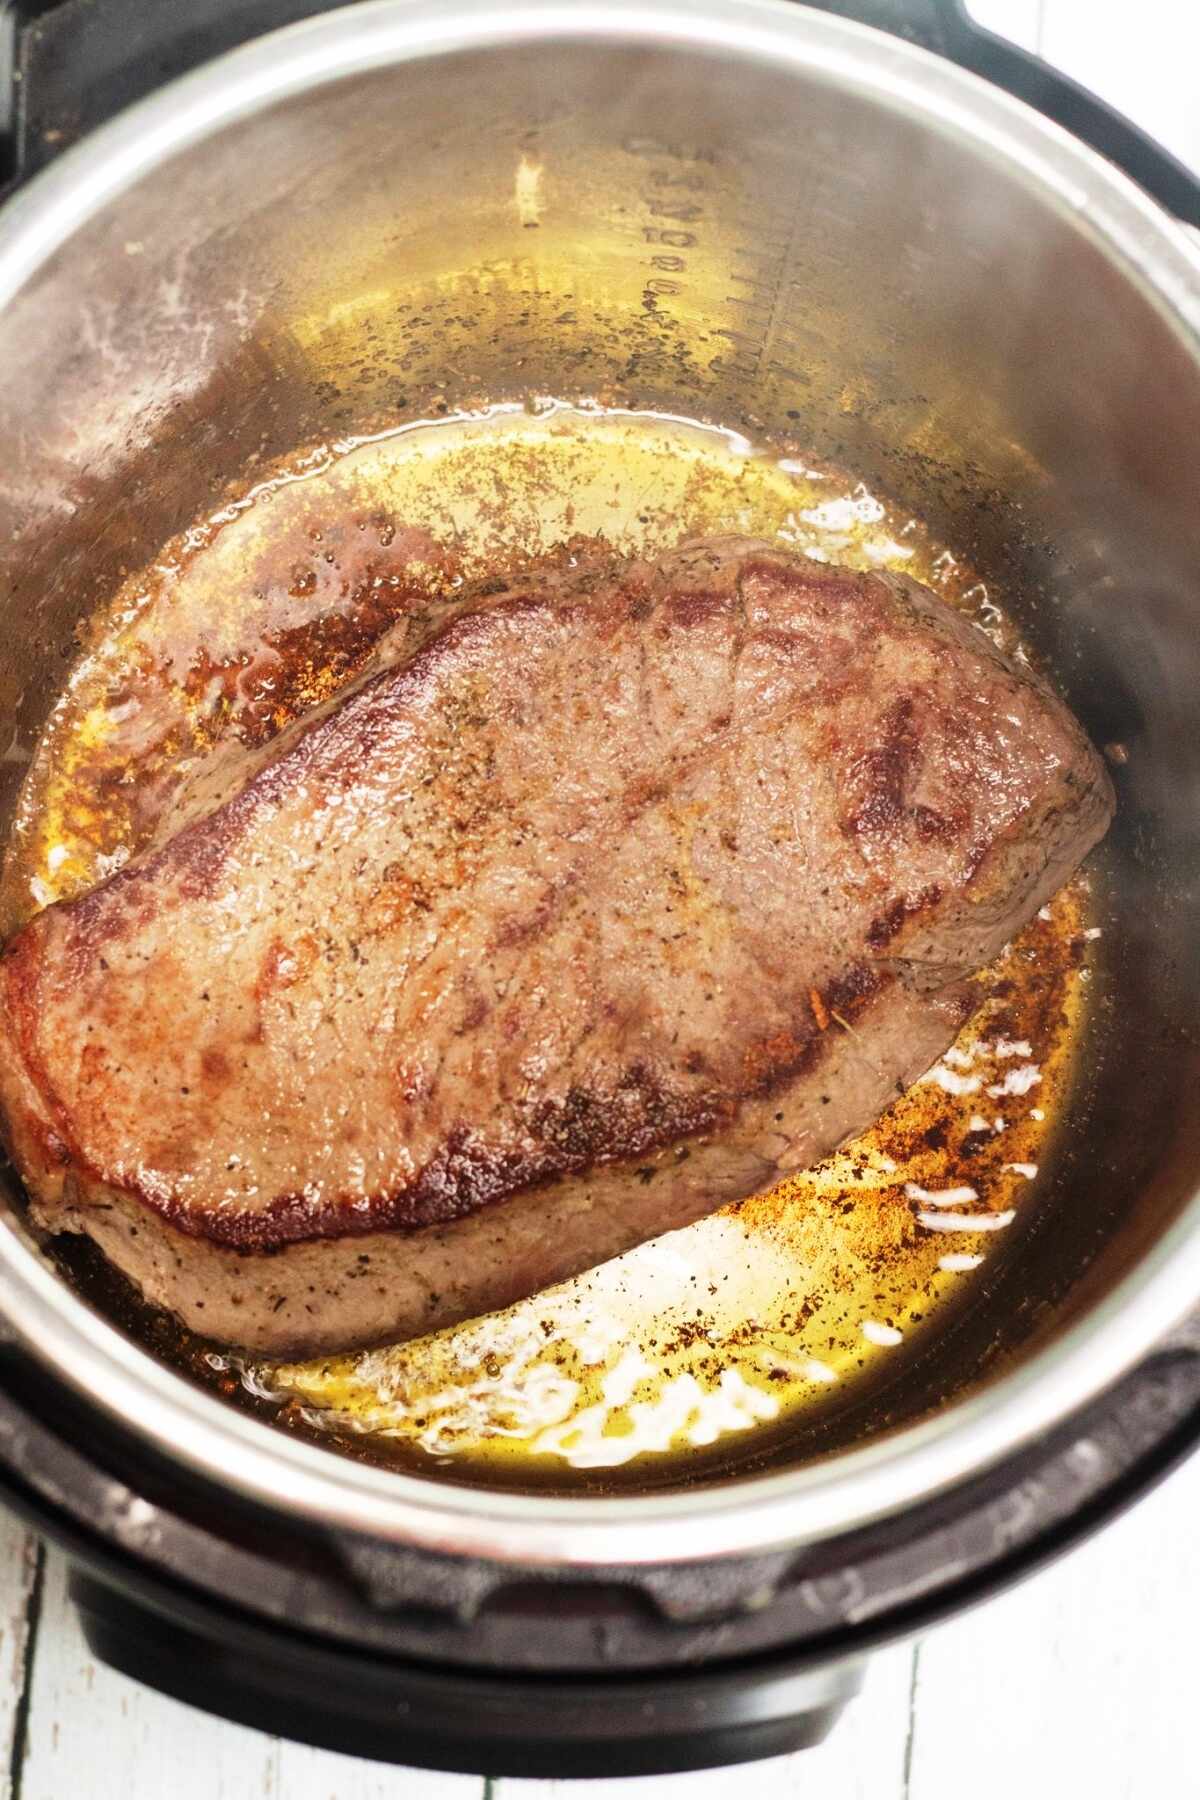
When it comes to browning meat in your Instant Pot pressure cooker, some cuts simply work better than others. Here are my top picks for the best cuts of meat to brown and pressure cook:
Ground Beef
Ground beef is a budget-friendly, versatile option that browns quickly in the Instant Pot. It's perfect for chili, spaghetti sauce, tacos, and more. I recommend using ground beef with some fat content (80/20 or 85/15) for better flavor and moisture. Leaner ground beef can dry out during pressure cooking.
Chicken Thighs
The crowd favorite when it comes to Instant Pot recipes with browning required is the chicken thigh. With a higher fat percentage and more connective tissue than breasts, thighs deliver flavor and moisture even after browning and pressure cooking. Use bone-in, skin-on thighs for that extra oomph, or fall back on boneless, skinless for simplicity.
Beef Stew Meat
Pre-cut beef stew meat, usually from tougher cuts like chuck or round, is ideal for browning and pressure cooking until tender. Browning the cubes first adds flavor to stews, soups, and curries. The Instant Pot then works its magic, breaking down the tough fibers and making the meat melt-in-your-mouth tender.
Pork Shoulder
Pork shoulder (also known as pork butt or Boston butt) is a flavorful, marbled cut that benefits from browning before pressure cooking. It's perfect for pulled pork, carnitas, stews, and more. Browning the pork in smaller chunks helps render some of the fat and caramelize the exterior.
Check out this recipe: Instant Pot Pork Shoulder & Gravy (Step-By-Step)
Lamb Shanks
Lamb shanks are a tougher cut that becomes incredibly tender and flavorful when browned and pressure-cooked. Browning the shanks first creates a rich fond on the bottom of the pot that flavors the braising liquid. An hour or so under pressure, and you've got fall-off-the-bone tender meat that's packed with flavor.
Tips For Achieving Perfect Browning In Your Instant Pot
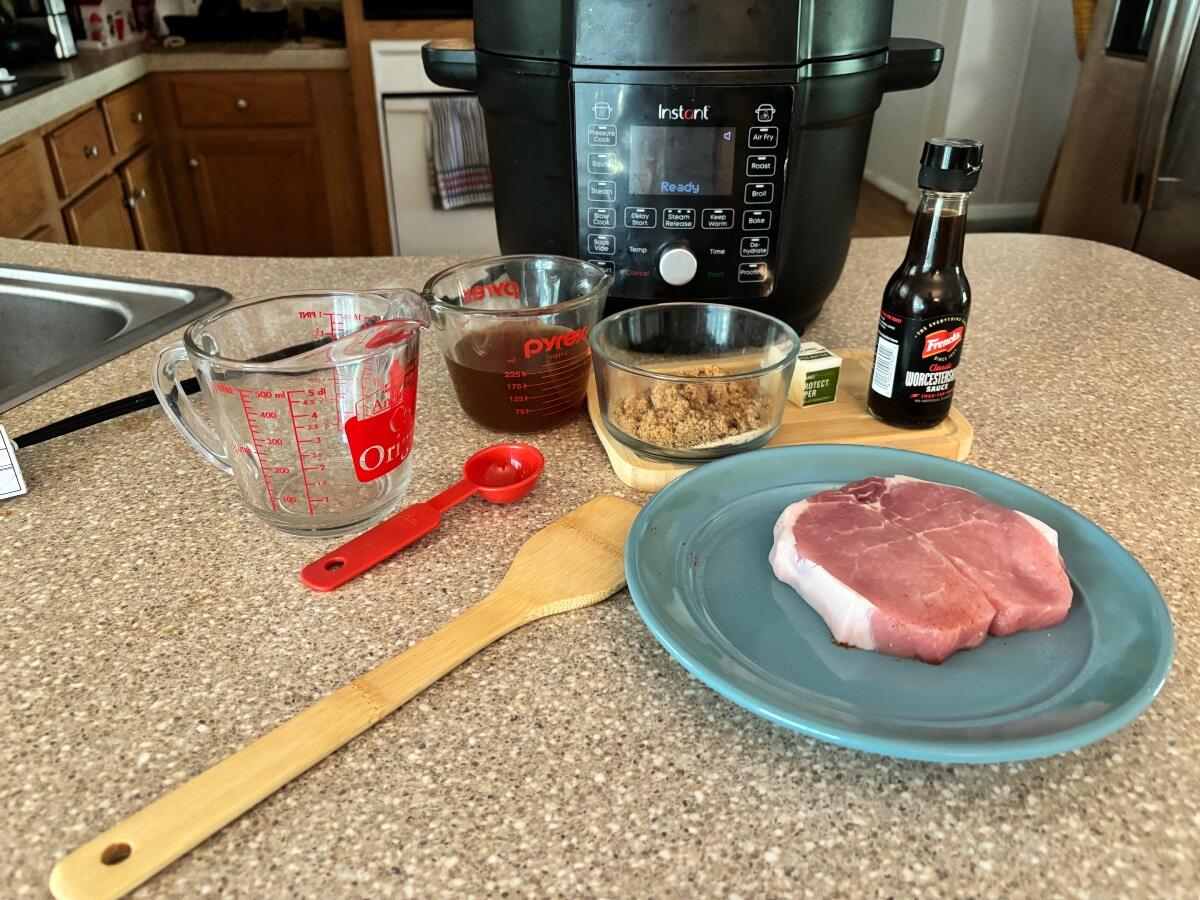
Here are my top tips for achieving the perfect sear every time:
Use A High Smoke Point Oil
When browning meat at high temperatures, it's important to choose an oil that can take the heat without burning or smoking excessively. My favorites are avocado oil, canola oil, grapeseed oil, and refined coconut oil.
These oils have high smoke points (400°F or higher) that can withstand the Instant Pot's saute function. Avoid extra virgin olive oil and butter, which will burn and taste bitter at high heat. Save those for lower-temperature cooking.
Don't Overcrowd The Pot
It's tempting to brown all your meat at once to save time. But trust me - overcrowding the pot will work against you. When too much meat is added at once, it releases moisture and steams rather than sears. This means less browning and less flavor development.
Instead, work in batches and give each piece of meat some breathing room. This allows the Instant Pot to maintain a high temperature and create a nice crust on the meat.
Also read: 9 Common Instant Pot Mistakes And How To Avoid Them
Brown In Batches
As mentioned above, browning in batches is key to getting a good sear on your meat. Add just enough meat to cover the bottom of the pot in a single layer, with a bit of space between pieces. Let it sear undisturbed for 3-5 minutes until a golden crust forms.
Then, flip the pieces and brown the other side. Once the batch is browned, remove it to a plate and continue with the next batch, adding more oil if needed. It may take a bit longer, but the flavor payoff is worth it.
Deglaze The Pot
Those browned bits stuck to the bottom of your Instant Pot after searing? They're called "fond," and they're packed with flavor. To incorporate the fond into your dish (and prevent a burn warning), deglaze the pot after browning.
Simply add a splash of liquid - water, broth, wine, etc. - and scrape up the bits with a wooden spoon. Not only does this add incredible depth of flavor, but it also cleans the pot and preps it for pressure cooking. Win-win.
Note: Make sure the pot has cooled down before starting the pressure cooking function to avoid a safety error.
Related: How To Deglaze Instant Pot In A Few Simple Steps
Let The Meat Come To Room Temperature
One last tip for perfect browning: let your meat come to room temperature before searing in pressure cookers. Cold meat straight from the fridge is more likely to stick to the pot and will take longer to brown. Letting it sit at room temp for 15-30 minutes allows the meat to relax and cook more evenly.
In the world of cooking, the importance of resting meat cannot be overstated. Thicker cuts like pork shoulder or chuck roast demand attention, requiring patience to achieve optimal tenderness. On the other hand, smaller cuts like chicken thighs or stir-fried meat need a gentle pause to unwind.
Common Mistakes To Avoid When Browning Meat In An Instant Pot
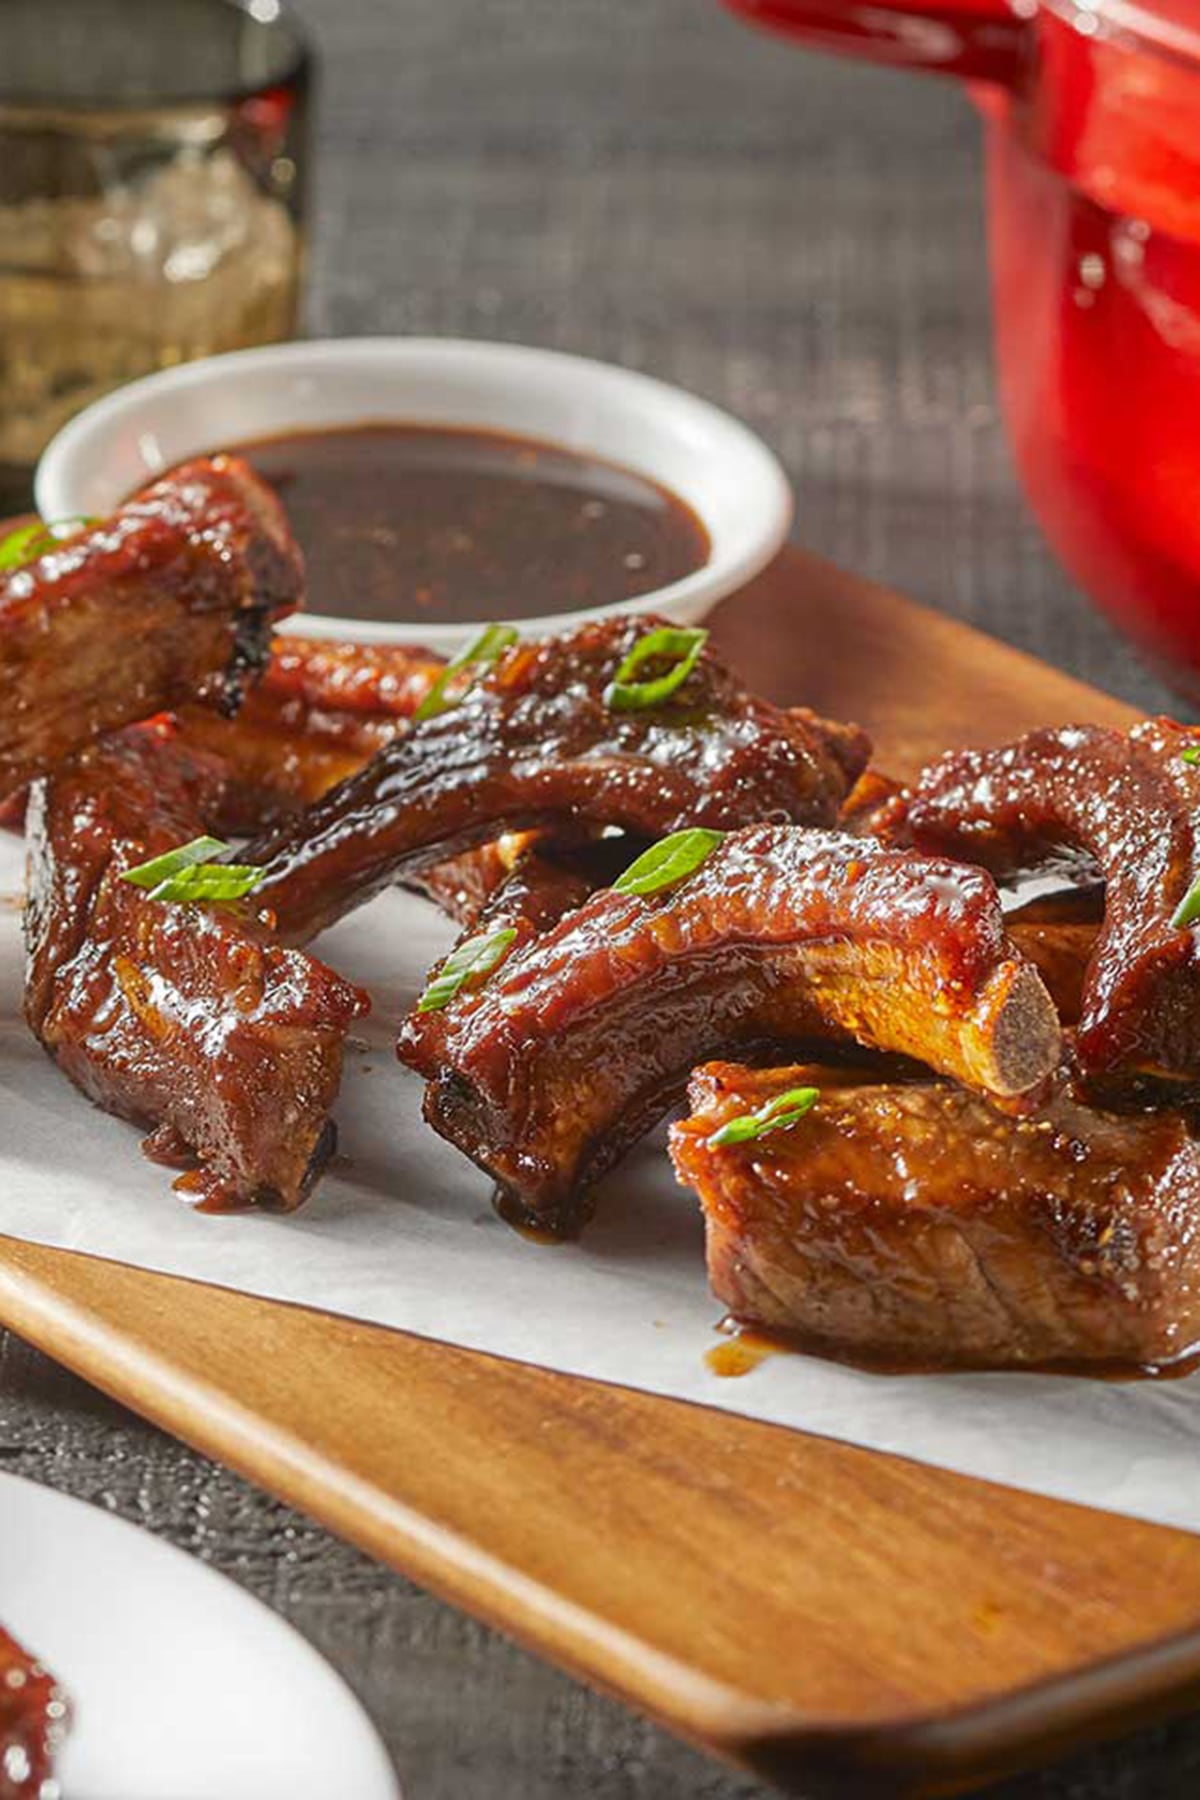
If you’re new to using Instant Pot pressure cookers, browning meat can seem a bit daunting at first. Trust me, I’ve been there. But with a little practice and know-how, you’ll be able to avoid these common mistakes:
Using The Wrong Oil
One common mistake is using an oil with a low smoke point, like extra virgin olive oil or butter. These oils will burn at high temperatures, leading to bitter flavors and smoking. Stick with high smoke point oils like regular olive oil, canola, grapeseed, or coconut oil.
Not Patting The Meat Dry
Failing to pat the meat dry with paper towels before searing is another frequent misstep. Excess moisture on the surface of the meat will prevent proper browning. The meat will steam instead of sear, so it won't develop the coveted crispy, caramelized crust.
Overcrowding The Pot
Trying to brown too much meat at once in electric pressure cookers will overcrowd the pot, causing the meat to release moisture and steam instead of sear. The Instant Pot's surface area is limited, so give each piece of meat ample space to brown. Work in batches and remove browned meat before adding more.
Not Letting The Pot Heat Up Enough
Not waiting for the Instant Pot to fully preheat on "Saute" mode is another browning blunder. If you add the meat before the display says "Hot," it won't sear properly and may stick to the pot. Give it about 5 minutes to preheat, then test with a drop of water that should sizzle and evaporate quickly.
Moving The Meat Too Much
Constantly moving the meat around the pot hinders caramelization. Resist the urge to flip the meat too frequently. Let it sear undisturbed for 3-5 minutes to develop a golden brown crust before flipping. The meat will initially stick but will release naturally once browned.
Also read: Perfect Air Fryer Steak Tips: Easy, Juicy & Delicious
How Browning Meat Enhances Flavor In Instant Pot Recipes
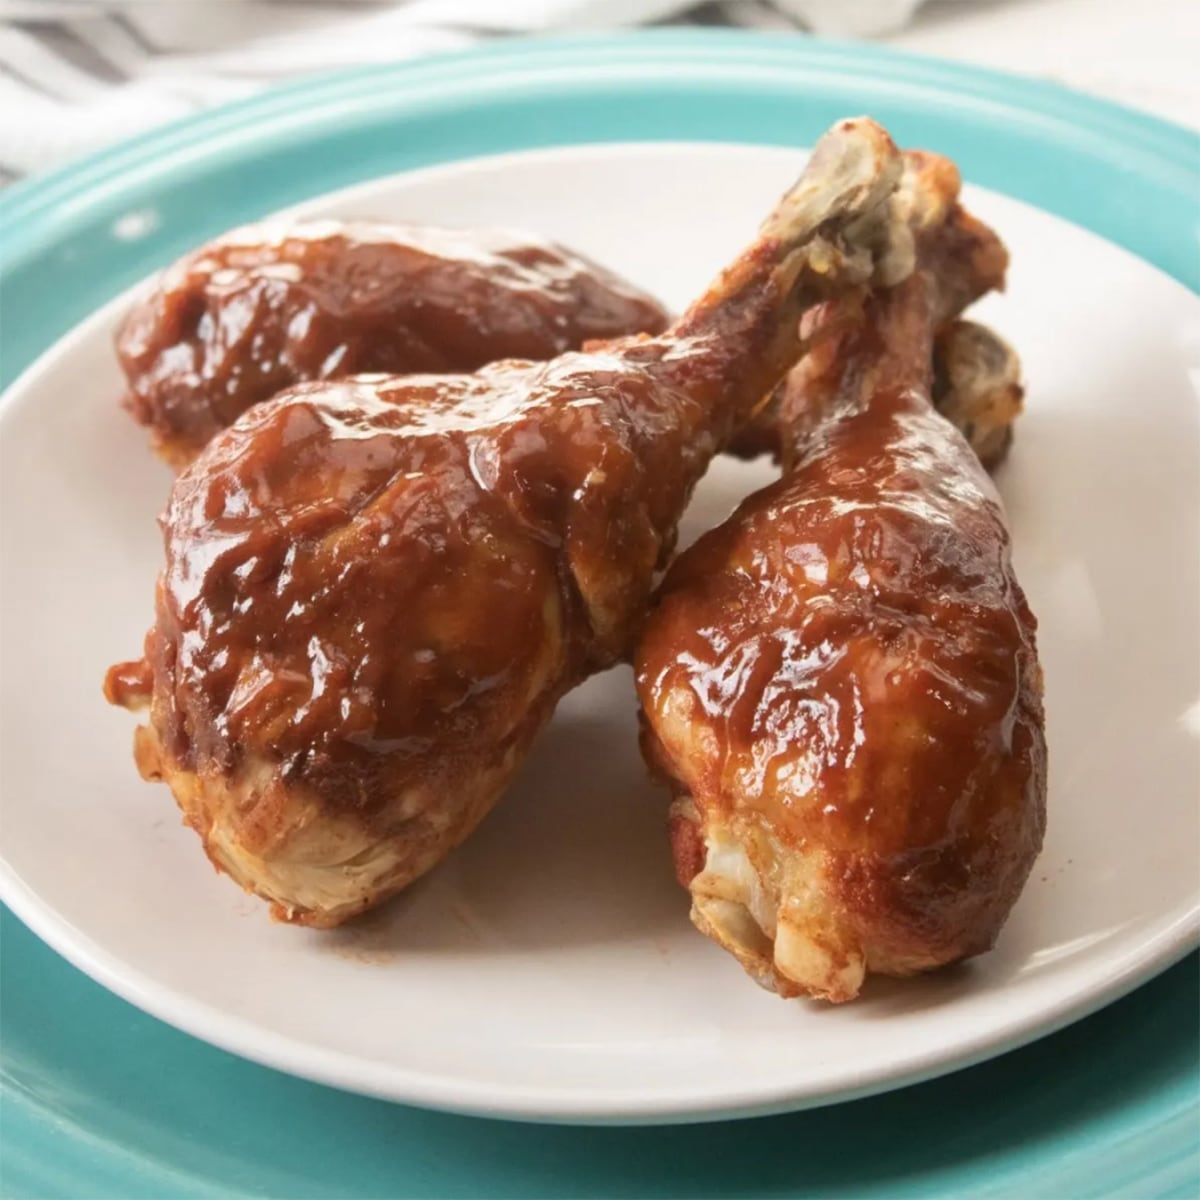
Have you ever wondered why so many Instant Pot recipes call for browning the meat first? It’s not just for looks - there’s some serious flavor-boosting science at play. Sautéing vegetables in the Instant Pot before pressure cooking can also change the overall flavor of your dish in a good way.
Maillard Reaction
Browning meat triggers the Maillard reaction, a chemical process between amino acids and sugars that creates hundreds of new flavor compounds and brown color. This reaction occurs quickly at around 300°F, which the Instant Pot's sauté function reaches. Browning meat before pressure cooking maximizes this flavor-building reaction.
Caramelization
In addition to the Maillard reaction, browning meat in electric pressure cookers also causes caramelization of the natural sugars on its surface. This browning occurs at temperatures above 300°F and creates complex nutty, sweet, and bitter notes. The Instant Pot's high saute heat caramelizes the meat's exterior while the inside stays juicy.
Deglazing
Deglazing the Instant Pot after browning meat is key to building flavor. The browned bits stuck to the bottom (called fond) are packed with umami. Adding a splash of liquid and scraping up the fond incorporates those rich, meaty flavors into the dish and prevents a burn warning during pressure cooking.
FAQ's
When browning food, especially meats, the moisture released can be normal. To achieve a better sear, try patting the food dry with paper towels before browning.
Absolutely! While the sauté button is handy, you can also brown meats using the "Manual" or "Pressure Cook" function. Just adjust the cooking time accordingly.
Absolutely! The Instant Pot is fantastic for browning various types of foods, including meats, vegetables, and even grains like rice or quinoa.
Conclusion
Browning meat in an electric pressure cooker Instant Pot may seem intimidating at first, but with a little practice and the right techniques, you'll ask why you were so worried in the first place.
By choosing the right cuts of meat, following the simple process of preparing your meat, and using the sauté function, you really cannot go wrong with the browning process!
By following the steps outlined in this guide, you can achieve perfectly seared, flavorful meat that will have you browning almost anything!



Leave a Reply