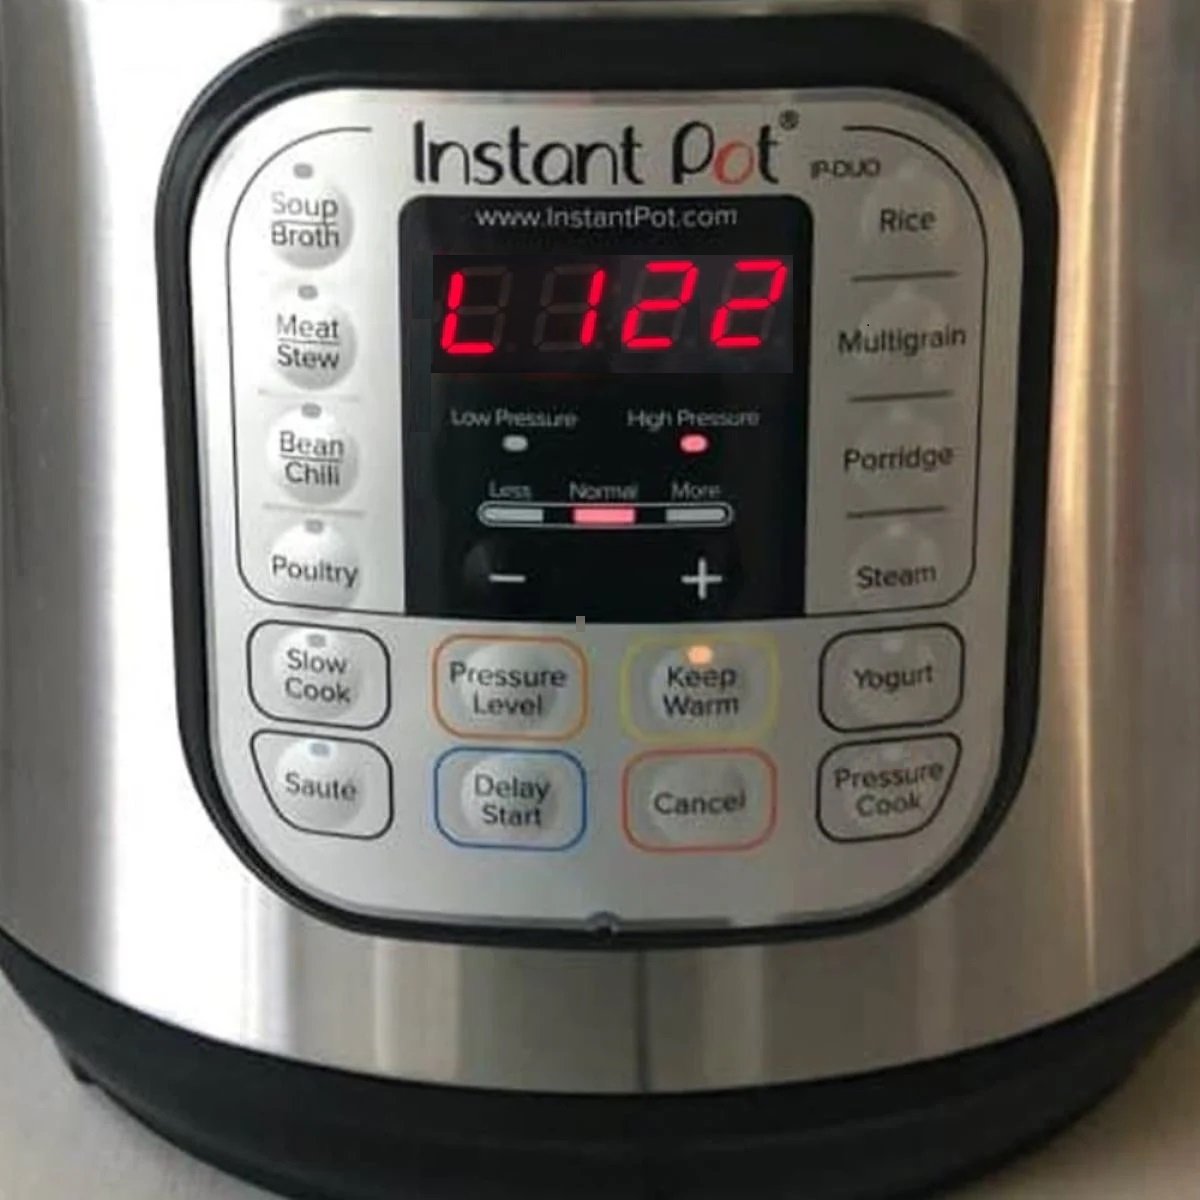
Ever seen that mysterious “L” pop up on your Instant Pot display and wondered what it means? You’re not alone. When I first saw it, I thought my dinner plans were doomed! But fear not, it’s actually a good sign.
So what does L mean on Instant Pot? The “L” stands for ‘Locked,’ indicating that the lid is sealed tight and the pressure cook process has begun in your electric pressure cooker. How I prefer to remember it is: “Locked and Loaded!”
It’s an assurance that everything’s working as it should be inside this magical kitchen appliance, and keep warm mode has been activated. With so many functions and buttons, figuring out each symbol can feel like decoding hieroglyphics!
So let’s demystify these crucial indicators together below—your perfect meal depends on it!
Jump to:
What Does the L Mean on an Instant Pot?
If you’re new to the Instant Pot, you might be wondering what all those letters and symbols on the display mean. One that often confuses people is the “L” that appears after the pressure cook cycle is complete. Don’t worry, it’s not an error message or anything to be concerned about. In fact, it’s a totally normal part of the Instant Pot’s cooking process.
Understanding the L on Instant Pot Display
The “L” simply stands for “Lapse.” It indicates that the pressure cook cycle has finished and the Instant Pot has automatically switched over to the “Keep Warm” setting. When you see the “L,” it will be followed by numbers that count up, like “L0:02,” “L0:03,” and so on. This shows you how much time has elapsed since the cooking cycle had started.
So if your display reads “L0:10,” that means your food finished cooking 10 minutes ago and the pressure cooker is in keep warm mode since then. This is also the time when high-pressure release occurs, allowing the high pressure to release on its own. Pretty handy, right?
What L Indicates on Instant Pot
The appearance of the “L” also lets you know that the float valve has dropped, meaning the Instant Pot has depressurized and it’s safe to open the lid. During high-pressure cooking, the float valve pops up and locks the lid in place, preventing you from opening it while the contents are under pressure. This is an important safety feature.
Once the “L” appears, you know the pressure has released naturally and you can safely move the pressure valve to the venting position, remove the lid, and serve your meal. So in a nutshell, the “L” on your Instant Pot is nothing to stress about. It’s just letting you know your cook time is over and your food is ready and being kept warm until you’re ready to eat. Gotta love that convenience!
Note: The pressure valve is an important part of the Instant Pot that regulates pressure and steam during the cooking process.
Instant Pot Acronyms
1. IP / Instapot = Instant Pot
2. PC = Pressure Cooker
3. EPC = Electric Pressure Cooker
4. Pothead = Instant Pot user
5. HP = High Pressure
6. LP = Low Pressure
7. NPR = Natural Pressure Release
8. NR = Natural Release
9. QPR =Quick Pressure Release
10. QR = Quick Release
How to Know When Your Instant Pot is Sealed
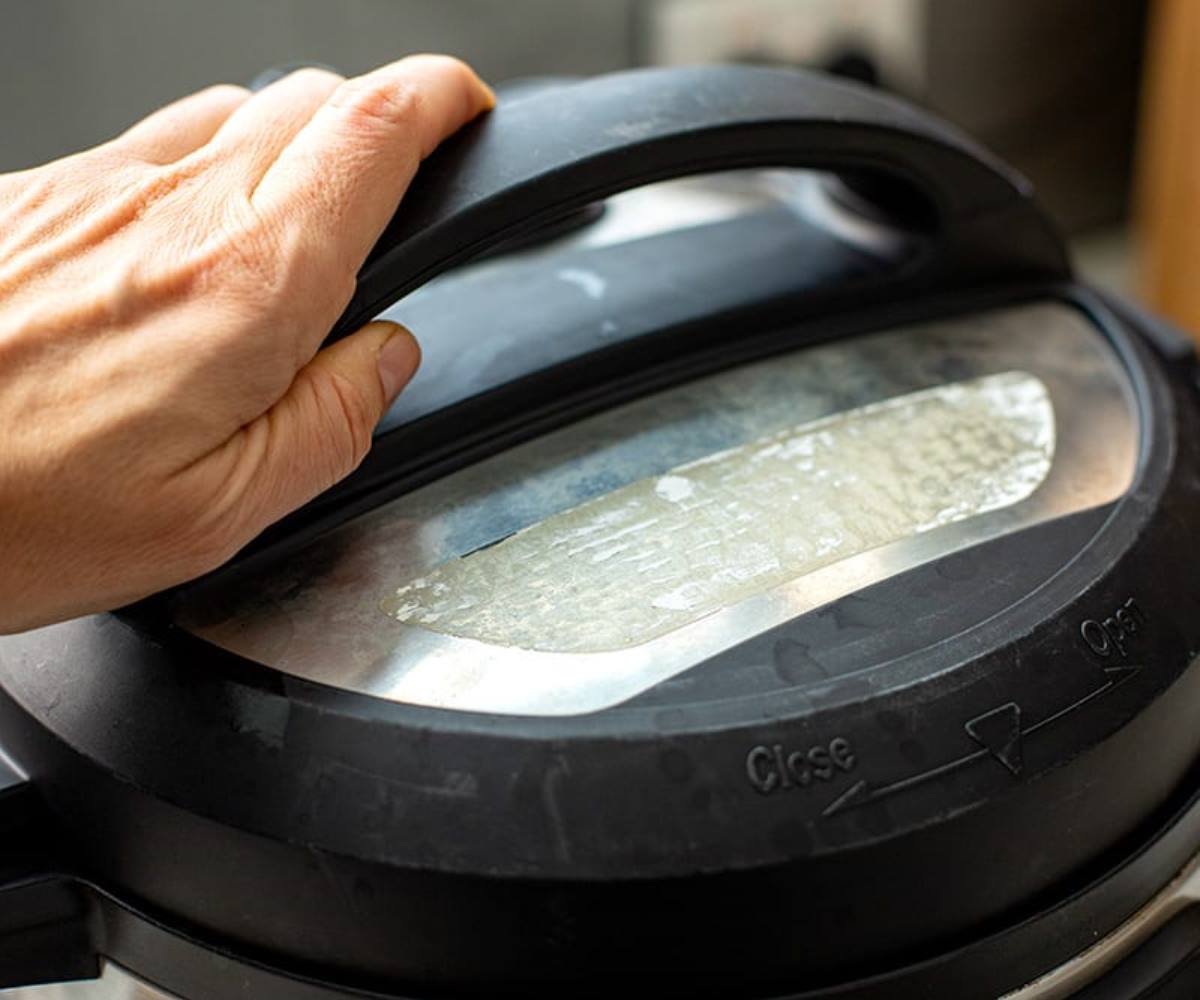
One of the most important steps in using your Instant Pot is making sure it’s properly sealed before starting the pressure cooking process. But how can you tell? There are a few key indicators that your Instant Pot lid is locked and sealed correctly:
Checking the Float Valve and Steam Release Valve
The float valve is that little metal pin next to the steam release valve on your Instant Pot lid. It’s your best friend when it comes to knowing if your pot is sealed. When the float valve is down, that means the lid is unlocked and can be opened.
But once your Instant Pot starts building pressure, the float valve will pop up. This is a sign that the lid is locked and sealed. You should never attempt to open the lid when the float valve is in the up position. The contents are under extreme pressure and opening prematurely can be dangerous.
Different instant pot models may have slight variations in the float valve design, so always refer to your specific model's manual for detailed instructions.
Ensuring the Sealing Ring is in Place
Another crucial component of a properly sealed Instant Pot is the sealing ring. This is the silicone ring that sits in the underside of the lid. Before starting a pressure cooking cycle, always check that the sealing ring is properly positioned and not damaged or deformed. For example, the Instant Pot DUO Evo Plus has specific sealing ring requirements that must be met to ensure proper sealing.
A missing or faulty sealing ring can prevent your Instant Pot from sealing. The Instant Pot won’t be able to reach pressure and steam will escape from the sides. Not only that, your meal ends up on the stove, uncooked, and not a welcome sight! Lesson learned!
Performing a Water Test
If you’re ever unsure if your Instant Pot is sealing correctly, a simple water test can give Instant Pot users peace of mind. To do a water test, add 2-3 cups of water to the inner pot and run a short-pressure cooking cycle, like 2-3 minutes.
Watch for steam escaping from the sides of the lid or the float valve. If steam is leaking, there may be an issue with the sealing ring or float valve. But if the float valve pops up and locks into place, you’re good to go.
Burn Message
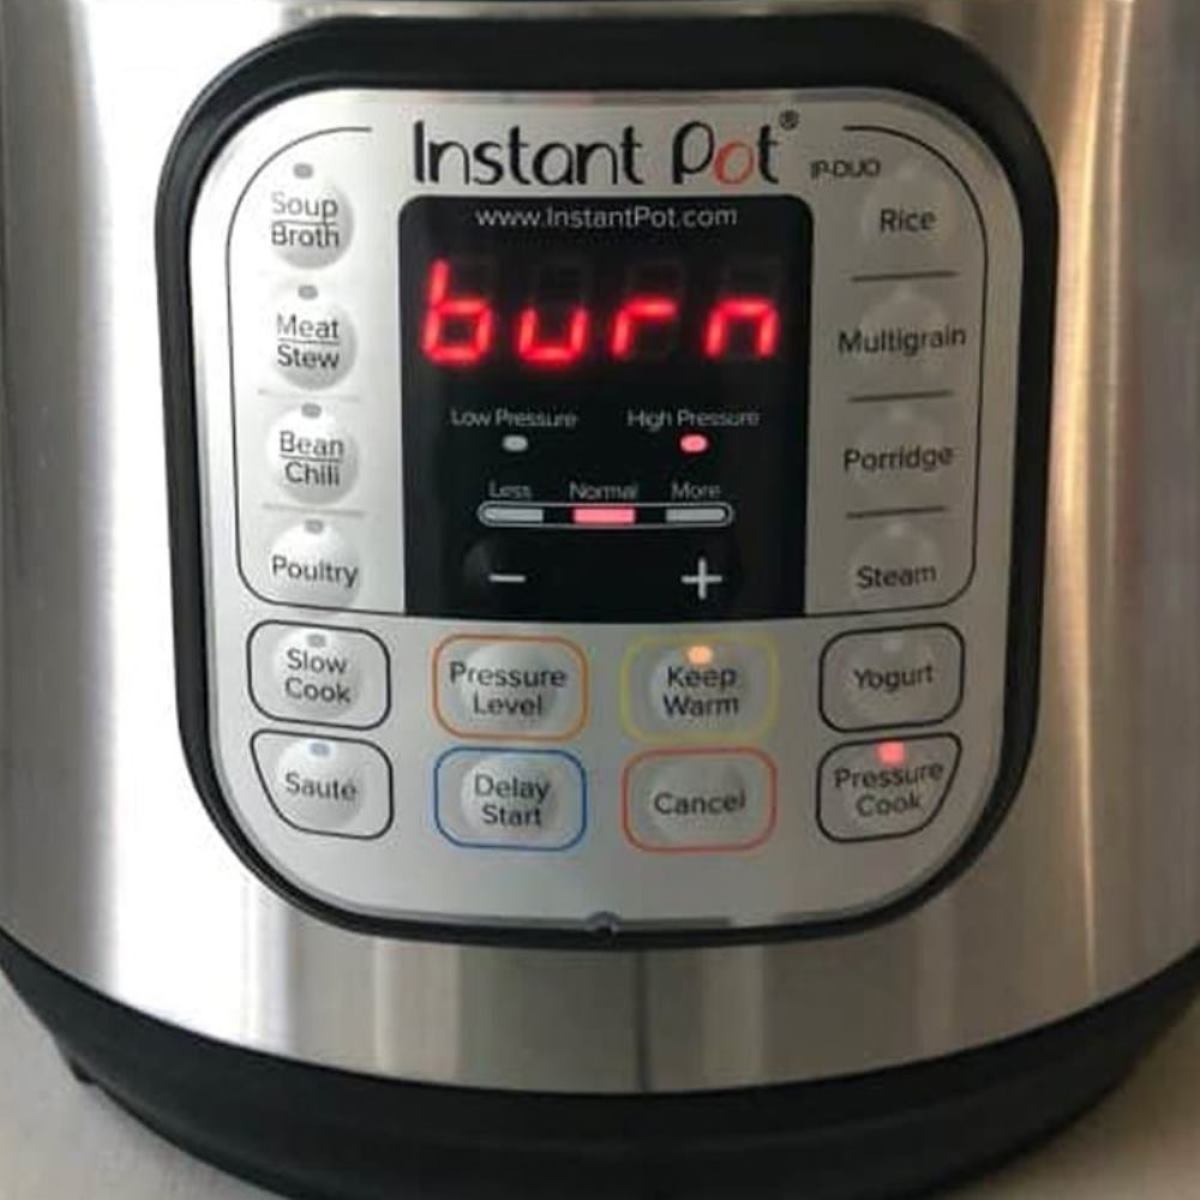
“Burn” shows up when something has burned and scorched the bottom of the pot due to an insufficient amount of liquid required to come to pressure. You can open the pot, scrape the bottom of the bowl, and clean it off.
Troubleshooting Common Issues with the Instant Pot L Message
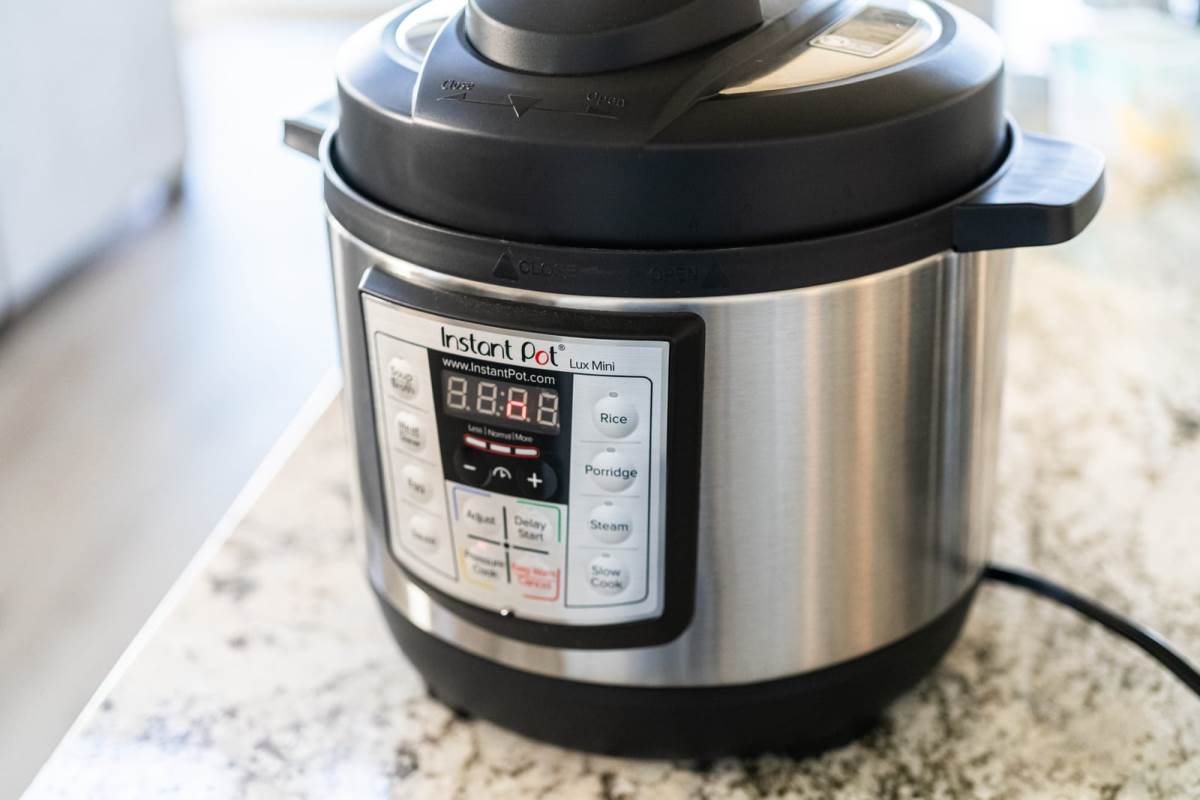
Here are some common problems and how to troubleshoot them, including when to use quick release pressure feature:
Fixing a Stuck Float Valve
Sometimes the float valve can get stuck in the "up" position, even after the pressure has been released. This can happen if food particles or debris get lodged in the valve opening. If your float valve is stuck, first make sure all the pressure has vented by carefully releasing any remaining steam.
Then, gently push down on the float valve using a long utensil, like a spoon or chopstick. If the valve still won't budge, you may need to remove the lid and clean the valve opening. Use a pipe cleaner or small brush to clear away any debris. Be careful not to damage the silicone cap on the float valve.
Cleaning the Anti-block Shield
The anti-block shield is a small metal cap that sits beneath the float valve. Its purpose is to prevent food particles from entering the steam release pipe and clogging it. Over time, the anti-block shield can become dirty or greasy, which can interfere with the Instant Pot's ability to seal and come to pressure.
If you notice steam leaking from the sides of the lid, the anti-block shield is a good place to check. To clean the anti-block shield, remove it from the lid and wash it with warm, soapy water. Make sure the steam release pipe is also clear of any debris. Dry everything thoroughly before replacing it.
Adjusting Pressure Settings
If your Instant Pot is taking longer than usual to come to pressure or isn't reaching pressure at all, check your pressure settings.
If you accidentally set your Instant Pot to build pressure on a low cycle, it may not be able to reach or maintain the proper pressure levels for the recipe. This can result in undercooked food or the dreaded "burn" message. To avoid this, always double-check that you've selected high pressure before starting a pressure cooking cycle.
You can adjust the pressure level by pressing the "Pressure Level" button until the display reads "High." With these troubleshooting tips in your back pocket, you'll be able to tackle any Instant Pot issues with ease. Remember, the "L" is your friend - it means your food is cooked and ready to enjoy.
Natural Pressure Release vs Quick Release
After the cooking process is done, it’s time to release the pressure. You’ve got two options: natural pressure release or quick release. With normal pressure release, you let the pot sit until the pressure normalizes on its own, which can take 20-30 minutes. It’s perfect for those times when you need to step away and take care of other things.
Quick release, on the other hand, is when you manually open the valve to rapidly vent the steam. It’s great for when you’re in a hurry or cooking delicate foods that can easily overcook.
I remember the first time I used normal release on a pot of chili. I was skeptical - wouldn’t it keep cooking and turn to mush? But when I finally opened the lid, I was amazed. The flavors had melded together perfectly, and the texture was spot-on.
Note: The Instant Pot will automatically go into Keep Warm mode after it finishes the cooking cycle.
Tips for Successful Instant Pot Pressure Cooking
Alright, you’ve got your shiny new Instant Pot and you’re ready to dive in. But before you start throwing ingredients in willy-nilly, there are a few things new users should know:
Using the Right Accessories
Having the right Instant Pot accessories can make all the difference for users. The trivet is a game-changer for pot-in-pot cooking, keeping foods out of the liquid. The steamer basket is clutch for veggies, seafood, and reheating. And if you want to get fancy, spring form and Bundt pans let you make cakes and breads right in your Instant Pot.
See these recipes: 10 Instant Pot Seafood & Fish Stew Recipes
Following the Manual
I know, I know - reading the manual is about as exciting as watching paint dry. But trust me, it's worth it. Each Instant Pot model has its own quirks and features, and the manual is your key to unlocking them all. It'll tell you everything from the recommended liquid amounts to the safety precautions you need to take. Don't be that person who ends up with a kitchen disaster because they didn't read the instructions.
Note: When a high temperature (140C or 284F) is detected at the bottom of the inner pot, the burn-protection mechanism suspends heating to avoid burning food. That means you won't sit with burnt food so don't panic!
FAQ's
The "L" phase doesn't hang around for too long, usually just a few minutes. Think of it as your Instant Pot's warm-up routine before it dives into the main act of pressure cooking. Once it's done, you'll be on your way to whipping up something delicious in no time!
Absolutely! While your Instant Pot is in its "L" phase, it's the perfect time to prep your ingredients, set the table, or maybe even sneak in a little kitchen dance party (we won't judge!). Just keep an eye on that "L" because once it switches off, it's showtime in the kitchen!
Related: All Instant Pot Recipes
Conclusion
So, in a nutshell, when you spot that "L" on your Instant Pot, don't panic! It's just letting you know that the magic is about to begin. It's like a little wink from your pot, saying, "Hang tight, keep warm mode is activated and deliciousness is on the way!"
Understanding these little symbols makes using your Instant Pot even more fun and rewarding. So go ahead, embrace the "L," and let your Instant Pot work its culinary wonders while you sit back and enjoy the excitement of cooking with ease and guaranteed effortless meals. Happy cooking!




Leave a Reply