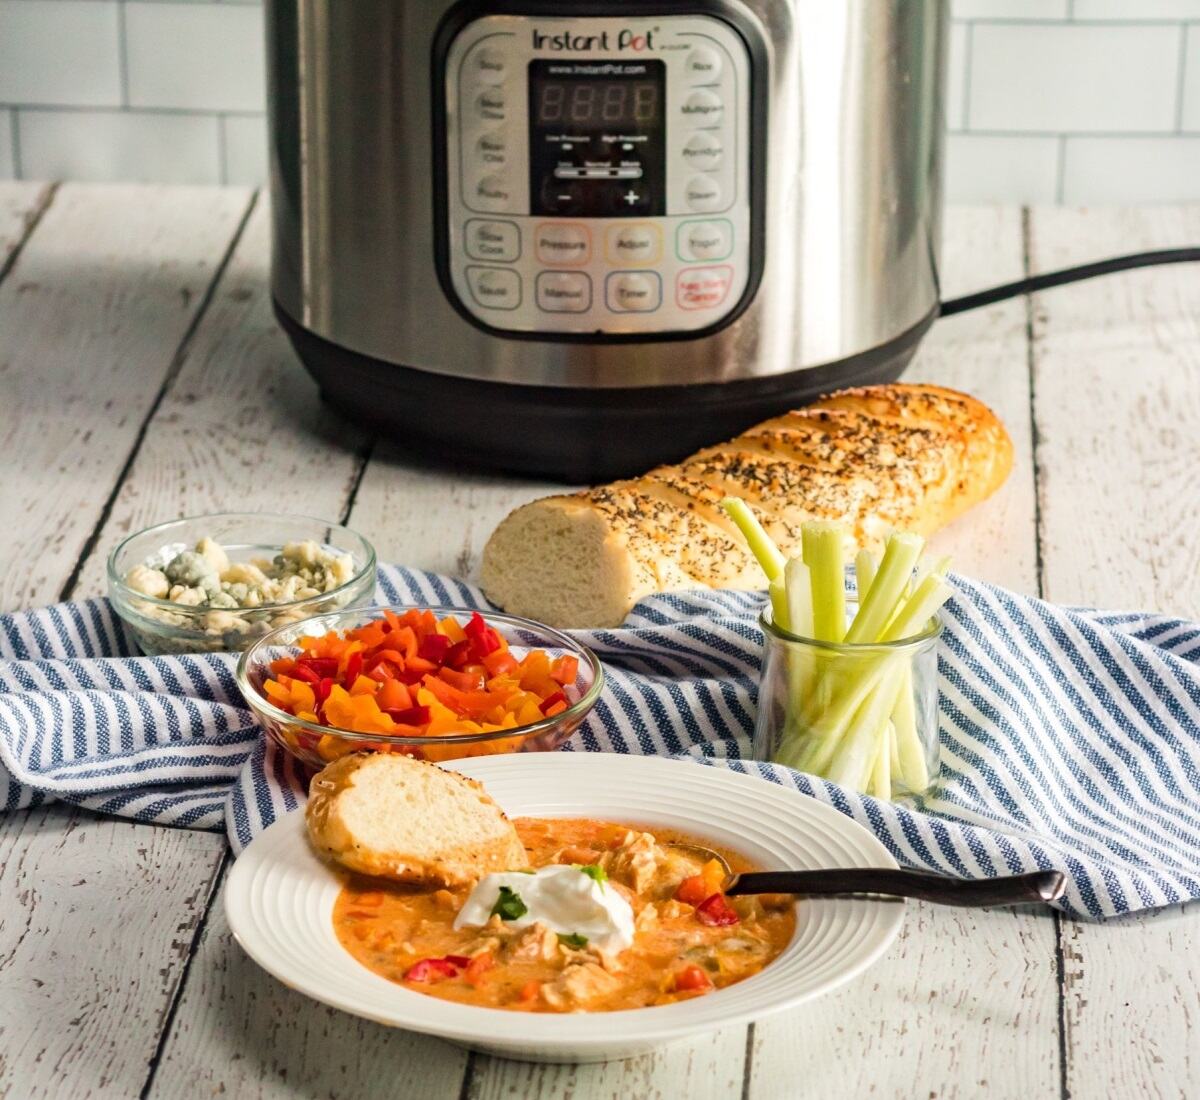
If you're a proud owner of an Instant Pot, you've probably noticed the "Auto" button and wondered, "What does Auto mean on Instant Pot?" This handy feature can be a game-changer for your cooking experience, but it's not always clear how it works or when to use it.
Cooking doesn't have to mean slaving away in the kitchen. With the Instant Pot's Auto setting, mealtime becomes more manageable, freeing up time for what matters most to you.
Let's dive into the Instant Pot's often-underappreciated Auto setting. With its simplified process, you'll get to know the ins and outs of slow-cooking tender proteins, reducing meals from labor to leisure.
Jump to:
What Does Auto Mean on Instant Pot?
If you're new to using an Instant Pot, you might be wondering what the Auto setting does. I know I was curious about it when I first started pressure cooking.
Auto setting explained
The Auto setting on Instant Pot is a smart cooking program that takes the guesswork out of pressure cooking times. It automatically adjusts the cooking time based on the amount of food and liquid in the pot.
So when you select the Auto setting, the Instant Pot uses sensors to determine the volume and weight of the ingredients. Then it sets the appropriate pressure cooking time to ensure your food comes out perfectly cooked. Pretty nifty, right?
Benefits of using auto mode
One of the biggest advantages of the Auto setting is that it’s foolproof. You don’t have to worry about under or overcooking your food. The Instant Pot takes care of that for you.
It’s especially helpful when you’re cooking something like rice, where the cooking time can vary depending on the type of rice and the amount of water used. Using the 'rice setting' simplifies this process, providing consistent results for different types of rice every time.
Another benefit is that it saves you time and mental energy. You don’t have to look up cooking times or do any calculations. Just add your ingredients, select Auto, and let the Instant Pot work its magic. The Instant Pot functions as a pressure cooker, making it convenient for various recipes.
Understanding the Instant Pot Buttons and Settings
Now that you know what the Auto setting does, let's take a closer look at some of the other Instant Pot buttons and settings:
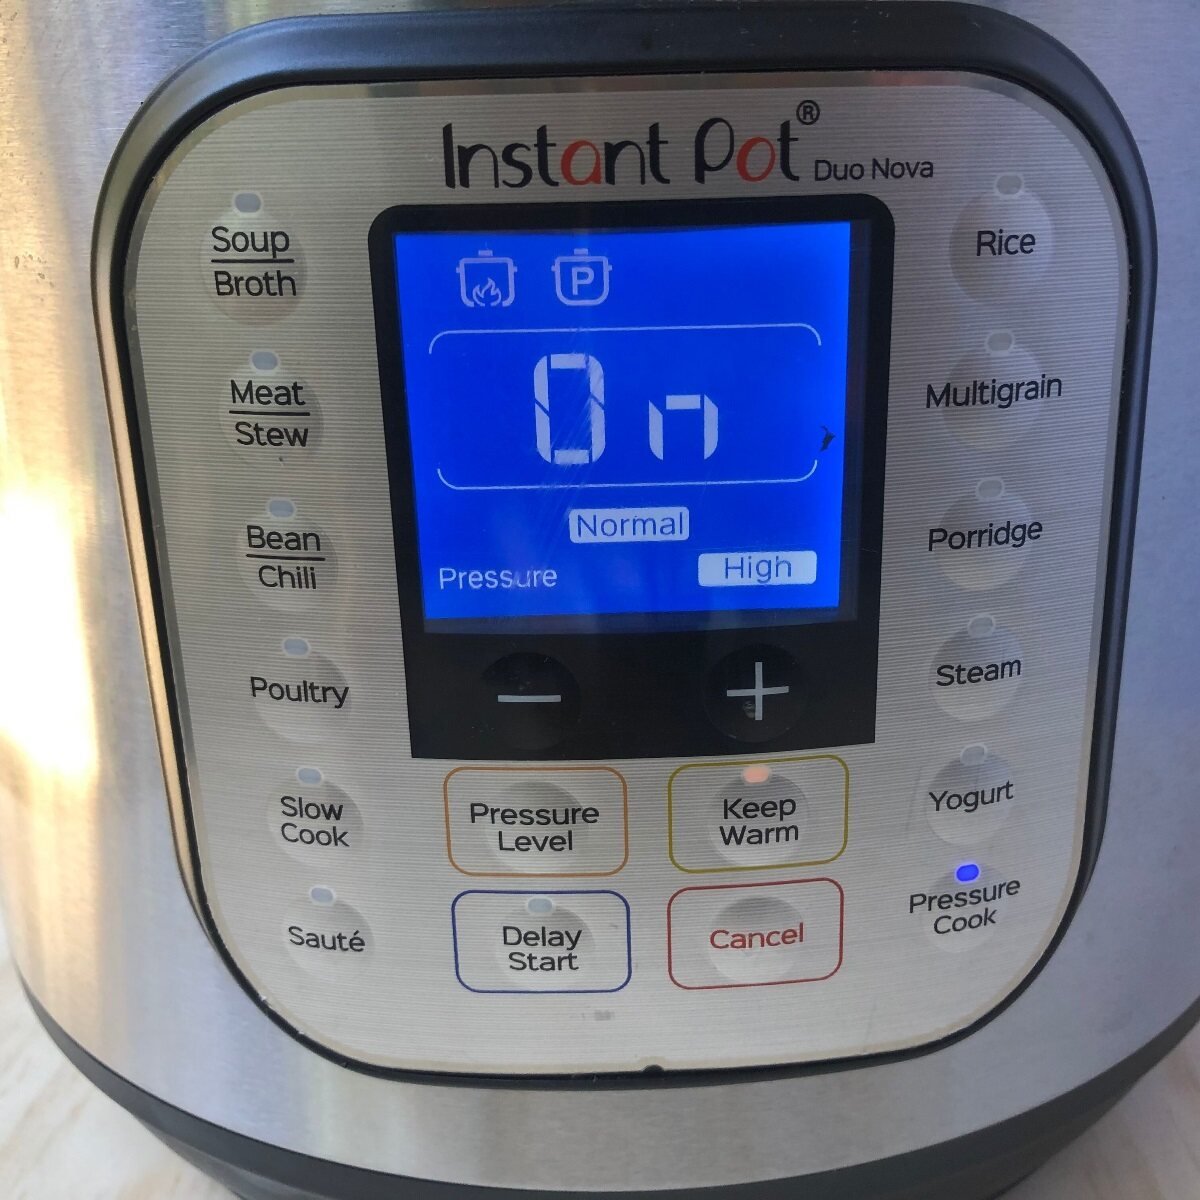
Pressure cook button
The Pressure Cook button is probably the one you’ll use most often. It allows you to manually set the cooking pressure (high or low) and the cooking time. For cooking white rice, the Instant Pot should be set to the manual, low-pressure setting for 12 minutes.
You’ll use this button for recipes that require a specific pressure level and cooking time. It’s also handy if you want to adjust the cooking time to suit your preferences (like if you like your veggies on the softer side).
Slow cook button
If you're looking for a way to cook hearty dishes like stews and roasts to perfection, look no further than the Slow Cook function on your Instant Pot. By converting it into a slow cooker, you can enjoy fall-off-the-bone tender meats and rich, rich flavors with minimal effort.
One thing to keep in mind is that the Instant Pot's slow cooking temps are a bit lower than traditional slow cookers. So you may need to adjust your cooking times accordingly.
Must-read: Should Instant Pot Steam When Cooking? Here's the Truth
Adjust button
Some Instant Pot pressure cooker models have an Adjust button that lets you toggle between Less, Normal, and More settings for certain smart programs.
For example, if you press the Rice button, it defaults to Normal mode. But if you press Adjust, you can switch it to Less mode for firmer rice or More for softer rice.
Keep warm mode
The Keep Warm button does exactly what it sounds like - it keeps your food warm until you're ready to eat. It automatically turns on after the cooking cycle ends.
Effortless meal finishing is what this device is all about. With its consistent heat and temperature control, it not only rewarms your favorite dishes but also keeps them warm and appetizing for a longer period of time.
One thing to note is that the Keep Warm setting can sometimes cause foods to overcook or dry out if left on for too long, especially when cooking rice. So it's best used for shorter periods of time.
Also read: 5 Best Instant Pot Steamer Basket Options & Why You Need Them
How to Use the Auto Setting on Instant Pot

Okay, let's get down to the nitty-gritty of how to actually use the Auto setting on your Instant Pot. Here's a step-by-step guide:
Step-by-step guide
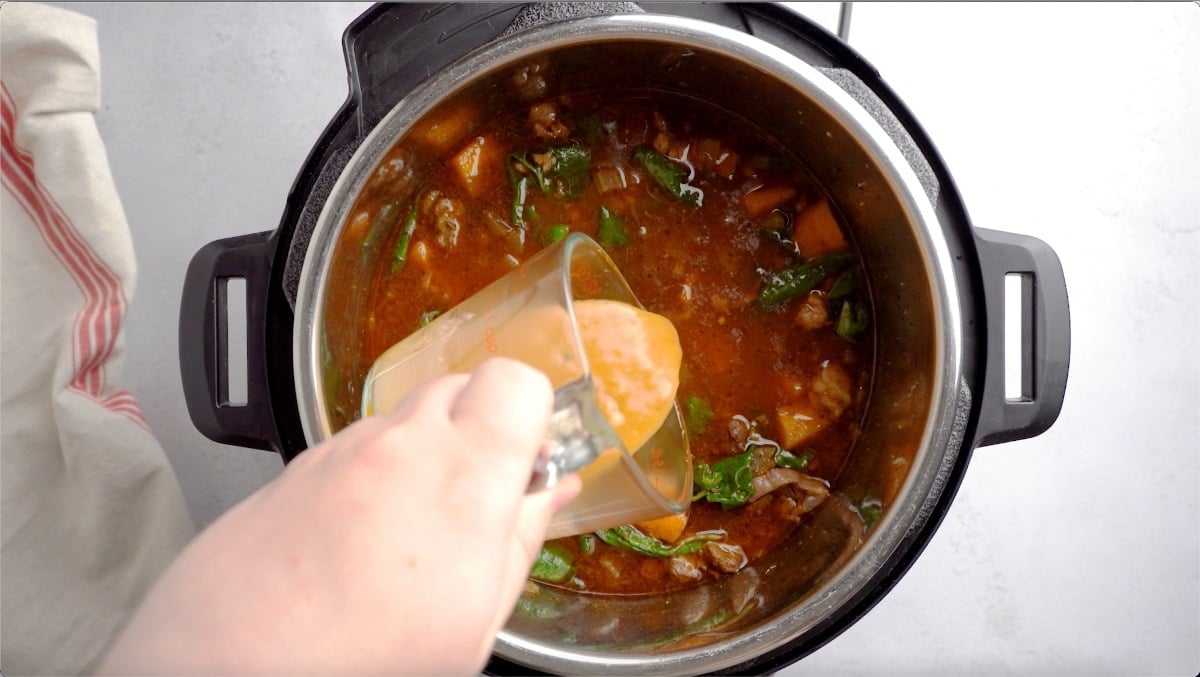
- Add your ingredients to the Instant Pot inner pot. For best results, follow a recipe or use the recommended water ratios for the type of food you're cooking.
- Close and lock the lid, making sure the pressure valve is set to Sealing.
- Press the Auto button. The display will show "Auto" and the Instant Pot will begin preheating.
- Once the pot reaches pressure, the display will change to the cooking time and will start counting down.
- When the cooking time is up, the Instant Pot will beep and automatically switch to Keep Warm mode.
- Allow the pressure to release naturally for at least 10 minutes before doing a quick release of any remaining pressure.
- Carefully remove the lid and serve your perfectly cooked food.
Recommended water ratios
If you’re using the Auto setting to cook rice, it’s important to use the right ratio of water to rice. To cook white rice, use the recommended water-to-rice ratio of 1 cup rice to 1 cup water. Here are some general guidelines:
- White rice: 1 cup rice to 1 cup water
- Brown rice: 1 cup rice to 1 ¼ cups water
- Wild rice: 1 cup rice to 1 ½ cups water
- Long grain white rice: 1 cup rice to 1 ½ cups water
Of course, you can always adjust these ratios to suit your personal preferences. If you like your rice a little firmer, use slightly less water. For softer rice, add a bit more. When cooking wet rice, do not strain it before adding the rest of the water.
Check this out: Instant Pot 101: Learn How To Cook The Essential Ingrdients
Cooking times for different rice types
One of the biggest perks of the Auto setting is that it allows you to effortlessly cook a wide variety of rice dishes, from plain white rice to delicious sticky rice. According to your craving, you can find approximate cooking times for different types of rice below.
Rice Type Cooking Time
White rice 8-12 minutes
Brown rice 20-30 minutes
Wild rice 25-30 minutes
Basmati rice 4-8 minutes
Jasmine rice 3-5 minutes
Keep in mind that these are just general guidelines. The actual cooking time may vary depending on the amount of rice and water used, as well as your personal preferences.
One tip is to always rinse rice before cooking to remove excess starch. This helps prevent the rice from becoming gummy or sticky.
To rinse, place the rice in a fine mesh strainer and rinse under cold water until the water runs clear. Then add the rinsed rice and water to the Instant Pot inner pot.
Troubleshooting Common Issues with the Auto Setting
So you've followed all the instructions, but your Instant Pot rice isn't quite perfect. Don't worry, it happens to the best of us. Here are some common issues you might run into with the Auto setting and how to troubleshoot them:
Also read: Has My Instant Pot Cooker Died?
Reasons for Instant Pot not starting
There are a few reasons why your Instant Pot might not start the cooking process when you press the "Auto" button:
- Make sure the power cord is plugged in, securely and the outlet is working. I've definitely forgotten to plug mine in before. (You would be surprised at how many times this step goes unnoticed!).
- Check that the lid is closed properly and the steam release handle is set to "Sealing". If it's not, the pot won't pressurize.
- Make sure there's enough liquid in the pot. You need at least 1 cup of water or broth for the Instant Pot to come to pressure.
- Check the silicone sealing ring and float valve - make sure they're clean and fitted correctly. Any debris or damage can prevent the pot from sealing properly.
Related: Instant Pot Settings & Buttons Explained
How to safely release steam
Releasing the steam from your Instant Pot after cooking can be a bit intimidating, but it's easy once you know how. Here's how to do it safely:
- Cancel the cooking program and unplug the Instant Pot.
- Let the pressure naturally release for at least 10 minutes before attempting a quick release. This is especially important for rice, which needs a bit of extra time to absorb the steam.
- After 10 minutes, carefully move the steam release handle from "Sealing" to "Venting" using a long utensil. Keep your hands and face away from the steam.
- Once the float valve drops down, it's safe to open the lid.
Fixing a stuck float valve
It's not uncommon for the float valve to become stuck in the upright position, despite all the steam having been released. To resolve the issue, simply put aside the urge to force it and follow a different approach.
- Make sure all the steam has been released by moving the steam release handle to "Venting".
- If the float valve still doesn't drop, let the Instant Pot sit for a few more minutes. The pressure may still be equalizing.
- If it's still stuck, carefully remove the silicone cap from the float valve and check for any food debris that may be causing it to stick. Clean it thoroughly and replace the cap.
- Once the float valve drops down, you can safely remove the lid and fluff your rice with a fork.
Remember, the Auto setting is designed to take the guesswork out of cooking rice. But even with the best technology, things can still go wrong sometimes. Don't be discouraged if your rice isn't perfect on the first try - it takes a bit of practice to get it just right. Keep at it and soon you'll be an Instant Pot rice pro.
Also read: How To Get Smell Out Of Instant Pot Ring - 5 Easy Hacks
Instant Pot Rice Recipes to Try with the Auto Setting
If you're anything like me, you love tasty meals but appreciate a little help in the kitchen. That's where the Auto Setting on your Instant Pot comes in clutch for whipping up perfect rice dishes effortlessly. Below is a range of delicious Instant Pot rice recipes, all made easier with the magic of automation:
Easy one-pot meals
The beauty of the Instant Pot is that you can cook your entire meal in one pot - including the rice. Here are a few of my favorite one-pot rice dishes:
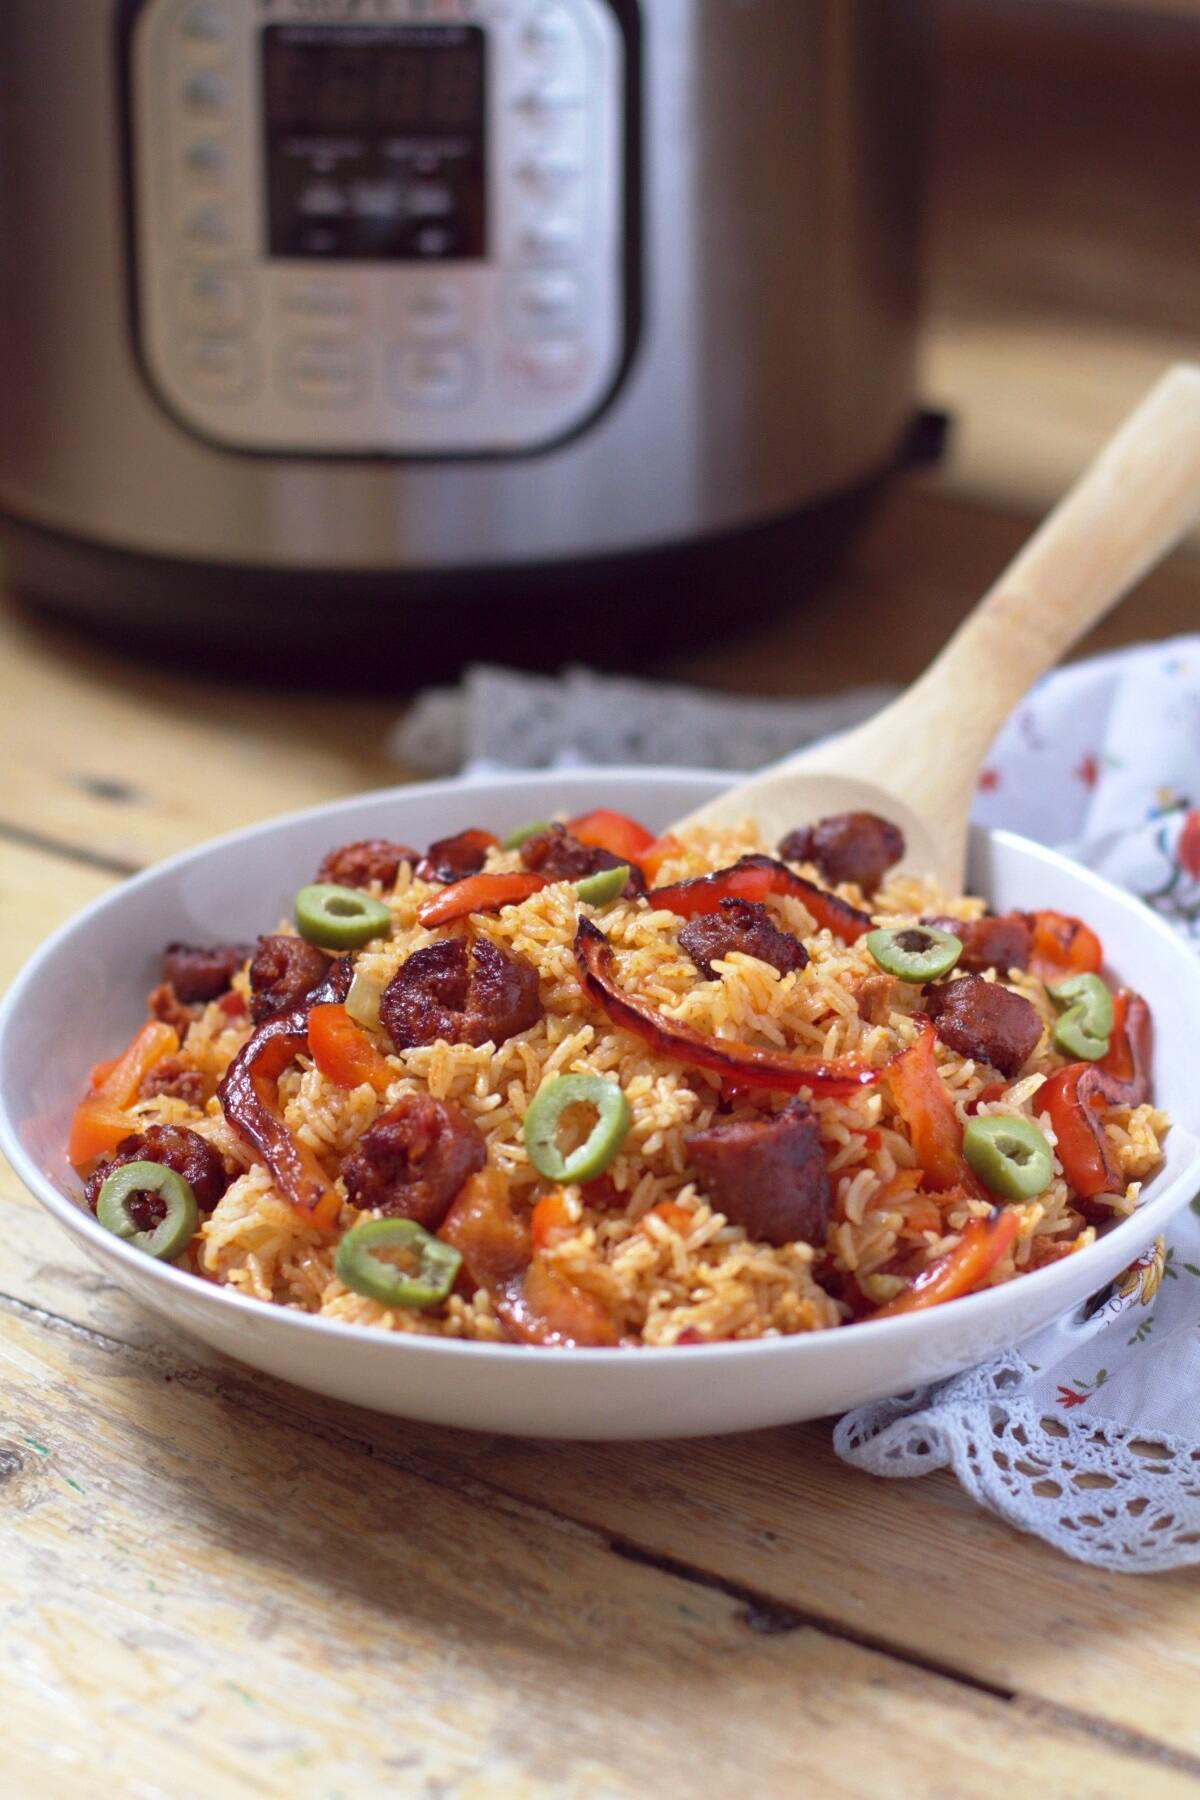
- Instant Pot Chicken and Rice: Season chicken breasts and place them on top of your rice and water in the Instant Pot. Cook on Auto, then shred the chicken and mix it into the fluffy rice. So easy and so flavorful.
- Instant Pot Ground Beef and Rice: Brown some ground beef using the Sauté function, then add rice, water, and your favorite seasonings. Cook on Auto for a hearty, satisfying meal.
- Instant Pot Risotto: Risotto usually requires constant stirring, but the Instant Pot makes it hands-off. Just saute some onion and garlic, toast the rice, then add broth and cook on Auto. Stir in some parmesan at the end for restaurant-quality risotto.
FAQ's
If your rice turns out too wet, try reducing the amount of water slightly for the next time you cook rice. You can also let the rice sit with the lid off for a few minutes to allow excess moisture to evaporate.
Yes! The "Auto" setting takes into account factors like altitude and adjusts the cooking time and pressure accordingly to ensure perfectly cooked rice, regardless of where you are.
It's not recommended to cook brown rice and white rice together using the "Auto" setting, as they have different cooking times and water requirements. It's best to cook them separately for optimal results.
If your rice turns out dry, try adding a bit more water for the next batch or reducing the cooking time slightly. Experimenting with small adjustments can help you achieve the perfect texture for your cooked rice.
Conclusion
So there you have it - everything you need to know about using the Auto setting on your Instant Pot. With this handy feature, you'll be churning out perfectly cooked pot rice and other dishes in no time. Happy pressure cooking.


Leave a Reply