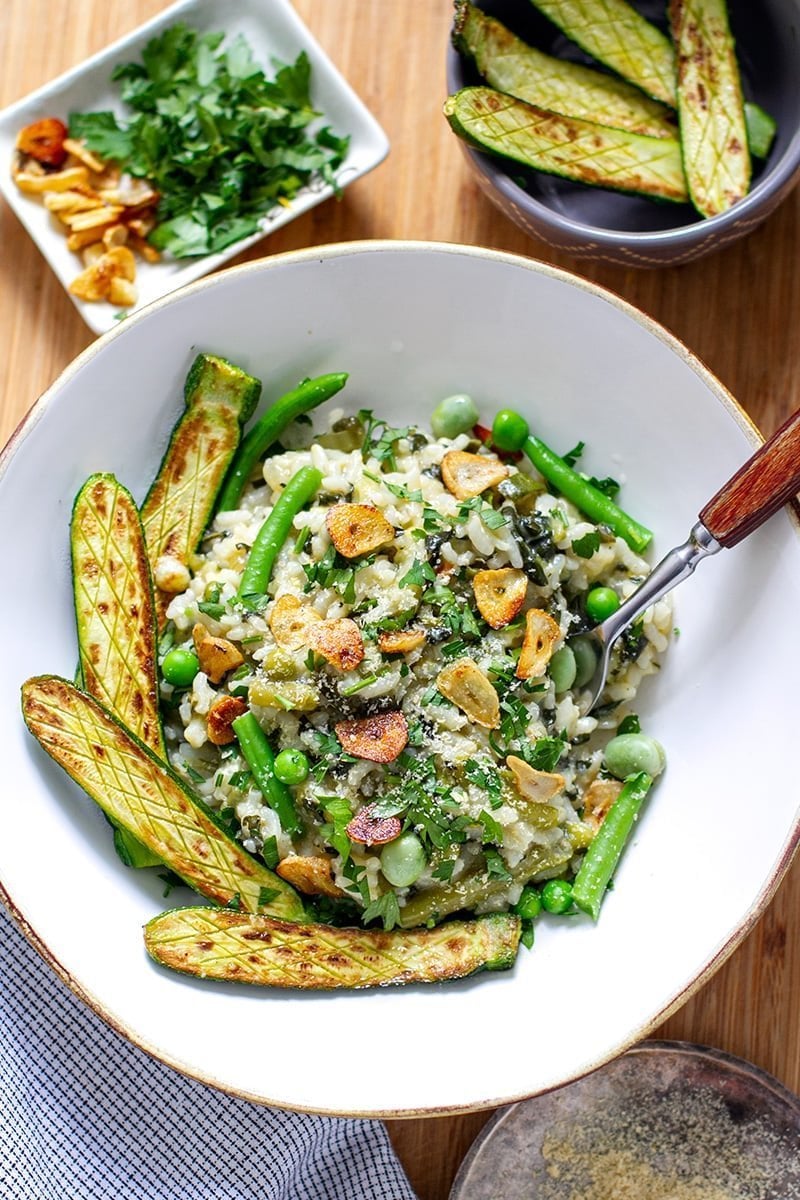
A creamy, velvety risotto that is much lighter and is made without butter or cheese? You got it! Our Instant Pot vegan risotto is loaded with green vegetables like kale, green beans and zucchini and is topped with fried garlic for amazing aroma and flavor. Learn how to make this gluten-free, plant-based risotto recipe and enjoy a meatless dinner that is filling and nutritious.
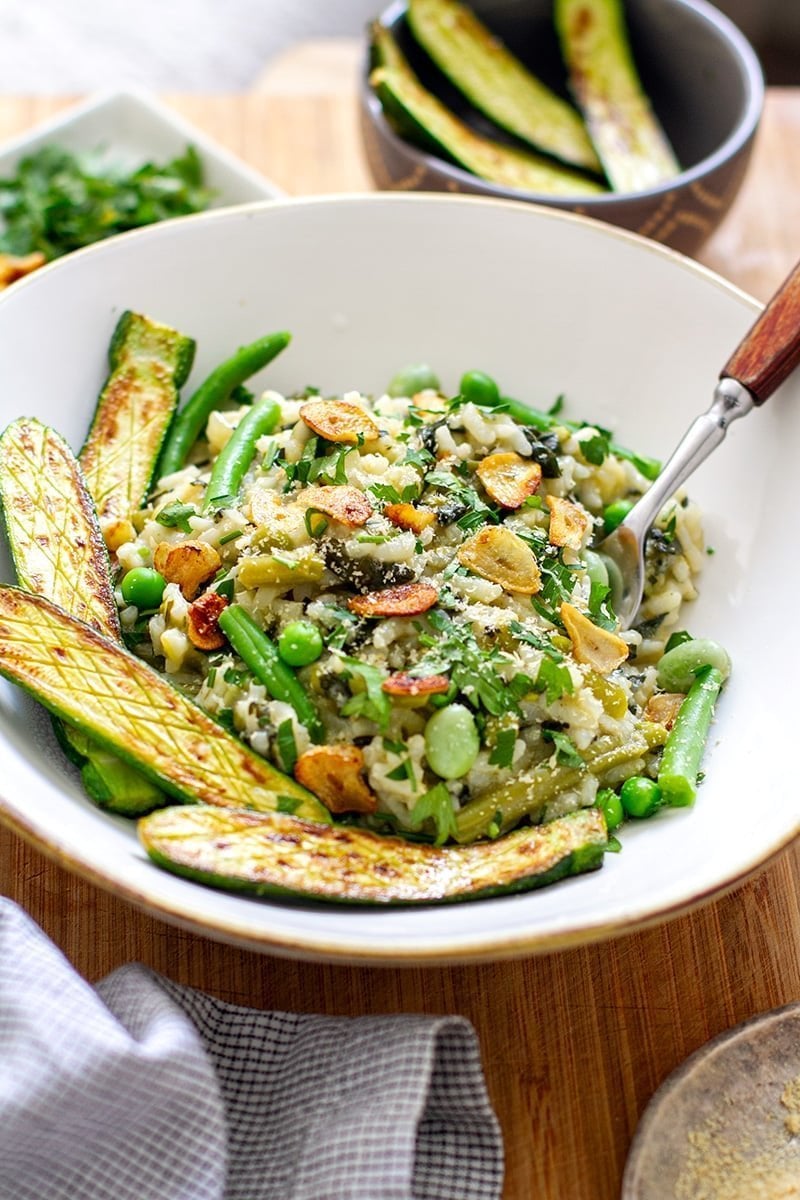
If you think all risotto recipes are heavy and full of butter and cheese, wait till you try this Instant Pot version. While we love a good dollop of butter and Parmesan, they are not essential to make a tasty, creamy risotto dish.
If you have to avoid dairy due to allergies or other reasons, this recipe can be used as a template to create many variations of a dairy-free, vegan Instant Pot risotto.
This dish is filling and nutritious yet it won't leave you feeling stuffed and bloated. It has a very similar texture to regular risotto and a few sneaky ingredients will make it taste like the real thing as well. Great for the whole family and can be done quickly and easily for a weeknight dinner.
Ingredients In Green Veggie Risotto
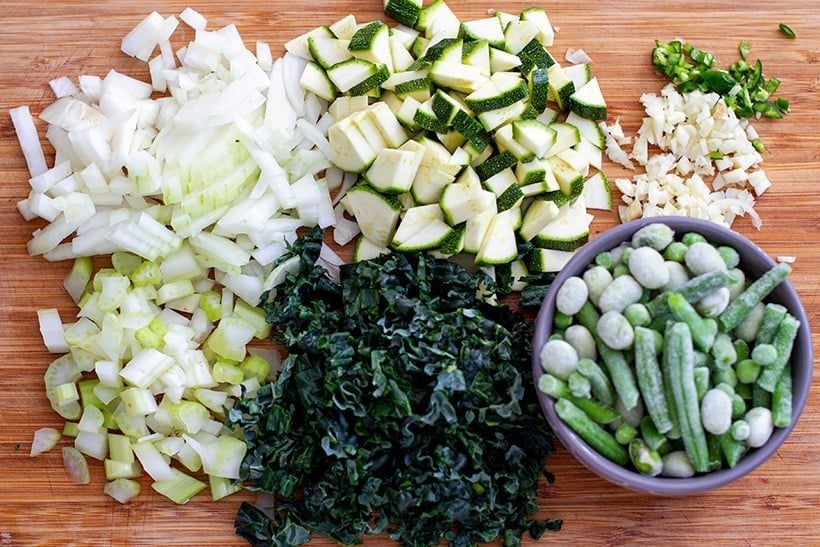
Talk about nutrient-dense! This amazing risotto is filled with vitamin-rich green vegetables such as celery, kale (you can use any leafy greens), zucchini and a mix of frozen, protein-rich beans, peas or edamame beans. Onions, garlic and a touch of chili for flavor. This risotto packs a lot of fibre and nutrients!
How To Make Creamy Risotto Without Dairy
Risotto rice is made with Arborio rice, which is a very starchy kind of medium-grain rice from Italy. The starch in the rice slowly dissolves into the dish, thickening the cooking broth and making it creamy and rich. This is why you HAVE to use special Arborio risotto rice and not regular rice. It's also important NOT to wash or rinse the rice before cooking.
To give this vegan risotto that special umami flavor you get from cheese, we're using nutritional yeast flakes (full of B vitamins) and a little miso paste. Vegetable stock will also add a lot of flavor.
This combination of creamy, starchy rice, lots of garlic, stock, nutritional yeast and miso builds a complex, deep and delicious flavor that parallels any regular risotto out there. The texture is a little lighter but you will enjoy it just as much.

How To Make Instant Pot Vegan Risotto
The best part? Making an Instant Pot risotto is much easier than doing it on the stovetop. You will find the full recipe ingredients, instructions and nutritional breakdown below but here are some basic steps to follow.
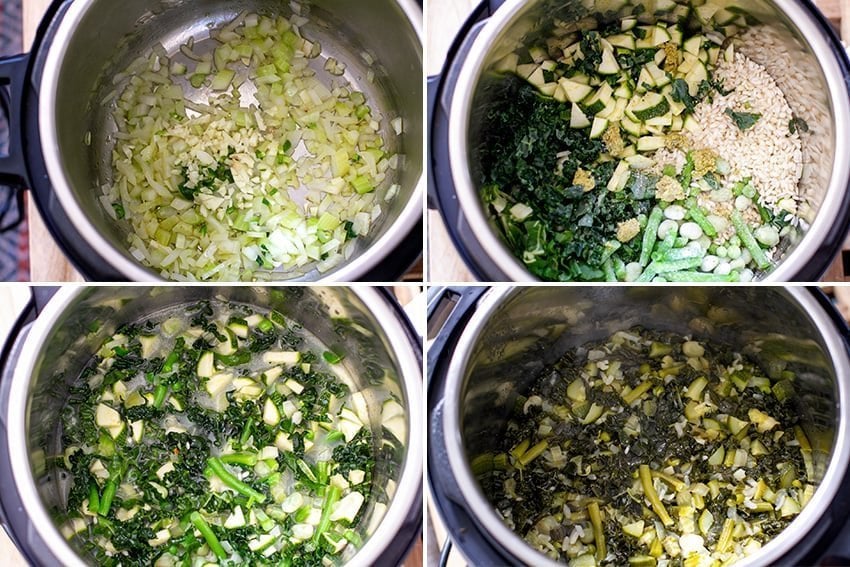
- Step 1. Saute onions, garlic and chili in a little olive oil.
- Step 2. Once softened, add the rice, veggies and stock.
- Step 3. Pressure cook on HIGH for 5 minutes with a natural release for 5 more minutes (but not longer than that!).
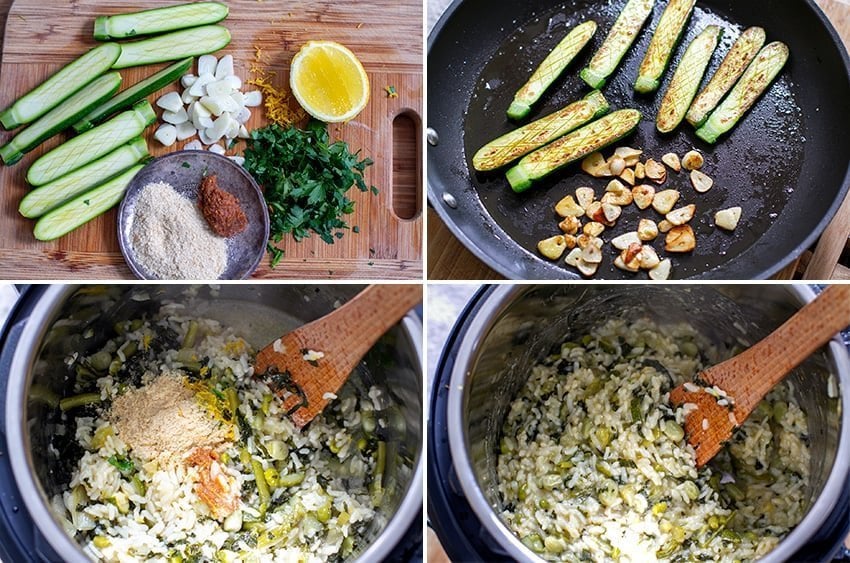
- Step 4. Prepare finishing ingredients. Pan-fry extra zucchini and garlic in a little olive oil to serve on top.
- Step 5. Once cooked, stir in the nutritional yeast, miso, herbs and lemon. Stir through that creamy, nutritious risotto and serve with fried garlic and zucchini on top.
Voila! This gorgeous risotto is creamy yet light; meat-free, yet protein-rich; restaurant quality, yet made in just 20 minutes in your pressure cooker. What's not to love about that?!? We hope you enjoy this recipe, let us know in the comments below if you have questions or feedback.
MORE INSTANT POT RISOTTO RECIPES
- Instant Pot Butternut Squash & Blue Cheese Risotto
- Instant Pot Tomato Barley Risotto With Marinated Feta
- Instant Pot Beet Risotto With Thyme & Goat's Cheese
- Instant Pot Risotto With Fennel & Asparagus
- Or, find more of our vegan Instant Pot recipes here

Rate This Recipe
Instant Pot Vegan Risotto With Green Veggies & Fried Garlic
Ingredients
Cooking the risotto
- ½ large onion finely diced
- 1 celery rib finely diced
- 2 tablespoons olive oil
- ½ teaspoon salt
- 2 large cloves of garlic finely diced
- ½ jalapeño diced (optional, can be a dash of chili powder)
- 1.25 cups Arborio rice dry
- 1 cup leafy greens tightly packed and chopped (kale, chard, collards, cavolo nero)
- 1 zucchini diced into cubes
- 1.5 cups frozen peas beans and broad beans (you can use any combination)
- 3 cups water
- 1 vegetable stock cube or 3 cups of vegetable stock
- A pinch of pepper
Finishing the risotto
- Zest of ½ lemon
- 2 tablespoons lemon juice about a third of a lemon
- 2 tablespoons nutritional yeast
- 1 teaspoon miso paste adds that umami flavor
Serving the risotto
- 7 small zucchinis halved or 1-2 medium zucchini (sliced into strips or circles)
- 4 large garlic cloves sliced thinly (see step-by-step pics above)
- 2 tablespoons olive oil
- A pinch of salt
- 2 tablespoons chopped fresh parsley
- Extra nutritional yeast to sprinkle on top
Instructions
- Turn the Instant Pot on and press the Sauté function. Add the onions, celery, olive oil and salt and cook for 3-4 minutes.
- Add the rest of the cooking risotto ingredients and stir through. Cancel the Sauté function and set to Pressure Cook/Manual for 5 minutes. After 3 beeps, the Instant Pot will start to build up the pressure. Once cooking finishes, let the pressure release naturally for 5 minutes and then use the quick release (QR). Please note, don't let the pressure release naturally for more than 5-7 minutes as the risotto keeps cooking during this time and will over-soften.
- While the risotto is cooking, prepare the finishing touches. Set aside lemon zest, lemon juice, nutritional yeast and miso paste. Stir these into the risotto once it's cooked.
- Heat 1 tablespoon of olive oil in a frying pan and grill or pan-fry the zucchini halves or slices for 2-3 minutes over medium-high heat, until golden brown. Once you turn the zucchini over, move them aside slightly and add another tablespoon of olive oil and the garlic slices. Spread them around and cook for 1 minute on each side until just golden brown. Make sure to not burn them. You can also fry the garlic in a separate smaller pan or a a pot. Keep an eye on them the whole time.
- Serve the risotto with extra grilled zucchini and fried garlic on top. Sprinkle with parsley and extra nutritional yeast flakes.
Notes
Nutrition
SAVE THIS RISOTTO RECIPE TO PINTEREST


Leave a Reply