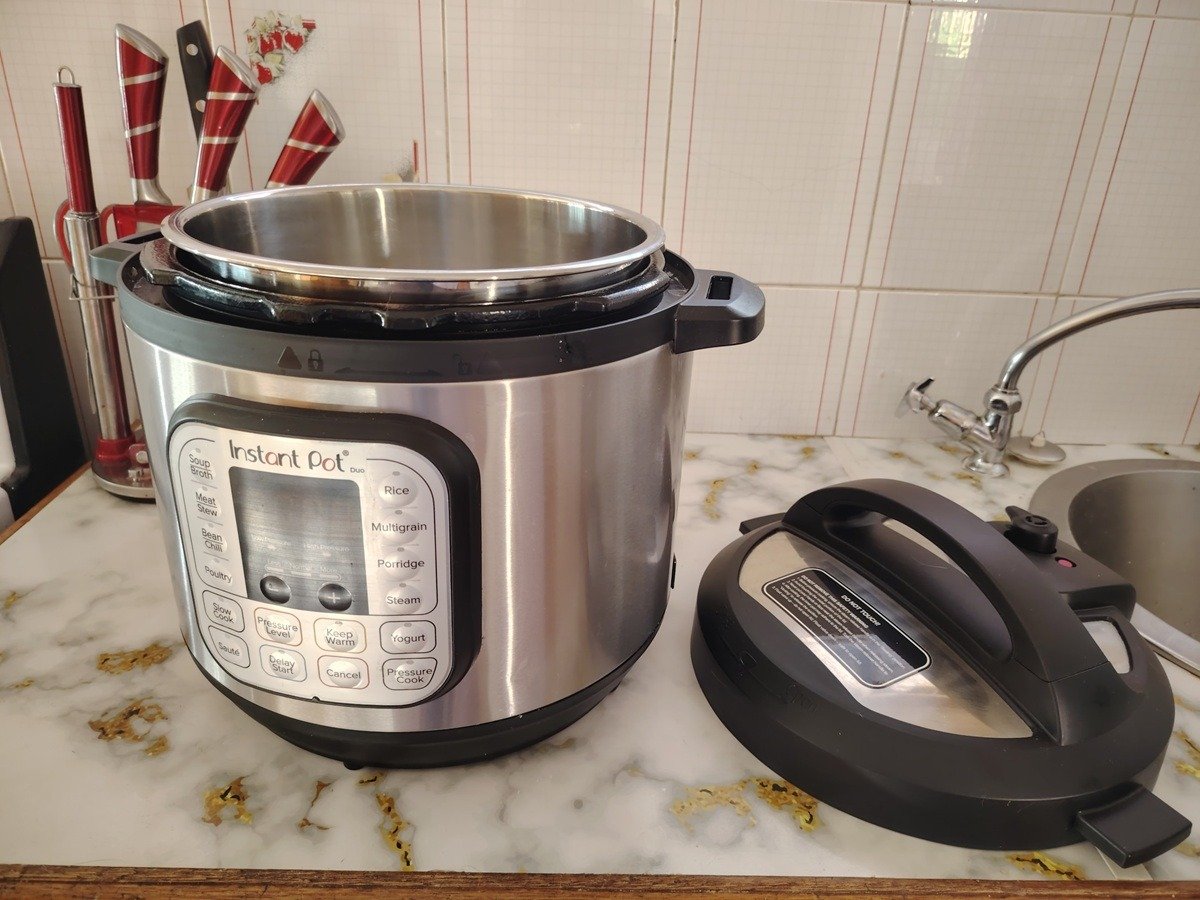
The Instant Pot has revolutionized home cooking, making pressure cooking accessible, fast, and convenient. From steaming frozen food to slow cook recipes, many people rely on their Instant Pot to prepare a variety of dishes with minimal effort. However, one common frustration users face is the Instant Pot lid not closing properly. Without a secure lid, the pressure cooking process can’t start, leaving your meal unfinished and causing unnecessary stress in the kitchen.
If your Instant Pot lid isn’t closing, don’t panic. This article will explain the causes, provide easy fix solutions, offer Instant Pot tips, and teach you how to avoid common Instant Pot issues so you can get back to happy cooking. Read on for more!
Jump to:
Understanding How the Instant Pot Lid Works
Before getting into troubleshooting, it’s helpful to understand the key components of your Instant Pot lid and why they matter for pressure cooking.
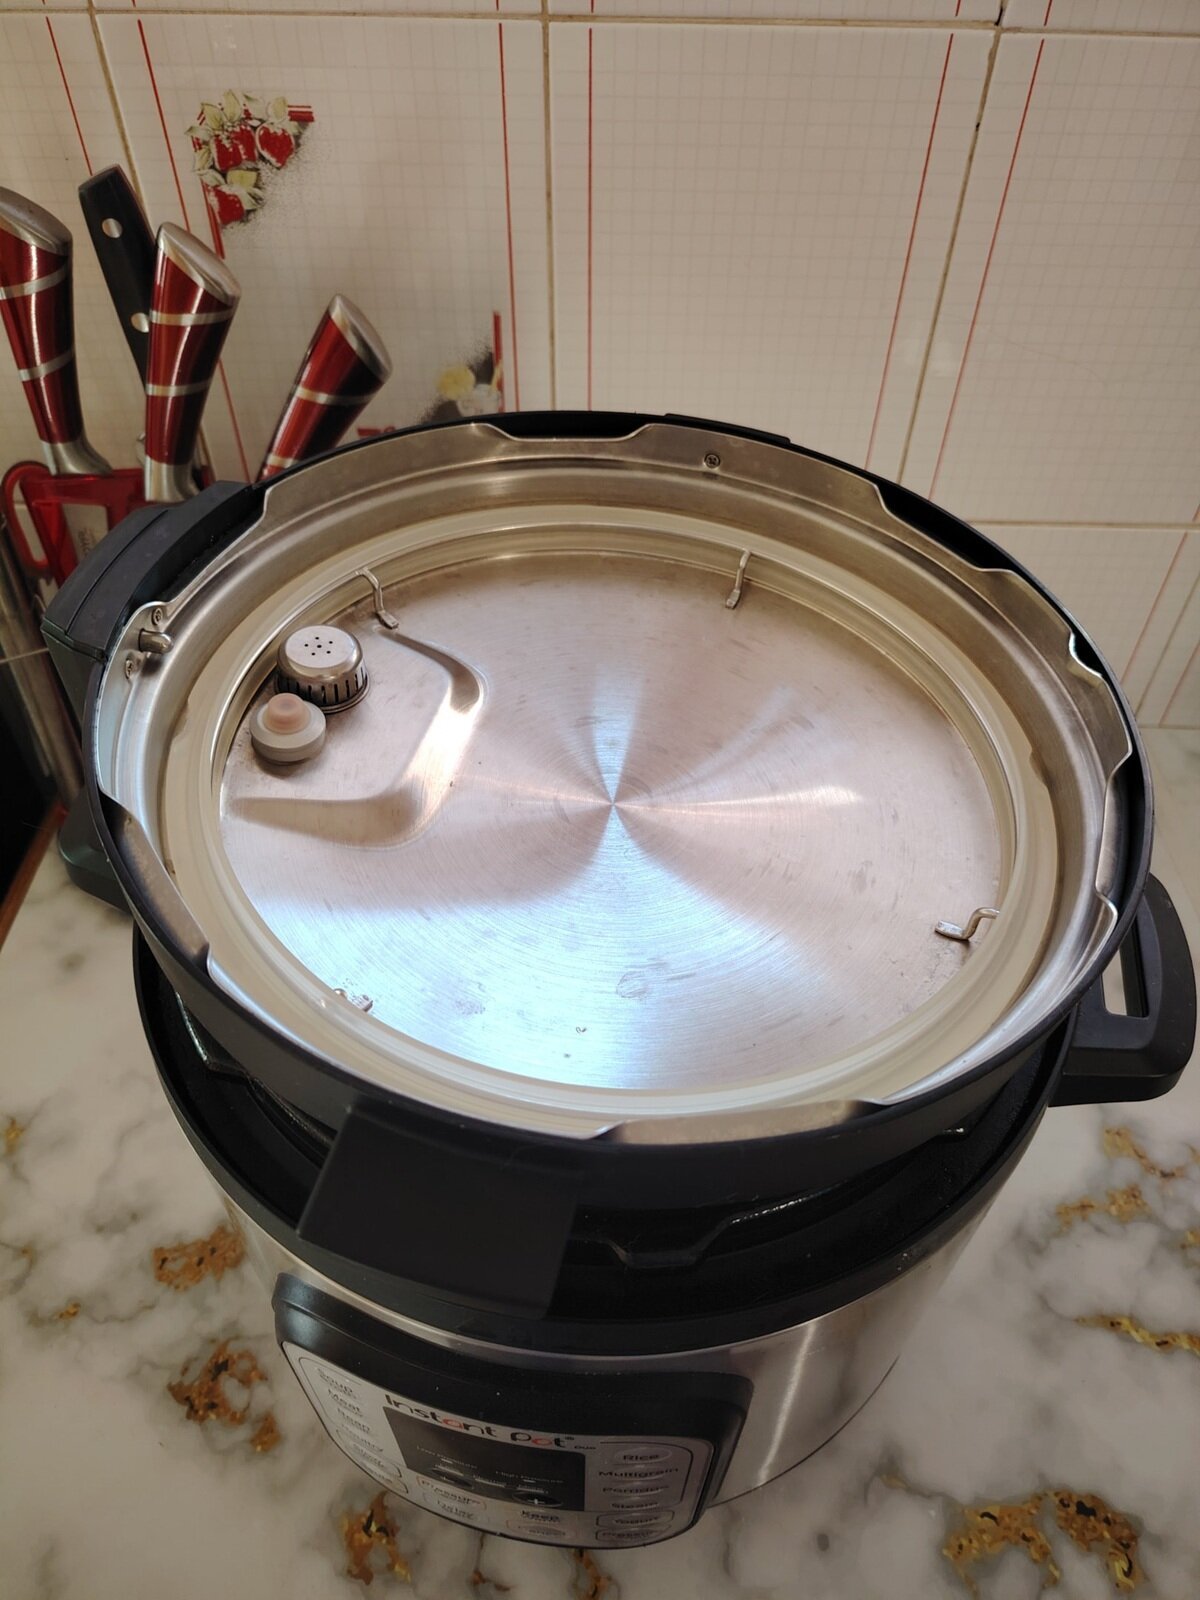
Key Components of the Lid
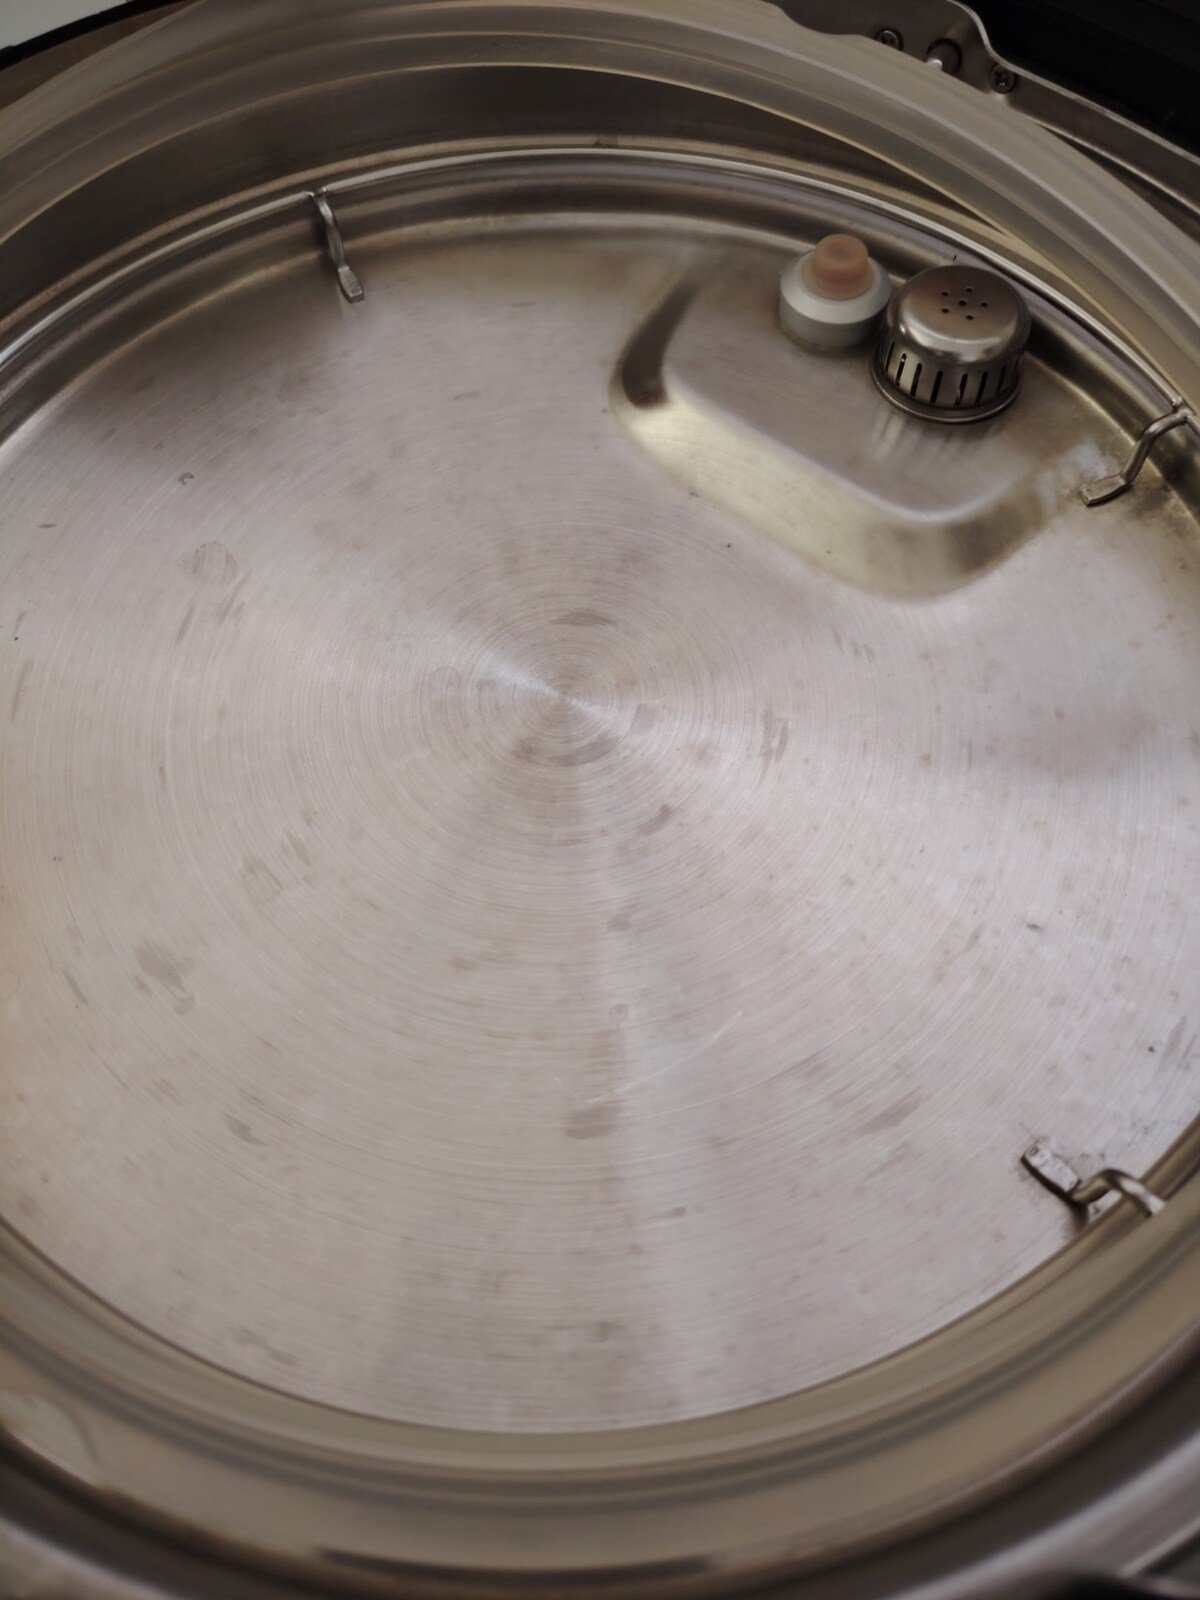
- Sealing Ring / Silicone Ring: This flexible rubber or silicone ring creates a proper seal between the lid and the outer pot, allowing pressure to build inside.
- Float Valve / Pressure Valve: A safety mechanism that indicates when the pot has reached pressure and helps regulate the release.
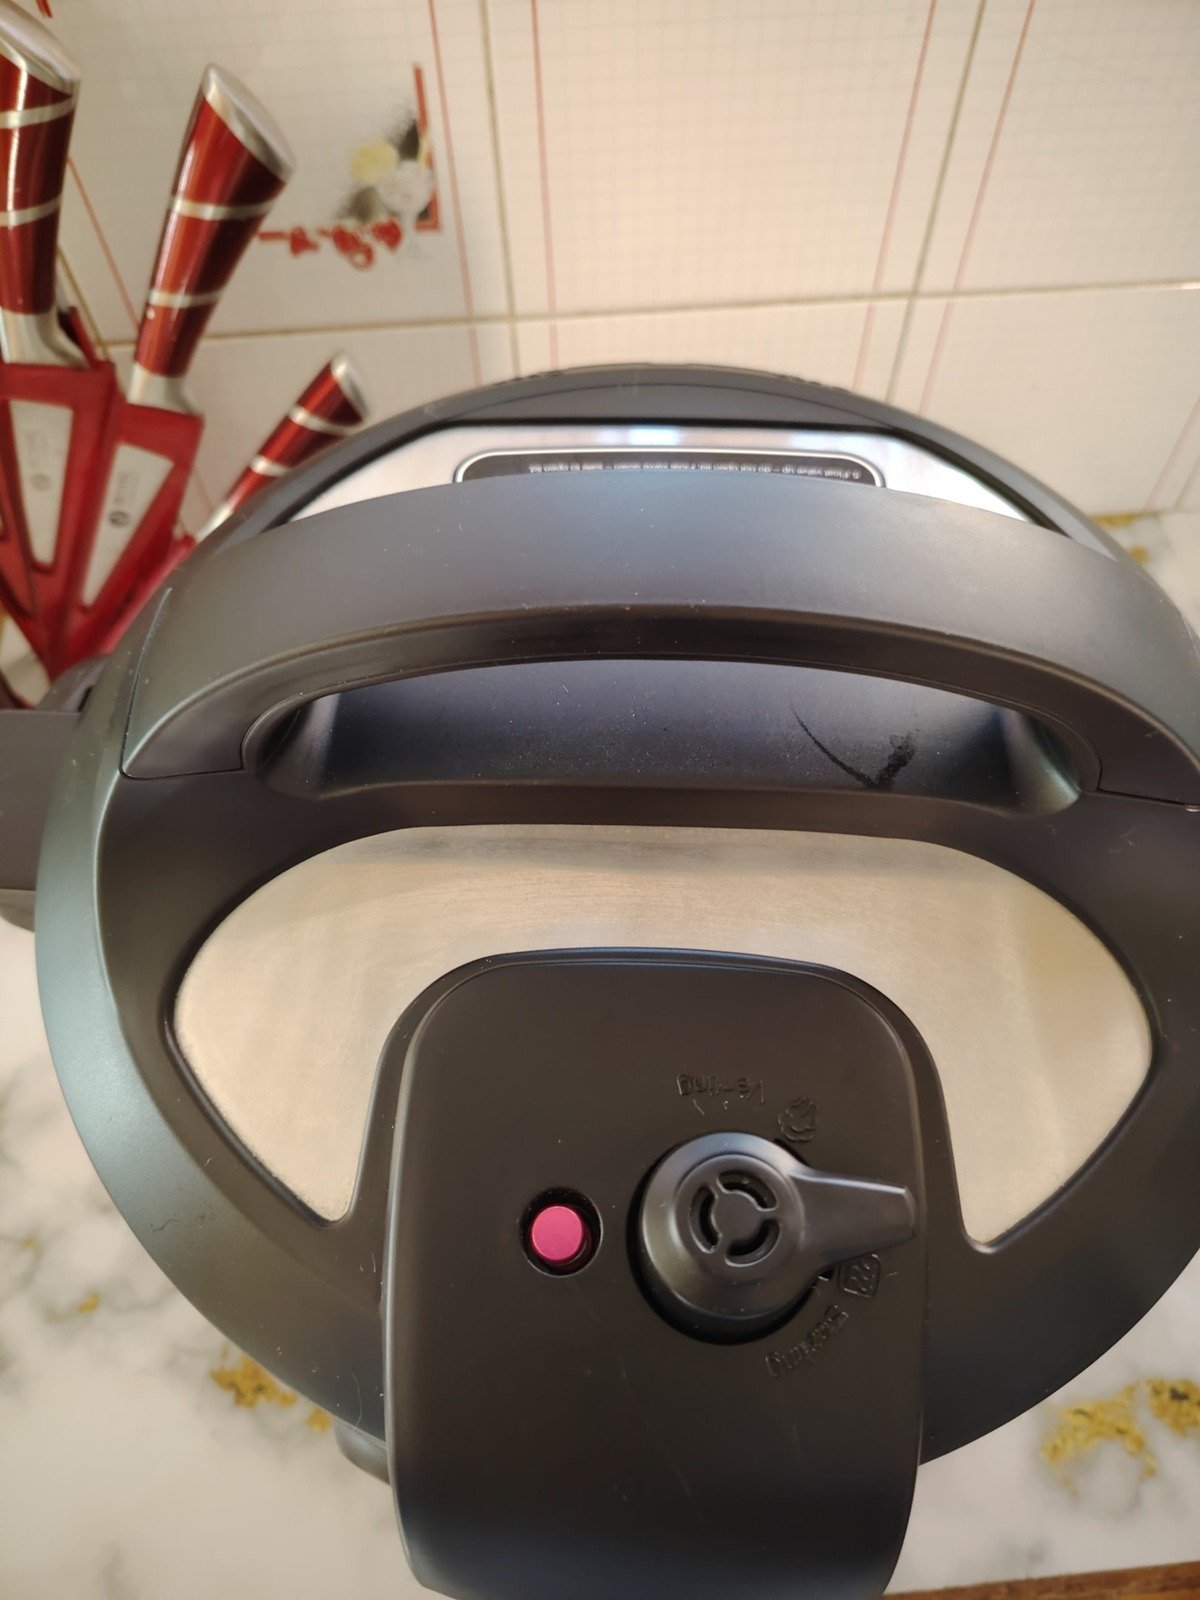
- Steam Release Handle / Release Valve / Steam Release Pipe: Controls whether the pot is in the venting position or sealing position.
- Lid Locking Mechanism: Helps that the lid stays securely in place during the pressure cooking process.
When any of these components are misaligned, damaged, or dirty, the Instant Pot lid will not close and becomes one of the most frustrating common Instant Pot problems.
New to Instant Pot? See here: How To Use The Instant Pot For Beginners
Common Reasons the Instant Pot Lid Won’t Close
Many Instant Pot users encounter a lid that refuses to close. Here’s why it happens:
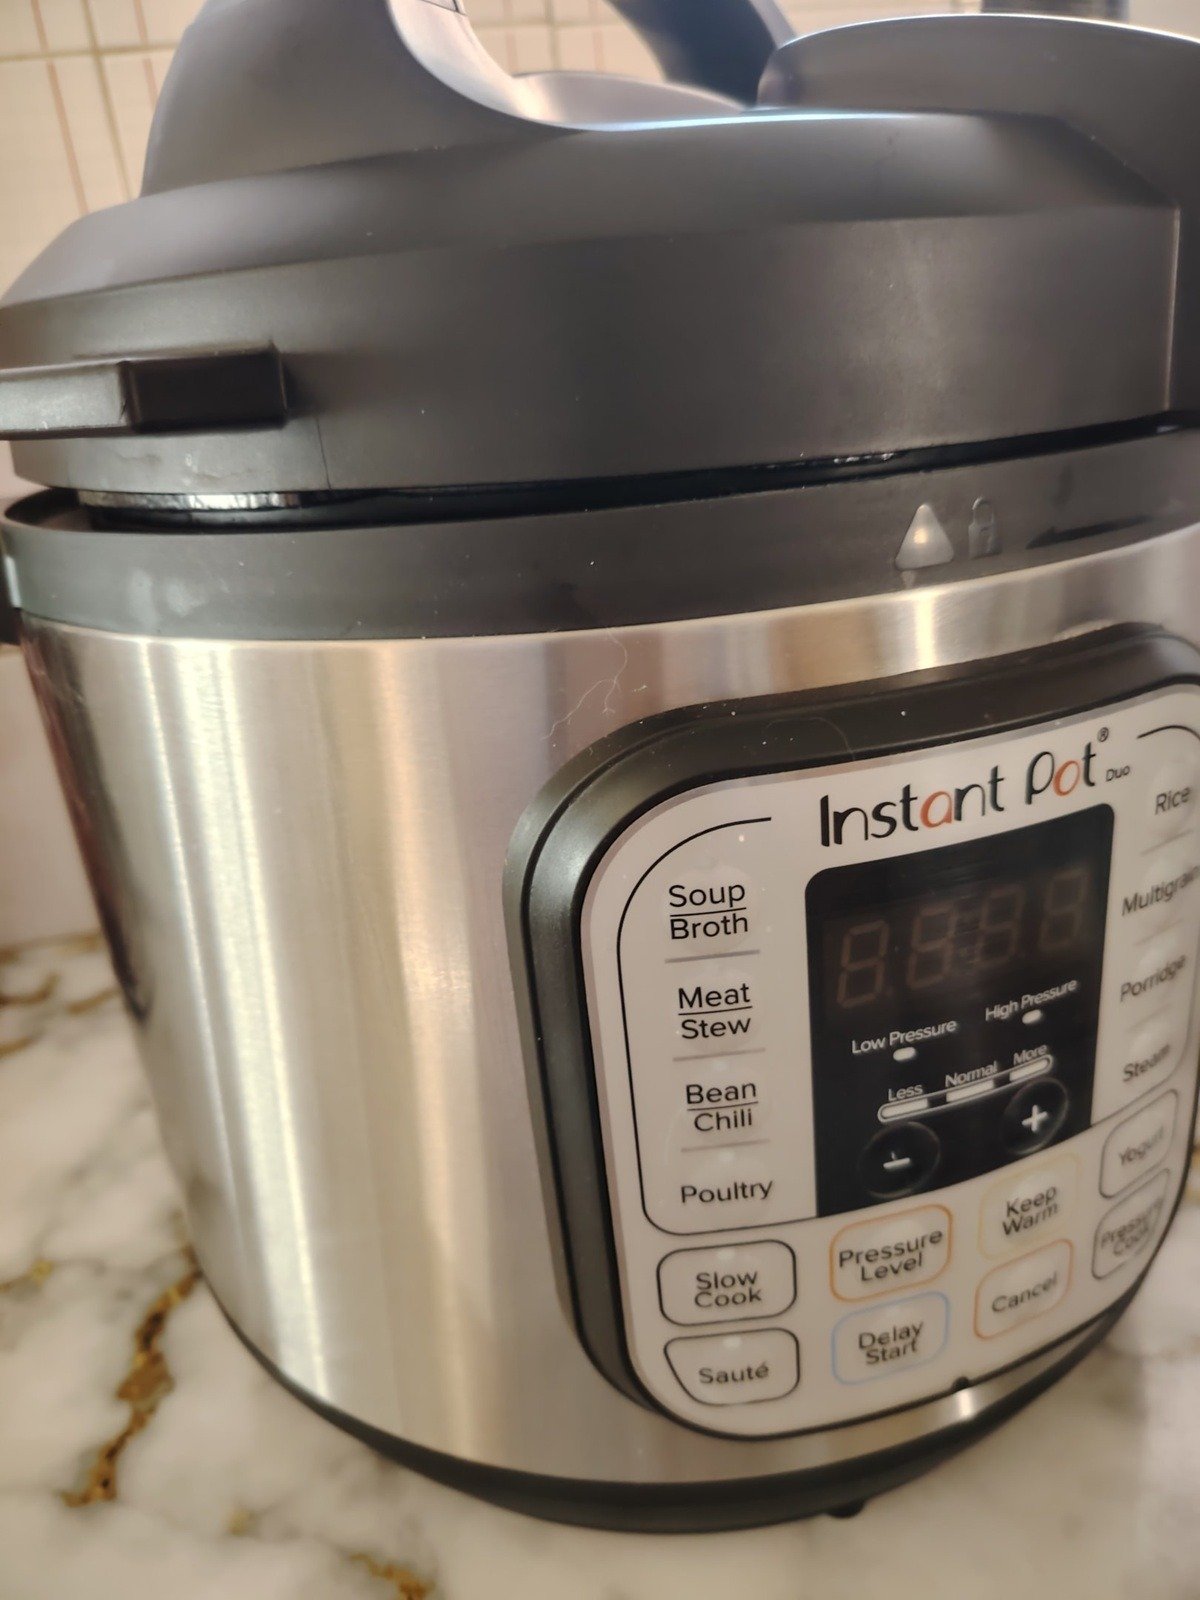
1. Improper Lid Alignment
Every Instant Pot model has markings to help you align the lid properly. If the arrows aren’t matched, or the lid isn’t properly seated, the locking mechanism won’t engage. Even newer models can be affected by this if the lid isn’t pushed down evenly.
2. Dirty or Damaged Sealing Ring
Food particles, oils, or residues on the sealing ring can prevent the lid from forming a proper seal. Over time, silicone can also wear out. A damaged or stretched Instant Pot sealing ring is a common cause of sealing issues.
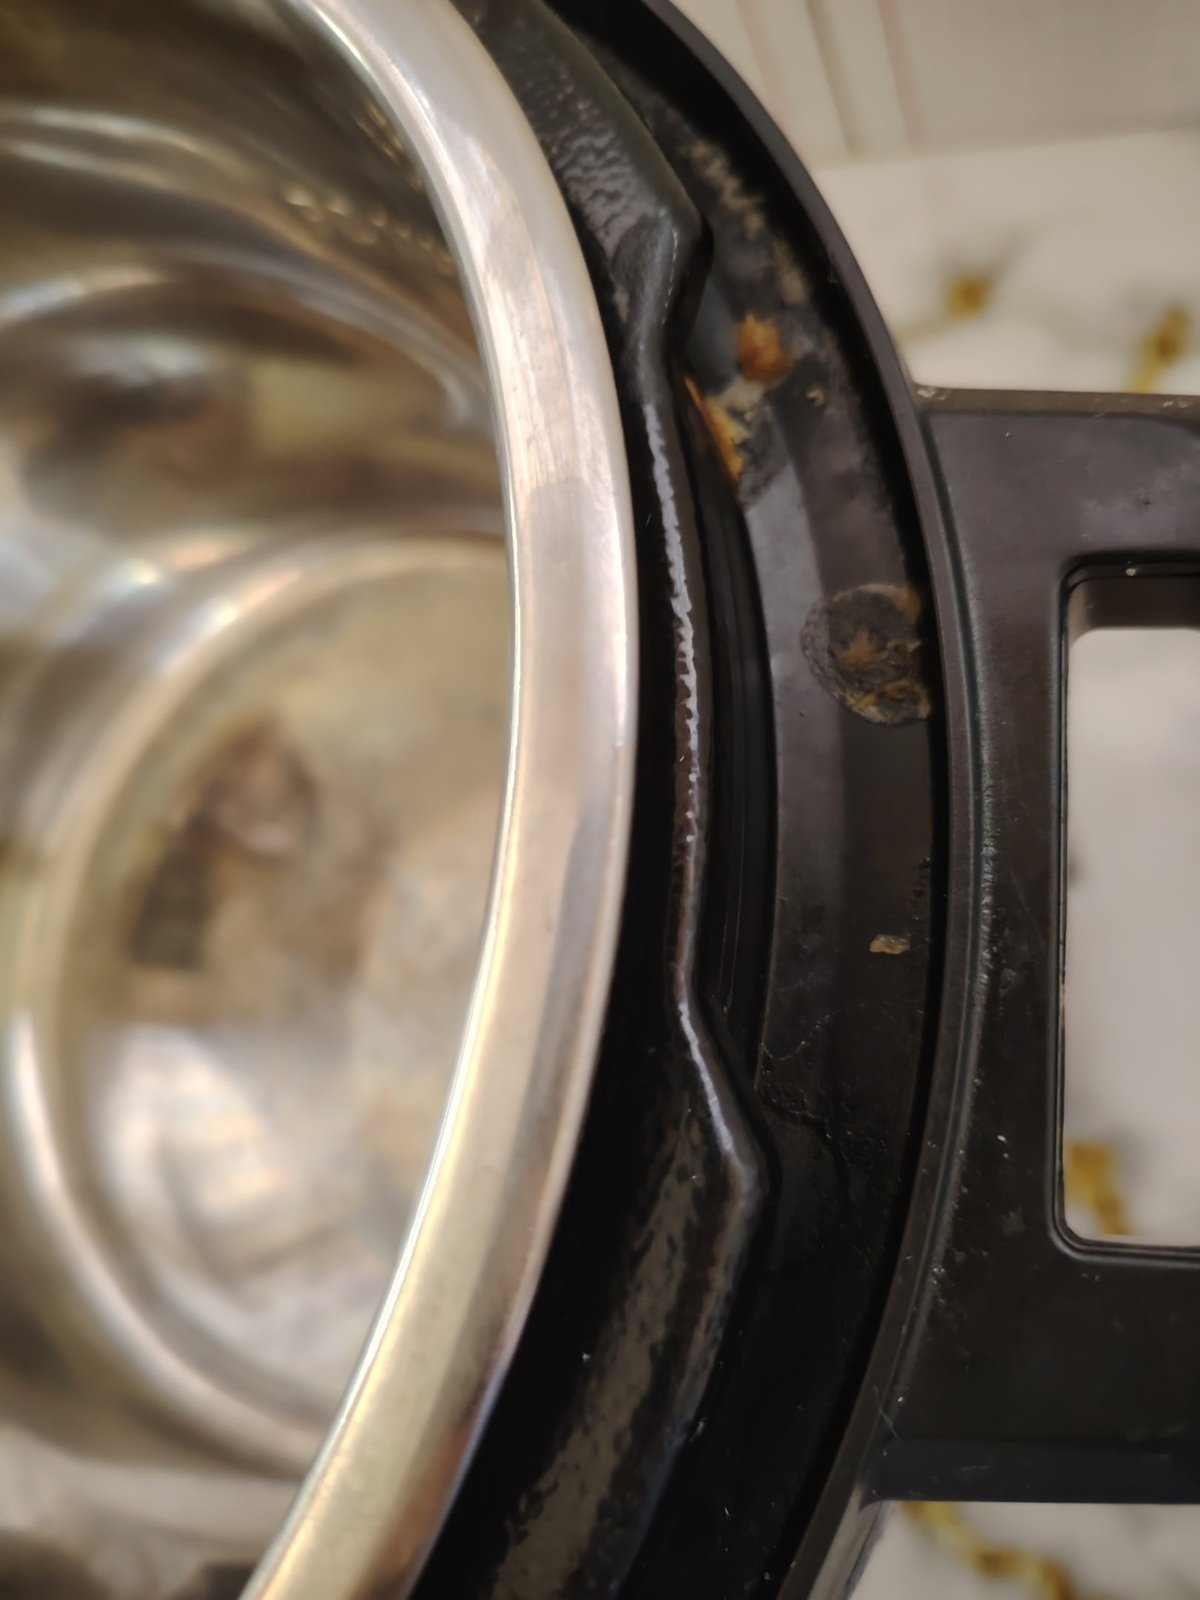
3. Obstructions on the Lid or Outer Pot
Sometimes food debris, dried sauces, or burnt bits on the inner pot or lid rim prevent closure. Even a small crumb can stop the lid from locking, especially with thick sauces or thin liquids that spill over.
4. Inner Pot Not Properly Seated
The inner pot must sit evenly inside the outer pot. If it’s tilted, warped, or not aligned, the lid may refuse to close. Make sure there’s enough room between the inner pot and lid.
5. Float Valve or Sealing Valve Issues
A float valve that’s stuck or a sealing valve not installed correctly can prevent the pressure valve from locking. These components are very important for pressure cooking, as they indicate if the pot can build pressure safely.
6. Too Much or Too Little Liquid
Pressure cooking requires a minimum amount of liquid to generate steam. Using too much liquid can cause overflow, while thin liquid or not enough liquid may prevent the pot from pressurizing, making the lid hard to close.
Also see: What Happens If a Pressure Cooker Runs Out of Water?
7. Cold or Frozen Food
Adding frozen food directly without enough hot or warm water can impact the pressure and temperature, affecting the lid’s sealing position.
8. Worn or Damaged Lid Components
Over time, repeated use, high heat, and frequent cleaning can damage the locking mechanism, sealing ring, or steam release valve, leading to common Instant Pot issues like a lid that won’t close.
Step-By-Step Troubleshooting
Here’s how to fix the Instant Pot lid if it won't close, step by step:
1. Check Lid Alignment
- Make sure that the lid is facing the correct direction with arrows or markings matched. (Wait for the lid to cool down first).
- Press down gently and rotate the lid to the sealing position.
- If the lid doesn’t engage, lift it slightly and try again.
Instant Pot tip: Always rotate slowly until you feel it lock. Don’t push forcefully, as this may damage the lid lock.
2. Inspect and Clean the Sealing Ring
- Remove the silicone ring and wash it with warm water and mild soap.
- Check for cracks, wear, or stretching.
- Reinstall the new seal or the cleaned ring properly, ensuring it sits fully in the groove.
3. Examine the Float Valve and Anti-Block Shield
- Make sure the float valve moves freely. Push it up and down gently. This is important for quick release and natural release.
- Clean the steam release pipe and sealing valve to remove any debris.
- Make sure that the anti-block shield is installed correctly.
4. Check that the Inner Pot Is Properly Seated
- Lift the inner pot and place it carefully into the outer pot, making sure it sits flat.
- Check that the power cord isn’t obstructing the pot placement.
5. Check Lid Components for Wear
- Inspect the lid locking mechanism for damage.
- Replace any worn or broken parts from Instant Pot replacement kits.
- For Instant Pot Duo and newer models, make sure the sealing position aligns with the pressure valve.
6. Adjust Liquid Levels
- Make sure that enough liquid is inside the inner pot to build up steam.
- Avoid thin liquid for slow cook recipes, or thick sauces that may burn.
- Use more liquid for frozen food or multiple dishes cooked simultaneously.
7. Conduct a Water Test
- To do the water test, add 2 cups of cold or warm water into the inner pot.
- Close the lid and set pressure cooking mode.
- If the lid closes and builds pressure, the issue may have been sealing issues or too much food.
Preventative Measures for Proper Lid Closure
Prevent common Instant Pot problems by following these Instant Pot tips:
- Regularly clean the sealing ring, float valve, steam release valve, and steam release pipe.
- Check for food debris on the lid and outer pot rim.
- Check that the inner pot is properly seated before every use.
- Avoid overfilling—leave enough room for pressure to build.
- Replace Instant Pot sealing rings every 12–18 months or if damaged.
- Follow user manual instructions for cooking time and liquid levels.
- For thick sauces or slow cook recipes, check the sealing position and adjust steam release handle accordingly.
Tip: You can always find replacement parts for your Instant Pot on places like Amazon
Common Mistakes Users Make
Even experienced Instant Pot users fall into traps that lead to common Instant Pot issues:
- Forcing the lid without aligning it properly.
- Ignoring food debris around the inner pot or lid rim.
- Using old or stretched sealing rings.
- Adding too much liquid, causing a burn message.
- Cooking frozen food without adjusting liquid and cooking time.
- Overlooking float valve or sealing valve cleanliness.
Correcting these mistakes can save time and frustration while preventing potential damage.
When to Seek Professional Help
Sometimes, an Instant Pot lid that is not closing indicates a deeper issue. Consider professional help if:
- You notice cracks or bent parts in the lid or outer pot.
- The float valve is permanently stuck.
- The pressure valve doesn’t move despite cleaning.
- The pot repeatedly fails the water test, even if more water is added.
Contact Instant Pot support or refer to the user manual for warranty-covered repairs or replacement parts.
Frequently Asked Questions
No. Operating with a loose lid prevents pressure building and may cause sealing issues, preventing safe pressure cooking.
Every 12–18 months or when it shows cracks, wear, or a new seal is recommended.
This often happens due to food debris, incorrect alignment, or float valve issues. Cleaning and realigning usually fixes it.
Yes. Non-Original Instant Pot sealing rings may not fit properly, causing sealing issues or pressure cooking problems.
Conclusion
The Instant Pot lid not closing is a frustrating but easy fix problem when you know what to look for. Most common Instant Pot issues arise from misalignment, food debris, worn sealing rings, or improper liquid levels.
By understanding the pressure cooking process, inspecting the inner pot, cleaning the sealing ring, checking the float valve, and following Instant Pot tips, you can avoid most problems.
Regular maintenance, careful placement of frozen food, and attention to steam release positions ensure your Instant Pot Duo or other models continue to deliver consistent results across different recipes. Whether you’re cooking thick sauces, slow cook meals, or air fryer dishes, a properly functioning lid on your pressure cooker makes all the difference.
Follow these tips, perform periodic water tests, and replace parts when necessary to enjoy pressure cooking safely and efficiently. With these fixes and preventive measures, you can return to cooking different dishes without worry.


Leave a Reply