Ever felt the rush of a ticking clock while trying to whip up dinner? That’s where mastering your kitchen gadgets, especially learning How To Set Instant Pot To High Pressure, can turn you into a home-cooking hero. This seemingly simple skill might just be what stands between you and a perfectly tender chicken breast or those hearty, flavor-packed beans that usually take hours to simmer.
The way we cook has been transformed thanks to the Instant Pot, which shortens preparation time for popular recipes significantly—sometimes reducing it by up to 70%! No wonder this device is now found in countless homes across different countries.
Yet despite these impressive stats, many are still daunted by pressure settings. Does “High Pressure” seem like an option only for the brave? It shouldn’t! Today we’ll simplify this process so even beginners can feel confident turning up the heat on their culinary creations without breaking a sweat—or overcooking their meals!
Jump to:
Understanding the Instant Pot's Pressure Settings
If you’ve just started using an electric pressure cooker, getting the hang of your Instant Pot's pressure level might seem a bit tricky. Don’t stress; I’m here to help!
One of the most important things to understand is the pressure settings. The Instant Pot has two pressure levels - high and low. Choosing the right pressure level is key to getting the best results from your pressure cooker recipes.
What Is High Pressure Cooking
High pressure cooking is a method of cooking food using water or other cooking liquid in a sealed vessel known as a pressure cooker. As the pot heats up, pressure builds up inside the pot, which helps food cook faster.
A closed pressure cooker traps steam from boiling liquids such as water or broth. This leads to an increase in internal pressure and heat.
Tip: When you use a manual setting, you are in charge of selecting the cook time, and the pressure in some models, rather than relying on one of the preset buttons like “rice” or “stew.”
Benefits of High Pressure Cooking
Using high pressure cooking can cut your time in the kitchen by up to 70%, which means you save a lot on energy too. Additionally, high pressure cooking is known for its energy efficiency, making it an environmentally friendly choice.
Pressure cooking can keep more vitamins and minerals in your food compared to other methods. Since it uses less water, the flavors and nutrients don’t get washed away like they might with boiling or steaming.
When to Use High Pressure
High pressure is suitable for most recipes, especially those that require longer cooking times like tough cuts of meat, beans, soups, stews, and rice. Foods that are steamed or braised are also good candidates for high pressure cooking.
However, more delicate foods like fish, tender vegetables, or baked goods are better suited for lower pressure or other cooking methods.
In my experience, I use the high pressure setting on my Instant Pot for about 90% of the recipes I make. It’s my go-to for everything from homemade chicken stock to chili with dried beans to beef stew provencal.
How to Set Your Instant Pot to High Pressure

Now that you understand what high pressure cooking is and when to use it, let’s dive into actually setting your Instant Pot to high pressure mode using the manual setting:
Identifying the Pressure Cooking Button
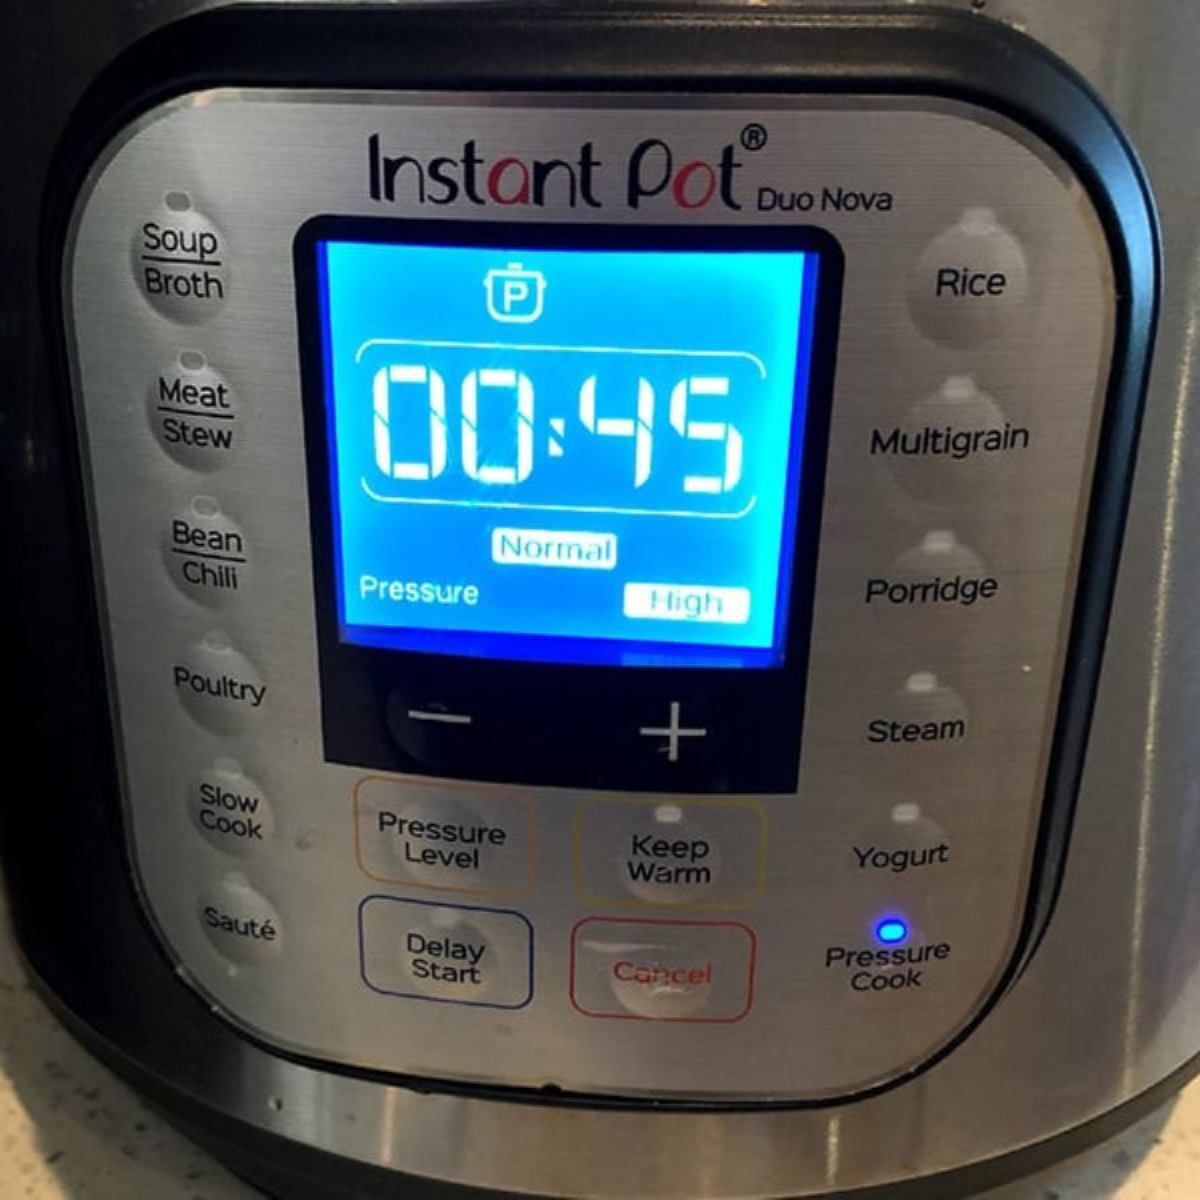
To set your Instant Pot to high pressure, first locate the “Pressure Cook” or “Manual” button on the control panel of your Instant Pot model. This button allows you to manually set the pressure level and cook time.
On most models, the “Pressure Level” button is right next to the “Pressure Cook” button. On some newer models, like the Instant Pot Duo, keep pressing the Pressure Cooking button to toggle between high and lower pressure.
Adjusting the Pressure Level
After pressing the “Pressure Cook” button, press the “Pressure Level” button to toggle between “Low Pressure” and “High Pressure” settings. Make sure the display shows “High Pressure” for recipes that require high pressure cooking.
If you don’t select a pressure level, most Instant Pot models will default to high pressure. But it’s always a good idea to double check, especially if you’ve been using lower pressure mode for a different recipe.
Also read: How Long Does Instant Pot Take to Preheat? Quick Guide
Setting the Cook Time
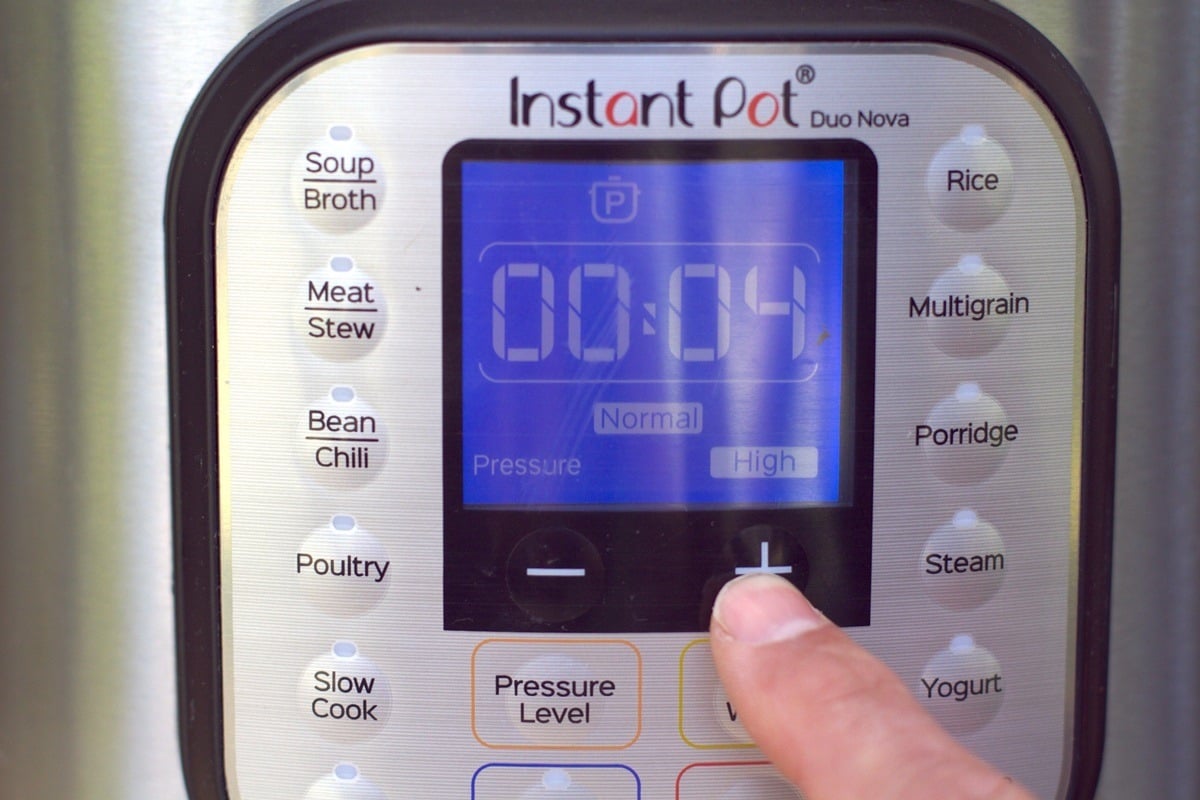
Use the “+” and “-“ buttons to adjust the cooking cycle according to your recipe. The cooking time will begin counting down once the Instant Pot has reached the desired pressure level.
Remember, it takes time for the Instant Pot to come to pressure before the actual cooking begins, usually around 5-15 minutes depending on the volume and temperature of the food.
A good rule of thumb is to set the cook time for the shortest time recommended in the recipe. You can always add a few more minutes if needed, but you can’t undo overcooked food.
The automatic Keep Warm feature on my Instant Pot has quickly become a favorite. After the cooking time finishes, it automatically transitions into Keep Warm mode. This way, you can relax or focus on other tasks before releasing the pressure and serving up dinner.
So there you have it - everything you need to know to master the high pressure setting on your Instant Pot. With a little practice and some delicious recipes, you’ll be an Instant Pot pro in no time.
Tips for Successful High Pressure Cooking
Pressure cooking can be a bit intimidating at first, especially if you’re new to using an instant pot. But with a few simple tips, you’ll be cooking up delicious meals like you have been doing it for years.
The key is to make sure you’ve got a proper seal. This is where that little sealing ring comes in. It’s the unsung hero of a pressure cooking cycle. Make sure it’s snug in the lid and free of any cracks or damage.
Ensuring a Proper Seal
I can’t stress this enough - a good seal is everything. If your instant pot isn’t sealing properly, you’re going to have a bad time. No pressure buildup means no pressure cooking.
So before you start, always give that sealing ring a quick check. While you’re at it, take a peek at the float valve and steam release handle too. Make sure they’re clean and moving freely.
If you really want to be sure, do a water test before you cook. Just add a few cups of water and run a short pressure cycle. If steam is leaking anywhere, you’ll know you’ve got a problem.
Releasing Pressure Safely
Okay, so you’ve cooked up a storm and now it’s time to dig in. But hold up - you’ve got to release that pressure first. And there’s a right way and a wrong way to do it.
For most recipes, you’ll want to use the natural pressure release. Just let the pot sit and do its thing. The pressure will slowly dissipate on its own. This is great for foods that need a little extra cook time, like tough cuts of meat.
But sometimes, you need to get dinner on the table ASAP. That’s where the quick release comes in. Just flip that steam release handle to the venting position and stand back. The steam will come rushing out, so be careful.
Tip: Cooking for 0 minutes is the same as cooking anything else on Manual. Press the Manual or Pressure Cook button, then use the – button to lower the cook time to zero minutes. The Instant Pot will still take several minutes to come to pressure (up to 10 minutes), and then as soon as the cooking cycle beeps to signal that it's complete, you'll quickly release the pressure right away
Allowing for Natural Pressure Release
Now, I know we all love a good quick pressure release. It’s satisfying to see that steam shoot out, and it means dinner is ready. But trust me, sometimes good things come to those who wait.
Natural pressure release is your friend, especially for recipes with a lot of liquid or starchy ingredients. Think soups, stews, and risottos. If you do a quick pressure release on these, you might end up with a geyser of hot liquid spraying all over your kitchen. No bueno. If a recipe calls for a natural pressure release, you'll do nothing when the cooking cycle is complete.
So how do you know when to use natural pressure release? My rule of thumb is if the recipe has a cook time of 20 minutes or more, go for the natural pressure release. Your patience will be rewarded with perfectly cooked food and a clean kitchen.
Common High Pressure Recipes for Instant Pot

You’ve got the hang of using your Instant Pot on high pressure—awesome. Understanding the cooking time is crucial for perfect results. Here are a few fantastic Instant Pot recipe ideas for you to try next and really show off what it can do:
Soups and Stews
Is there anything more comforting than a big bowl of soup on a chilly day? With an instant pot, you can have homemade soup in a fraction of the time.
One of my favorite quick meals is this Instant Pot Chicken Noodle Soup. It’s packed with juicy chicken breast, fresh veggies, and tender noodles. The best part? It’s ready in just half an hour—perfect for those days when you’re feeling a bit under the weather.
Another favorite is this Pressure Cooker Beef Stew. The beef comes out so tender, it practically melts in your mouth. And the veggies soak up all that delicious broth. Yum. The short cook time makes it an ideal choice for busy weeknights.
Meats and Poultry
Using a pressure cooker can totally transform meat. Even the toughest, cheapest cuts become tender and packed with flavor in no time.
Take this Pressure Cooker Honey Sesame Chicken for example. The chicken breast comes out juicy and coated in a sweet, sticky sauce. Serve it over rice and you’ve got a better-than-takeout meal.
Or how about some fall-off-the-bone Instant Pot Ribs? A rack of ribs that would normally take hours in the oven is ready in just 30 minutes, significantly reducing the cook time. Mind-blowing!
Grains and Legumes
Okay, I know grains and legumes don’t sound exciting. But hear me out. Cooking them in an instant pot is a total time-saver. No more babysitting a pot on the stove for hours.
Take quinoa for example. Normally, it takes about 20 minutes to cook on the stovetop. But in an instant pot, it’s ready in just 1 minute at high pressure. One minute.
The same goes for dried beans. No need to soak them overnight. Just toss them in the pot with some water and seasonings, set it to high pressure, and walk away. In about an hour, you’ll have perfectly cooked beans ready to be added to salads, soups, or whatever your heart desires.
Pro tip: When cooking grains or beans, make sure to use the steam rack that comes with your instant pot. This will keep them from getting mushy on the bottom of the pot.
So there you have it - some of my favorite high-pressure instant pot recipes to get you started. With a little practice and experimentation, you’ll be a pressure cooking pro in no time, and you’ll appreciate the reduced cook time.
Troubleshooting High Pressure Issues
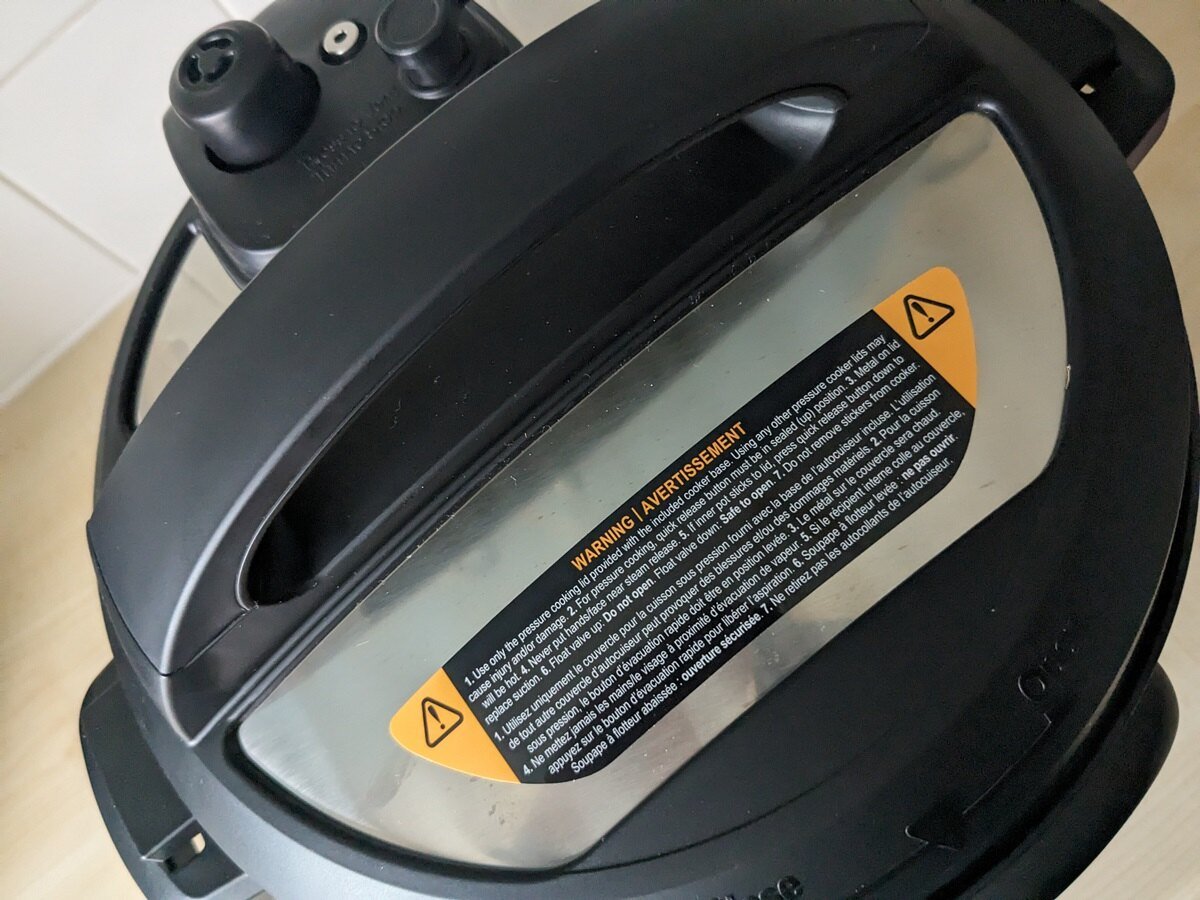
If you’re having trouble with your Instant Pot not pressurizing, leaking steam, or just acting up in general, don’t panic. I’ve been there, done that, and got the T-shirt.
The first thing to do is consult your trusty user manual. It’s like the Wikipedia for your Instant Pot. If you can’t find the physical copy, just Google “[your model] user manual” and it should pop right up.
Overcoming the Instant Pot Not Pressurizing
If your electric pressure cooker isn’t building pressure, there are a few things to check. First, make sure you have enough thin liquid (at least 1 cup) to generate steam.
Check that the silicone sealing ring is properly in place with no cracks or damage. Ensure the steam release valve is in the “sealing” position.
Check if the float valve and anti-block shield are clean and moving smoothly. If you still face problems, get in touch with customer support.
Also read: What Does Auto Mean On Instant Pot: Easy Pressure Cooking
Dealing with Leaks and Steam
Some steam release around the float valve or rim of the pot lid during pressure cooking is normal. However, if you notice excessive steam leaking, the Instant Pot may not be sealing properly due to issues with the sealing ring.
Cancel the cooking cycle and carefully do a quick pressure release. Check for damage to the sealing ring or debris on the rim of the inner pot preventing a good seal.
Ensure the steam release handle is set to “sealing” and the float valve is clean and unobstructed. If you’ve checked everything and it’s still leaking like a sieve, it might be time to call in reinforcements (aka customer support).
When to Contact Customer Support
If you’ve checked all the common pressure issues and your Instant Pot still won’t pressurize properly, it may indicate a problem with the heating element, sensors, or wiring in the cooker base.
In this case, it’s best to stop using the appliance and contact the manufacturer’s customer support for guidance on repair or replacement options, especially if the unit is still under warranty.
When you reach out to support, have your Instant Pot’s model and serial number handy. They’ll probably ask for a detailed description of the problem and guide you through some troubleshooting steps.
Don’t give up just yet! Try a simple reset: How To Reset Instant Pot - Handy Tips & Tricks
If all else fails, they may recommend sending your base unit in for repair or replacement. It’s a bummer, but it happens to the best of us.
Instant Pot’s customer service is great. They usually respond quickly and help solve any problems you might have. Plus, most models come with a generous warranty.
So don’t let a little pressure problem get you down. With a bit of troubleshooting and maybe a chat with customer support, you’ll be back to pressure cooking your favorite Instant Pot recipes in no time. Happy Instant Potting.
FAQ's
Use quick release for recipes where you want to stop the cooking process immediately, and natural release for dishes that benefit from additional cook time and gradual pressure release.
Check that the silicone sealing ring is properly seated in the Instant Pot lid groove and ensure the steam release valve is in the “Sealing” position before starting the pressure cooking cycle.
You'll know it's safe to remove the lid when the floating valve in the lid drops. This means all of the pressure is gone, and the Instant Pot lid will easily twist off. Never ever try to force the lid off the pot if it doesn't twist easily.
Familiarize yourself with your new Instant Pot’s safety features and always follow the manufacturer’s instructions for proper use and maintenance of the pressure cooking function.
If your recipe doesn’t specify, default to high pressure unless the ingredients require gentle cooking, in which case, opt for lower pressure.
For cooking rice in an Instant Pot, use the manual or pressure cook setting on high pressure and follow a specific rice-to-water ratio along with the recommended cook time for your type of rice.
If steam pressure is escaping, check to ensure the steam release valve is properly closed and sealed. If not, carefully reposition it to prevent steam from escaping during the cooking process.
Conclusion
So, you’ve learned how to set an Instant Pot to high pressure cooking. It’s not just a button press; it’s the gateway to transforming your kitchen into a hub of culinary excellence.
You now know when and why to crank up the pressure for soups, stews, meats, and more. You understand the simple steps: select Pressure Cook, adjust your settings, and ensure everything seals correctly before letting the magic happen.
The seal check? Critical. The natural release method? Patience is required but worth it every time for those flavorsome finishes that have everyone asking for seconds.
You’re all set! Grab that Instant Pot and dive into those recipes you’ve been eyeing. You’ve got this—happy cooking in the kitchen!


Leave a Reply