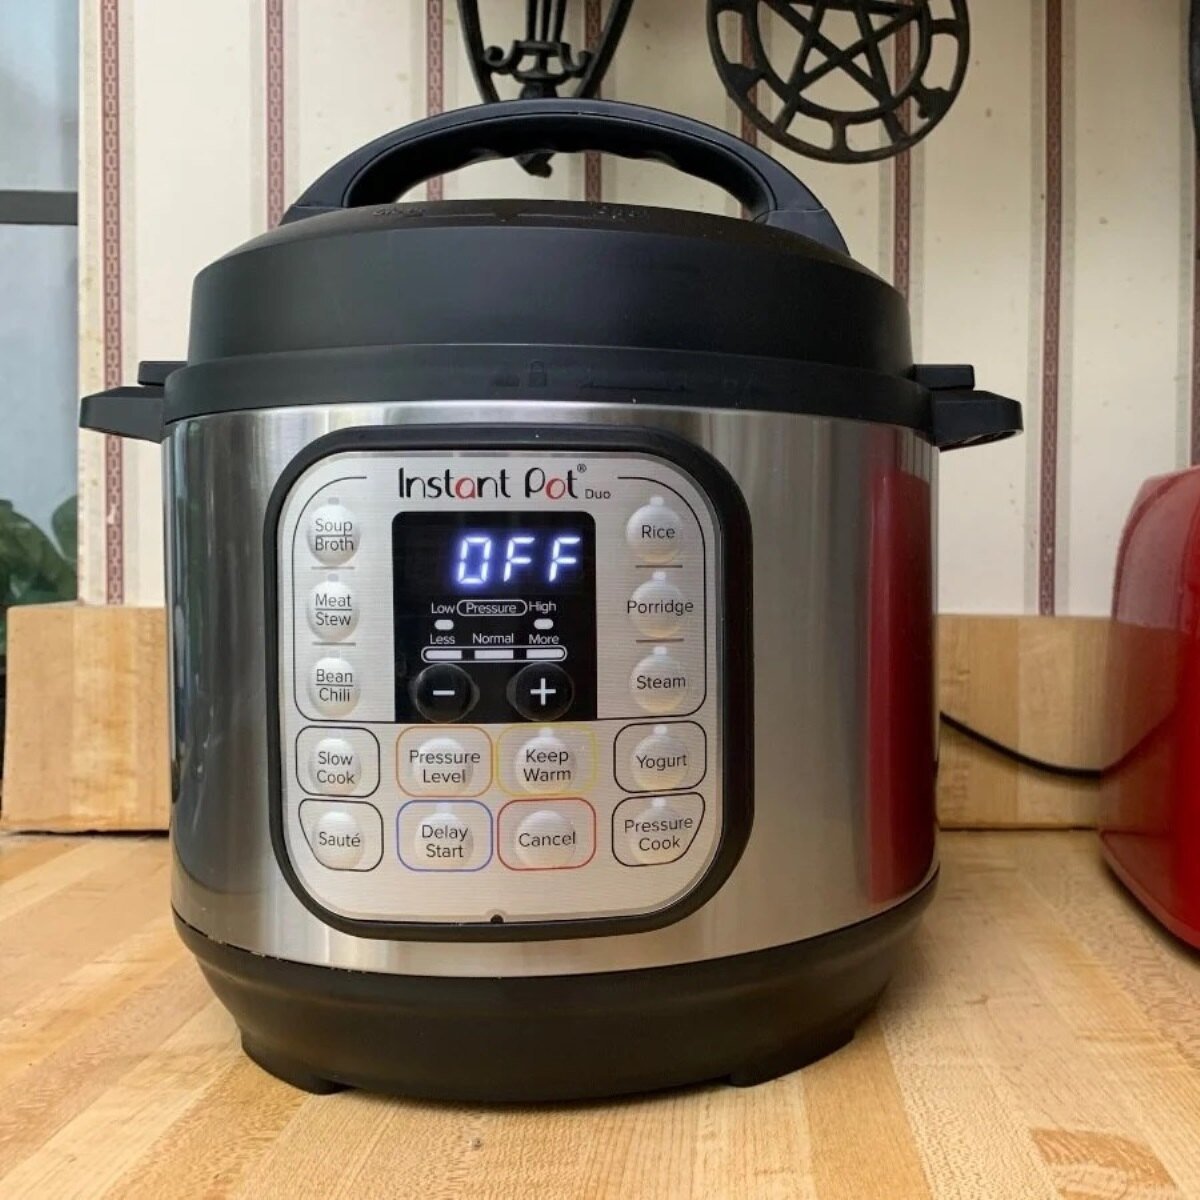
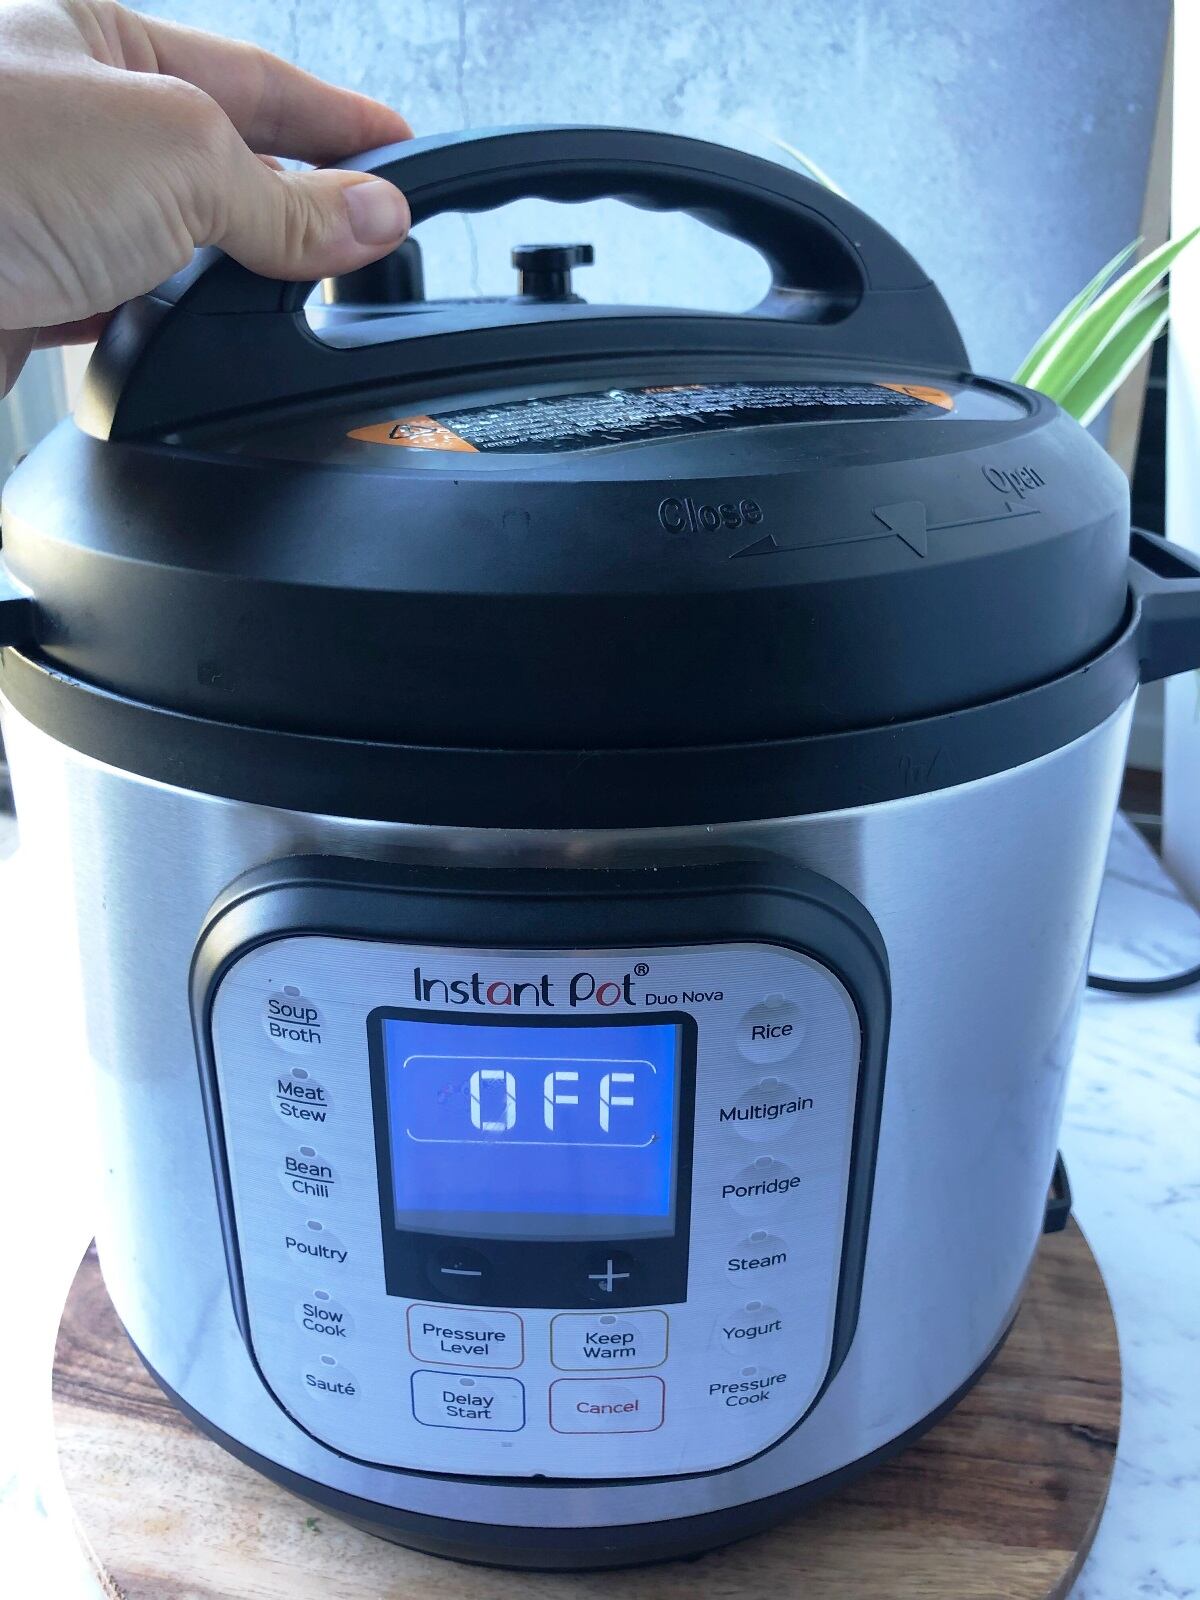
How long does it take Instant Pot to pressurize? It’s a burning question on the minds of new Instant Pot owners everywhere. You’re excited to try out your shiny new appliance, but you don’t want to spend all day waiting for it to come to pressure and start cooking.
I get it. When I first got my Instant Pot, I was like a kid on Christmas morning, eager to rip open the box and start cooking up a storm. But then I realized I had no idea how long this long thing was going to take to pressurize. The truth is, 10 - 15 minutes may sound like a long time to wait for your Instant Pot to do its thing, but there are other tasks you can do while waiting!
Here’s a guide where we’ll break down all things related to how quickly (or slowly) your pot gets up to pressure based on its size and what’s inside it. After reading this, I am certain you’ll feel more confident tackling new recipes without hesitation!
Jump to:
- How Long Does It Take for an Instant Pot to Pressurize?
- Factors That Affect Instant Pot Pressurization Time
- Understanding the Instant Pot Pressurization Process
- Average Pressurization Times for Different Instant Pot Models
- Tips to Speed Up Instant Pot Pressurization
- Common Issues That Can Delay Pressurization
- When to Use Natural Release vs Quick Release
- Conclusion
How Long Does It Take for an Instant Pot to Pressurize?
If you’re new to the world of Instant Pots, you might be wondering just how long it takes for this magical electric pressure cooker to do its thing. I remember my first time using an Instant Pot - I was so excited to whip up a quick meal but found myself staring at the pot, waiting for it to start the pressure cook cycle.
Here’s the deal: on average, it takes about 10-15 minutes for an Instant Pot to pressurize before the actual cooking process begins. This can feel like an eternity when you’re hangry and ready to chow down, but trust me, it’s worth the wait!
Getting your Instant Pot to reach pressure can depend on a few things, but once you understand its quirks, you’ll be whipping up meals like a pro. Let’s break down what influences pressurization time and how to get the best results from your Instant Pot.
Factors That Affect Instant Pot Pressurization Time
Not all Instant Pot recipes are created equal when it comes to pressurization time. The size of your pot, the amount of liquid, and the type of food you're cooking all play a role in how long it takes to build pressure.
Size and Capacity of the Instant Pot
The size of your Instant Pot can make a big difference in pressurization time. Larger Instant Pot models, like the 8-quart or 10-quart, will naturally take longer to pressurize compared to the smaller 3-quart or 6-quart versions.
Why? It all comes down to pot size. The larger the pot, the more space there is to fill with steam to build pressure. Always check your Instant Pot manual for guidance on cooking times and liquid ratios for your specific model.
Amount of Liquid Used
Speaking of liquid, the amount you use is crucial for proper pressurization. As a general rule of thumb, you need at least 1 cup of thin liquid (like water or broth) for the Instant Pot to build and maintain pressure during cooking. Some recipes may call for cooking at low pressure, which also requires sufficient liquid to build and maintain pressure.
I learned this the hard way when I tried to make an Instant Pot recipe with just a little bit of liquid - my poor Instant Pot couldn’t build enough steam and I ended up with undercooked food. Lesson learned: always follow the liquid guidelines when your recipe calls for a certain amount for the best results.
If you’re unsure if your Instant Pot is functioning properly, try a simple water test by high pressure cooking 1 cup of water. This will give you a baseline for how long it takes your specific model to pressurize.
Must-read: Instant Pot VS Ninja Foodi: A Home Cook's Honest Showdown
Type of Food Being Cooked
The type of food you're cooking can also impact pressurization time. Dense foods like thick cuts of meat or large quantities of grains will take longer to build pressure compared to lighter, more porous ingredients.
This is because dense foods absorb more liquid and release less steam, slowing down the pressurization process. I've found that recipes with a lot of dense veggies like potatoes or carrots can add a few extra minutes to the pressurization time.
If you're making something watery like soup or stew, you'll notice that your Instant Pot reaches pressure quicker. All that extra liquid turns into steam and helps things move along faster.
Understanding the Instant Pot Pressurization Process
If you want to really master using an Instant Pot, understanding its pressurization stages is a good start. First comes preheating, followed by building up the pressure before finally getting down to actual cooking.
Preheating Cycle
The preheating cycle is when the heating element at the bottom of the Instant Pot starts to warm up the liquid inside the pot. As the liquid heats, it begins to release steam.
During this phase, you might hear the Instant Pot making some noises as the steam pushes air out of the pot through the steam release valve. This is totally normal and just means the pot is building pressure.
Pressure Building Phase
Once enough steam has built up, the Instant Pot enters the pressure-building phase. The float valve will pop up, indicating that the pot is pressurized and ready to start cooking.
At this point, the Instant Pot will maintain a consistent high pressure environment inside the pot. You might hear the Instant Pot making hissing or clicking sounds as it regulates the pressure using its built-in safety features.
Also read: Instant Pot Vs Duo: All You Need To Know!
Pressure Cooker Cycle
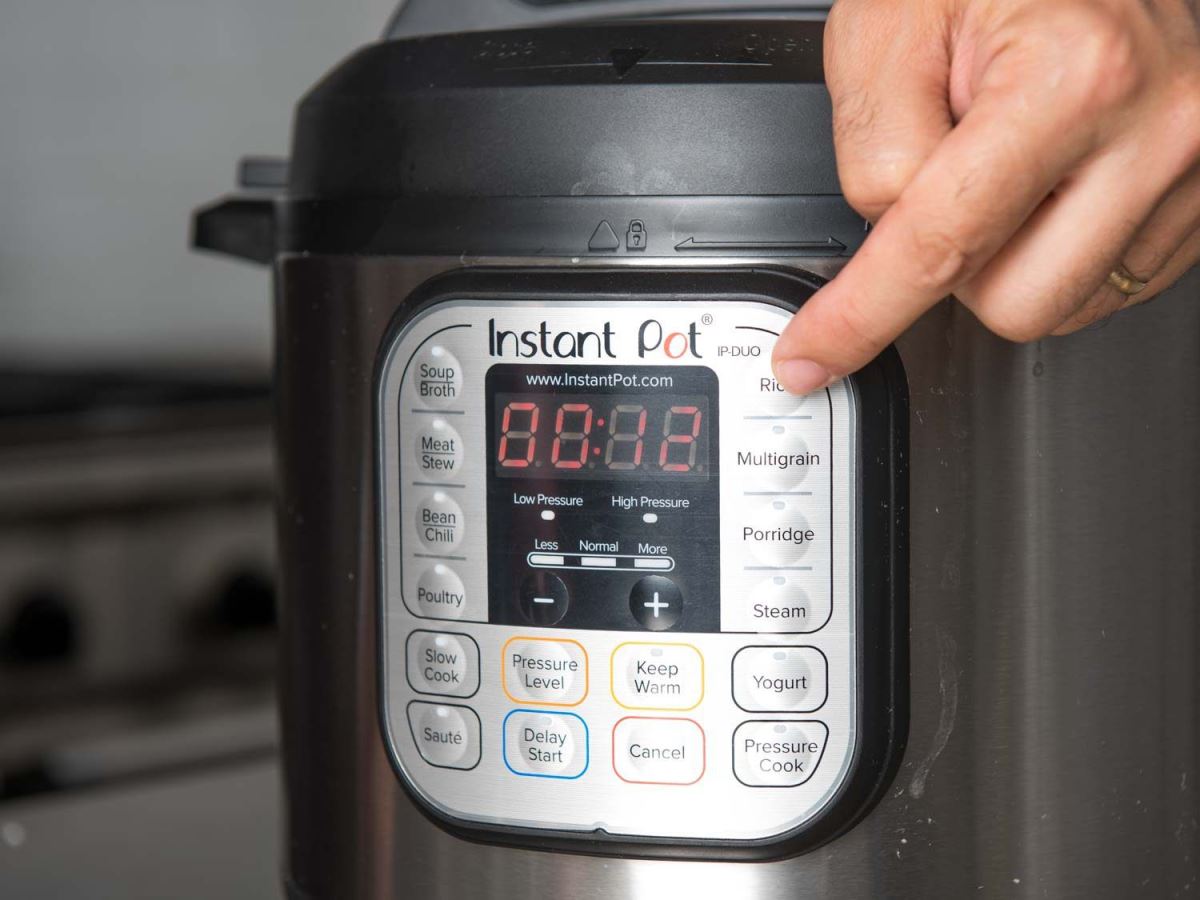
Once the Instant Pot has reached the desired pressure level, the actual pressure cooker cycle begins, which you can initiate using the pressure cook button. The timer on the Instant Pot will start counting down, and the pot will maintain a steady pressure and temperature.
During this phase, the high-pressure environment allows food to cook much faster than traditional methods. This is where the magic happens - tough cuts of meat become tender, beans soften, and flavors meld in a fraction of the time.
After the cooking cycle is complete, the Instant Pot will either start letting the pressure naturally release over time or you can manually release the pressure using the quick-release method. And just like that, dinner is served.
Also read: Why Is My Instant Pot Hissing?
Average Pressurization Times for Different Instant Pot Models
While all Instant Pots use the same basic pressurization process, there can be some variation in pressurization times between different models. Here's a quick breakdown of what you can expect:
- Instant Pot Duo 3-Quart: 5-10 minutes
- Instant Pot Duo 6-Quart: 10-15 minutes
- Instant Pot Duo 8-Quart: 15-20 minutes
- Instant Pot Pro 6-Quart: 10-15 minutes
- Instant Pot Ultra 6-Quart: 10-15 minutes
- Instant Pot Max 6-Quart: 10-15 minutes
Keep in mind that these are just averages and your actual pressurization time may vary based on the factors we discussed earlier.
The best way to get a feel for your specific Instant Pot's pressurization time is to use it regularly and take note of how long it typically takes for different types of recipes. Over time, you'll start to get a sense of your pot's unique quirks and can plan accordingly.
Check out the different models here: 10 Best Instant Pots in the US
Tips to Speed Up Instant Pot Pressurization
If you're like me, you love your Instant Pot for its ability to cook foods faster than traditional methods. But sometimes, it feels like it's taking forever for the pot to reach pressure. Trust me, I've been there. Over time, I've learned a few tricks to speed up the pressurization process:
Preheating the Pot
One of my favorite ways to speed up pressurization is to preheat the pot using the Sauté function. Just select Sauté and let the pot heat up for a few minutes before adding your ingredients. This helps jumpstart the heating process and can shave off a few minutes from the overall pressurization time. Preheating the pot is a great tip for those just starting out with easy Instant Pot recipes.
When I’m making a recipe that calls for sautéing aromatics like onions or garlic, I use this preheating time to get that step out of the way. Just be sure to cancel the Sauté function and deglaze the pot before sealing the lid and starting the pressure cook cycle.
Using the Sauté Function
Here's a tip I've picked up: use the Sauté function to bring liquids to a simmer before you seal the pot and start the pressure cooker cycle. This works wonders for soups, stews, or any recipe with lots of liquid.
Starting with preheated liquid gives your pot a head start on making steam, which is crucial for building pressure. I've noticed that this trick can shave off several minutes from the pressurization time, especially when you're working with recipes that have longer cooking times.
Common Issues That Can Delay Pressurization
The Instant Pot usually makes cooking quick and easy, but occasionally, it has trouble reaching pressure. This delay in pressurization can mess with your timing. Here are a few typical snags and tips on troubleshooting them:
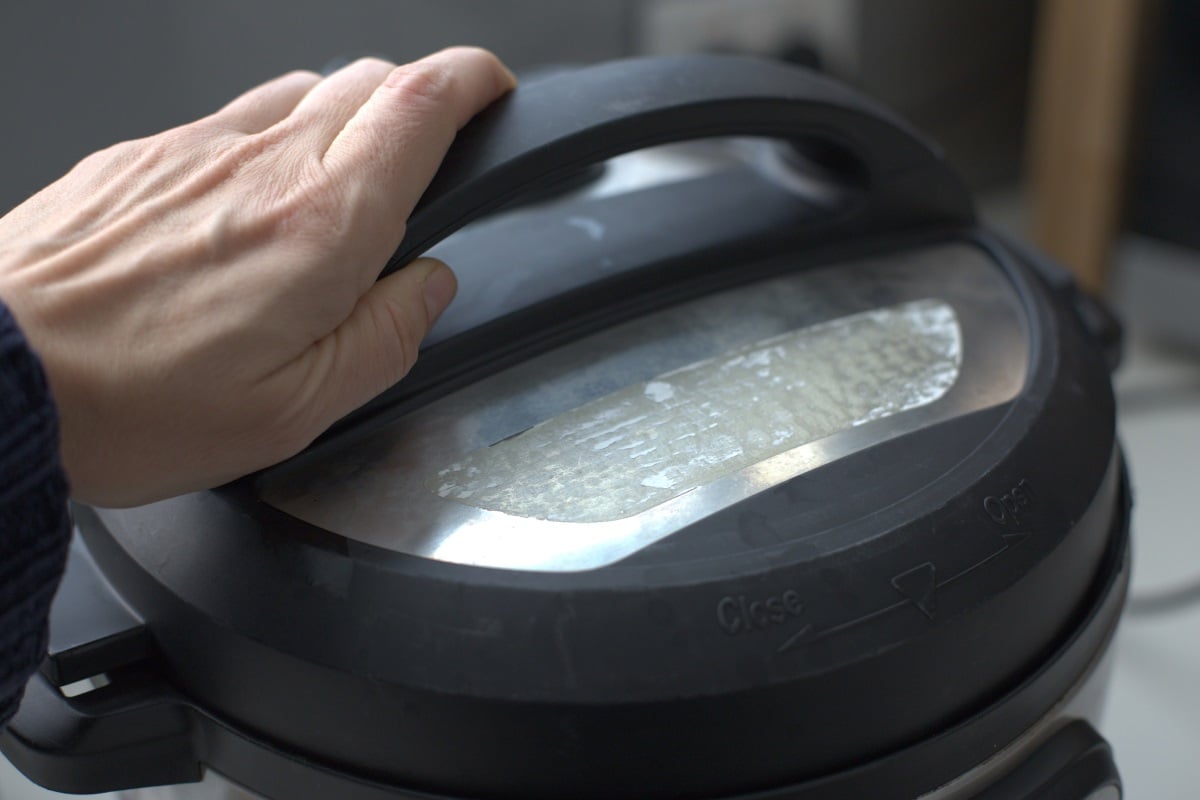
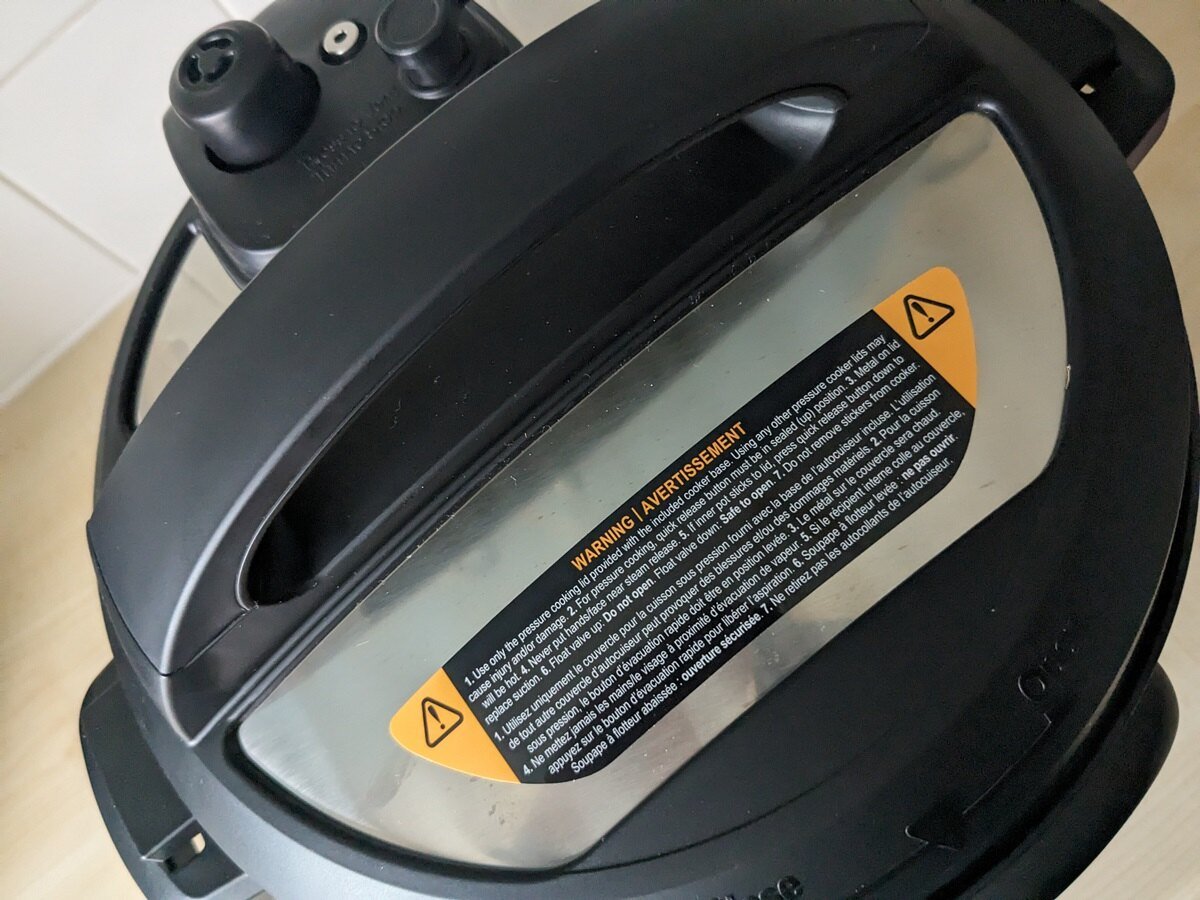
Improperly Sealed Lid
One of the most frequent culprits behind delayed pressurization is an improperly sealed instant pot lid. If the pot lid isn't fully locked into place or the sealing ring is damaged or misaligned, steam can escape, preventing the pot from building enough pressure to start the cooking cycle.
To ensure a proper seal, always double-check that the lid is securely closed and the sealing ring is properly positioned before starting the pressurization process. If you notice steam leaking from around the lid or the float valve failing to rise, cancel the cooking cycle and investigate the issue.
Clogged Steam Release Valve
Another common problem that can hinder pressurization is a clogged steam release handle. Food debris, residue, or even a small piece of the sealing ring can become lodged in the release handle, blocking the flow of steam and preventing the pot from building pressure.
To avoid this issue, make sure to regularly inspect and clean the steam release valve, especially after cooking particularly messy or starchy foods. If you suspect a blockage, use a clean, damp cloth or a soft-bristled brush to gently remove any debris from the valve and surrounding area.
Insufficient Liquid
Using too little liquid is another frequent cause of delayed or failed pressurization. The electric pressure cooker relies on steam generated from liquid to create the necessary pressure for cooking.
If there isn’t enough thin liquid (like water or broth) in the pot, it will struggle to build and maintain pressure. Using too little liquid can also affect slow cooking, as the pot needs sufficient liquid to maintain a consistent temperature over a longer period.
As a general rule, always use at least 1 cup of thin liquid when cooking under high pressure to ensure proper pressurization and to protect the pot from overheating or triggering safety features.
If you’re unsure about the liquid requirements for a particular recipe, consult your Instant Pot manual or the recipe instructions for guidance.
Paying attention to these common issues can make a big difference in how smoothly your electric pressure cooker works. A little bit of extra care will keep your pressure cooking hassle-free and fun every time.
Related: What Does L Mean On Instant Pot? Learn the Essentials
When to Use Natural Release vs Quick Release
One of the most important decisions you'll make when using your Instant Pot is whether to use natural release or quick release at the end of the cooking cycle.
Each method has its own benefits and is better suited for certain types of recipes. Let's explore when to use each one and why.
Benefits of Natural Release
Natural pressure release is a method of slowly releasing pressure from the Instant Pot after the cooking time is complete. This gradual release helps to prevent delicate foods like foams or custards from collapsing due to a sudden change in pressure. It also allows meats to rest and redistribute their juices, resulting in a more tender and flavorful dish.
I think natural pressure release works best for recipes needing extra cooking time, like those tough cuts of meat or hearty vegetables. Natural release is also perfect for delicate dishes that need a gentle cook time and touch to keep their texture just right, such as cheesecakes and soufflés.
When to Use Quick Release
Quick release, on the other hand, is a method of rapidly releasing steam pressure from the Instant Pot by manually turning the steam release valve to the "Venting" position. This causes a sudden drop in pressure and stops the cooking process almost immediately.
I typically use quick release for recipes that require precise cooking times, like delicate vegetables, seafood, or pasta. It's also useful when I need to add additional ingredients or perform other steps mid-recipe, as it allows me to quickly release the pressure and open the lid.
Foods Suitable for Each Method
When deciding between natural pressure release and quick release, consider the type of food you’re cooking and the desired texture. Here are some general guidelines I like to follow:
Some foods that do well with natural pressure release are beans, tough cuts of meat, and grains like rice or quinoa.
- Tough cuts of meat (like pork shoulder or beef chuck roast)
- Beans and lentils
- Rice and grains
- Soups and stews
- Custards and cheesecakes
Some recipes that work well in a slow cooker can also benefit from natural pressure release in the Instant Pot.
Some foods that work well for quick release are:
- Delicate vegetables (like broccoli or asparagus)
- Seafood
- Pasta
- Eggs
- Recipes that require additional ingredients or steps after pressure cooking cycle
Keep in mind that some recipes may call for a combination of natural and quick release, so always follow the specific instructions provided for the best results.
Conclusion
So, how long does it take the Instant Pot to pressurize? As we've seen, the answer isn't quite as simple as we might like. It depends on a variety of factors, from the size of your pot to the amount of liquid you're using. But armed with the knowledge we've gained today, you're well on your way to Instant Pot mastery.
Patience is super important here. Don’t rush or let the pressure out too soon. Trust your Instant Pot to work its magic, and you'll end up with deliciously cooked meals every time. Enjoy your Instant Pot adventures!


Leave a Reply