Making yogurt at home is a rewarding experience that allows you to control the ingredients and customize the flavor to your liking. If you own an Instant Pot without a yogurt button, you might think that making yogurt is out of reach. However, with a few simple steps and some patience, you can easily learn how to make yogurt in Instant Pot without yogurt button.
With a few essential ingredients and some straightforward instructions, you’ll be enjoying your very own homemade yogurt in no time! Let's
Jump to:
How to Make Yogurt in Instant Pot Without the Yogurt Button
You want to make homemade yogurt in your Instant Pot, but maybe you have a model without the yogurt button. Or maybe it does have the yogurt setting, but the whole process seems too complicated.
I used to think making yogurt was impossible without that fancy yogurt button. But then I discovered the secret to crafting creamy yogurt the easy way - no special button required.
With a few simple ingredients and steps, you’ll be on your way to creamy, dreamy homemade yogurt. Trust me, once you learn how to make yogurt in your Instant Pot without the yogurt button, you may never buy store-bought yogurt again!
Ingredients for Yogurt (No Yogurt Button Required.)
Want to start making mouthwatering yogurt without the yogurt function? First, you’ll need:
- Milk (whole or 2% works best for a rich, creamy texture).
- Ultra-pasteurized milk can be used for convenience.
- Starter yogurt with live, cultures (plain Greek yogurt is my go-to).
That’s it. Just these few ingredients and you’re ready to make magic happen!
The first time around, grab a small container of plain yogurt at the grocery store to act as your starter. Make sure the label says it contains live, active cultures - that’s the key to transforming milk into yogurt.
Your homemade yogurt can become a gift that keeps giving literally. By saving some of your freshly made batch, you’ll have a starter for your next yogurt-making process.
Preparing The Milk For Yogurt
The first step in making Instant Pot yogurt without the yogurt function is preparing the milk. This is where we’ll heat the milk to the perfect temperature for the yogurt cultures to work their magic. Using ultra-pasteurized milk can skip the boil method, making the process quicker and easier.
Heating the Milk
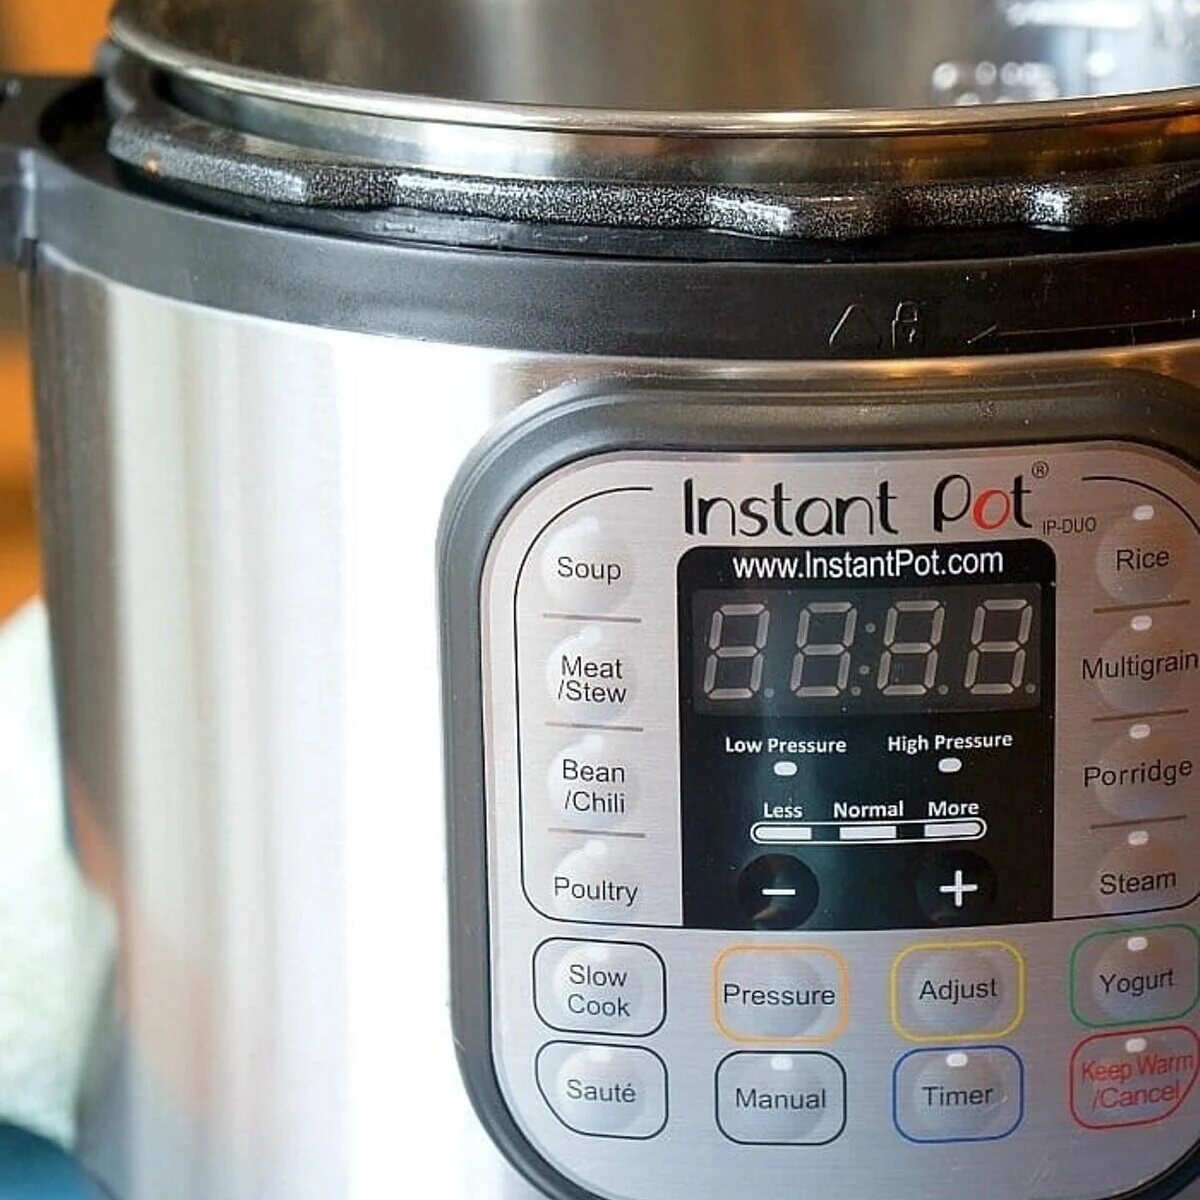
Pour the milk into your electric pressure cooker’s inner pot and secure the Instant Pot lid. You won’t be pressure cooking, so it doesn’t matter if the vent is set to sealing or not.
If using ultra-pasteurized milk, heating to 115°F is sufficient.
Press the “Yogurt” button (if your model has it) and then “Adjust” until the display reads “boil.” If you don’t have a yogurt function, use the “Saute” function on high heat.
Whisk the milk occasionally as it heats to prevent skin from forming and to distribute the heat evenly. After about 30-40 minutes, your milk should reach 180°F (82°C). Use an instant-read thermometer to check the temperature.
Cooling the Milk
Once the milk reaches 180°F, carefully remove the inner pot and place it in a large mixing bowl filled with ice water. This will help the milk cool down faster.
Stirring occasionally, let the milk get cooler to 110-115°F (43-46°C). This usually takes about 5 minutes for me. Again, use your trusty instant-read thermometer to check when the milk reaches the right temperature range.
If you let the milk cool down too much, don't worry. You can always use the "Saute" function to gently warm it back up to the correct temperature for cooling milk.
Tip: If you don't have a yogurt button, or if you're using the boil method, feel free to use any type of milk.
Different Types of Milk
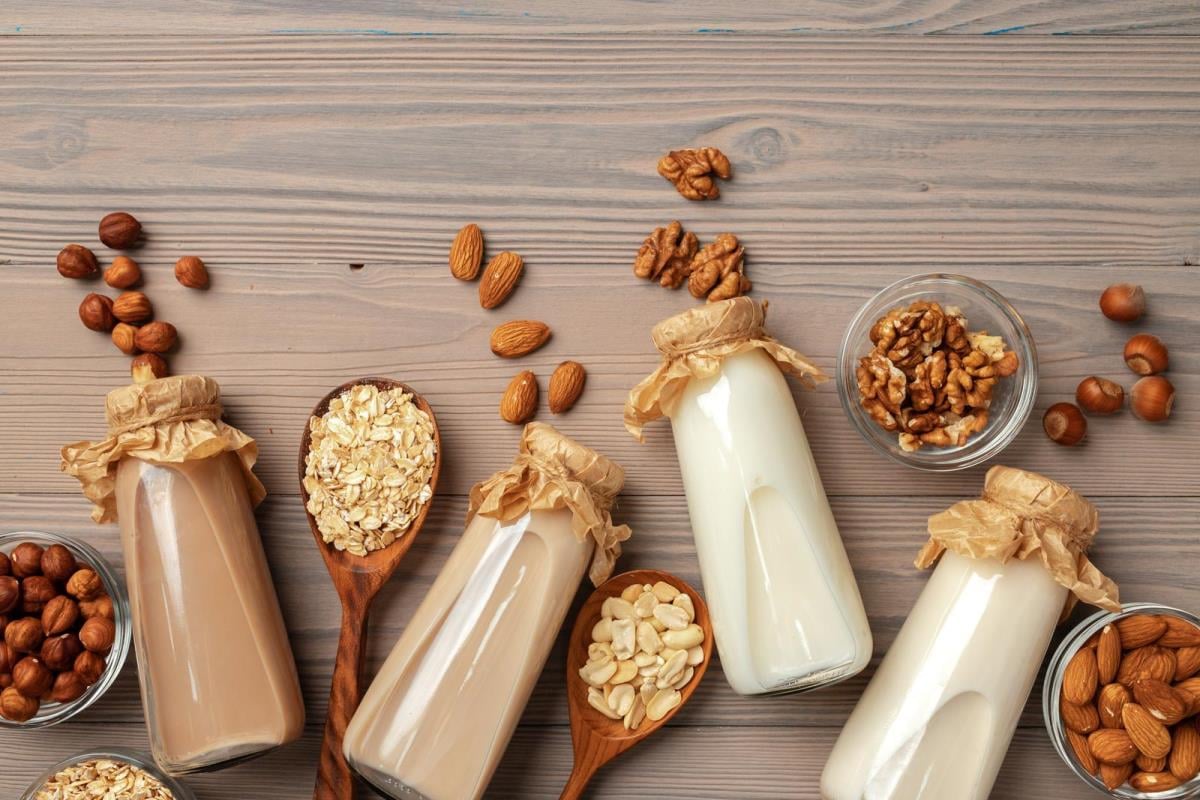
Not sure which milk is best for your yogurt? I broke them down for you so the choice is yours:
- Dairy Milk:
- Cow's dairy milk is the most commonly used milk for making yogurt due to its availability and familiar taste.
- It produces a creamy and smooth yogurt with a mild flavor.
- You can choose from various fat levels, such as whole milk, reduced fat, or skim milk, to adjust the richness of the yogurt.
- Goat's Milk:
- Goat's milk is similar to cow's milk but has a slightly different flavor profile, often described as tangier and slightly sweeter.
- It produces yogurt with a creamier texture and a distinct, tangy taste.
- Soy Milk:
- Soy milk is a popular alternative for those who are lactose intolerant or prefer a dairy-free option.
- It results in a yogurt that is creamy and smooth, with a subtle soy flavor.
- Soy milk yogurts tend to have a higher protein content compared to other plant-based milk options.
- Almond Milk:
- Almond milk creates a yogurt with a light and slightly nutty flavor.
- It produces a thinner consistency compared to cow's milk yogurt but is still creamy and delicious, and is a great option for those following a dairy-free or vegan diet.
- Coconut Milk:
- Coconut milk yields a yogurt with a rich and creamy texture and a tropical coconut flavor.
- It is often used in dairy-free and vegan yogurt recipes and pairs well with fruit or granola toppings.
- Coconut milk yogurt can be thicker than other plant-based yogurts and has a distinctive coconut aroma.
- Organic Milk:
- Organic milk is produced without synthetic pesticides, hormones, or antibiotics, making it a popular choice for those seeking natural and environmentally friendly options.
- It offers a clean and fresh taste, similar to conventional cow's milk.
- Organic milk is free from unwanted chemicals and additives, making it a wholesome choice for homemade yogurt.
Adding The Yogurt Starter
The cooldown is complete, and your milk is now ripe for the yogurt starter’s arrival:
Choosing Your Starter for Yogurt
When I’m on the hunt for the perfect starter for yogurt, I look for one thing: a simple, unflavored Greek yogurt with live and active cultures. It’s these tiny powerhouses that kick-start the fermentation process, yielding a creamy, thicker yogurt.
You can also use a yogurt starter culture specifically designed for making homemade yogurt. These concentrated yogurt cultures can be found online or at some health food stores.
Mixing in the Starter
In a small bowl, whisk together about ½ cup of the warm milk with 2 tablespoons of your starter for yogurt until smooth. This helps temper the yogurt starter and prevents clumping when you add it to the rest of the milk.
Pour the milk-starter mixture back into the inner pot with the remaining warm milk. Whisk gently until everything is well combined and you have a smooth, creamy mixture.
And just like that, your milk is ready to be transformed into homemade yogurt - no yogurt button necessary. The live and active cultures will ferment over the next several hours, thickening the milk into tangy, creamy yogurt.
Setting Up The Instant Pot
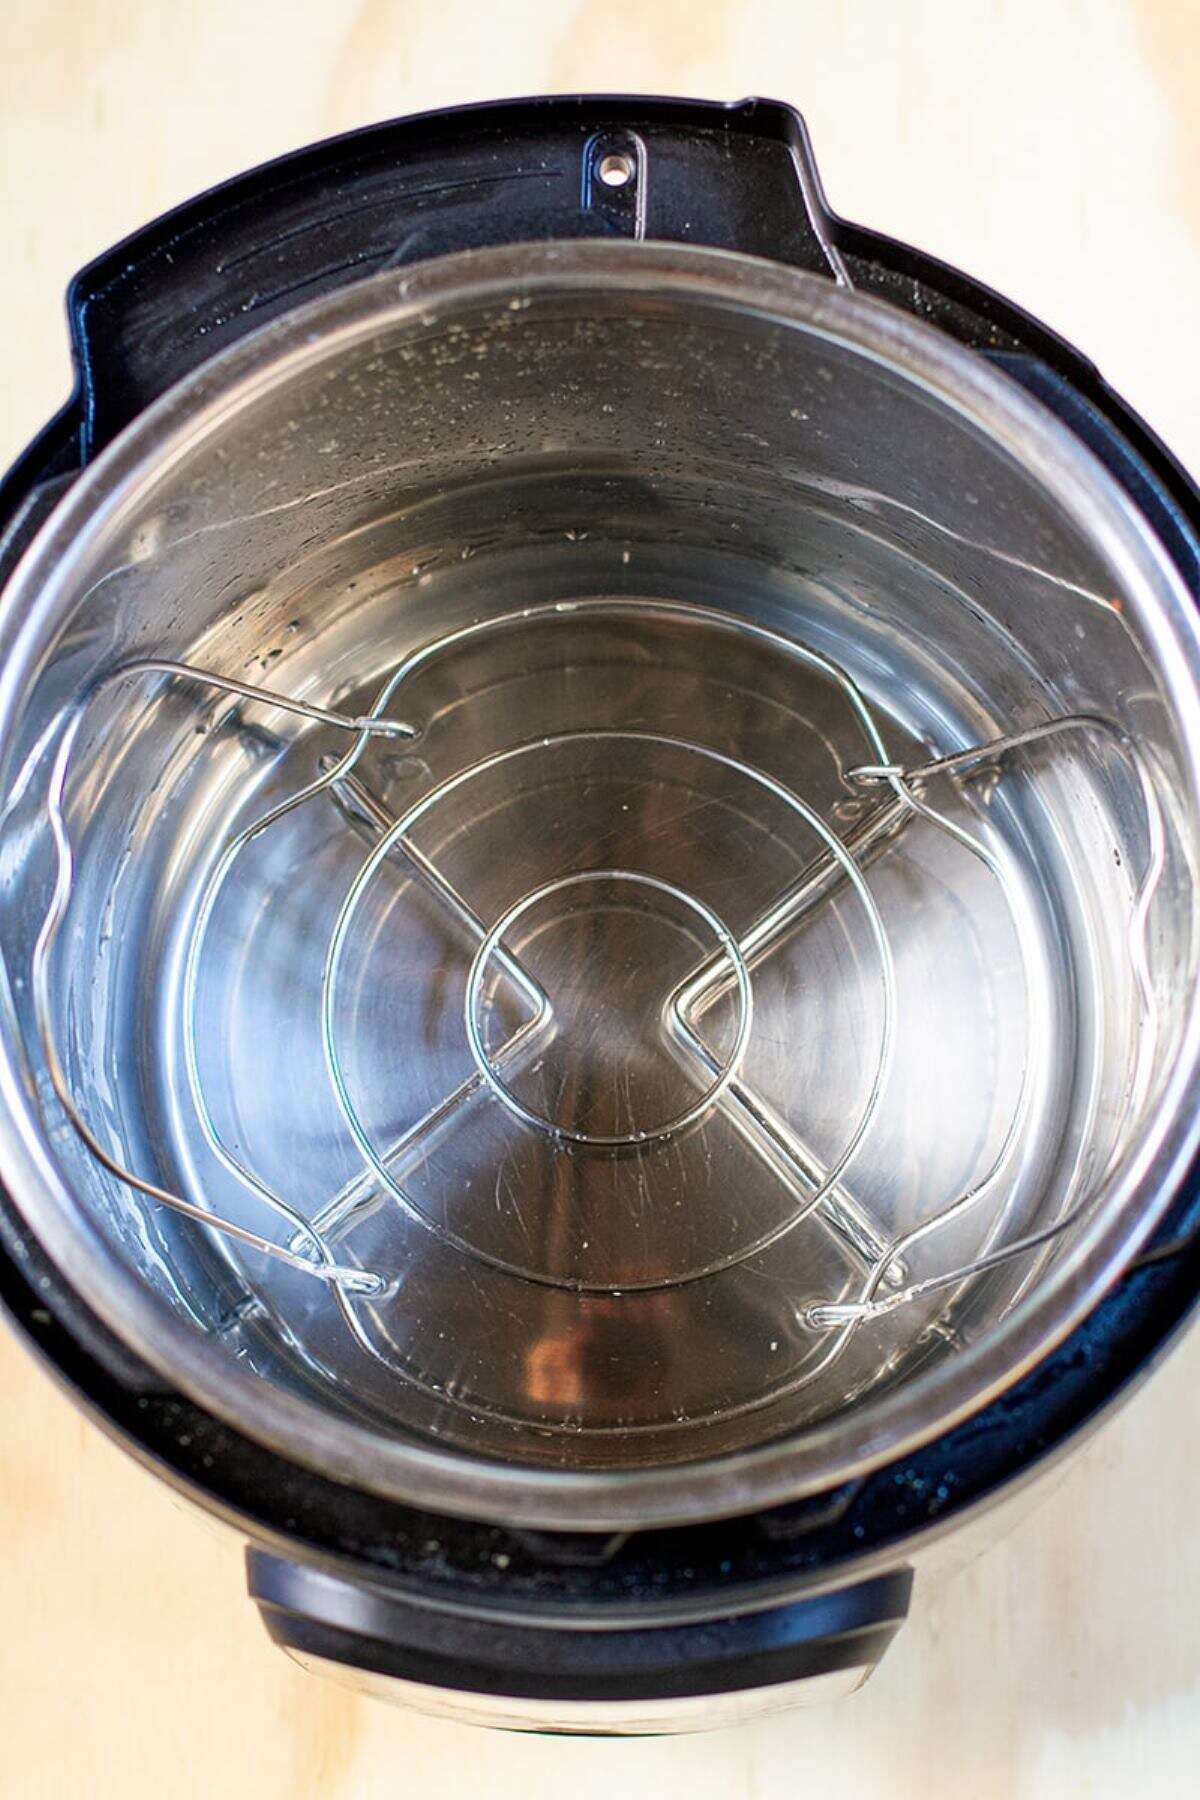
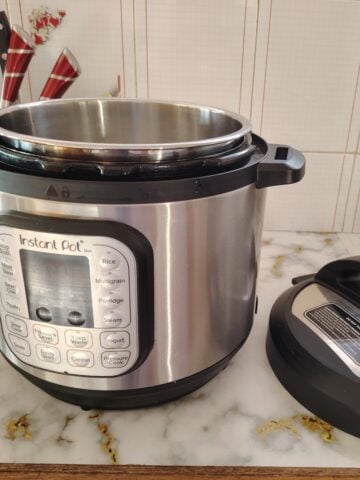
To create the ideal environment for incubating yogurt, remove the inner pot from the Instant Pot base. Add about 1 cup of water to the base, then place the trivet inside. Carefully place the inner pot with the milk and starter mixture on top of the trivet. Close the lid, ensuring the valve is set to sealing.
When I first started making creamy yogurt in my 6-quart Instant Pot, I was a bit intimidated. But trust me, once you get the hang of it, it’s a breeze. The key is to create a warm, stable environment for the yogurt to incubate and transform.
Remove inner pot
To set up your electric pressure cooker for yogurt-making, start by removing the inner pot. This is where you’ll be placing your milk and starter yogurt culture mixture. But first, we need to create a warm water bath. Using ultra-pasteurized milk can reduce the need for precise temperature control.
Add about a cup of water to the base of your Instant Pot. This will help maintain a consistent temperature during the incubation process. Then, place the trivet inside the base. The trivet will keep the inner pot above the water, preventing any direct contact.
Place yogurt
Now, carefully place the inner pot with your warm milk and starter yogurt mixture onto the trivet inside the Instant Pot. Make sure it’s sitting securely on the trivet and not wobbling around.
Once your inner pot is in place, close the lid of your Instant Pot. Double-check that the valve is set to the sealing position. This will ensure that no heat escapes during the incubation process, maintaining a consistent temperature for your yogurt to develop.
Hold yogurt
With the lid closed and the valve sealed, your Instant Pot is now ready to hold and incubate your yogurt mixture. The warm water bath and sealed environment will create the perfect conditions for the live active cultures to work, transforming the milk into creamy, delicious homemade yogurt.
Incubating And Chilling The Yogurt
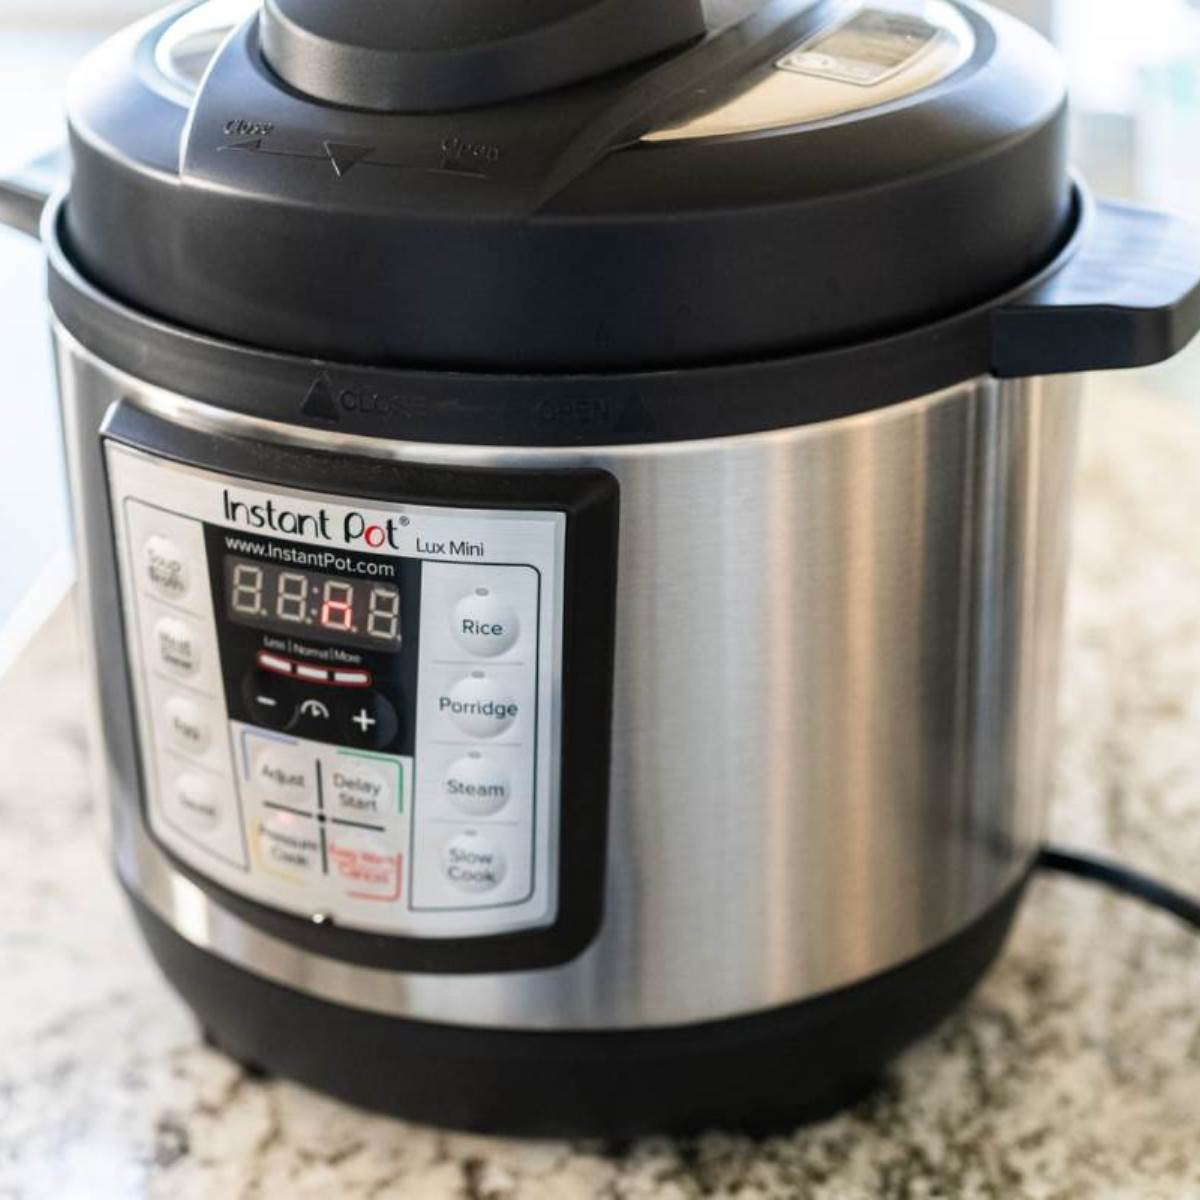
Set the Instant Pot to “Keep Warm” mode and adjust the time to 8-12 hours, depending on your preference for yogurt tanginess. The longer the incubation, the tarter the yogurt will be. After incubation, carefully remove the inner pot and place it in the refrigerator to chill for at least 4 hours.
This helps the yogurt thicken and set. Techniques like using whole milk or adding dry milk powder can also help achieve thicker yogurt.
When I first started to make yogurt, I was surprised by how runny it was right after the incubation period. Don’t worry, this is totally normal. The key is to let the yogurt chill and thicken in the fridge.
Related: How To Deglaze Instant Pot In A Few Simple Steps
Regular yogurt
For a regular yogurt consistency, I usually incubate my yogurt batch for about 8-10 hours. This gives the yogurt a mild, slightly tangy flavor that’s perfect for everyday eating. If you prefer a stronger, tarter taste, you can incubate for up to 12 hours. Using whole milk or adding dry powdered milk can help achieve a thicker consistency yogurt.
After the incubation time is up, carefully remove the inner pot from your Instant Pot. Be cautious, as the pot will be warm to the touch. I like to use oven mitts or a kitchen towel to safely transfer the pot to my refrigerator.
Yogurt thicken
Once your yogurt has reached your desired consistency, you can transfer it to storage containers or glass jars. I like to portion mine out into individual servings for easy grabbing throughout the week. And just like that, you’ve got a batch of delicious, homemade yogurt ready to enjoy.
Tip: When the fermentation time is up, spoon the yogurt into mason jars for storage (the yogurt will thicken in the mason jars as it cools). After your first batch, remember that you can save a bit of yogurt to use in your next batch instead of buying prepared yogurt every time.
Related: What Temperature Is the Low Yogurt Setting on Instant Pot?
Flavoring And Serving Your Homemade Yogurt
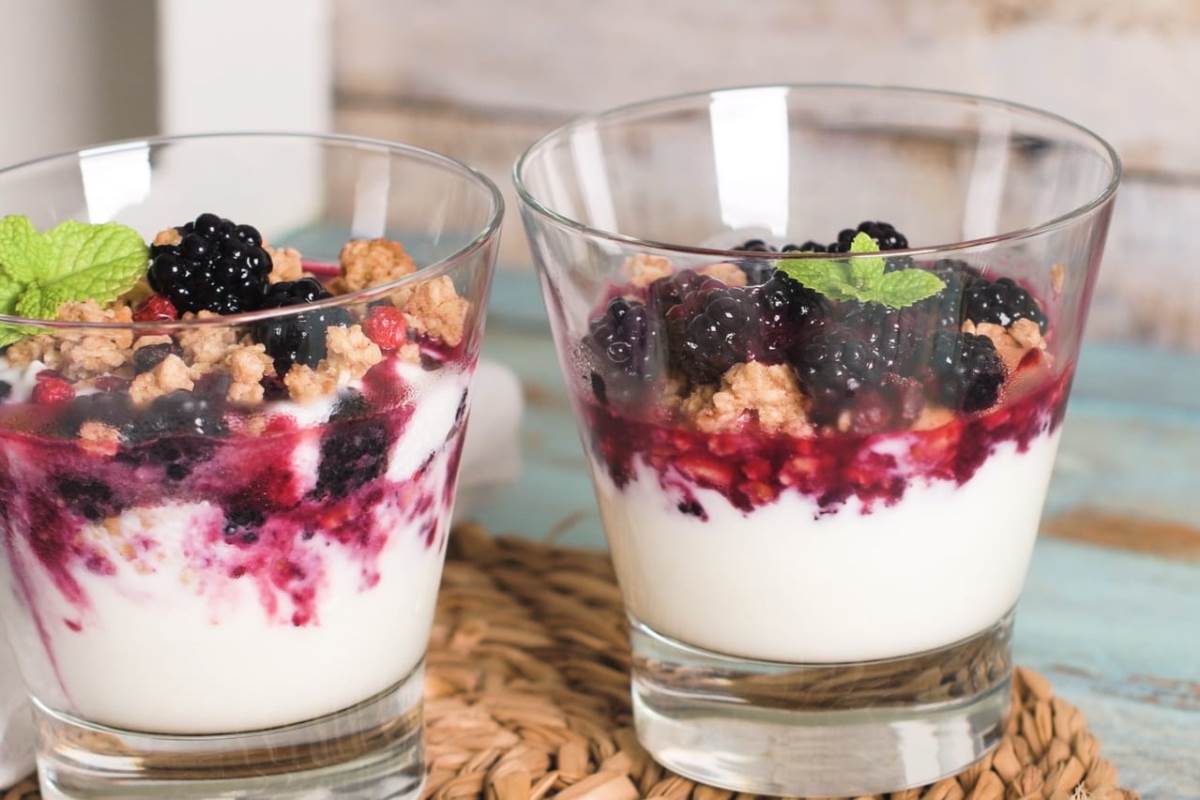
Once your yogurt is chilled, you can enjoy it plain or add your favorite toppings and mix-ins. For a hearty breakfast, try stirring in some steel-cut oats, freshly cut fruit, and a drizzle of maple syrup.
One of the best parts about making your own yogurt is getting to flavor it exactly how you like it. There are various recipe choices that can be followed to achieve different flavors and textures.
Strawberry jam
If you’re a fan of fruity yogurt, try stirring in a spoonful of your favorite jam or preserves. Strawberry is a classic choice that always hits the spot. The sweet, slightly tart flavor of the jam pairs perfectly with the creamy, tangy plain yogurt from the grocery store. Different recipe types can include various fruit jams and preserves.
For a fun twist, try layering your yogurt and jam in a jar or glass. Alternate between spoonfuls of yogurt and dollops of jam to create a pretty parfait effect. Top it off with some freshly cut fruit for an extra pop of color and flavor.
Steel cut oats
For a heartier, more filling yogurt bowl, try stirring in some steel-cut oats. These chewy, nutty oats add a delightful texture and a boost of fiber to your yogurt. Plus, they’ll keep you feeling full and satisfied for hours. Different recipe types can include various grains and mix-ins.
I like to prepare a batch of steel-cut oats in advance and store them in the fridge. That way, I can easily scoop some into my yogurt whenever I’m in the mood for a heartier breakfast or snack. Top your oats and yogurt with a drizzle of honey or maple syrup for a touch of sweetness.
If you like your yogurt to be sweet, you can add honey, maple syrup, or sugar adjusted to your desired level of sweetness. For a healthier alternative, honey is my go-to in my recipe.
Cut oats
If you’re not a fan of the chewy texture of steel-cut oats, you can always opt for regular rolled oats instead. These oats are thinner and softer, making them a great choice for those who prefer a creamier yogurt bowl.
Stir some rolled oats into your yogurt and wait a few minutes for them to soften. Next, get creative with your toppings - fresh fruit, nuts, and a sprinkle of cinnamon are all fair game.
FAQ's
Not necessarily. The Instant Pot’s inner pot is usually sufficient. However, you may need a larger bowl for cooling or straining the yogurt.
Absolutely! Simply adjust the ingredients accordingly and follow your recipe for delicious homemade yogurt.
Typically, homemade yogurt’s nutrition information depends on the milk used. Check your milk’s label for details on calories, protein, and other nutrients.
Yes, regular towels work fine for insulating your Instant Pot during the yogurt-making process. Wrap them around the pot to maintain a warm environment.
Conclusion
How to make yogurt in an Instant Pot without a yogurt button may seem daunting at first, but with a little practice and patience, you’ll soon be enjoying the delicious and healthy benefits of homemade yogurt. By following the simple steps outlined above, you can create creamy, flavorful yogurt that’s perfect for your taste preferences.
When you make yogurt at home, you’re calling the shots and that means zero unwanted additives or preservatives. Plus, the simple act of crafting something with your own two hands is a recipe for pure satisfaction.
So, the next time you find yourself craving a delicious and nutritious snack, remember that you can easily make yogurt in your Instant Pot without a yogurt button. With a few simple ingredients and a bit of time, you’ll be enjoying the fruits of your labor in no time. Happy yogurt making!





Leave a Reply