The Instant Pot Max features a canning method, and many wonder how well it performs. The popular electric pressure cooker adds different features to each new model, and the canning feature was added in 2018 with the Max's iteration.
The canning in an Instant Pot process is a tried and true way to preserve food for months. It is ideal for rural areas and those snowed in for the winter.
The Instant Pot brand is popular among home chefs for its timely and delicious food methods. Find out what canning is and if canning in an Instant Pot is safe below:
Jump to:
- Electric Pressure Cookers
- What Is Canned Food?
- Pressure Canning
- Canning Methods
- Instant Pot Pressure Canning
- Preparing Your Instant Pot for Use
- How Pressure Canners Work
- Safe Canning Methods For An Instant Pot
- Step-By-Step Canning in Instant Pot
- Use Your Instant Pot As a Steam Canner
- Tips
- Cleaning An Instant Pot
- Beginner-Friendly Canning Recipes
- Wrapping Up
- Strawberry Jam
Electric Pressure Cookers
Electric pressure cookers are exactly what the name implies. Instead of cooking food at regular atmospheric pressure, electric pressure cookers cook under extreme pressure. The higher pressure enables food to cook faster than any other appliance on the market.
Your Instant Pot will have four to thirteen cooking functions, depending on your model. These functions include slow cooking, steaming, pressure cooking, and more.
What Is Canned Food?
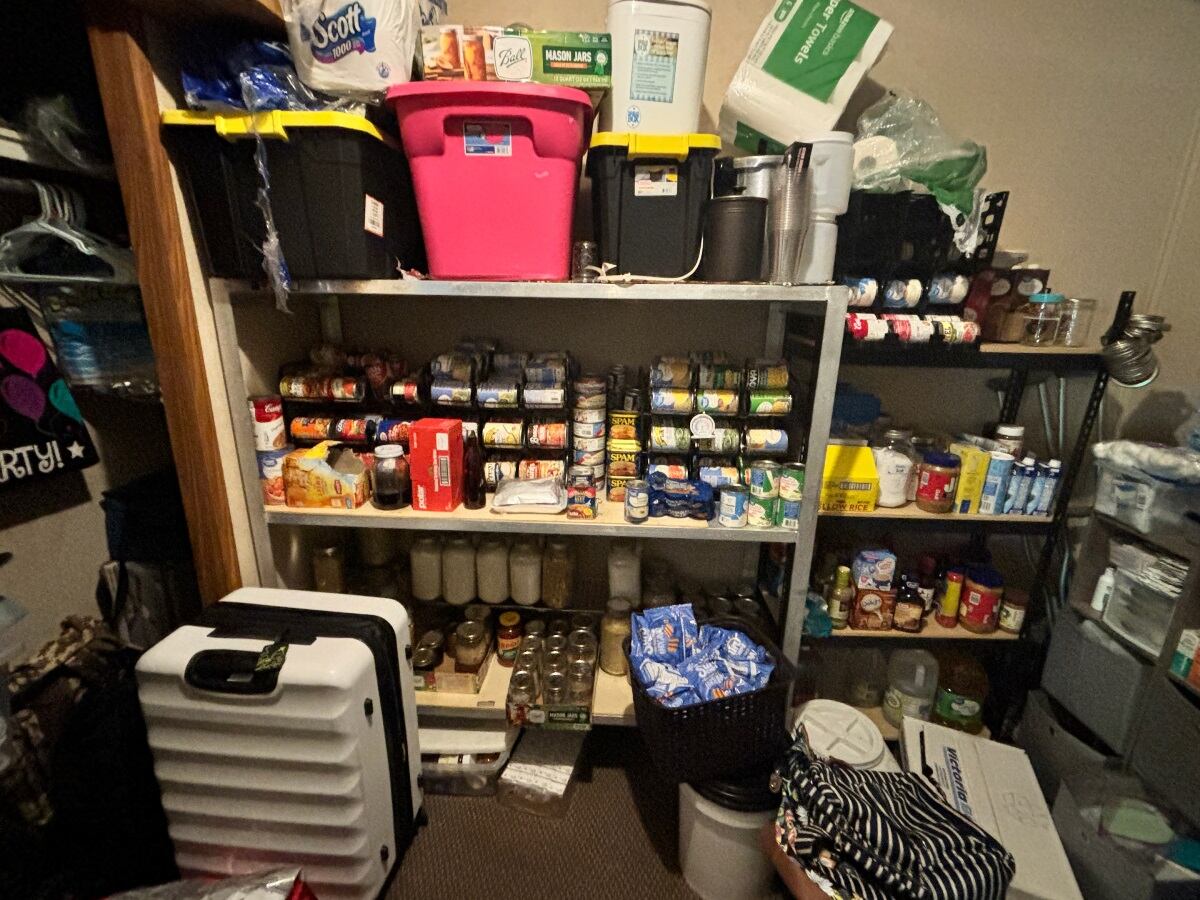
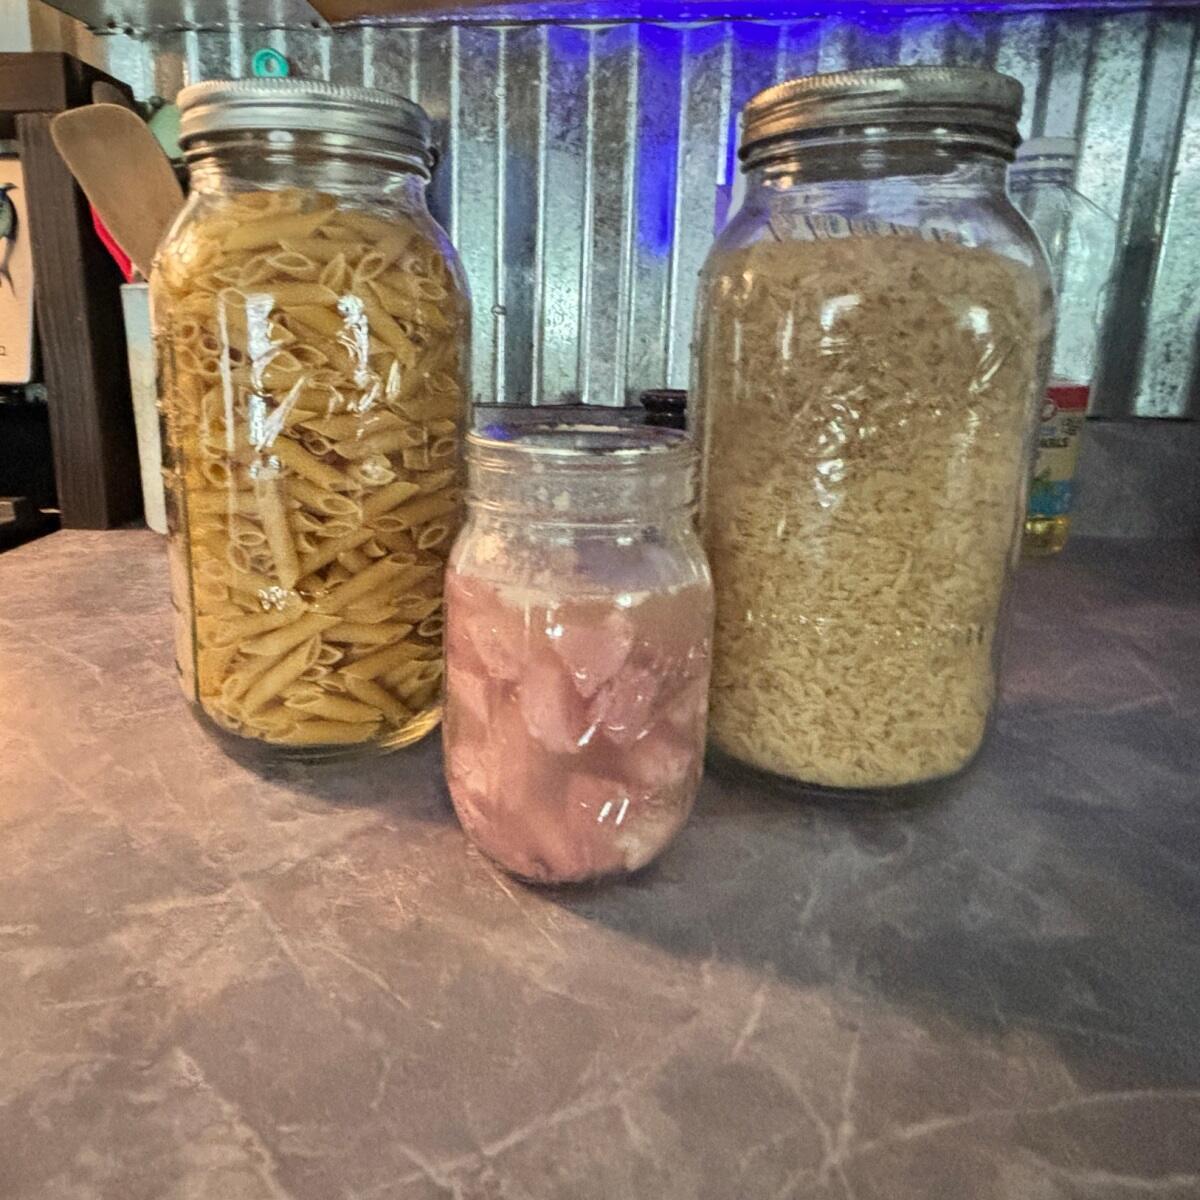
Let's get the terminology straightened out first. Canning does not mean that you tin cans. Canned food is generally stored in glass Mason jars with screw-on lids that block air from entering the inside, helping preserve the food.
Common canned foods include fruits, vegetables, dairy products, and pasta. Canned food can be safely stored for 18 months to five years depending on the acidity level.
Pressure Canning
Pressure canning removes bacteria spores from low-acid foods like vegetables, meat, fish, and poultry. The canner includes a dial or a weighted gauge to regulate the pressure inside.
Most pressure canners hold four—to nine-quart jars, a popular option for storing large amounts of shelf-stable food. There is a low and a high-temperature range.
Note: Lower temperatures are used for highly acidic food, while higher temperatures are used for low-acid foods.
Canning Process
The first step in the canning process is to prepare the equipment. You will either use a water bath or a pressure canner. If water bath canning, fill the bath with water and leave a couple of inches of room at the top of the jar.
The jars need to be sterilized for ten minutes before the canning process. The food should be washed thoroughly before packing. After the food is canned properly, seal the lid and store the food.
Canning Methods
Pressure Canners
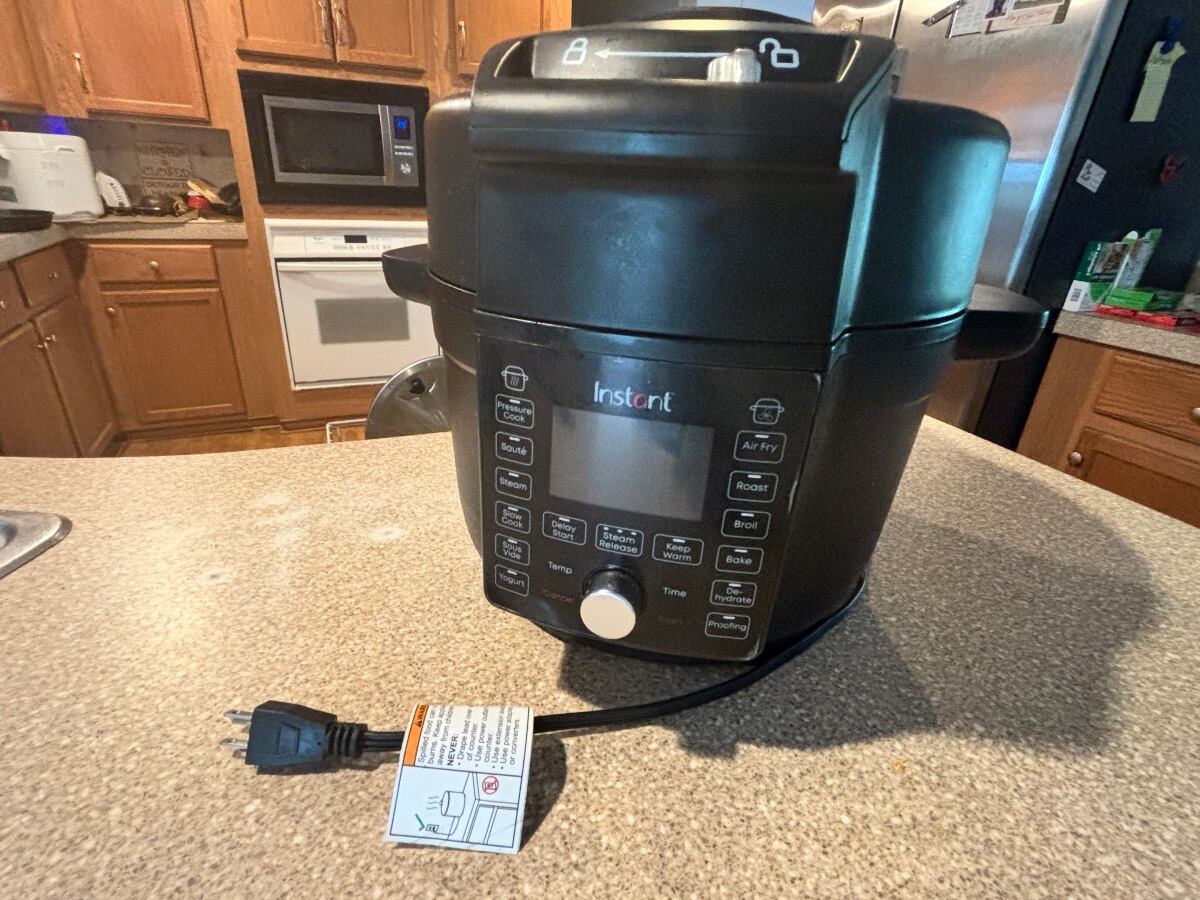
With pressure canning, the vessel must hold at least four sealed, upright canning jars to qualify as an electric pressure canner. Pressure canning is the most commonly used method because the temperature is closely regulated, and higher temperatures sterilize the food.
For some people, an Instant Pot seems less intimidating than a standard pressure canner. They can be (but not always) a bit cheaper than buying a brand-new pressure canner.
Steam Canners
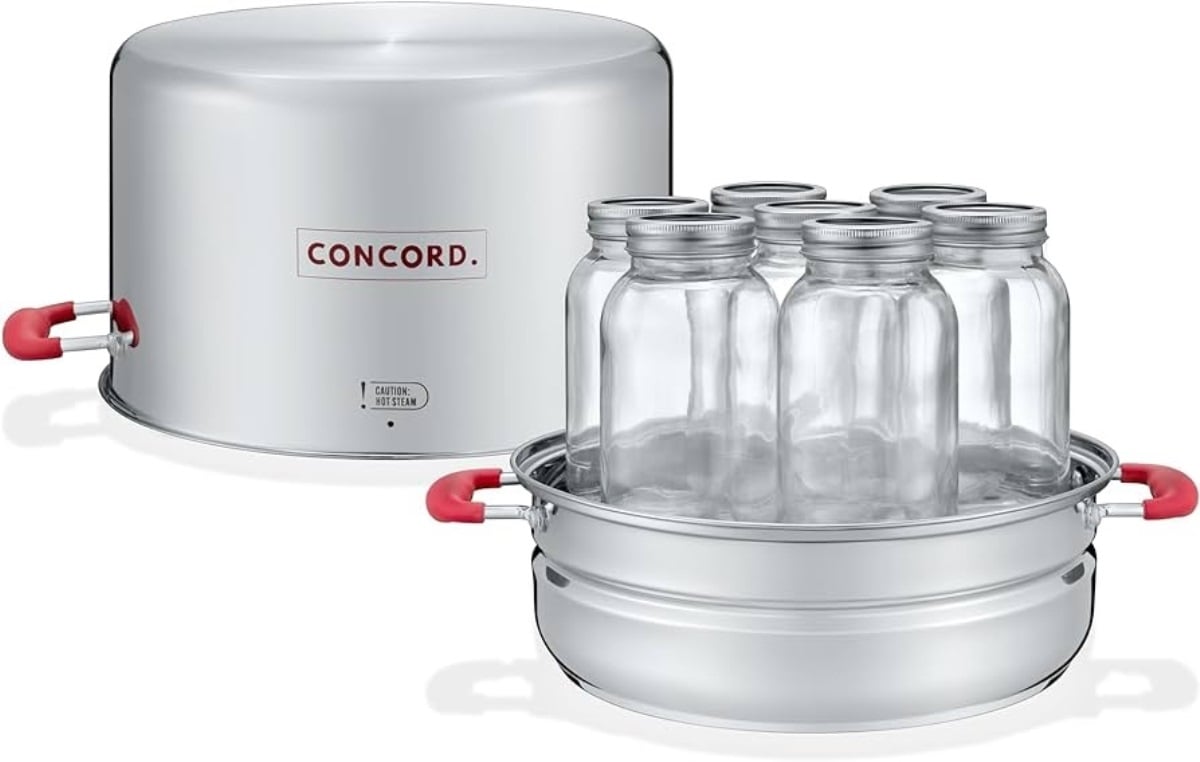
Steam canners look similar to water bath canning but have a wire rack that holds the jars slightly above the water. The steam canning process utilizes steam to sterilize food. Steam canning is less secure than pressure canning where botulism is a worry.
High-acid foods (many jams and jellies, certain vegetables and fruits, and more things if you add acid to your recipes) are relatively safe from botulism risk, so using a steam canner is OK for them.
Water Bath Method
A water bath canner cans food similarly to steam canning, except it uses boiling water to sterilize food. This method is safe for preserving acidic foods.
Instant Pot Pressure Canning
While newer Instant Pot models come with a canning option, it is not recommended for several reasons. No food safety testing has been done on the Instant Pot to ensure that it brings the internal temperature to kill botulism spores.
Proper Temperature
The other reason is that the Instant Pot does not have a temperature regulator. The low and high settings reach 6.5 and 15 psi, respectively.
Temperature is the biggest factor in food safety in canning because it kills harmful bacteria, making the food safe to consume.
Preparing Your Instant Pot for Use
Congratulations on getting your first Instant Pot! It will soon become your favorite appliance, but you must know a few things before preparing delicious food.
You should download the app as soon as you unpack your Instant Pot. The app has recipes, instructions, and general tips for a beginner. Even when you become an expert, you should check the app often.
Although Instant Pot is an electric pressure cooker, it is also a multi-cooker that sautes, steams, air fries, and can be used to pressure-can.
Getting familiar with the Instant Pot
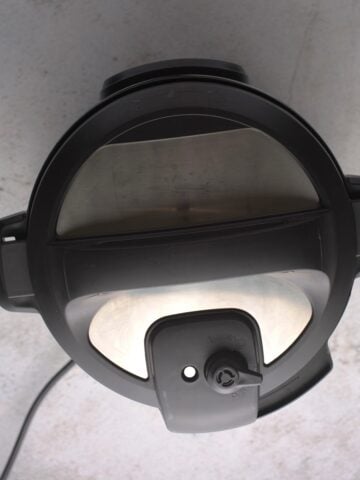
As with any new appliance, getting familiar with the Instant Pot is first on the list. You want to familiarize yourself with the lid, steam release valve, base, and inner pot.
The Instant Pot community has many social media groups and YouTube videos to help you along the way. Remember that pressure cookers are easy to use once you understand a few steps, so don't be intimidated when you unpack it.
As a chef, I understand how intimidating cooking appliances can seem, especially when one appliance has as many functions as an Instant Pot. I recommend learning to use the cooking function you will use first. When I started in the Instant Pot world, I mastered high-pressure cooking before I switched to other functions like air frying. After one or two uses, you will have it down to a tee.
Performing the water test
The first thing you should do is perform a water test. This test should be performed periodically to ensure the Instant Pot works correctly.
The water test lets you know if the Instant Pot is functioning properly and allows you to get familiar with your Instant Pot.
- Make sure the base is plugged in
- Add three cups of water to the inner pot
- Make sure the silicone gasket is properly seated
- Close the lid and lock by turning it counterclockwise (newer models have a locking mechanism)
- Set the steam release handle to "sealing"
- Pressure cook for five minutes
- Quick release the steam
- Once the float valve drops, it is safe to open the Instant Pot
The Instant Pot will take 5-15 minutes to preheat, and then the water will pressure cook for five minutes. If the Instant Pot does not build pressure, it is defective. Fortunately, this is a rare occurrence, and you should have no issues with your new Instant Pot.
Why the water test is important
This simple water test will let you know if your Instant Pot develops pressure and lets you get comfortable with the appliance. It is a great training tool because no food is involved, so you do not have to worry about wasting a meal.
How Pressure Canners Work
It is important to remember that pressure canning differs from a pressure cooker like an Instant Pot. An electric pressure canner uses a specialized process that uses a heavy-duty vessel with a vent, screw-down clamps, and a temperature gauge.
Low Acid Foods Vs. High Acid Foods
High-acid foods can be canned using a pressure canner or water bath canning. Low-acid foods like pickled vegetables and soup stocks must be canned using a pressure canner.
Check out these recipes: Instant Pot Soup Recipes
This is because botulism bacteria die at boiling water temperatures, but the spores survive. The only way to eliminate them is by using a pressure canner for safe canning.
Safe Canning Methods For An Instant Pot
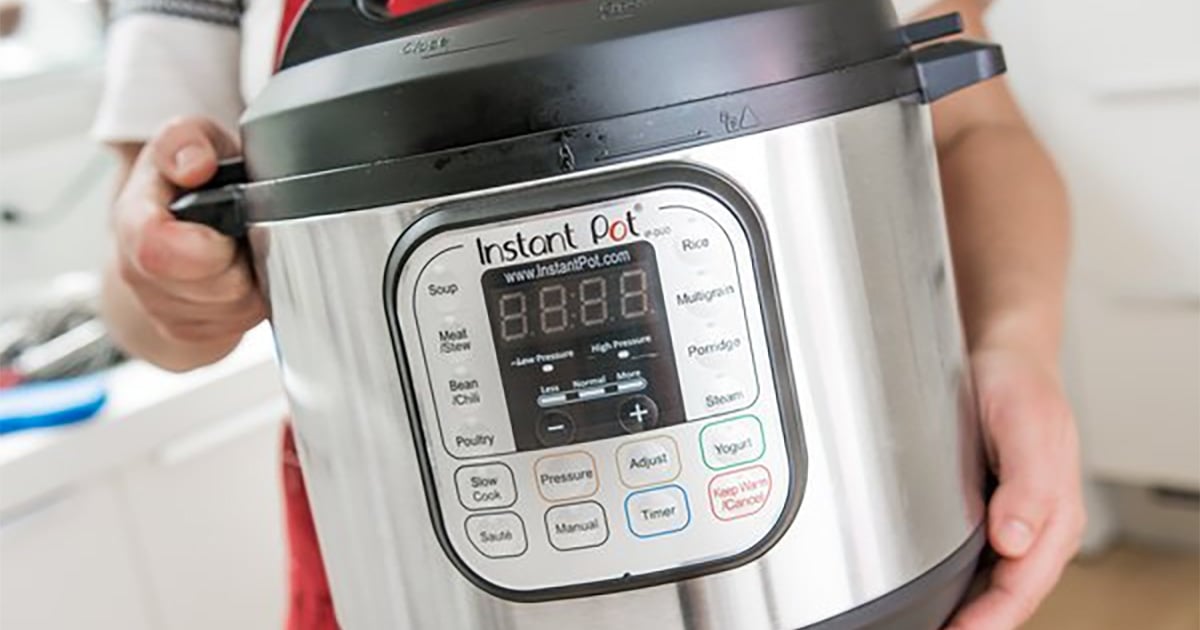
You cannot safely pressure can in electric pressure cookers, but you can use steam or hot water canning. Pressure canning keeps the food at a constant pressure for food safety that you cannot regulate using an Instant Pot.
Accessories Needed
- Jar lifter
- Instant Pot stainless steel roasting rack
- Canning funnel
- Canning scoop (optional)
- Cooling rack
- Debubbler (optional)
Step-By-Step Canning in Instant Pot
As stated above, preparation is important before using any canning method. Inspect the jars and ensure they are free of cracks or chips.
First, you want to sanitize the jars, which is easy. Add one cup of water and two tablespoons of white vinegar to the Instant Pot. Use a trivet to keep your jars from touching the bottom of the insert.
Seal the Instant Pot and set the steam cycle for one minute. Lift the empty jars and fill them with hot water to stay warm.
Use Your Instant Pot As a Steam Canner
- Once you are ready for steam canning, add three cups of water to the pressure cooker. You can add two tablespoons of white vinegar to ensure sterilization, but this is optional.
- Fill your warm jars and leave a ½-inch clearance at the top. You can shake the jars or use a canning debubbler to extract the air bubbles.
- Wipe off the jars' tops to guarantee a good seal. Use a jar lifter to place the jars safely into the Instant Pot. Set the pressure valve to venting. Once it is venting, set the timer per the recipe instructions.
- Once the canning process is through, lift the jars out of the inner liner with the jar lifter. Place them on a cooling rack at room temperature for 12 hours before storing them.
Tips
- Use warm jars to ensure sterilization
- Only steam can highly acidic foods like vegetables or fruit
- Use proven canning recipes
See this recipe: Instant Pot Salmon & Vegetables
Cleaning An Instant Pot
One of the best things about using an Instant Pot is its easy cleaning. It is not only a one-pot multi-cooker, but the restaurant-grade stainless steel inner liner is also a breeze to clean.
In a previous article, we discussed whether the Instant Pot is dishwasher safe. In short, it is, except for the silicone ring. But I have always handwashed mine because it only takes a couple of minutes.
I prefer to remove all the food from the inner liner while still warm. Then, I soak it in soapy water during the meal. After the meal, I pour the soapy water over the inner liner and clean it with a sponge or soft cloth. That's all it takes.
The only parts of an Instant Pot that can go in the dishwasher are the lid (if it is removable), the trivet or cooking accessories, and the inner liner. If you go with the dishwashing option, always remove the silicone gasket from the lid as detergents and heat will wear it out prematurely.
Beginner-Friendly Canning Recipes
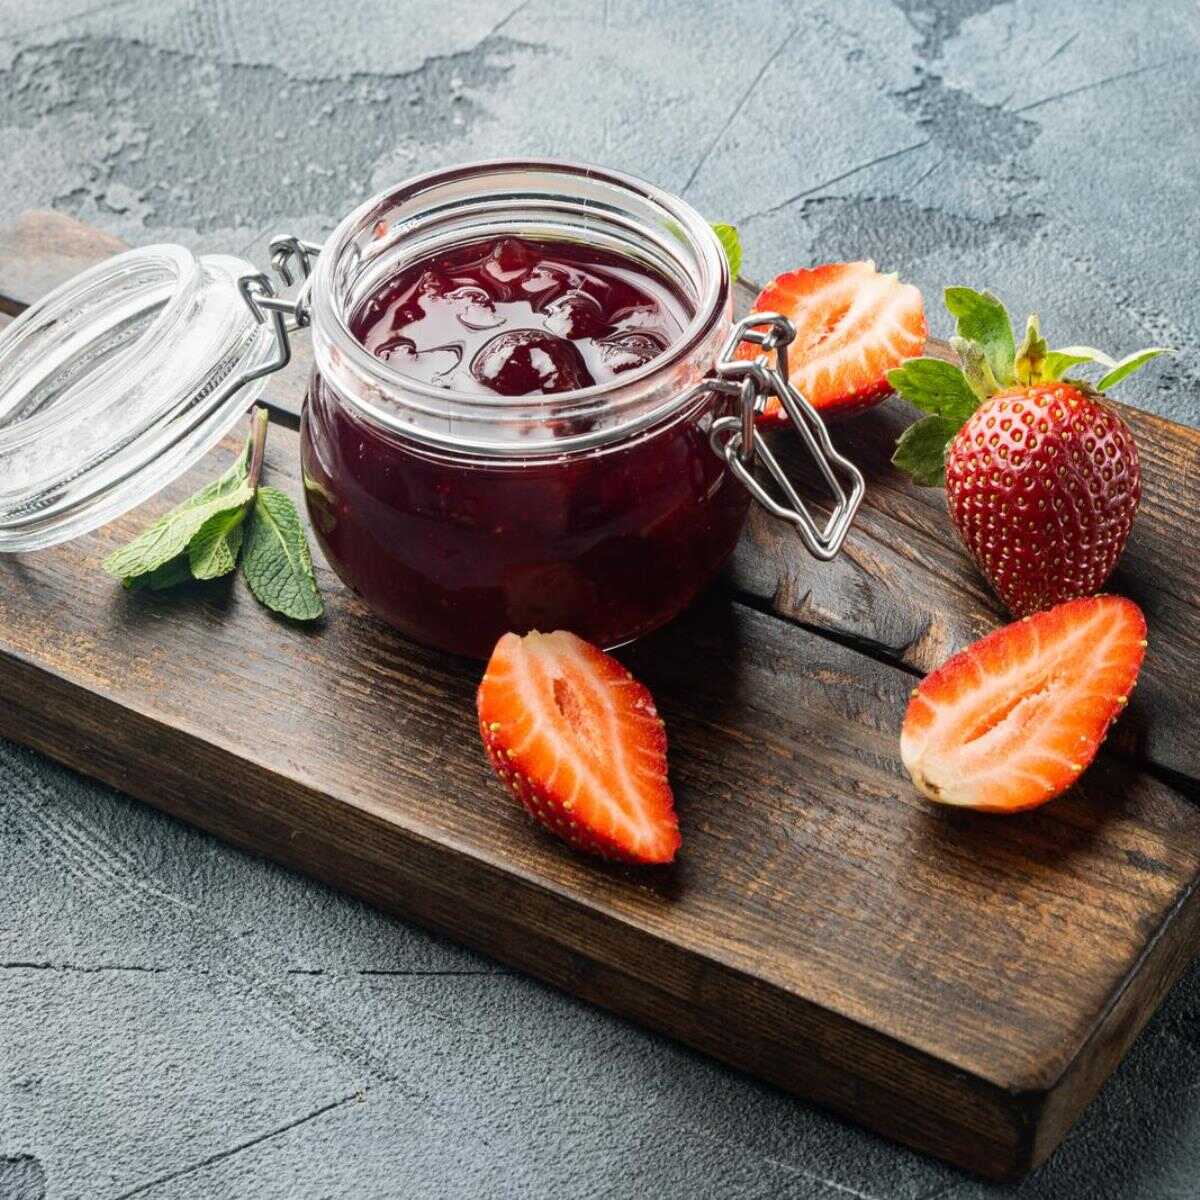
Since you will be primarily water bath canning with your Instant Pot, here are a couple of recipes to get you started.
Strawberry Jam
This recipe uses only five ingredients, and no pectin is needed. It also comes together in less than 30 minutes, making it ideal for beginners.
- 2 pounds fresh strawberries, hulled and halved
- 1 cup granulated sugar
- 2 Tablespoons lemon juice
- 3 Tablespoons cornstarch
- 3 Tablespoons water
- Add strawberries, sugar, and lemon juice to the Instant Pot inner liner and set it for ten minutes. The sugar will draw juice from the strawberries.
- Close the lid and set the steam release valve to high.
- Cook on high pressure for 1 minute. Let the steam naturally release for 15 minutes. If pressure is left, use the quick-release setting to instantly remove the built-up pressure.
- Combine cornstarch and cool water until a paste forms.
- Open the Instant Pot lid and add the cornstarch slurry. Stir until the slurry dissolves into the strawberries.
- Keeping the lid raised, saute until the mixture comes to a boil.
- Store the jam in sanitary jars.
Pickled jalapenos
- 10-15 Jalapeno peppers (sliced into thin discs)
- ¼ cup Sliced carrots
- 4-6 whole garlic pods
- ½ cup White vinegar
- ¼ cup Apple Cider vinegar
- ½ cup Filtered water
- 1 tablespoon Pickling or Sea Salt
- ¼ teaspoon Pickle crisp(optional)
- 1 tablespoon Dried onion flakes
- ½ tablespoon Mexican seasoning or cumin+Mexican oregano+cracked black pepper
- A pinch of sugar-free sweetener or sugar
- Wash and dry the jalapenos. Cut them into ¼-inch slices. Removing the seeds is optional, but leaving them in will increase the heat.
- Wash, dry, and peel the carrots. Cut them into ¼-inch slices. Carrots are optional.
- Sterilize the glass jars using the saute method on your Instant Pot. Let them dry completely on a drying rack or mat.
- Place the remaining ingredients in the Instant Pot and saute until the mixture boils. Turn the Instant Pot off and let the brine drop to room temperature.
- Transfer the pickled jalapenos to pickling jars. Keep at least a ½ inch from the top of the pickled jalapenos and the lid.
- Boil 6 cups of water in the Instant Pot. Add the pickled jalapenos in the canning jars to the boiling water and boil for 12-15 minutes.
- Remove the jars. The lids will bulge; that is normal. Let them cool for 2-4 hours. You will hear the lids pop when they are at "storing" temperature.
- Store the jars in a cool space with no direct sunlight.
Wrapping Up
Instant Pots are one of the best appliances on the market. They have several different cooking methods and prepare food rapidly. Some of the newer models include a canning feature, and the effectiveness of it is all over the internet.
The short answer is that using the Instant Pot as a pressure canner is unsafe. The temperature cannot be controlled, and you risk not killing the bacteria.
However, there are other canning methods, such as steam canning and water bath canning, that you can use in an Instant Pot. As with all things Instant Pot, these methods work like a charm and produce desired results in no time.

Rate This Recipe
Strawberry Jam
Ingredients
- 2 pounds fresh strawberries, hulled and halved
- 1 cup granulated sugar
- 2 tbsps lemon juice
- 2 tbsps cornstarch
- 3 tbsps water
Instructions
- Add strawberries, sugar, and lemon juice to the Instant Pot inner liner and set it for ten minutes. The sugar will draw juice from the strawberries.
- Close the lid and set the steam release valve to high.
- Cook on high pressure for 1 minute. Let the steam naturally release for 15 minutes. If pressure is left, use the quick-release setting to instantly remove the built-up pressure.
- Combine cornstarch and cool water until a paste forms.
- Open the Instant Pot lid and add the cornstarch slurry. Stir until the slurry dissolves into the strawberries.
- Keeping the lid raised, saute until the mixture comes to a boil.
- Store the jam in sanitary jars.




Leave a Reply